So I started out set to build a DIY Foil Assist when I came across these forums researching for the build and when I saw Valhalla’s, Jatem’s and a few other peoples “Tow Boogies” I had to build one. I was planning on building a 12s8p pack with P42a’s that I have when I came across a guy selling a burned up E-foil that sold me all his electronics for super cheap which included a 12s16p battery made with 18650’s that was in good condition minus the BMS was toast. Here is what I am running.
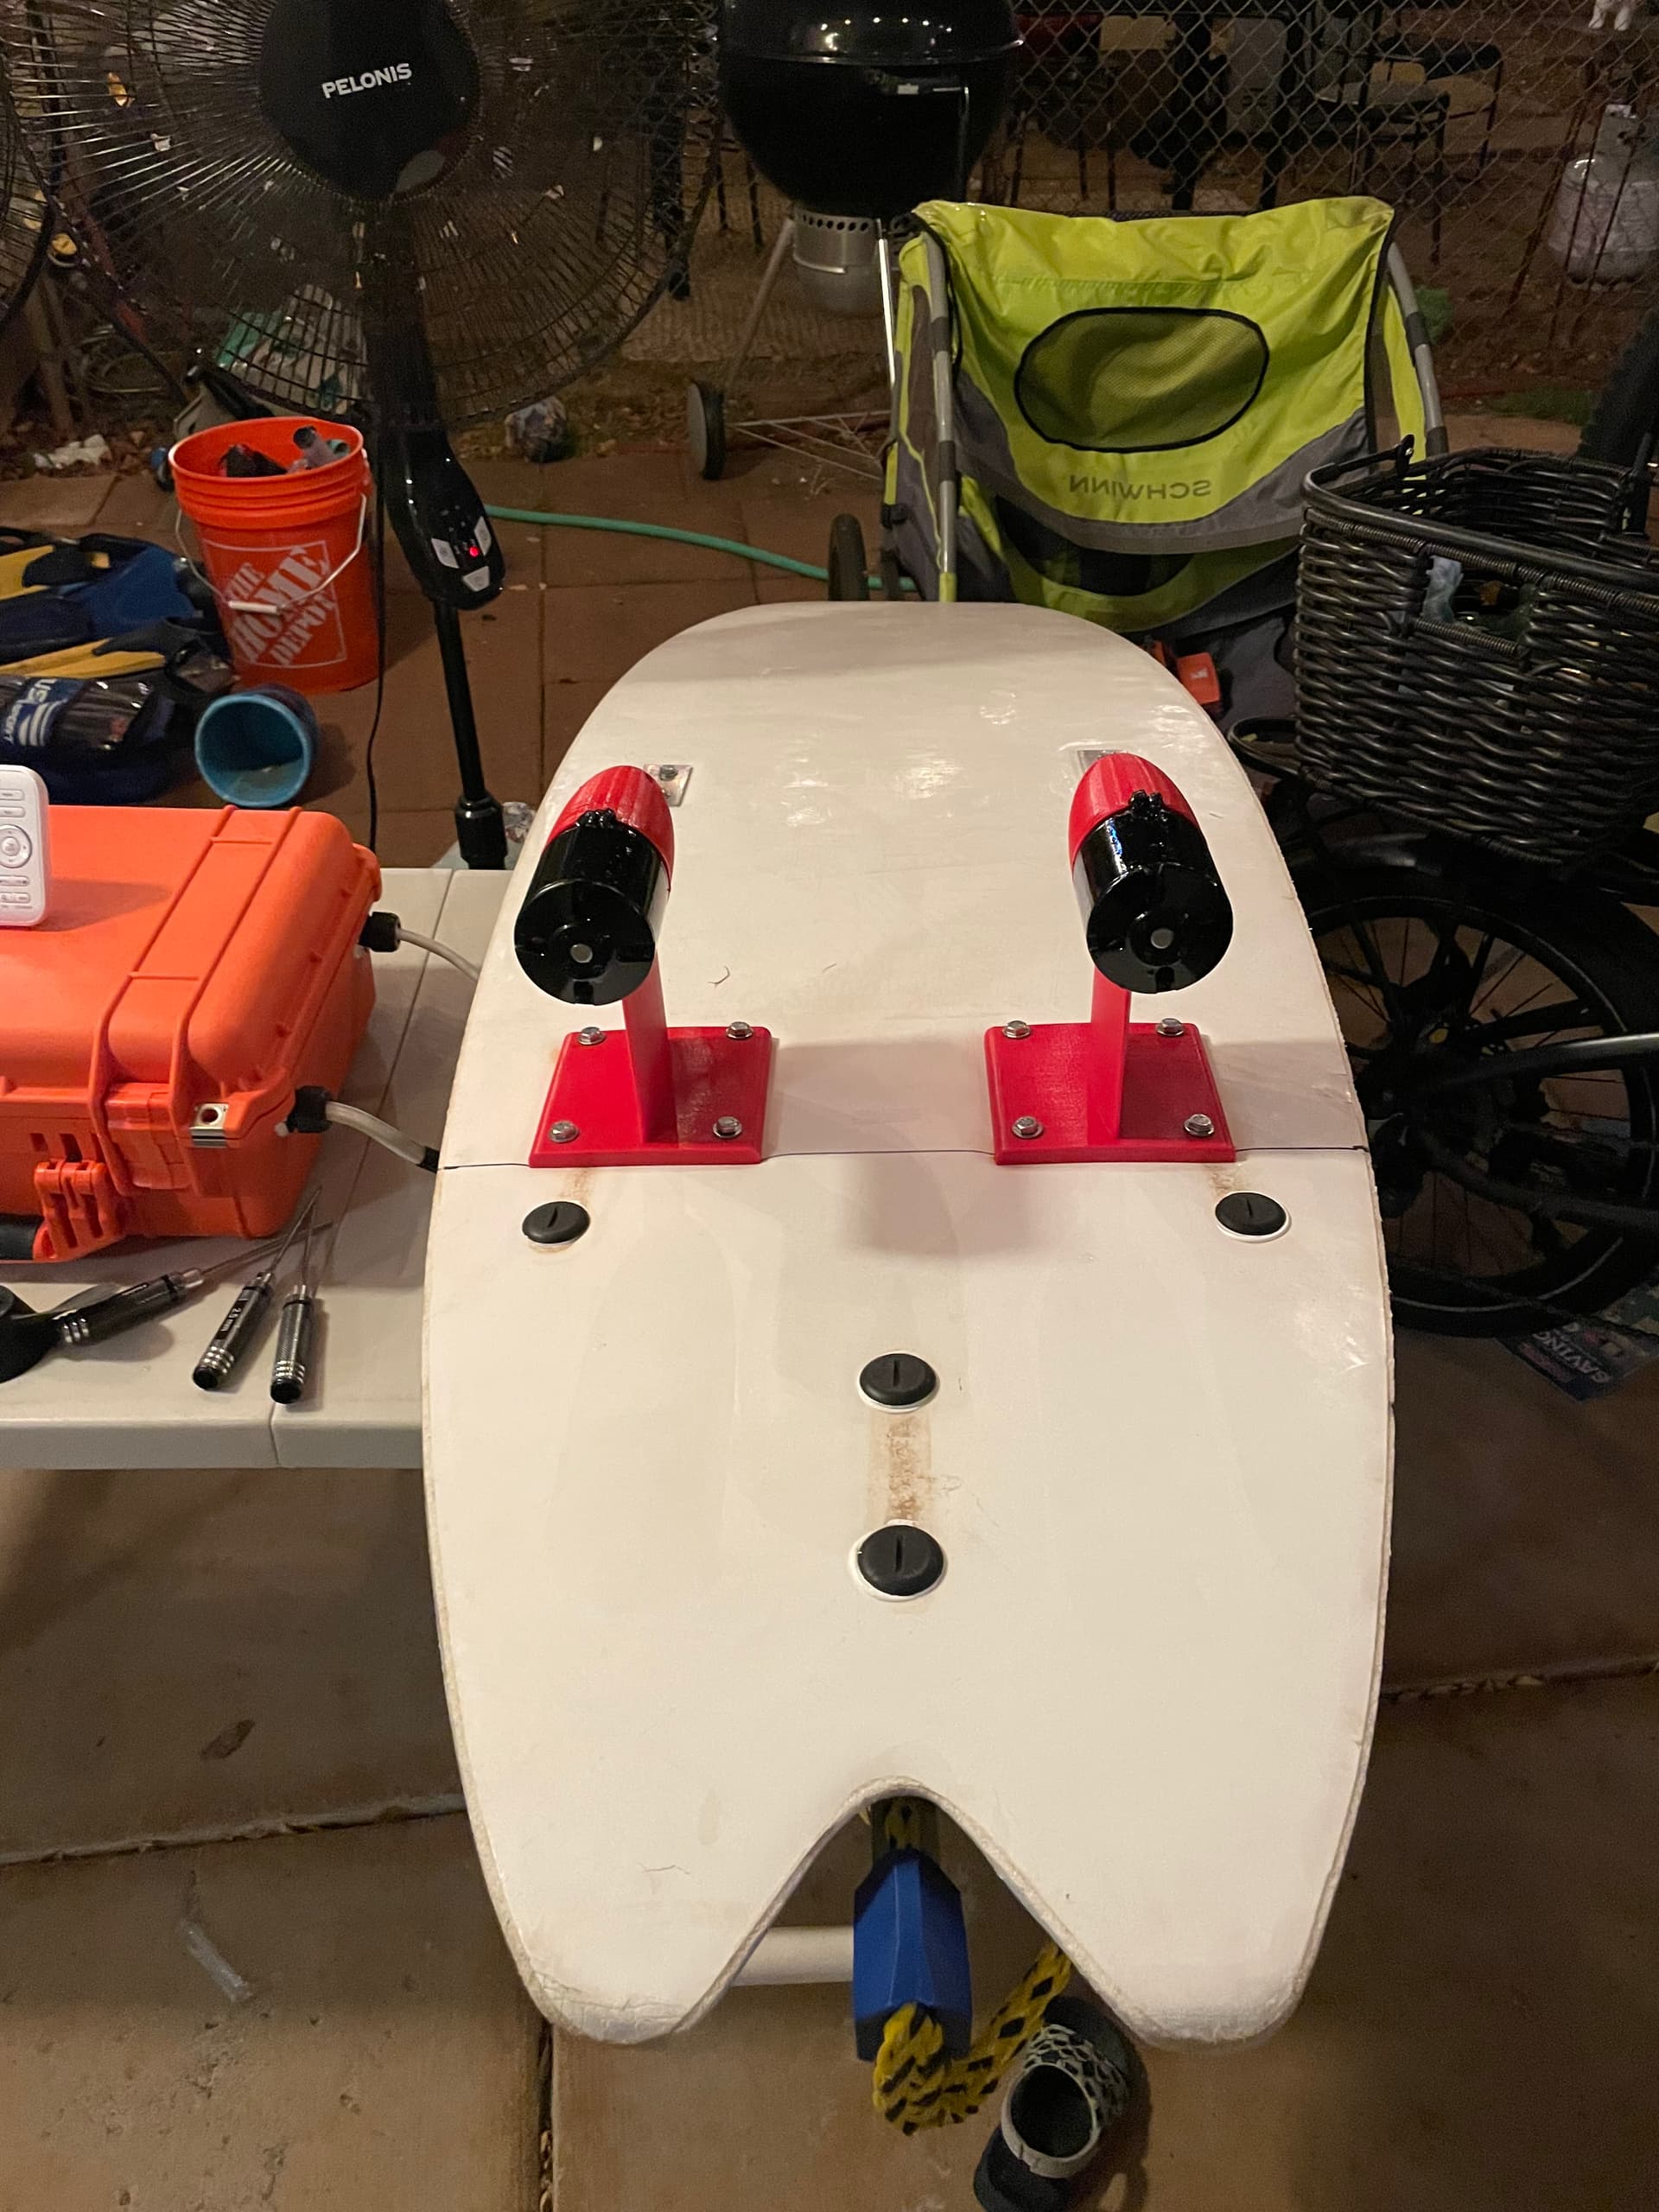
CBC Sushi soft top surfboard
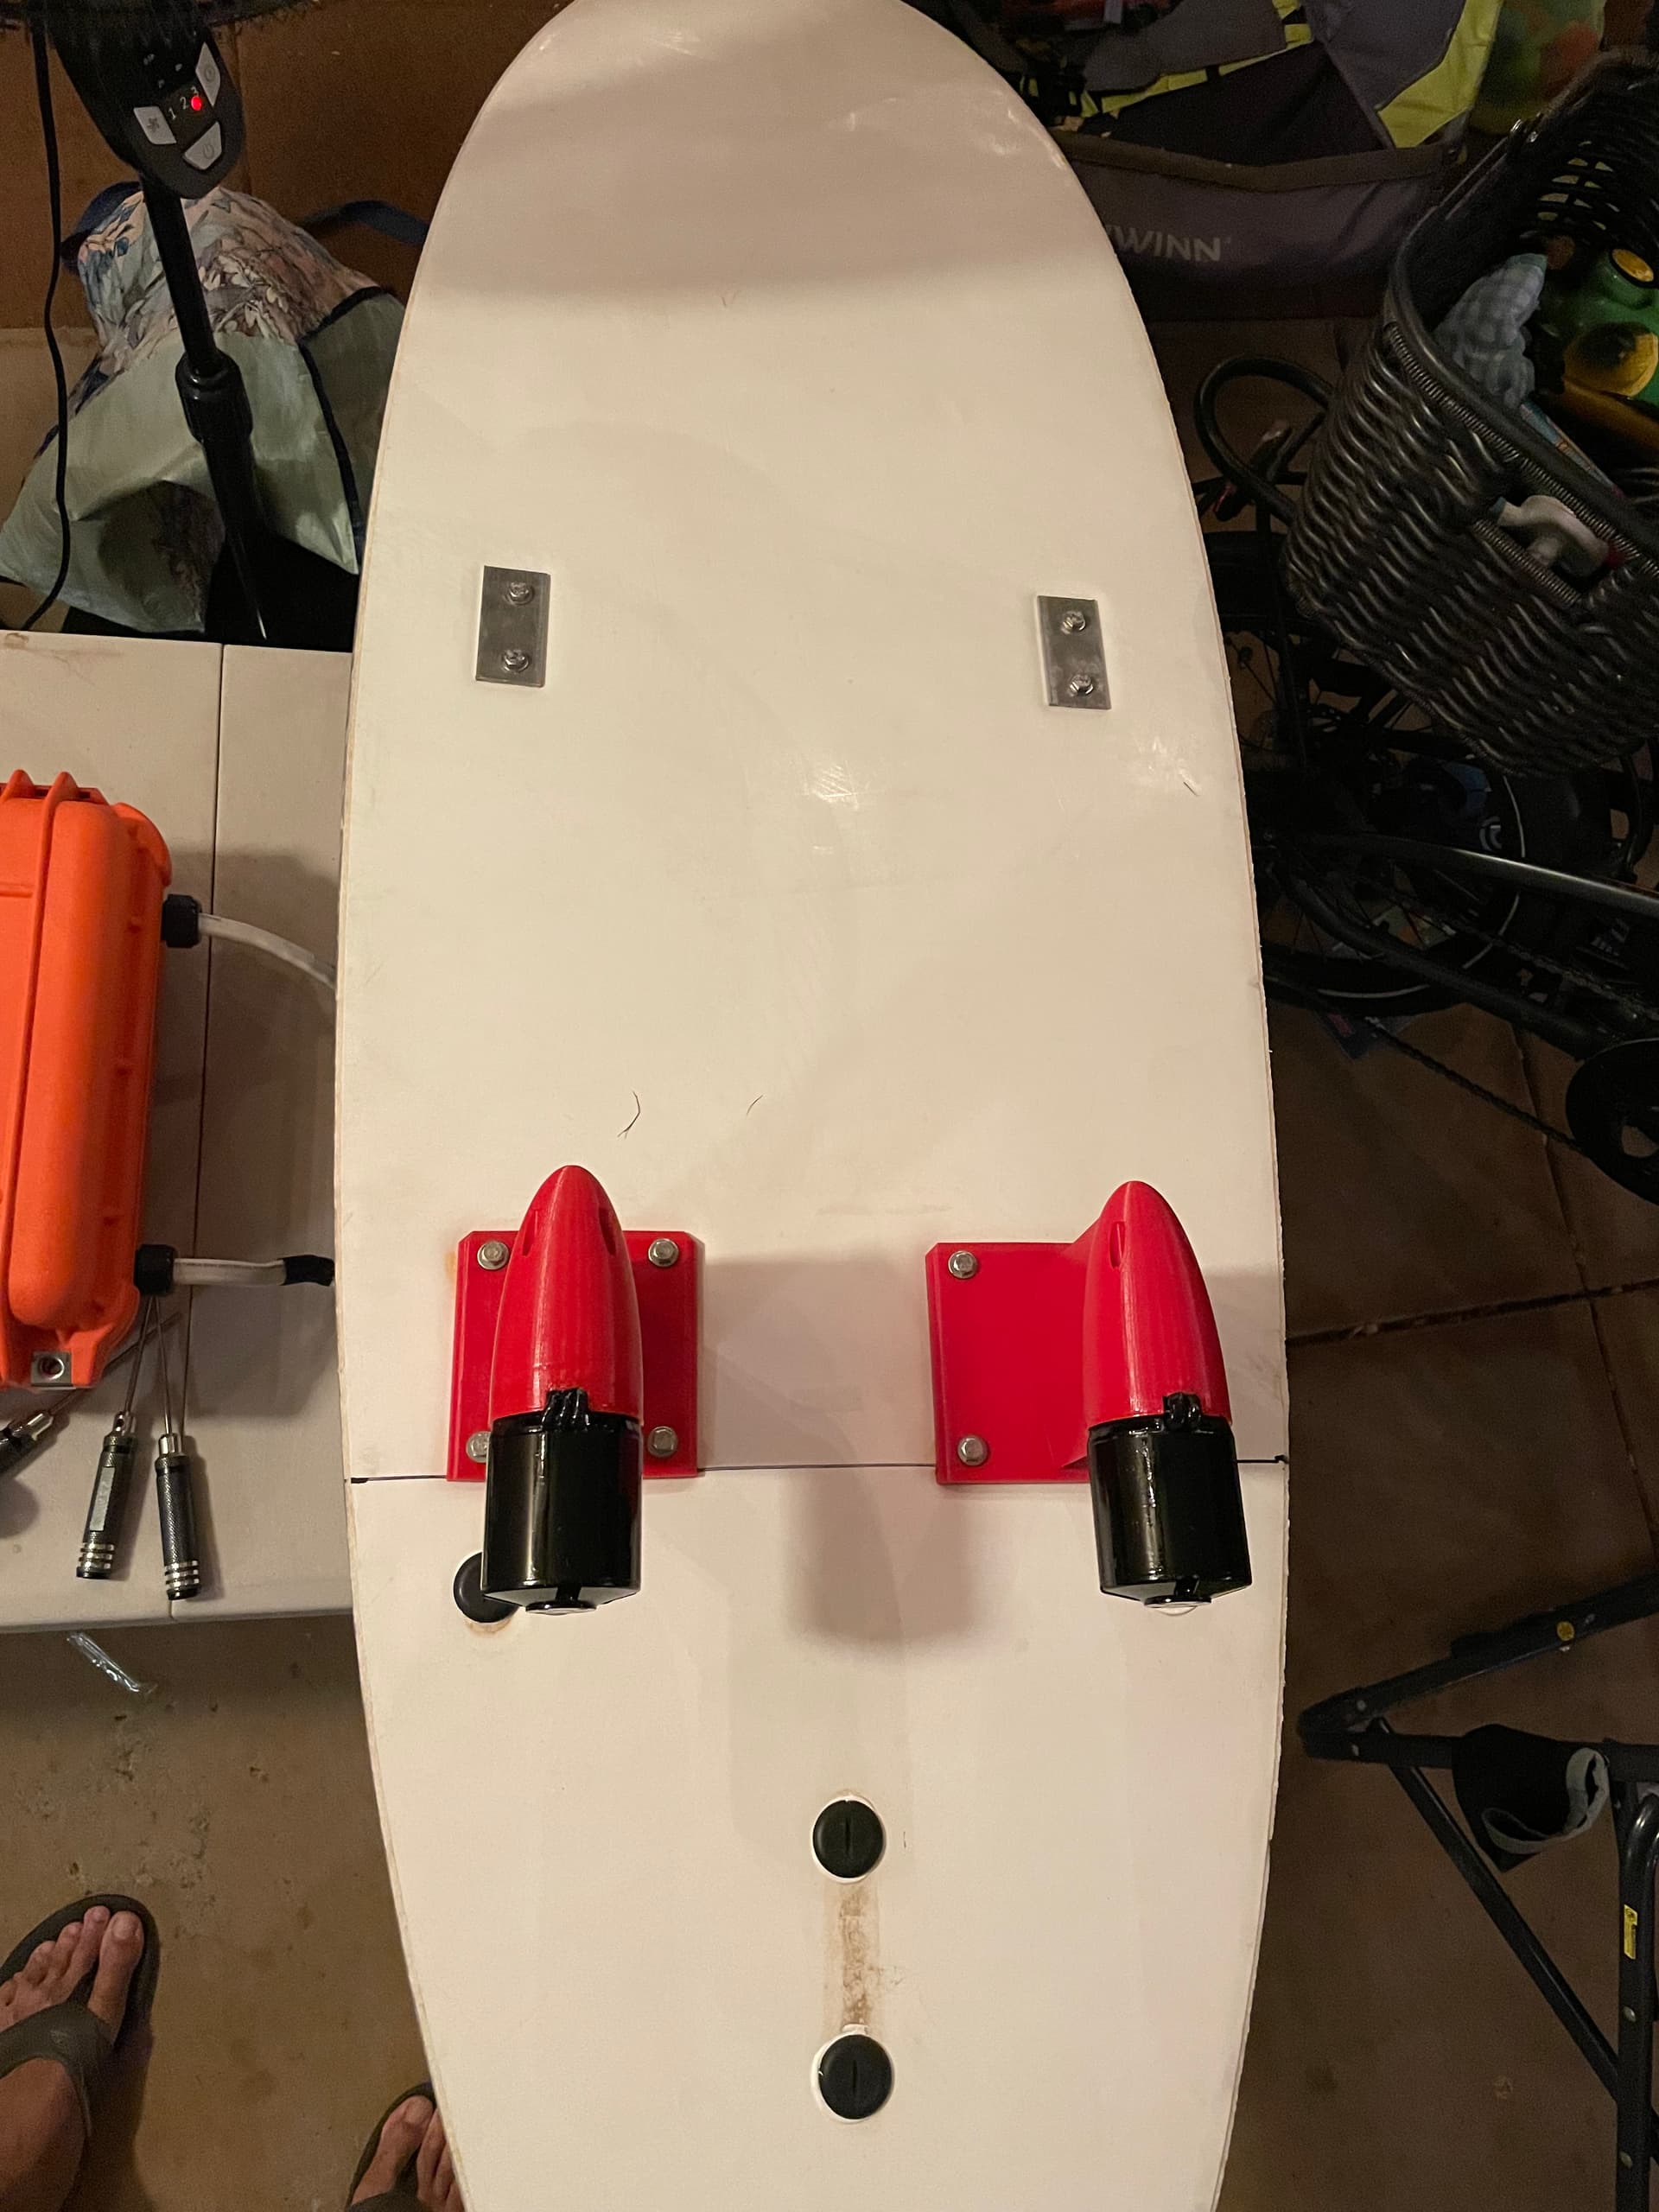
2 x cheap 6384 120kv out runners
2 x Flipsky 70a VESC’s
Pelican 1450 case
Flipsky remote… building a BREmote now
I got STL files from other members on this forum for the motor pods and props.
This thing is so much fun!!! I have only been able to take it out a few times, but it works really good! I’m 190lbs riding a 56L wing/prone board, Armstrong 1125 foil and has no issues getting me going with ease. I am going to try my prone boards this weekend, one 33L and a 27L and I think it will have no problem. I am building a BREmote to have directional control and because the BREmote is a far more rugged, simple, awesome waterproof design then the other ones I have seen.
I just want to help share the stoke if anyone has questions about my build. There is already all the information you could need to build this stuff in the forums, but if I can contribute in any way please let me know.
I will post pics and vids soon
UPDATE 20 Sep 2023
A few locals where I am at asked me to come up with a list of stuff I used so I thought I would post it here. I tried to add a word document, but it won’t add the attachment, so here is the super long post.
Tow Boogie Build
This is just a list of things I personally used to build my current setup. There are a few different styles and builds of “Tow Boogies” and a ton of information that can be found on https://foil.zone/ and just search “tow boogie”.
I highly encourage you to read all the different builds to see what fits your needs and budget. I personally like the dual motor and there isn’t much information on them, but I am more than happy to help if I can. It is pretty straight forward and a lot of throw it on and see if it works. Having a good 3D printer and a little knowledge on electronics is a must. I am not an engineer by any stretch of the imagine.
I tried to find the parts on amazon and link them here, but I ordered most things from AliExpress. It is cheaper to order from AliExpress, but generally takes a couple weeks to get your parts if you are not in a rush. There are some parts that I could only find on AliExpress.
Parts List:
-
- CBC Sushi 5’ 8” soft top
- a. Any board will do, but I highly encourage something with a little rocker in the nose. A lot of people use boogie boards, but per a recommendation on the chat and finding a couple of these on craigslist for cheap I went with this.
-
- a. You need 2 of these one for each motor.
- b. This is the minimum power output I would recommend and you could go with a higher amperage speed controller, but this one suits my needs.
- c. This is a VESC and is very programmable using the VESC tool and can control all the settings and there is a lot of good information on setting these up.
- d. You could also use a couple regular ESC’s that are cheaper and more powerful to get great results too.
-
- Motors 6384 120KV outrunner x 2
- a. You do not need sensors and will have to remove them if the motor comes with them.
- b. For waterproofing its best to change the bearings to ceramic, which I will link. I also soak the motors in Corrosion X which you can buy at west marine and I think Grainger.
-
- a. This is what I am using because I have a very large battery, but you can get a size that fits your needs. I like the Pelican branded quality, though a little more expensive, but keeps the electronics safe.
-
- a. This is one option for a remote. Quality control is hit or miss on the waterproofing.
-
- a. Another good option. Quality control is hit or miss on the waterproofing.
-
- a. This is what I am using. It is a DIY and works way better than the ones you can purchase. Link is to the build forum and the guy (Ludwig Bre) that designed it is extremely helpful.
-
- a. You will need 1 per motor if you want to make the motor a little more waterproof
- b. Choose “6900 10x22x6mm”
-
- a. You will need 2 per motor if you want to make the motor a little more waterproof
- b. Choose “6800 10x19x5mm”
-
- 3M 5200 fast cure sealant
- a. This can be purchased at west marine or on amazon
- b. Its needed for sealing thru holes in the pelican case
-
- a. I use these to connect the phase wires, but I am going to try some different options.
-
- 12/3 AWG wire
- a. I use Ancor marine wire. I have a roll and would be happy to sell you 10 feet for $10, way cheaper than west marine.
- b. You can use whatever 12awg wire or larger and will need 3 lines going to each motor from the battery box.
-
- a. The biggest limitation to the speed controllers is heat and I used aluminum plate connected to the speed controllers on the outside of the box to cool them off quicker and it works really well, but I am rethinking the design.
-
- The battery pack
- a. This is going to be the most expensive and most difficult thing to source. I am using a 12s16p 18650 battery pack from an efoil that I bought from a guy cheap.
- b. I have the batteries to build a 12s8p 21700 pack that would provide more power, but not as long runtime.
- c. If you do not know how to build your own battery pack you will have to find somewhere that does and it will be expensive.
- d. LI-ION BATTERIES ARE DANGEROUS AND IF YOU DON’T KNOW WHAT YOU ARE DOING IT COULD LEAD TO SERIOUS INJURY, DEATH, BURNING DOWN YOUR HOUSE ETC… DO IT AT YOUR OWN RISK!!!
-
- Battery Charger
- a. This will need to be ordered to your specific needs and battery size.
-
- a. To connect speed controllers to battery
- b. This might be different depending on the battery pack you use.
- c. I use one of these per speed controller connected to a single QS8-S connector
-
- a. Main battery connector
-
- Miscellaneous Stuff
- a. Solder gun
- b. Heat shrink of different sizes
- c. Im sure there are a lot of small things that will be application specific
- d. Bolts to hold the motor pods, different plates to attach things to the board, you’ll just have to be creative.
-
- 3D printed motor pods
- a. Design from another forum member.
-
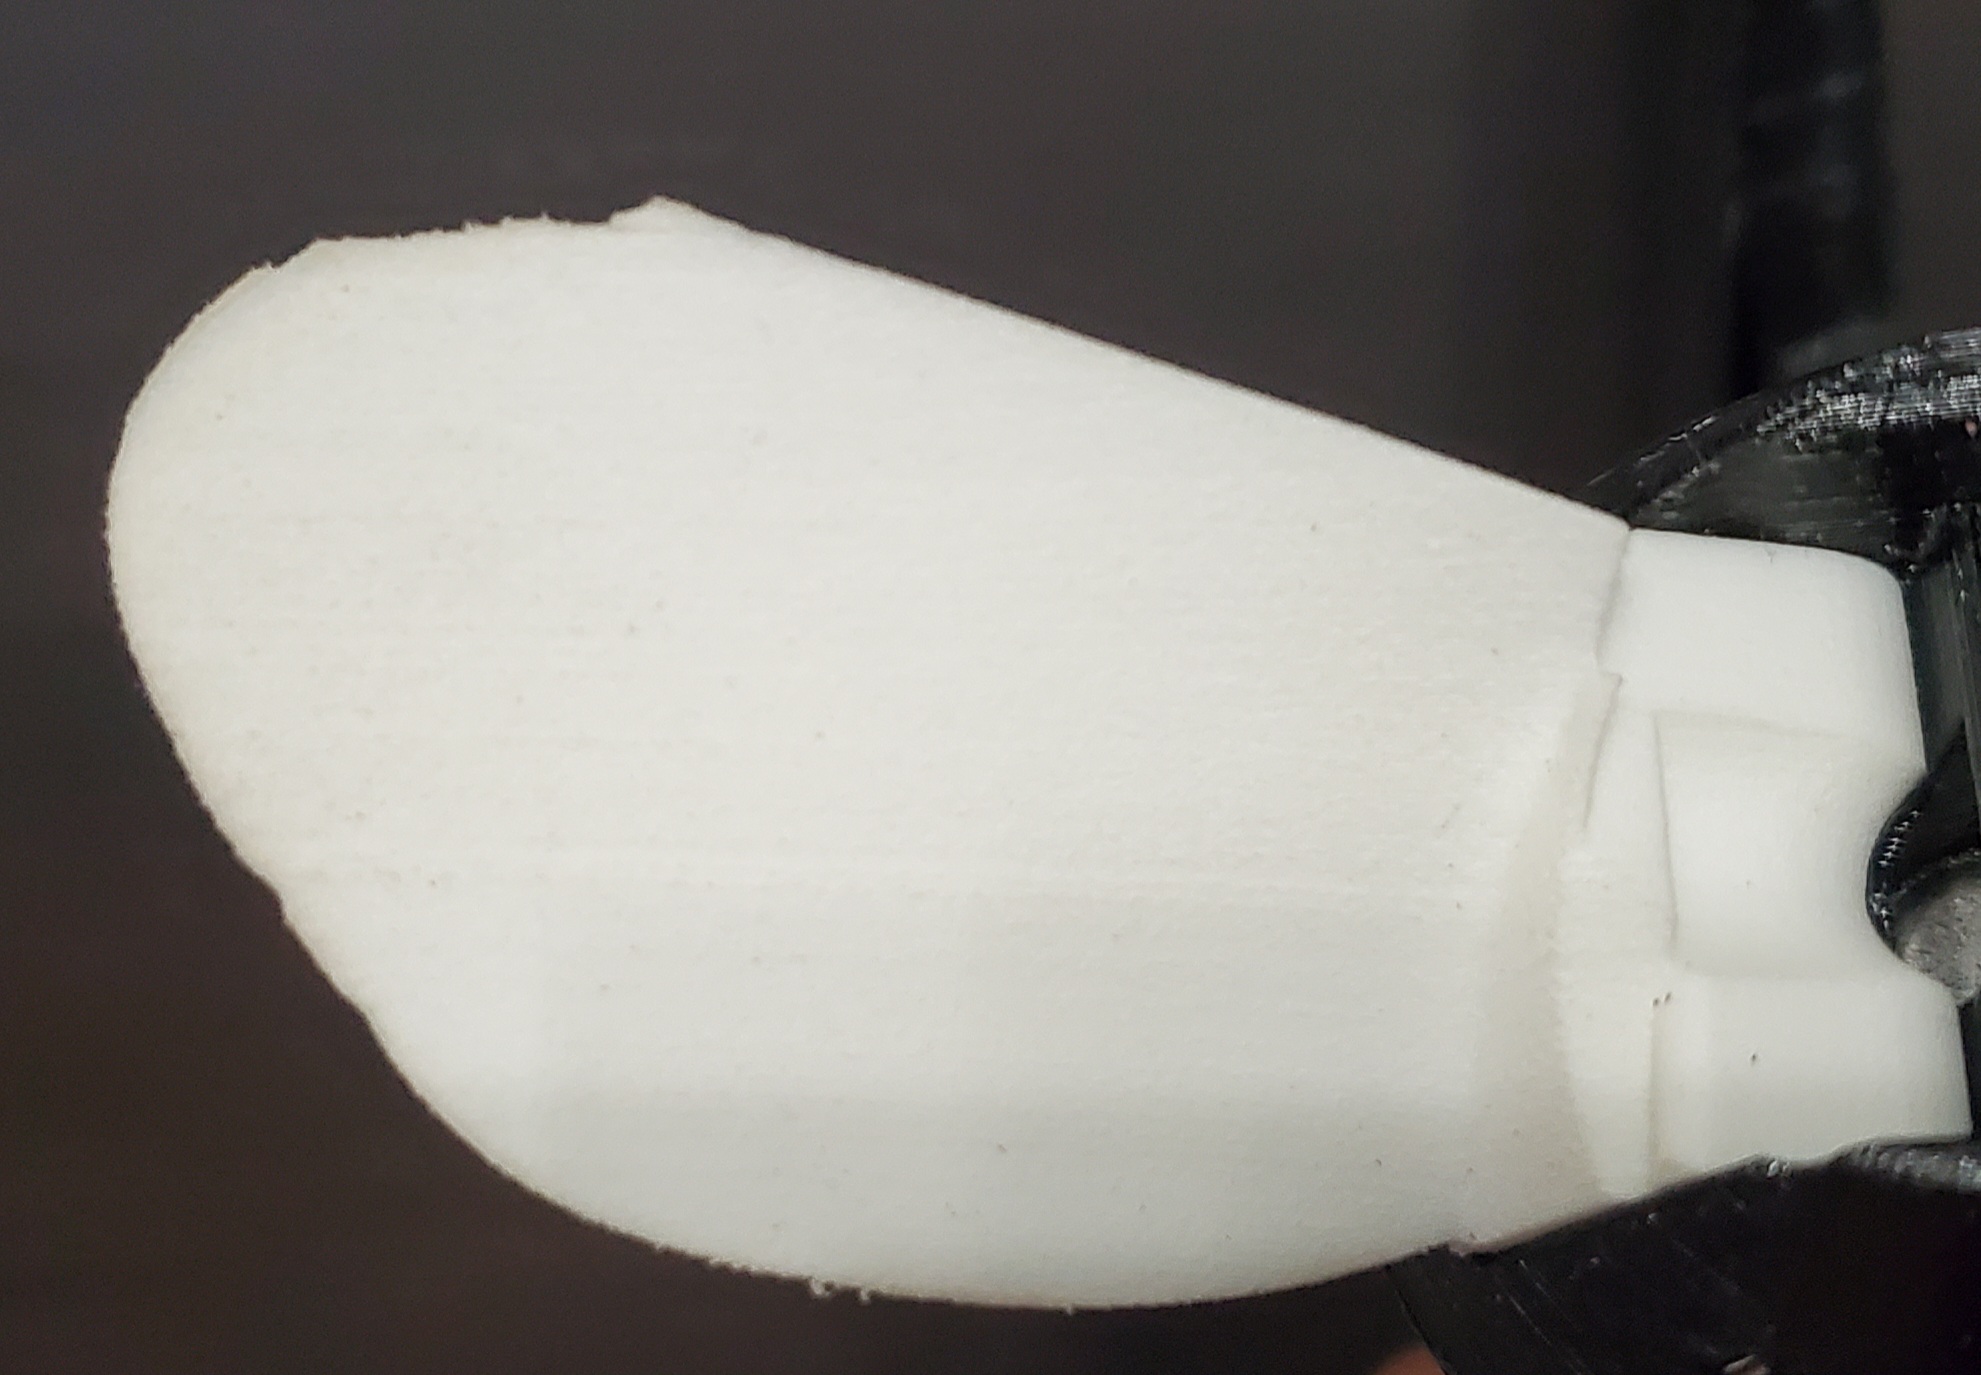
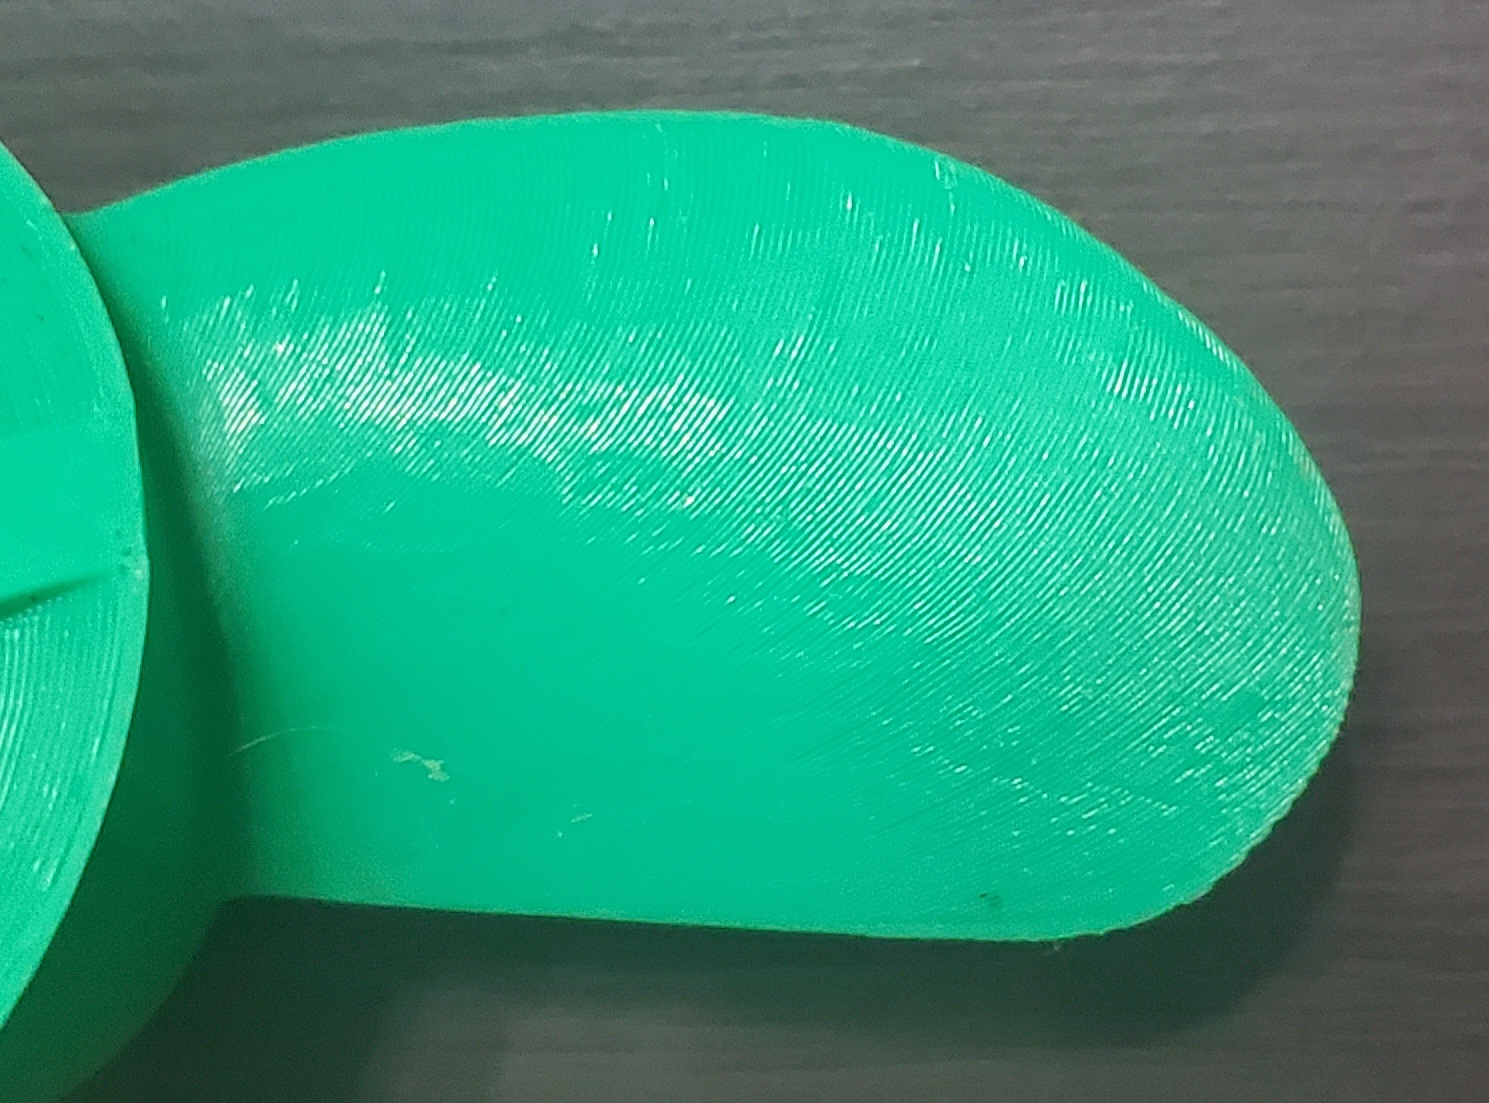
- 3D printed props
- a. Design from another forum member. I use PETG and cover in epoxy
-
- 3D printed tow cable attachment
- a. This helps keep the nose of the board down when pulling up to foil and attaches to 1” aluminum square tubing.
-
- Tow rope
- a. Make sure you get something that floats
I am sure there are things I am missing, but please contact me for any help. After writing this list it seems a bit overwhelming, but its not that difficult. After I had the parts together it took me a couple long nights to get it put together and working.