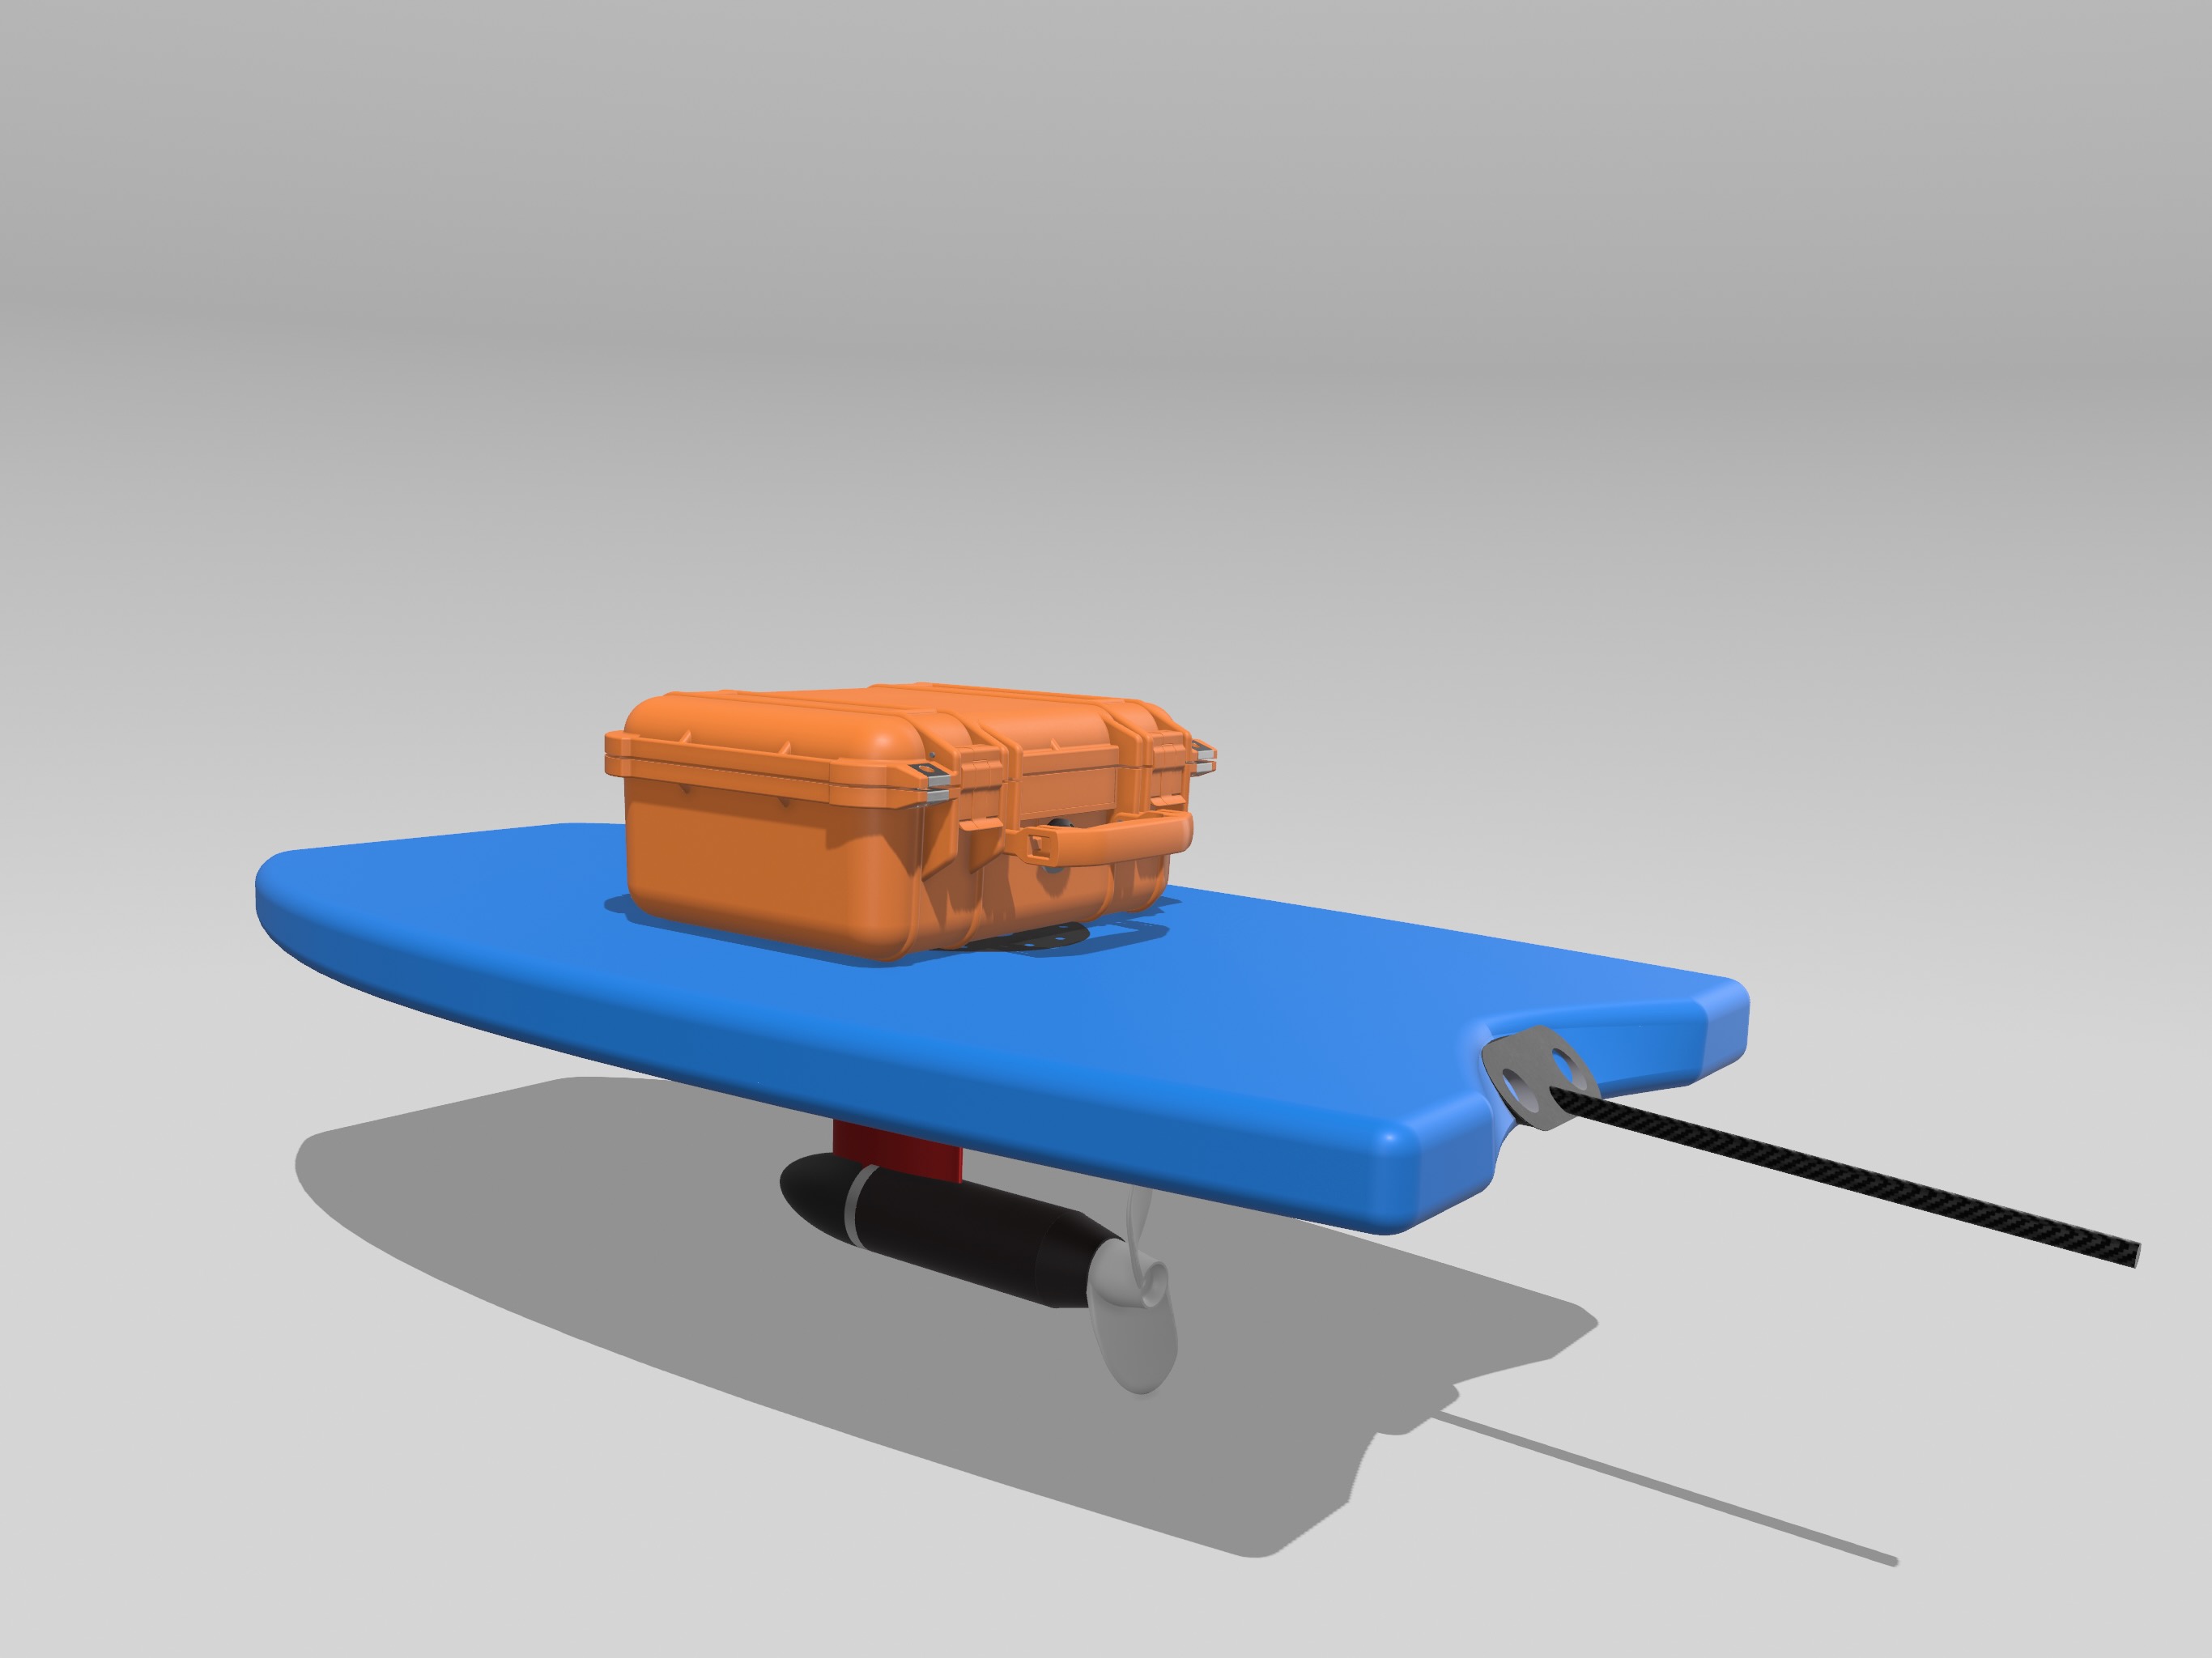
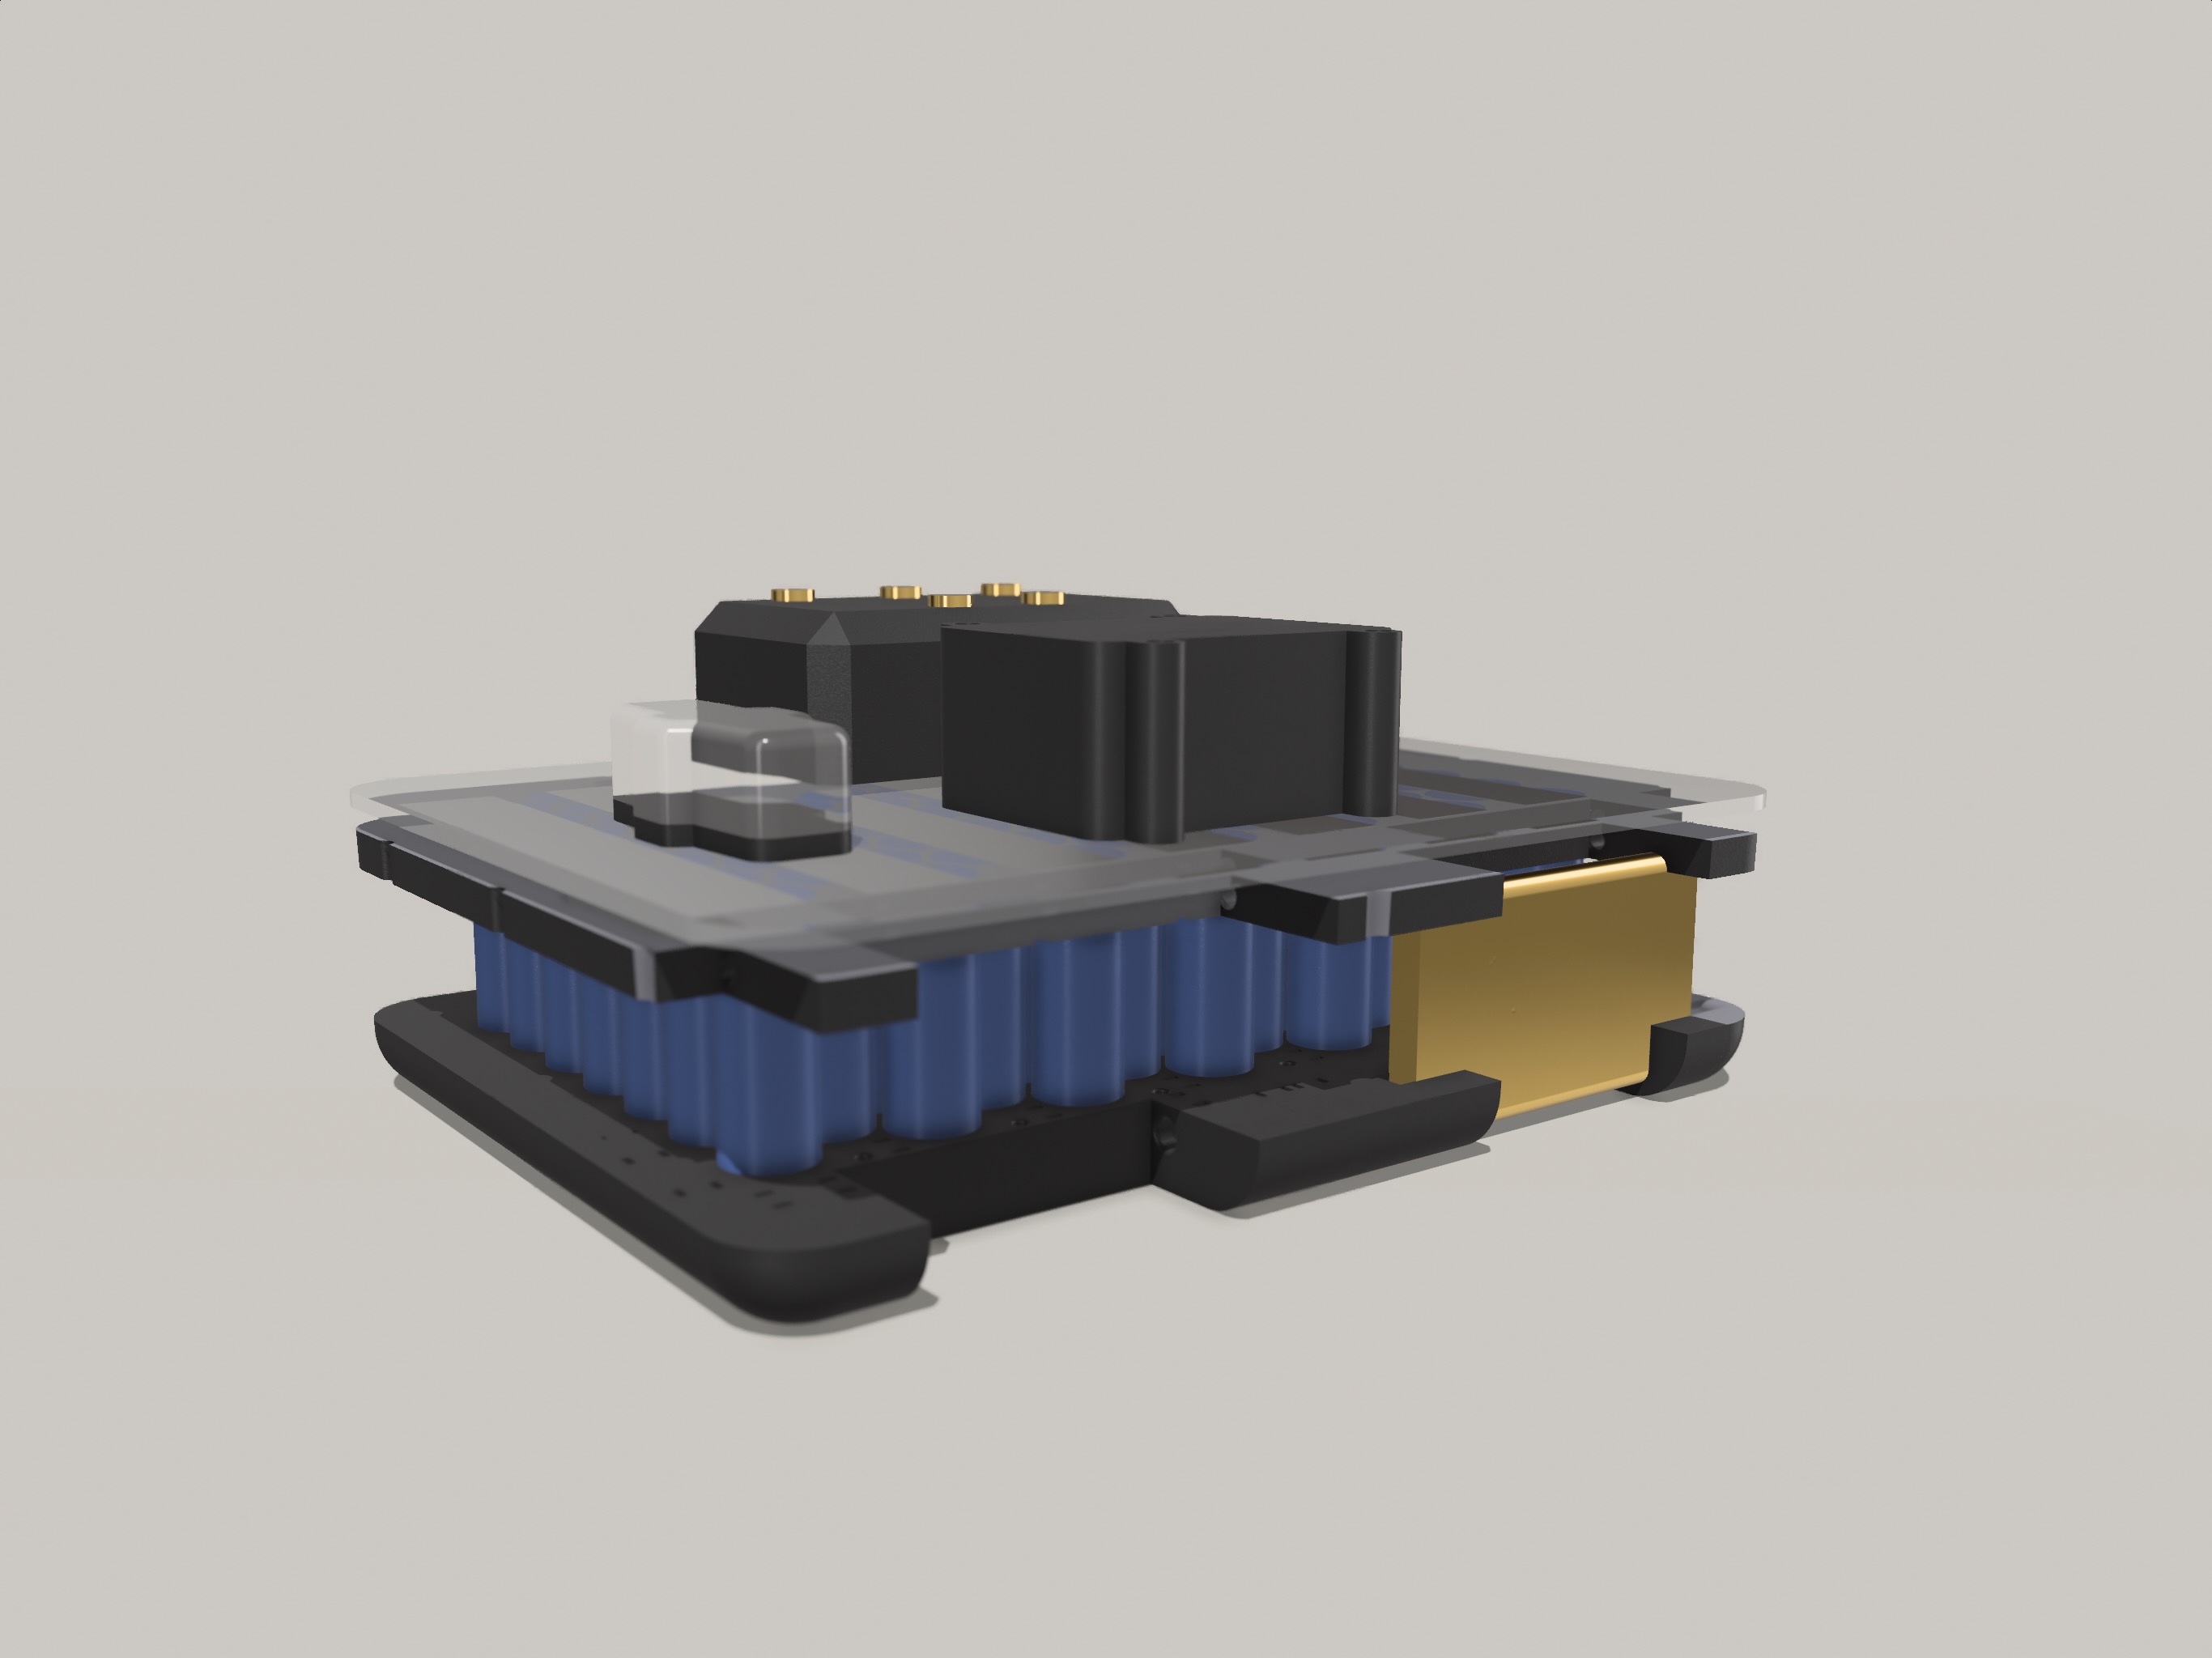
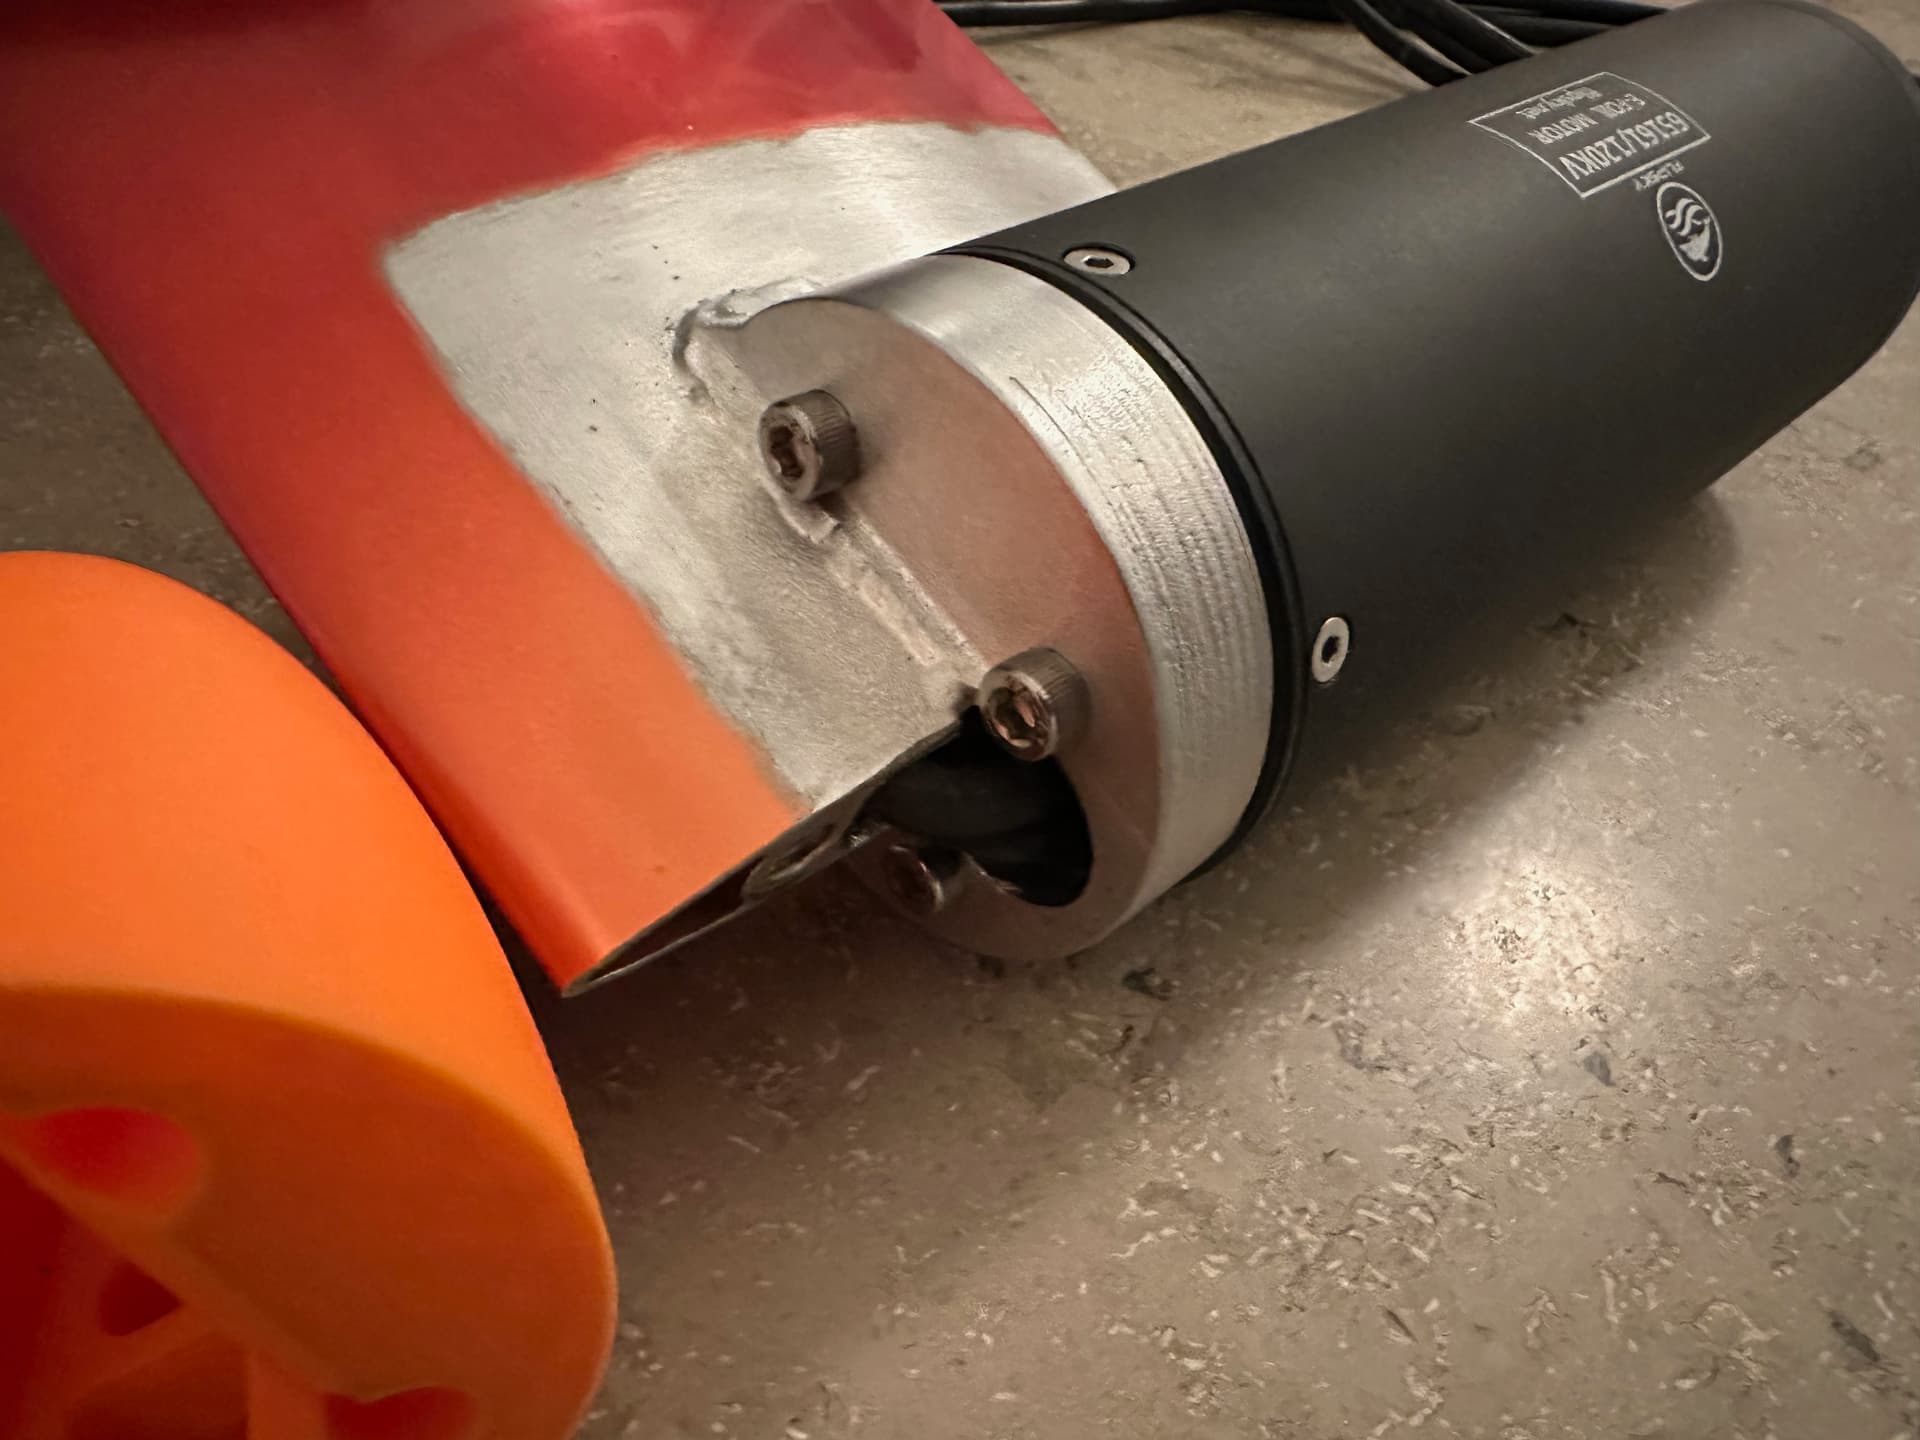
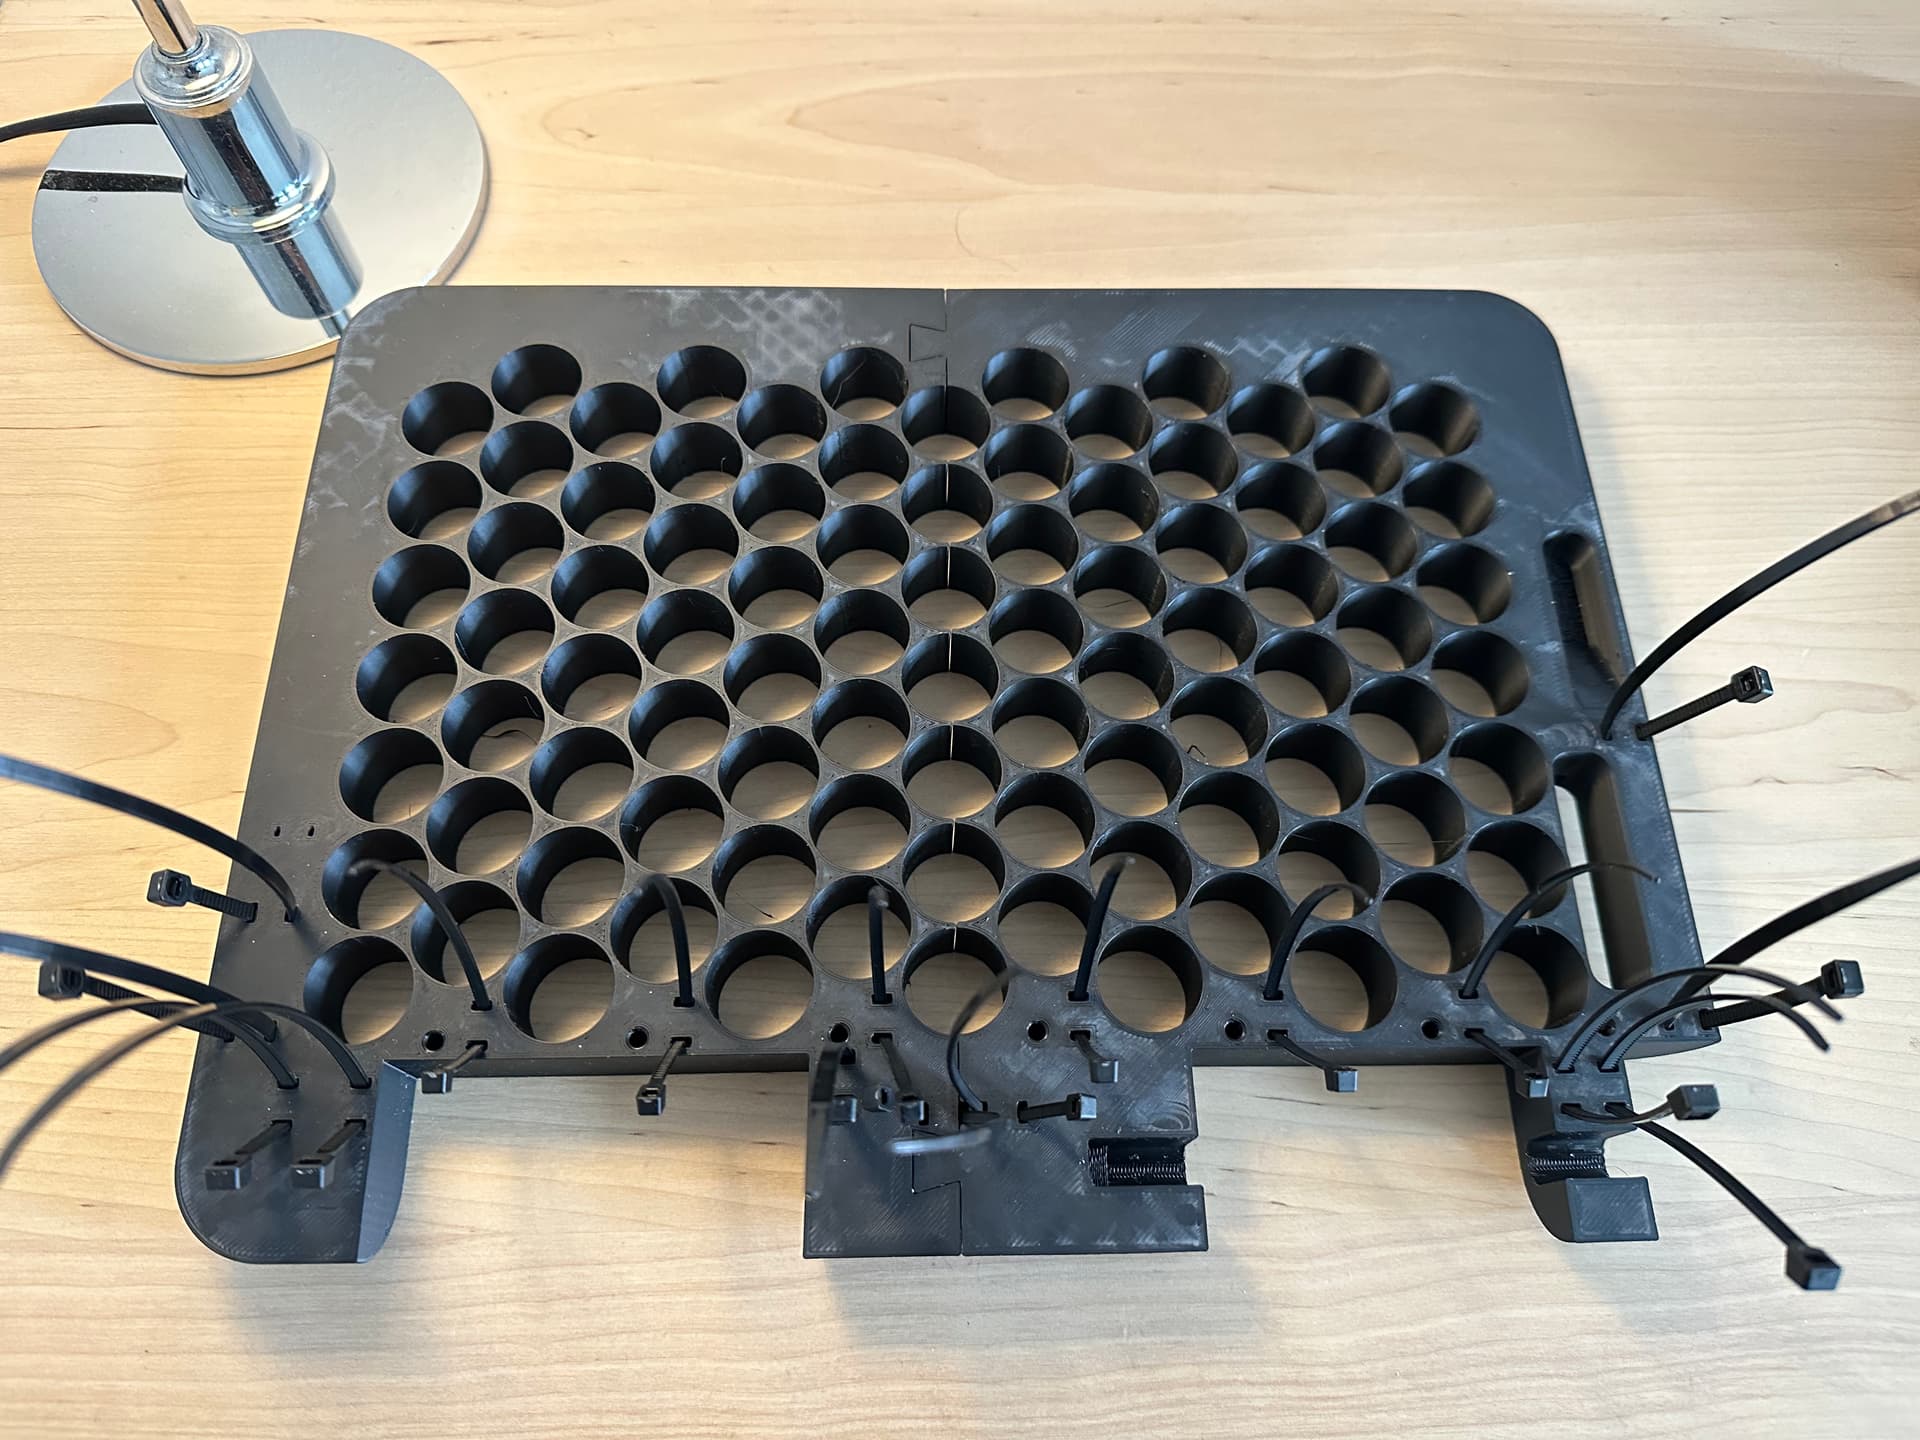
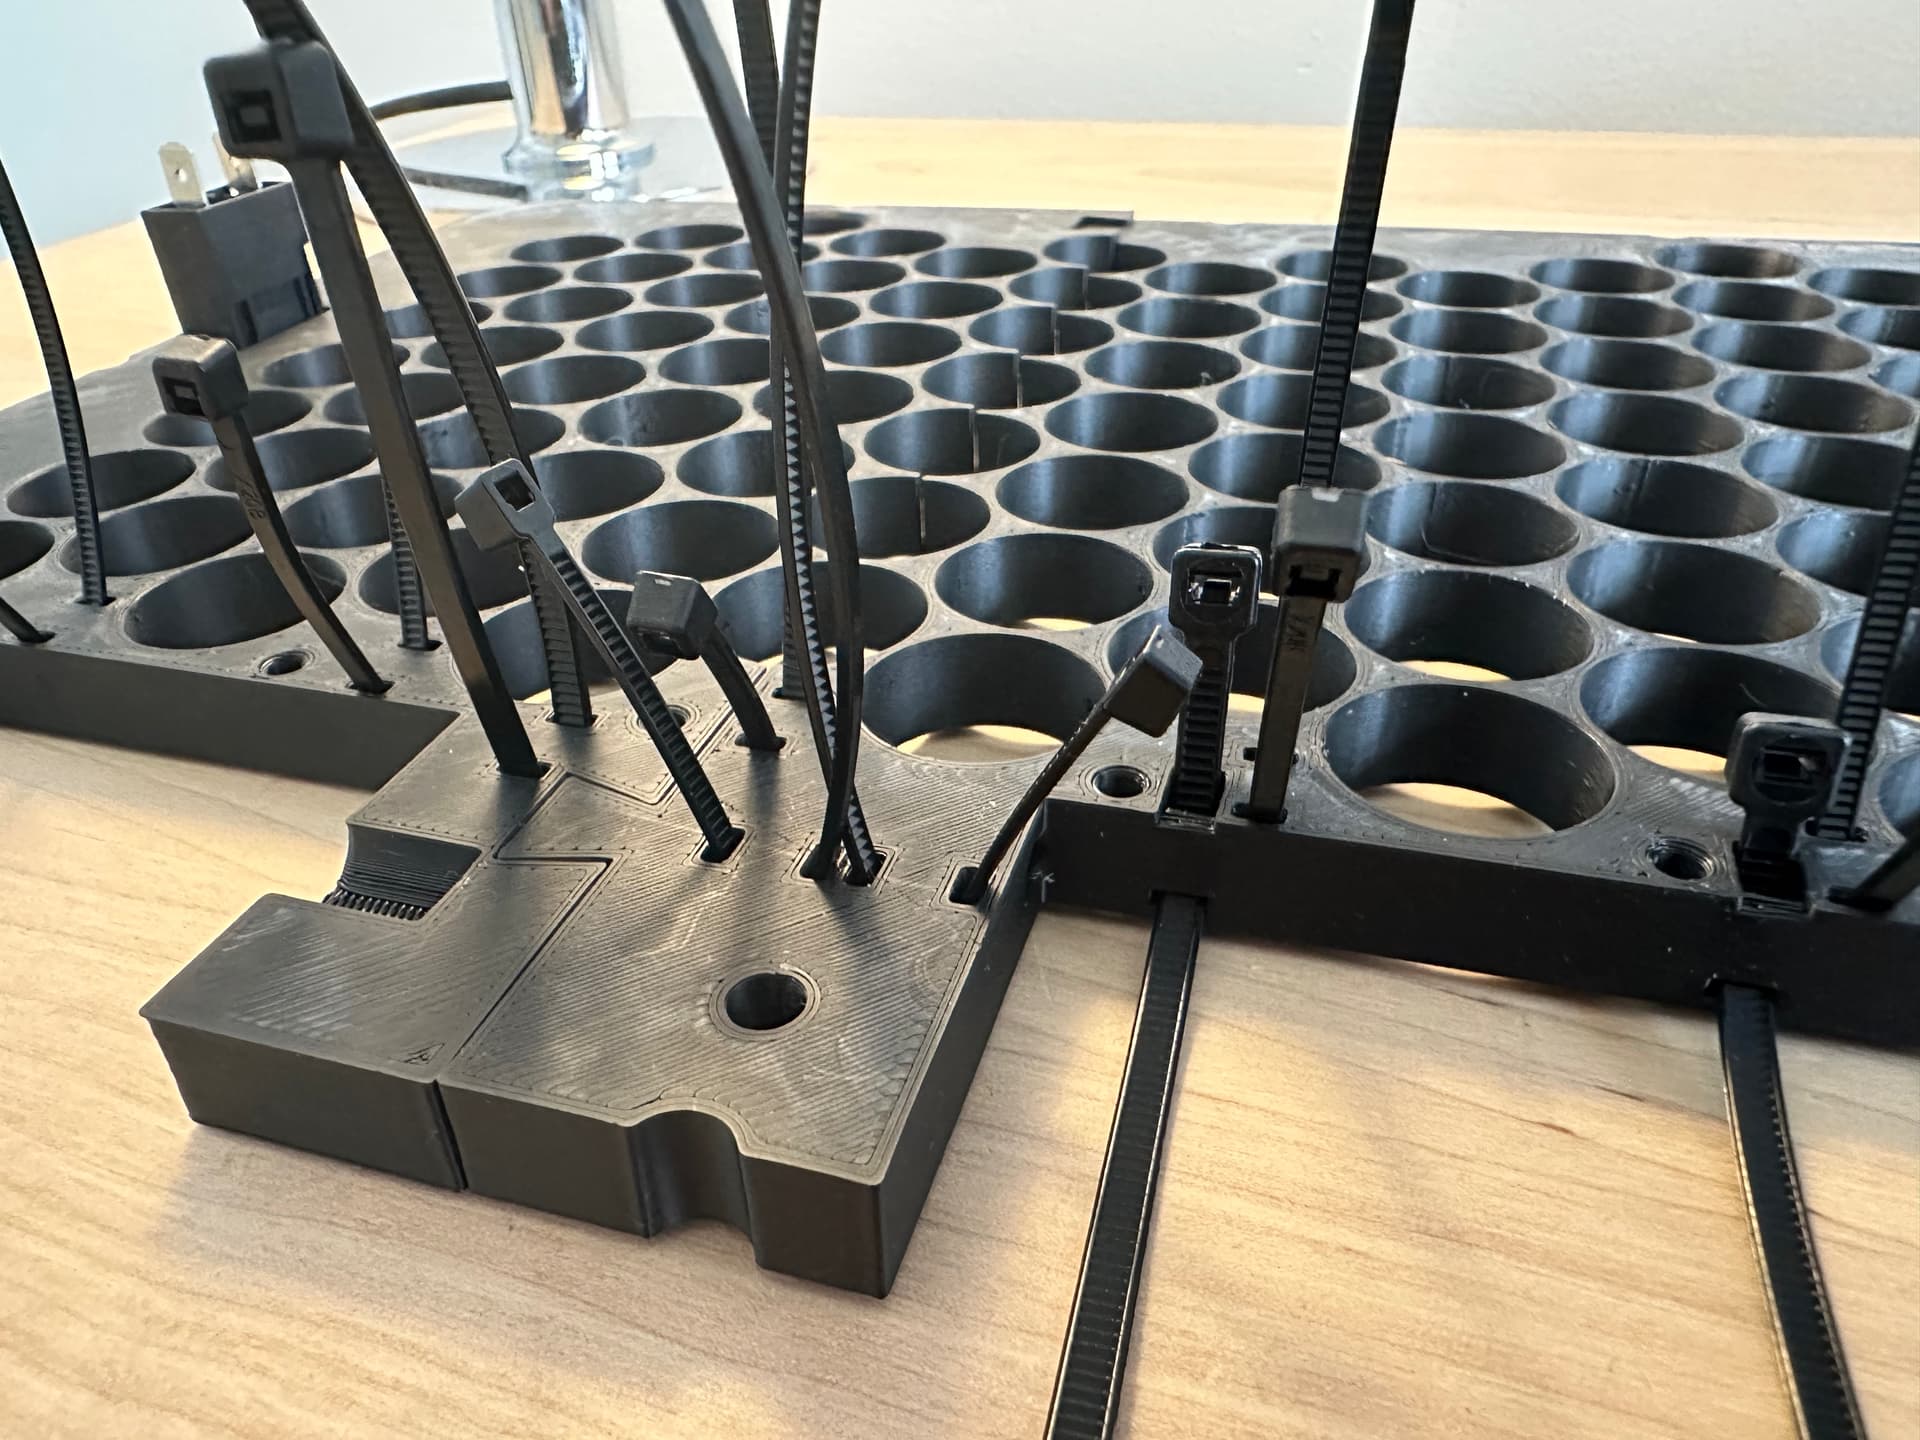
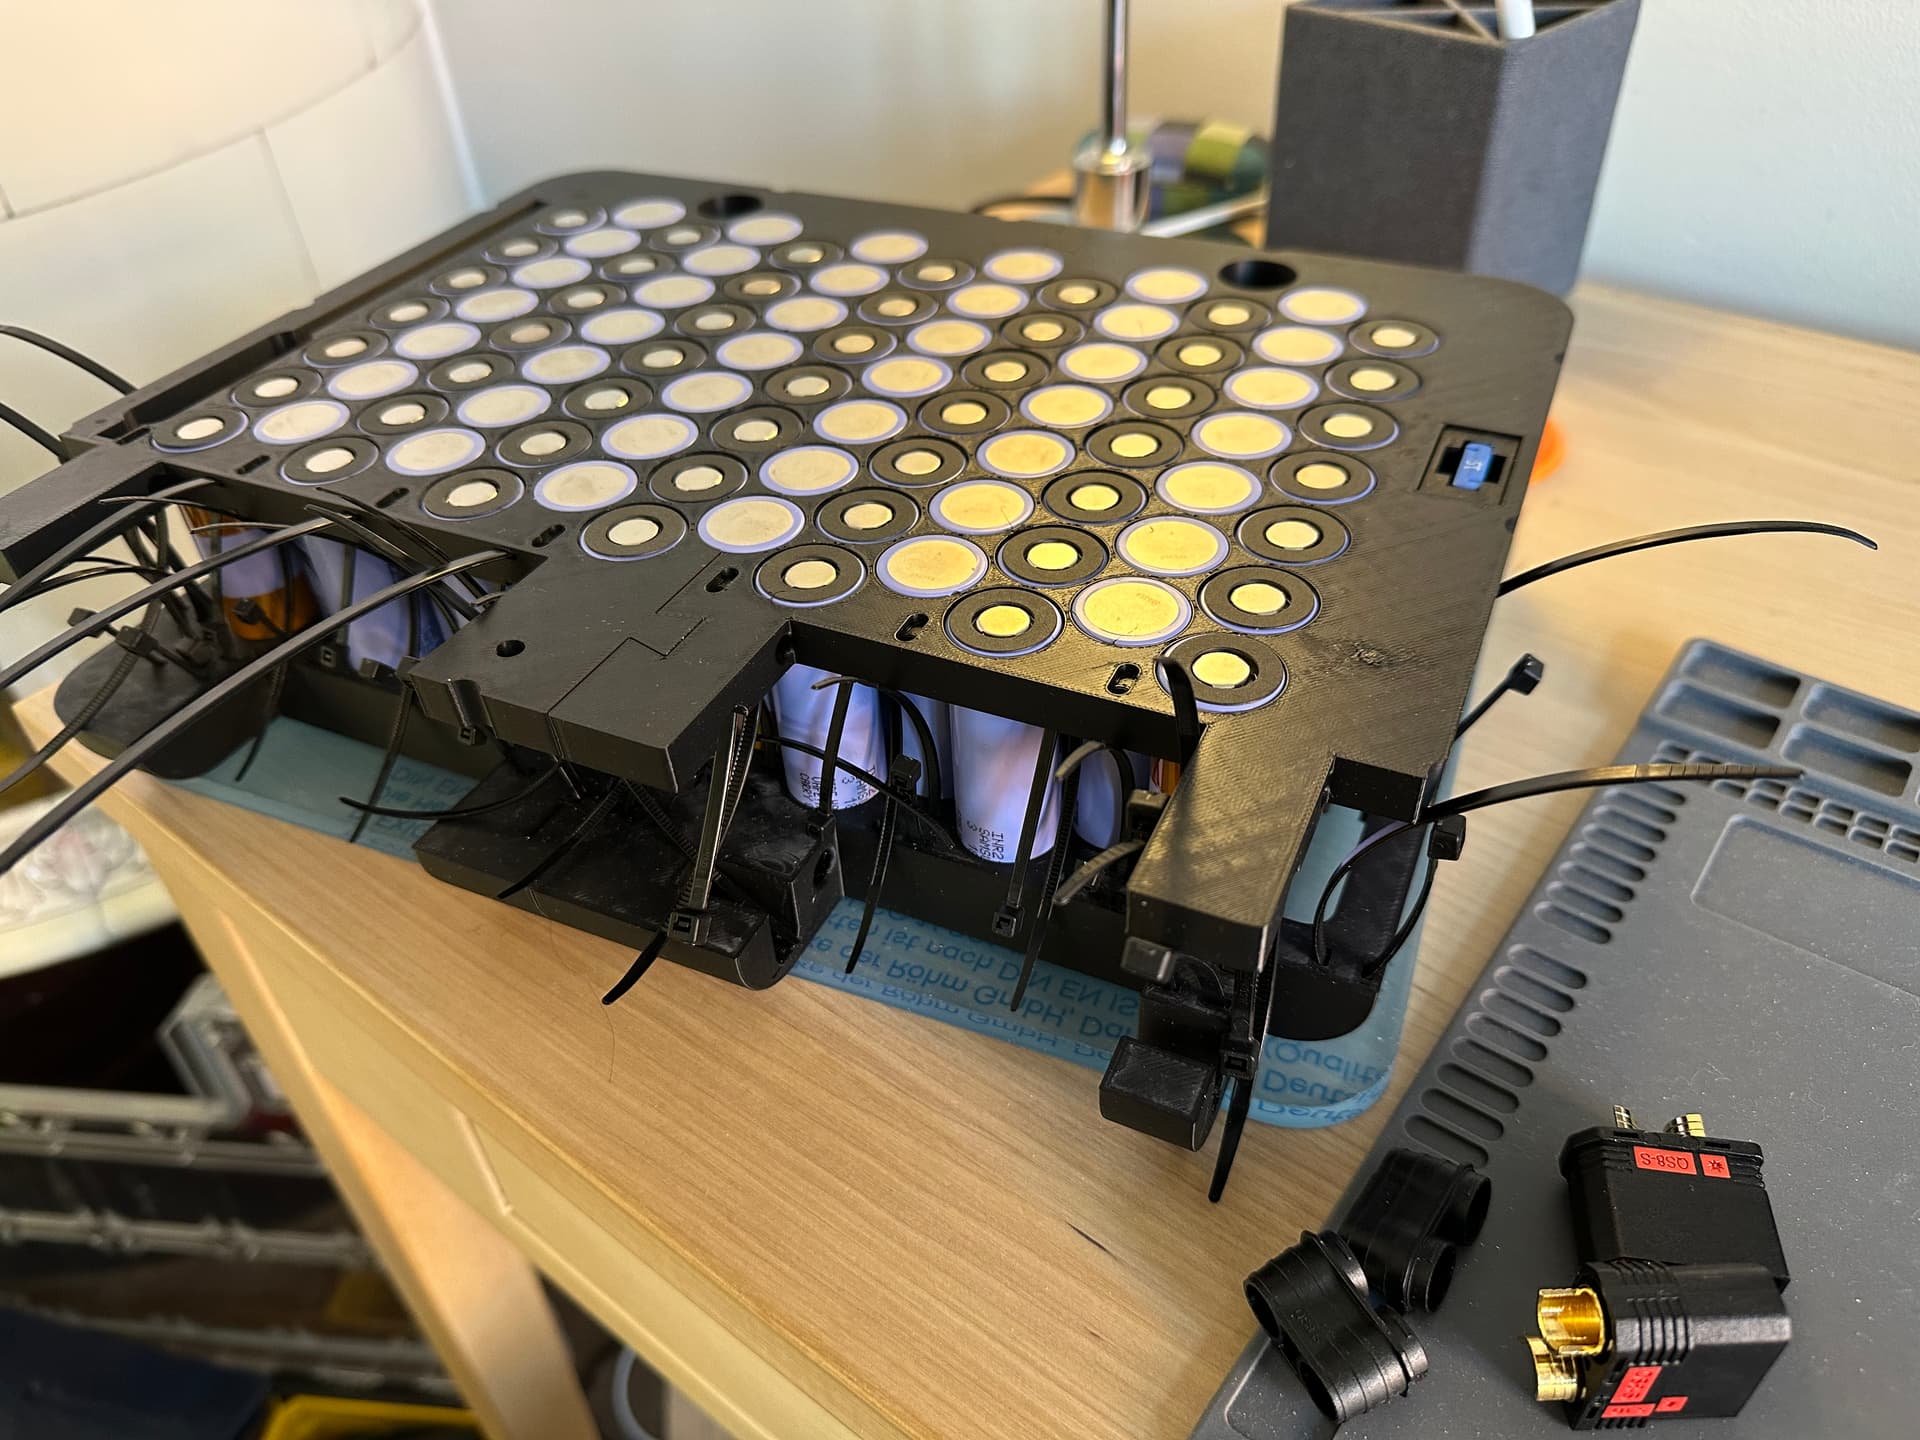
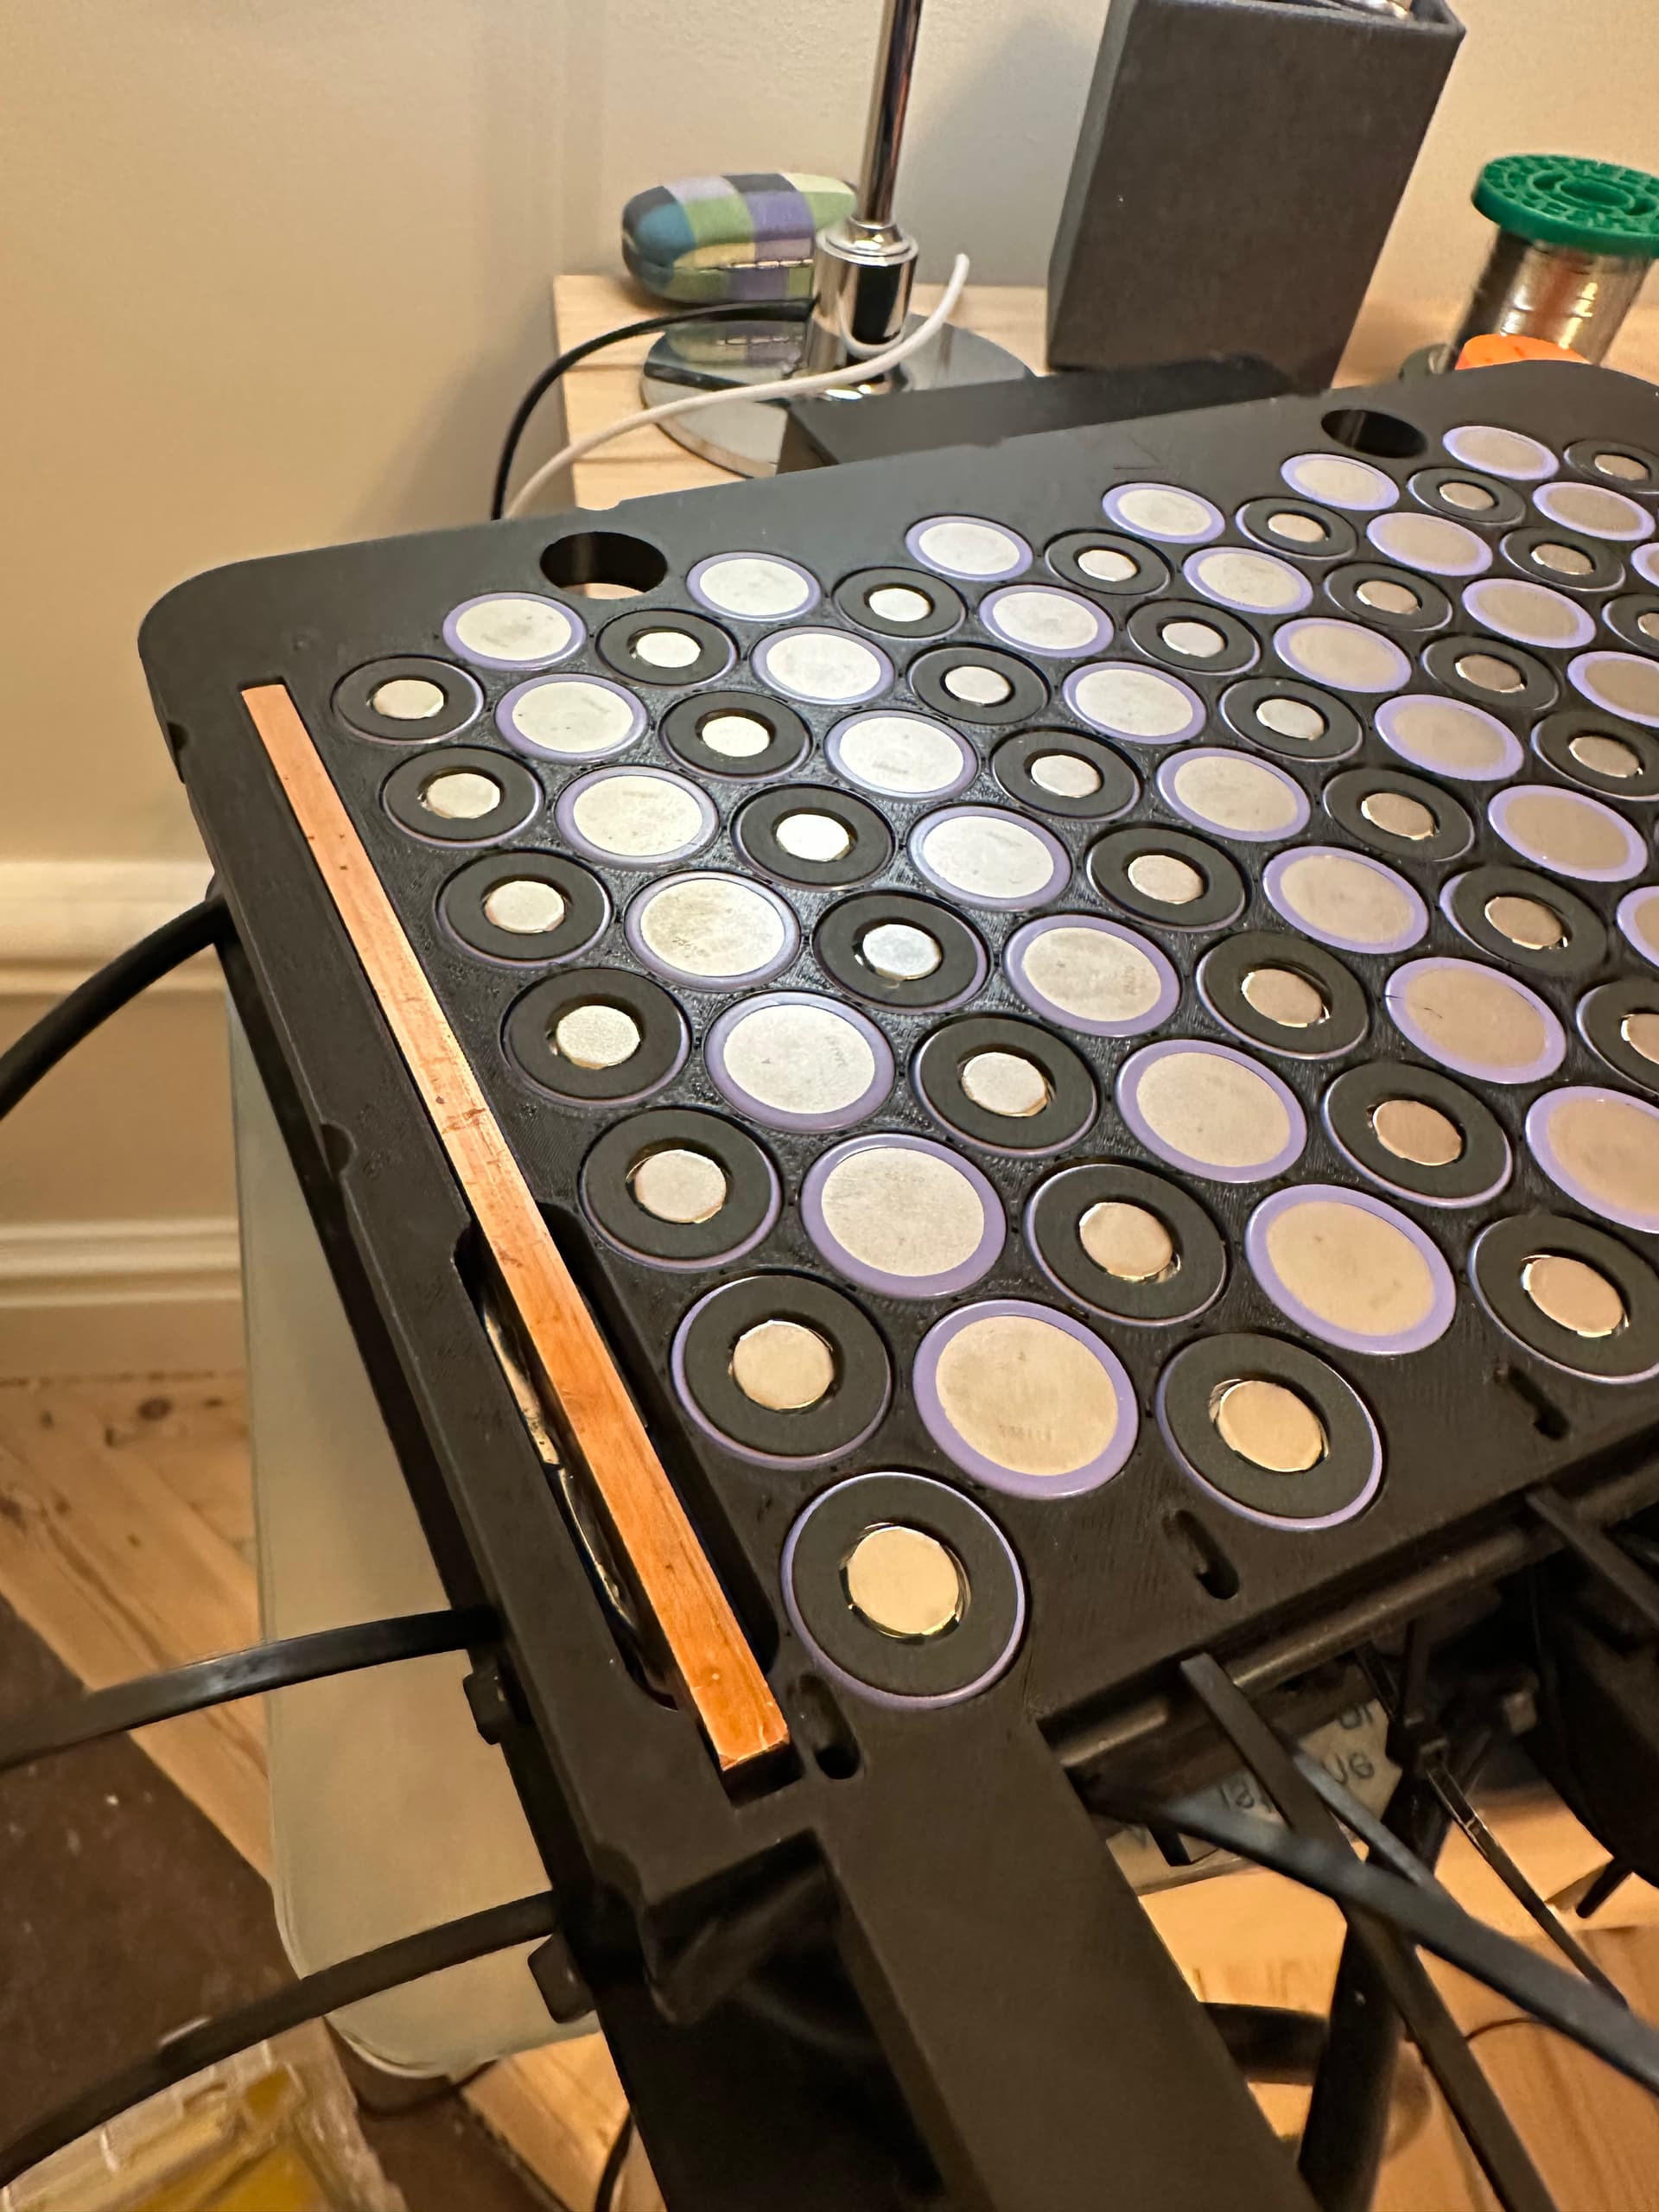
I thought I’d try to build a tow boogie instead of buying a light wind wing. What I have so far is mostly based on @Jatem’s and @Valhalla’s work. The standard 65161 motor paired with a MakerX GO-FOC G300 VESC. I had the luck of getting my hands on one of @Felixfoiler’s remotes and will be using that for controlling the boogie. Battery pack is a 13s7p with Samsung INR21700-40T3 cells. I’m going to place the cells in the bottom of a Peli 1400 case and cover them with a 5 mm sheet of acrylic glass laser cut to fit the case perfectly and sealing it with sikaflex or similar. I will not be able to easily switch out the pack but it will be watertight and I don’t have to build a separate case for the batteries.


6 Likes
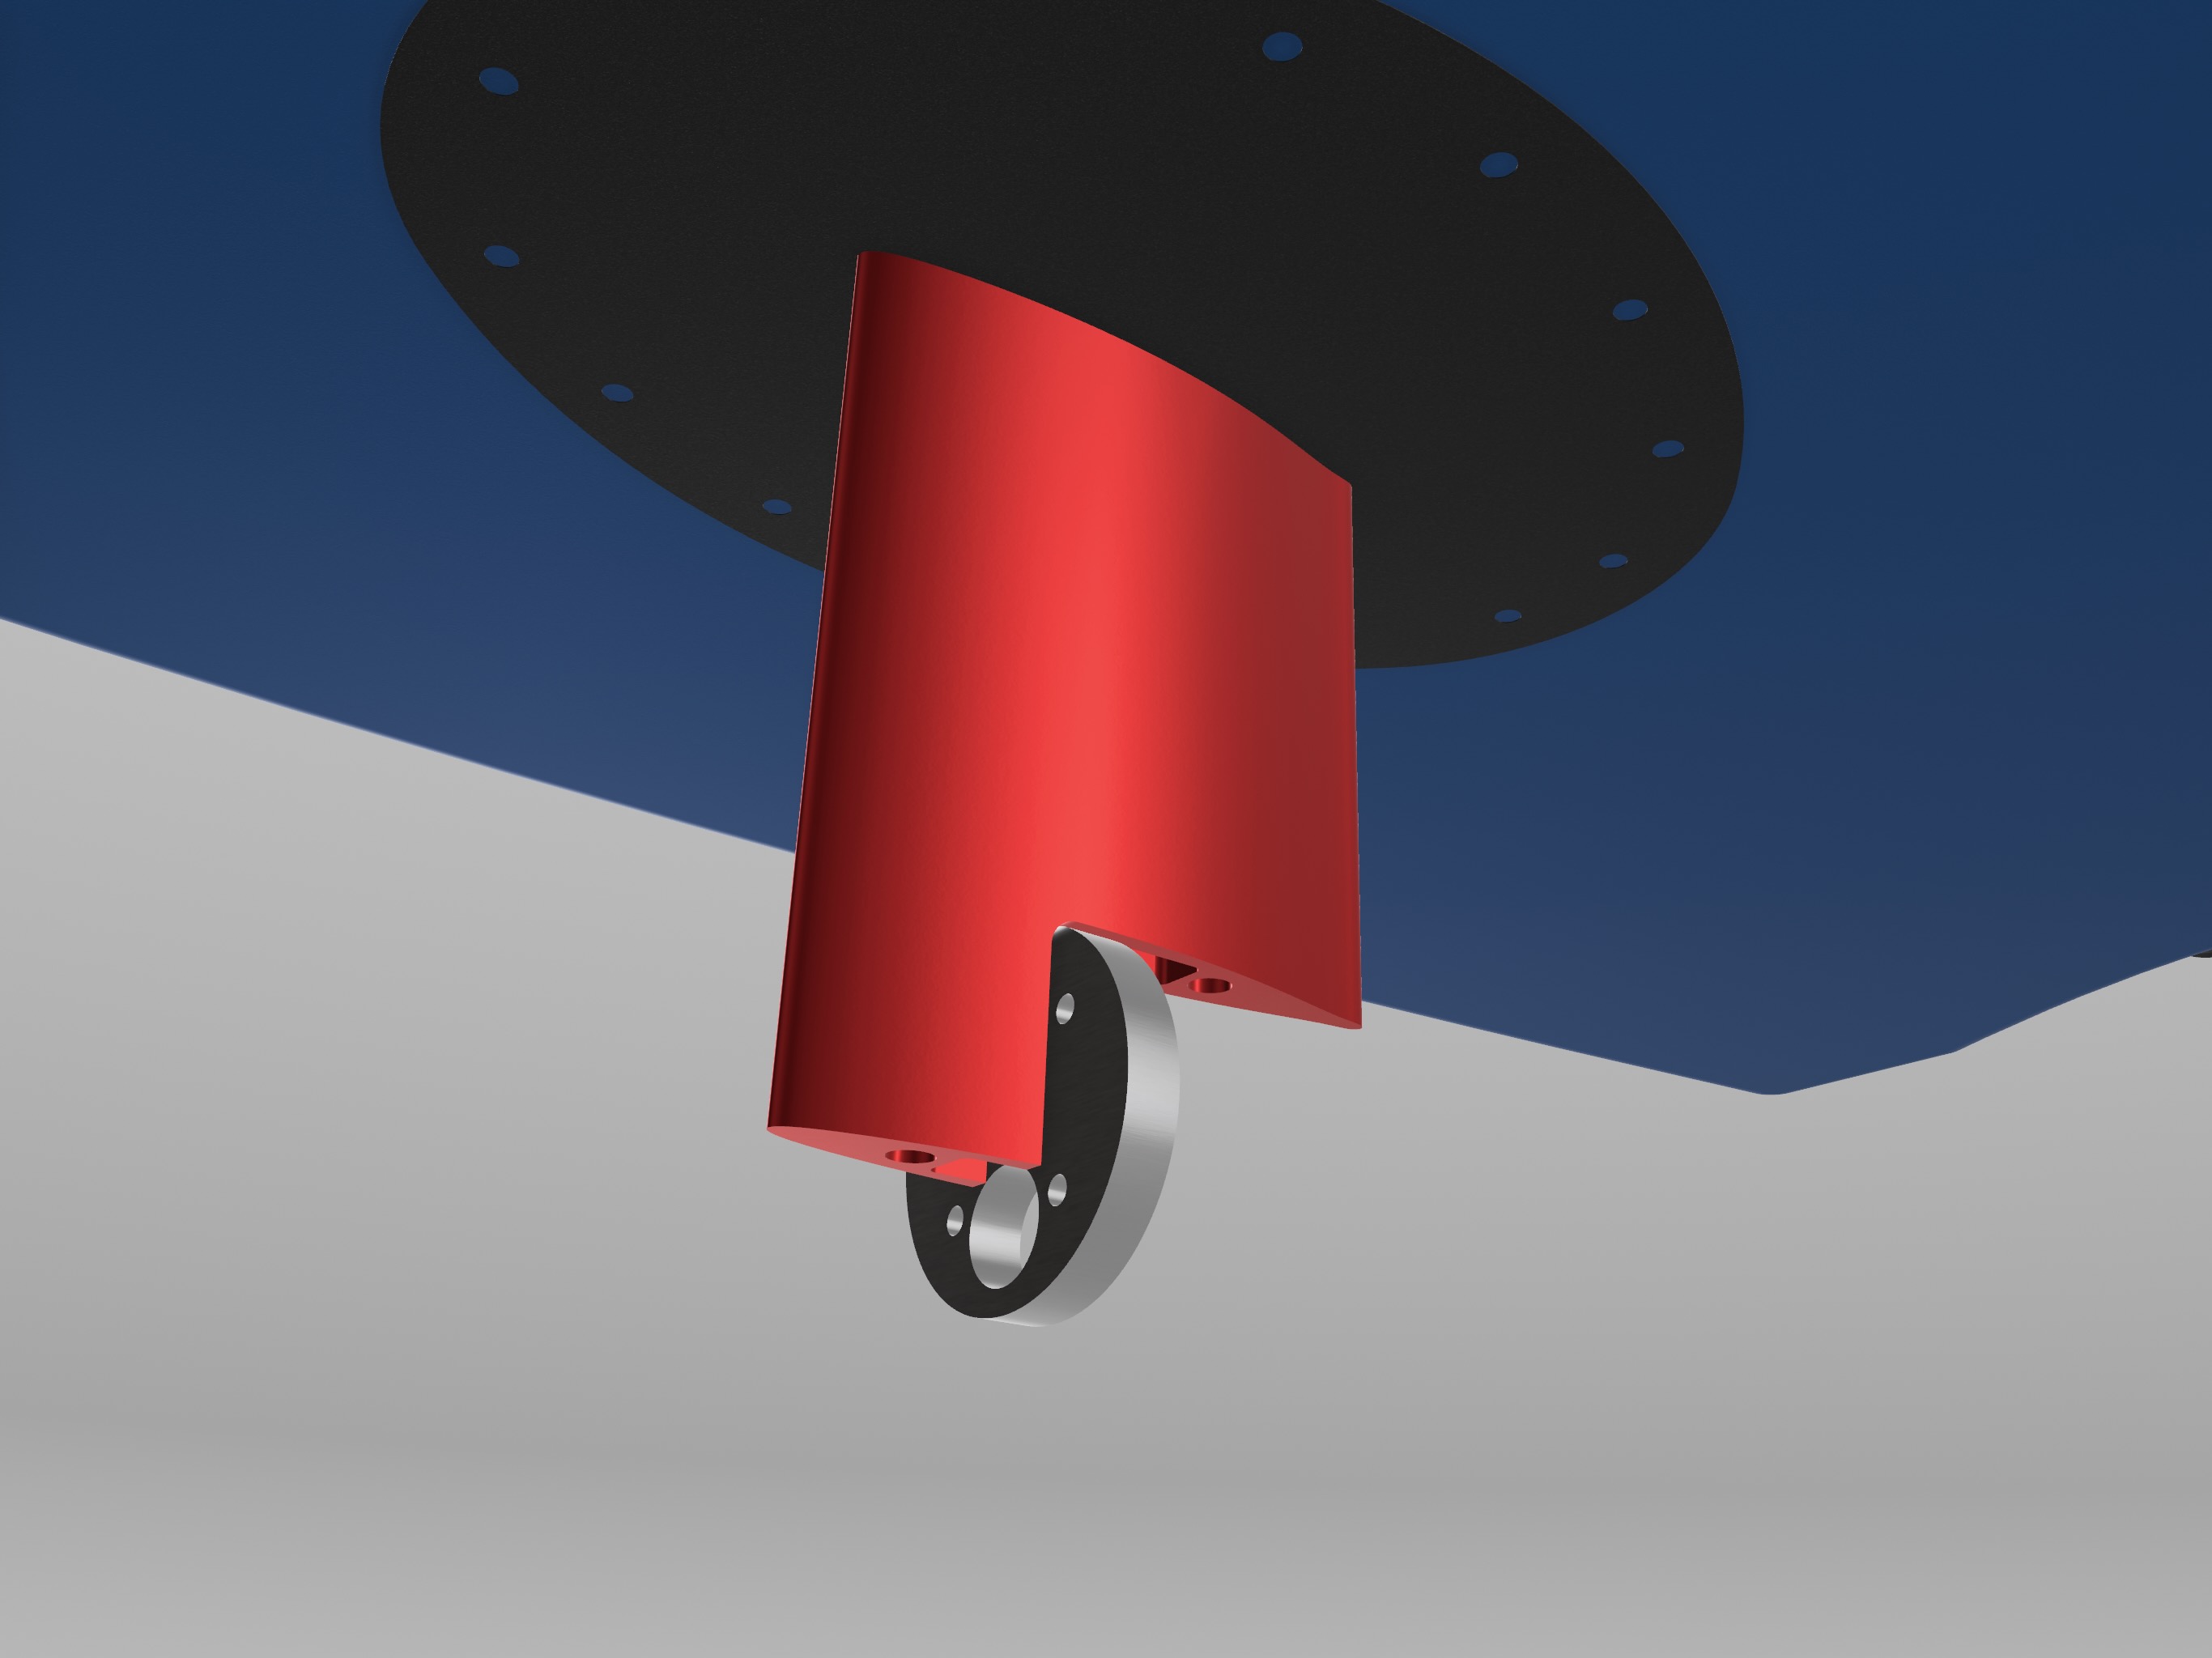
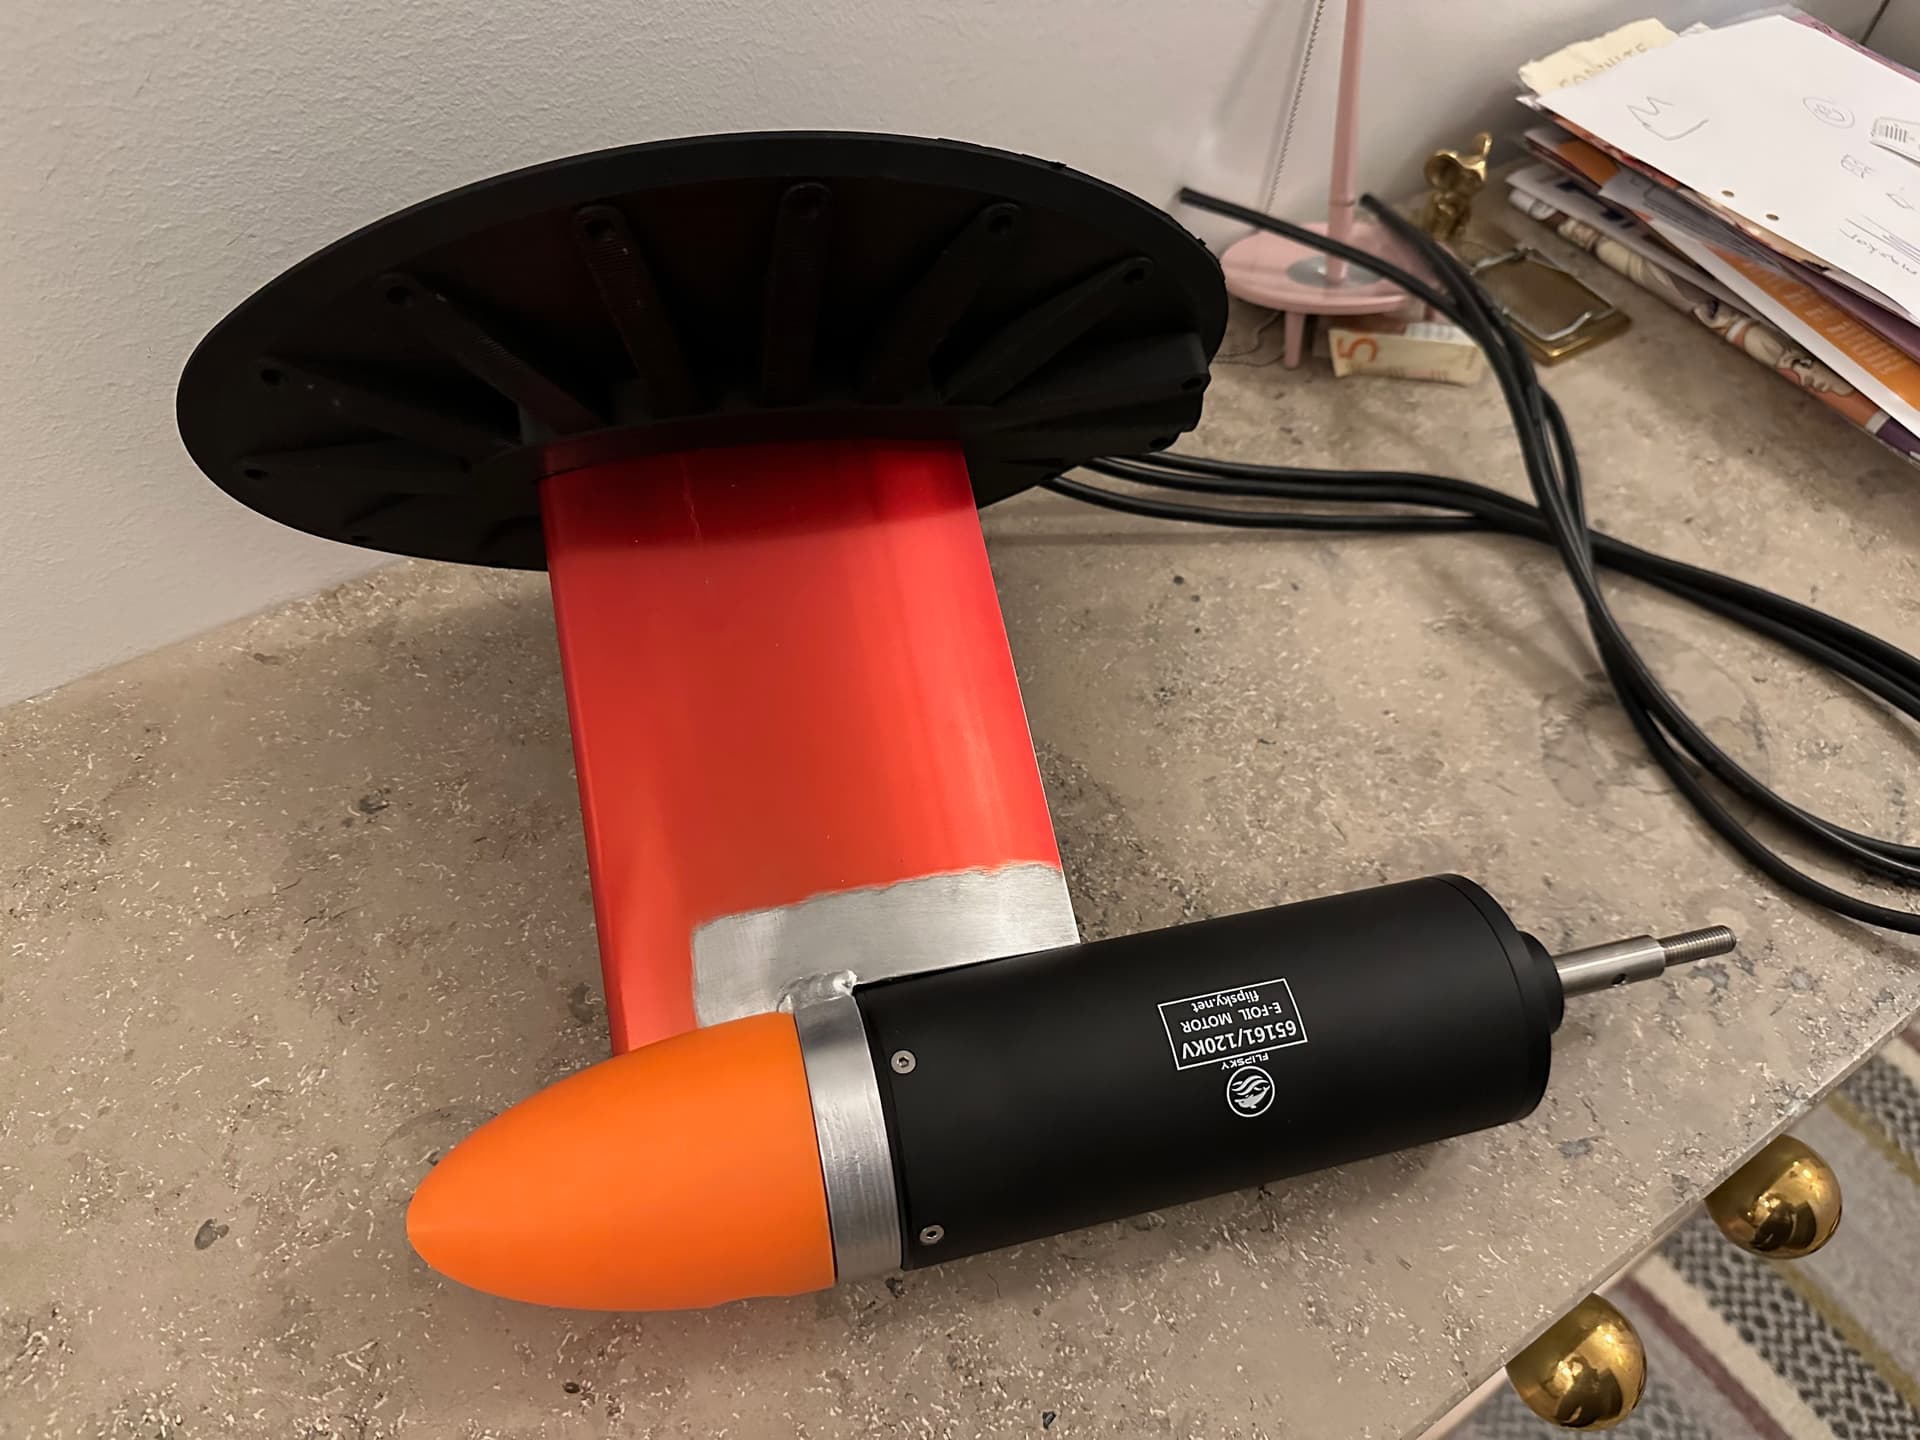
Mast and motor mount with the upper part of the mast fastener. Motor is mounted to an aluminum puck that’s welded to an axis foil mast. The front cone is 3D-printed. I might paint the aluminum black and print a matching cone but that’s pretty low priority atm. I like this solution since the mounting puck has a pretty low probability of detaching from the mast.
5 Likes
Nice motor mount - I designed up a similar one but was concerned about the fatigue and cracking of the weld - the boogie gets bounced around a lot.
For the battery I would go as big as you can afford, and fit in the case. My new one is 14s12p! I wrapped it in a thick plastic bag before shrink wrapping. The bag is “goose necked” around the power cables so would need 3cm of water in the bottom of the case to get in. It’s useful being able to remove the battery for charging.
I was more concerned about threaded fasteners coming loose and 3D-prints falling apart for the motor mount. The nose cone is easy to remove so I’ll make sure to inspect the weld regularly. I hardly know anything about welding aluminium so I guess my choice was one out of ignorance. 
14s12p is pretty massive! How long does that last? I guess one side effect of that heavy pack is that the tow boogie has less of a tendency to flop over due to prop torque?
You need to have a bit more flotation up front to prevent nose diving with the bigger battery - get creative with some pool noodles and blocks of foam.
With a 13s8p i would get about 40 minutes of fast and aggressive riding. With the new pack it’s almost double. I’m using a 34L board and weigh 95kg, so the extra few volts and extra size helps. Some good waves are about 1-2km away, so having the extra capacity for the commute is pretty handy.
2 Likes
I’ve got no room for any more cells in my peli case. Sounds like I need to start planning for a second build.
I noticed in one of your pictures your battery was placed off center to the left of the bodyboard. Is that to counter the torque from the propeller? And how did you go about to find the right position for the case?
Mines front left, which helps with the prop torque. I bought a few old cheap body boards off marketplace to experiment with. Once i got a good position i bought a new dual stringer board.
3 Likes
Where are you located in Sweden?
I live in Stockholm but we also have a summer house in Hasselfors where I do a lot of wing foiling during the summer.

Isn’t it a bit thick for the job, so kinda heavy ?
Yea, it’s 450 grams with cable ties so if I were building an efoil I think I’d make something lighter. My reasoning with making it so rigid is the tow boogie get bounced around a lot. You’re probably right though that it’s a little overkill as it is now.
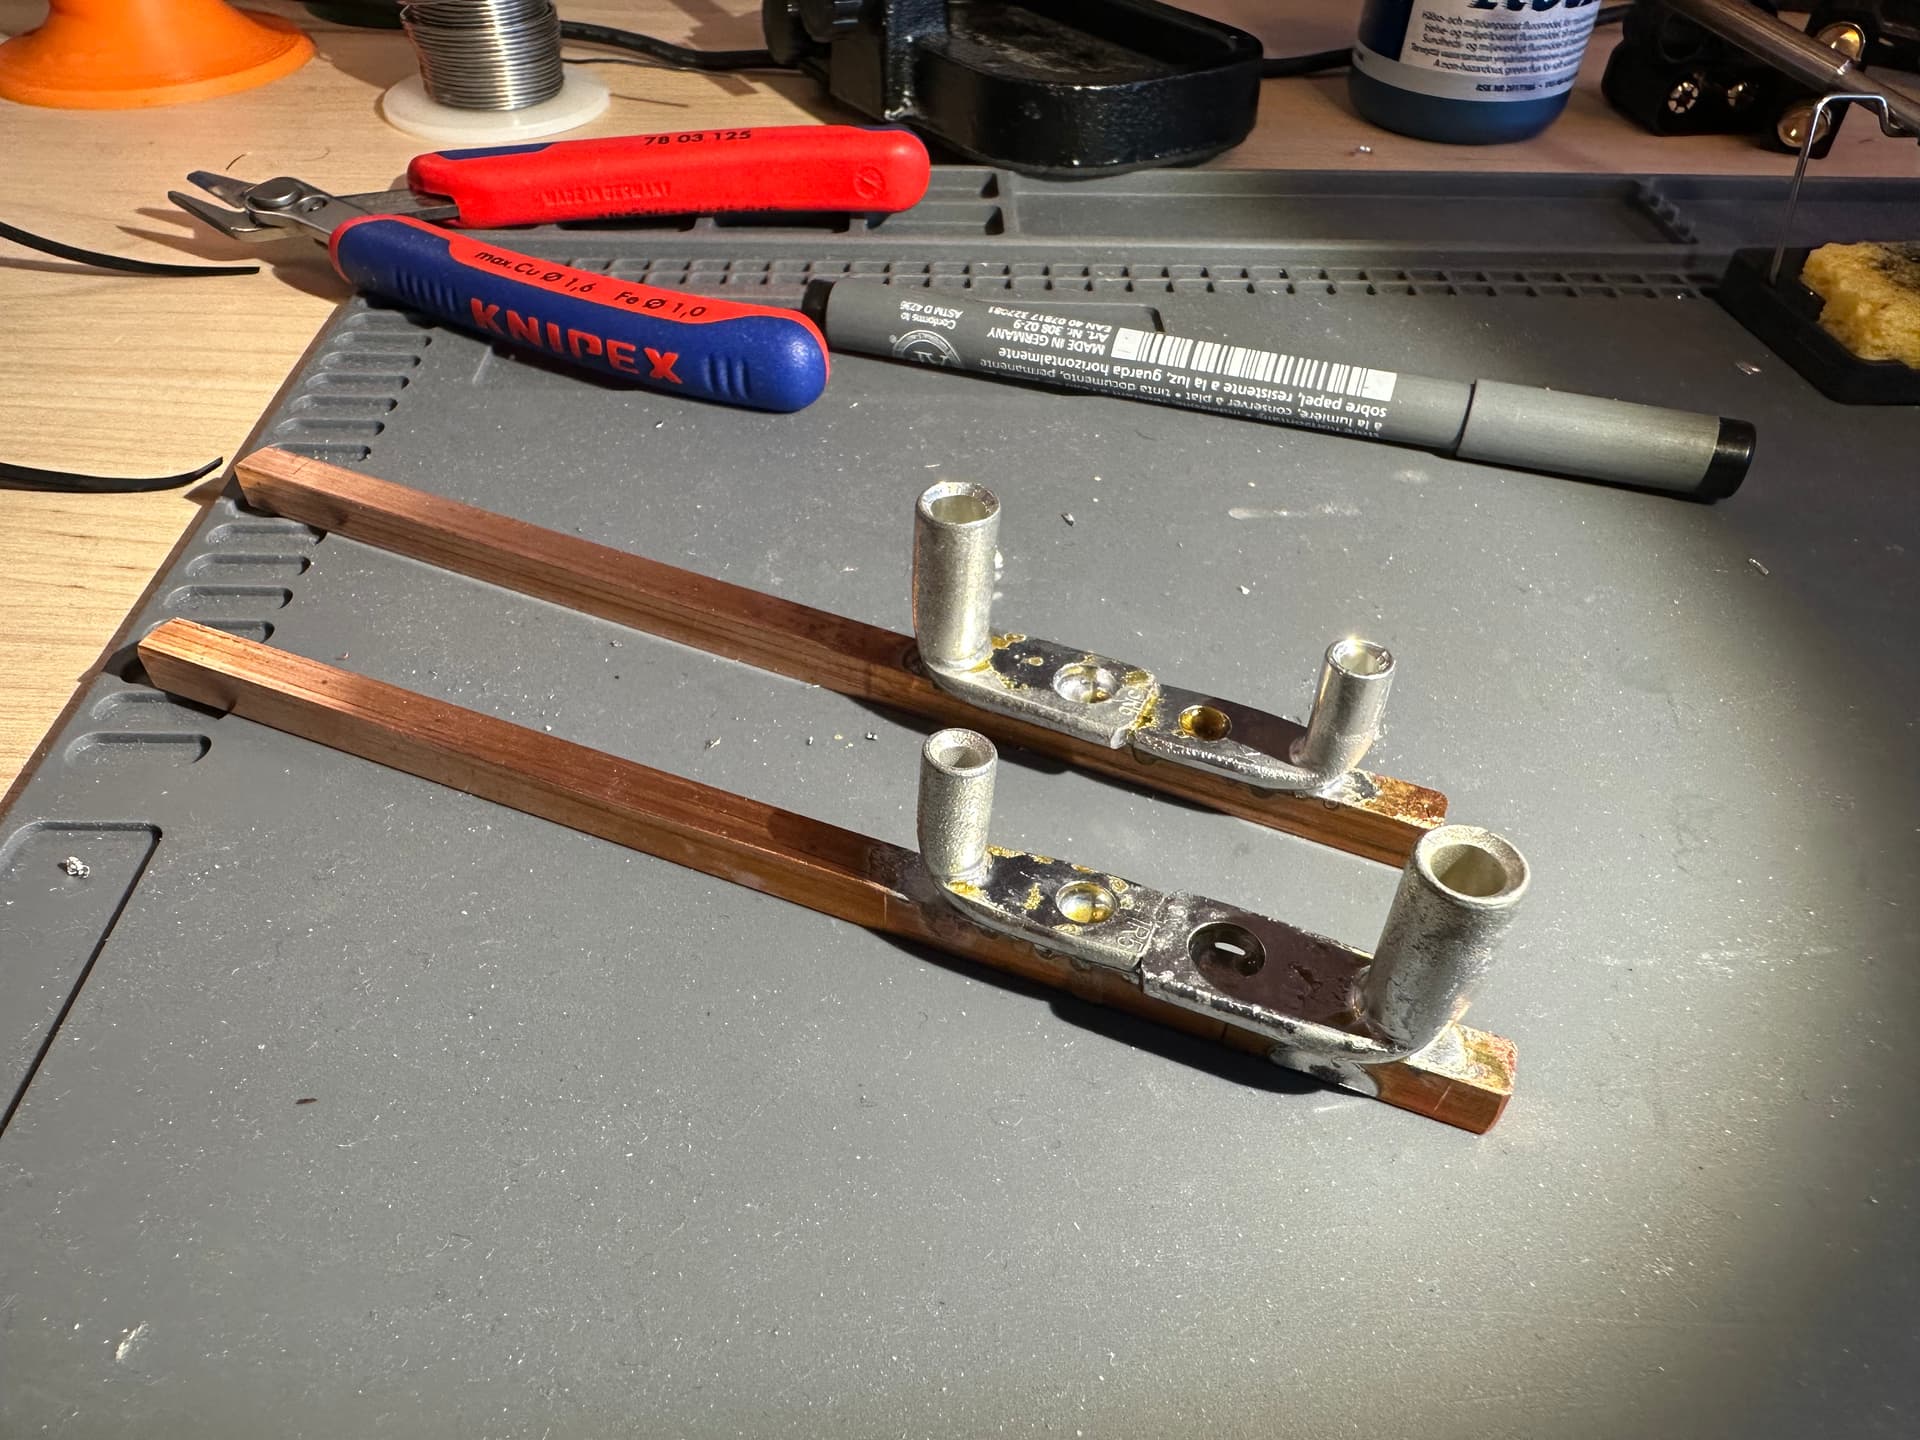
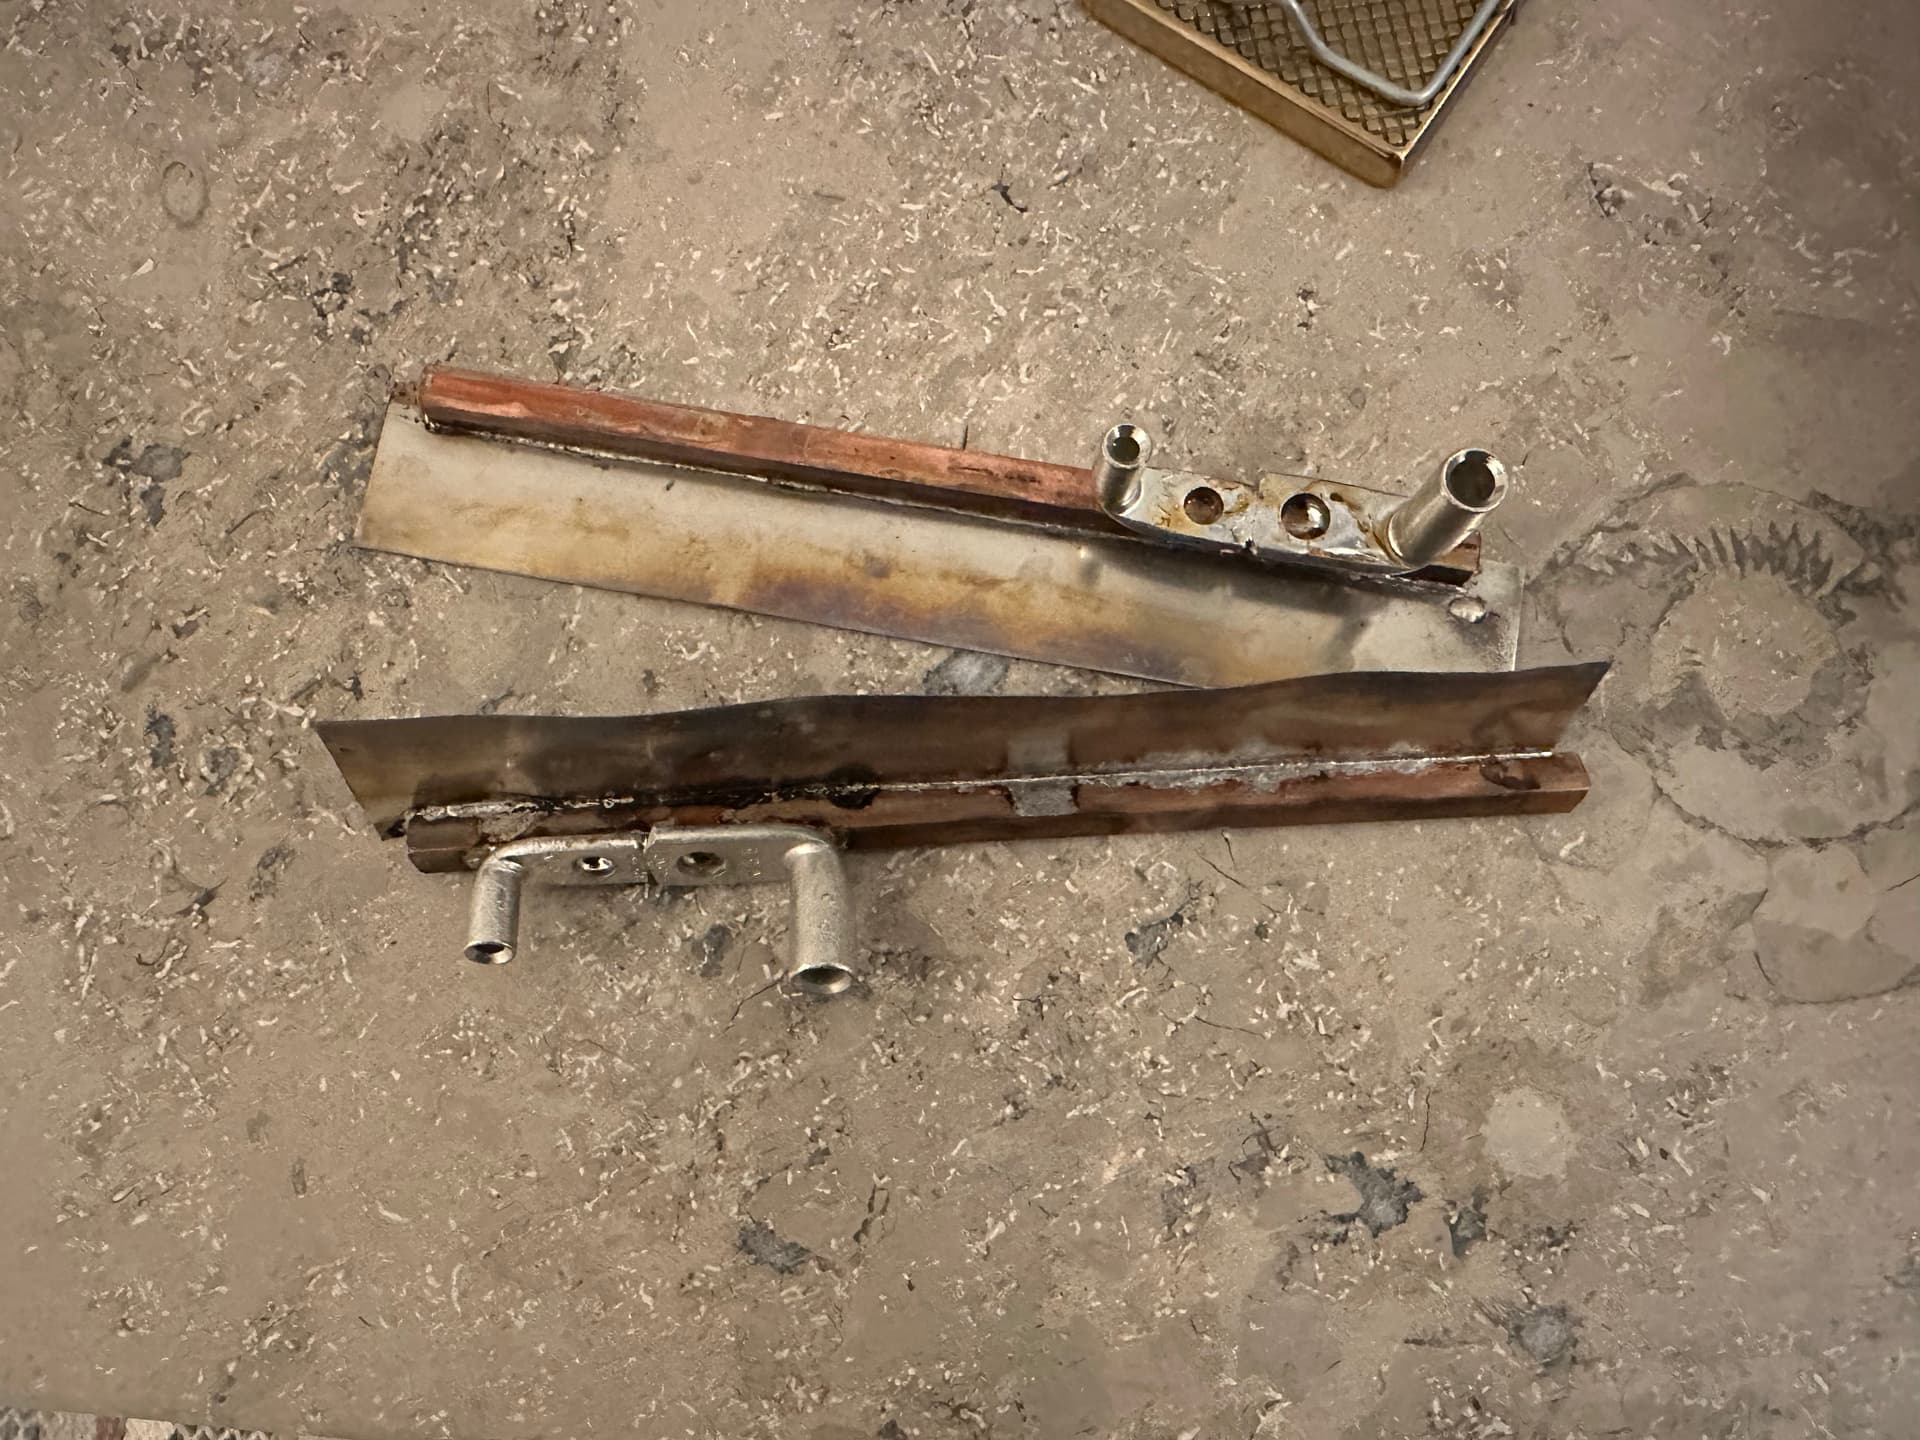
Realized you can’t spot weld nickel to copper so I’ll have to solder the nickel strip to the bus bars instead, solder new cable lugs and crimp new cables. Also blew the fuse in my kweld. Not the most productive day. 
My next battery is going to be similar to yours with the copper bus bars, but I think I’m going to bend/fold and connect the copper directly to the BMS.
I’ve ordered 2mm x 10mm copper bar which should have more than enough cross section and still easily enough to bend.
Built like a tank!!!
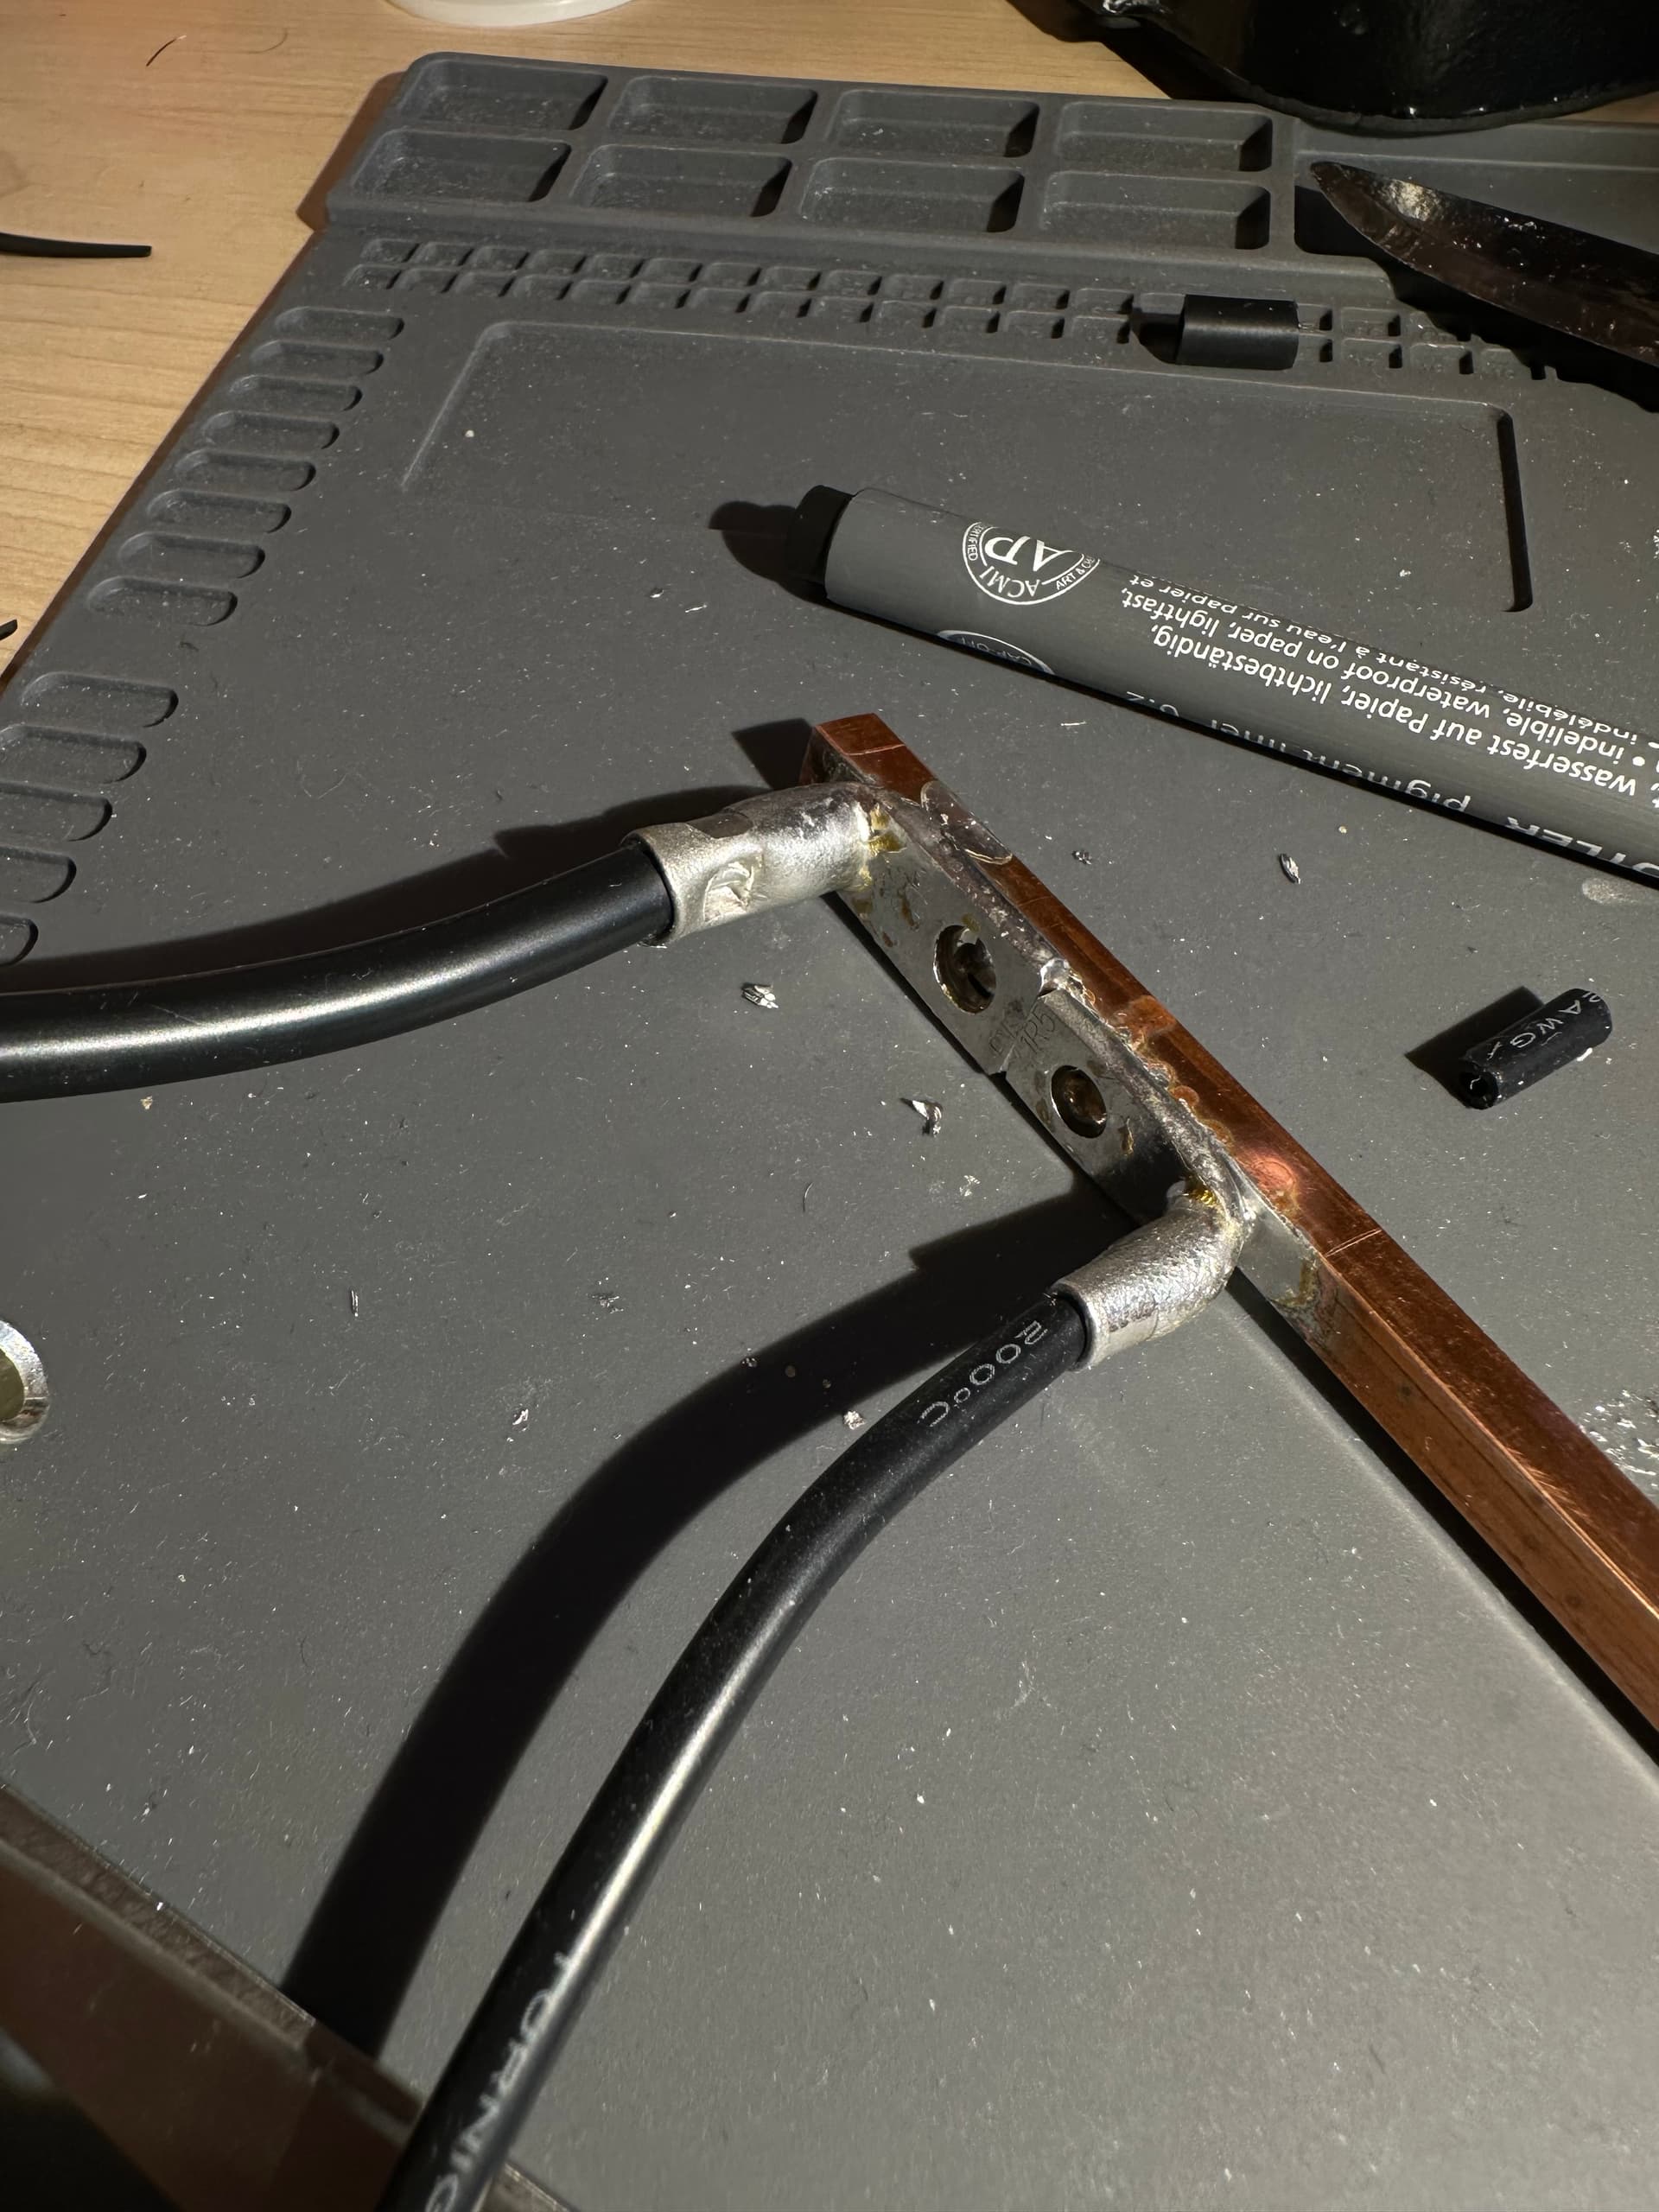
How many different materials soldered to one another on this picture ?
The cable lugs are tinned copper so just copper and nickel.
Did you pre- tin the copper first? Looks like you had to put a lot of heat into it! Which isn’t much of an issue, but might need some cleaning up before welding.