Larsb tow build, Bremote LR and dual motor steering

I’m starting my tow build, been thinking about it for some time but didn’t find the time really :slight_smile:
Thanks @Jesserosco, @rttn, @Etiennebzh, @ludwig_bre and @jenz for the build info and help so far!

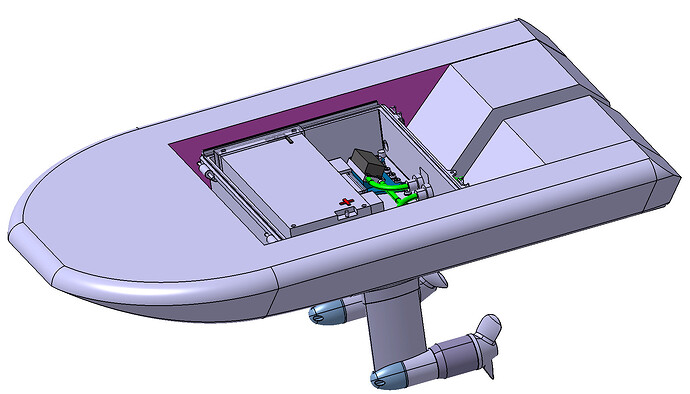
CAD status:


It will be a differential steering tow with dual (cheapest ) 6384 motors and water cooled x-cross 120A ESC:s. I bought the ESCs a long time ago, with the recent x-cross failures they seem pretty sketchy, but i hope they’ll last some months at least.

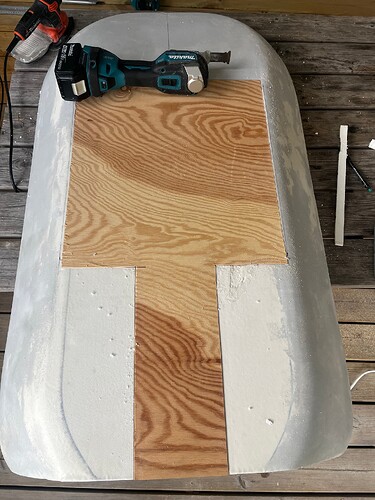
For the board I adapted a board plug i had already, I originally made the plug for an efoil but didn’t like the shape:


I’m aiming for a low center of gravity and to be able to move the motors freely, so the bottom of the board is plywood, overlayed with some cheap UD carbon.
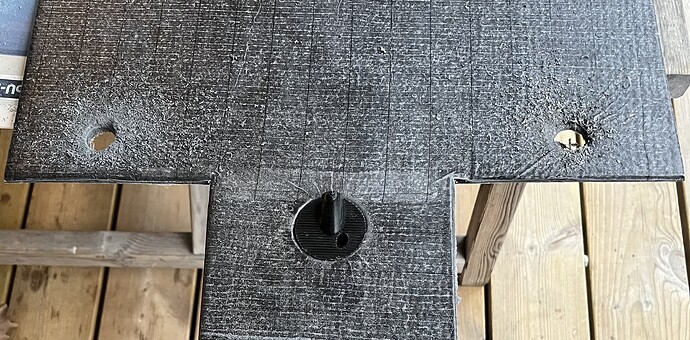
I cut holes for the motor wires and designed a passive water cooling intake:

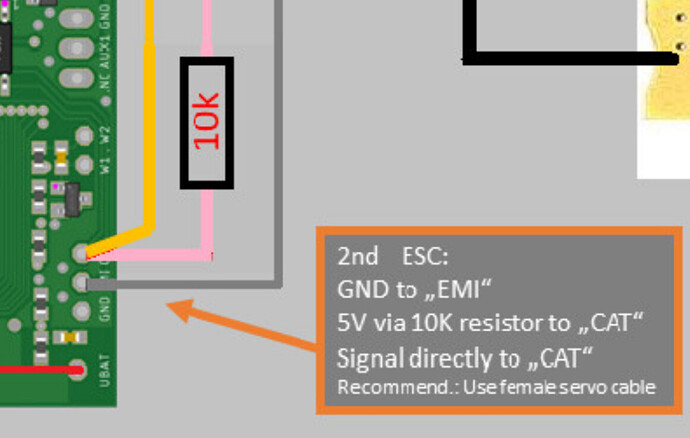
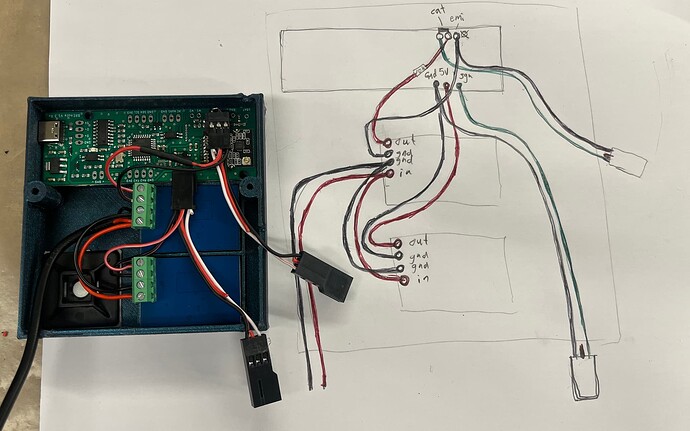
I also started on electronics :slight_smile: I uploaded a connection diagram here: Bremote connection for dual steering ESC + BEC - #4 by Larsb

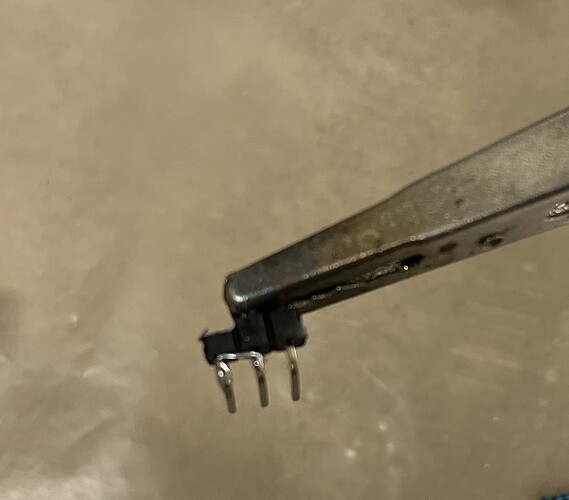
As there are only two holes used on the PCB and three pins on a servo connector I’m cutting one header pin off at the bottom and bridging the pin header for the dual steering connector on the PCB here:


I wish i had the skill to change the PCB layout to make it a dual steering PCB without mods, any chances of this happening, @ludwig_bre?

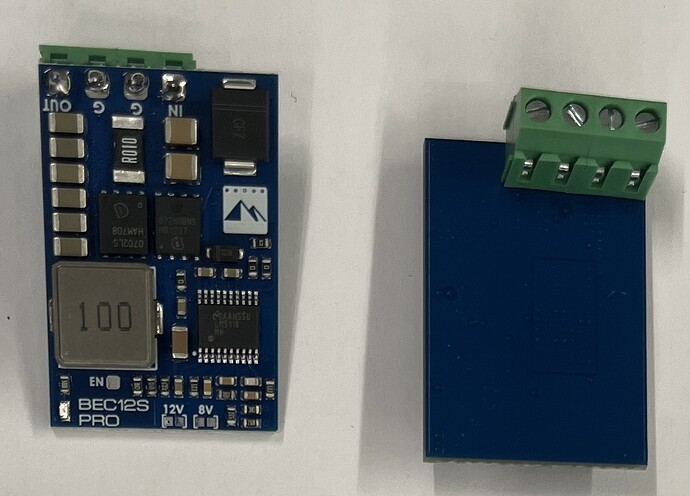
I soldered terminal blocks to the BECs to get a more clean and robust connection:

I also designed and printed a custom box for the bremote Rx and the two mateksys 12s pro BECs:


For the connections i simply used two short Y-servo cables, they were really cheap so wasn’t worth it to buy a servo connector kit.

It feels like this was the complicated part of the build, maybe except for building the Bremote LR, i hope that the rest goes easy :slight_smile:

6 Likes

Dang! Looks like it’s gonna be an awesome boogie!

1 Like

Thanks! I really hope it will be :slight_smile: Your first tow video is what inspired me, it looks like so much fun! I hope to be able to improve my foiling a lot with it.

This looks great. I’m very keen to go this route too having built a number of foil assists. I’ve learnt to build battery packs as I knew this would be a major cost to the project and will also go down the route of two motors and a Bremote with differential steering. I’m really looking forward to reading your build posts. Keep them coming and good luck :+1:

This is great, nice and clean. What’s the black square at the bottom left of your custom BEC/Rx box? A heat sink?

It’s a tie wrap mount for the cable stress relief.

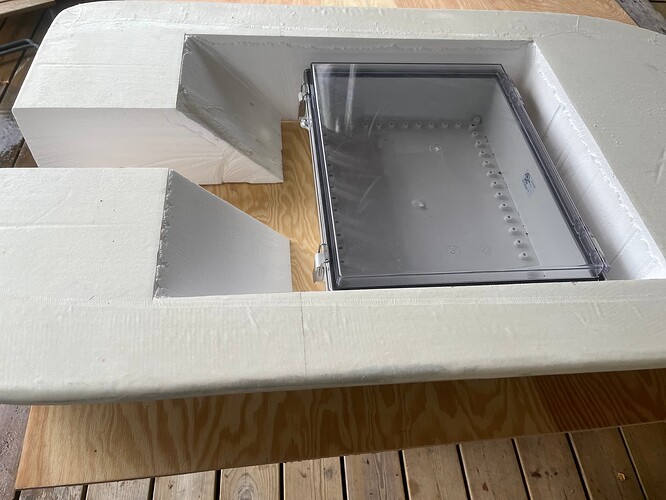
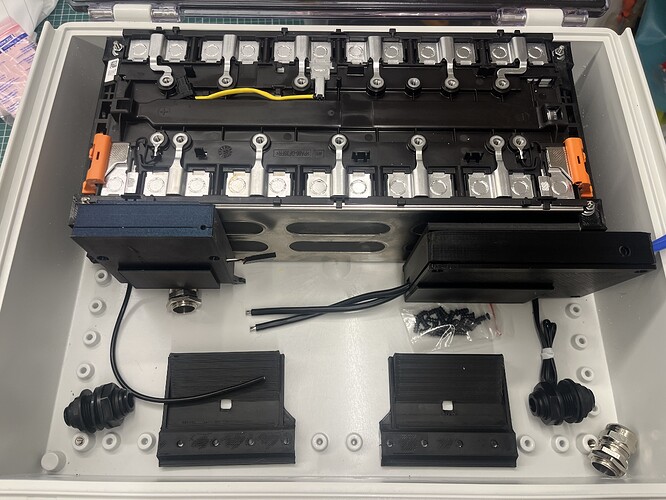
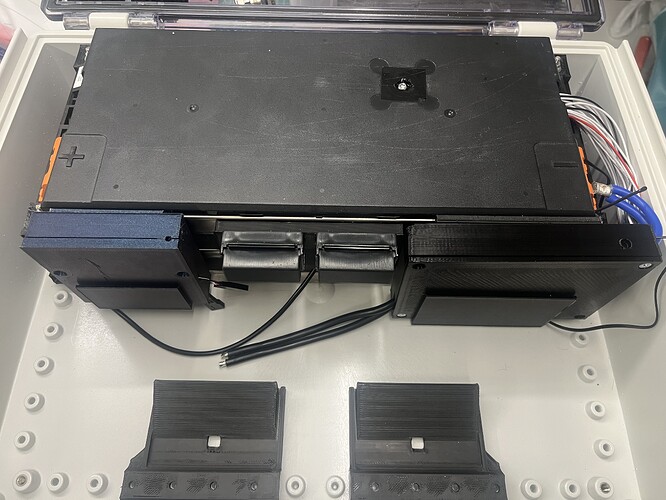
Started to build up the box contents: battery, brackets, bms etc. I designed the battery clamp so that i can move the battery in 25mm increments if i need to adjust the center of gravity.

7 Likes

Nice that you can keep the EV battery module in its original housing like that. Often they are just too large for something like this

1 Like

That’s not my experience, I’ve had a few different in this kind of size, often the large modules are built up of these smaller ones internally.

1 Like

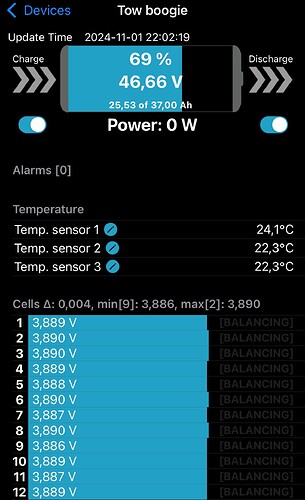
Wired bms tonight, these are great cells, they’re around 5 years old and voltage is still within 0.004V balance.


3 Likes

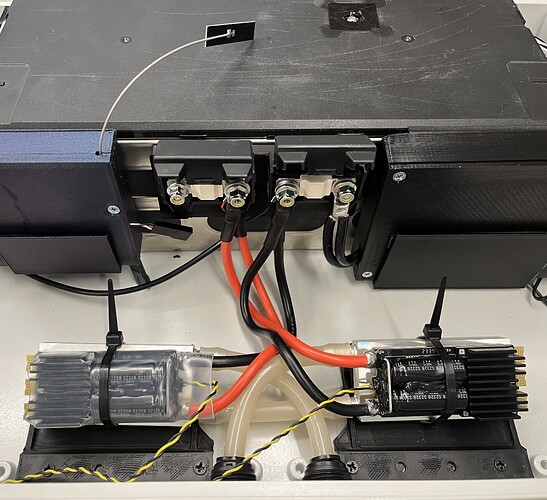
Wired everything in the box, escs and cooling :smile:


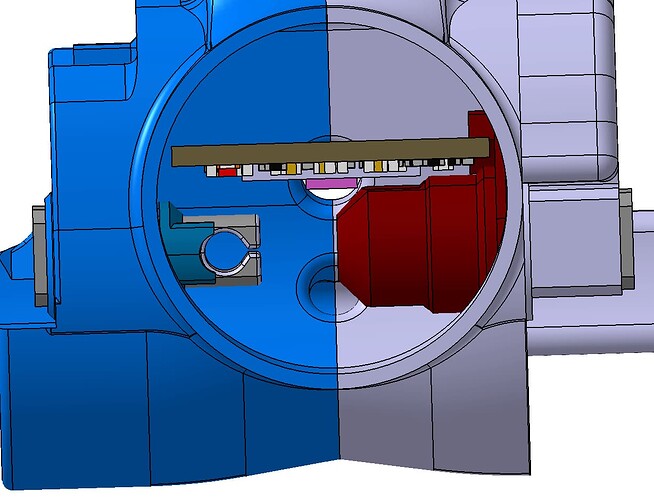
Then started with the bremote build, got some issues with the magnet covers jamming the magnet rotation. I tried sanding the minuscule epoxy drops that had escaped and got decent rotation - but in the end I decided to redesign the magnet covers to get more clearance. I added some steps in the cover, matching the component heights on the PCB and this removed the issue.

4 Likes

Looks great. What waterproof box are you using and what qivalent power does your battery have (I.e 12s8p)?

I see your escs will be externally cooled. Is it just passively with the movement of the boogie sending water through the tubes?

Many thanks.

Box is bud PTQ 11072
battery can do 10c, it’s 12s 37Ah so about 15kW :smile:

The ESC:s are cooled by the natural water flow, this works well on my efoil. If i get issues i’ll add a small fan on the heatsink on the other side of the esc:s, but i’m not worried, I think the setup will work well.

1 Like

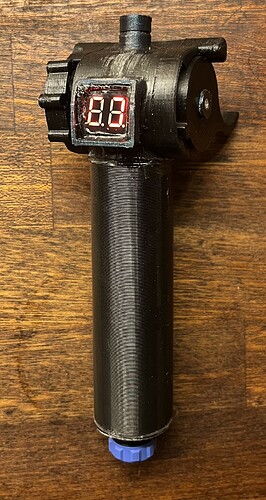
Finished long range bremote😄


Build was pretty straightforward, great design work by @ludwig_bre!

I made some changes to it, increased max steering angle to +/-45 degrees and designed a steel spring setup, it’s got a quite nice feel to it. Updated the handle to fit an 18650 battery, which I had already (instead of the original 14500 that would have had to be ordered). I’m not sure the remote floats now though, we’ll see.

Looking forward to the first tests!

5 Likes

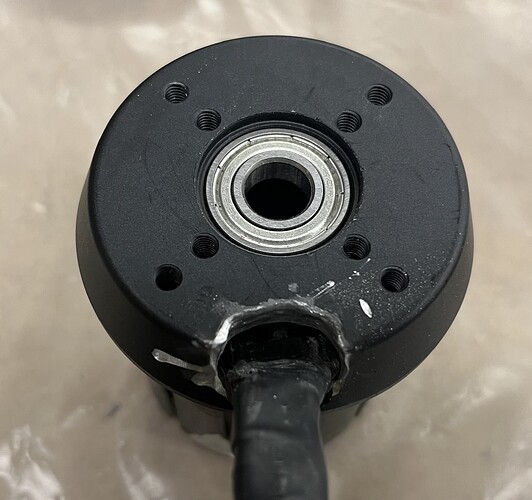
I started the motor proofing. The cheap 6384:s look surprisingly good under the hood, only thing is the 16AWG wires, it’s tedious to switch the wires all the way to the stator and the last length can be a hotspot. I’ll leave it like it is for now.

I had to expand the wire holes since the wires originally exit to the side. I cut the hole with a dremel rotary file and rounded the edges with a wire brush:


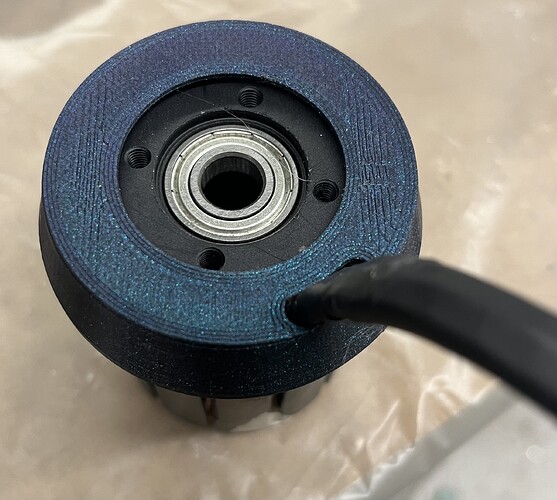
Designed and printed a cover to get a cleaner look and keep wires from moving:

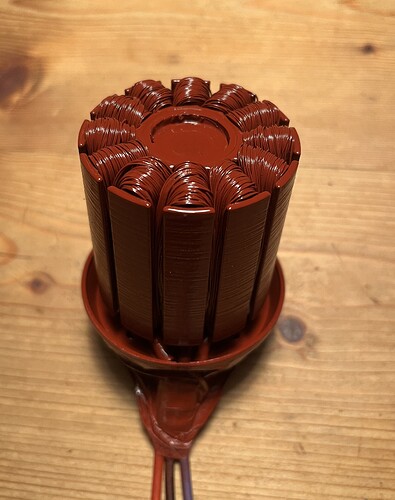
Three layers of high temp winding varnish on the stator:

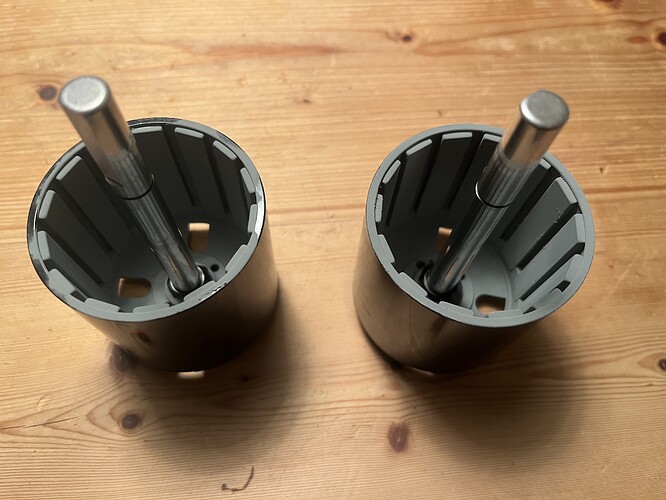
Two coats of zinc spray on the rotor (i’m not too confident this will remain long though, it might be too powdery):

9 Likes

What made you pick these coating applications vs epoxy?

1 Like

For the stator: winding varnish is made for the job :grinning:
For the rotor: it’s more of a test, i haven’t used zinc spray there before.

There can be some downsides of using epoxy on the rotor:

  • It can be hard getting full coverage without jamming the motor
  • The epoxy doesn’t adhere well to the magnets, it easily flakes (and you shouldn’t sand the magnet coating)
  • You risk getting an unbalanced rotor bell from the epoxy weight
2 Likes

Got some progress:

  • Soldered phase wires and phase connectors on the ESC:s
  • Installed cable glands in the box
  • designed, printed and laminated custom mast plates, designed spacer for the wires
  • Cut and threaded mast pieces

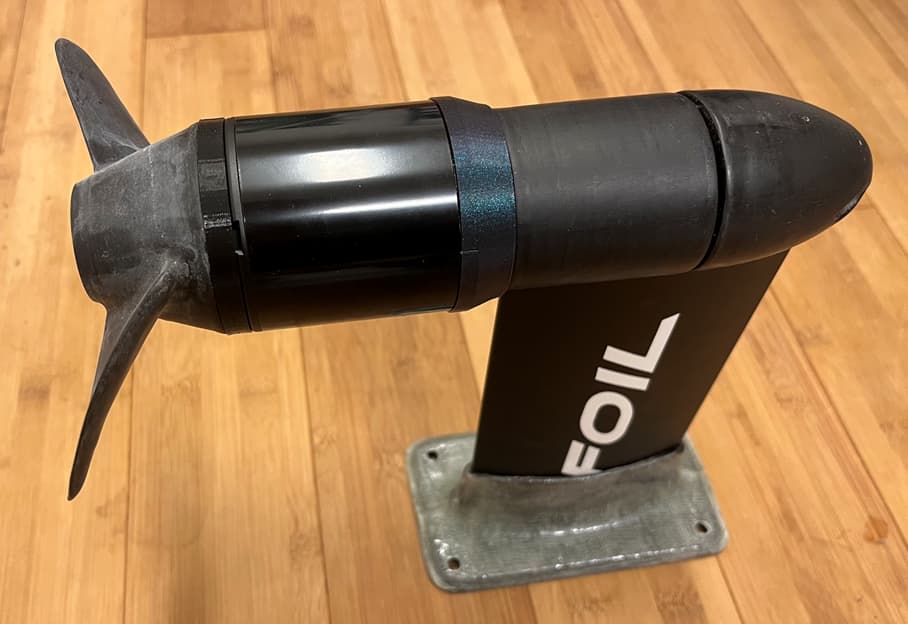
I almost got the drives finished:


But sadly, I’m out of 10AWG phase wire. Ordered and will have to wait for it to be able to extend the motor wires. Might start board lamination tomorrow instead :slight_smile:

4 Likes

Oh, a question to @Jesserosco: did you leave the esc as it is and just mount the esc plate to the heatsink with a pad or did you pop off the outer aluminum piece before mounting it to heatsink on your build?

I leave it as is and mount directly with thermal glue or thermal epoxy. I have used both and they both work great and not difficult to remove if you need to fix anything.

2 Likes