The first one was catastrophic. At the last pin I did solder a bridge between two pins which I could not separate anymore I have used too much solder overall.
The second attempt worked out but still not nice. Used less solder but still too much. I did the dumb mistake to use super glue afterwards on the pins. The isolation of the wires became brittle and after bending the isolation cracked.
The third attempt worked out great with no pain.
You need to put just a little bit solder on the pins and on the wires. Then add some solder to the tip of your iron and then first touch the pin and then push the wire between tip and pin. The pin will suck up the solder and then quickly remove the tip. It is important to not use too much solder.
I forgot to mention one hack regarding soldering the pogo pins. That is probably the most important one.
Put the pogo pin on a steel plate. This way the magnets less likely catch your iron tip. It still happens if you are not careful but it happened like 2 times only during my third attempt. You could probably improve it further by taping down the pogo pin.
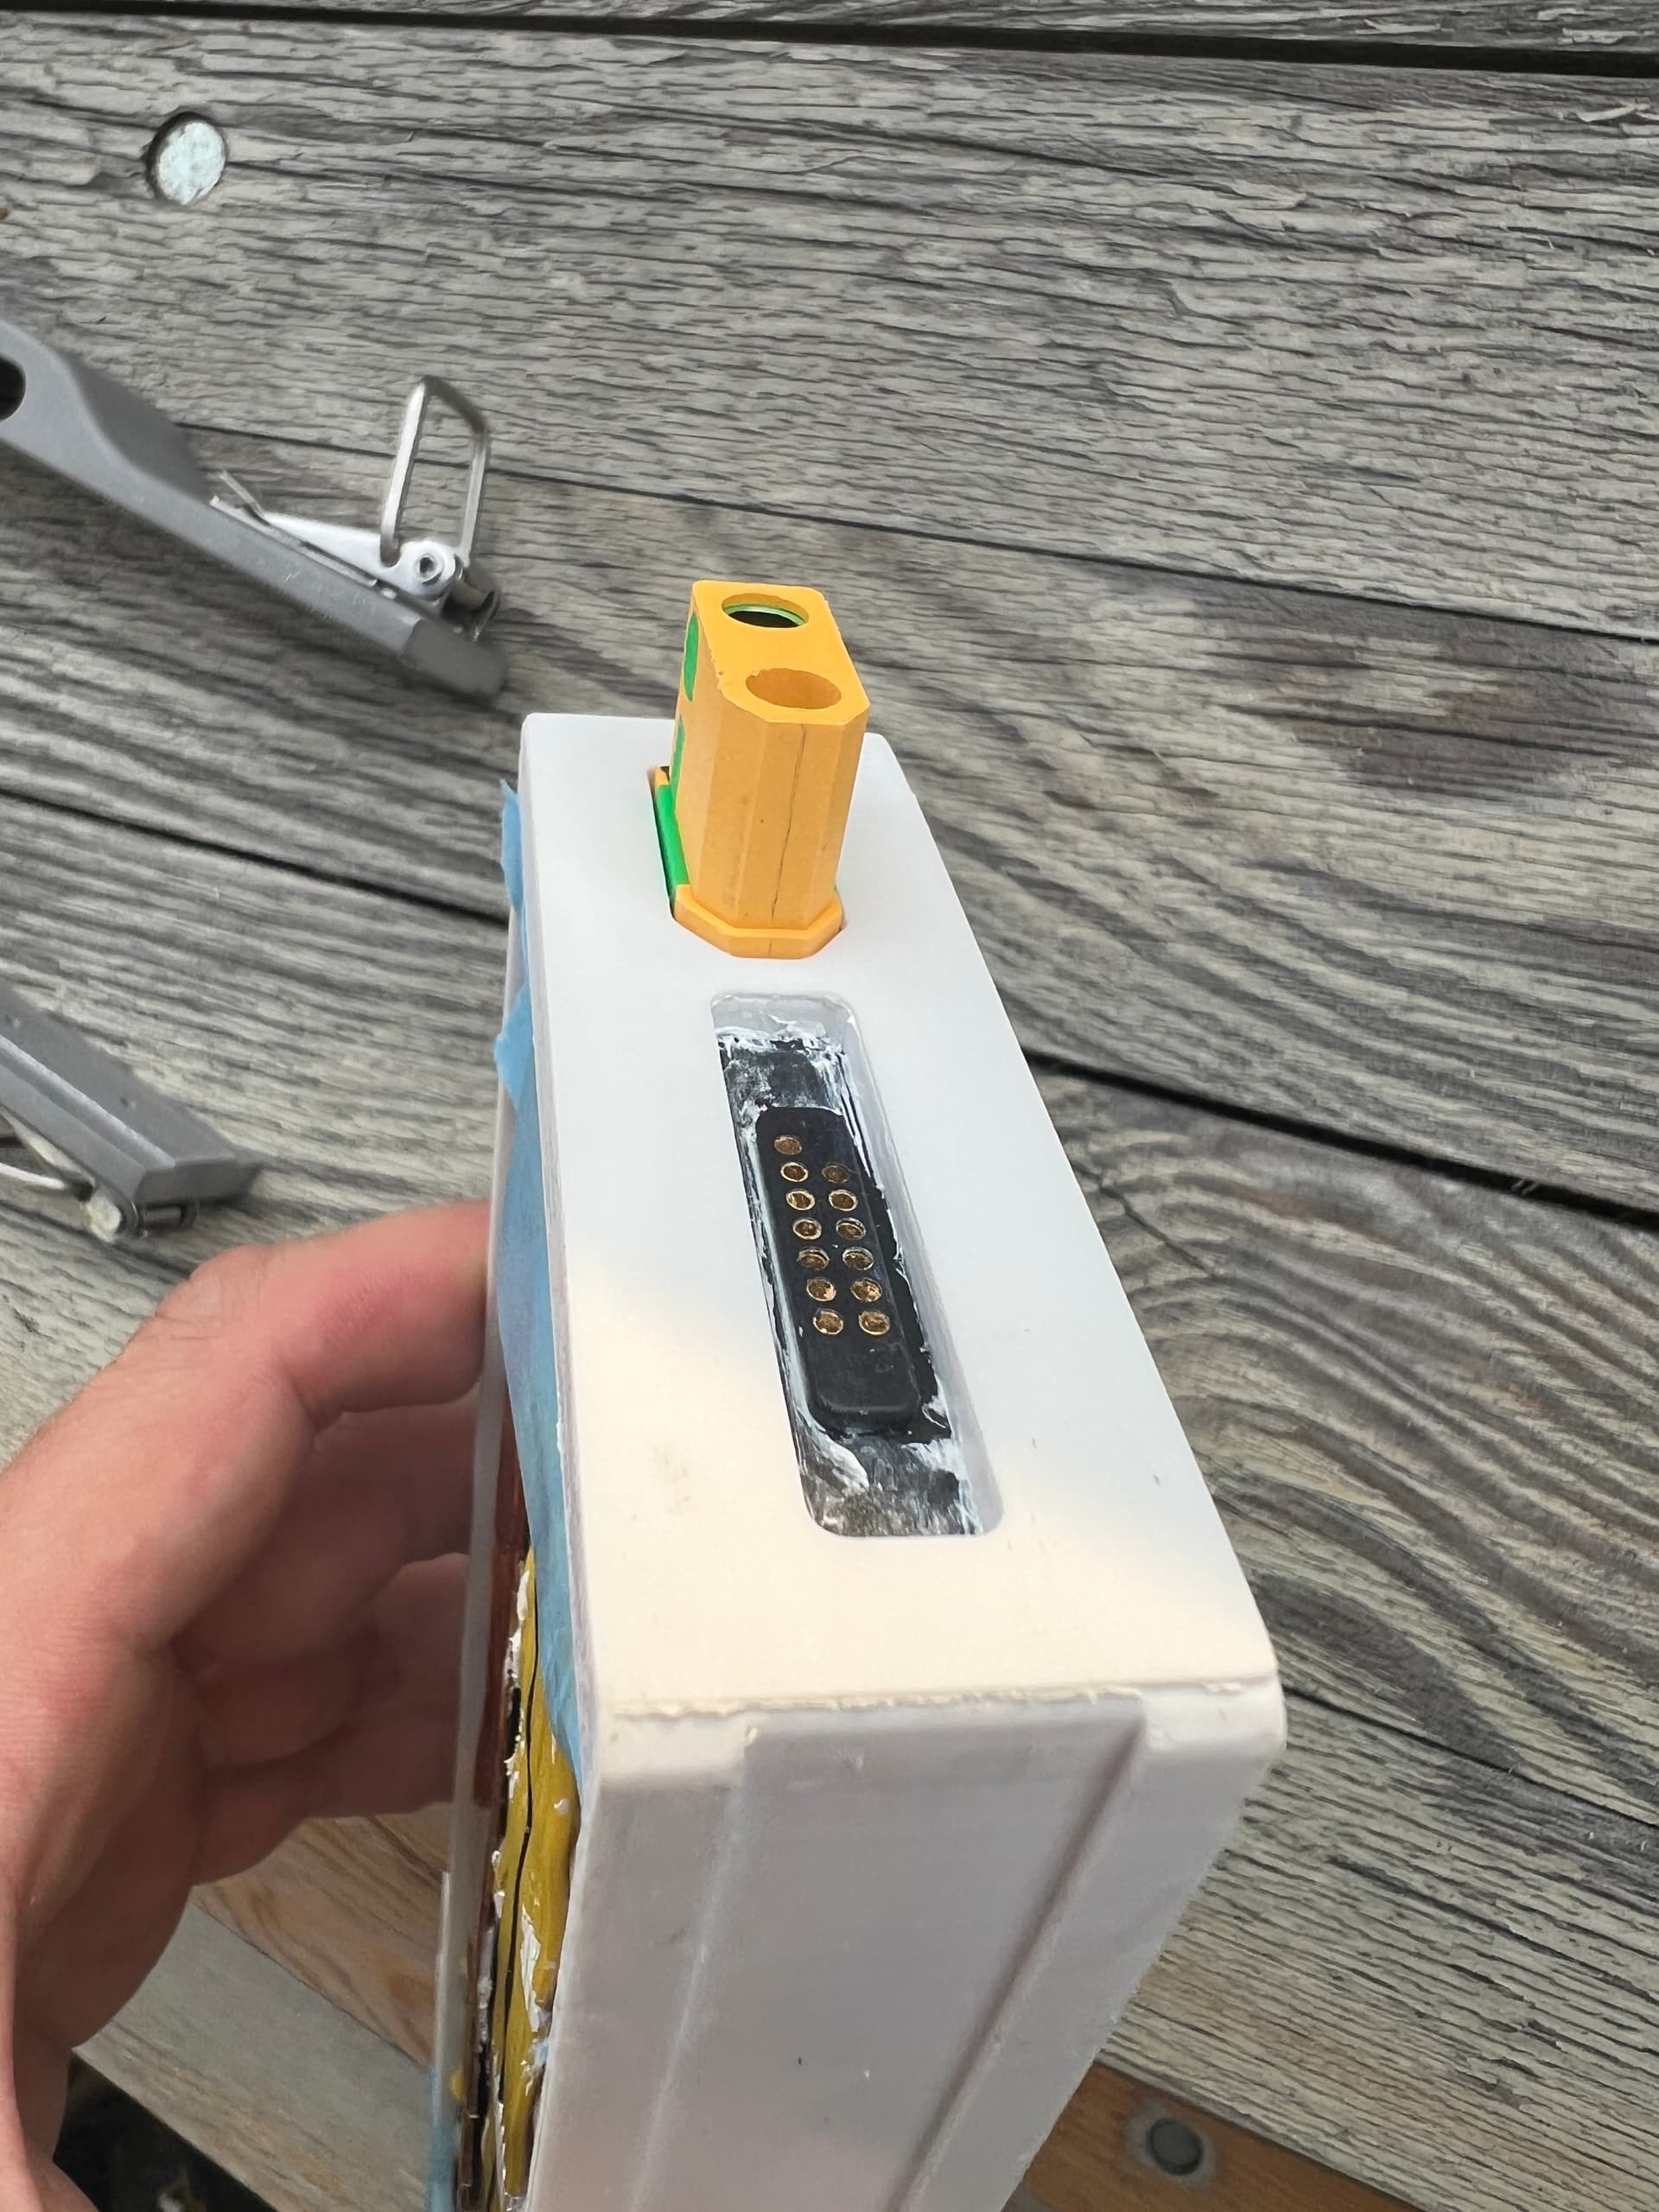
soldered the pogo counter part to the balancer cable for charging
printed the final battery housing, but it turned out little shorter this time. So printed a 0.3 mm spacer and glued it to the front where the connectors are.
UV- and waterproofed the print with Dichtol AM UV
sanded the front where the connectors are until I could not see any filament lines anymore. Then finished up with 400 grid sand paper. Hope this imporoves the seal
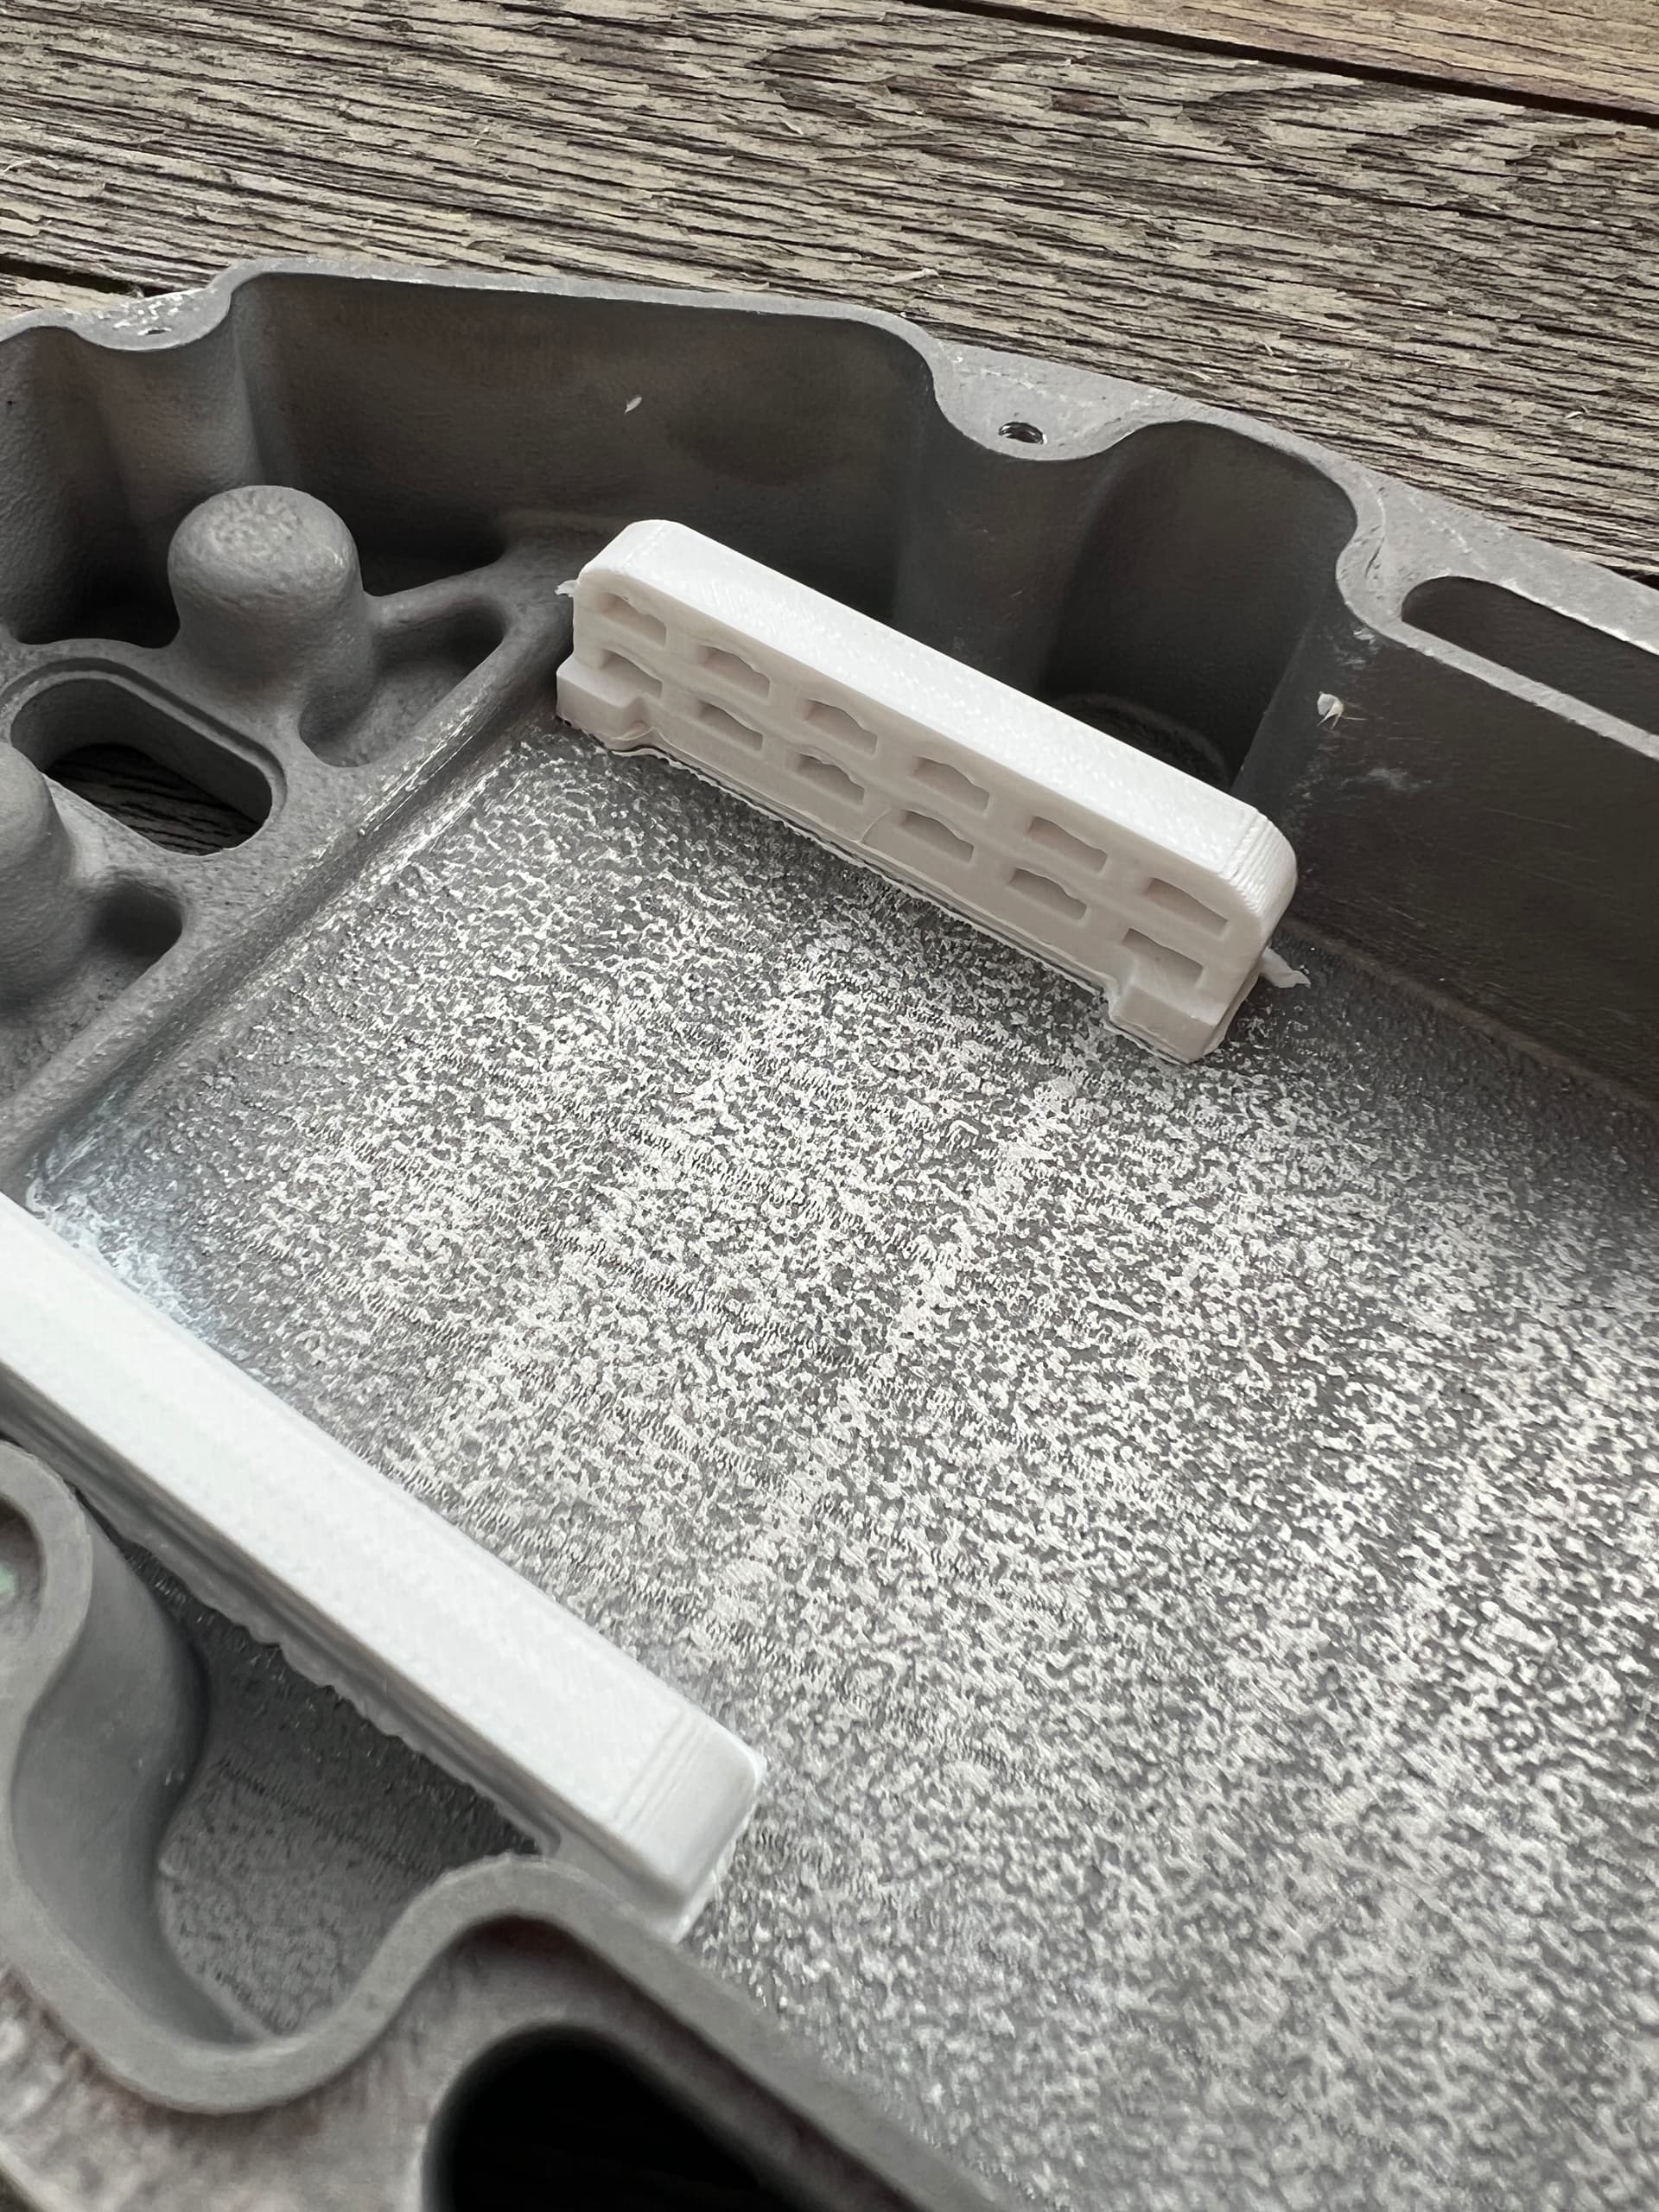
came up with a cable tie concept to mount the controller in the housing. Between controller and alu housing I will put a thermal pad
Edit 1:
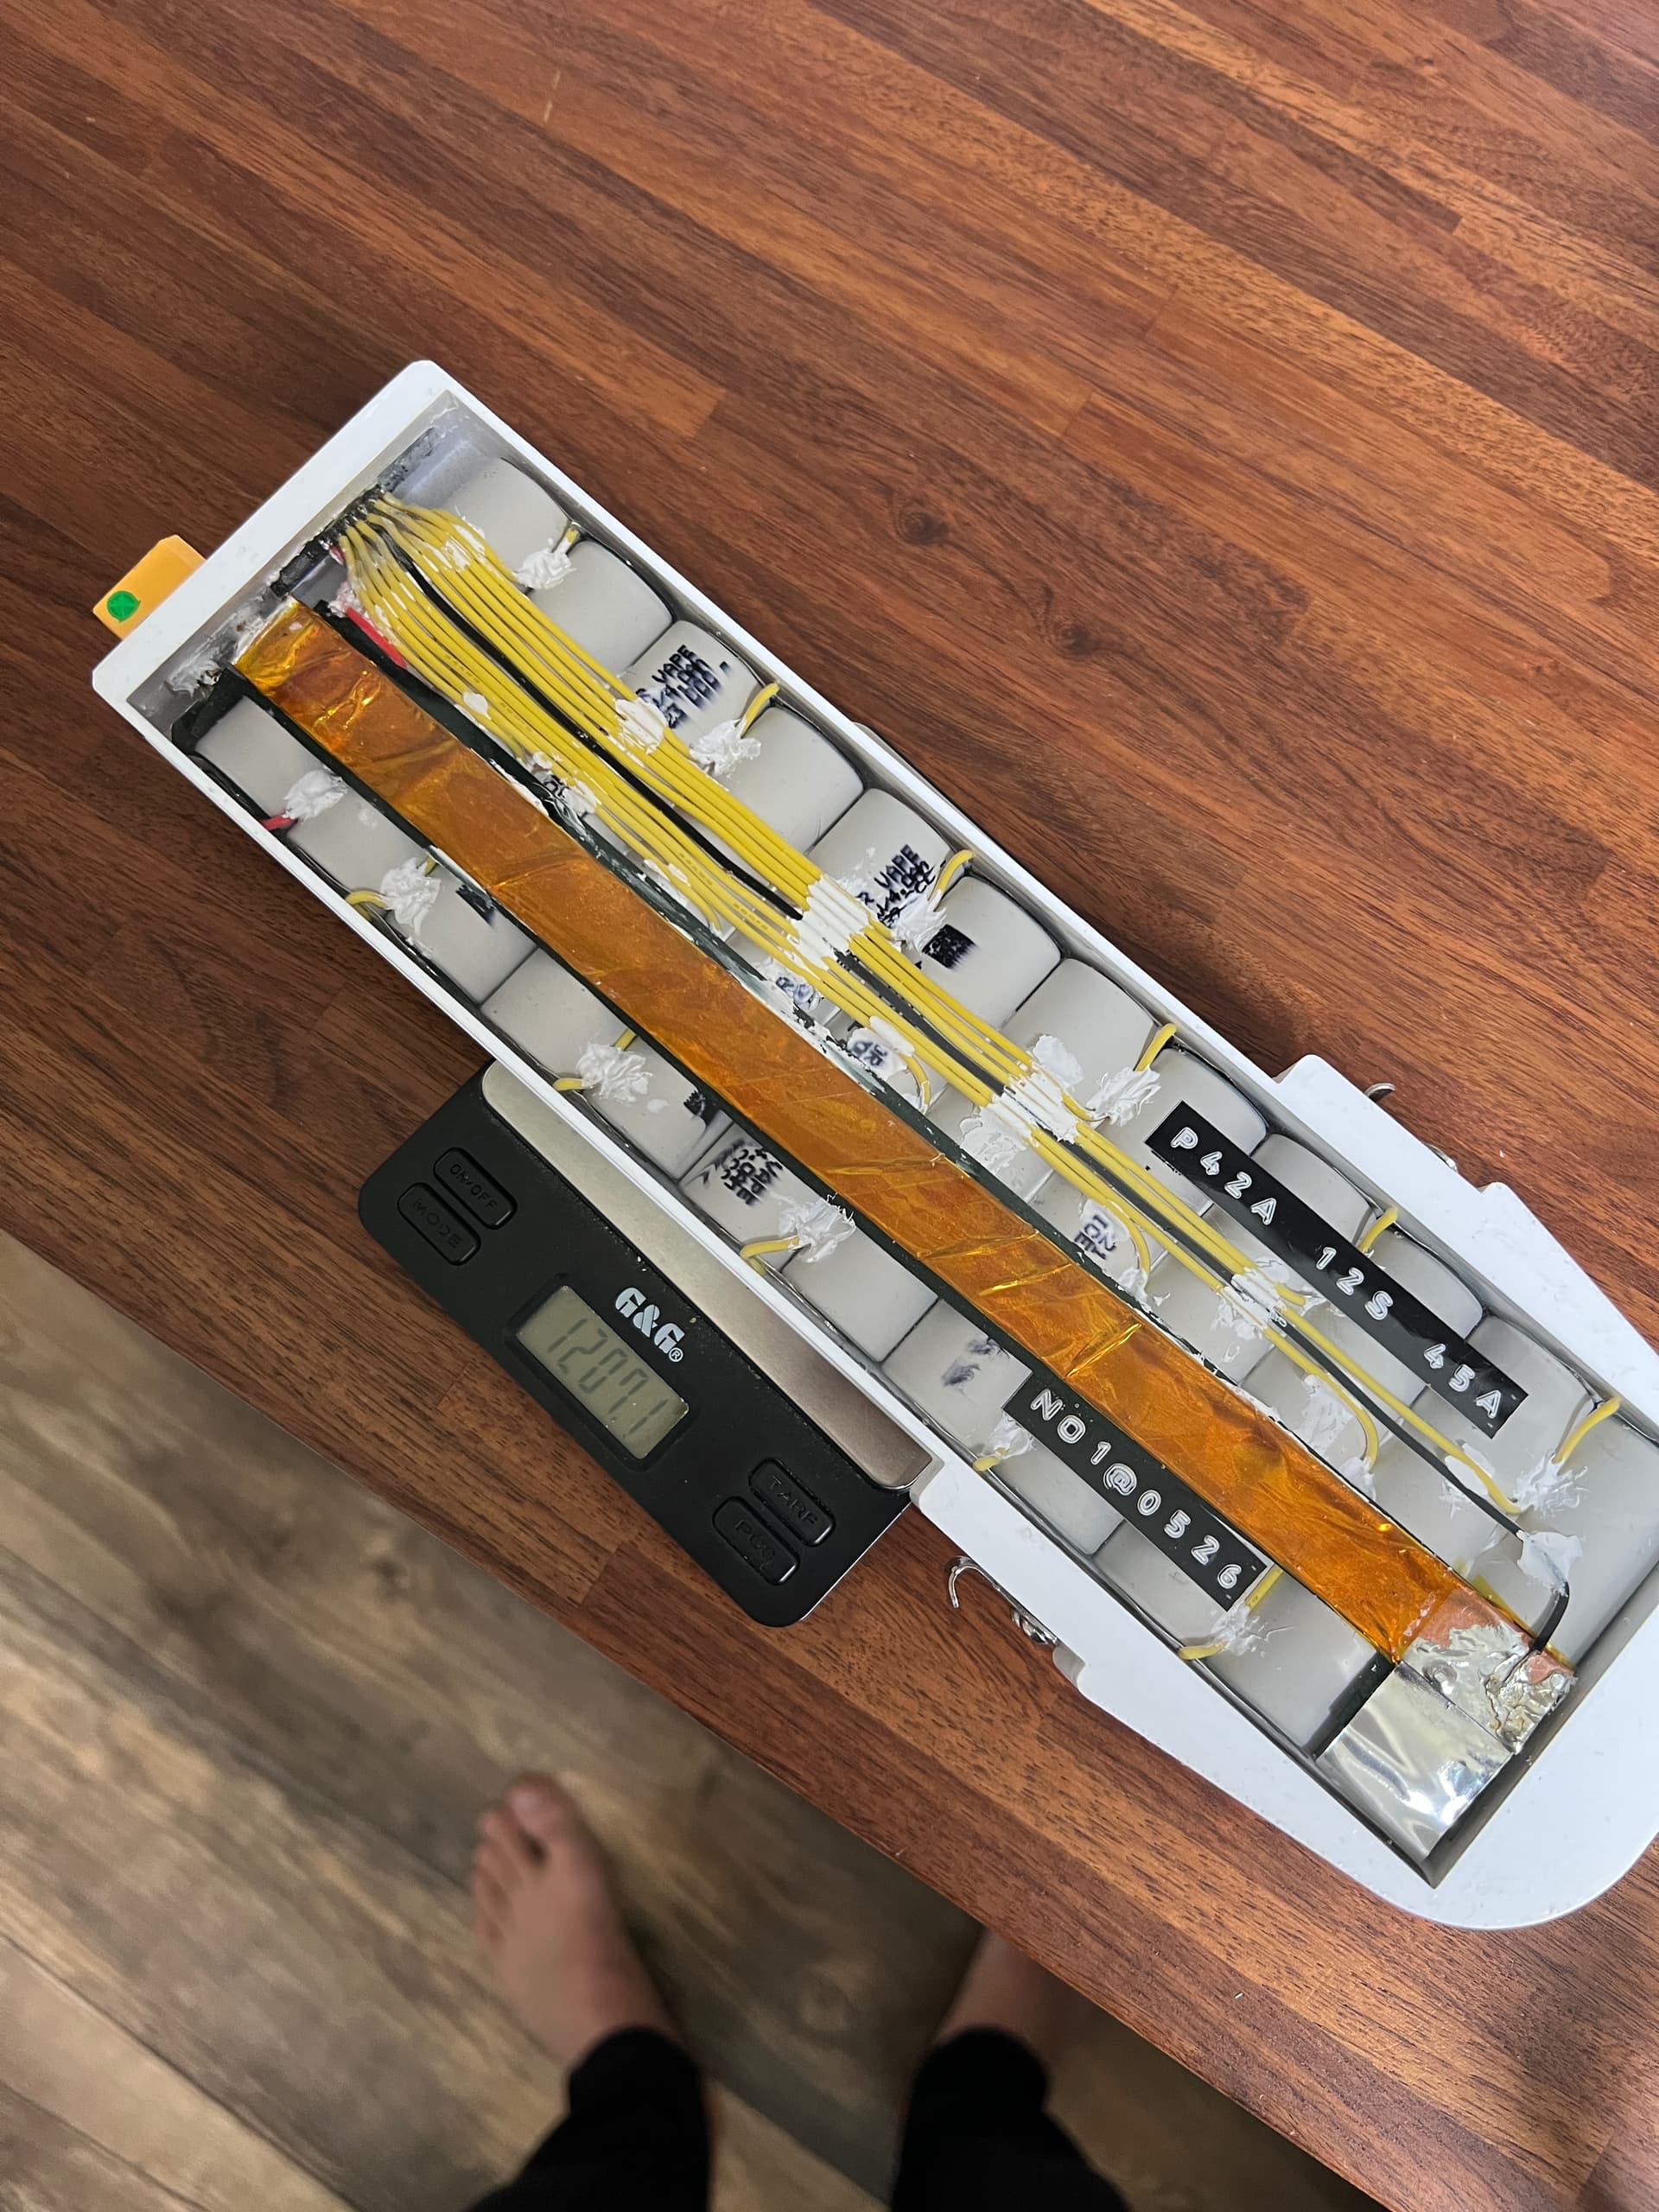
I have decided in the last moment today to poor the epoxy so it can harden over night. But I totally forgot that I should not poor too much epoxy at once or at least glue the cells to the housing first. The cells began to float. I was not prepared for that so I improvised quickly a weight to keep the cells down. Luckily I did not poor it completely.
Edit 2:
The battery is now fully potted. I landed at 1.2 kg. I forgot to measure it before potting it. But I have mixed approximately 230 g of epoxy and I have some left. I guess there is about 200 g of epoxy inside.
The dimensions of my battery are a bit different. Definitely a little bit higher.
I have also used casting epoxy like you did because it seems to work for you
Mine is from SK Resin. Resin 3221 with hardener 3200:
Unfortunately they do not have an English page and I am not sure if they are available outside of Germany. I have been looking specifically for a resin that can be poured in higher quantities and has low viscosity.
First I was looking for epoxy to cast electronics with better thermal properties. Those are usually higher in viscosity and this might become a pain. So I was not sure about that. Might be worth a try:
Or maybe going down the PU road next time. Here specifically for electronics and UV stable:
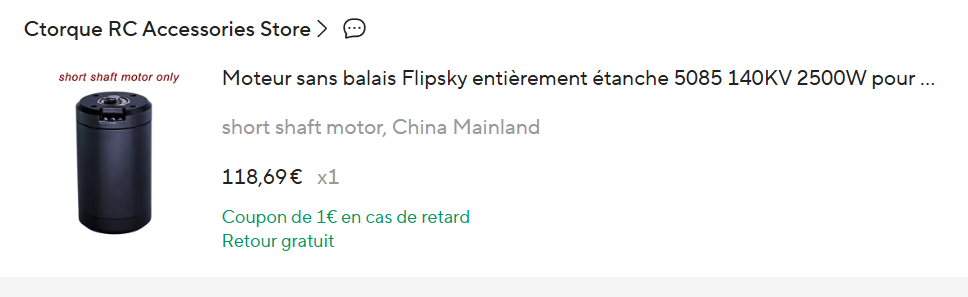
Ah great, I was also reading in his thread about this motor. I was curious about it as our power output is limited by the battery to somewhere around 2 - 2.5kW anyways. But I have no idea yet how the smaller motor might translate to our torque demands on low rpm.
Do you think it is enough to flat water start your Slate? I have almost the same board as you (Slate SW in 4’2" 35L).
Yew I think it is enough for flat water start with small board at 66kg/1600cm2 foil, but any chop or headwind will render it a pure wave/downwind start mechanism.
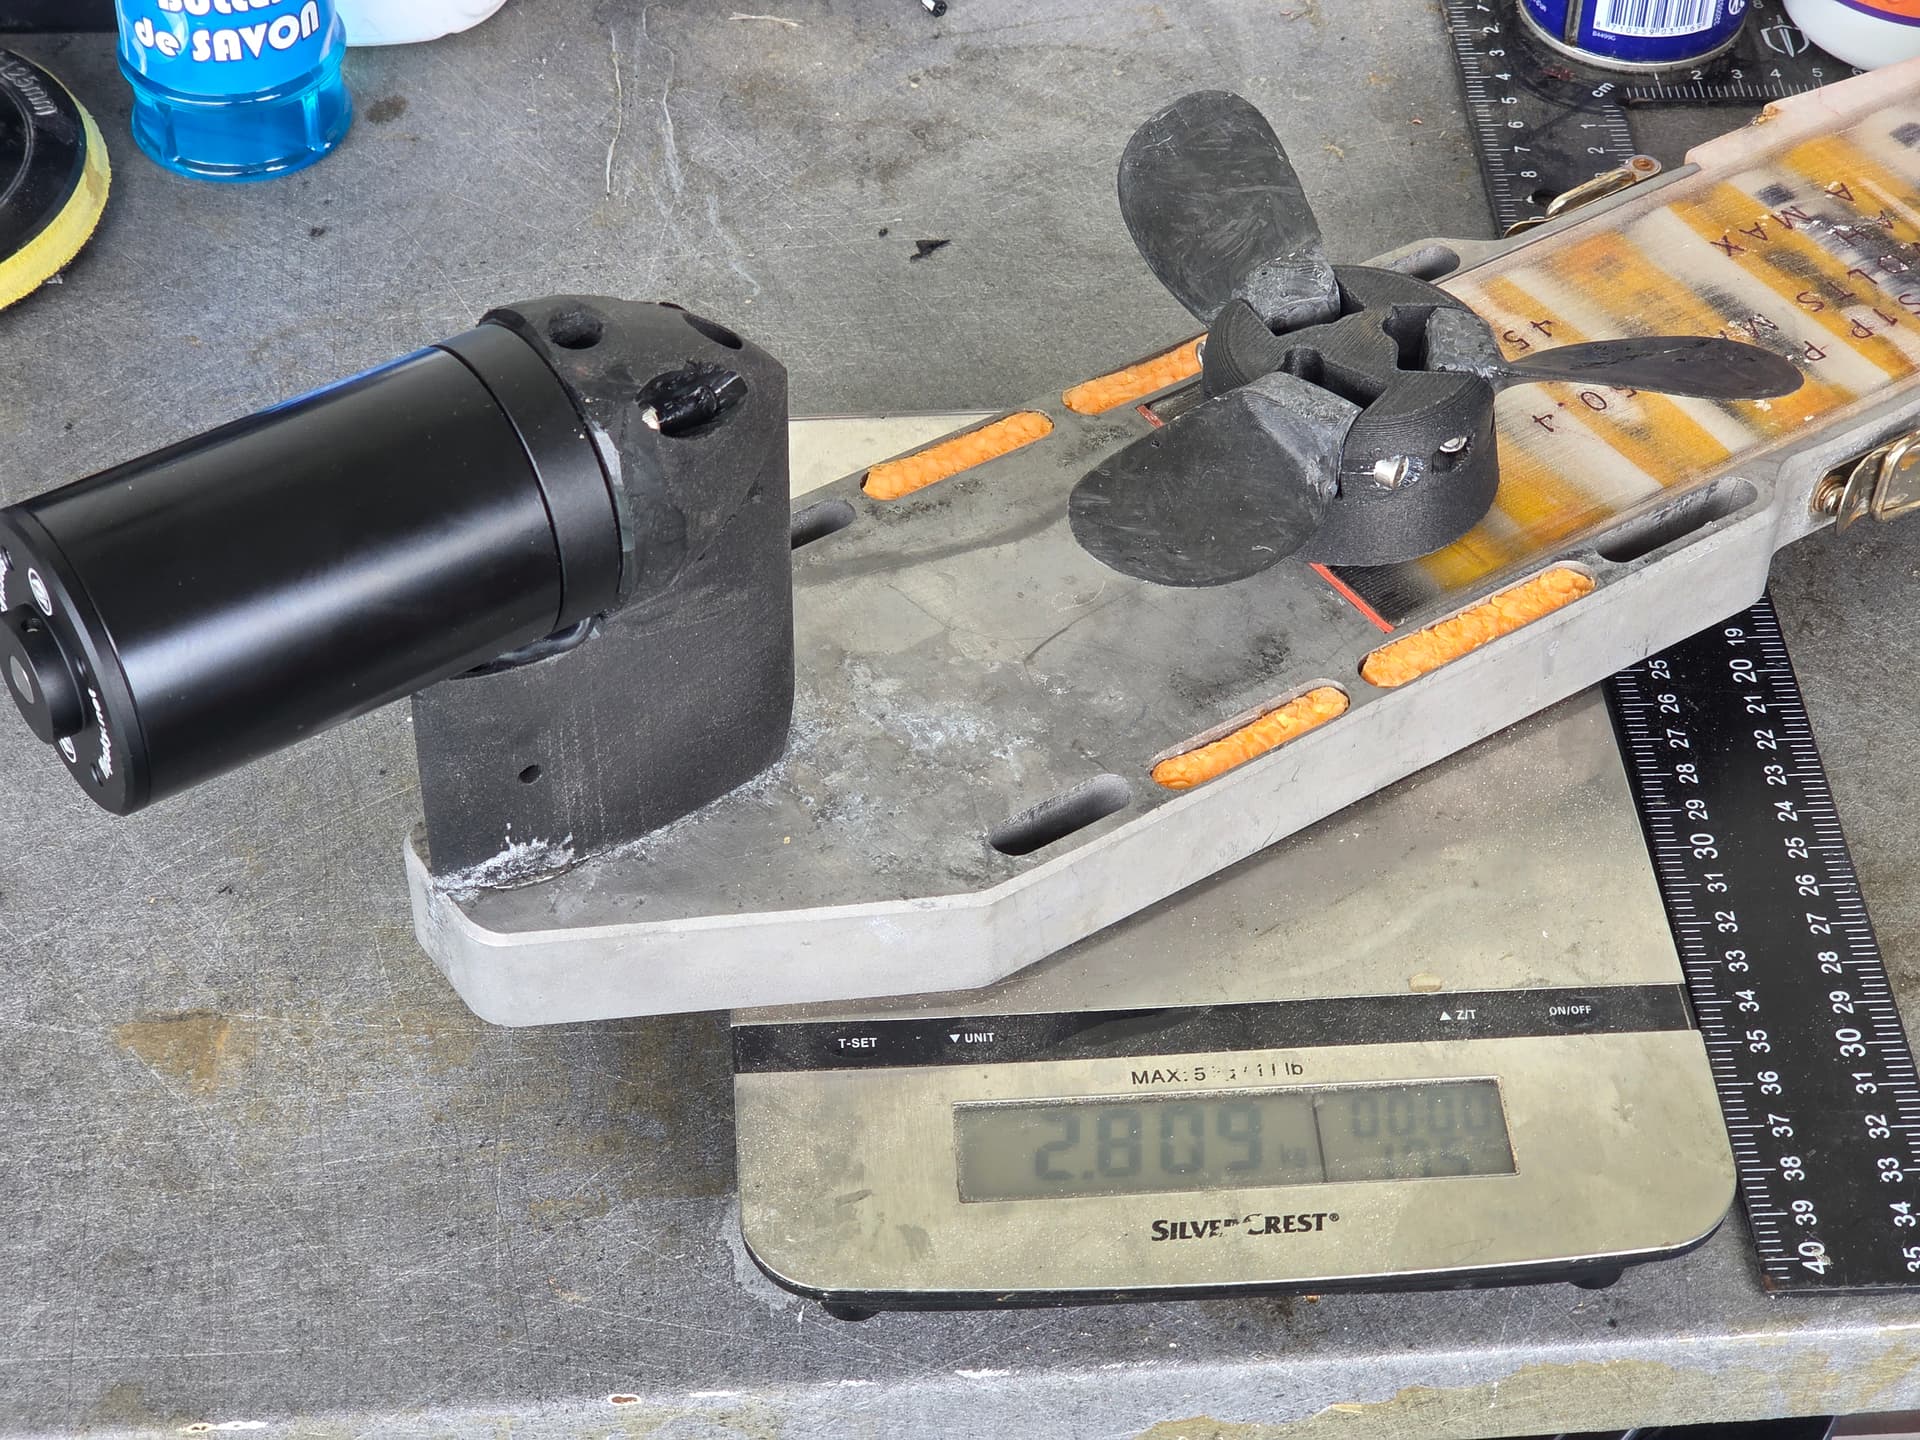
Will confirm that when I test it, and also weigh savings.
By the way, I have been extensively practicing sup flat start over the last 6 months.
Had first sucess in December with indiana 1396P (high surface and volume).
Then I tried to transition to my barracuda xl 1600cm2, but barracuda are fast and thin foils, not a lot of low speed lift. I had a few starts with waves or back wind but no flat start sucess.
Got a loaner condor M, slightly more surface than barracuda xl, but much thicker and slow stall tolerent, had 80% sucess rate after a few sessions, “easy” to get up when you understand how it works (8-10 strokes)
In the last month or so, I have been practicing with barracuda xl again and got to around the same 80% sucess rate now, needs 15-18 paddle power strokes to get going.
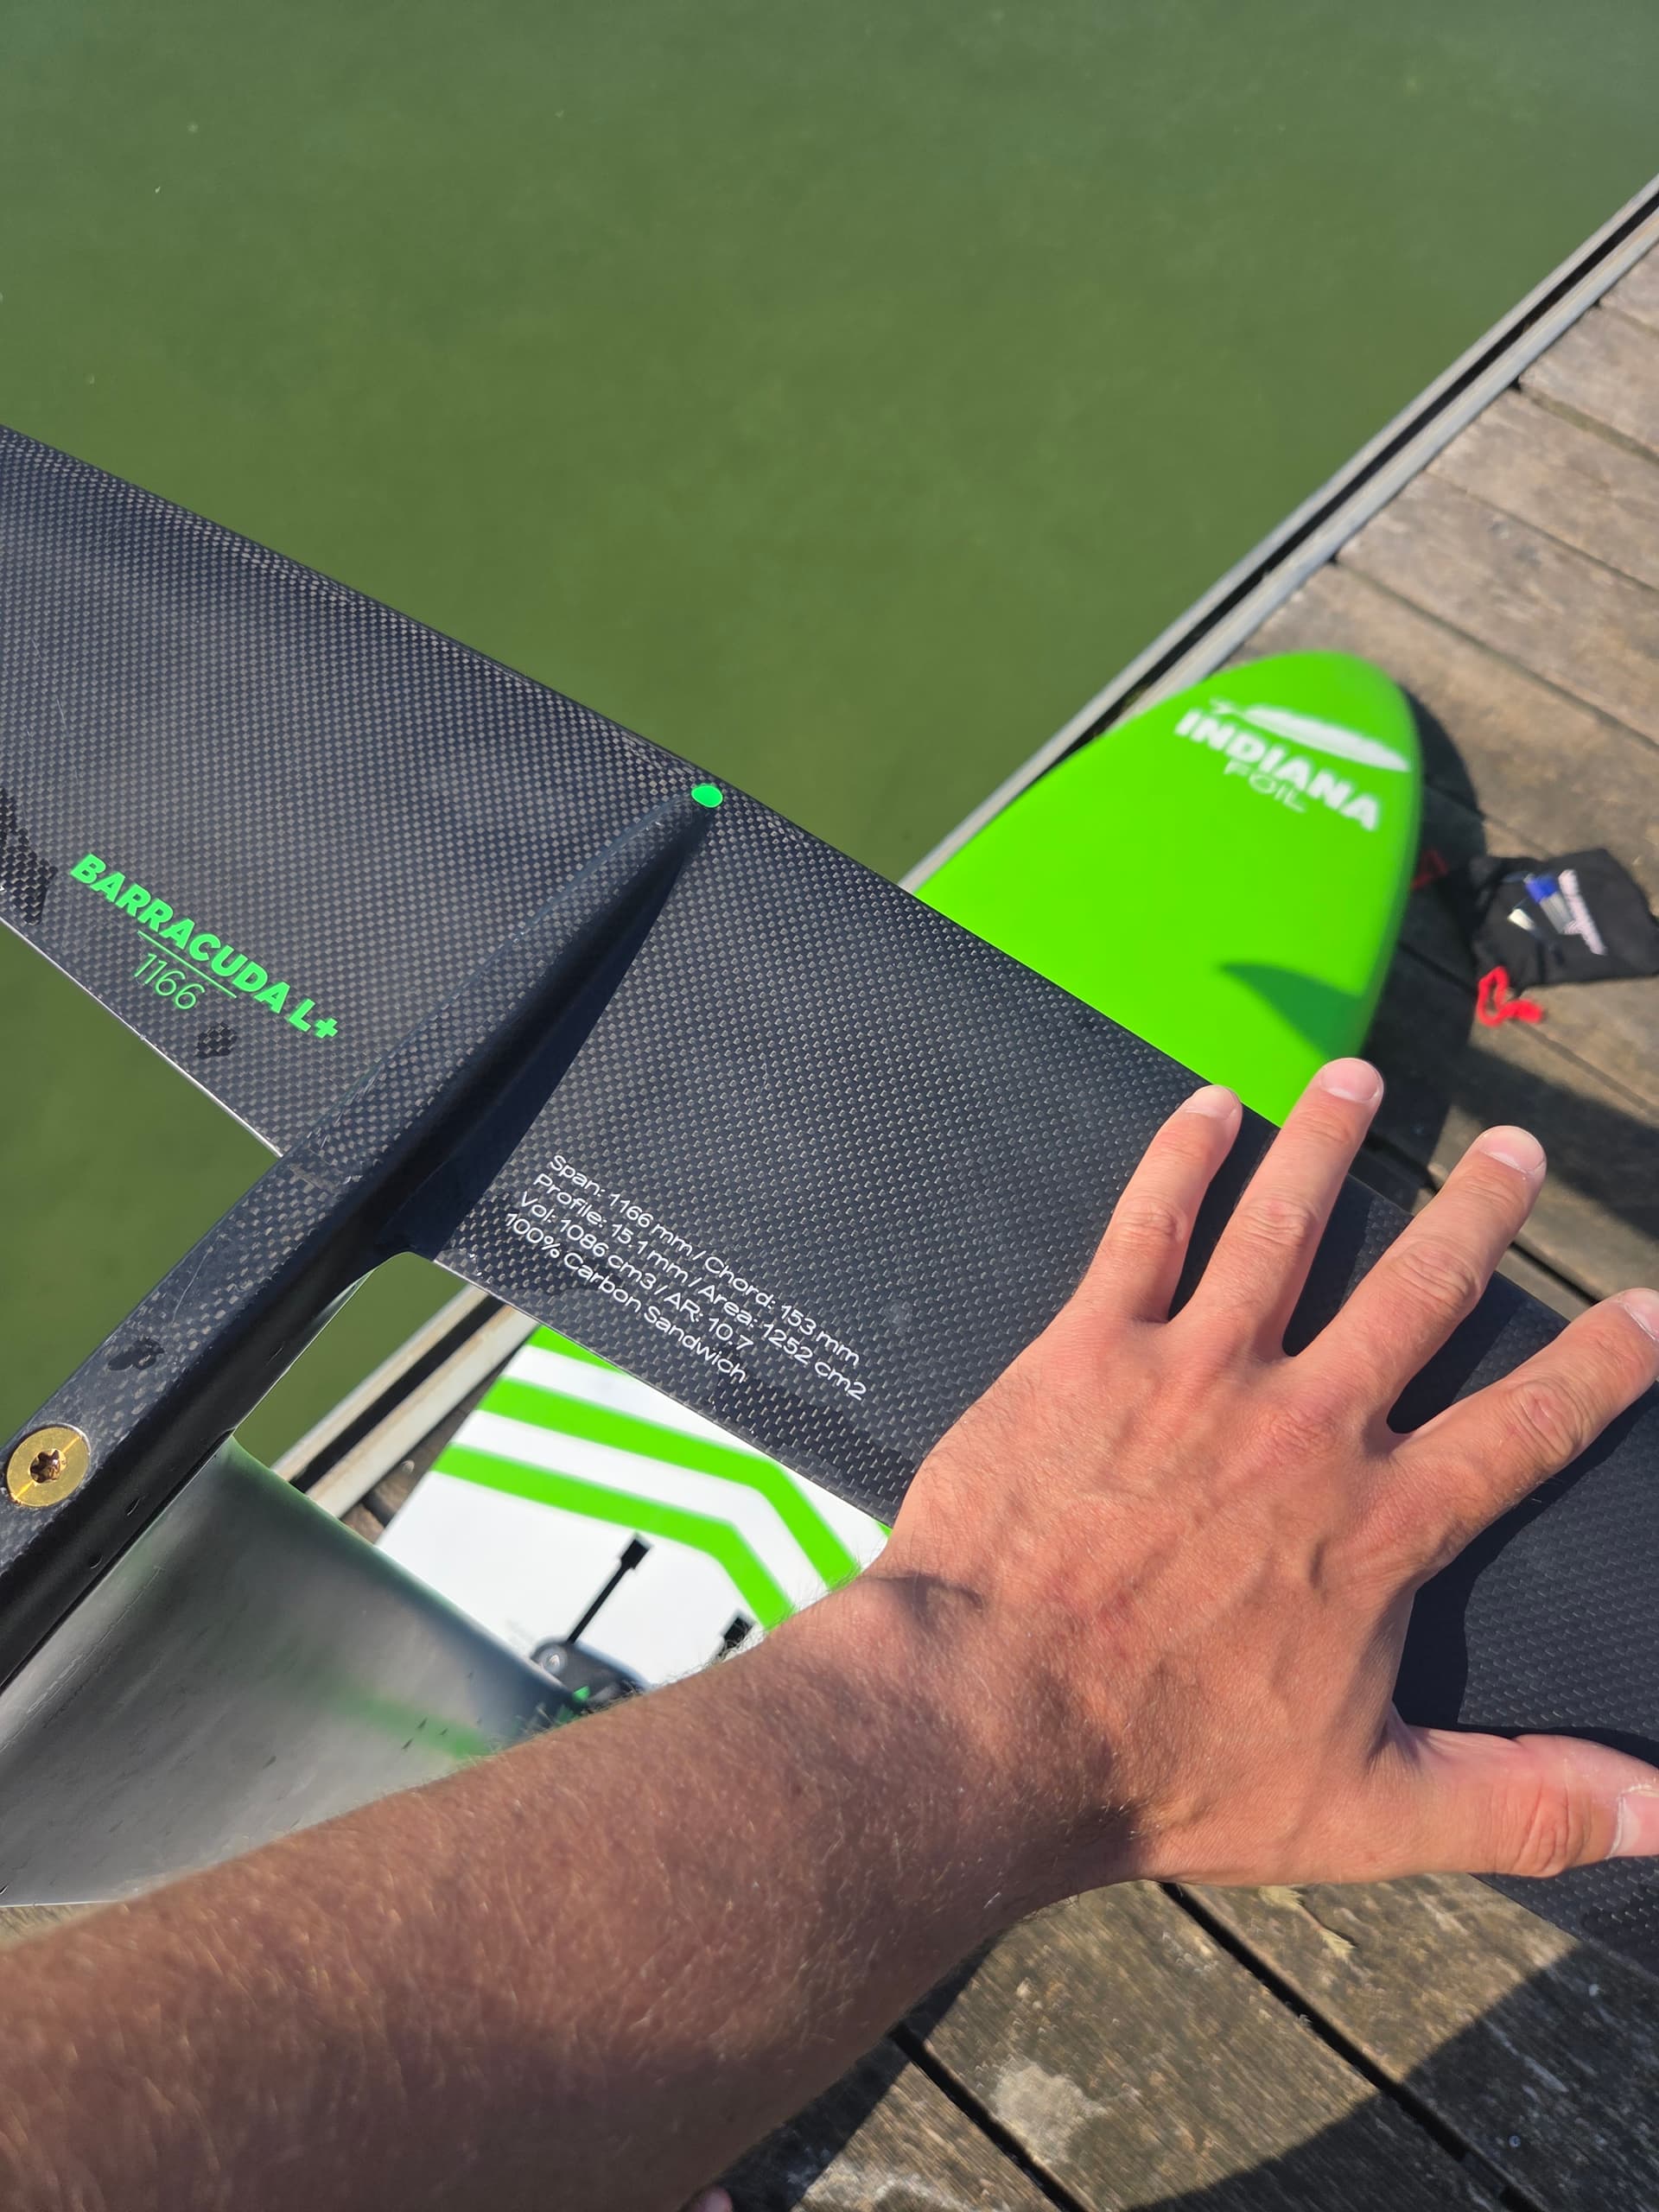
Now the challenge is on the barracuda L+, after 10-15 tries over 2 sessions I finally got it started once today it took 28 paddle srokes
Have you tried using your 4’2 with assist and parawing?
Basically using the assist to get on foil and then the parawing for upwind. A small 3qm or 3,5qm parawing could be the single parawing for all conditions when the starting is done by the assist. I have not tried it myself. Also I do not own a parawing yet. But owning just one board for everything and getting rid of all other boards is a compelling thought.
Some progress on my side:
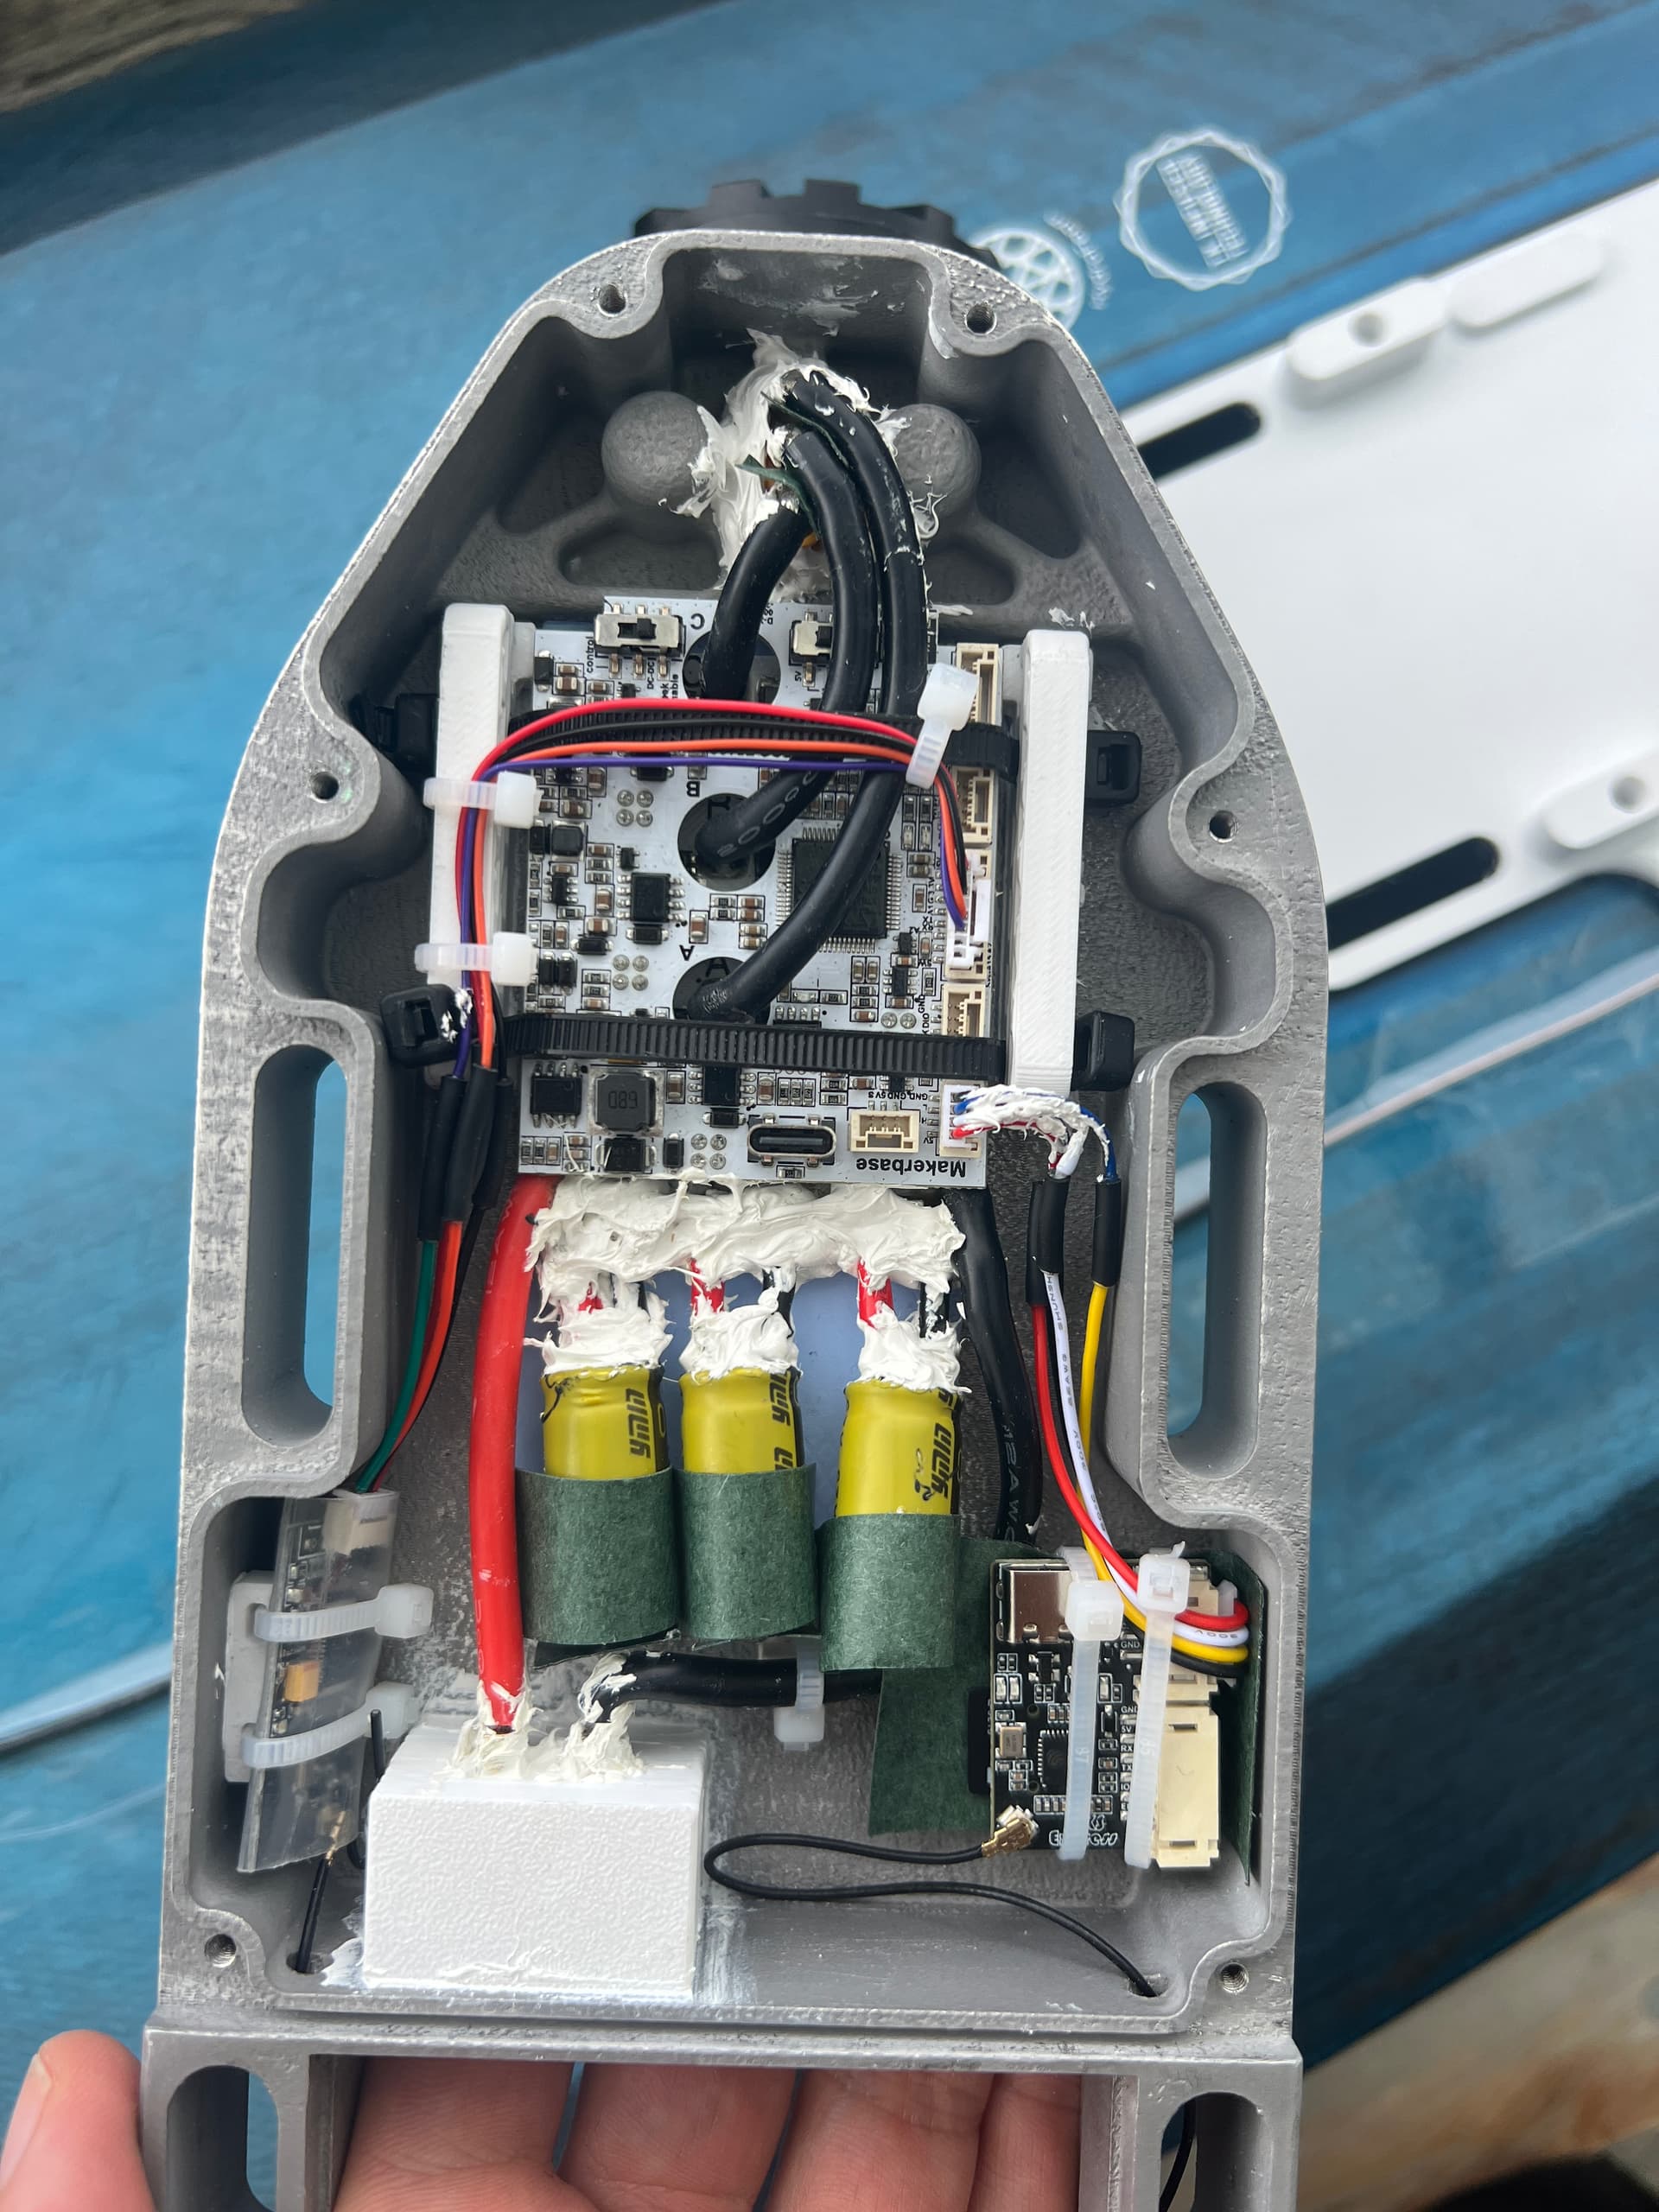
wired everything up
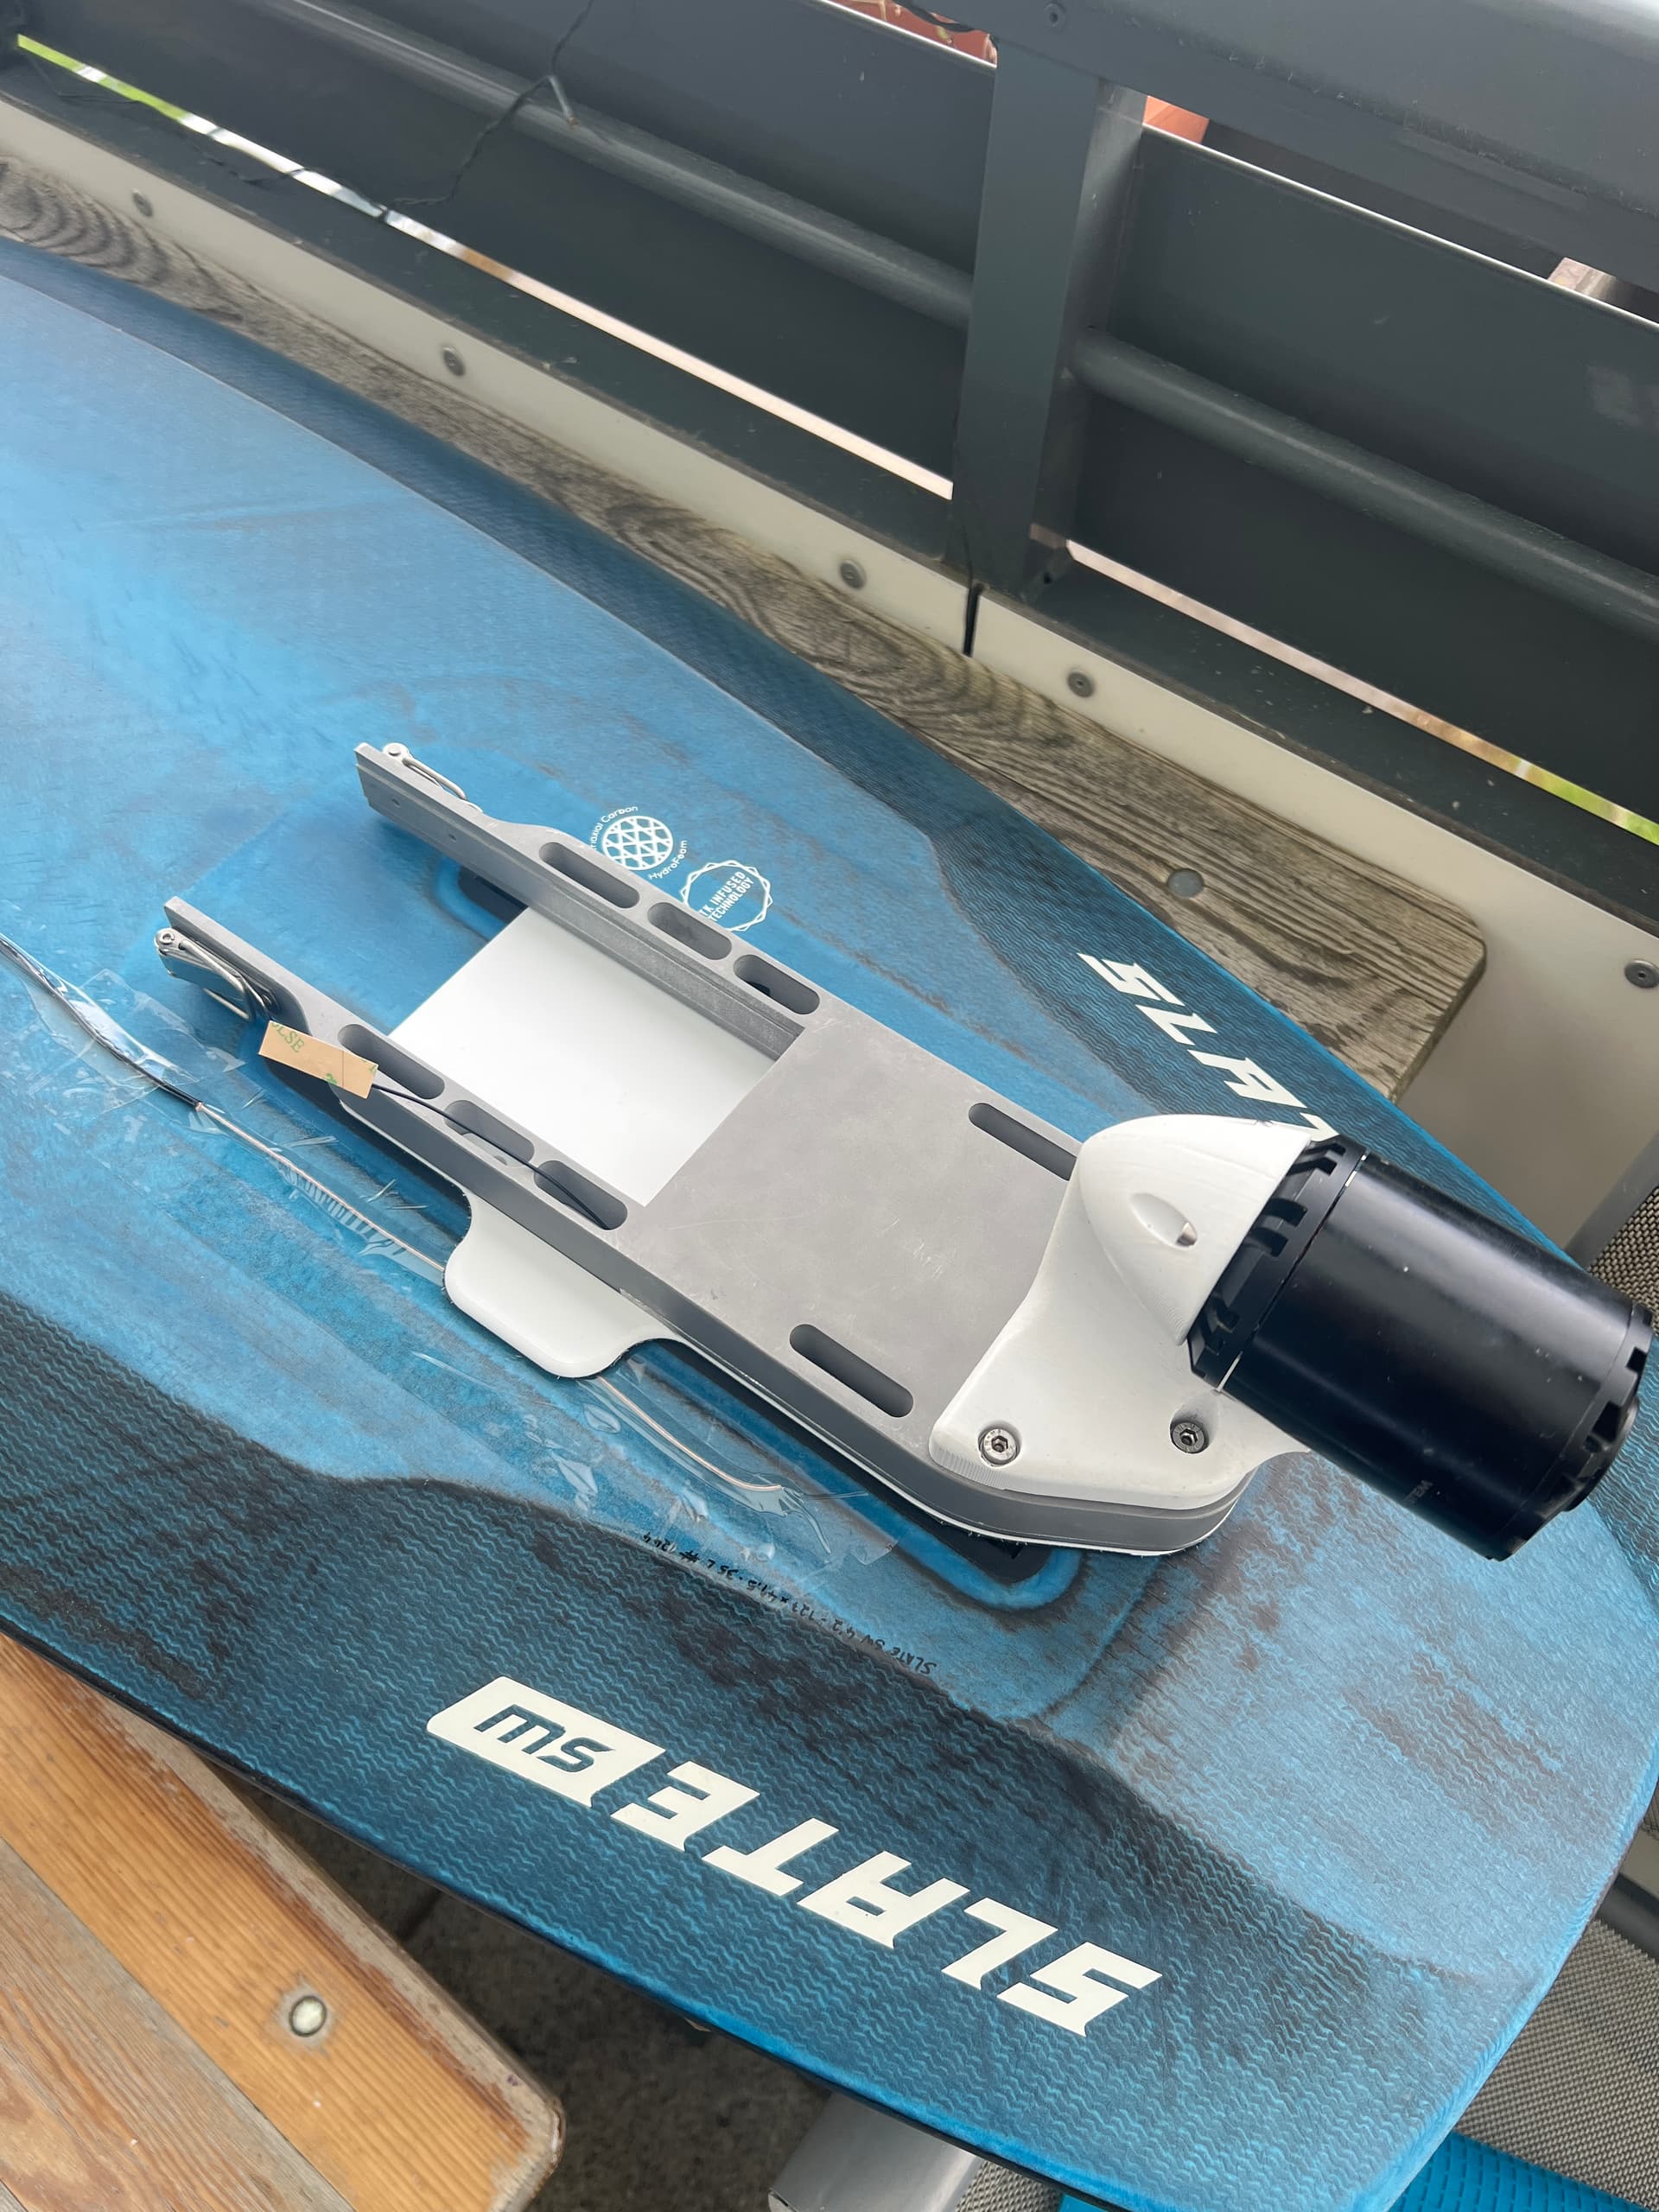
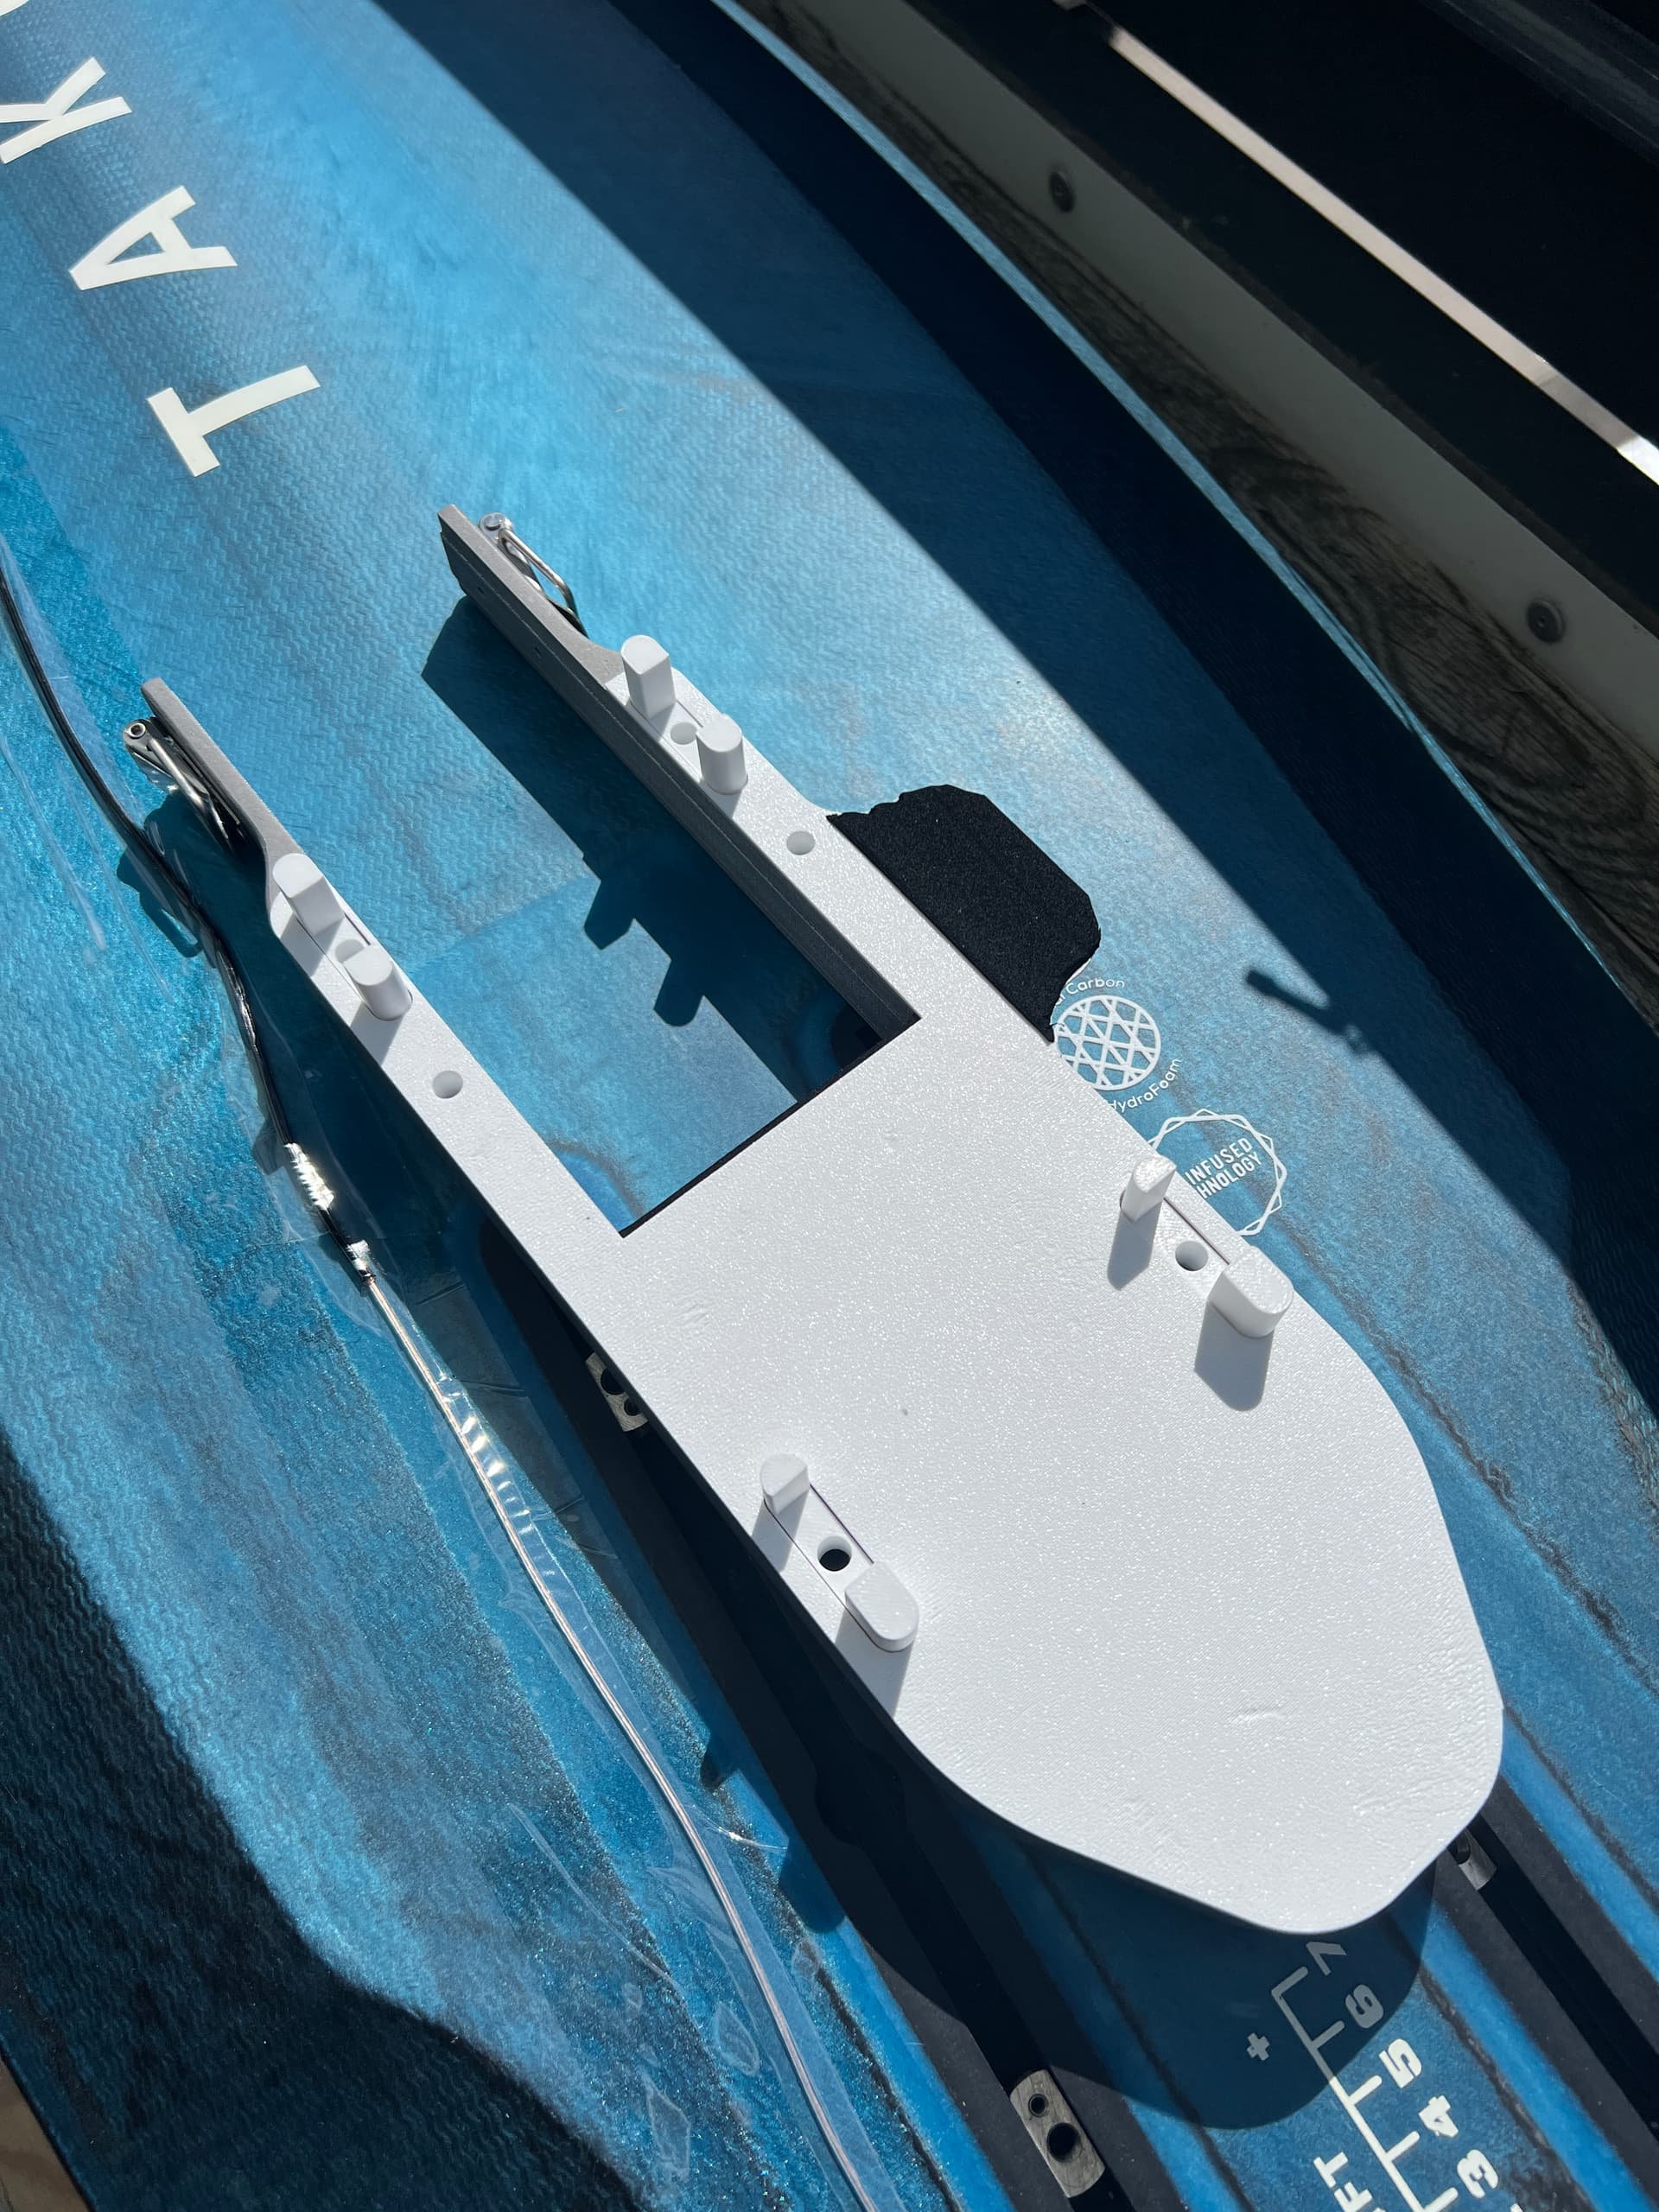
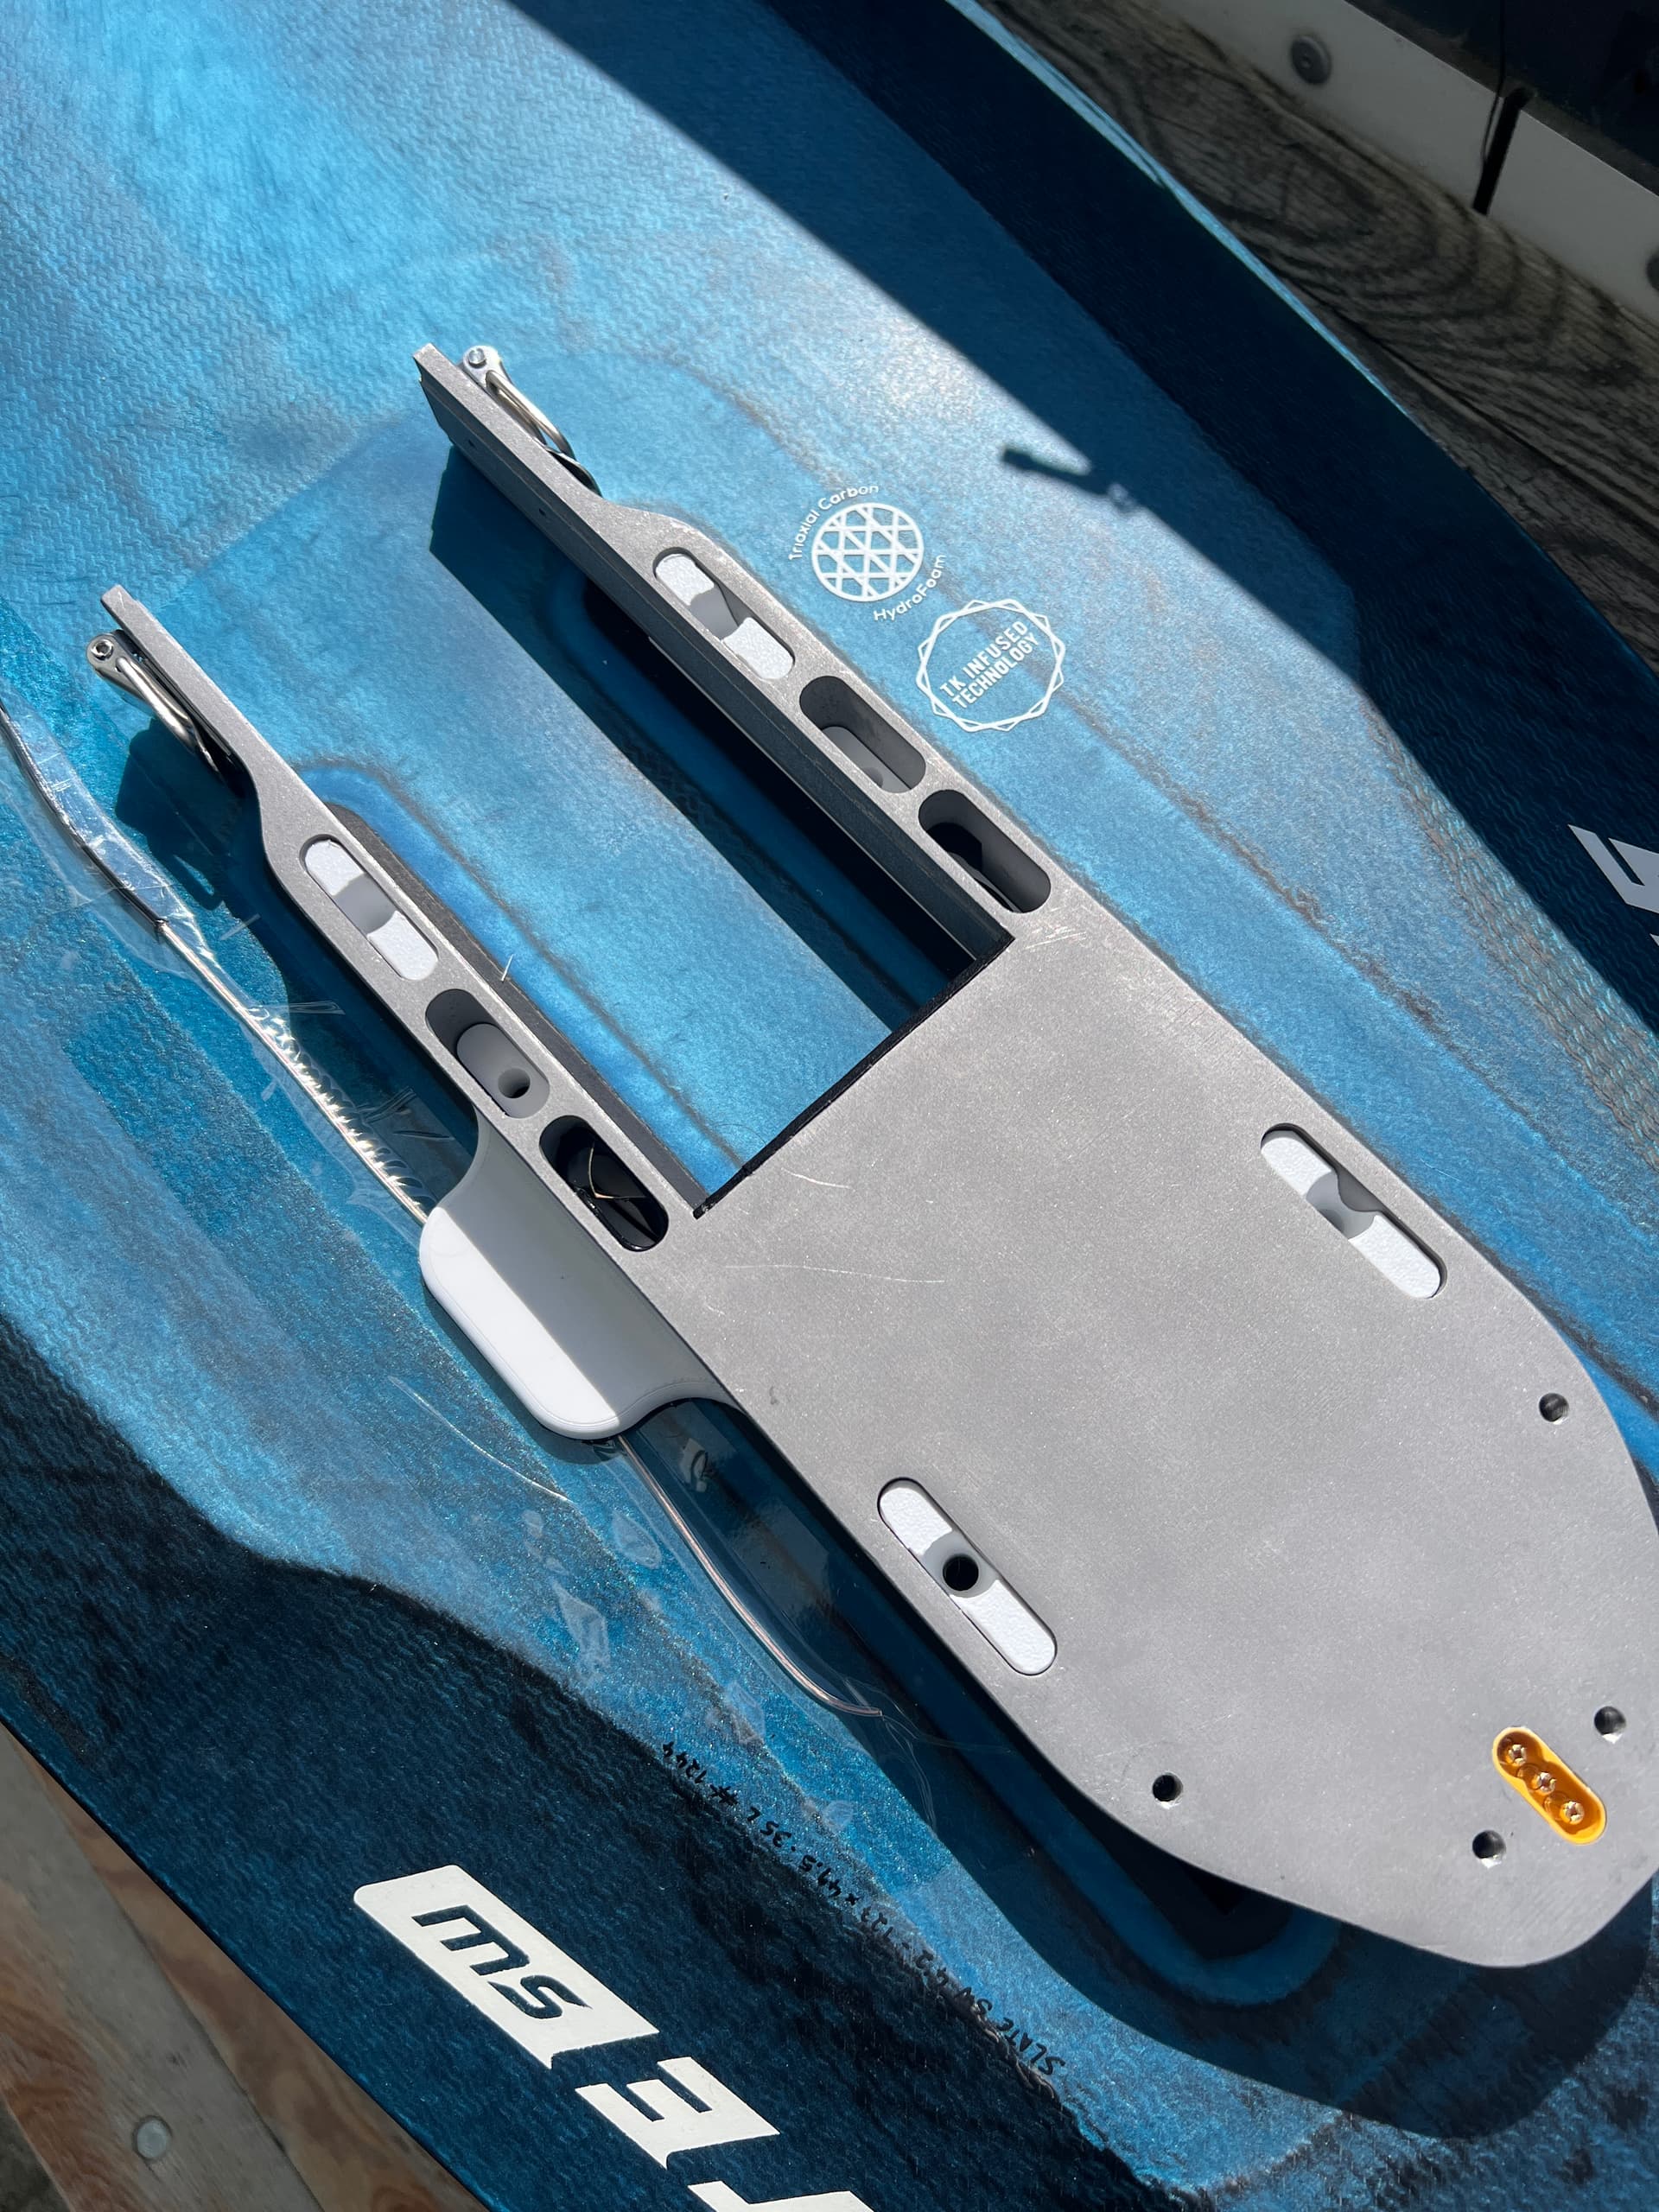
designed a FD inspired antenna reception plate
Another design mistake has shown up: The two screws of the motor pod just below the motor are hard to reach.
Todo:
put silicon into the hole of the alu housing where the antenna is located
pott the electronics with magic gel
Currently I am waiting for the silicon, which is unfortunately delayed. Hope it comes tomorrow so I can do on Sunday the first water test.
The antenna plate has an eva pad on the bottom and it presses against the external antenna. The internal antenna will be potted in silicon and press against the antenna plate. I hope it will work out this way regarding the reception. My aim is to have an external antenna solution that allows to move the foil / foil assist unit. Also thinking of adding an mechanism to attach the unit to the board so it stays on the board after removing the foil mast.
Nice, the antenna plate is something I wanted to do, to avoid damaging the antenna with the screws and make sure signal is perfect evry time.
I tried parawing with the small board only a few times, but not in ideal conditions, and I ended up with the parawing wrapped up in the blades once
Luckily, no permanent damage to the PW or assist, but I did not have a great time.
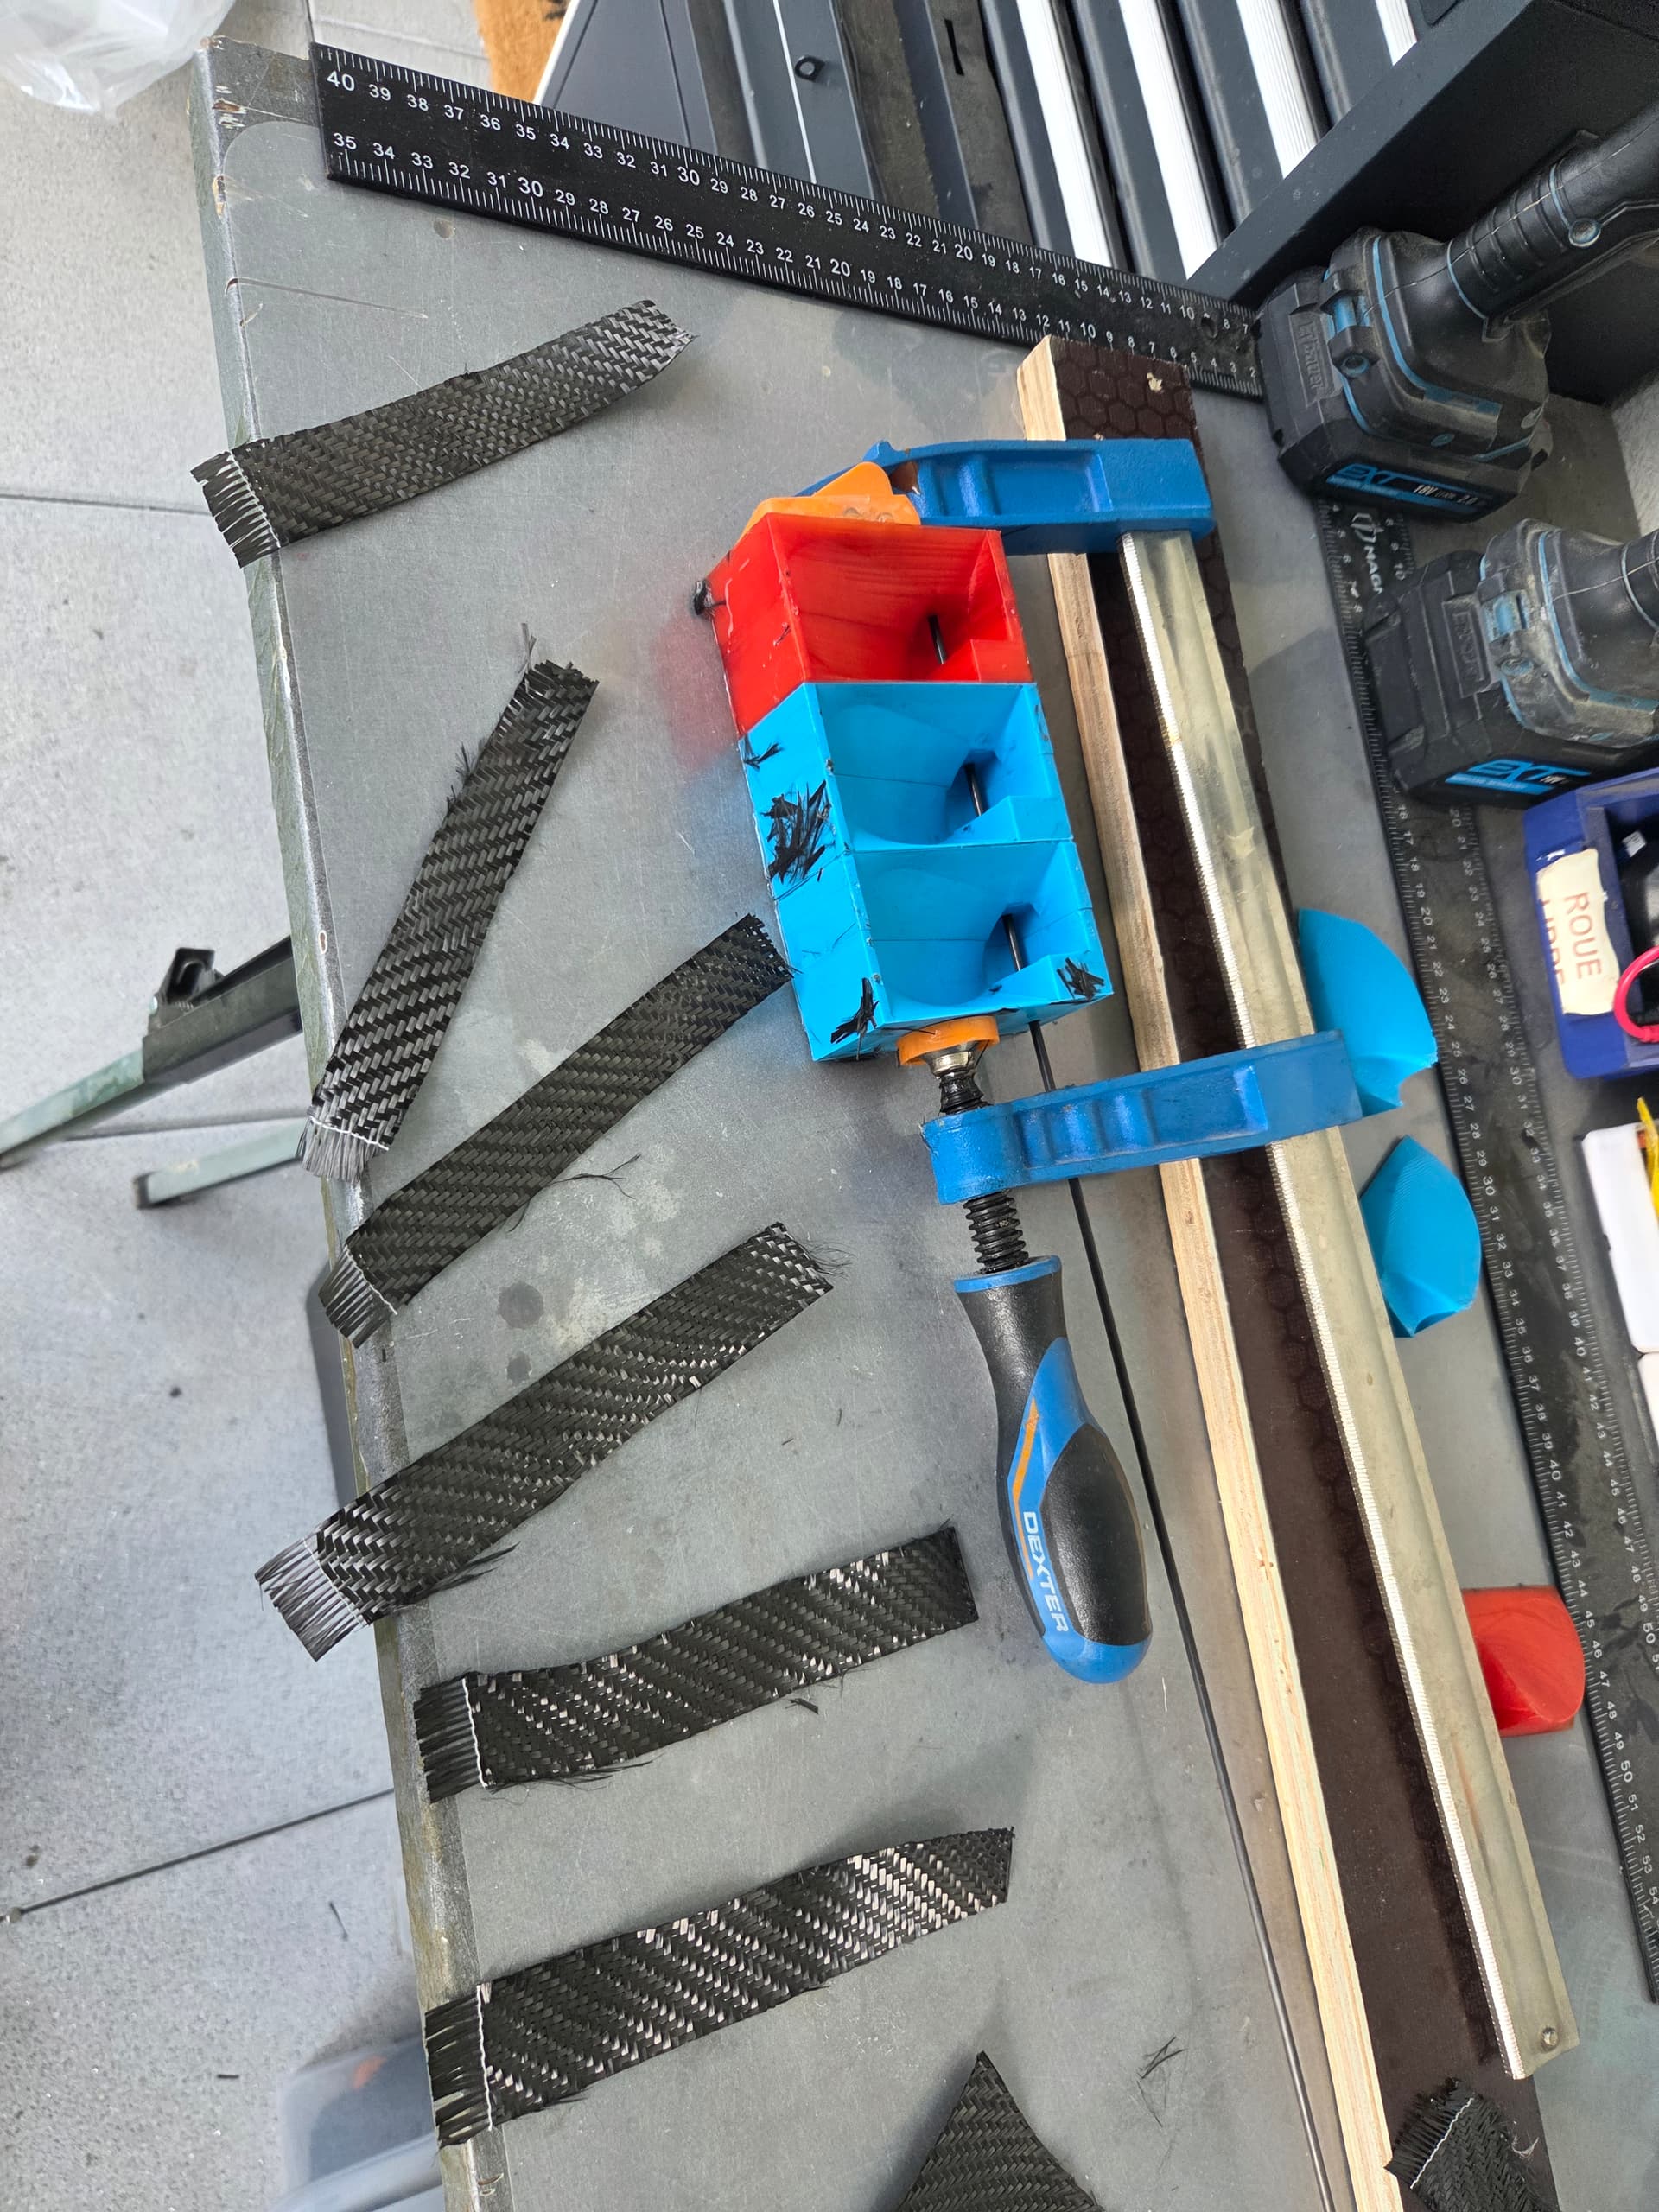
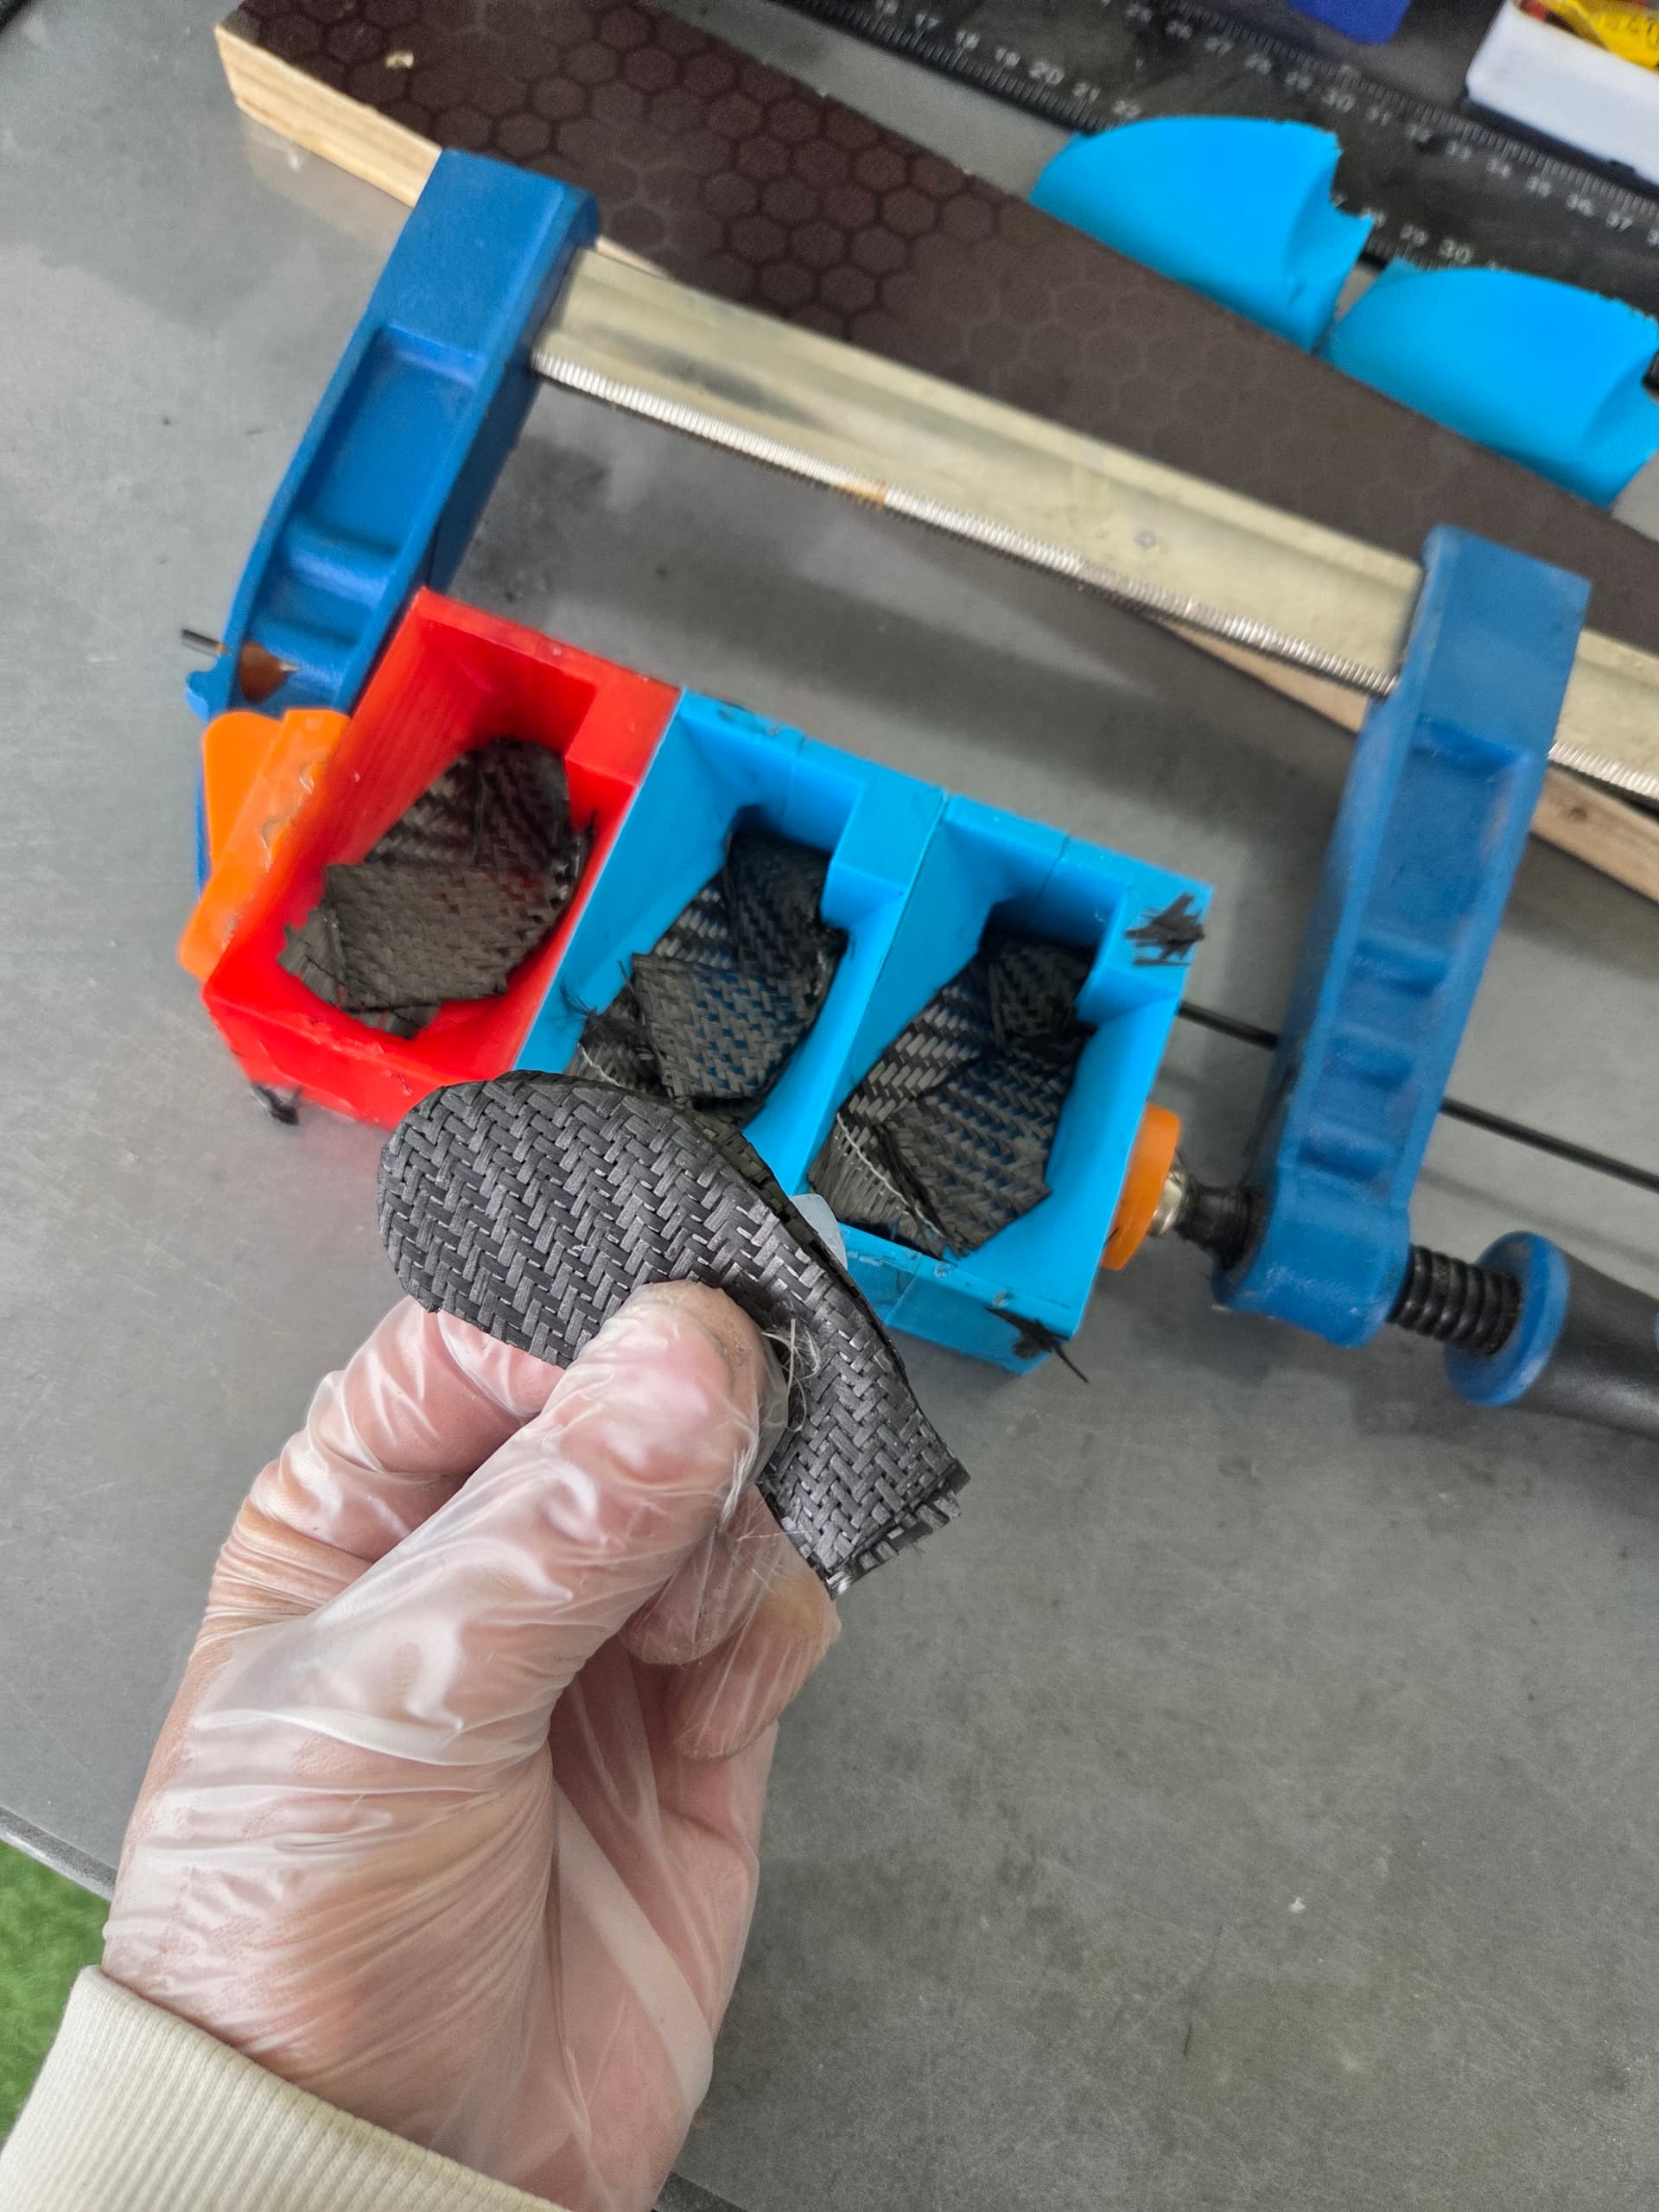
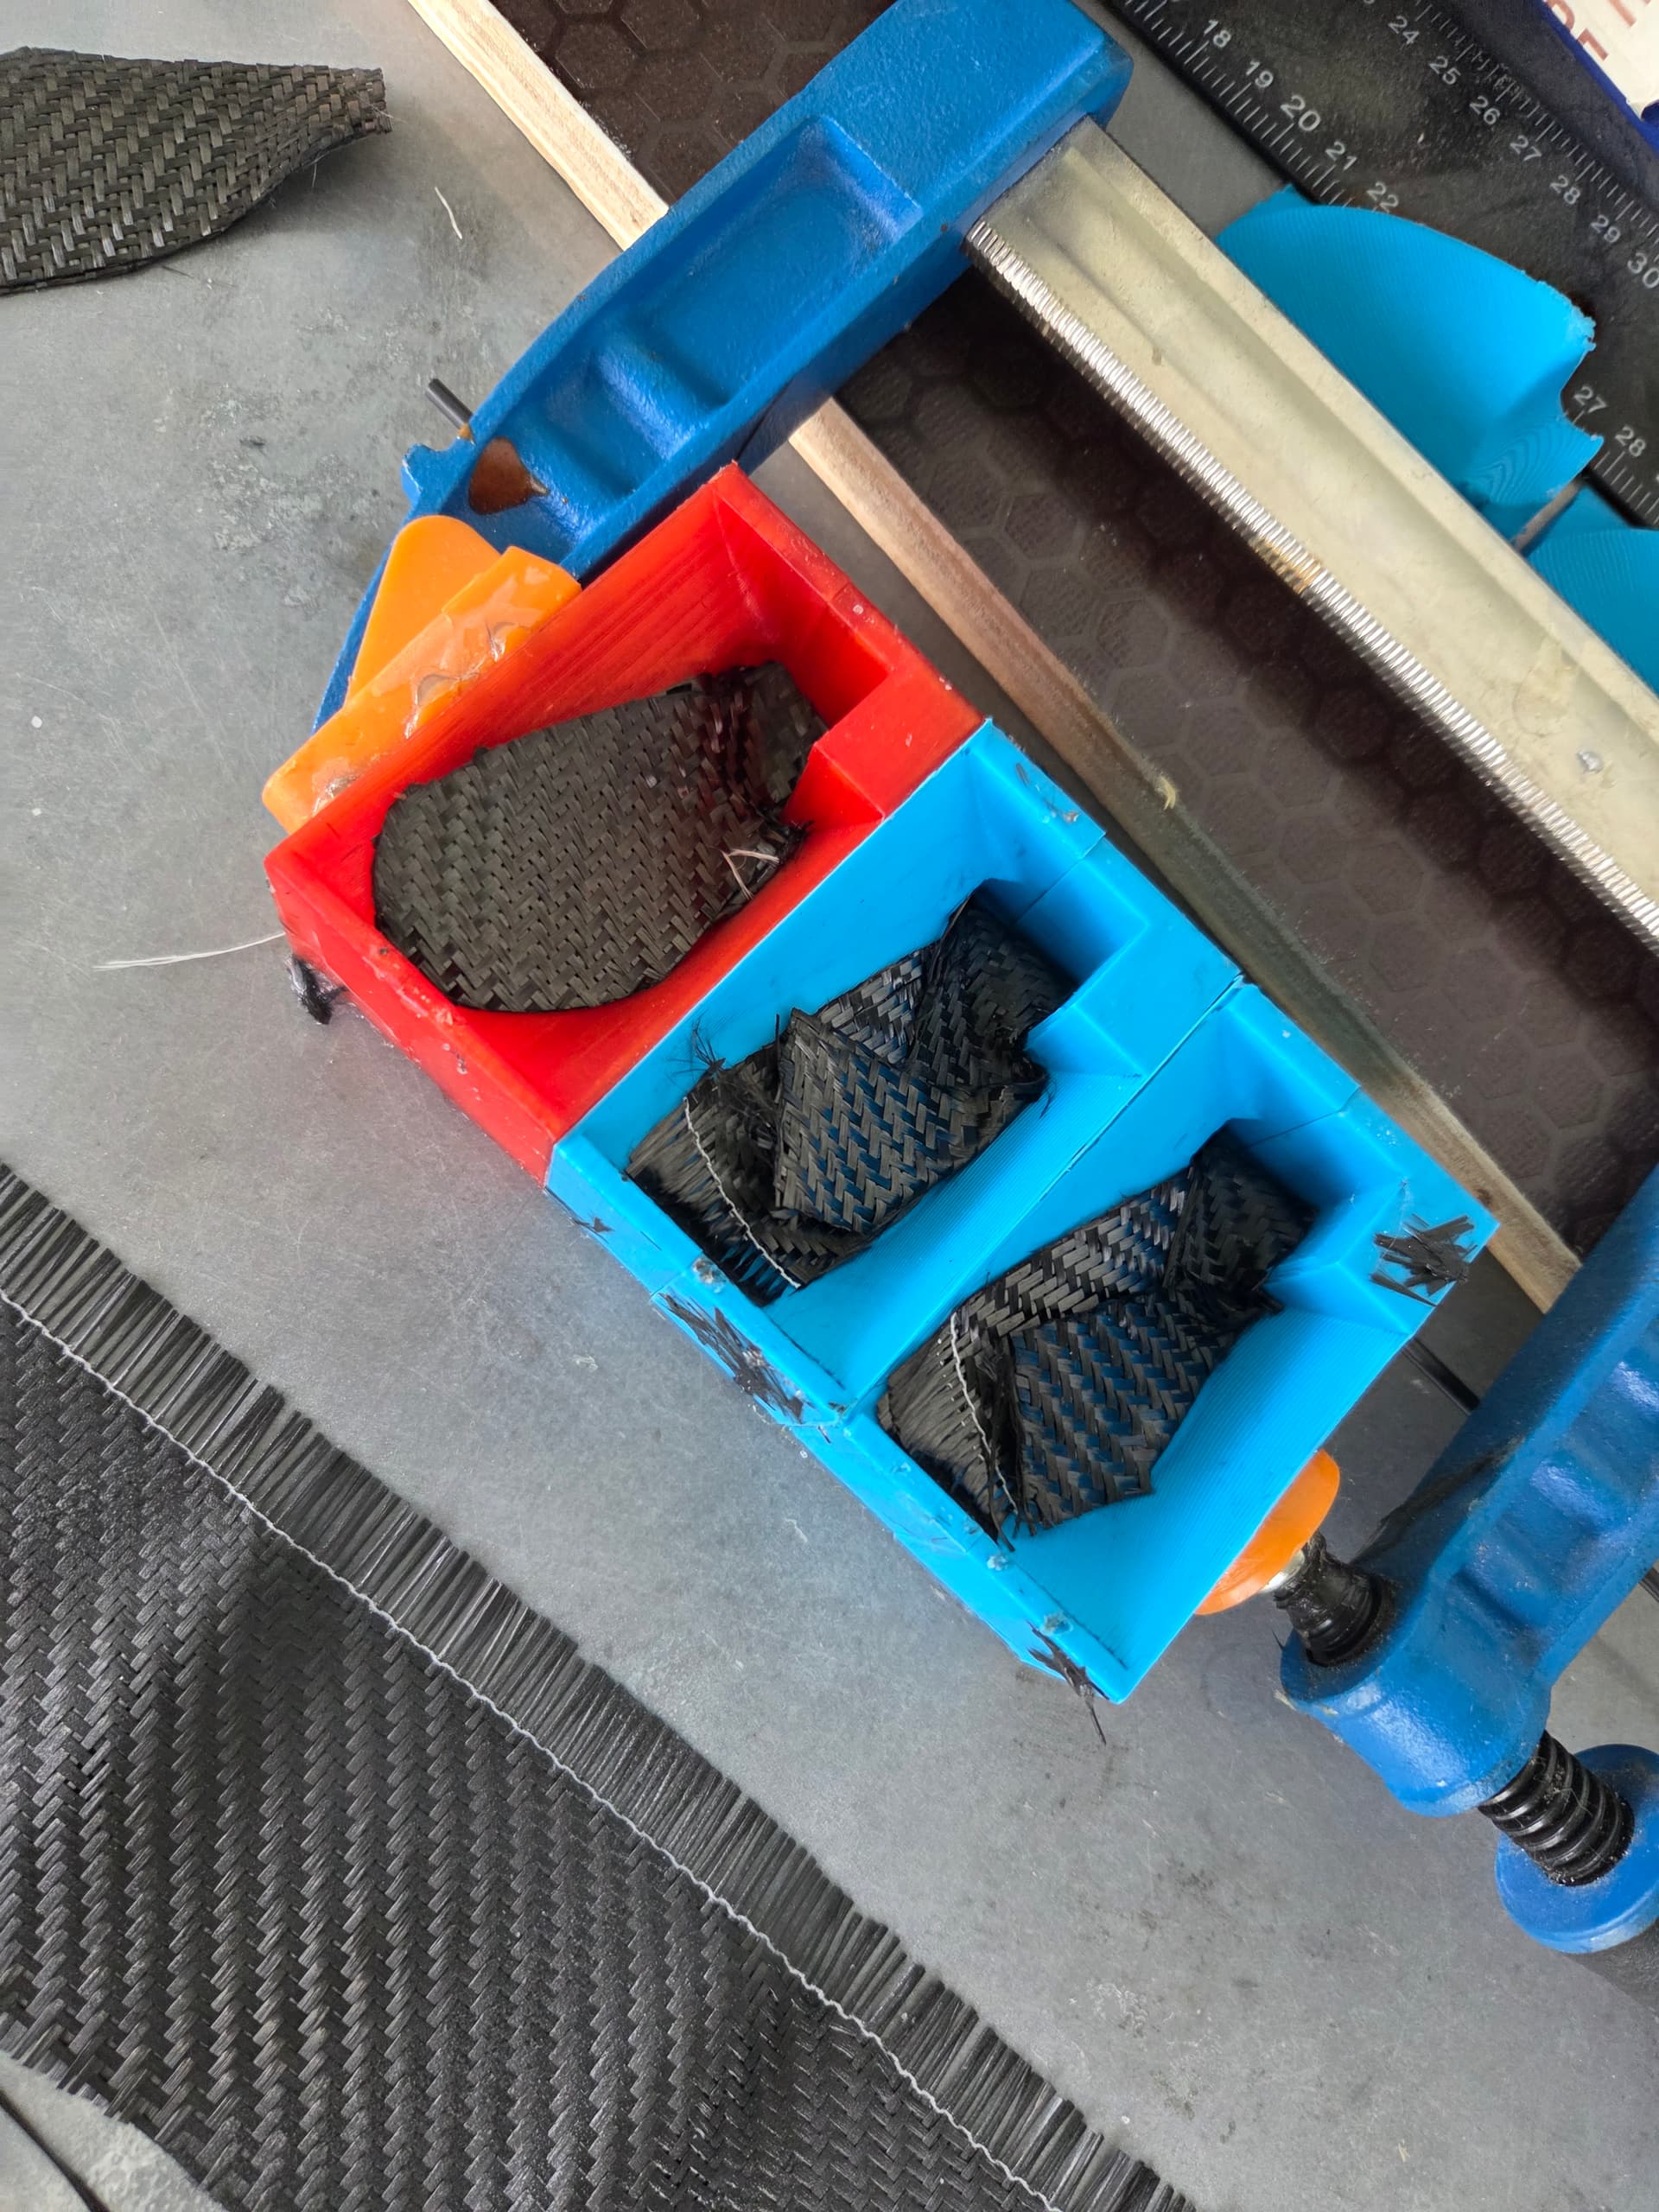
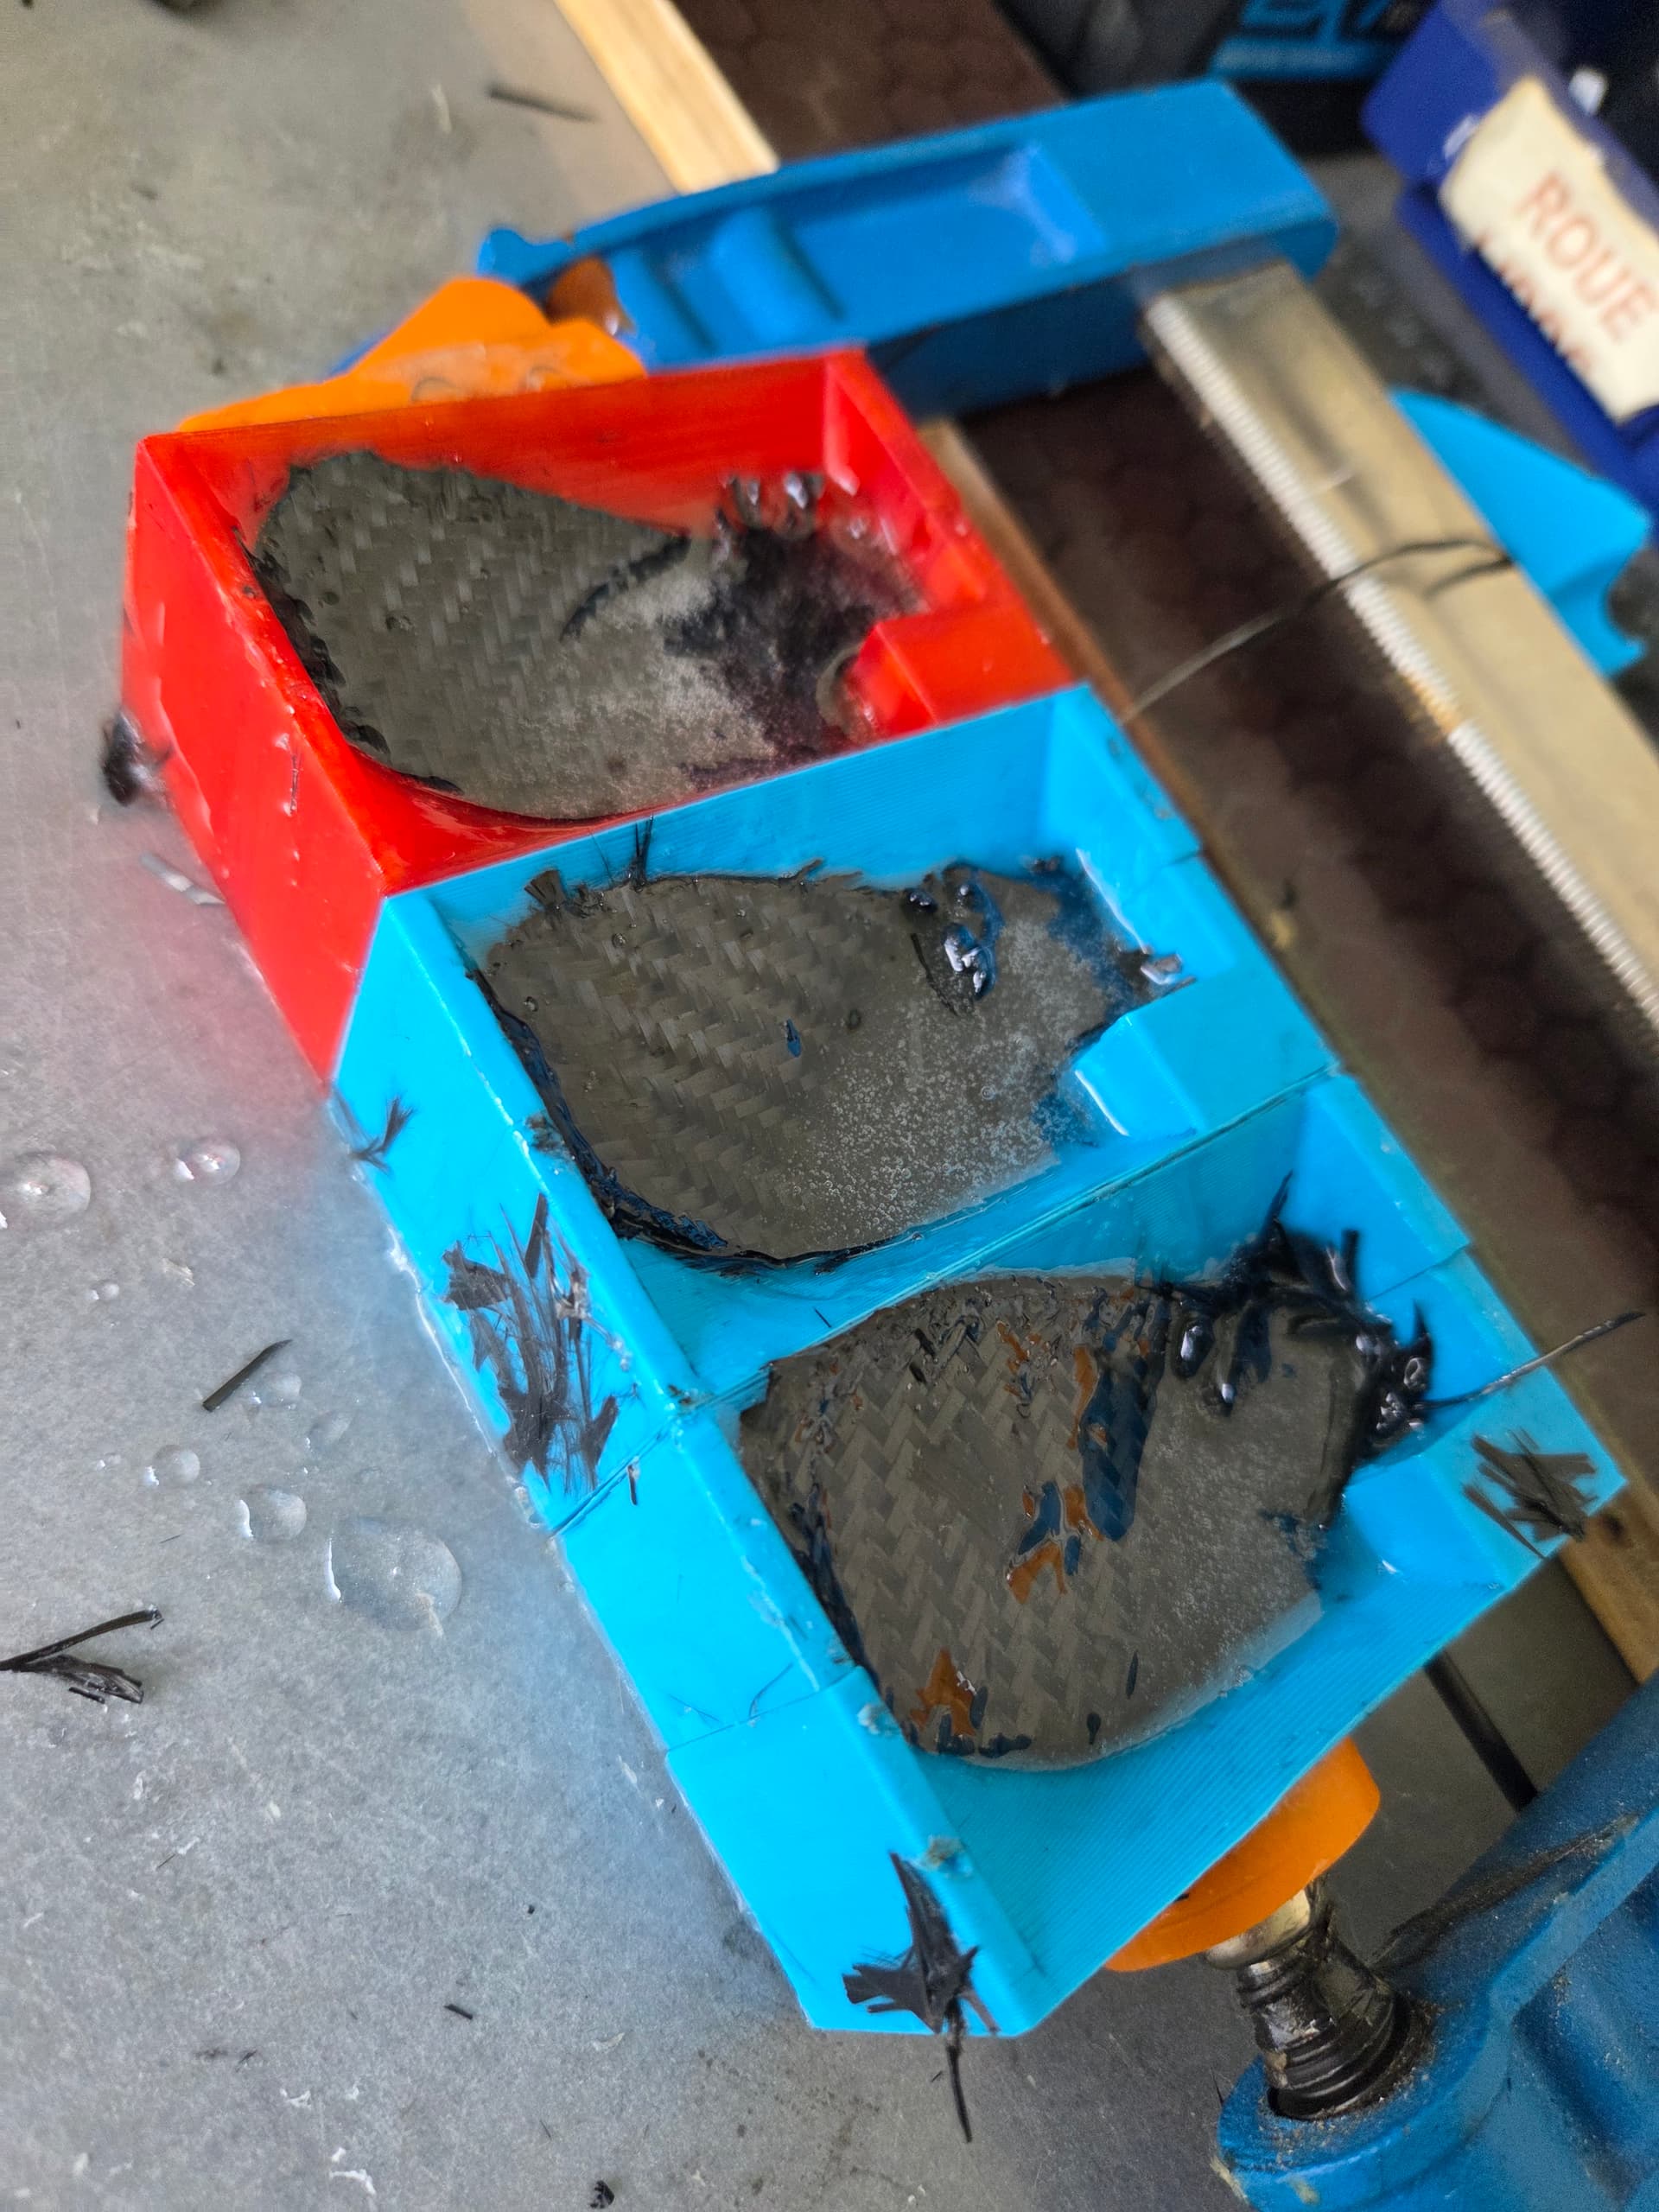
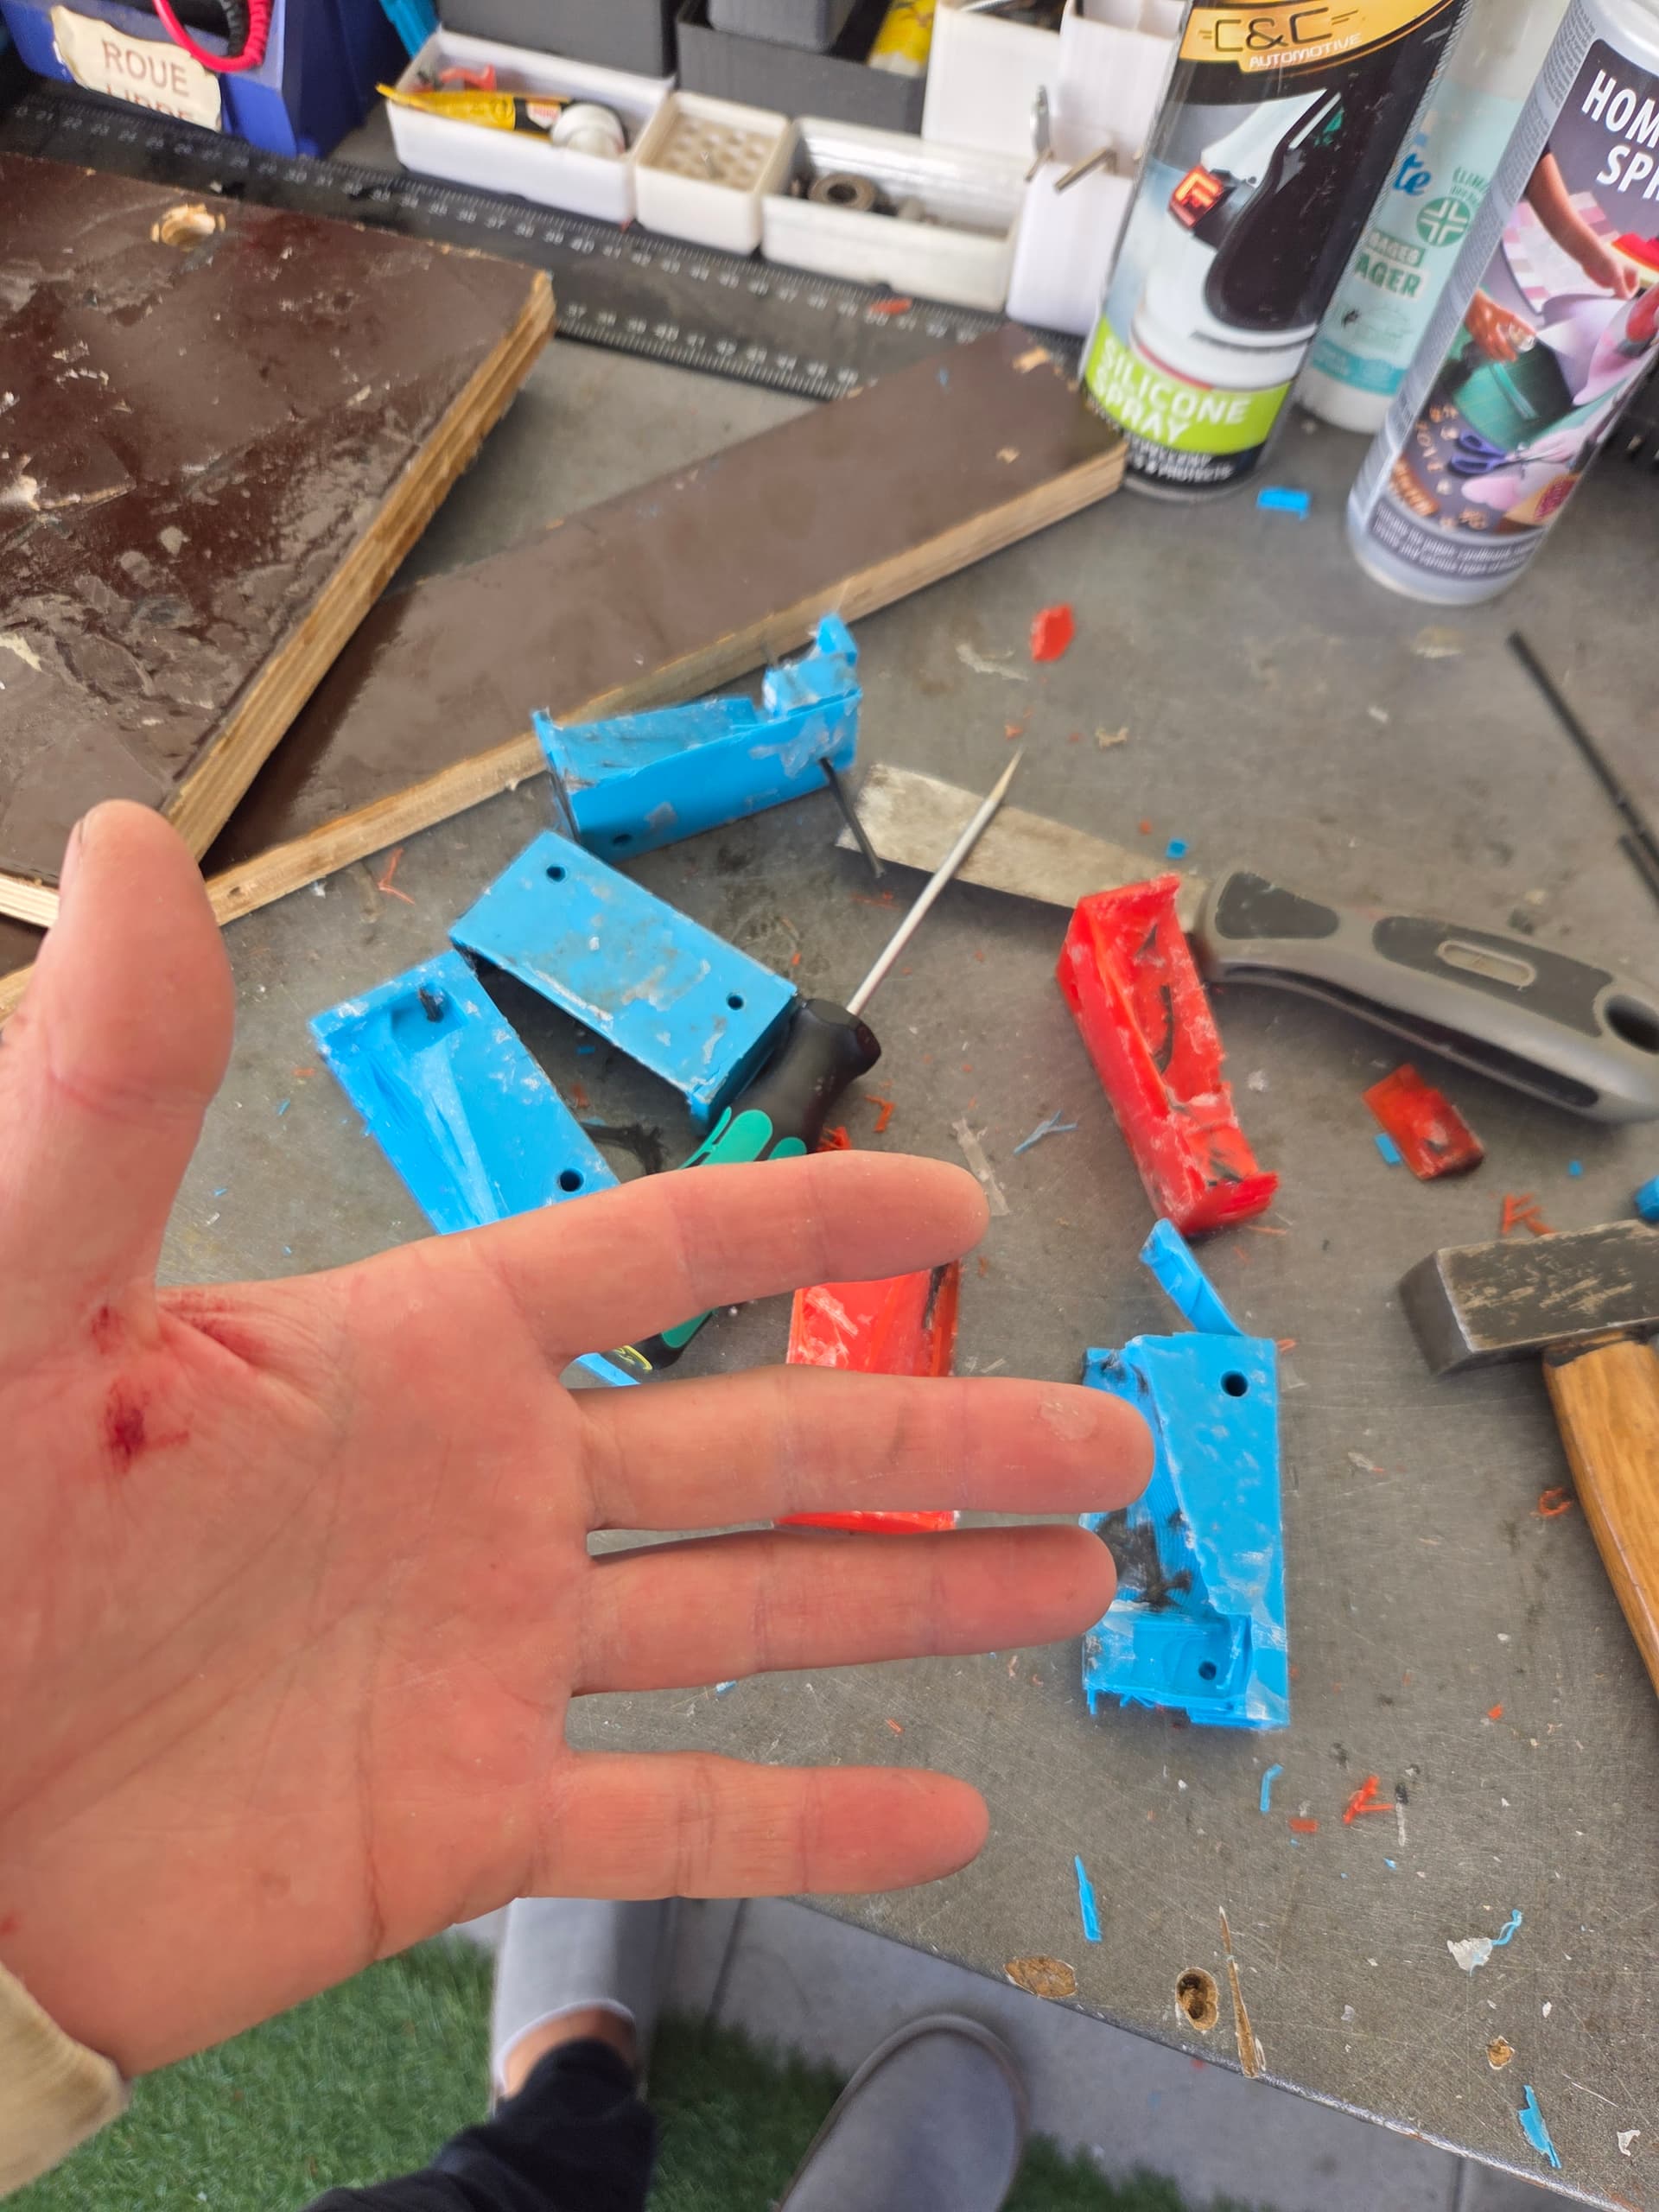
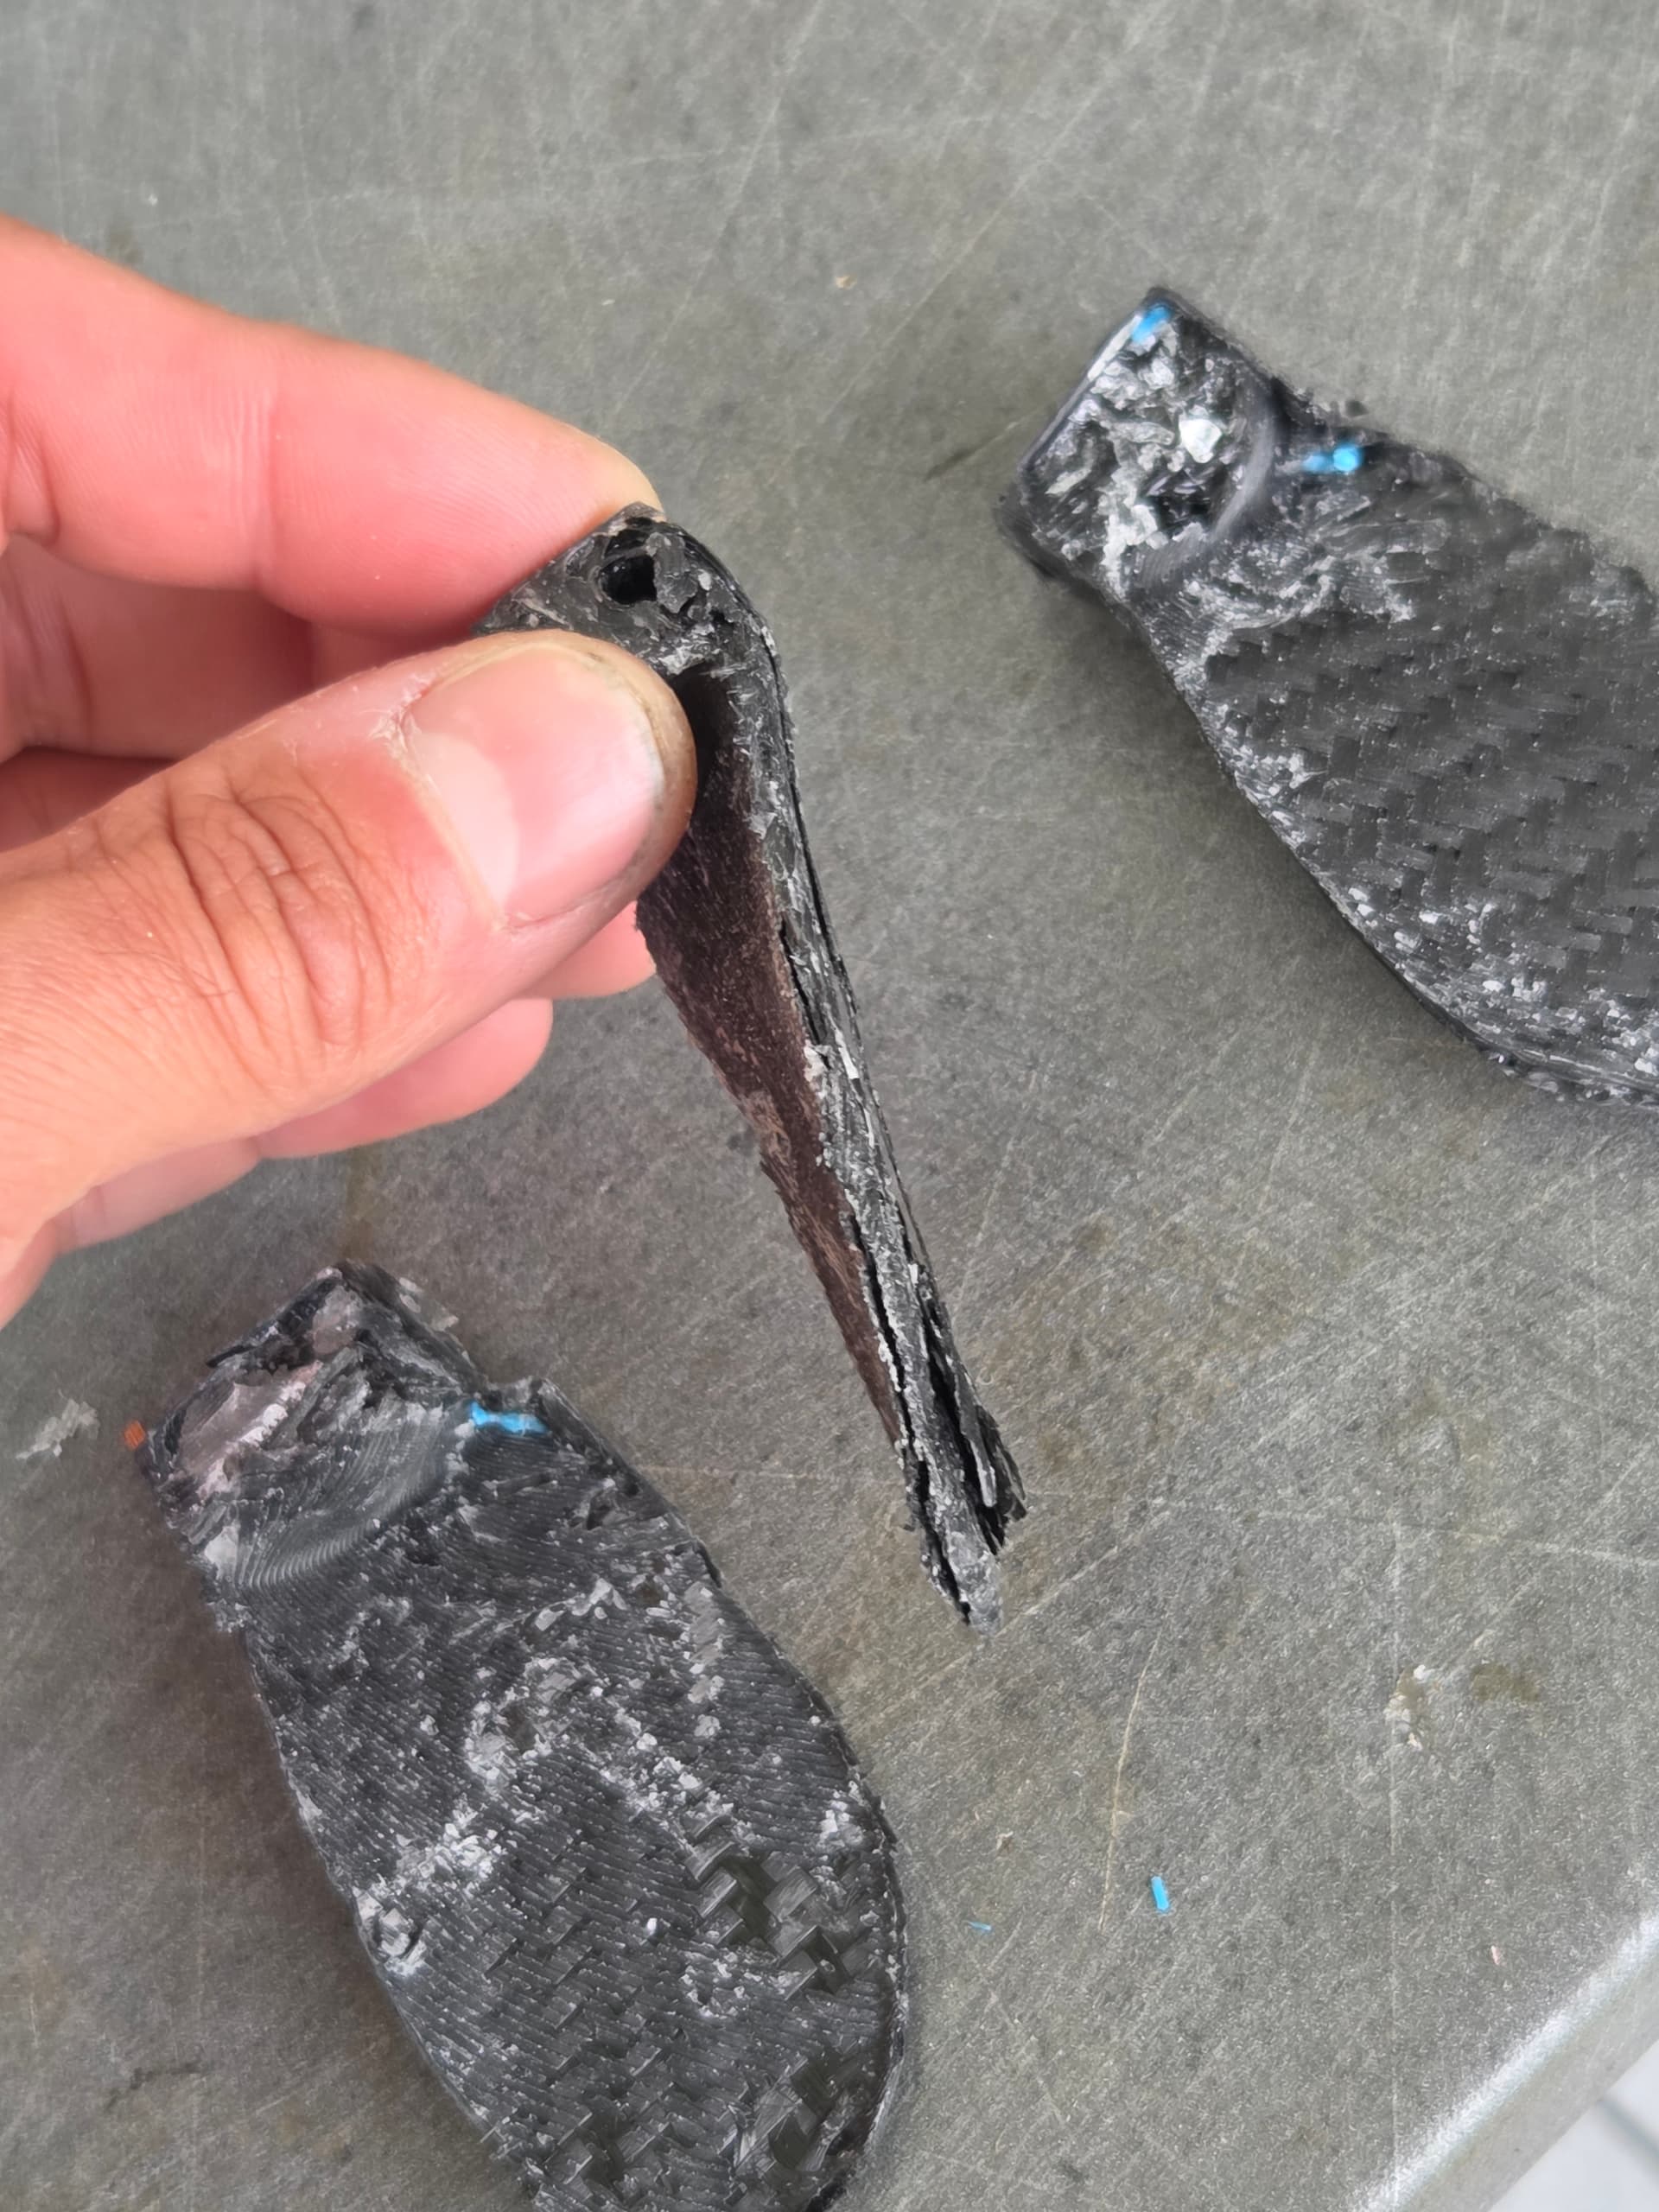
That was a complete failure lol, maybe epoxy was too cold, or I used too much spray gun on the fabric, but I had pretty much zero impregation of the layers.
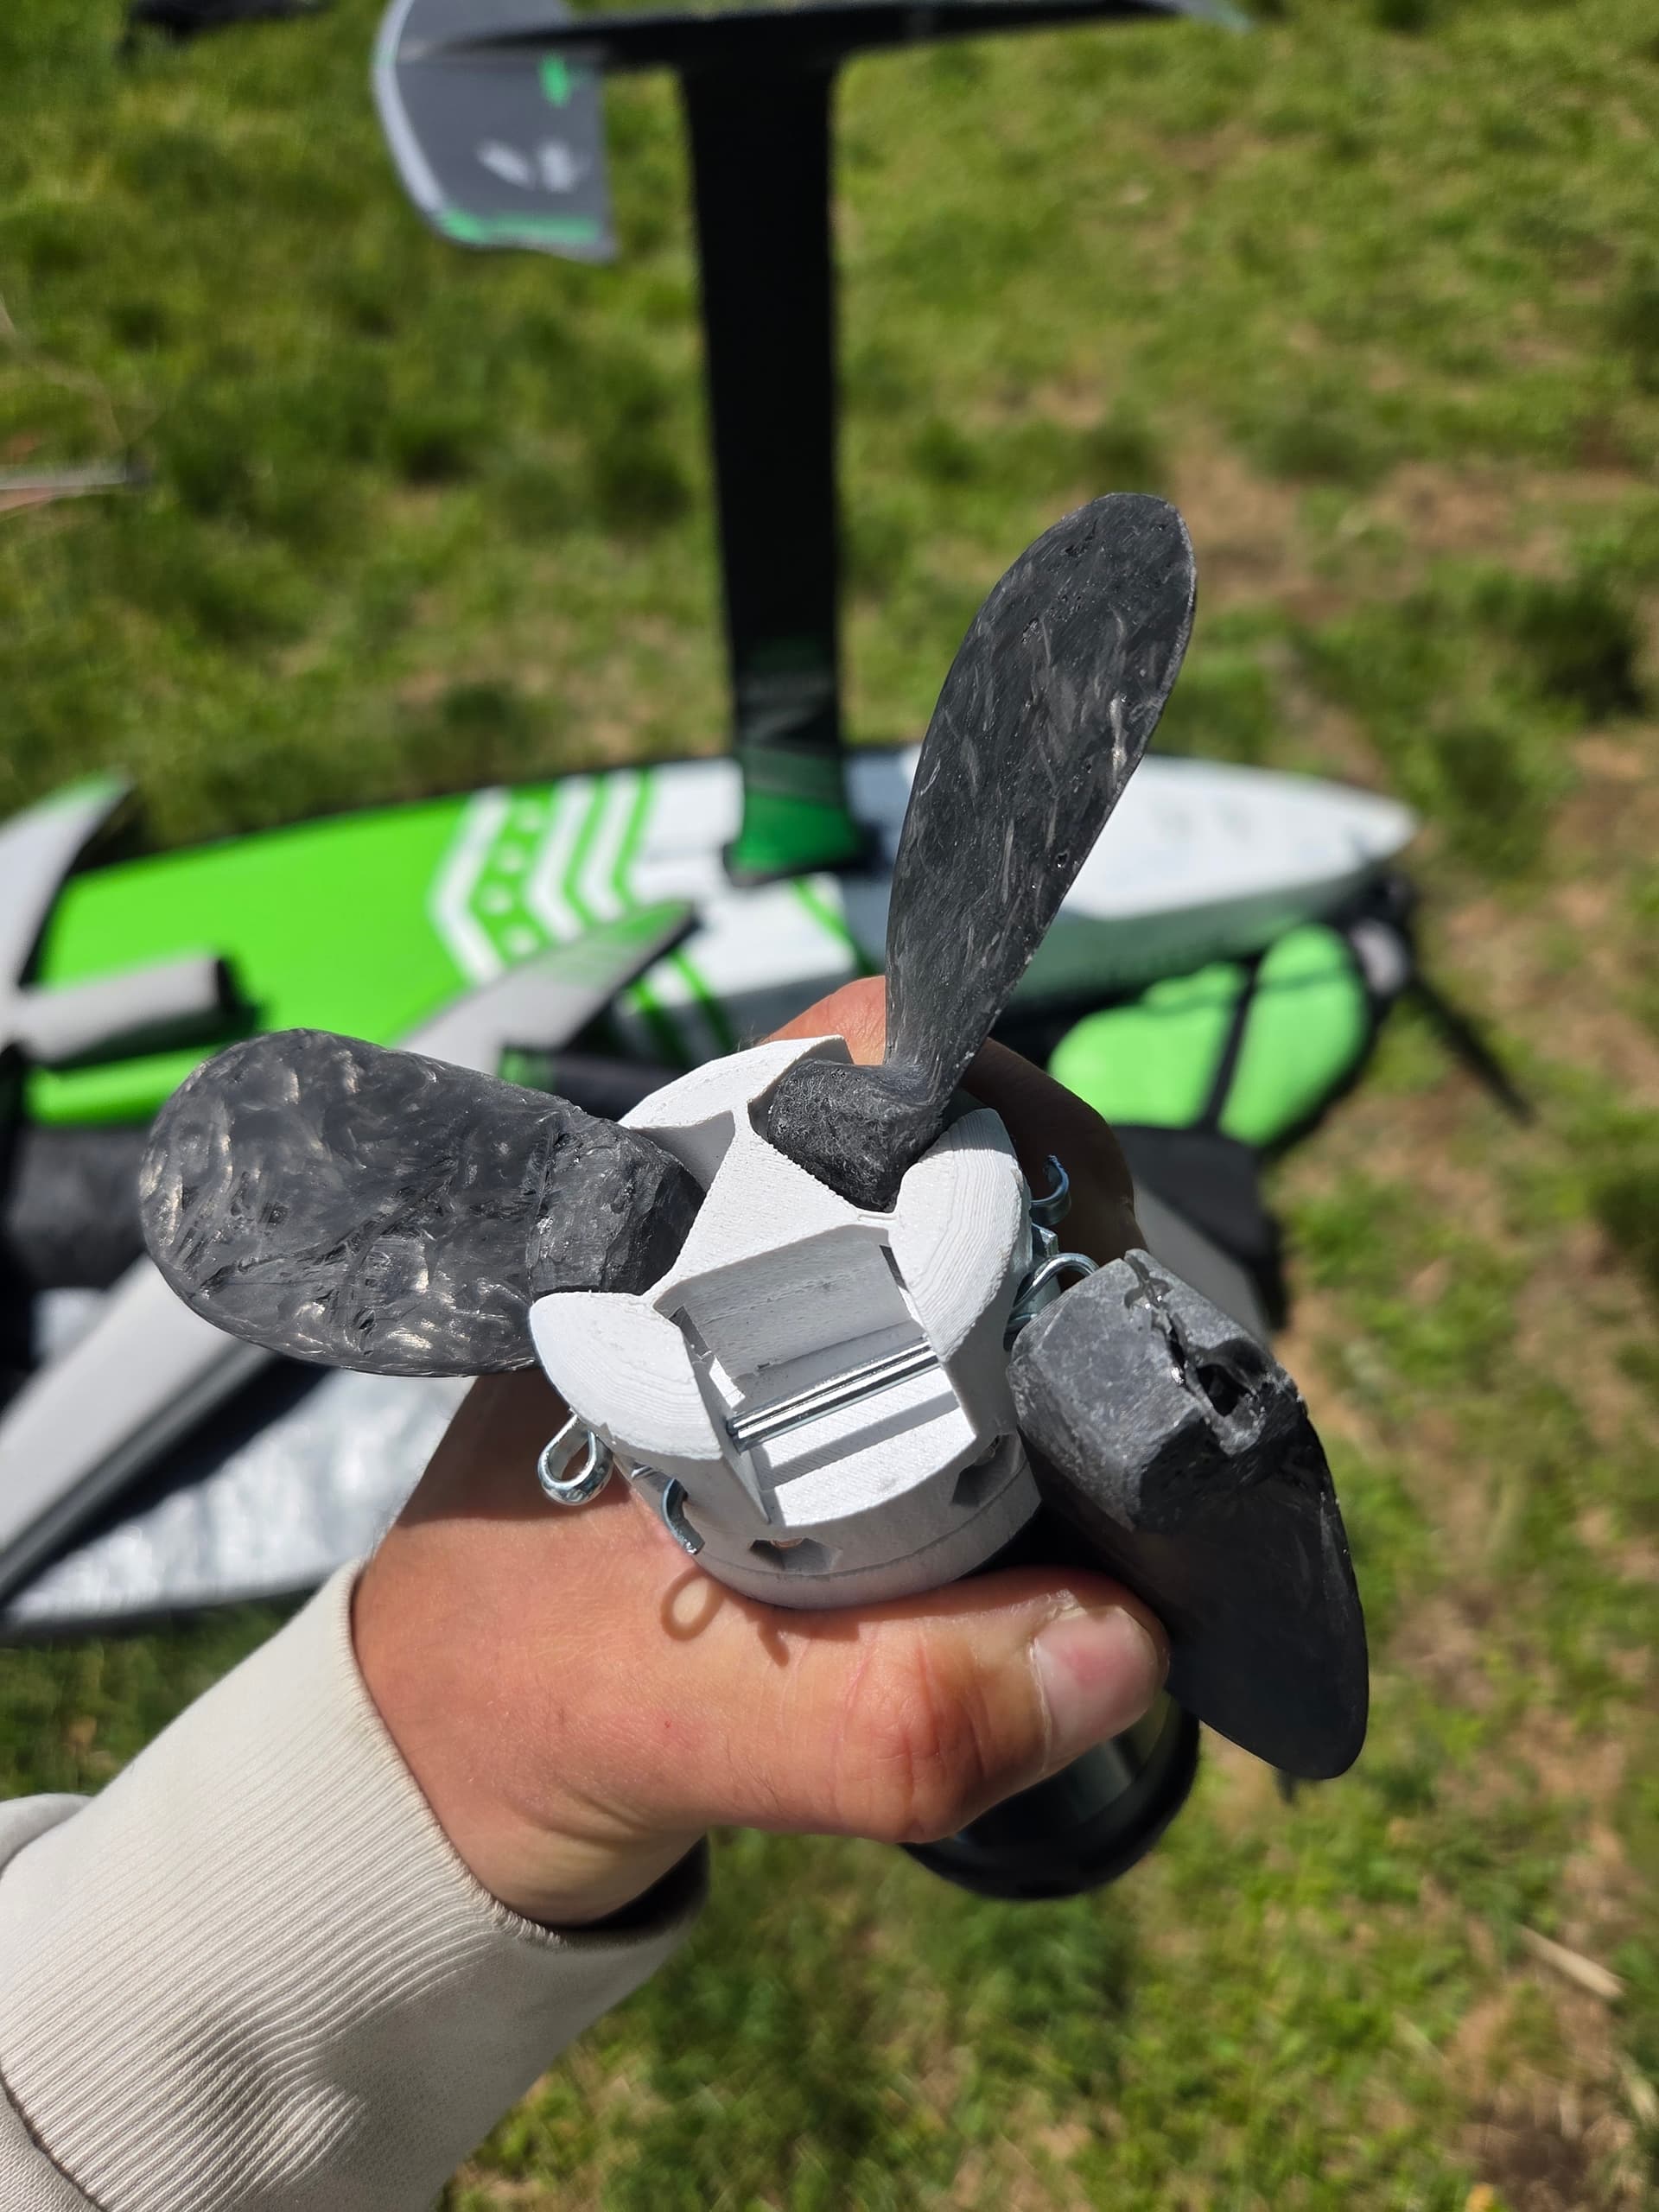
Ordered two sets of printed props out of revenge.
Got one titanium set to try, was only 90 usd shipped for one alu and one ti blade set Not really worth my time and effort to mess with carbon and resin at these prices
I have one older CF blade I could fit to the 5085, so hope to try that during the weekend to get a feel for it.
I needed to remove the area of the antenna plate below the battery because it was bending upwards after mounting the mast. Probably the eva pad also contributed to the bending. I will try it with eva just above the external antenna only.
Also added some adapter to guide the mast bolds and hold the nuts in place.
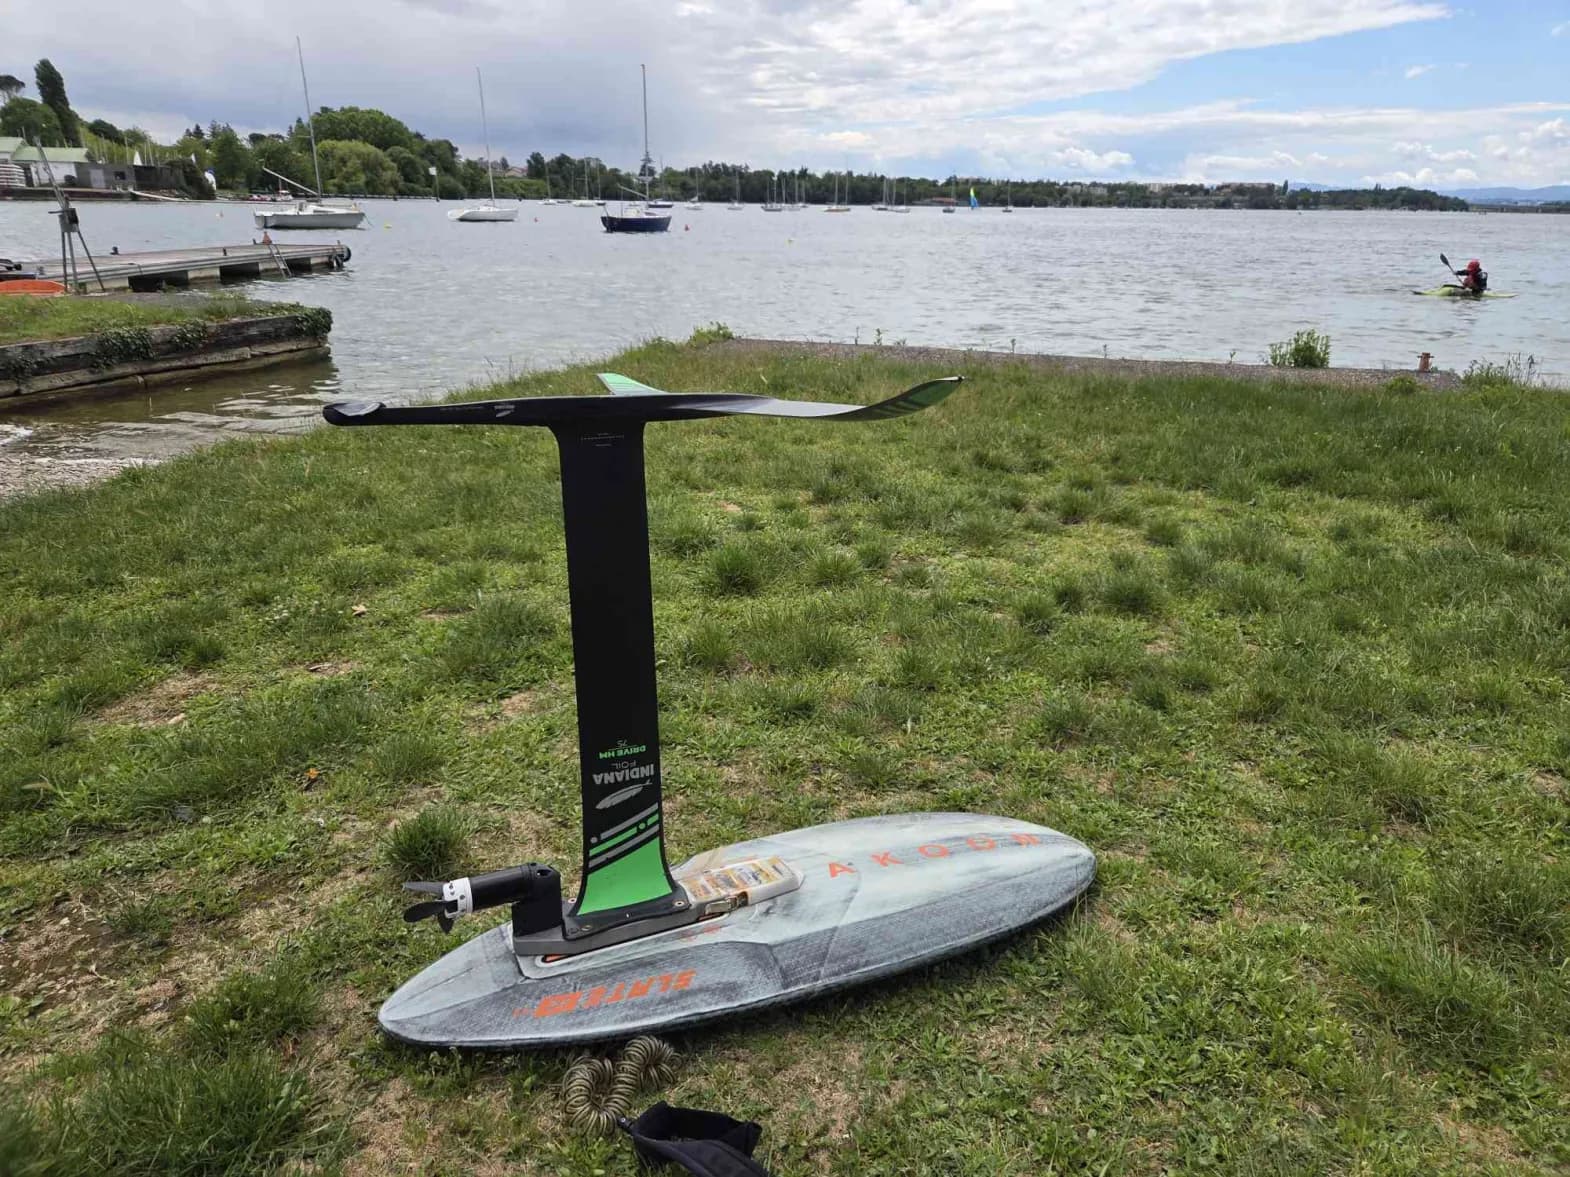
well after a first try where phase current was all wrong from autoidentify, I got to test it, and despite the heavy prop vibrations and difficulty to unfold, it worked great, felt stronger than maytech 6374, and I think I could feel a reduction in drag when the pod tourch down, making it easier to maintain balance with pod in or out of the water.
I could start easily in small chop and motor upwind.
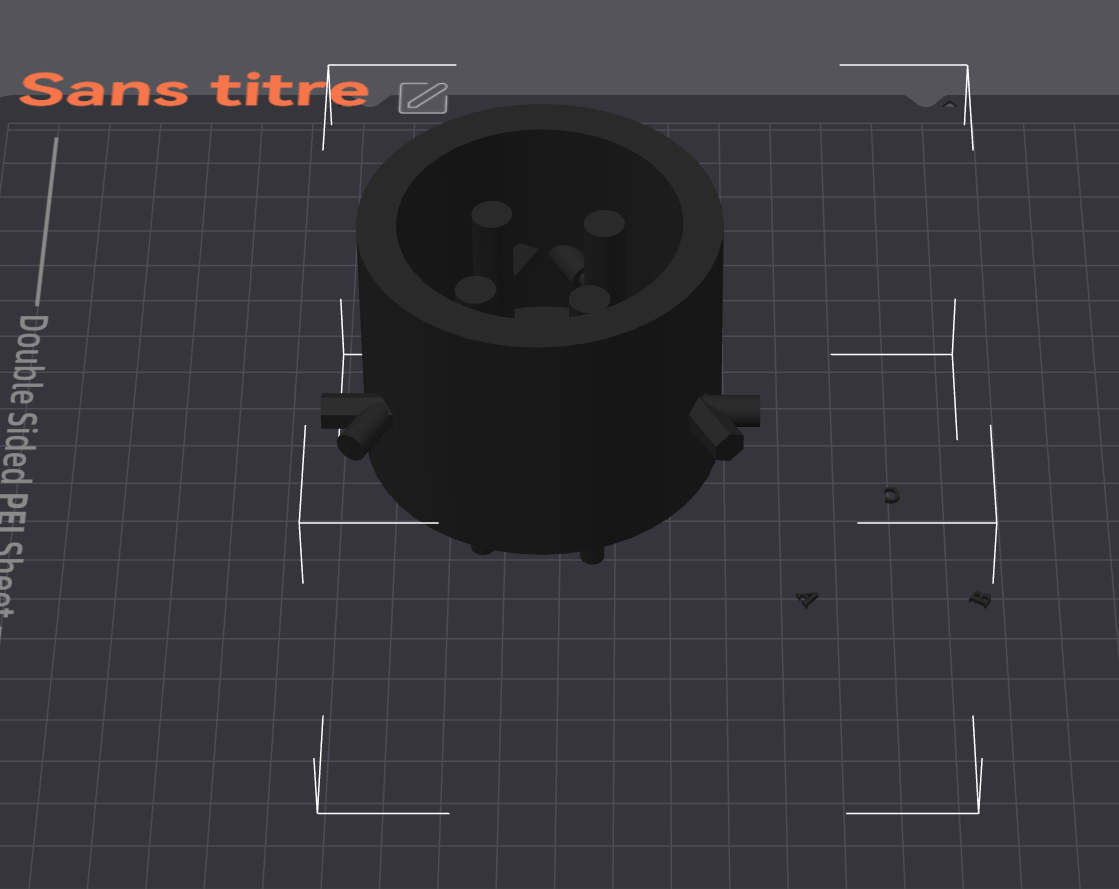
While I wait for blades, I will print out the hub in PPA or PA with 100% infill, as the PETG-GF I tested already has a crack after one session.
It has been 1 year with the indiana barracuda XL as my main wing, still really enjoy it, it is efficient and can handle speeds up to 24kph with my weight, but still playfull and can carve very well for the size.
 I have used too much solder overall.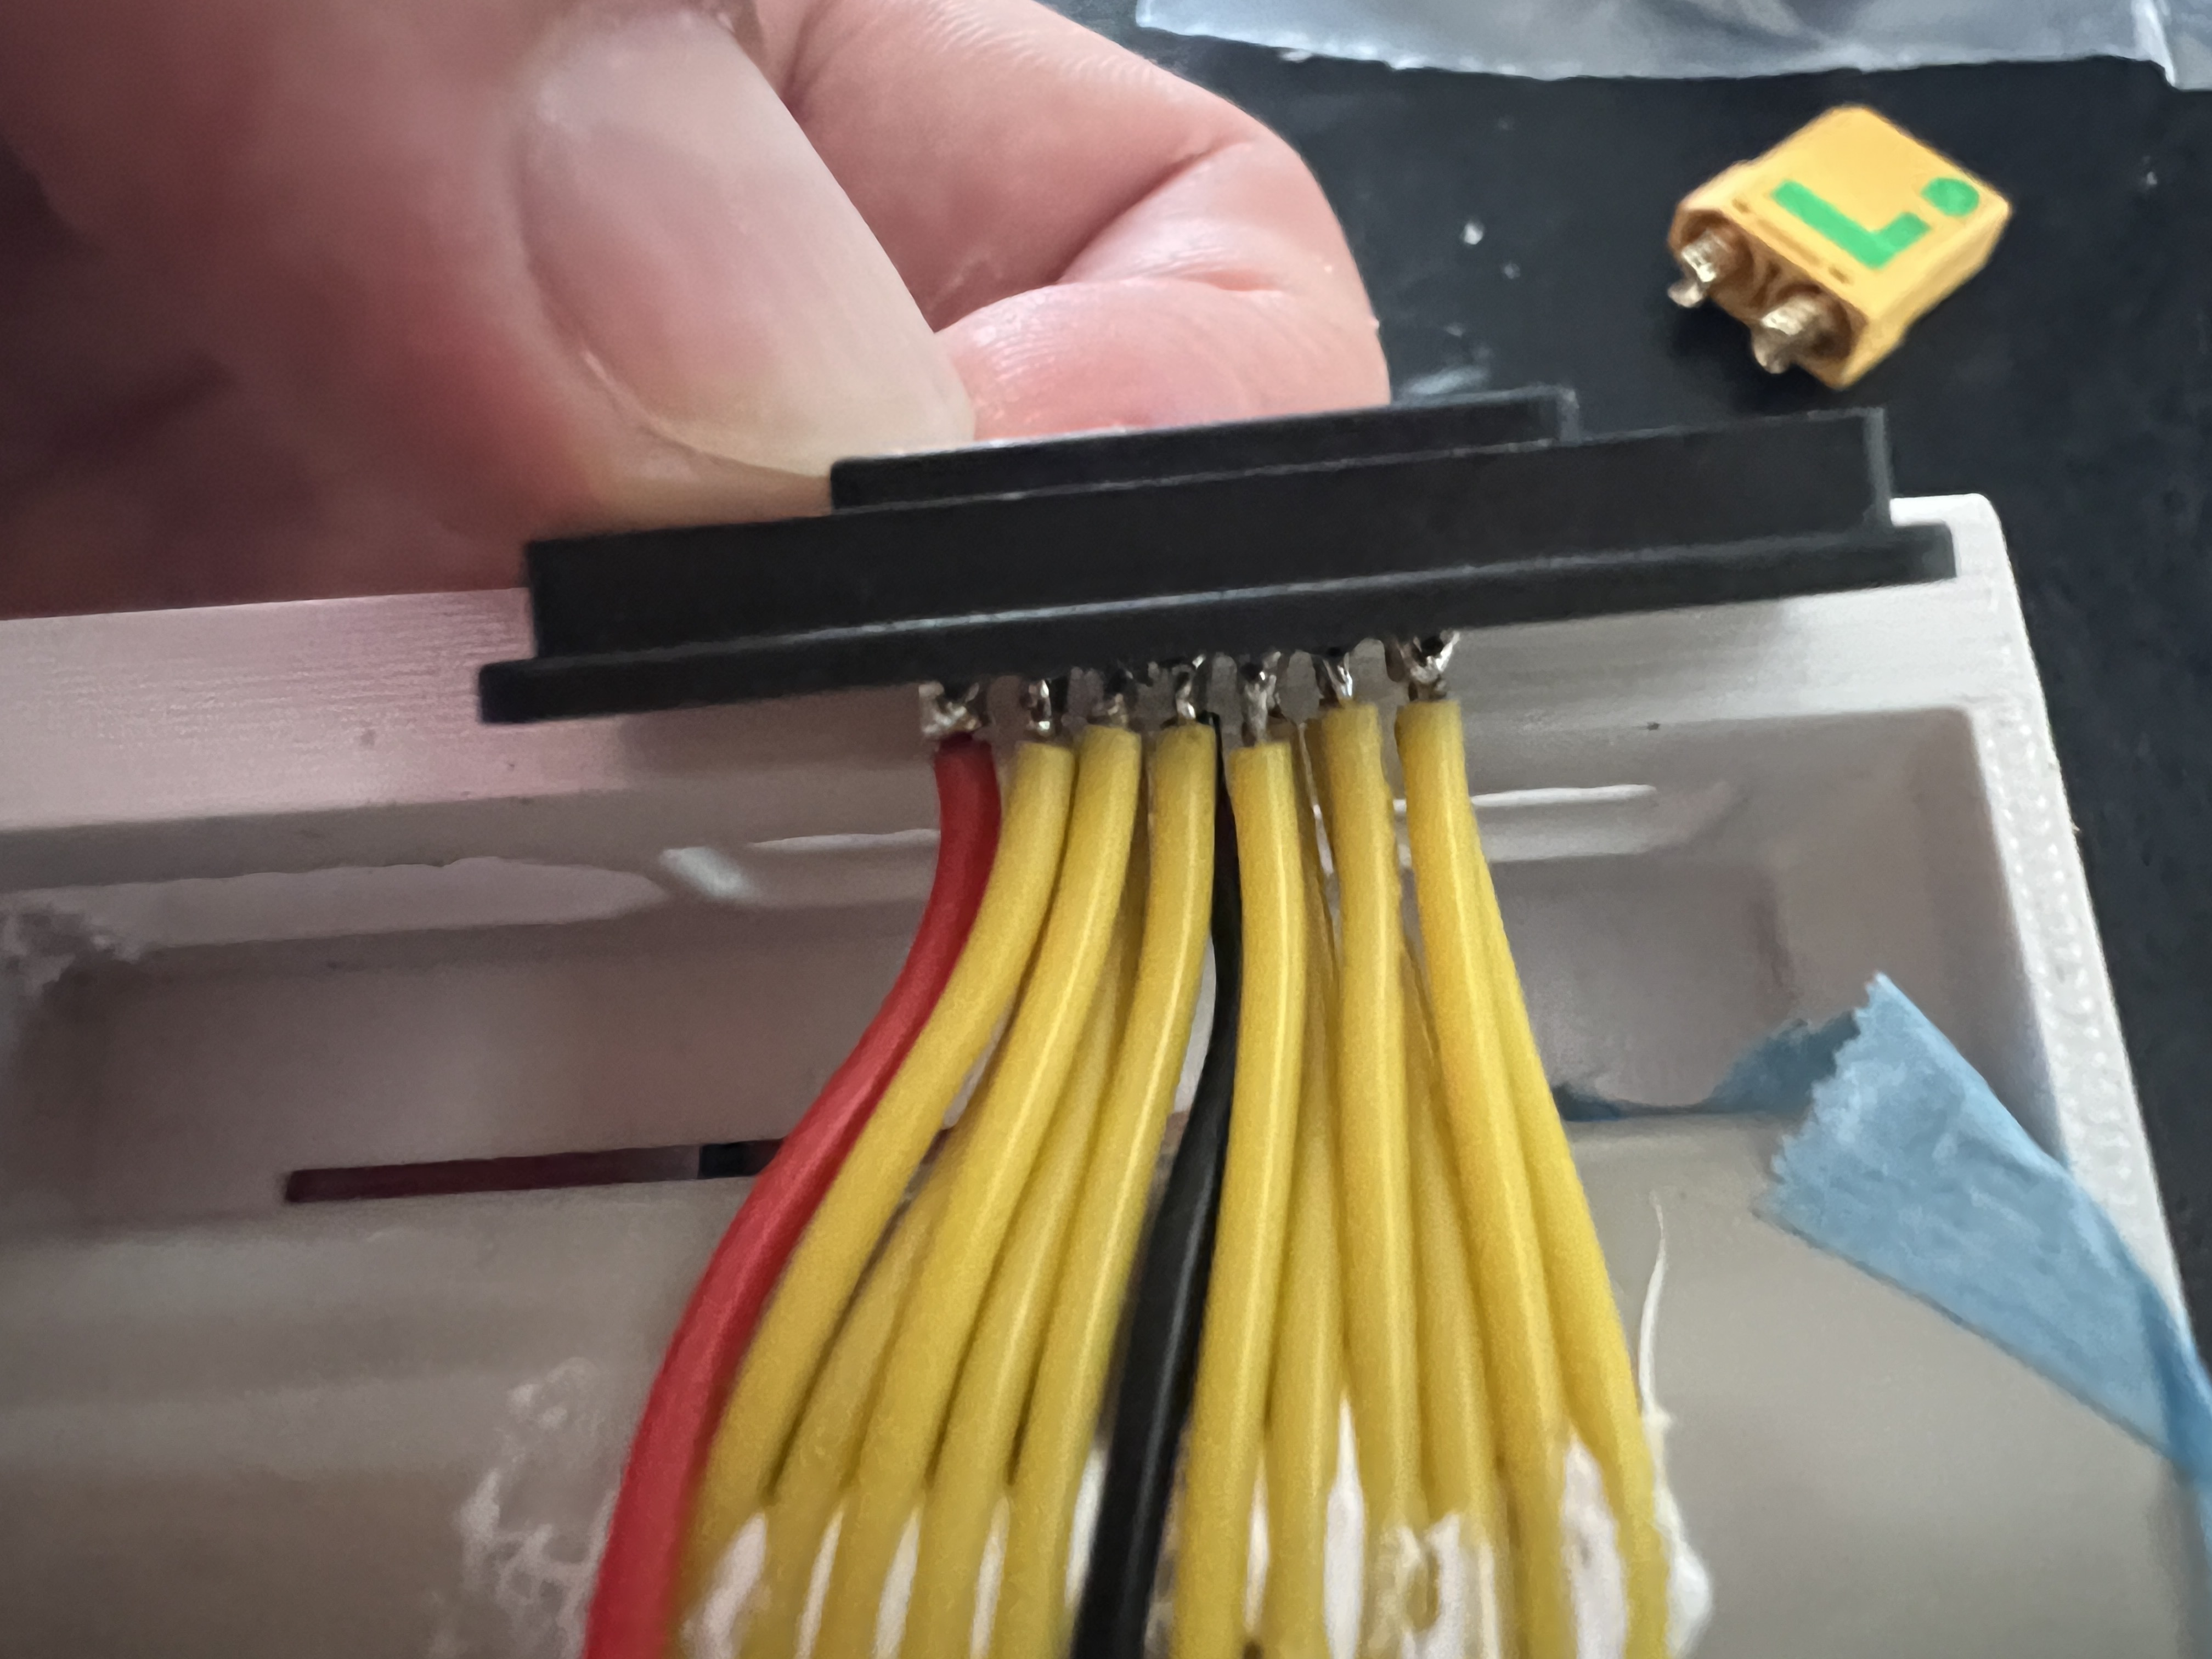






 it took 28 paddle srokes
 switched to the regular pod to save the session.