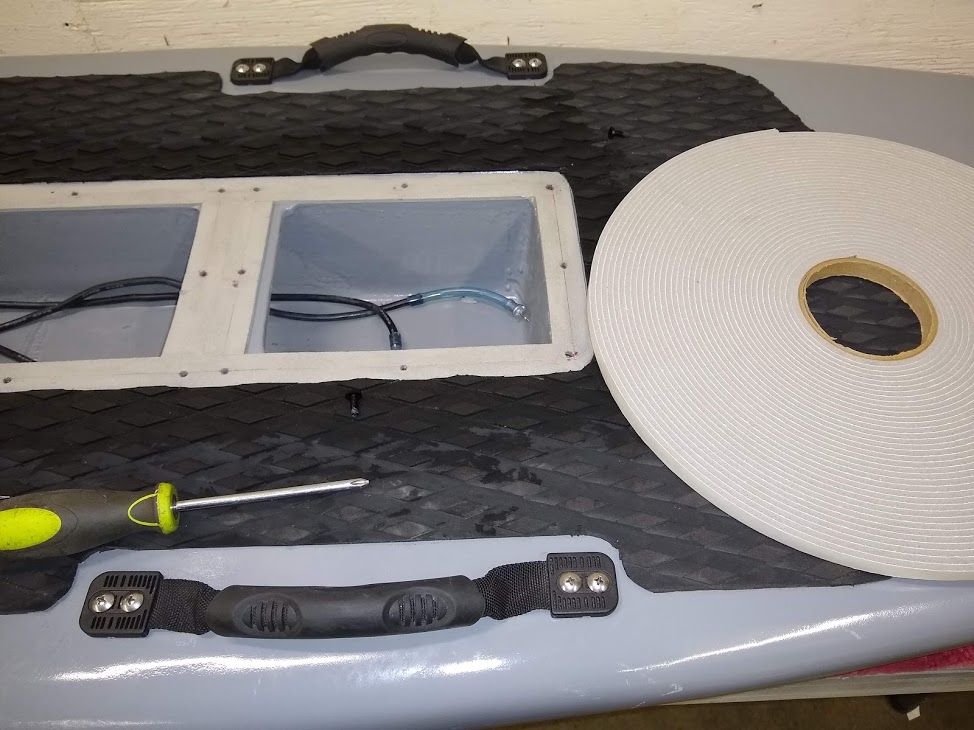
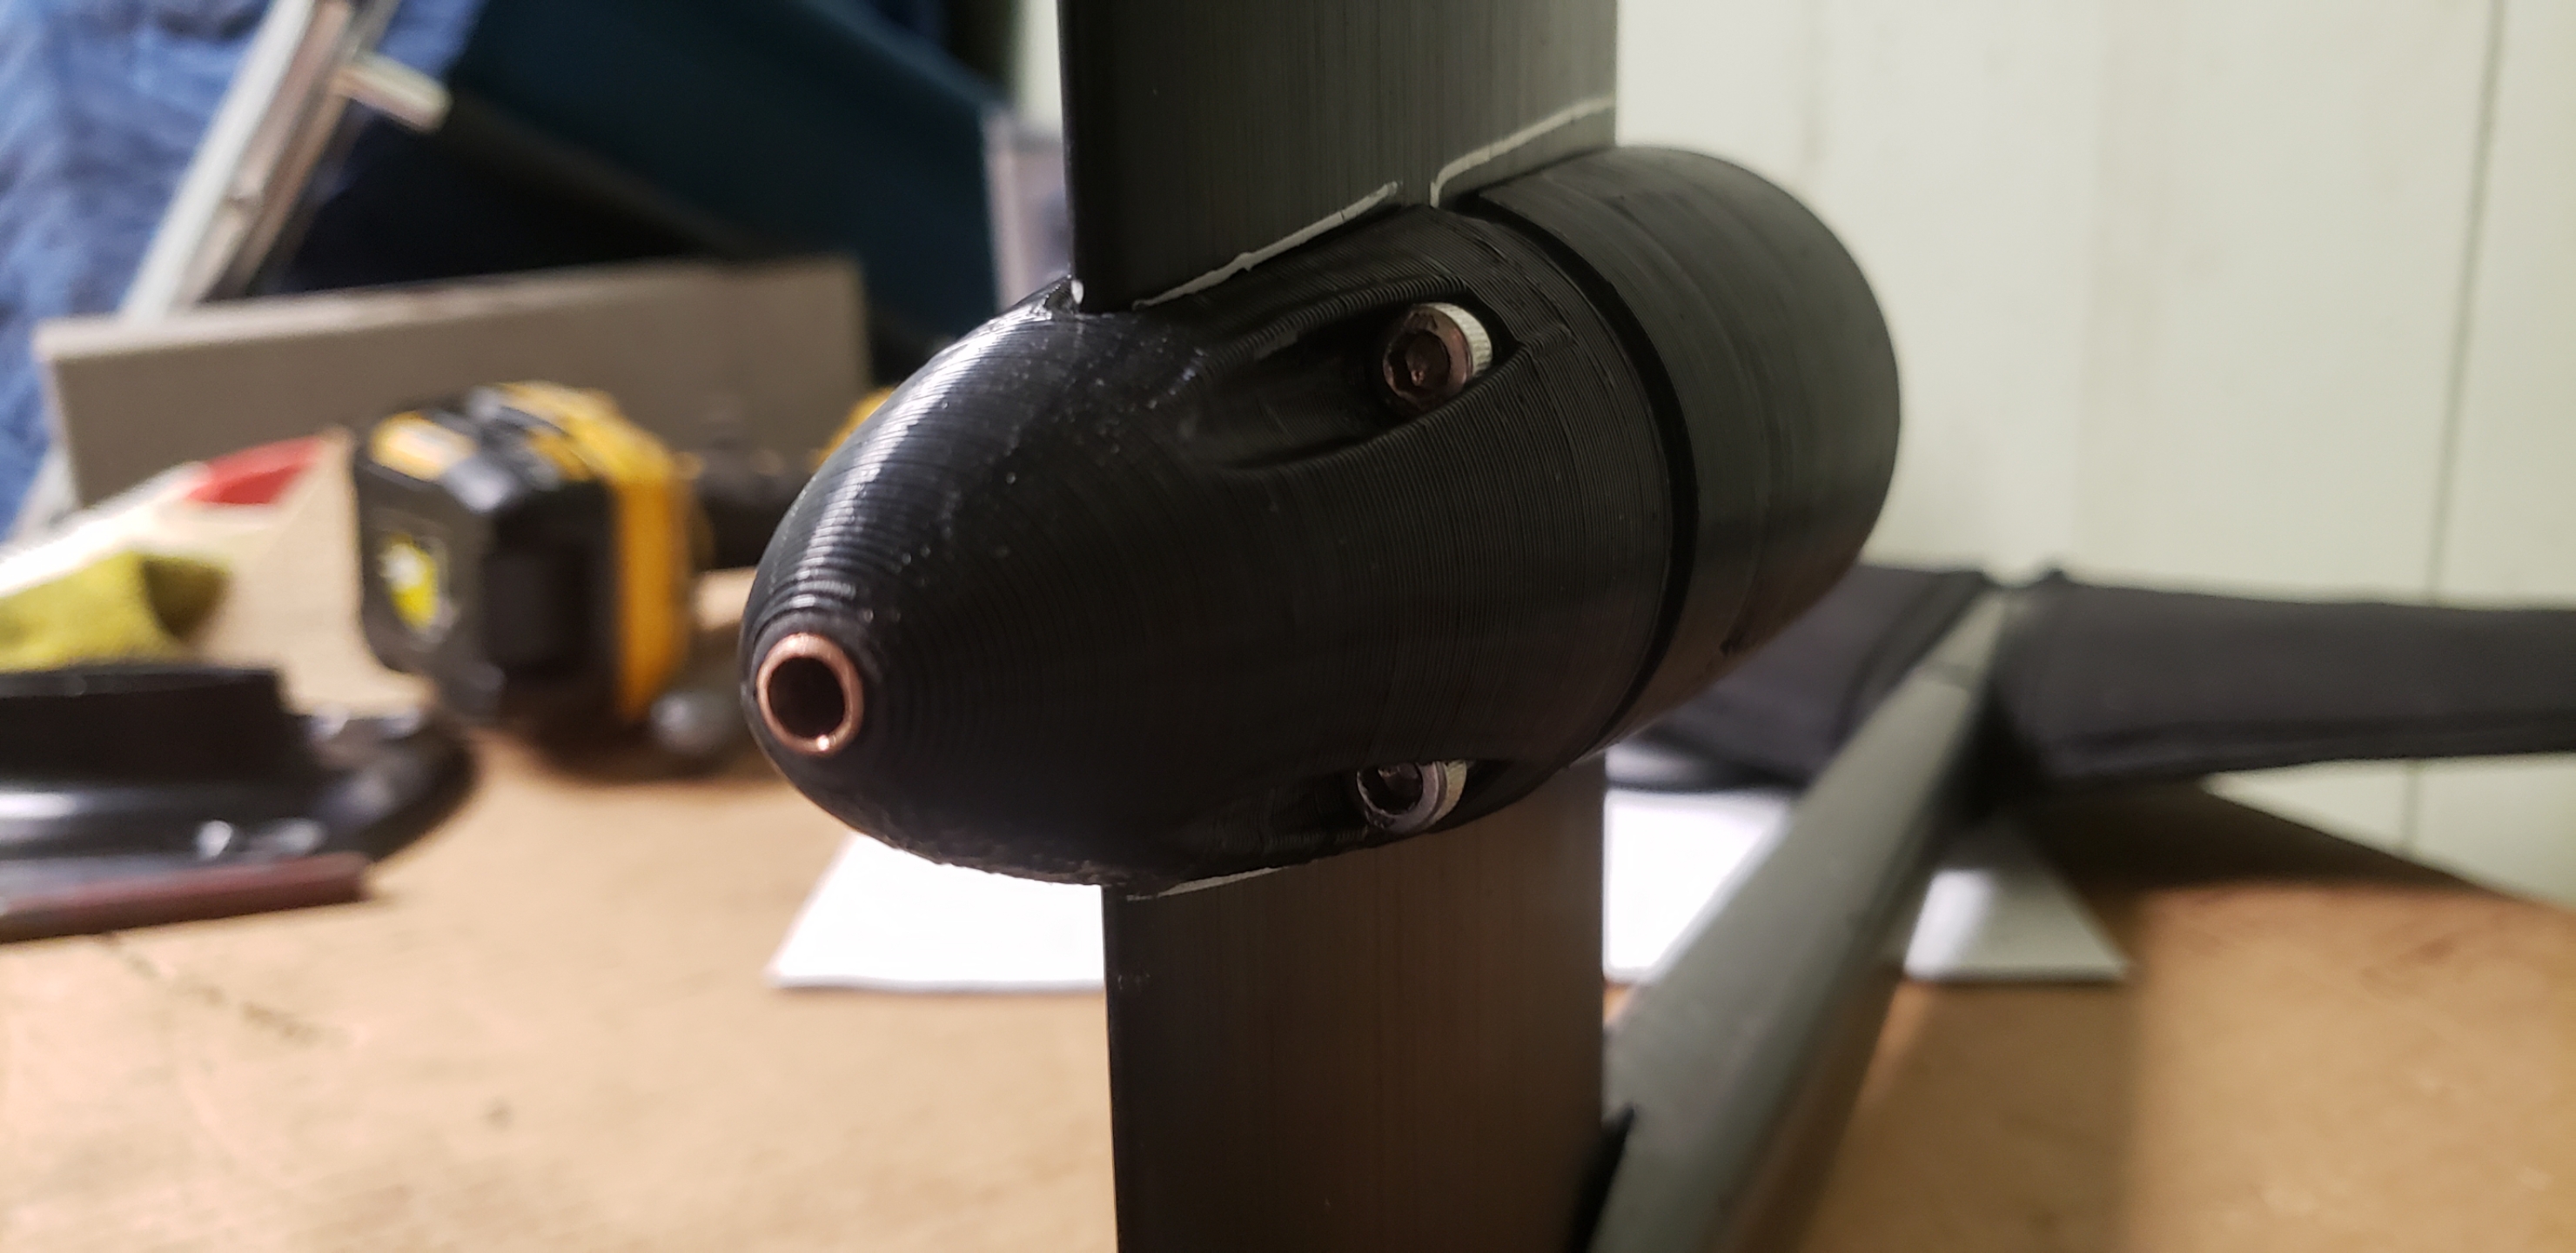
Mast assembly steps. If this arrangement works as I hope, the O-rings will seal the phase wires and cooling tube passage so no water will leak past. Then I can just use a gasket seal on the bottom of my board.

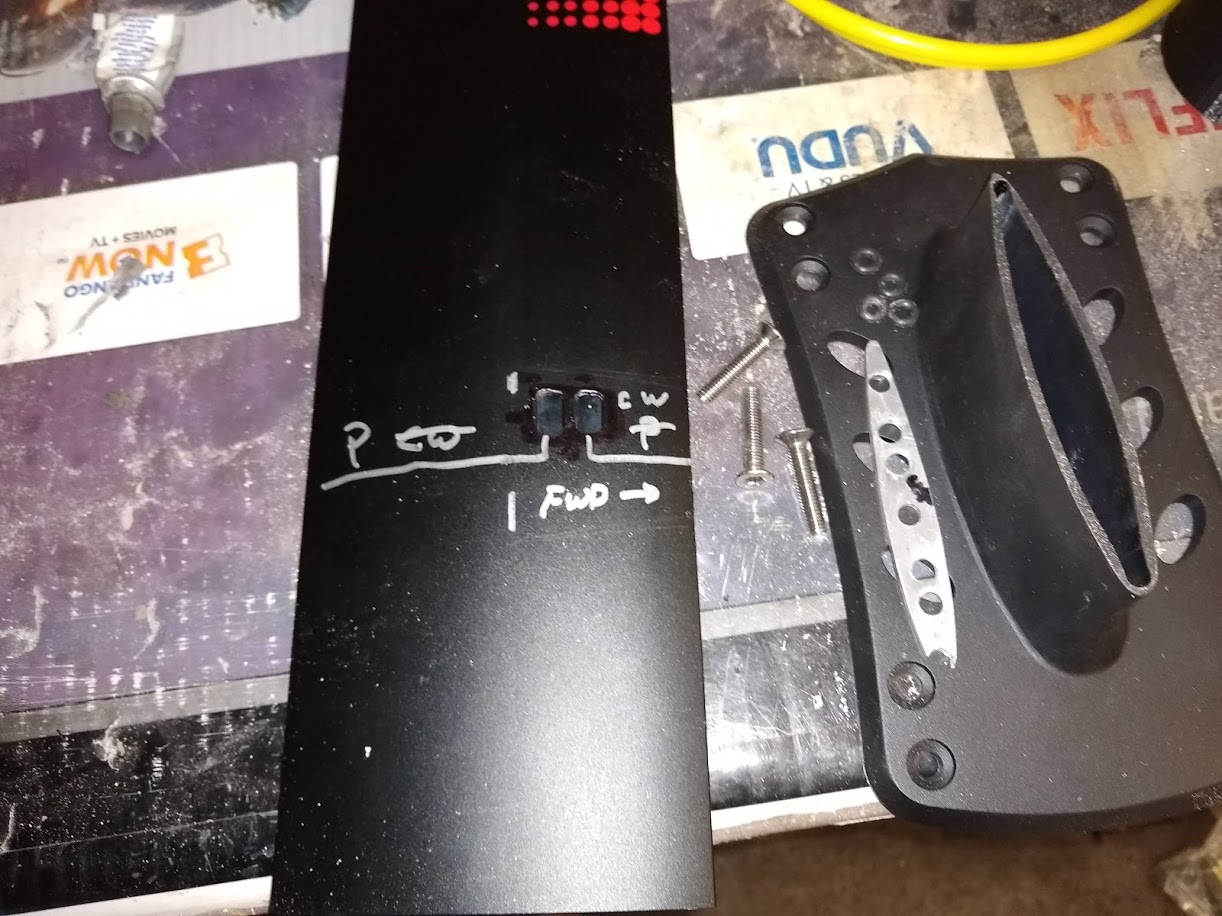
Mast assembly steps. If this arrangement works as I hope, the O-rings will seal the phase wires and cooling tube passage so no water will leak past. Then I can just use a gasket seal on the bottom of my board.
compare this piece of art to my ugly cut of the mast
Thanks, I used a milling machine to cut the mast. So its really not a fair comparison.
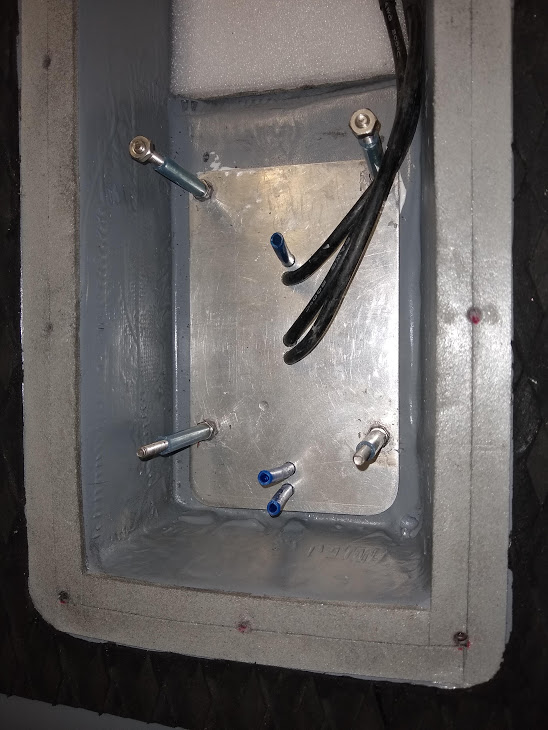
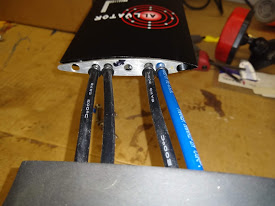
I modified your mast clamp so wires could reach the fwd channel of the mast. I also added a cooling water pickup to the center of the nose cone.
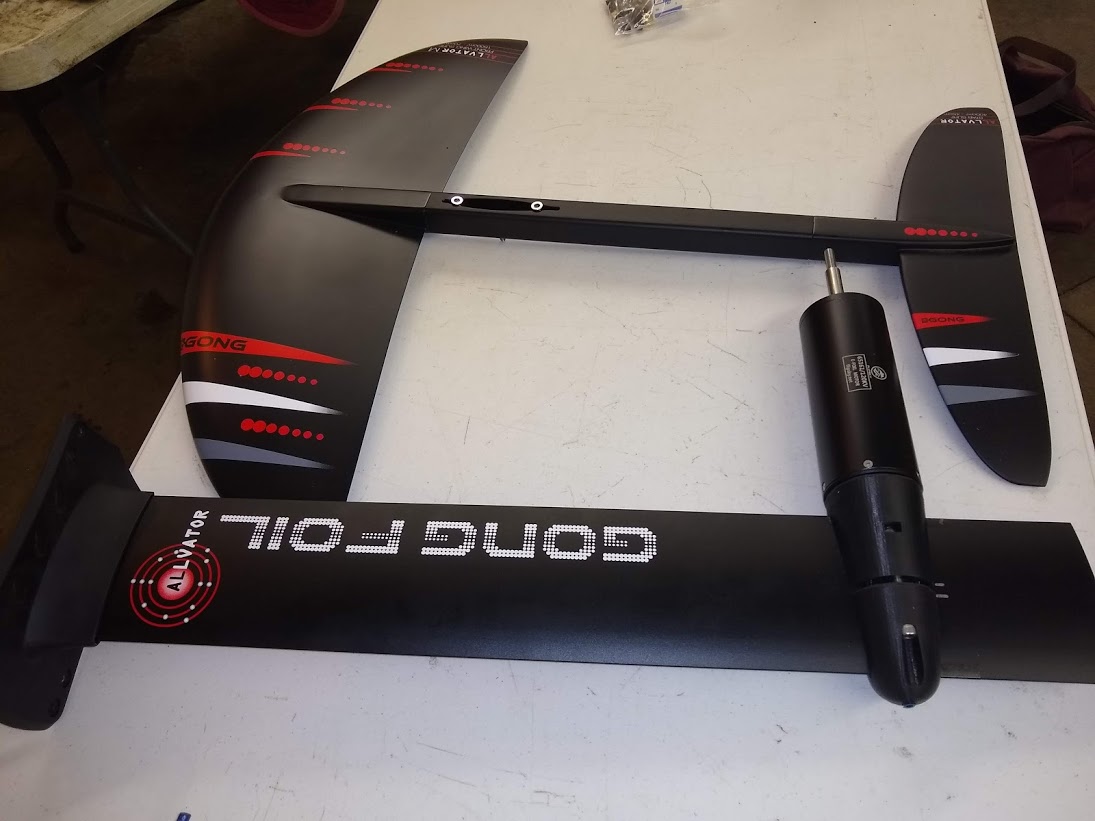
great work! is that a L gong wing? I need to buy set of those and ditch the china made one
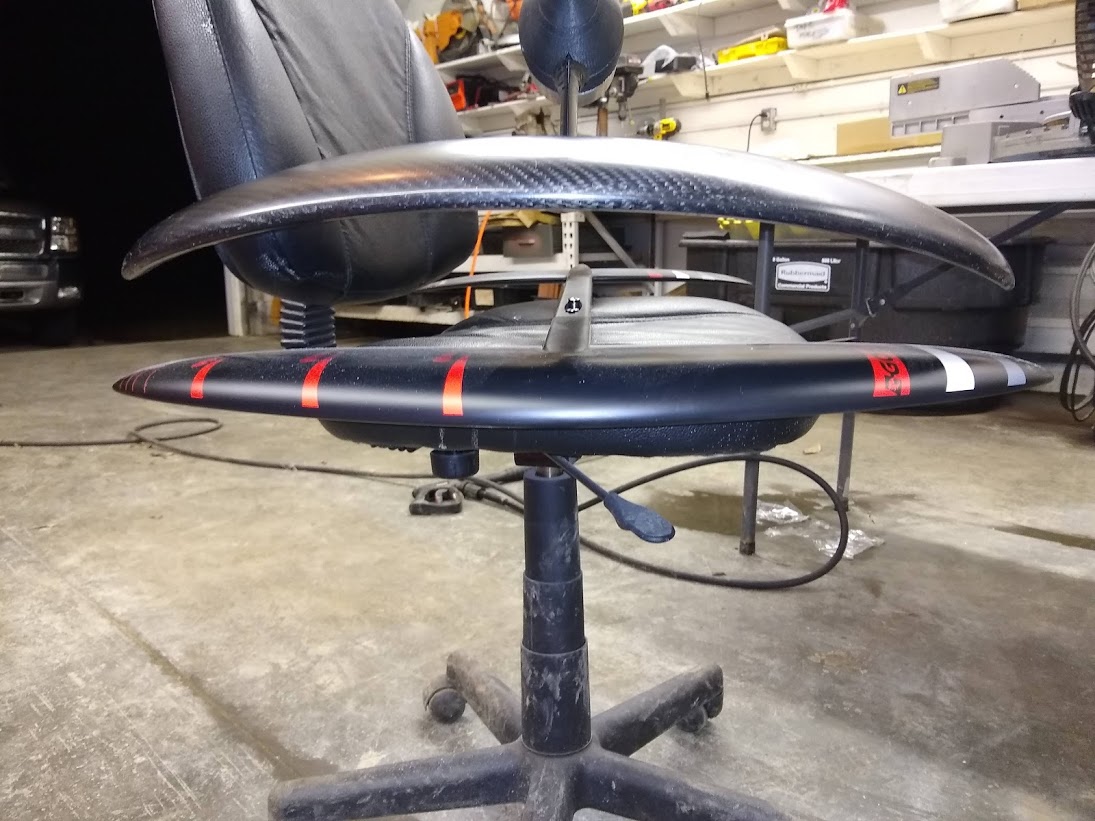
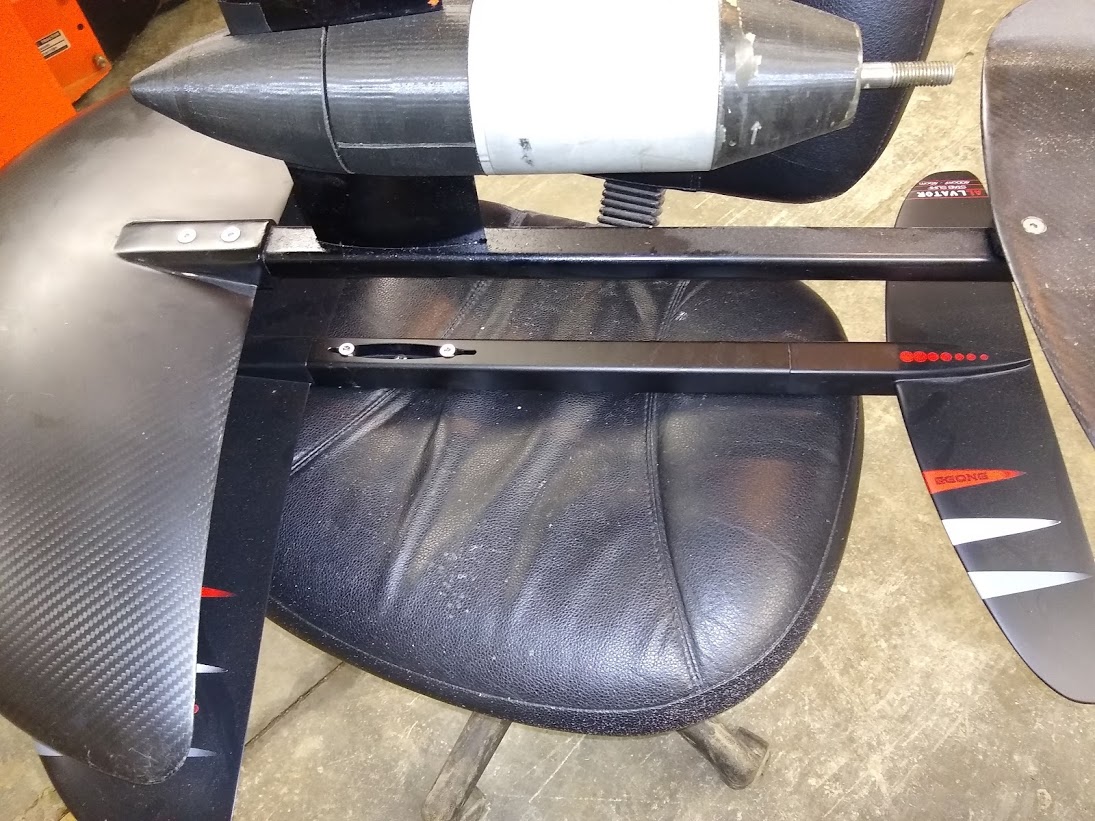
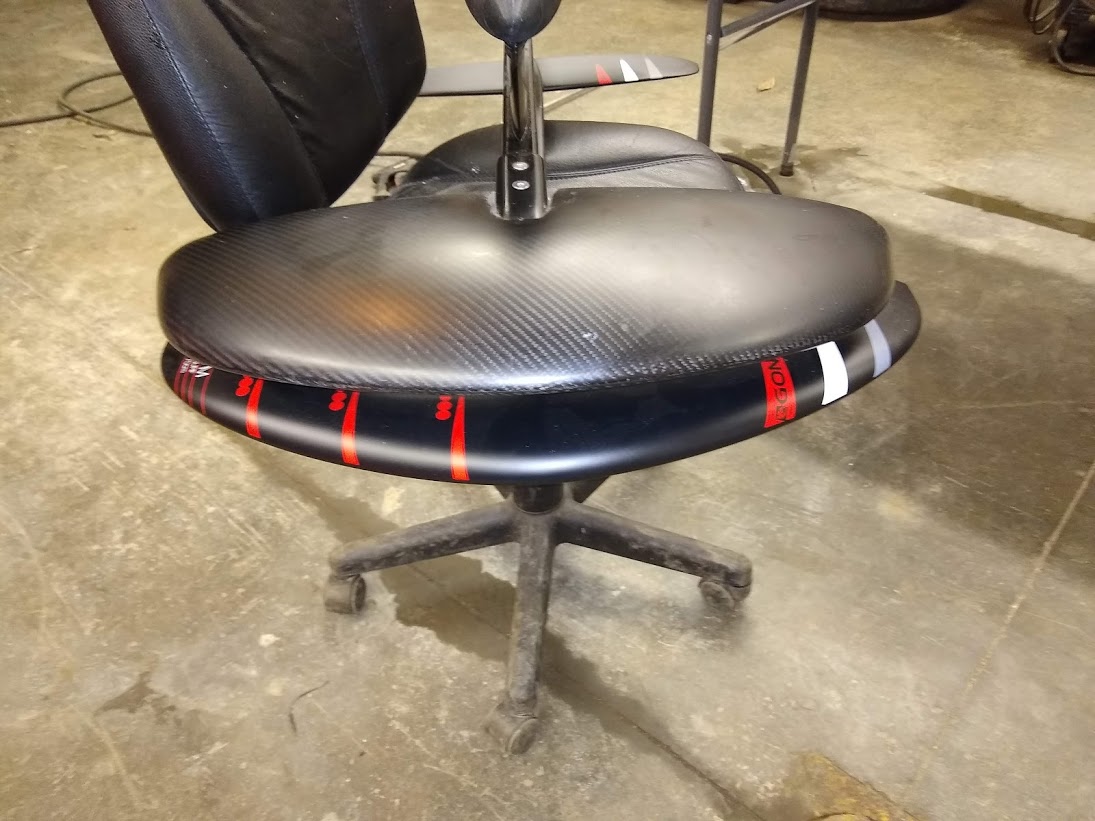
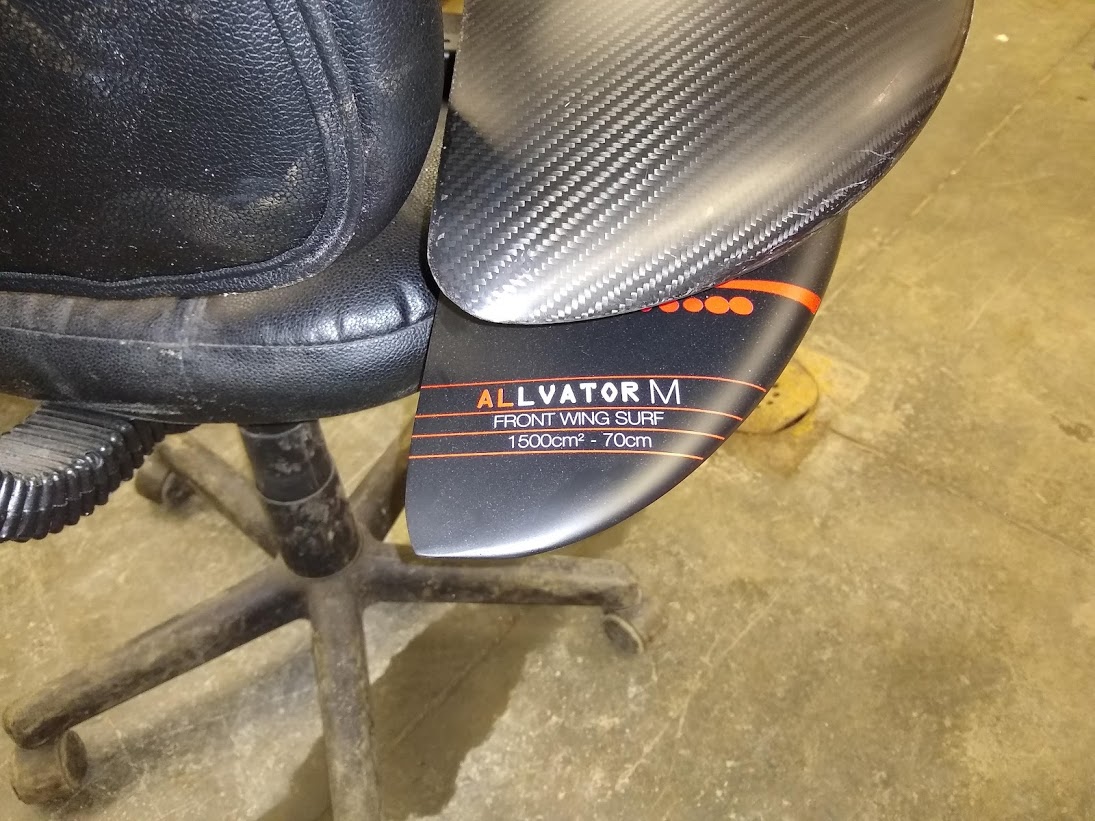
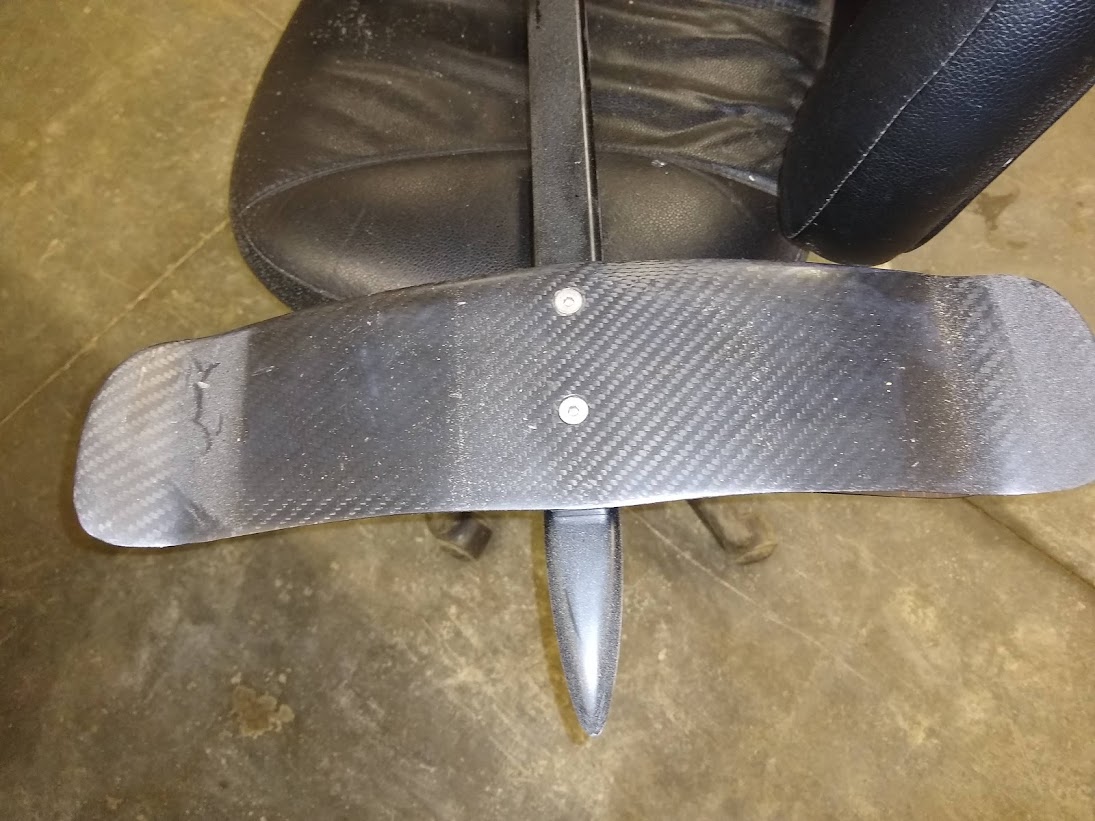
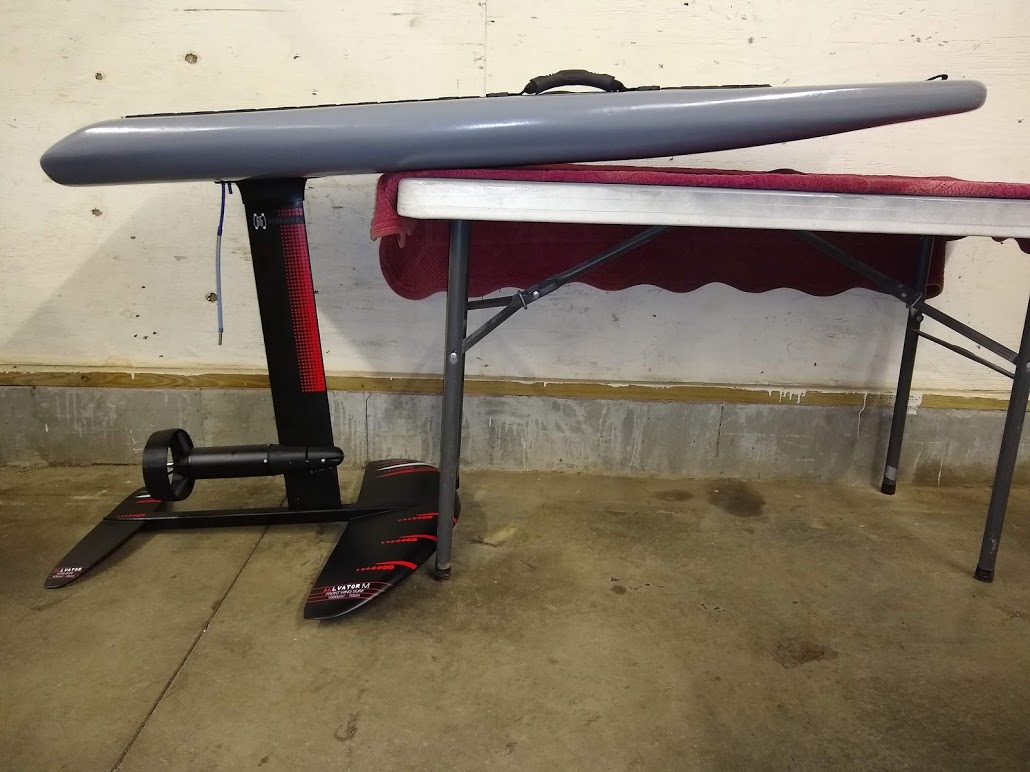
Its the Regular M. not the Pro M.Here some comparison photo of My “china foil” next to the GONG foil.
The gong foil front wing span is about 2" wider, not as deep and thinner. It is less spoon shaped.
On the GONG foil I like that the front wing and the stab integrate smoothly in to the fuselage.
I like the carbon pattern on the “Chinese foil”
They both use the same mast.
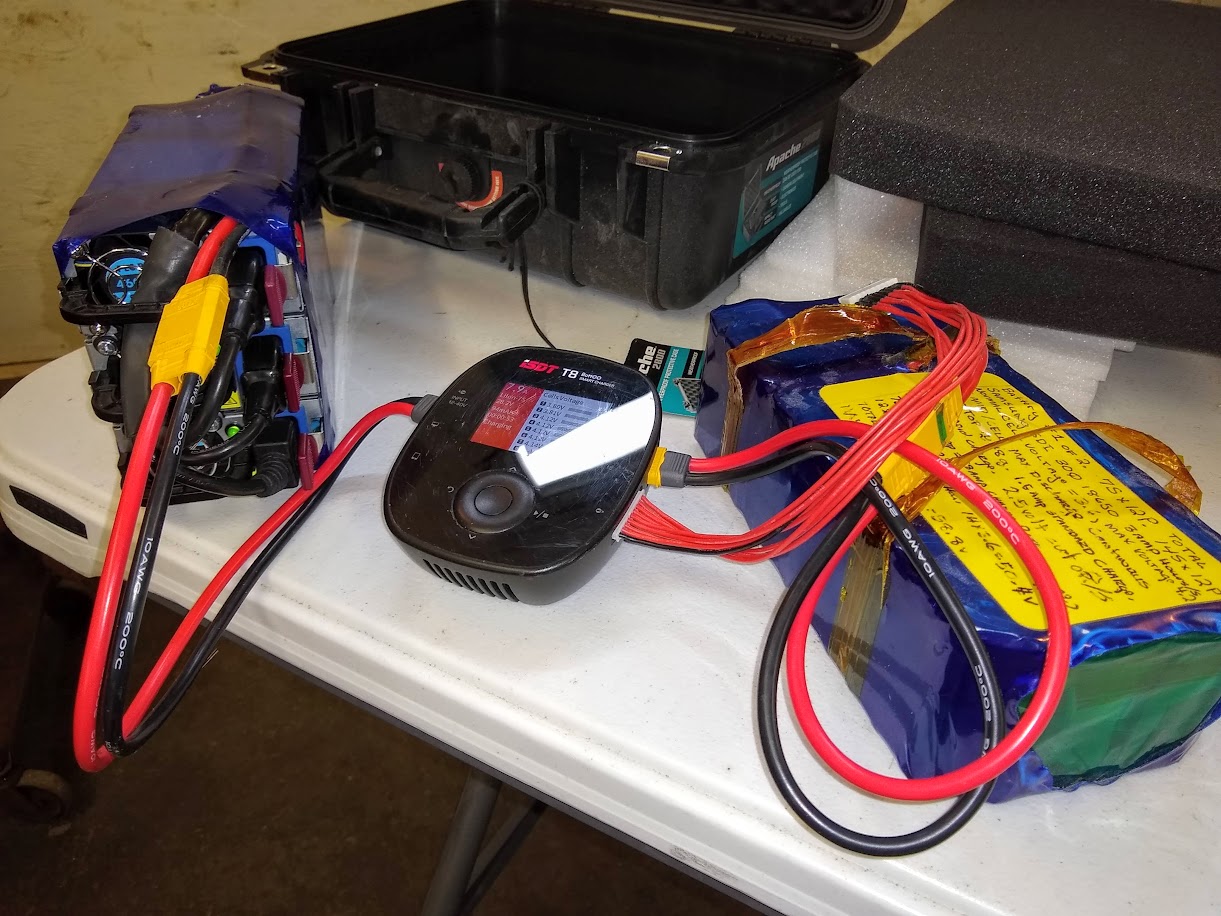
My power supply that I used for the last 2 years was only 15VDC at 240 watts. It would pretty much take all day to charge my two 7S12P 18650 30Q batteries.
E-bay has dirt cheep high quality used server power supplies.
I put 3 of them is series. (Note: You have to float 2 of them or they will short out)
So now I have 36VDC 1380 WATT supply.
Its always something. I was turning the board on its side to get a measurement on the mast plate hole spacing and it slid off the table on to its back corner.
Too bad  I know the feeling. Last year my mate and I crashed into each other and damaged the new board as well. We repared it with some epoxy and did sand and paint it again last winter.
Sorry for you,
I had the same misadventure… I’m getting Tuesday’s fix…
Why the corrosion X ?
. The motor is insulated…
I don’t really know. The group puts it on everything. I do it “just in case.”
Just kidding. Most off these guys run in salt water which is nasty stuff. Its a precaution. No one has ever warned against it.
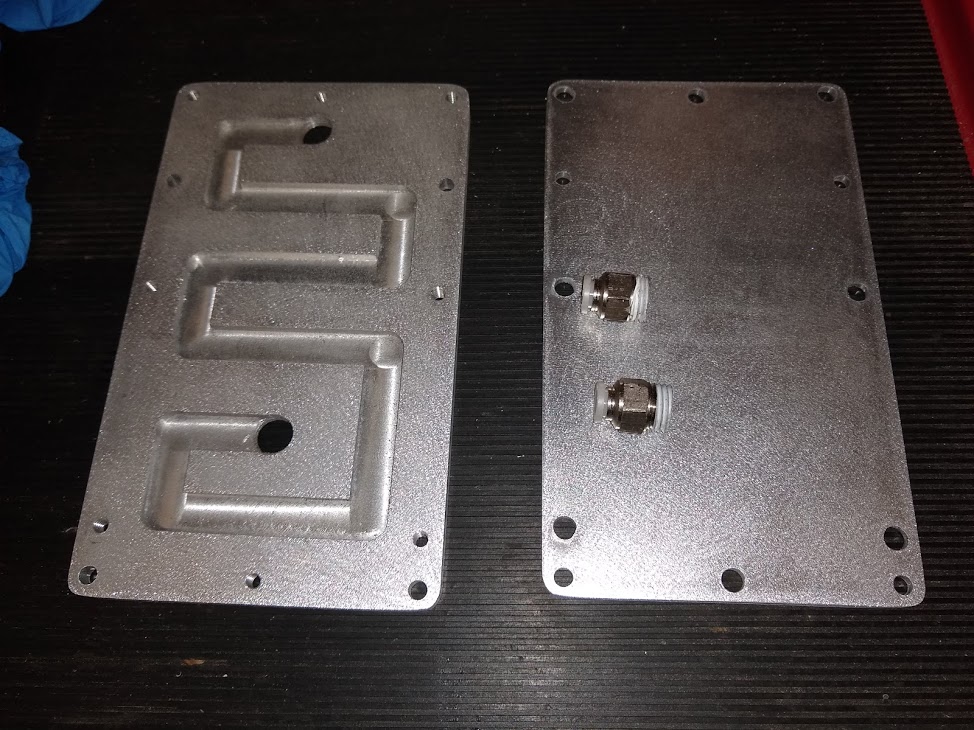
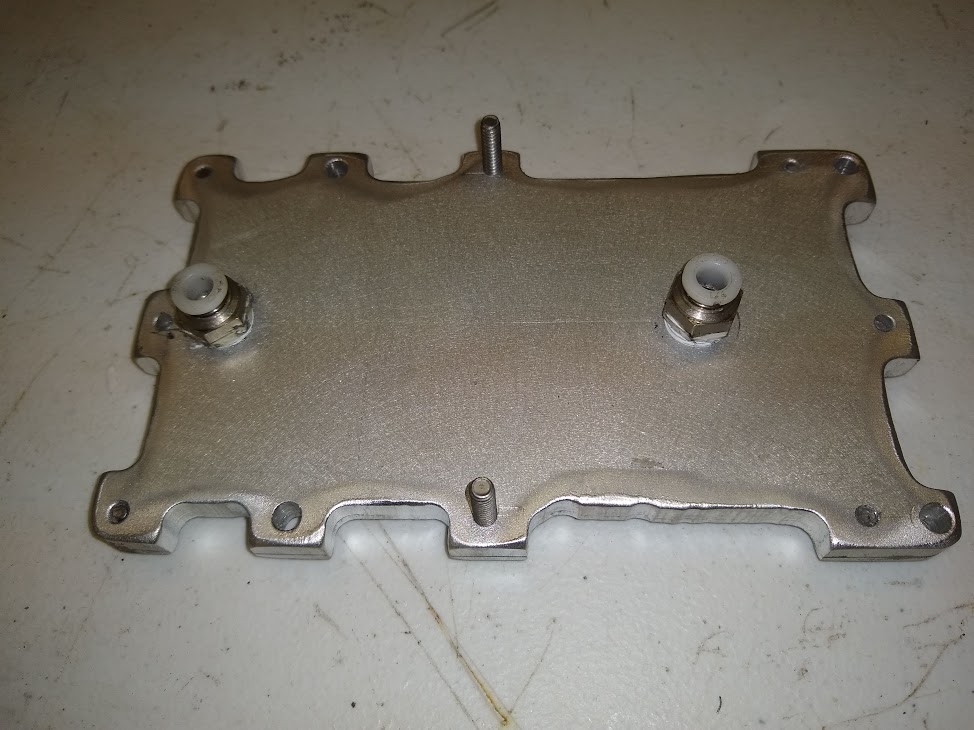
I am building this cooling plate for my VESC. The idea is this plate mounts directly over the input and output cooling tubes. Just push the quick connect fittings on. I am worried the water will not have enough pressure to circulate well. I know some people go with out a pump. I am just worrie
d.Looks good!
That will be fine. Don’t worry. If you put the pick-up in the nose cone like I did you will have plenty of pressure. It’s shocking how much flow I have with my super small hose!
I was using a waterpump because I did not believe that such a small hole could give enough waterflow. Last week I tried it without my pump and the flow is almost the same. Realy happy with it because it makes my electronic box a lot easier.
Thank you, I have a similar set up. I was hoping someone would tell me I was worried about nothing.
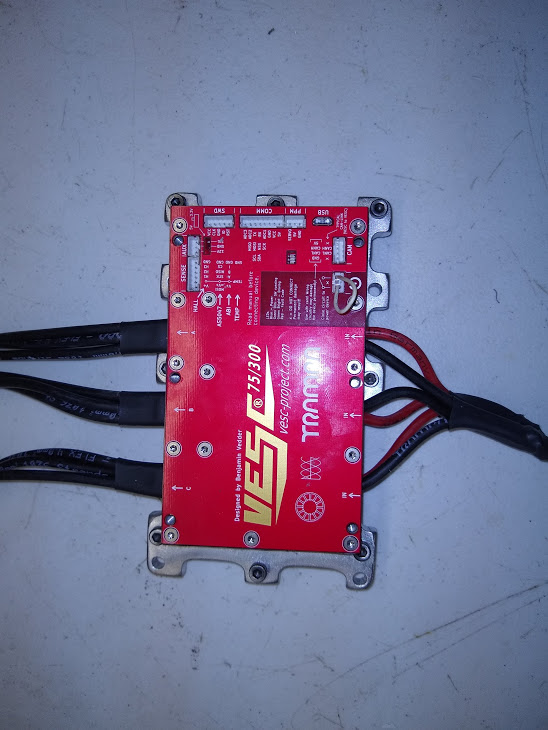
Thank you. It helps to hear that. I will believe it when I can see it. I figure the VESC 75/300 is over kill, And it has a lot of programmable protection built it, Plus I have effectively a big block of aluminum connected to it. I should be safe.
Hey MAC, if I were you, I’d buy this alu cooling block for the VESC 75/300! It is the perfect size and you won’t have to worry about it leaking. For 35$, it is so worth it. I have it on my setup and it does the job perfectly! I even run it without a waterpump and the flow is more than enough! My vesc temp never goes above 52C in warm Florida water and continuous riding (1hr+)
Vicdes2,
Originally I hunted for something like that on Amazon, I could not find it. I don’t know what I was doing wrong. Maybe I called it the wrong name. Armed with with what you sent, I had no problem finding it. Actually I did find a similar product on Bangood. Price cheep. I ordered it, It took over a month to arrive. I got tired of waiting so I made my own. It finally did arrive yesterday. I really like the one I built better.
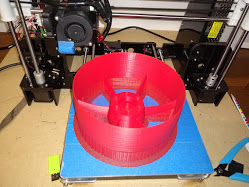
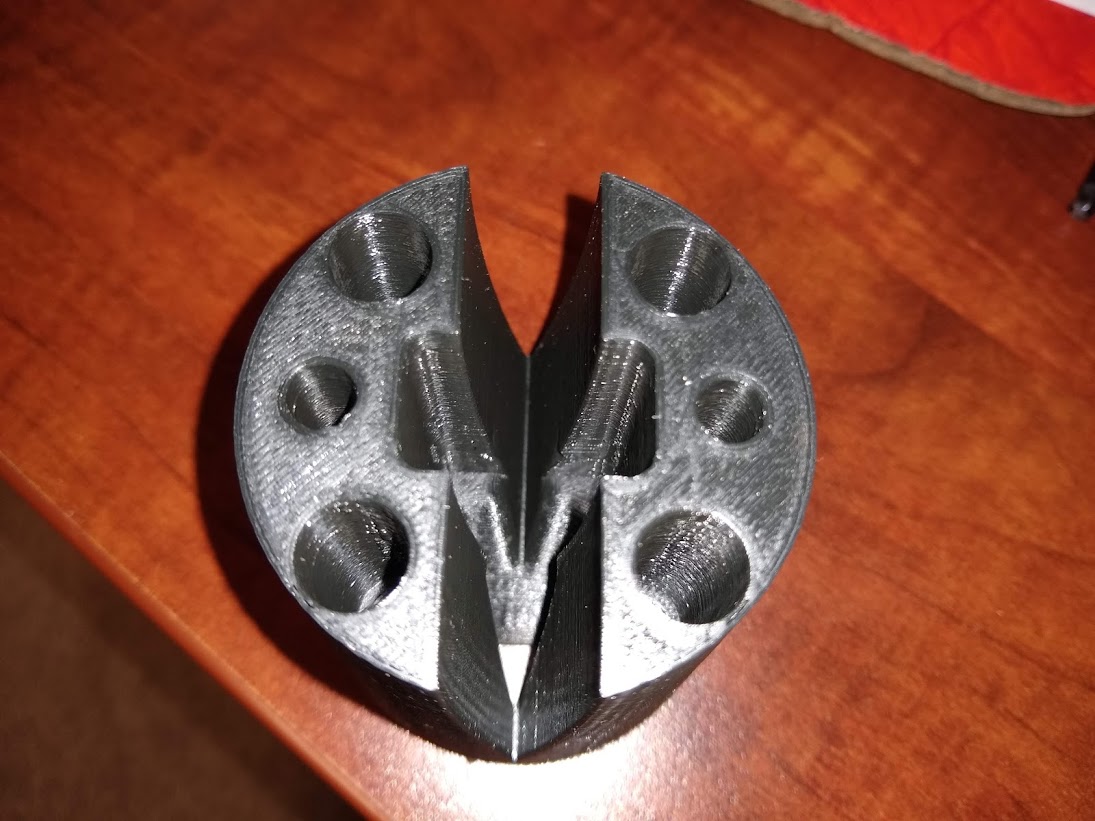
I had a few failed attempts with my cheap printer. Then after about 40 hours of printing, 100% infill. Thanks to Michion I have a prop guard.