Exactly as @Larsb said.
Higher voltage with 14S to reduce current at same power.
8 cells in parallel was the compromise between weight/space/costs/assumed foiling time.
Okay I see, so 12s10p can give me a little bit longer of a run time at the cost of a warmer running pack and a slower top speed?
Hey what kind of bms do you use vor the battery?
Yes, well, it will not run hotter per cell but as there are more cells though you will get slightly more total heat to get rid of. I don’t think it’s an issue to worry about with this size of battery - I have never seen my battery hot even when the controller was steaming.
No BMS @ the battery, no possibility of additional failures.
While charging with ISDT K4 Smart Duo Charger the packs get balanced.
1 Like
Wonderful attention to detail!!!
I am using some of the same components in a build I am starting, the 75200 VESC and the motor.
I’m curious why you chose to implement your own water cooled heat sink rather than use the FLIPSKY 75200 water cooled version (this is the one I have chosen)?
The water cooled version was sold out when I ordered… 
Thanks - that would explain it. I thought perhaps you didn’t like the design that FLIPSKY used.
The whole concept of striving to create waterproof compartments and then intentionally pumping water into them is sort of funny! 
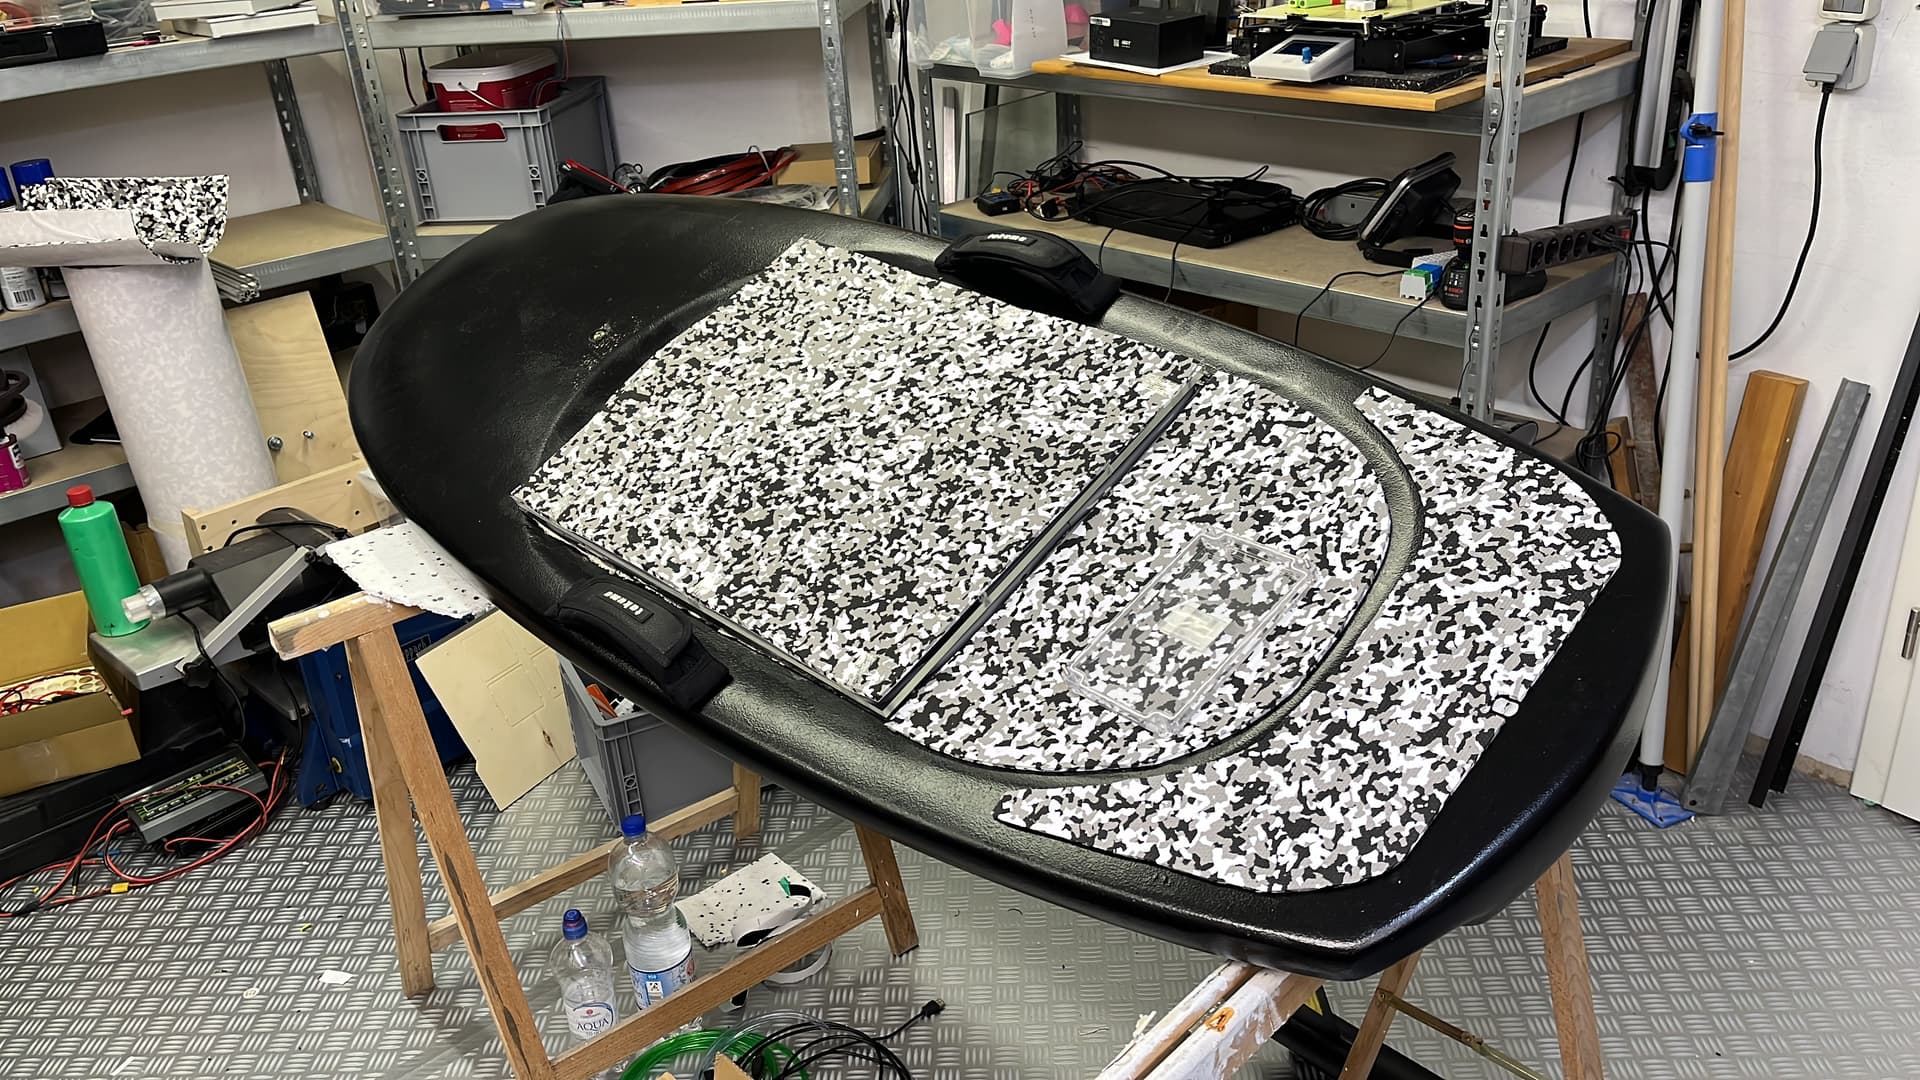
Some details of the battery.
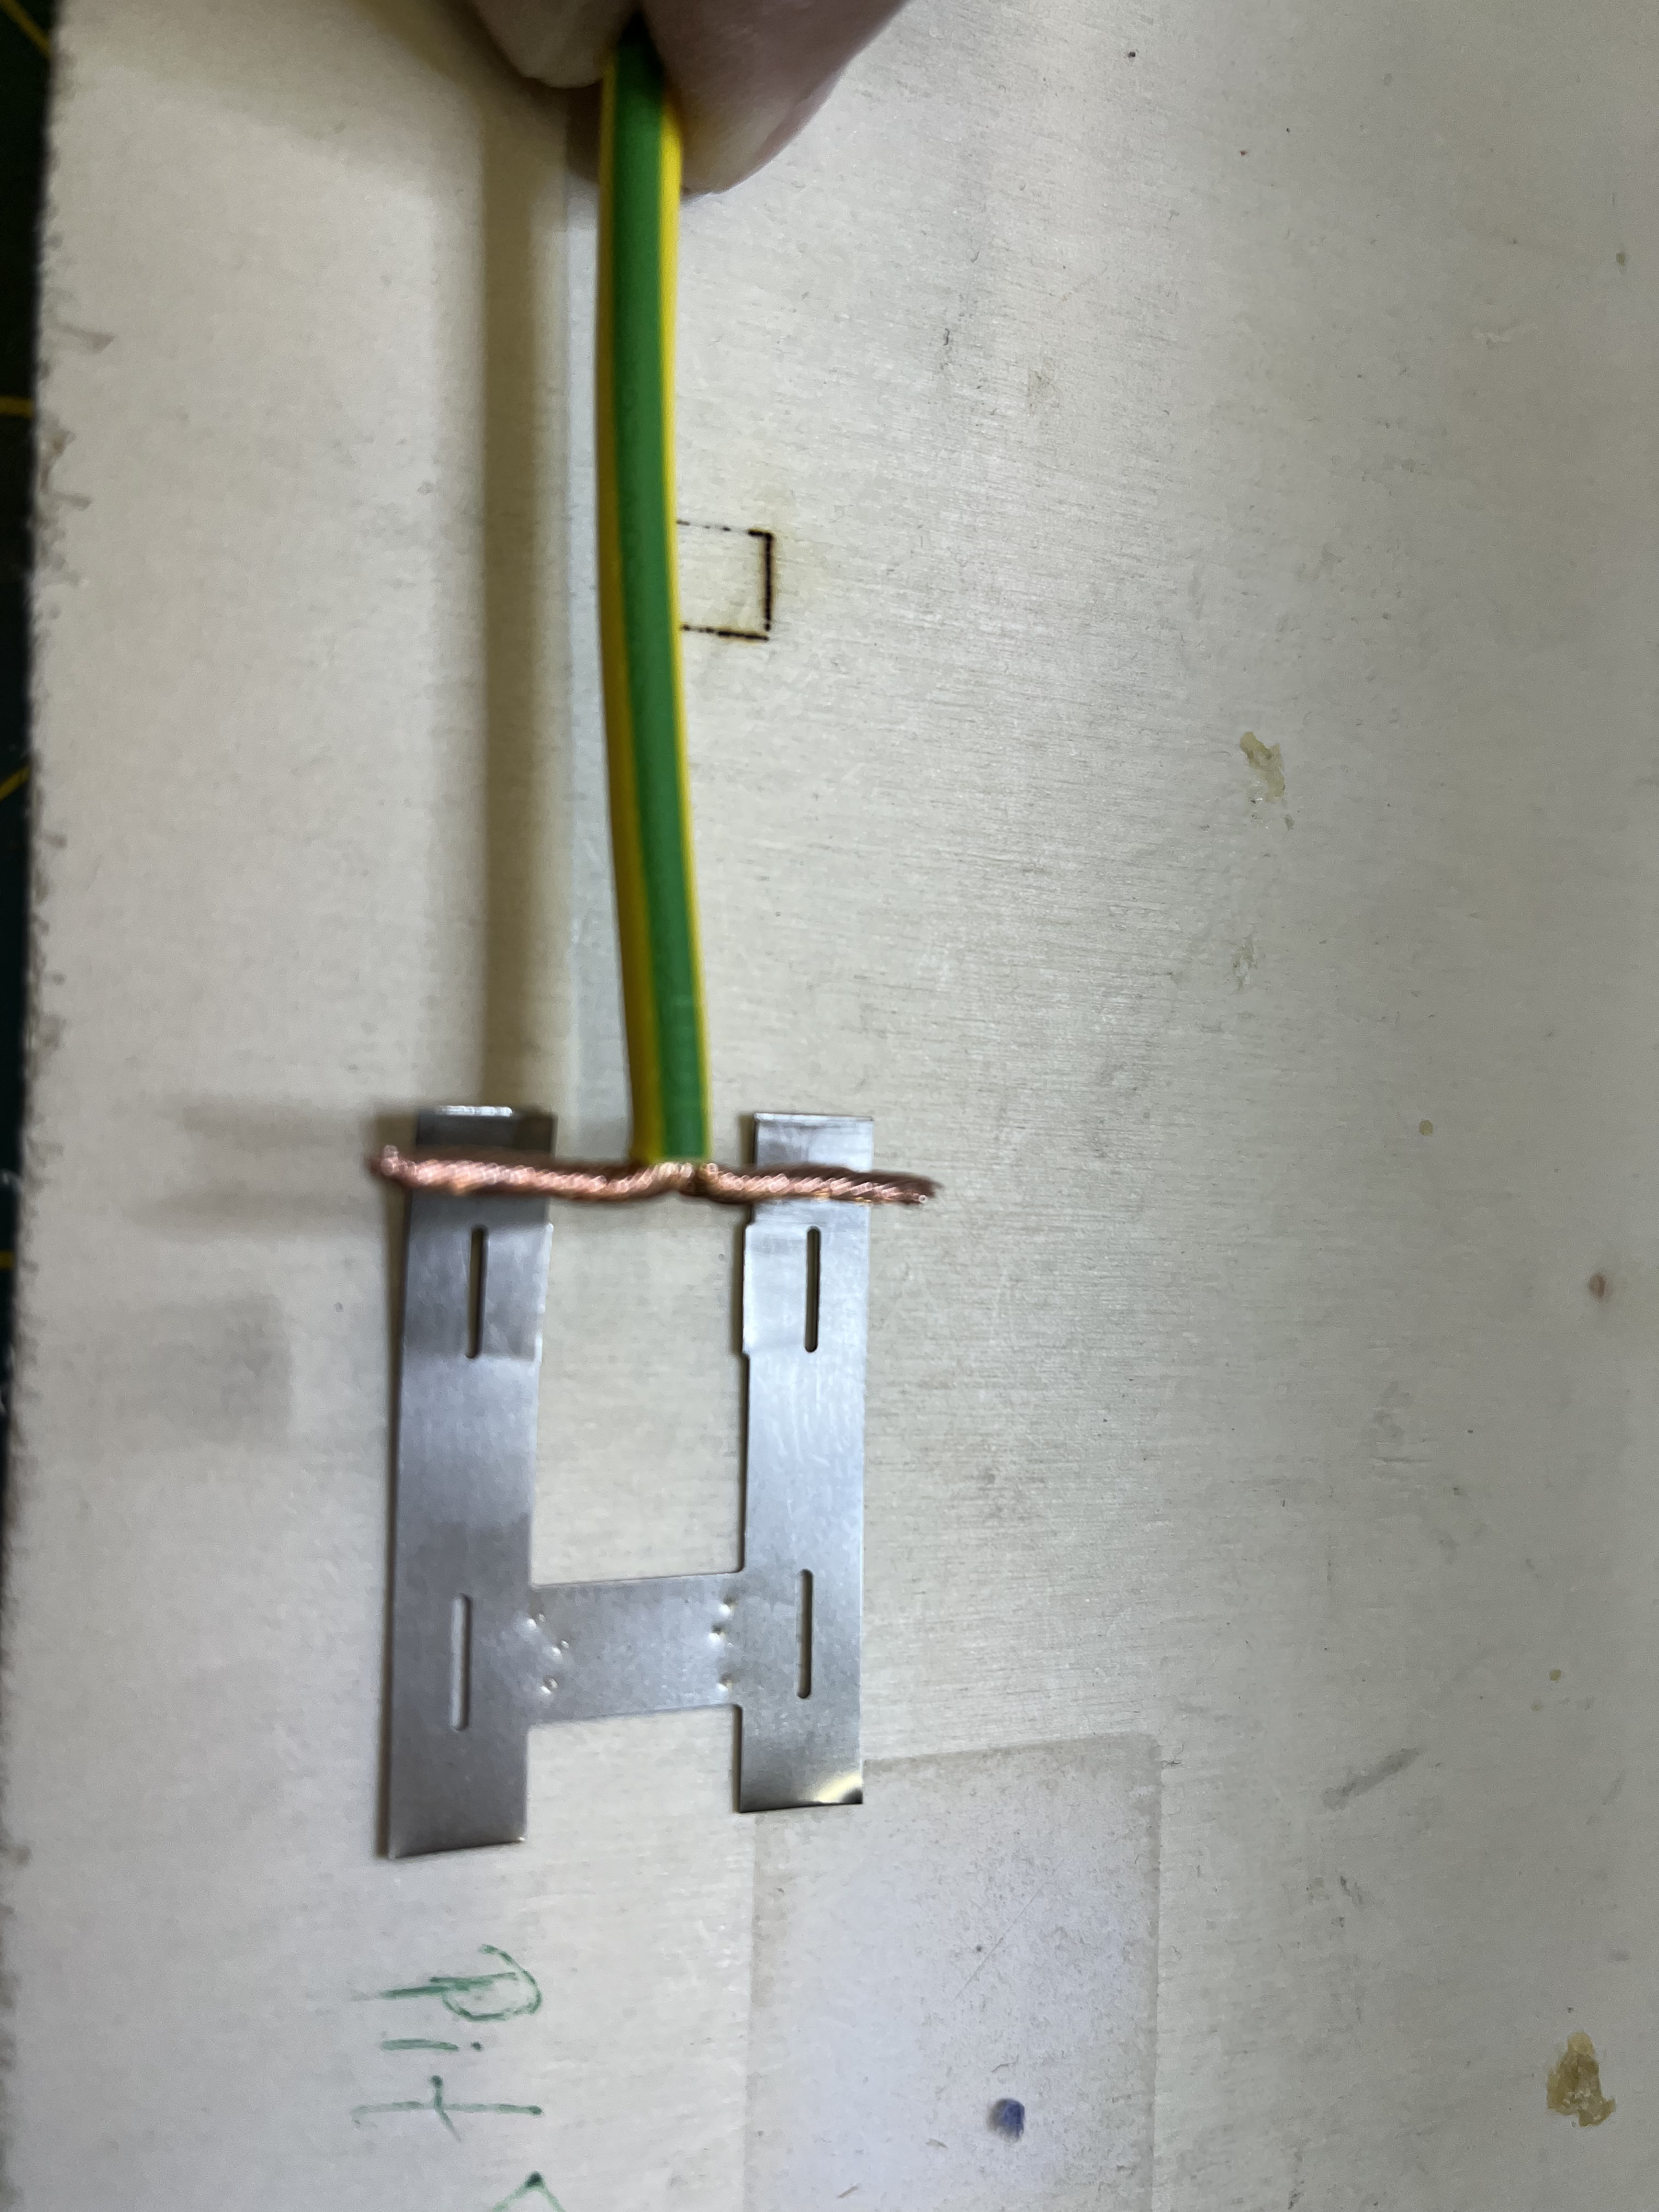
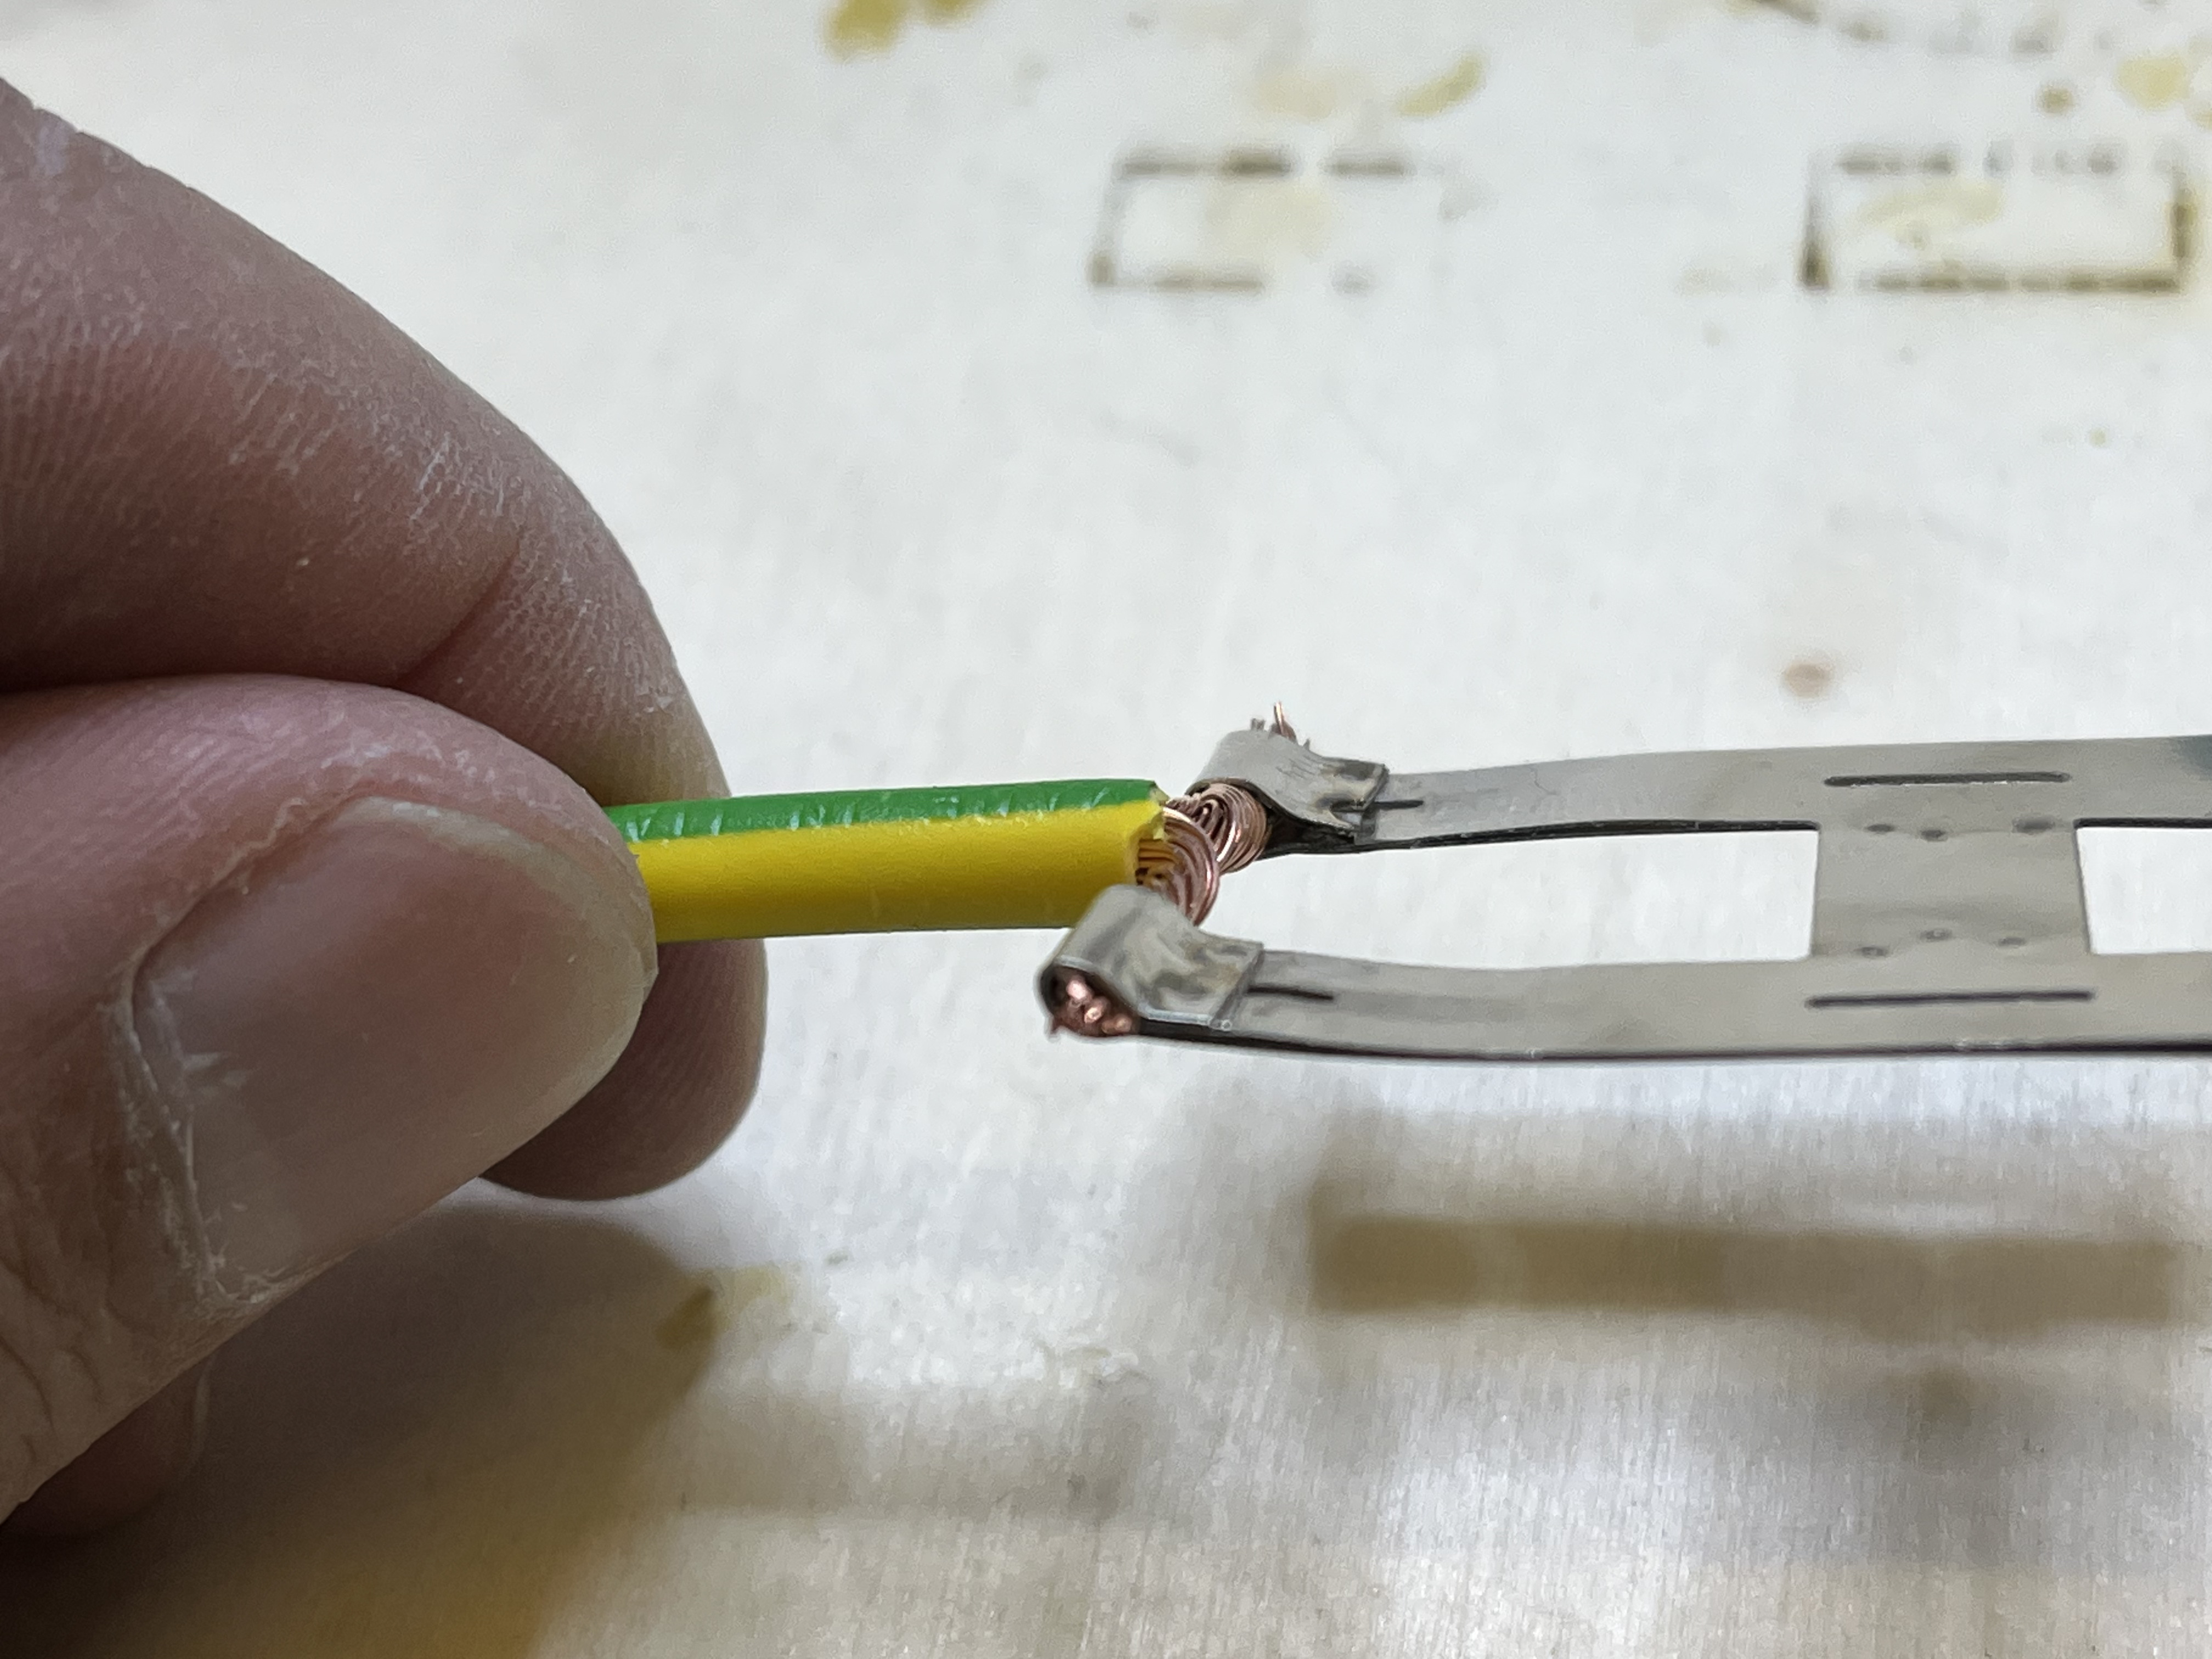
I spent some time and test to find a (for my pack) best solution for the busbars:

- soldering should have been limited to smaller wire dimensions
- no soldering at the batteries
- direkt connection to the Amphenos Surlock terminal
The result:
Each 2 parallel cells get a 6mm^2 wire soldered to a doubled piece of 0.15mm (2x = 0.30mm) Ni strip
With 8P there are 4x 6mm^2 = 24mm^2 that perfectly fit inside a 25mm^2 crimp connector.
Build completed ![]()
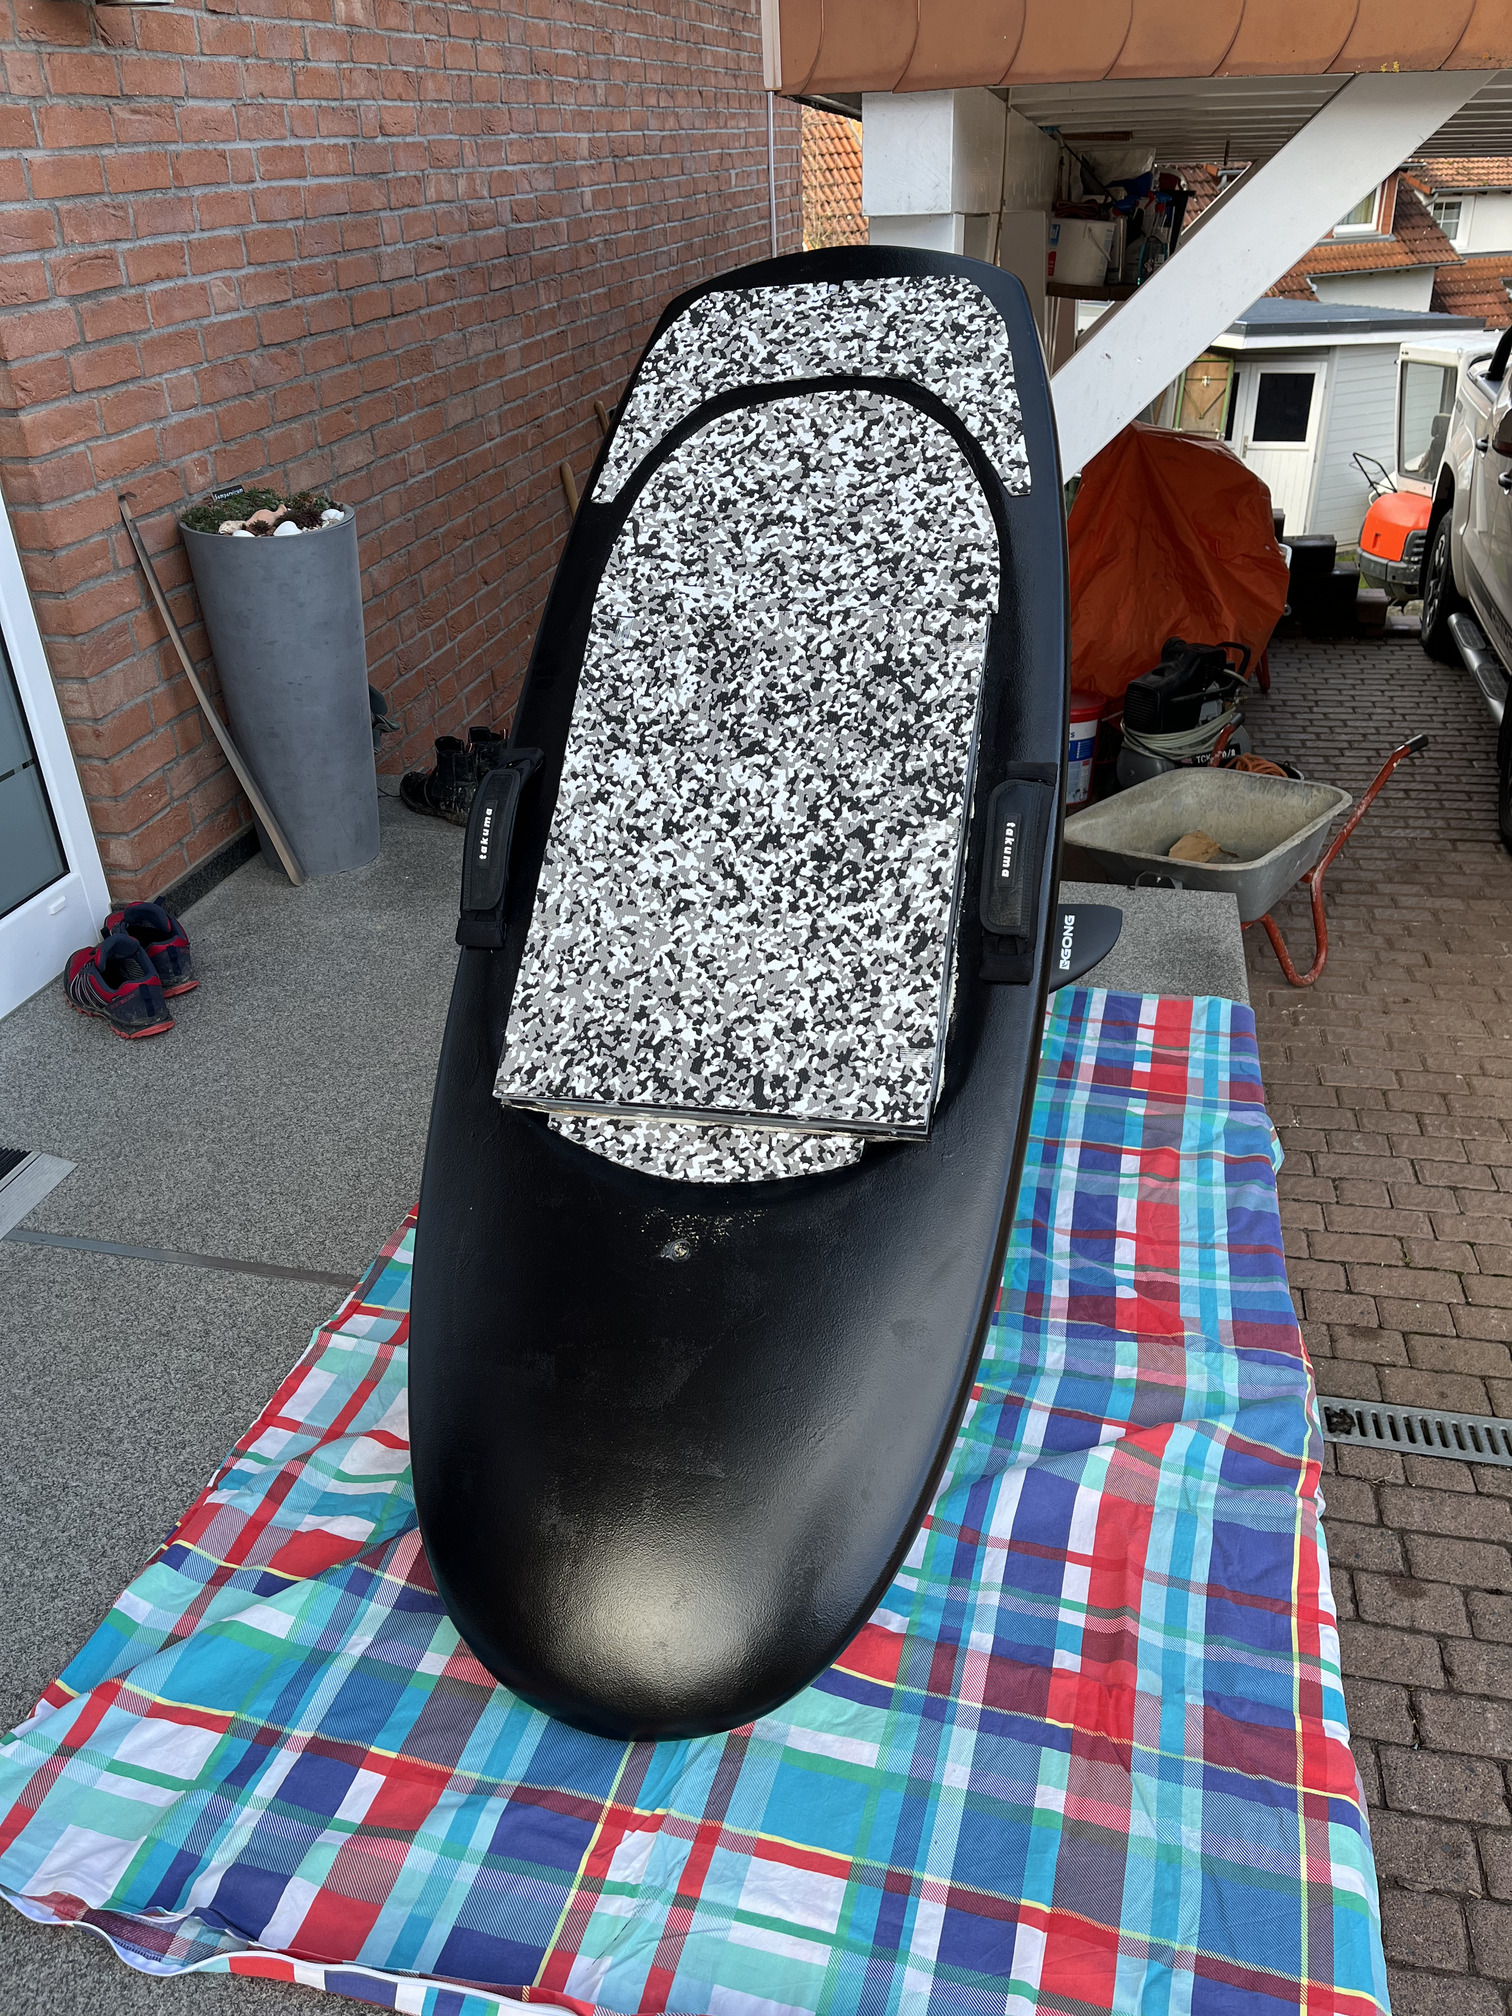
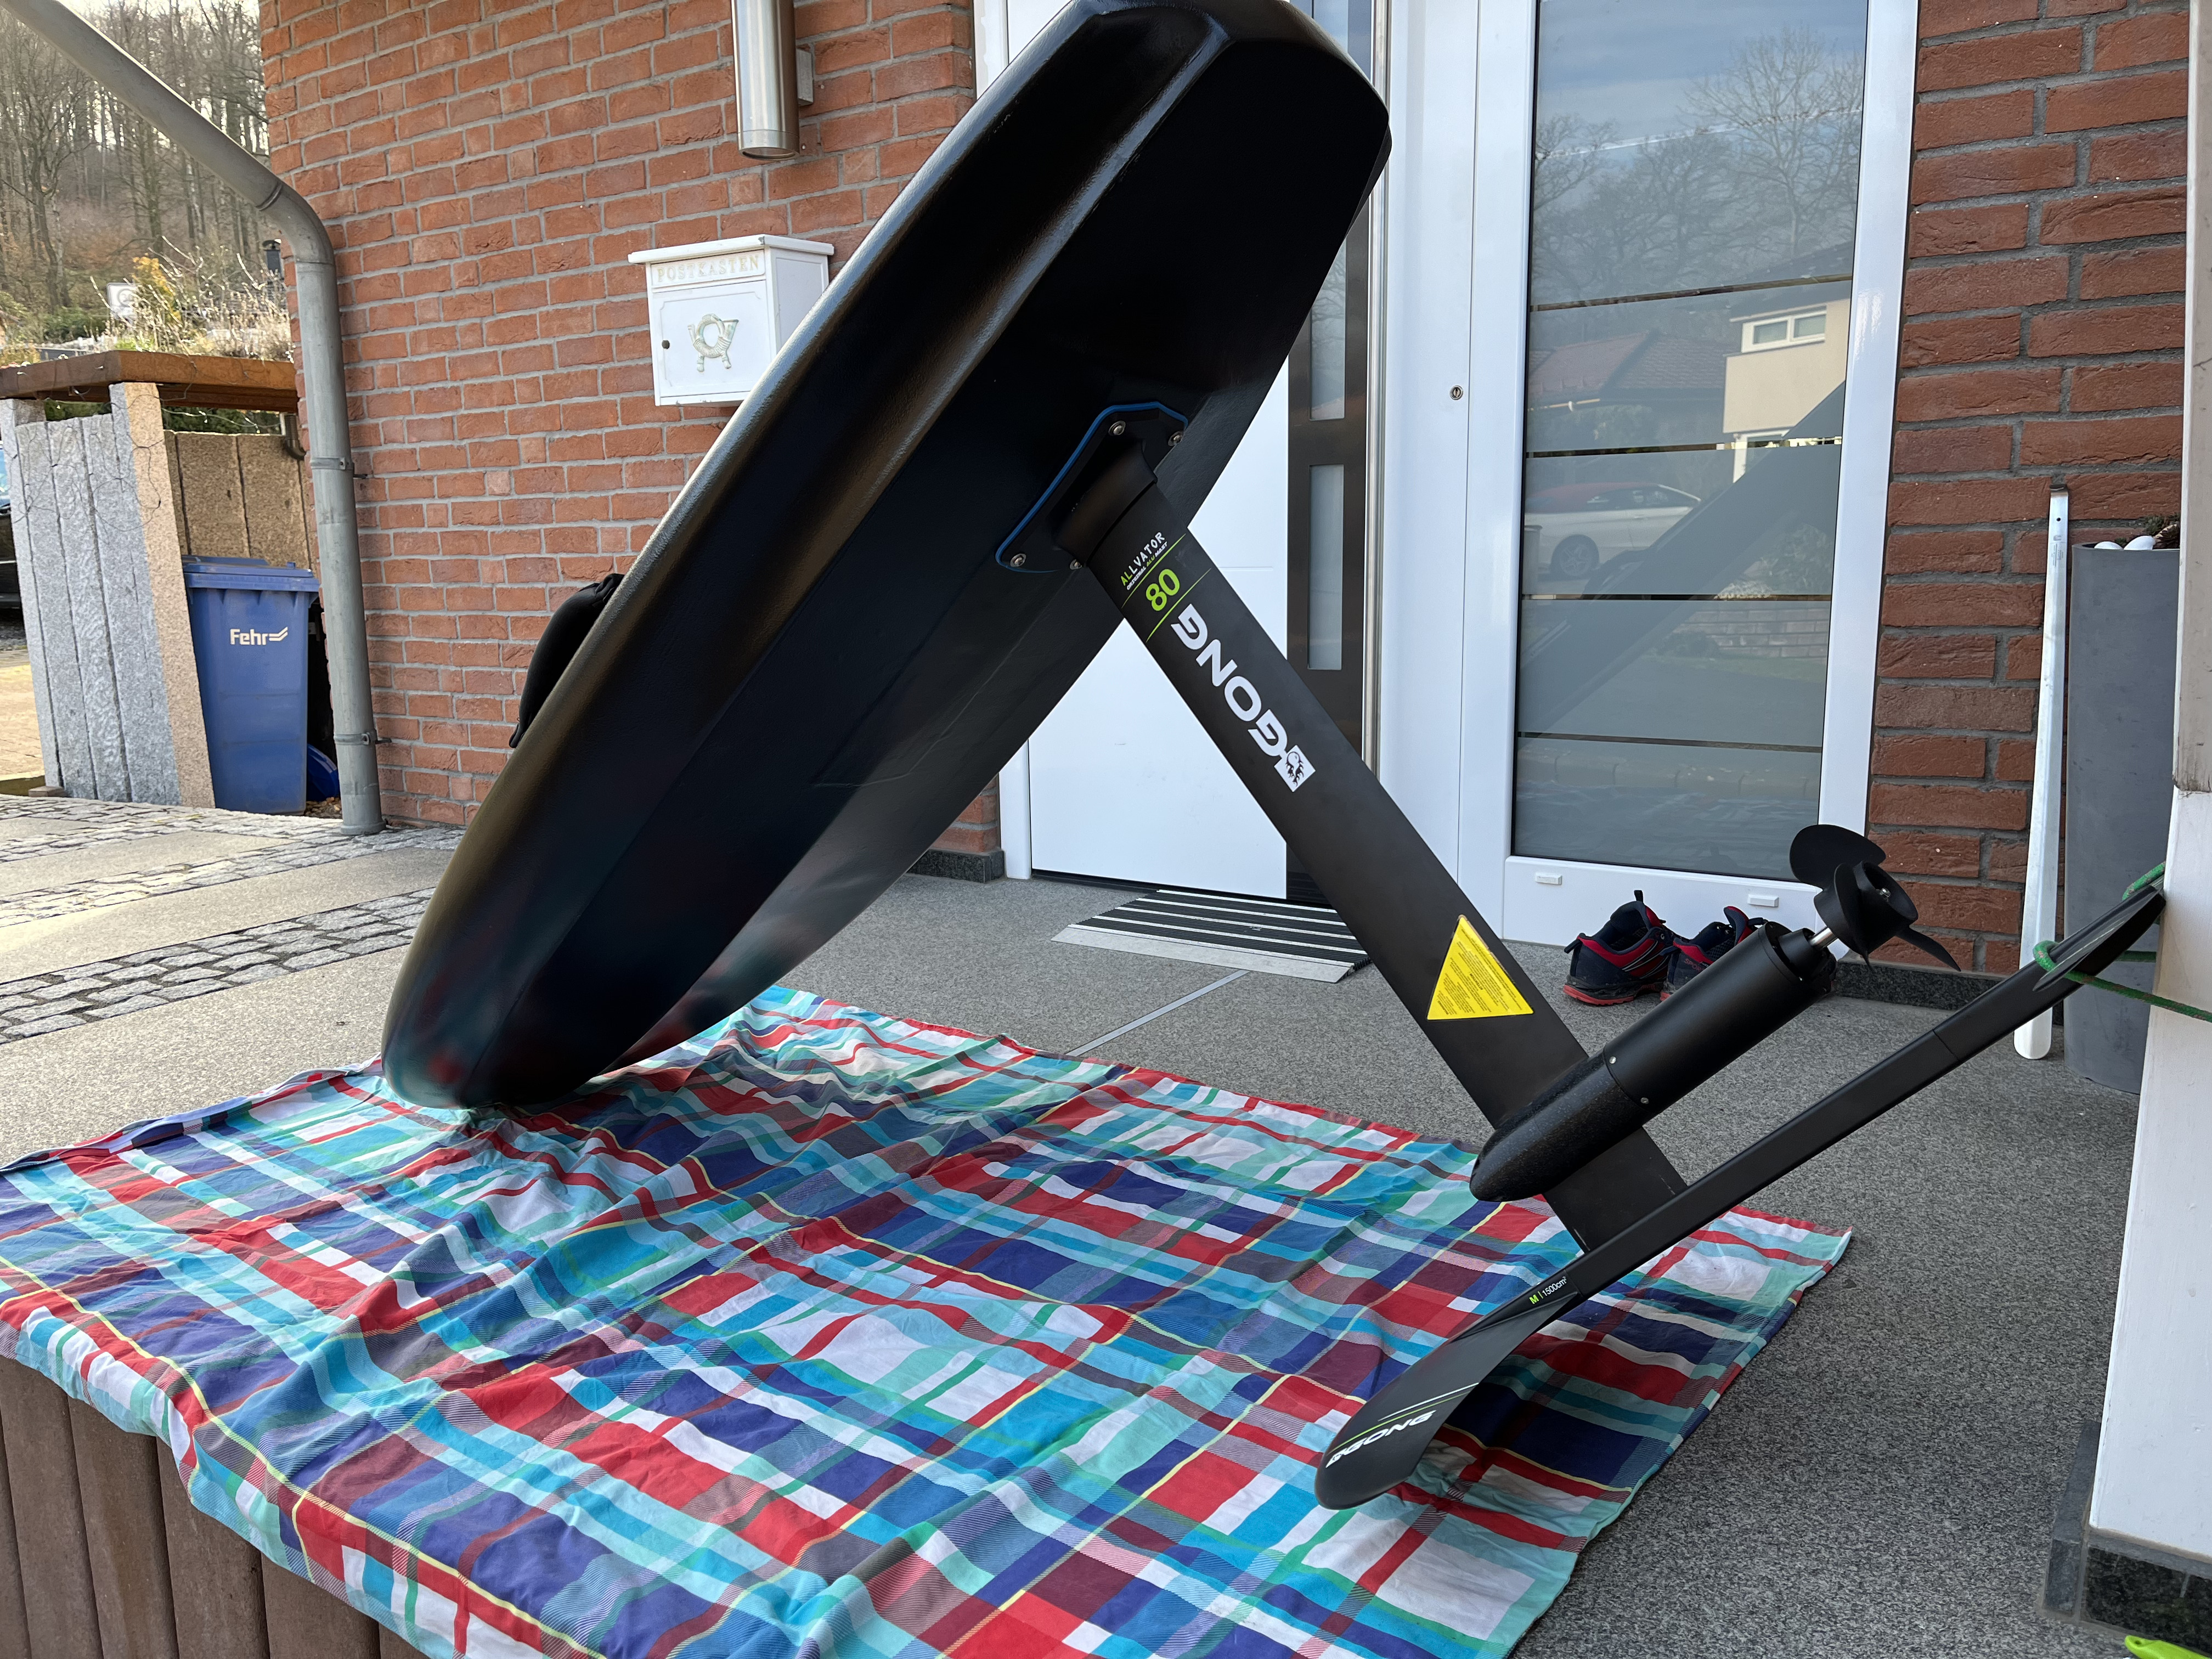
Dry testrun:
Today snow again after sunny day yesterday, no further testing outside ![]()
1 Like
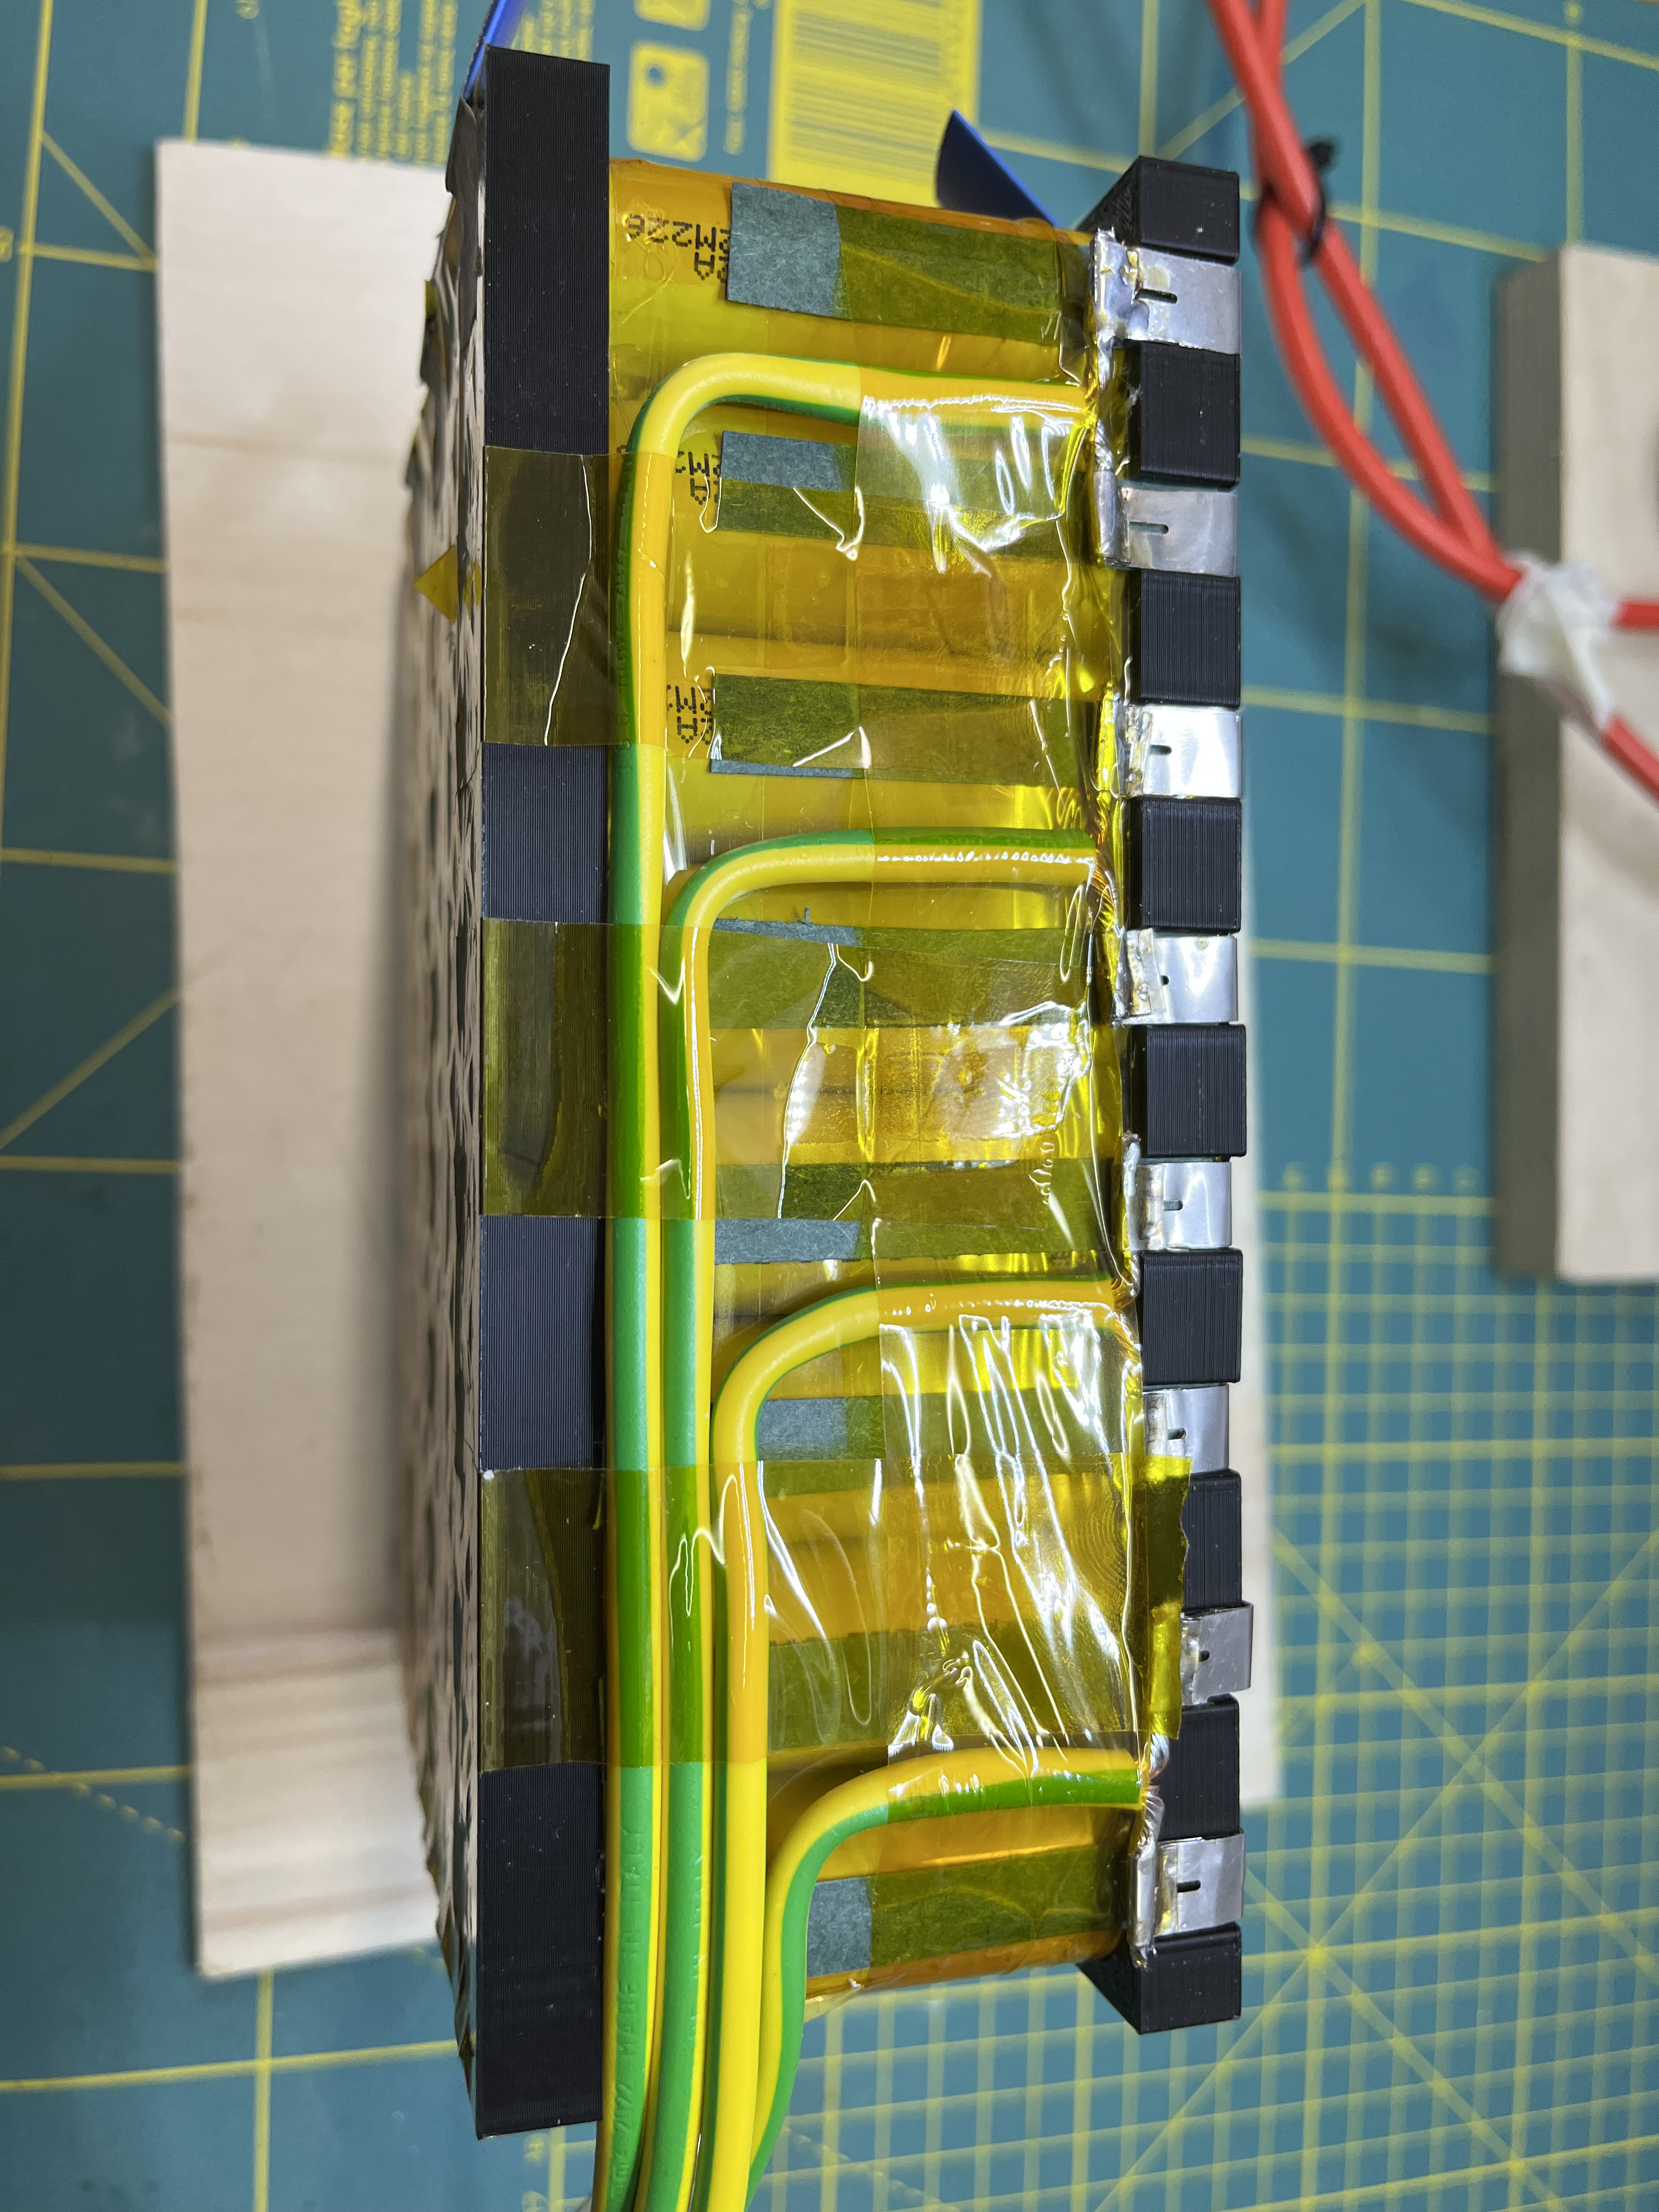
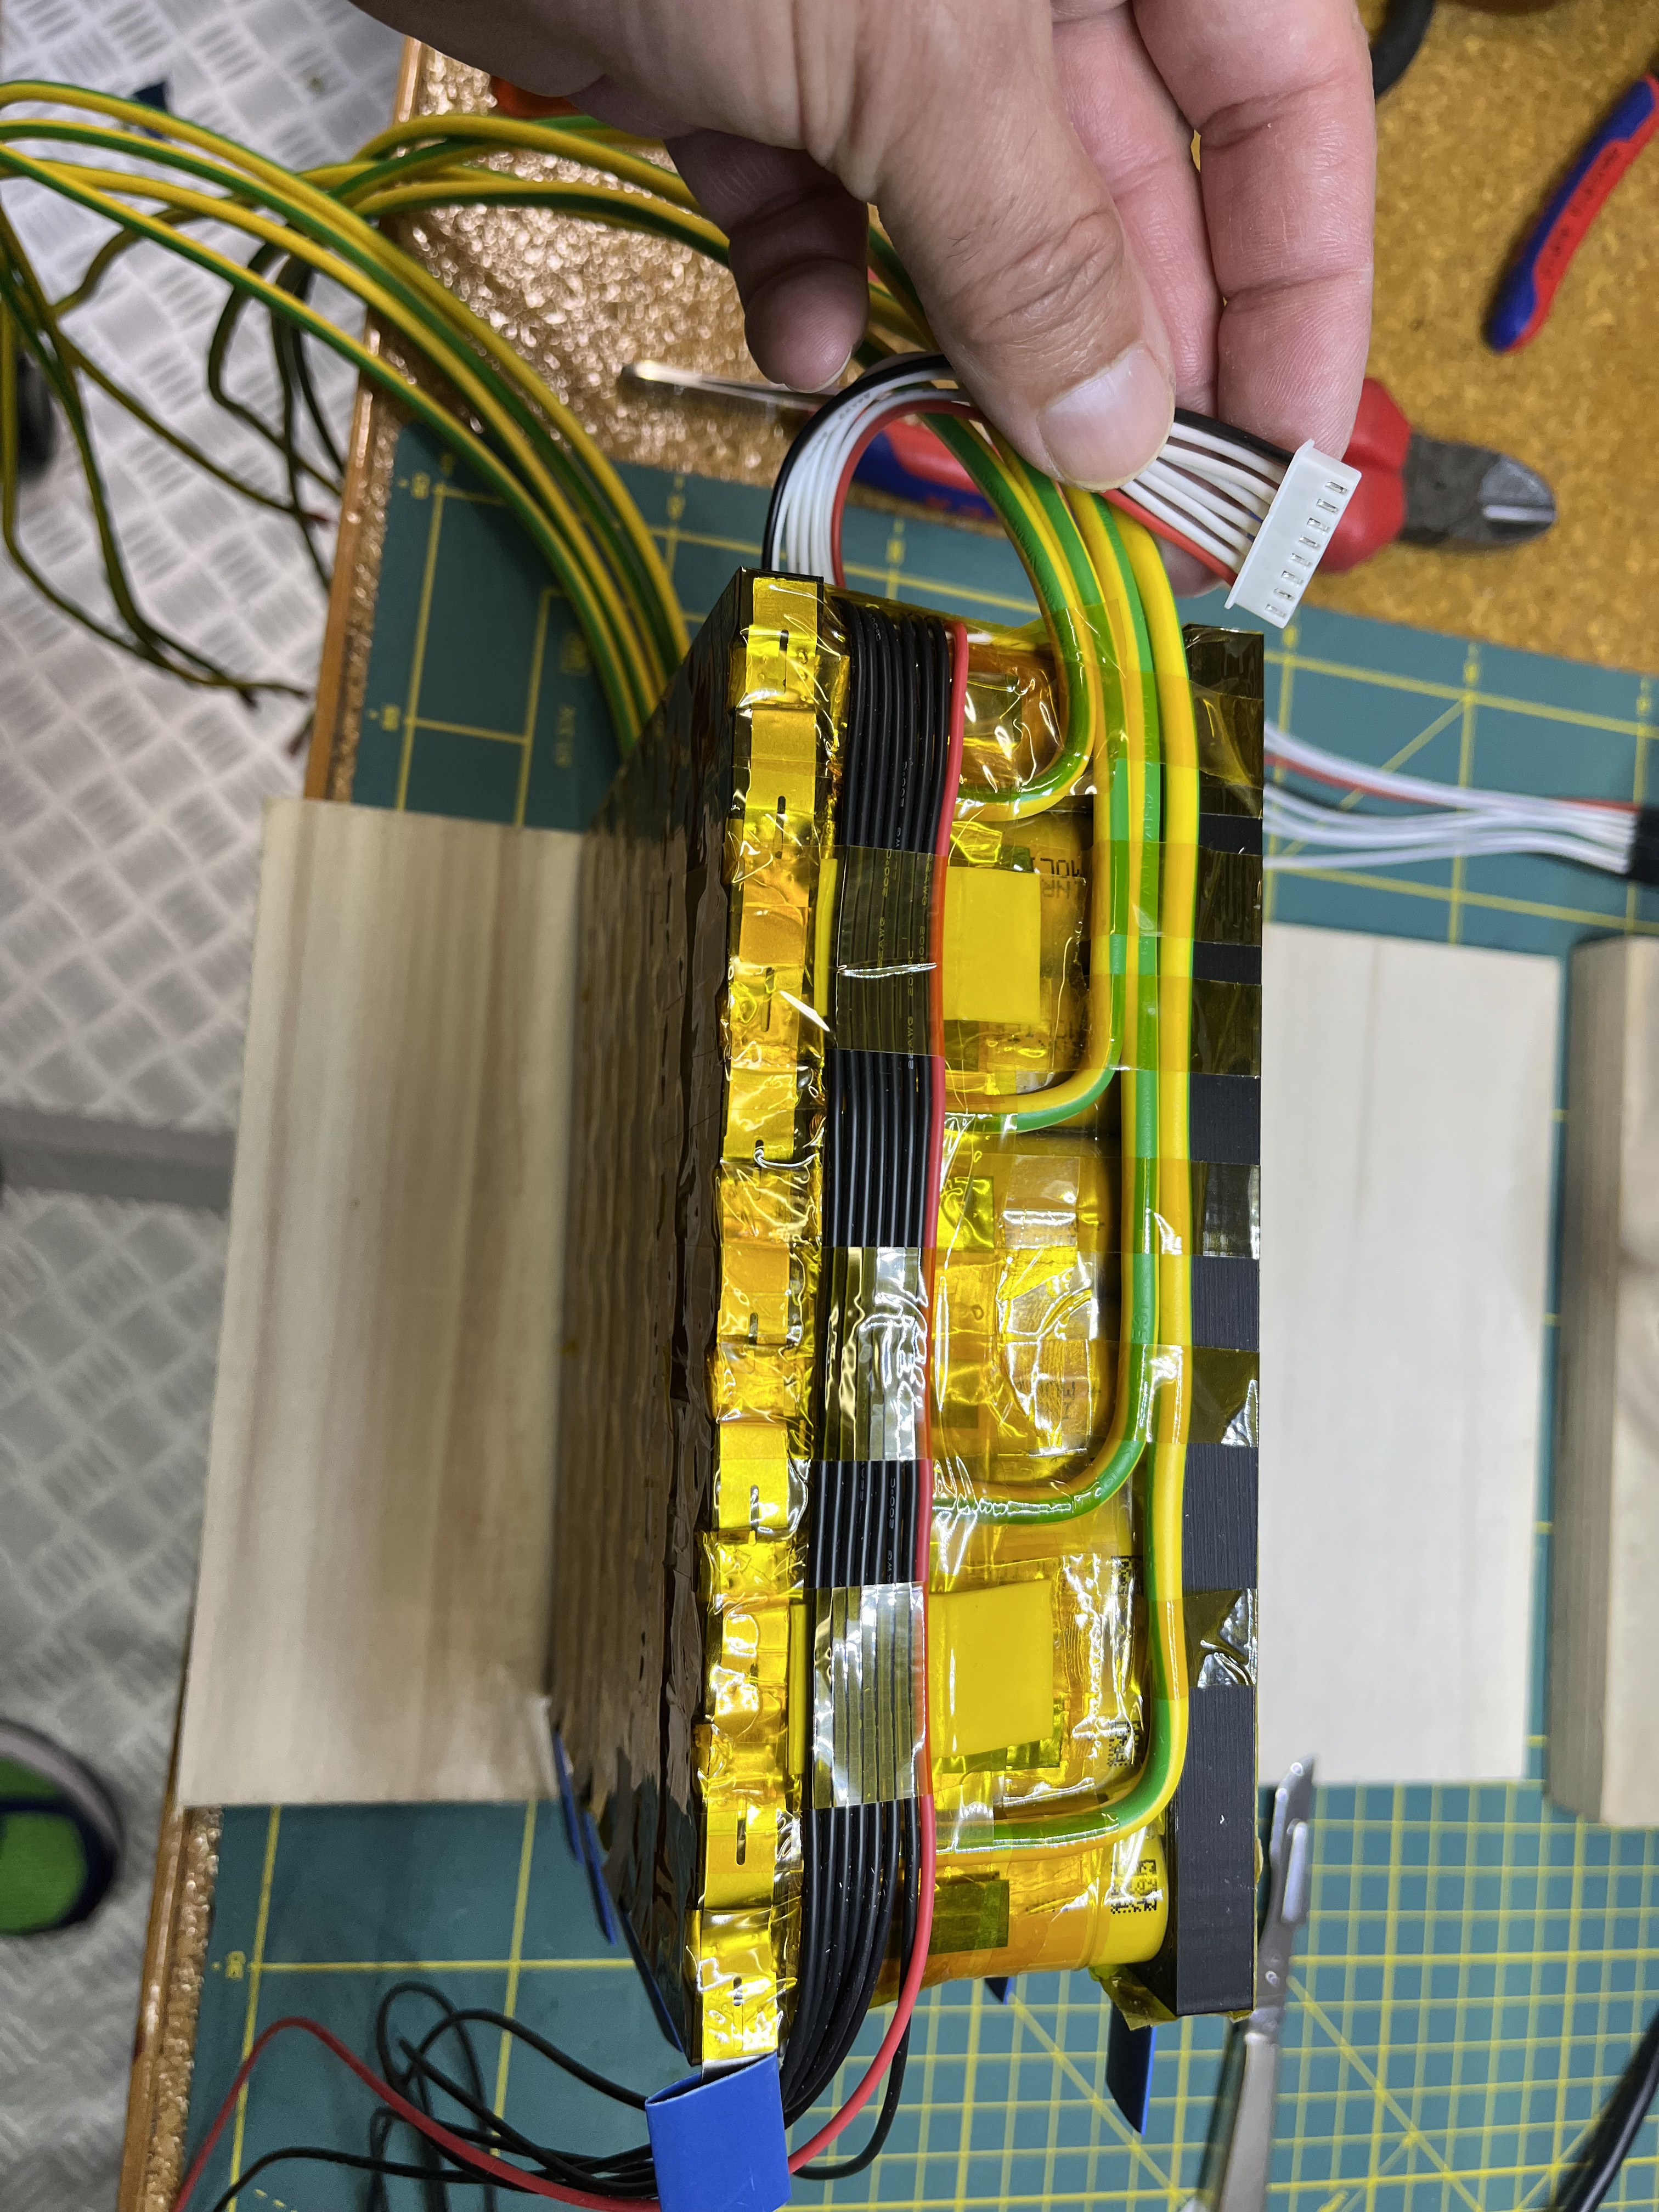
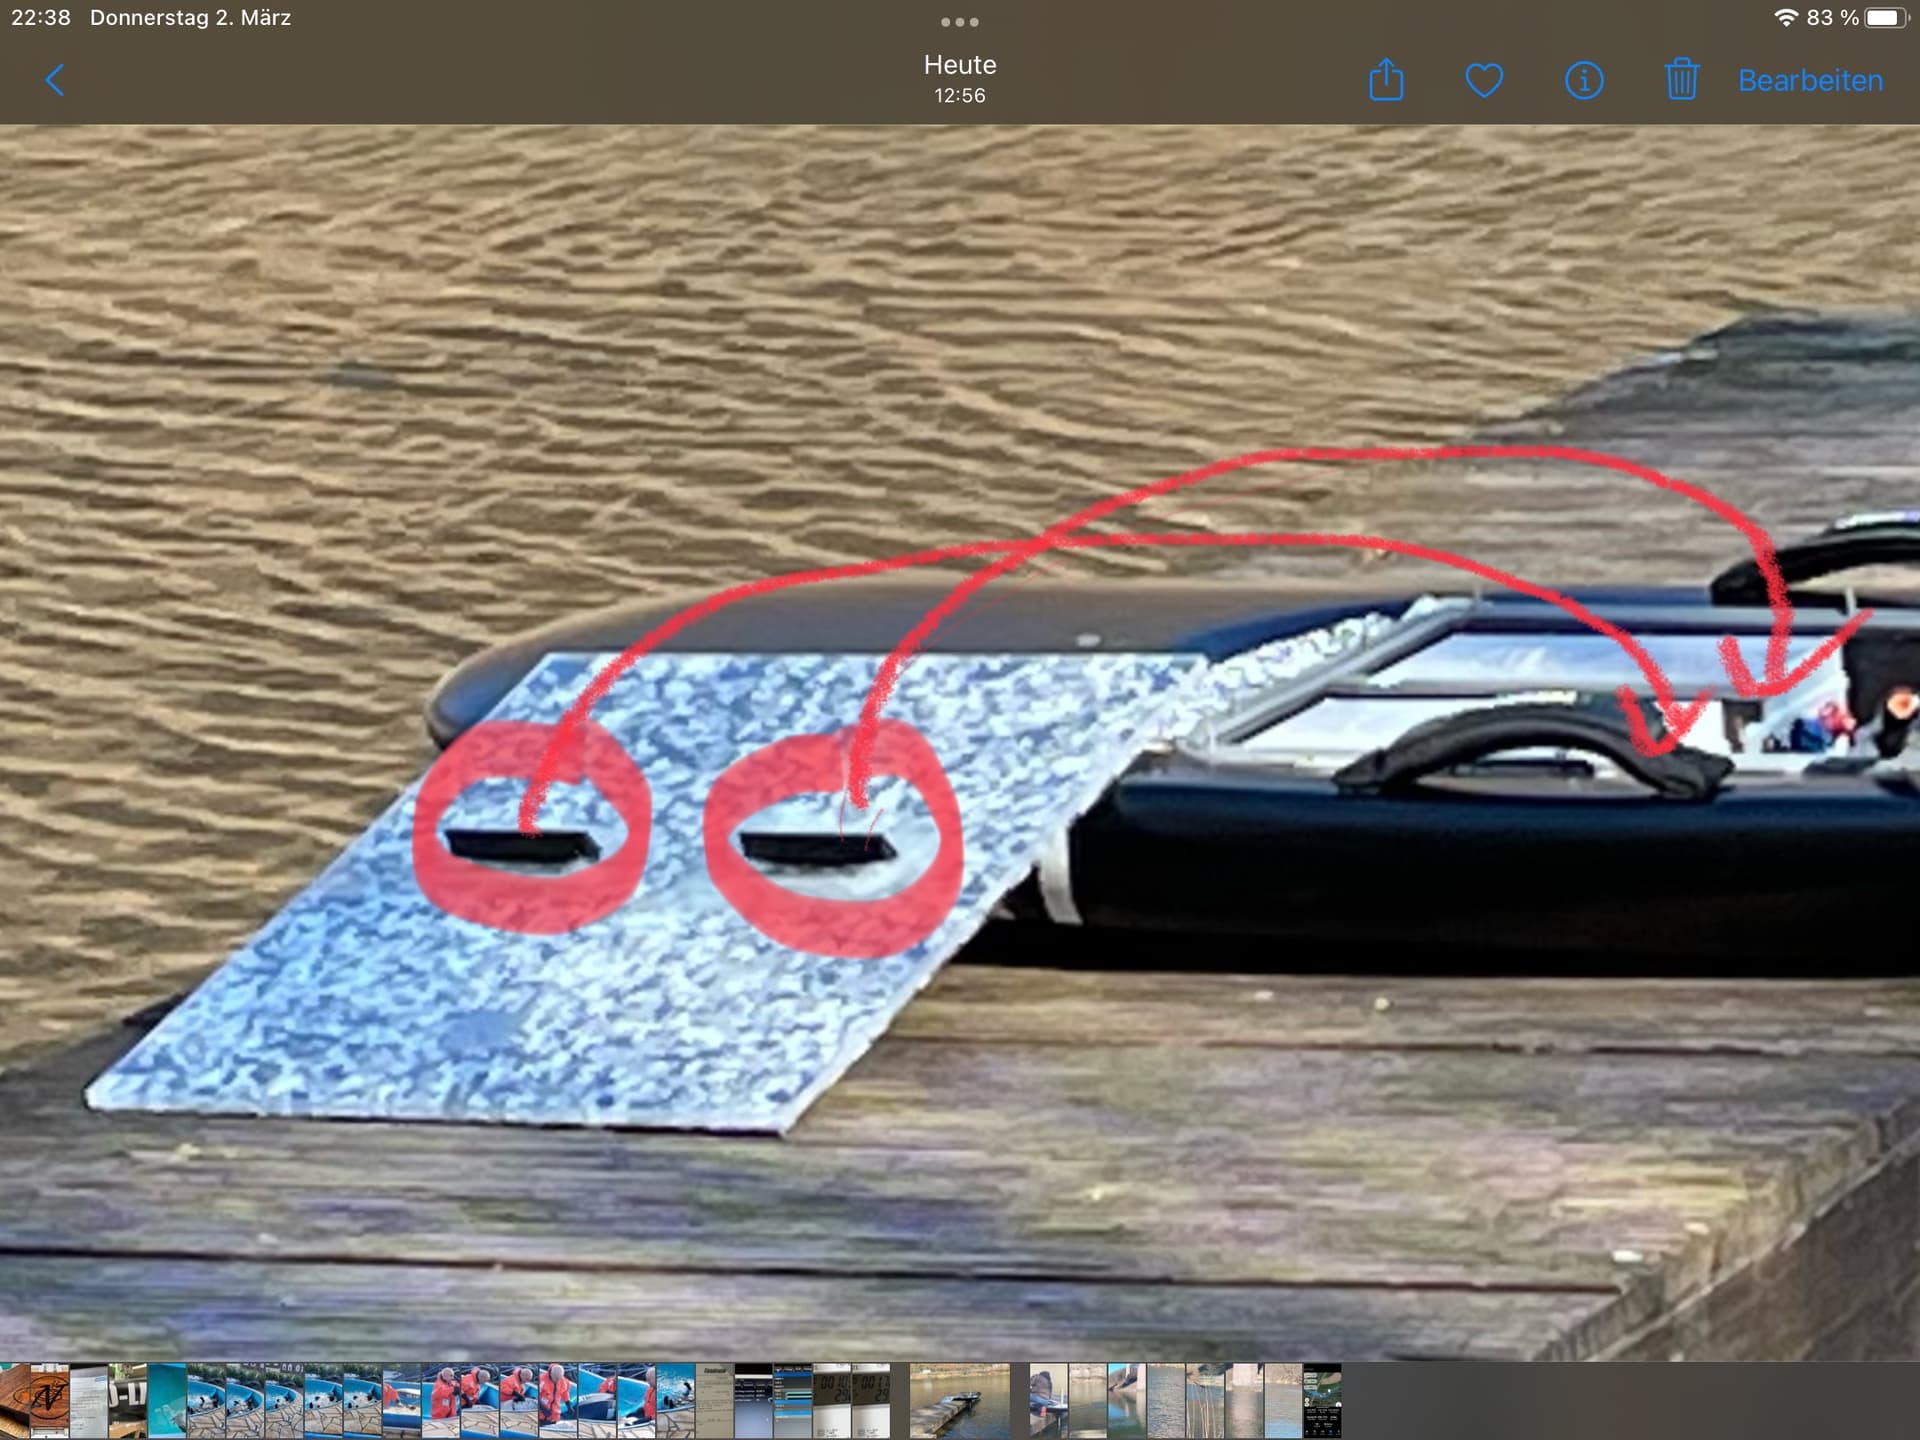
Would it be possible that you send some pictures of how you connected the balancer Cable to the cells ?
You´ll see it above:
And here:
Nickel strips left one tab a little bit longer (under the blue shrinktube) for the balancer connector.
(in CAD picture from battery pack not drawn)
Hi Marcus, how did you secure the boxes for the batteries? I am using similar boxes for my batteries. I also see you have a 4th grey wire going into one of the boxes, what is this wire for?
The grey wire is for antispark. It‘s battery plus connected to VESC plus with a resistor to limit current for uncharged VESC capacitors.
The battery boxes are secured with hook tape and additional withe a 3D printed part that ist glued at the hatch cover.
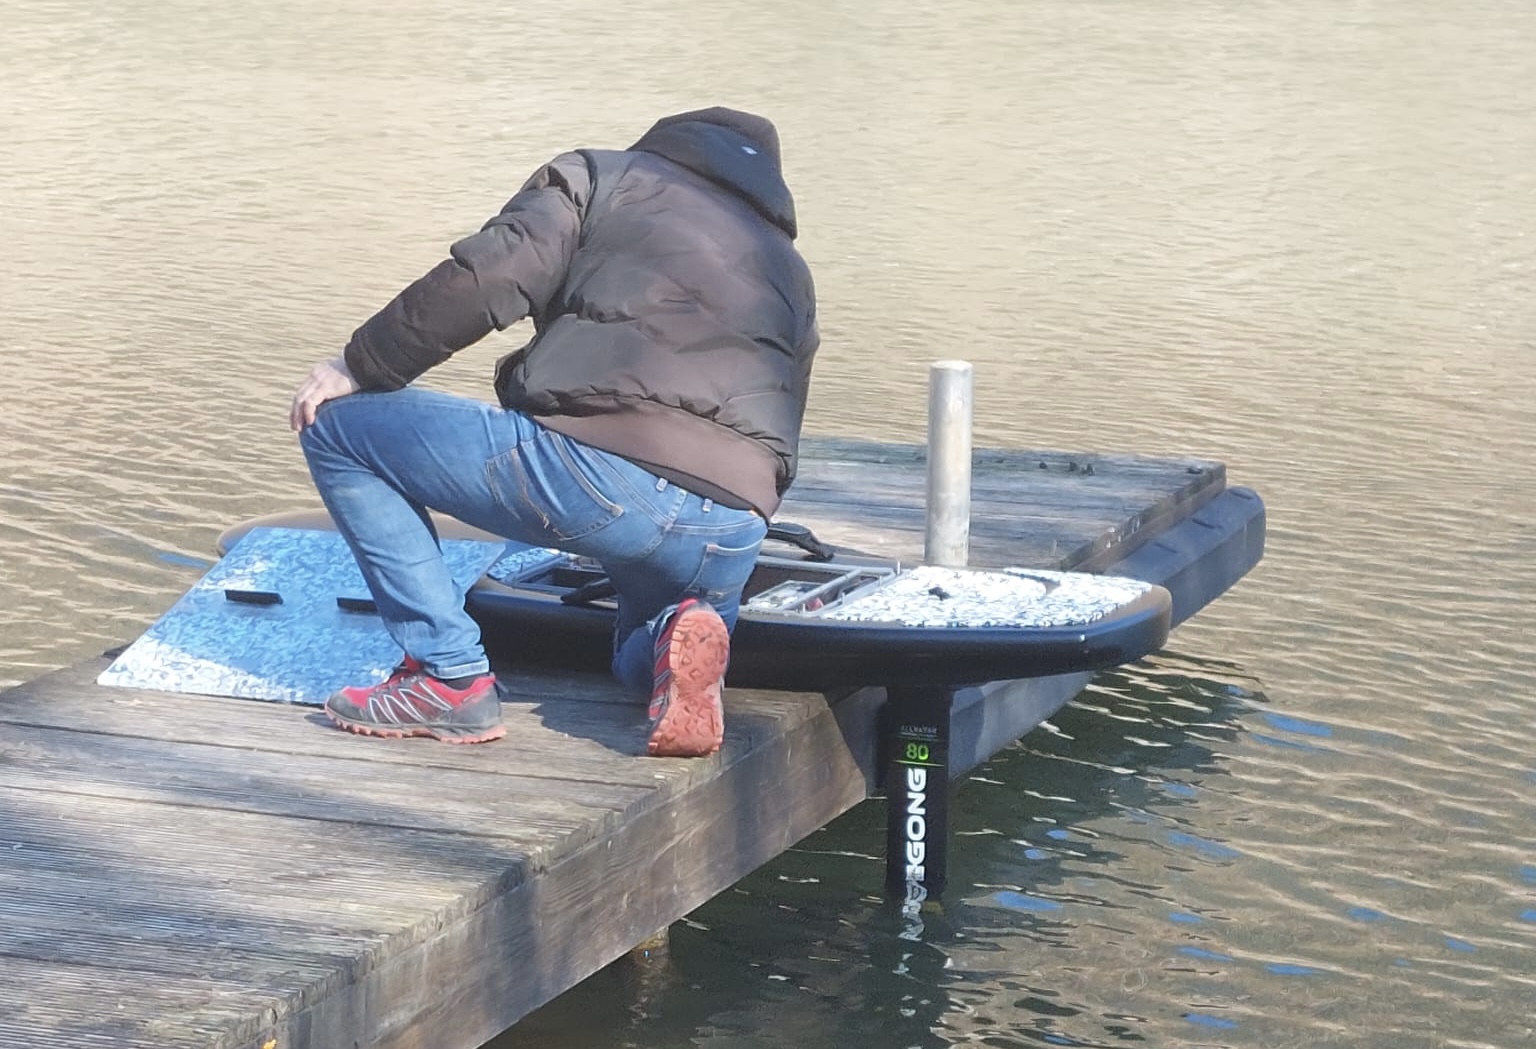
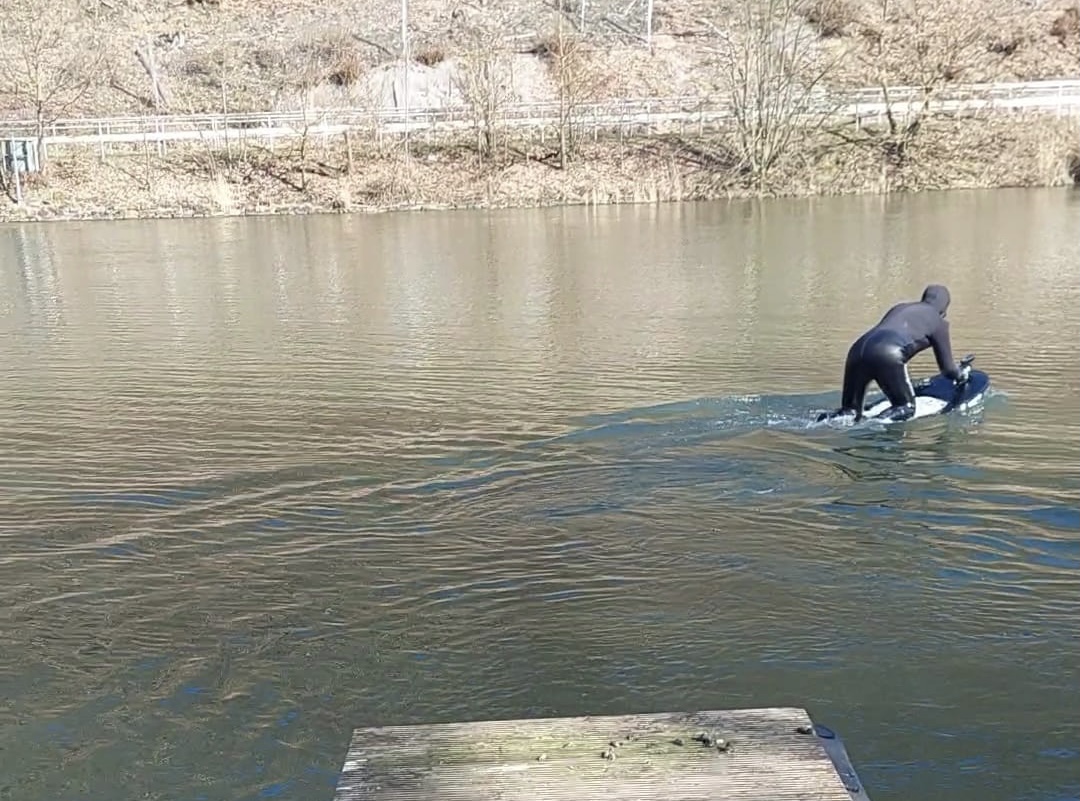
Today maidenflight @ sunshine and 5°C watertemperature ![]()
Most time for first ride on knees, 20% standing.
Was not easy, board is very „zappelig“ in german.
Will try some other setups

2 Likes
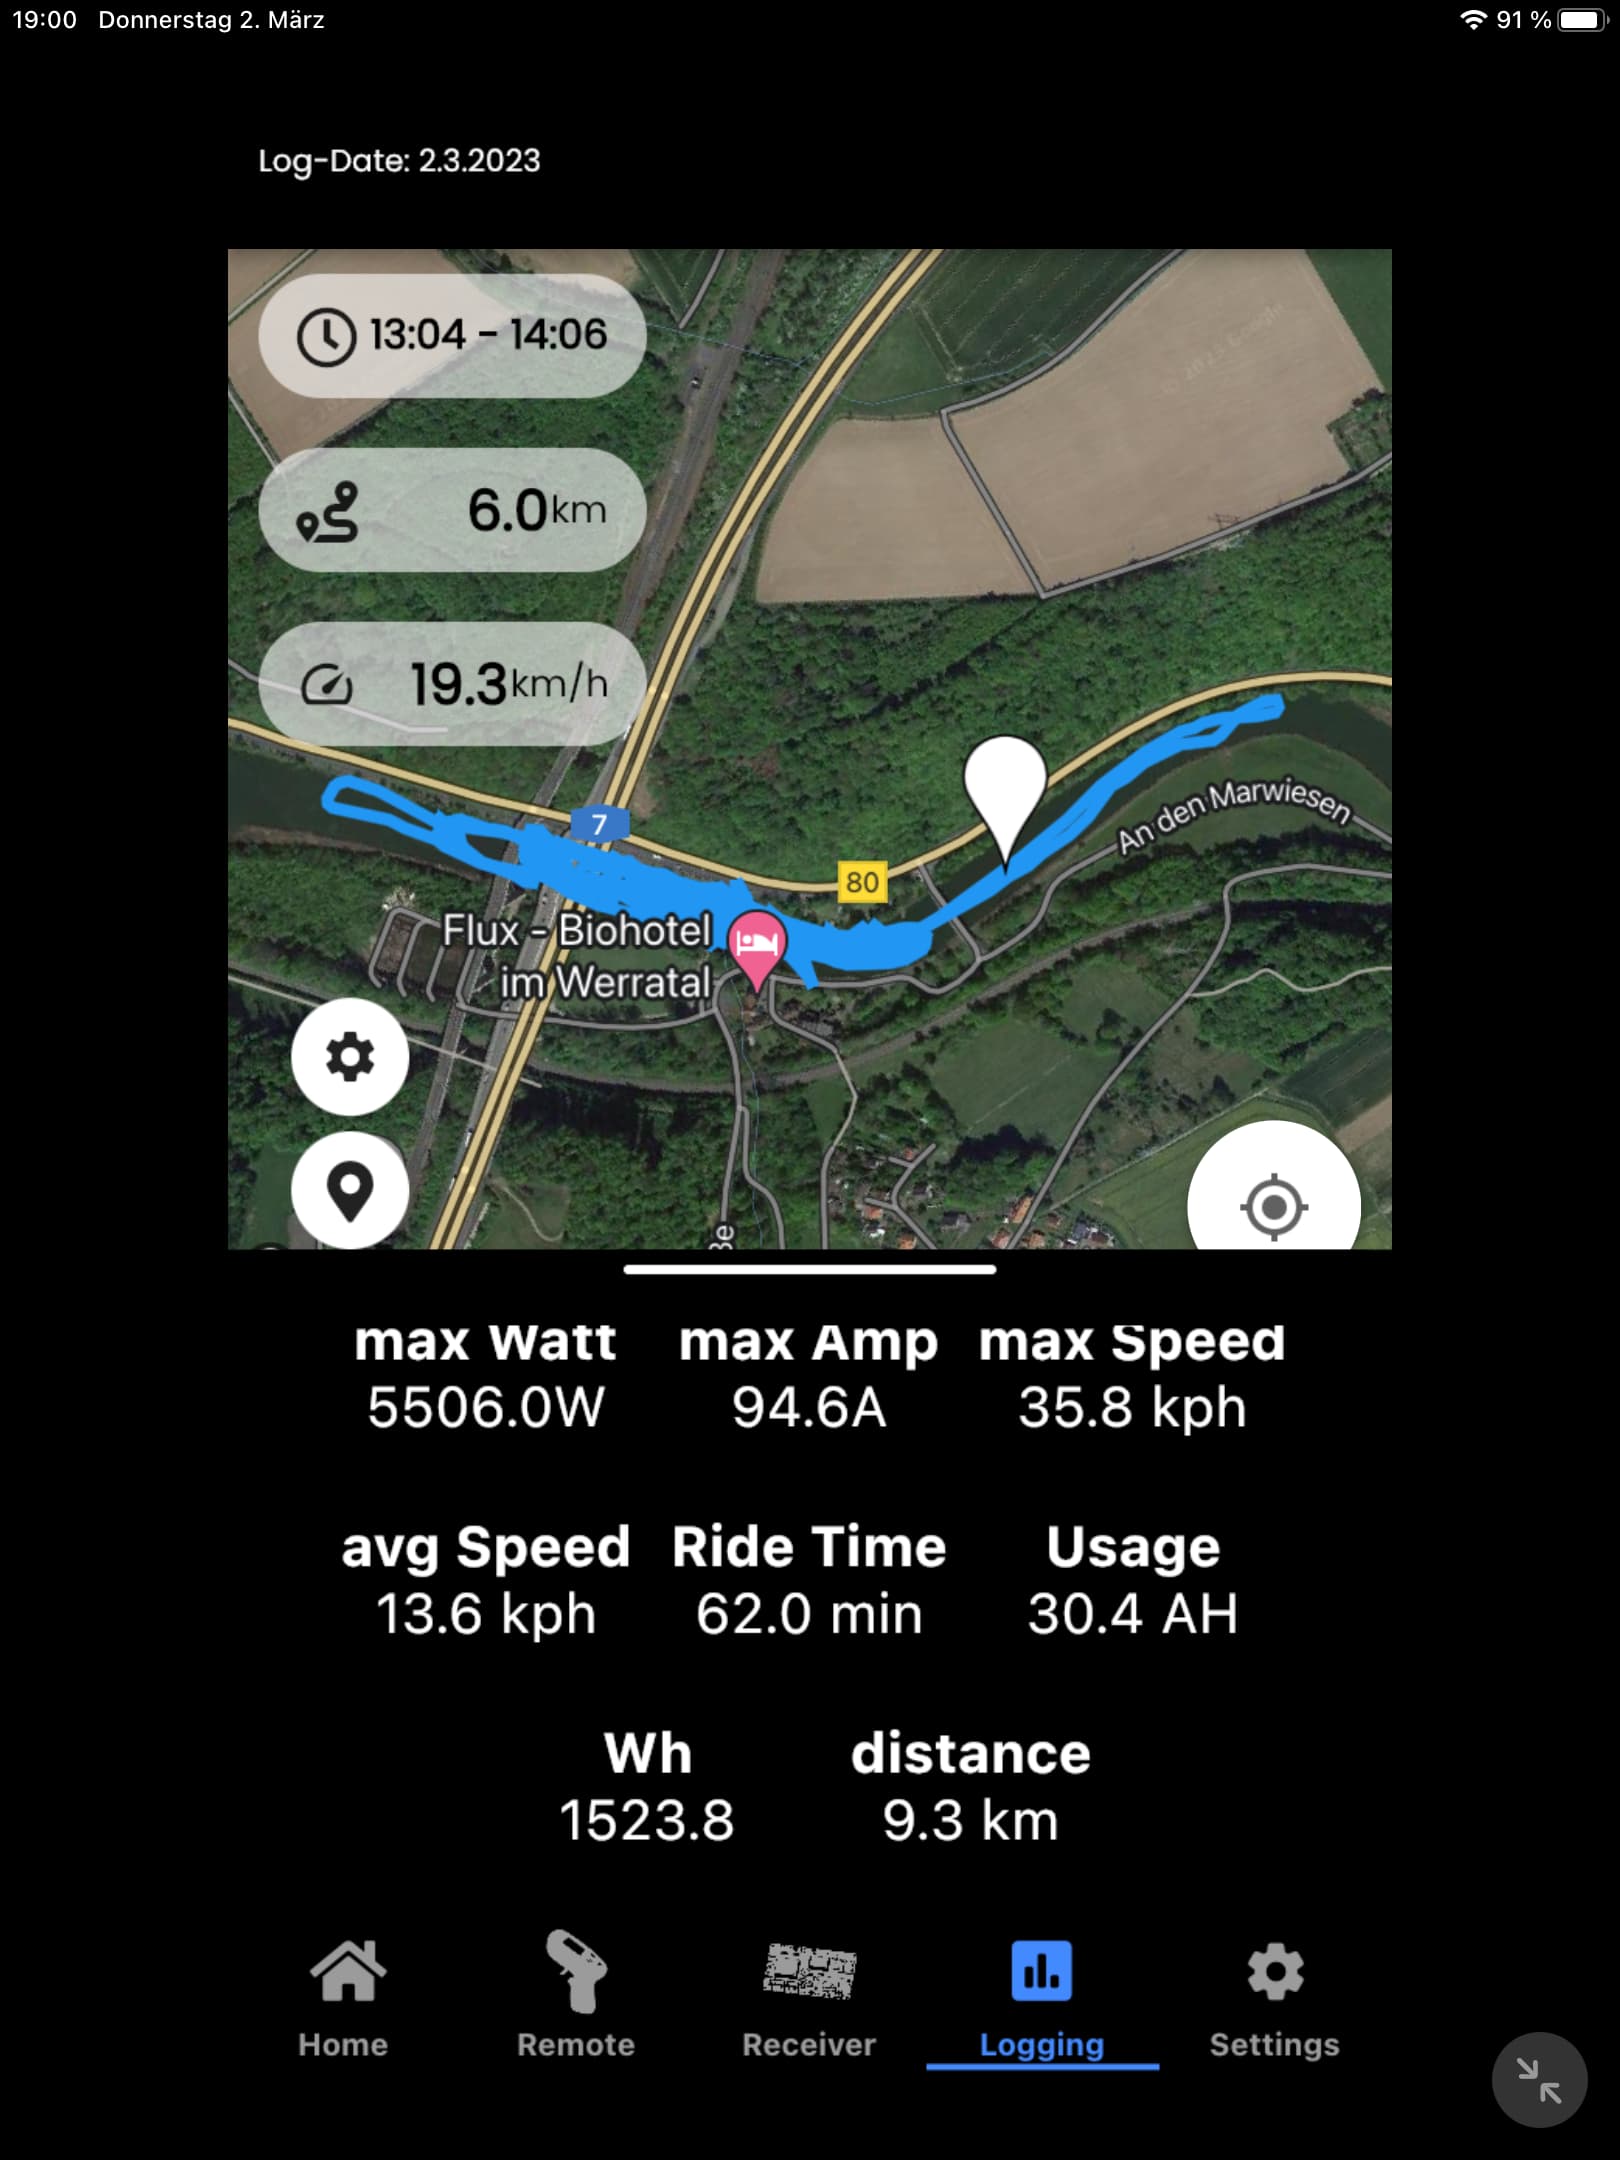
What app is that you are using for logging?
By the 32 N Have you put anything between your 3d Print and the fluid? So the 32 N doesn’t stick to ist?
Directly poured in the 3D mold without any release agent. The Wagnersil silicone is sticking to nothing (maybe only to itself?)
After short time of reaction time (~20 minutes) very easy to peel out of the form without any sticking.
It‘s also possible to mold with undercuts because of the soft Wagnersil.
I love this blue fluid 