After reading a lot in this forum I decided to build this winter holidays my efoil.
So, first thanks for this great input!
For this I bought in autumn nearly all components to be prepared.
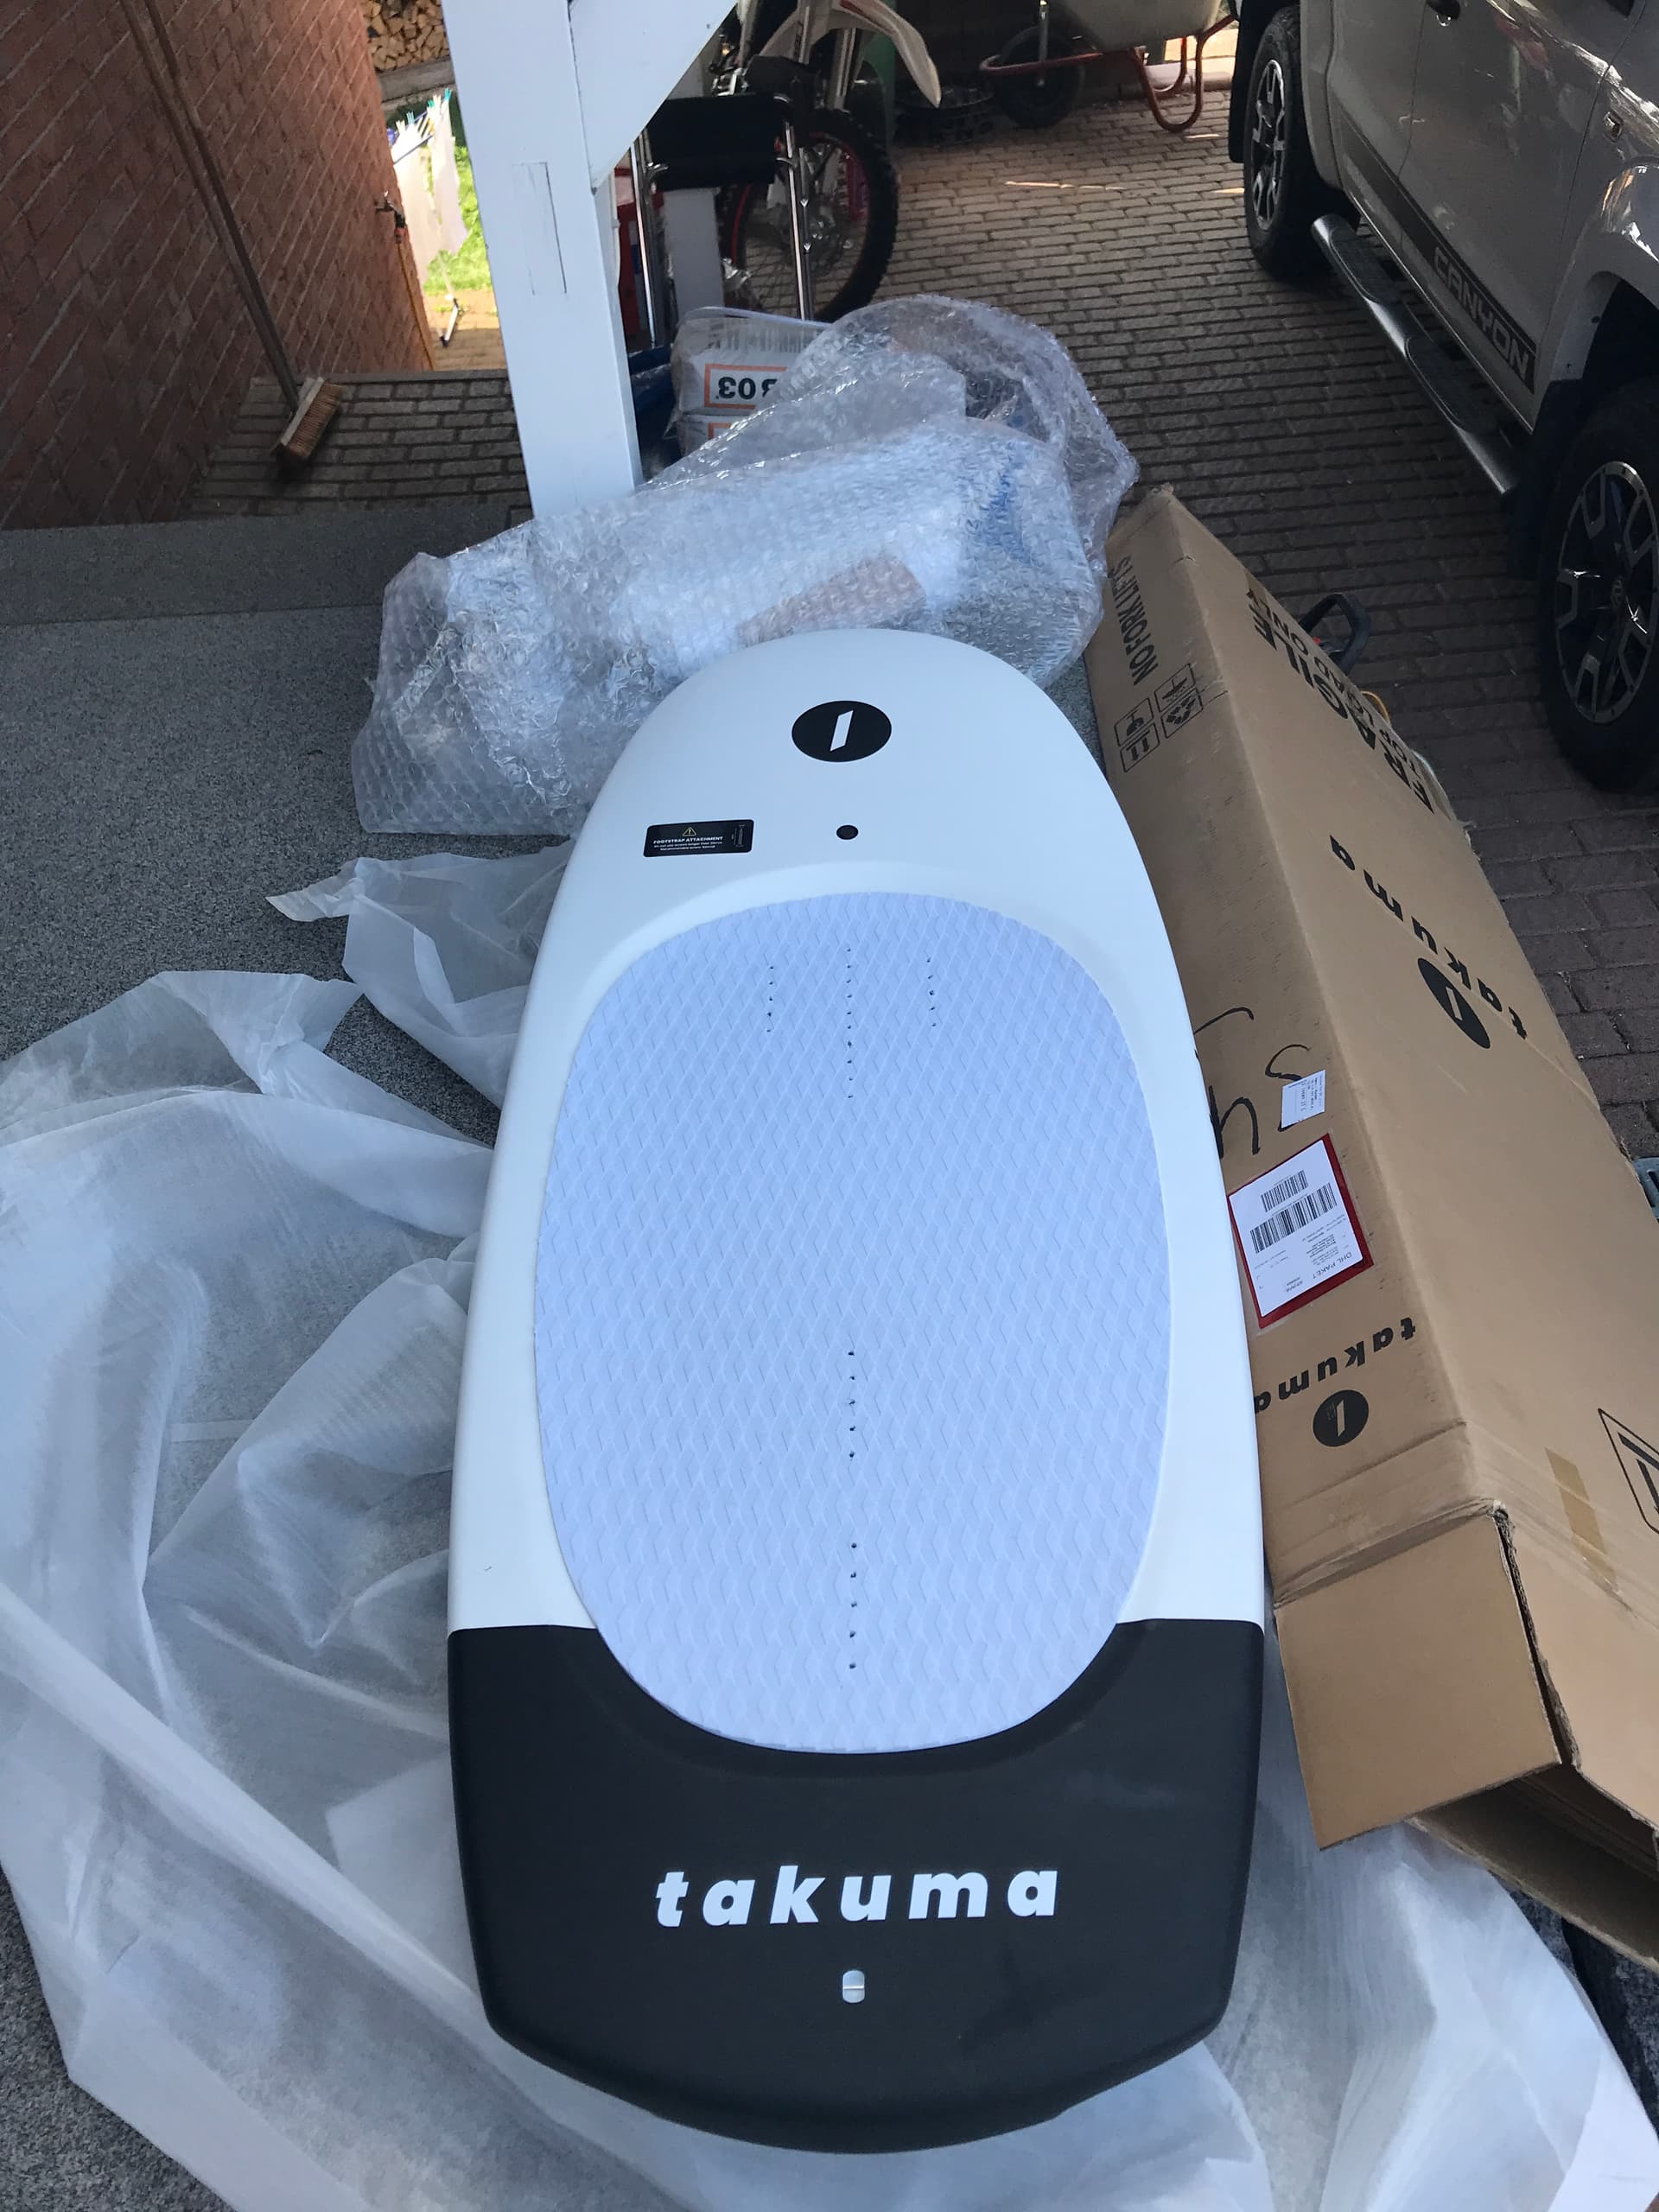
For board I decided to buy a Takuma 100l SUP foil board because I liked it´s shape compared to windsurfboards, that have a more spiky front. Also it´s thickness of ~15cm was fine.
Disadvantage: the top is not even, it has a Takuma called “Das eingelassene „G Deck“” which everything made more difficult.
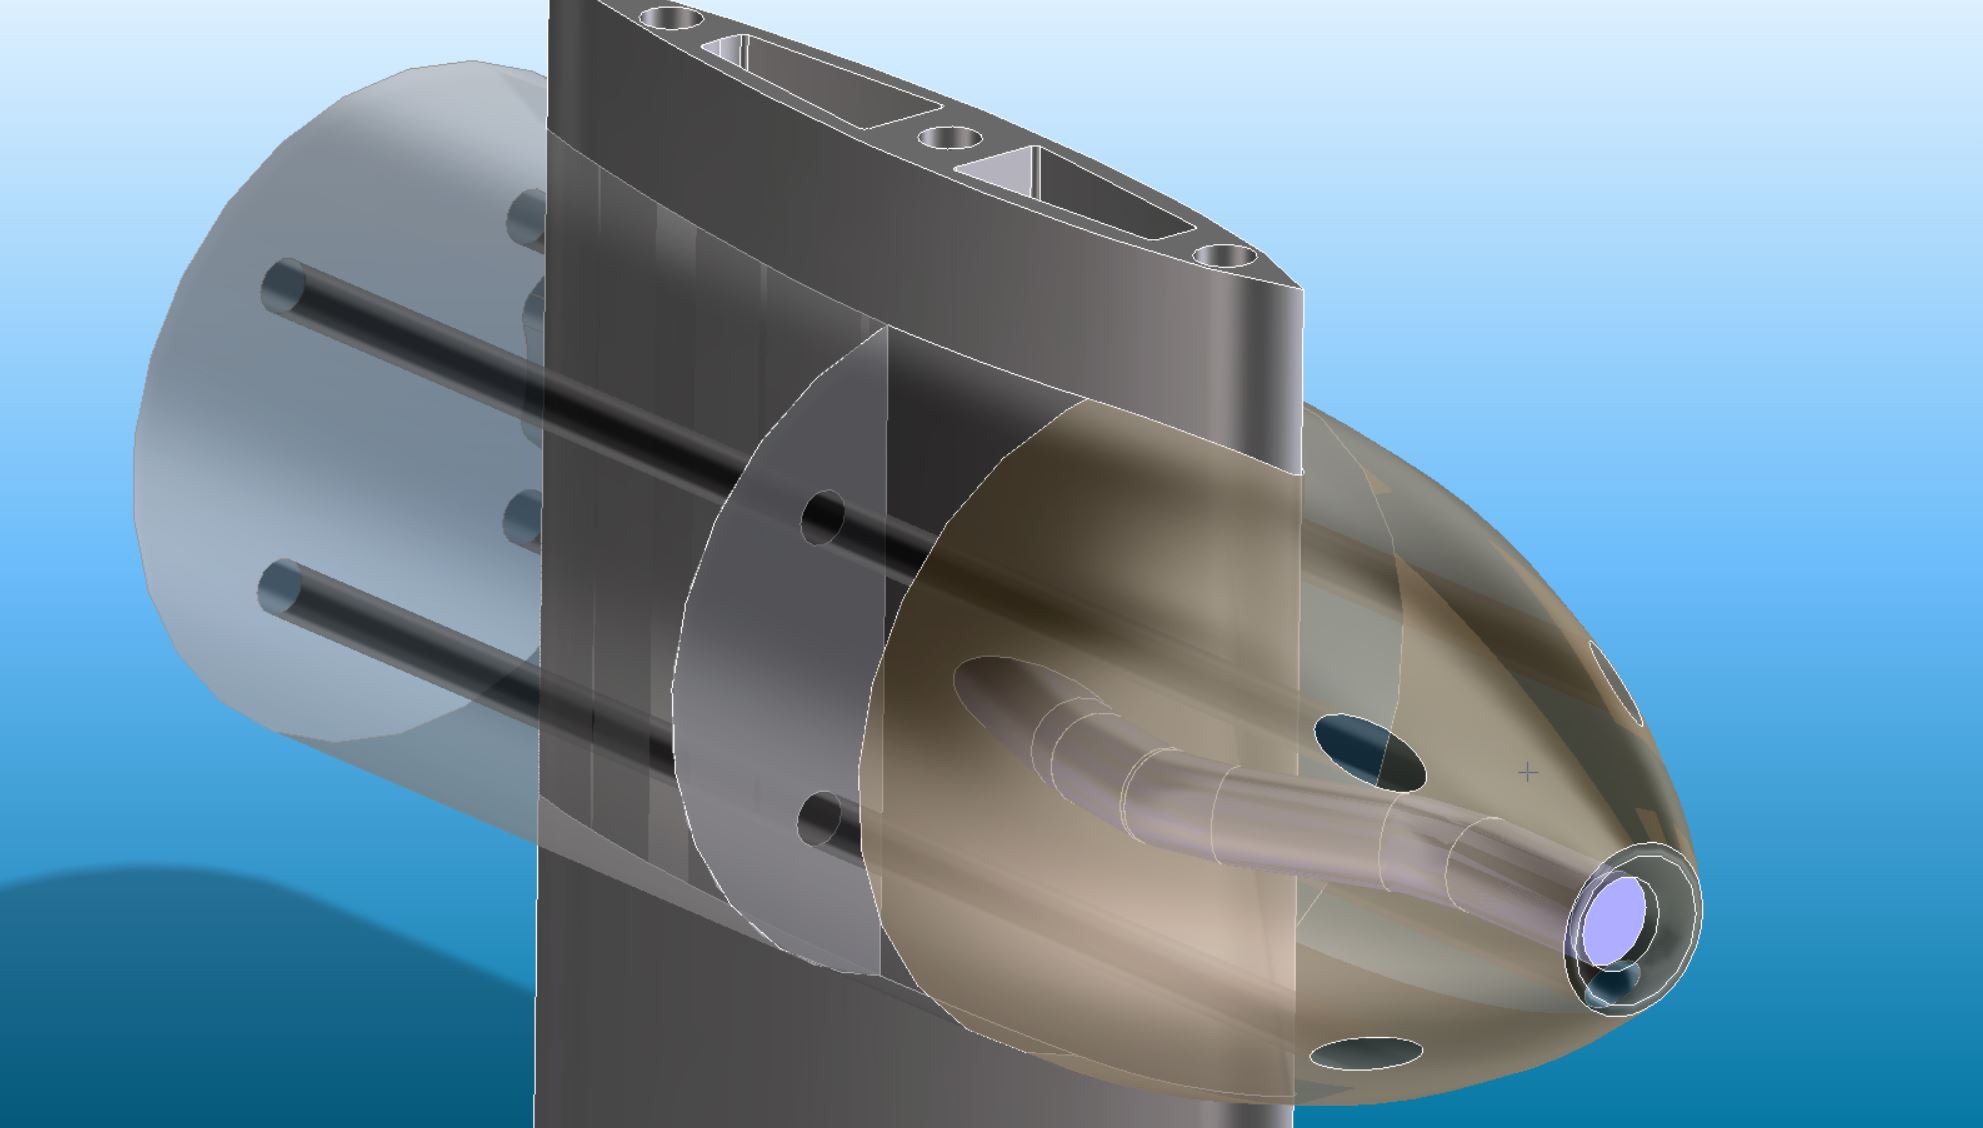
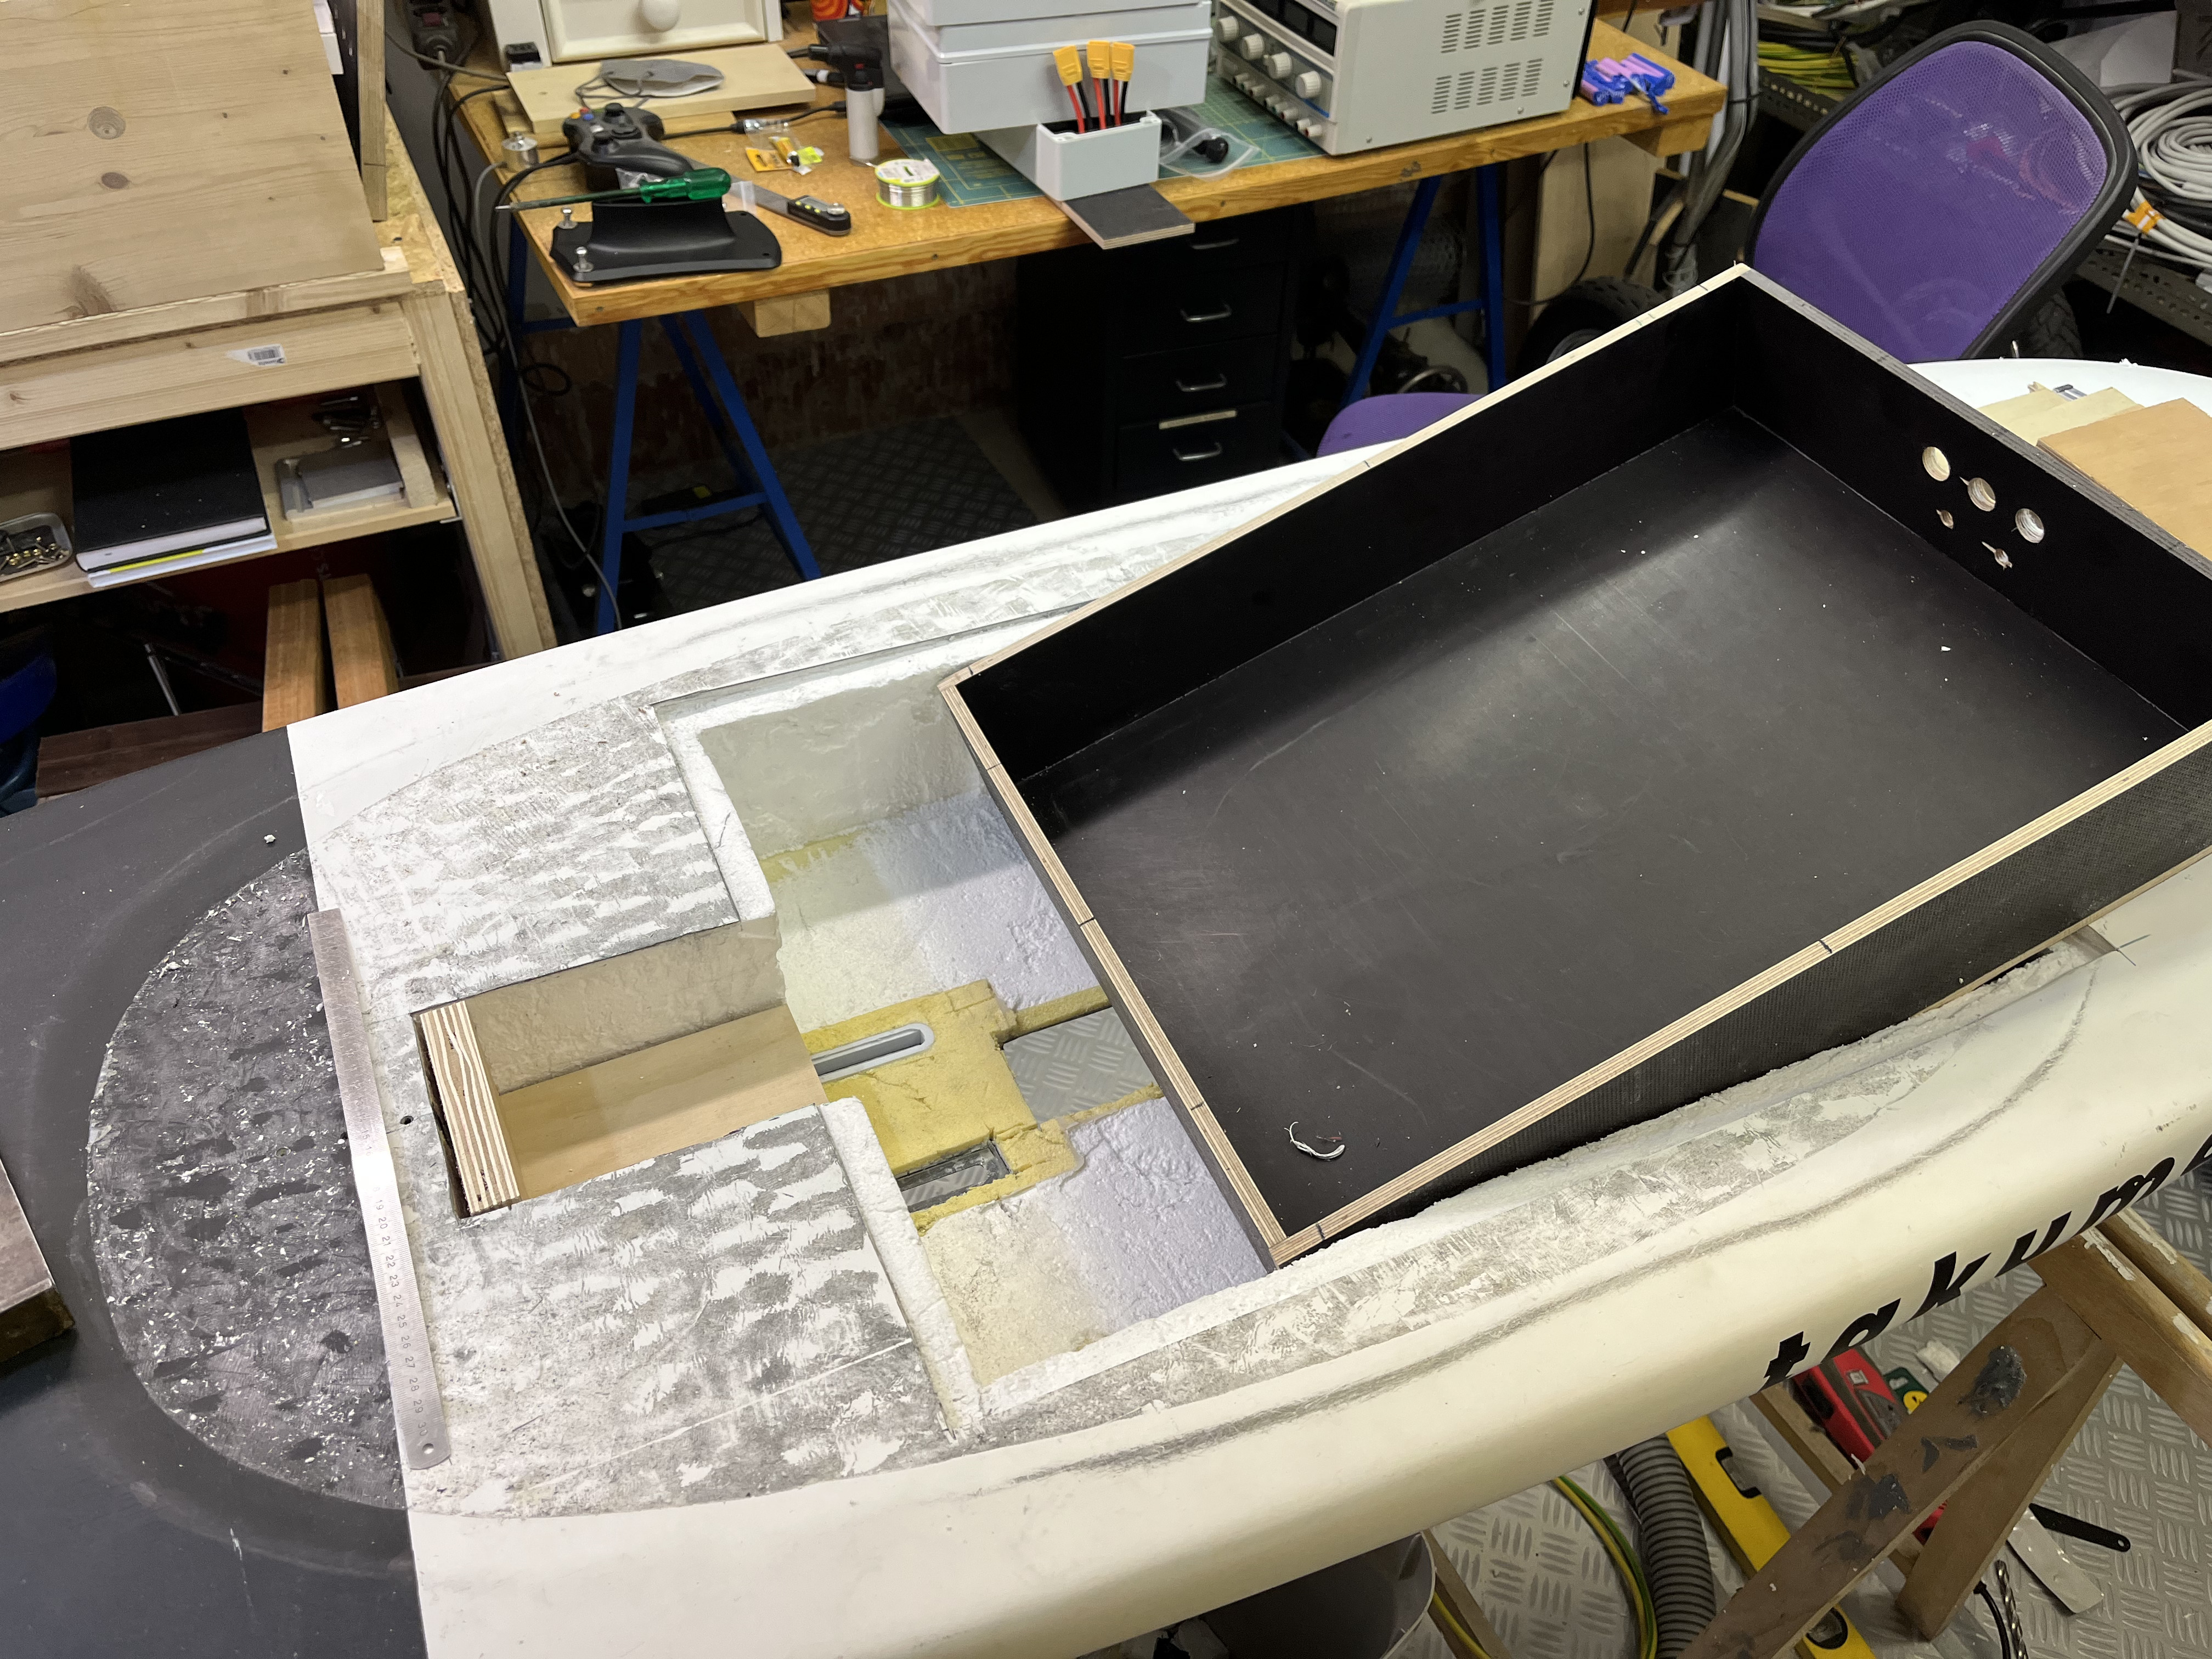
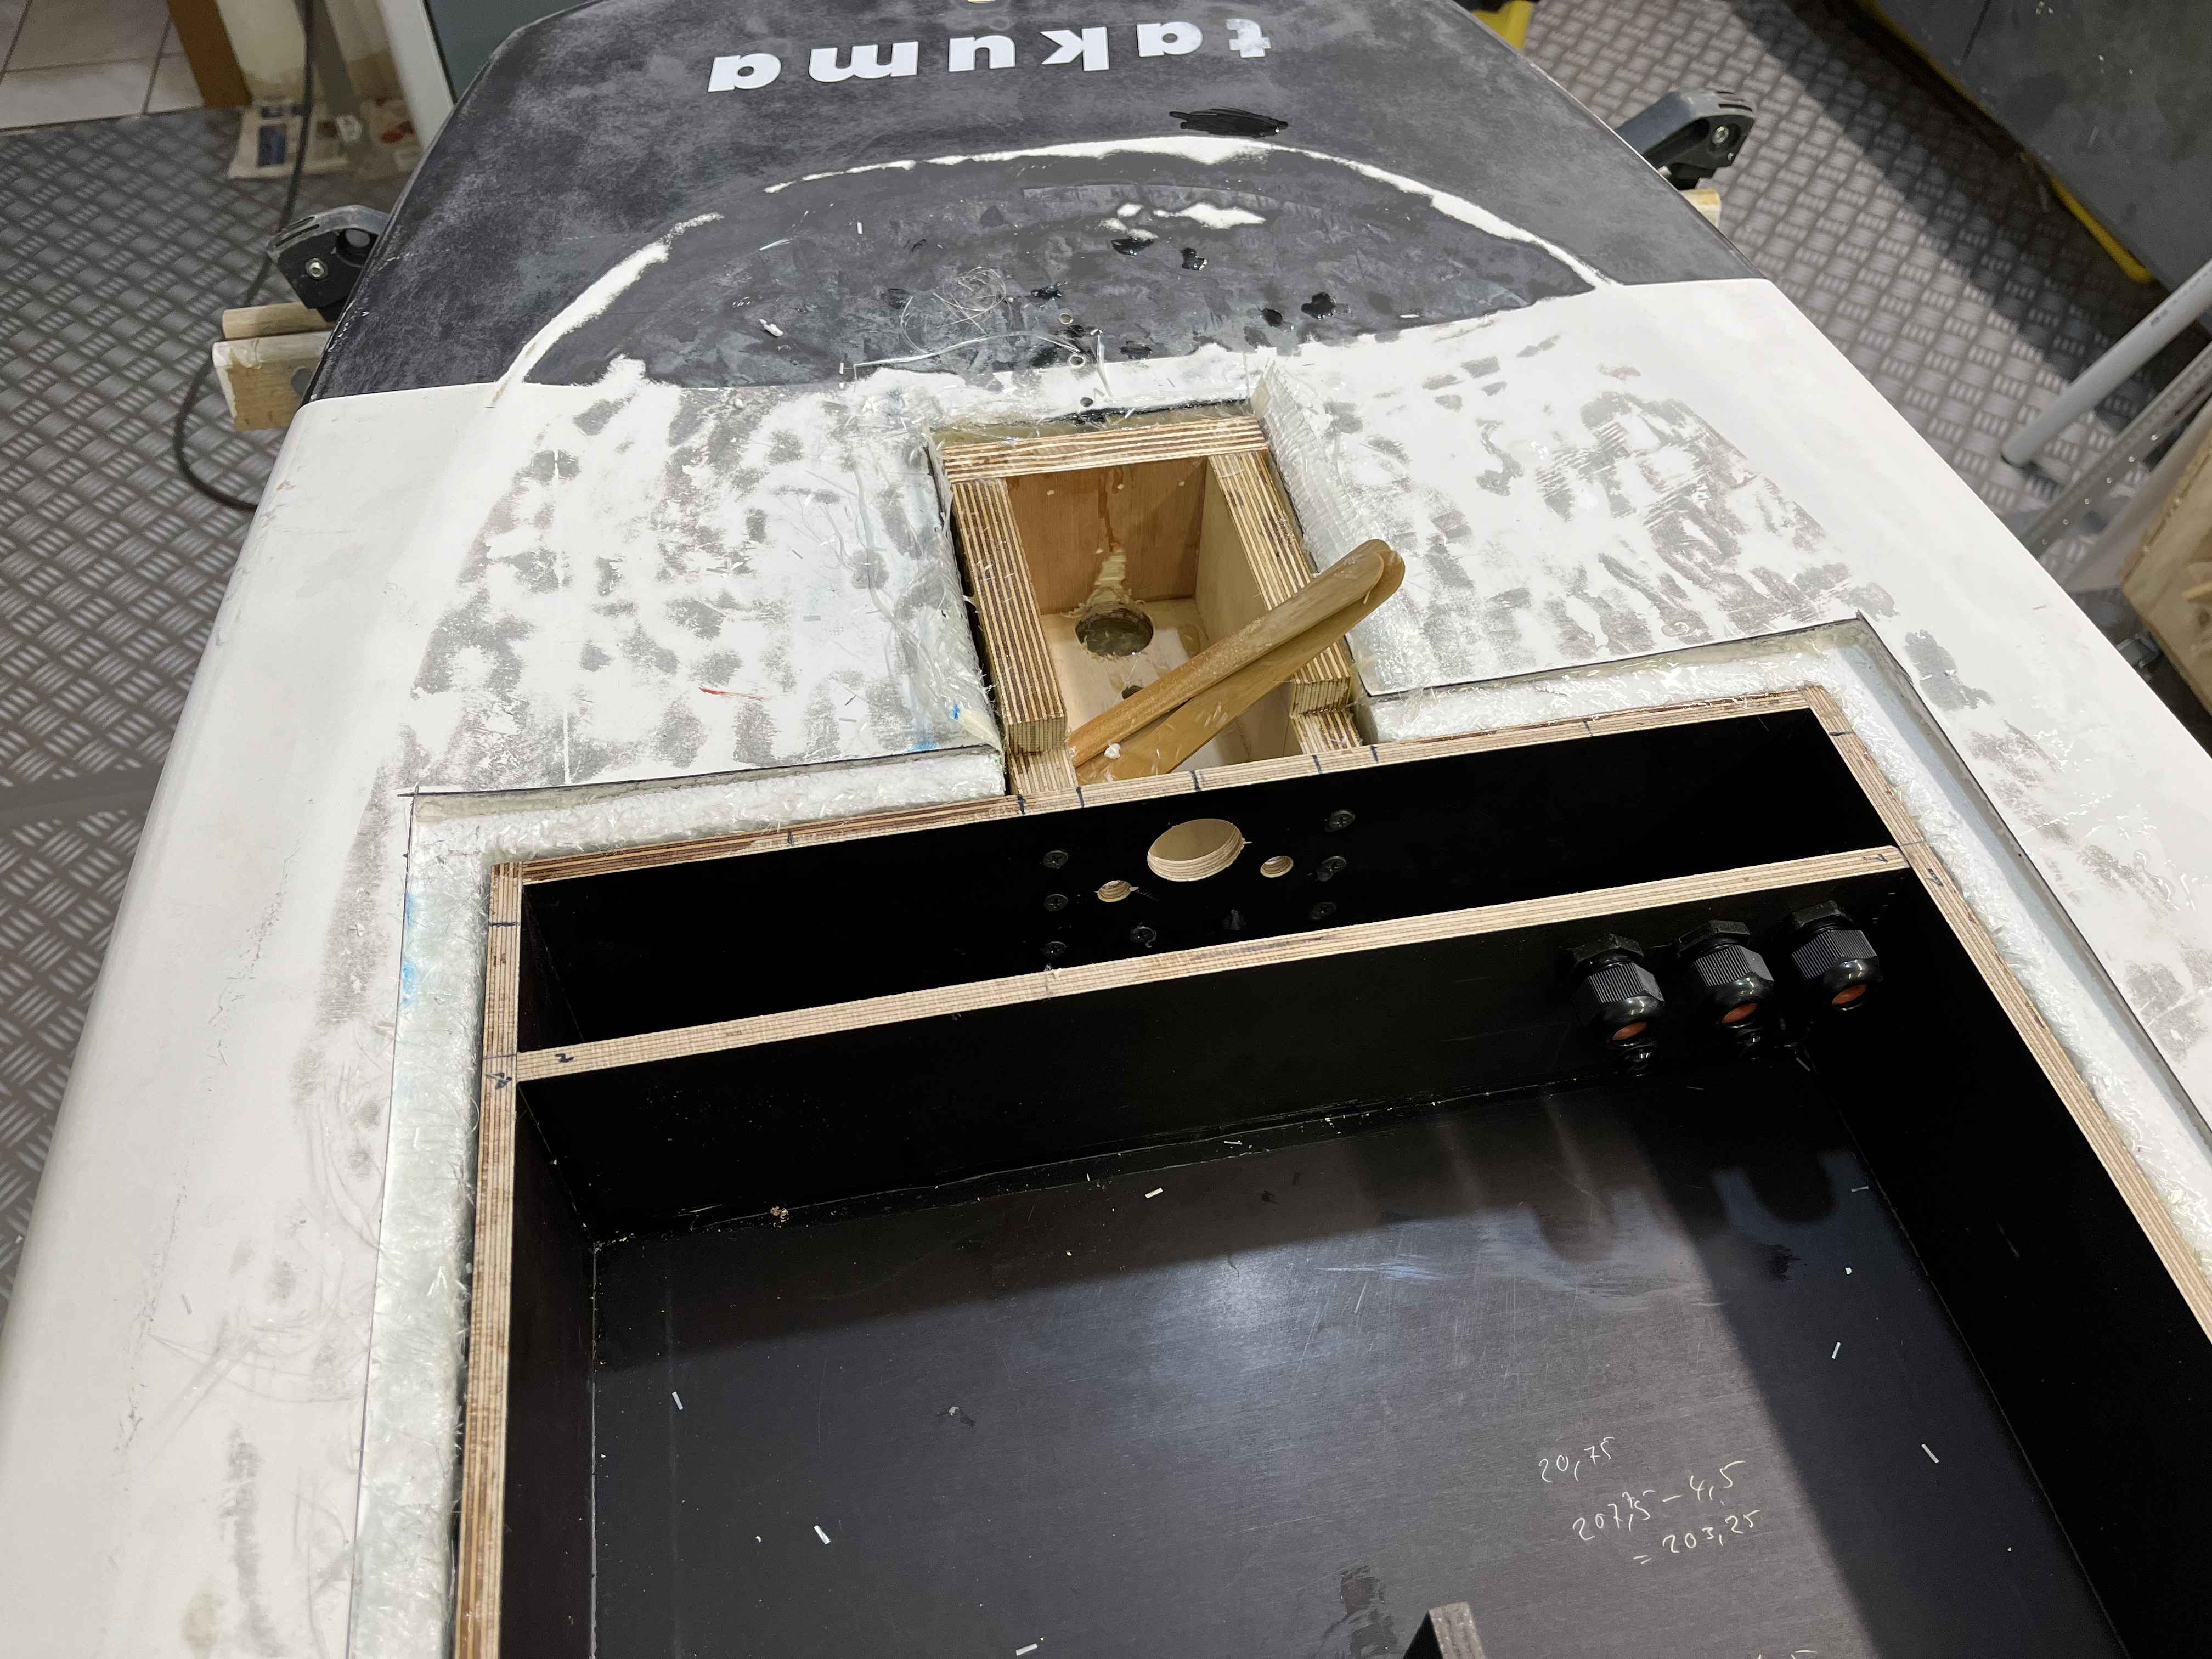
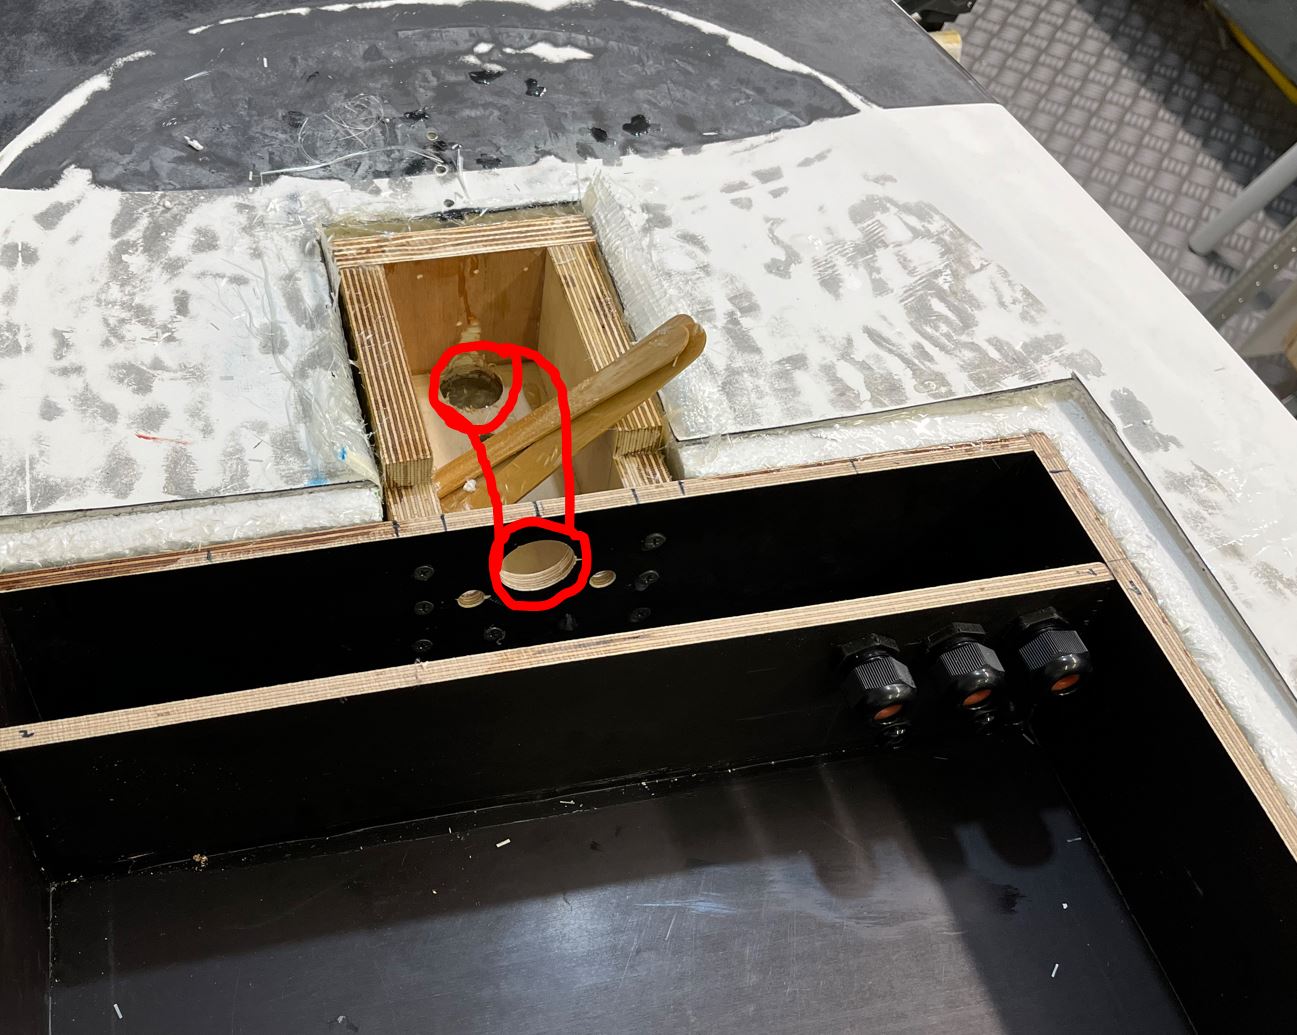
First I started with the mastclamp. Water for cooling the ESC enters in the front and enters the mast on the side. As the Gong mast has 2 seperated chambers inside, one is for the water the other for the 3 motor wires:
Next time I would prefere to saw out the complete block and to glass the underside new.
Much easier and less dirt
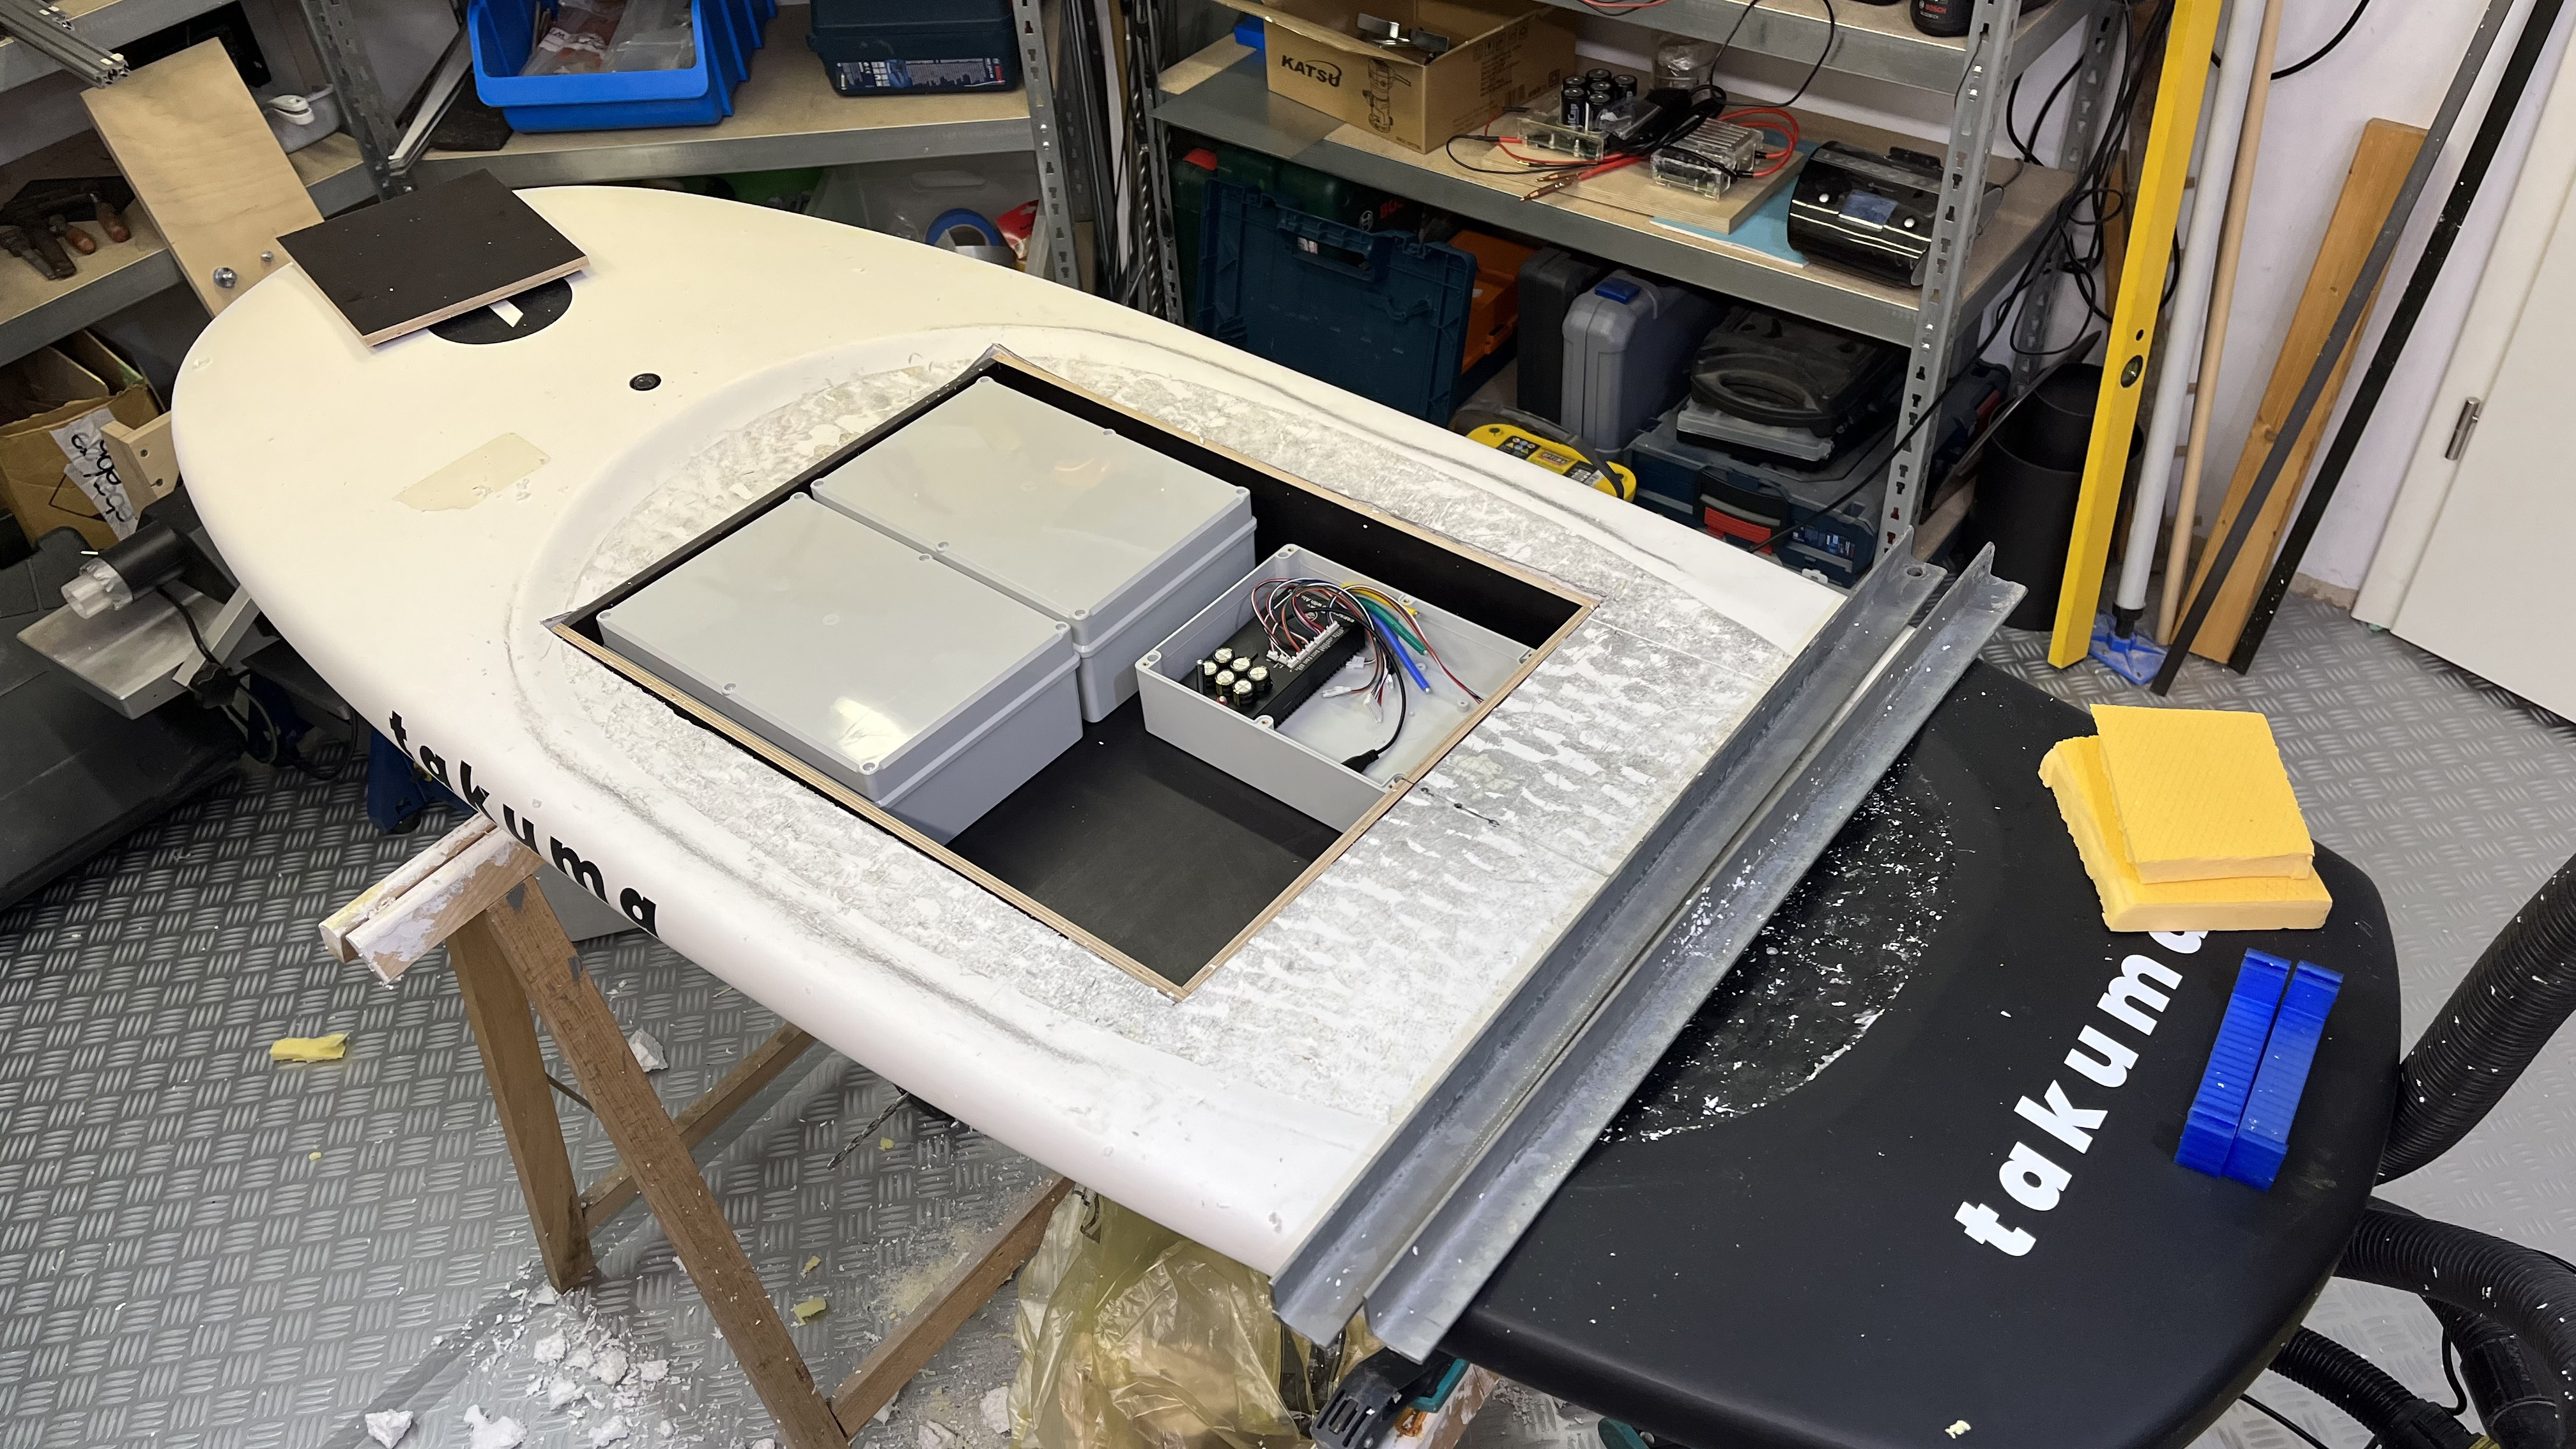
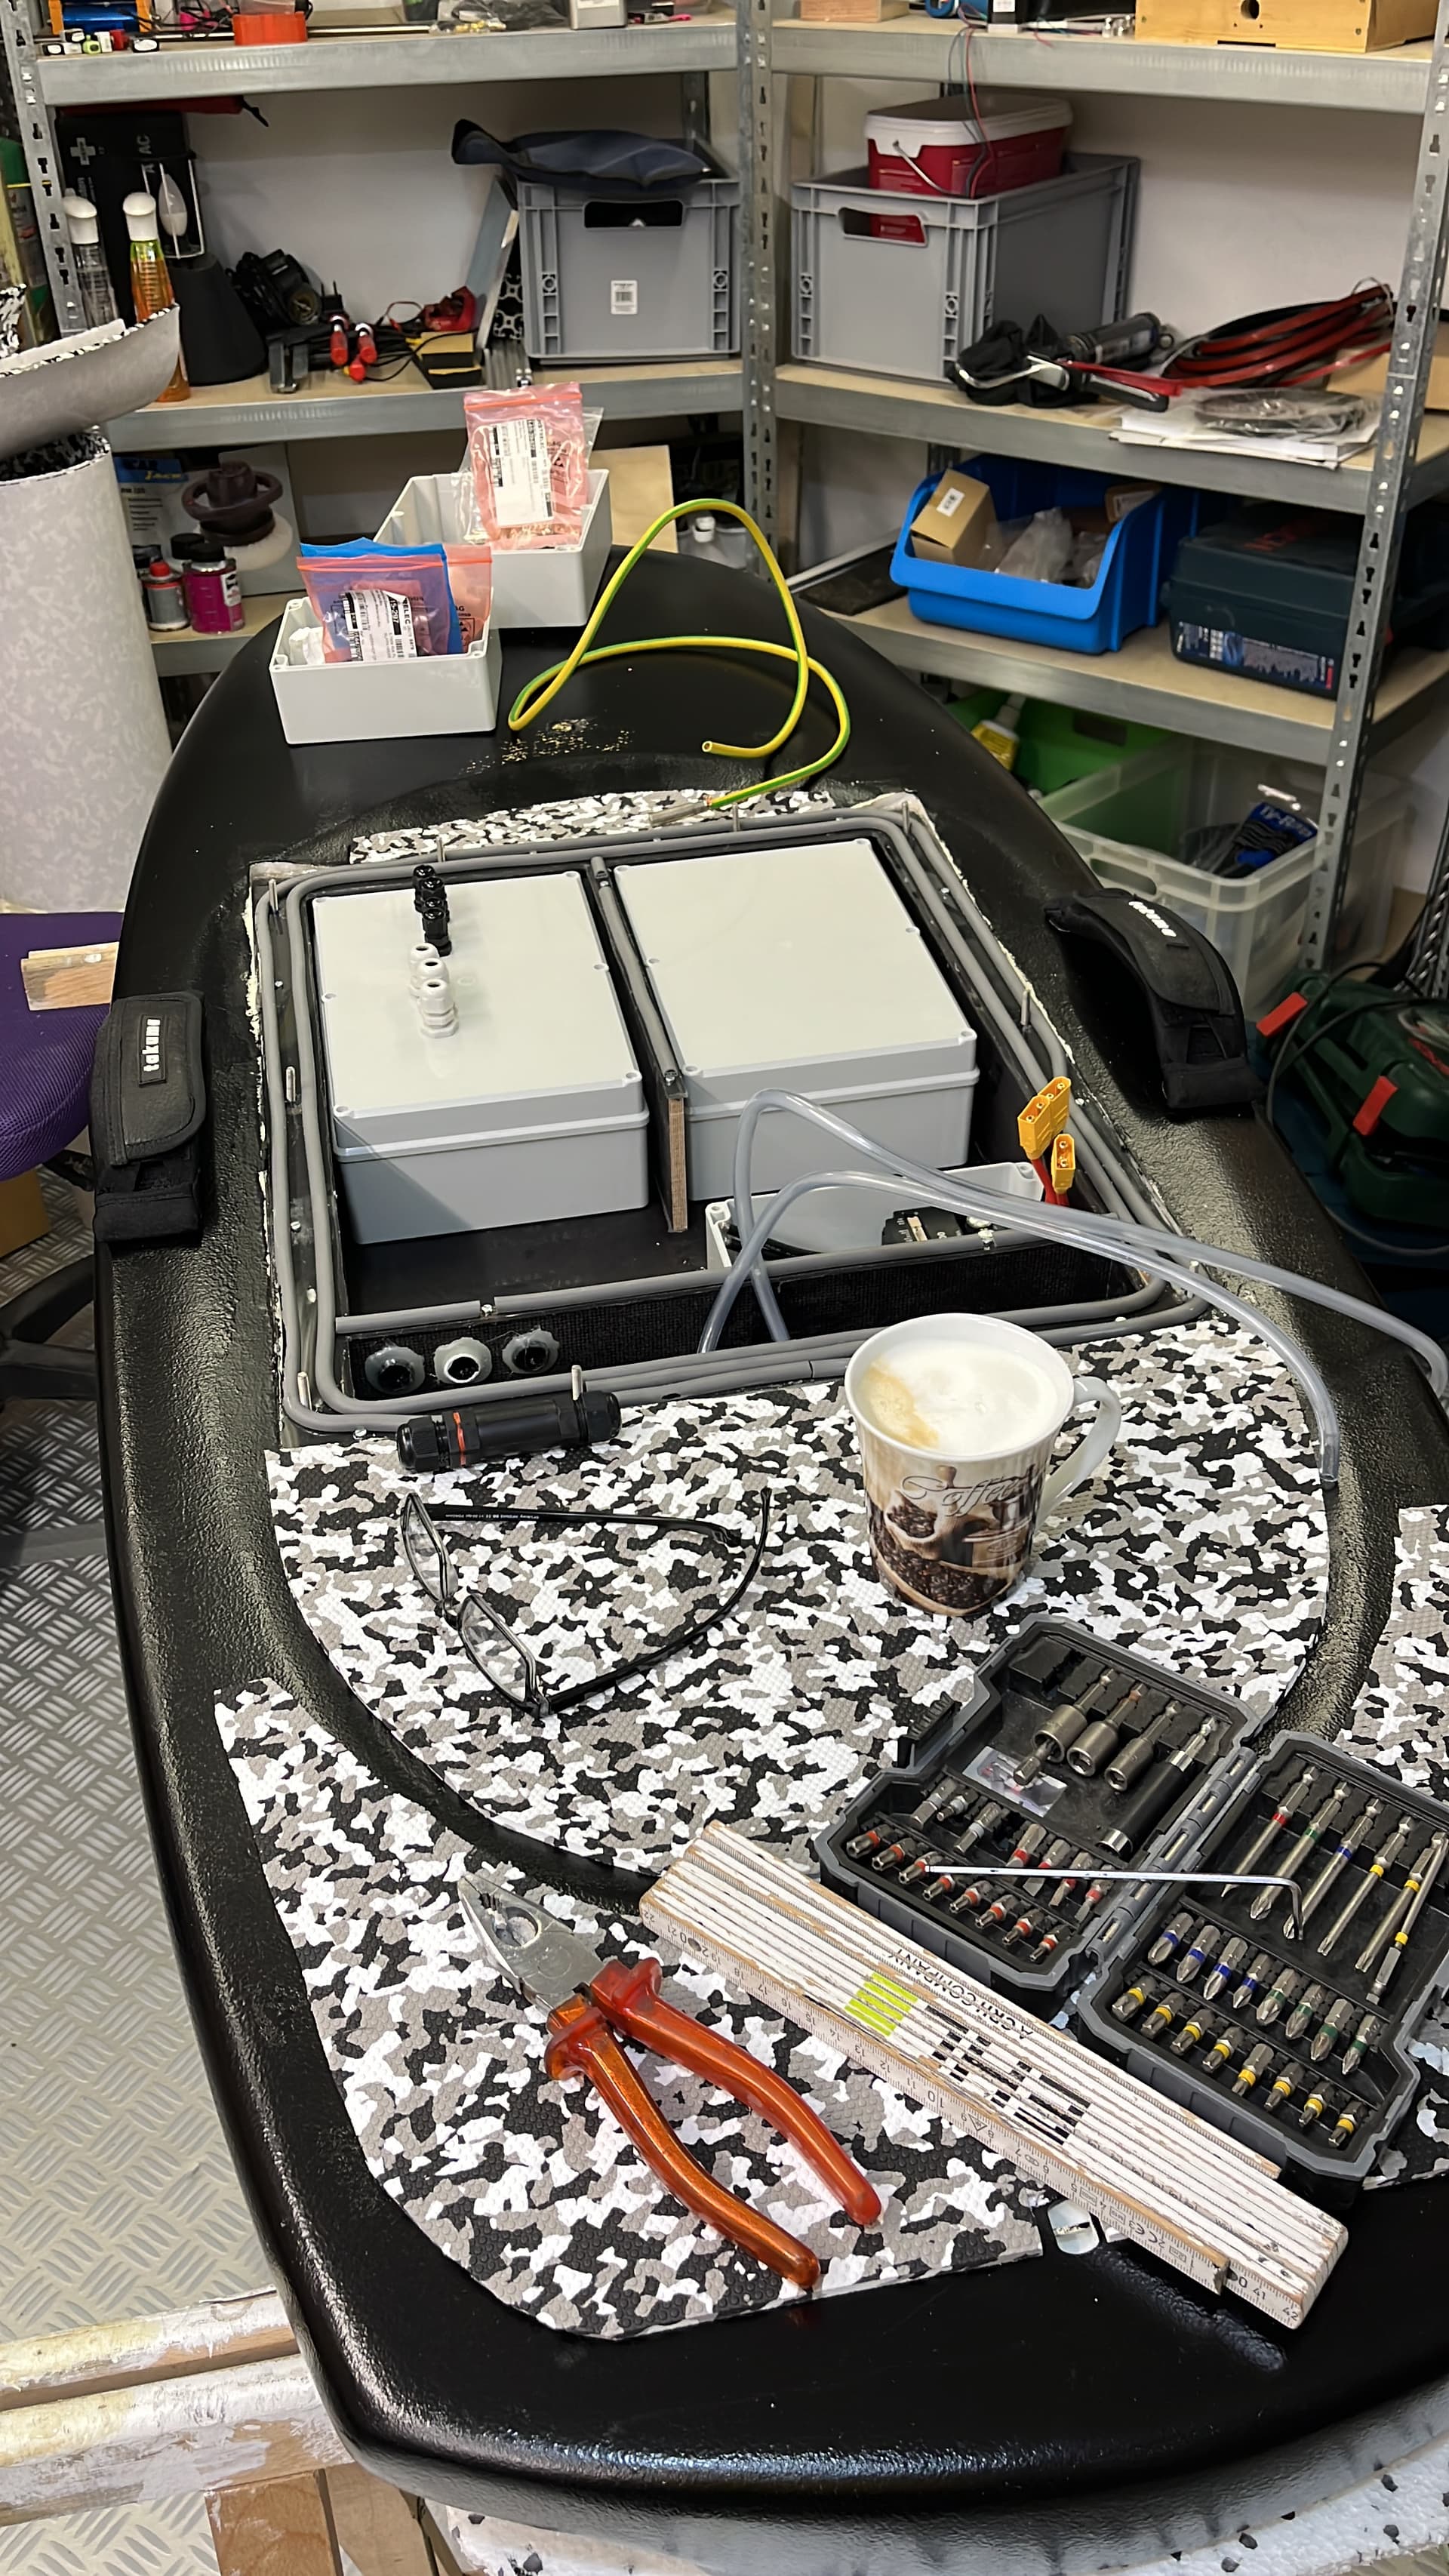
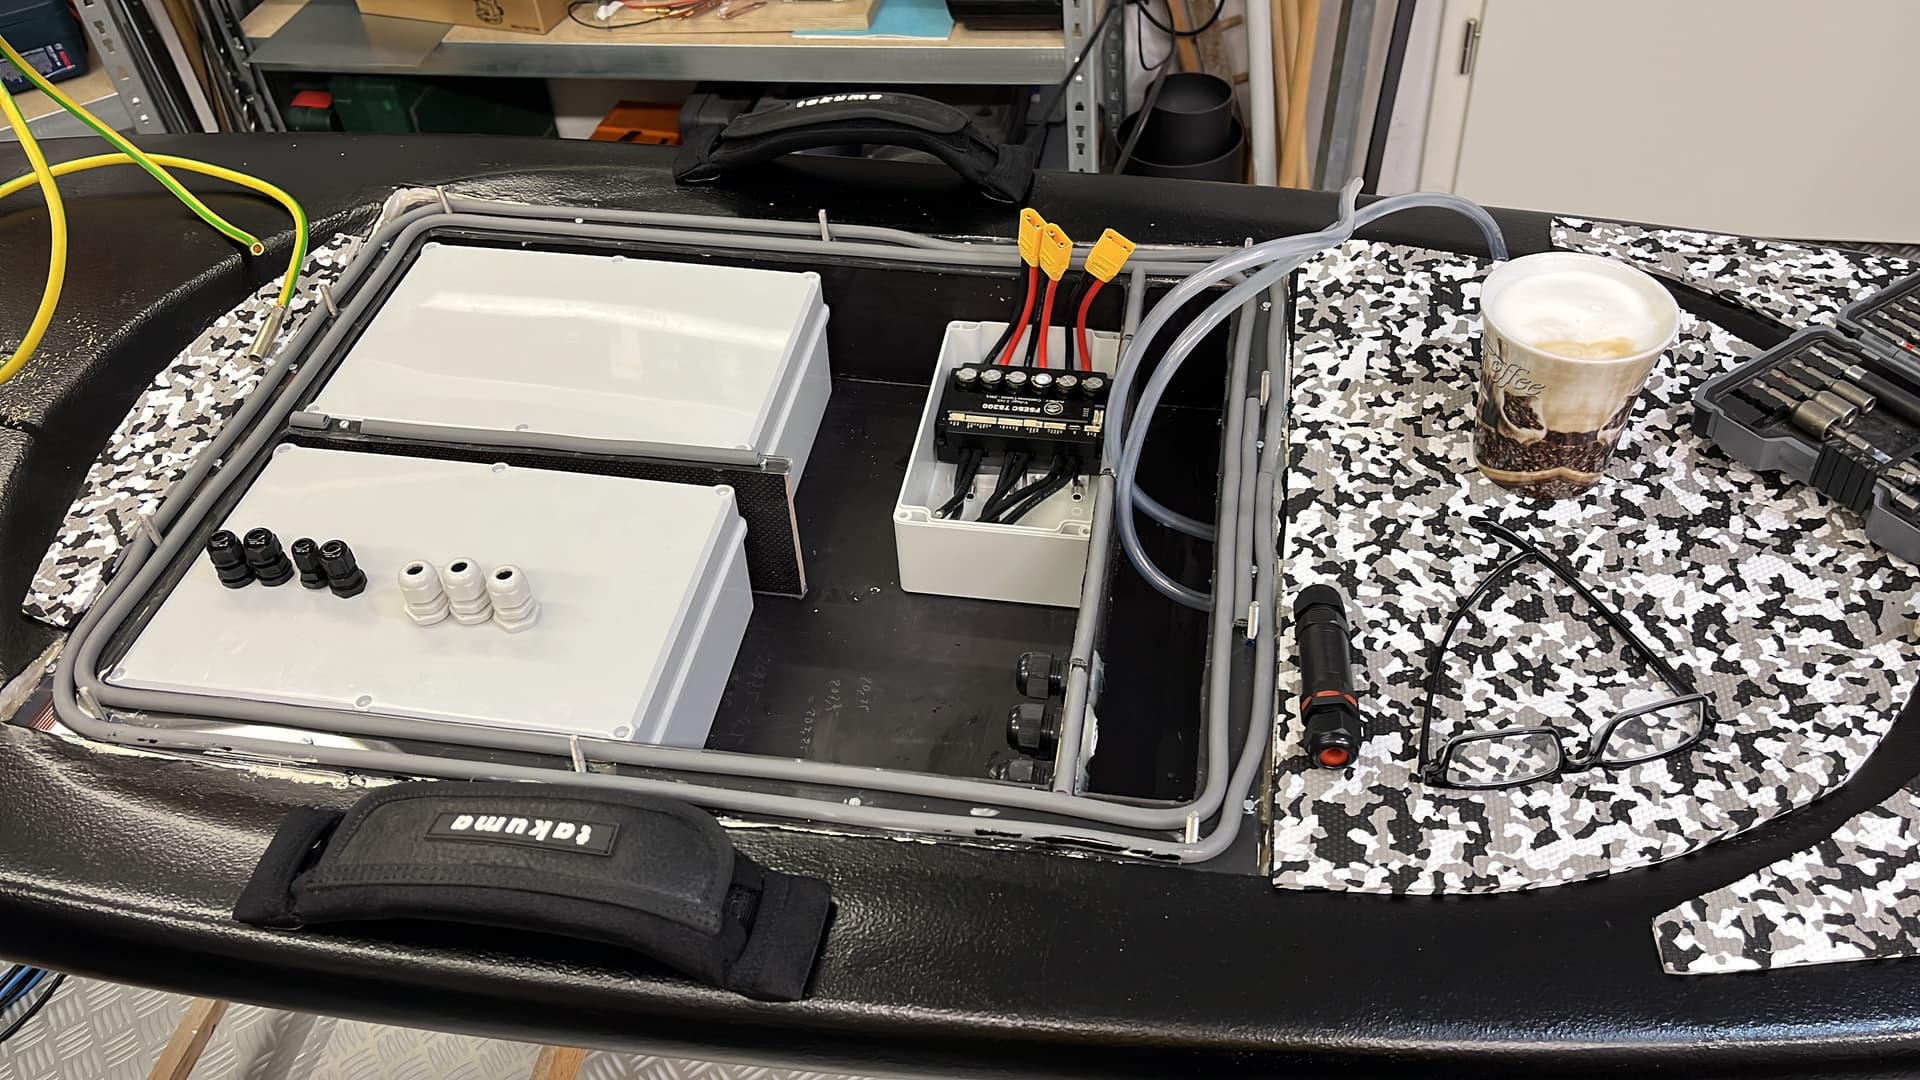
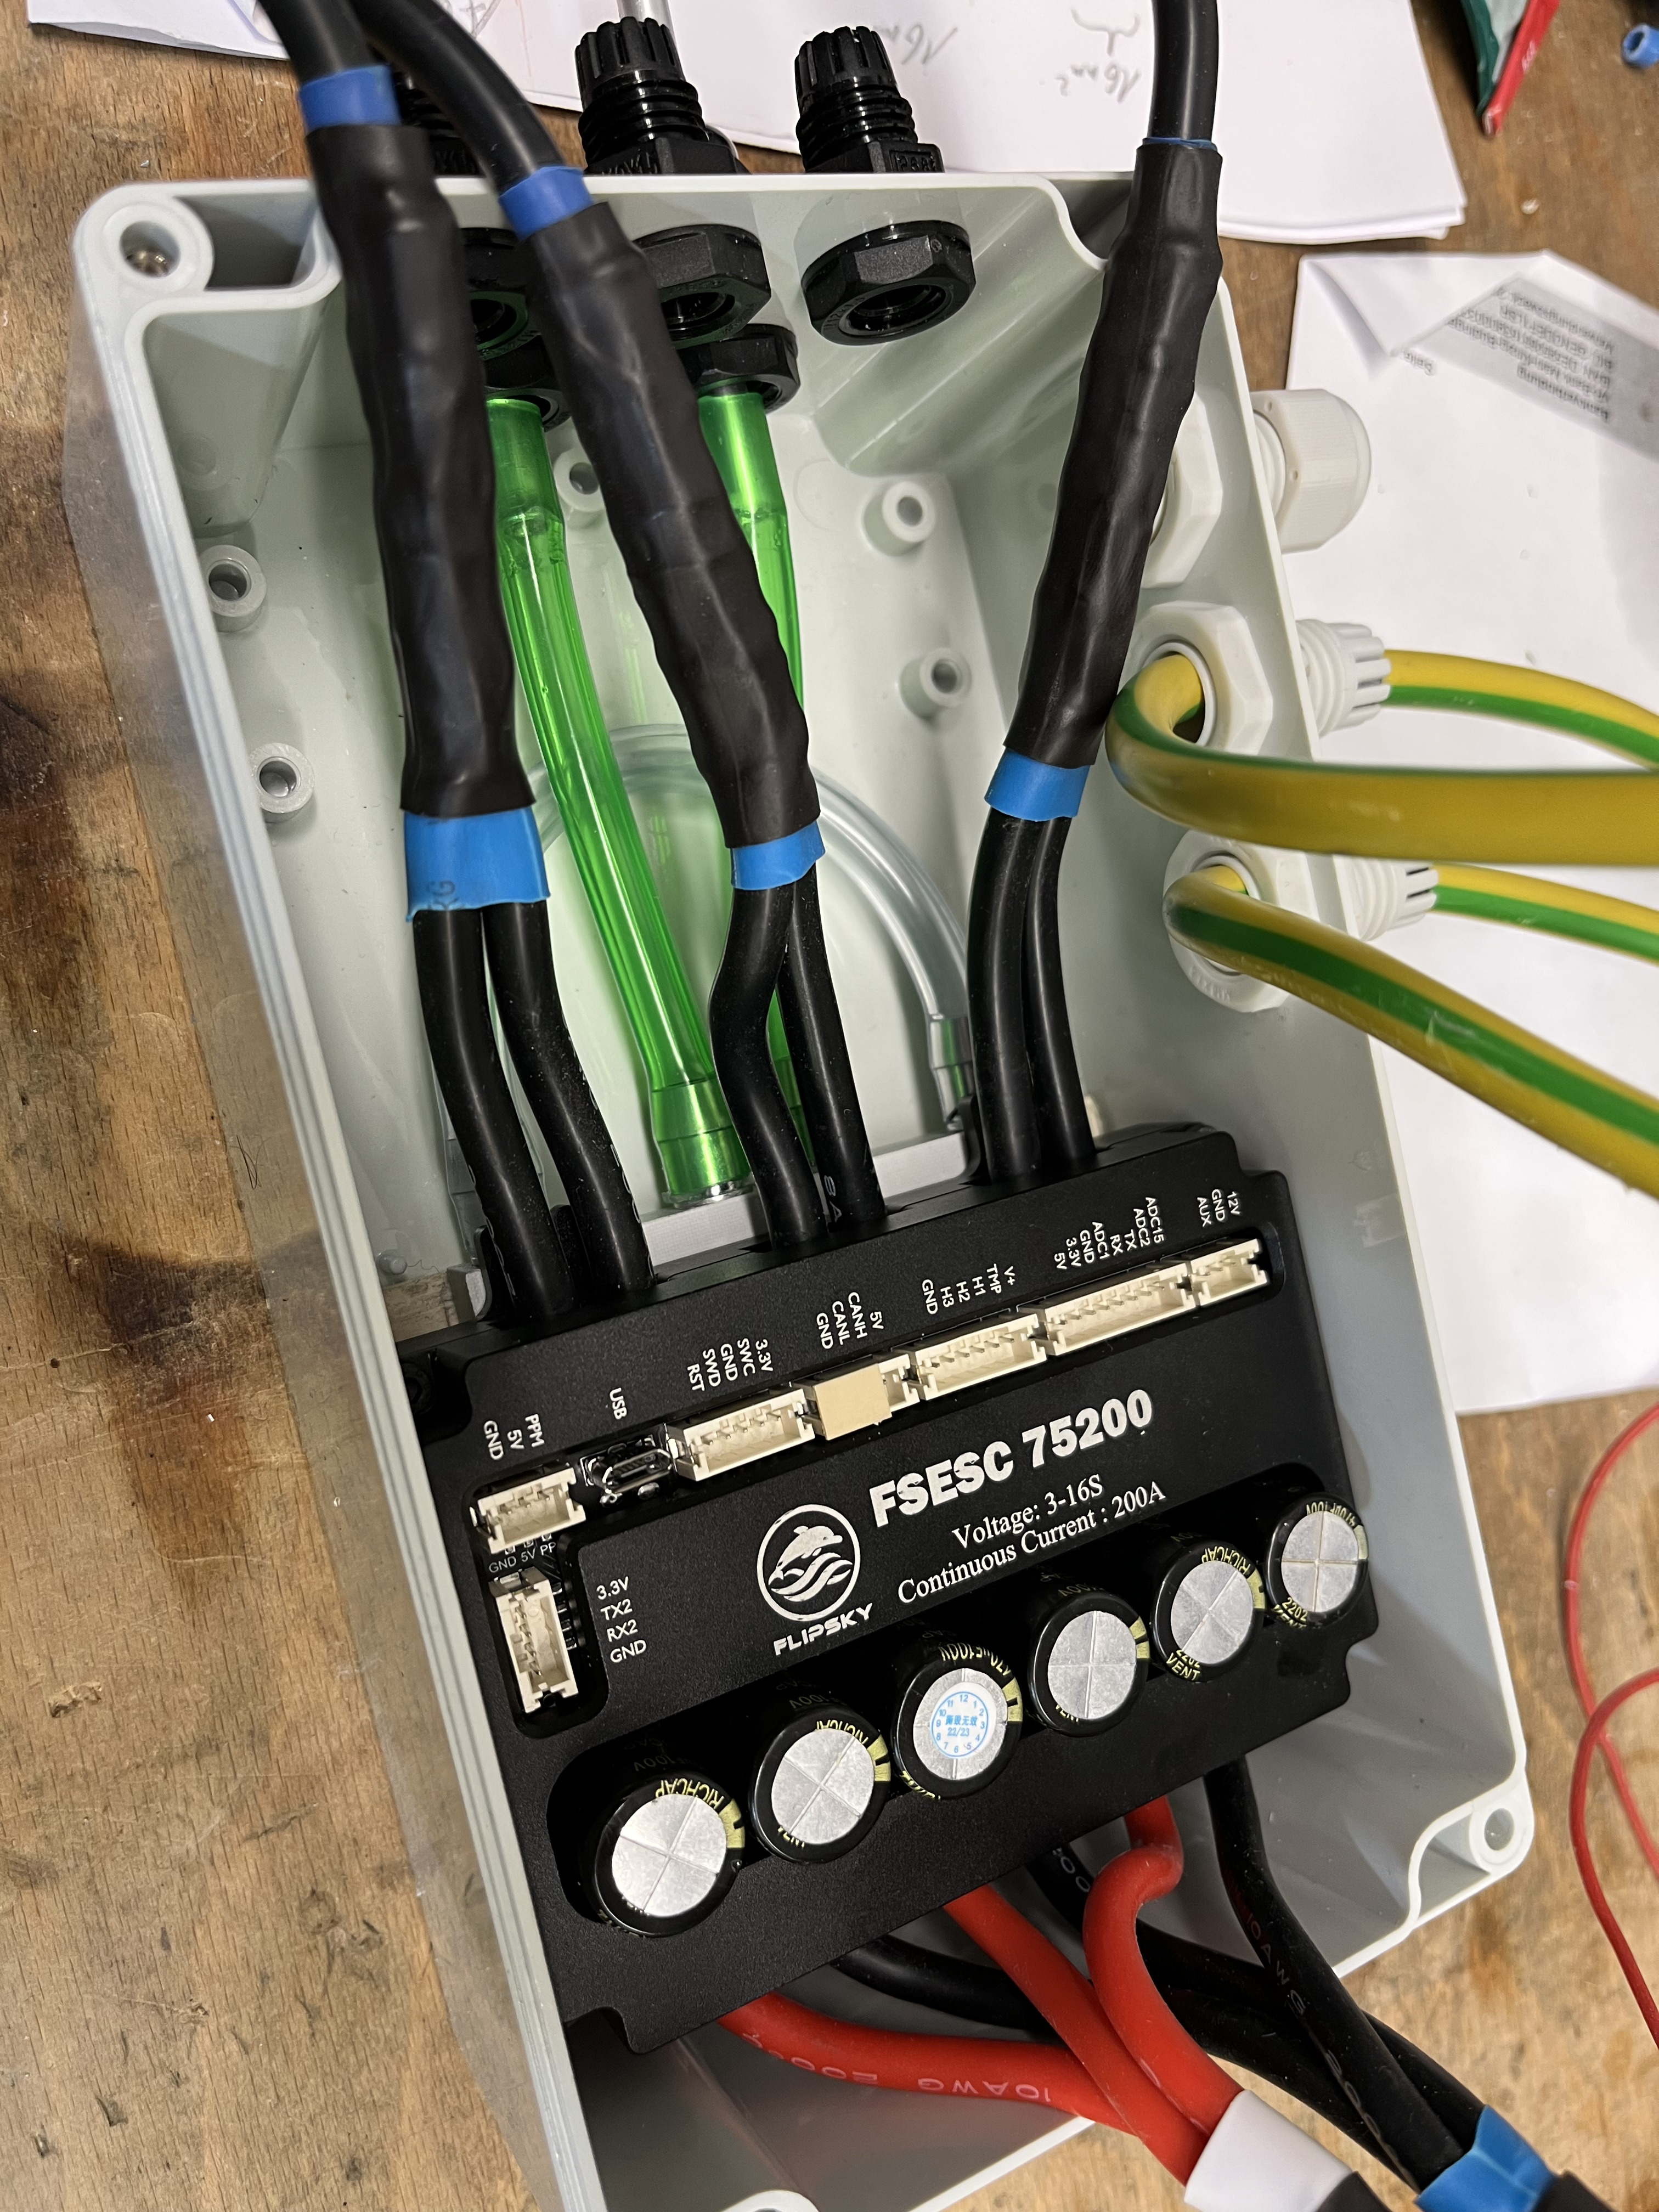
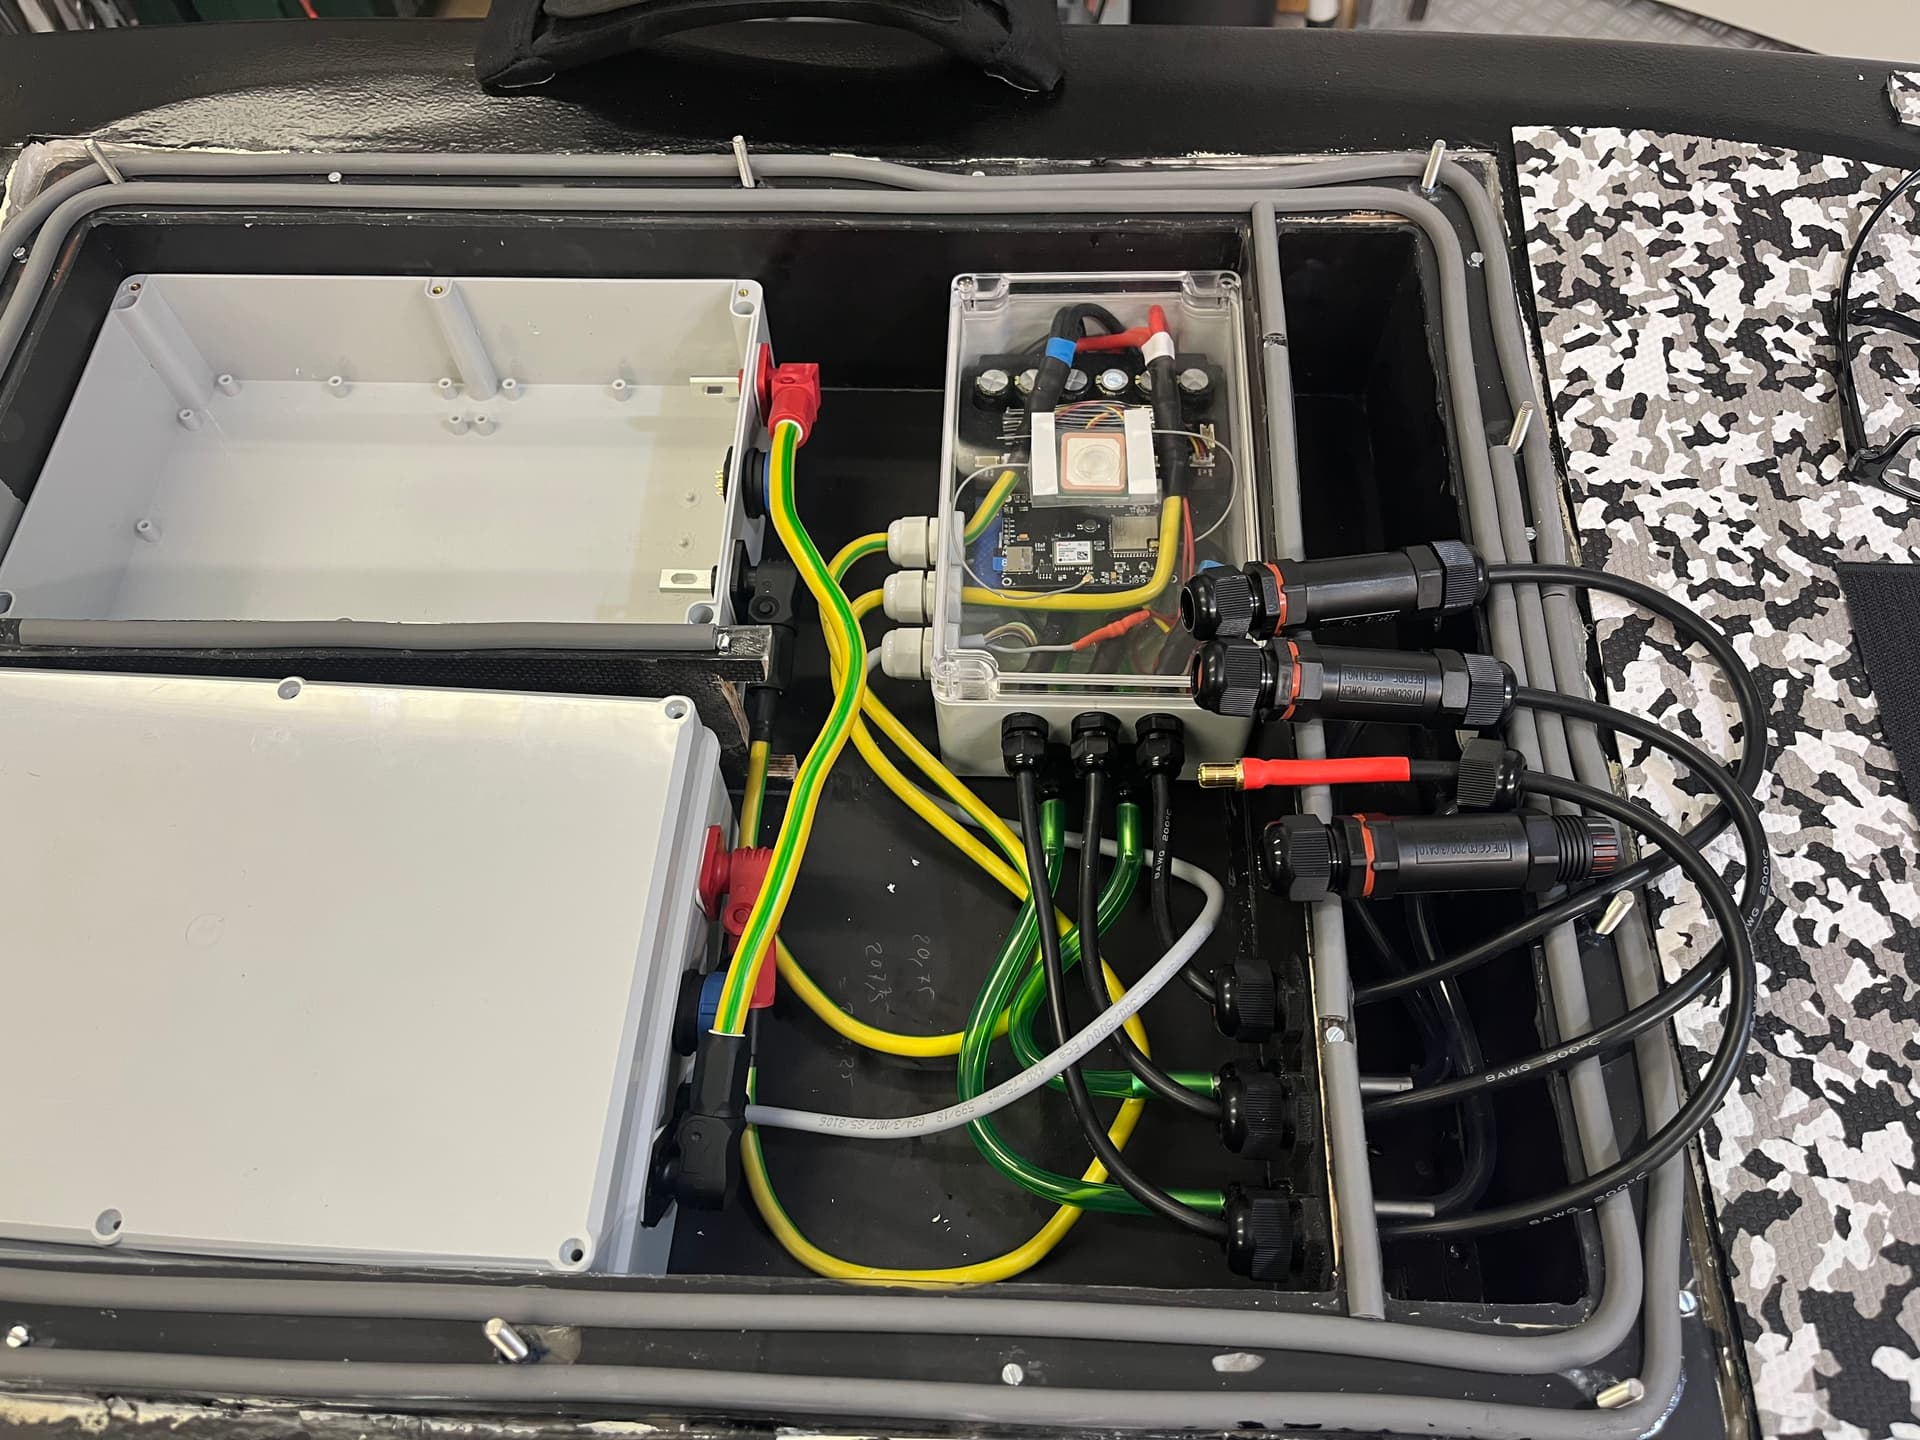
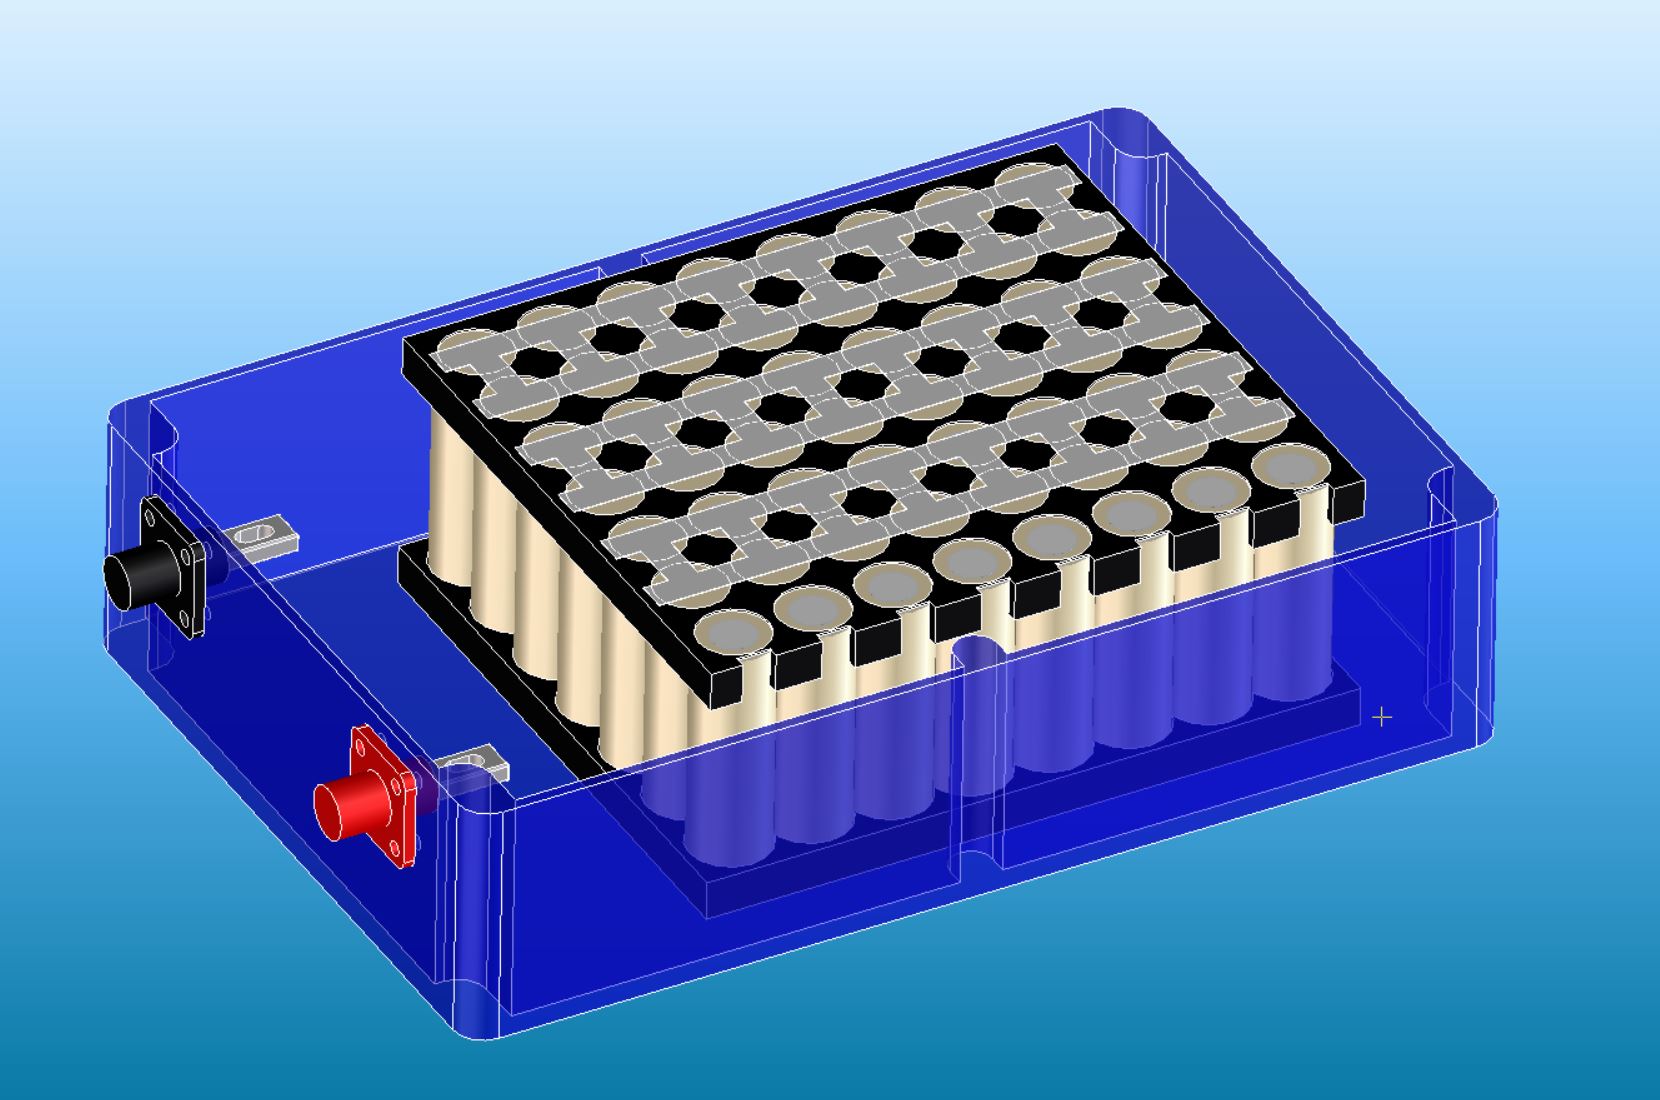
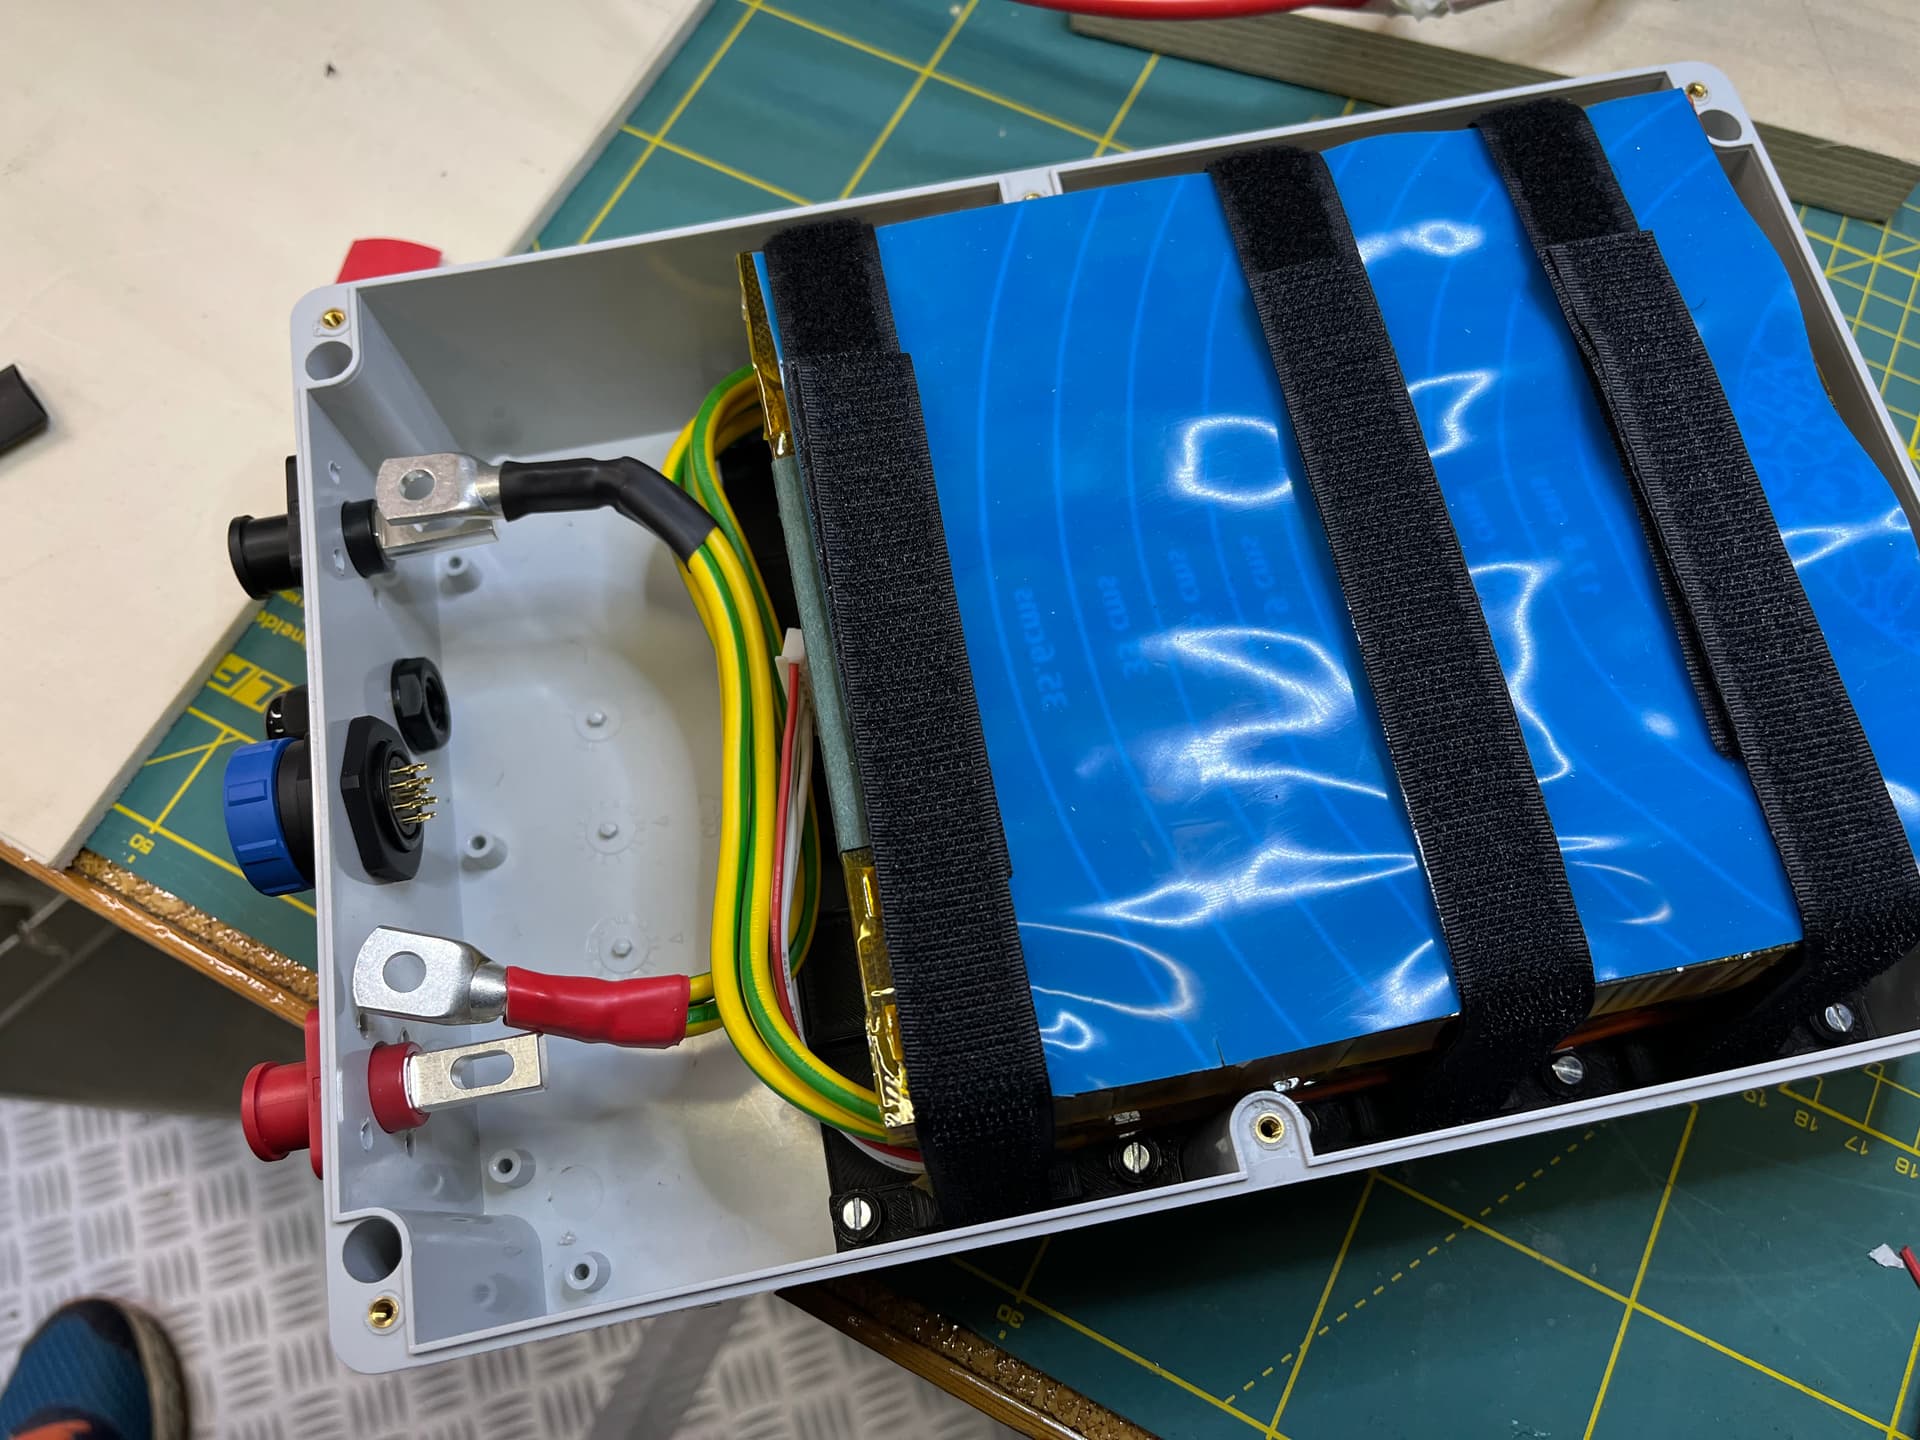
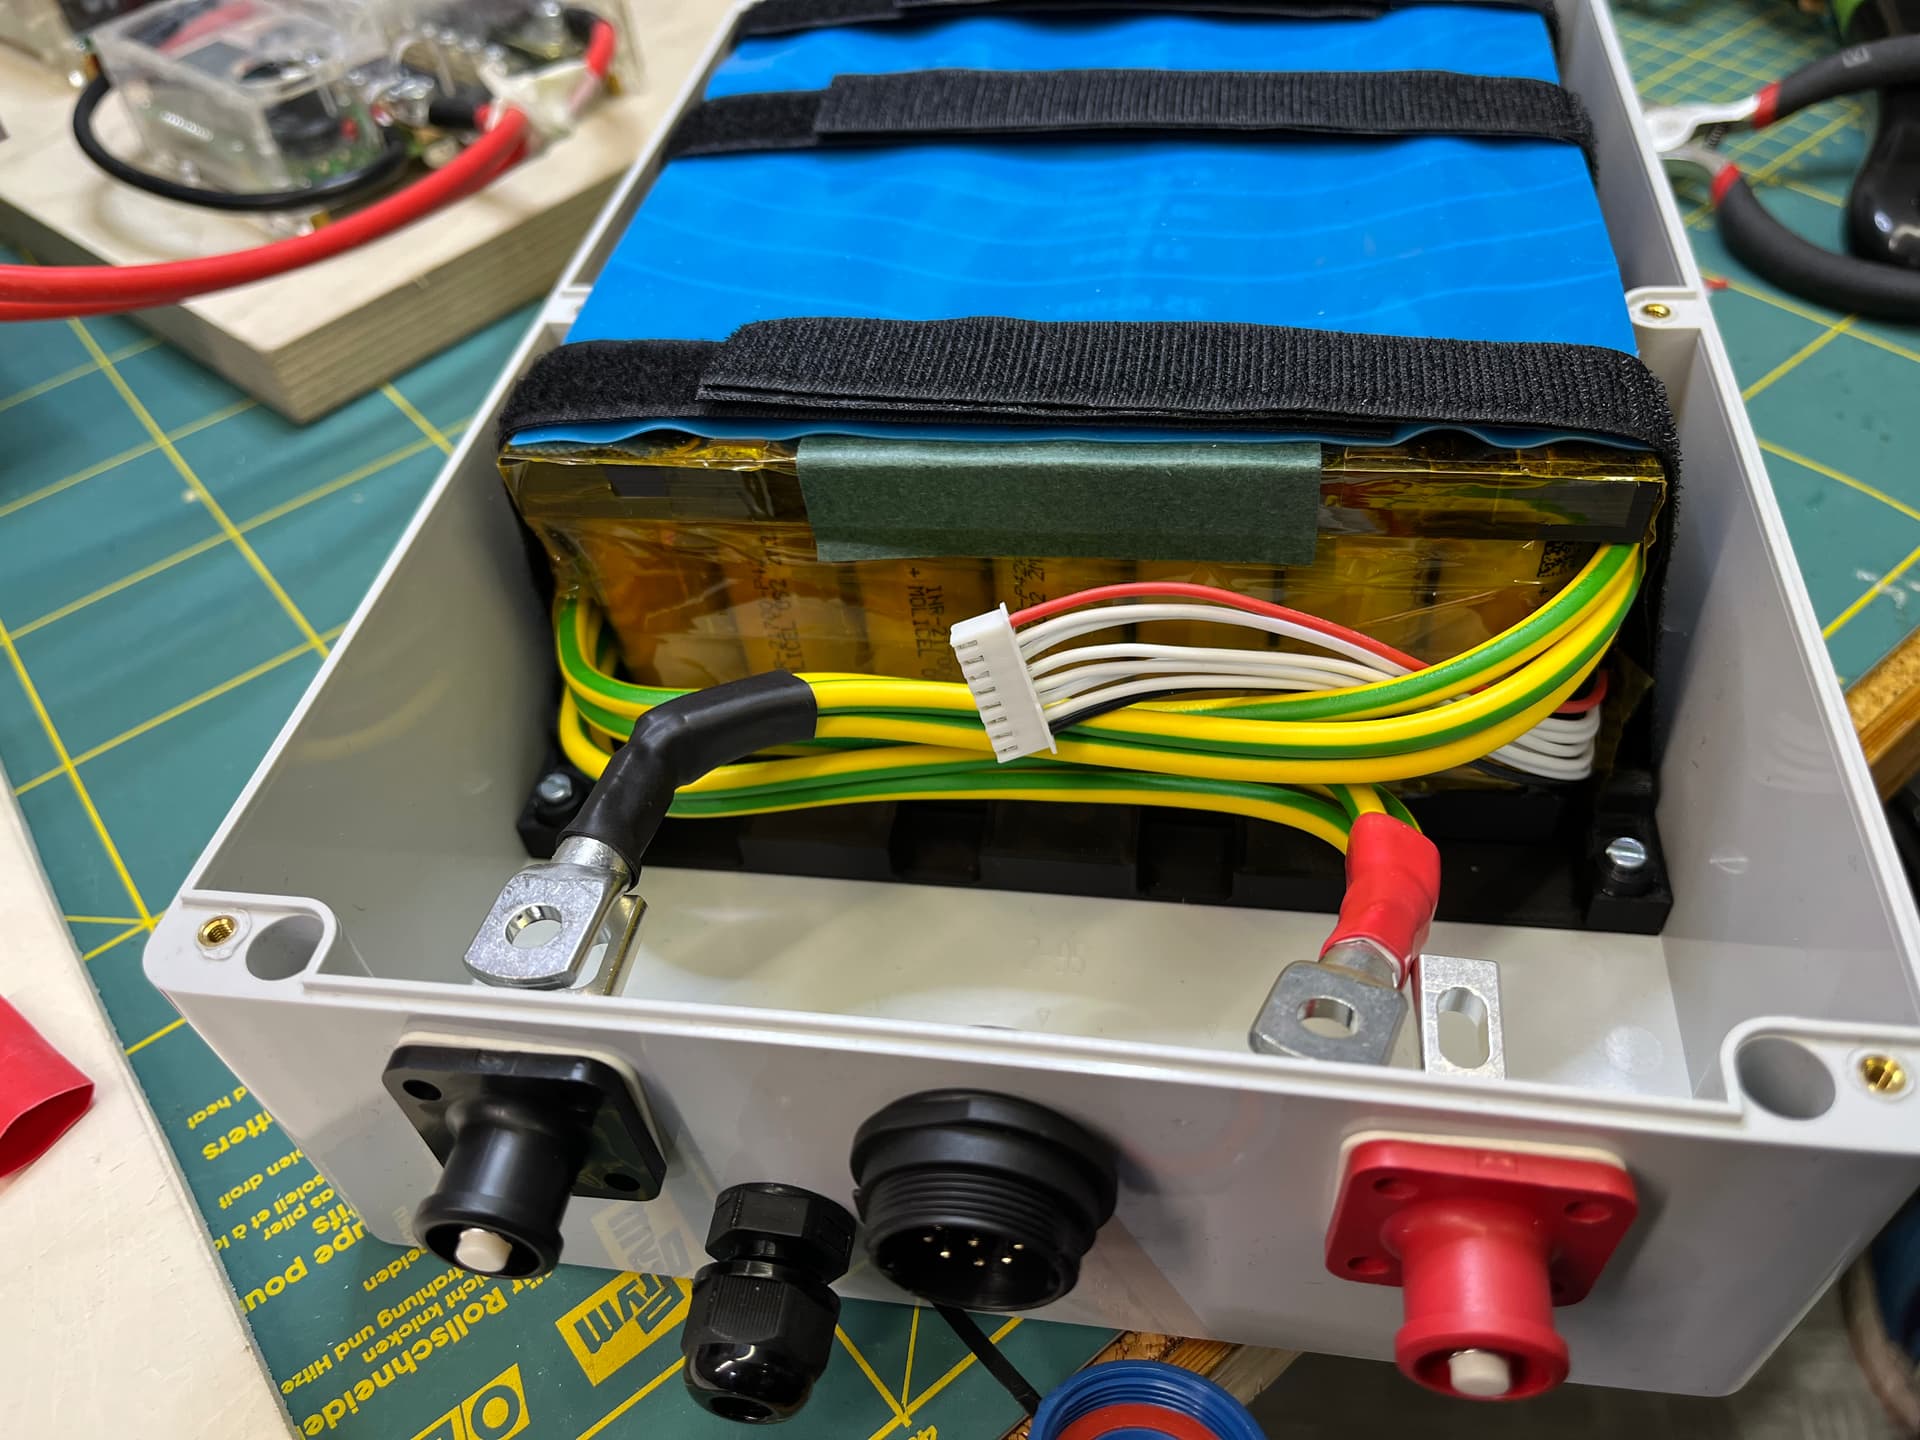
Next was building the technicbox out of 9mm Siebdruckplatte. Because I was unsure if I get the box watertight, I decided to put the electronic components in IP67 plastic boxes.
Two for the battery (2x 7S8P, connected in series to 14S8P), one for ESC and receiver.
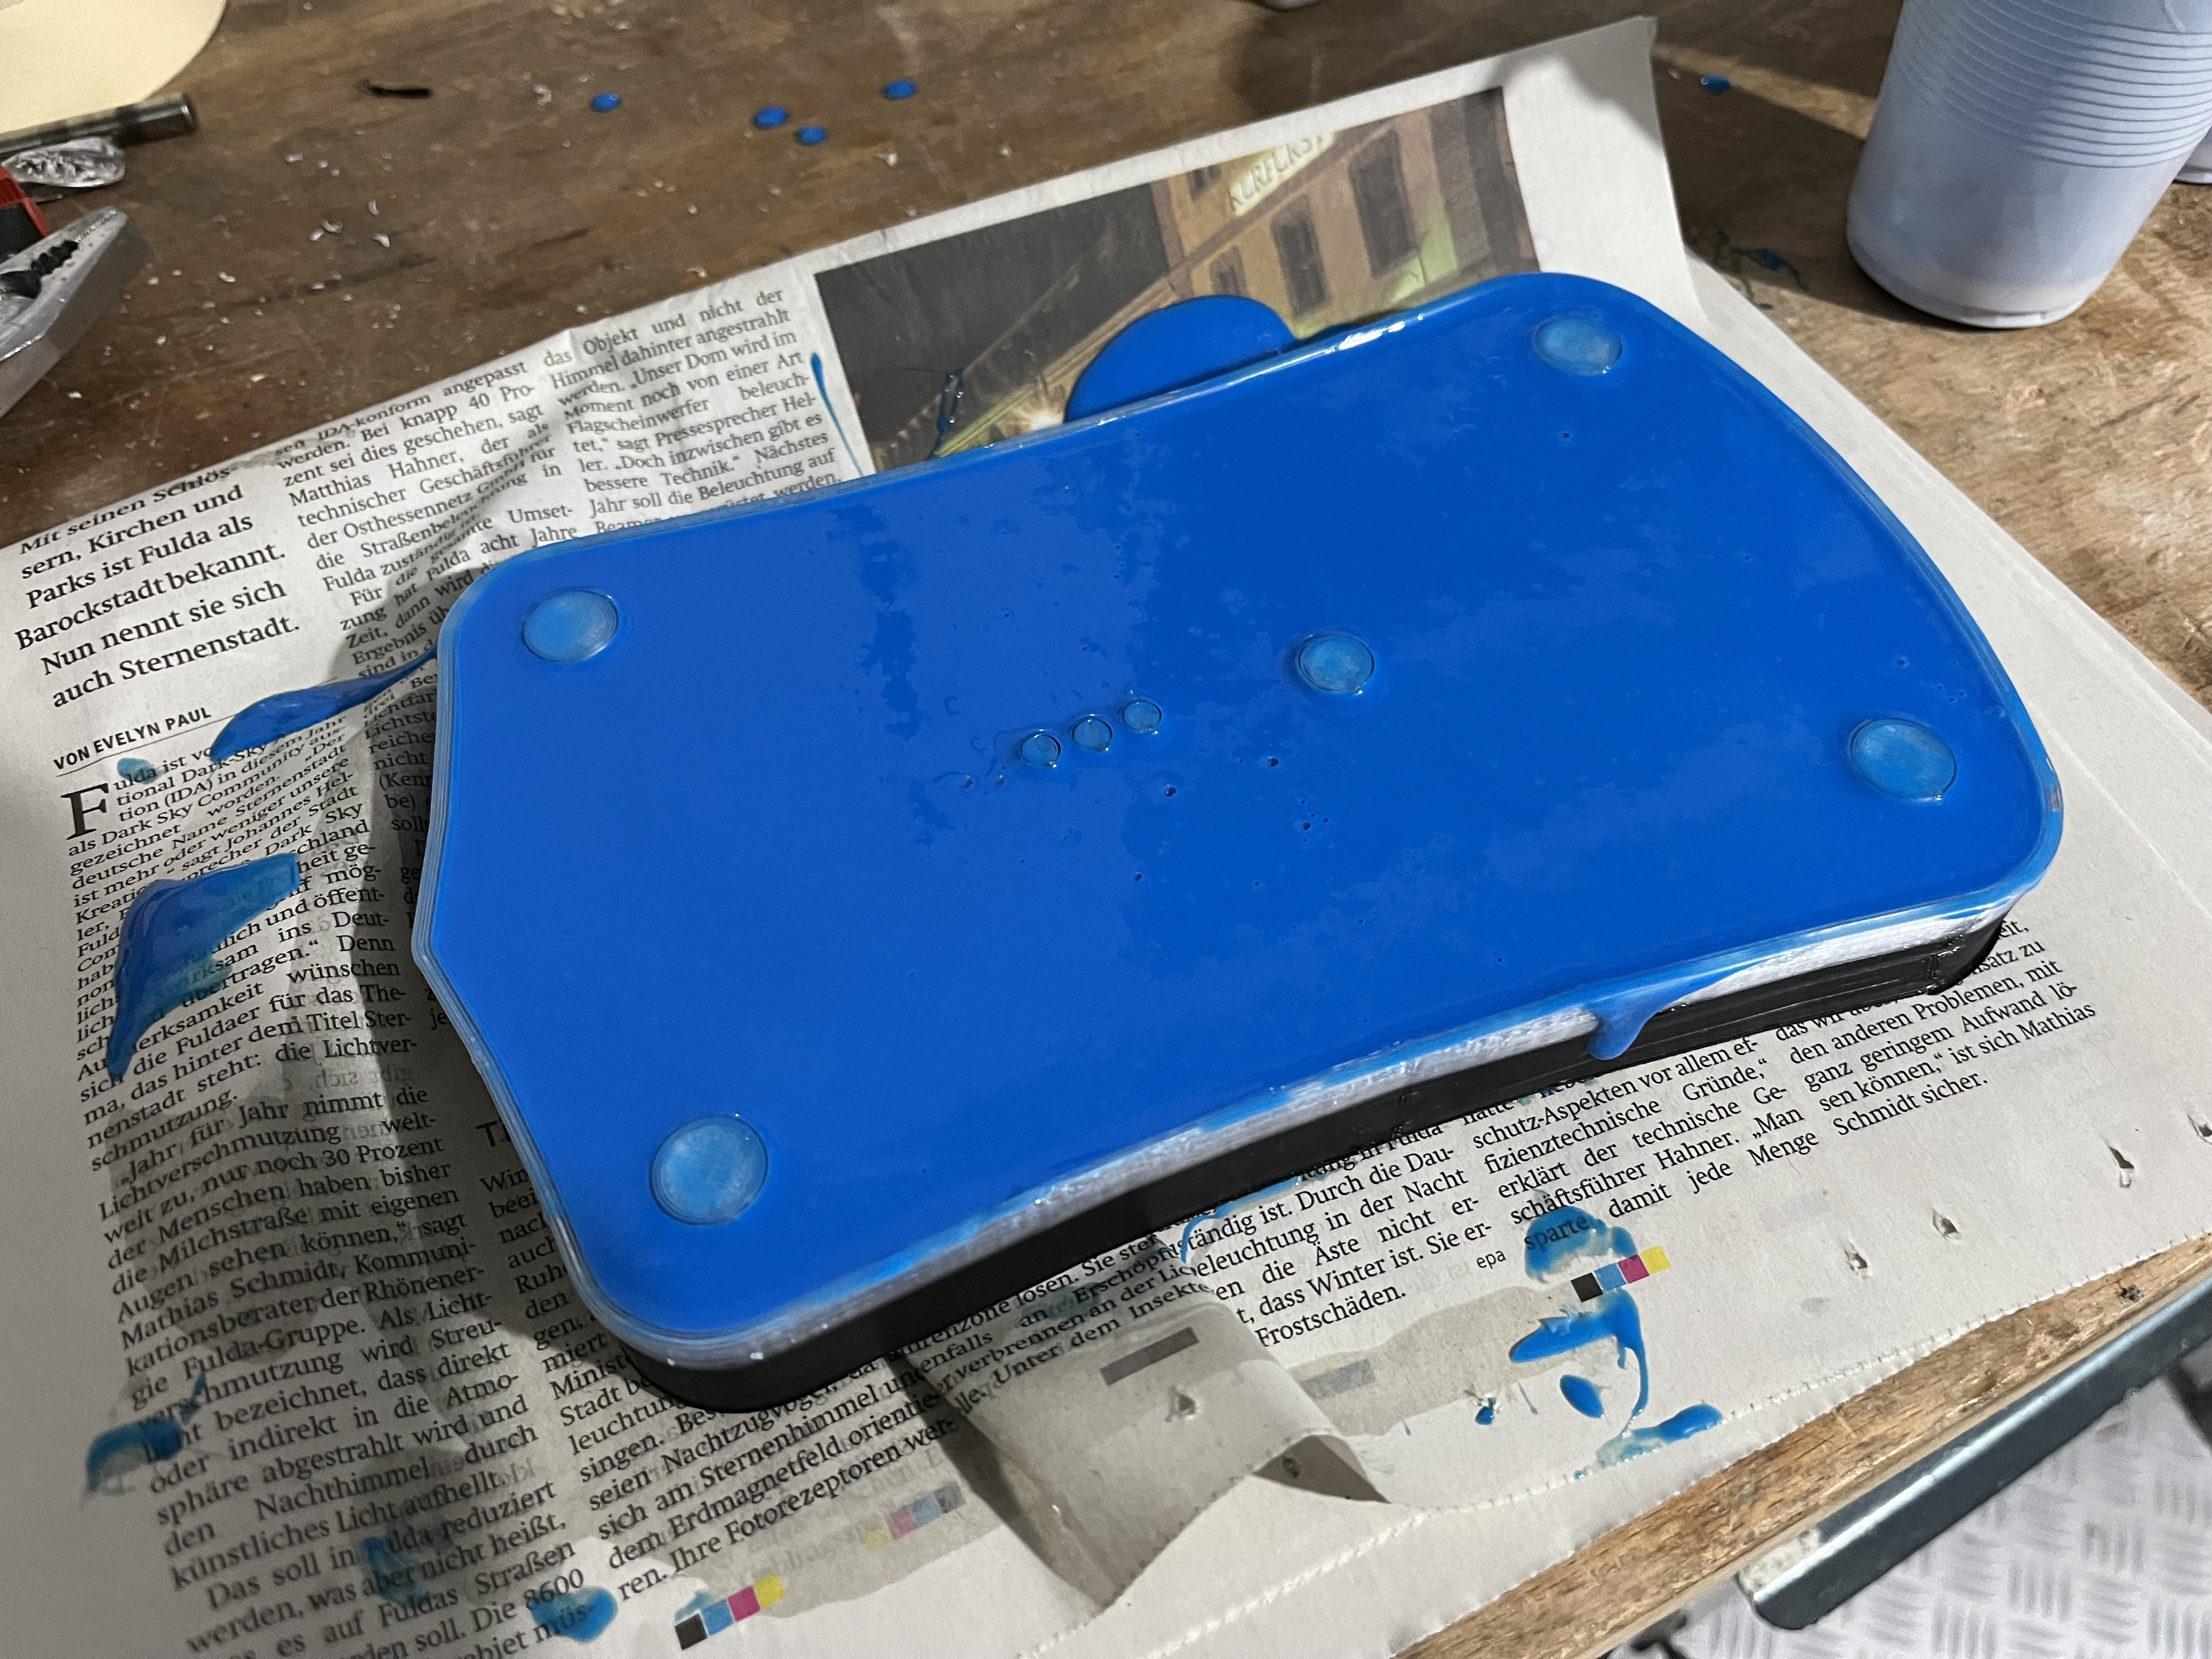
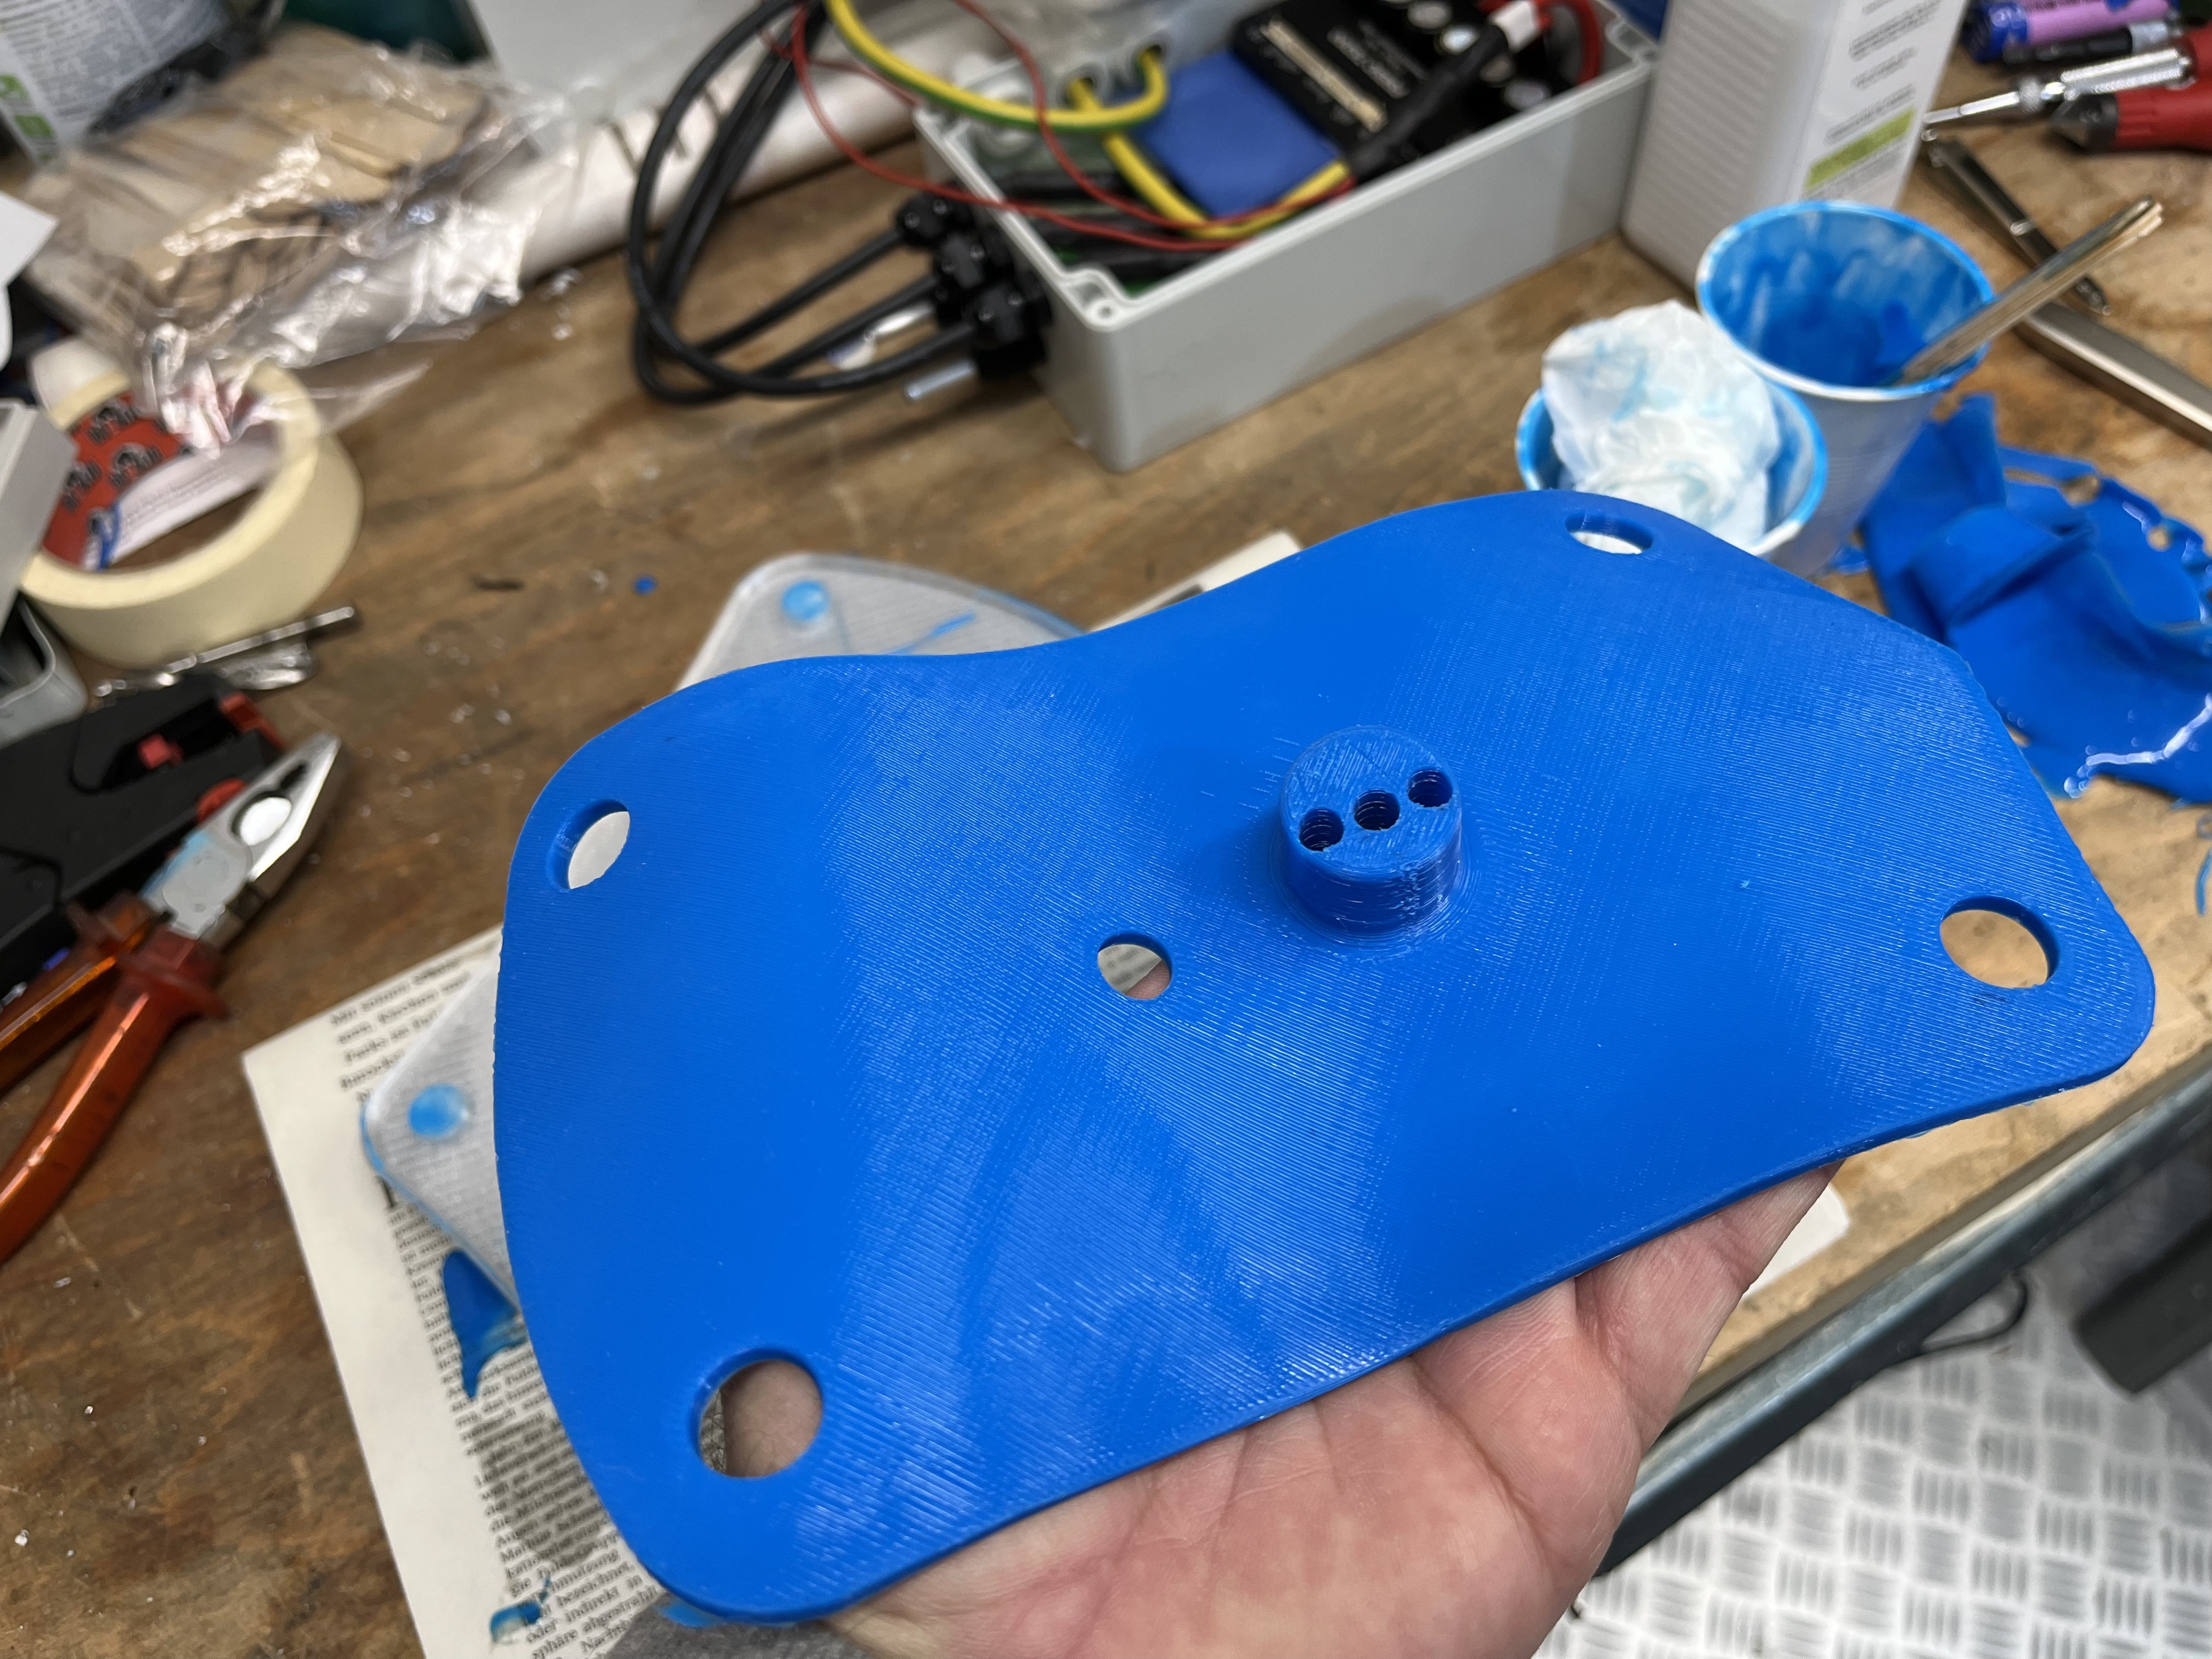
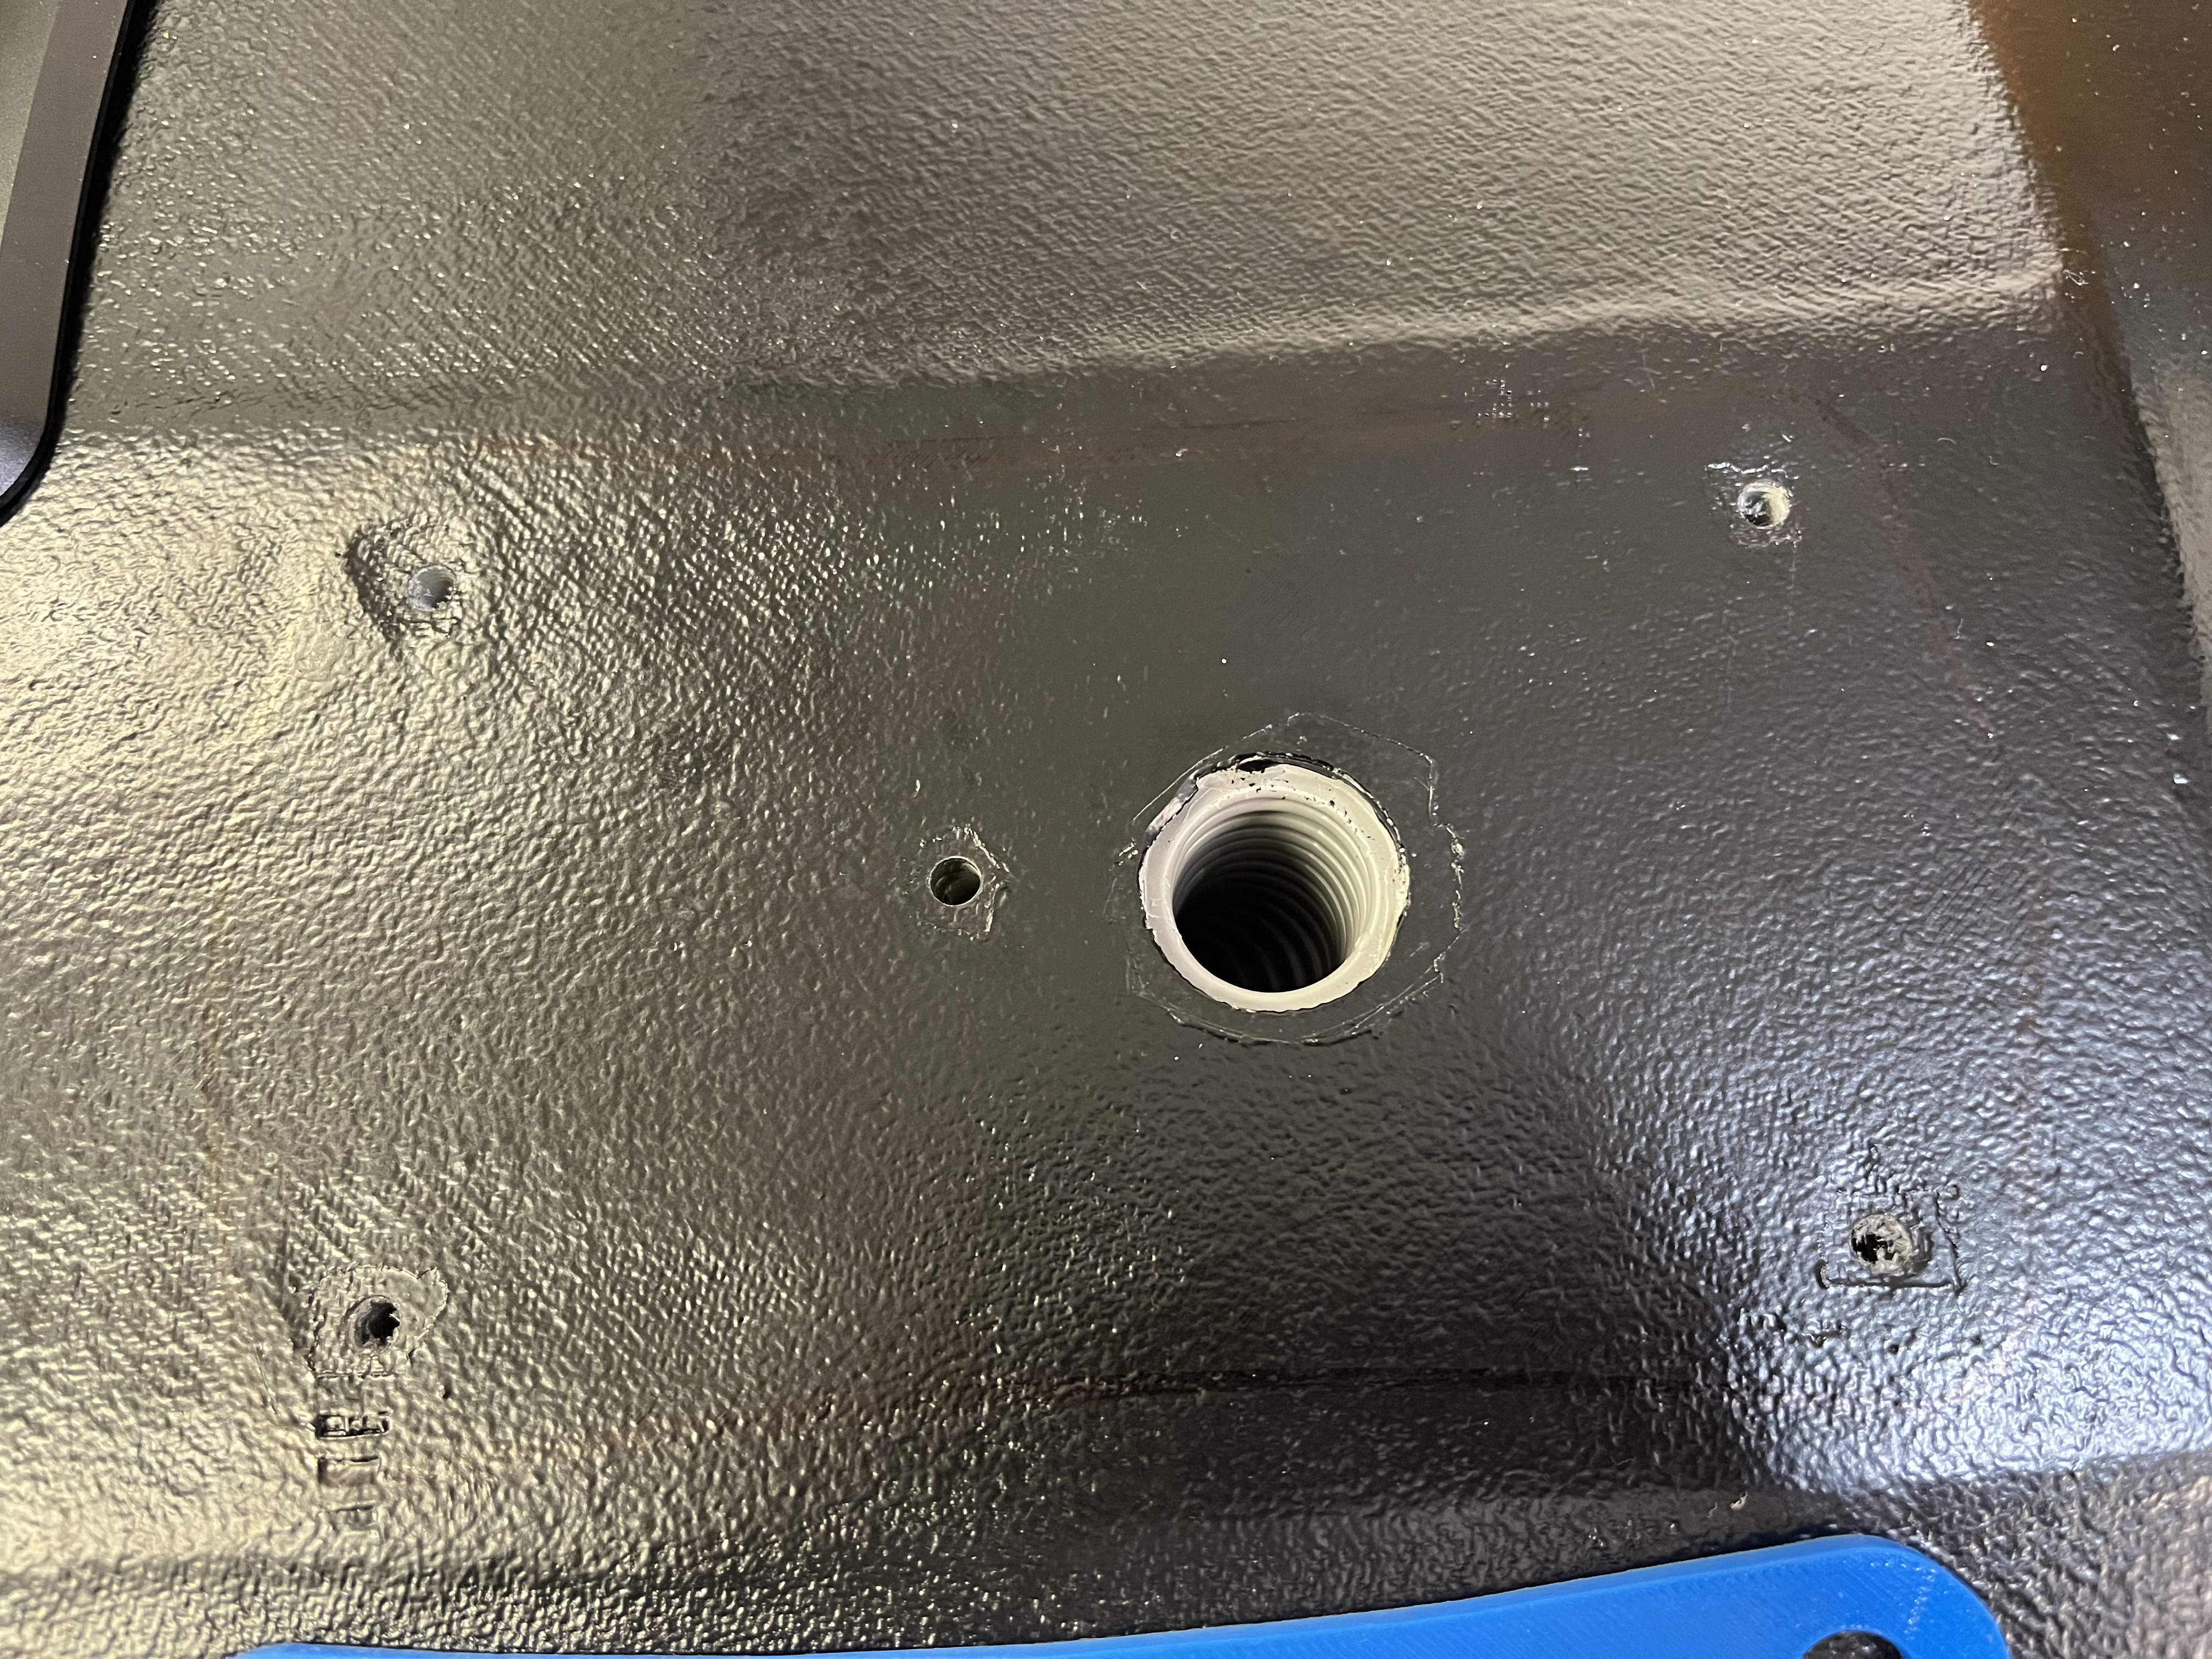
To have an additional sealing under the board for the motorcable and watercooling entry I decided to pour a sealing with Wagnersil N32. Form was 3D printed.
I don´t know if it really necessary, but better to have then to need…
I’ve tried this and i think it’s actually a more difficult option since the new glassing doesn’t get support to follow the shape of the existing board if you cut straight through - i’d recommend to do it like you did, excavate a hole, leaving some foam and have the bottom skin untouched.
One detail to show.
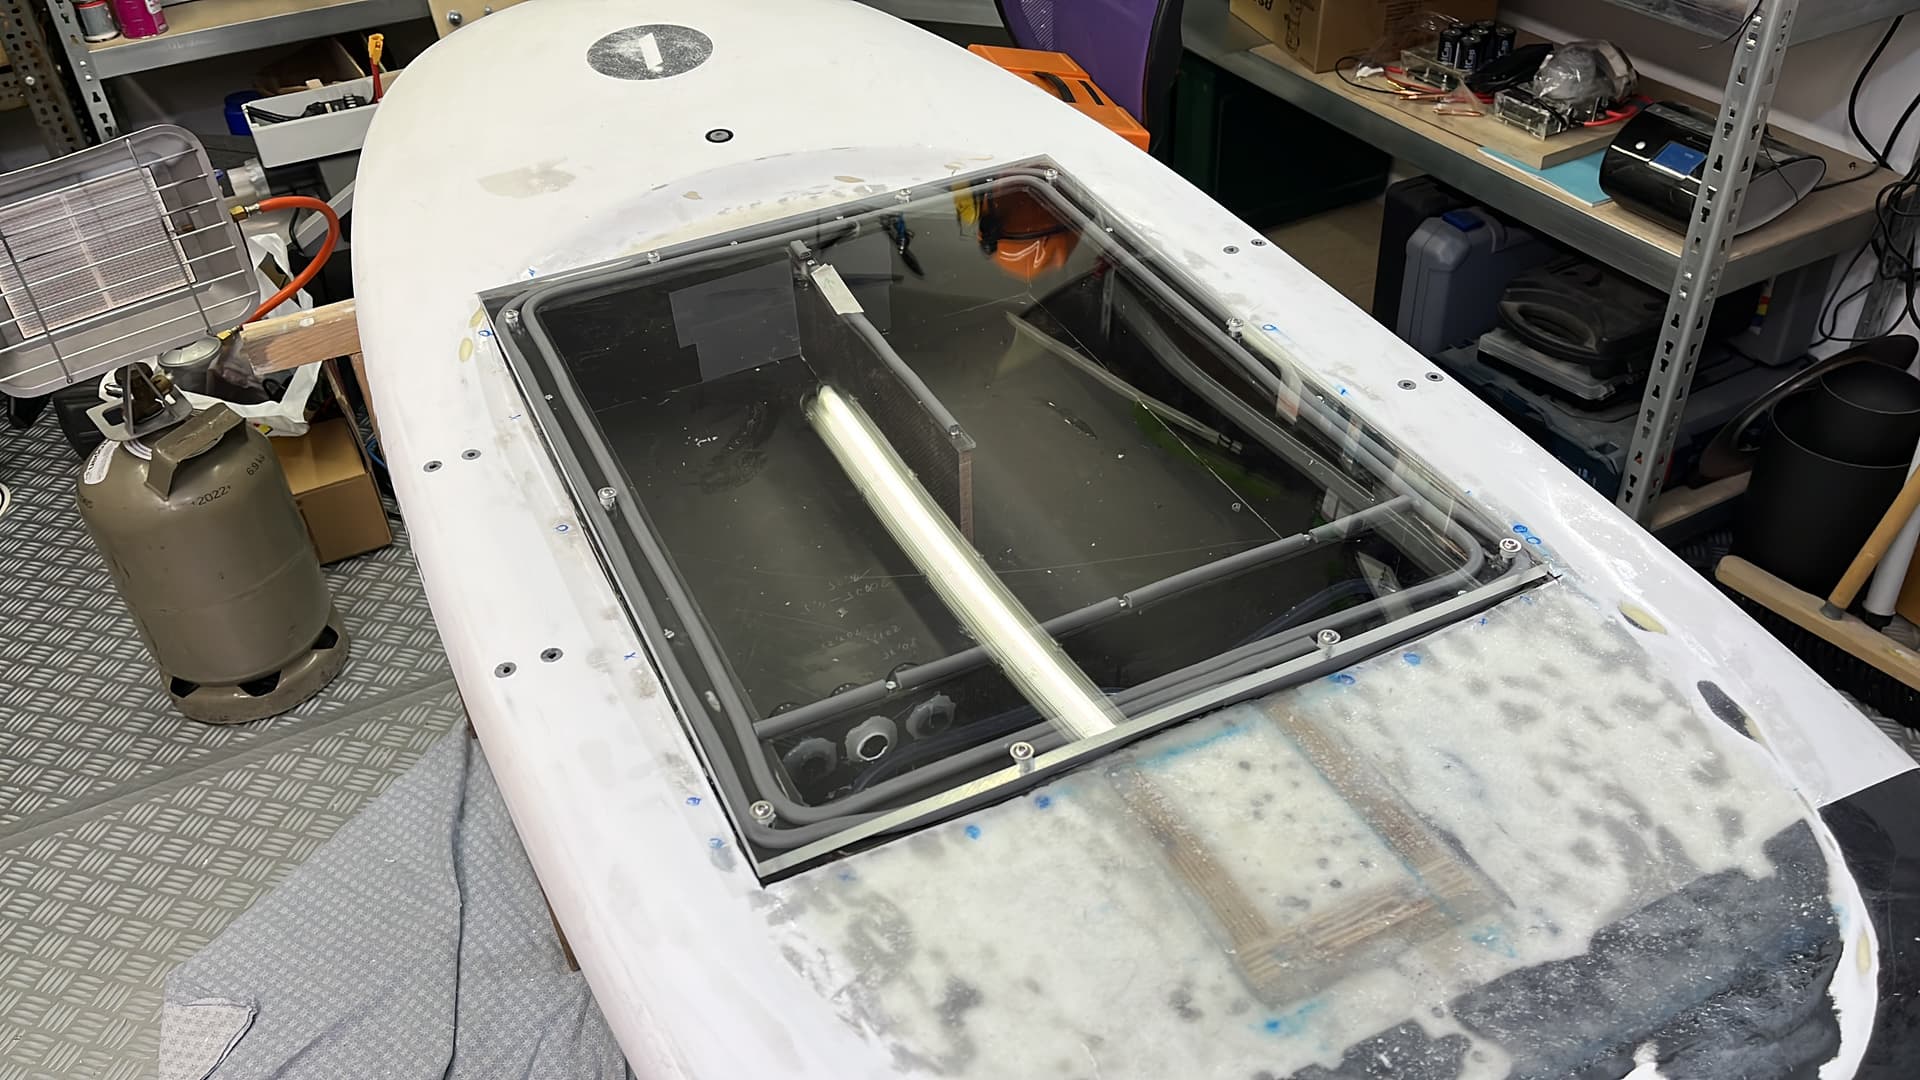
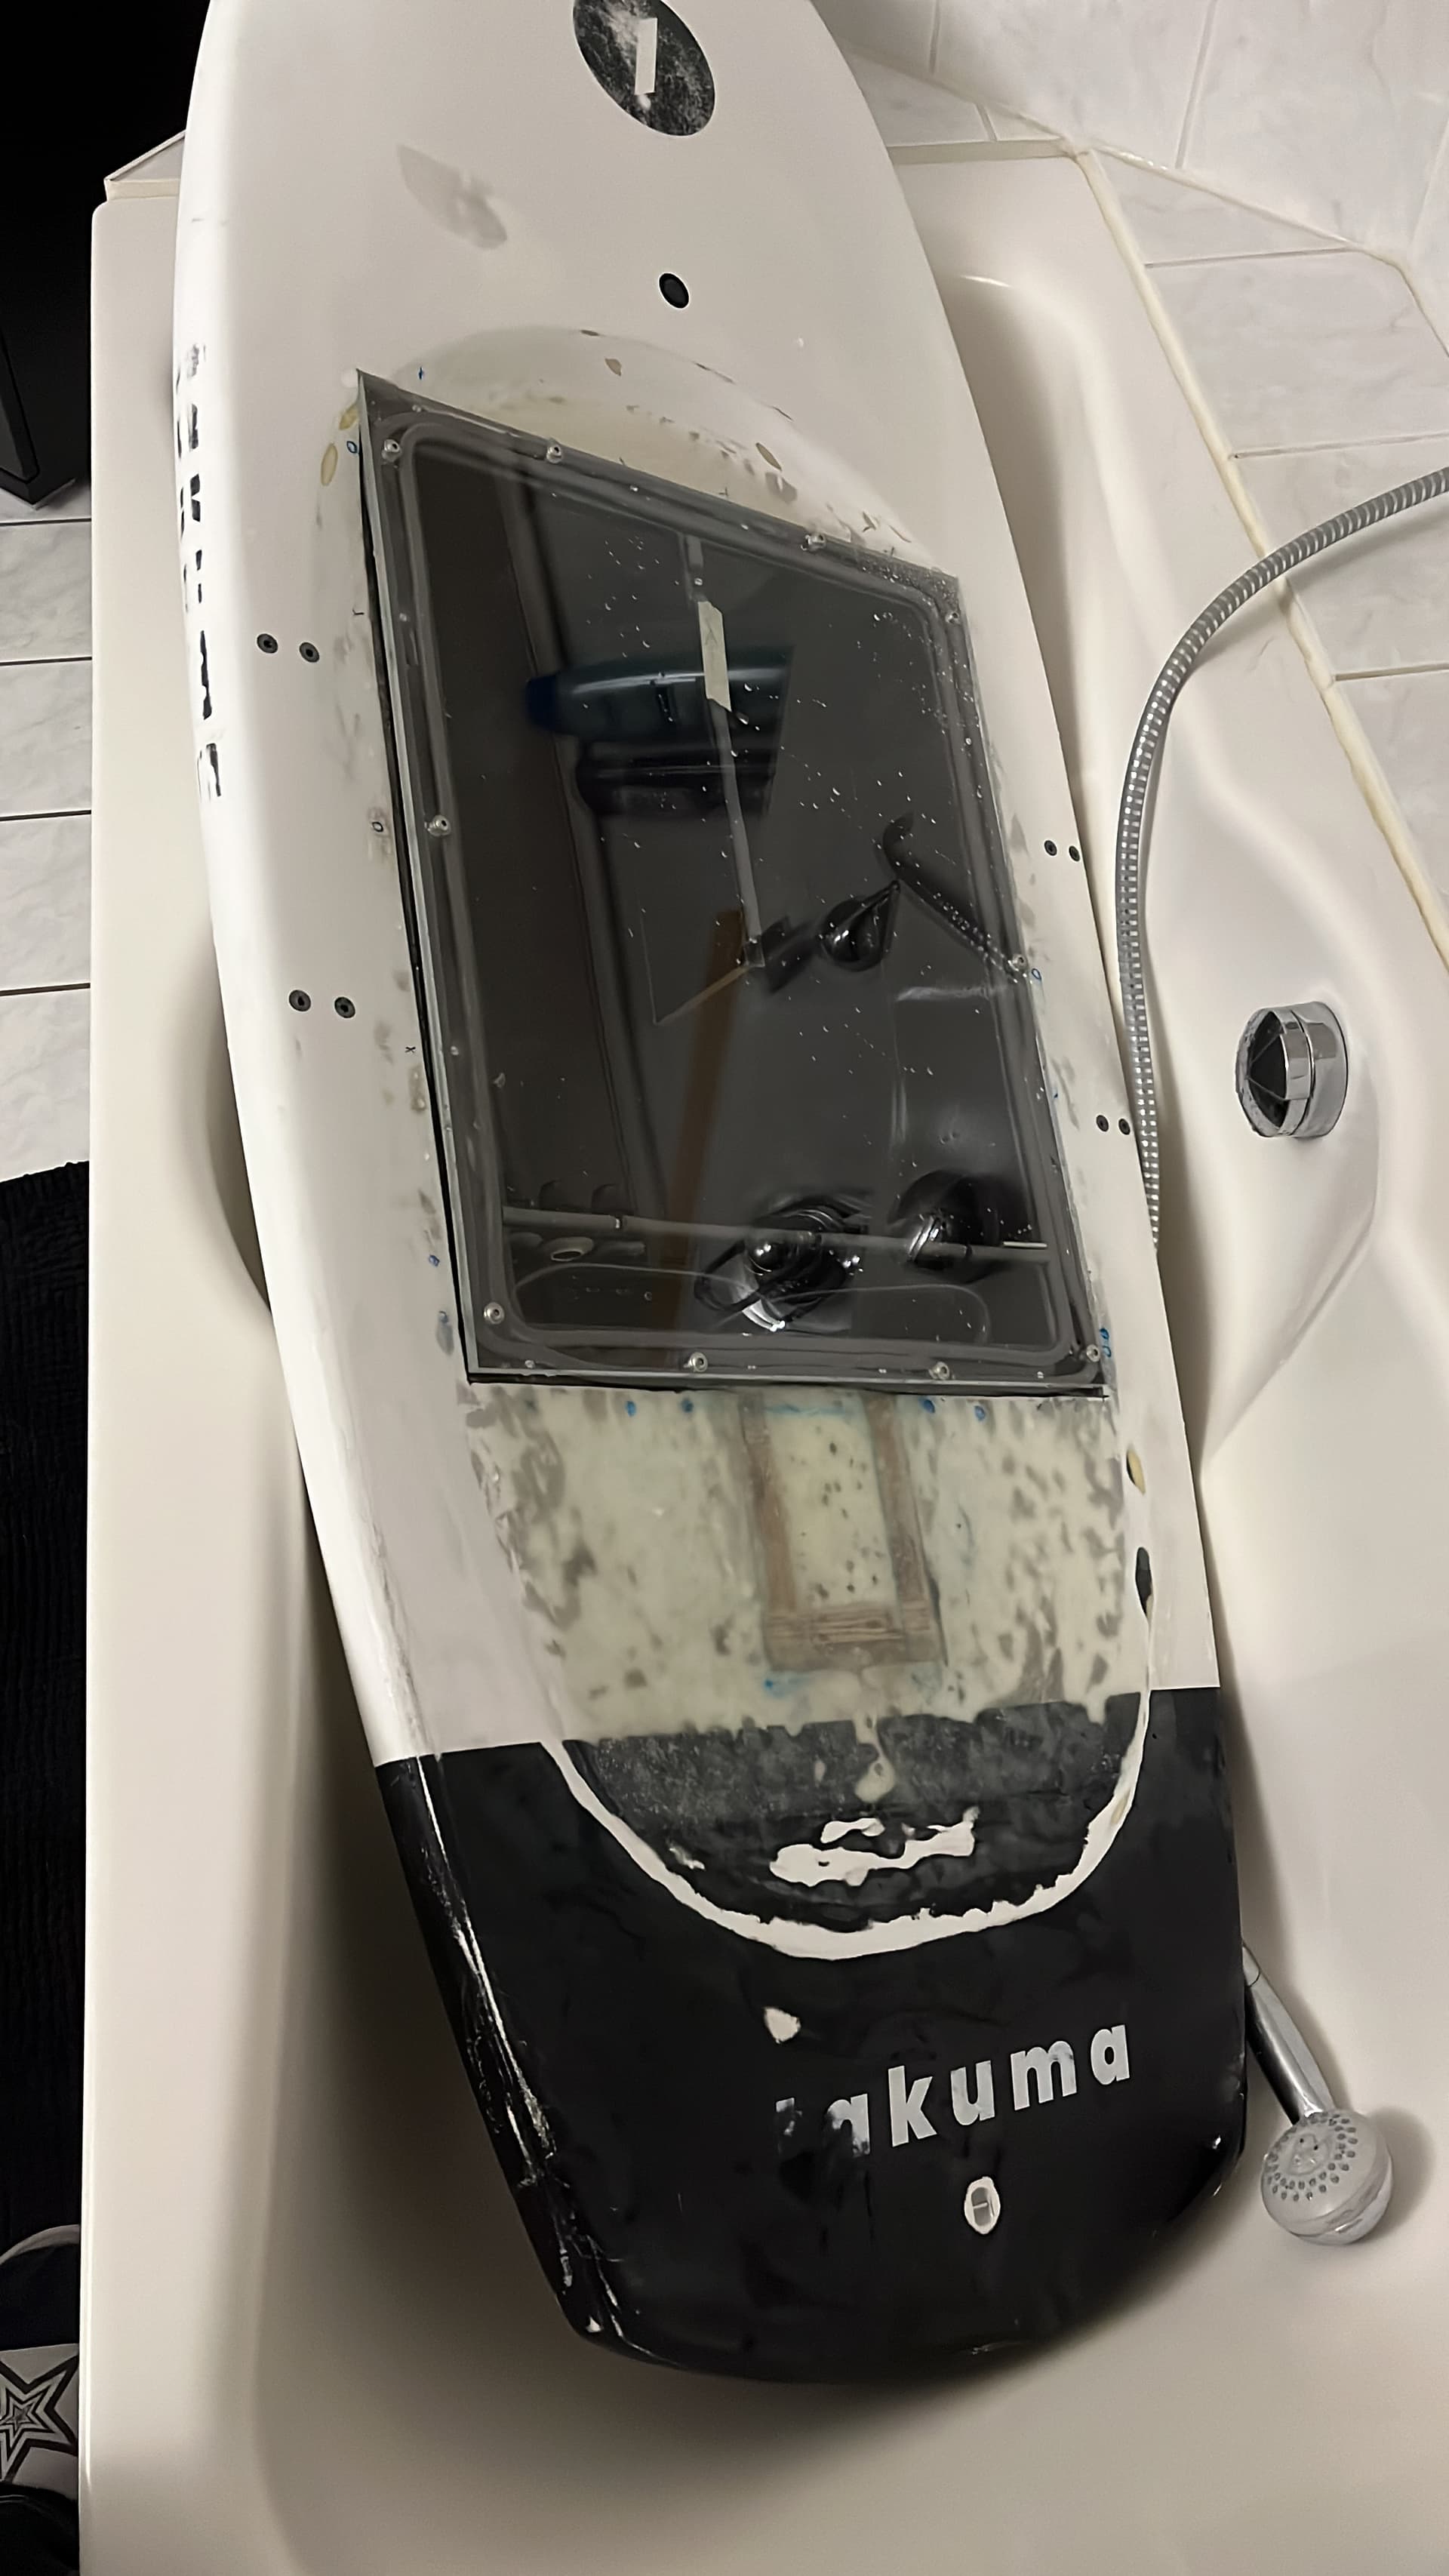
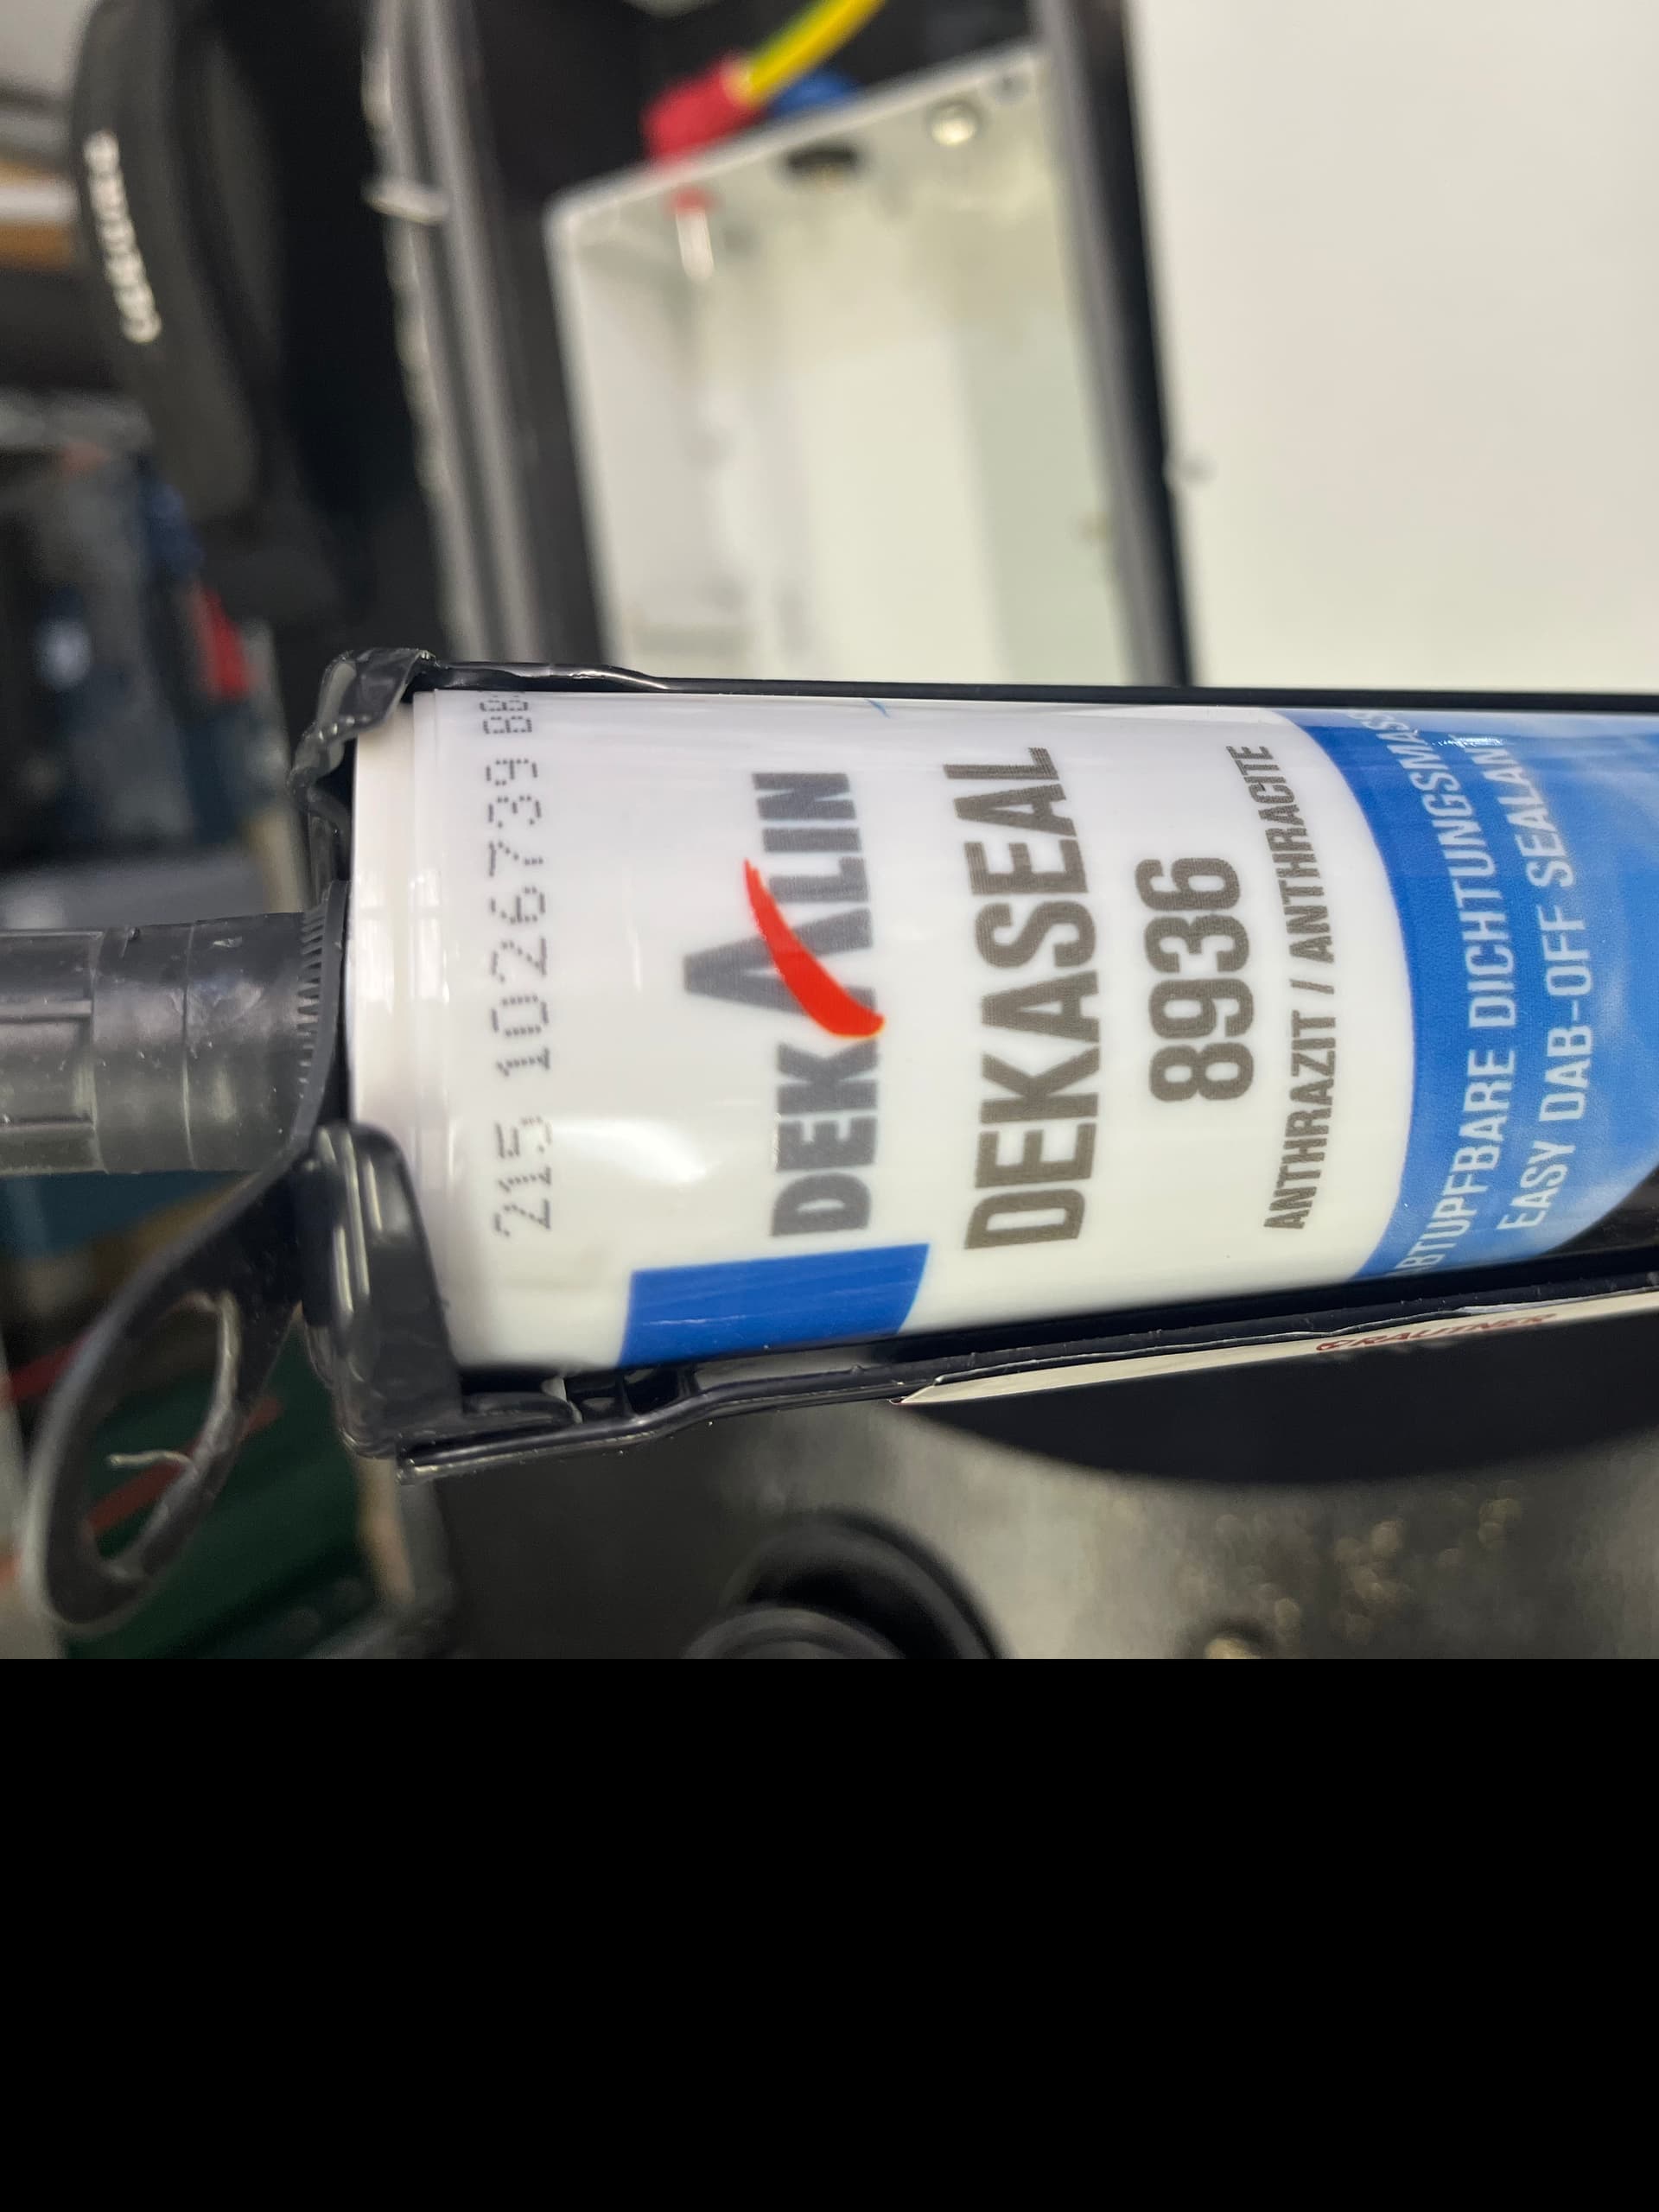
I copied @Ackermann idea to seal the main hatch with this 9/6mm Amazon gasket, but I don‘t trusted the selfglueing gasket to safely stick on the wooden box. Additionaly I was afraid water could creep under the gasket where two walls from the box come together.
I find out that this gasket had a perfekt adhesision on acrylic glas.
So I decided to make a frame on/around the box with 3mm acrylic glas.
The glas is sealed to the box/board with Dekaseal
Hello Ellnillo, very nice build. Is the plexi frame that is glued to the wooden box in one piece or assembled from several pieces?
Is the mast removable for transport? If so, how do you pass the motor phase wires with their connectors through these holes which seem small to me….
I agree with @Larsb you chose the right option to remove the polystyrene. If you saw completely you can put a 3mm flexible PVC plate like @Manufoil did but it’s professional work… I also used the router and it’s indeed nightmarish…
the plexi frame is one piece, and is has to be one piece to not have interruptions in the surface where seperat pieces come together. There would be the risk that water undercreeps the 6mm rubber gasket.
That was the idea behind this plexi frame to have one piece with homogeneous surface.
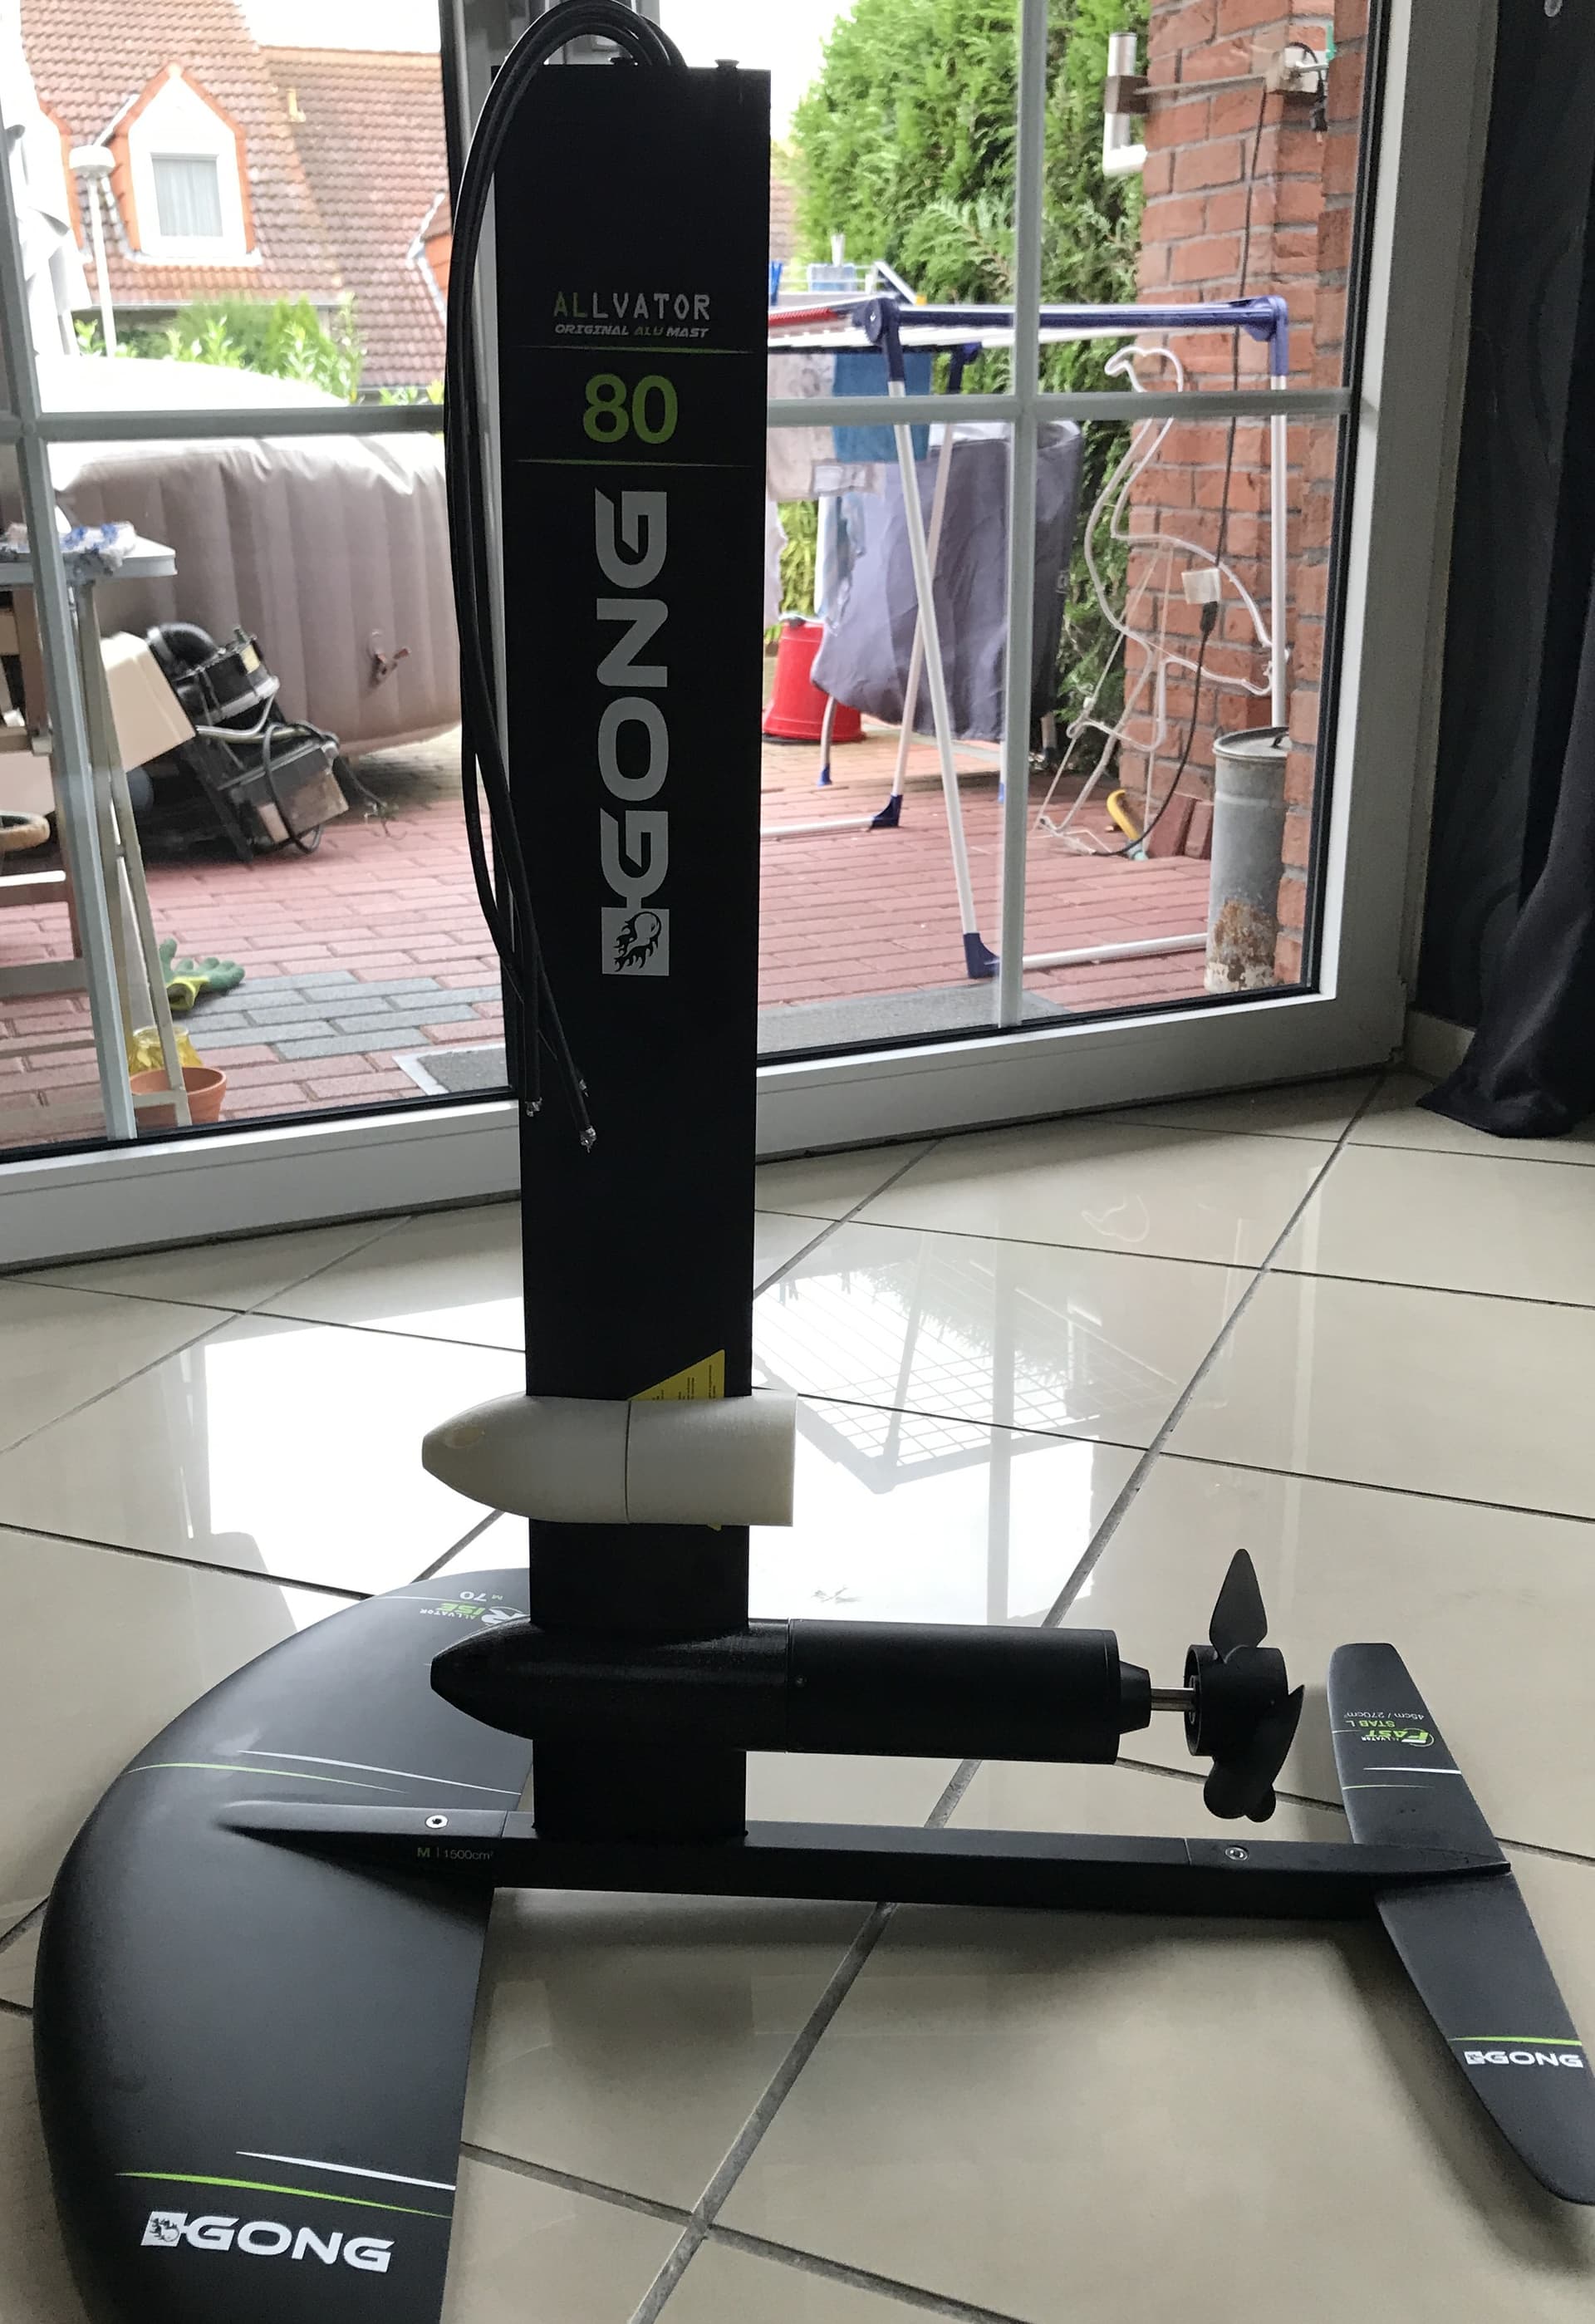
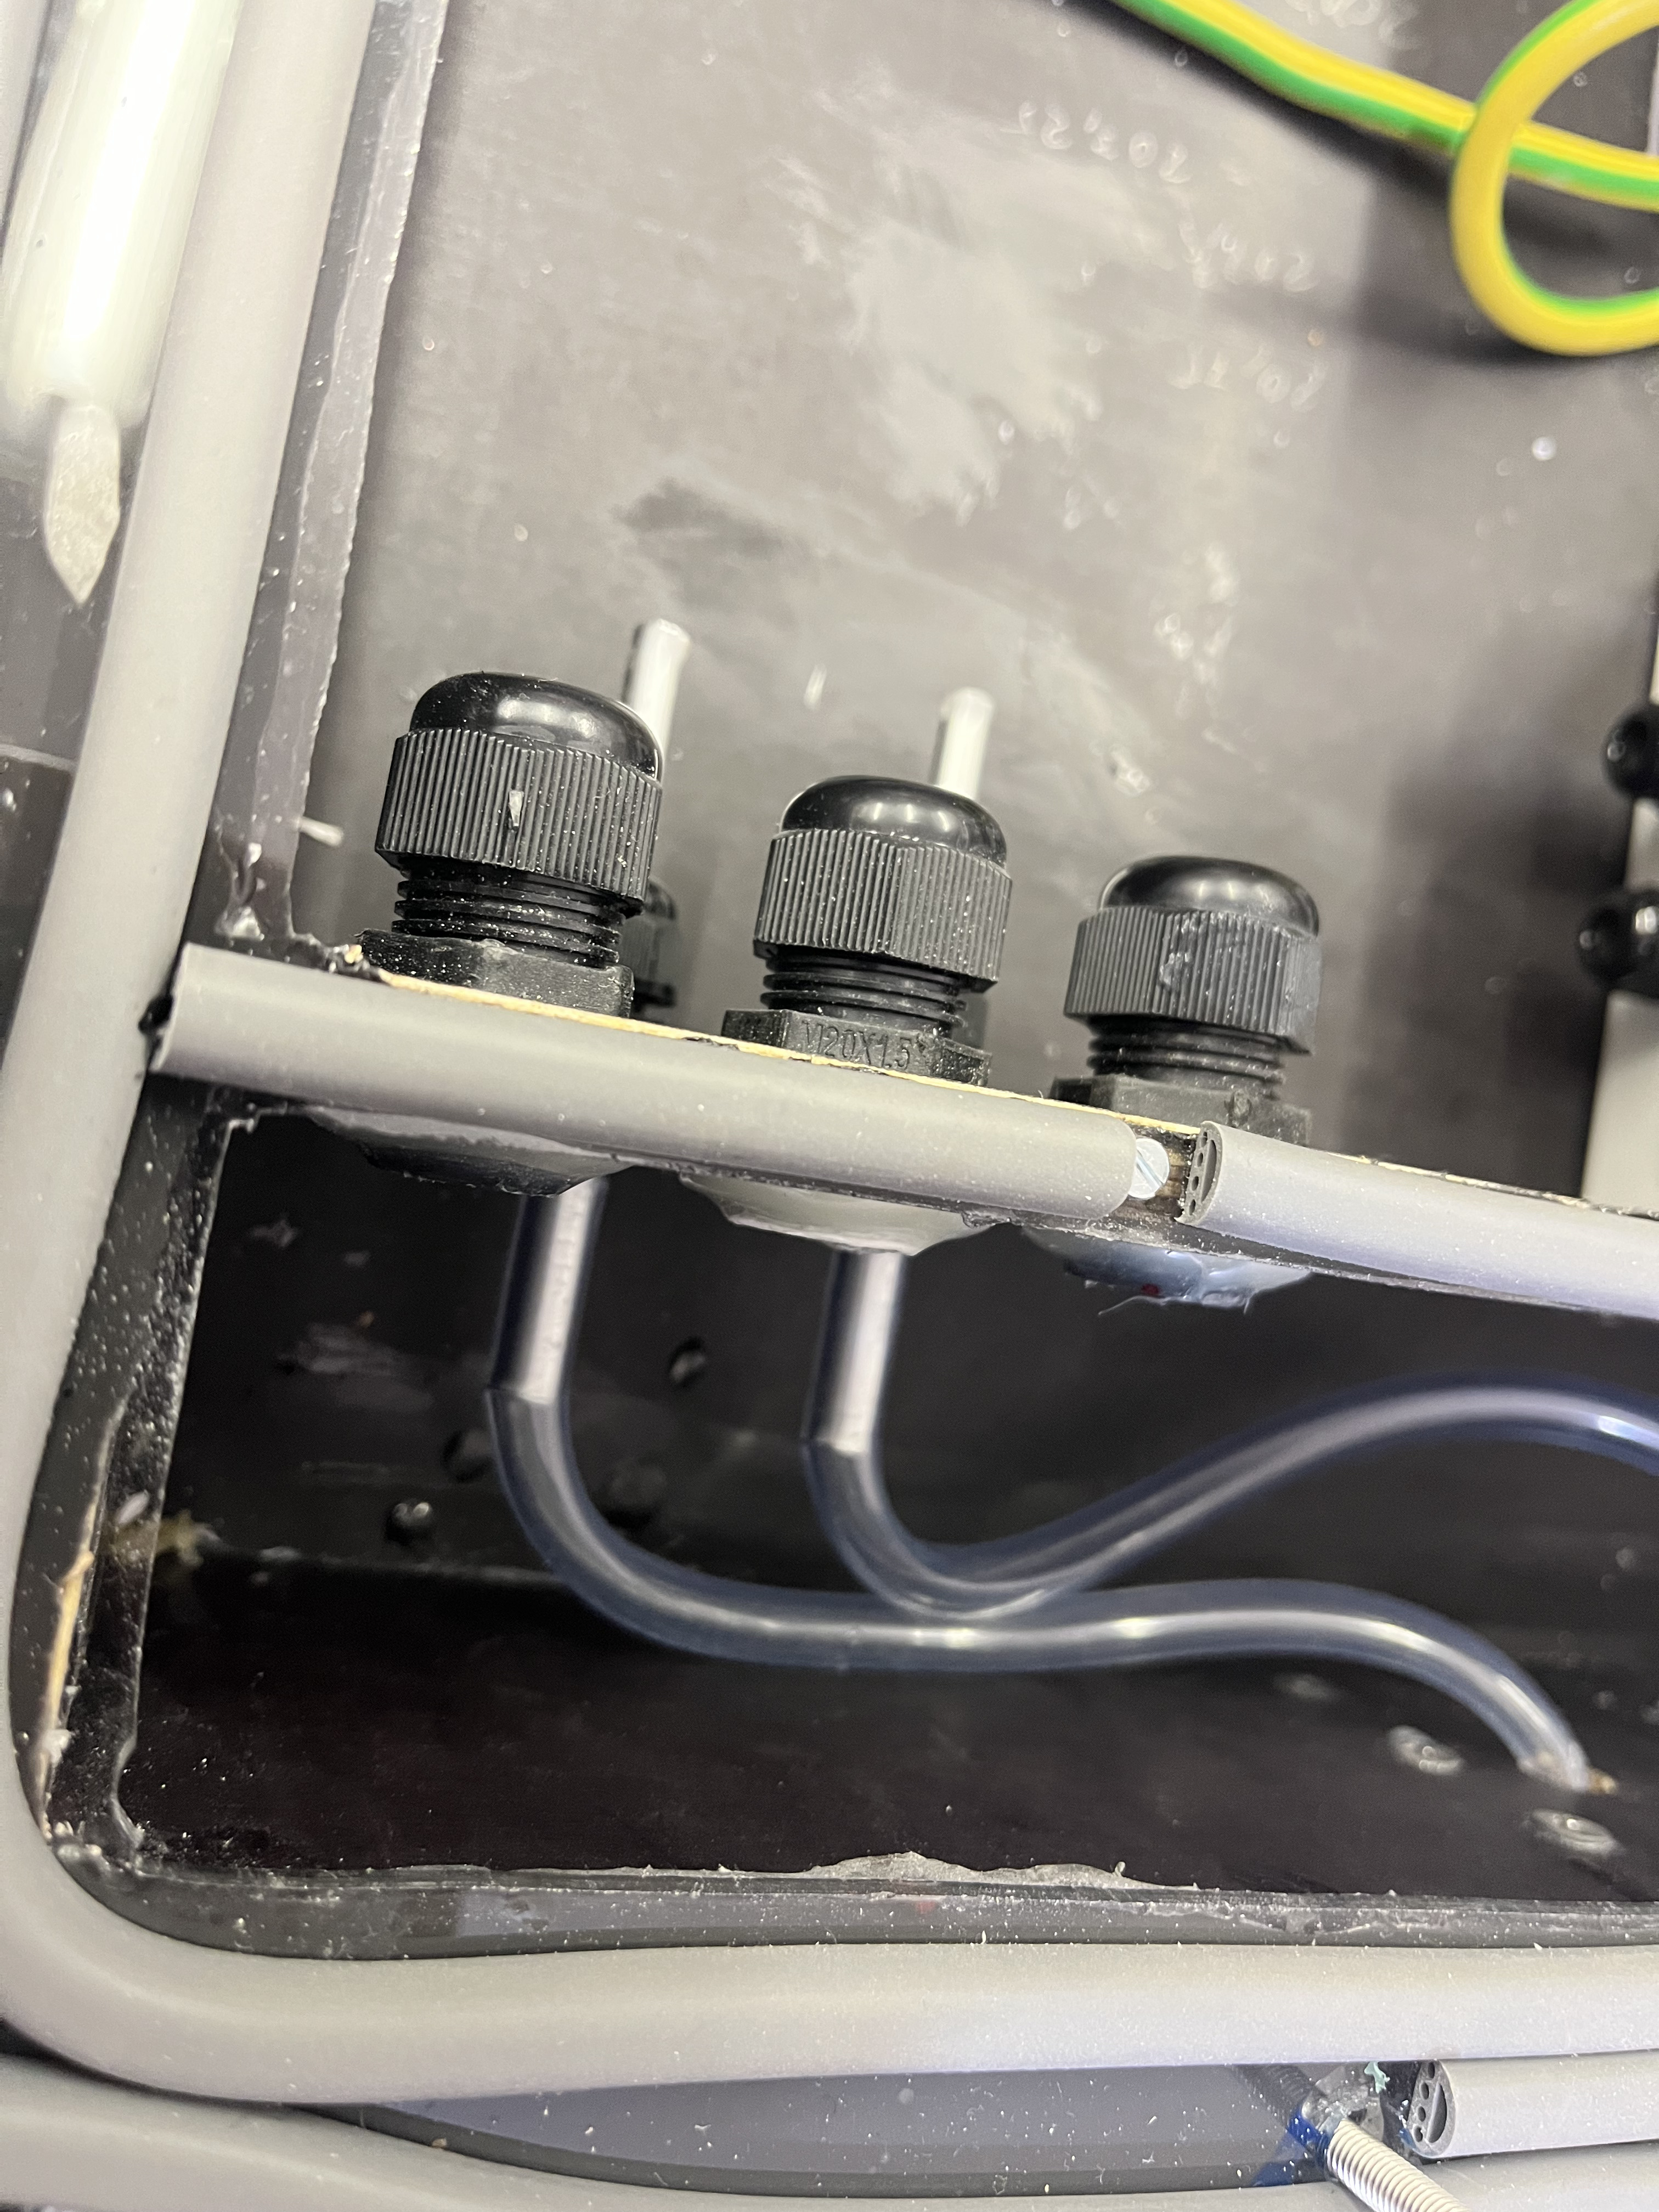
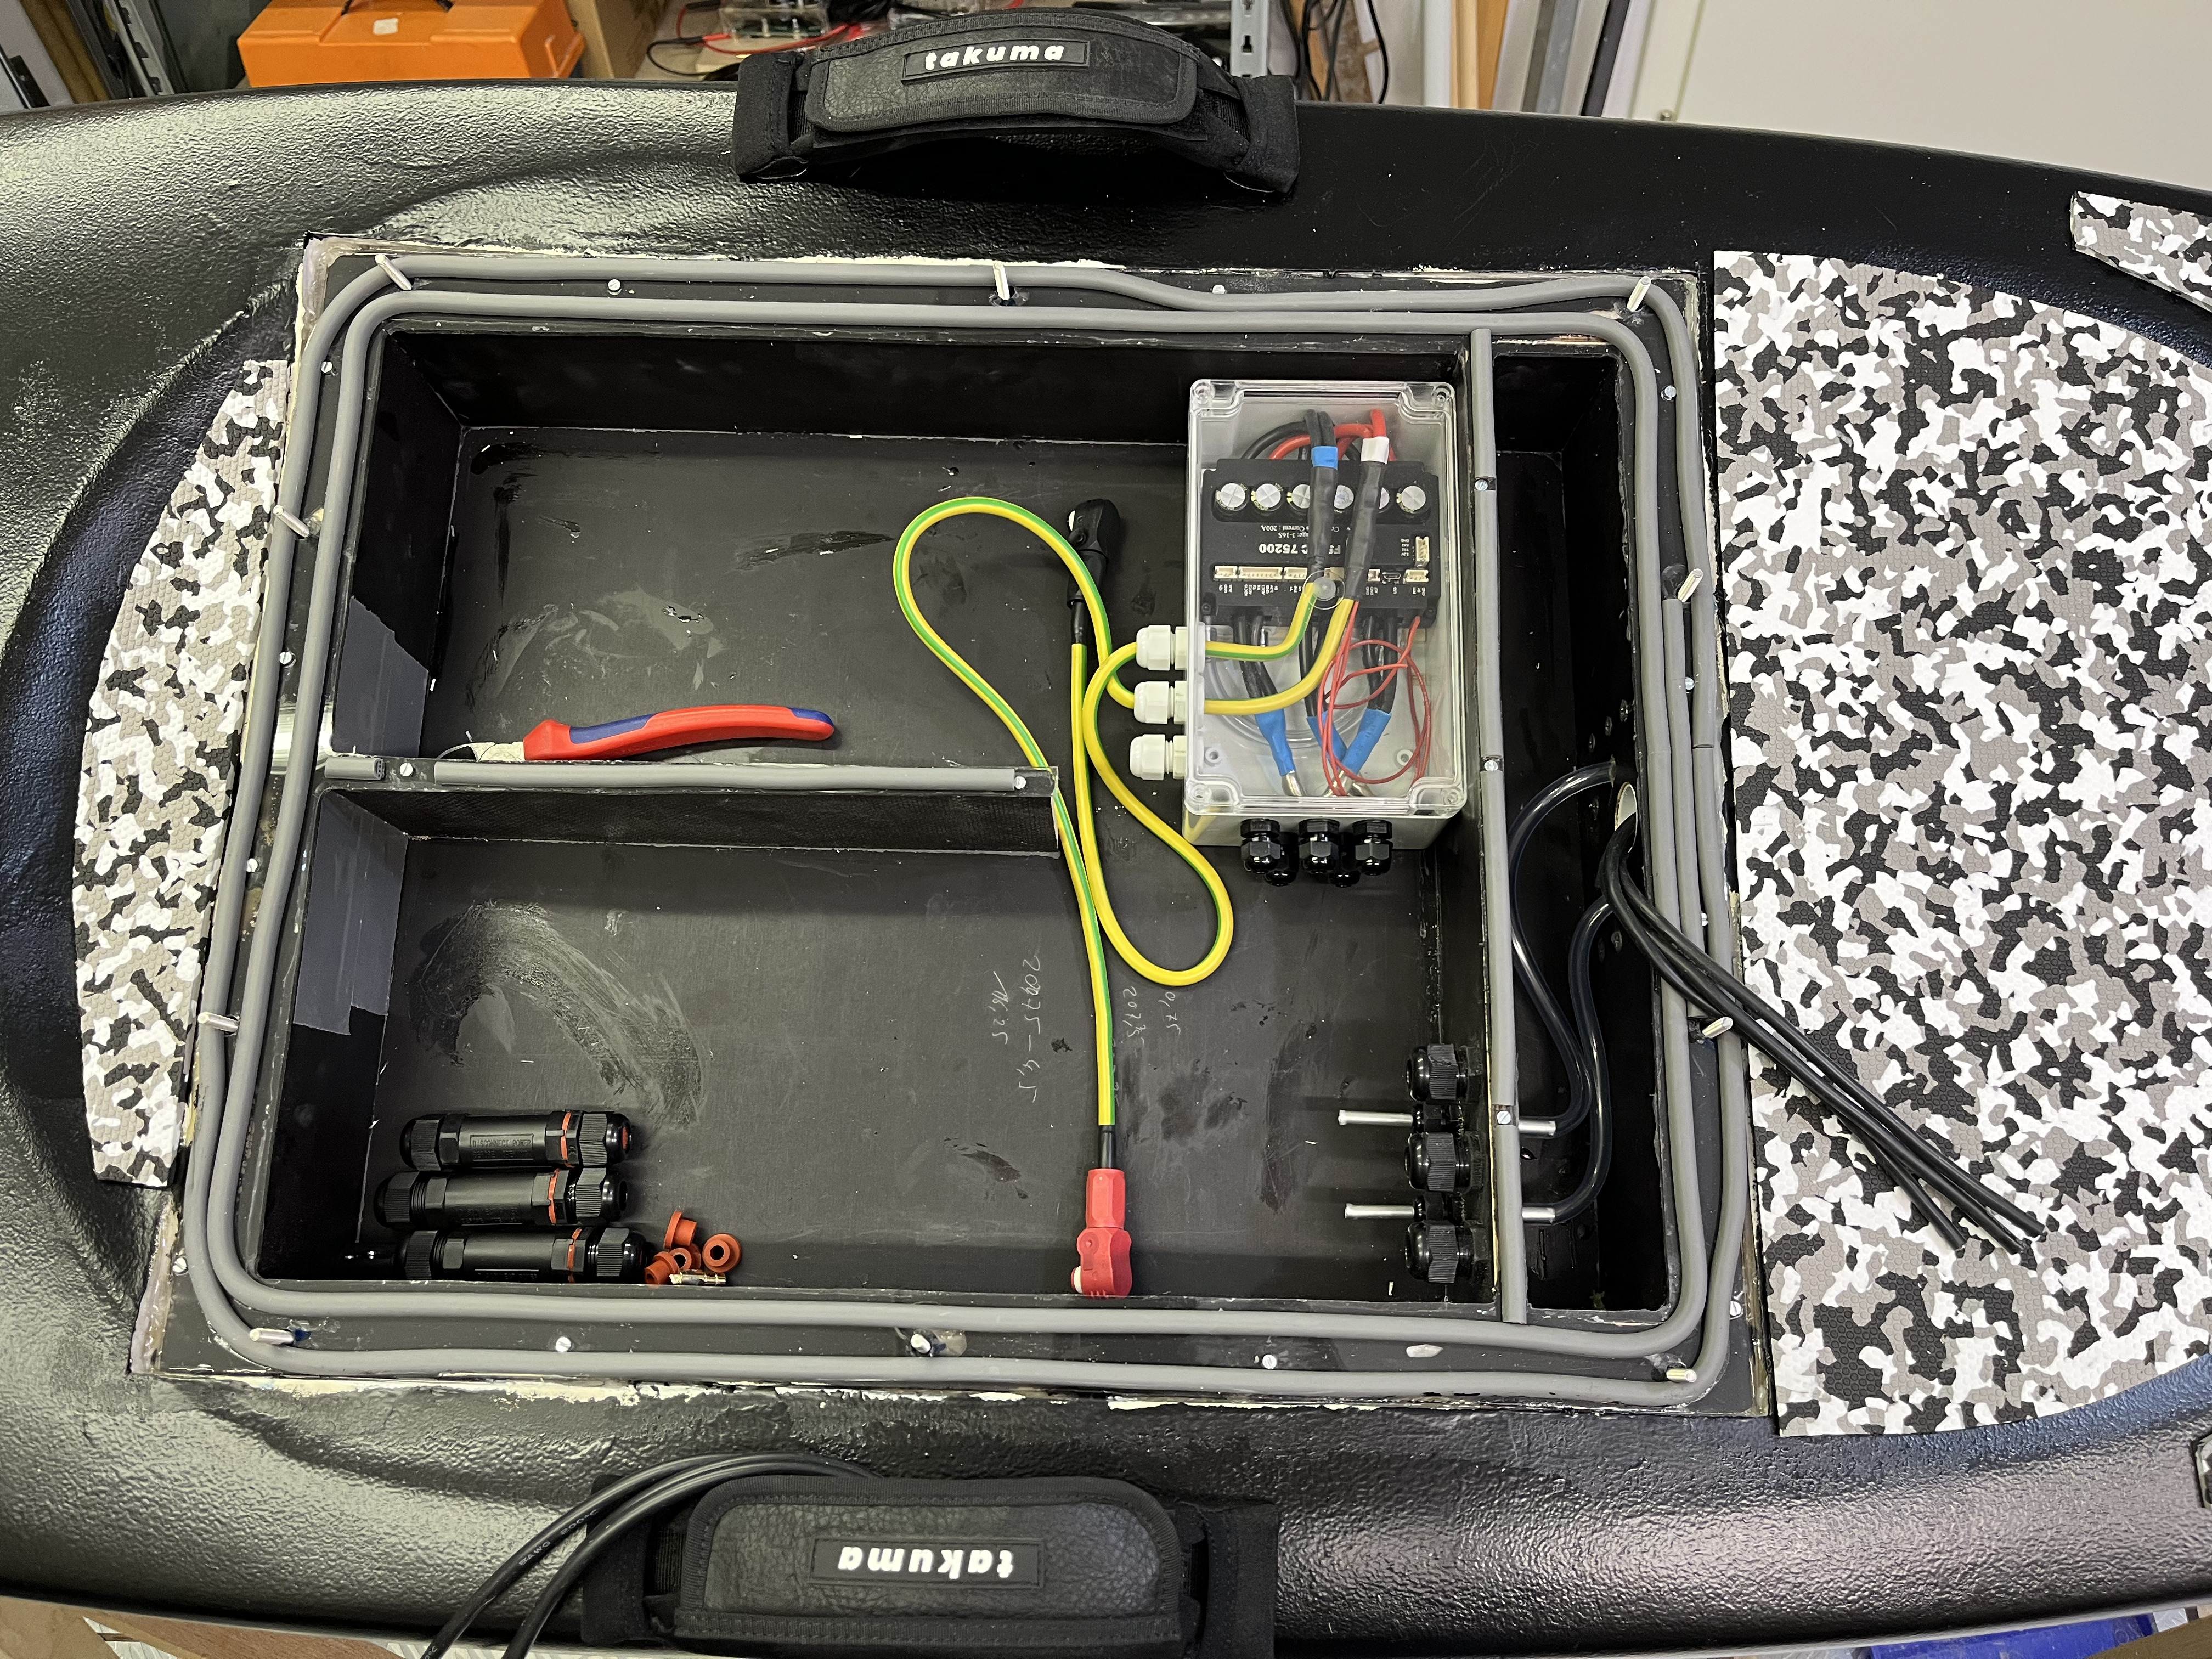
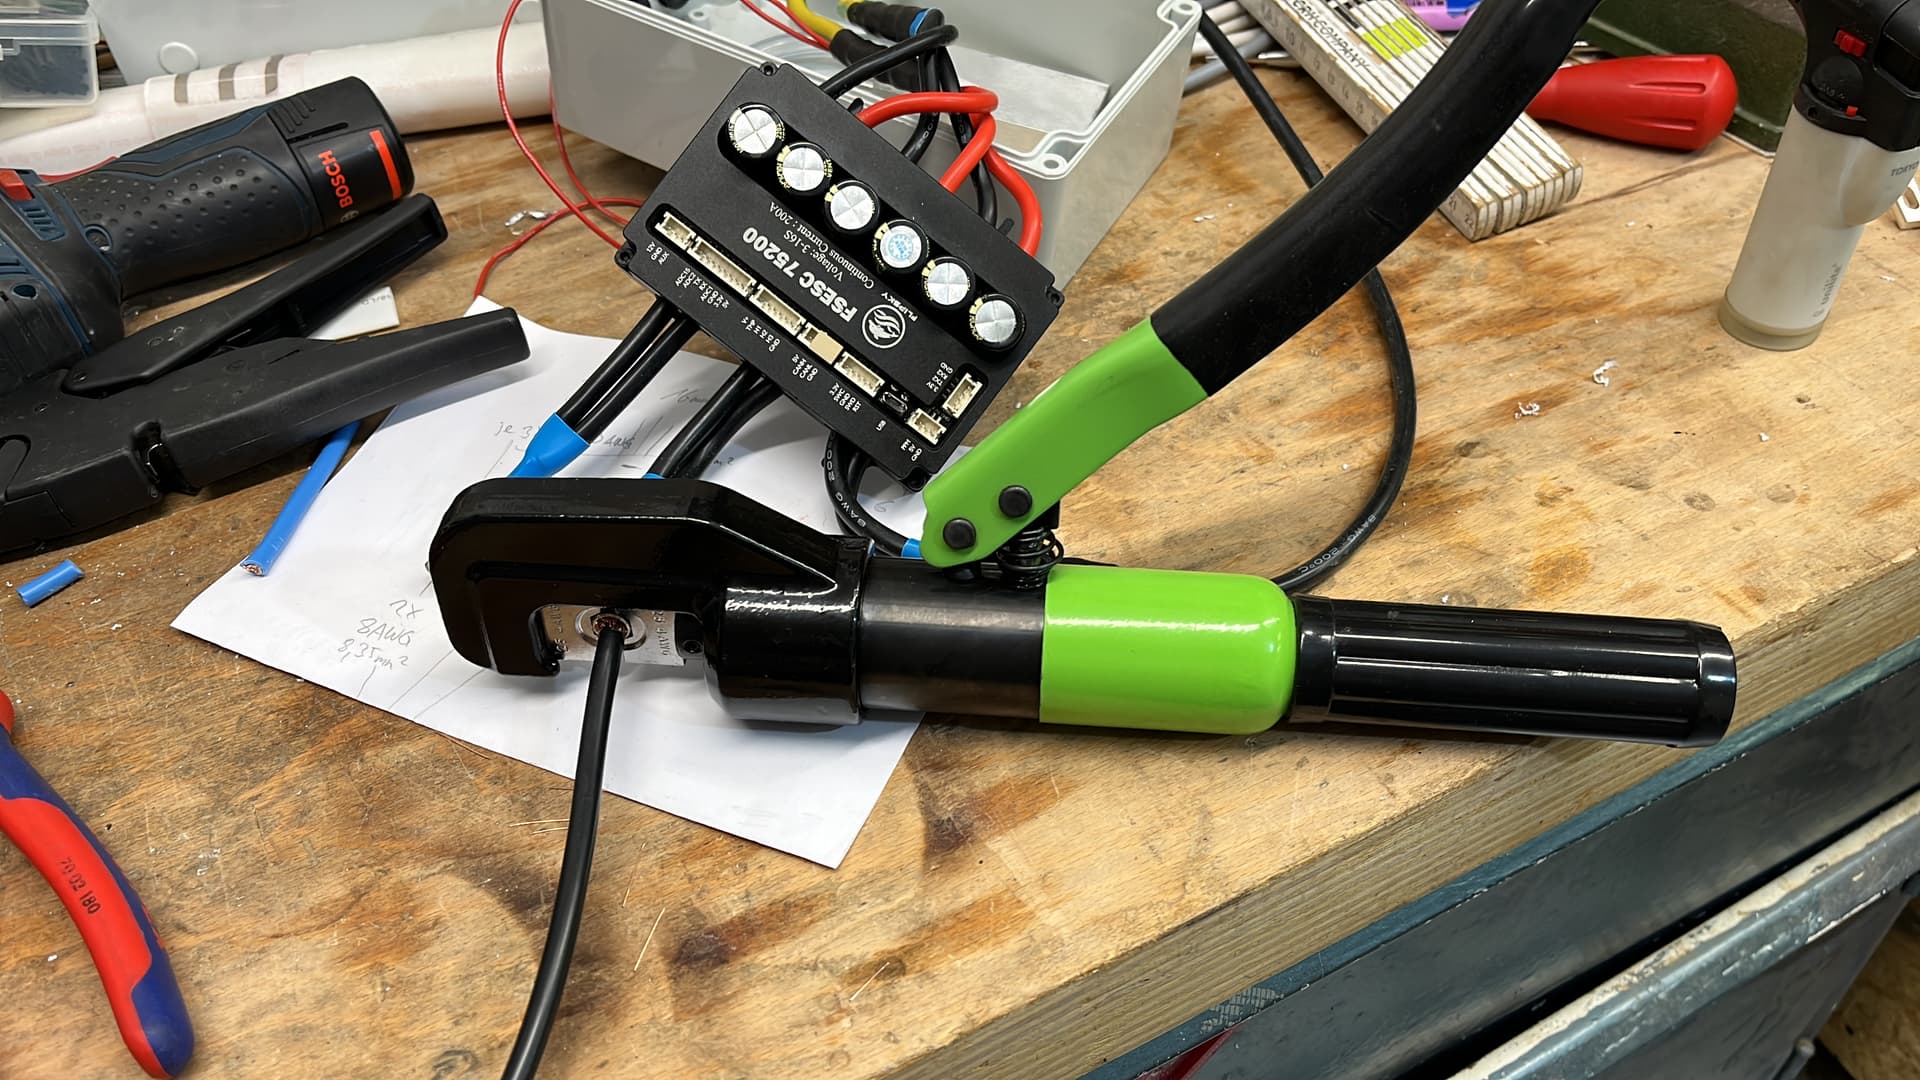
The mast is easy removeable, just unscrew the 4 screws and unplug the 3 motorcables. They are connectet to the 3 ESC wires with 8mm goldplugs that are inside this cheap watertight housings from Amazon.
The blue molded gasket stays at the mast.
The 3 motor cables go through a cable pipe that connects the outlet on the bottom of the board with the inlet of the technic box. It was not yet in place on the foto below.
It´s very quick&easy to do.
Mast should stay assembled, I have a pickup with enough space. Only be removed when necessary.
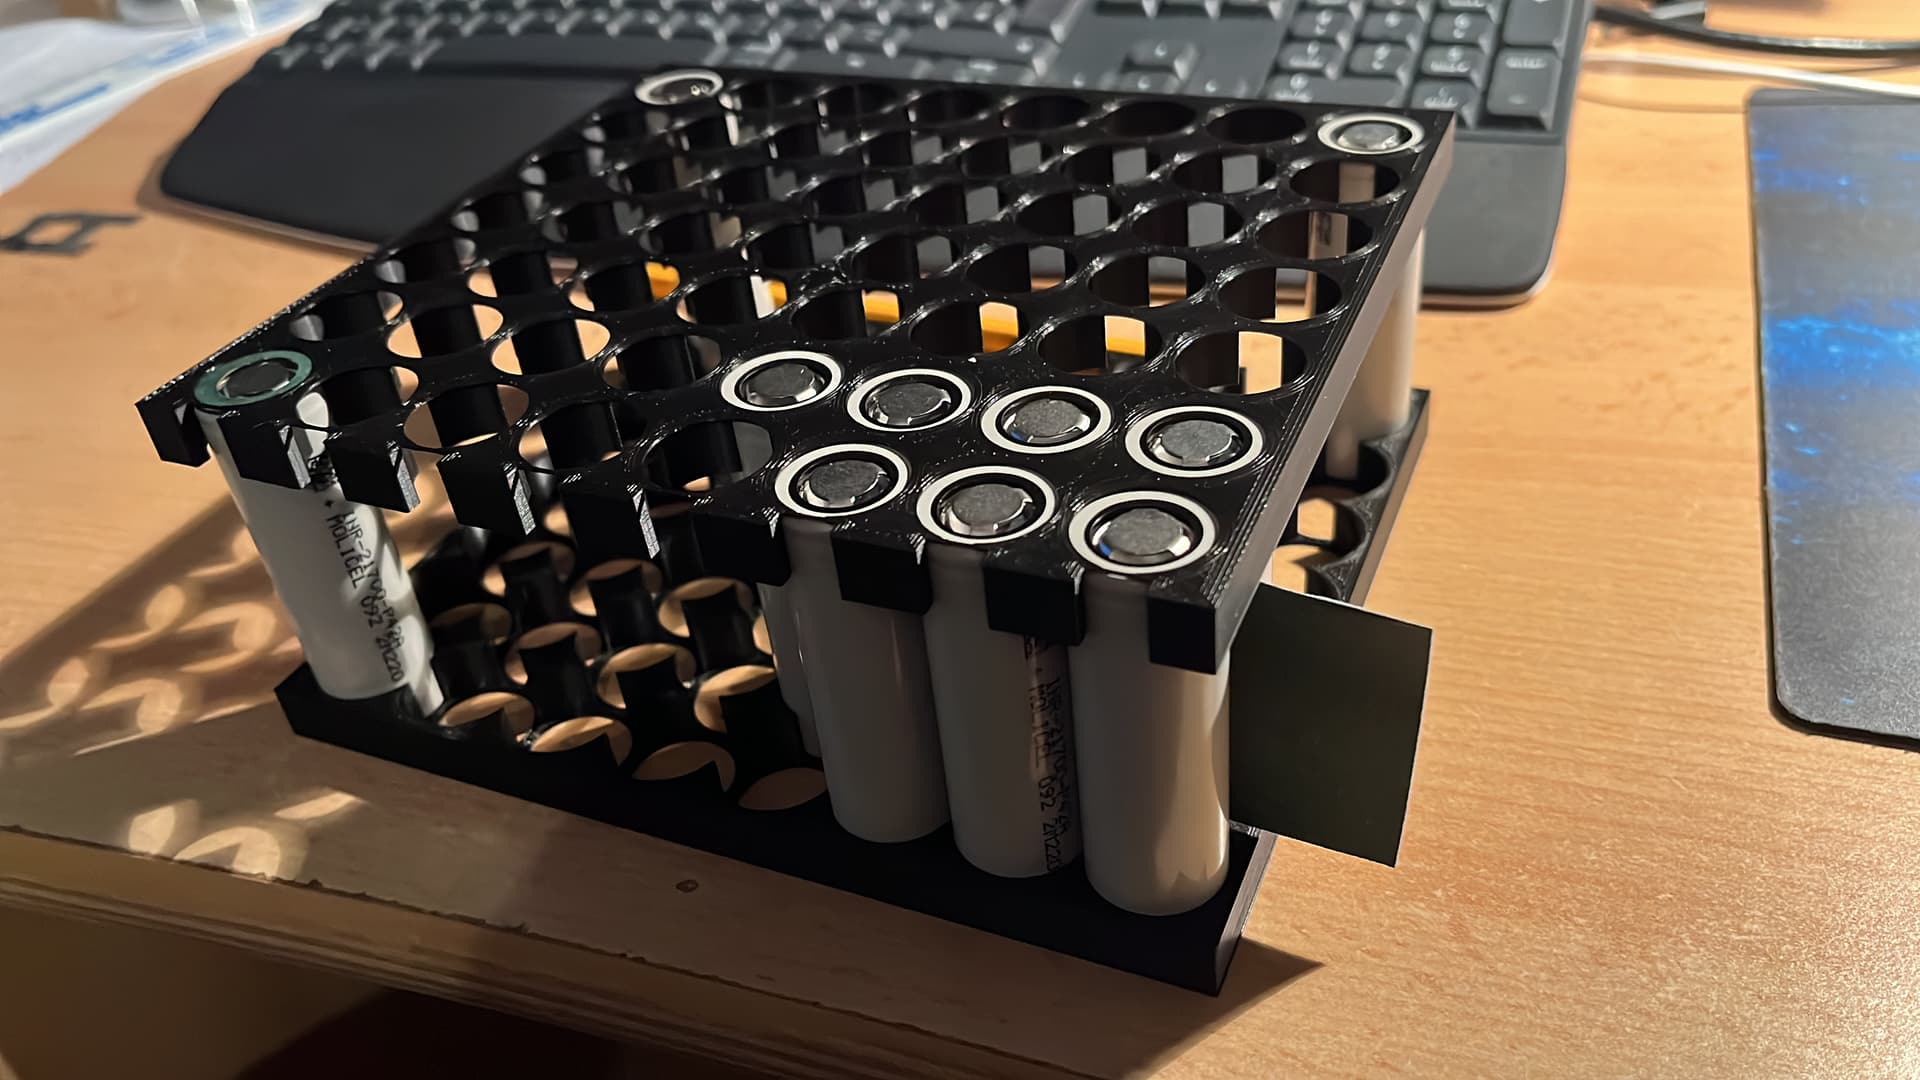
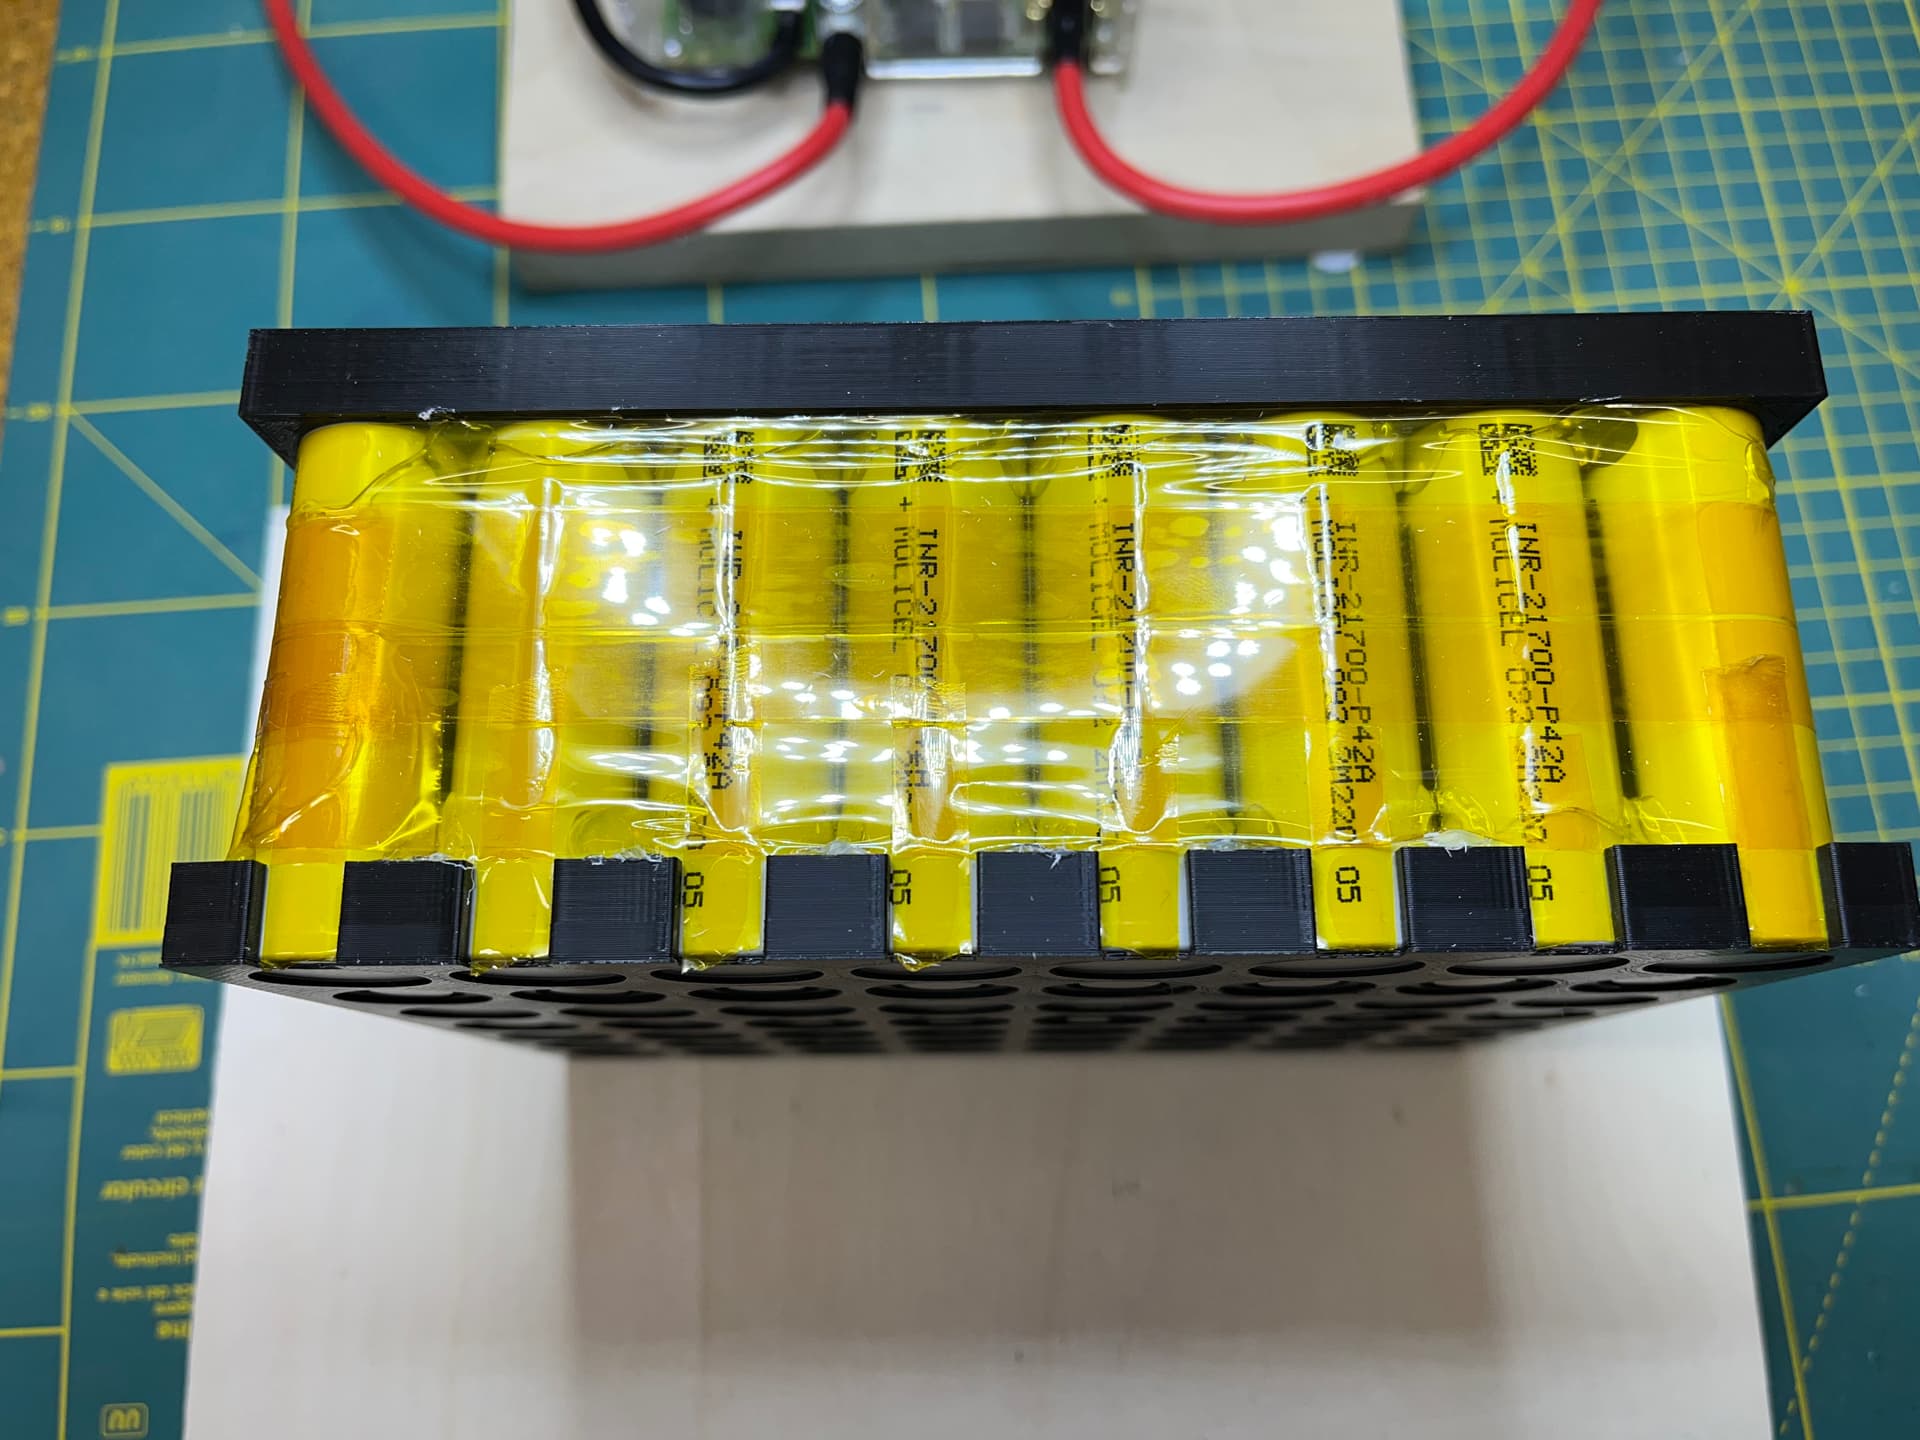
Sunday morning, bad weather → working on akku pack.
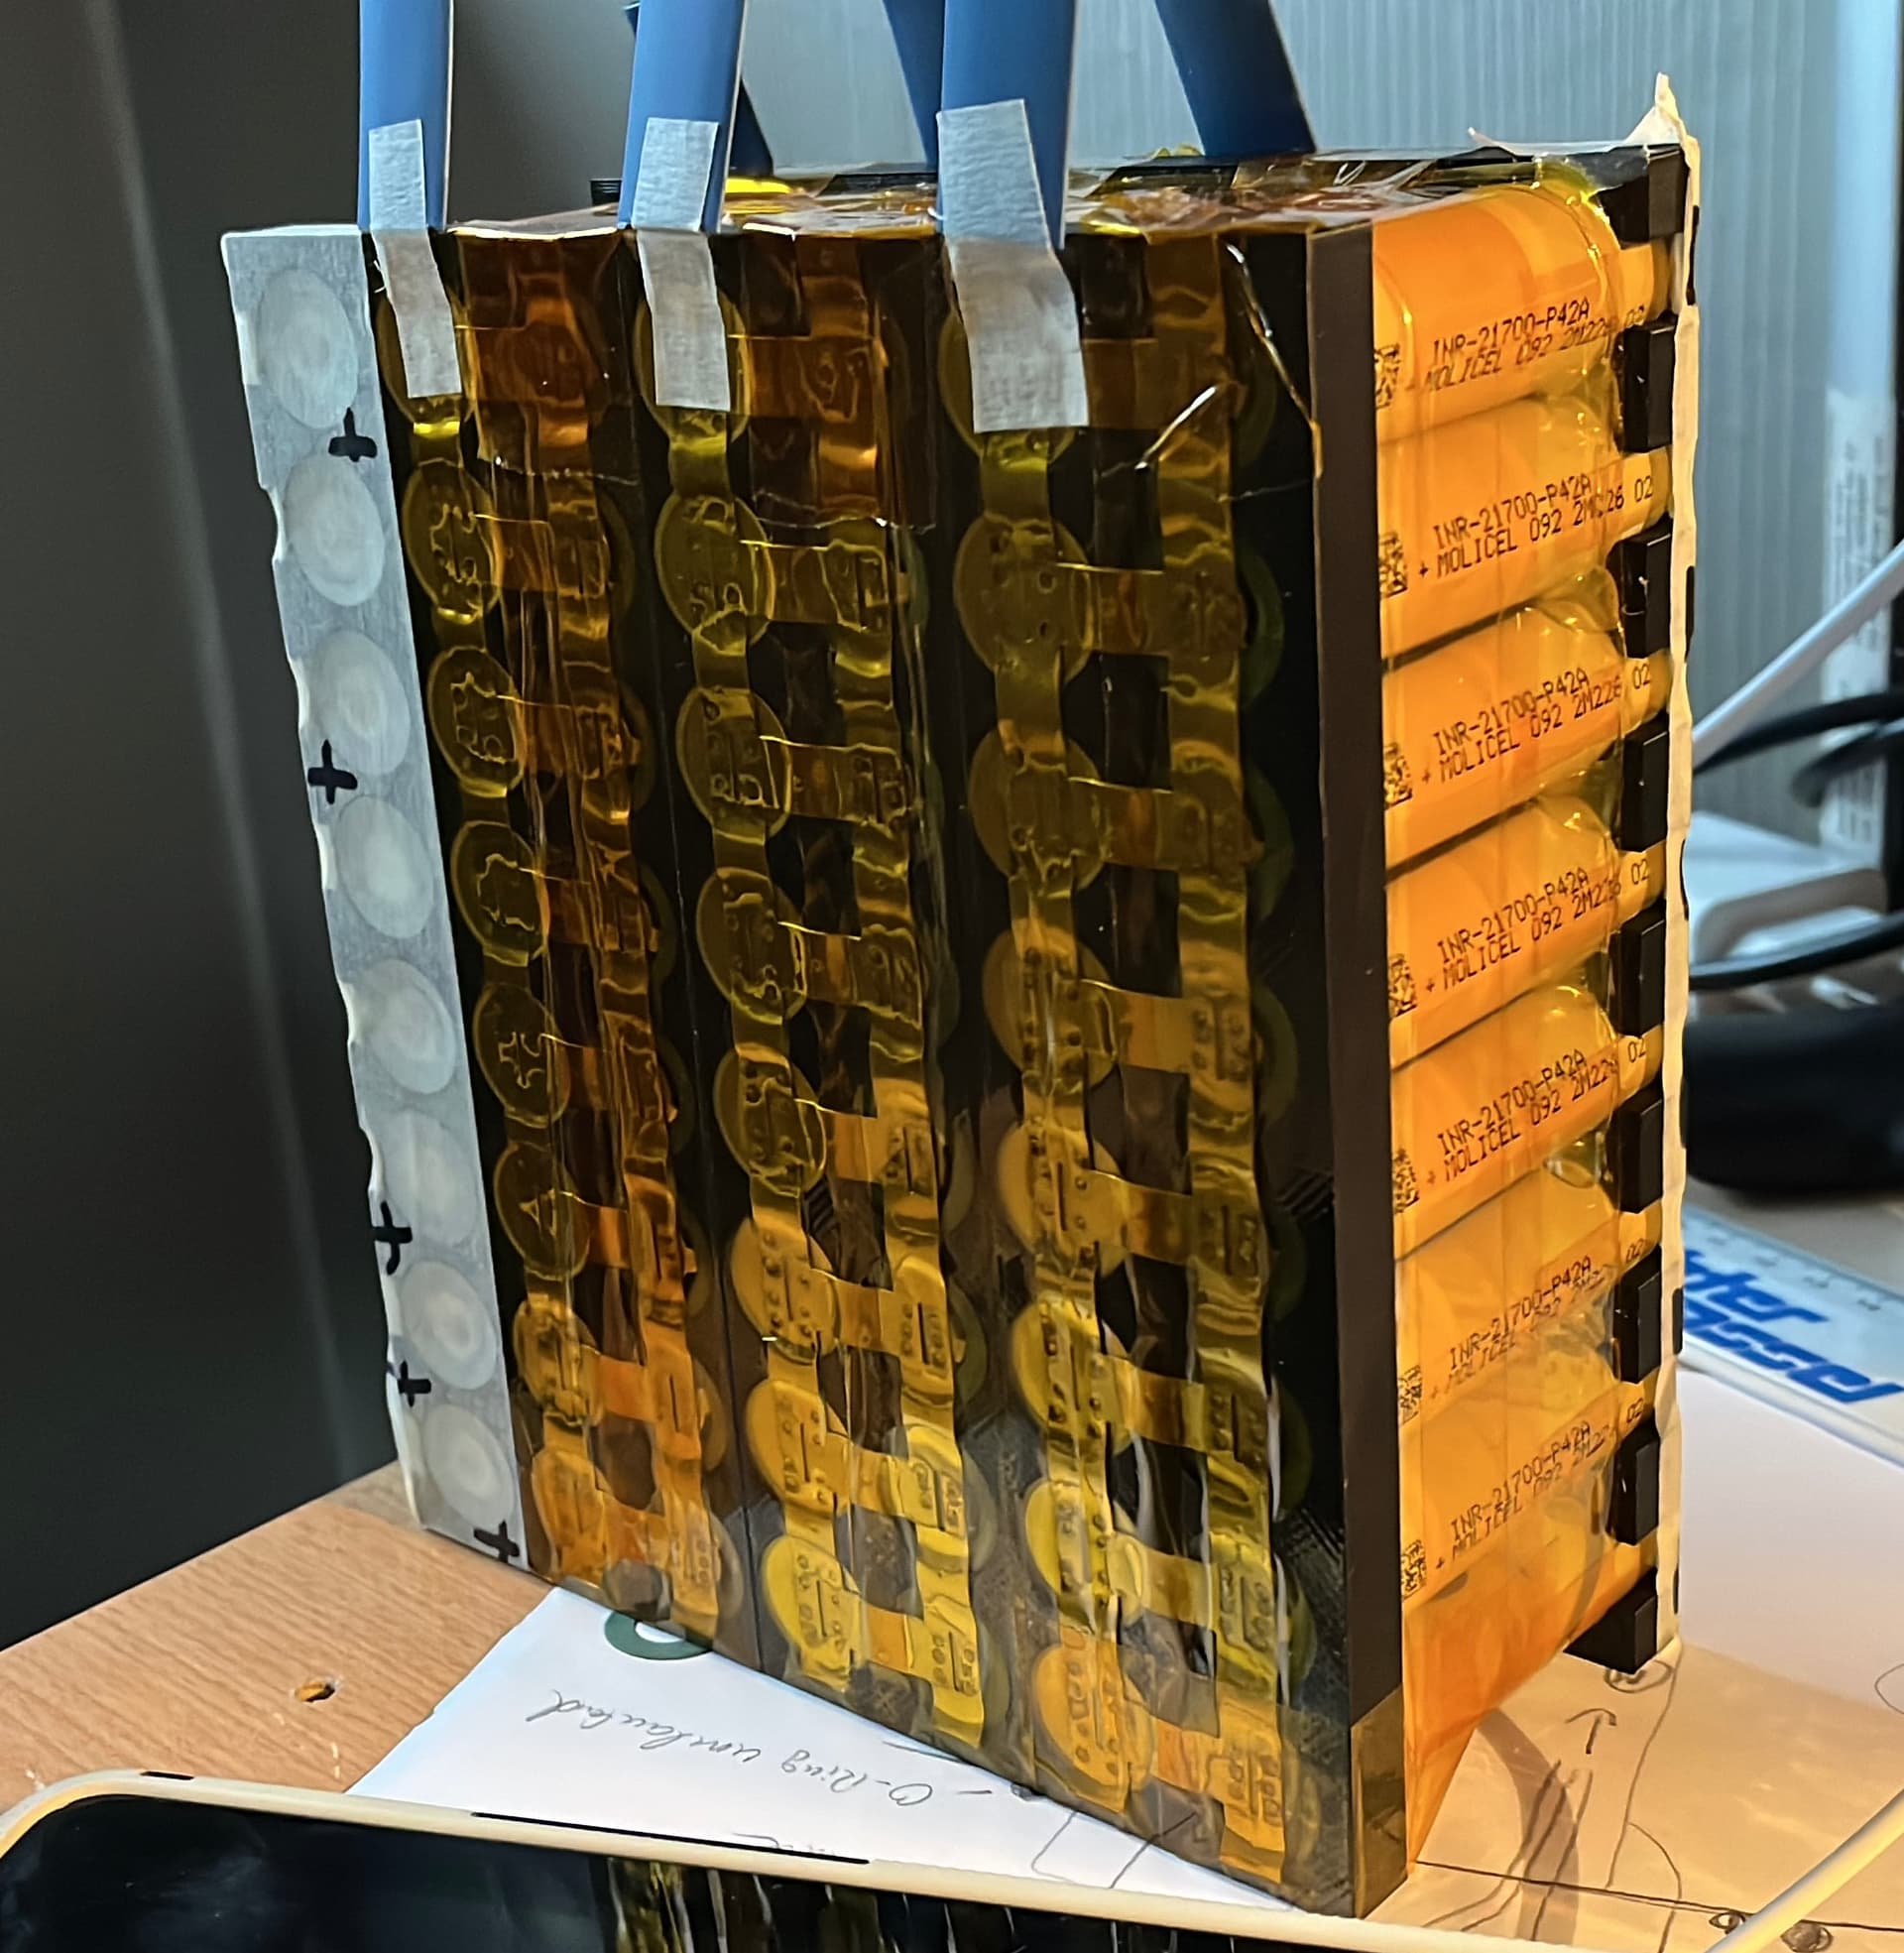
As mentioned above there will be 2 packs 7S8P in series to have 14S8P.
Limit to 7S gives me the possibility to use my charger from RC hobby.
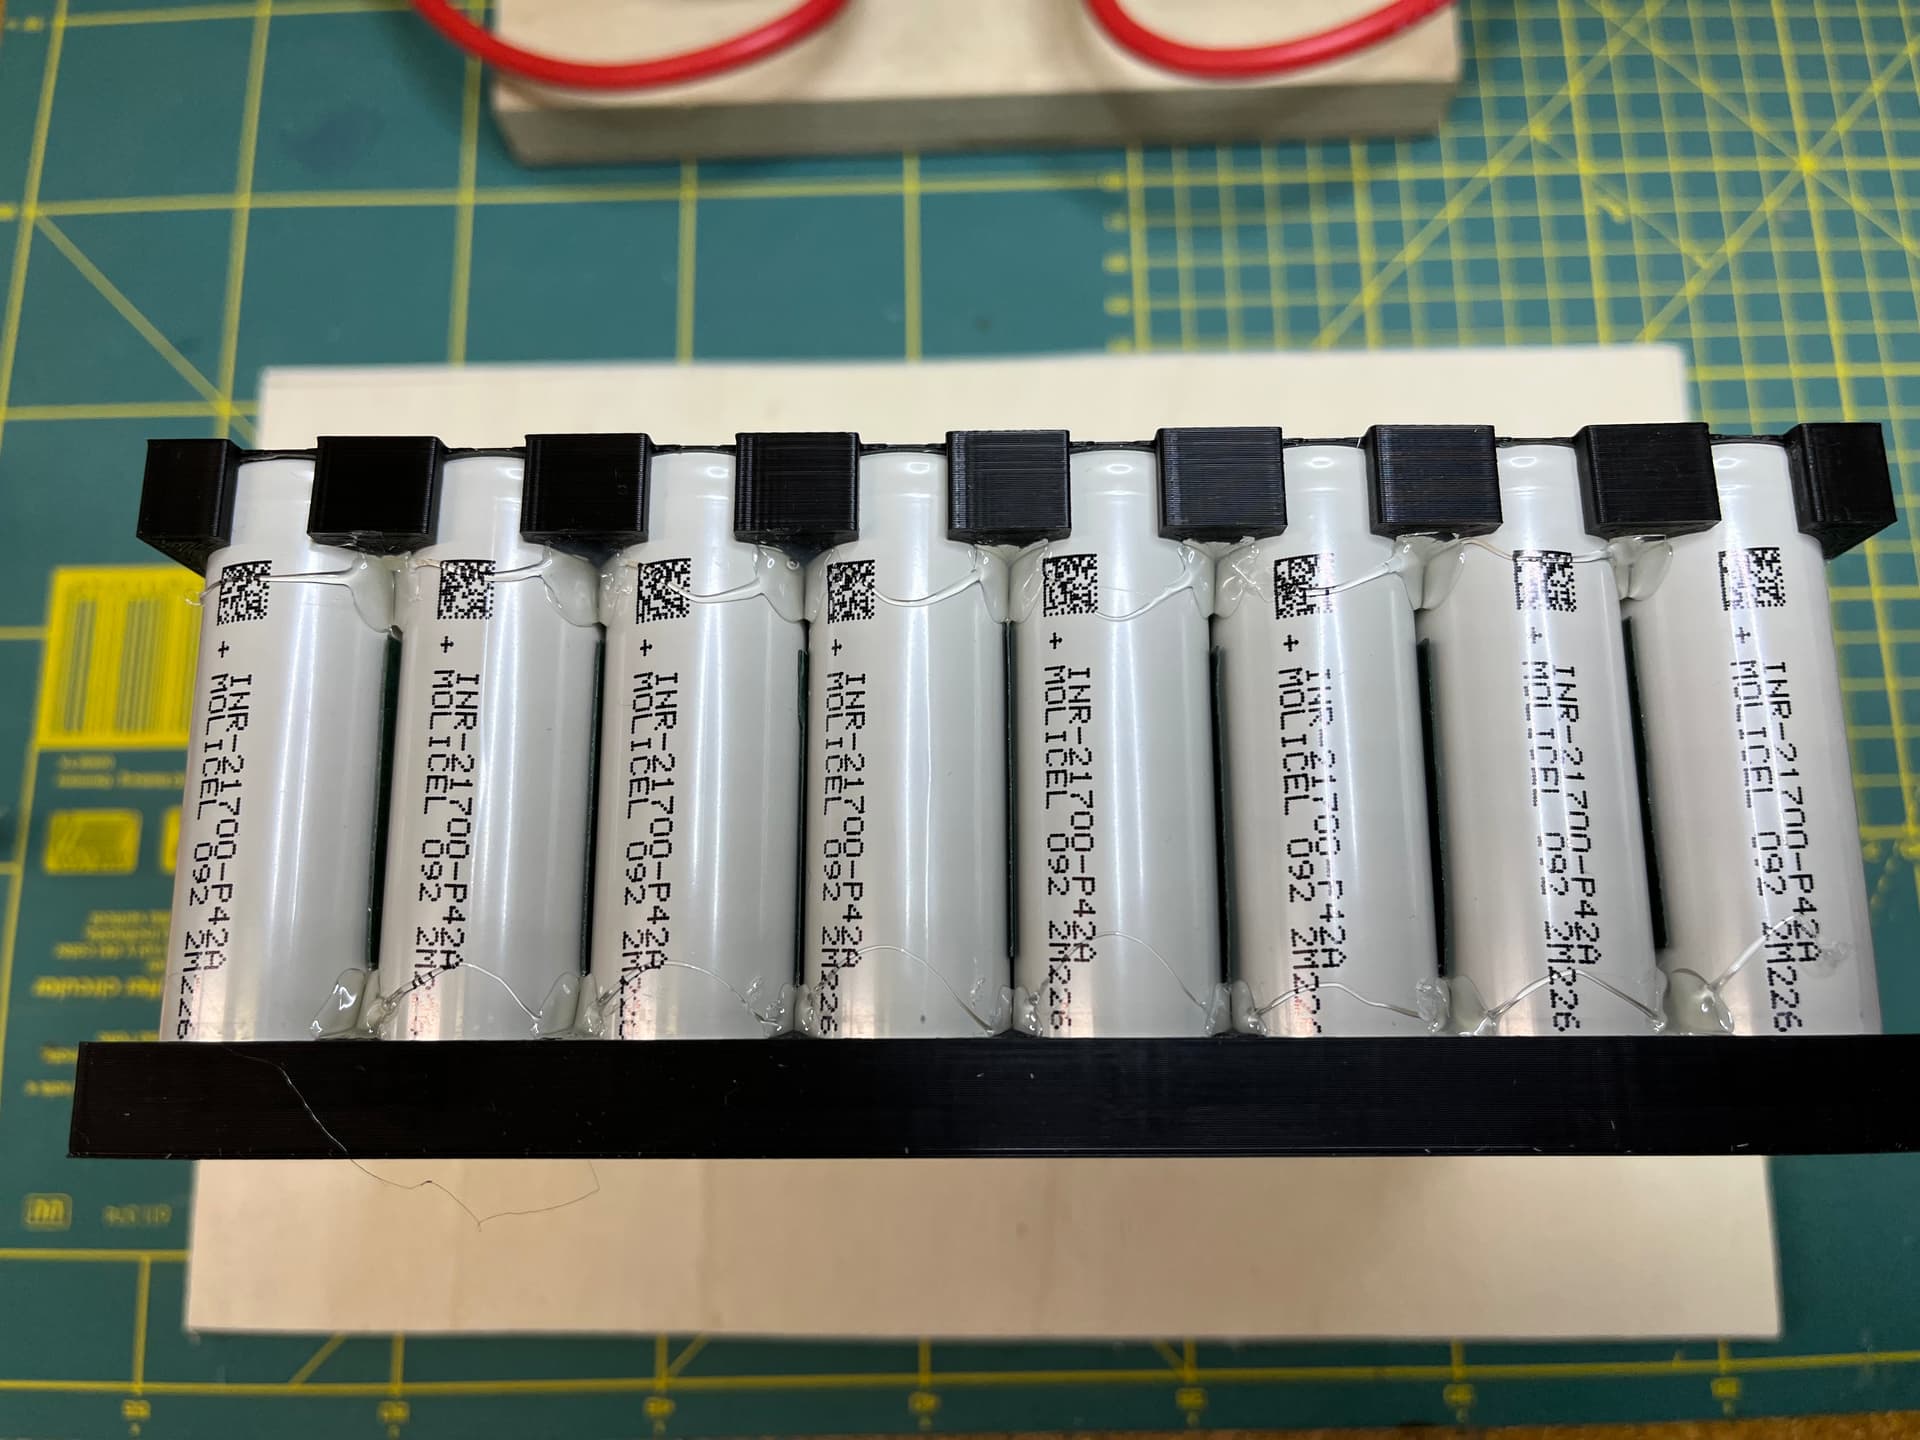
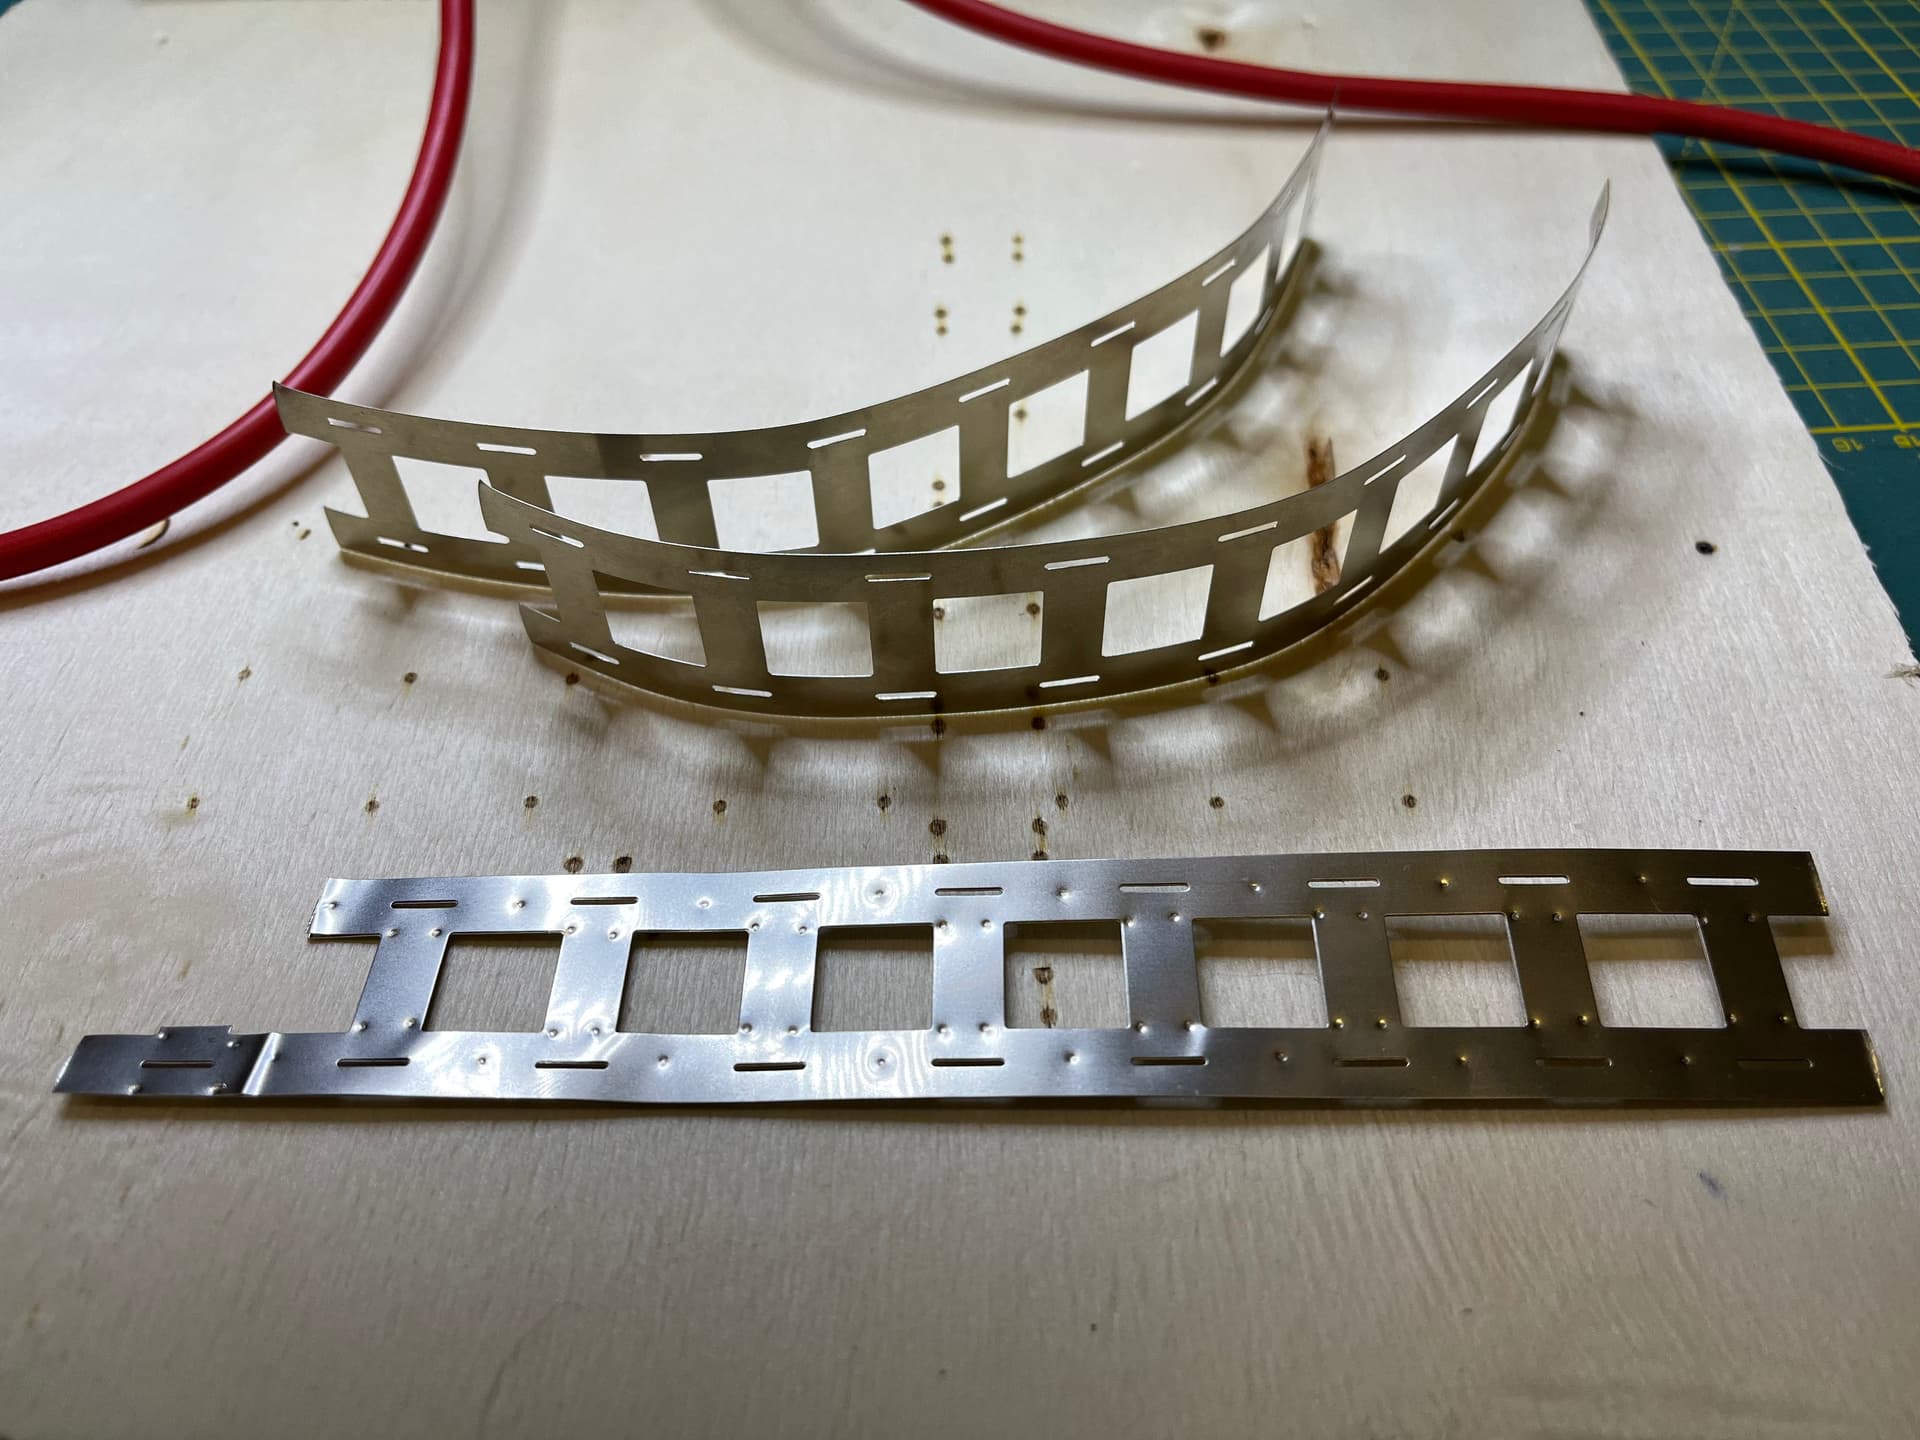
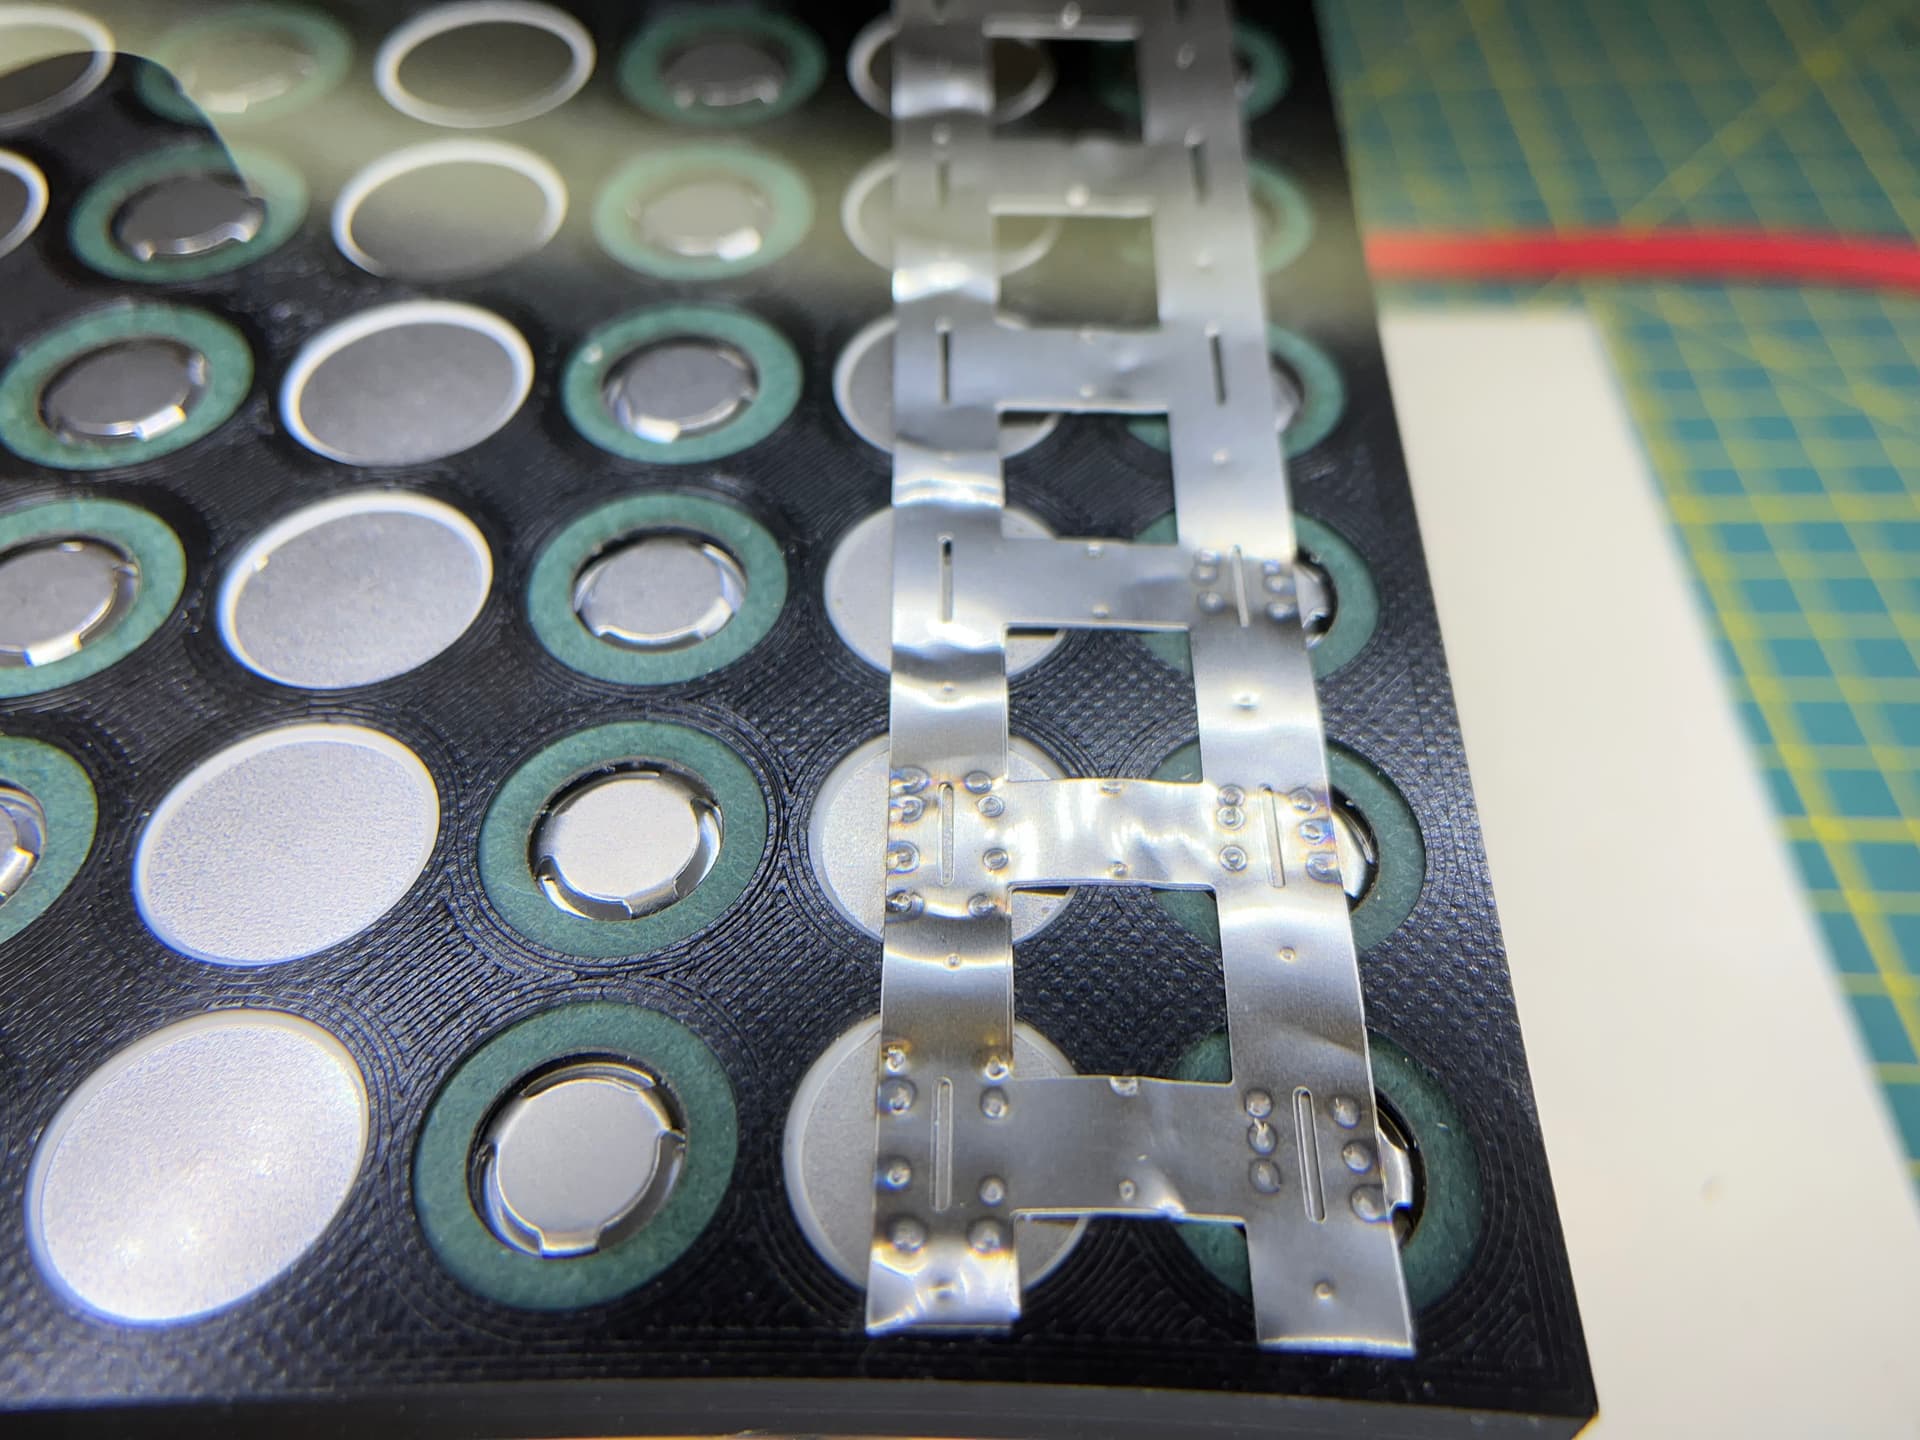
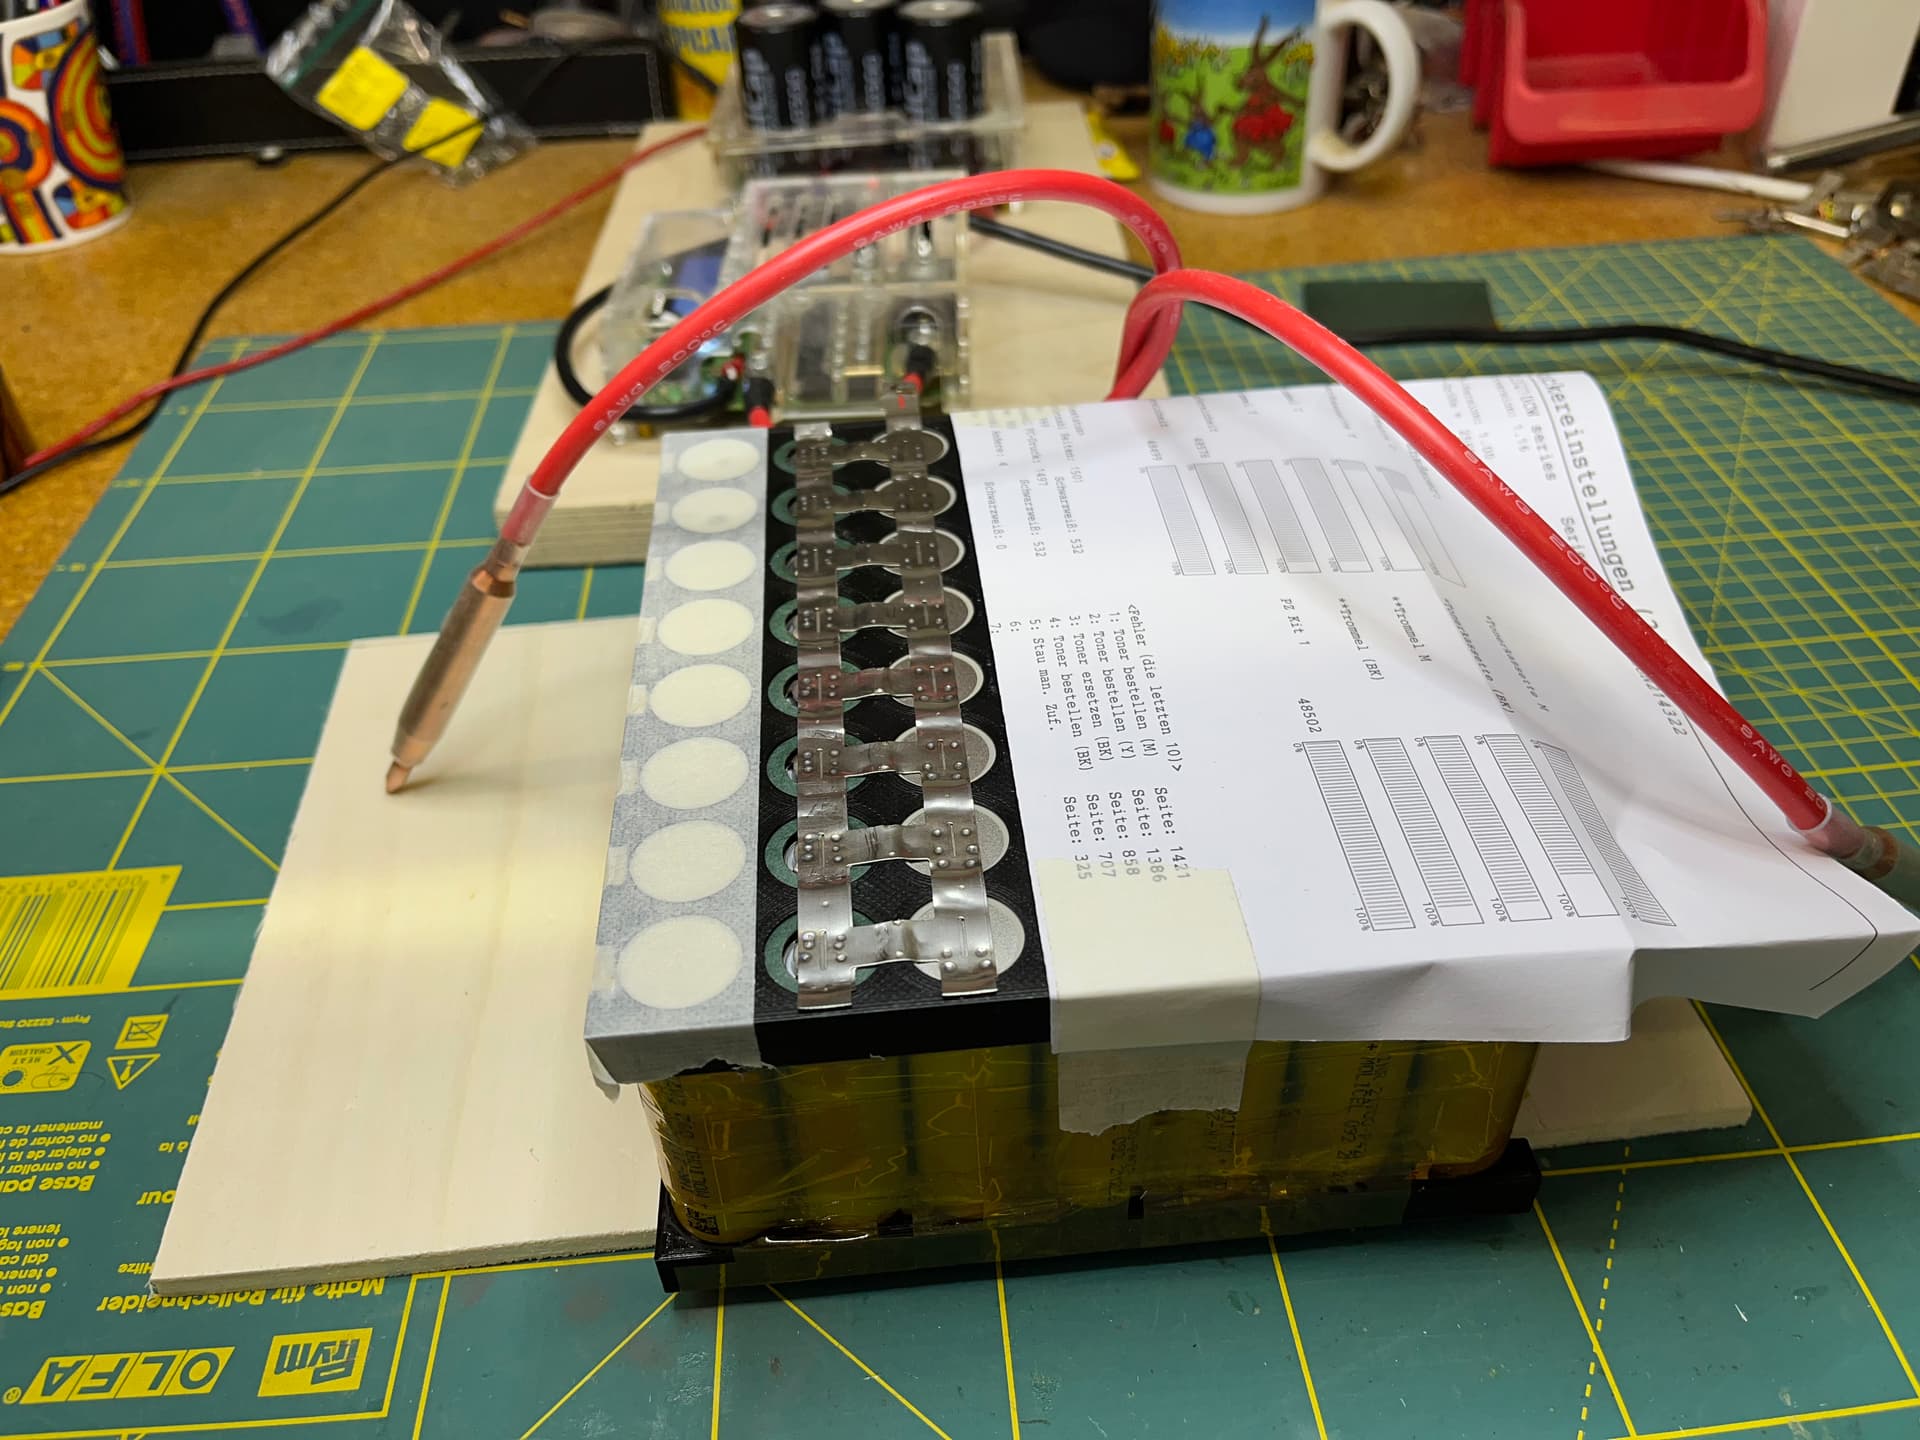
Preparing the nickel strips. Two 0.15mm doubled to have 0.3mm.
With a width of 8mm I get 2.4mm2.
Not easy to find 100% nickel strips. It seems that most what is sold as nickel, is only steel with nickel surface. I made some tests before to be sure to have 100% nickel
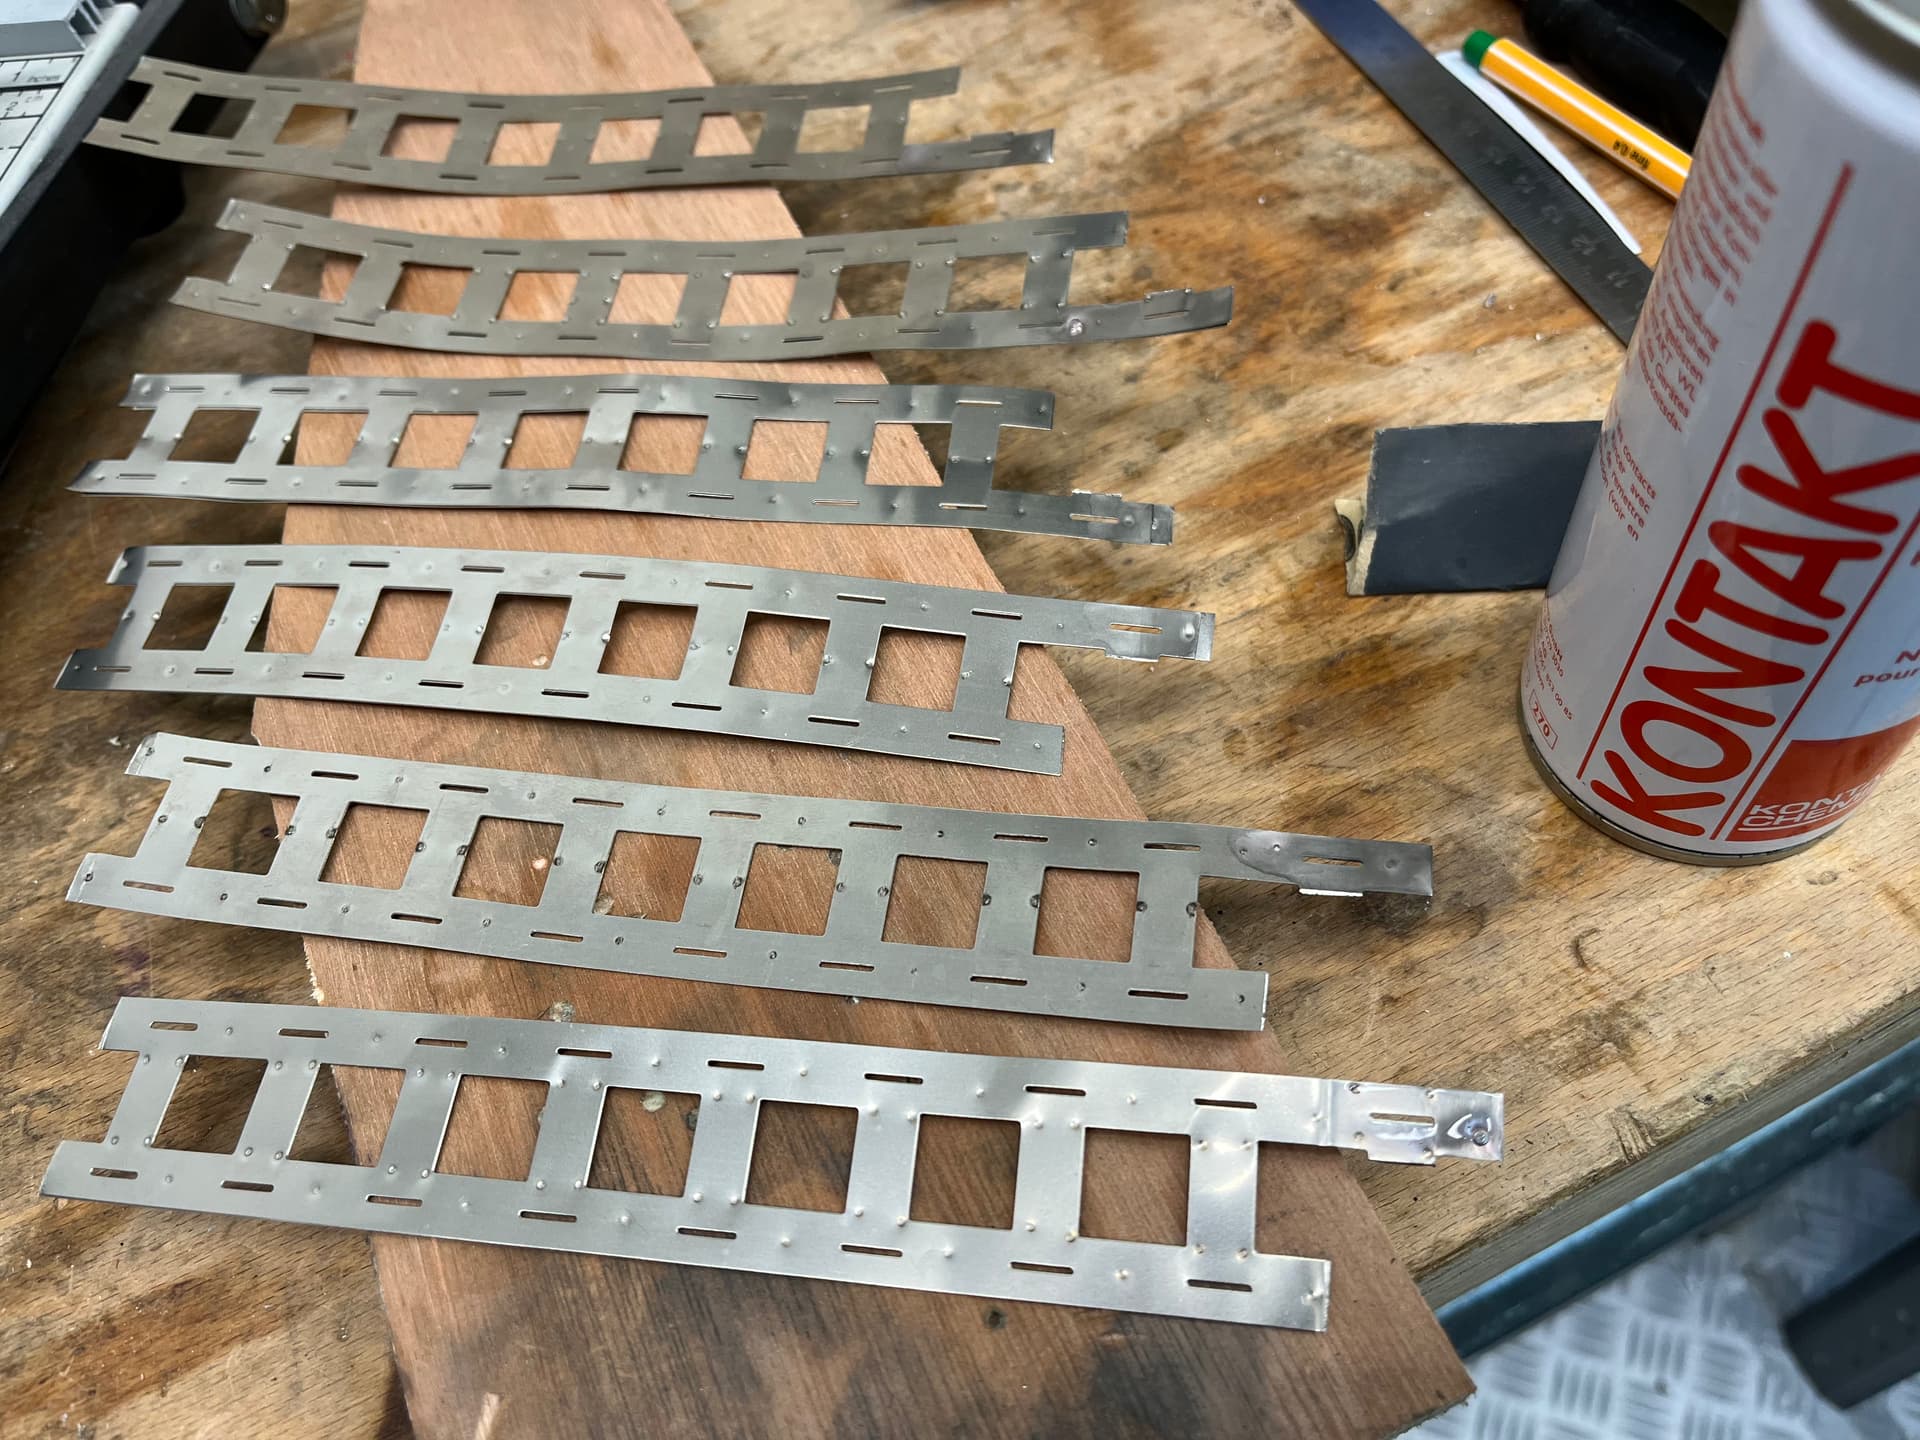
Preparing the nickel surface for soldering the wires for balancing.
Some grinding and spray to remove the oxid on the surface. With another flux maybe also possible.
Hi Marcus, I am planning a very similar build to your’s. I will be using Molicel p42a cells as well. I still have not decided between 14s8p and 12s10p. What made you choose 14s8p? I was leaning towards 12s10p for longer ride time.
Looks like 14s8p fit the chosen box better… i guess this is the reason.
A note on packs and ride time:
The ride time you get is more proportional to the energy and wh of the battery pack than to the Ah so the same number of cells in two different configurations will give roughly the same ride time. Same energy=roughly same range
This is counter-intuitive but the controller transforms a higher voltage with lower current at the battery to lower voltage with higher current at the motor so it’s not a big difference to do the same process from a slightly higher voltage - it’s always done with switching. There will be some added losses from increased switching but these are small due to the high efficiency of most controllers.
if 112cells and 120 cells are compared as in this case then it’s roughly 7% longer range from the increased energy in the 12s10p pack.
(Might as well make a 14s9p and get the best of both worlds - if you can fit them)