That is really nice carbonfibre work…Awesome 
Hi Cim,
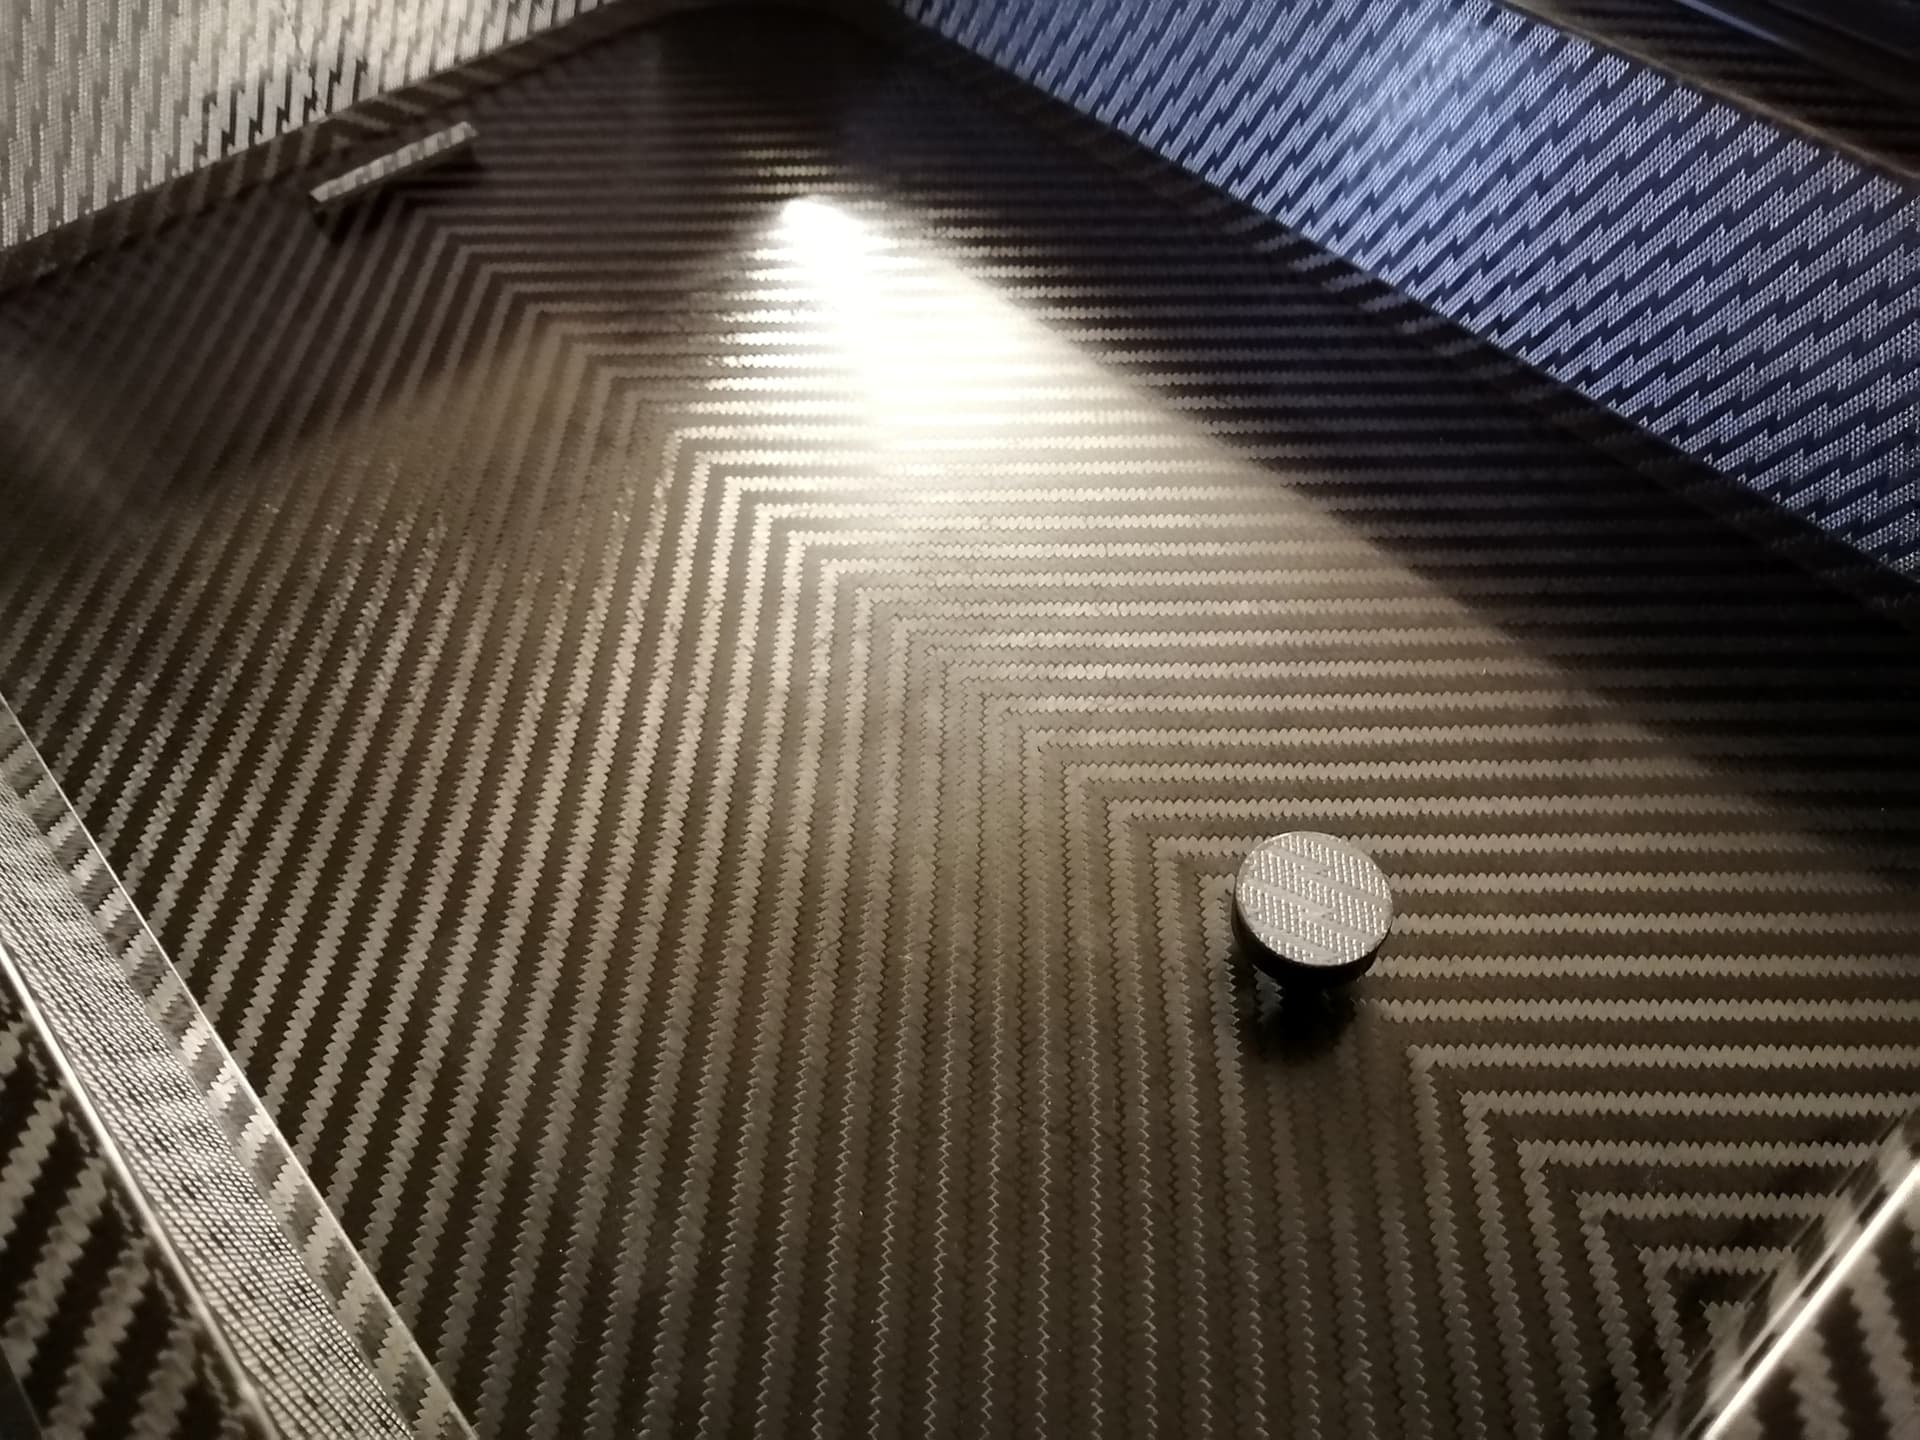
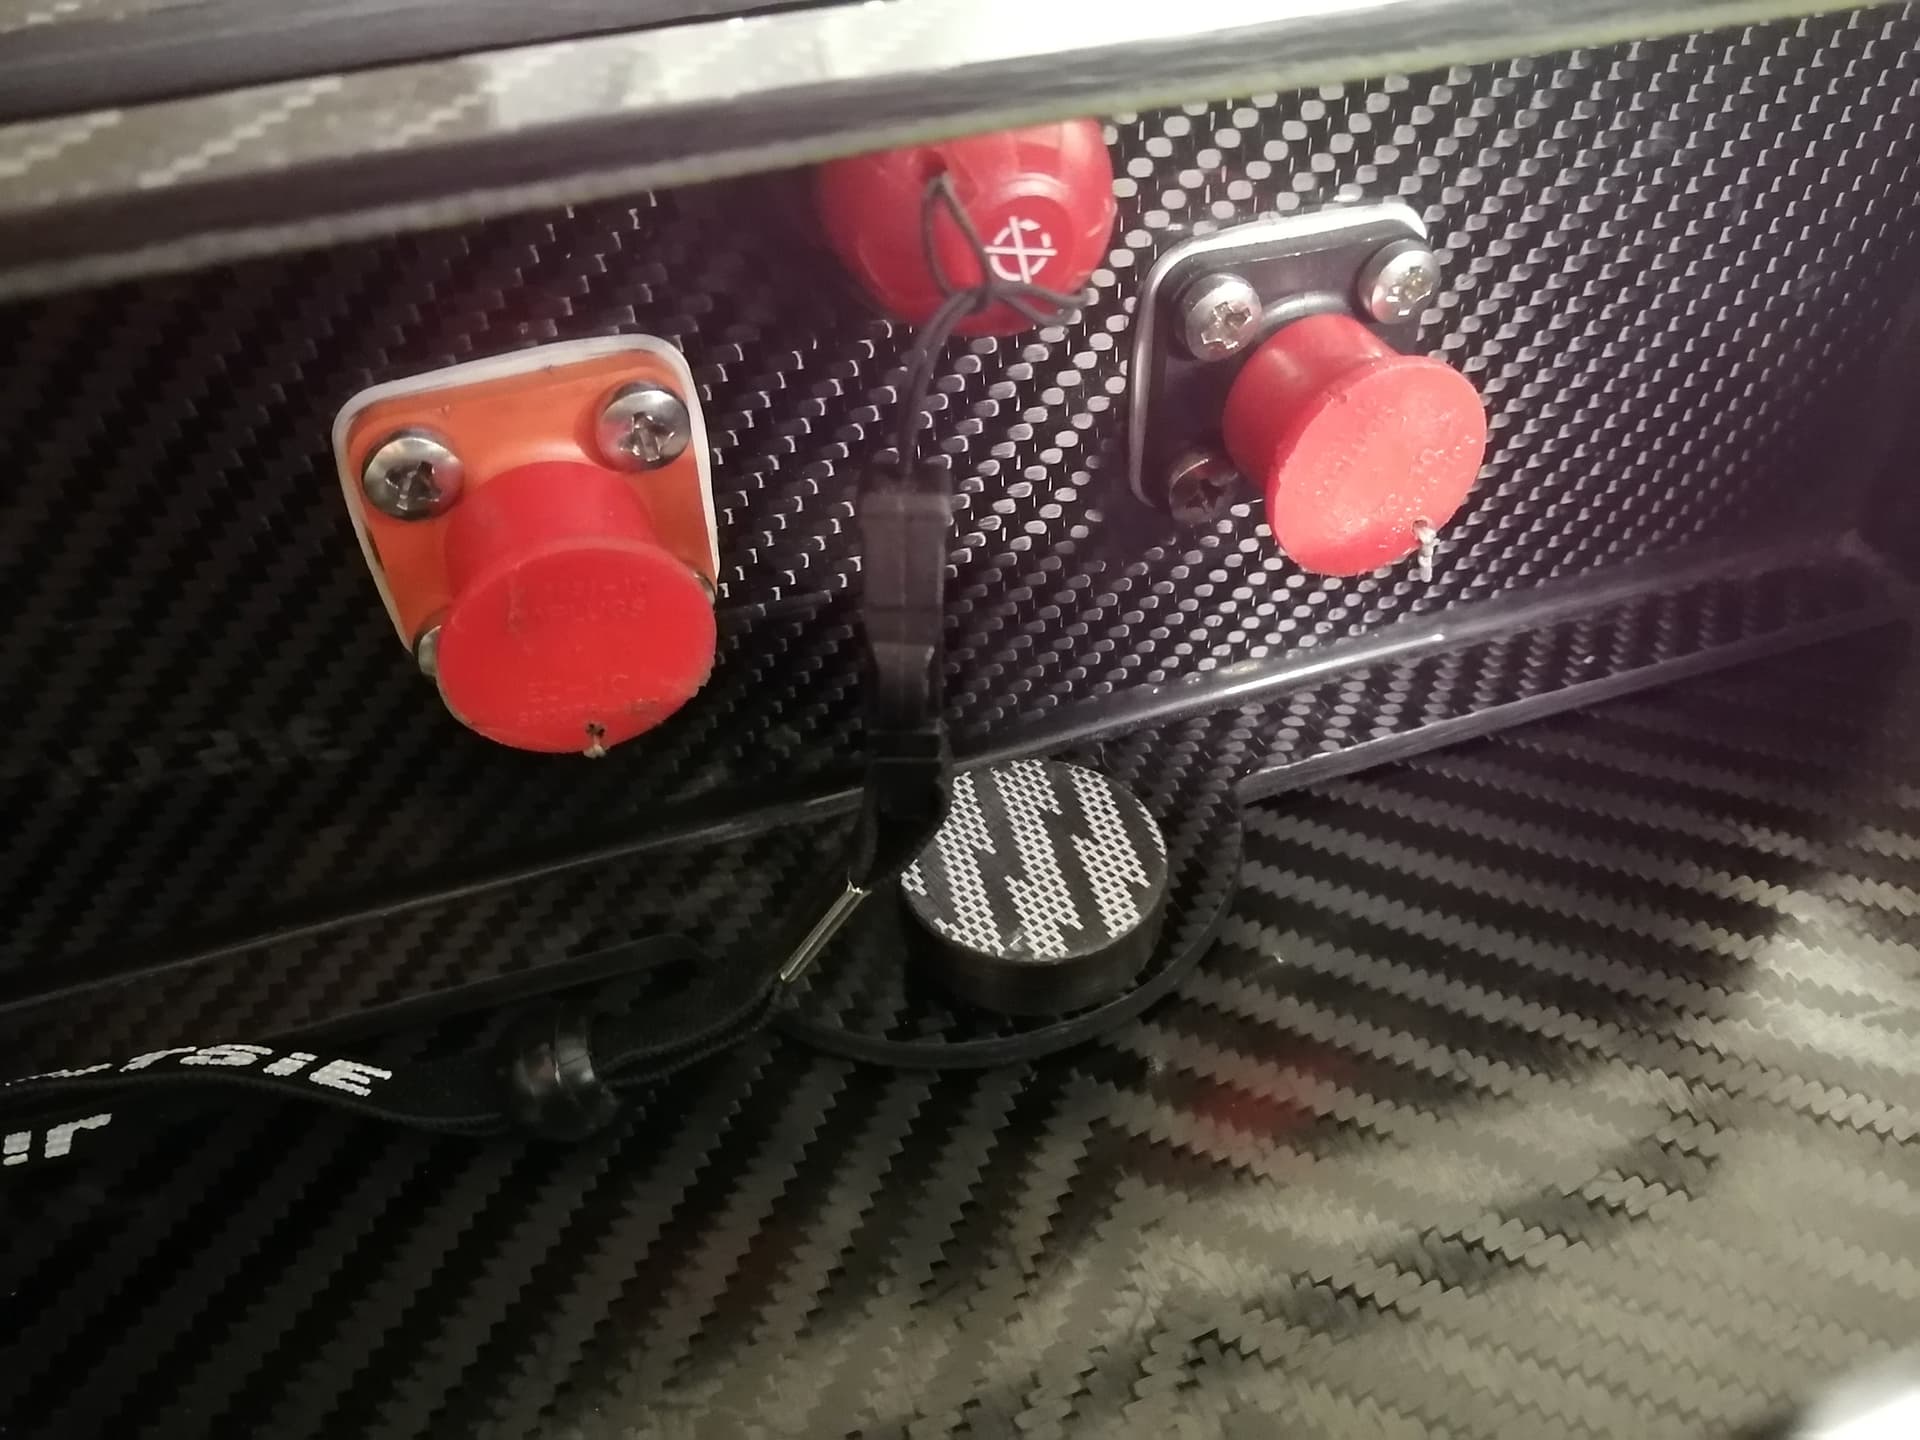
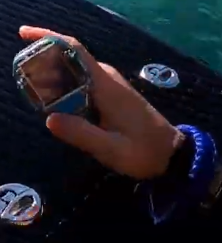
for the battery is enough the joint on the back and the screw in the front. When the screw is tightened the battery doesn’t move at all. You can better see the detail in the attached photo
For the cooling there are two aluminum tubes in contact with the bottom of the ESC. Obviously these tubes are very thik and the faces in contact are flattened. (more details in the next video Part 2  )
)
2 Likes
Here is the video PART 2 ![]()

13 Likes
Awesome clean and perfect carbon work! 
1 Like
AMAZING …only people who try some day to work with epoxy et carbon fiber can appreciate your work !!!
Congratulations for your amazing work !
The remote: we don’t see many of them among DiYers. Which Mantafoil Volt remote version is it ? How much did you pay for the complete set remote + receiver + charger ? Would you comment on the steps and possible difficulties to pair it with a VESC 75 series ?
Hi, is the first series produced by Mantafoil. I bought it one years ago but I don’t remember the price. I’m very satisfied about his performance because of it is very progressive and sensitive and allows a fine control of the motor. It has also no problem with loss signal. You have also data about your speed, battery level, amperage, esc temperature.
In this moment it isn’t available because they are working on the new version that, as far as I know, will be available in two months.
For sure I will bought une other one.
Zero problem to pair it with the Trampa esc
Hello, I am really impressed with your work !! I dreamed to do an battery and esc box like you… but I ended with two tupperwares
Also really nice place to ride
The Tupperwares are for sure the quick solution… If you want spend some more time try my method. Pay attention, is better if you do the first two internal layers in glass fiber (for insulation purposes)
Have a good fun!
Awesome work as always. Can you show some of your layups in process, how you cut the carbon fiber, and lay it up?
Maybe a prepeg carbon fiber help a lot and for cutting so perfect i don’t know …but i think this is the secret of the Bruce magique works…
Most of his other videos show infusion, so I don’t think prepreg. I can’t understand how he lays up the carbon in such a way, infuses and comes out so nice. Prepreg would make sense…
For me he use prepeg or cut a slim finised carbon plate to cut it with cnc…
I speak about the tecnical carbon cut i’m ok he use a lot infusion for the rest…
Nice idea anyway. Make a finished thin plate that looks great and layer it in your infusion.
That is some sexy carbon work, takes trying it to know how hard it is to get it so perfect. Well done.
Can you describe what materials you used for the attachment point for the foil mast plate? What reinforcement did you use to strengthen between the mast and bottom of the box? And did you use additional reinforcement for holding the battery box in place (eg stringers)? If you have more photos, that would be super most excellent.
The aluminum parts like the name and the logo are previously infused, cured, then cut with a knife or scissors. Some sandpaper in order to define the shape in a more pleasant way
1 Like
Hi, I never used prepeg. It is too demanding fro my equipement.
The most important thing about infusion is to take care of the surfaces. They must be perfect before the last layer of carbon fiber.
Hi, at minute 4:54 of part one you can see the 4 bolt that I use for the mast mounting. Obviousely the area on the bottom is reinforced wit several layer of carbon fiber forming something like #
If you look at minute 1:24 (part one) you can see the reinforcement rib, they are covered with UHM carbon fiber and they work great.
For the battery box you can see some photo for the fixation points some message back on this topic (Jan10). For the door and the electronics (battery and esc) compartement you can see similar reinforcement at minute 2:09 (video part one).
Tell me if you need some more explanations.
Bye