Thanks a lot for your tips. Indeed @Kiteman54, I sanded in my shed twice and it was a real mess. Dust everywhere, and very hard to remove from my clothes
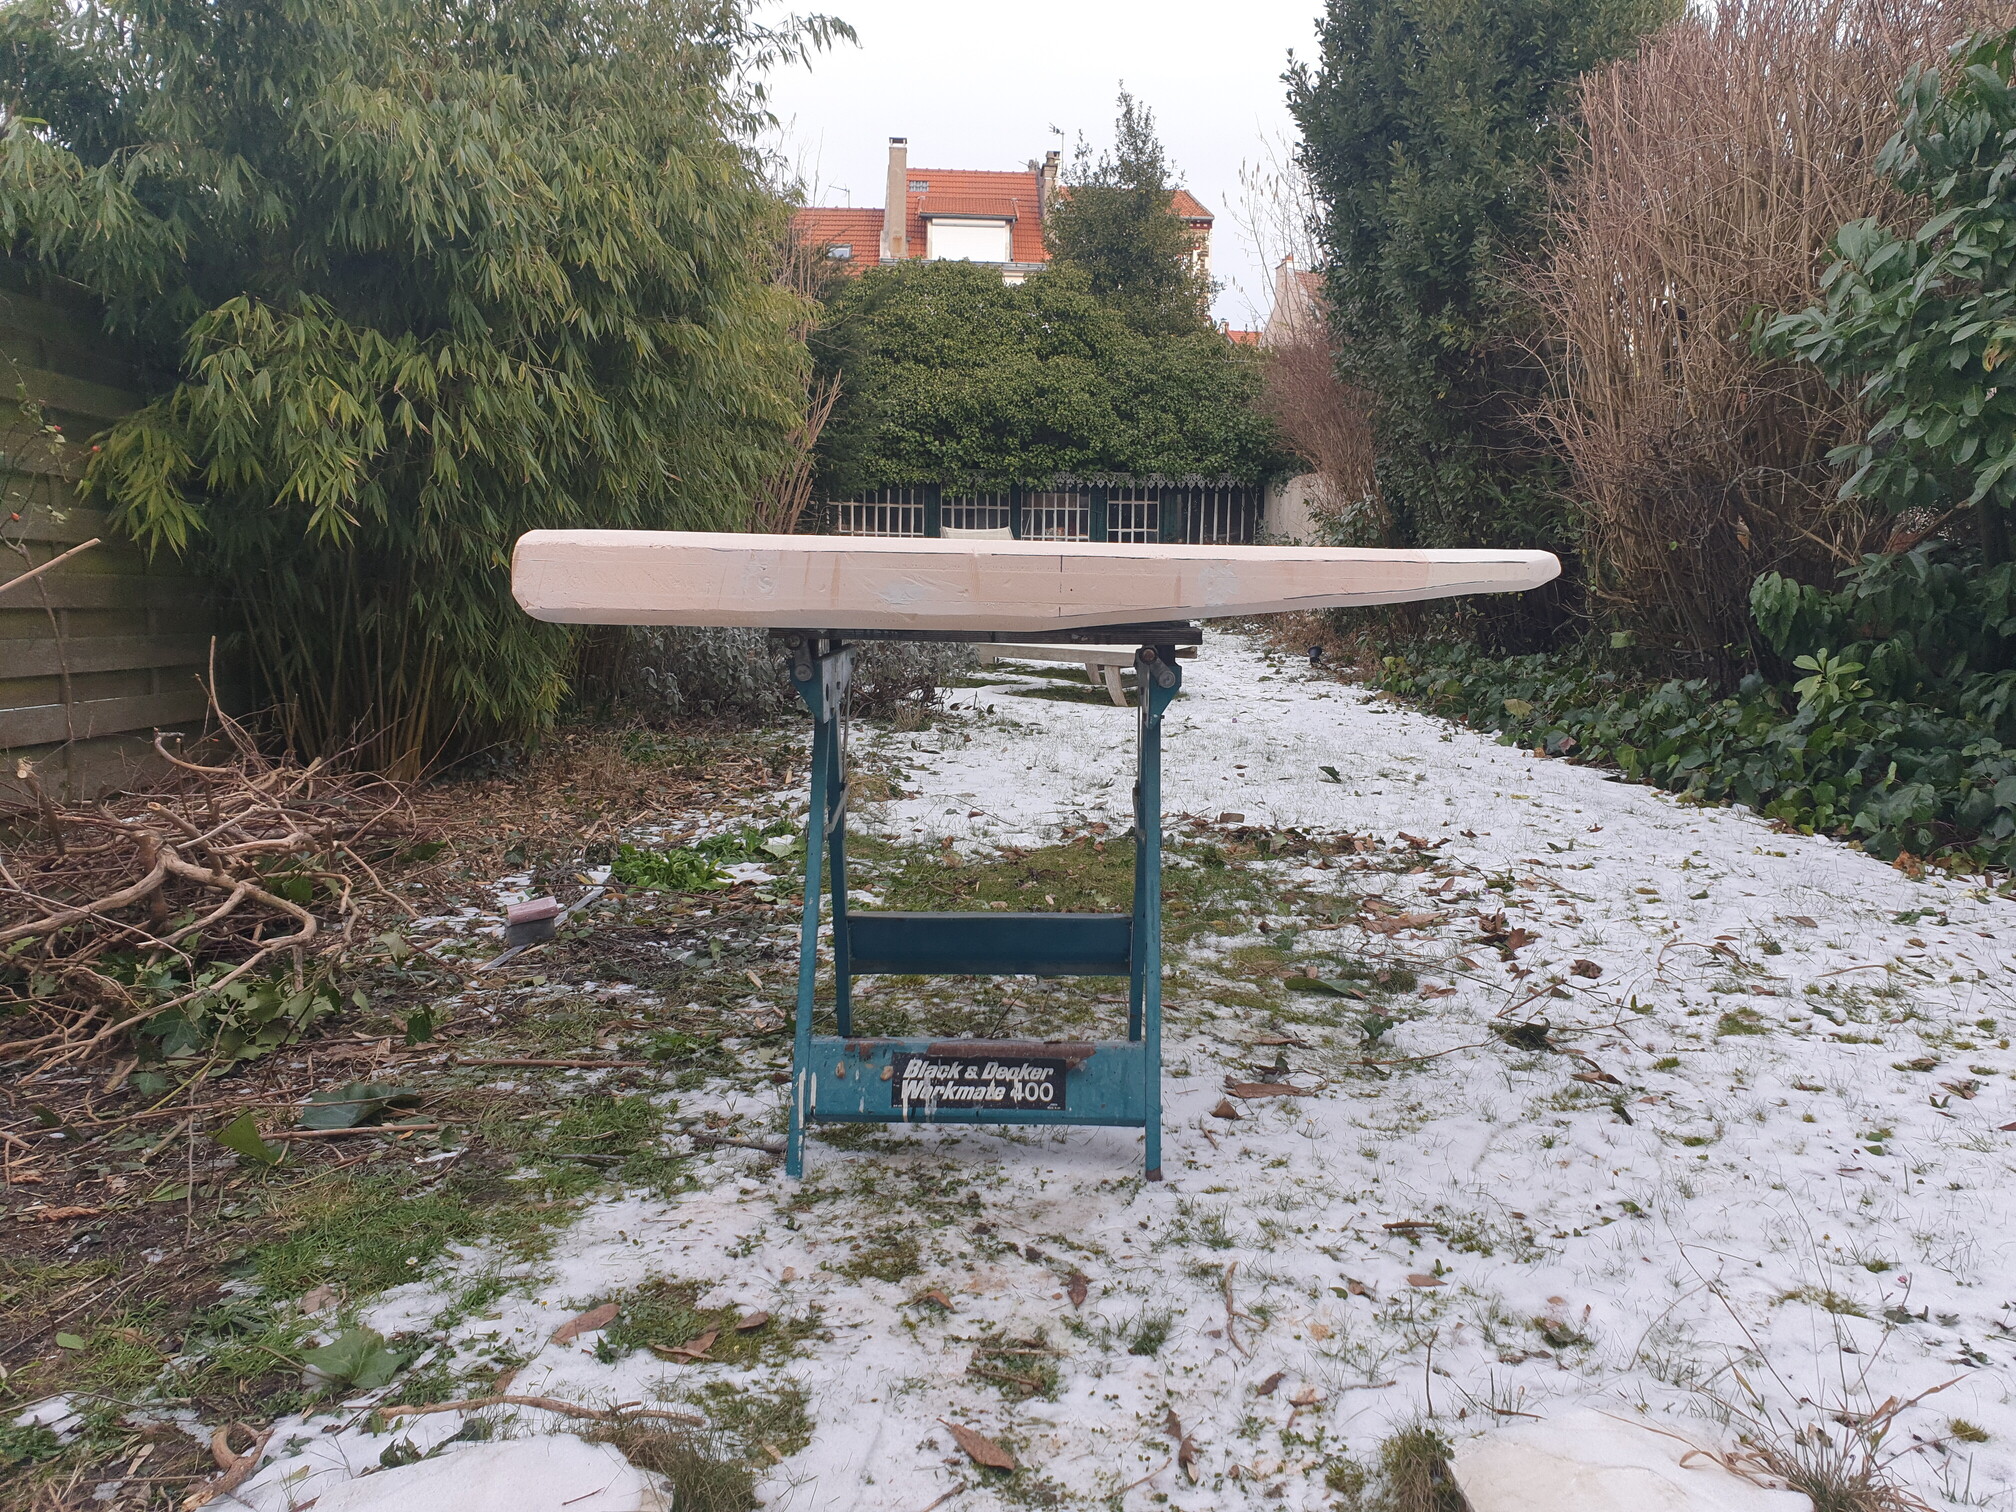
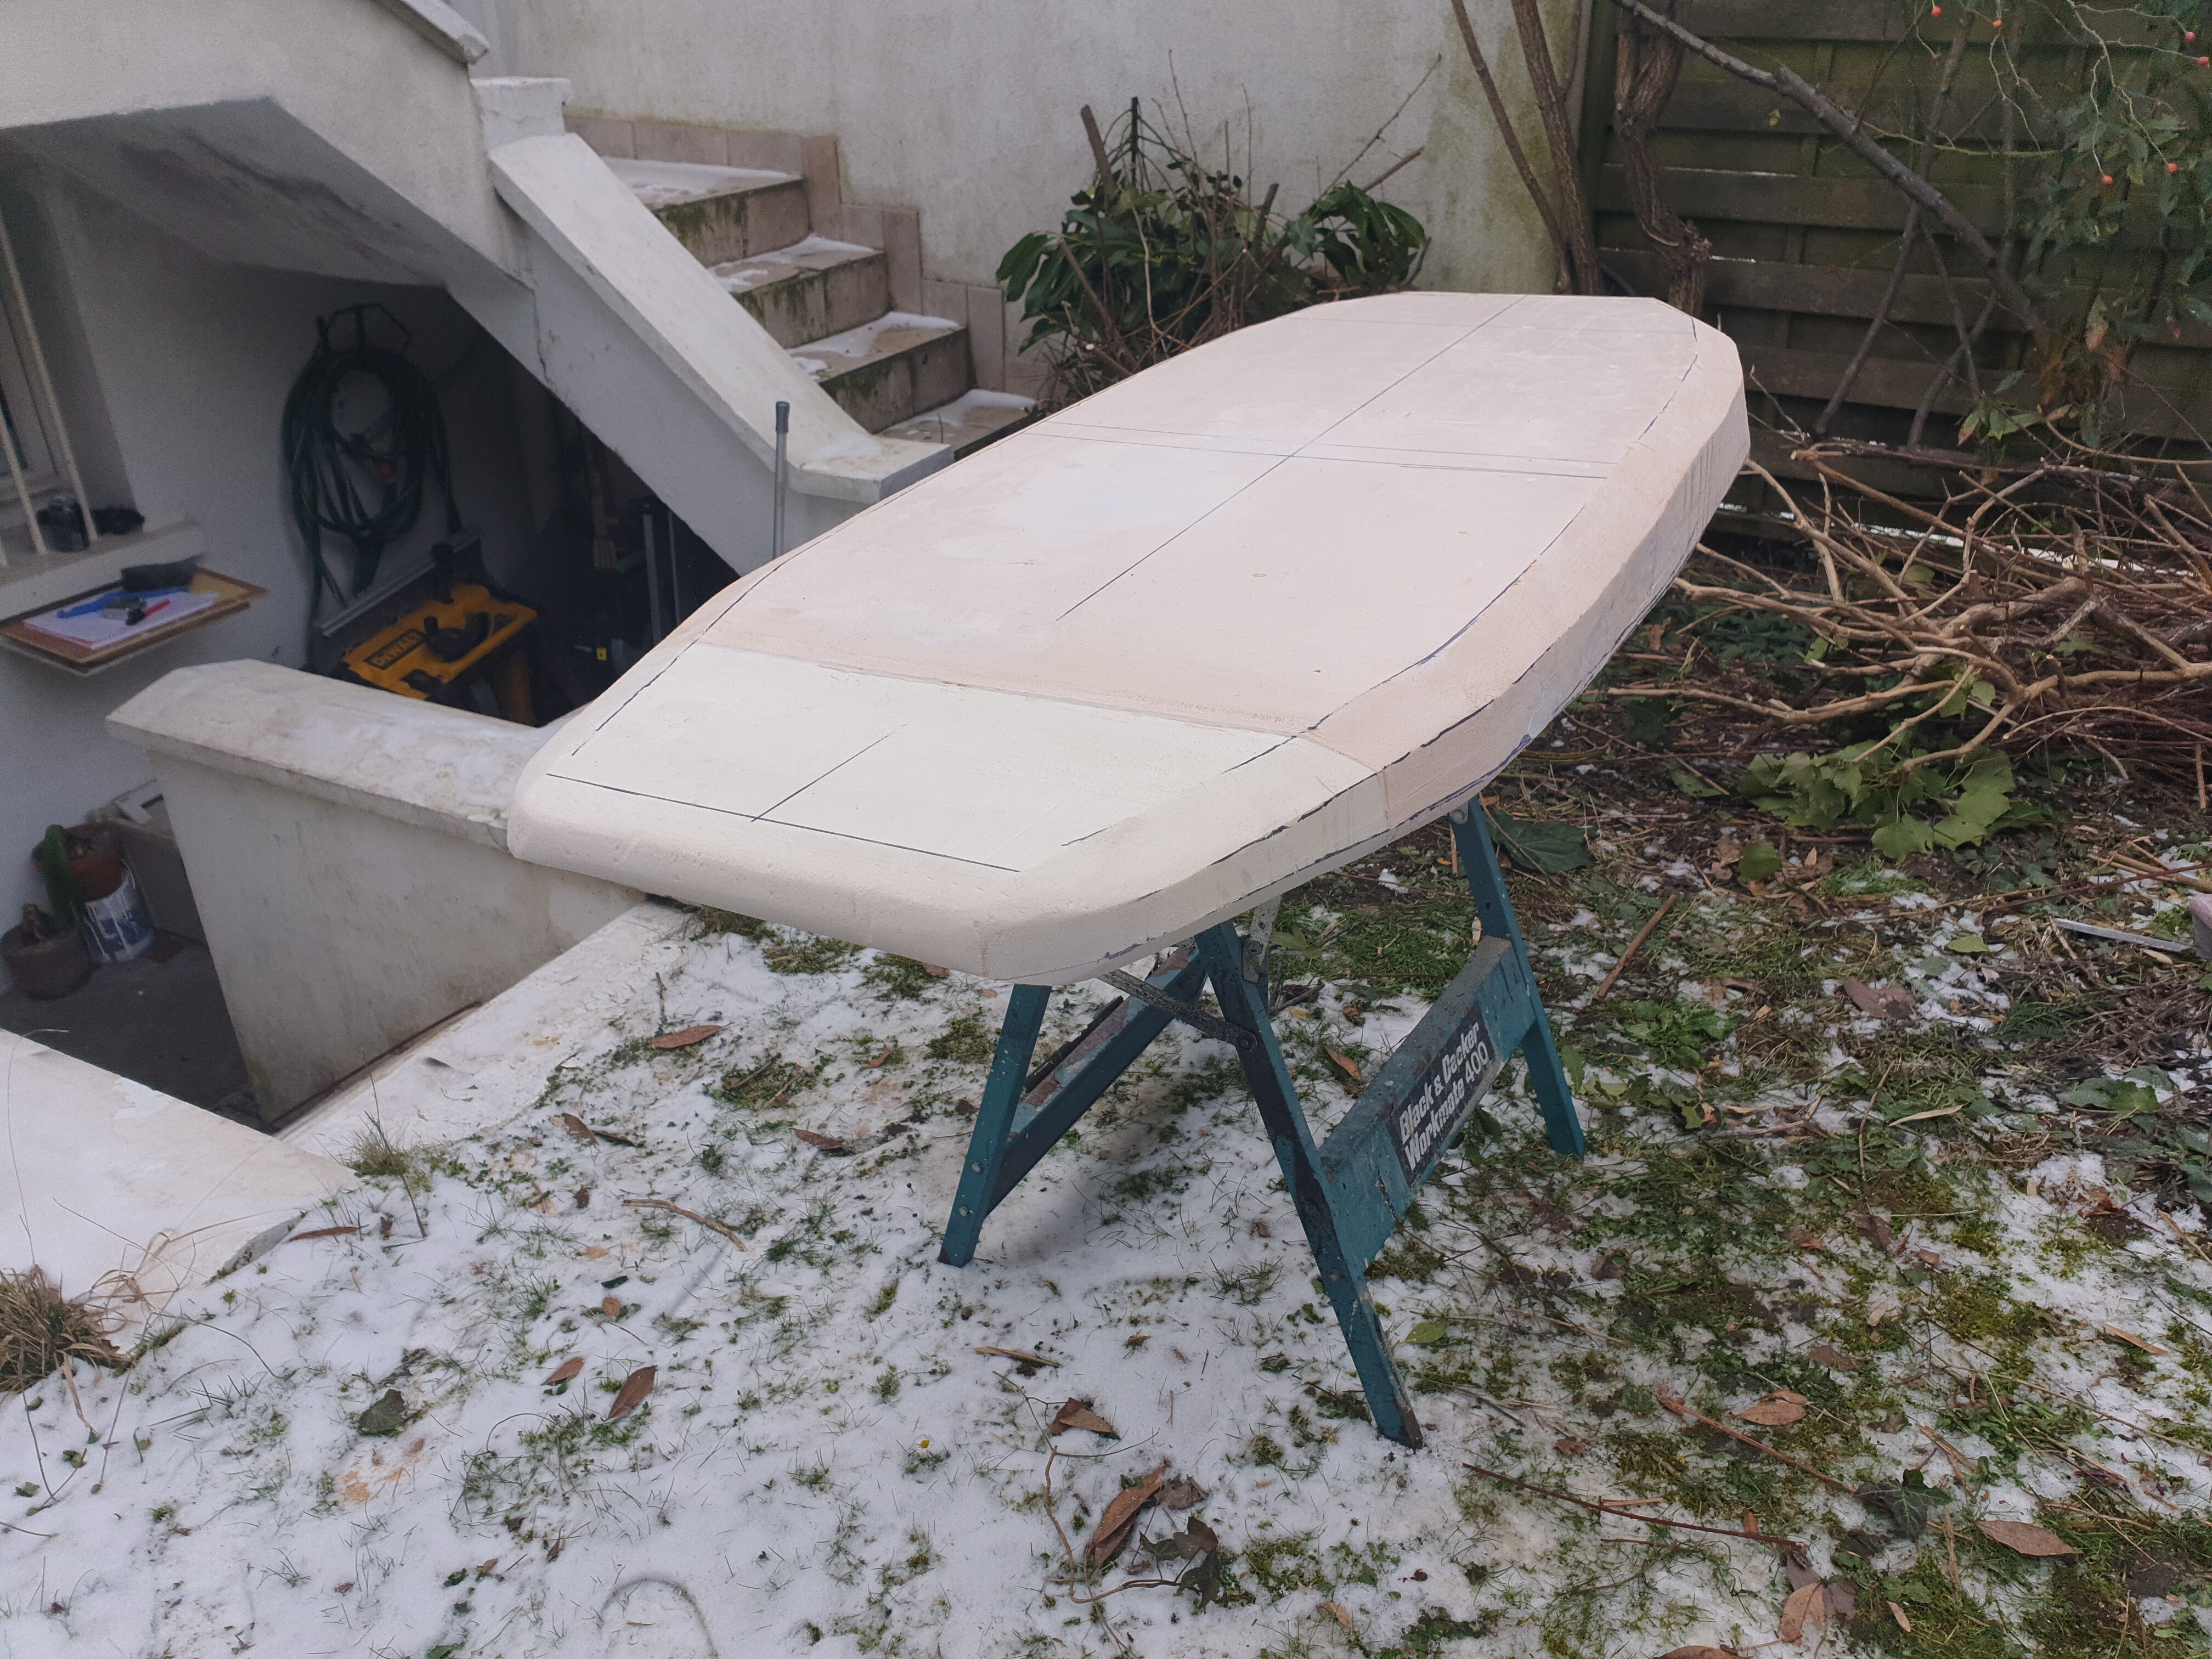
I decided to do it outside while it stopped snowing: much more convenient! I also took into account your advices @wushbush . I still have work to do in order to make sharp edges. It still have bumps…
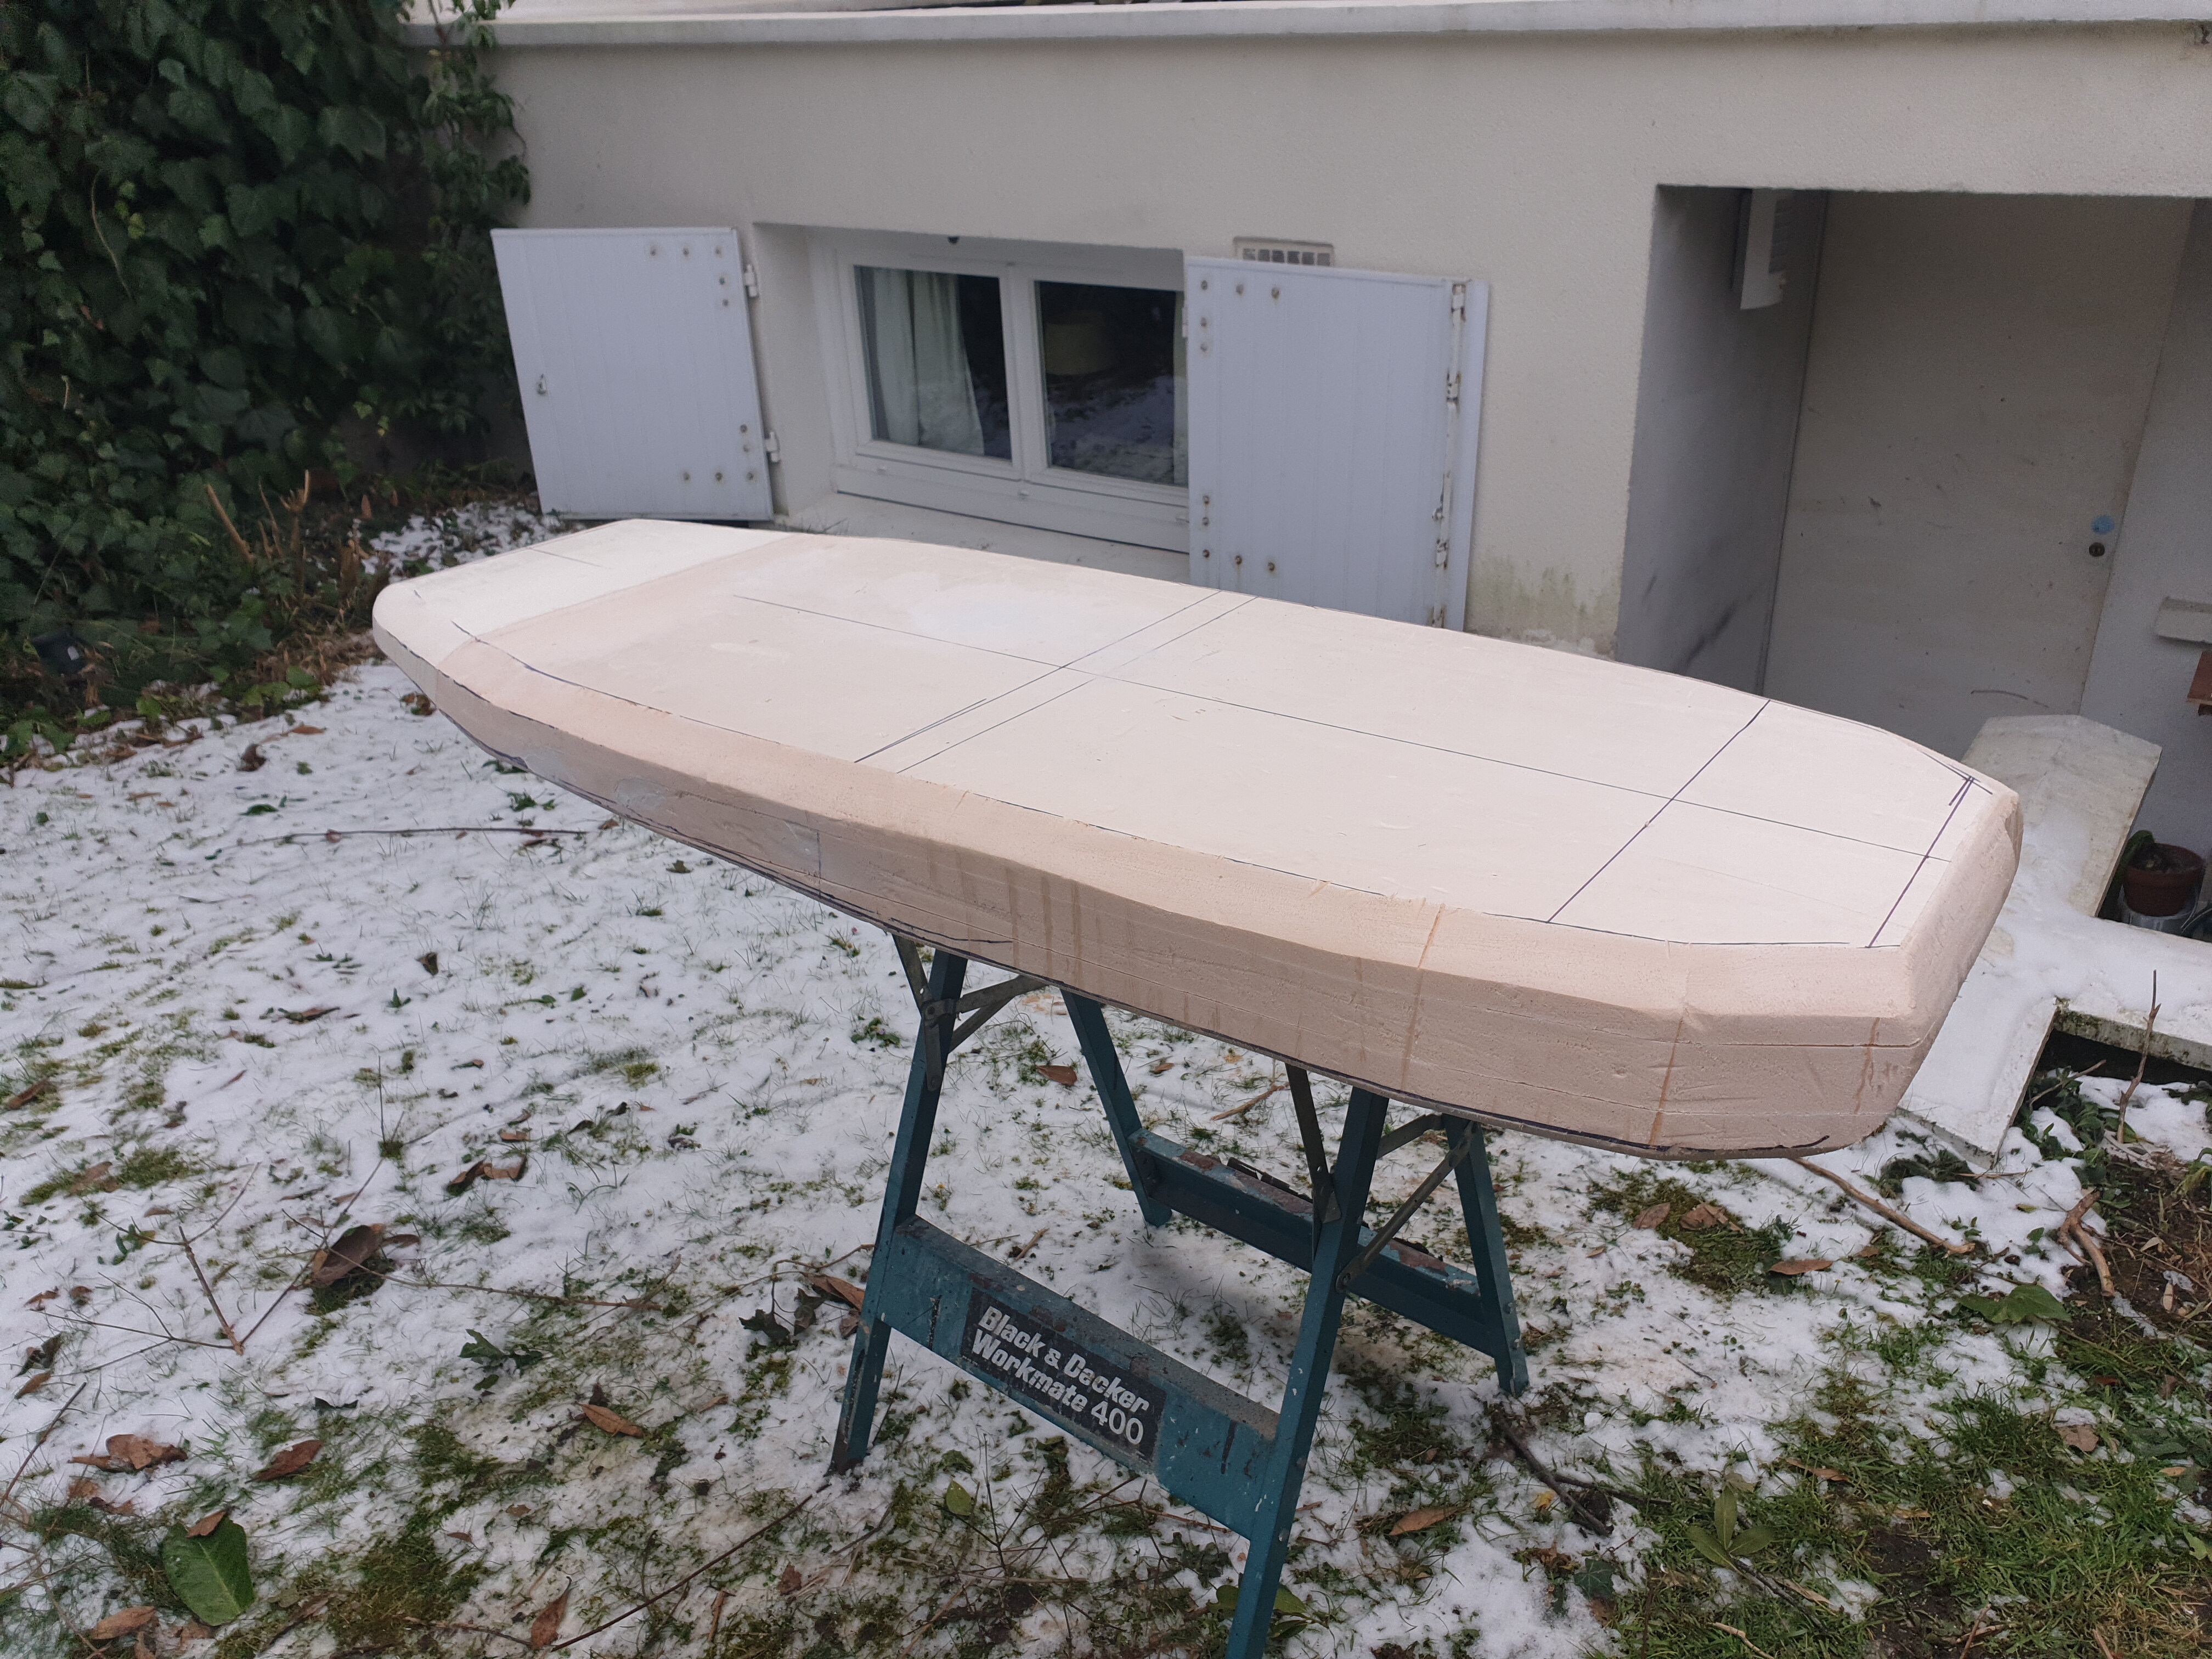
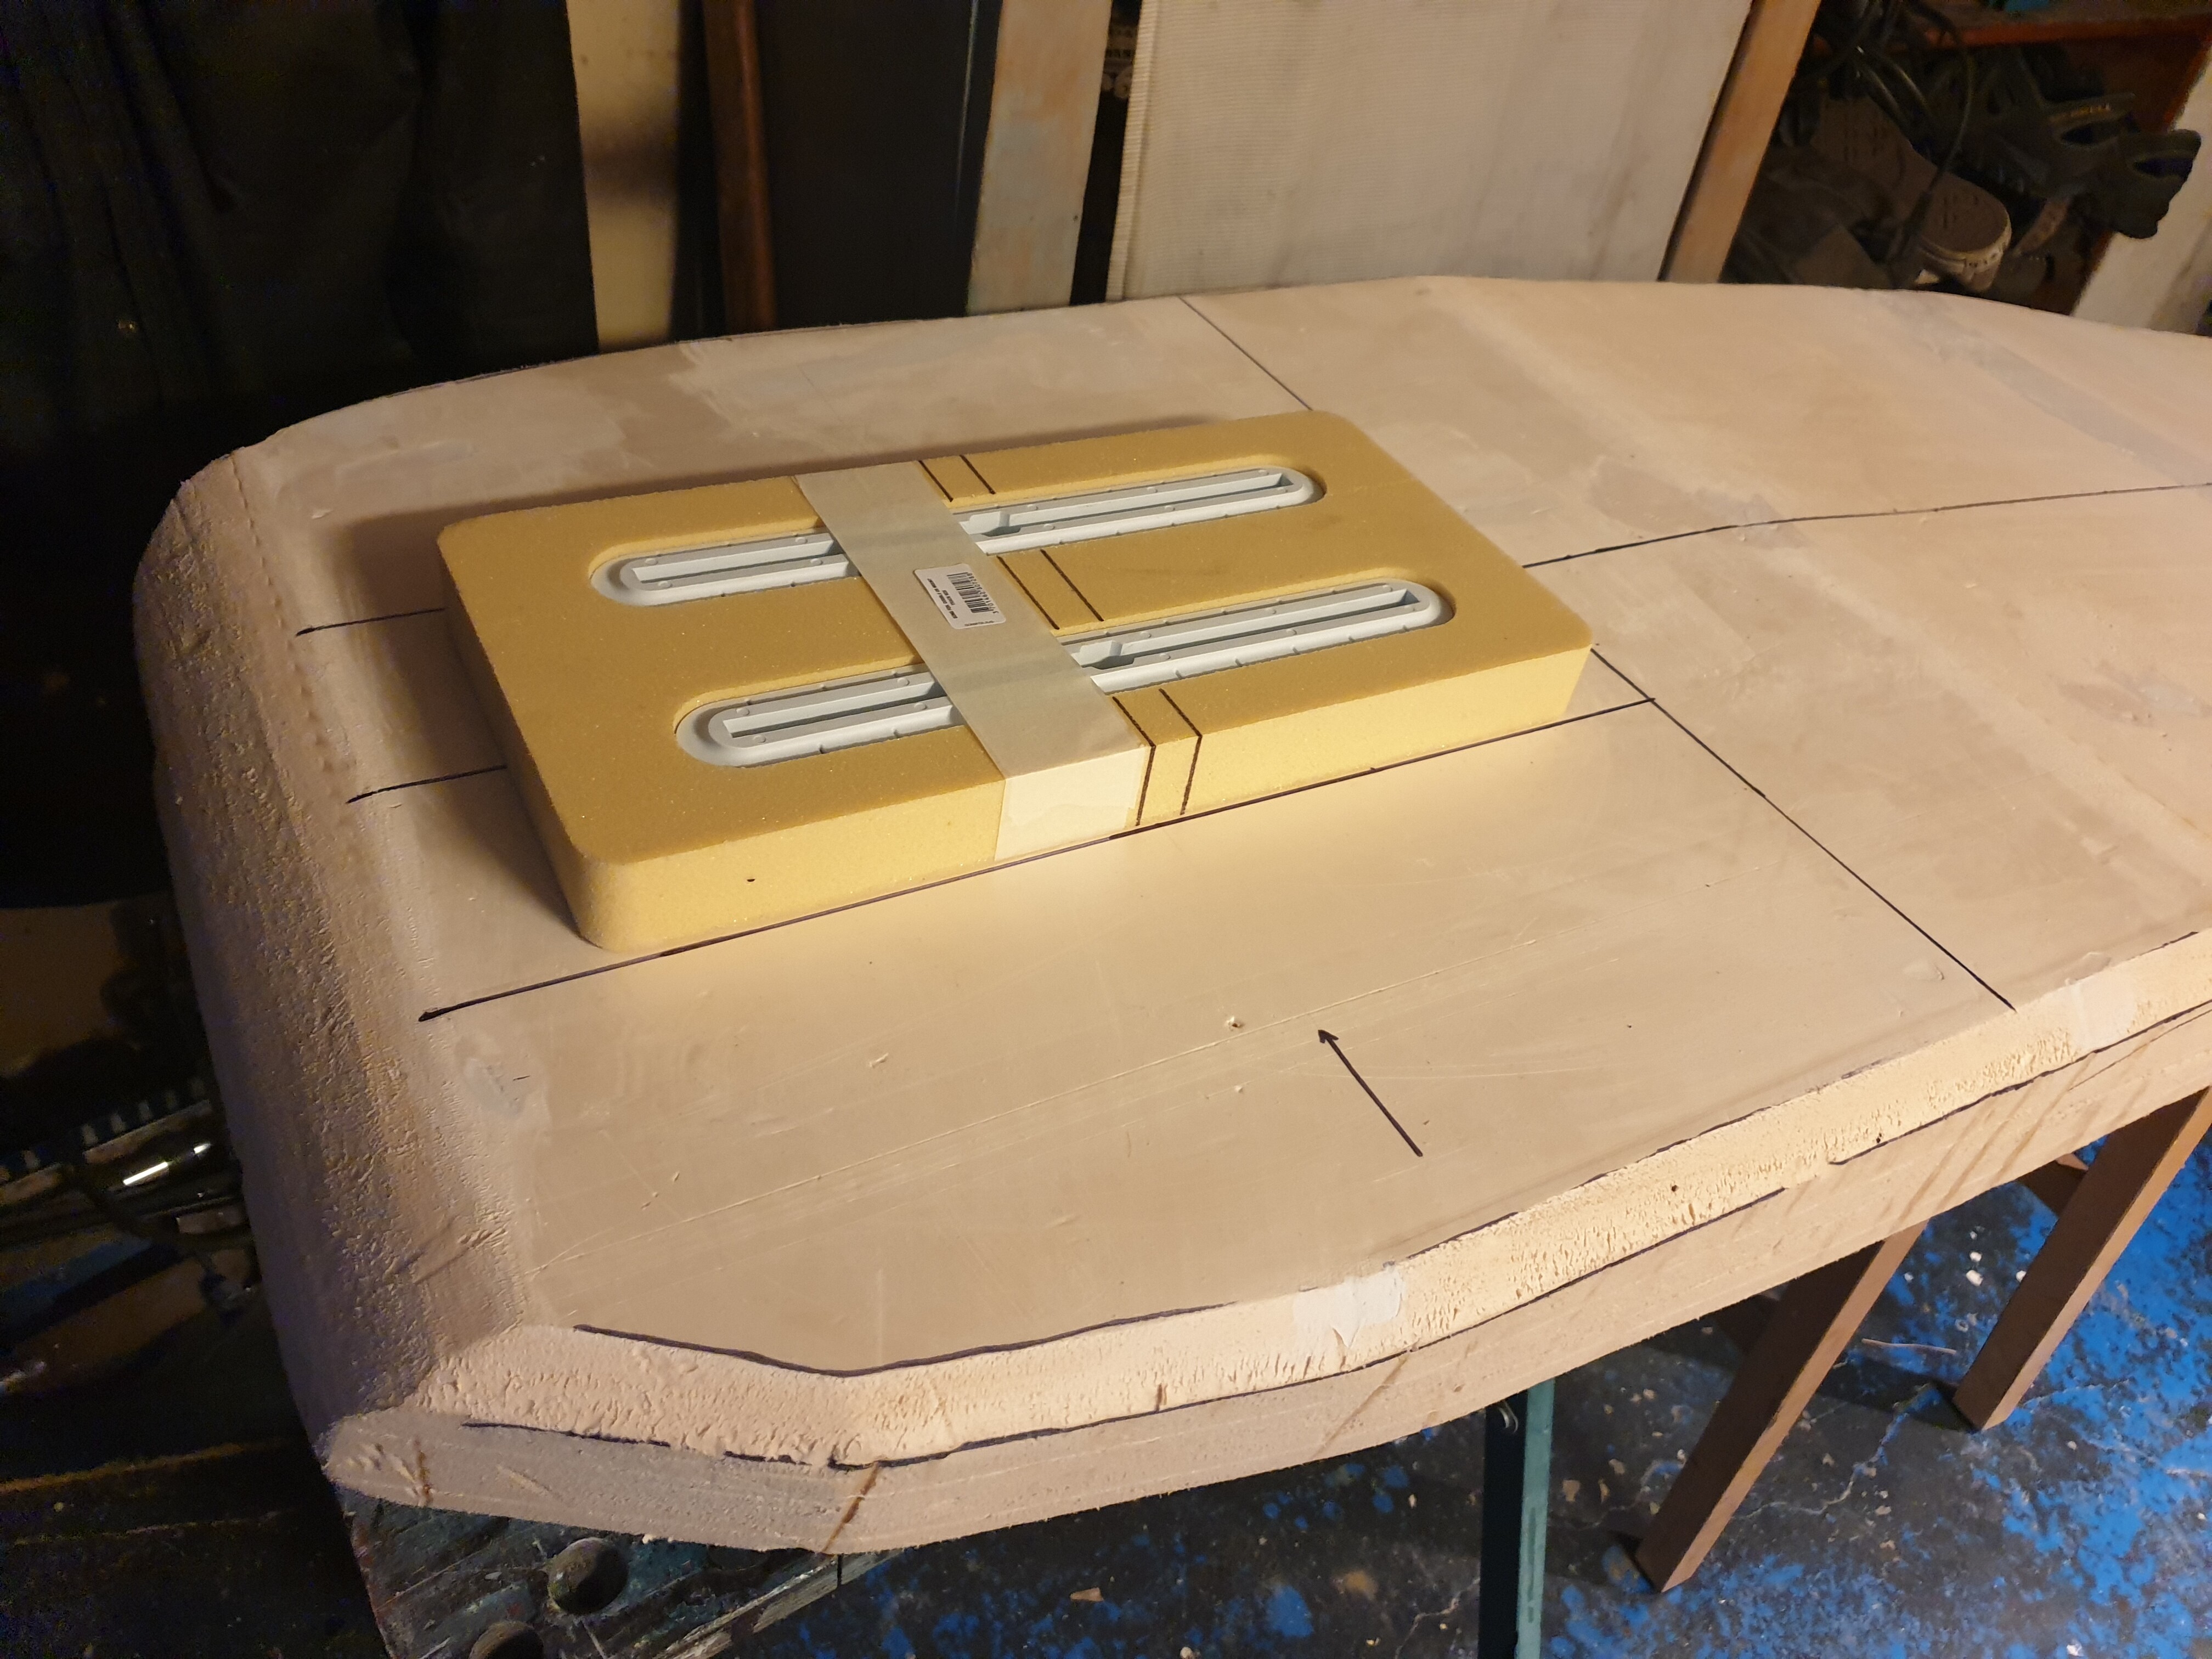
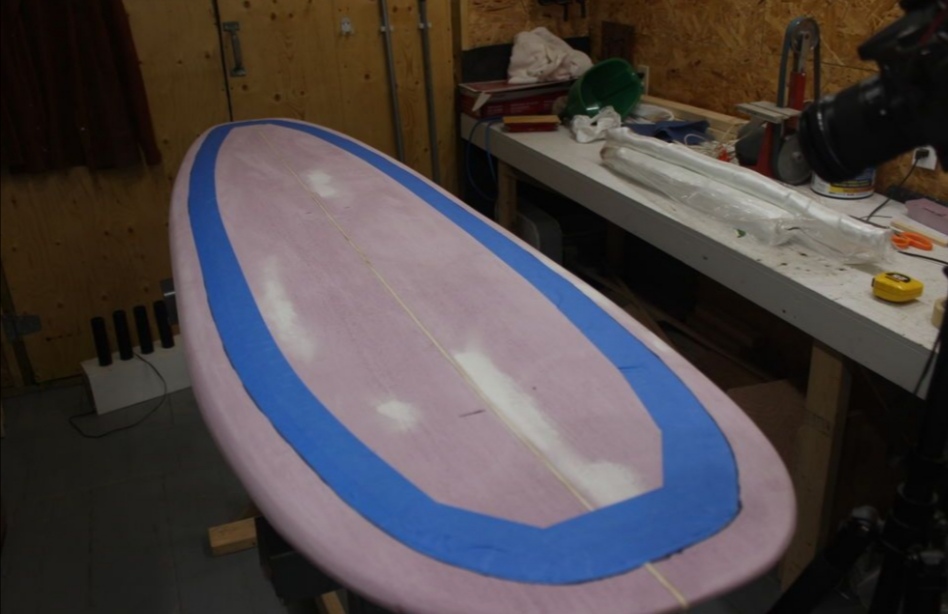
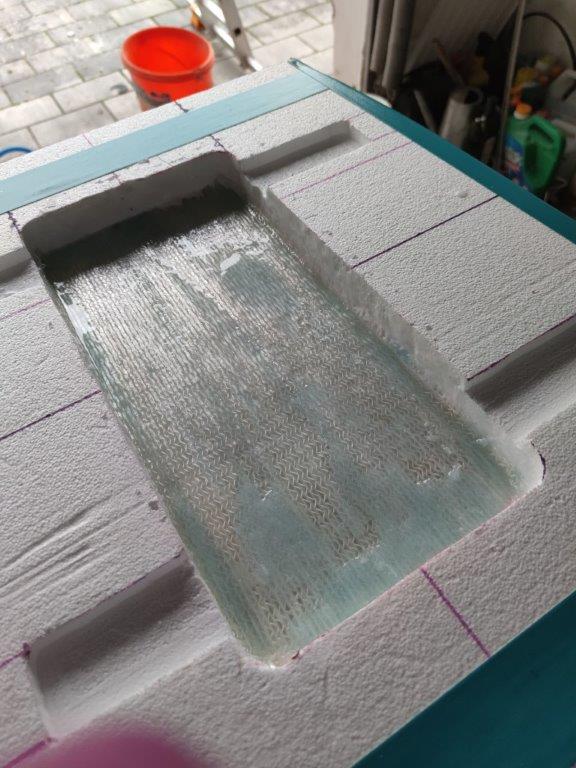
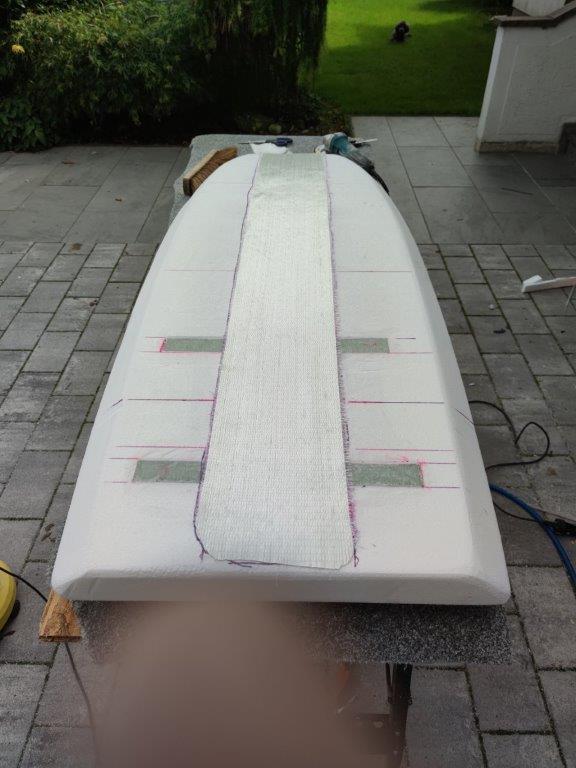
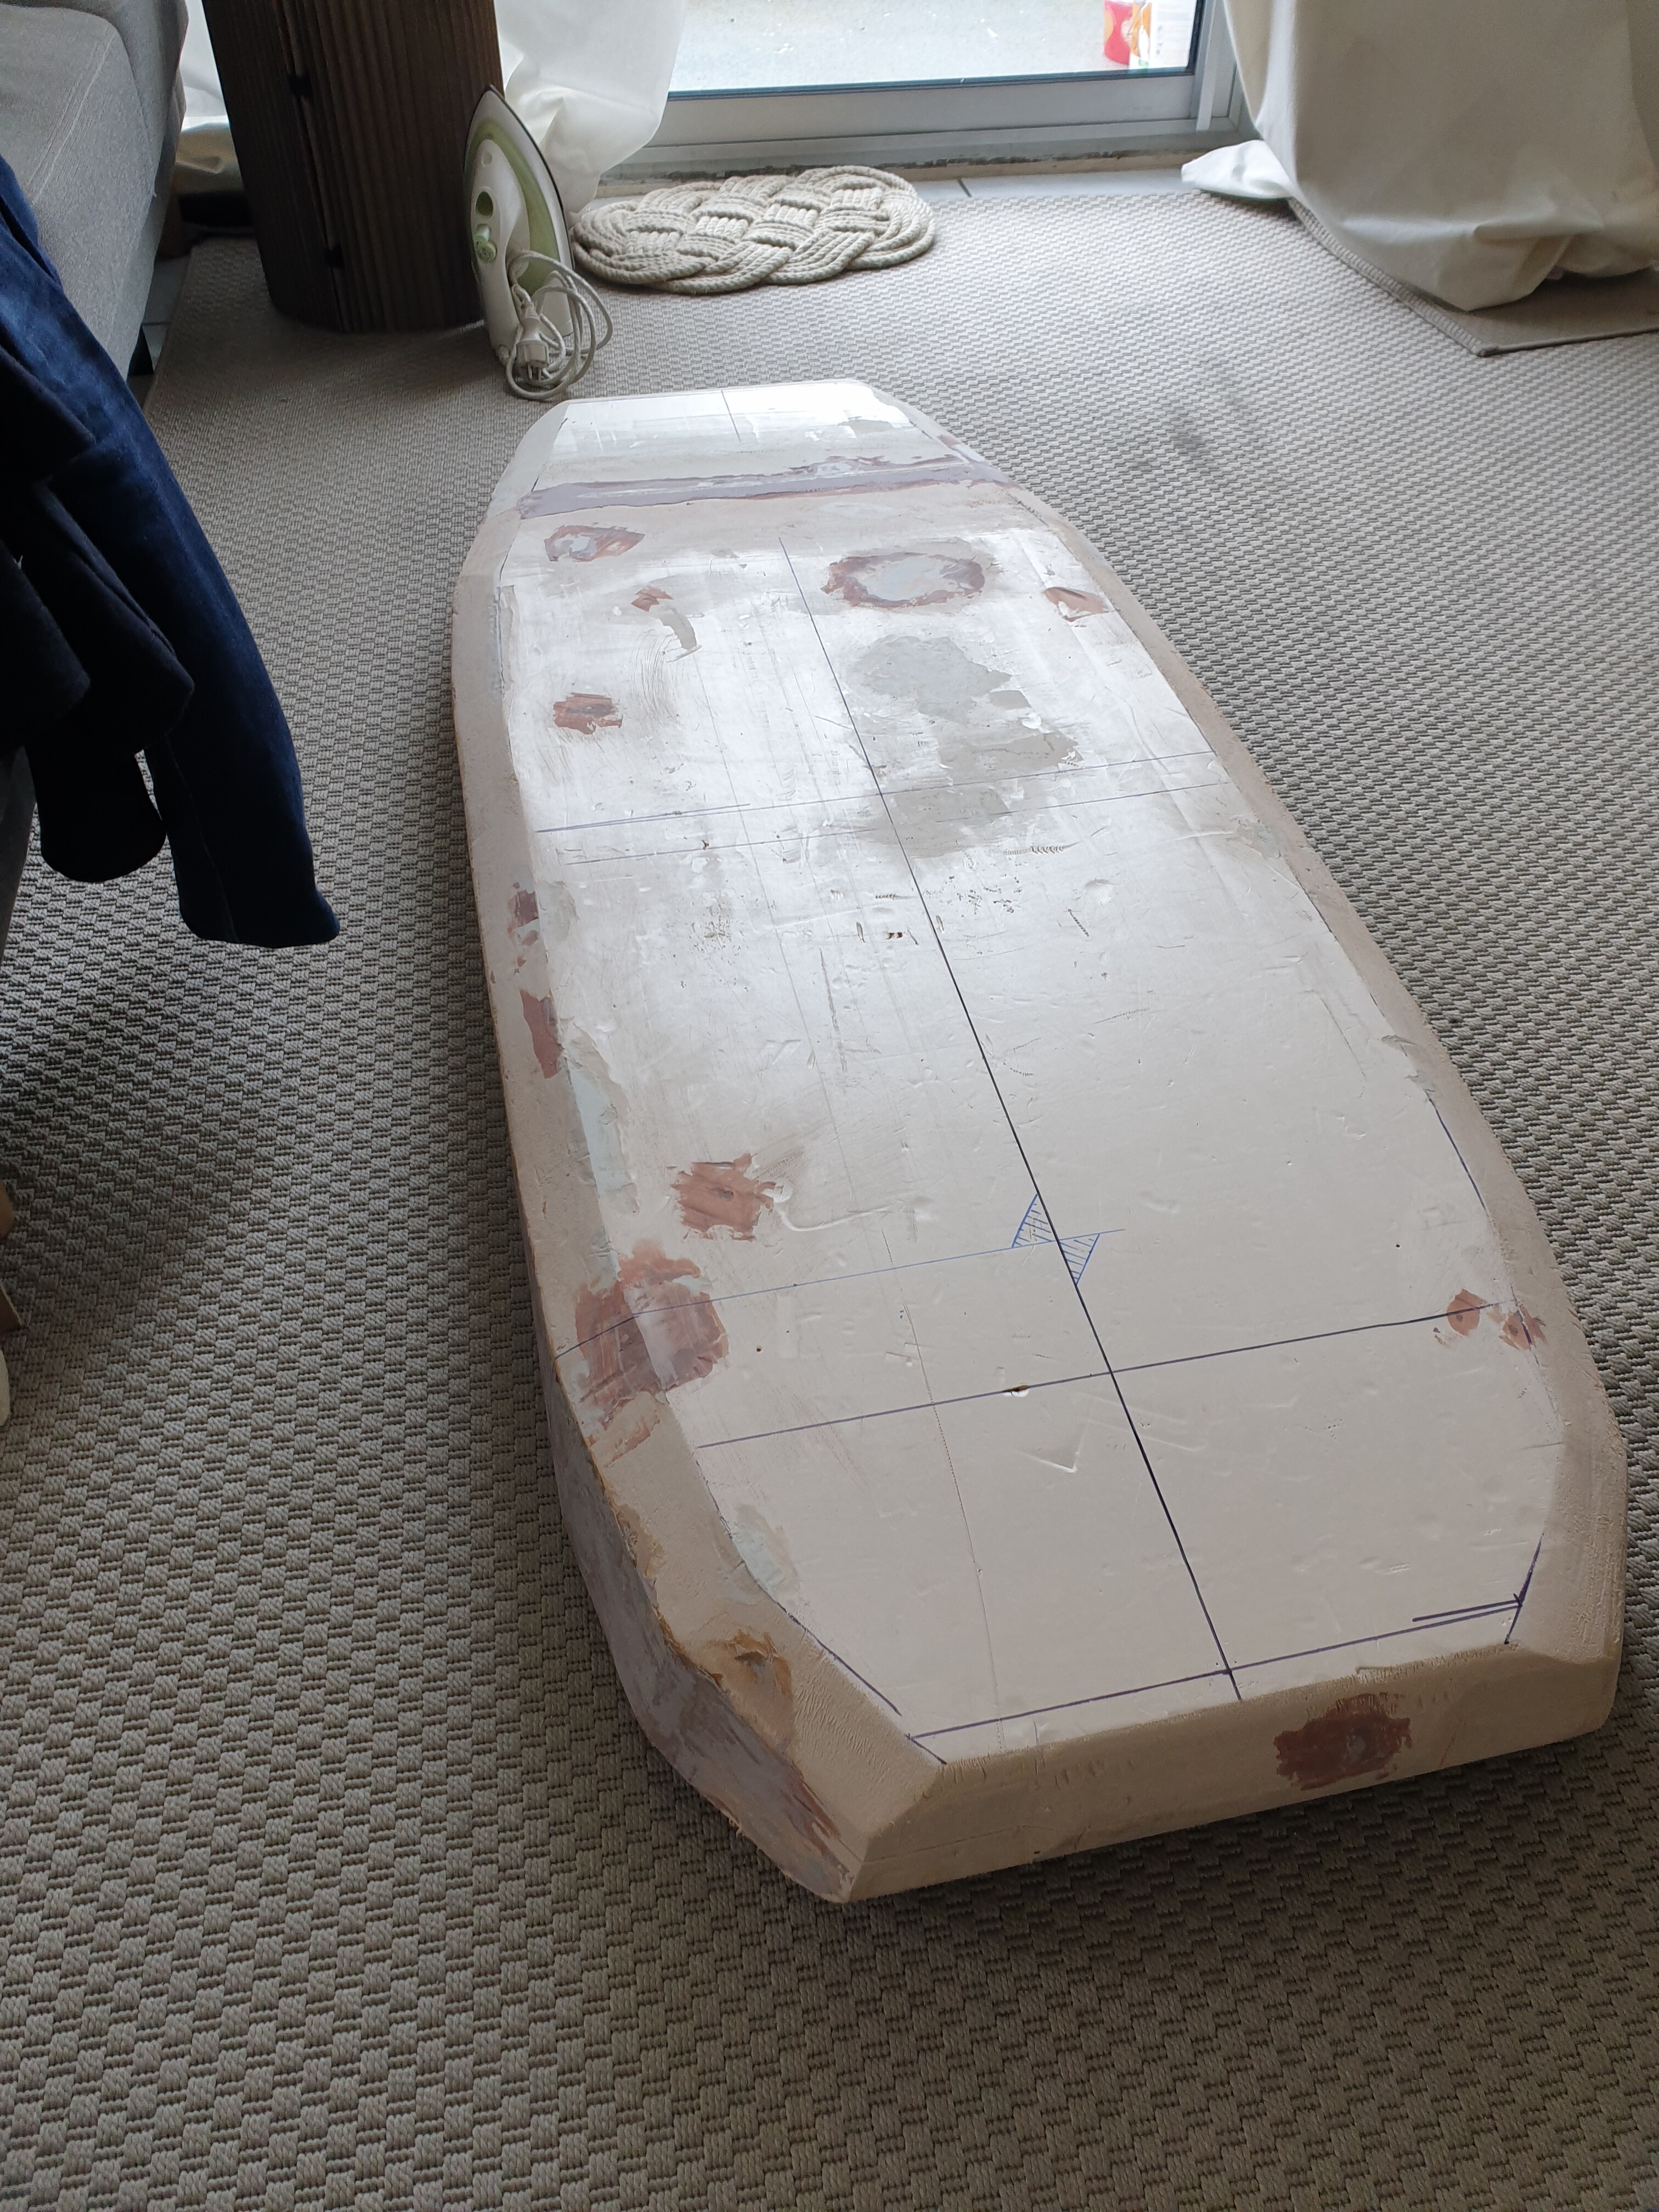
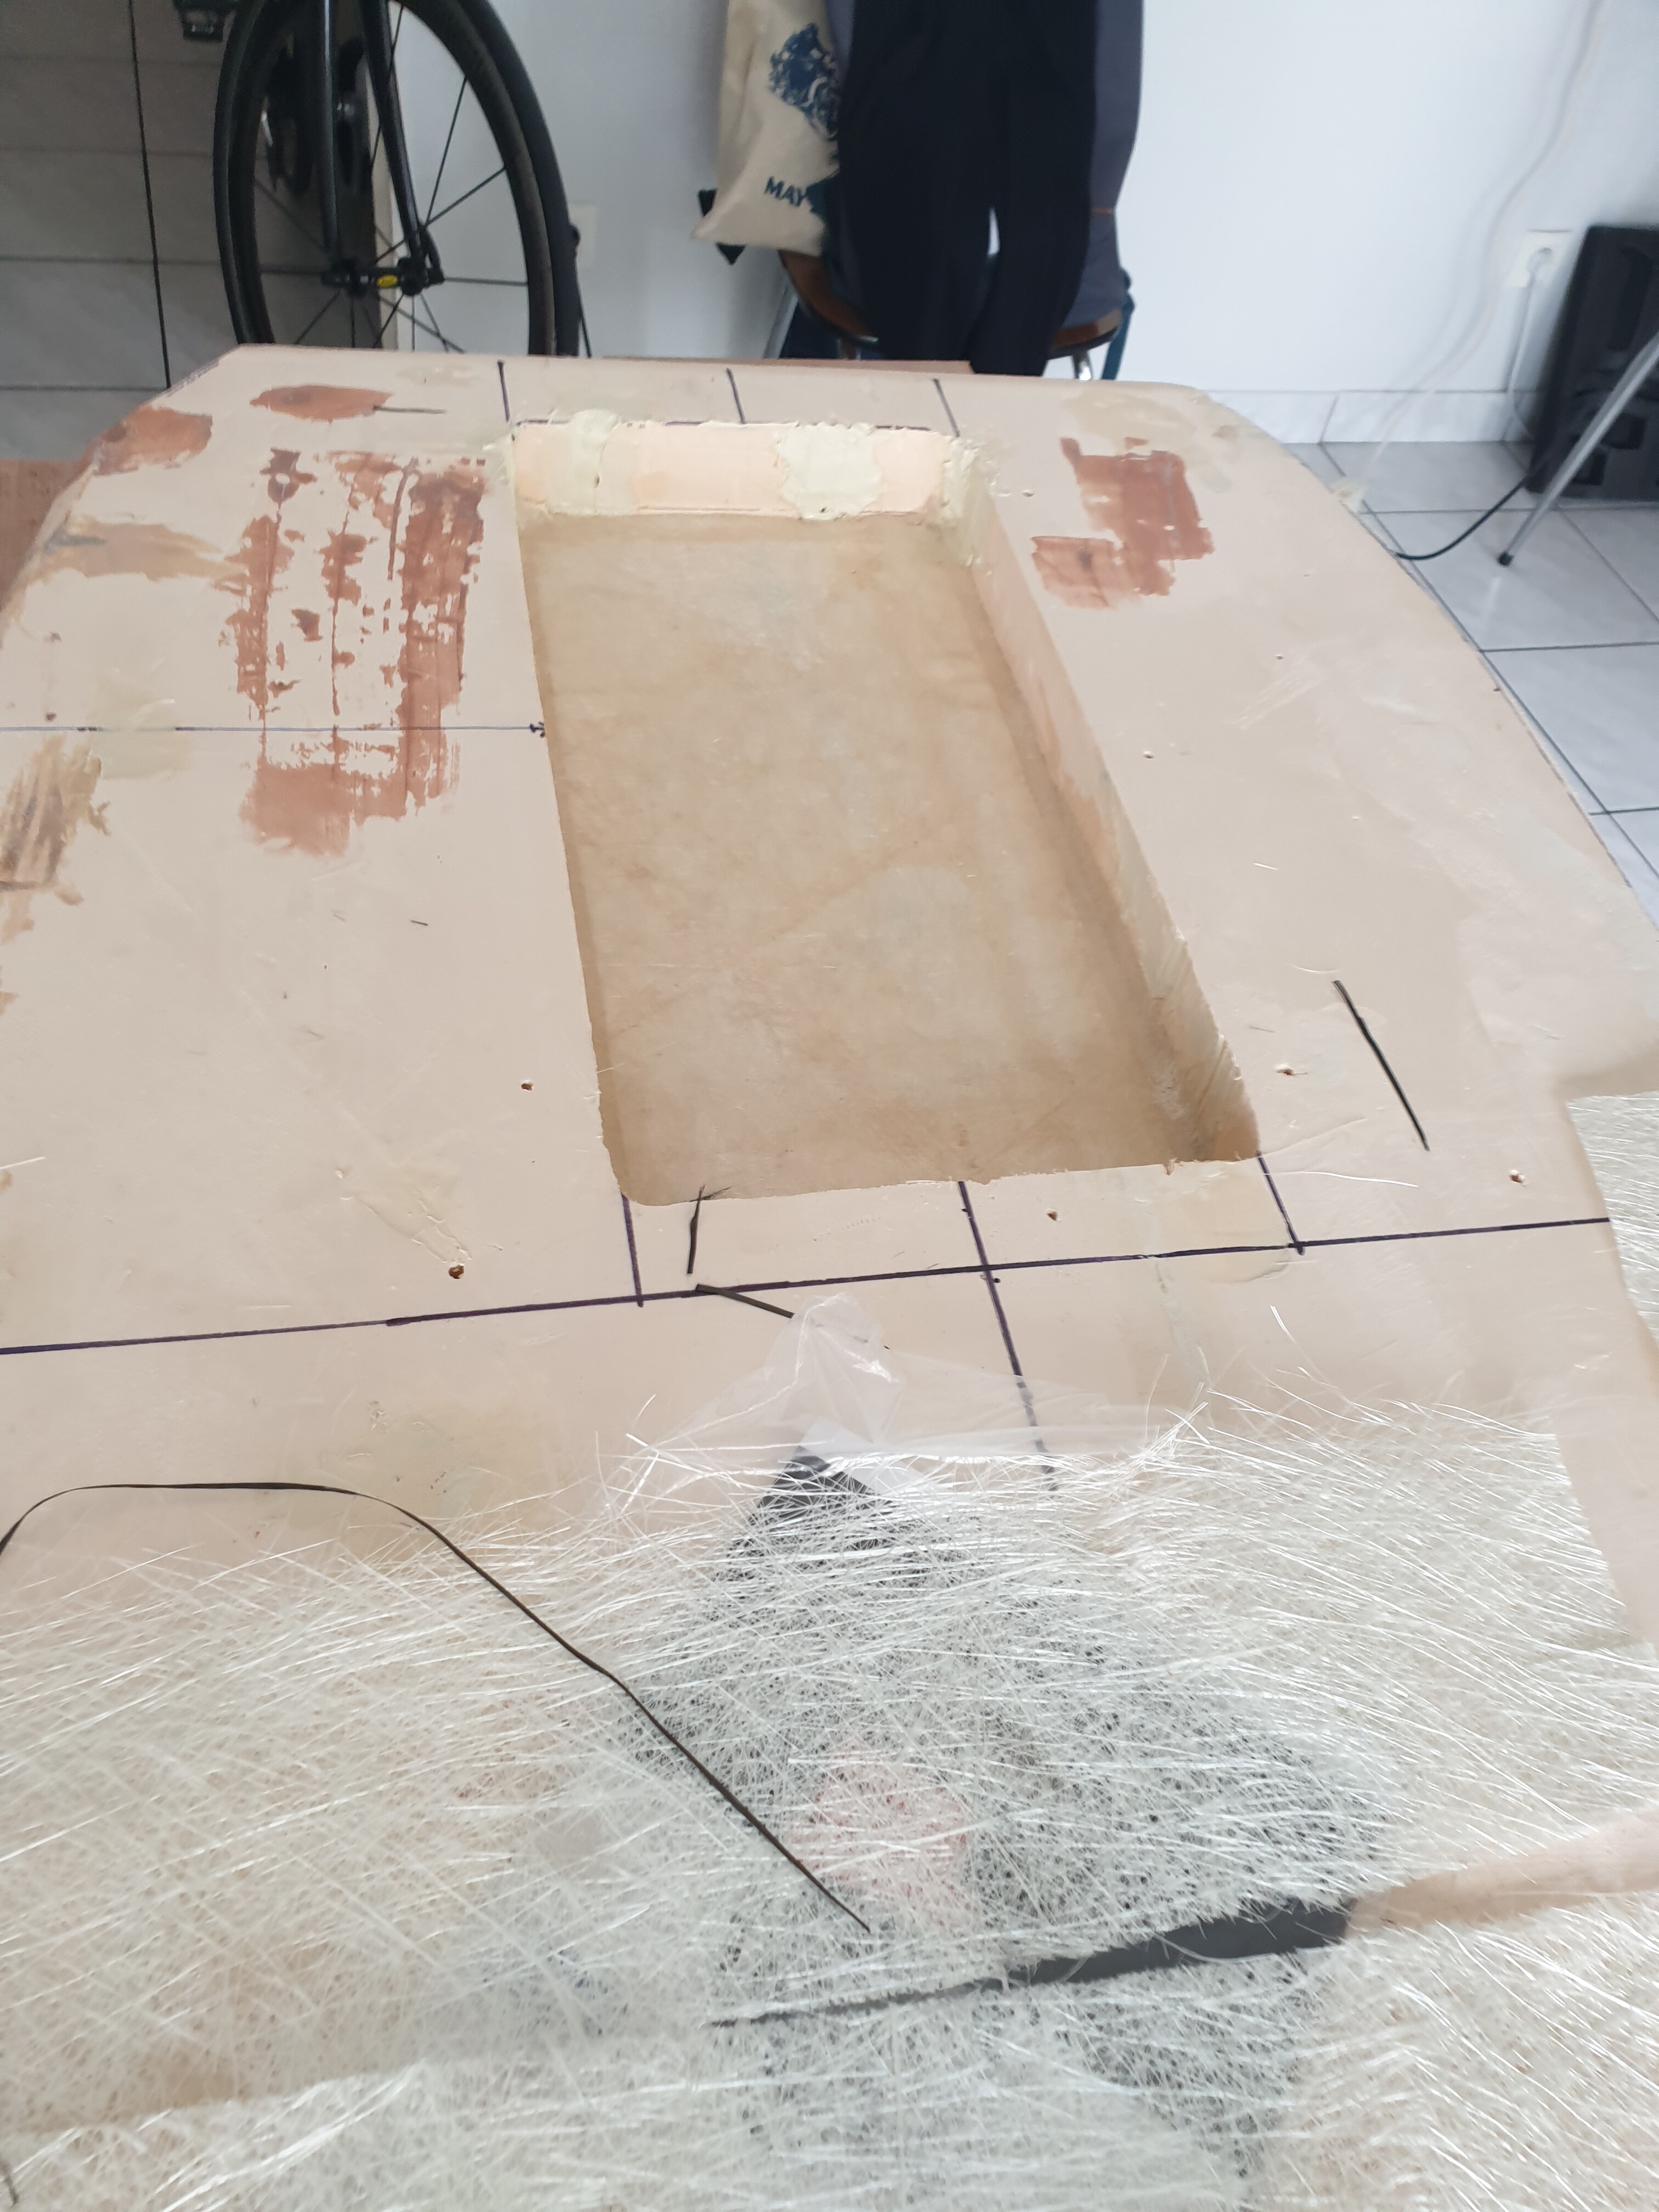
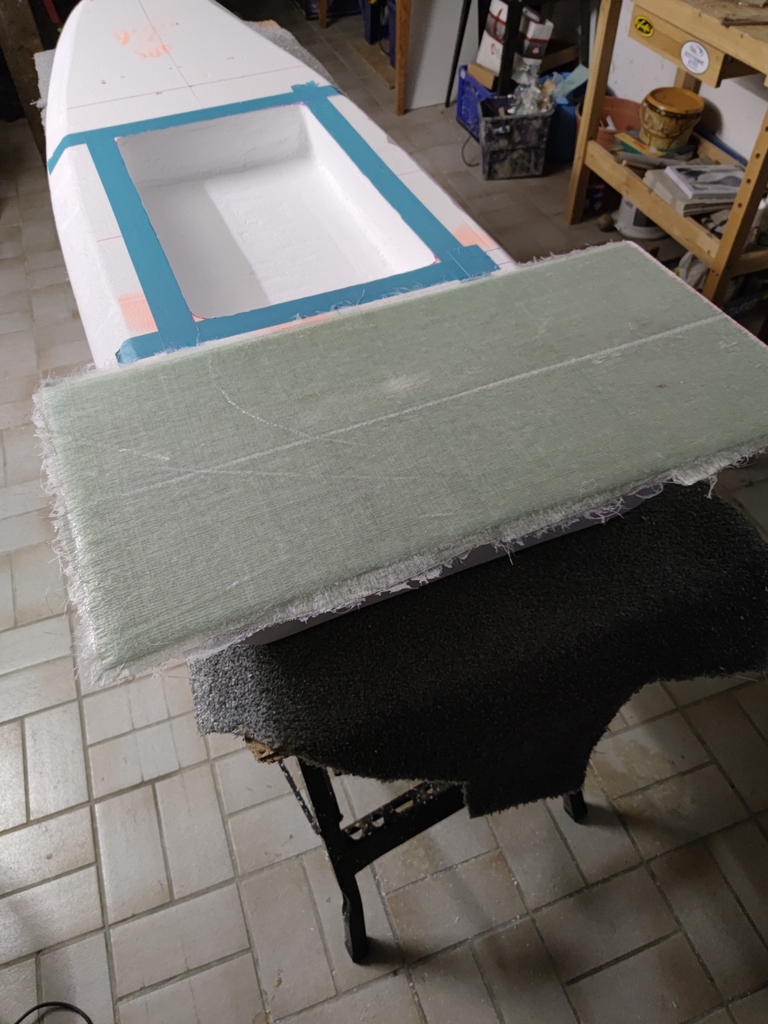
I started to think about where to insert the gong mount track box. I saw you guys advised to put the mast 20% of board length from rear. That’s where the Arrow is on the Following picture:
Hello. There is a method of gluing without a vacuum bag, convex surfaces. Recesses under the hatch are better with a vacuum bag. Or cover the impregnated fiberglass with food wrap and pour some loose material into the recess, something like sand.
johnnybegood for the last coat try to wipe down with acetone, wearing gloves. Every little bit of hand oil on the surface will give a pin hole. Clean outside and try to coat in a clean area.
Looking good.
@Johnnybegoood Here is how I installed my mast track box. I used the 20% board length rule too. I think it worked out great. My first step was to reinforce the bottom area where the track mount will go. I also used fiber glass with thickened epoxy as the glue to install the foam square. I also did this with the individual tracks. I then used two fiberglass stiffeners to tie in and distribute the forces in a horizontal fashion. My final strengthening layer is a multi axial fiberglass layer that runs the complete length of the board. All of this may be over kill but I wanted the board to be reinforced.
I will do as you did @wushbush :
-add a longitudinal stiffener all along the board
-put some fiberglass on the Bottom of the enclosure to make it rigid
-once the gong mount track box is glued add two transverse stiffeners. By the way, what material did you use for those as a base? A sort of high Density foam?
Will keep you updated about my work soon (well, hope so!)
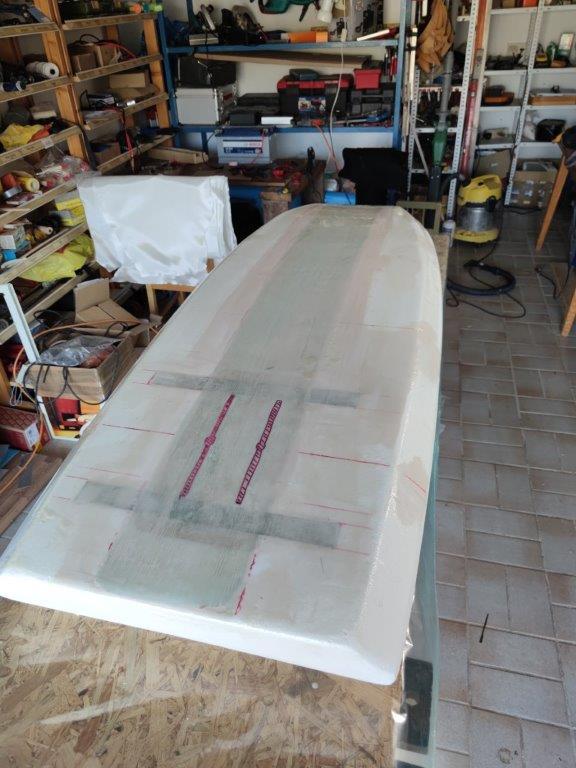
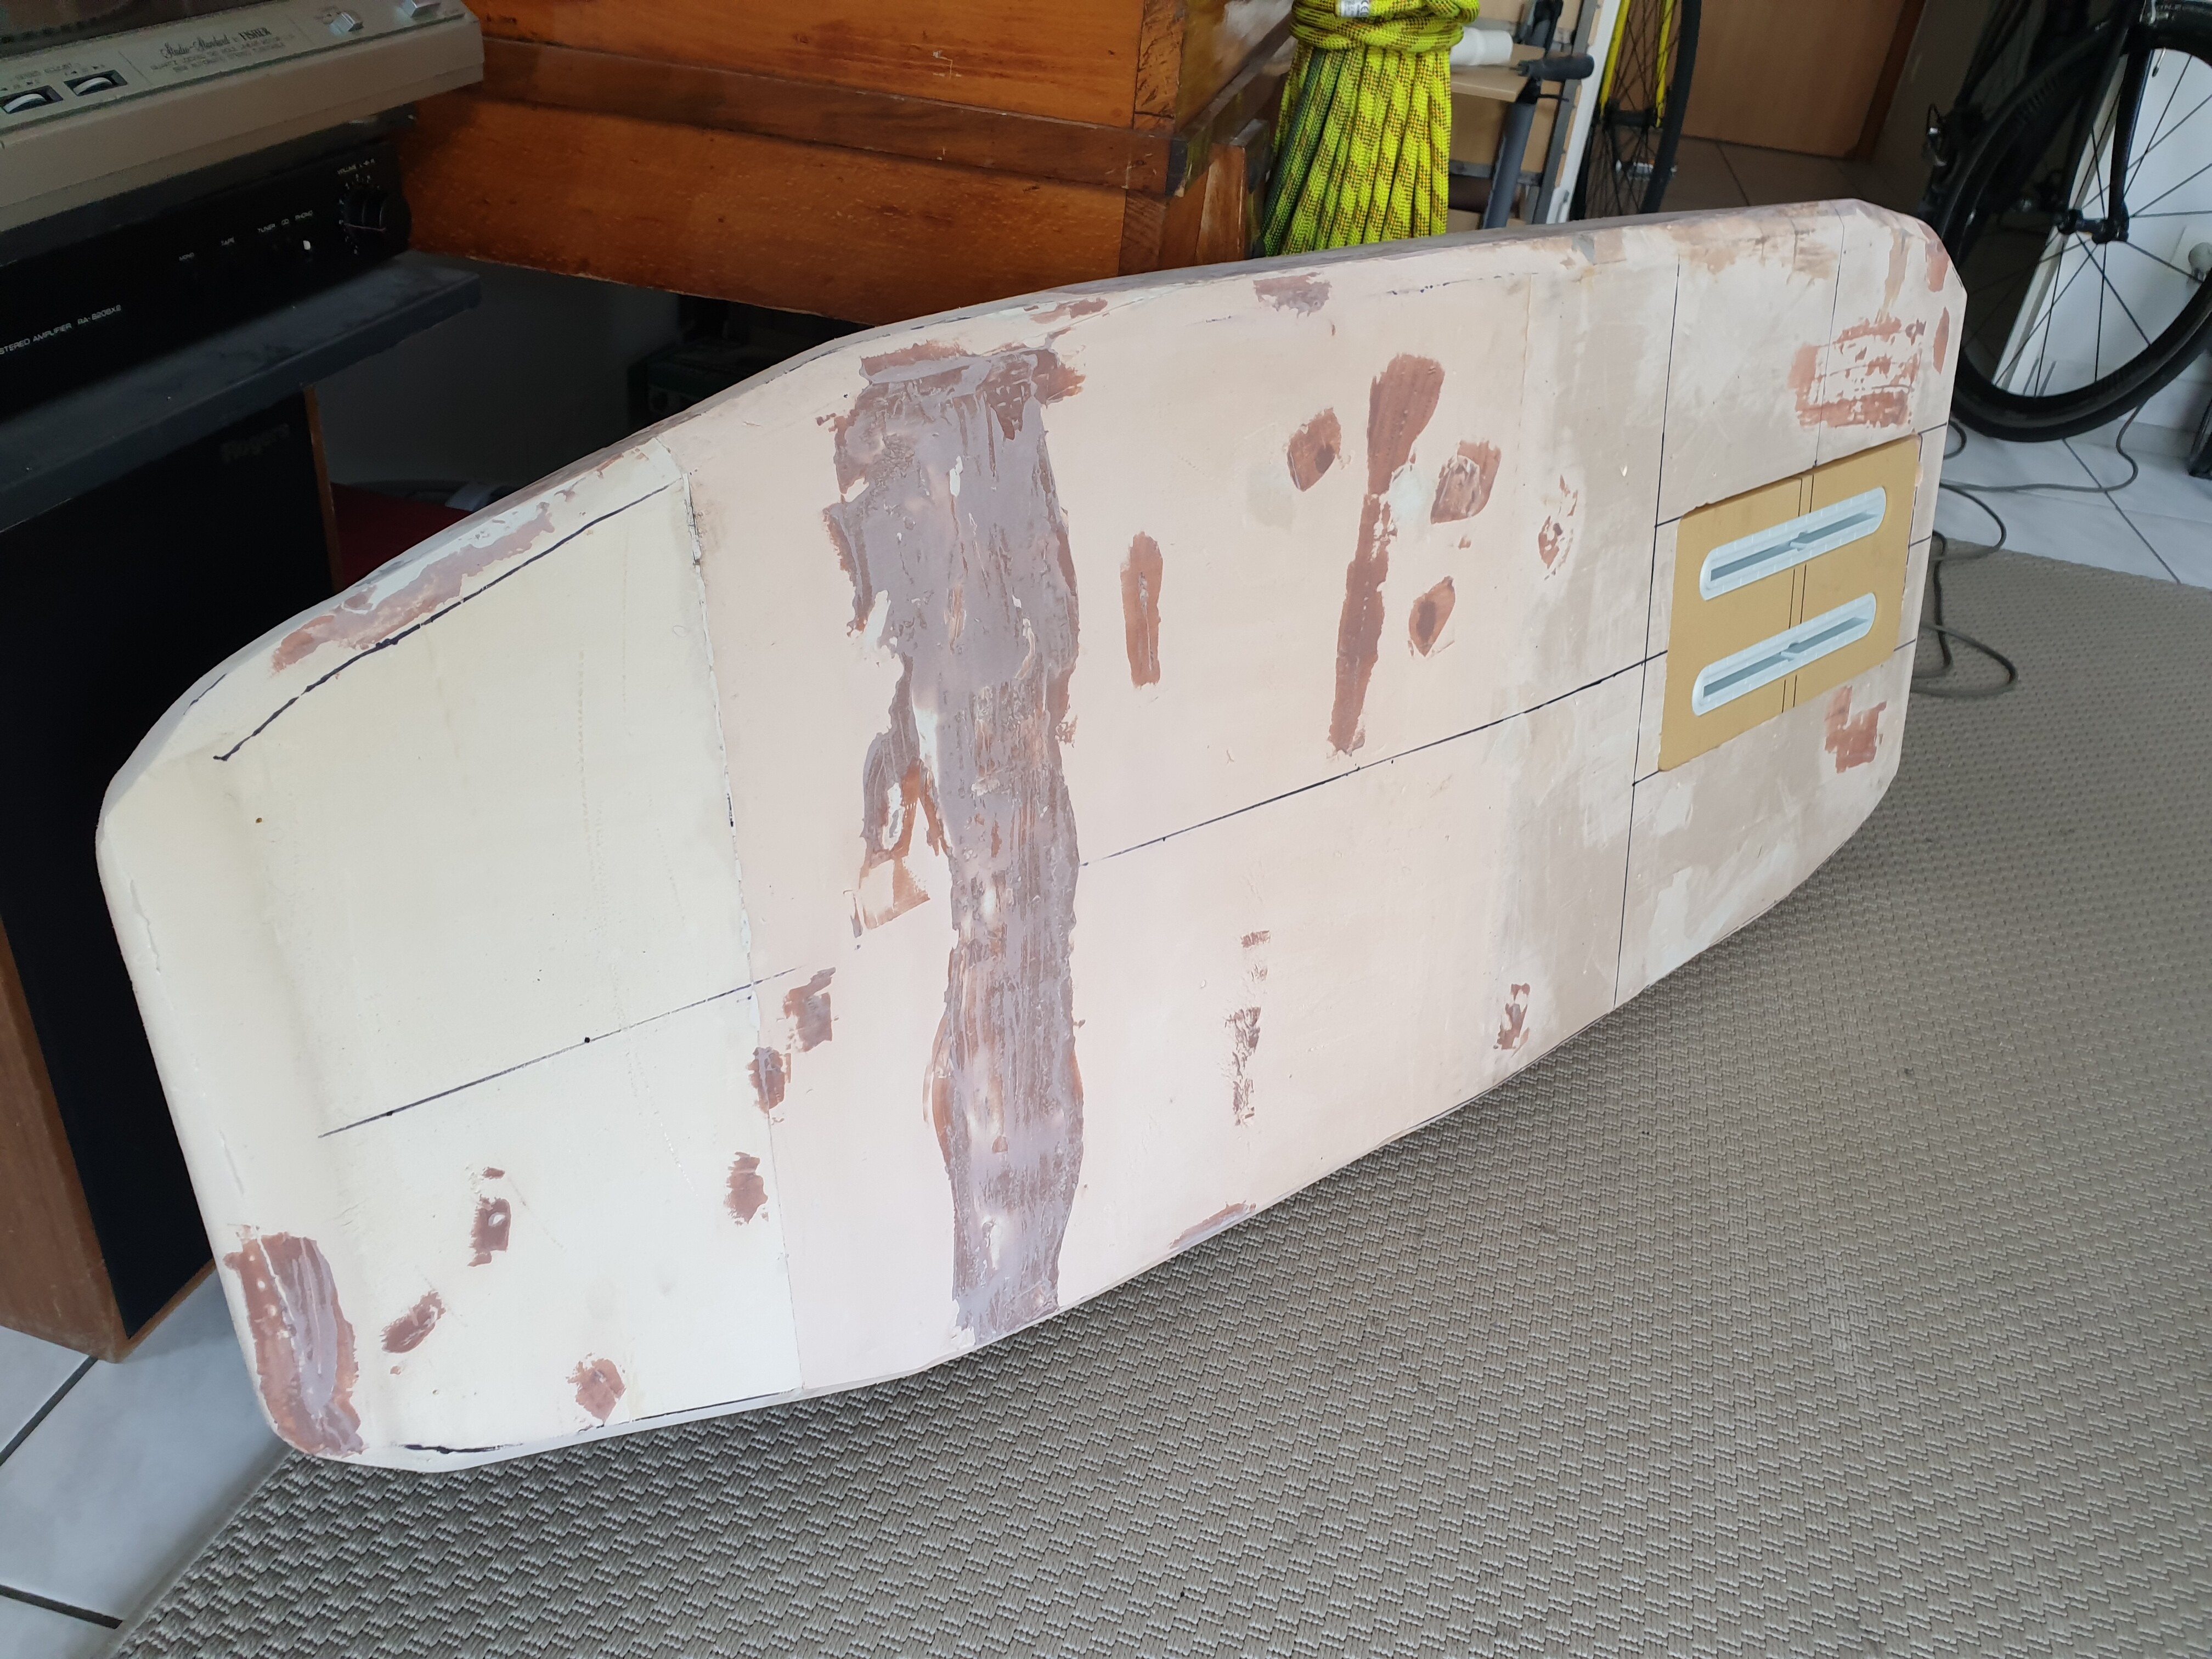
Started to use epoxy to fill the (to many) holes/ defects. Still have to fill numerous zones, just waiting for the weather to be better in order to do it on the balcony (+ the sanding!).
@JetboardCologne, why do you recommend me not to use Portholes to close my battery box ? Seems quite effective to prevent leaking.
I am also ordering electronic parts and would like to have your thoughts about my setting:
-Flipsky 65161 120kv motor
-VESC 75V 300A
-Maytech V2 (with conformal coating and corrosion x modification to make it 100% waterproof.)
-Battery: there it is. I really would like to go for “on the shelf” battery. What are your recomendations? I was palnning to go for two 10000MAH 22.2V 30C 6S1P Tattu XT90. But I have no clue if it is the most adaptated battery setting.
-Slingshot infinity 76 wing
Looks nice , battery 10ah is the min ( high quality so it should work ) but 20ah would be better and a good choice to stay light , 40ah for long range …
Two problems:
Screws are stuck on both sides, and I cannot unscrew. Put tons of oïl but…no effect.That sucks. I wanted to have access to the mast profil in order to get its dimensions. Indeed I didn’t find a proper STL motor mount:
I did a big mistake last day by using polyester resin in order to fill the tiny imperfections on the side of my board… Useless to say the foam started to melt ! I tried to remove as much resin as I could ! Ended up in filling the uge gap with putty. I was so desperate
You can see the result on the left side of the board here:
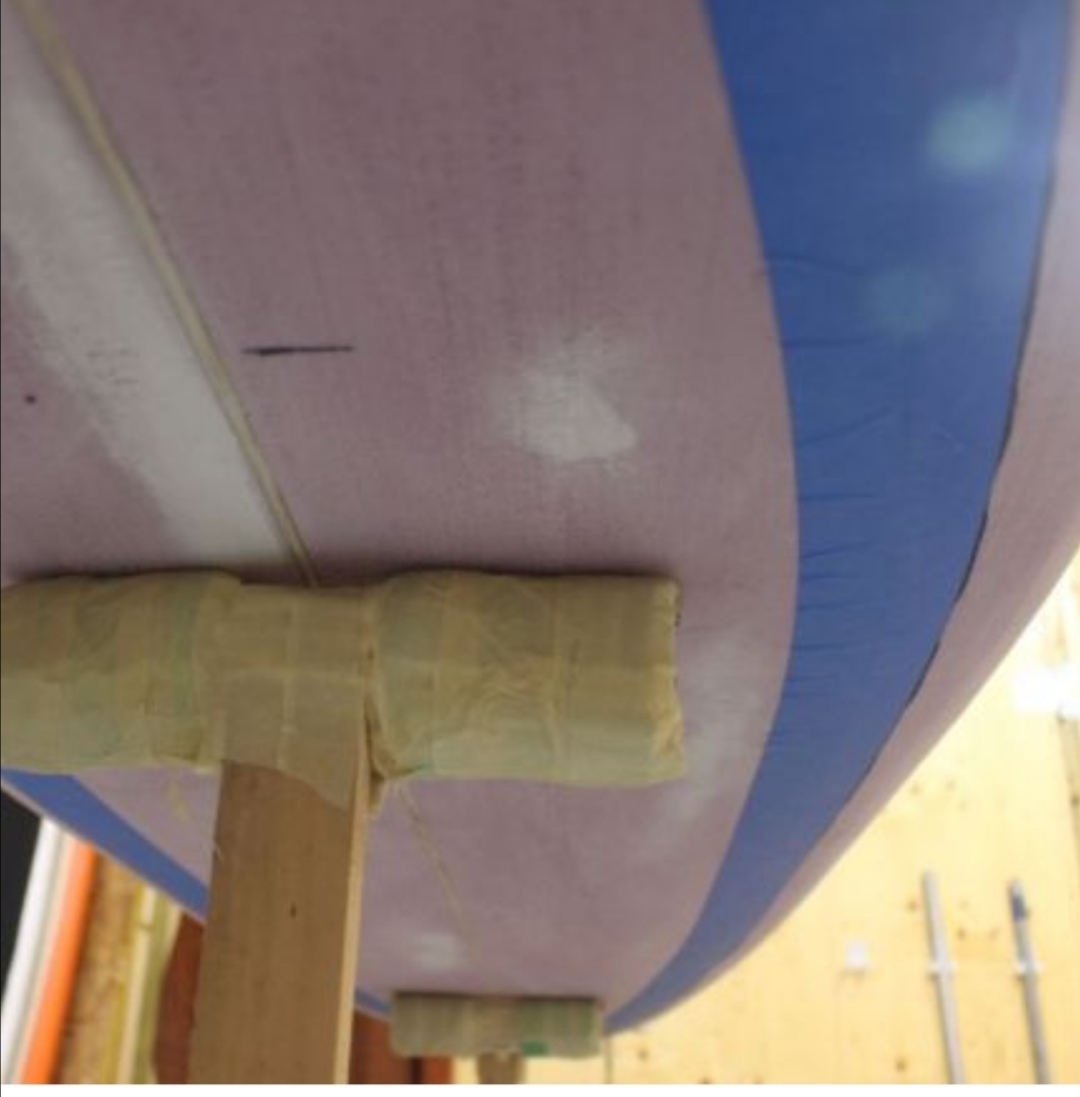
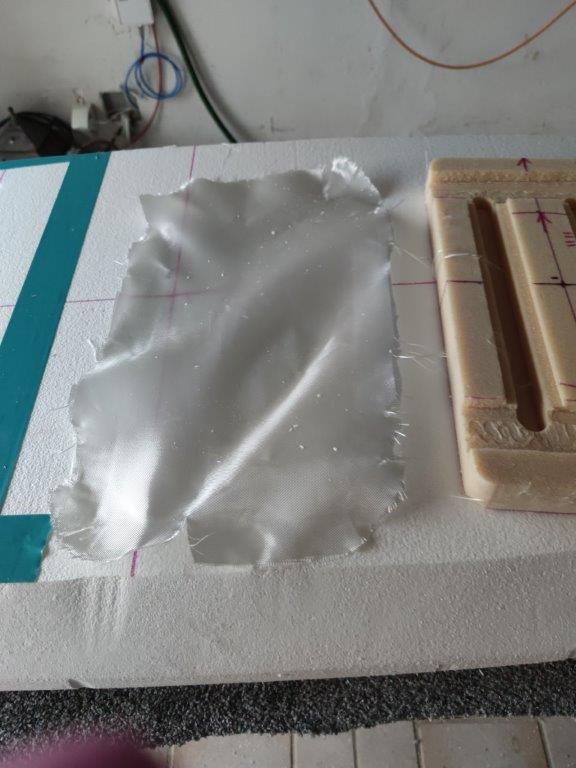
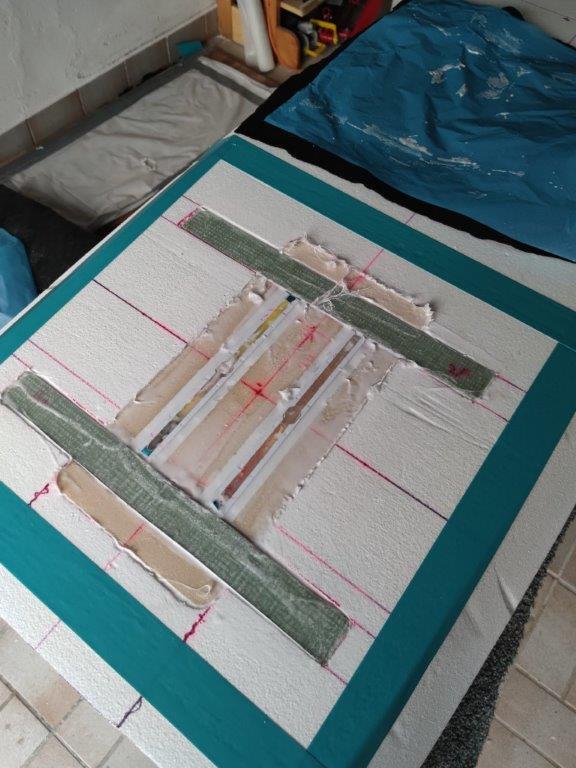
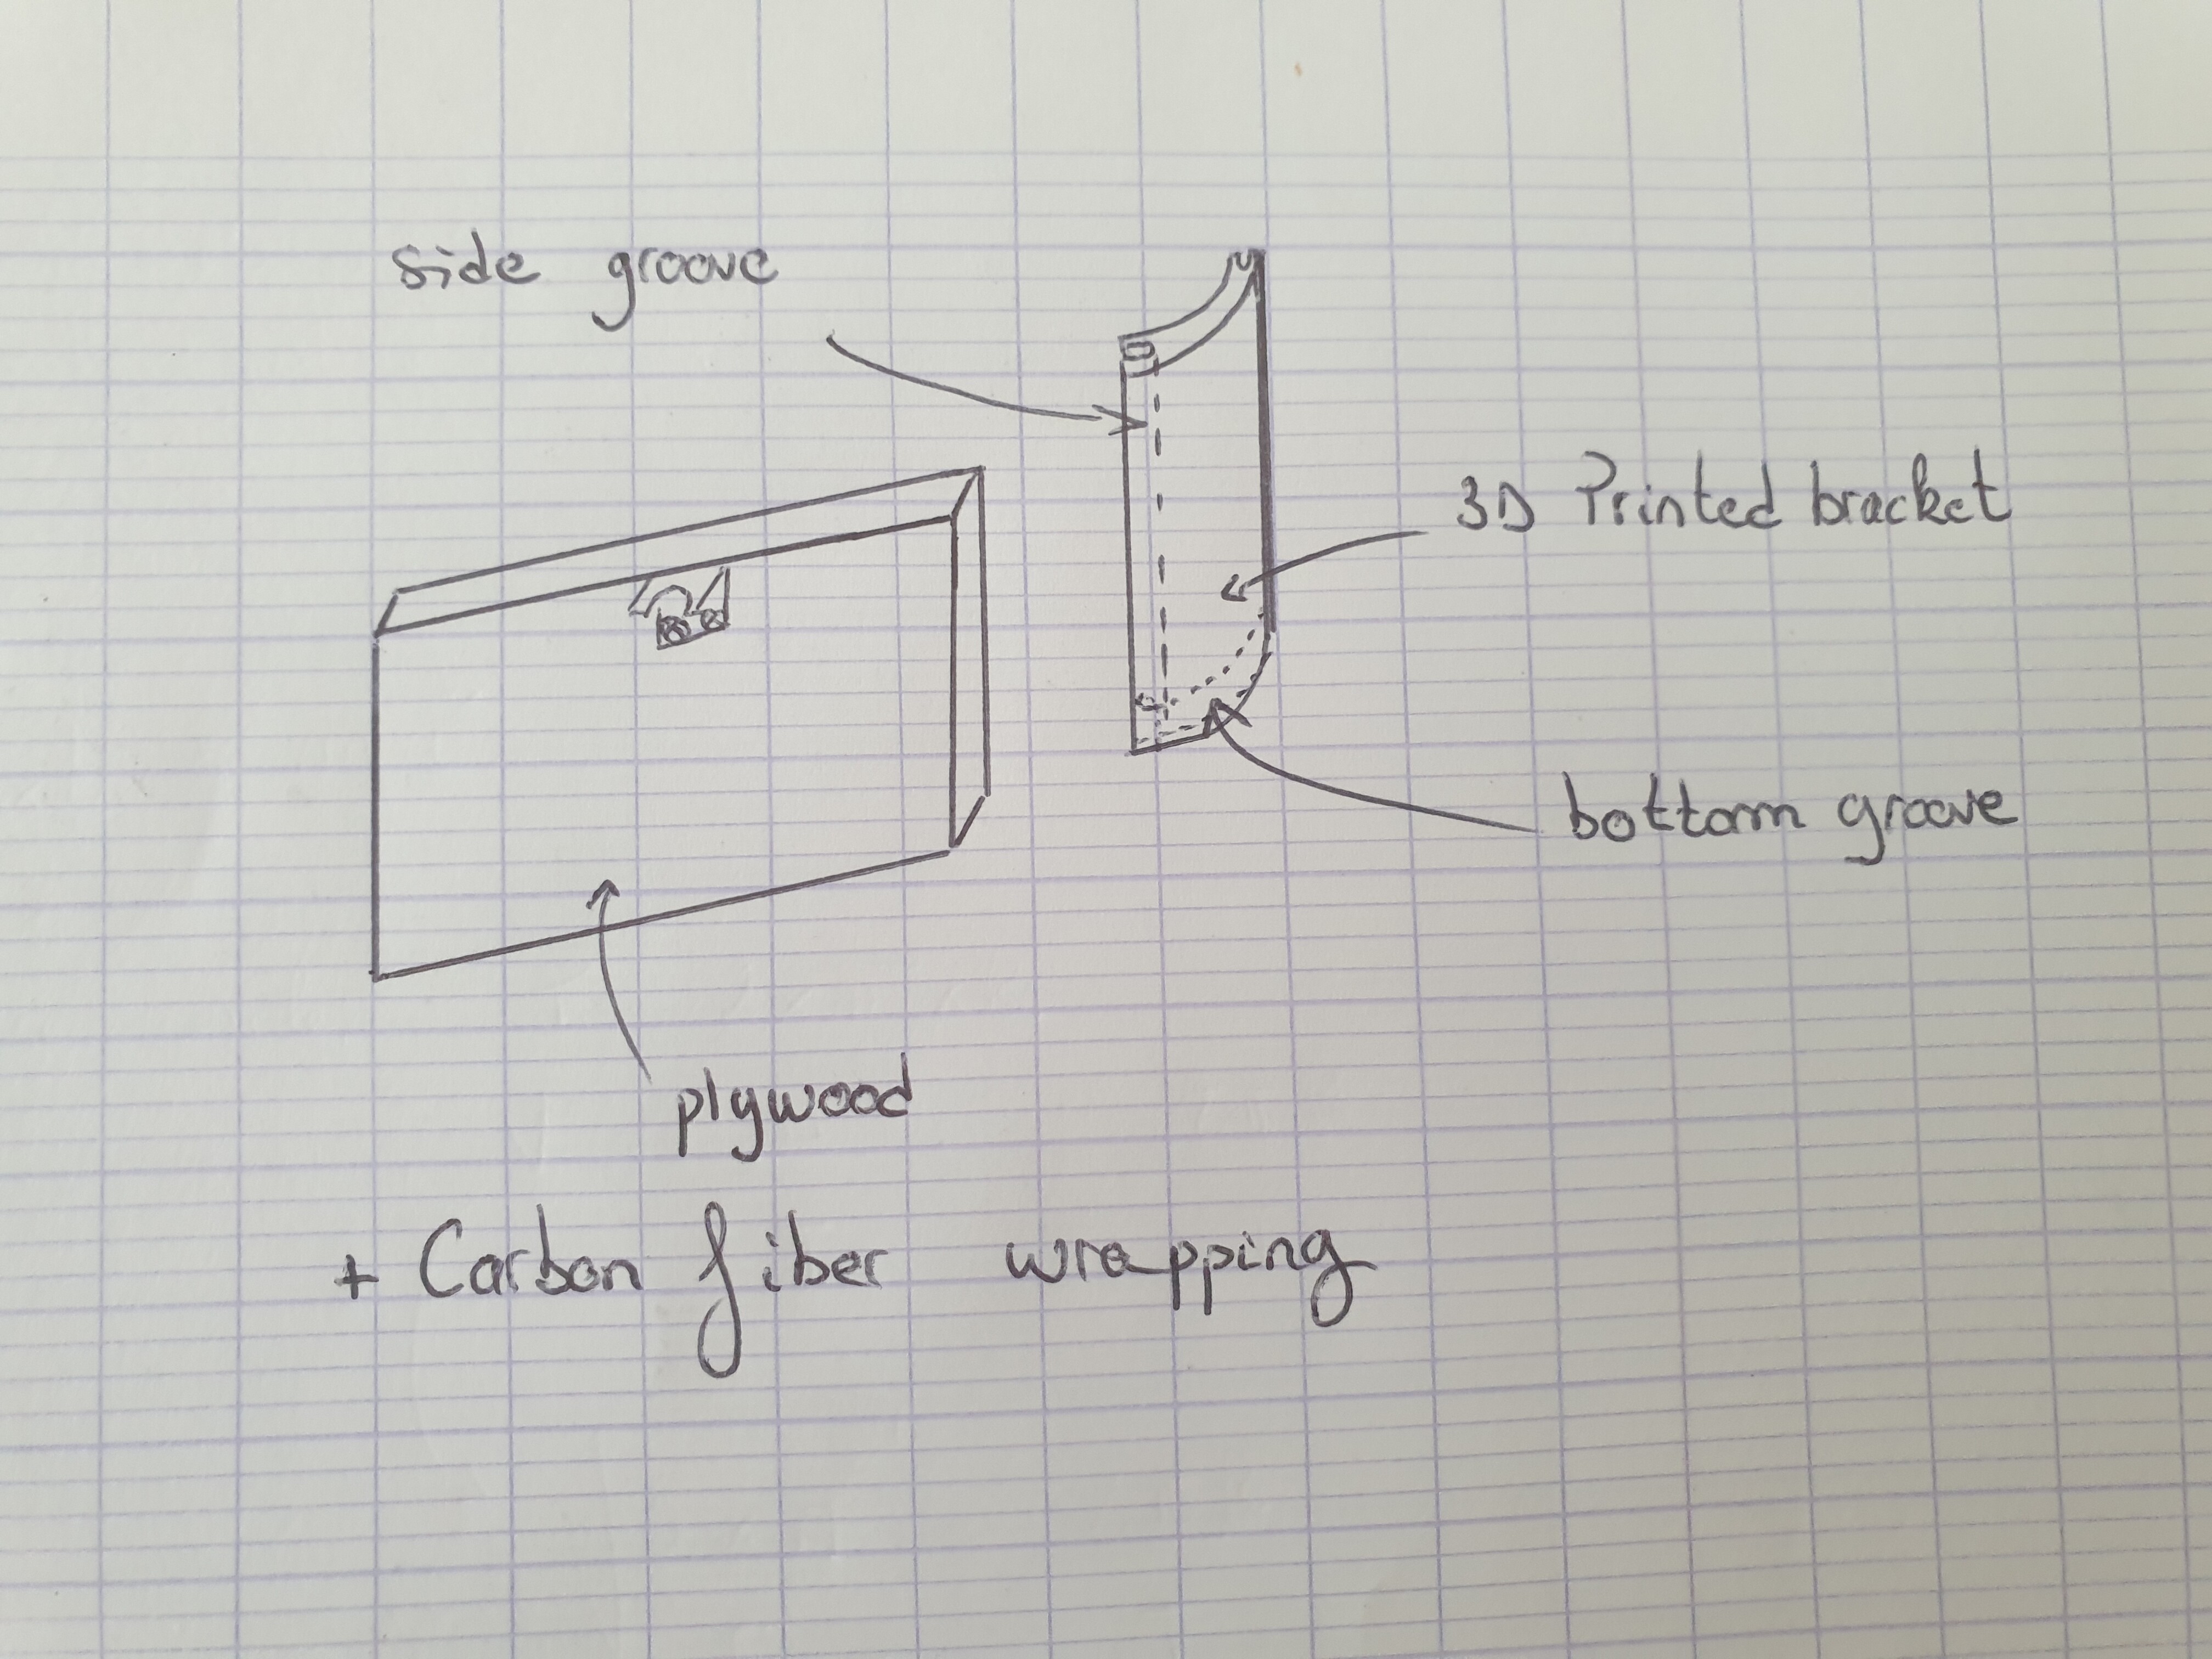
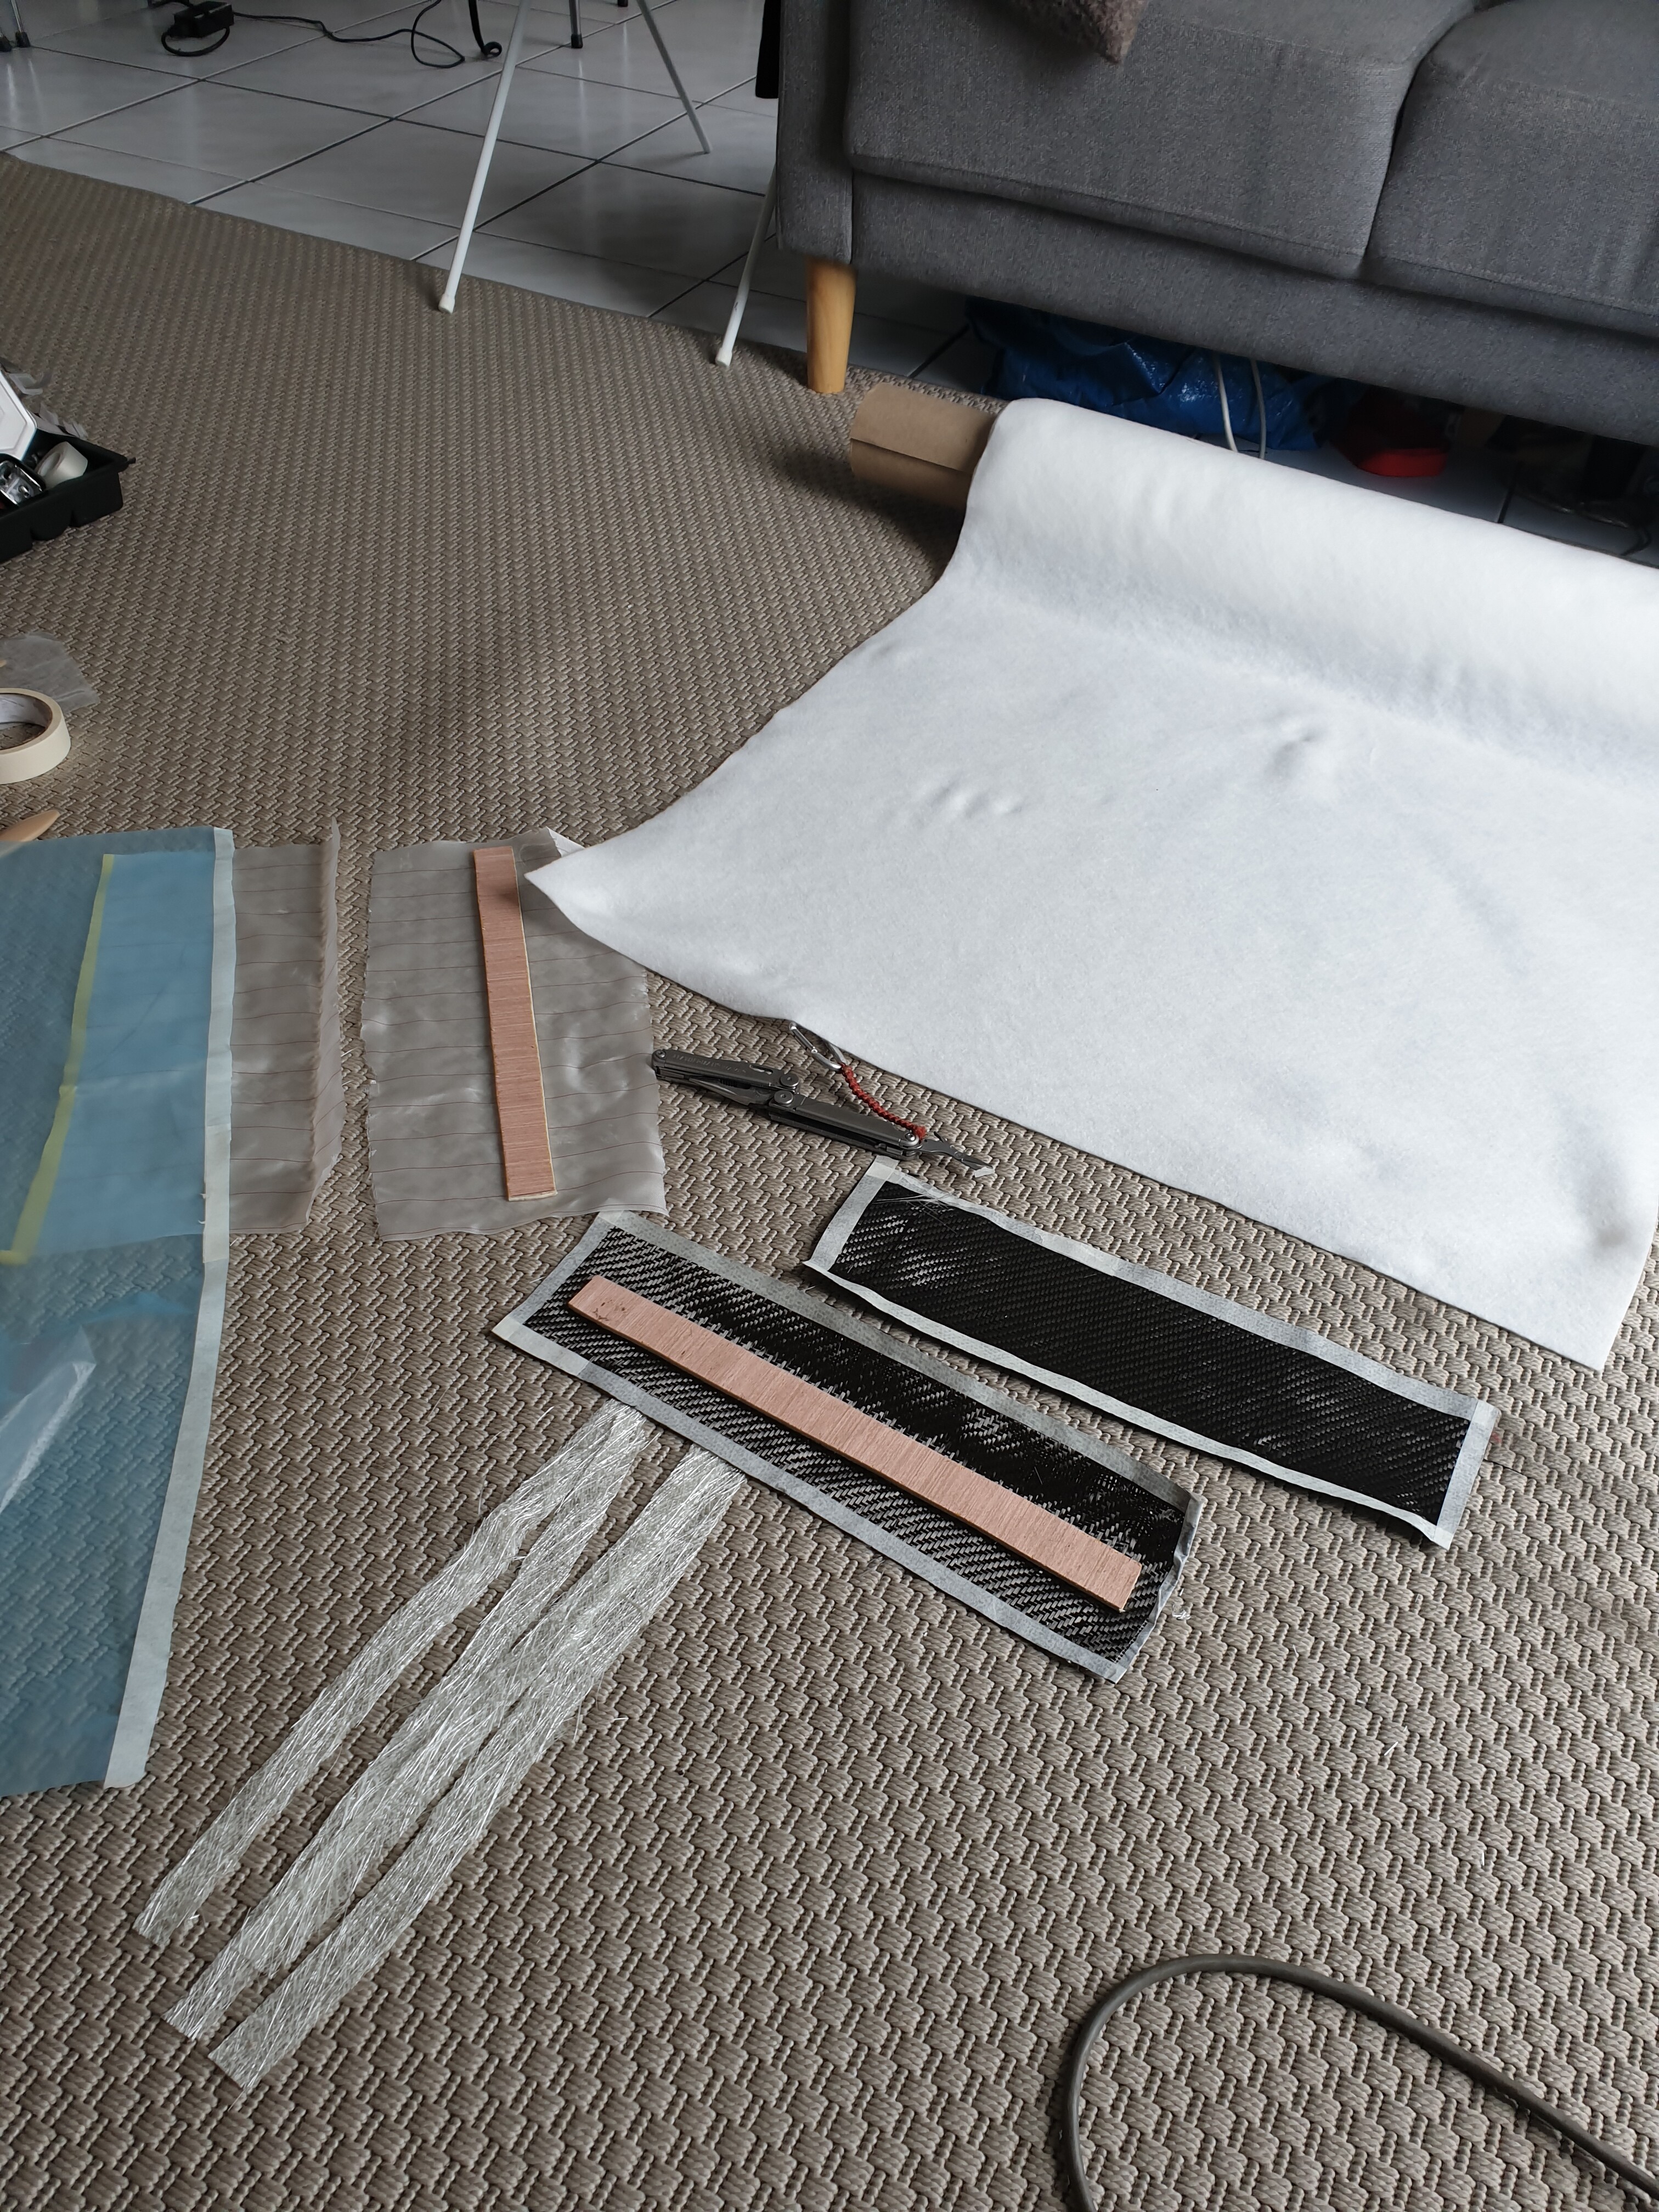
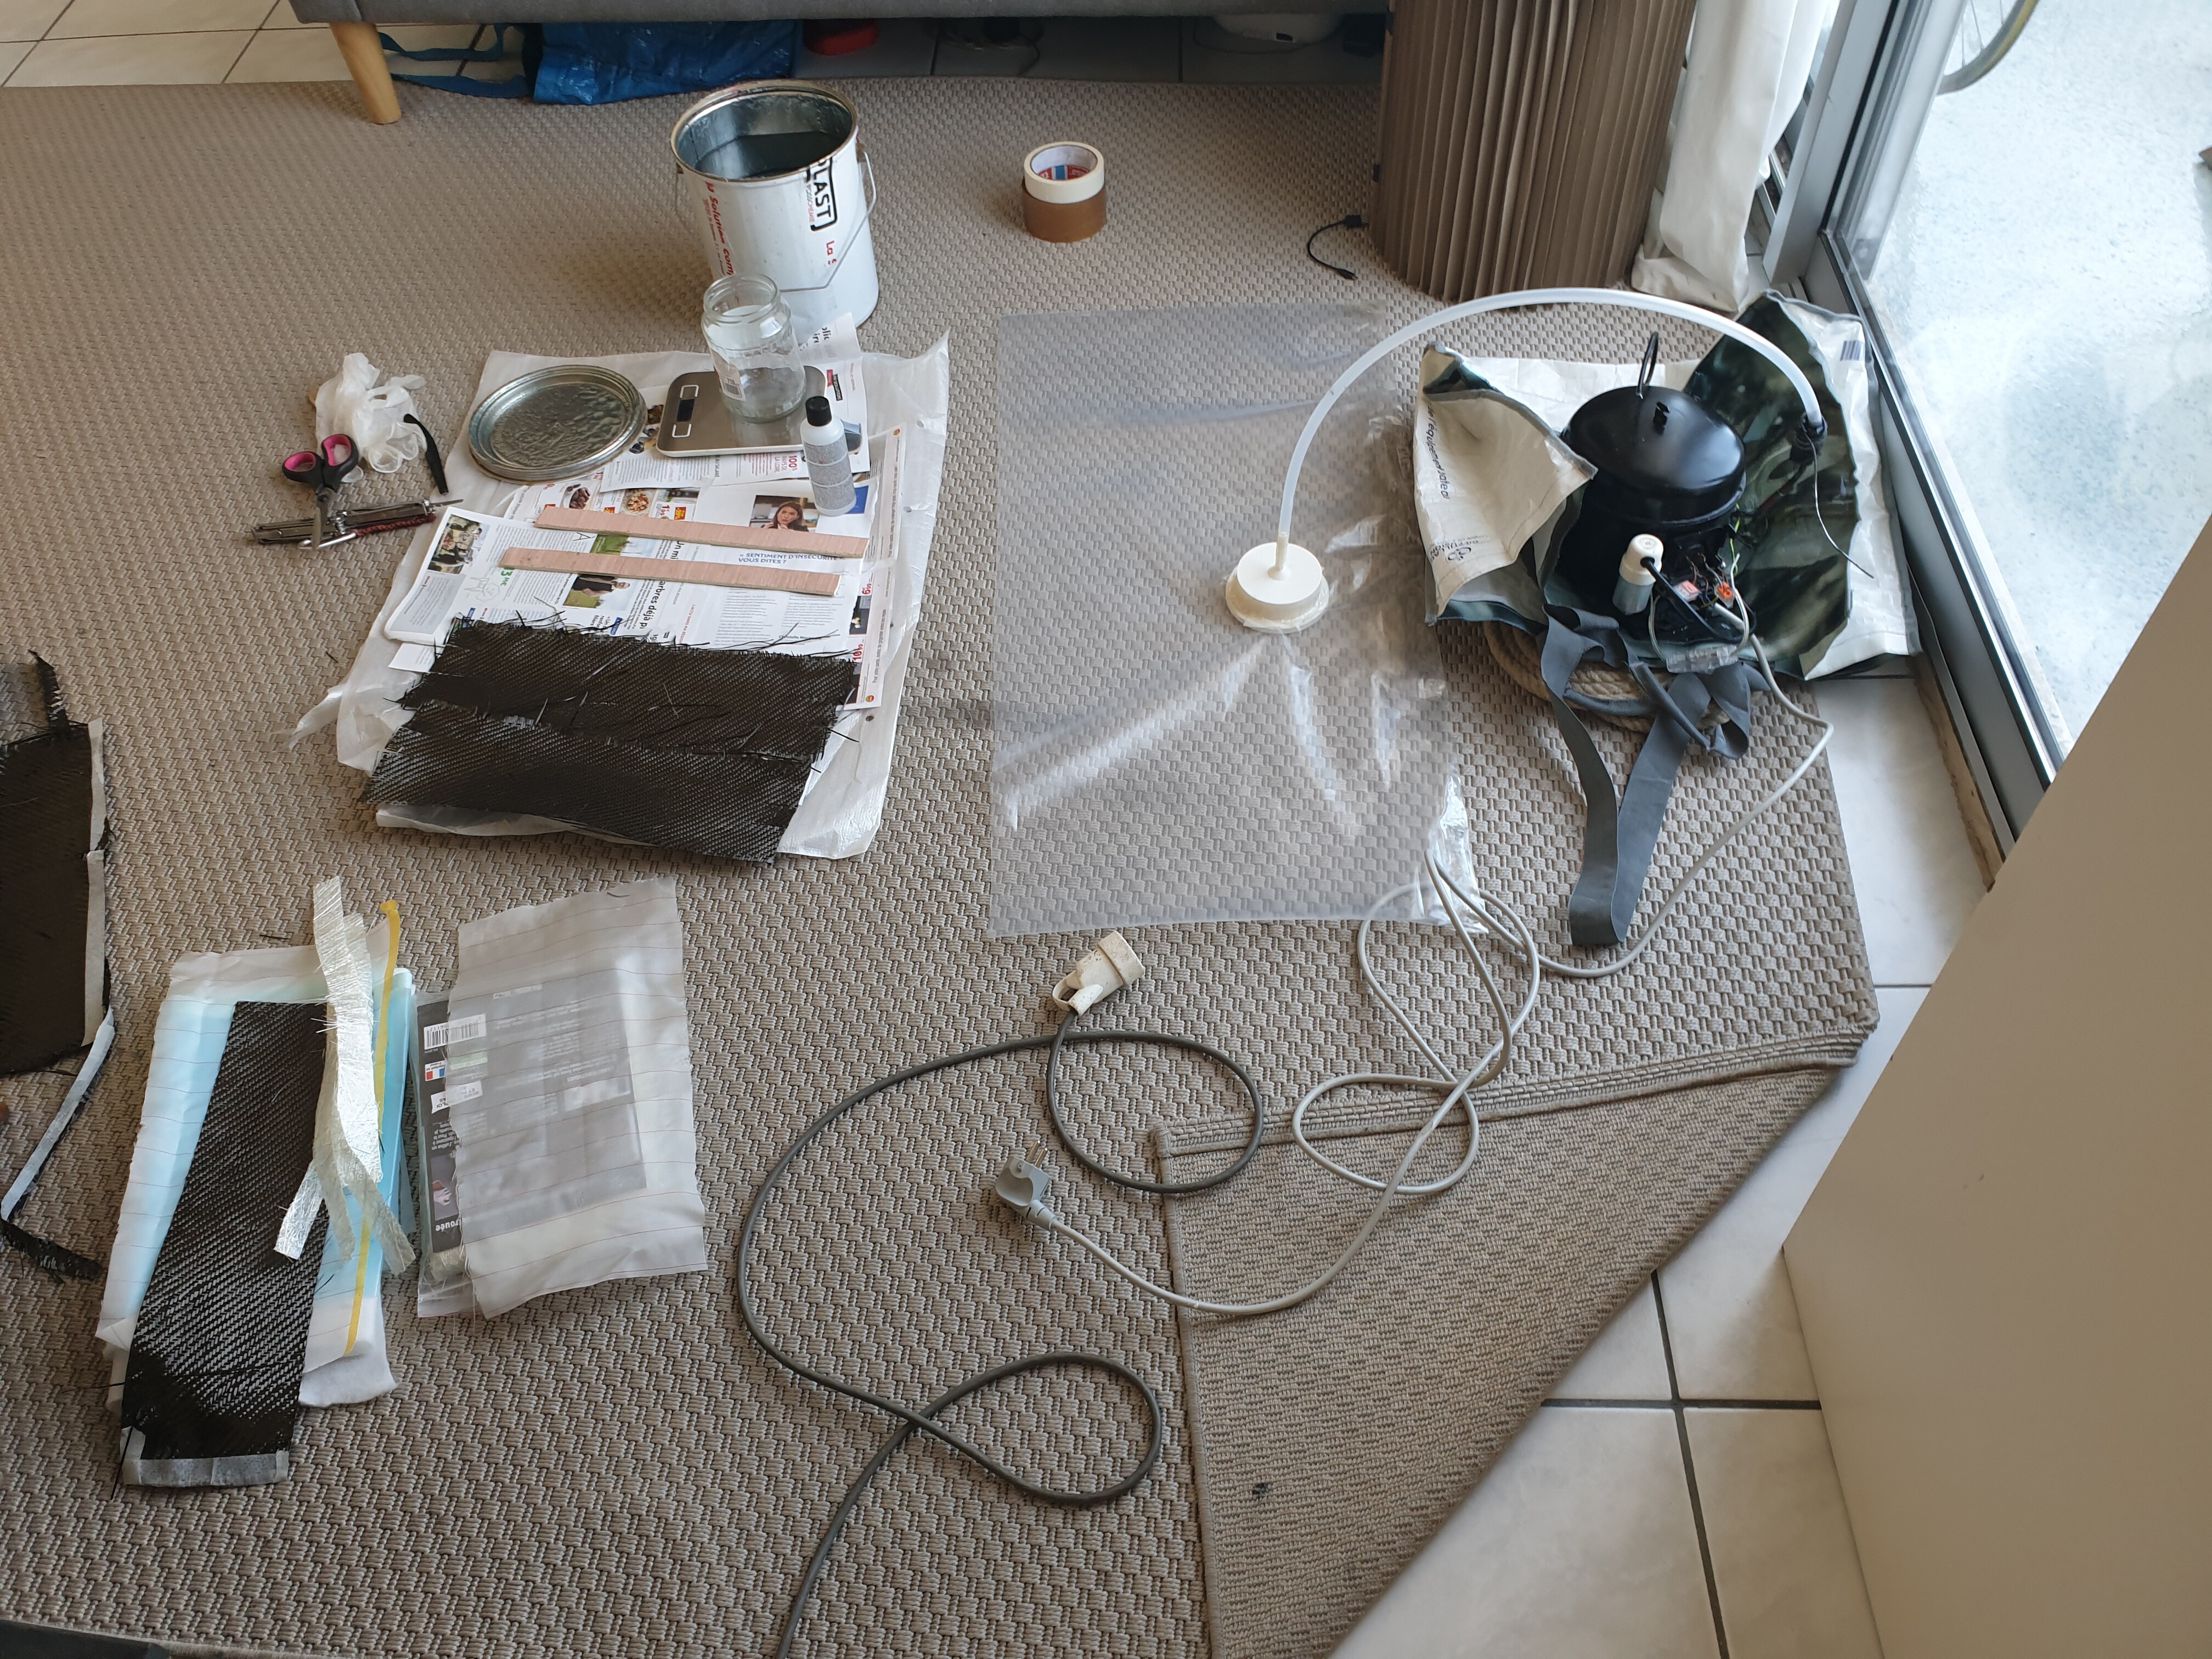
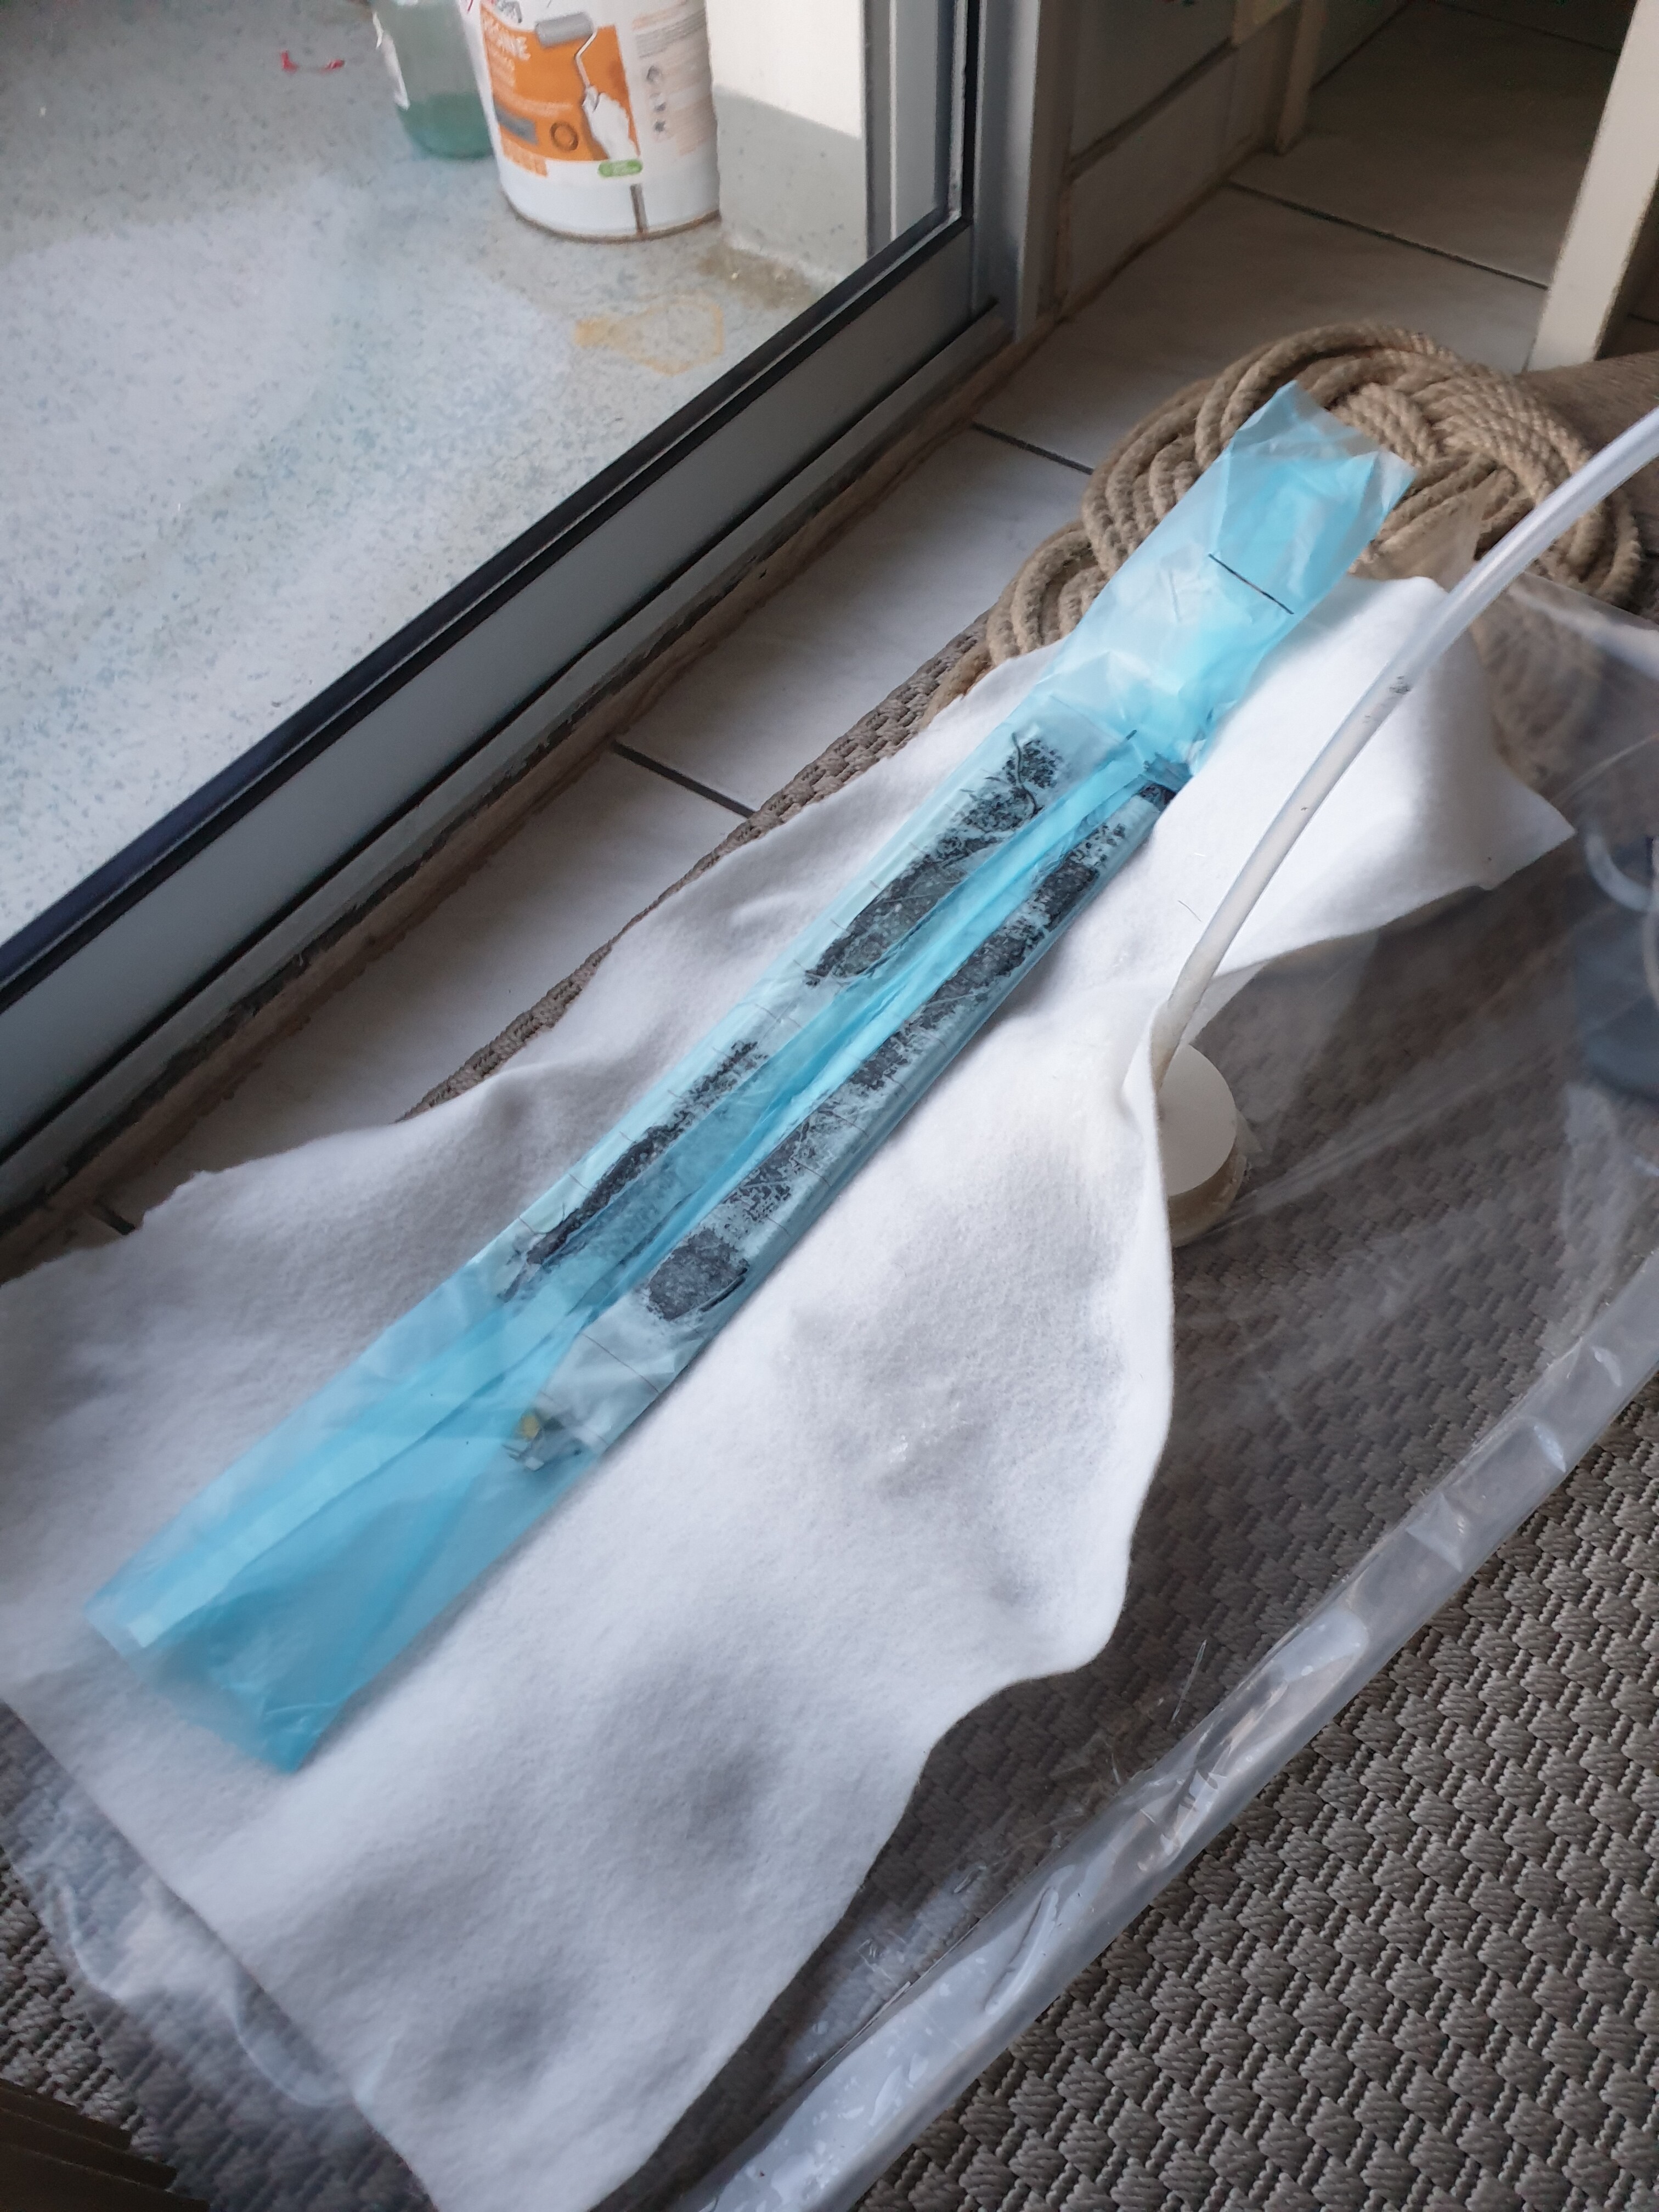
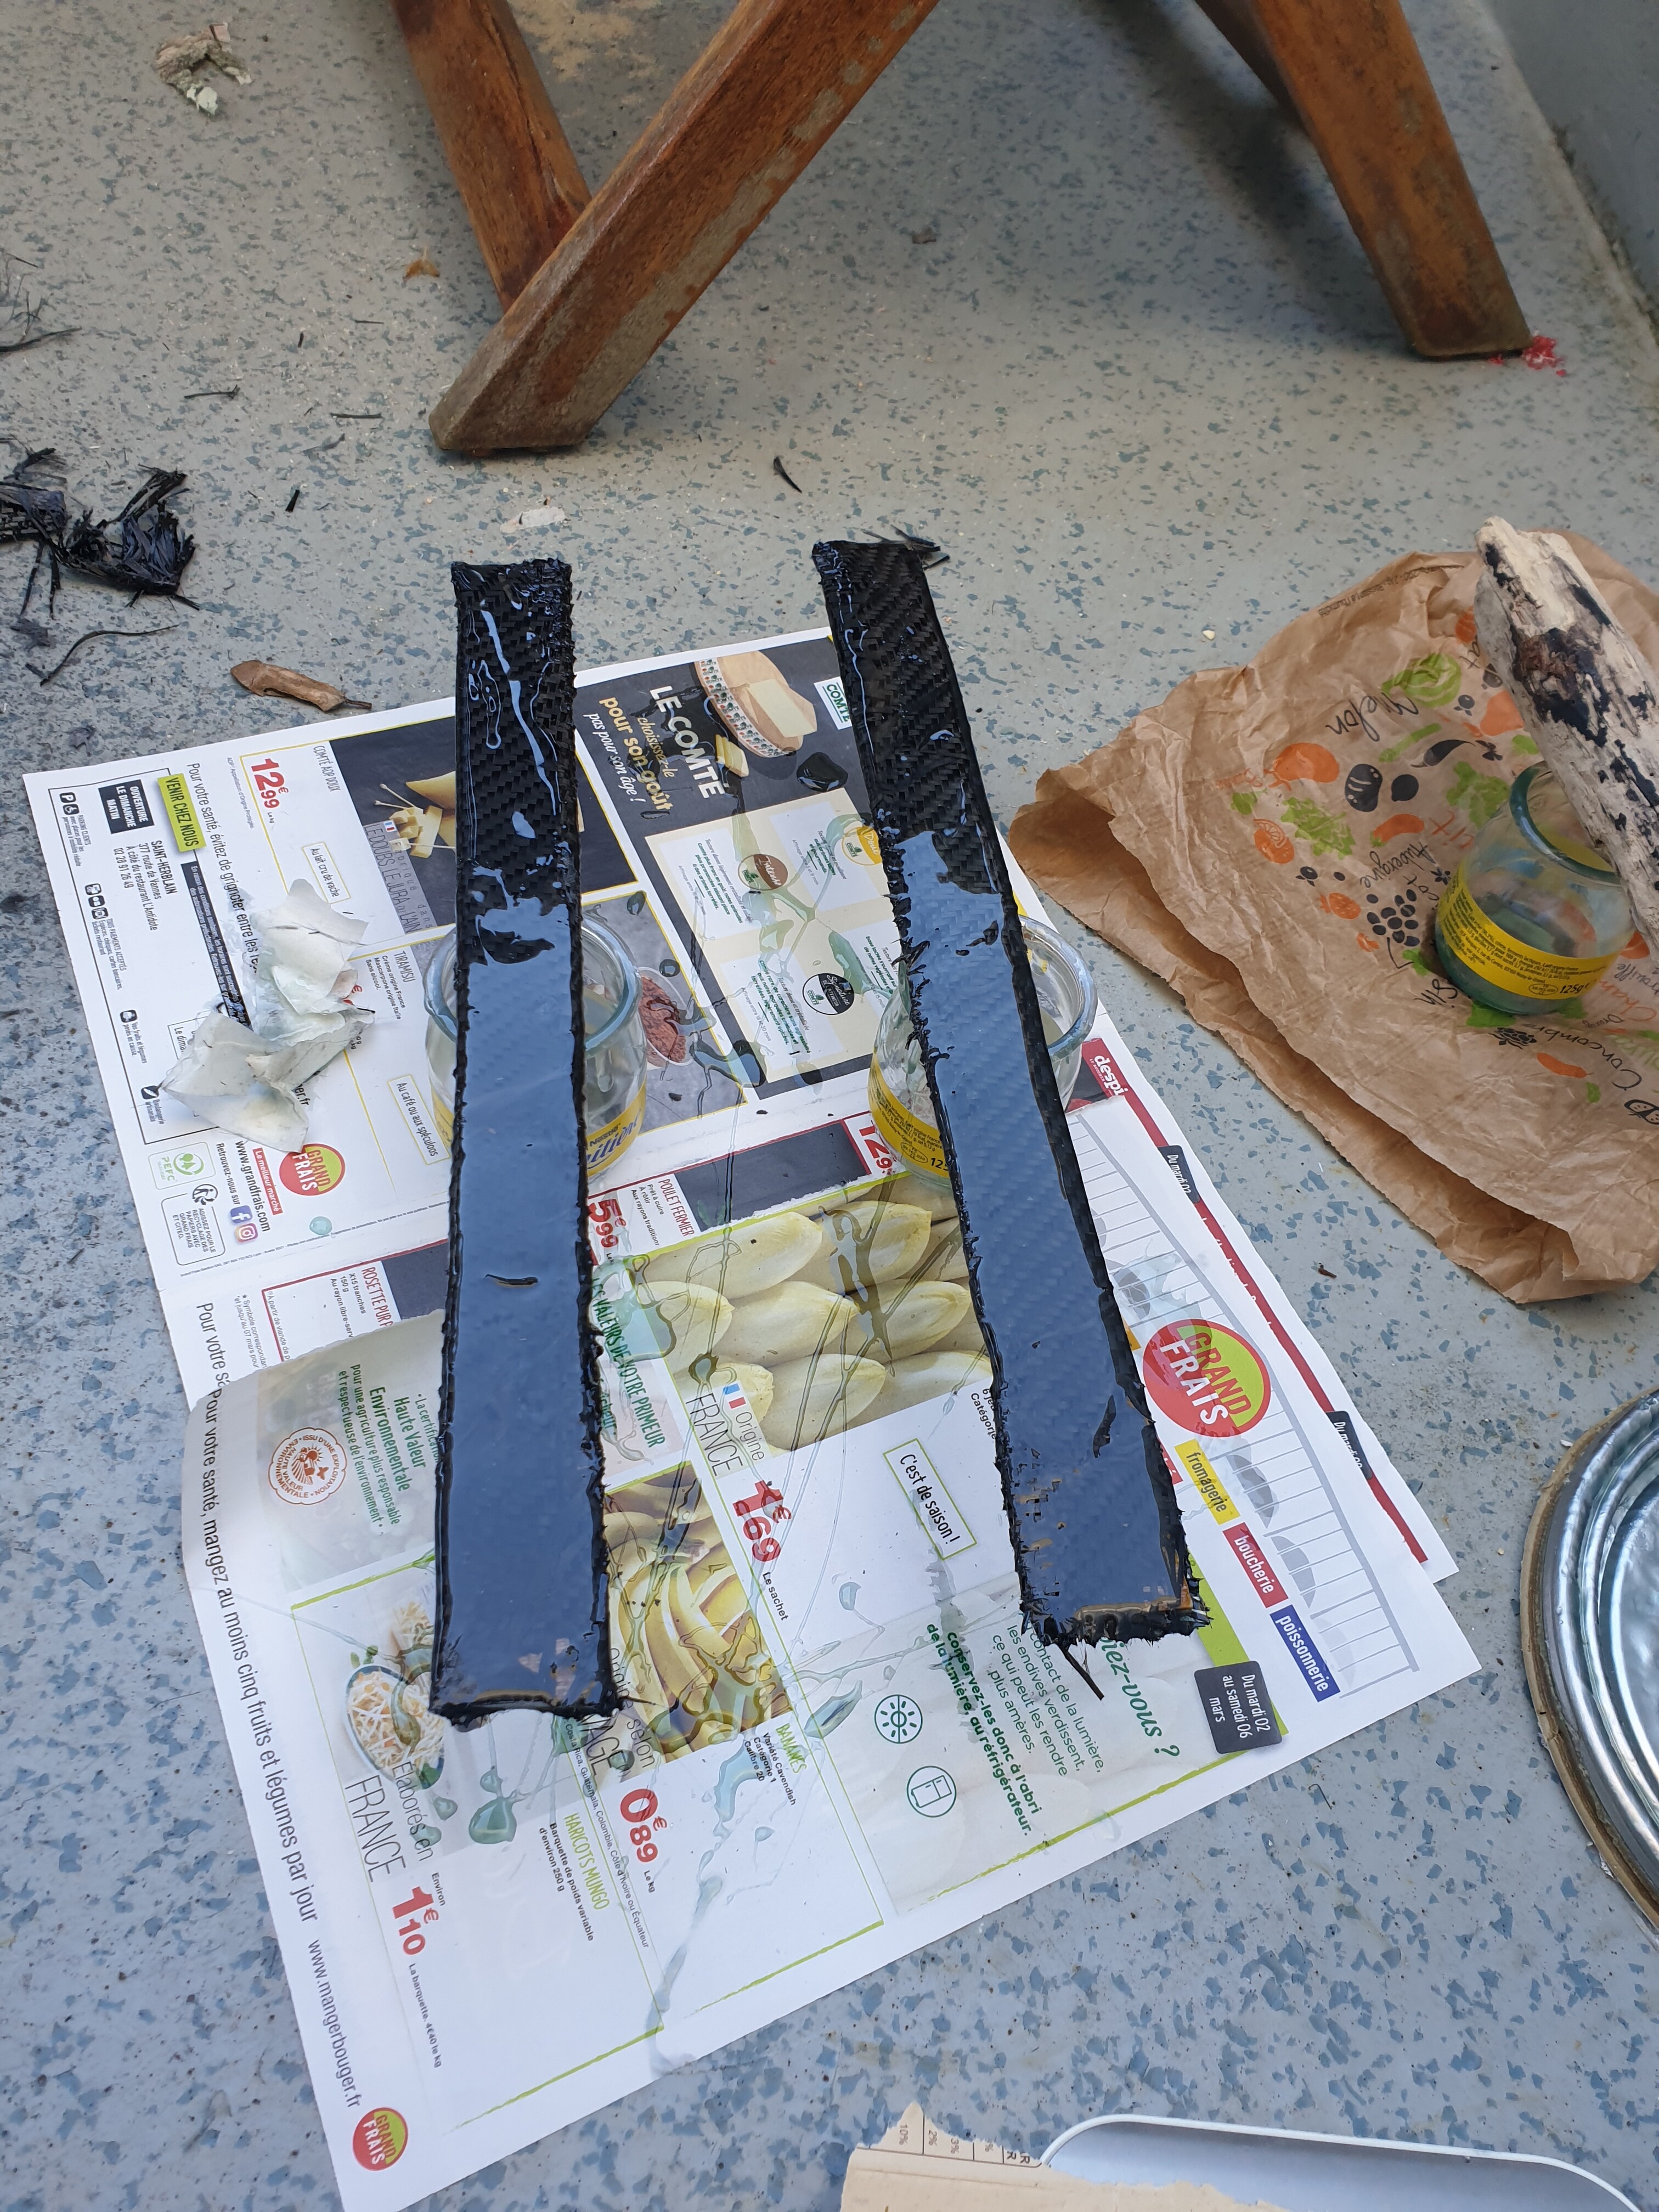
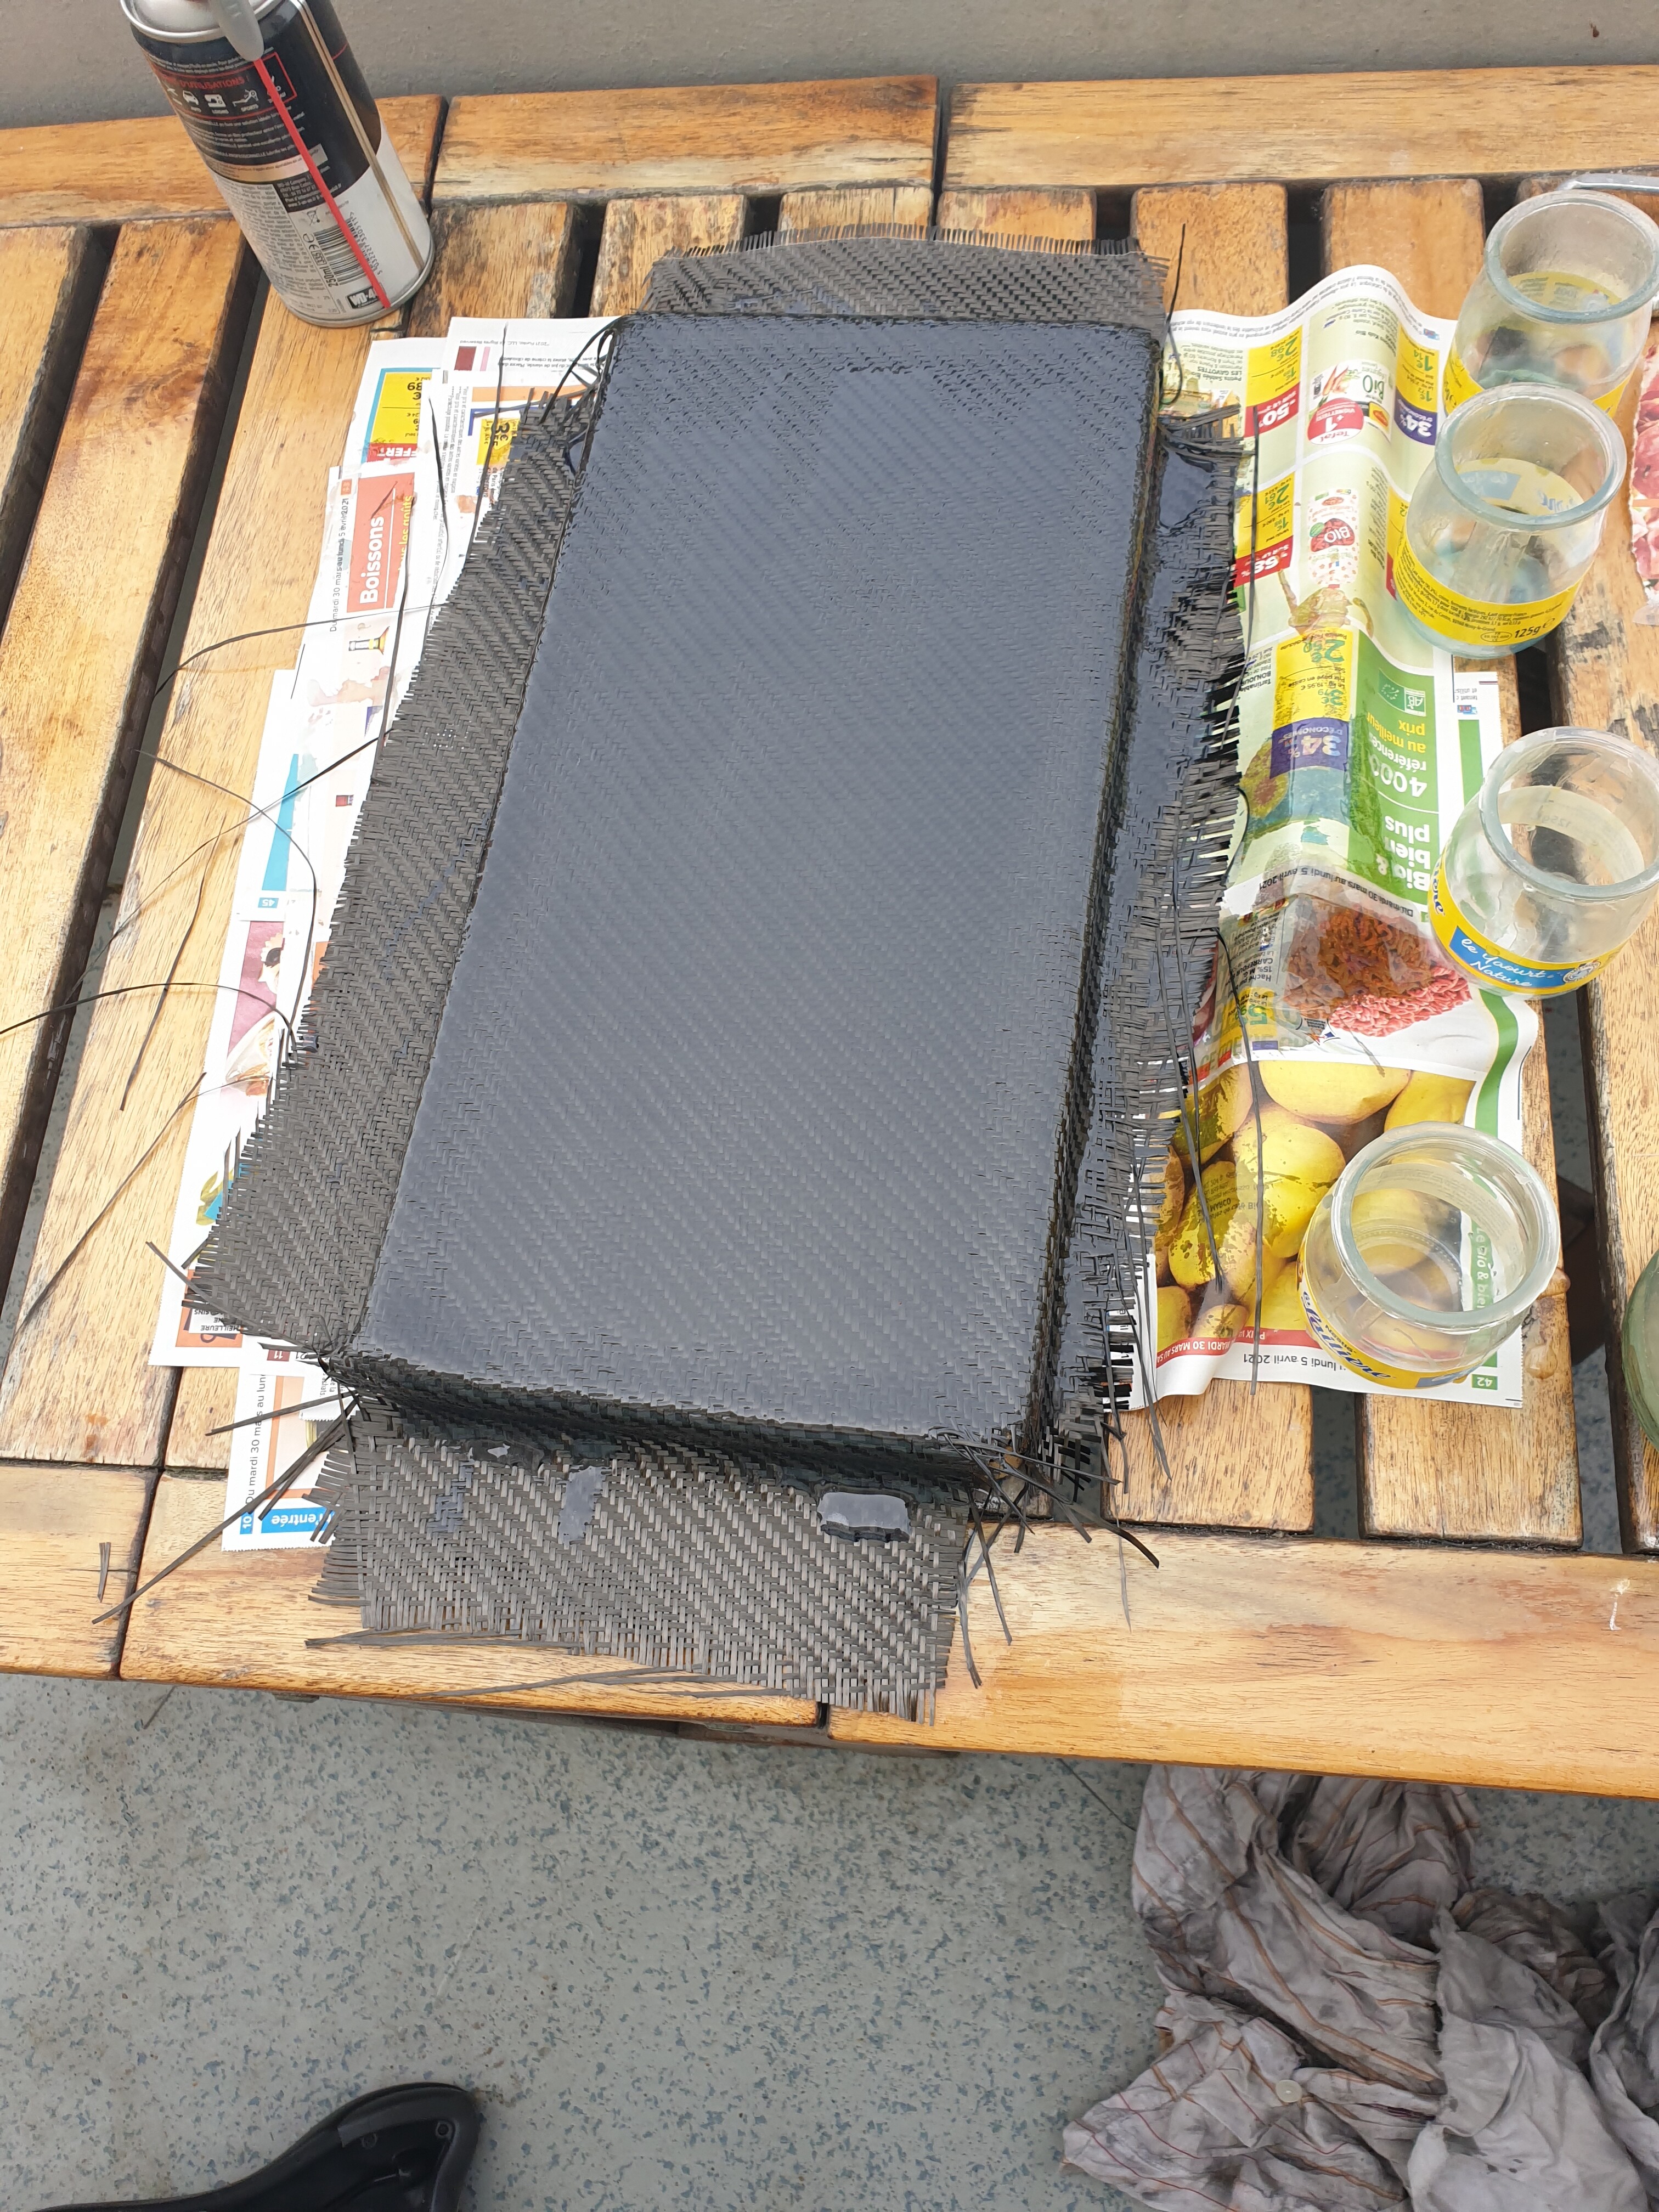
I also started to make the two stiffeners that will hold the Gong Foil box as you did @wushbush .I cut two plywood stripes, used two fiberglass plates and a wrap of carbon fiber. I used my homemade vaccumm system, it works not so bad except I had some leakage.
Polyester is a nightmare, so cheap and easily accessible but the smell is horrible and eats EPS for breakfast, you need polyurethane foam if you wanna make a board using polyester resin.
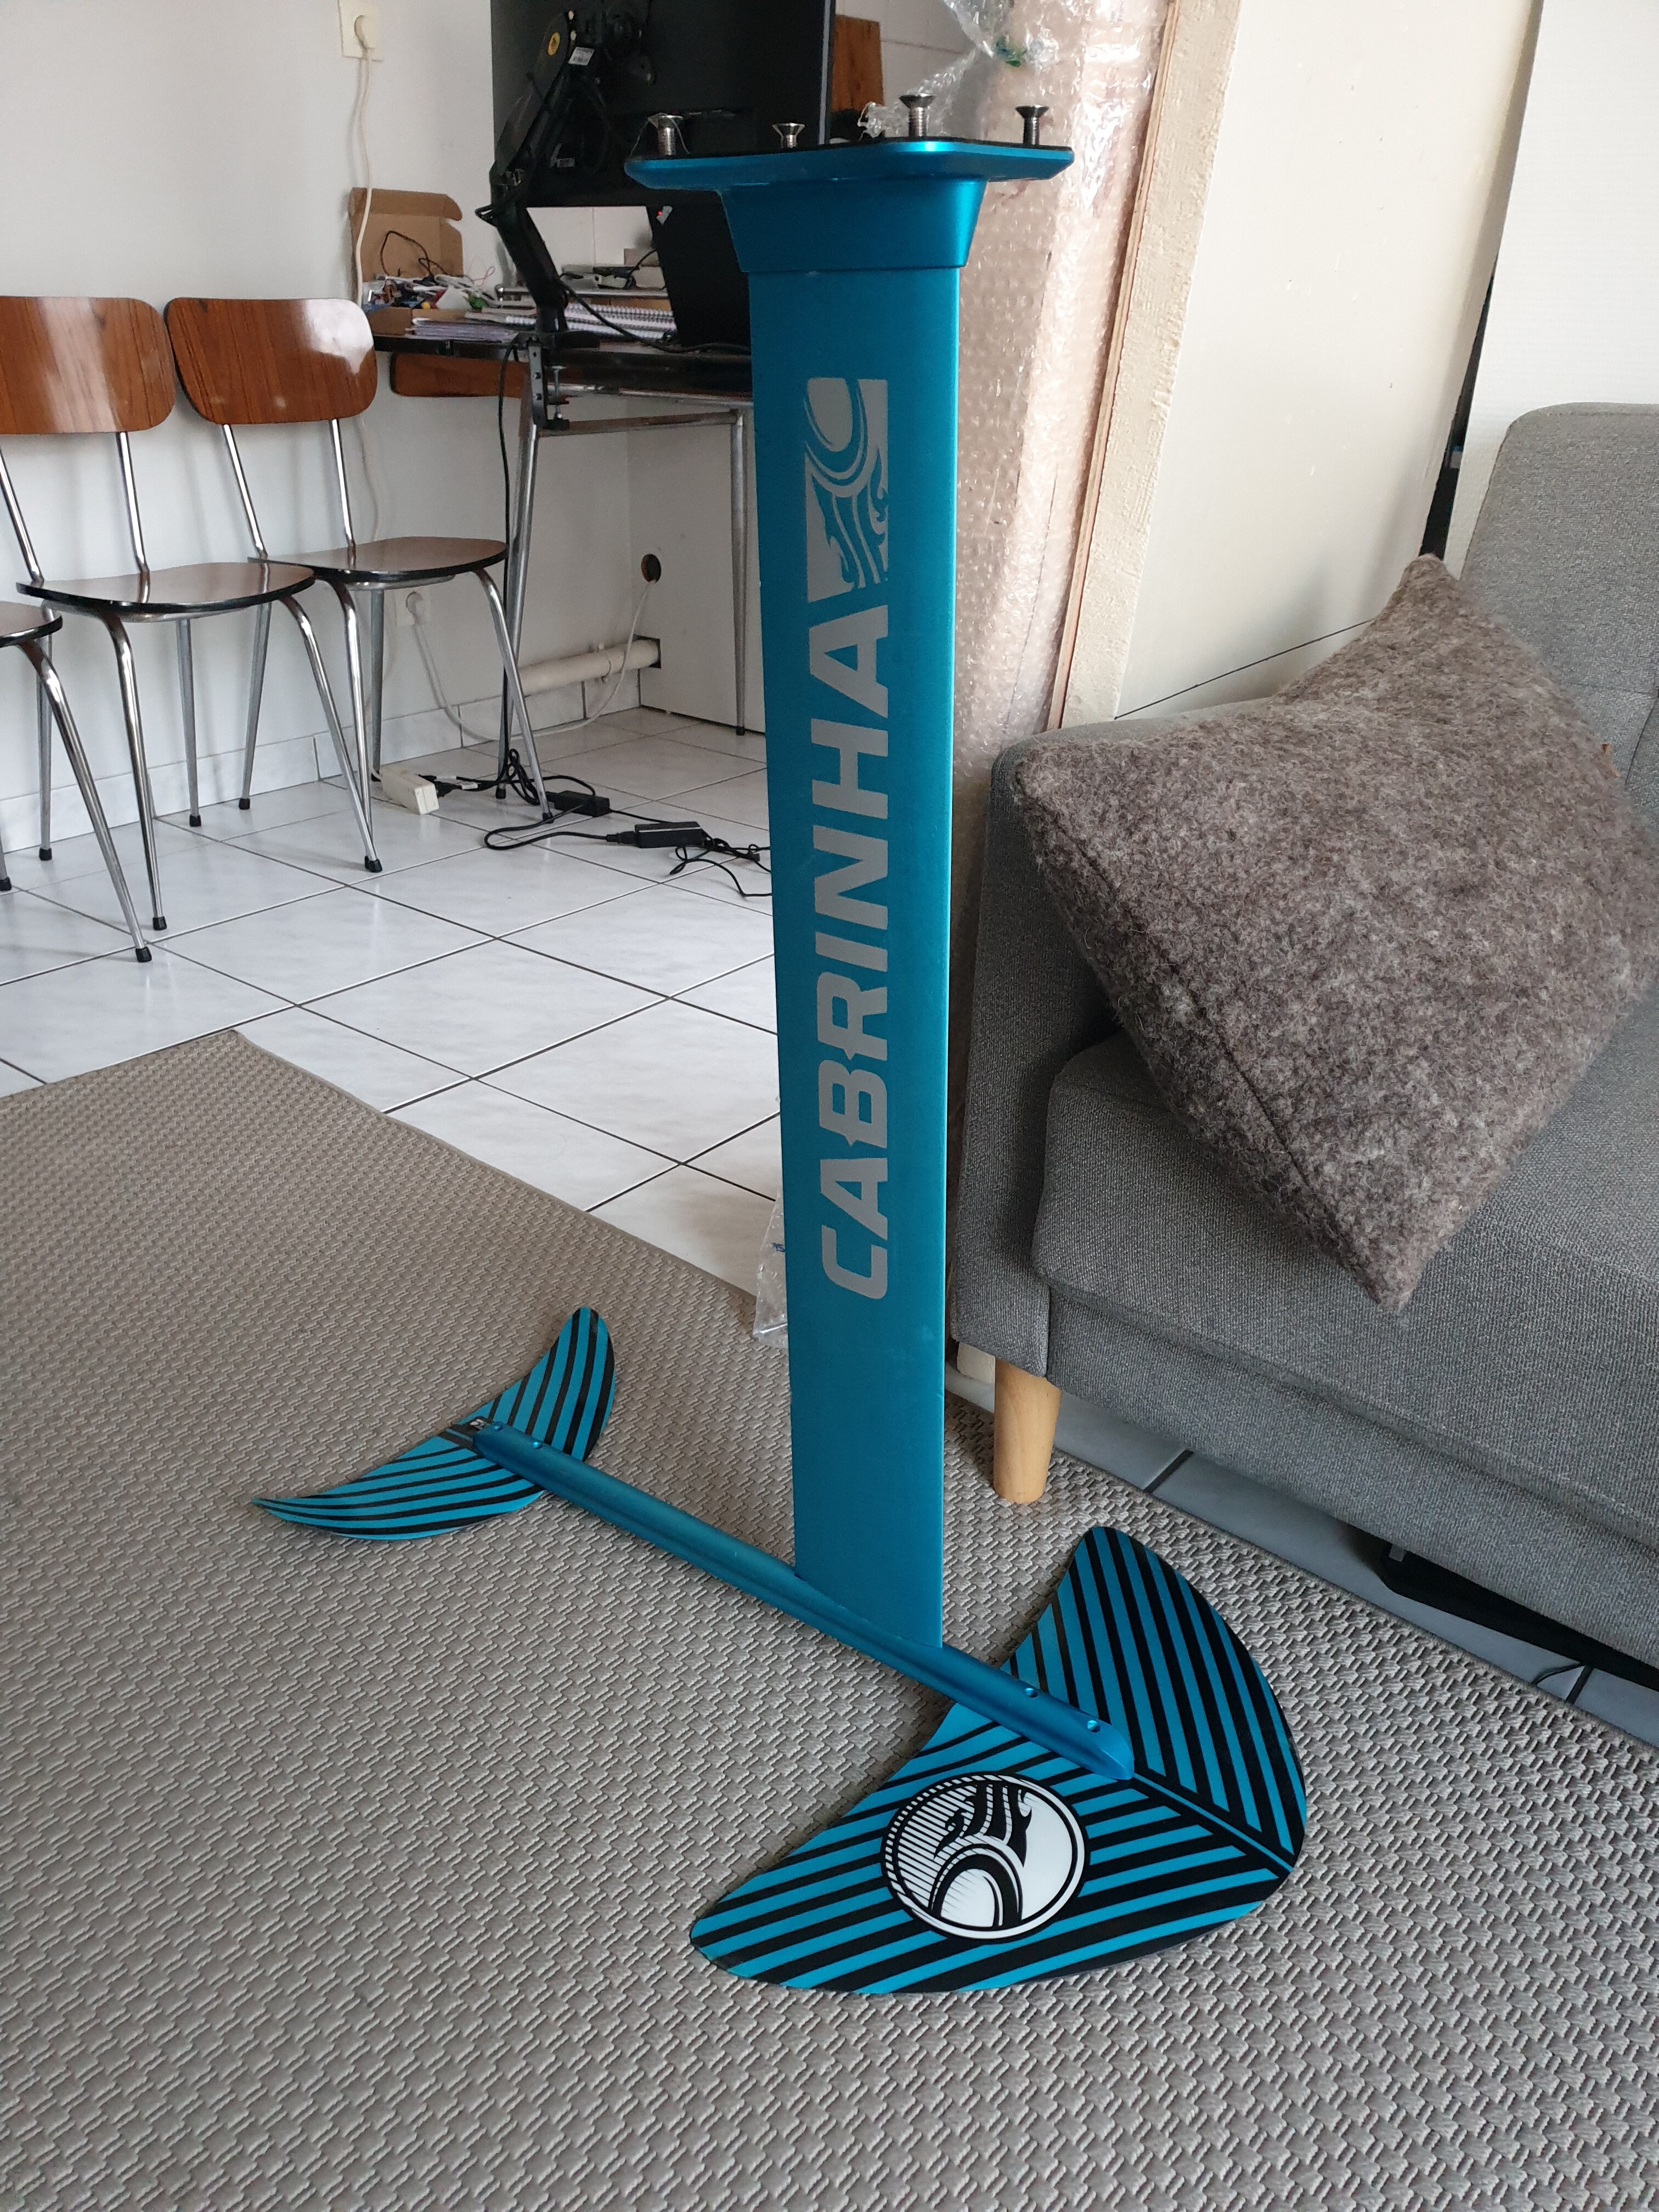
Hi, maybe it is too late, but i have the cross section for the cabrinha mast. I just uploaded it to grabcad if you are interested. I have cnc milled a fuselage and a board mount with this profile and it fits my mast well. https://grabcad.com/library/cabrinha-foil-mast-1
I agree with you @e-Jetter, Polyester resin smells so bad. I bought meanwhile epoxy resin and was surprised to notice I could use it in my flat . Smells barely anything!
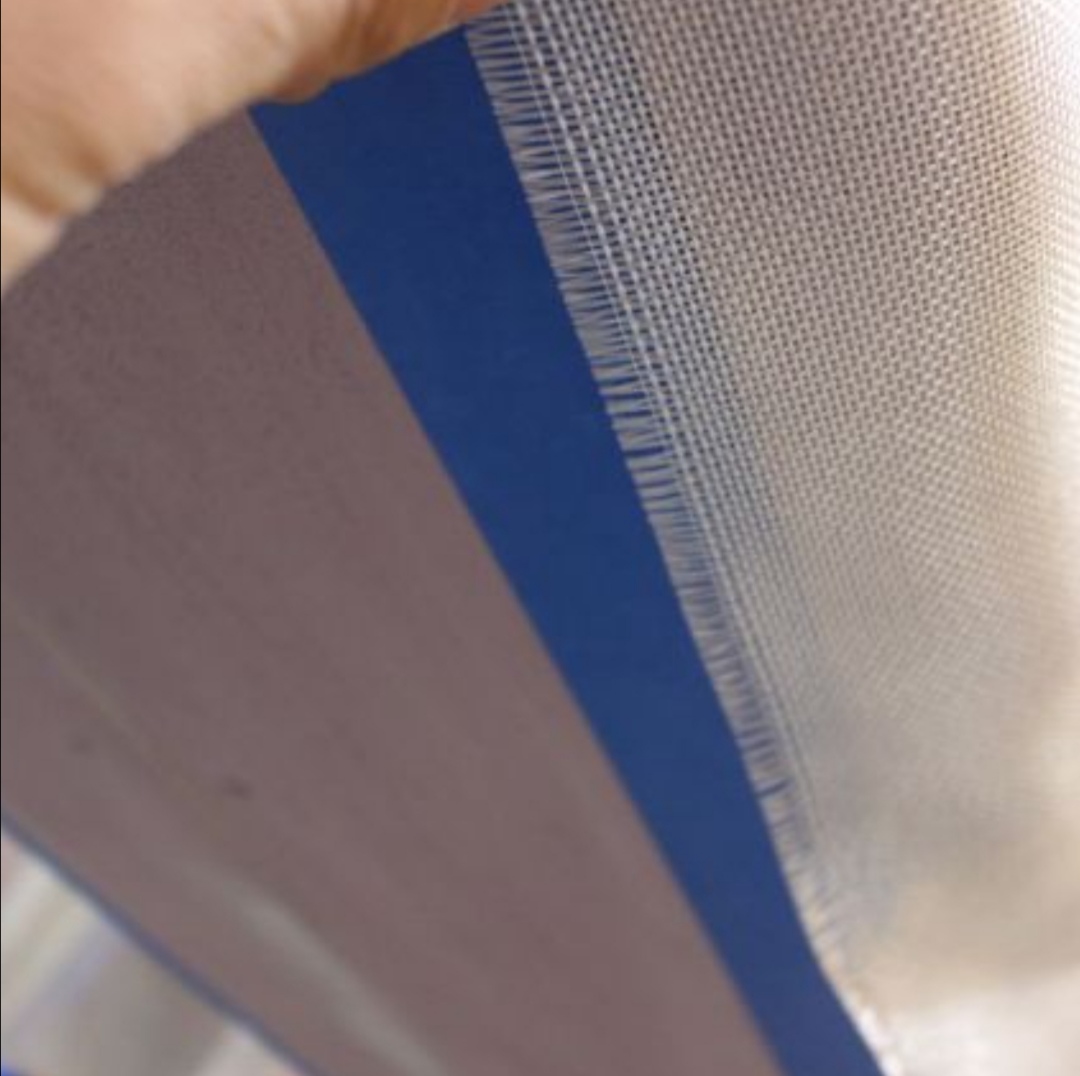
@d_da: thanks a lot! I it is what I was searching for ! It isn’t too late. As mentioned in my previous post I wrapped a carbon layer around my cabrinha mast in order to get its semi profile:
Last news from previous days.
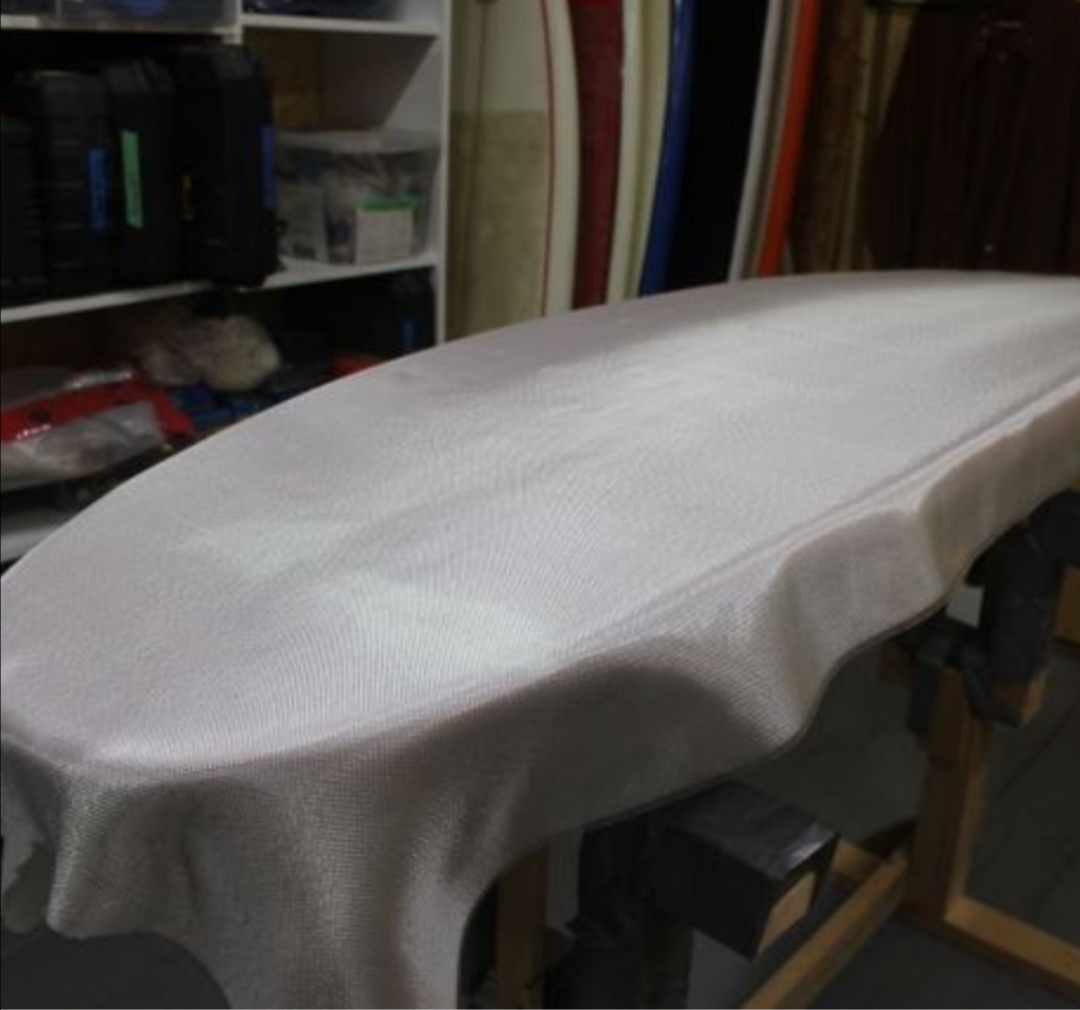
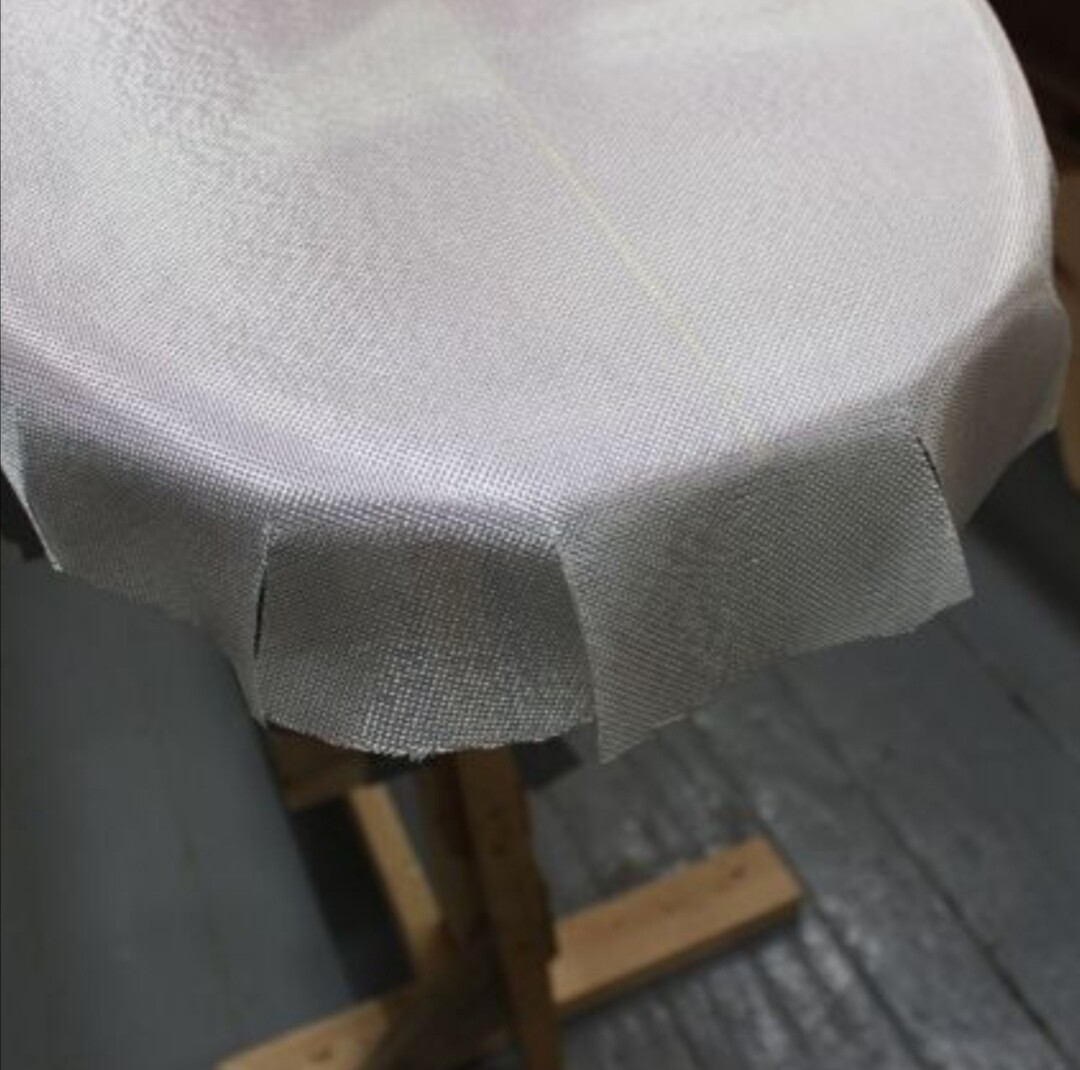
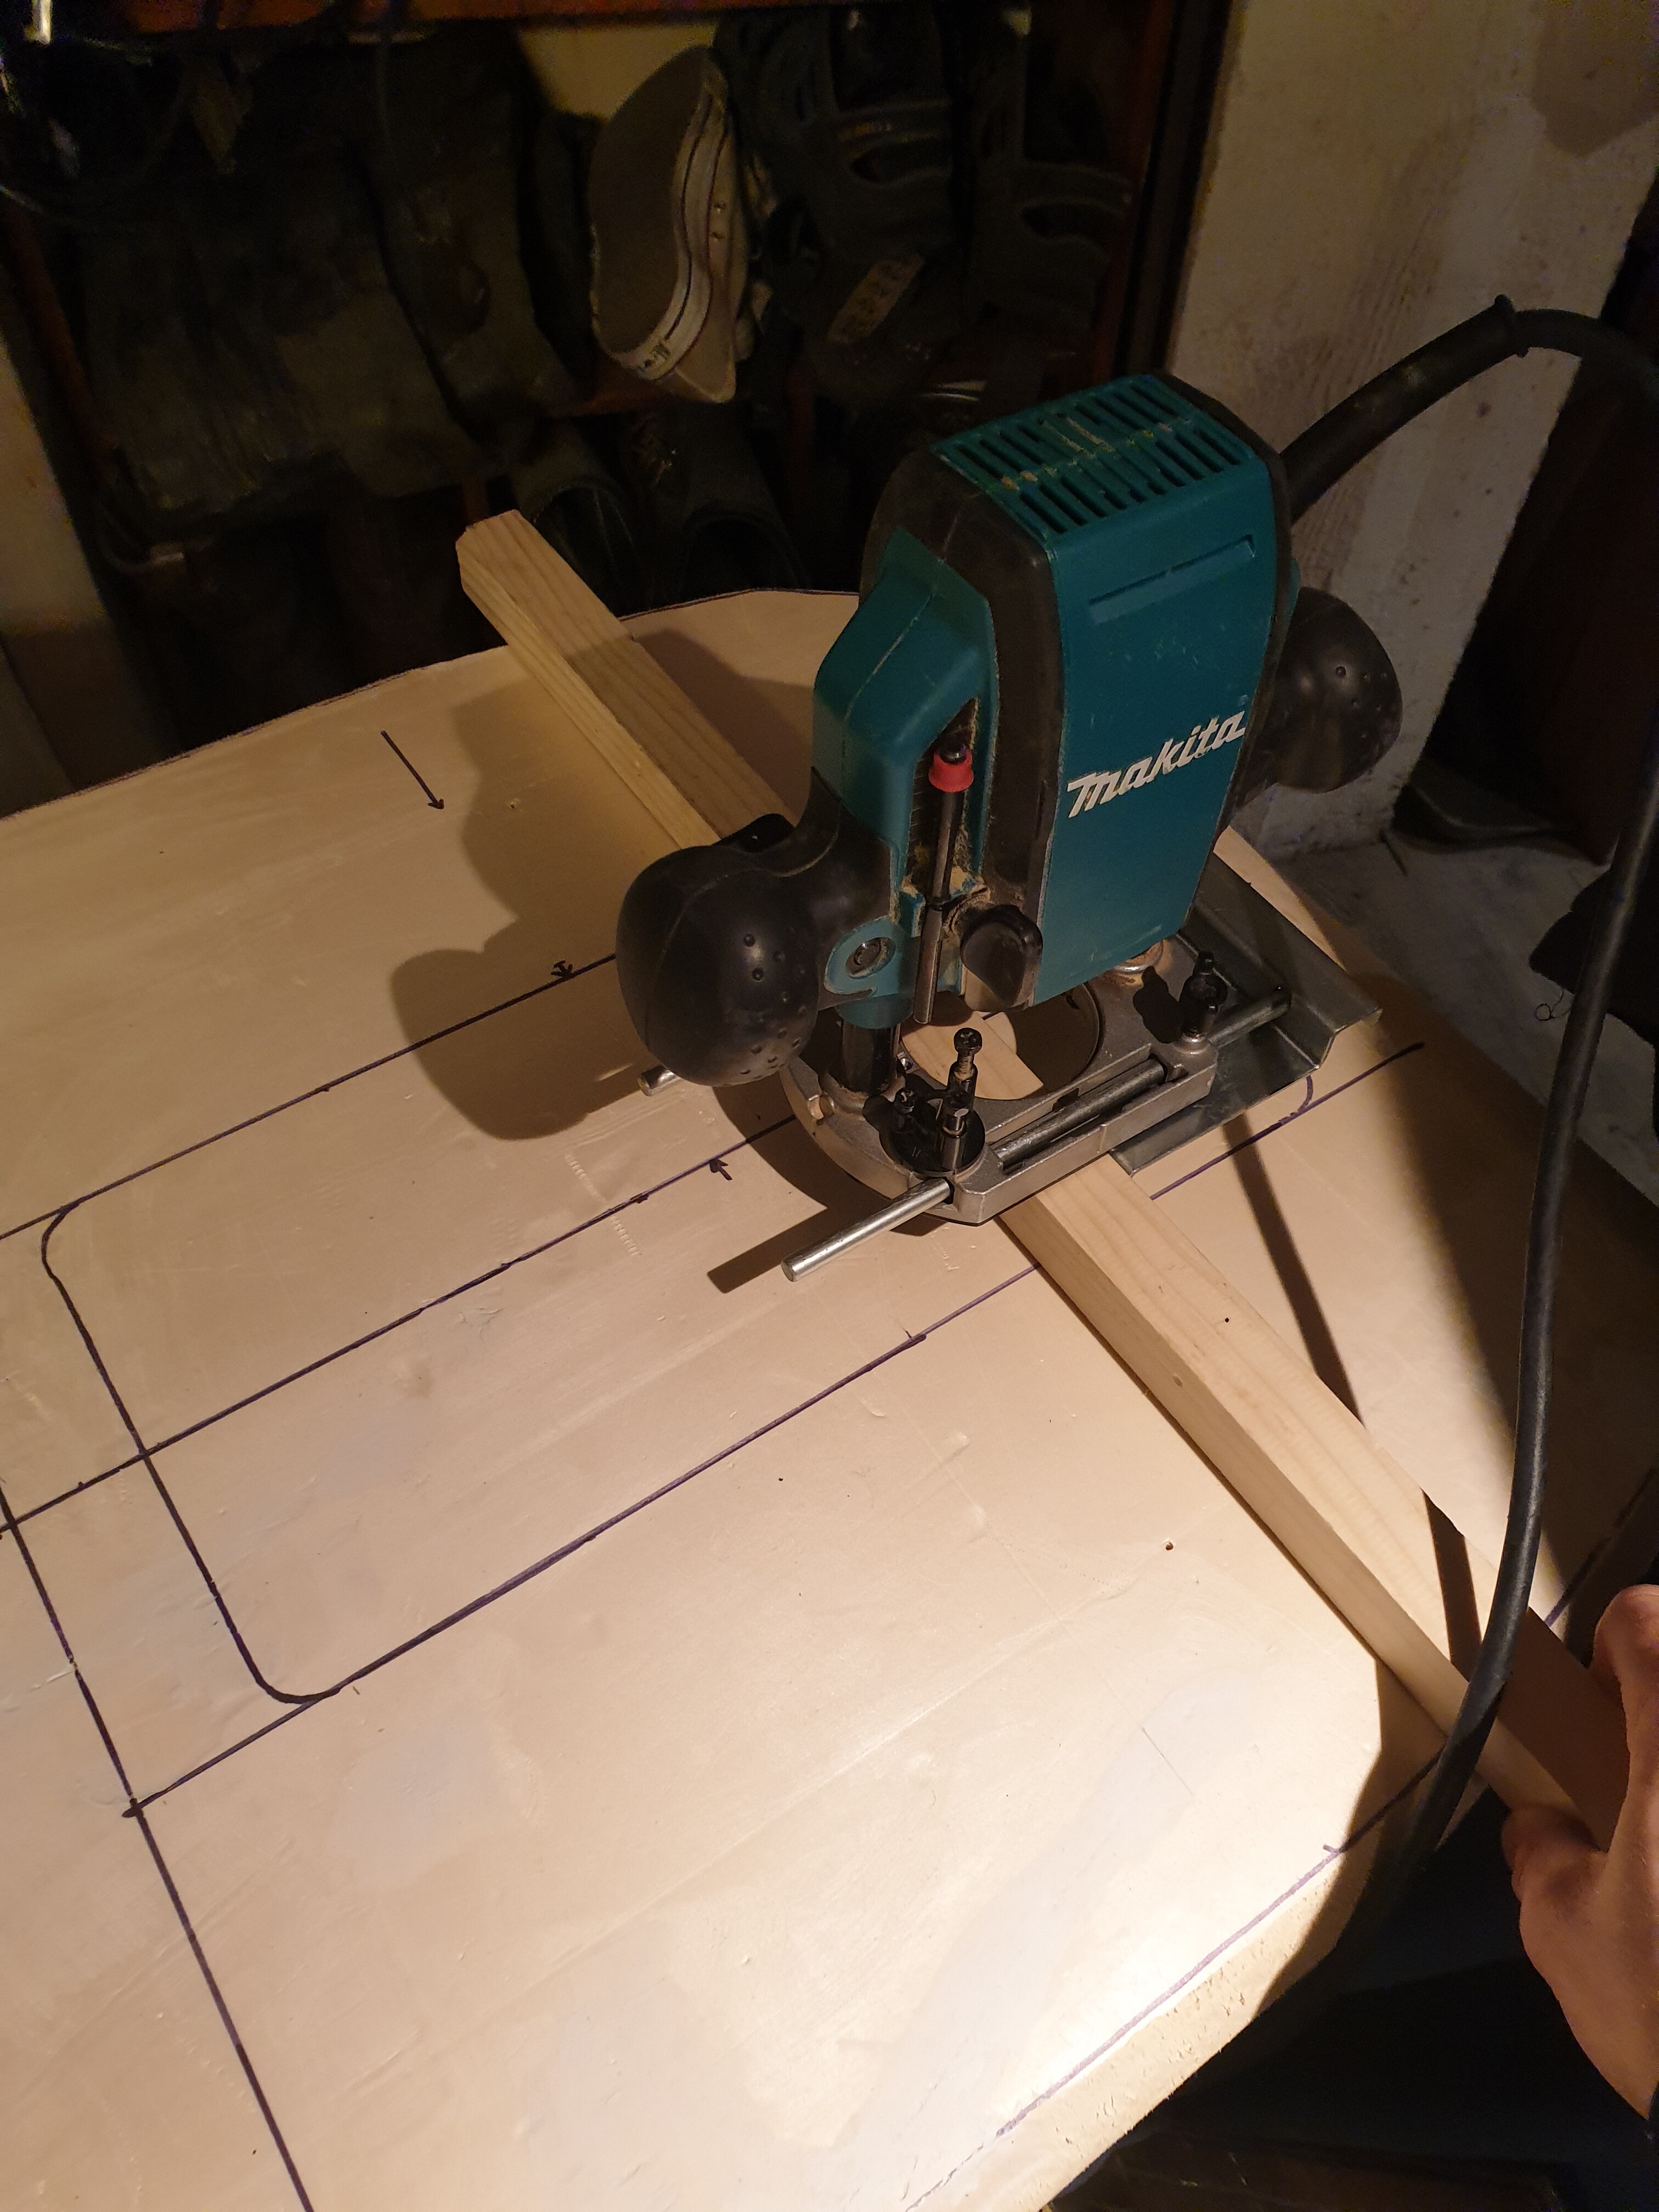
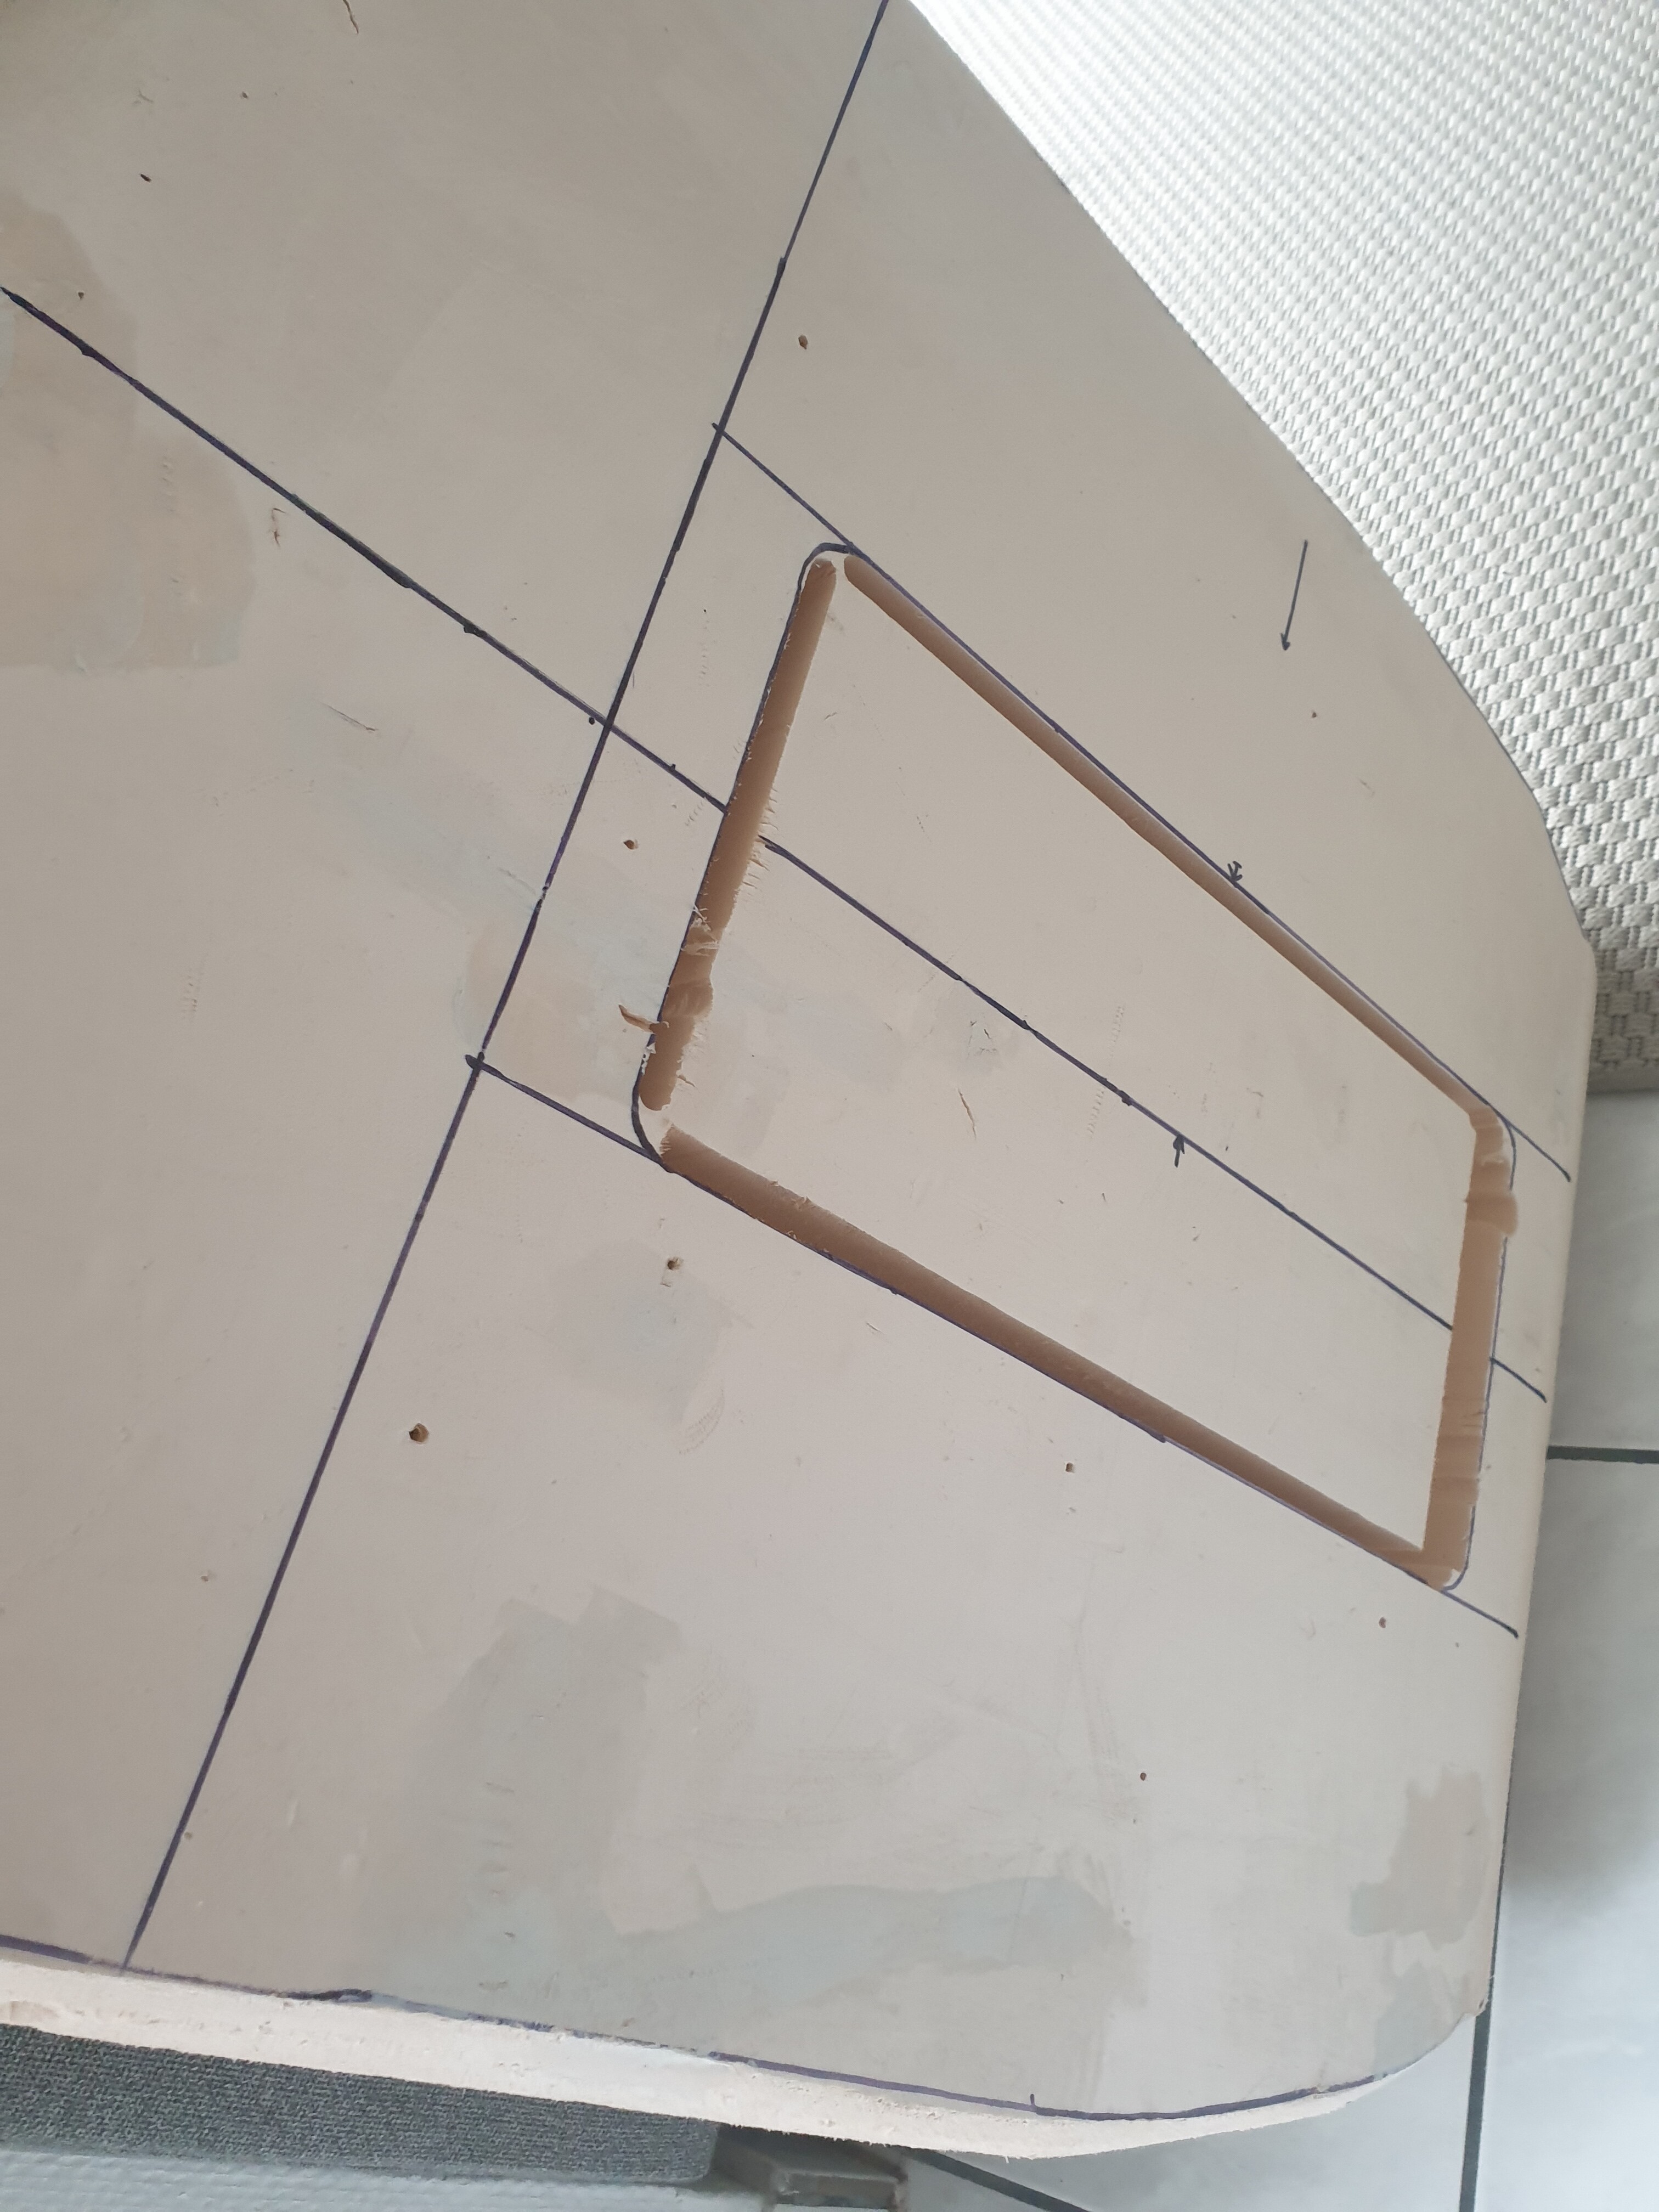
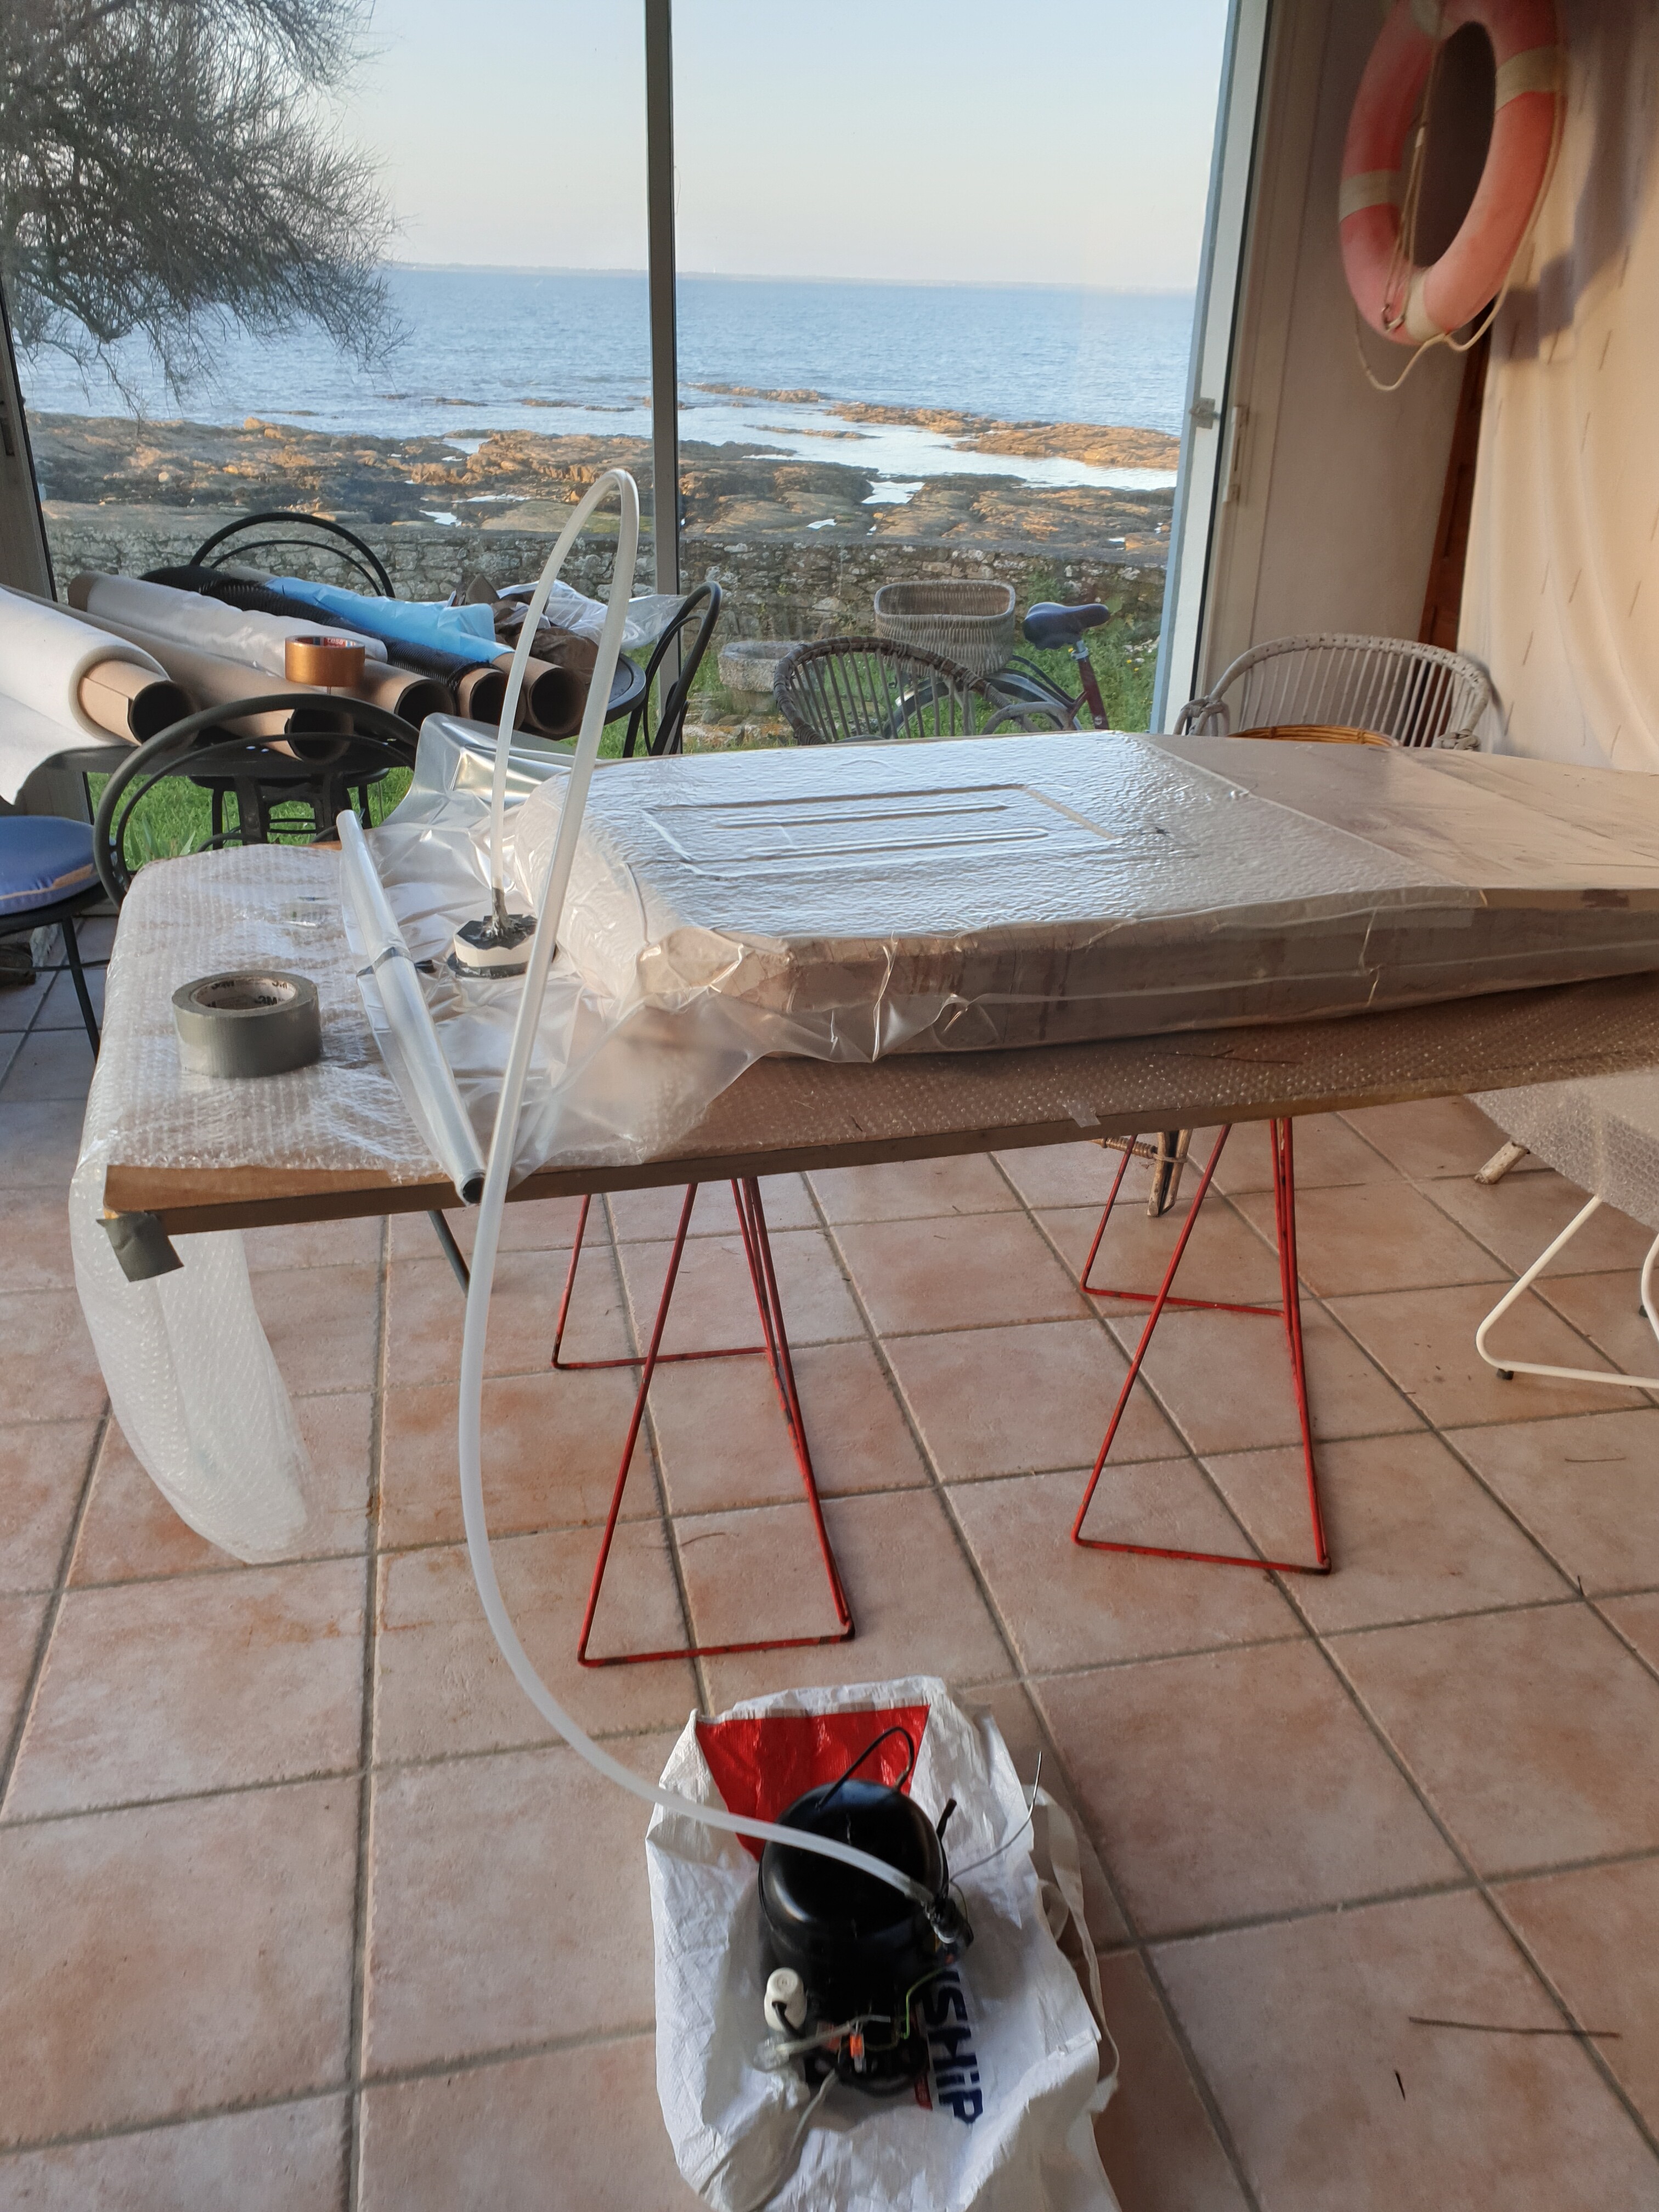
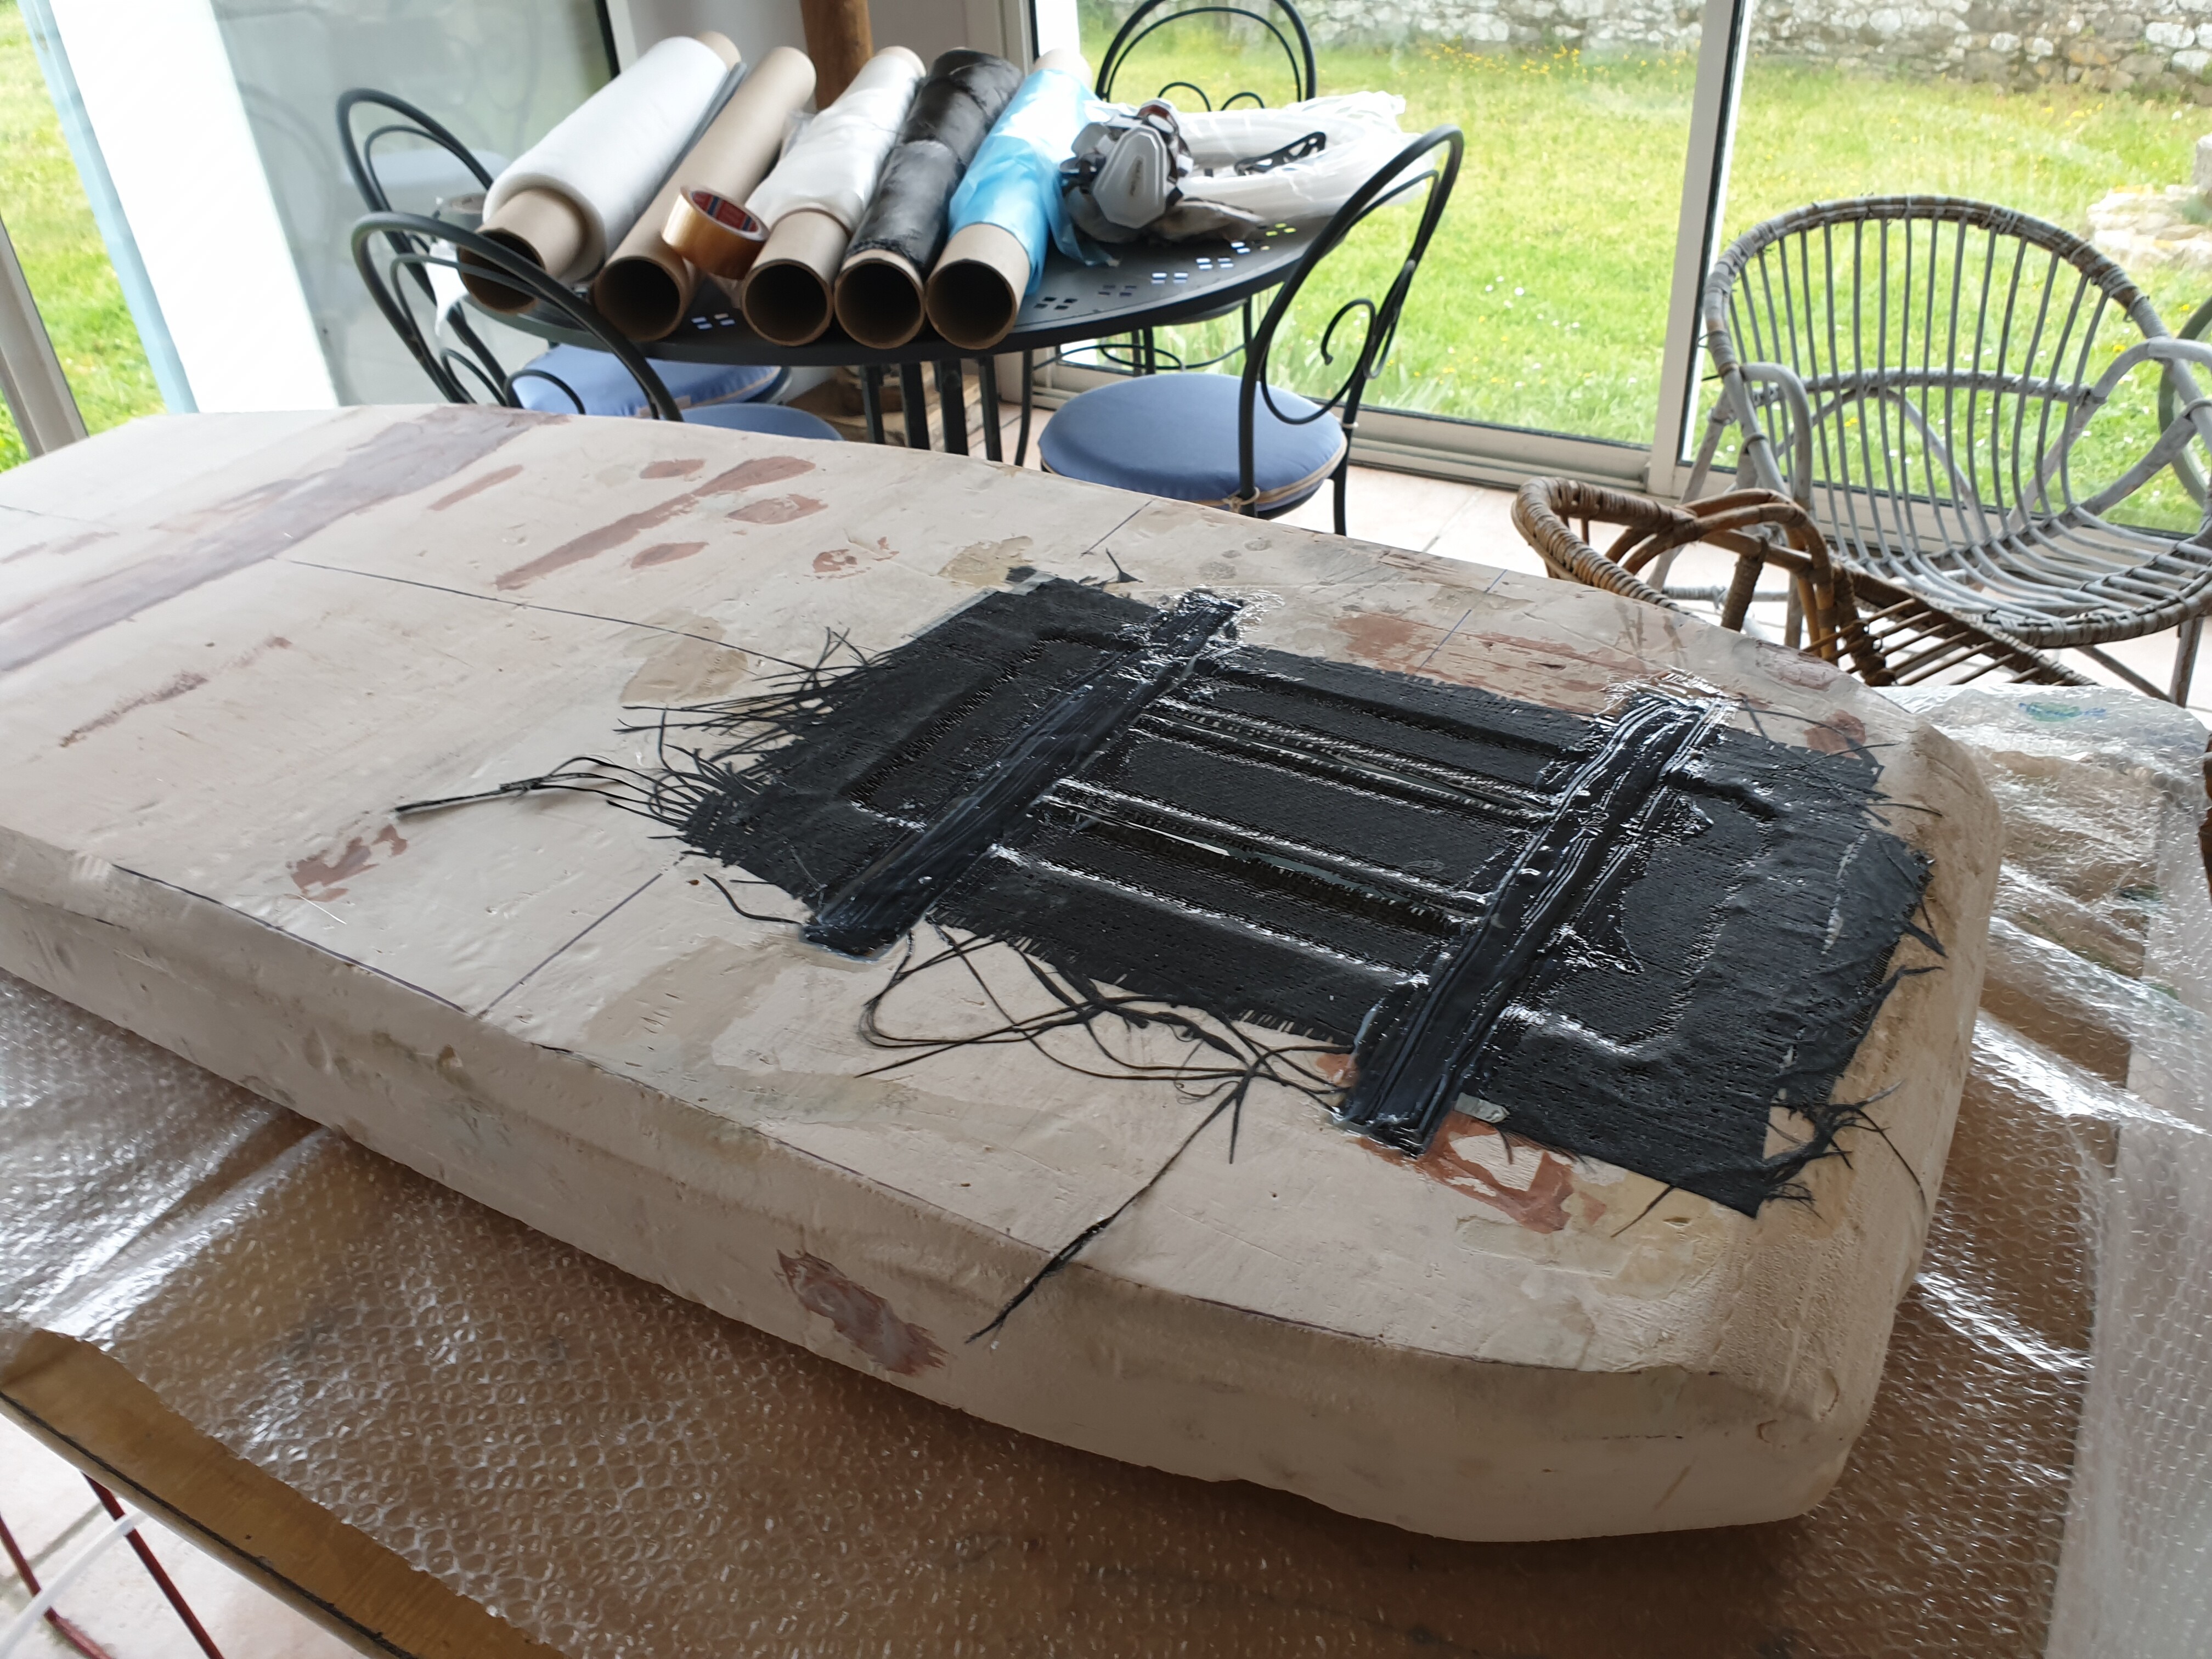
I machined the two grooves to host the stifferners and glued them. Also vacuumed the board with carbon fiber on top of the Gong Box.
Next step consists in applying the two bottom layers of 200gr/m² CF: quiet stressed about this. I will certainly have to buy some top coat to make it smooth at the end.
A am also searching for the most appropiate door that will enclose all the electronic…
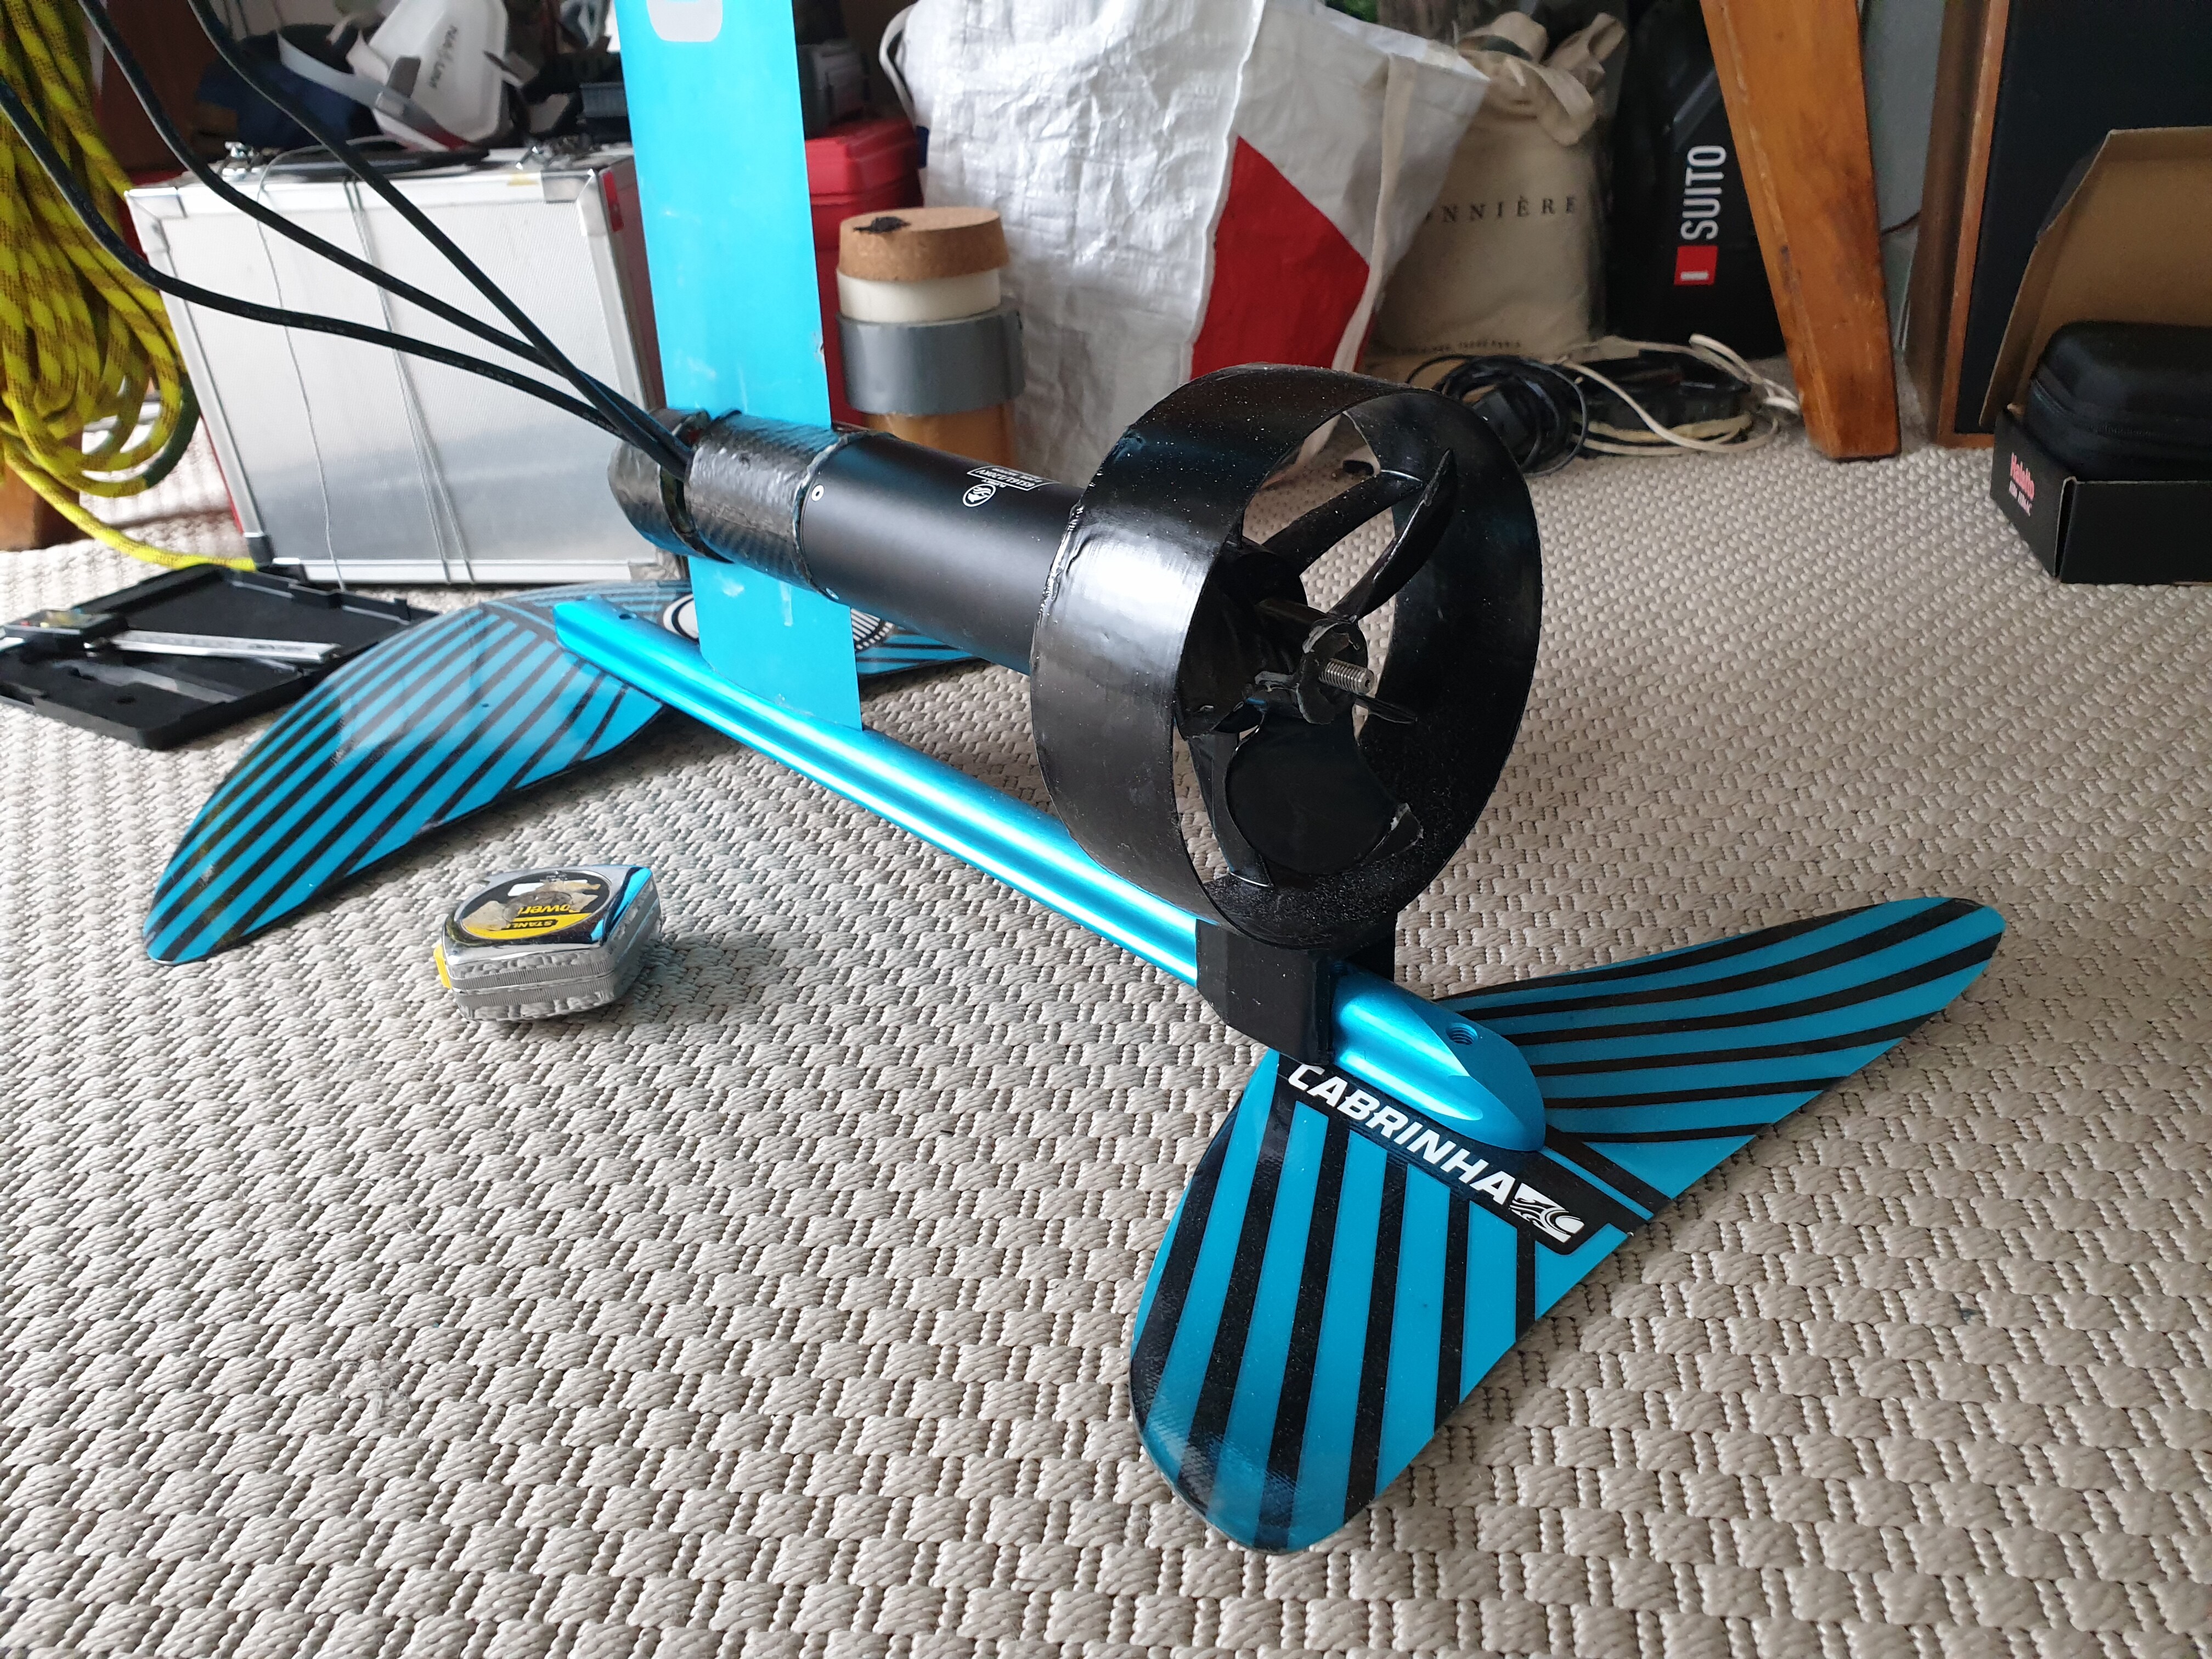
The prop. is printed with 100% infill PLA, hope it will make it A quick black spray bomb and a layer of resin on it and on the boxes that will enclose the batteries and the ESC. You will also notice the mount for the motor with its carbon fiber wrap:
Do you have any tips to make the surface smoother by any chance ? I also have some areas where I didn’t put enough resin. I will add it later where needed.
Next step is puting the top layers of carbon fiber. I also received the antenna that will be integrated at the upper end of the board. I was planning to integrate it in the board under the carbon fiber and the epoxy/ glassing. Do you know if it will still receive the signal?
I will of course sand down the epoxied 3D printed parts and apply a light varnish after.
Concerning my previous post,
Do you have any tips to make the surface of my board smoother? And do you guys know if my extended antenna will still receive the signal if implemented under some epoxy/ CF?


 . Smells barely anything!
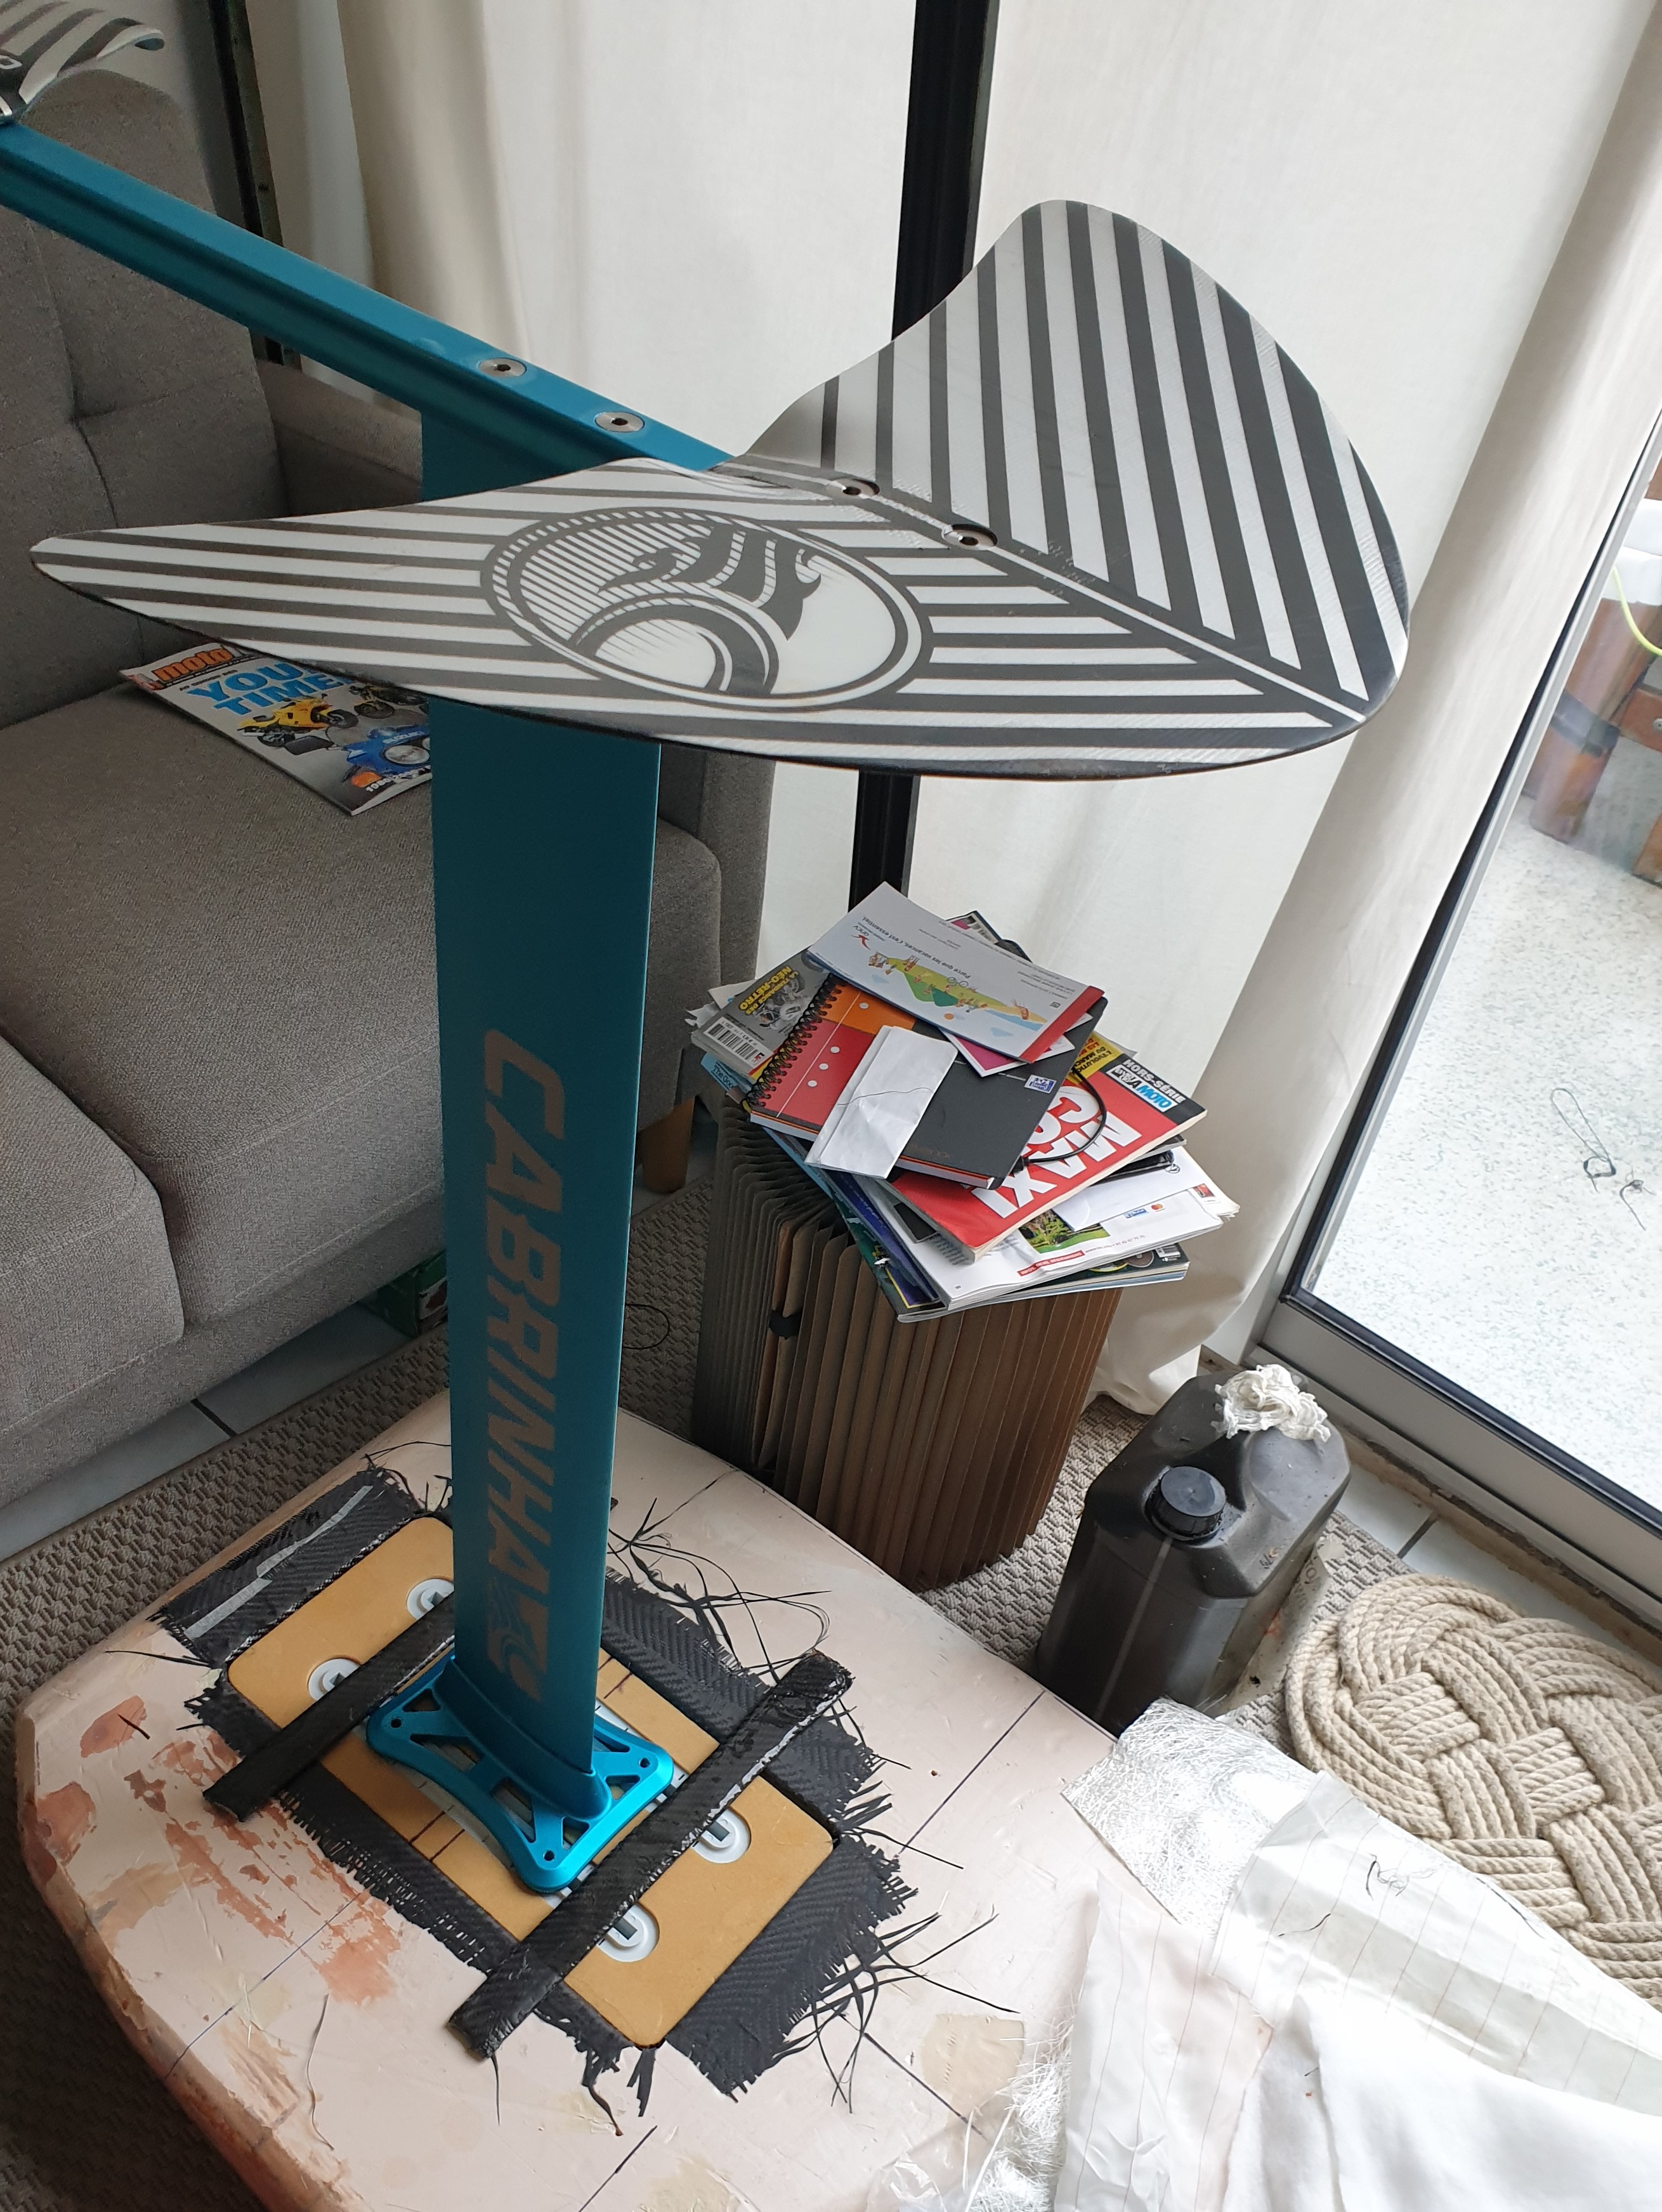


 A quick black spray bomb and a layer of resin on it and on the boxes that will enclose the batteries and the ESC. You will also notice the mount for the motor with its carbon fiber wrap:
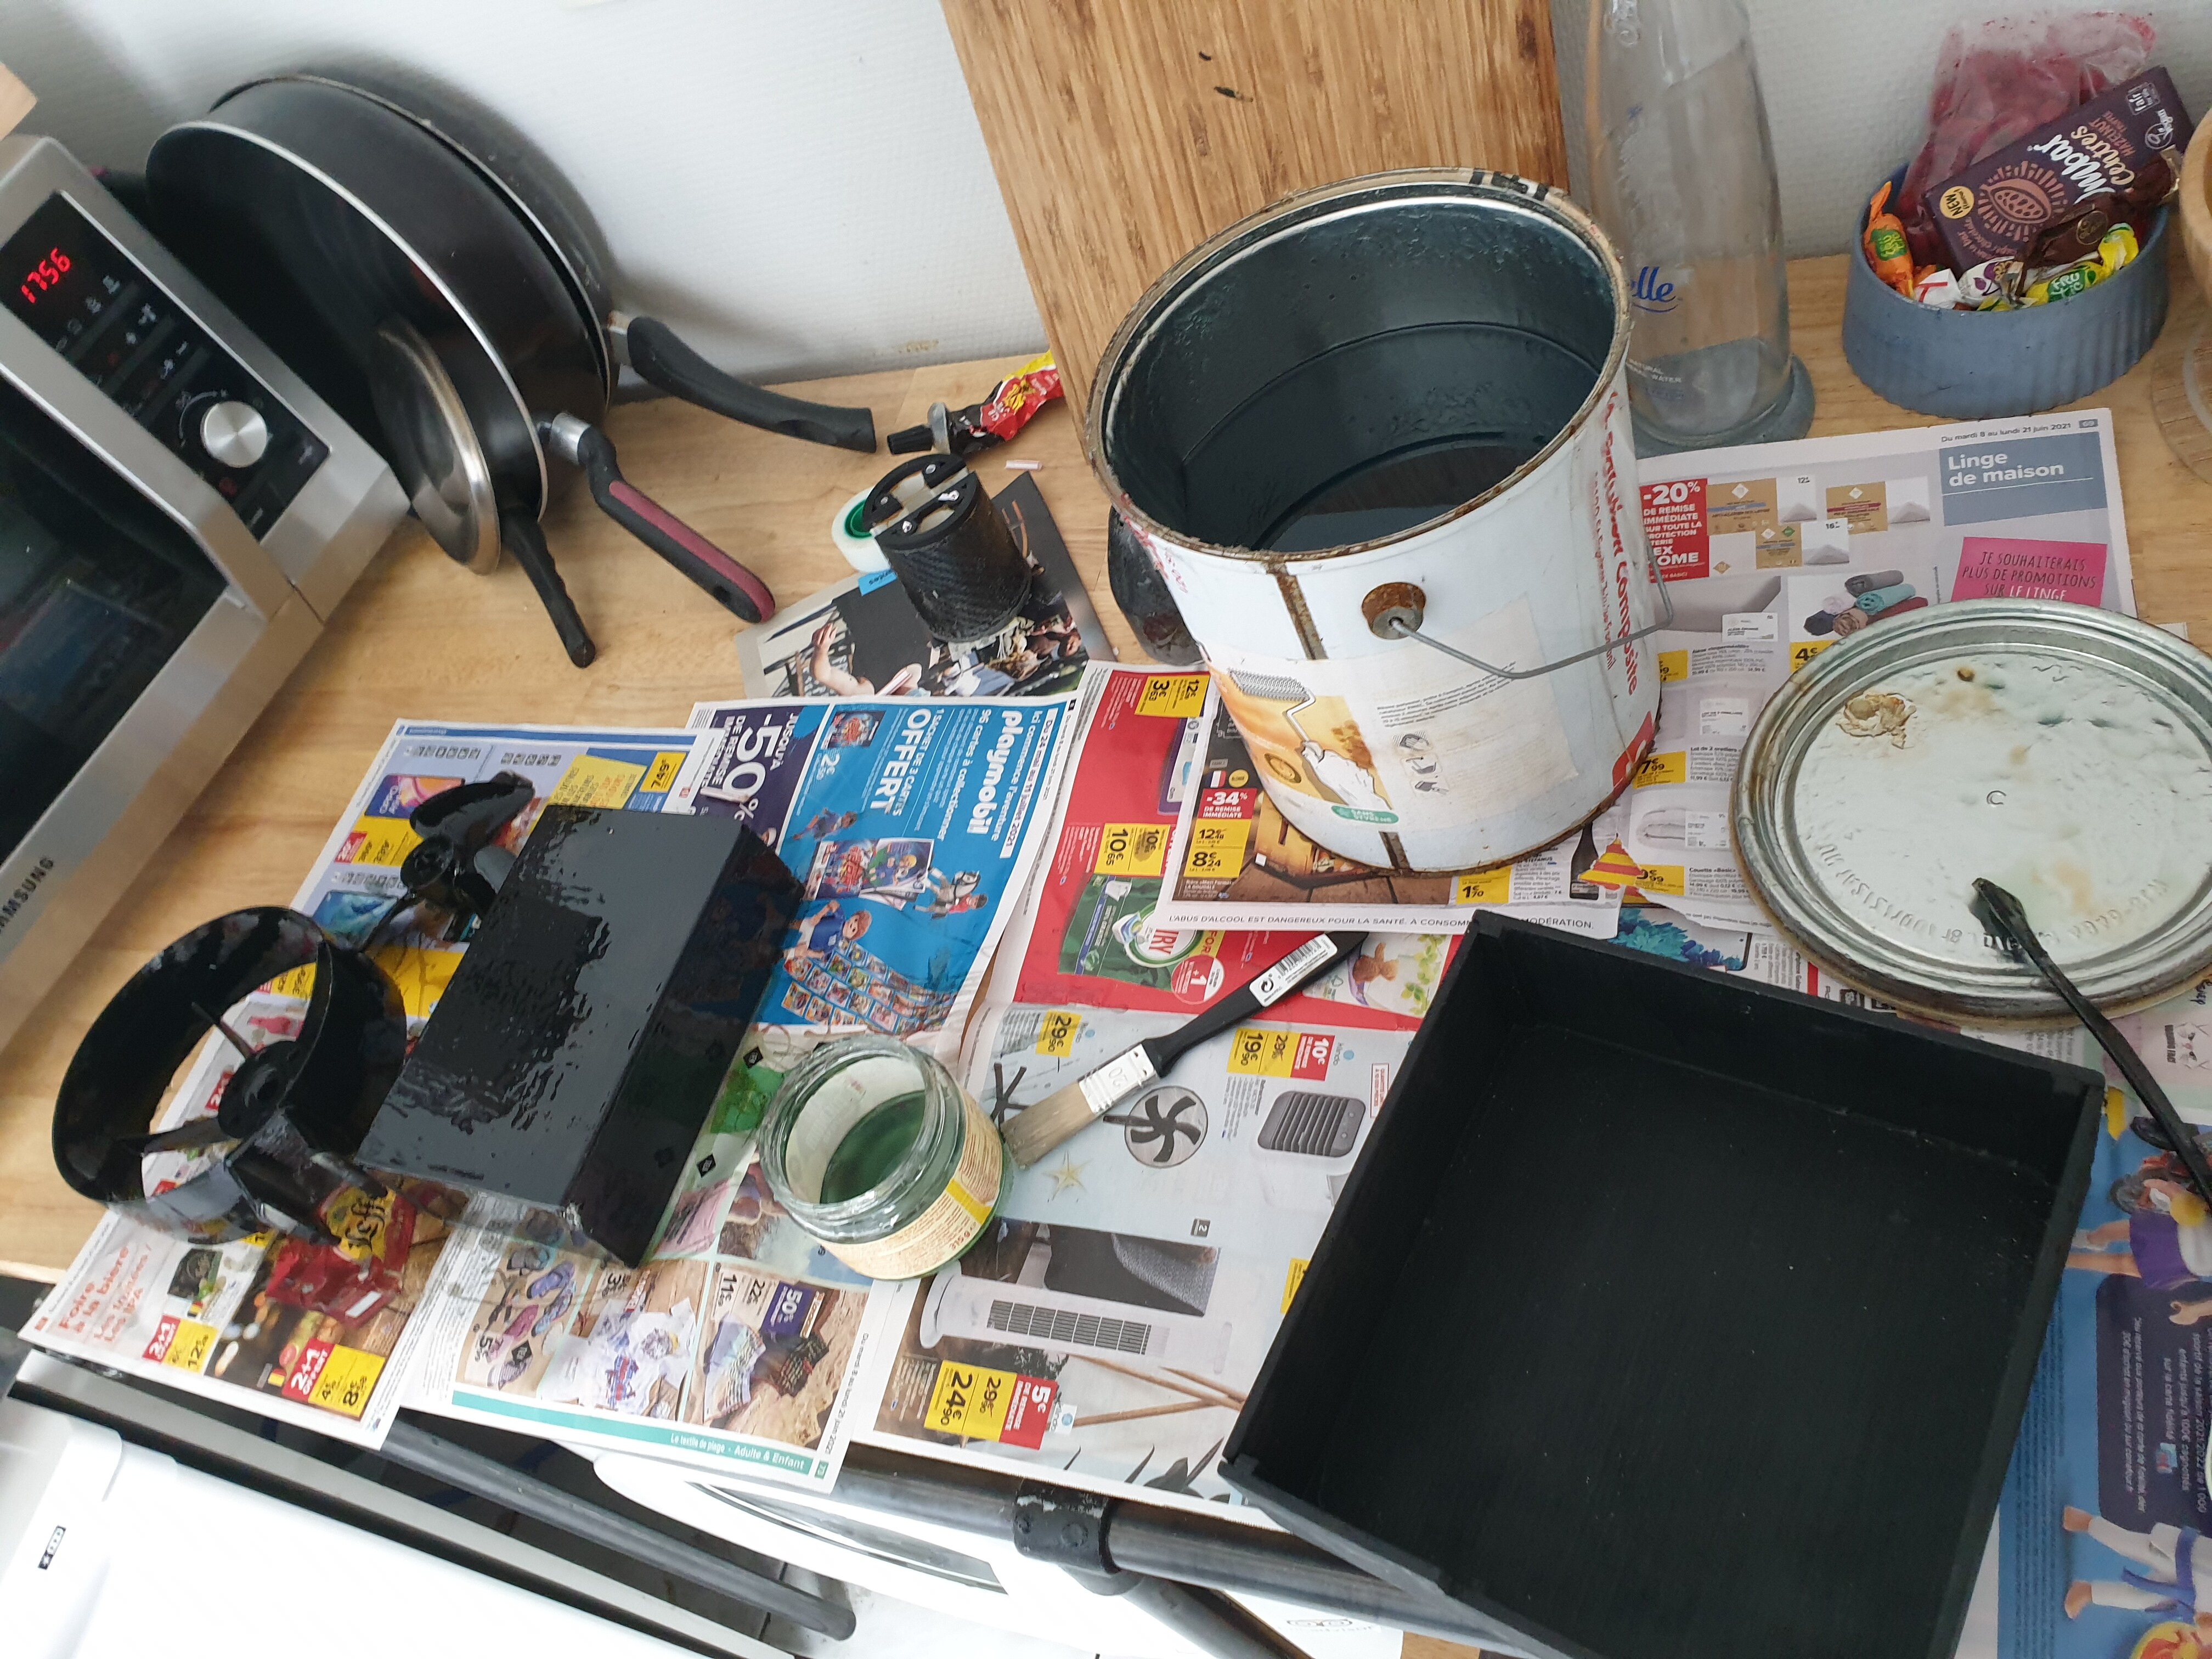