The sidearm where I do the runs is better but for sure not perfect. The main river is terrible and there is strong flow. Now I have like +/- 1km/h, main river could be up to 12 
If you want perfect logs I need to foil in local bathhouse
1 Like
@Ackermann Thank you for sharing your great Builds. I want to make my own first build and feel like I learned a lot from your posts. Do you already know wether the water-cooling will work without a pump and if yes can you share some insights on how you do it?
People have run it successful so I think my should also work. It’s a project for the winter 
Basically I print a new front clamp with hole. This will have room for a water tube which needs to be guided through the mast (without dents)
A very strange thing is that the speed jumps 10kph in 1 second at times during turns? I suspect the GPS is losing signal at times.
Yes, this I have since day one. Now idea what is the issue with the turns. Maybe too fast  ? Extreme gforce will cause the metr to fail
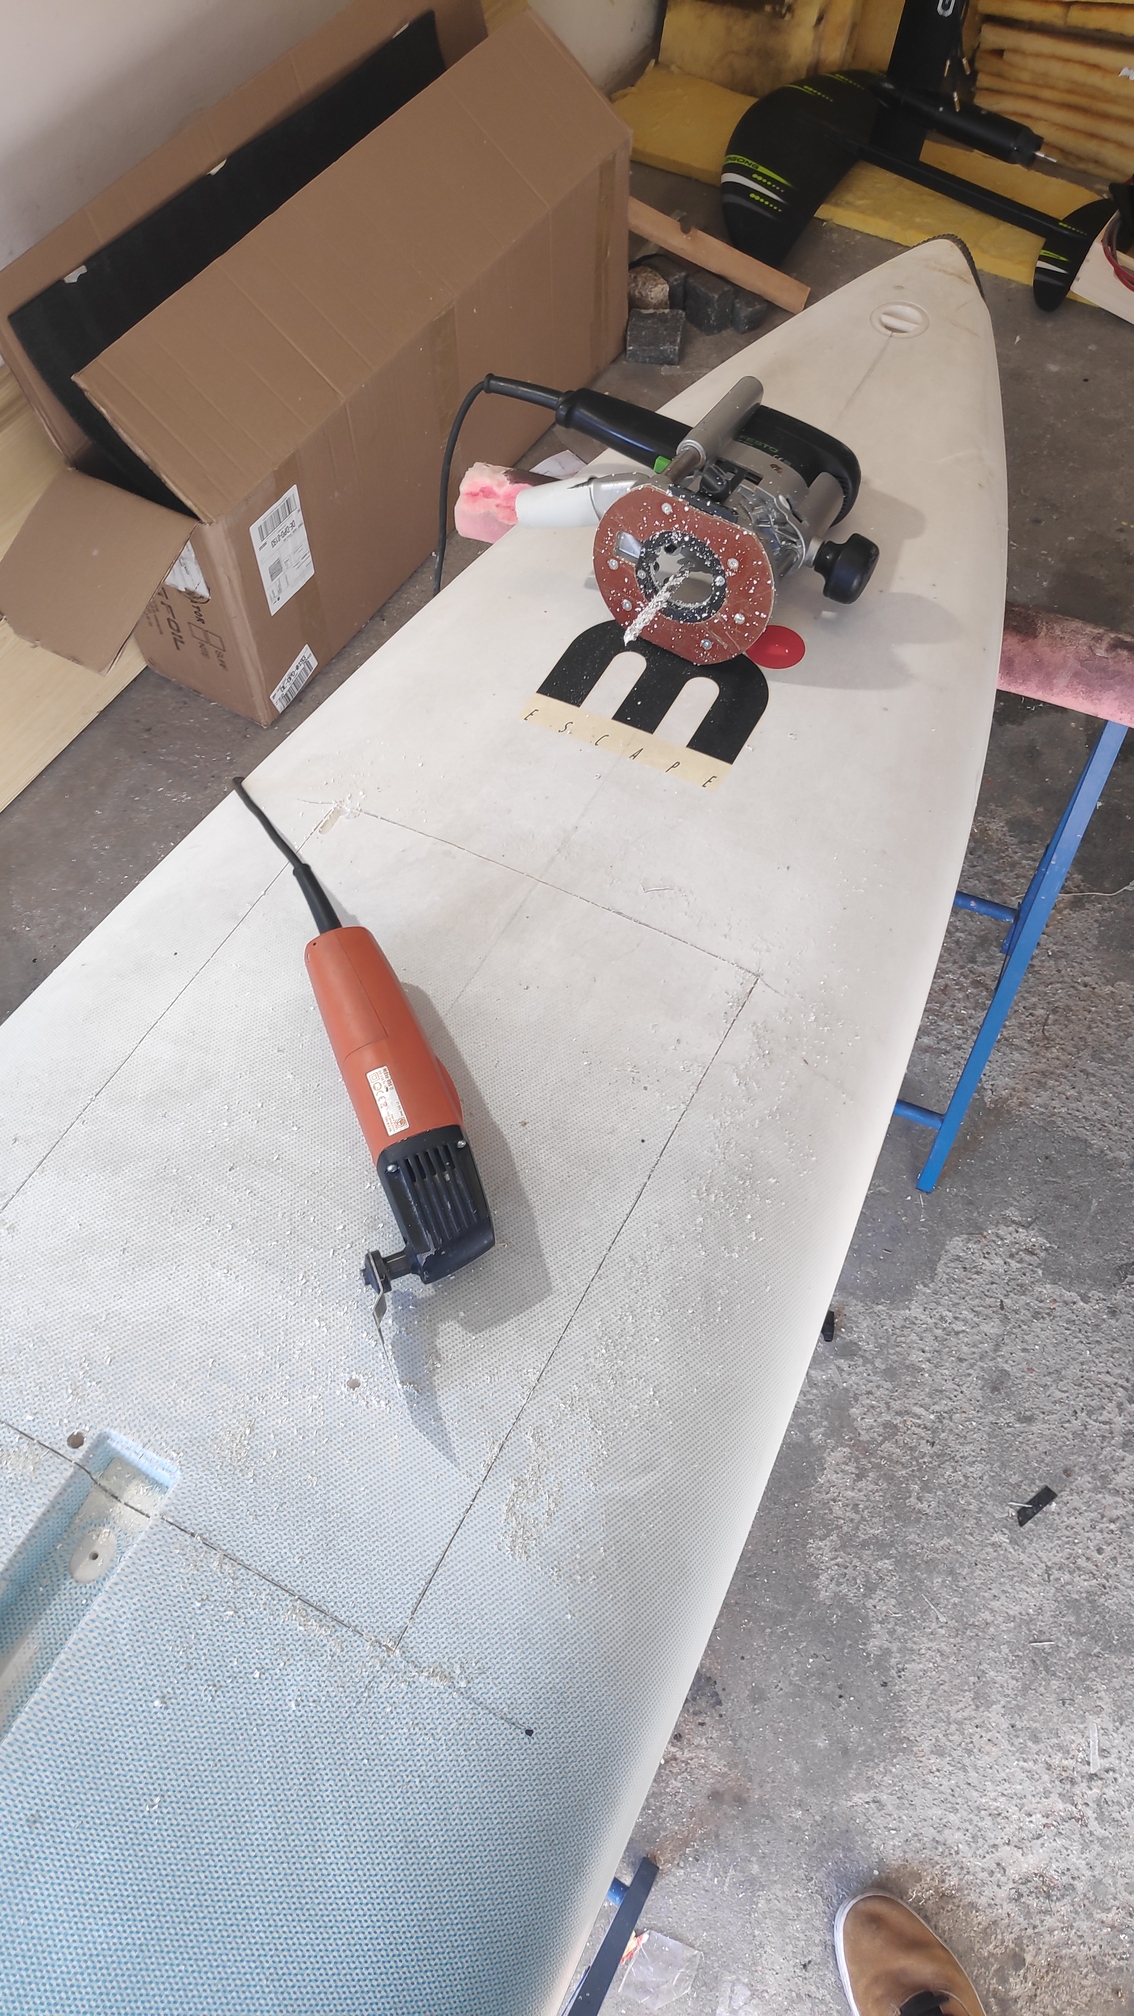
Snowtime? No just milling. Cut big pieces with multi cutter (such a great tool) and bottom surface with router. I took 8mm drill since you can buy them with certain length. Don’t forget to mill line by line to keep the distance steady.
suddenly I want a slice of pizza.
1 Like
Calm down and wait. This is just the dough, there is topping missing and it needs oven time!
I hope I can get a bite and 26.09?
For sure you can try the one which was burned in the oven. The new one… can’t promise yet
2 Likes
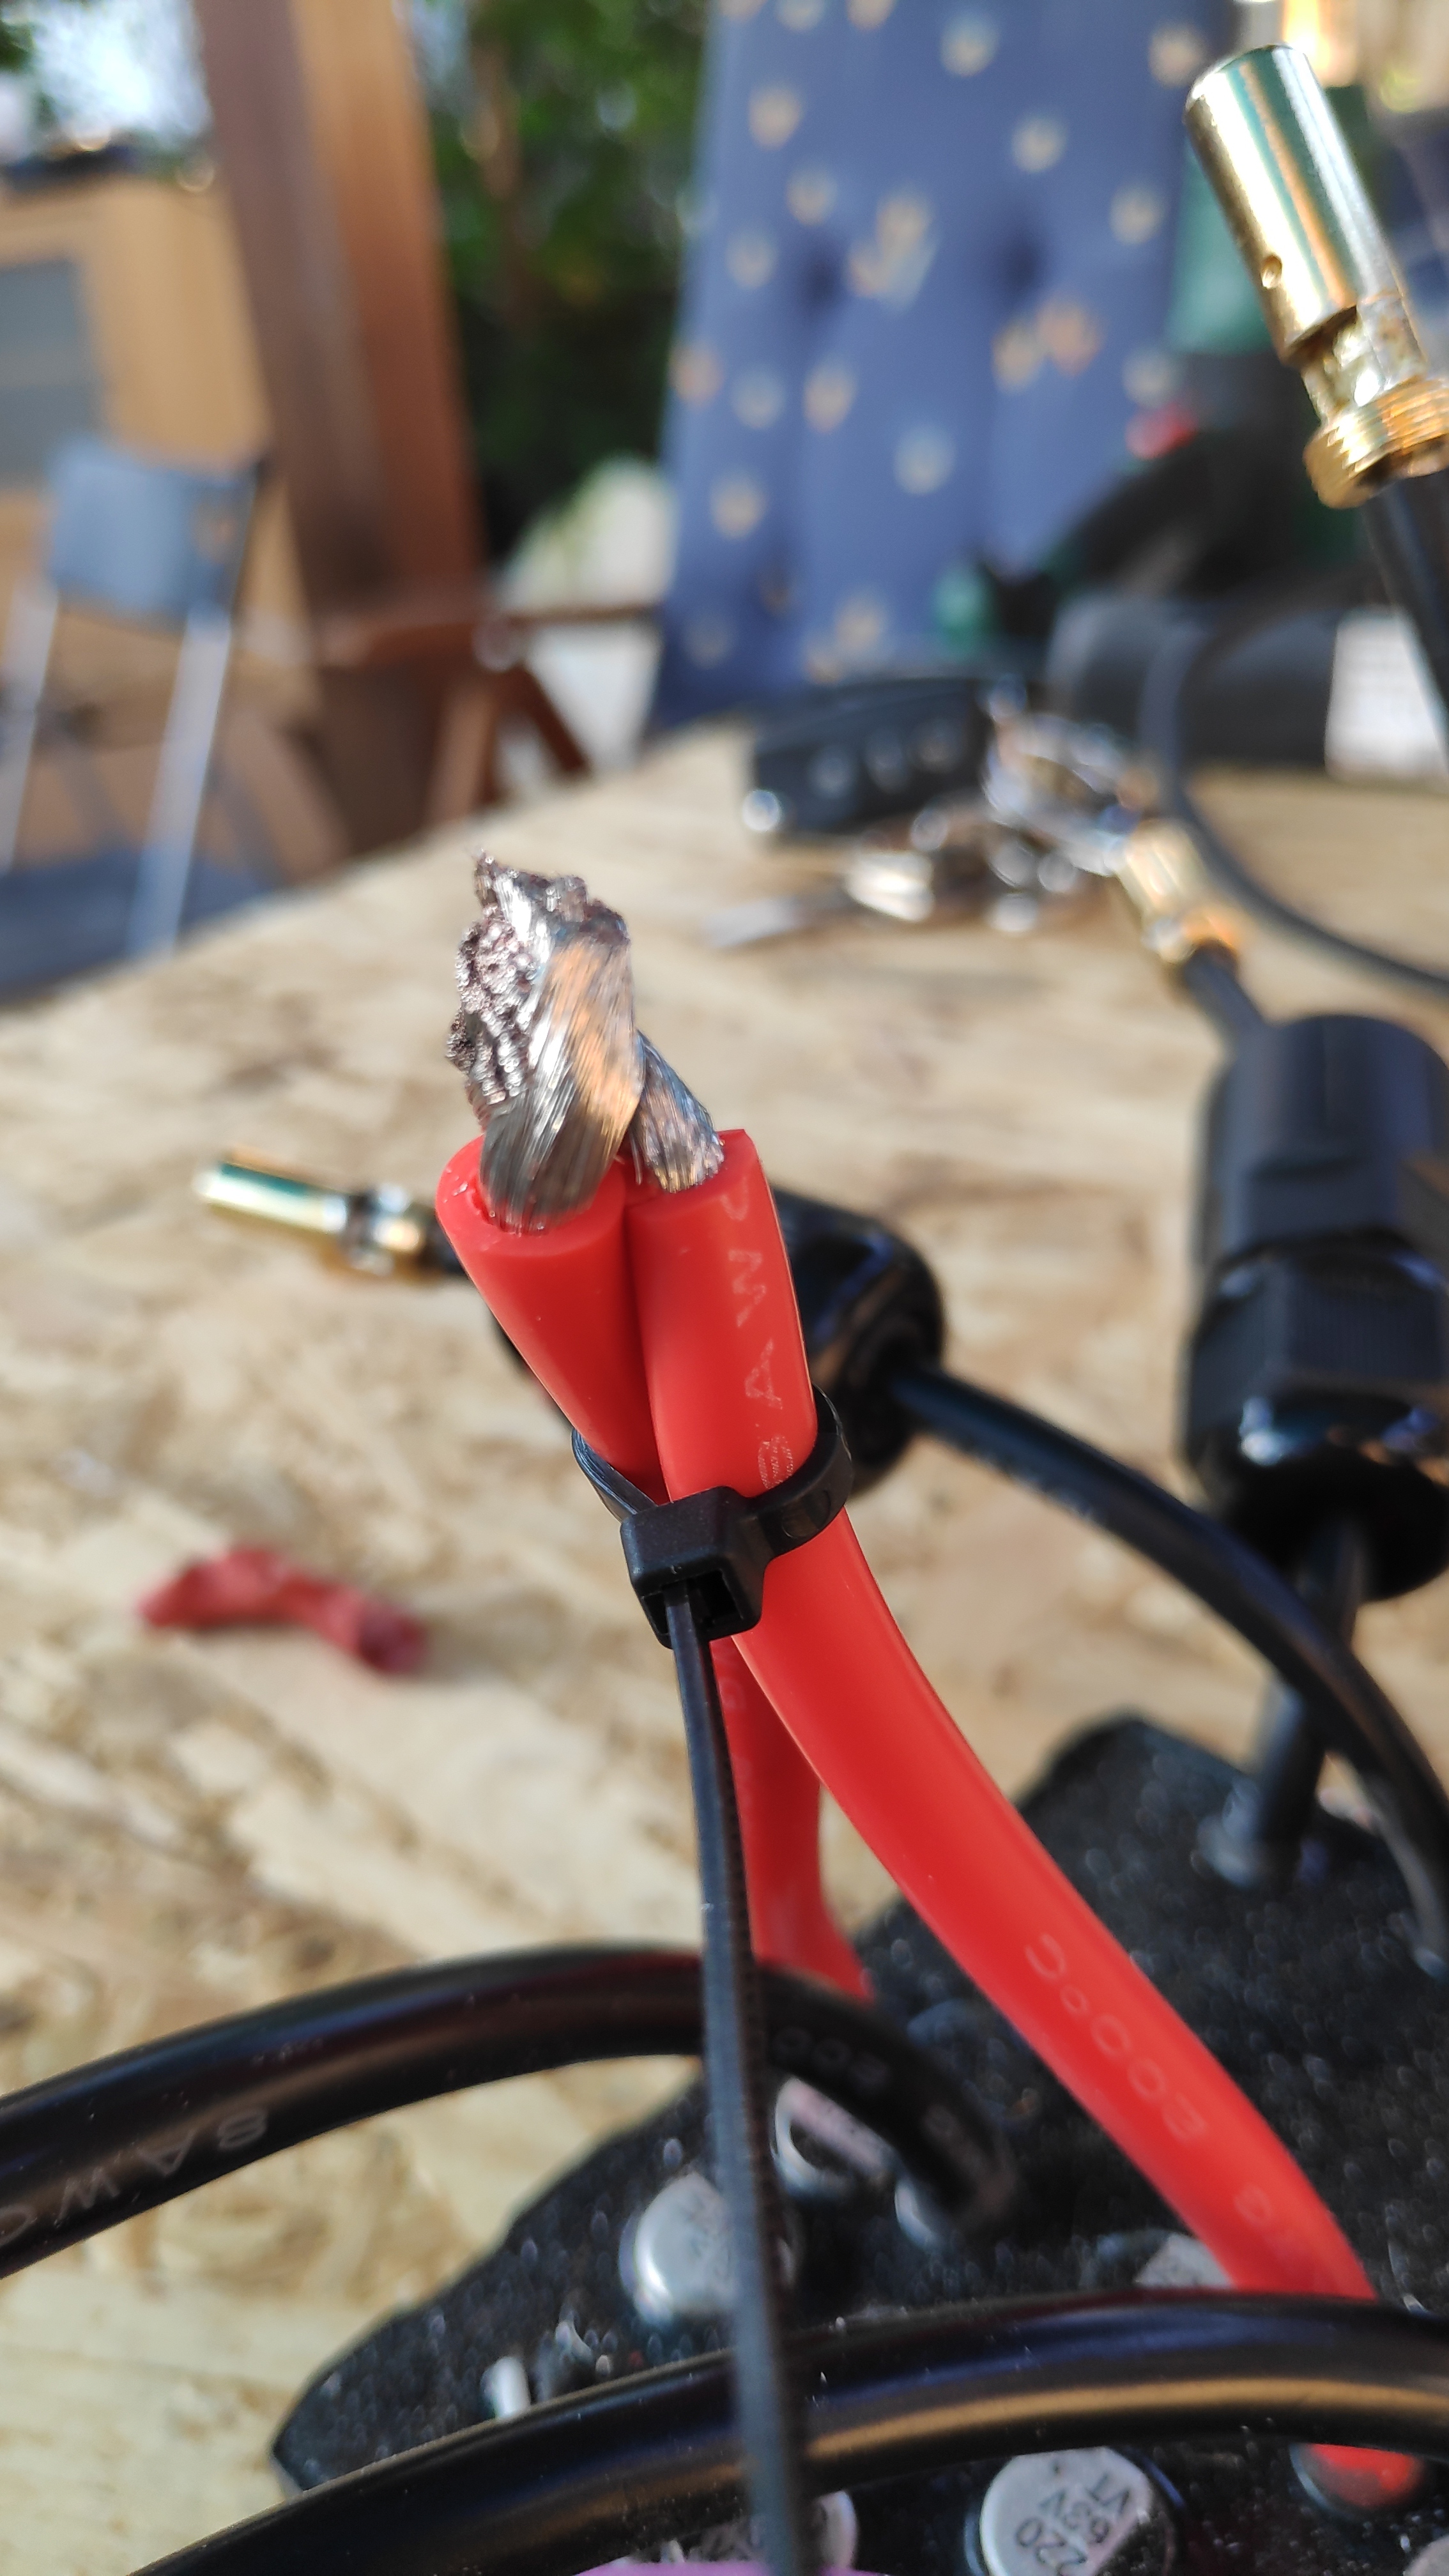
How did you attach the positive and negative wires? Did you solder them in place?
Soldered in-between the cells. I think nowadays people bent ni strip over the edge. I am absolutely not battery expert; you may refer to other builders
Good fpv racer with decent camera (this case insta Go) will give you decent footage. Unfortunately the camera stopped during my batt time…

7 Likes
I need to hurry, post will be short just ask if you need to know more.
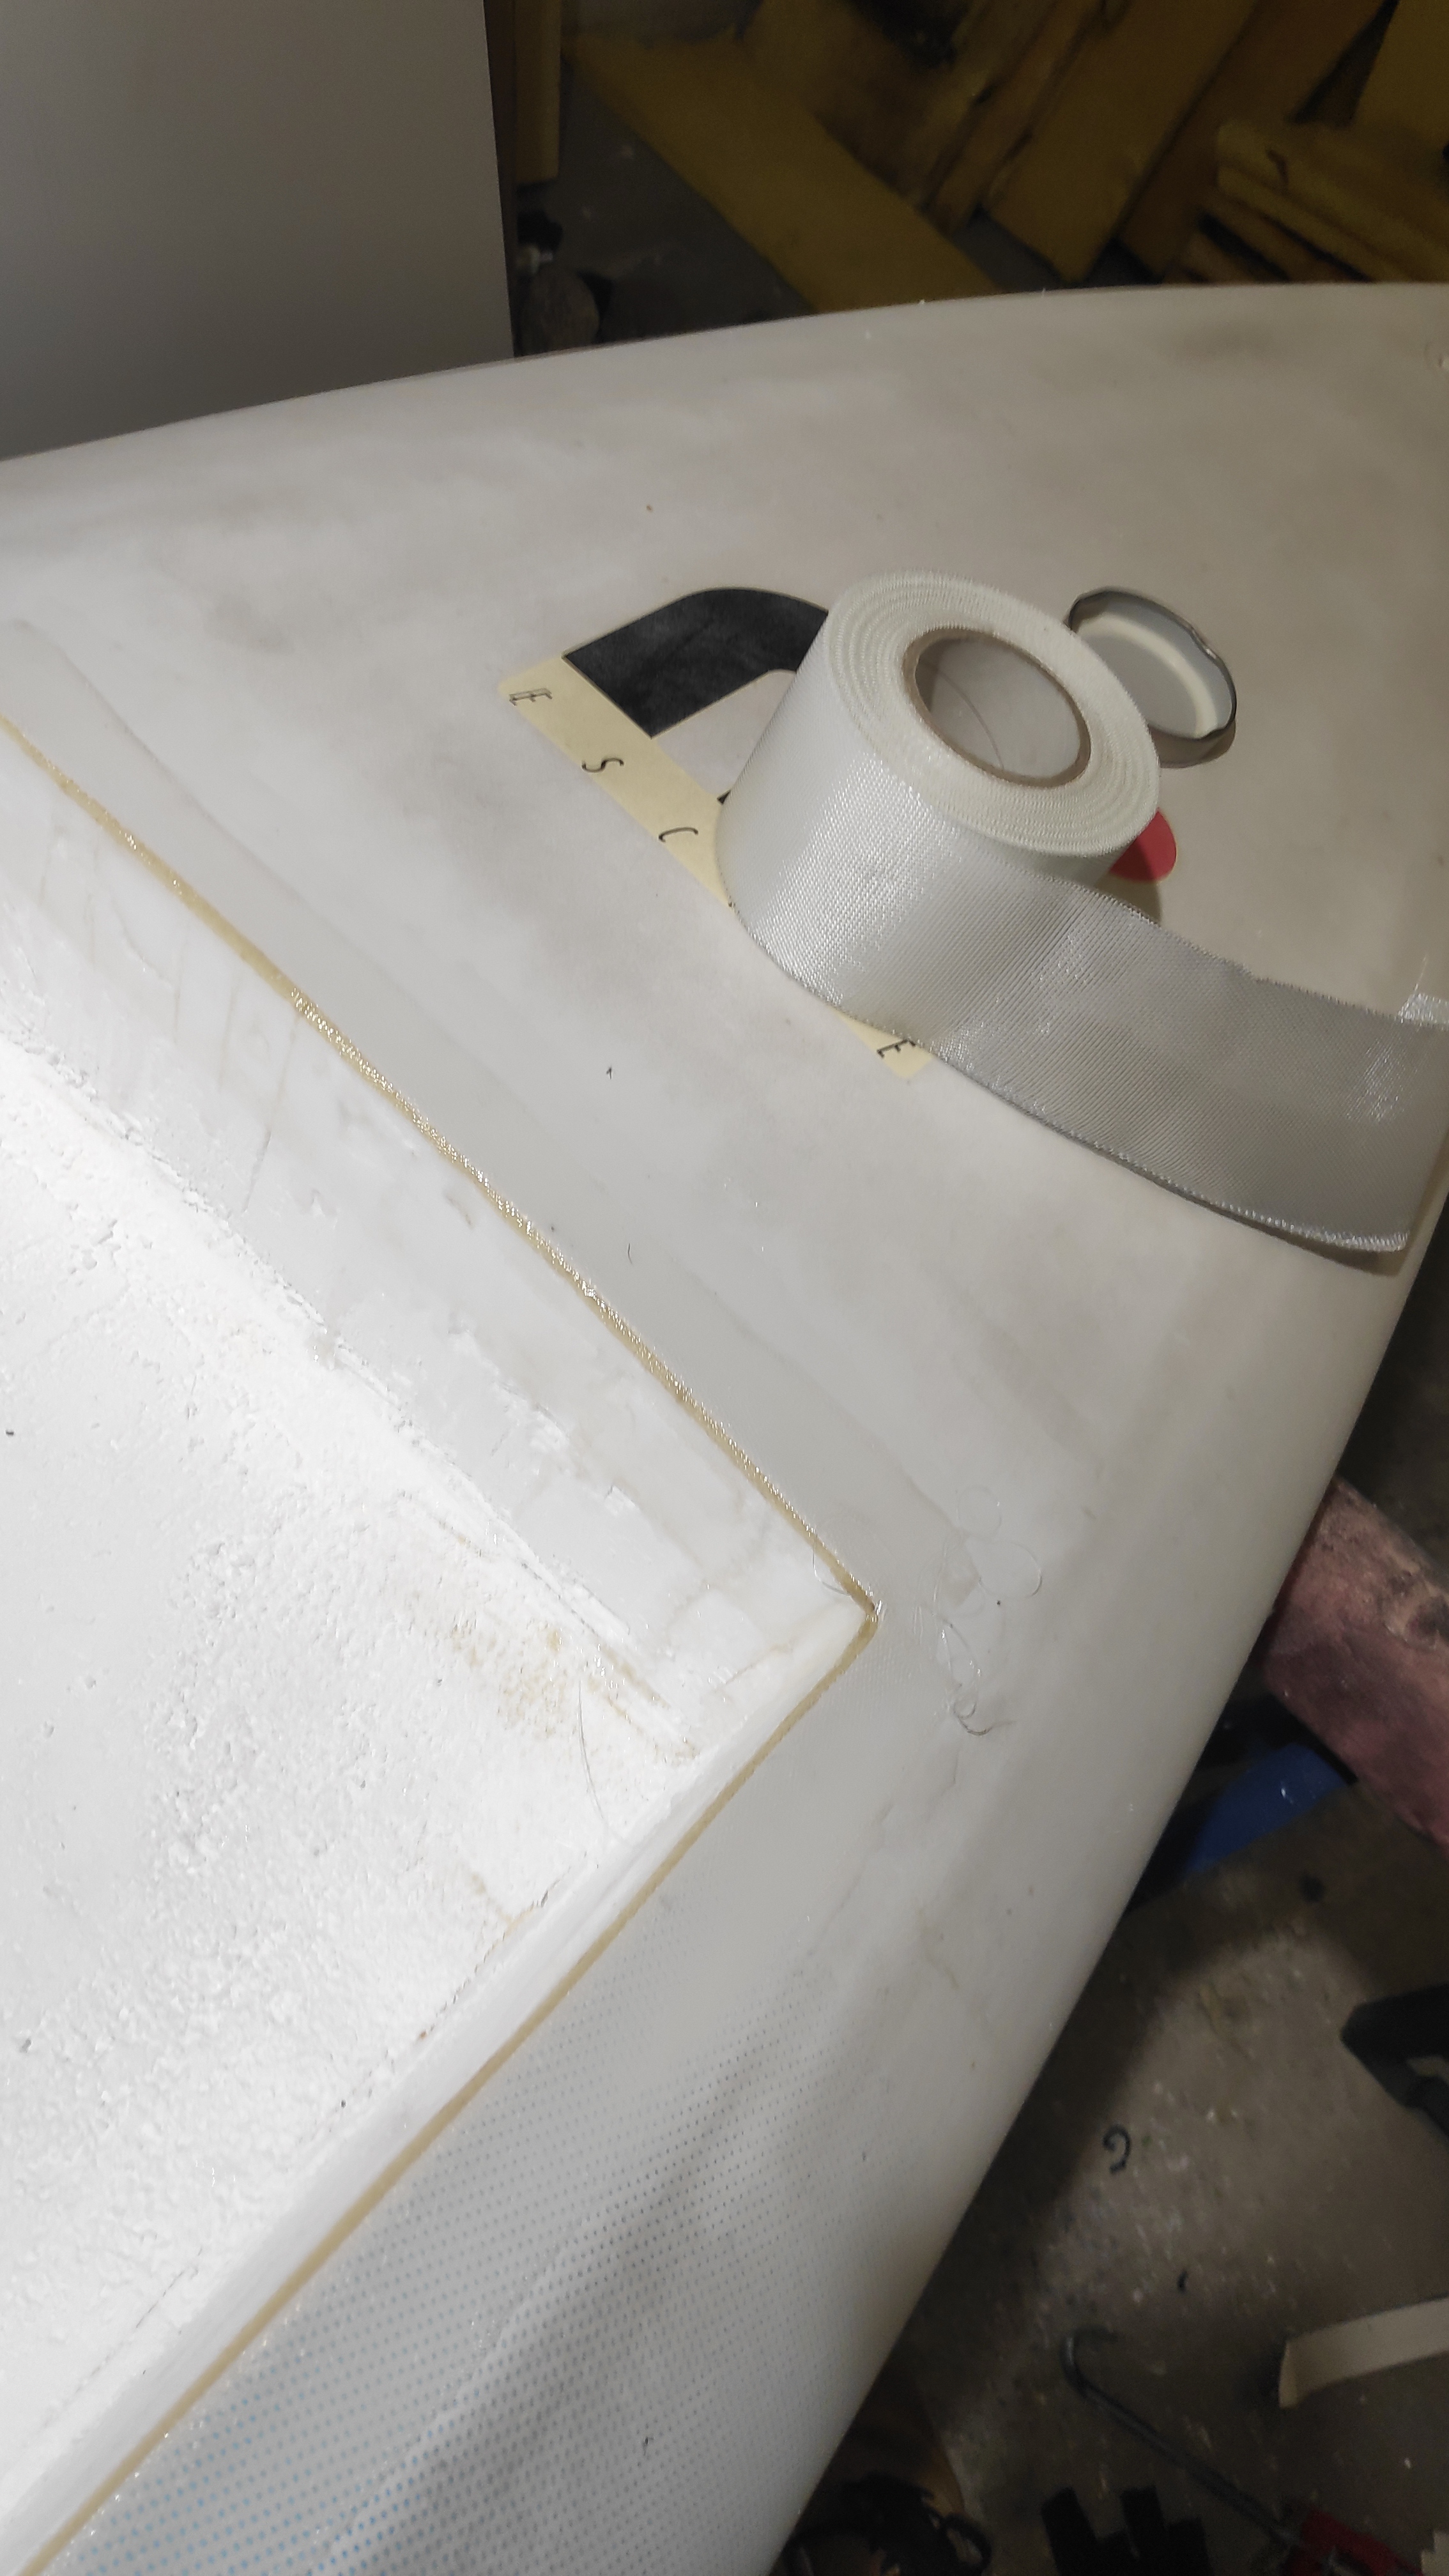
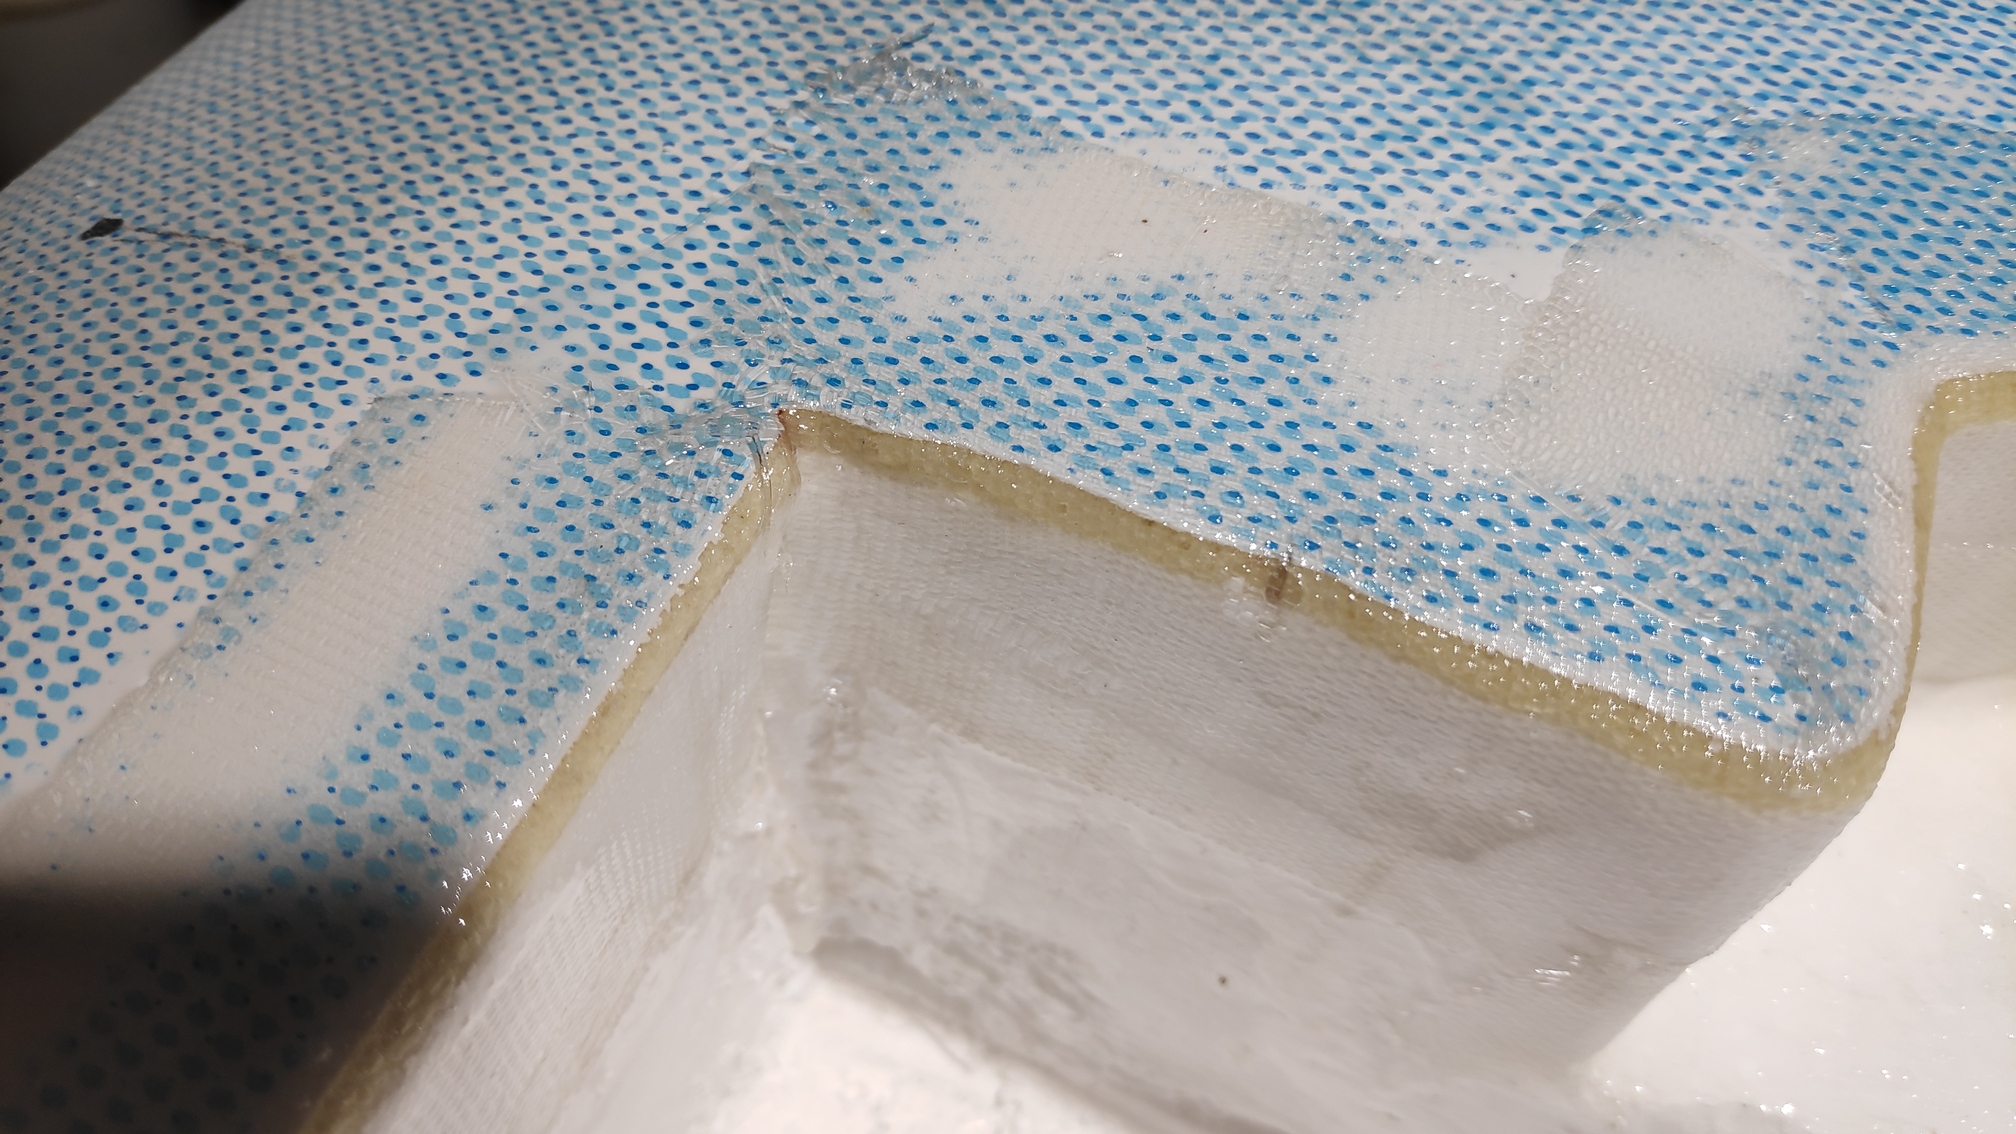
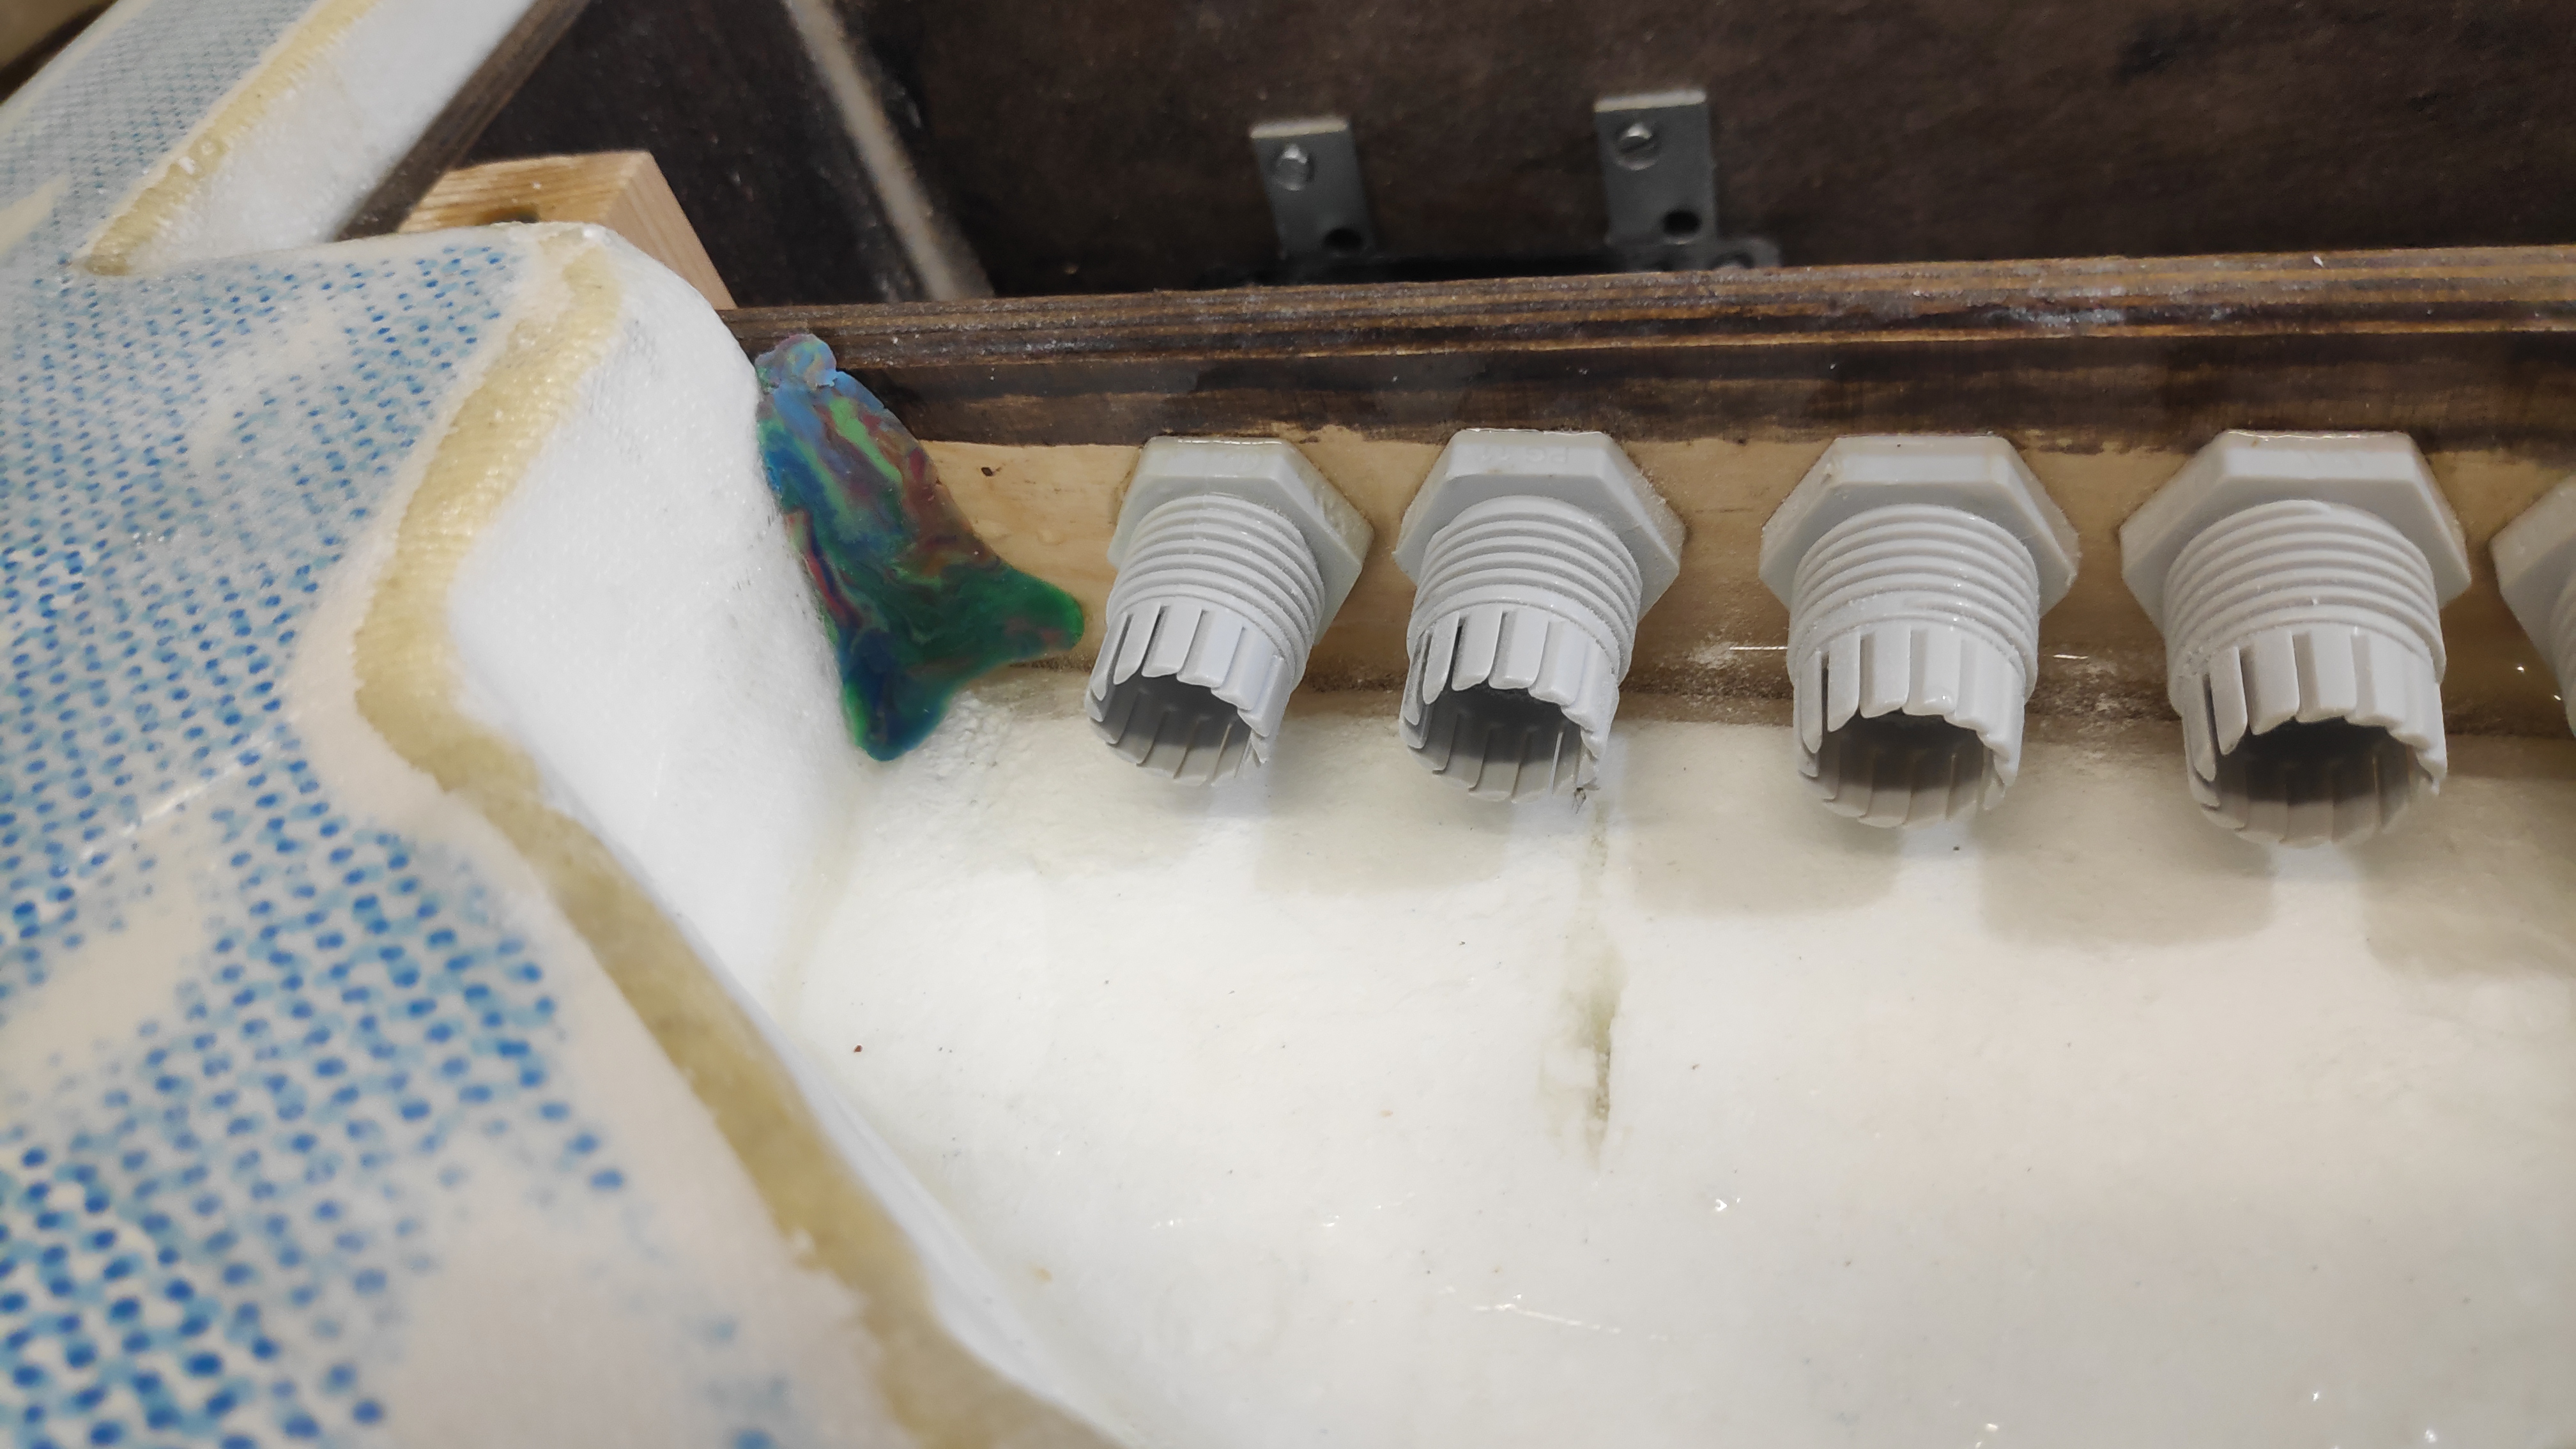
Edge of cut is laminated with this nice toilet paper style glass, it’s kind of thick I used it also for the first board and it did very well so far.
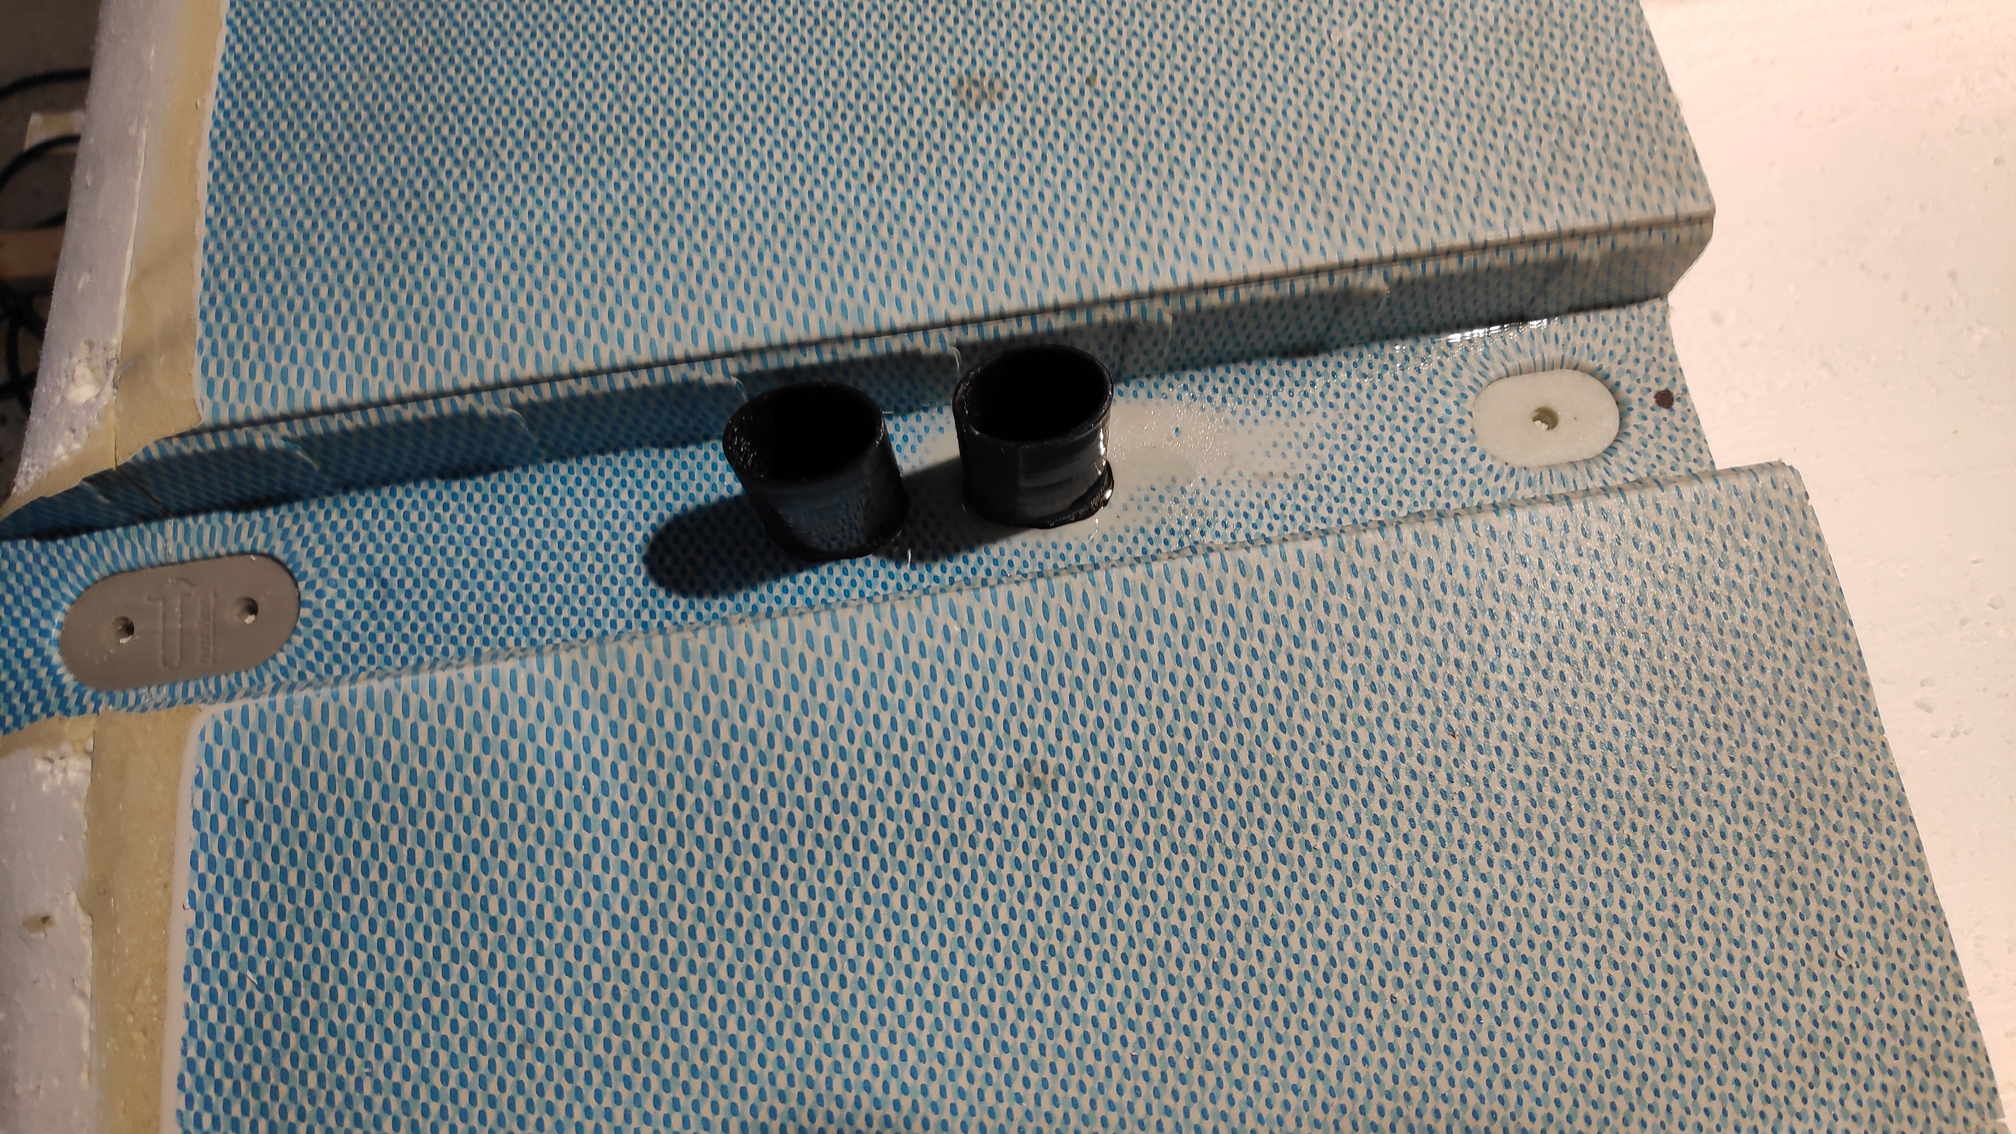
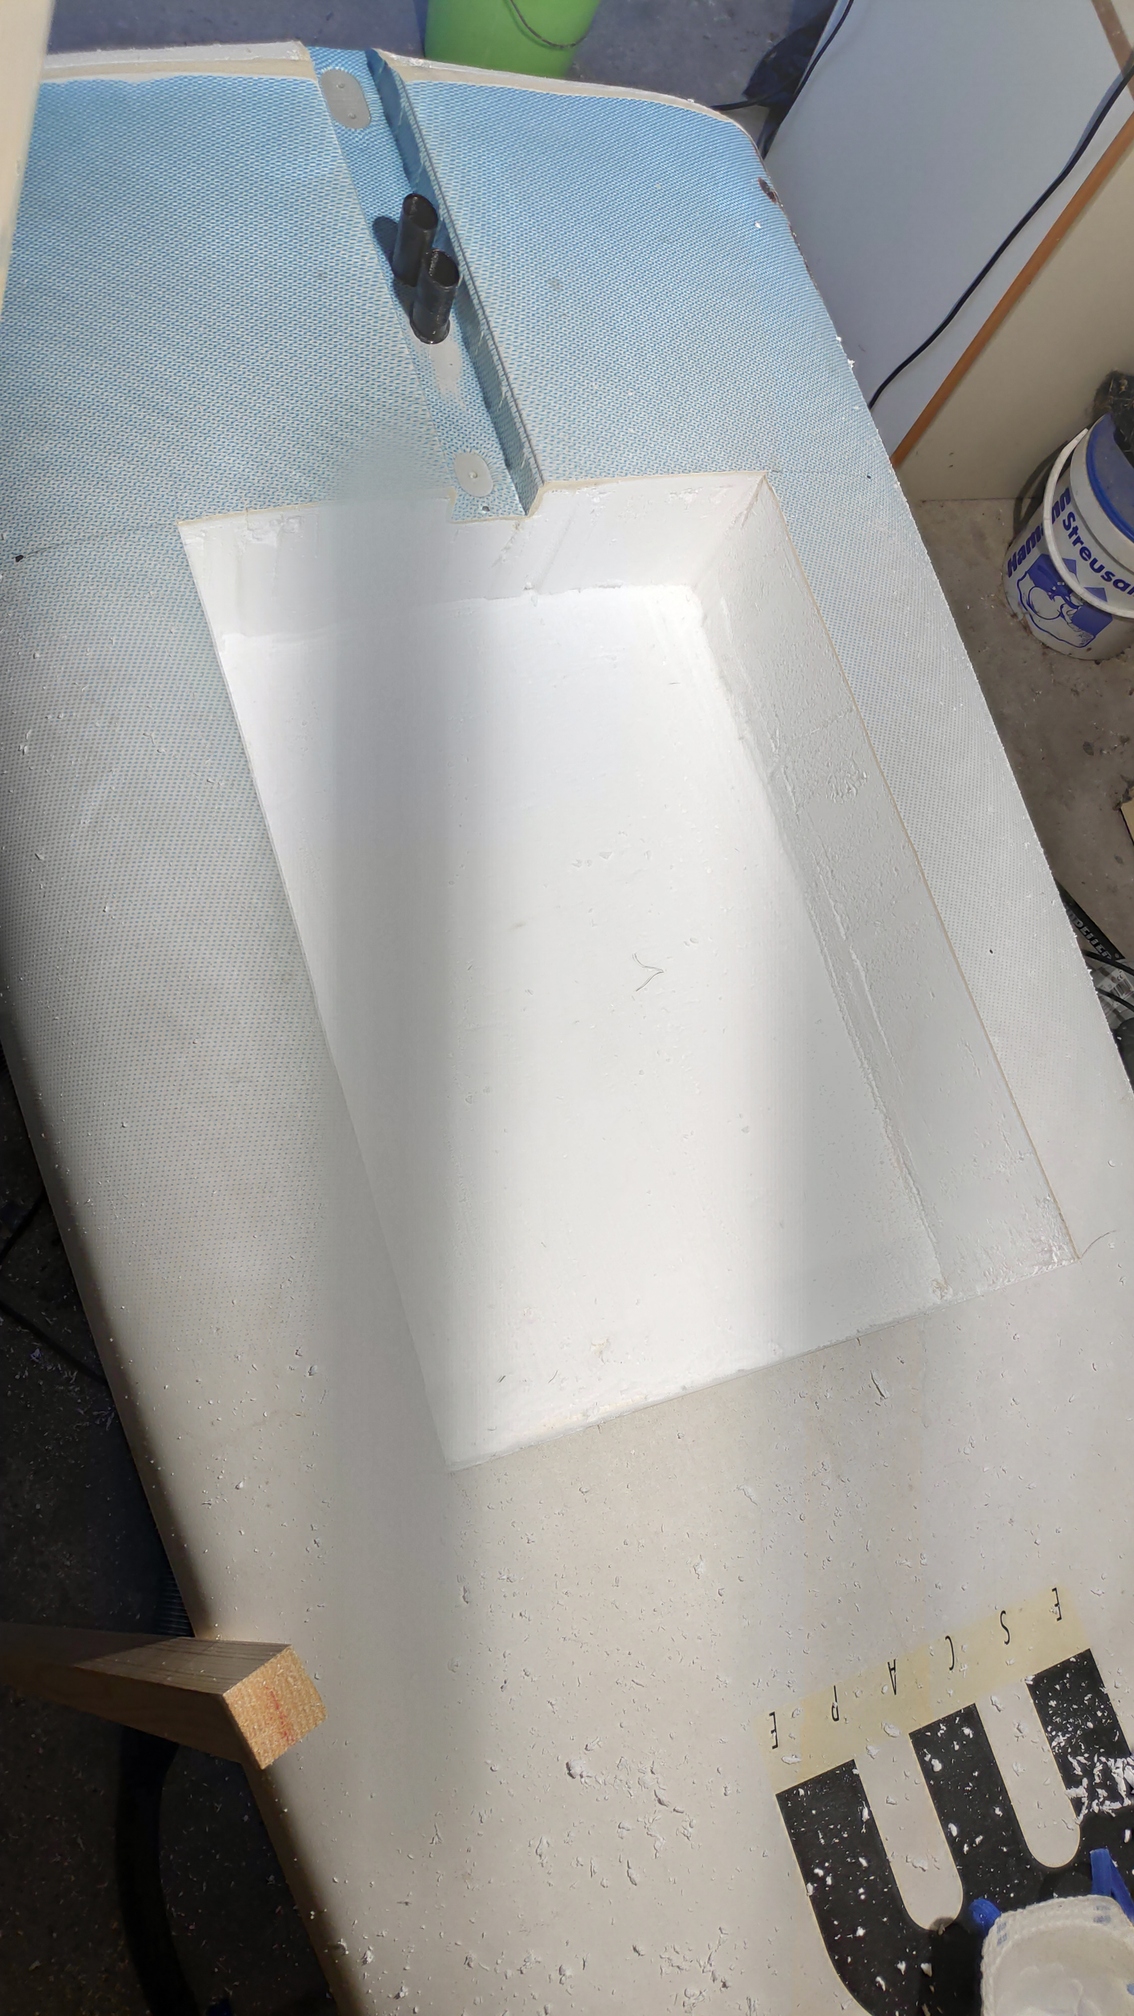
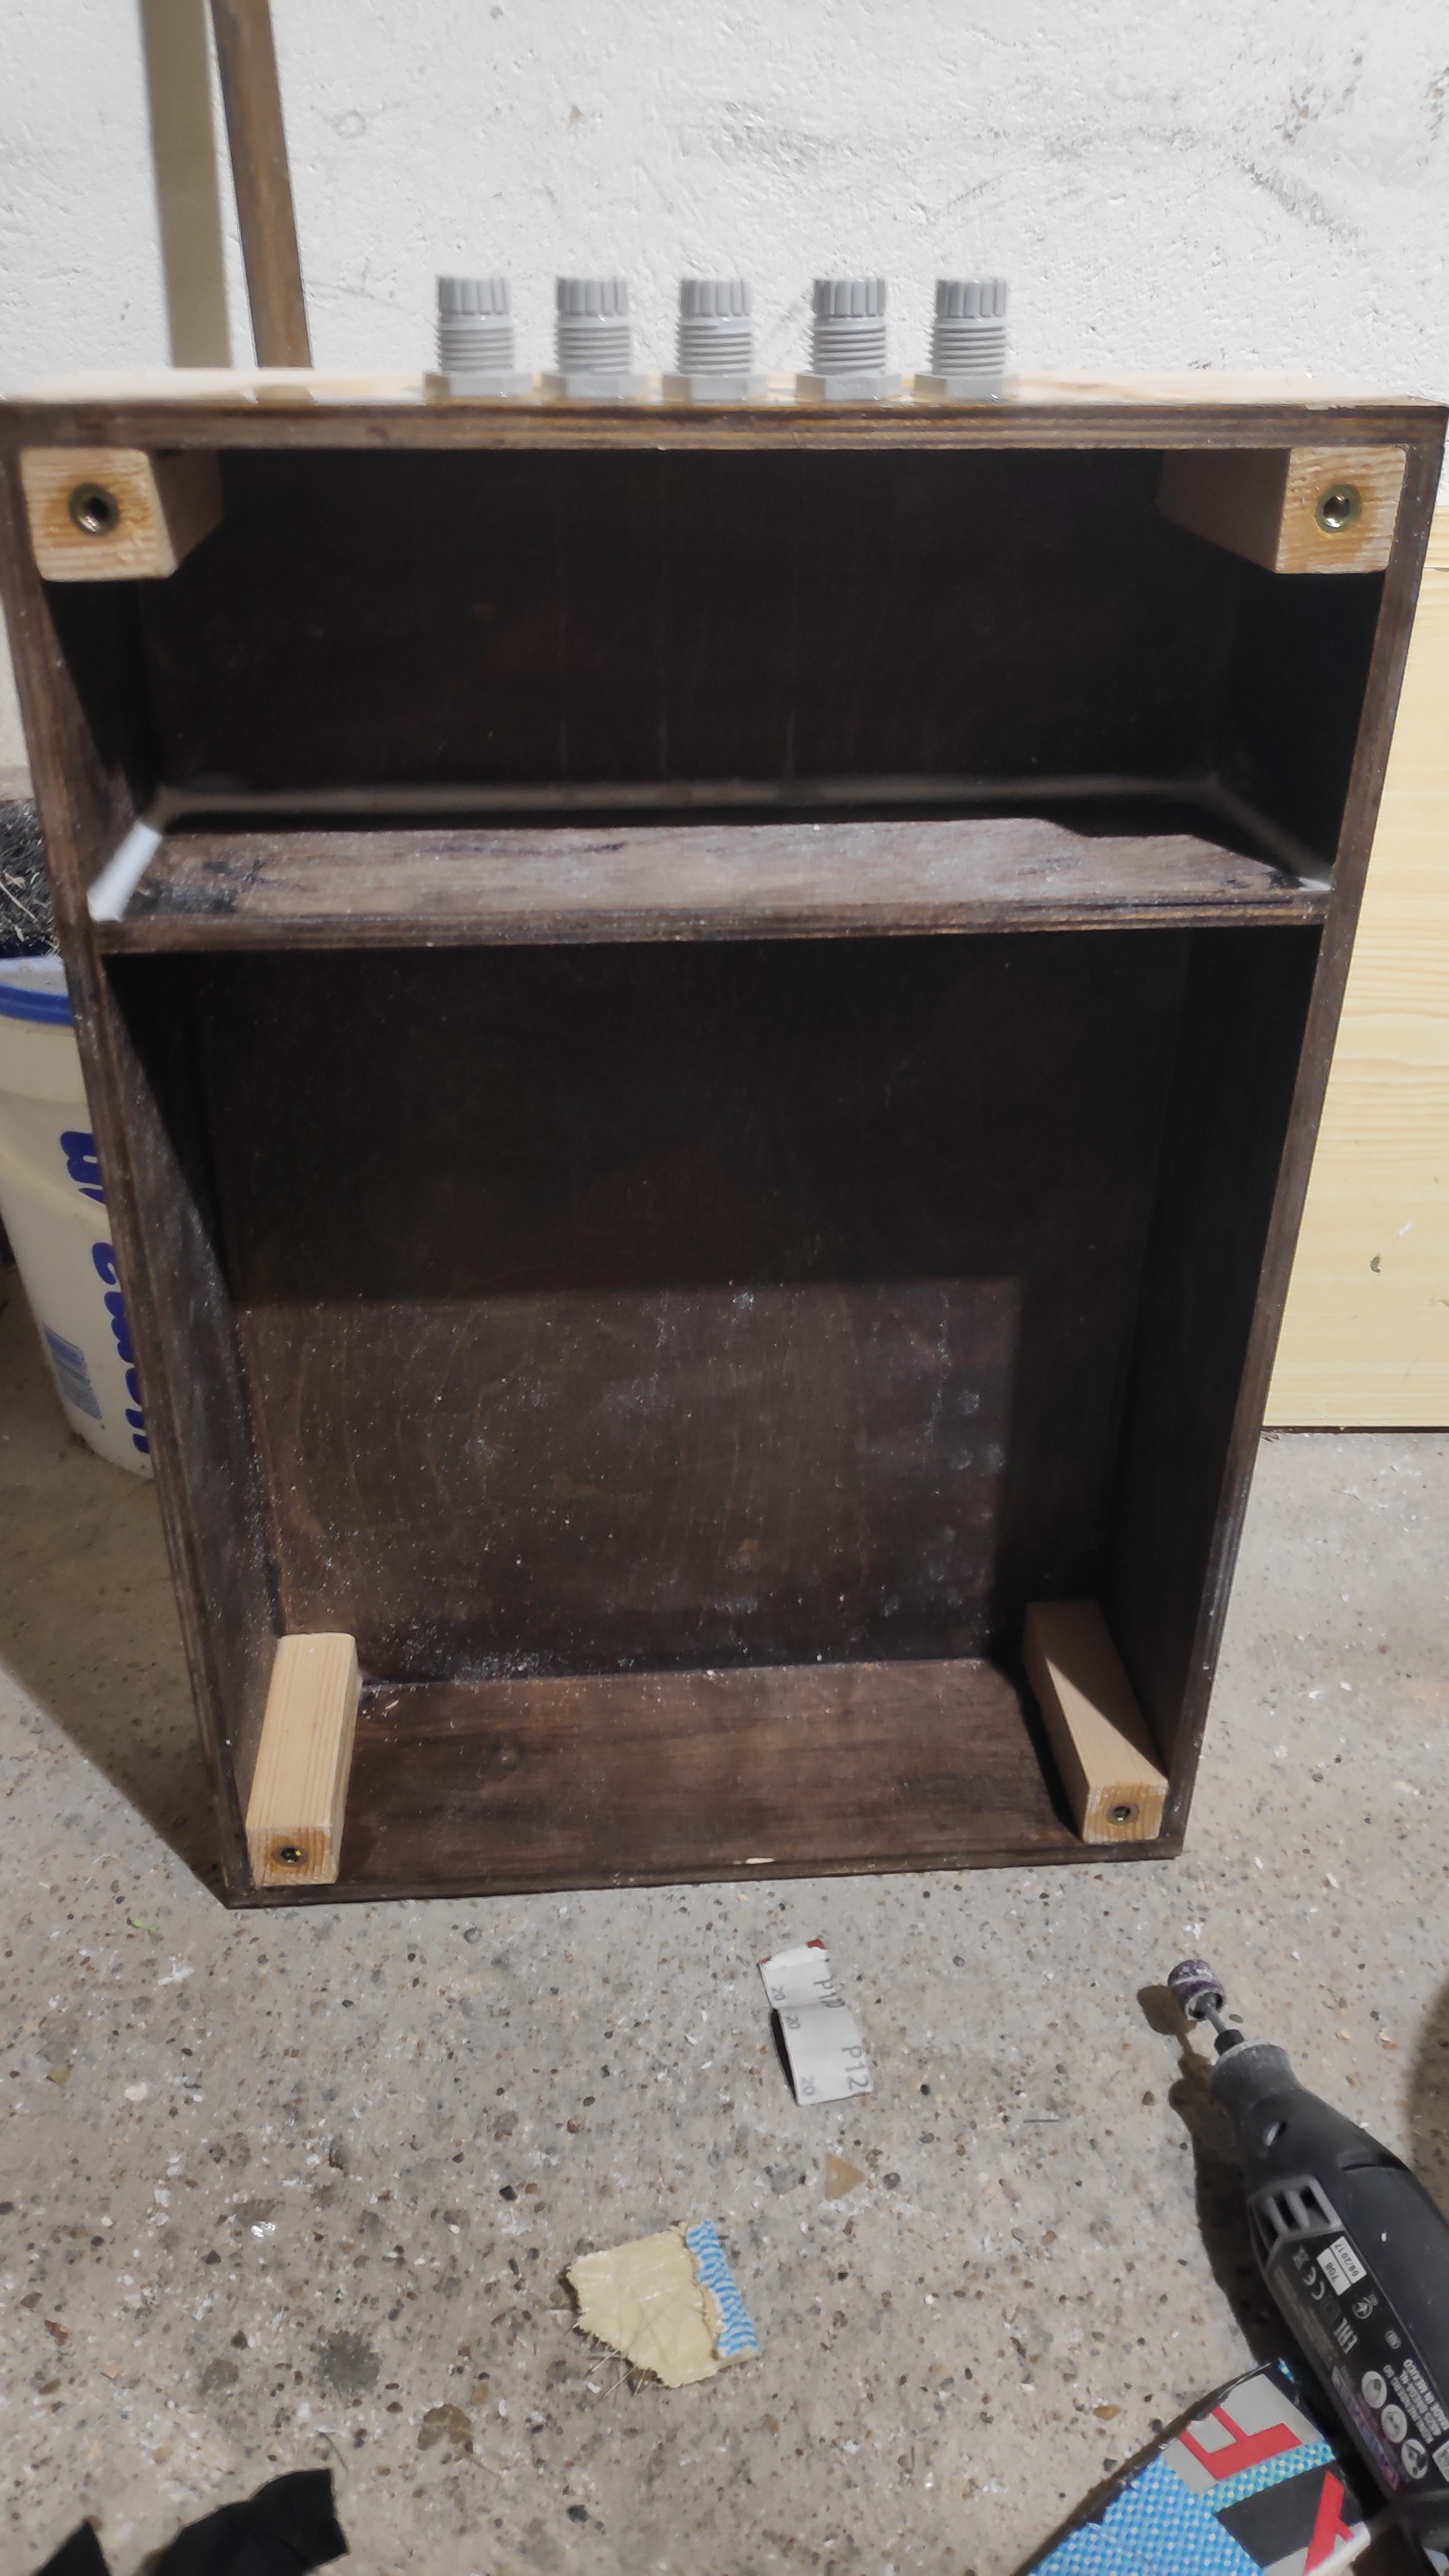
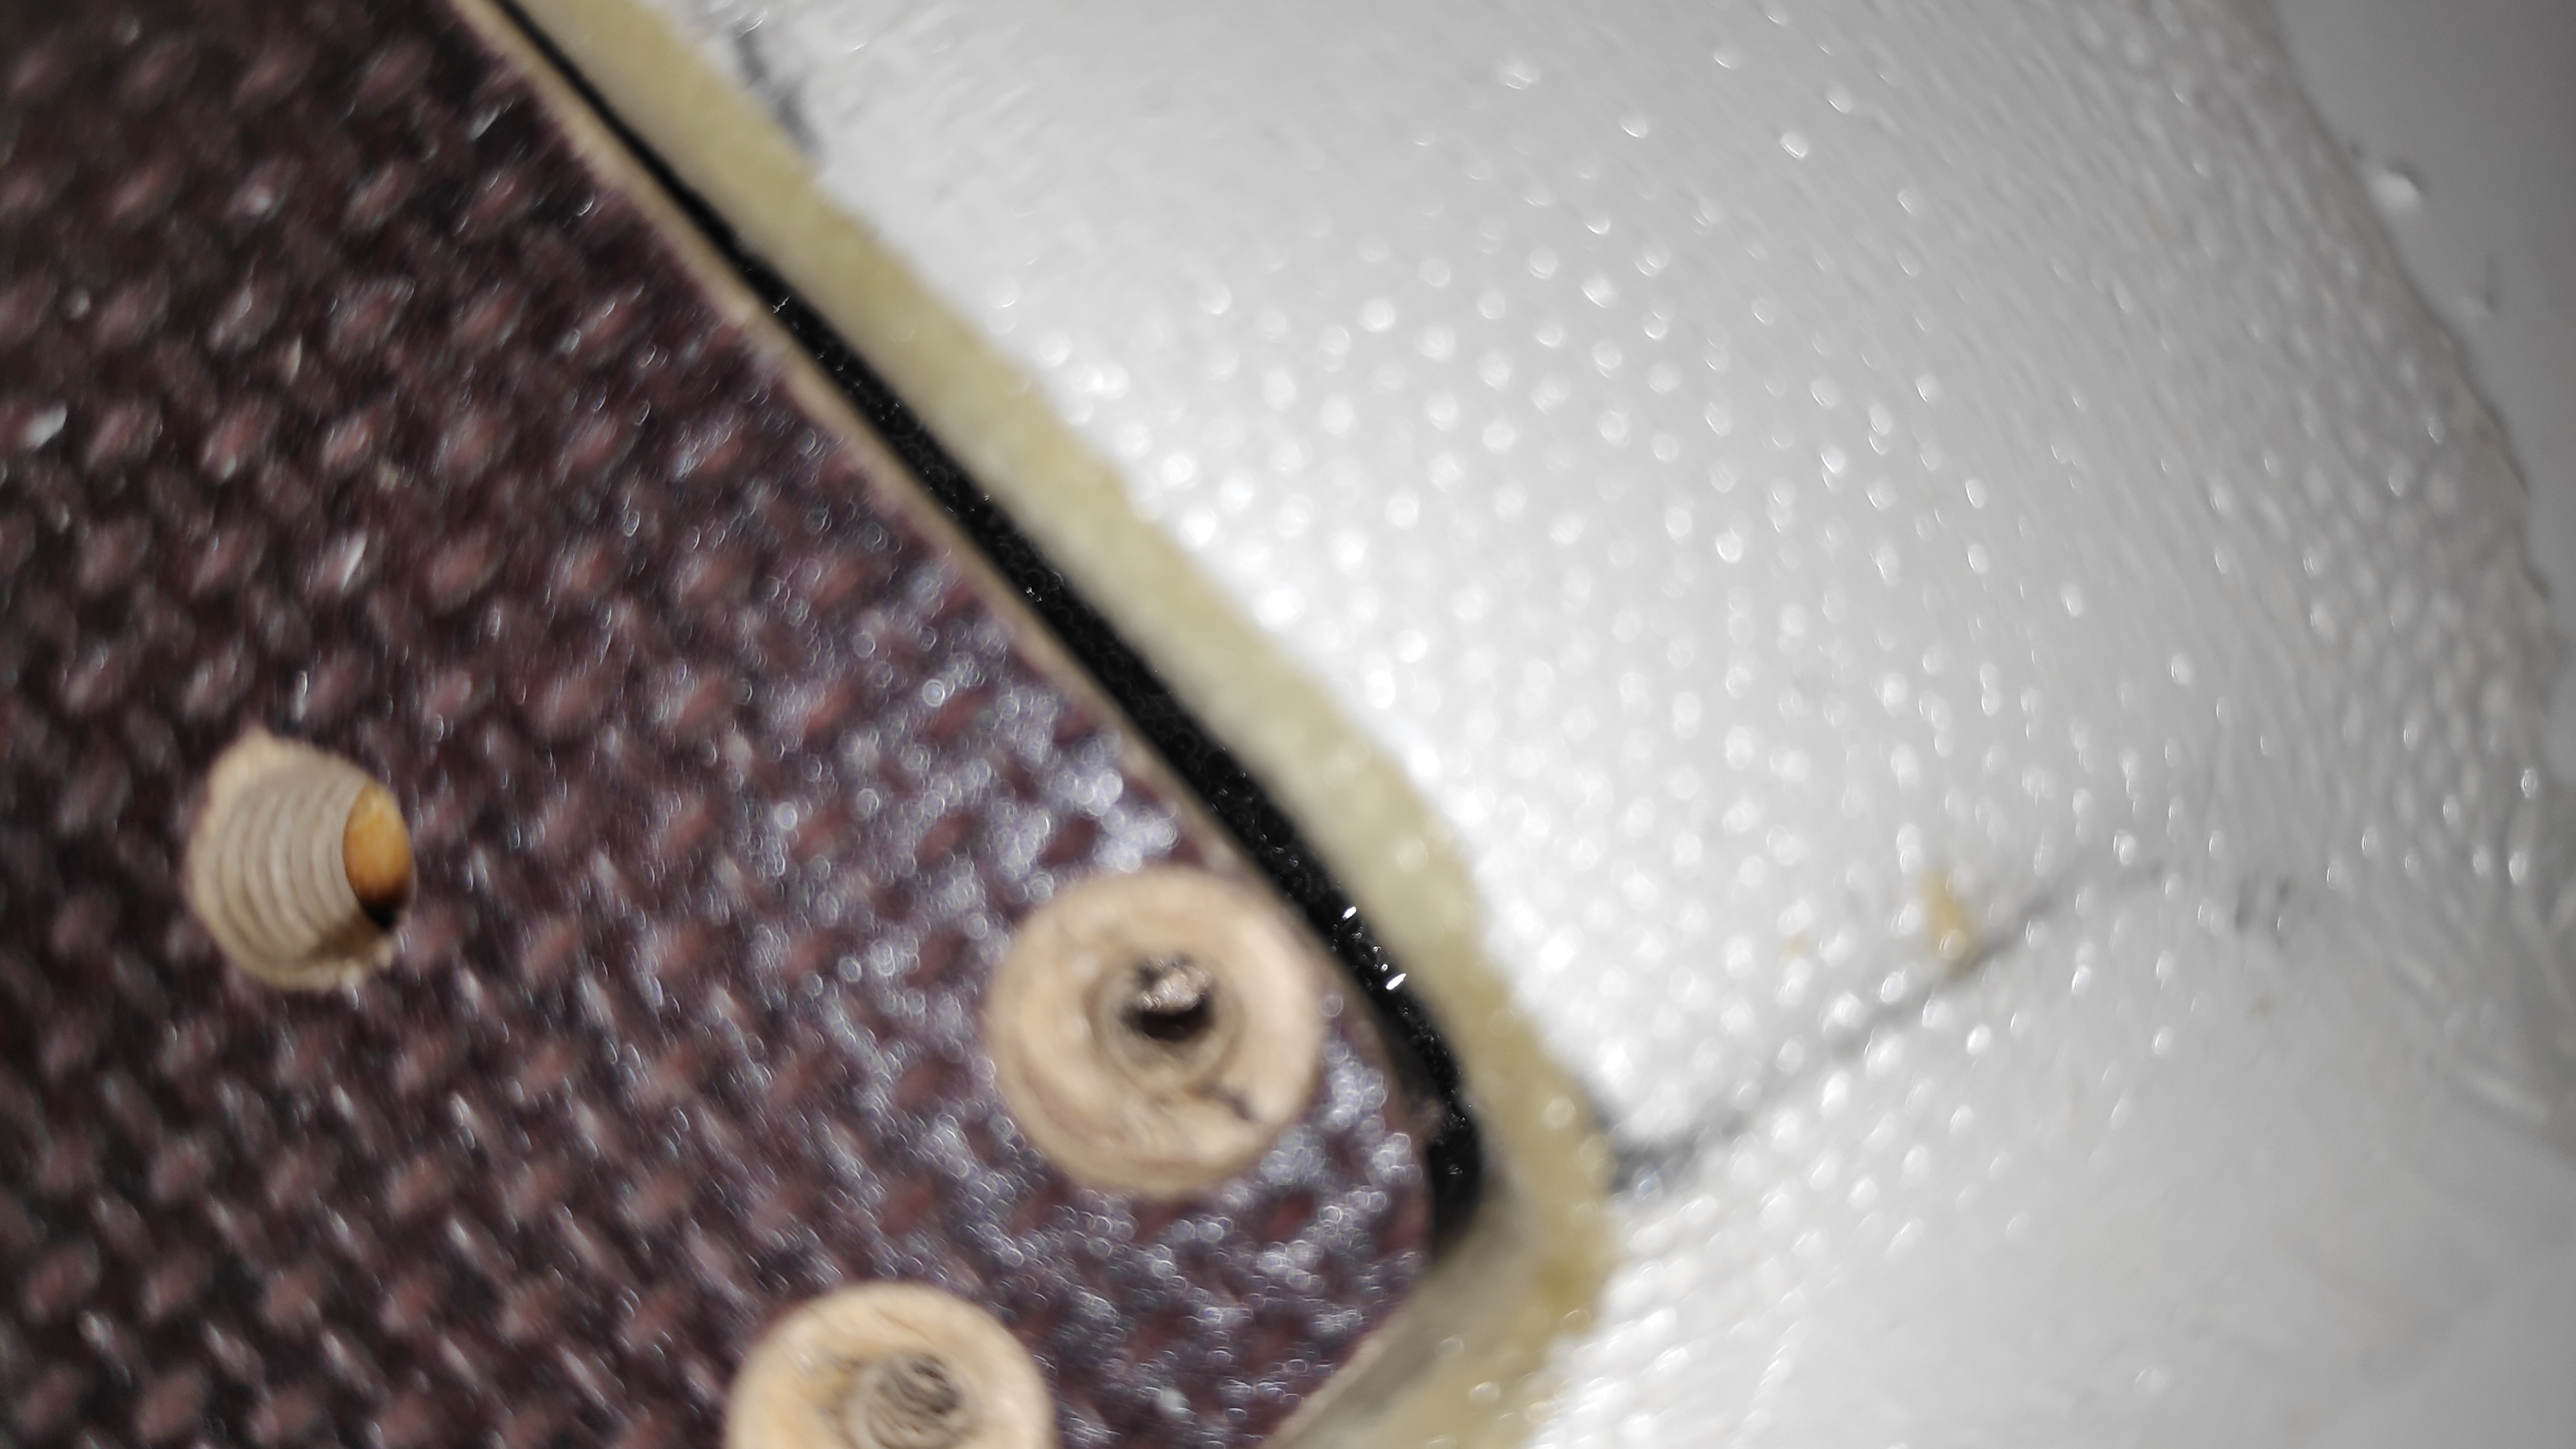
Box is also done. Everything glued in. Again I have the screw mounts inside the box, like in first build. I have never had any issue with this system, one could think of running water along the screws in the box, but it’s not happening. This method is super simple to build.
2 Likes
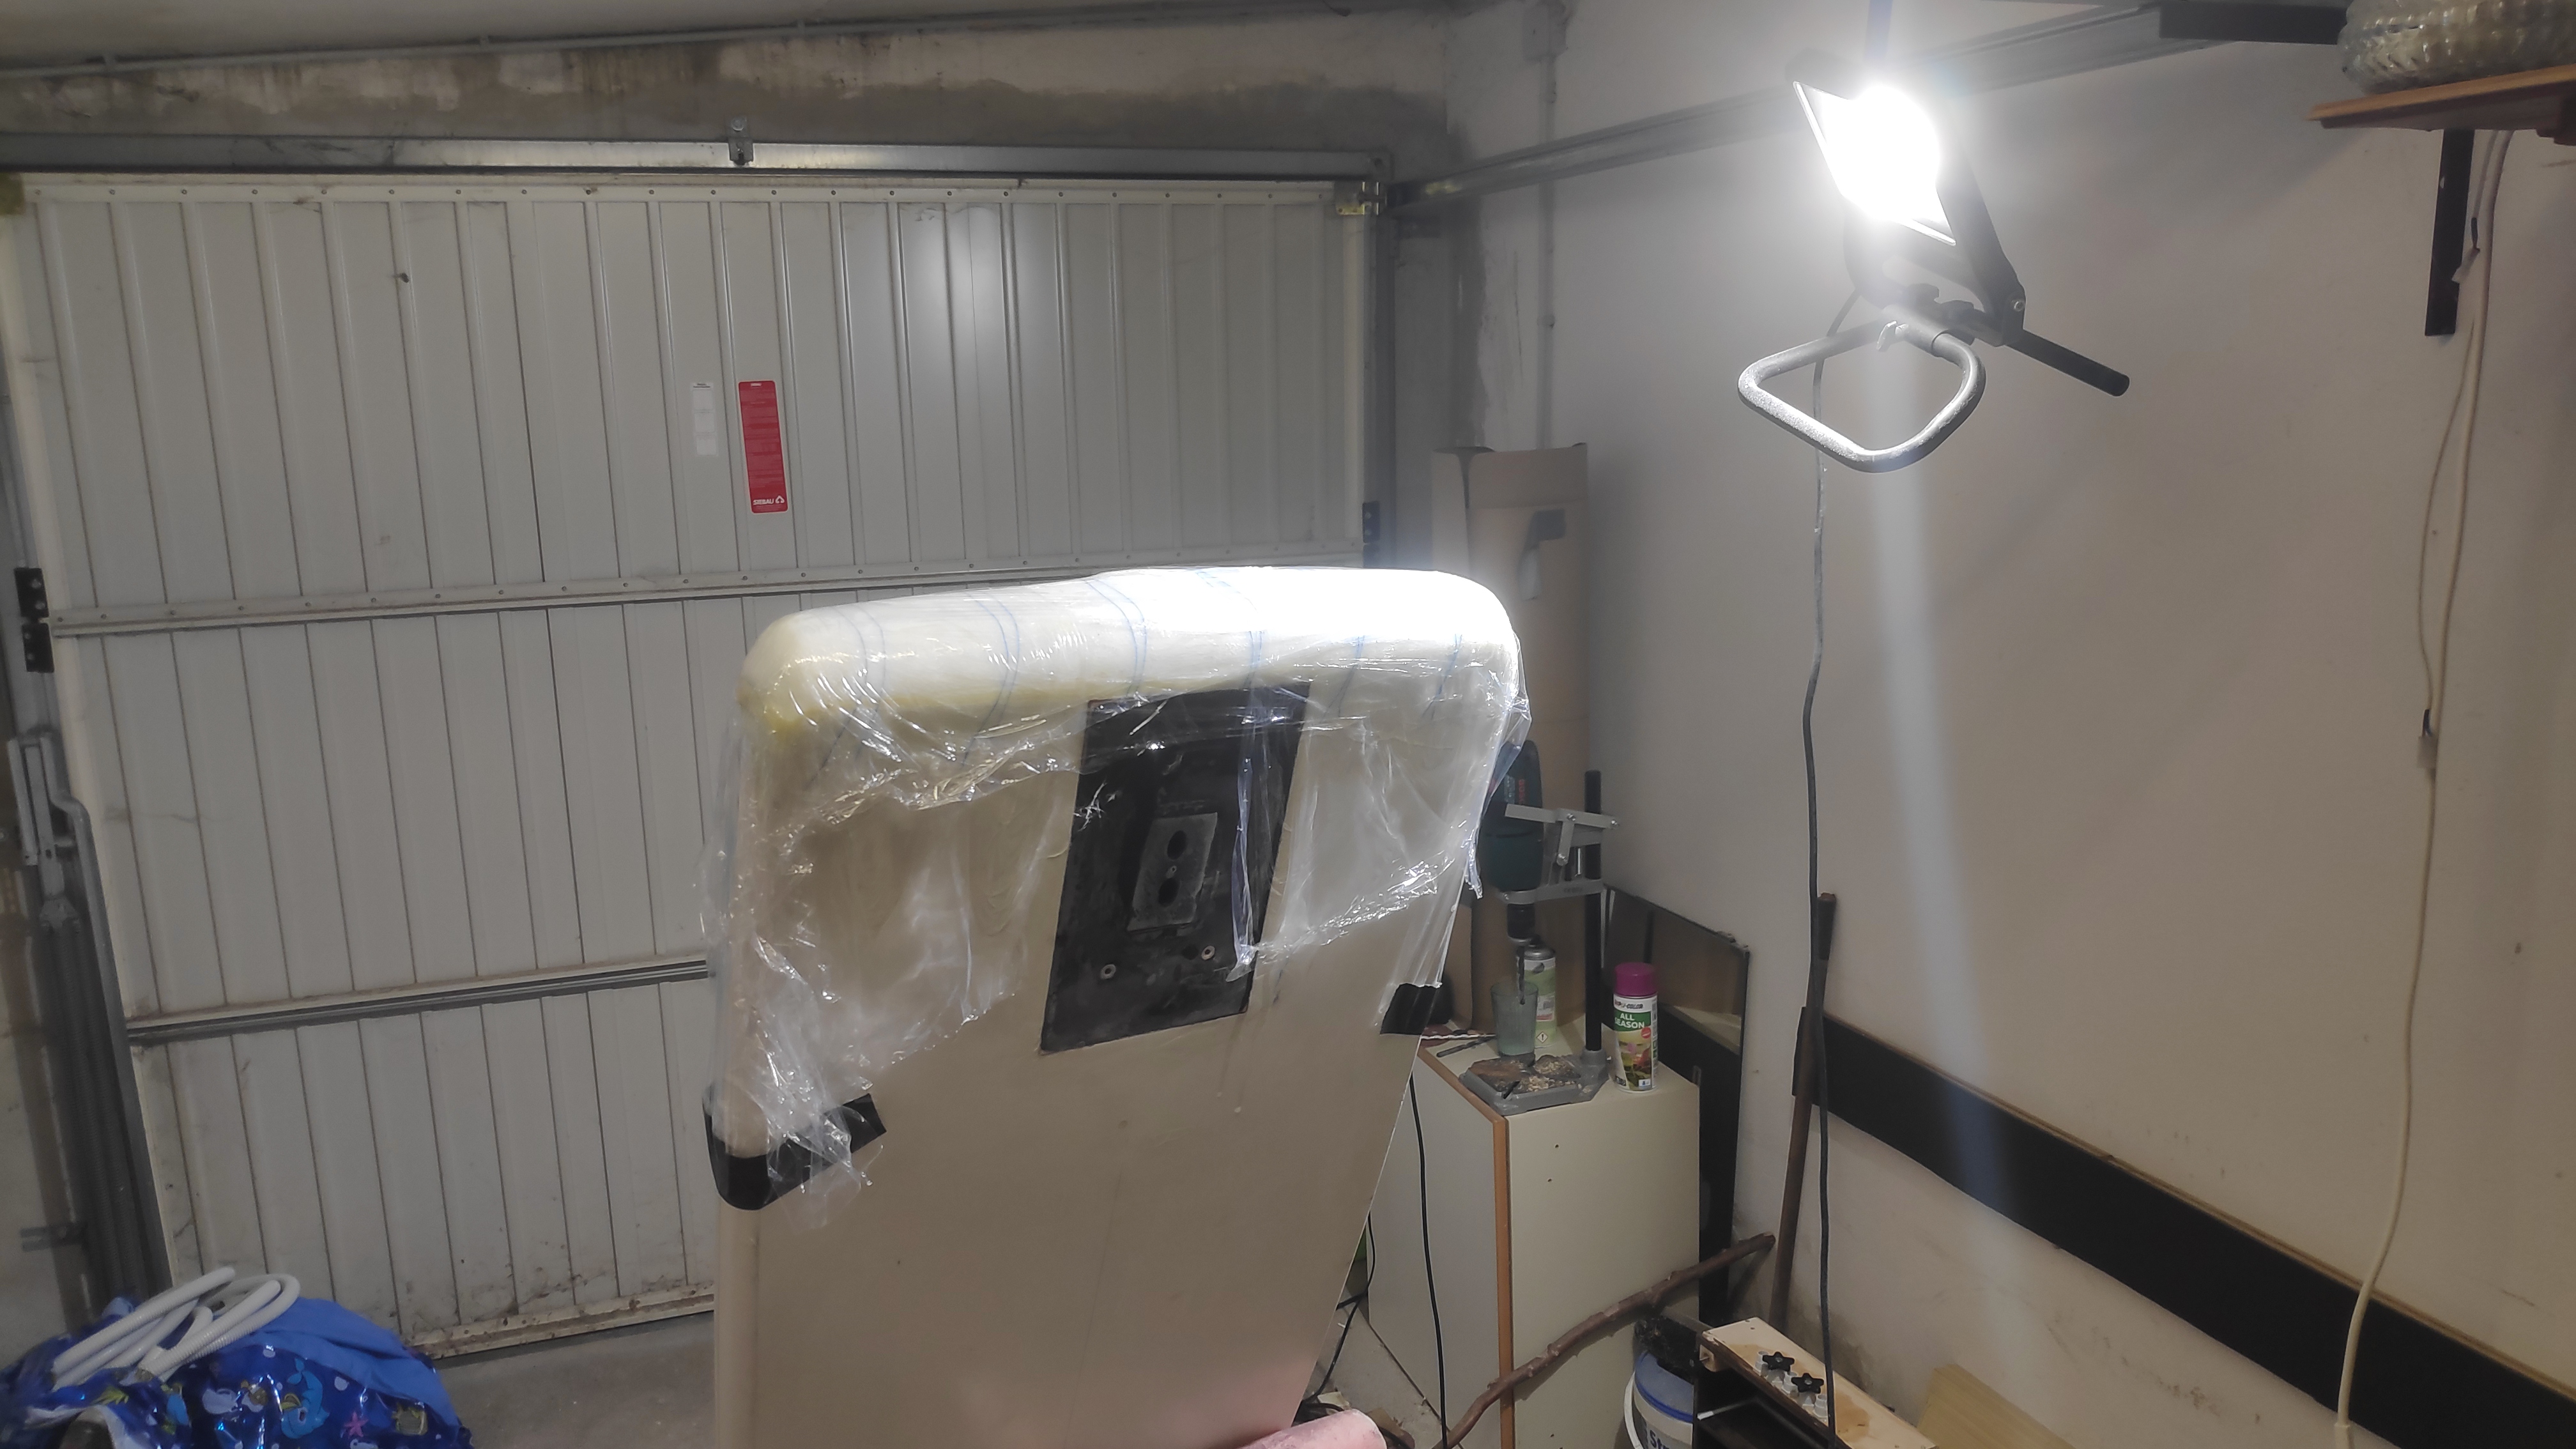
Dat ass. I do not have vacuum, so I use kitchen foil. Afterwards there are always some air bubbles inside (also for the box cut) which I fill with epoxy by syringe.
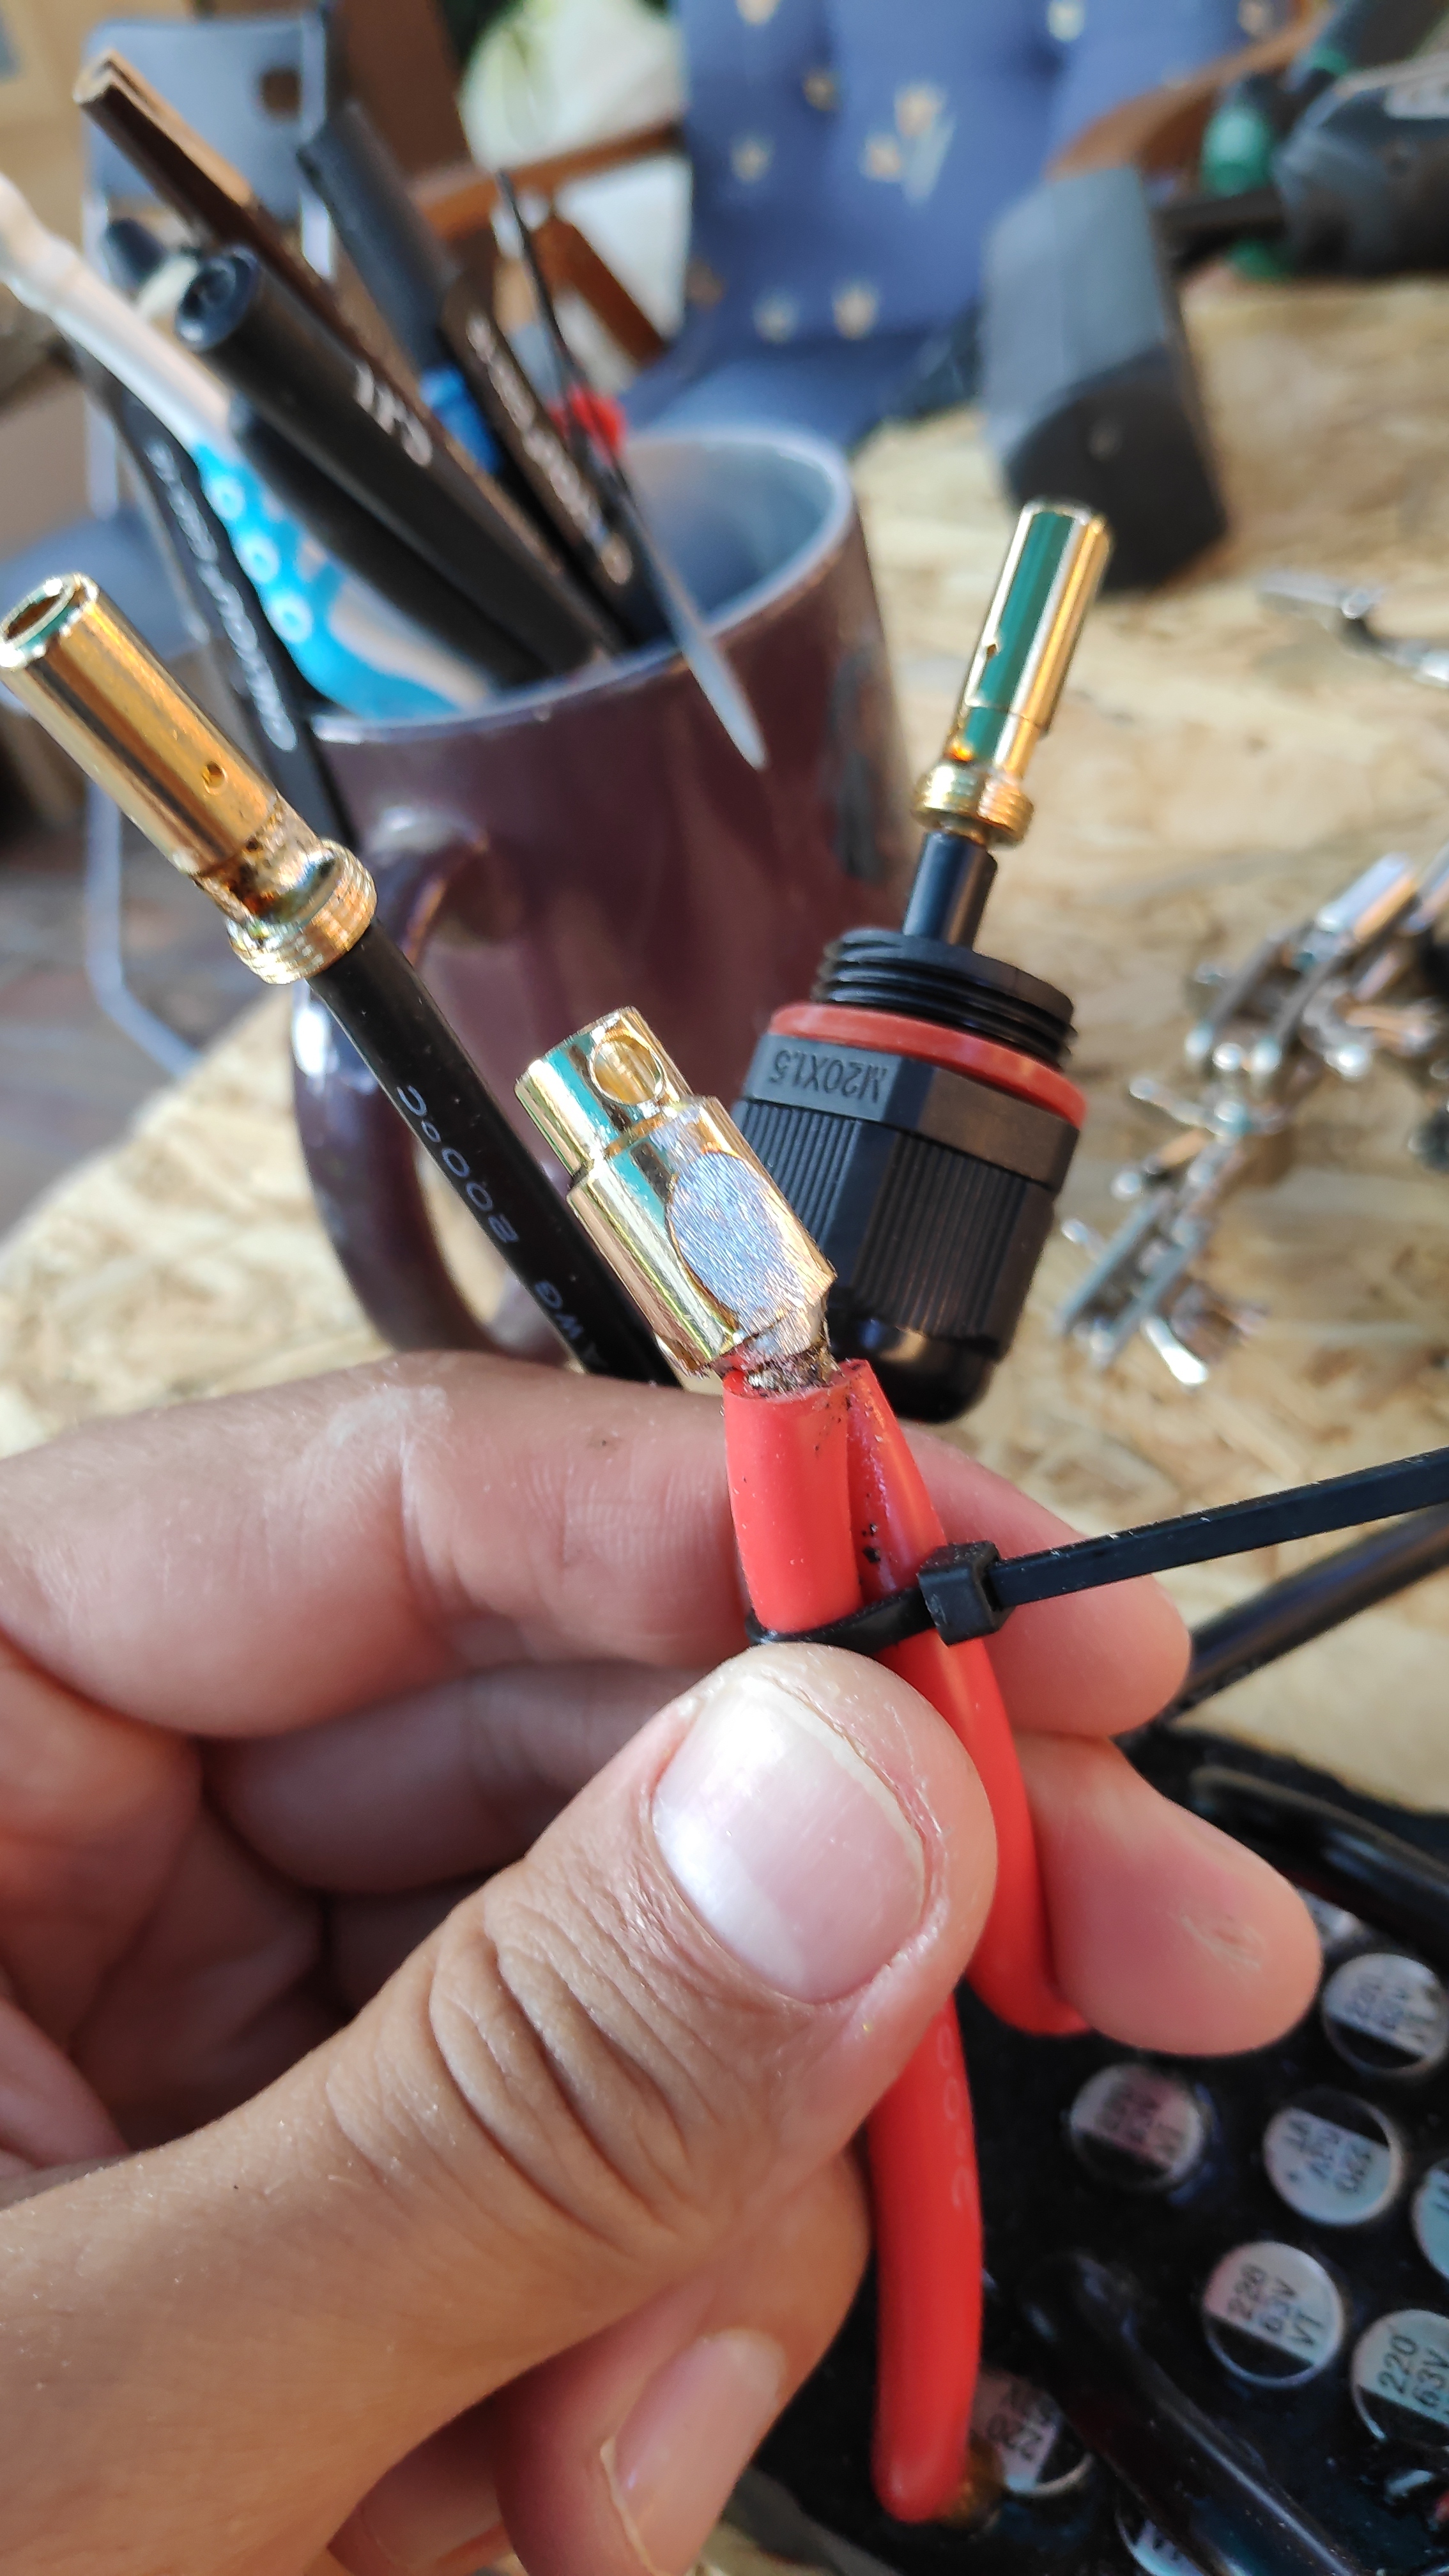
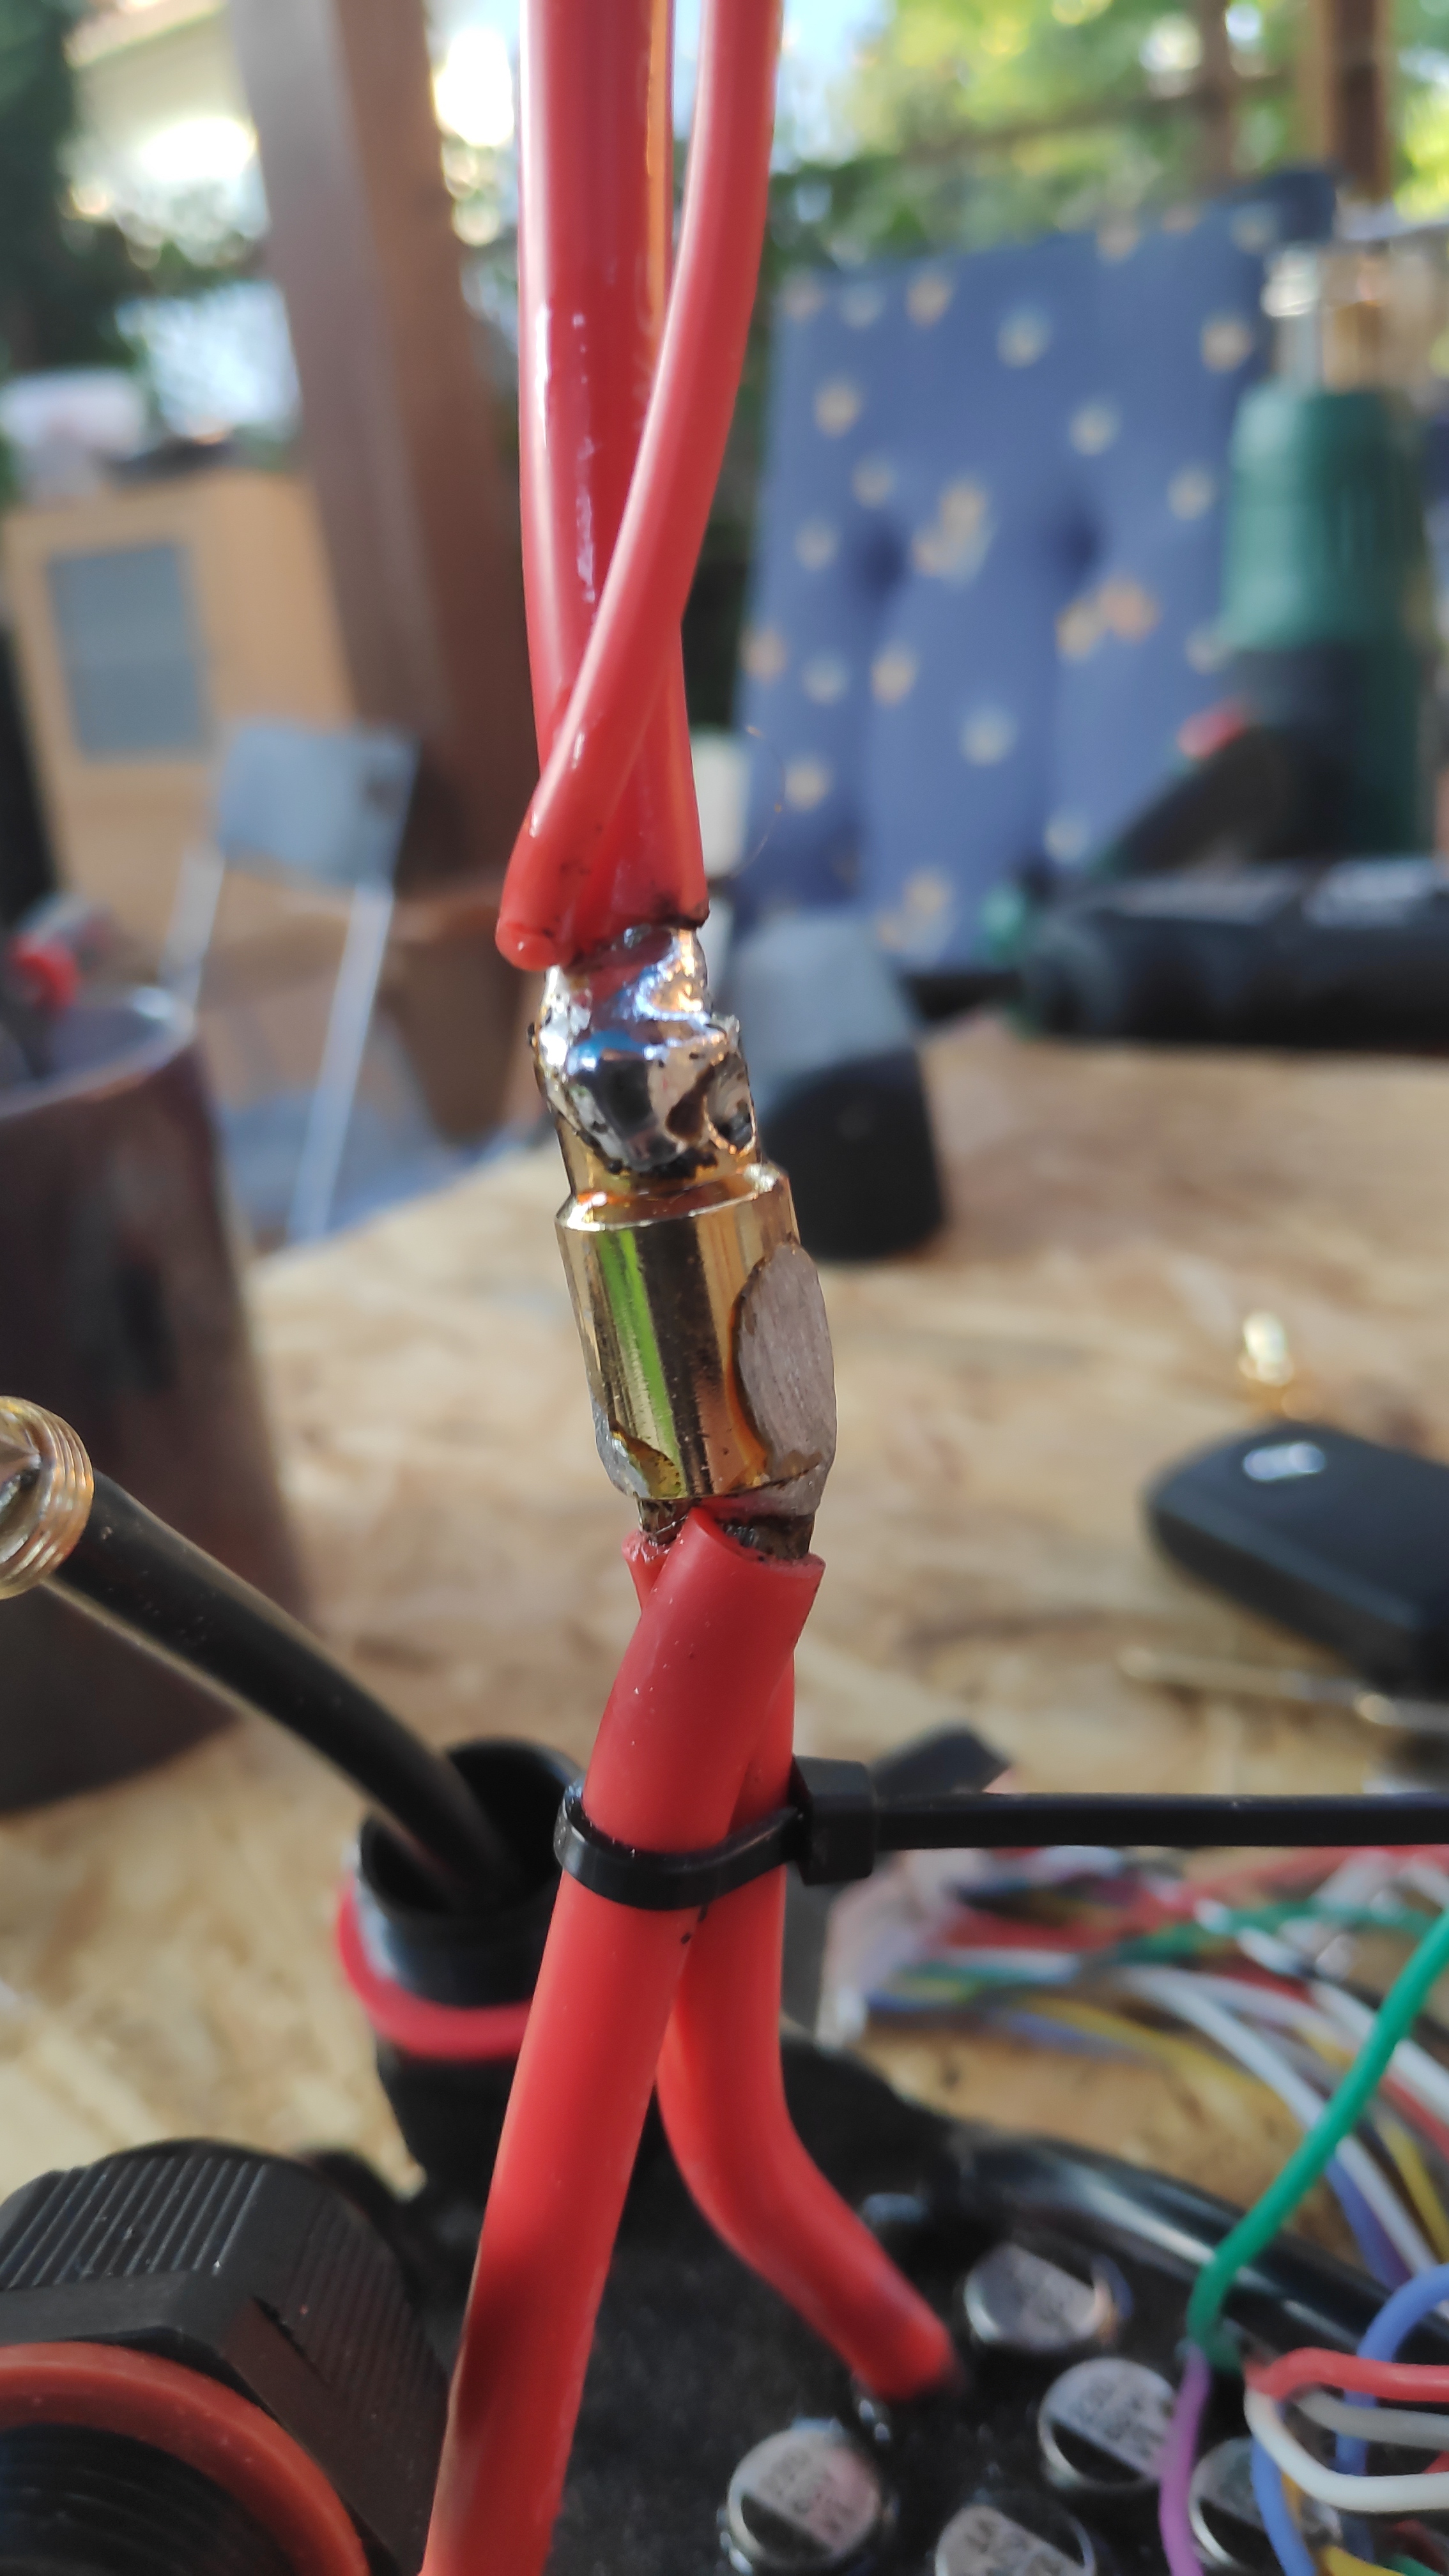
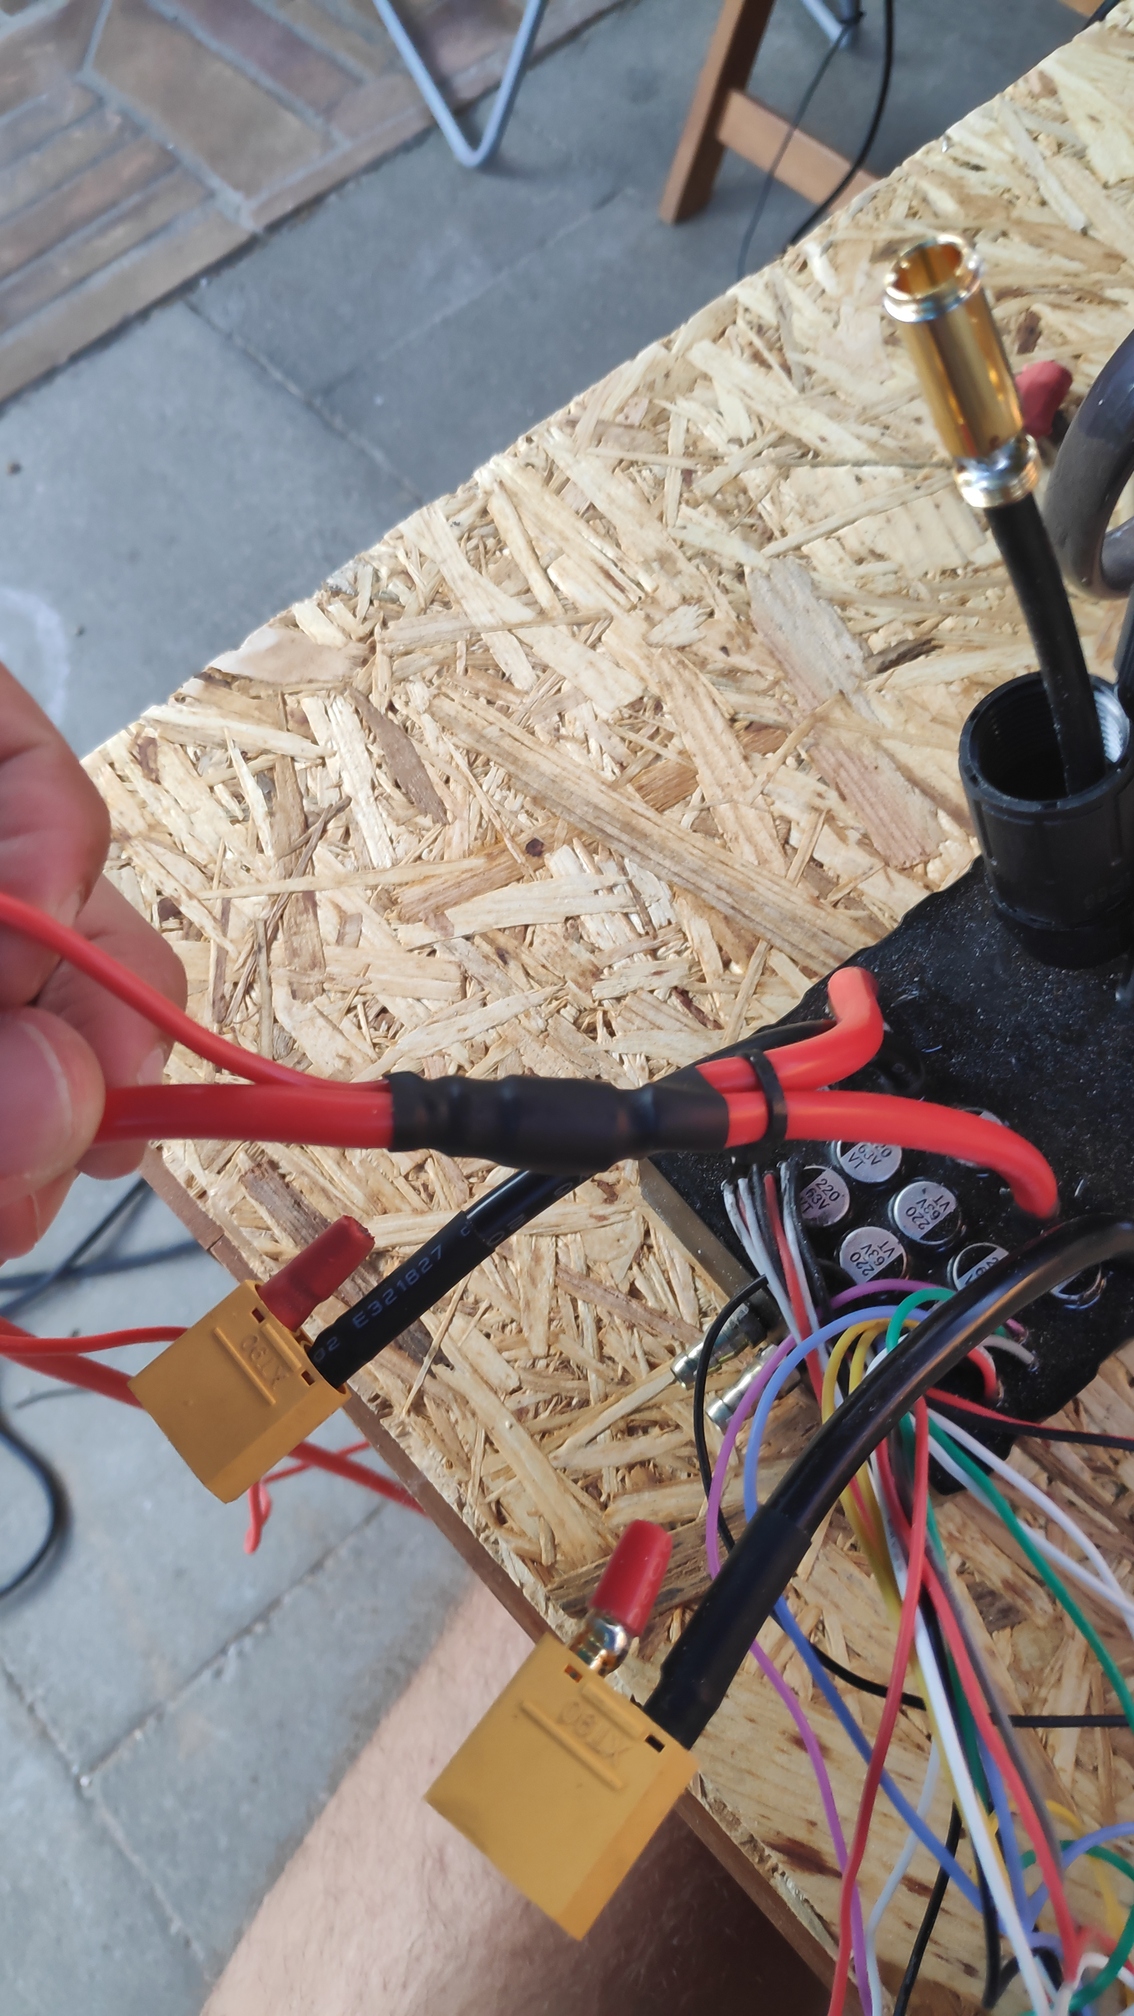
Also I started to work on the electric. I tried to use a gold plug as 2 in 1 connection for the esc, okay I guess.

I put around 700g Epoxy in box cut. Wooden box fit tightly in. Screw clamp pushed some epoxy out (where I have my wire output), I could remove it with syringe. After drying I put clay in as stopper and filled until box top surface with epoxy (maybe like additional 70-80ml. Looks promising so far
1 Like
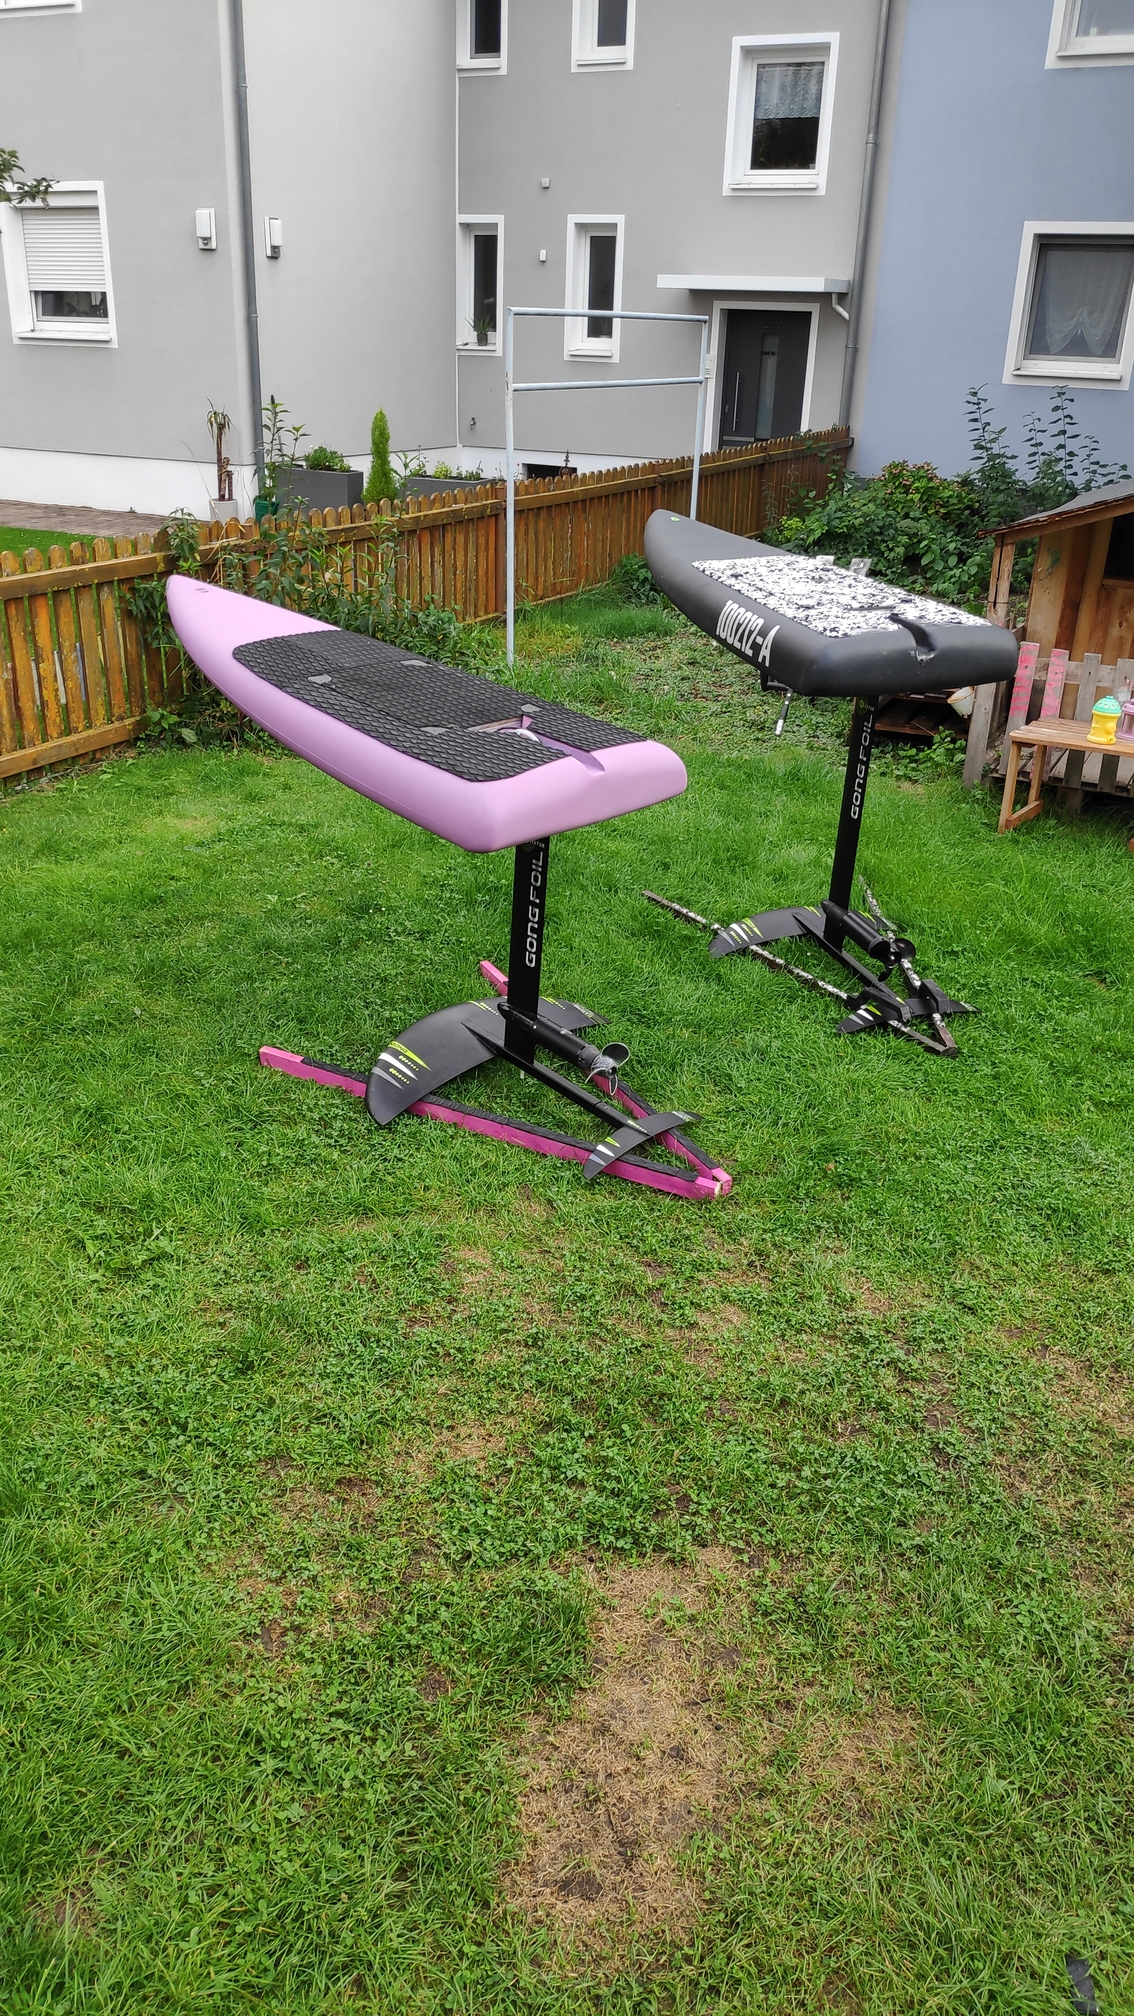
20kg (purple) vs 23kg (black). Ready to run but no battery. Looks like I could improve my manufacturing skills a little. Keep in mind black board has longer mast but smaller wing
I should compare w/o propulsion unit but too lazy