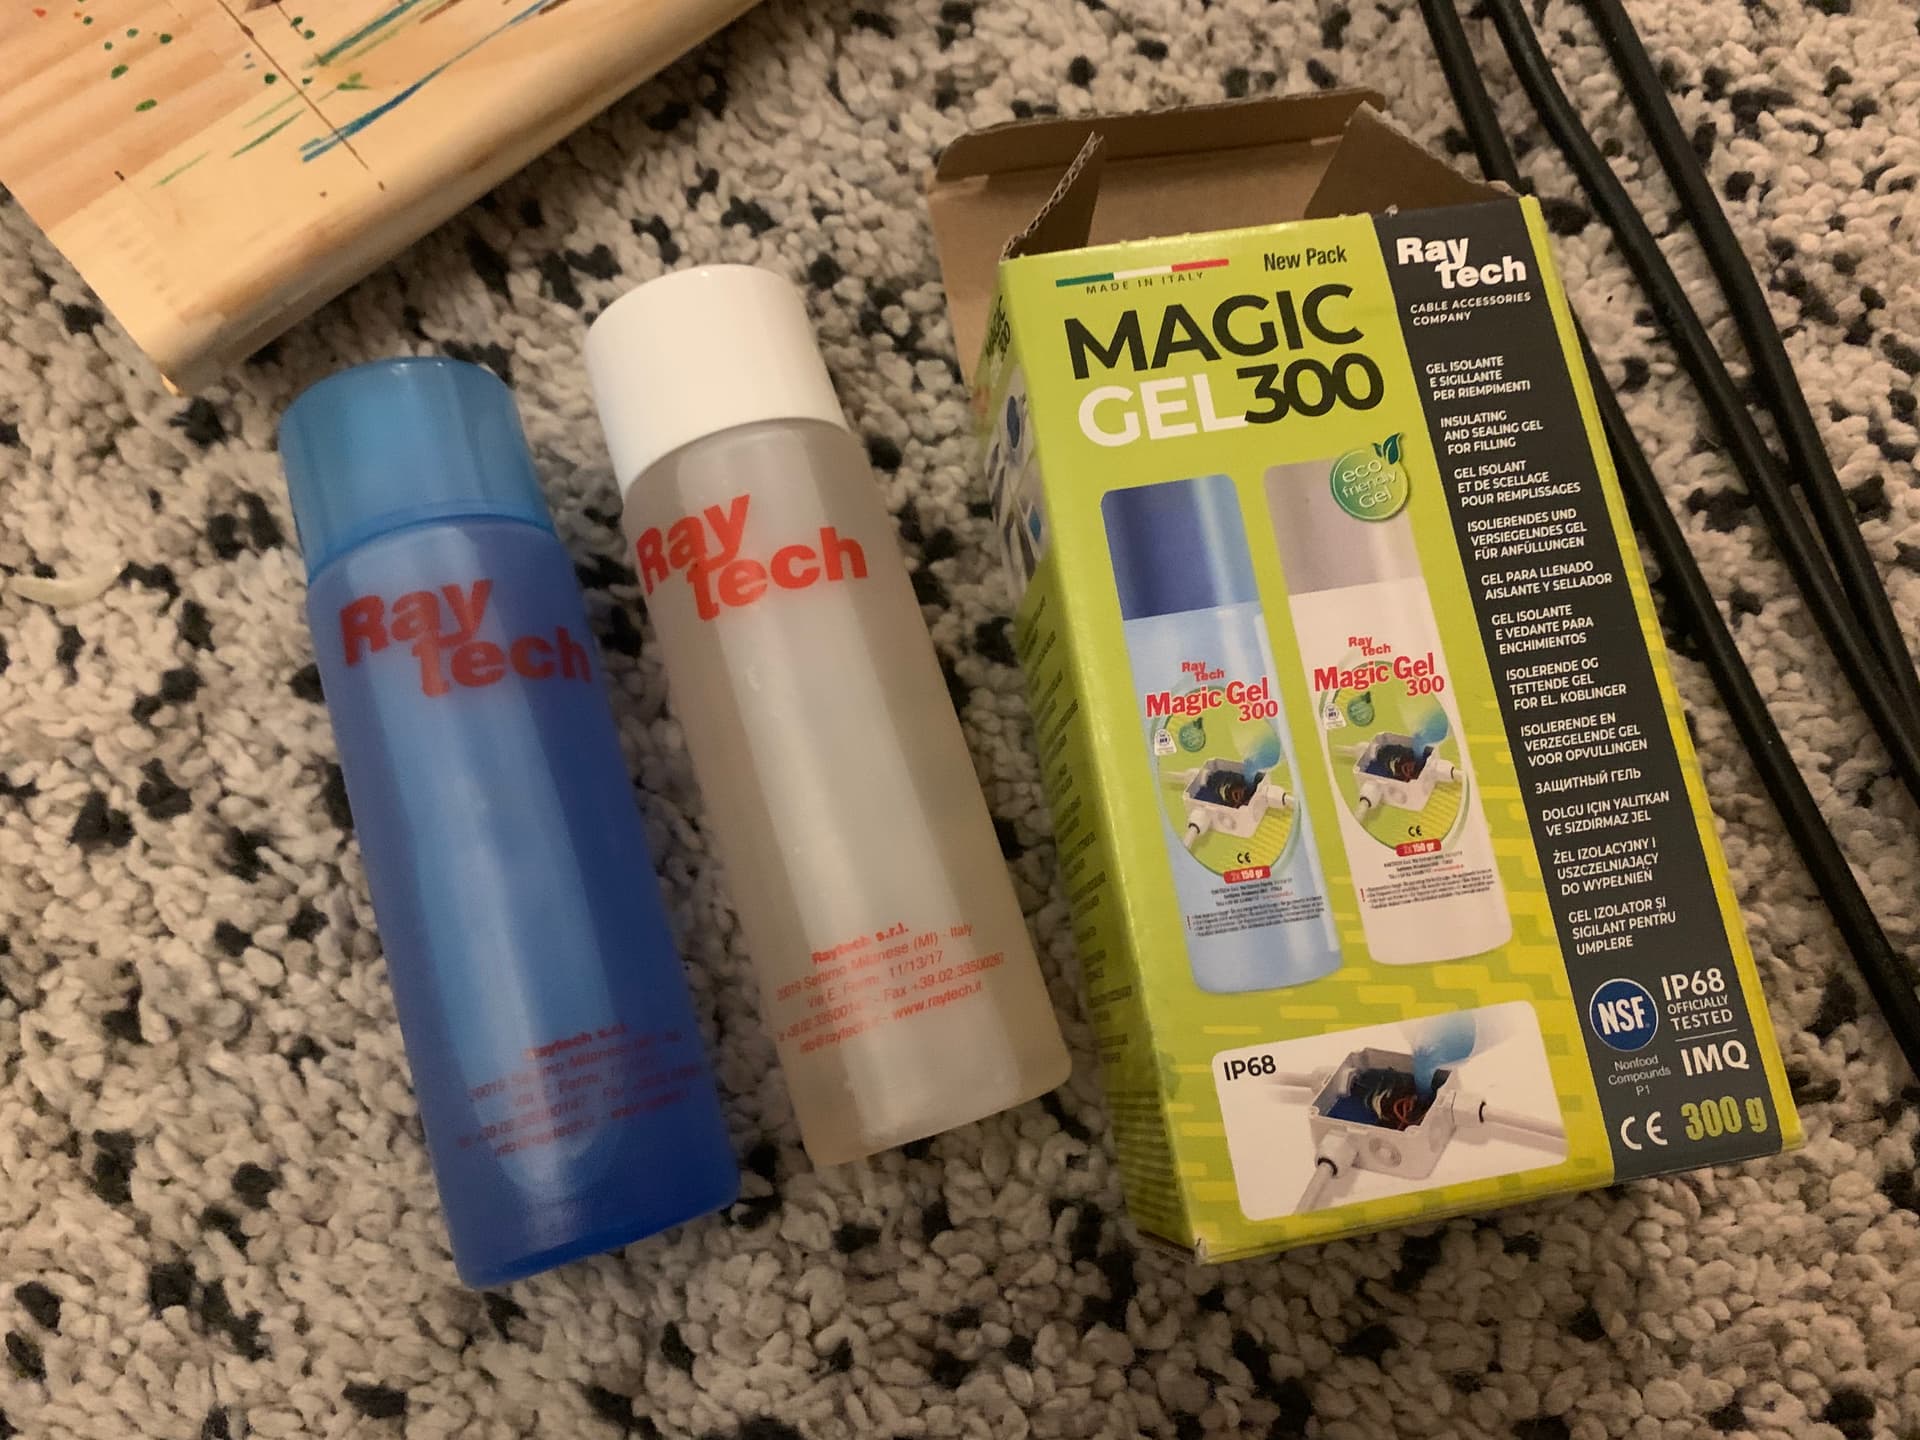
Too late for this build but something to consider……
I have used this product and would recommend it for its strong construction and easy install.
1 Like
thanks @Foilguy mate. It’s a bit expensive for what it is but ready to rock!
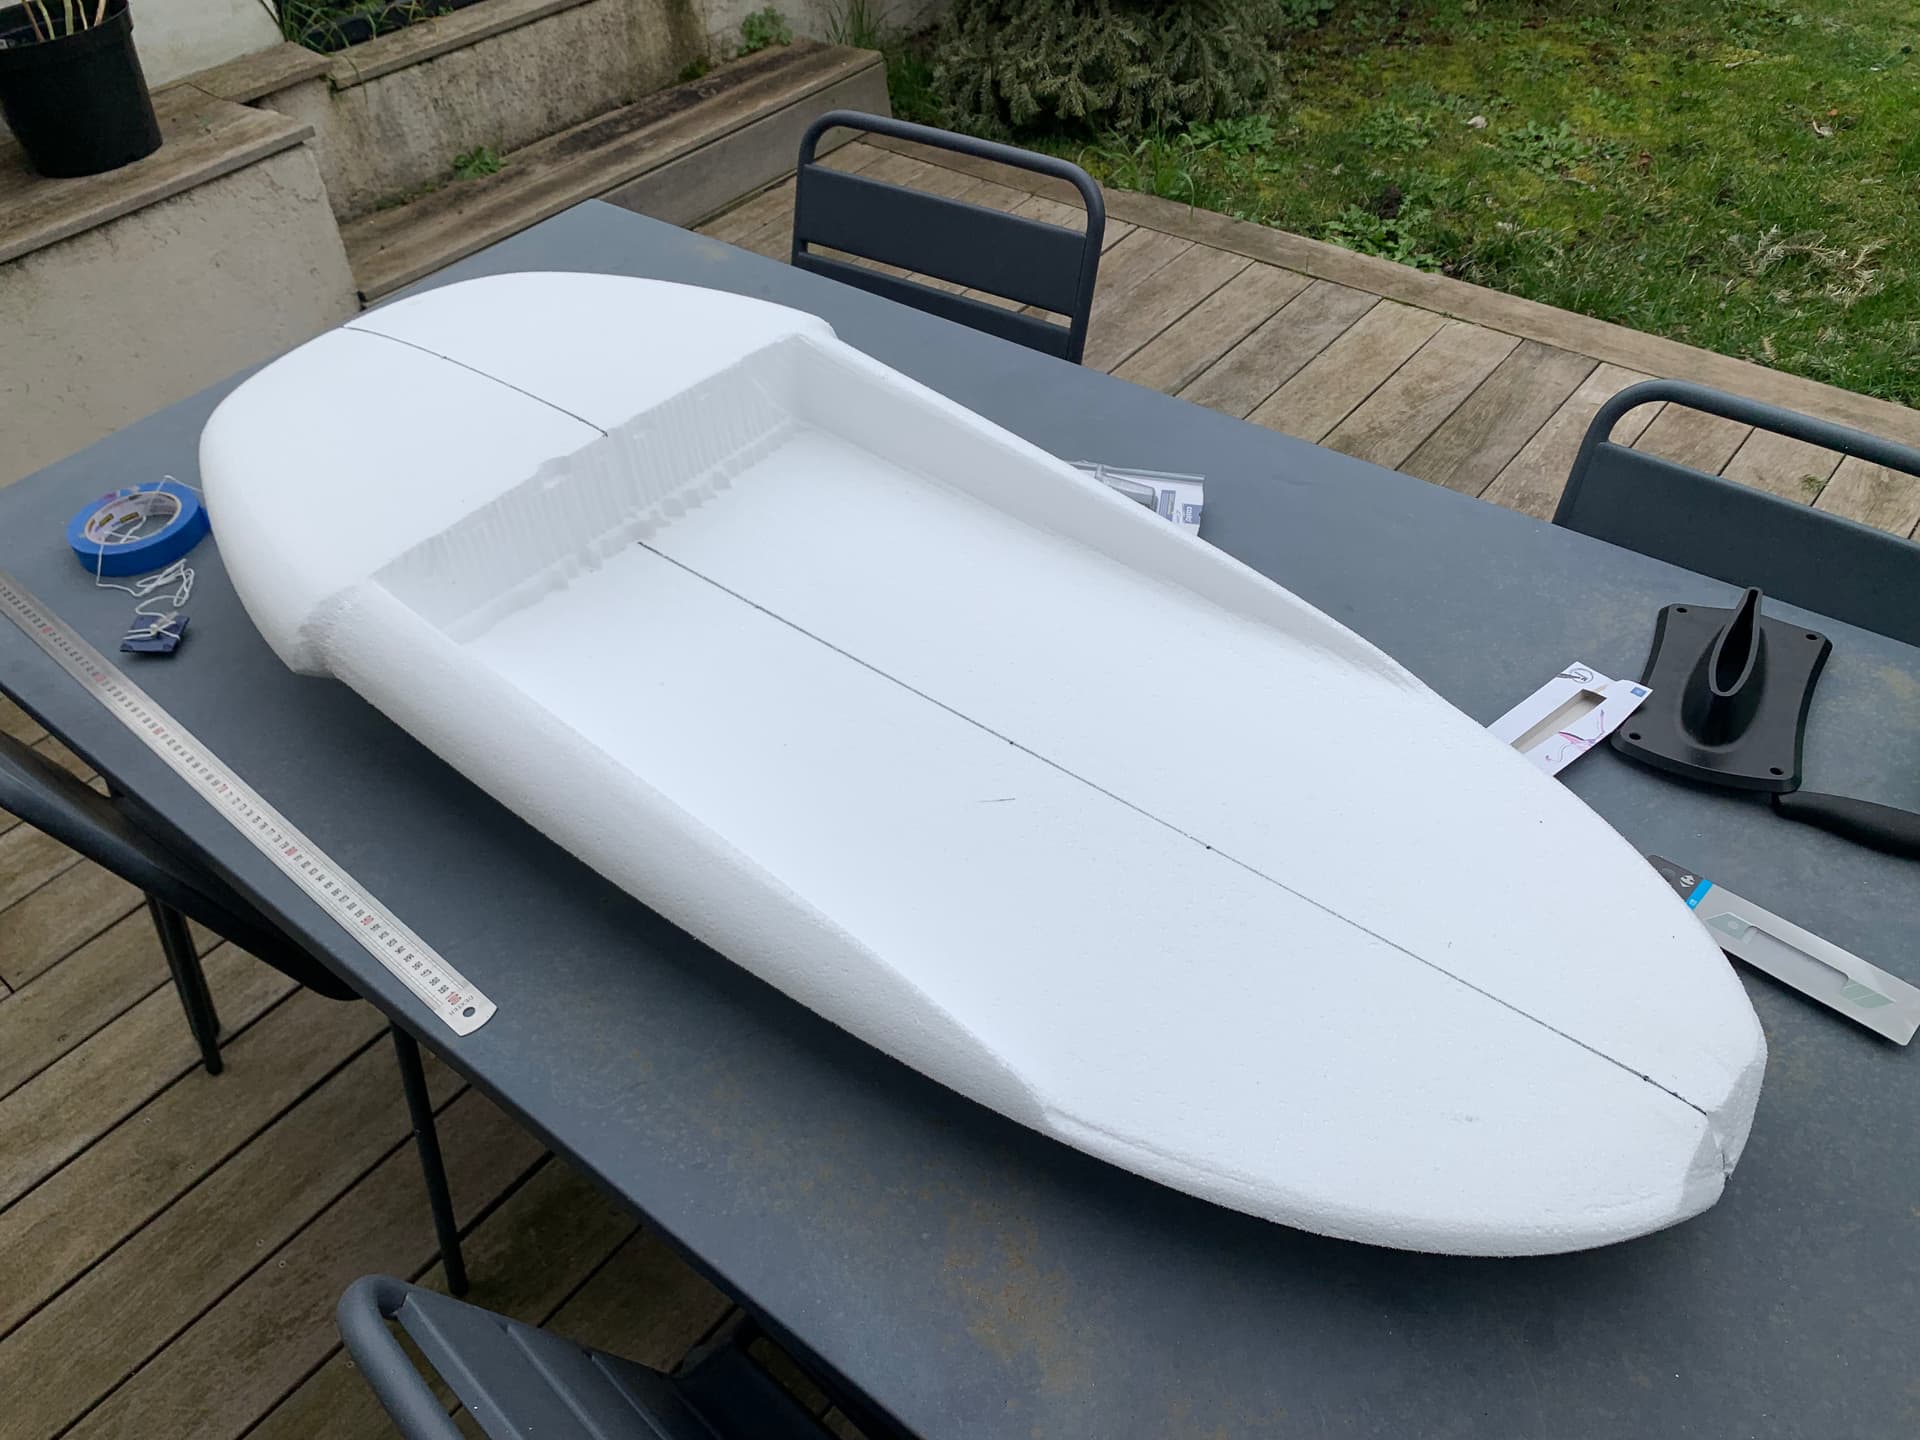
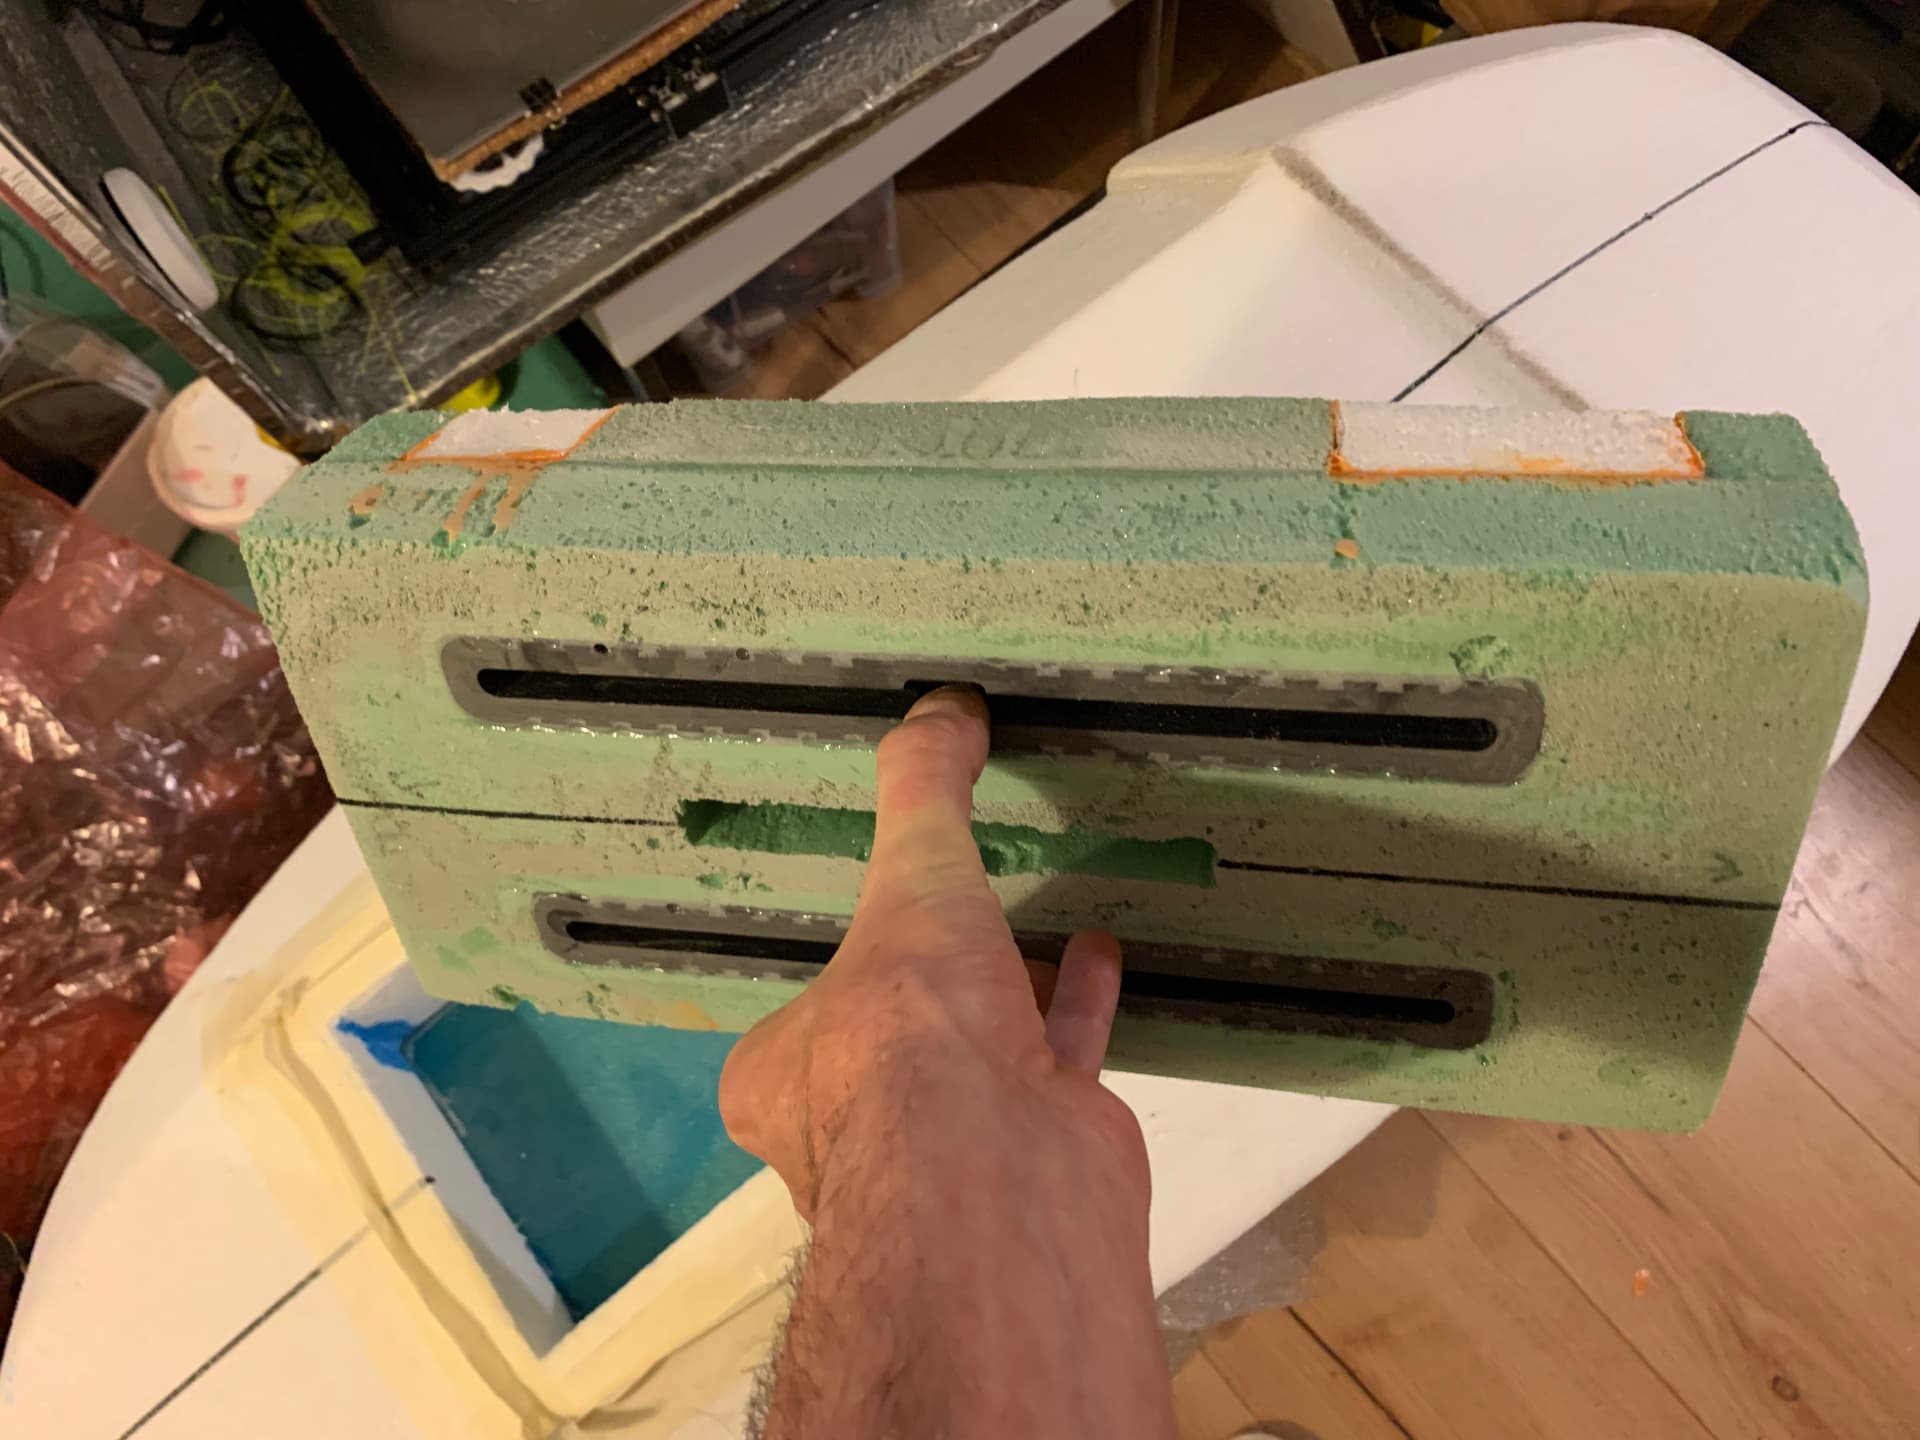
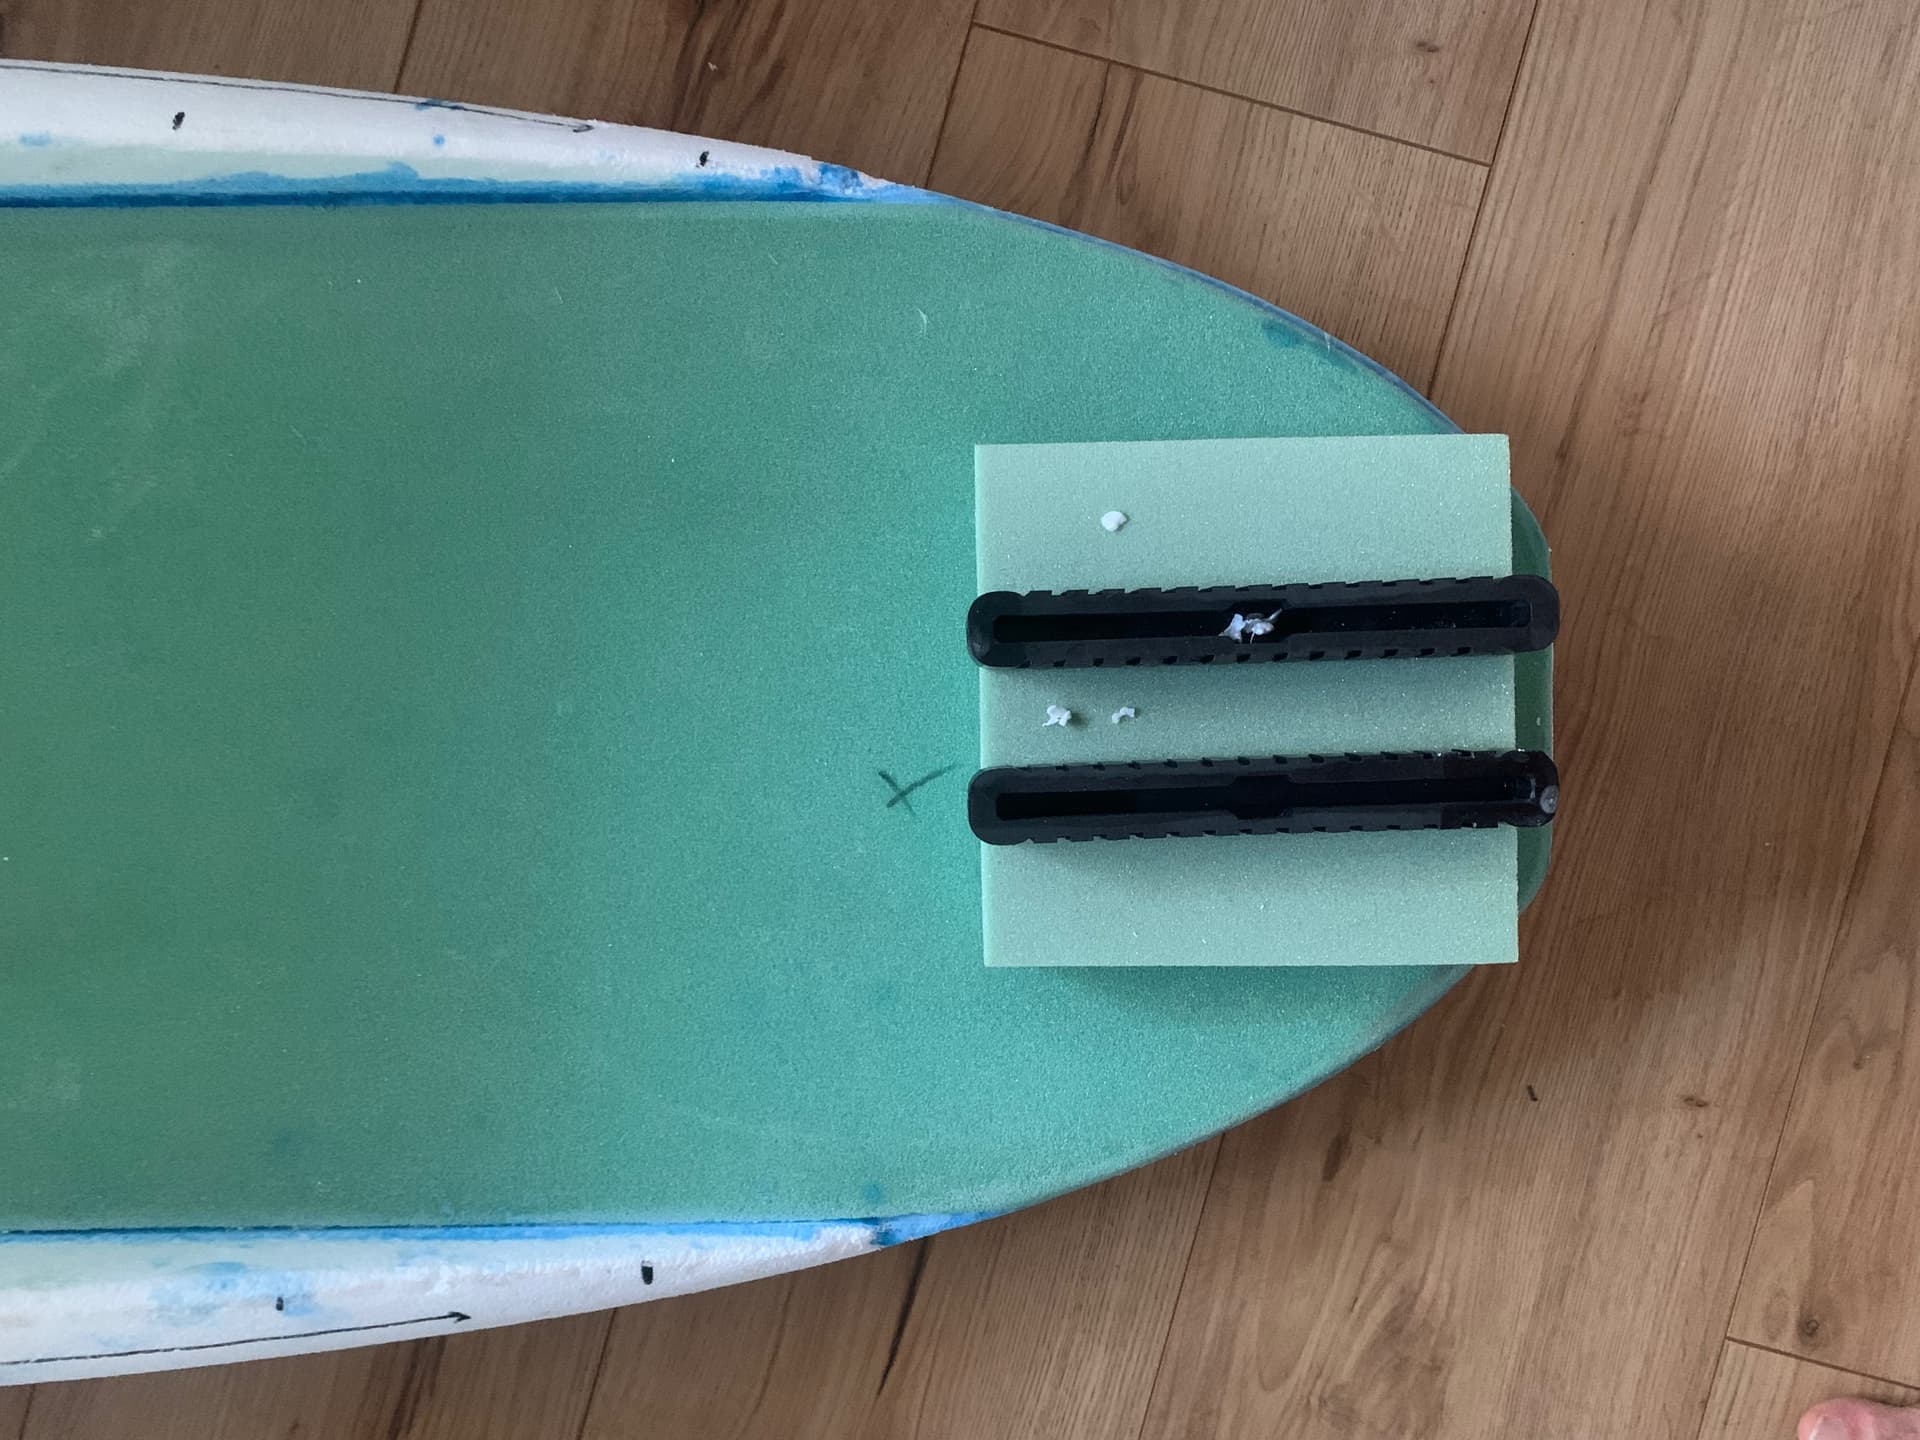
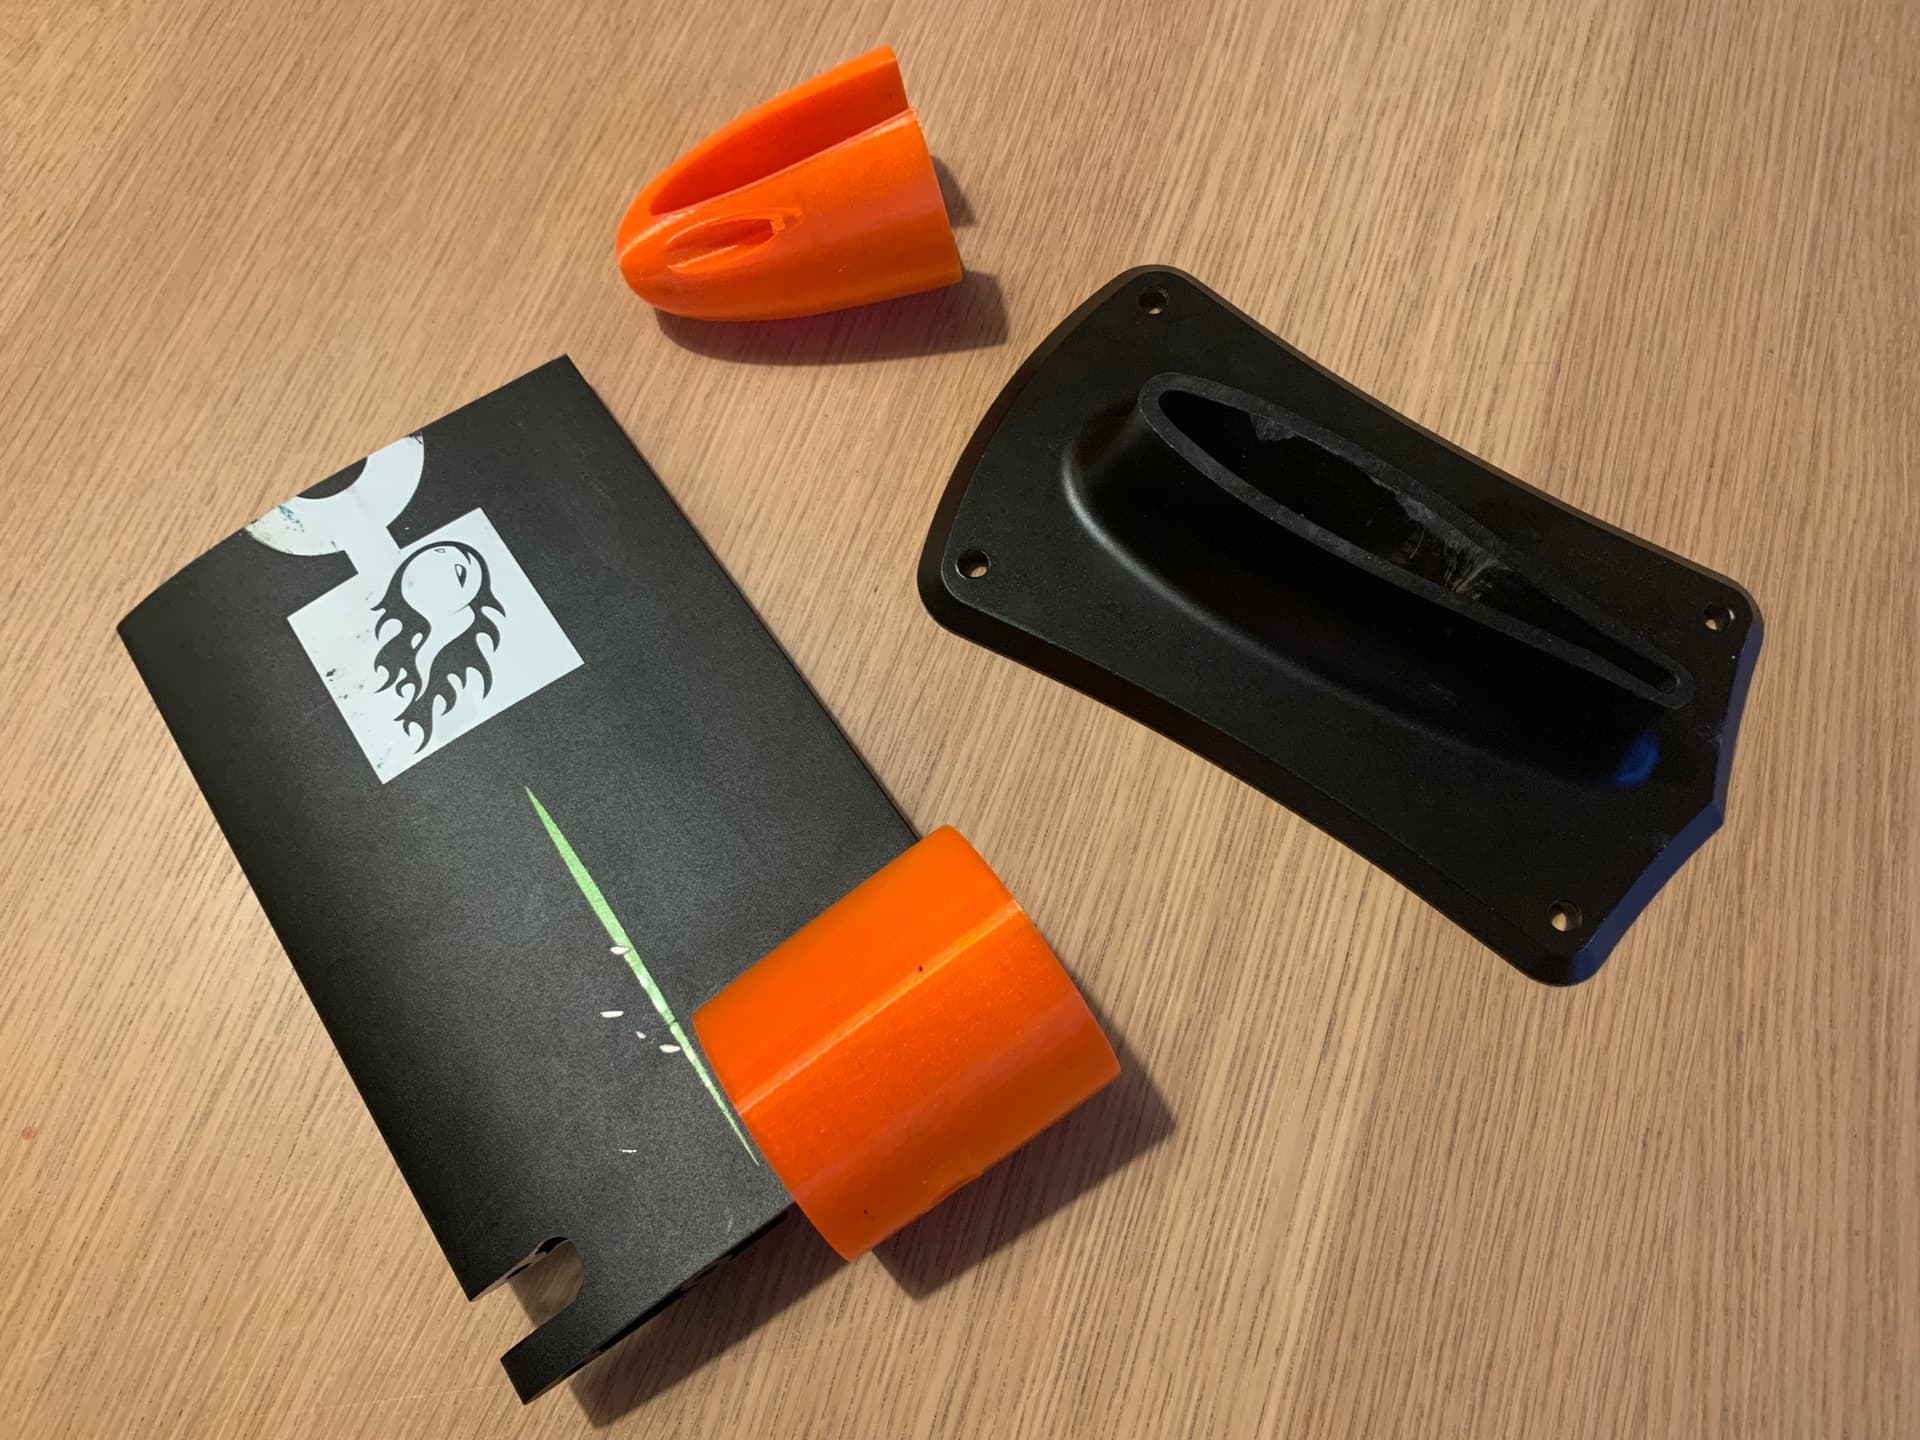
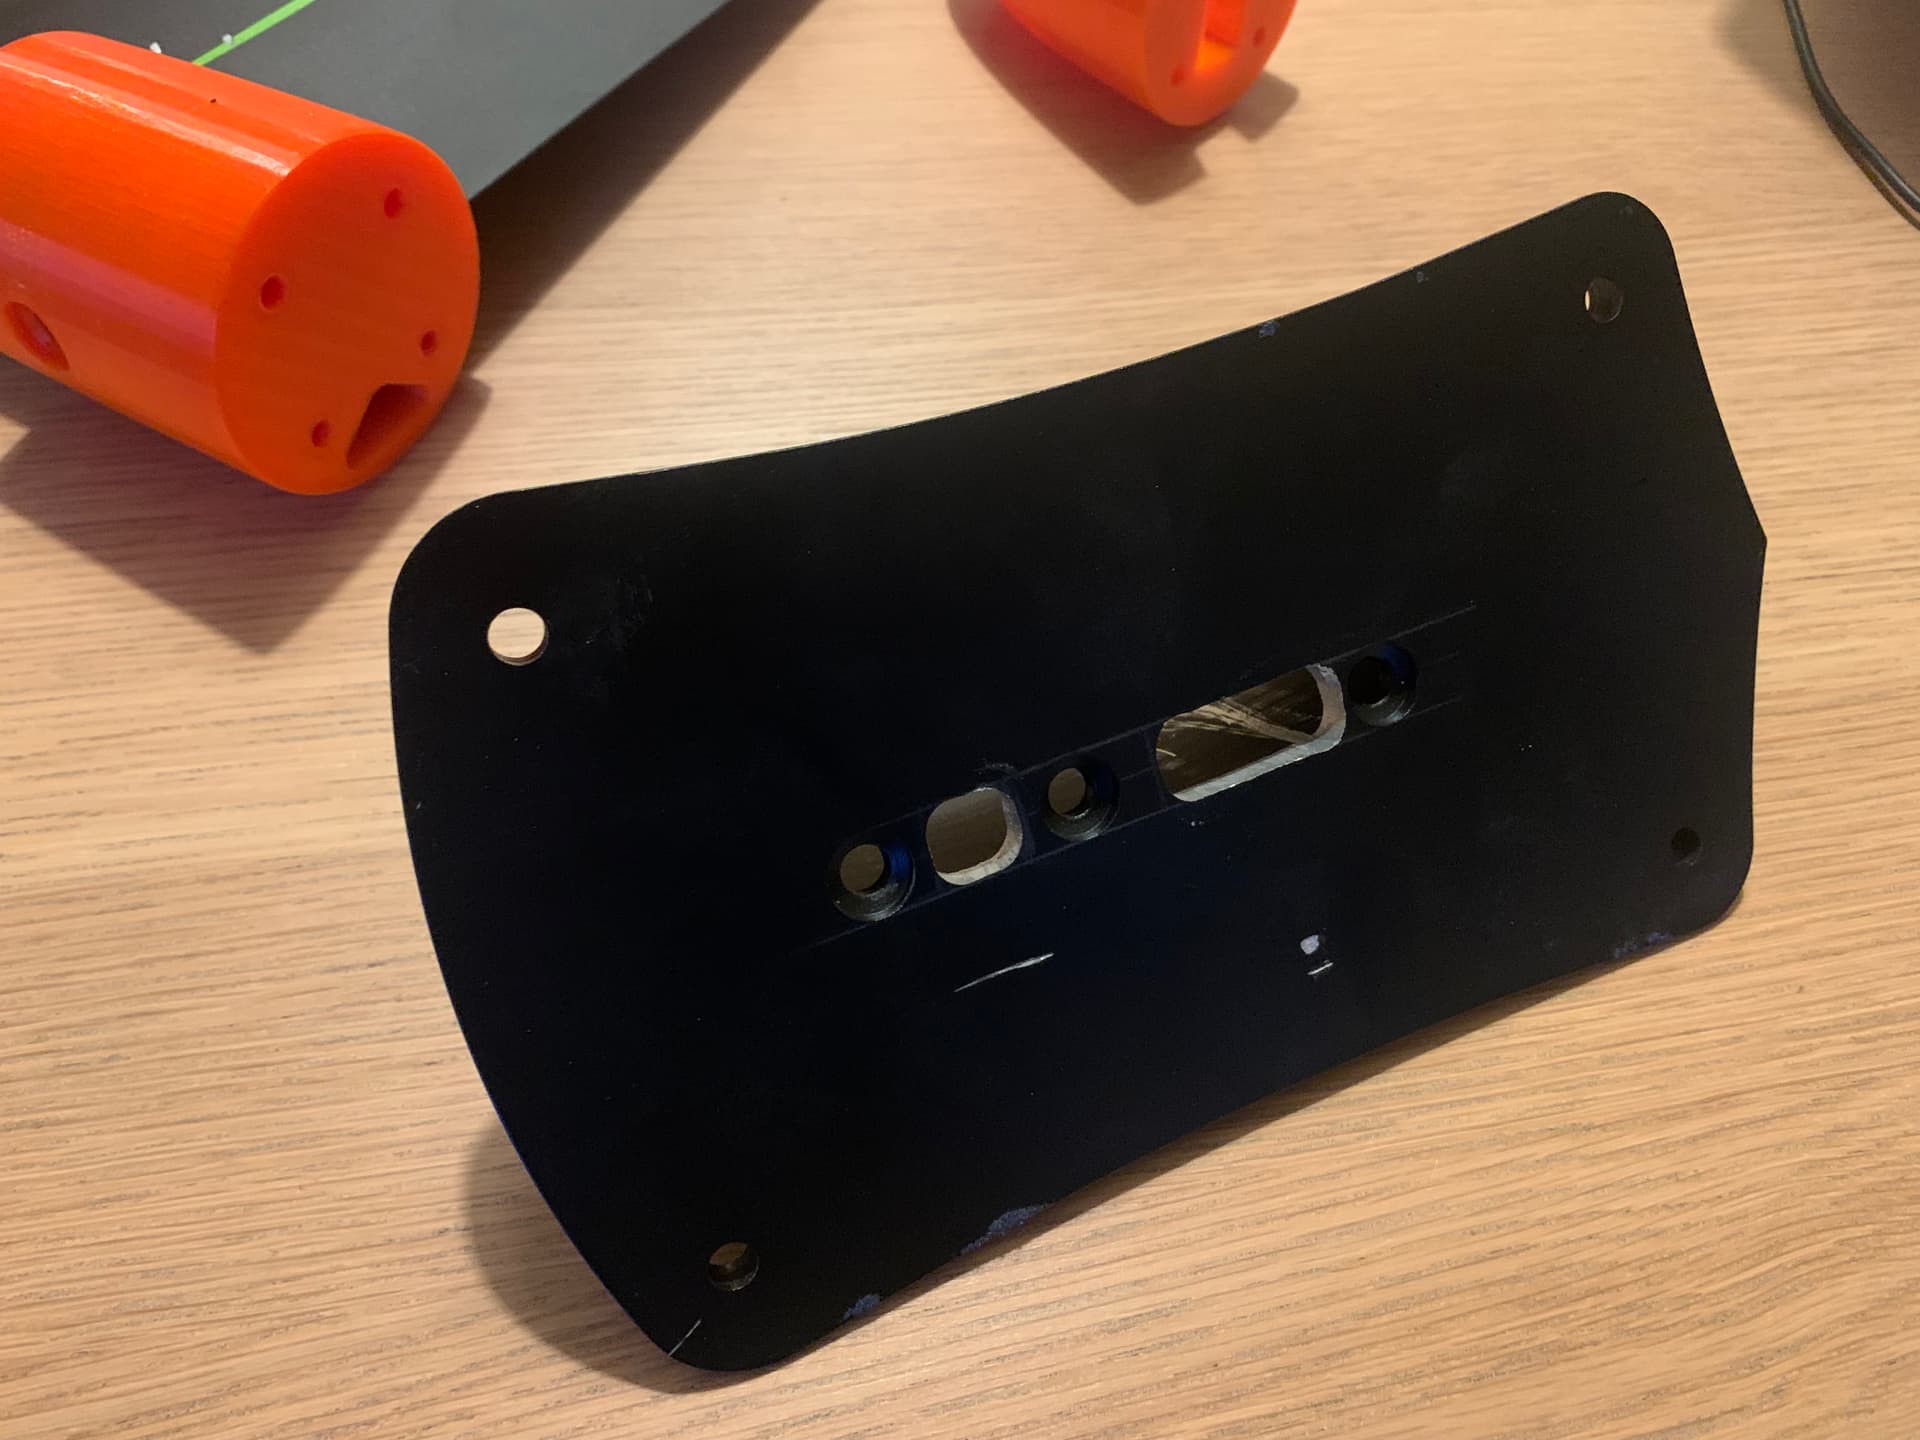
I’m now wondering which is the best option to have a central 1cm width channel going all through the box, because the inside borders need to be made of something. I can cut it with a knife (it’s deep) and then either I go with a 3D printed part in PETG that I assemble like the usbox or… add some carbon fiber and… use a balloon to make the carbon stick 100% to the inside borders…
PETG would be the easy one but if it’s too hot in summer, maybe the PETG will melt a bit…
I can also stack two nylon usbox and drill through them but that would be overkill
objective of that center channel will be to route the 3 motor wires and one 8mm water tubing… having a foil baseplate moving on the usboxes
Consider a removable male mold of the component, wrap it in CF if that’s your preferred material, let it set up and you have your cable chase. I would make it so it sticks out of the top of the board foam and then trim it to conform to the final shape.
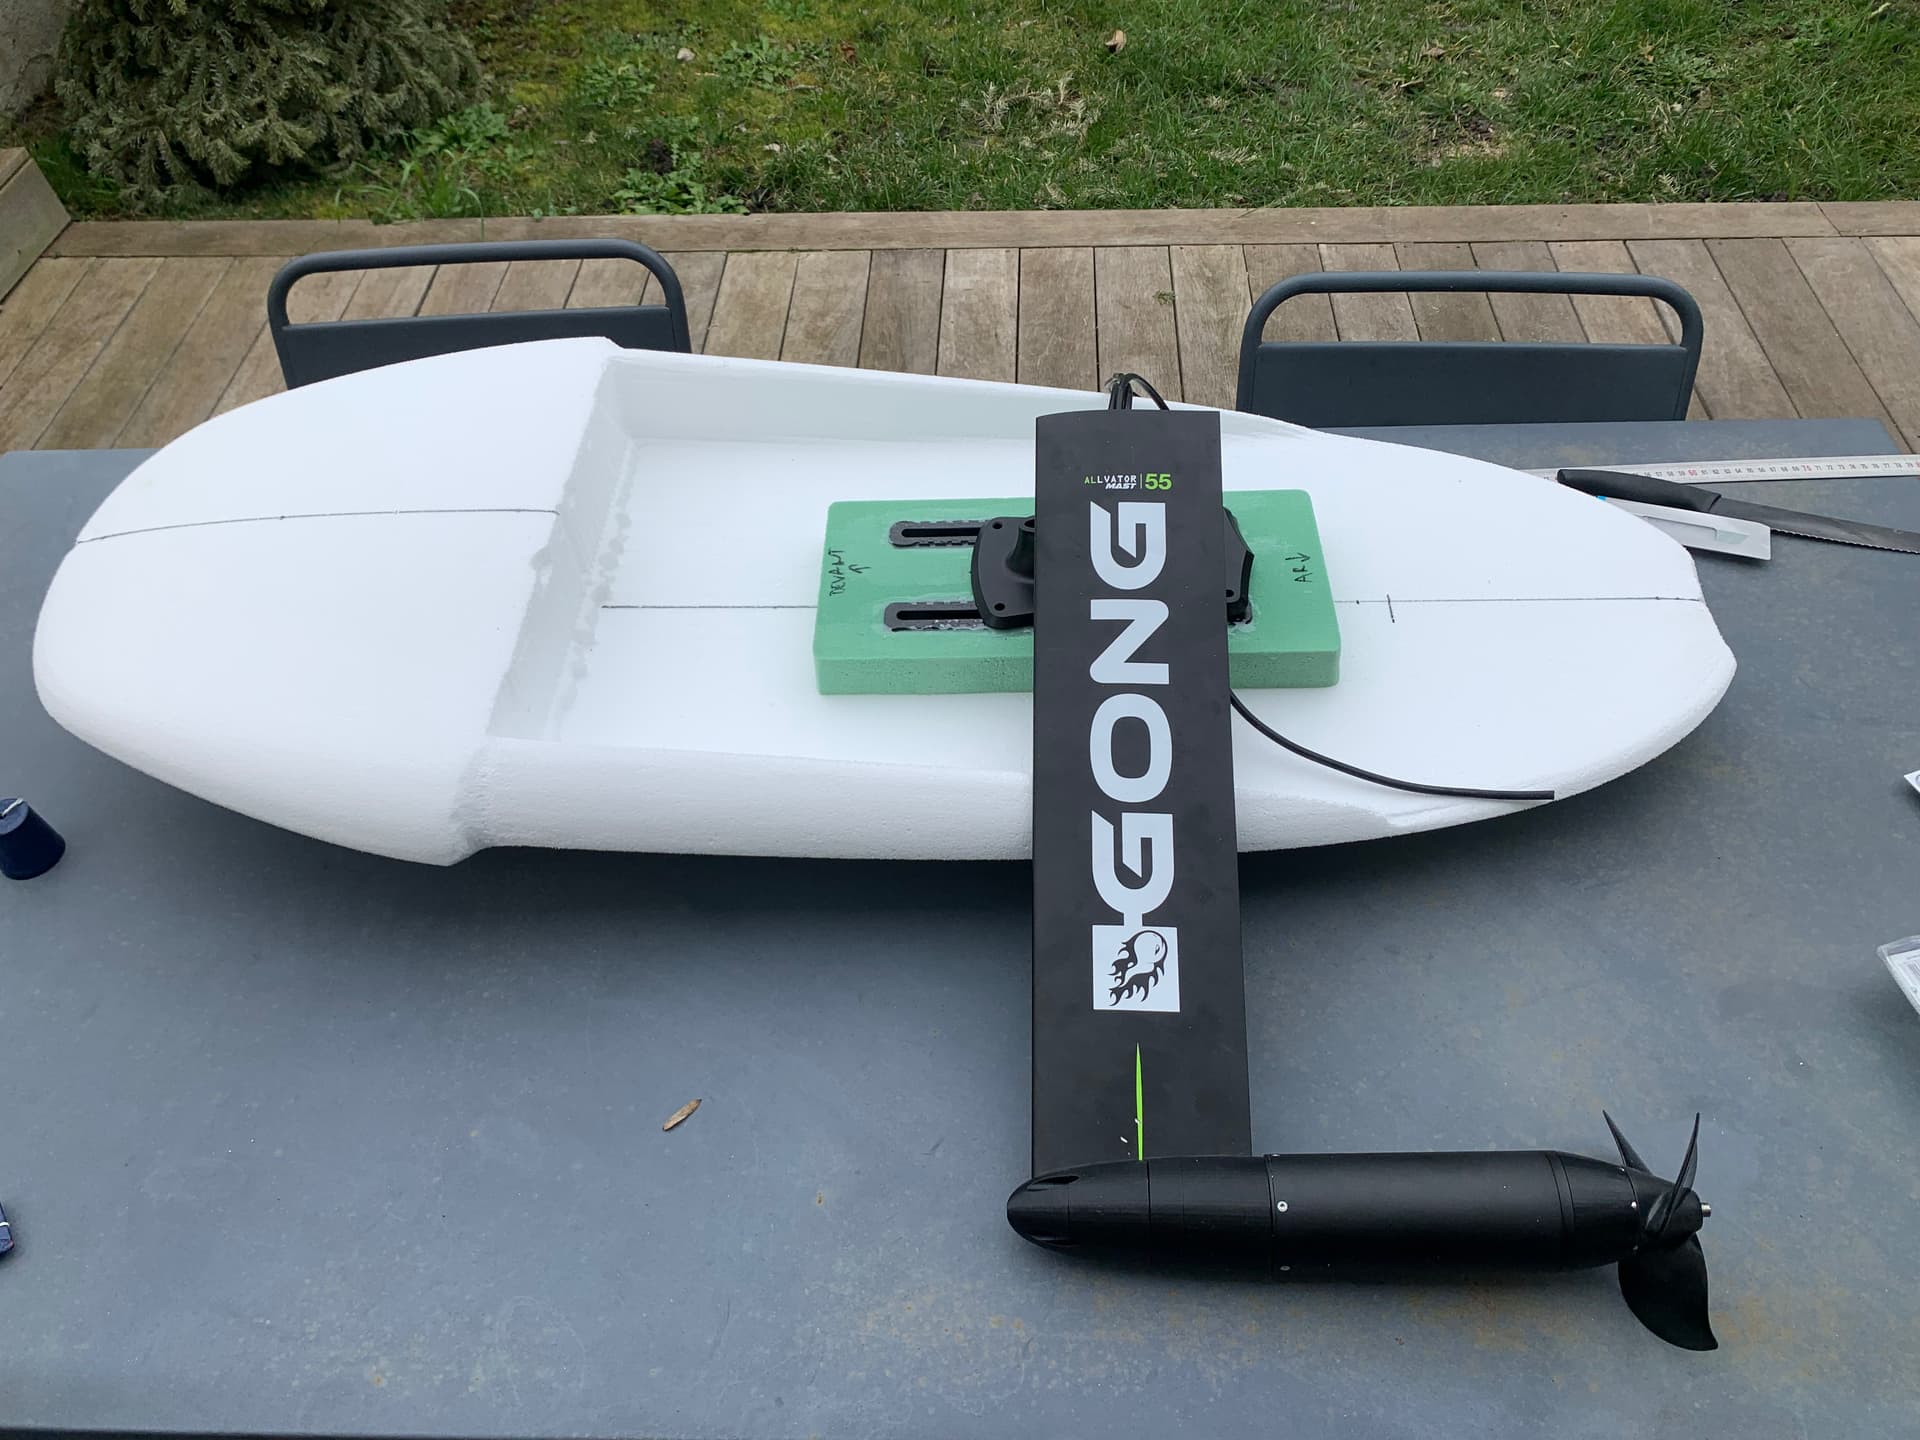
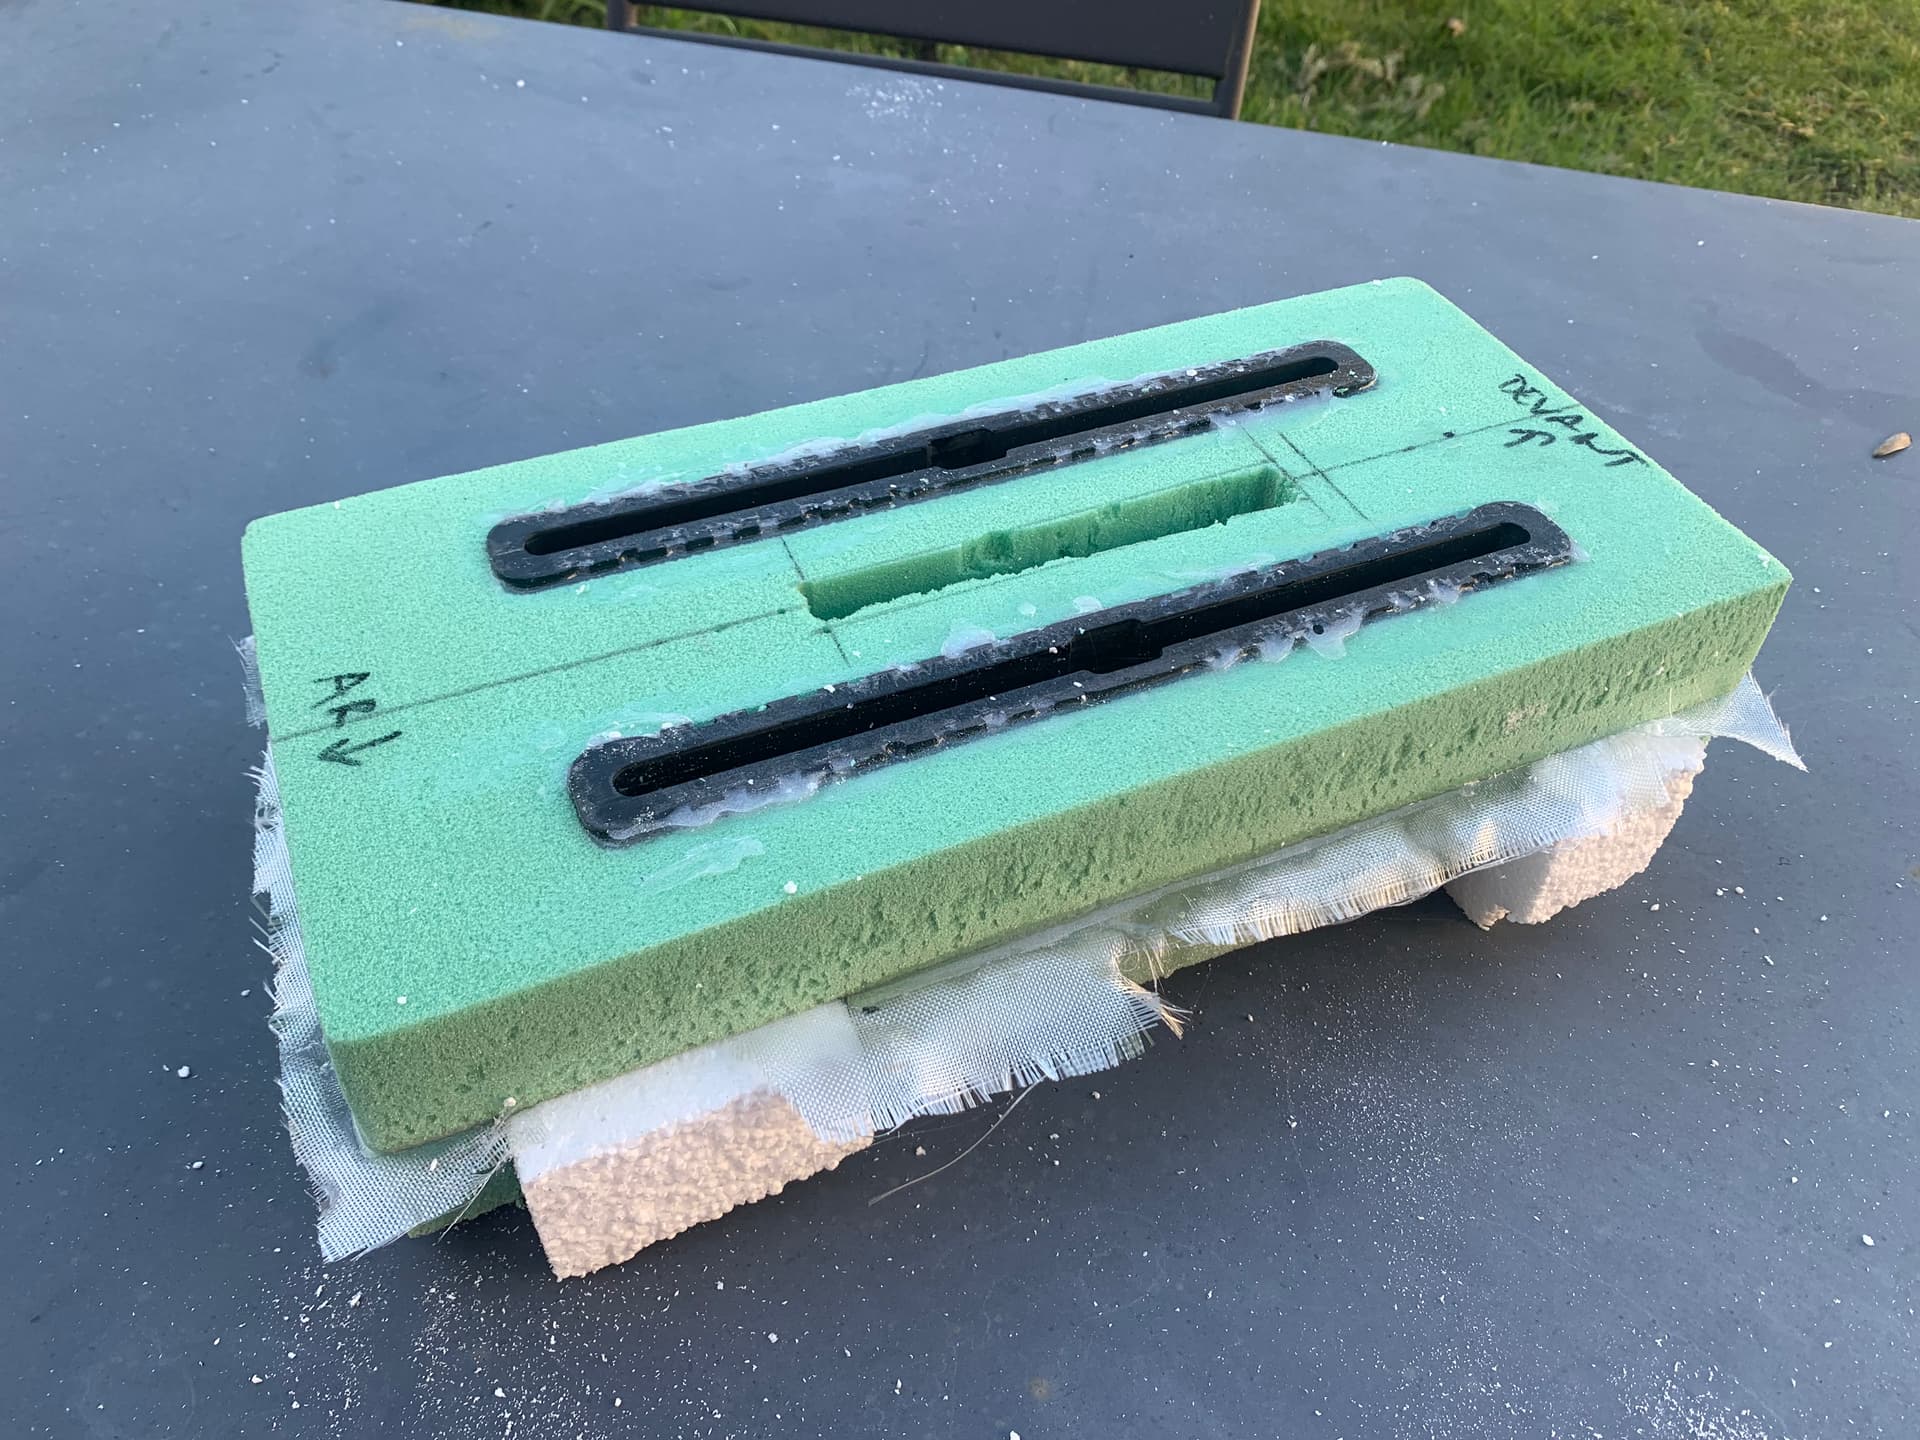
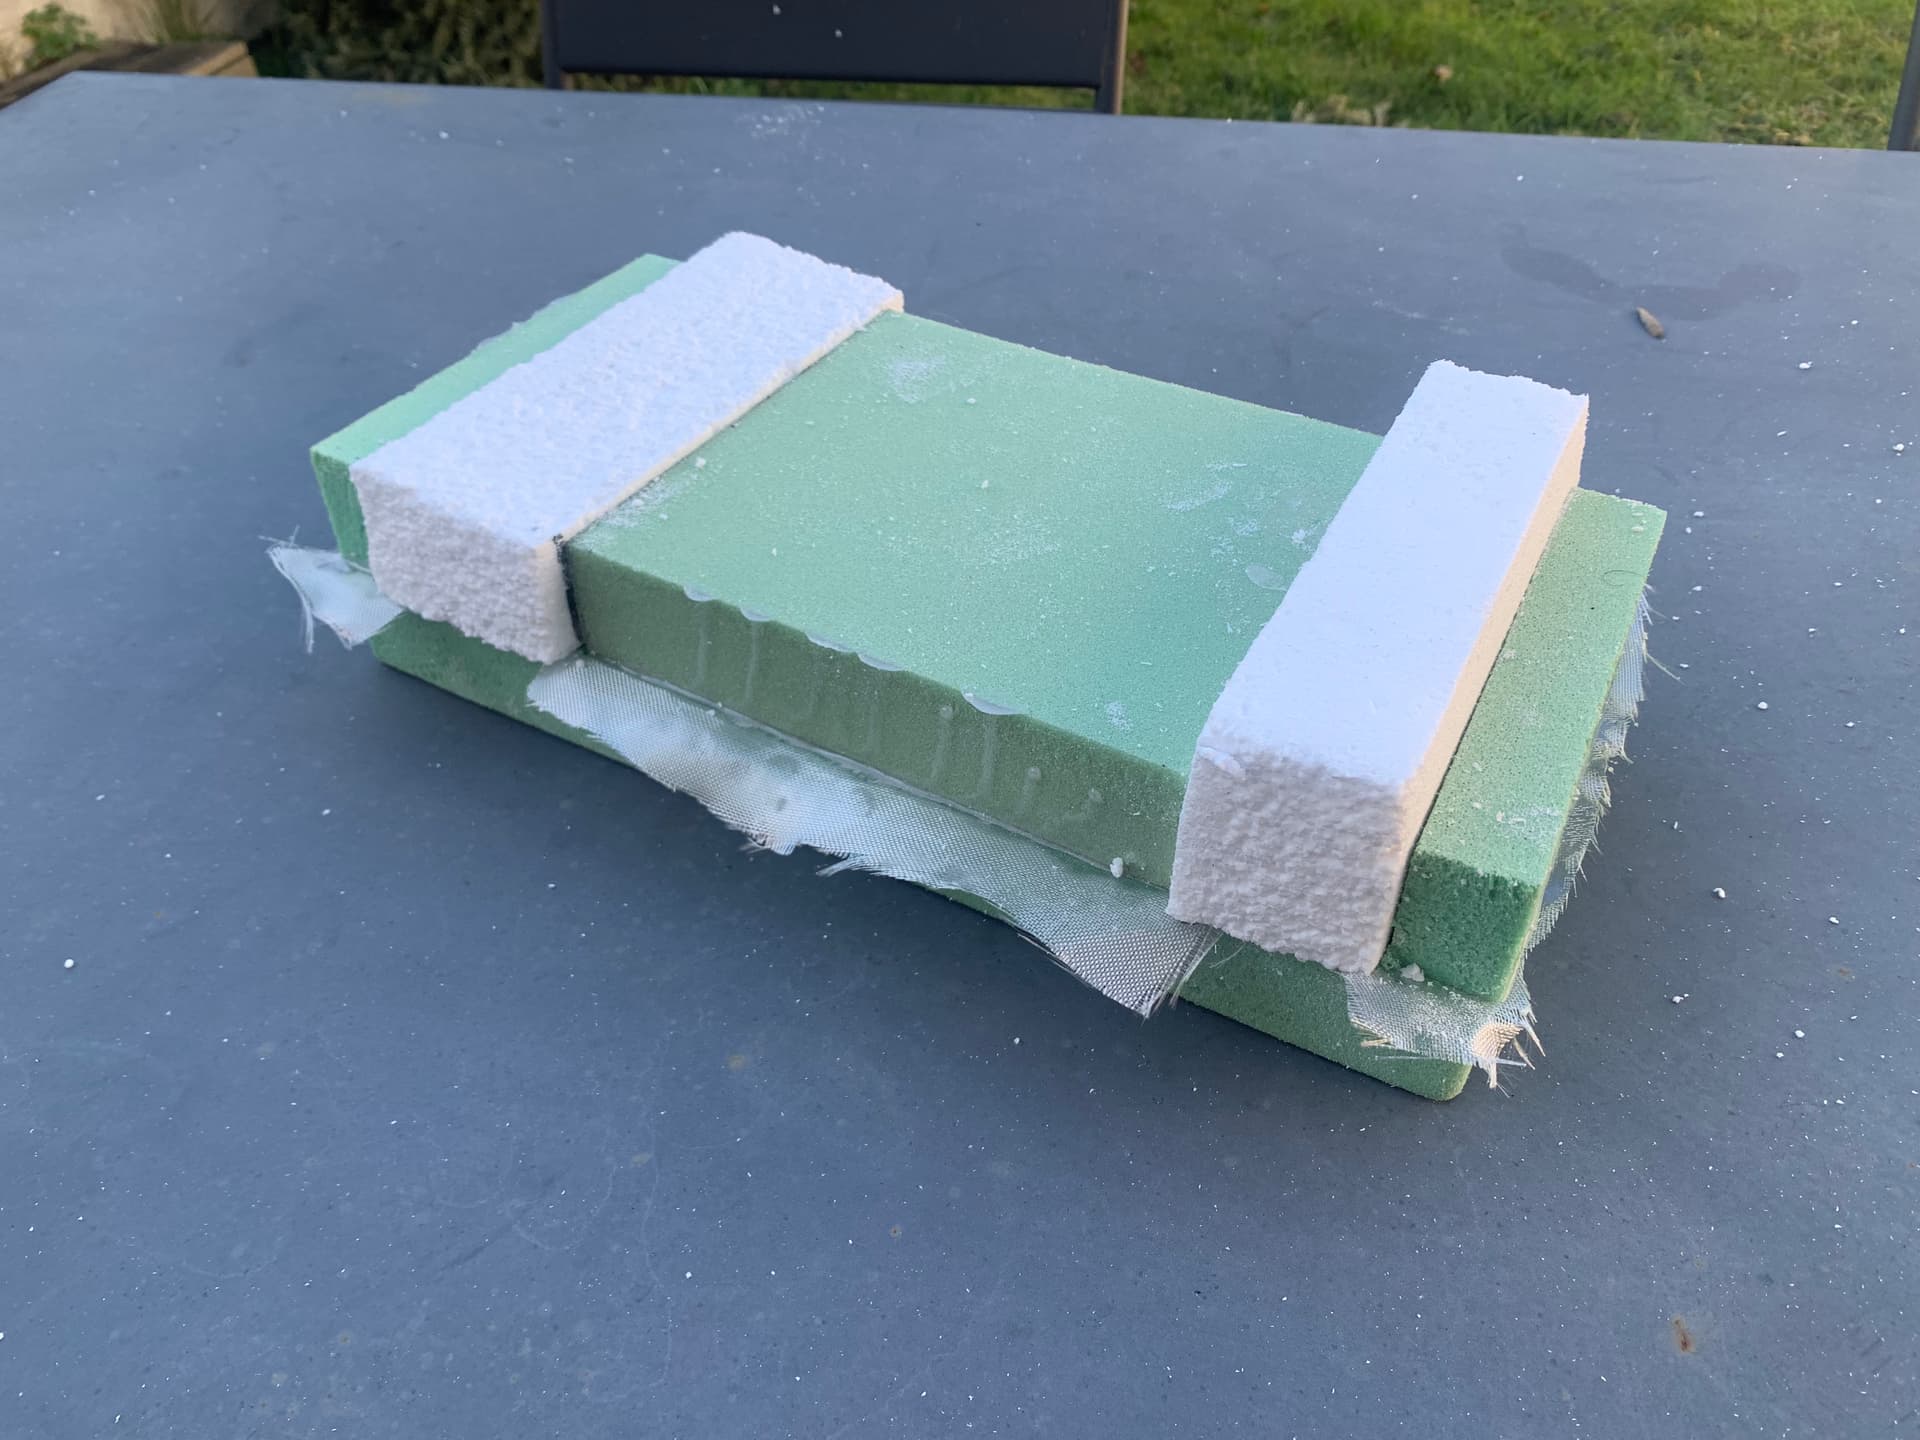
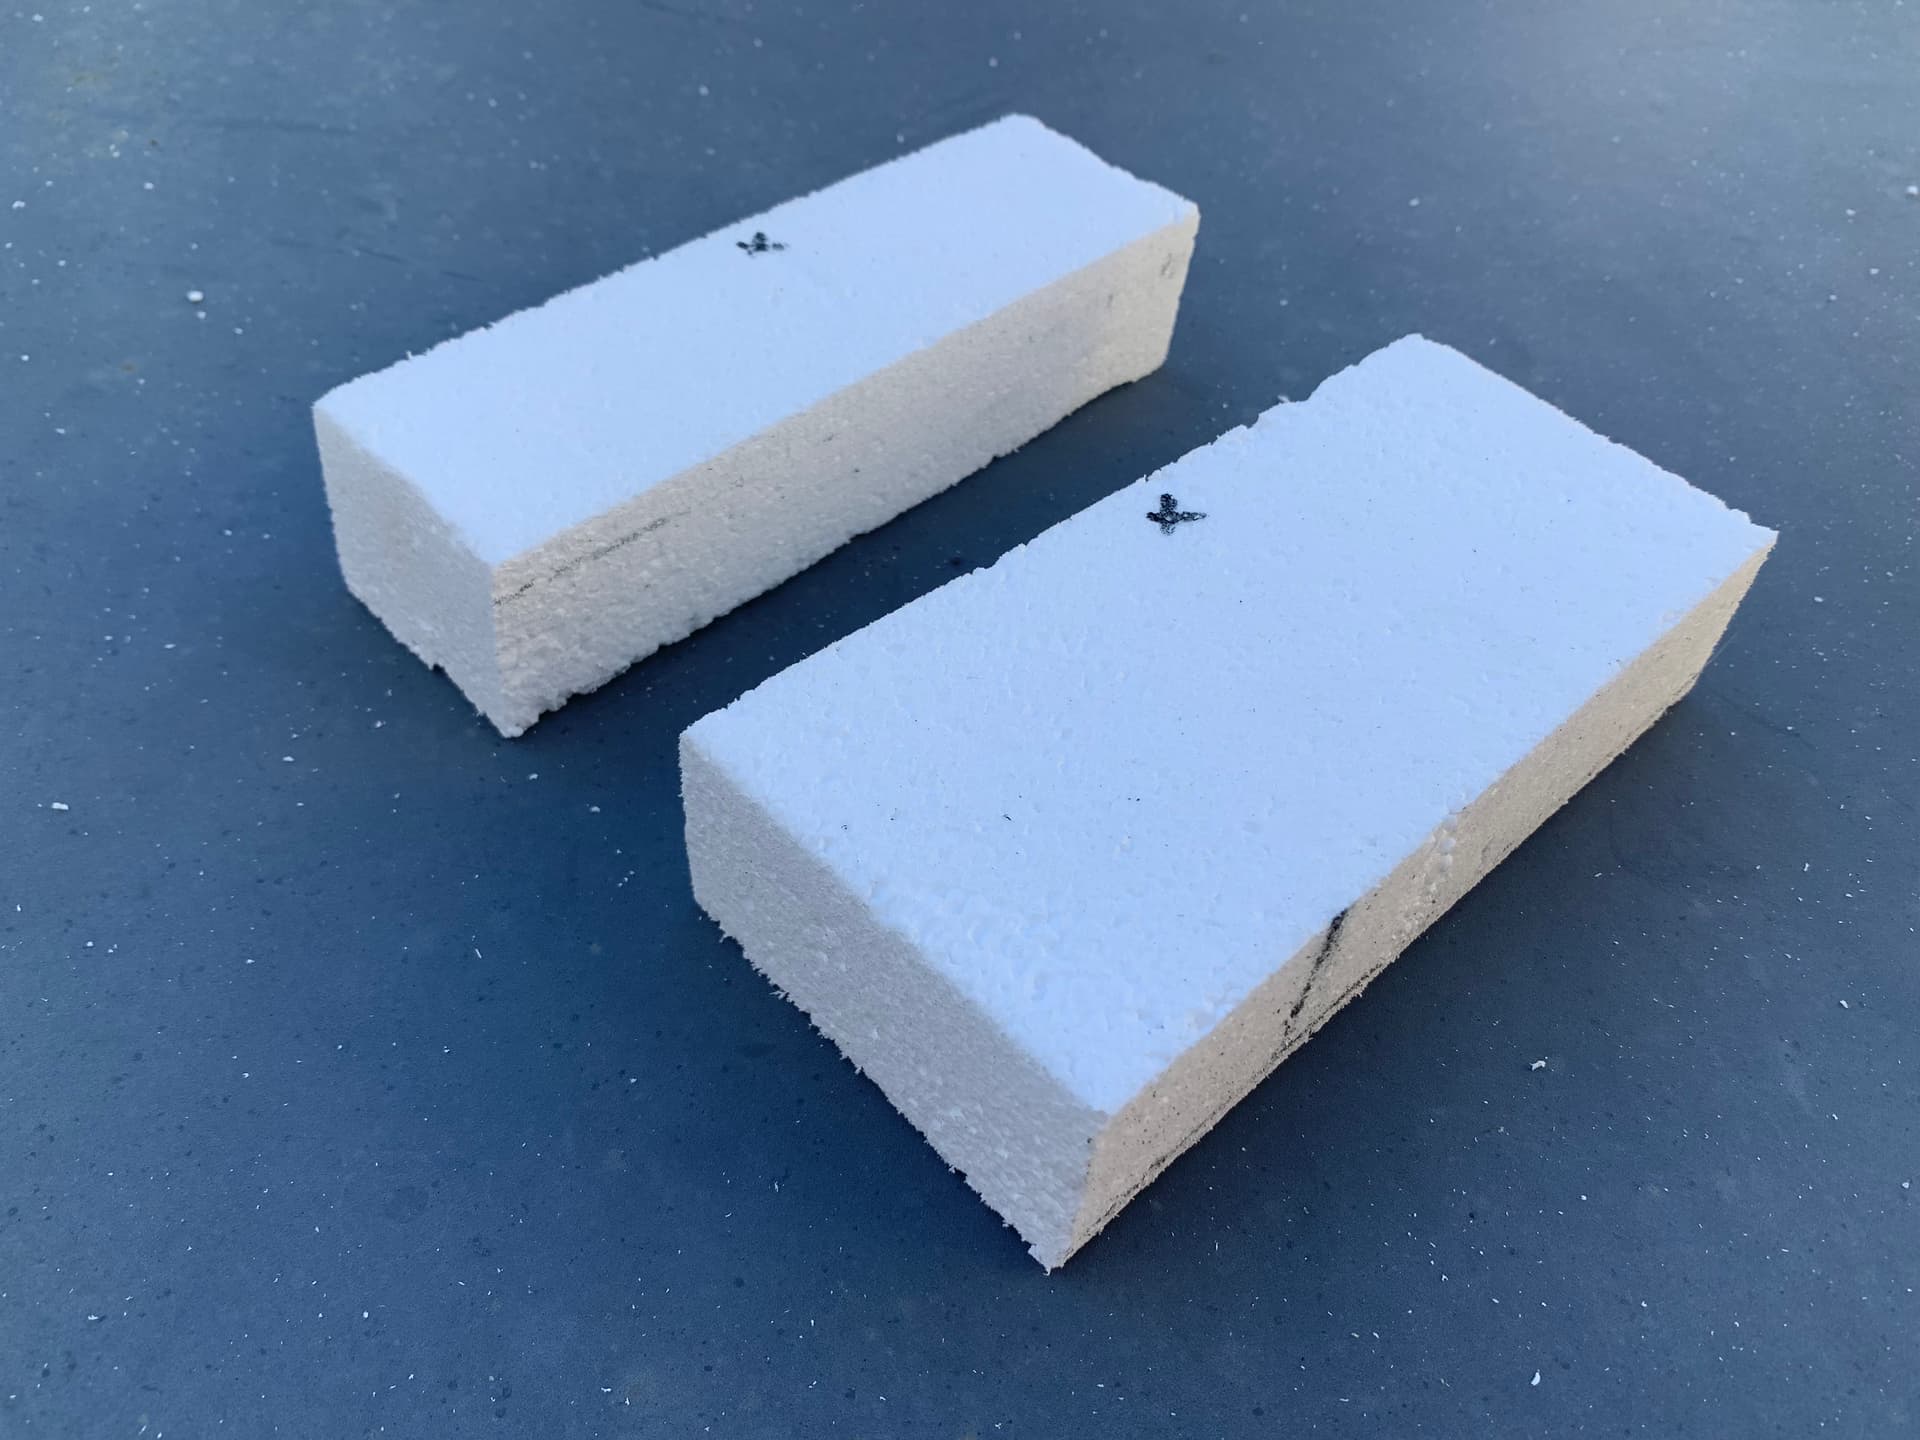
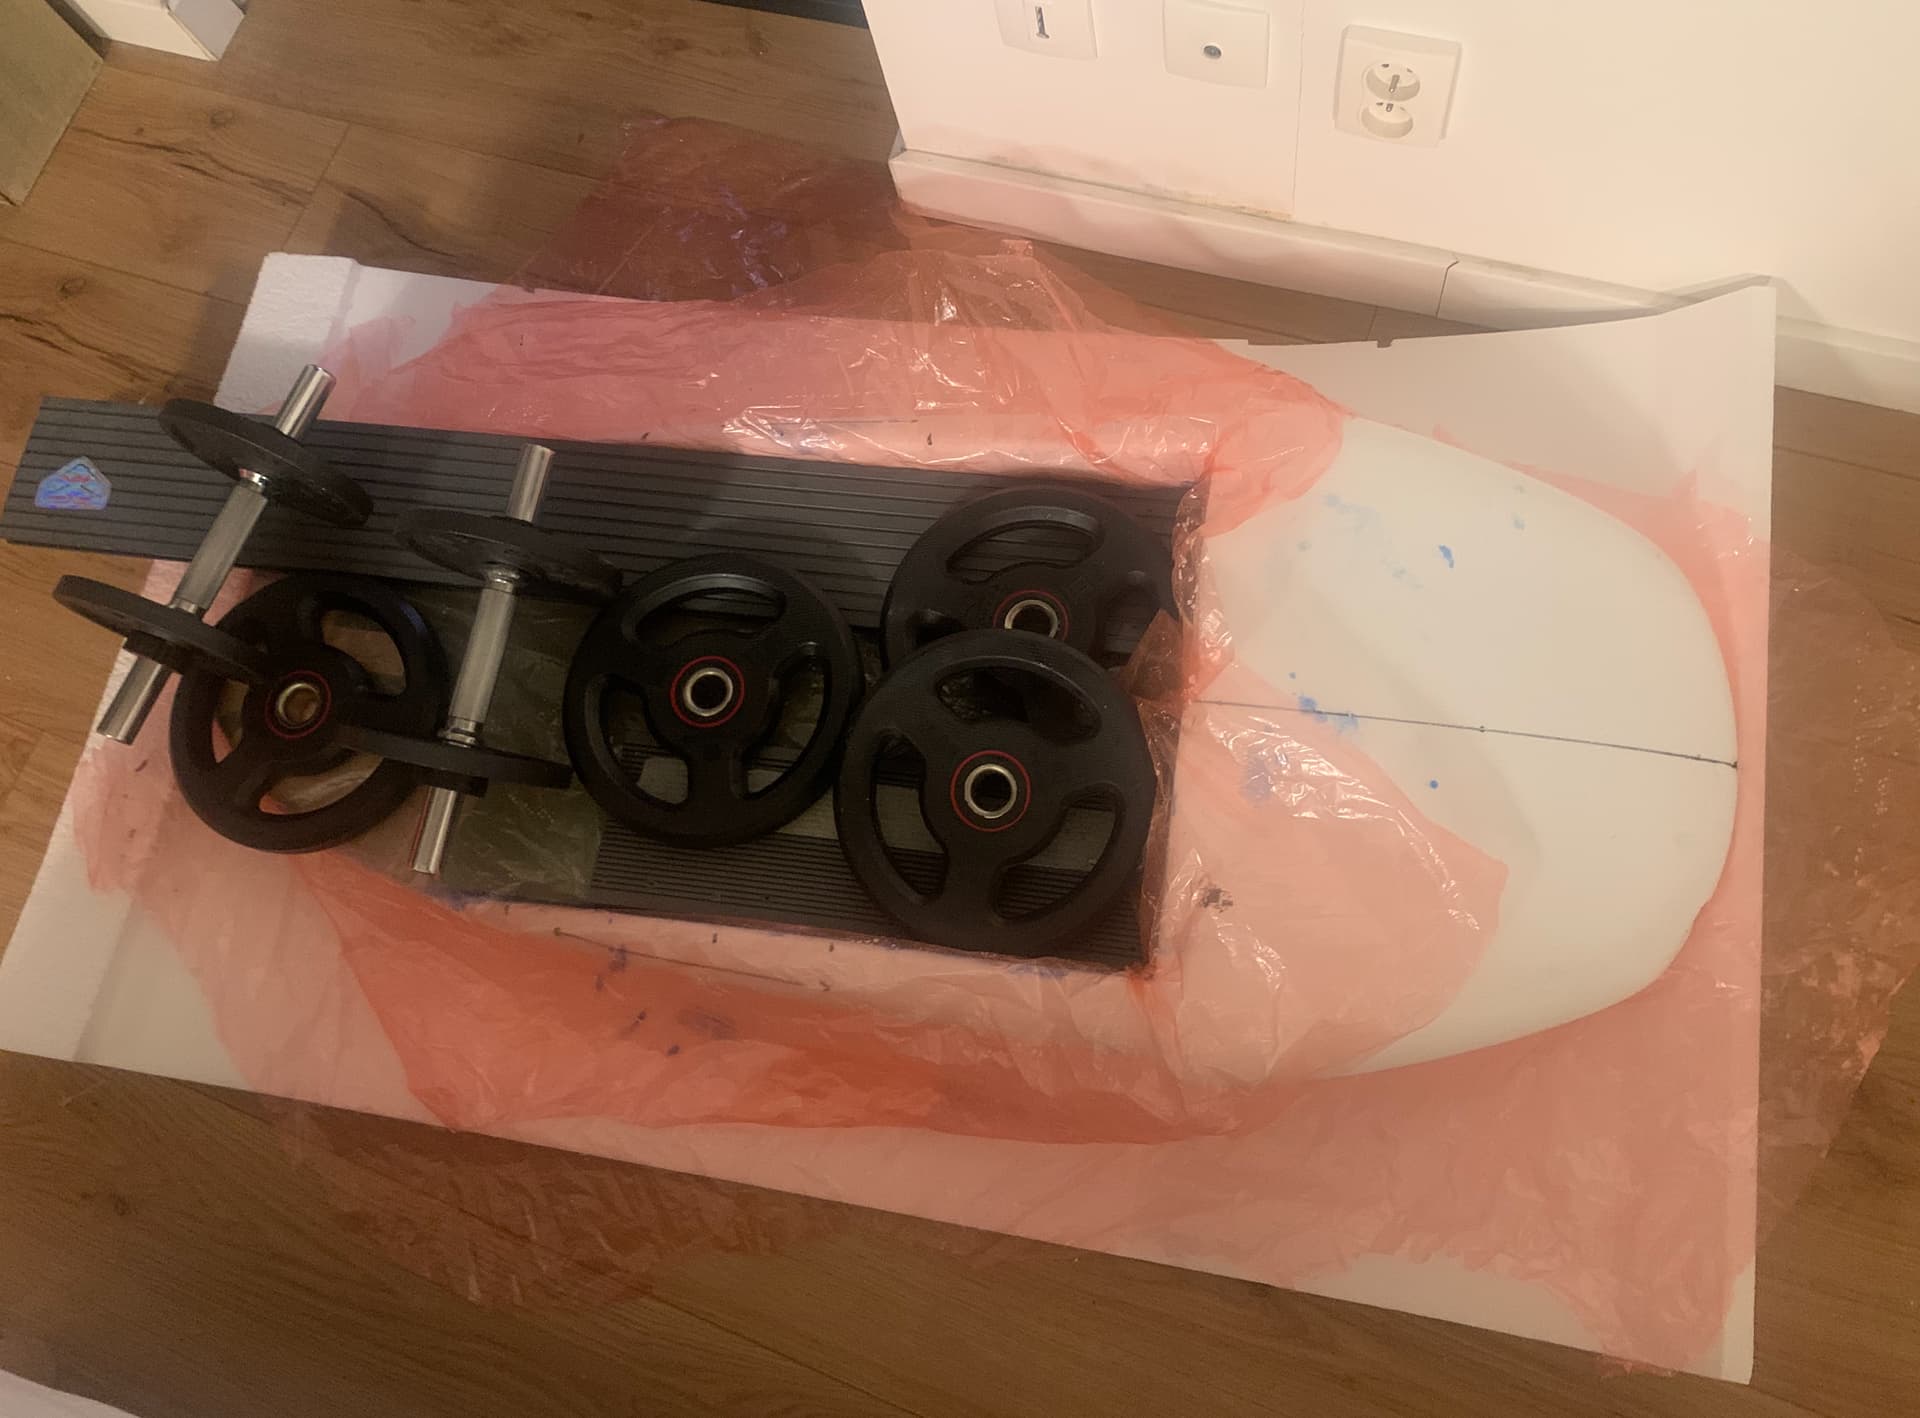
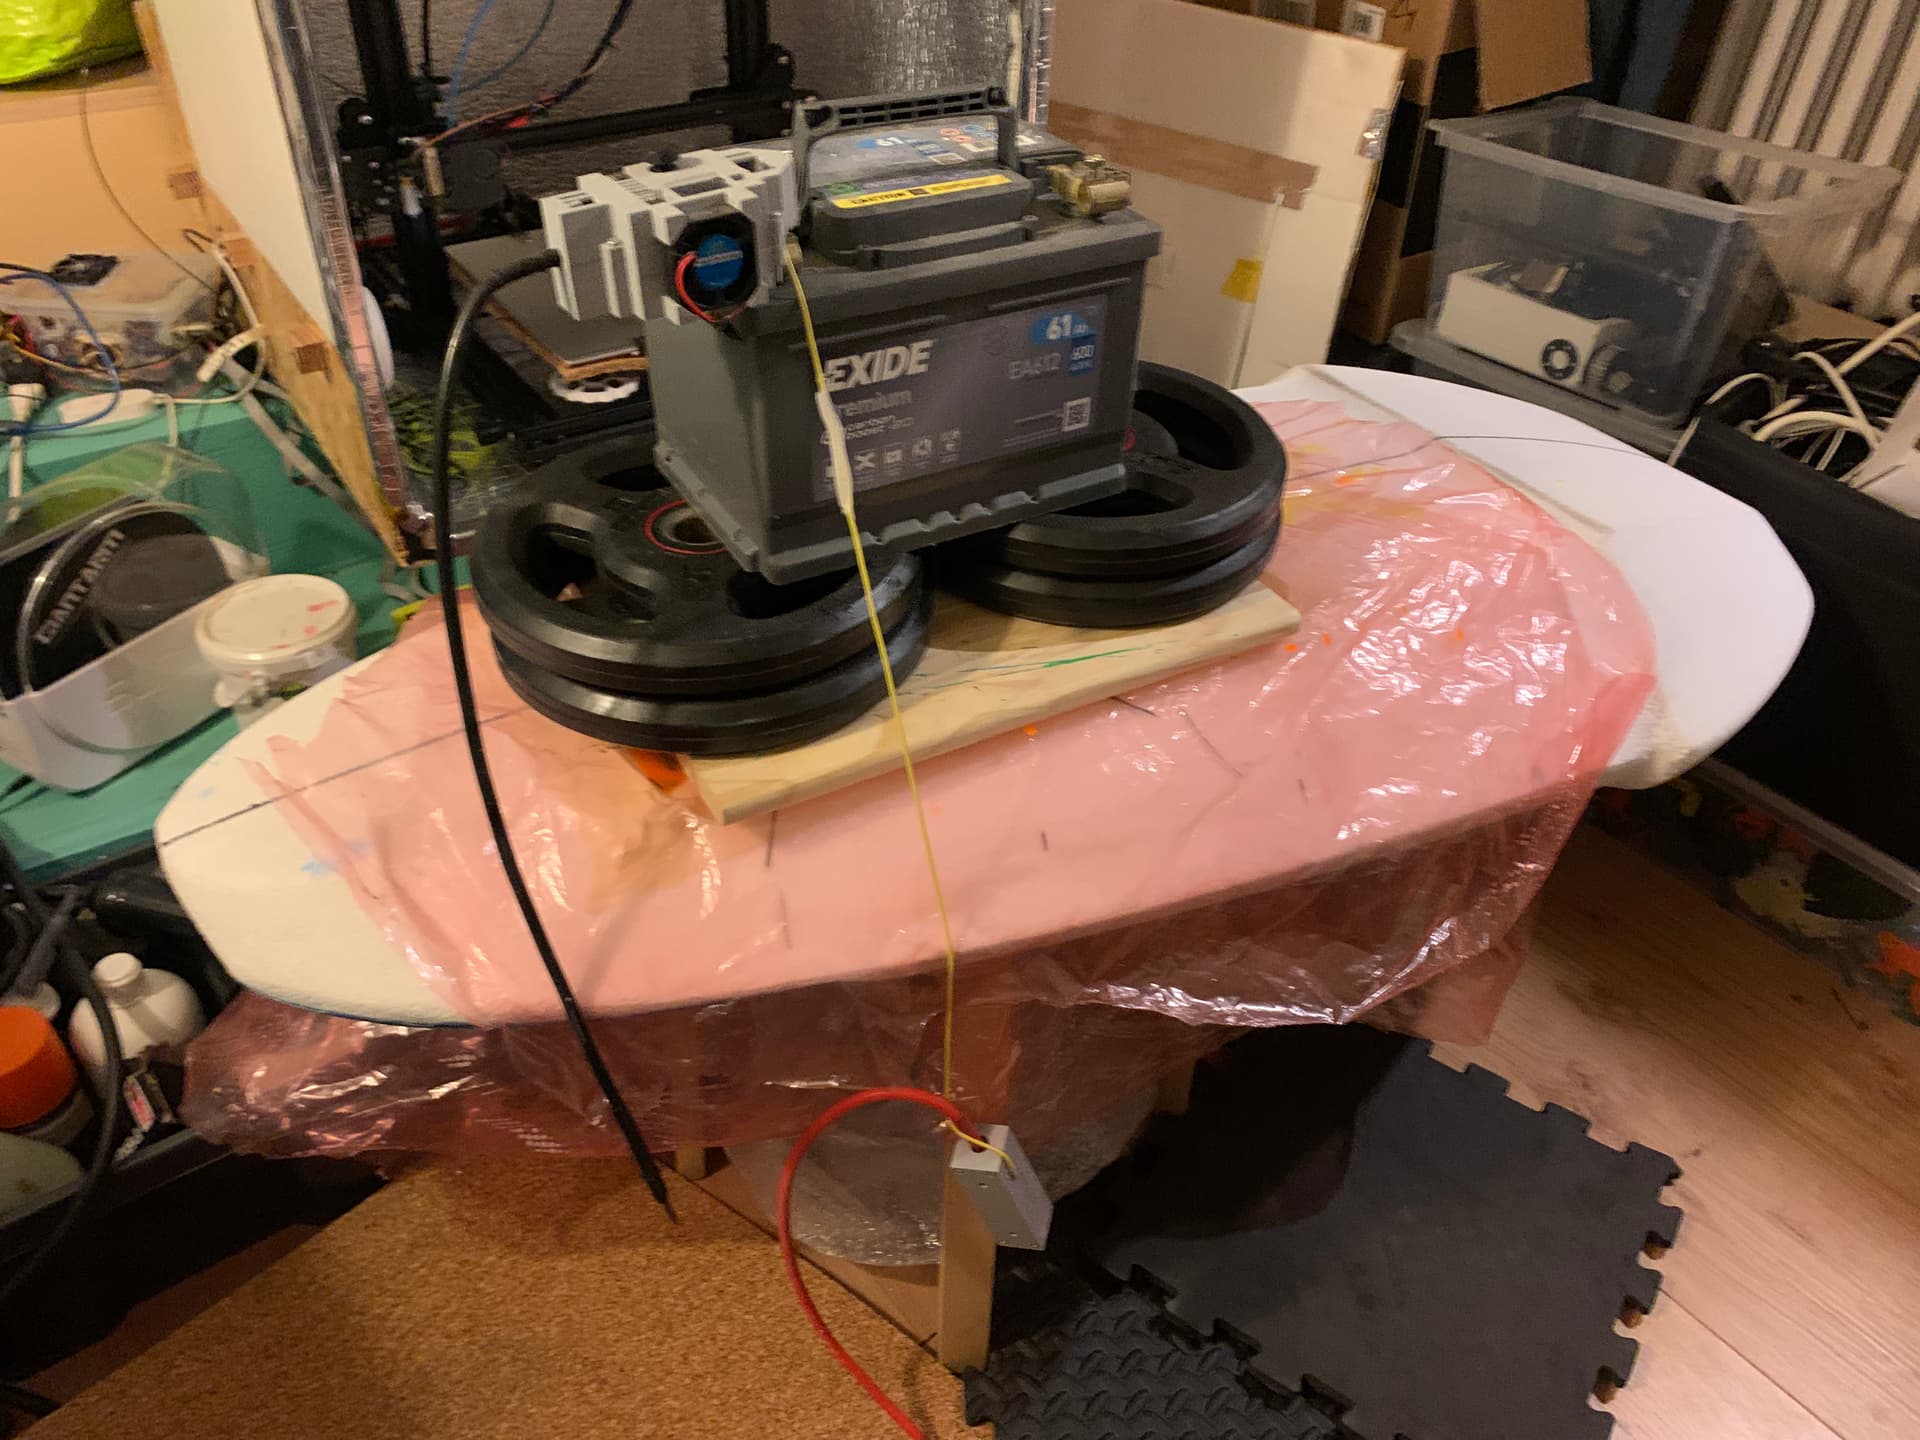
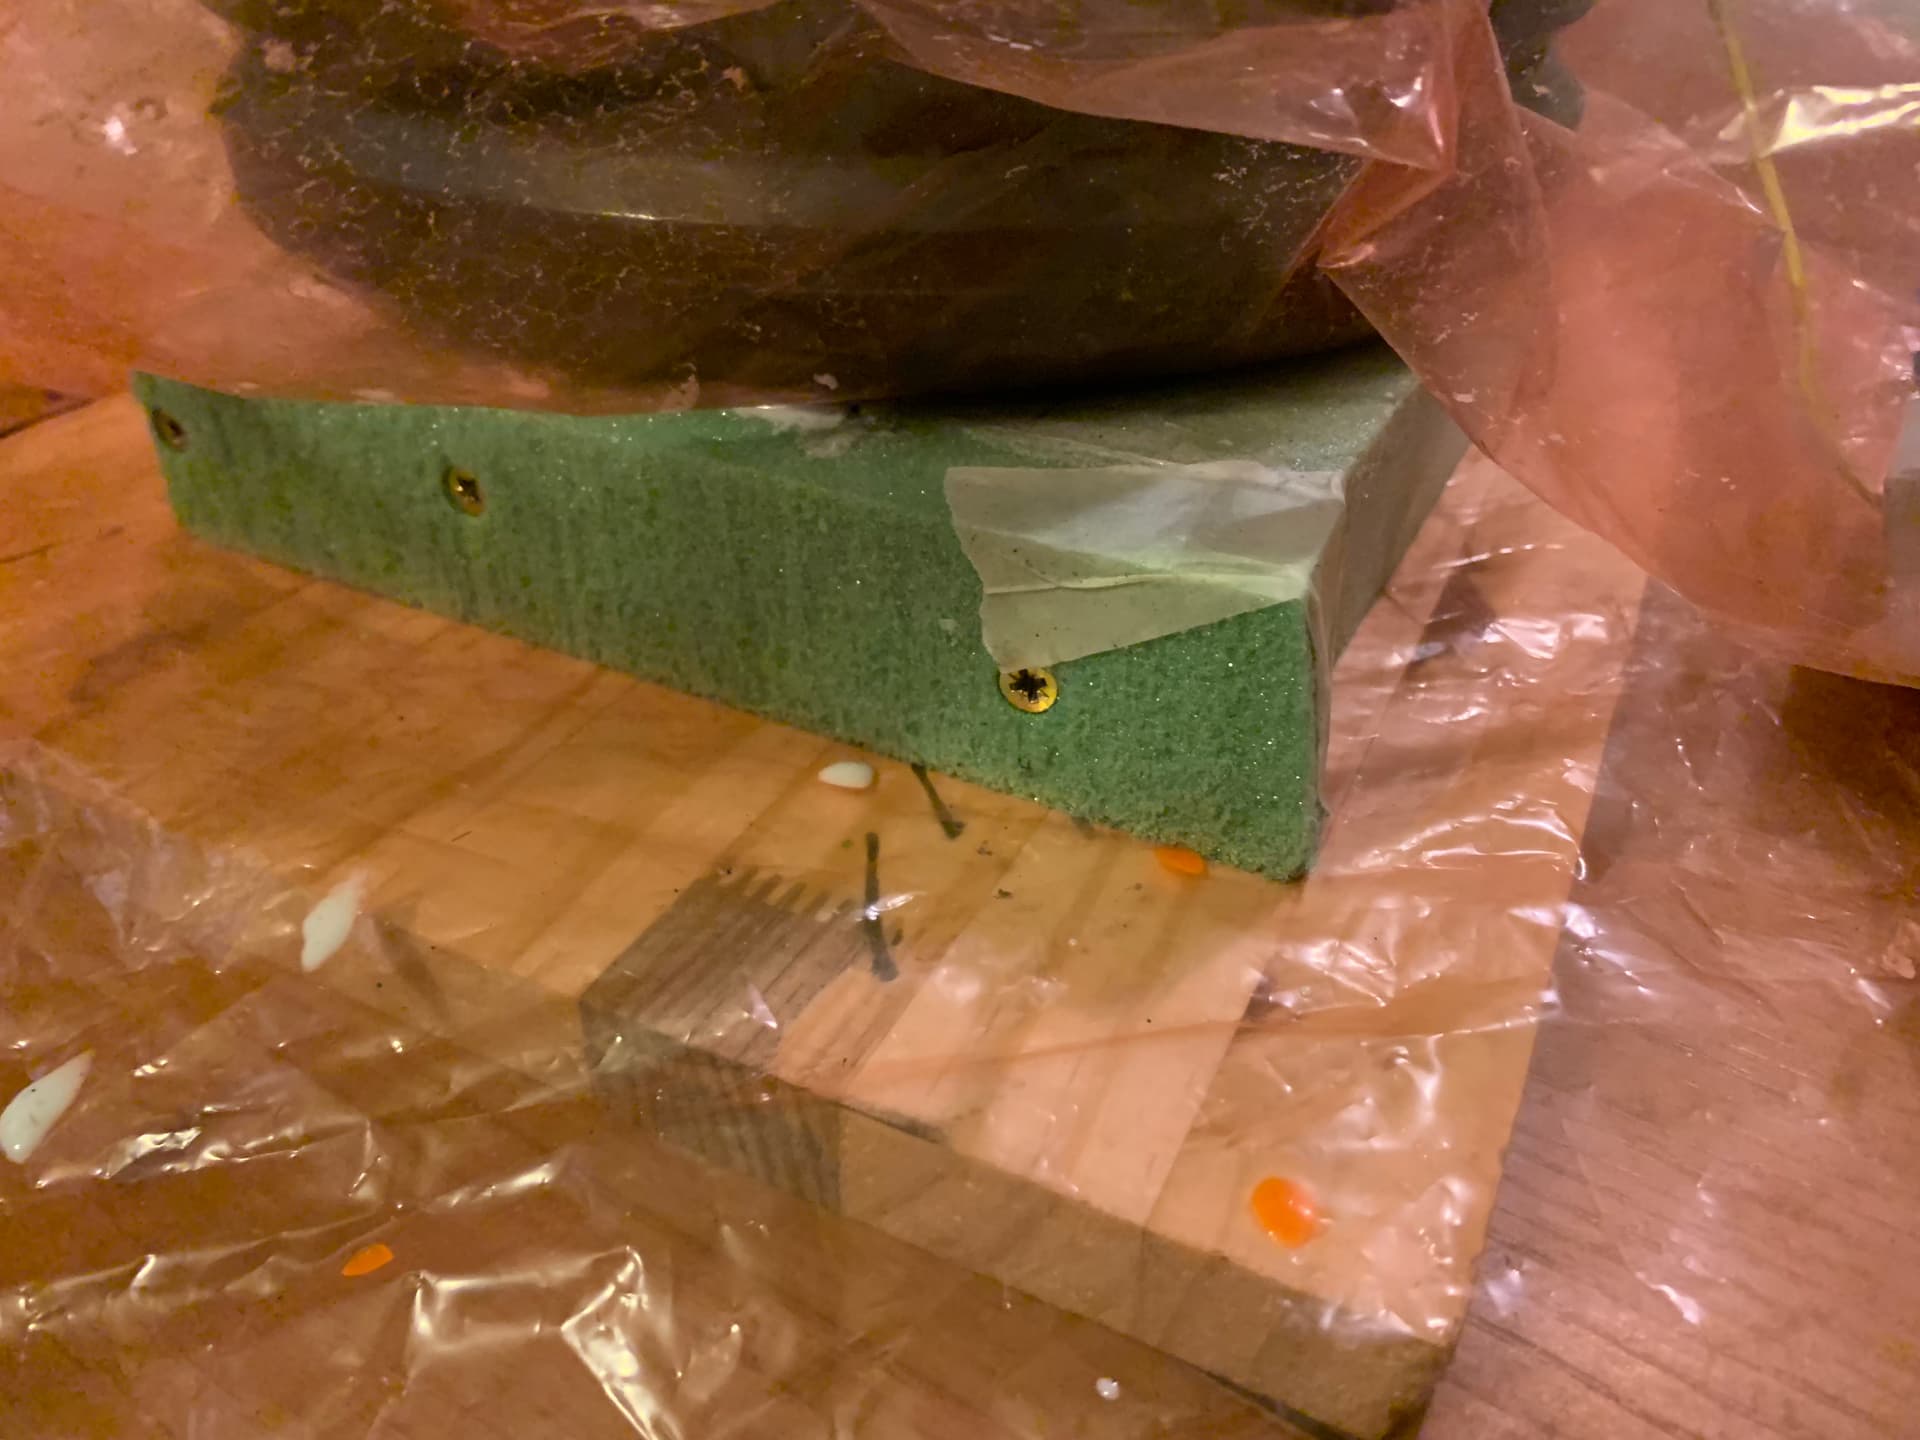
spot on! moved faster than expected ! I’ve decided to move the mast pretty much in the middle which enables the weights to balance a bit better.
I’m going to stack two Airex boxes and then make it flush with the top panel.
Of course, I will cut the mast 
As I progress, I’m really wondering if I will use vacuum for the composites, or just stratify it like a normal surfboard.
1 Like
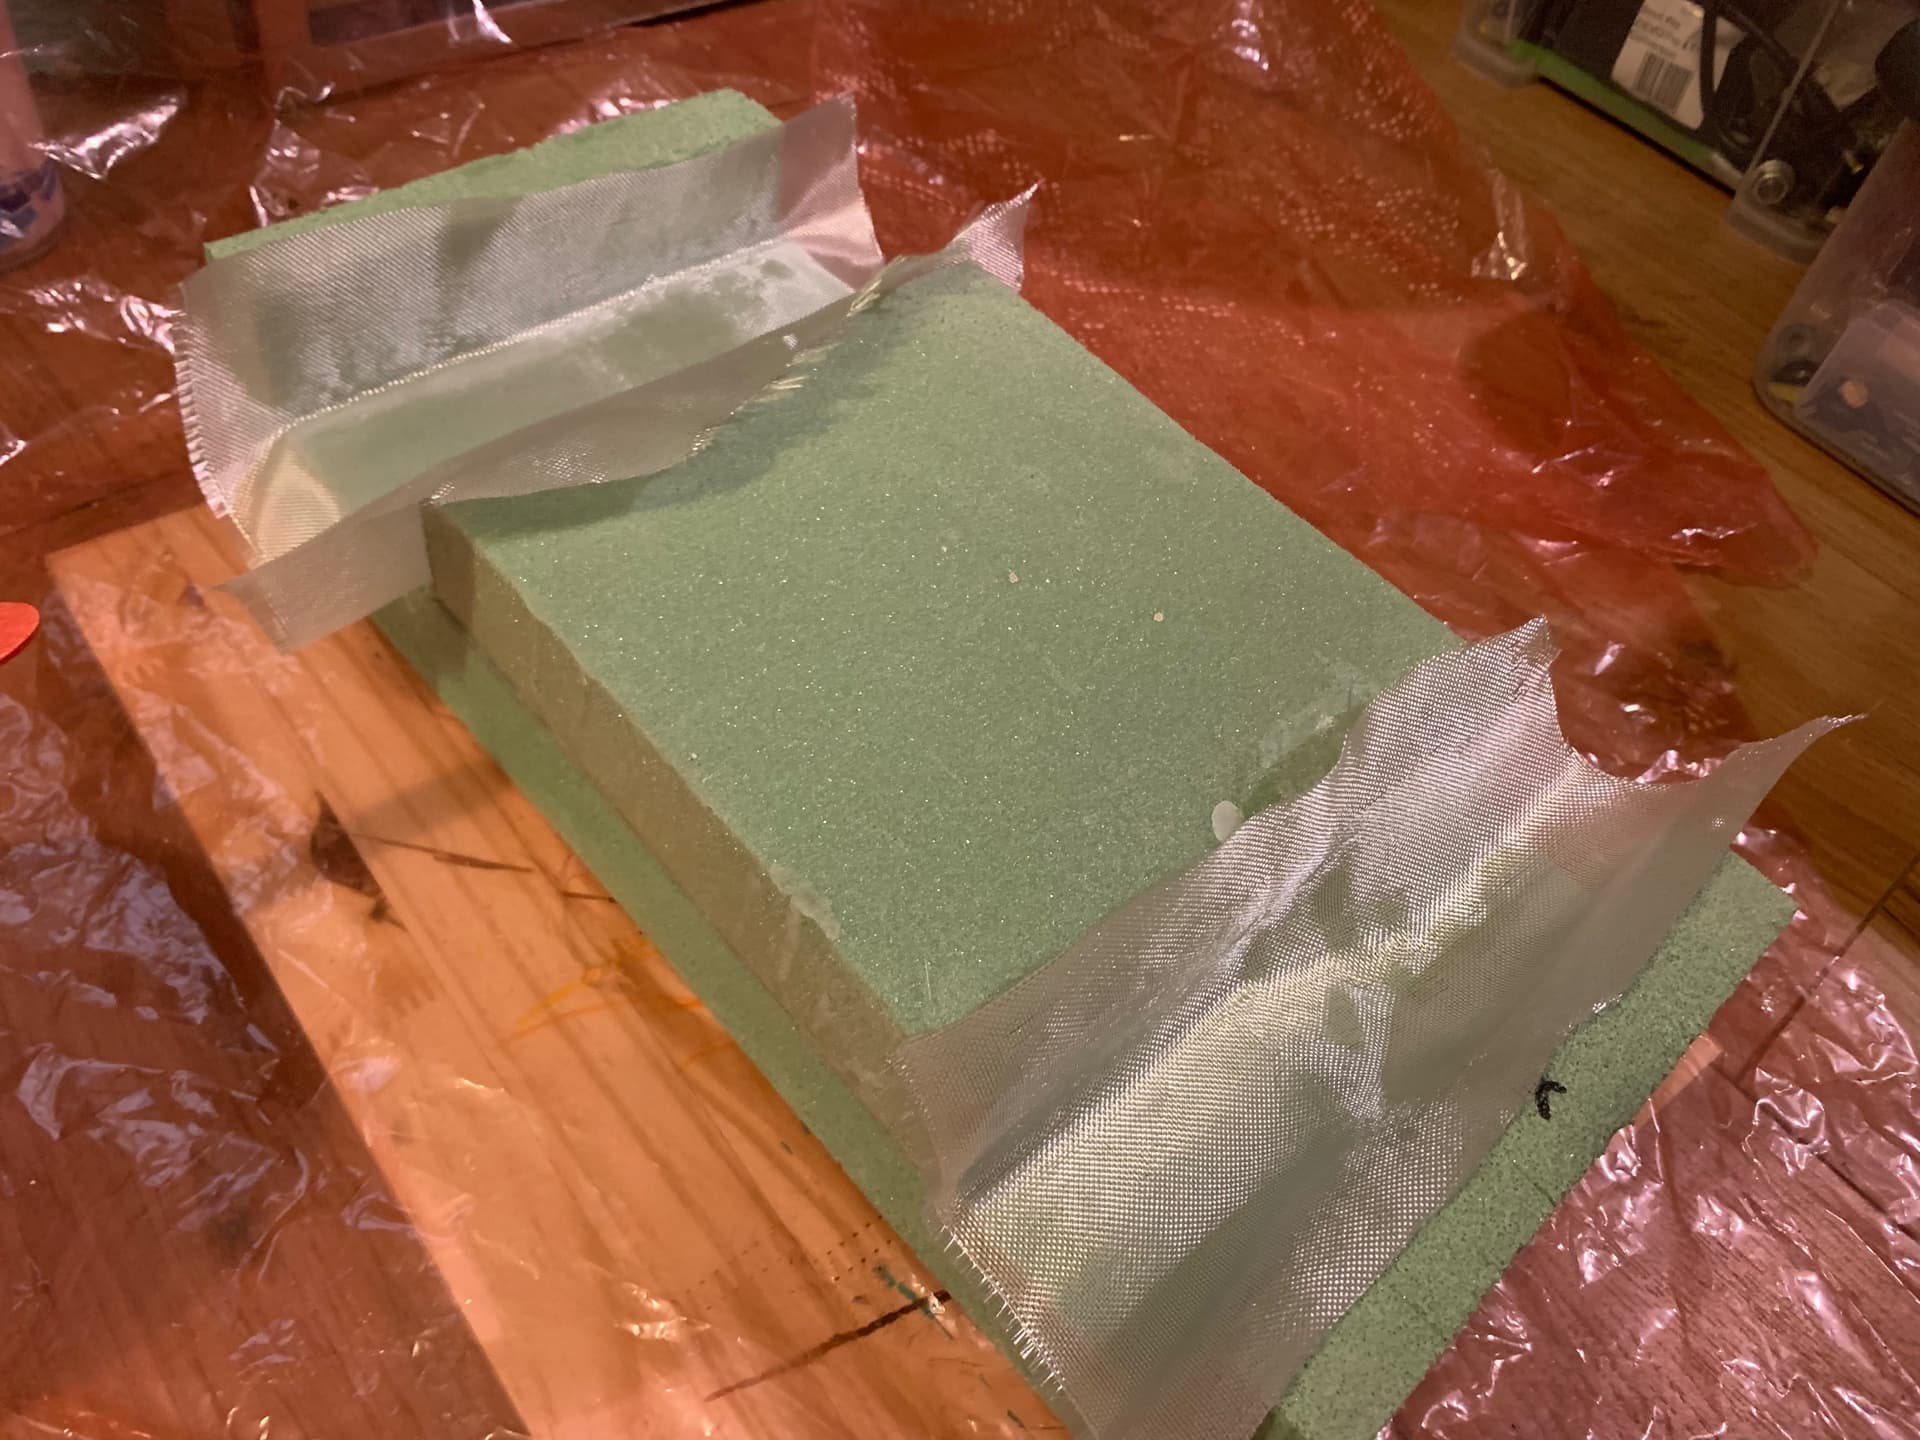
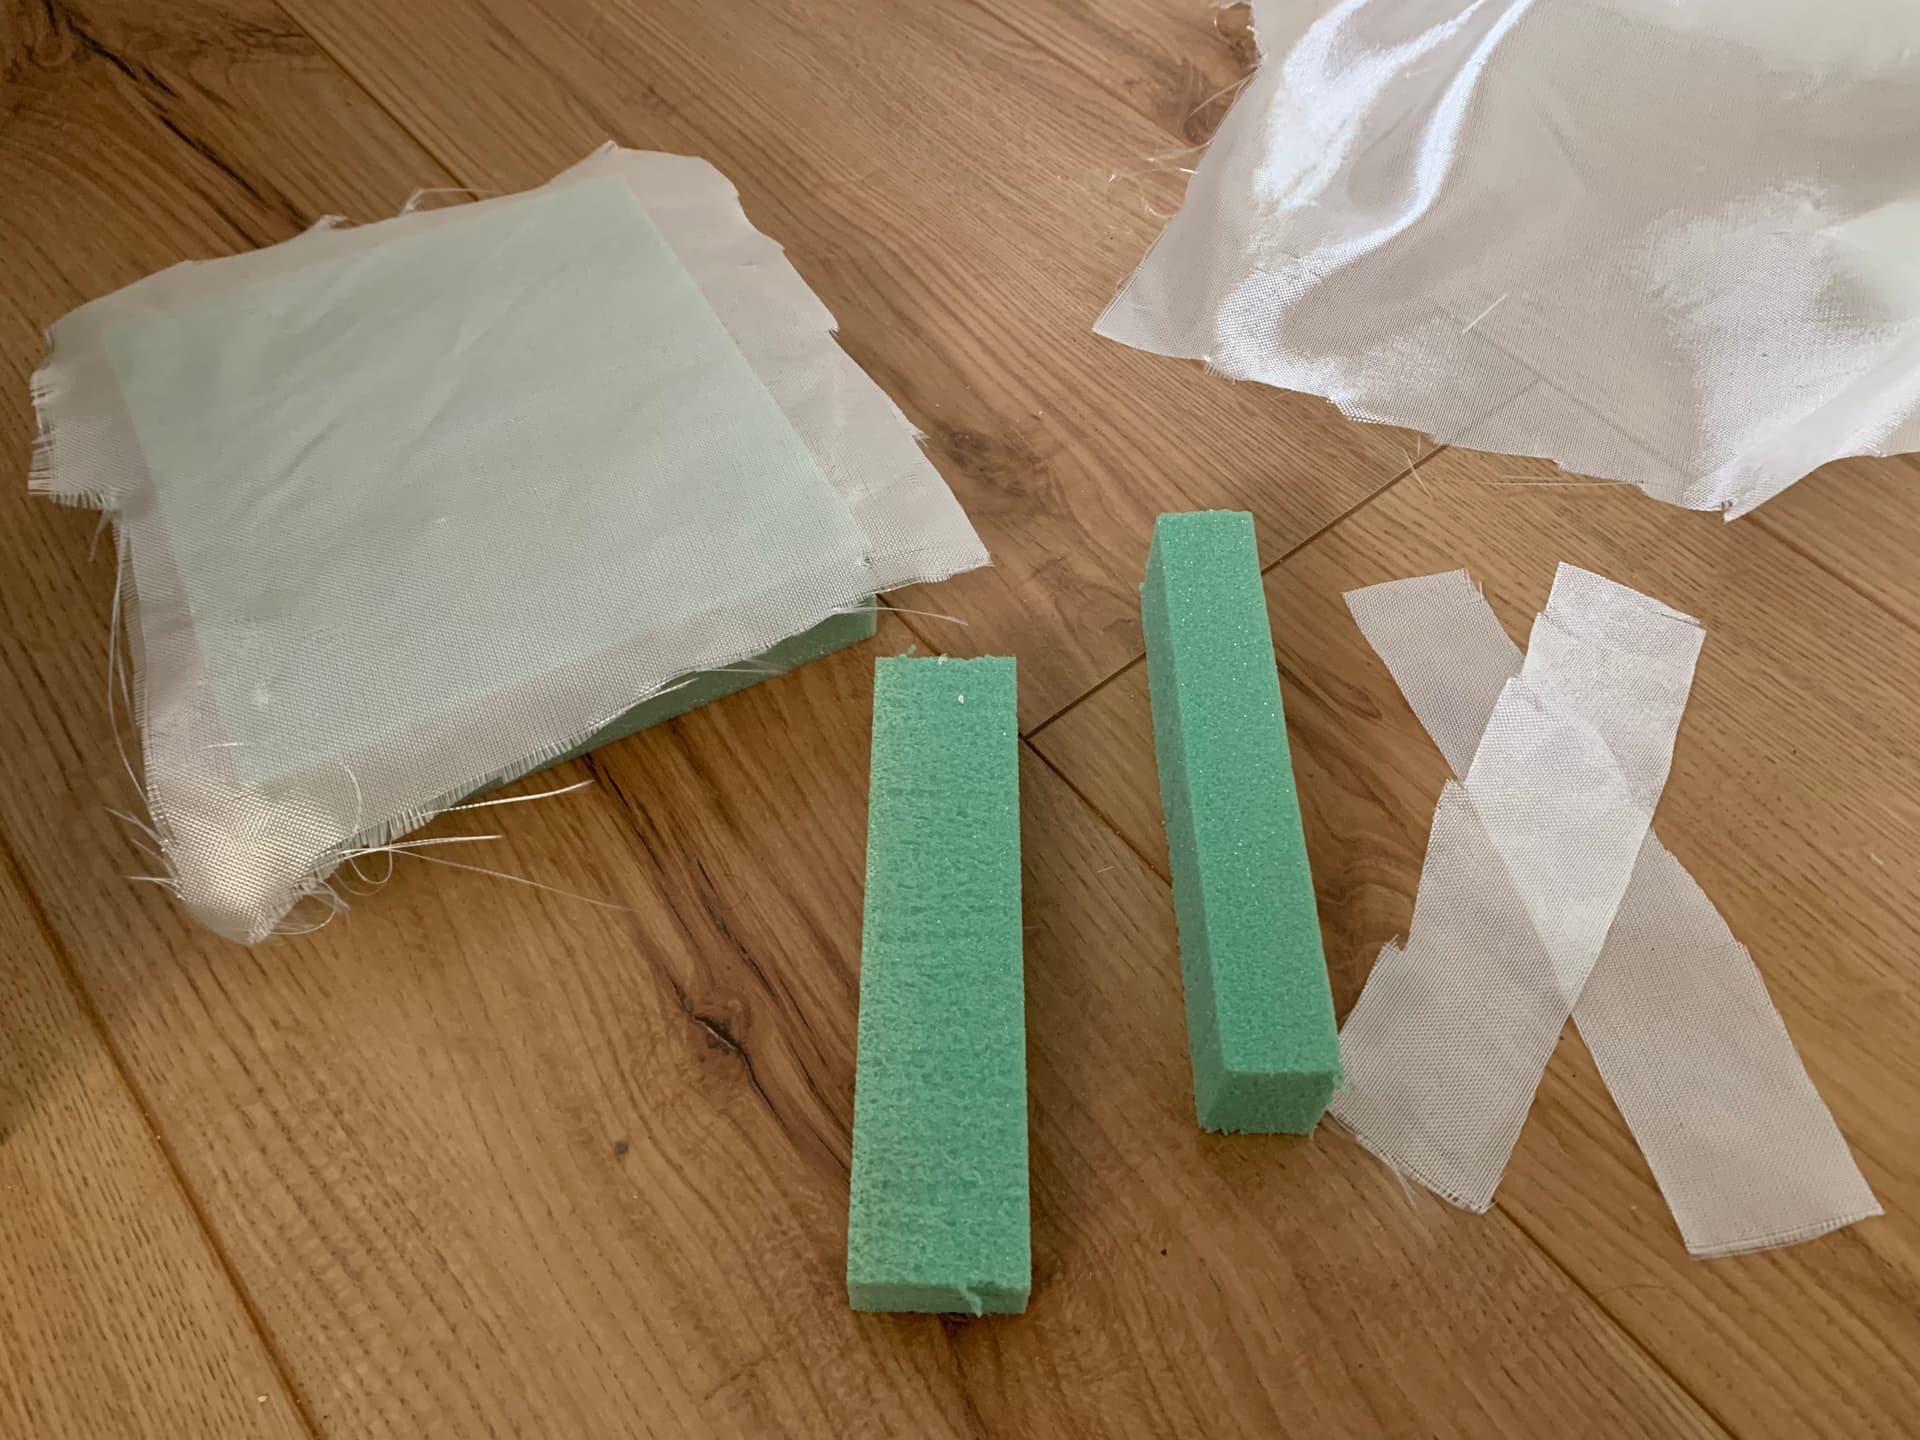
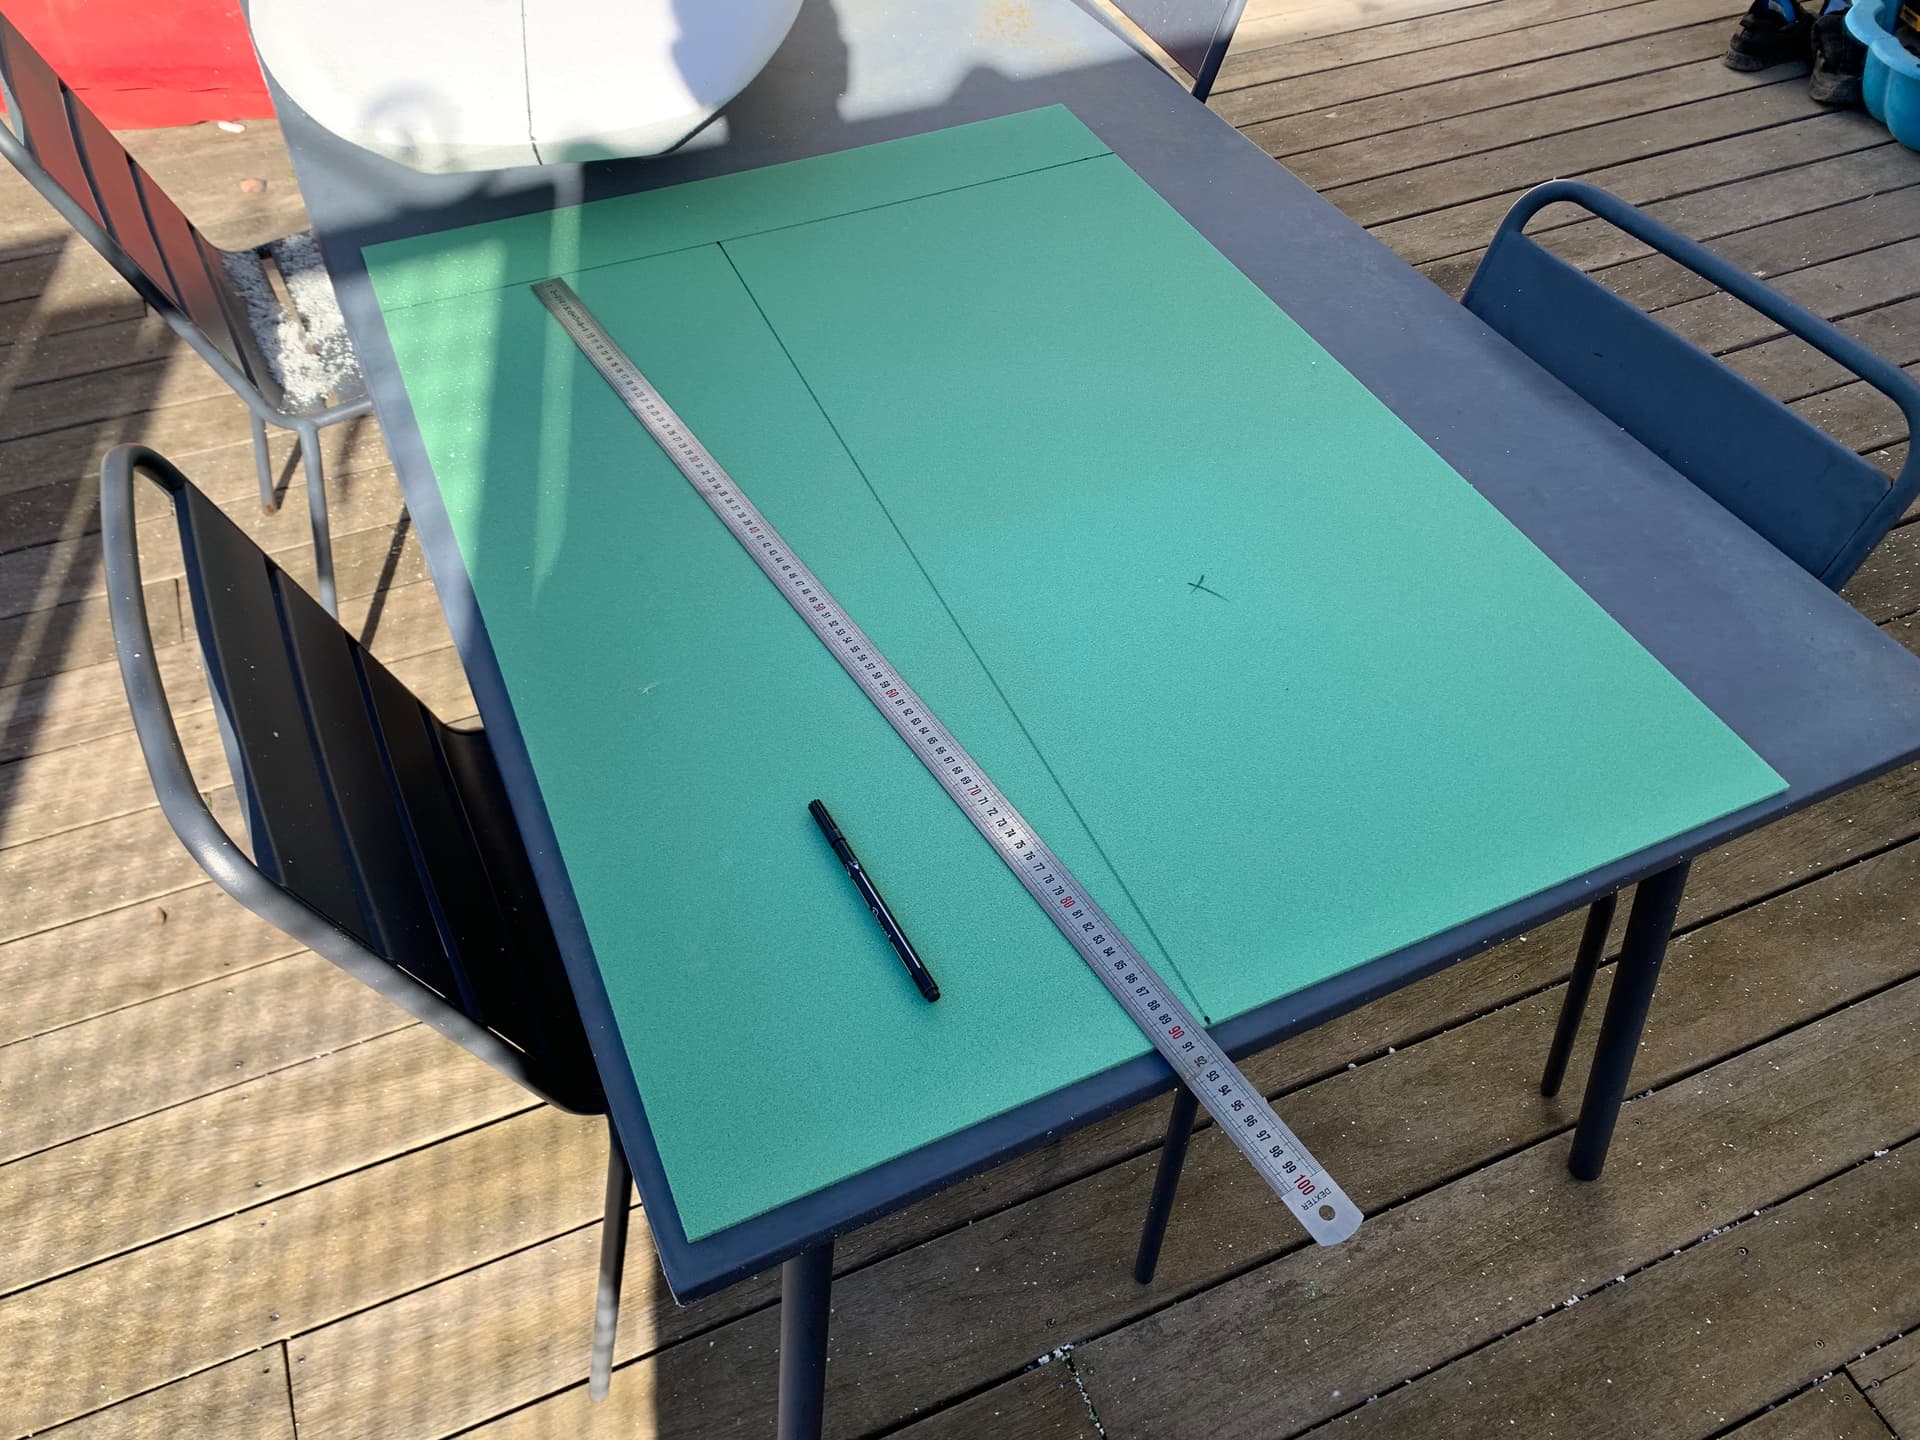
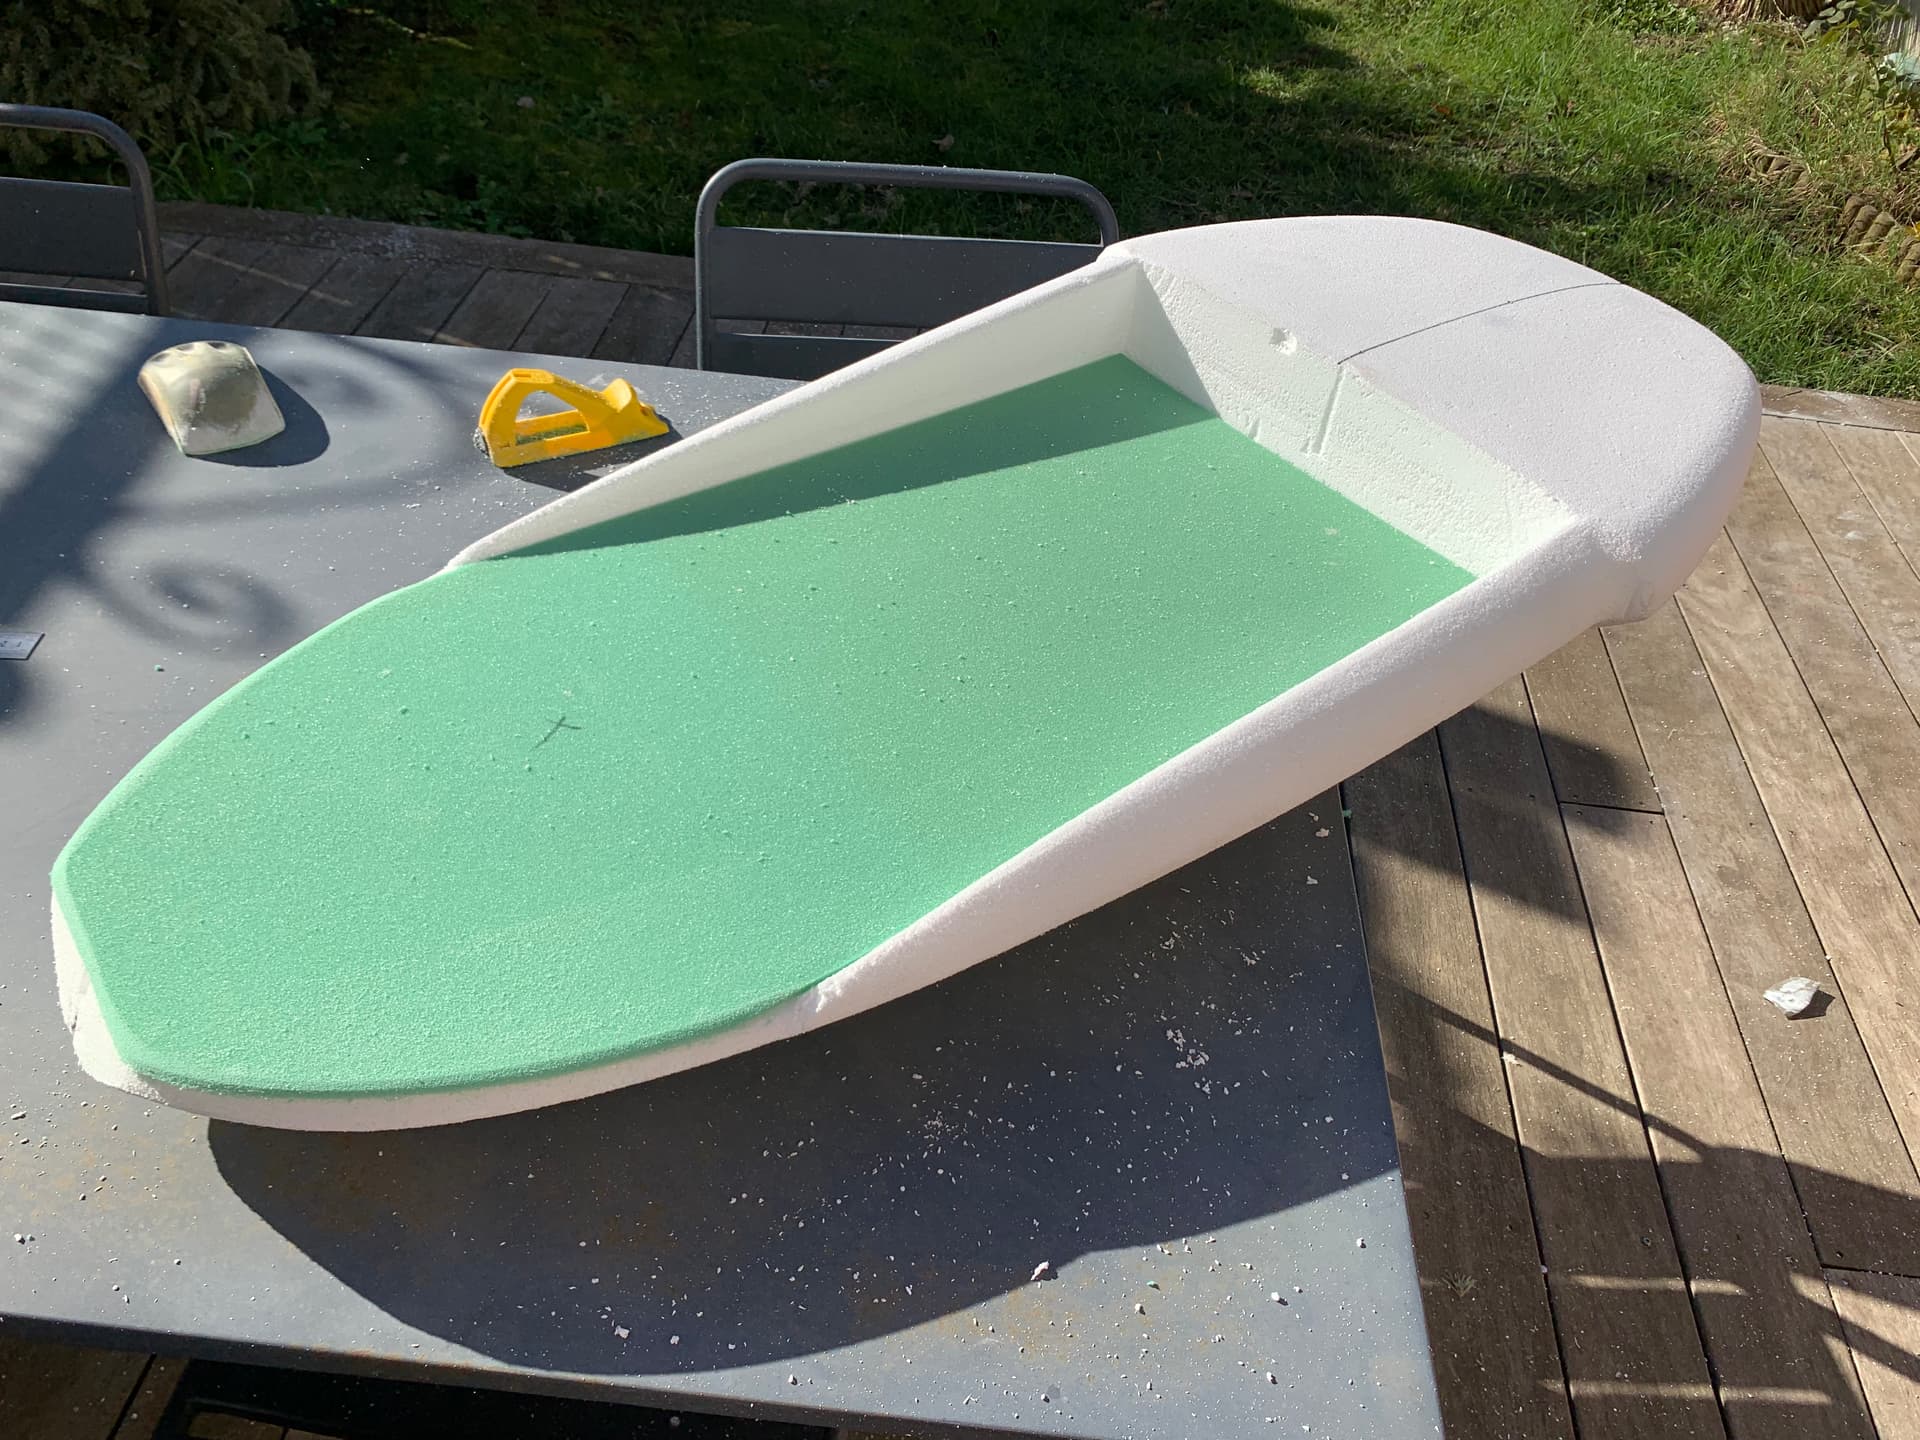
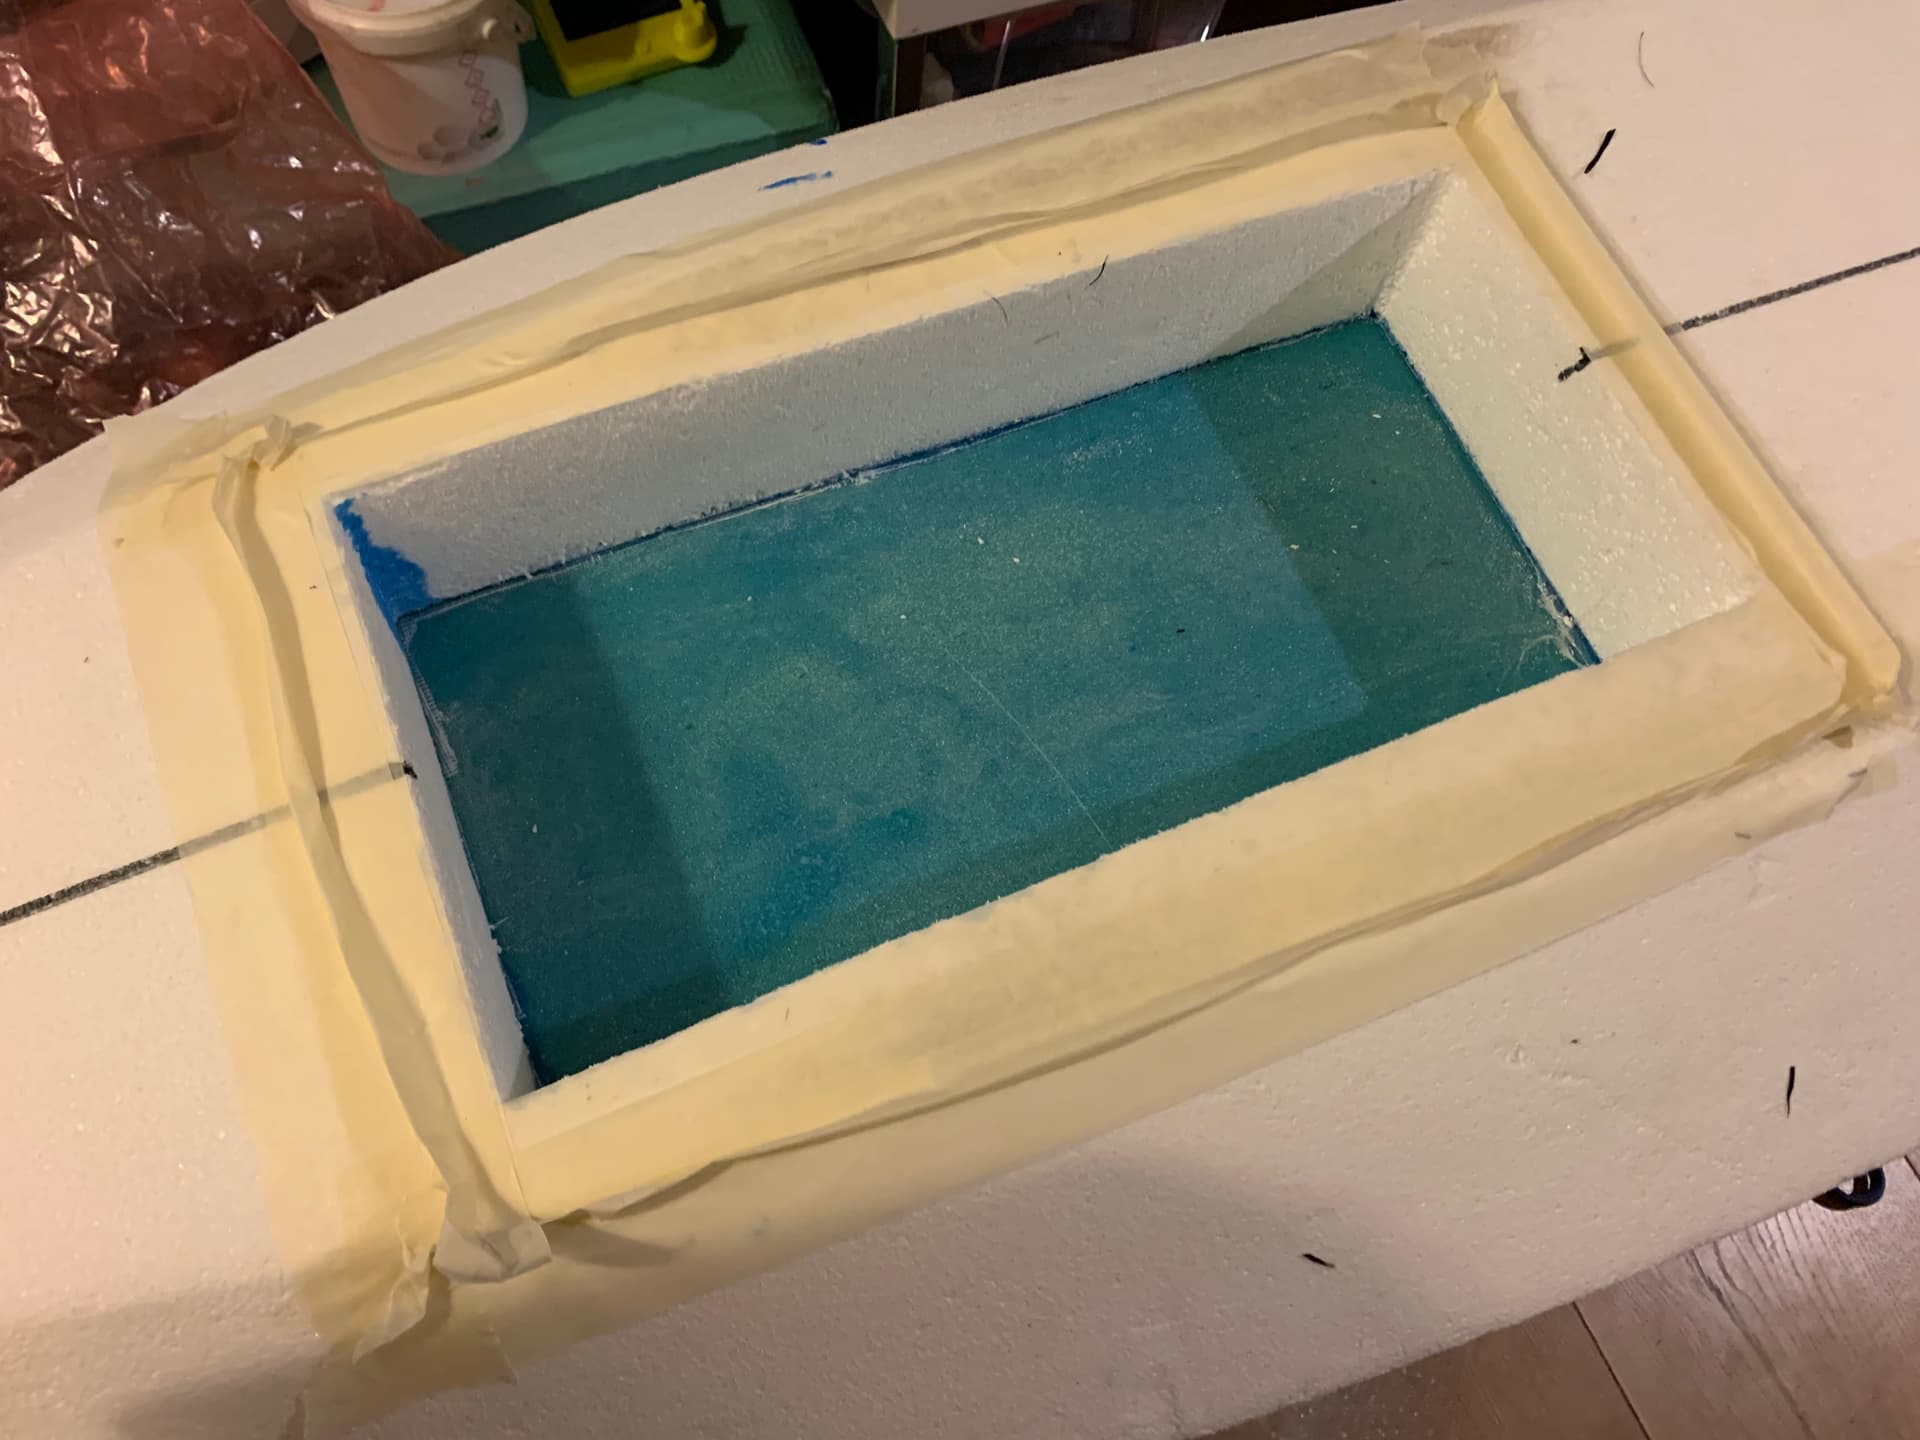
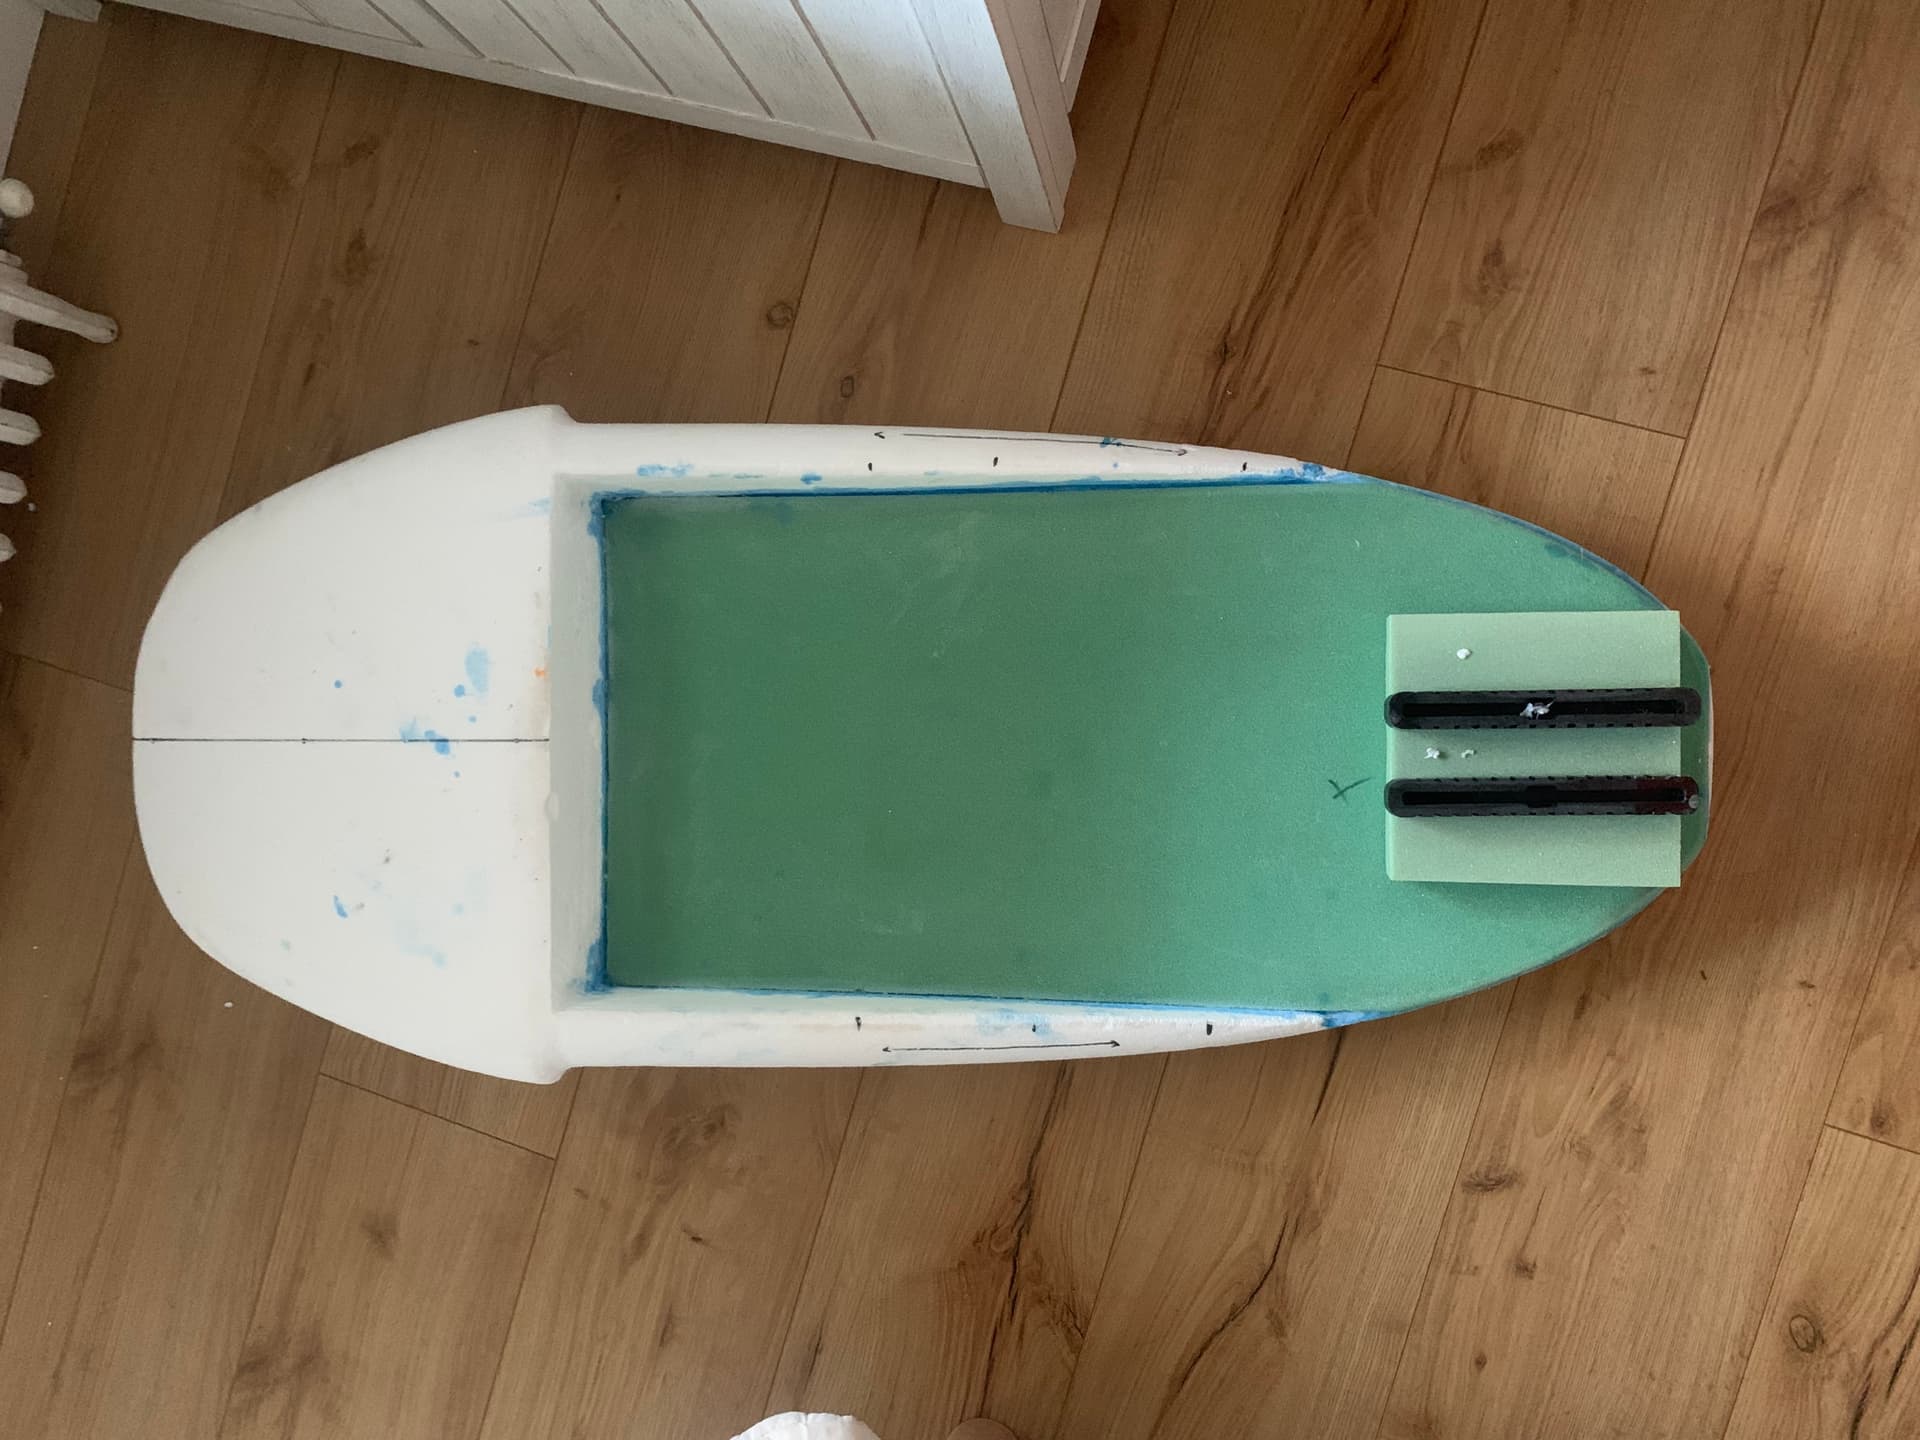
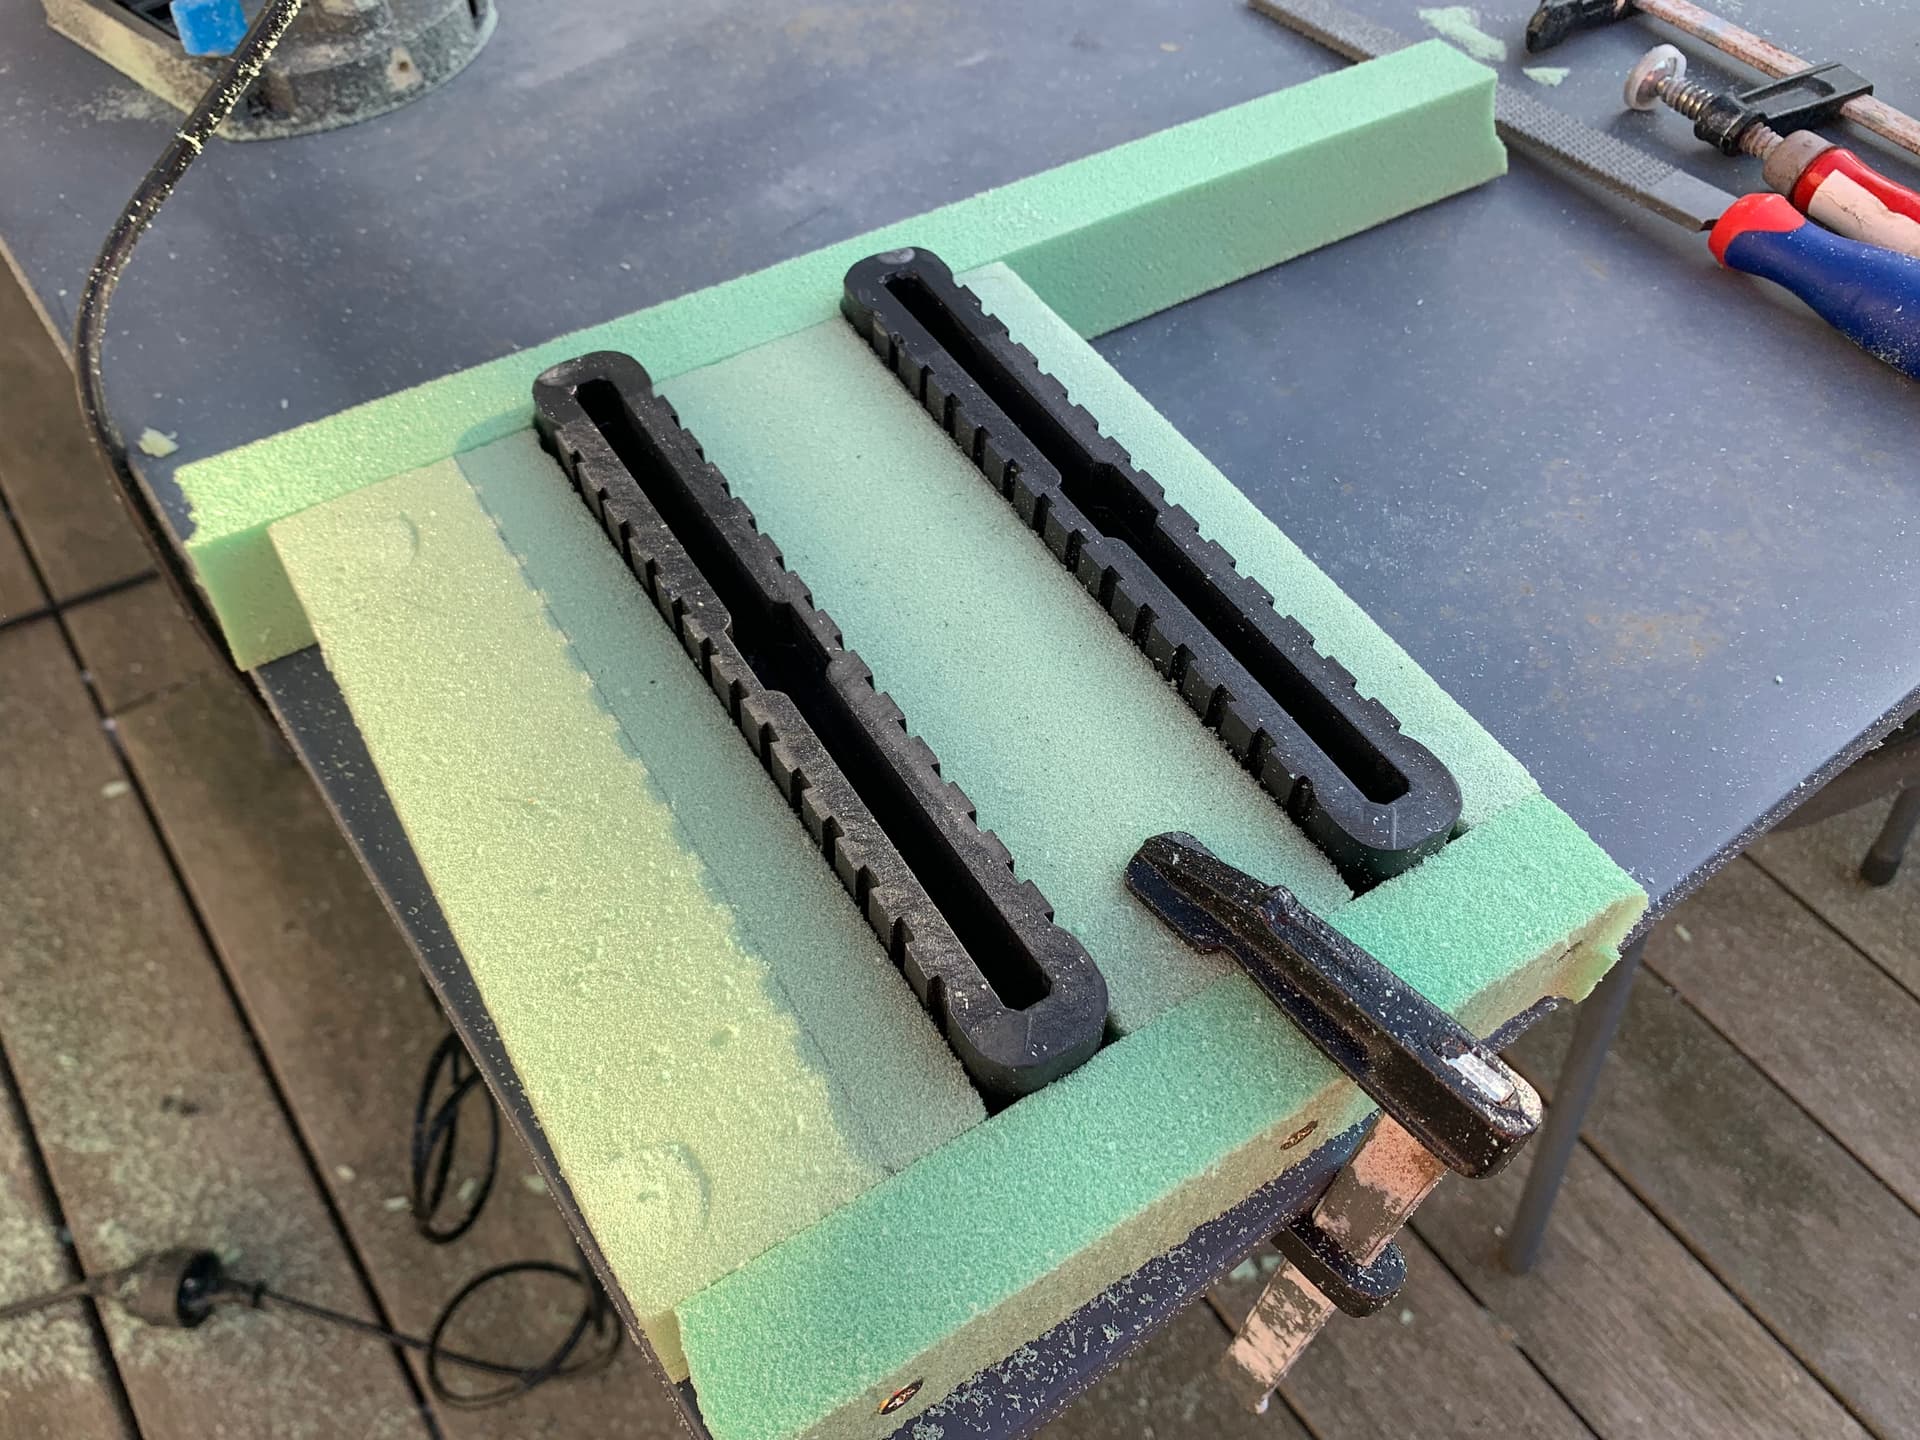
I took also the opportunity to cut & start shaping the 5mm airex sheet. I will not do this one under vacuum as it’s still very cold in France.
I plan to use glass fiber 200g as usual between the airex and the deck for even stronger bond.

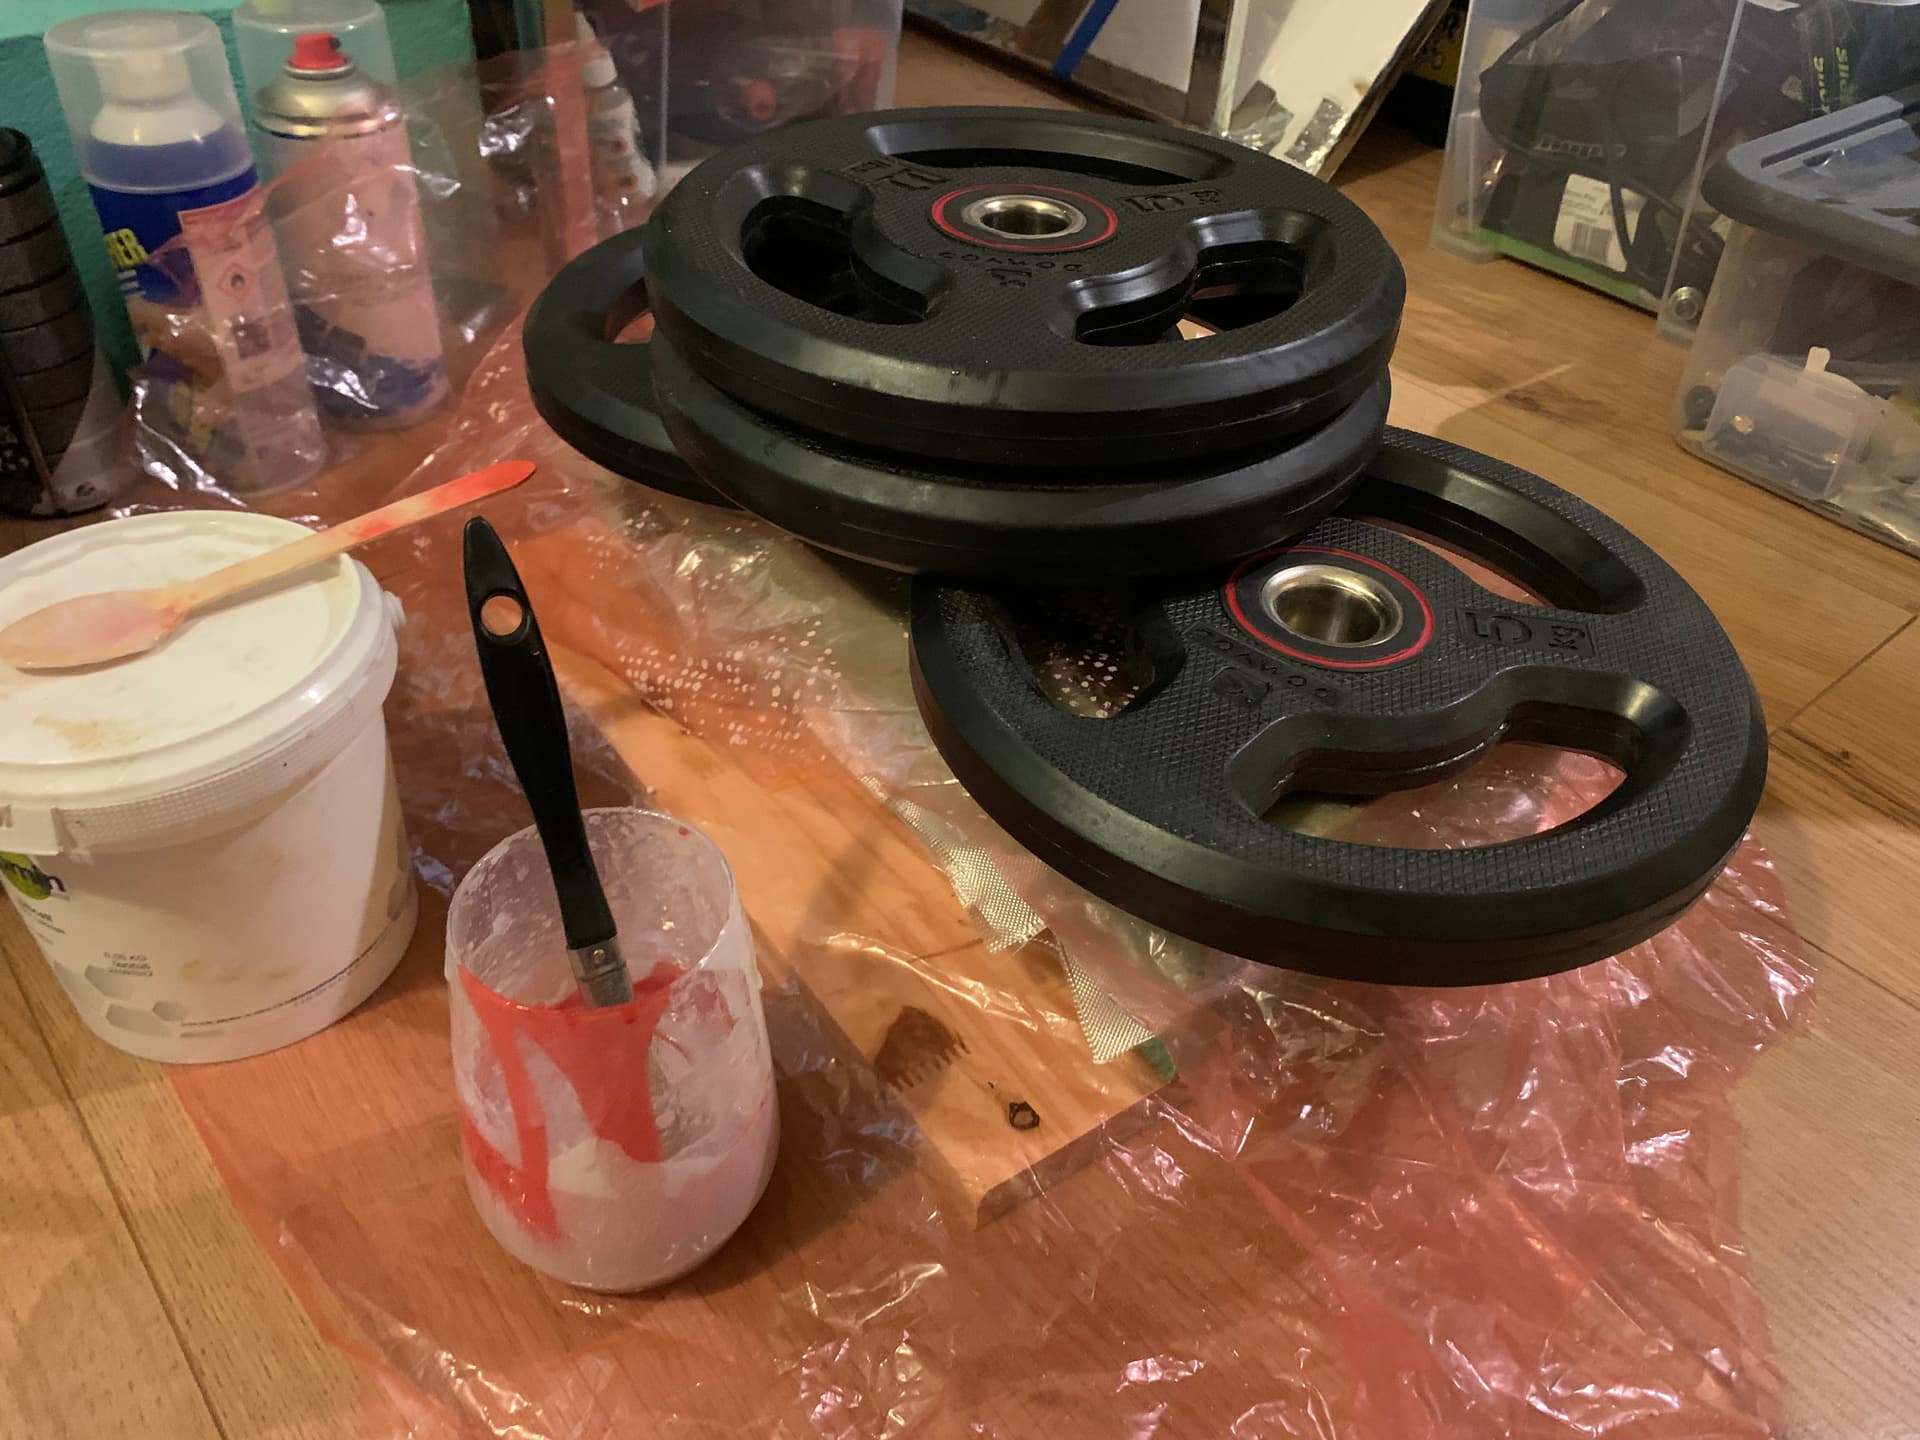
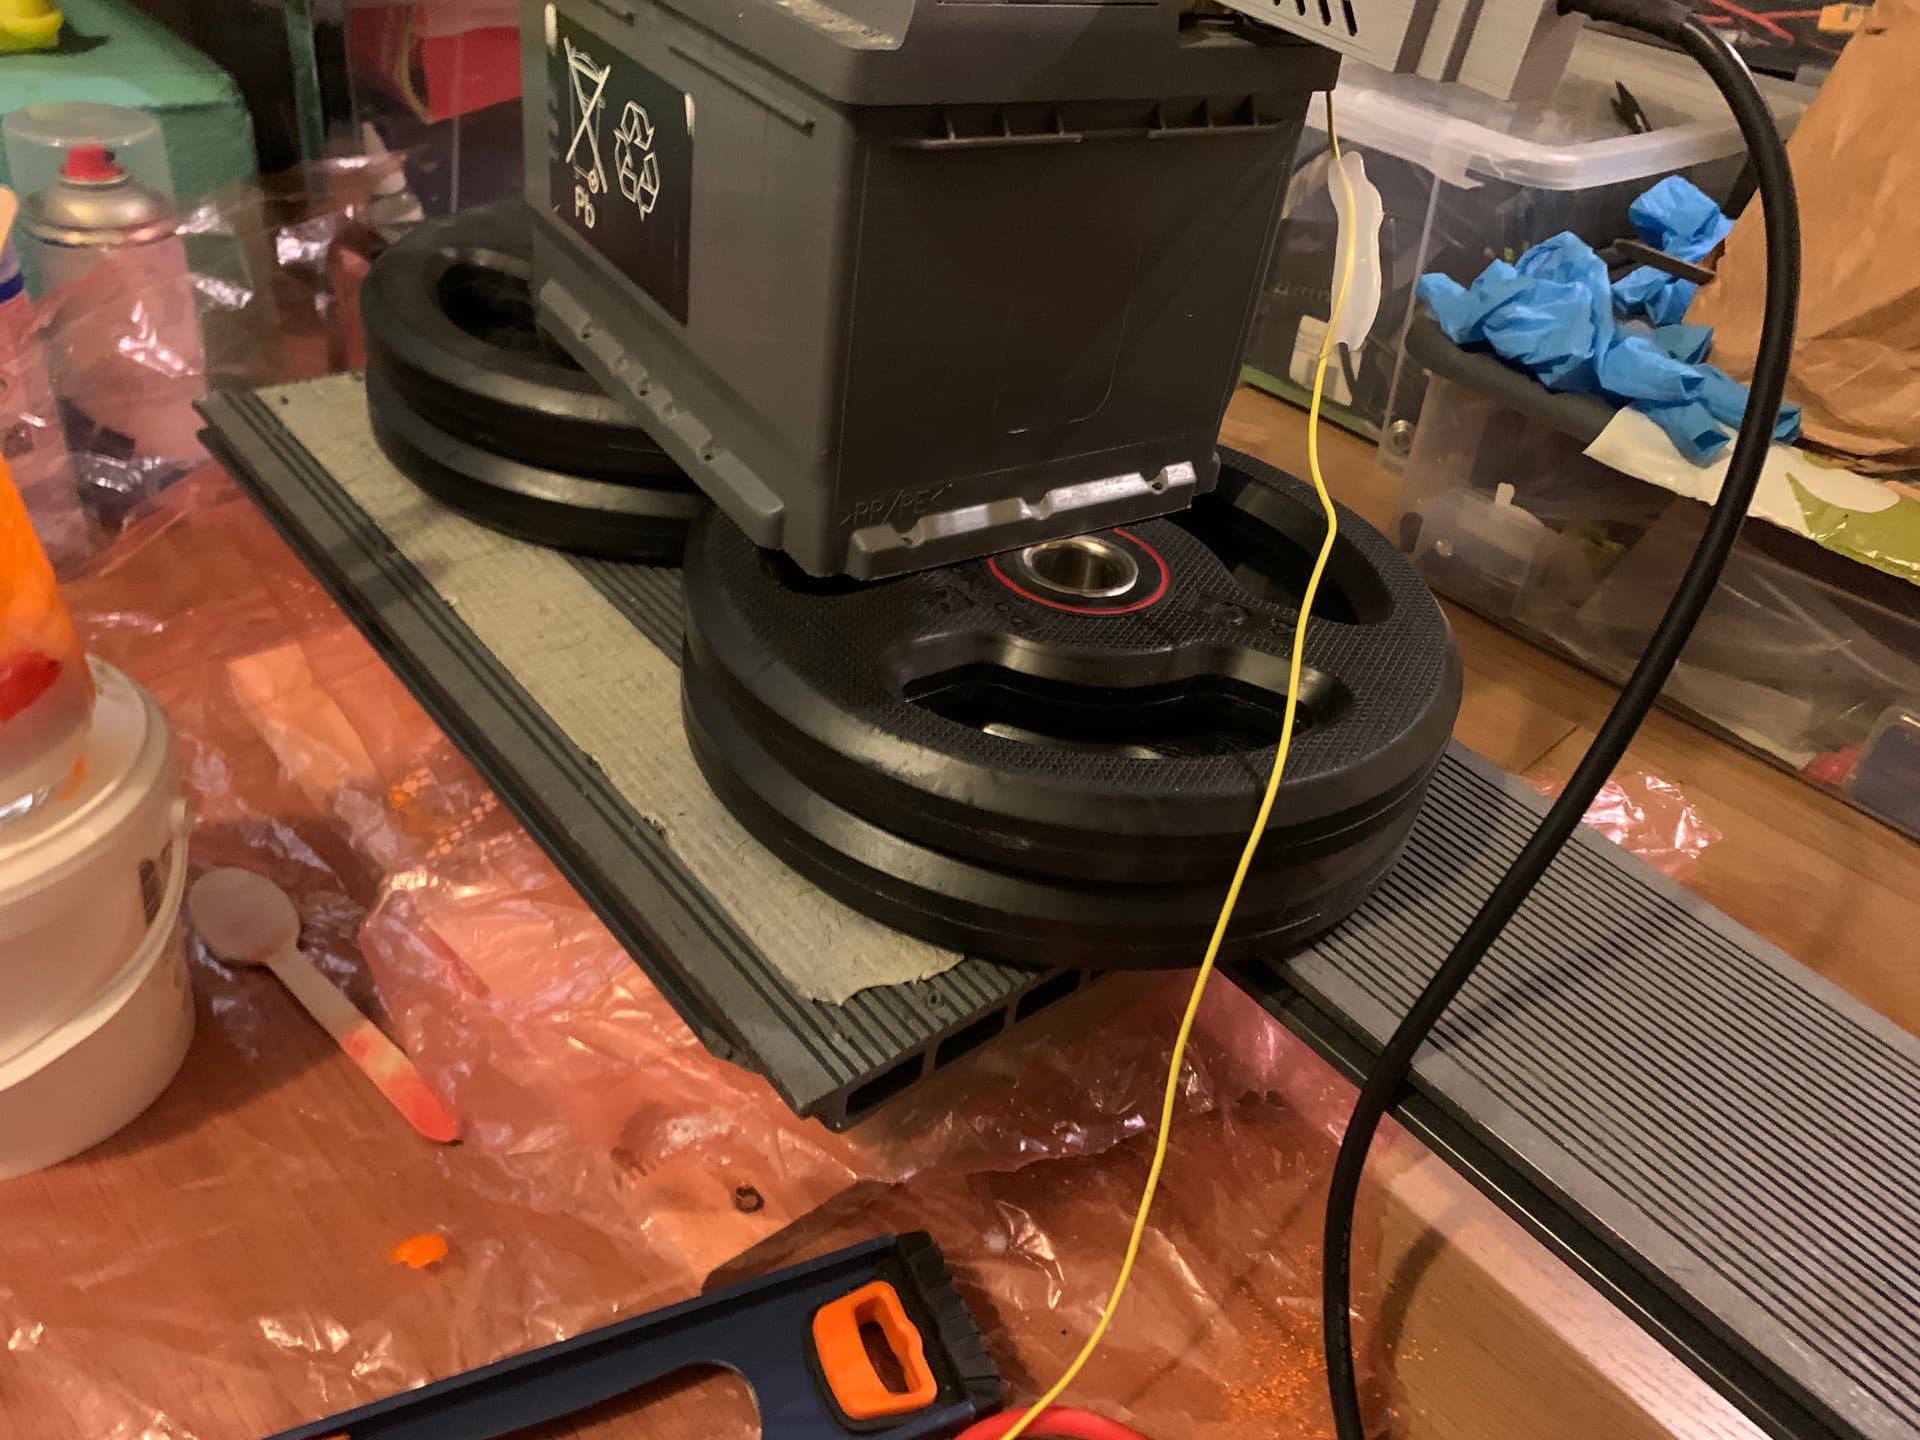
epoxy madness !

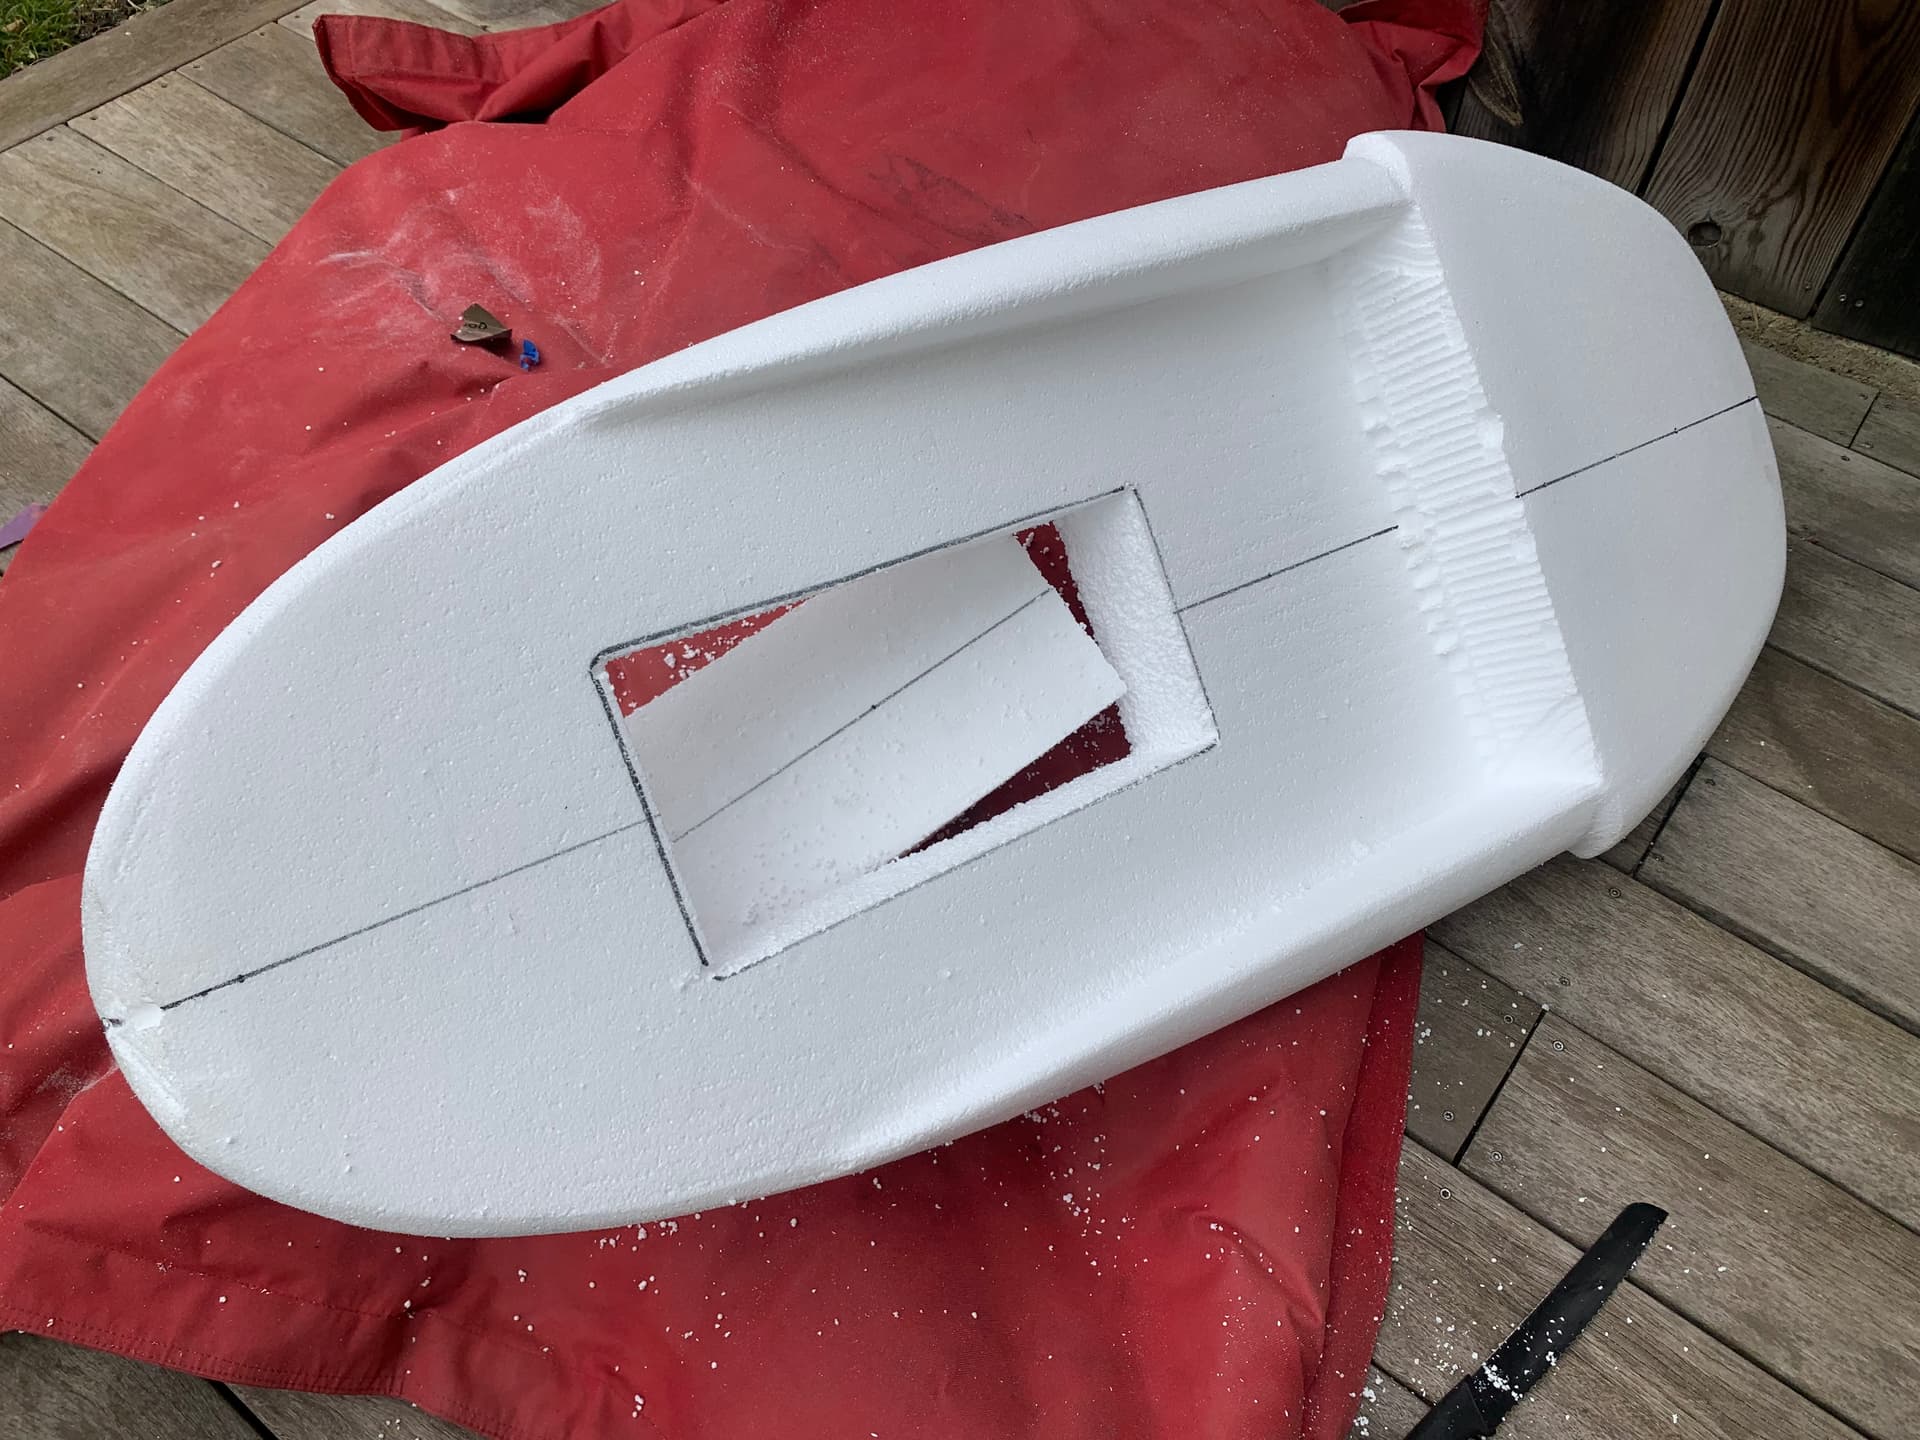
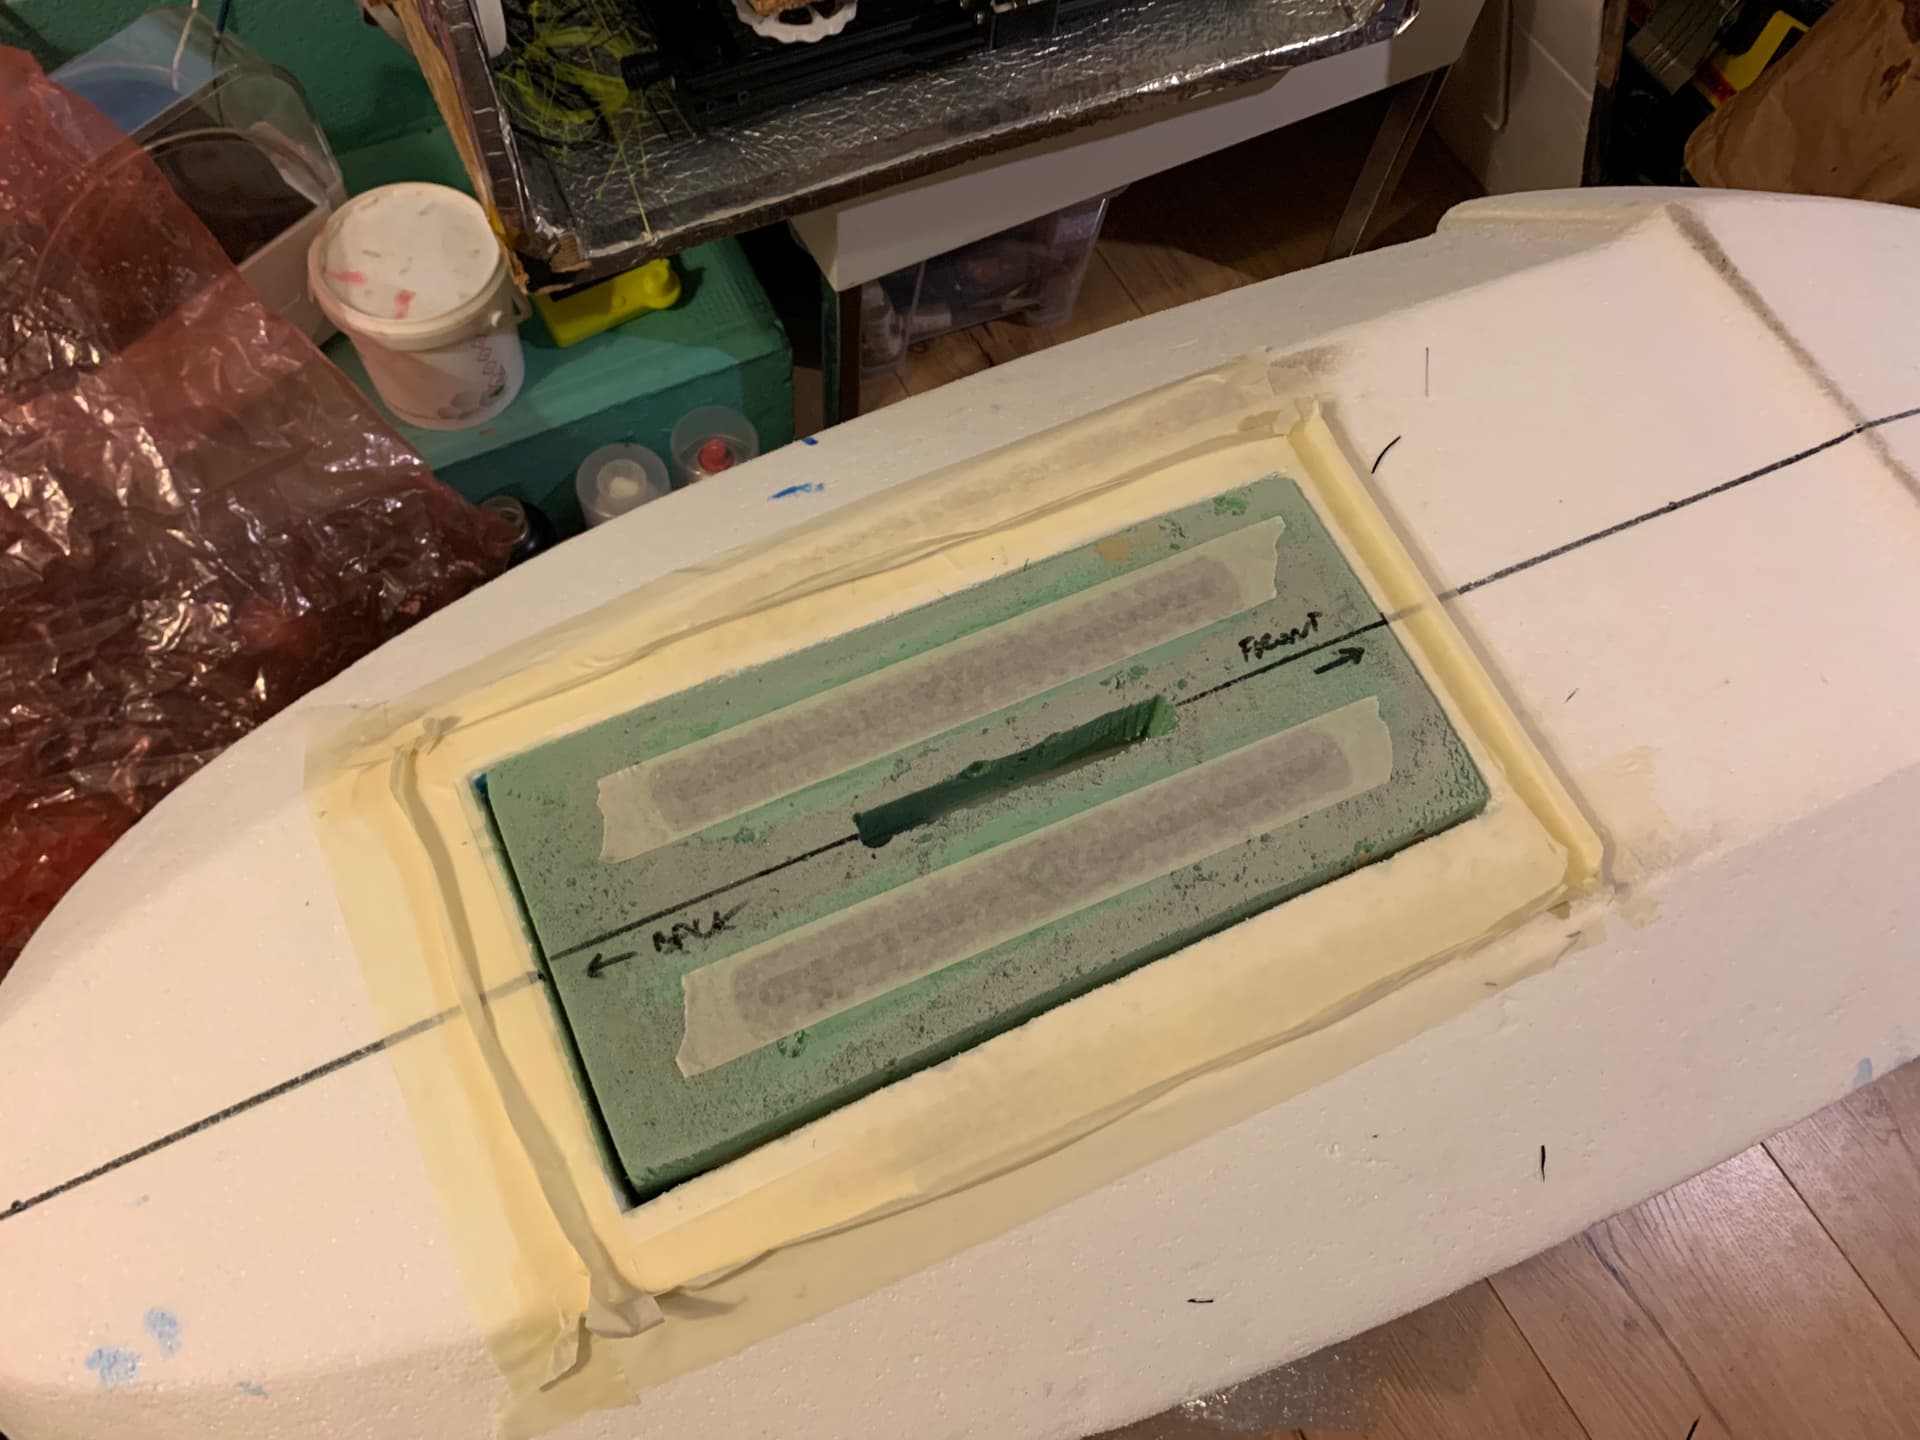
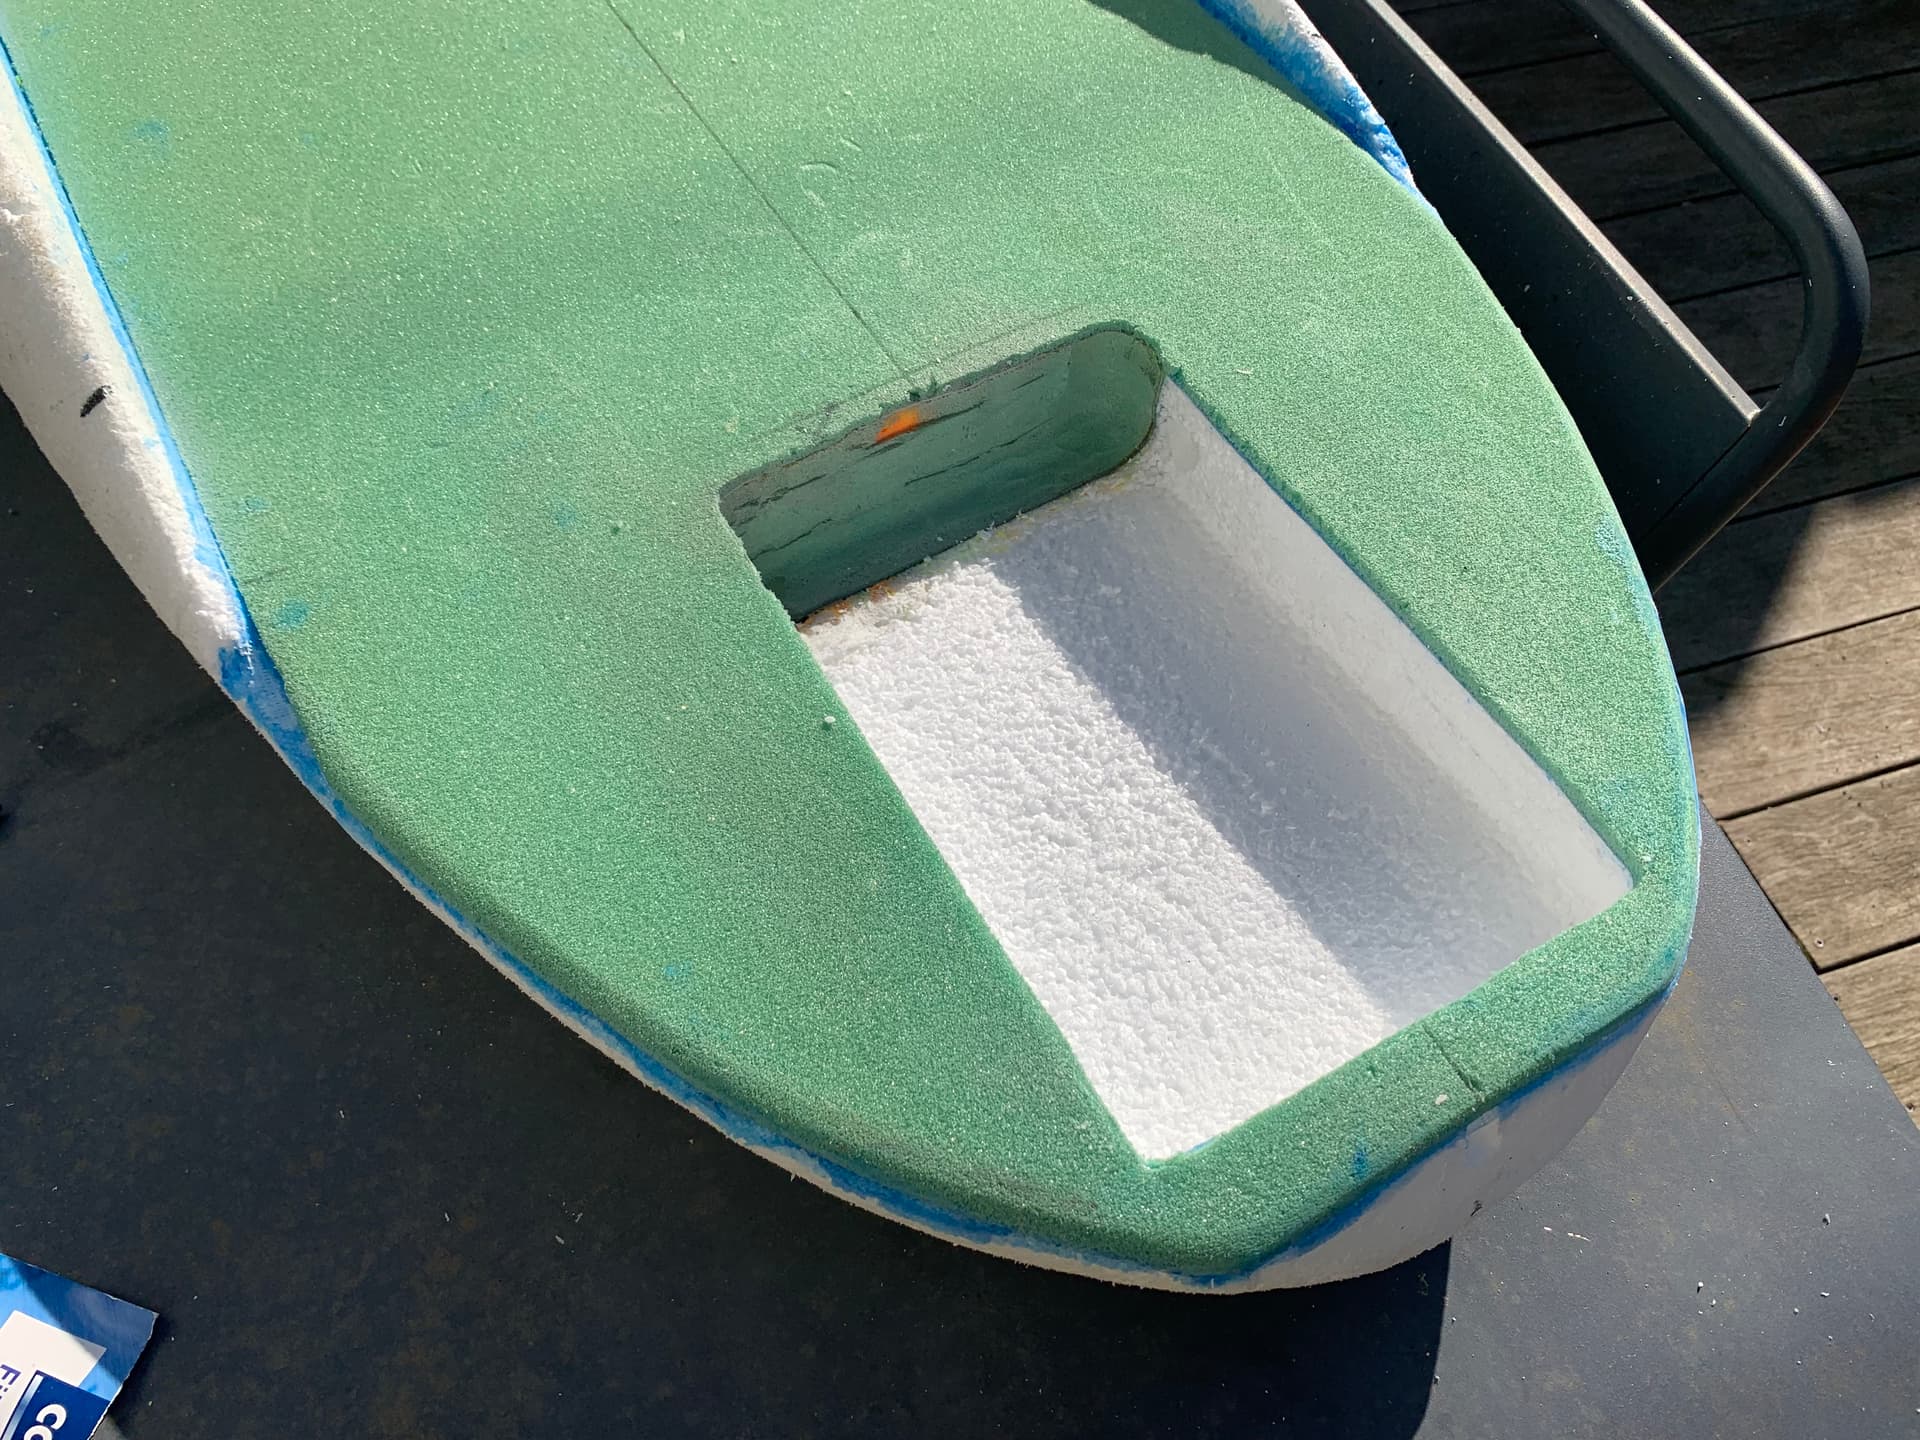
if everything works according to plans, tomorrow I’ll be able to clear and sand the USBOX assembly and epoxy it to the board.
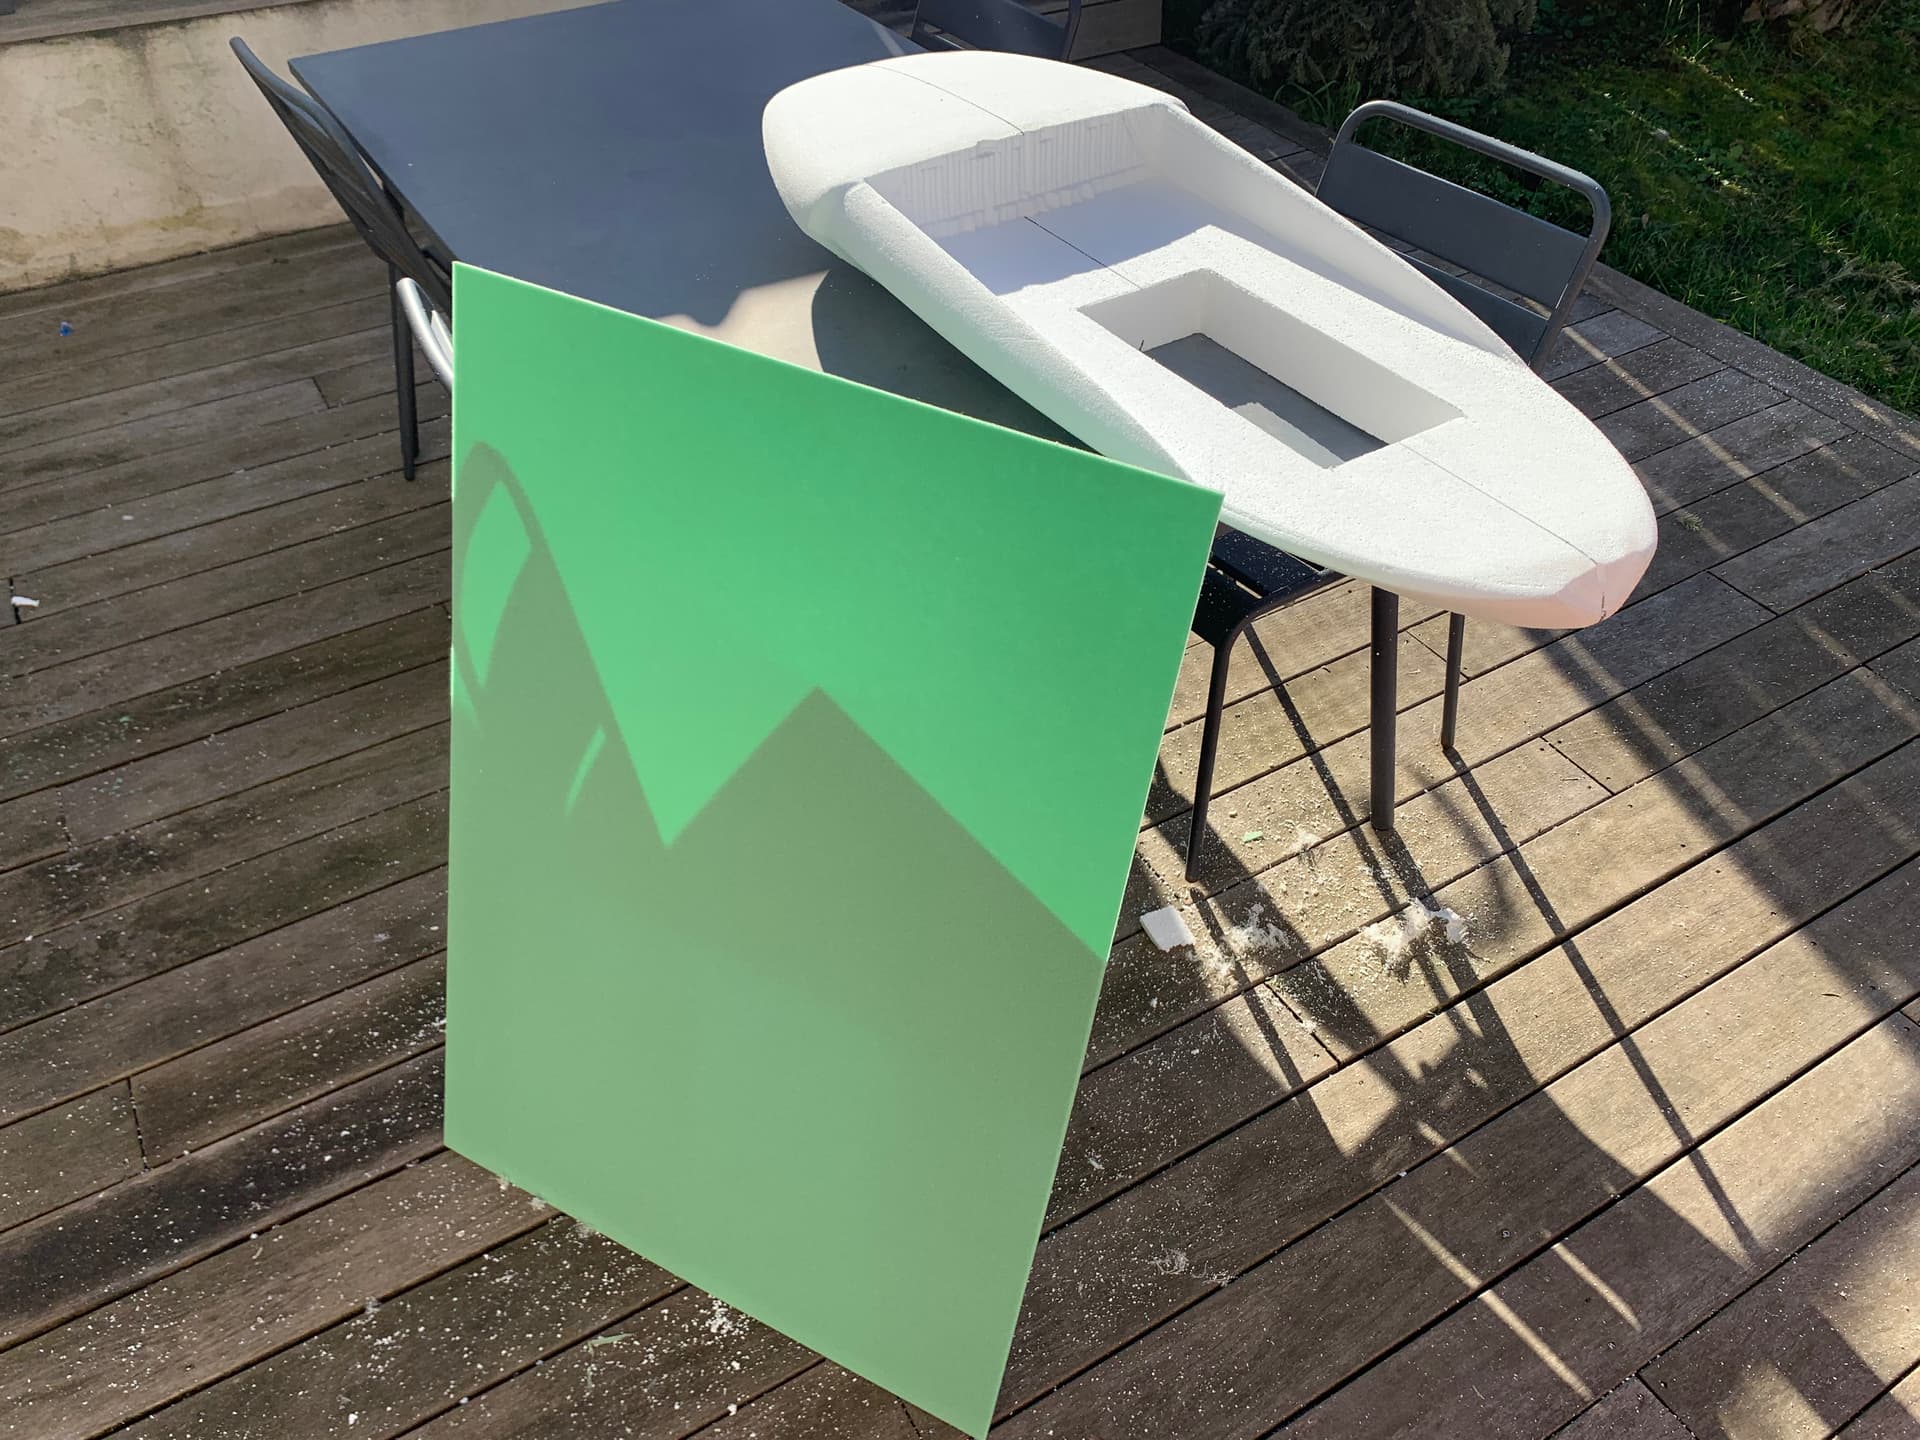
I’ll then have to make the finalize digging the middle channel (for the motors cables) up to the top… and start thinking about the two additional smaller usboxes that I plan to put on the rear/top of the board… to attach either a cable or a carbon rod … not sure at this moment.
I’ll also have to dig and install the footstrap attachements that will secure the battery box on top of the board.
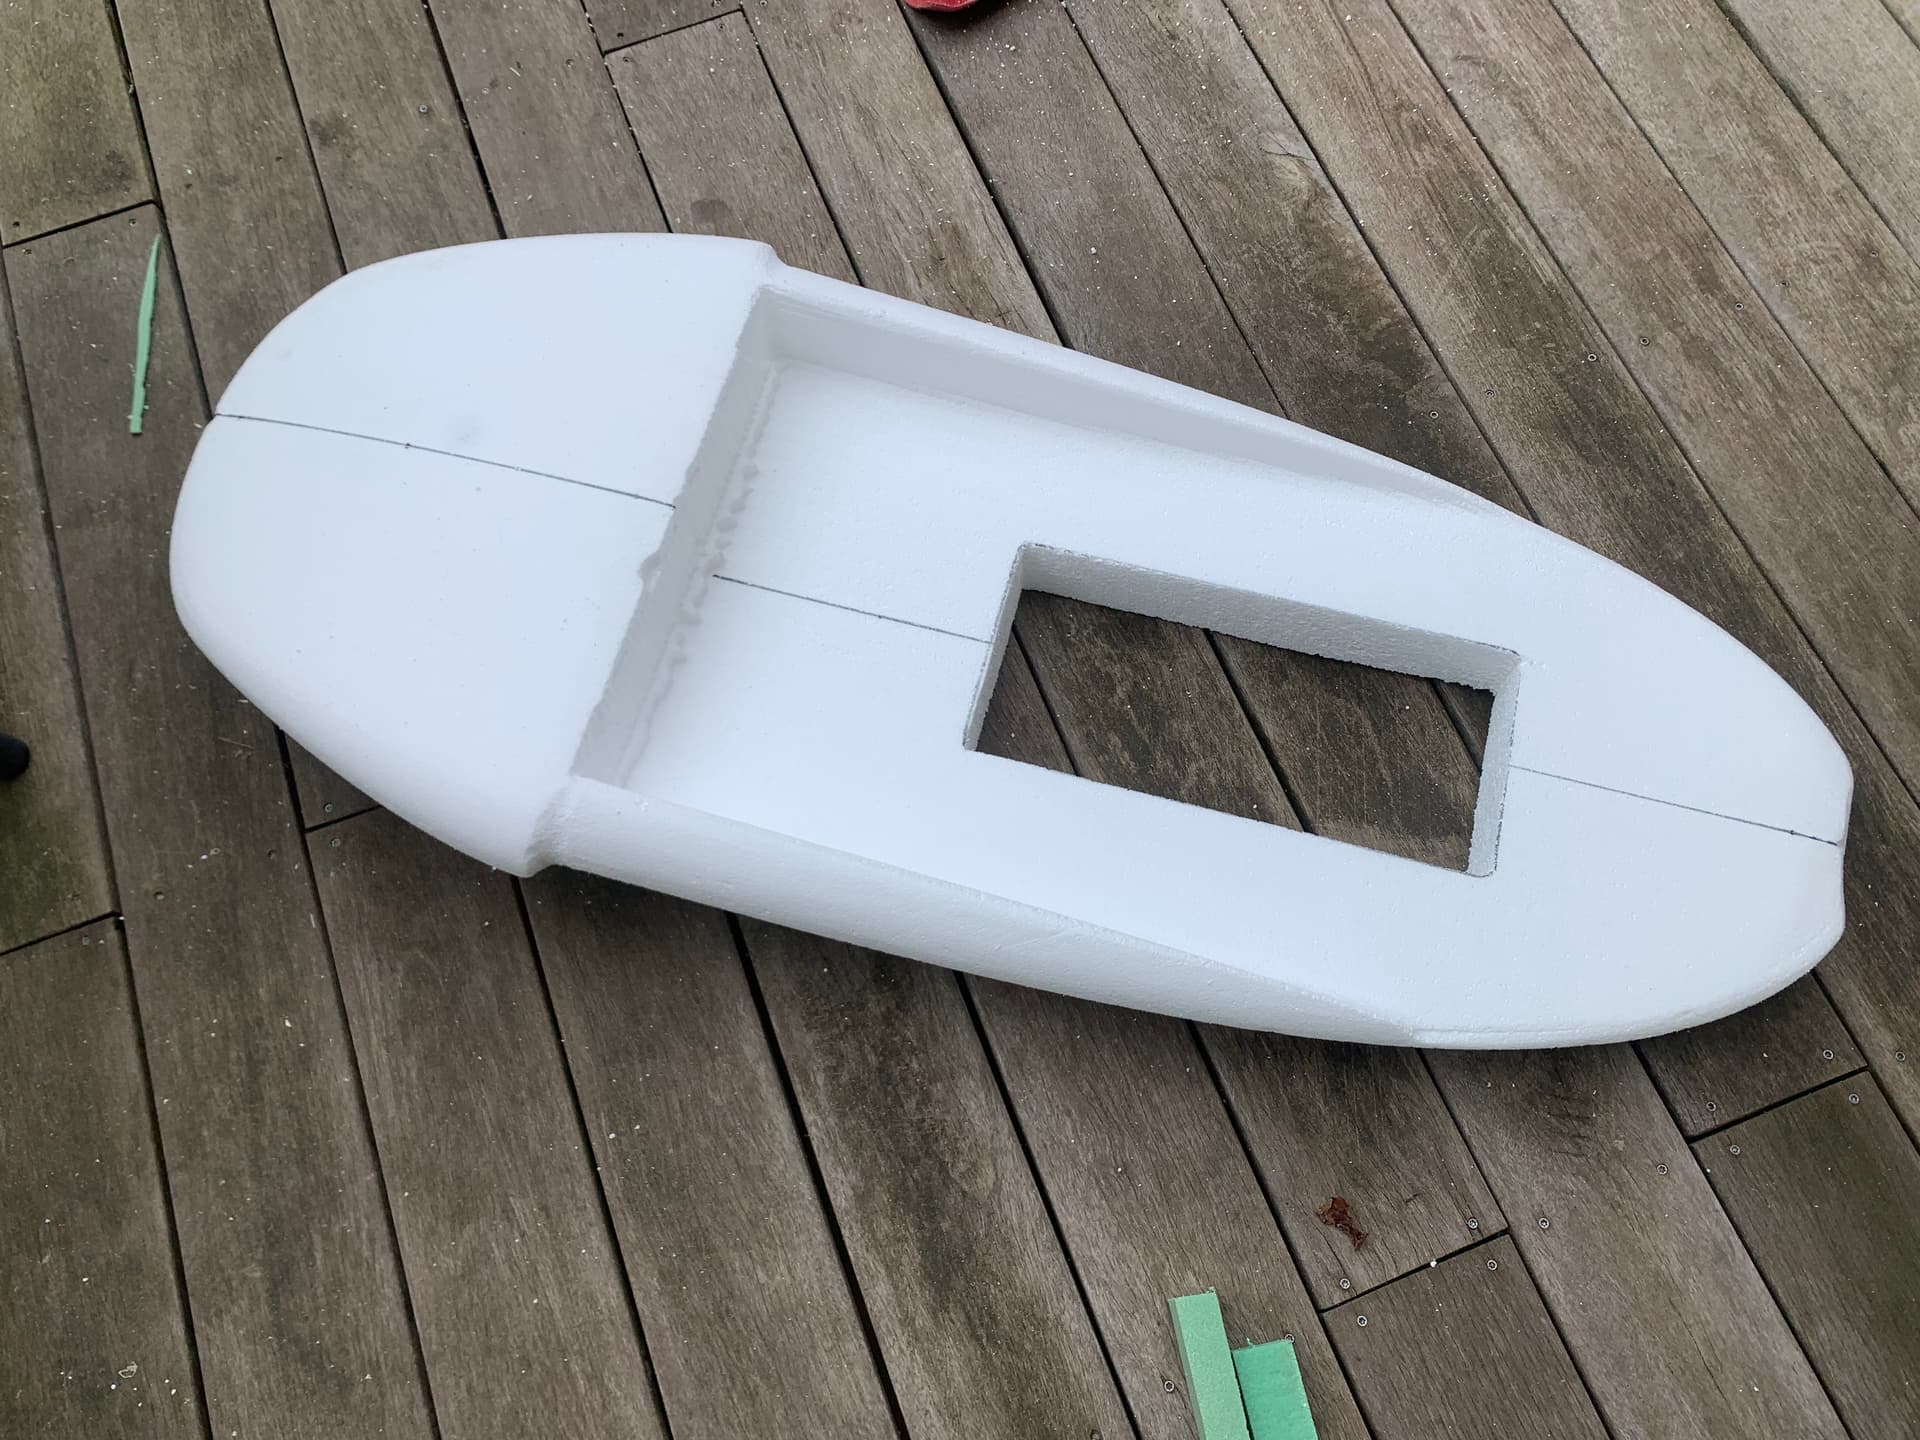
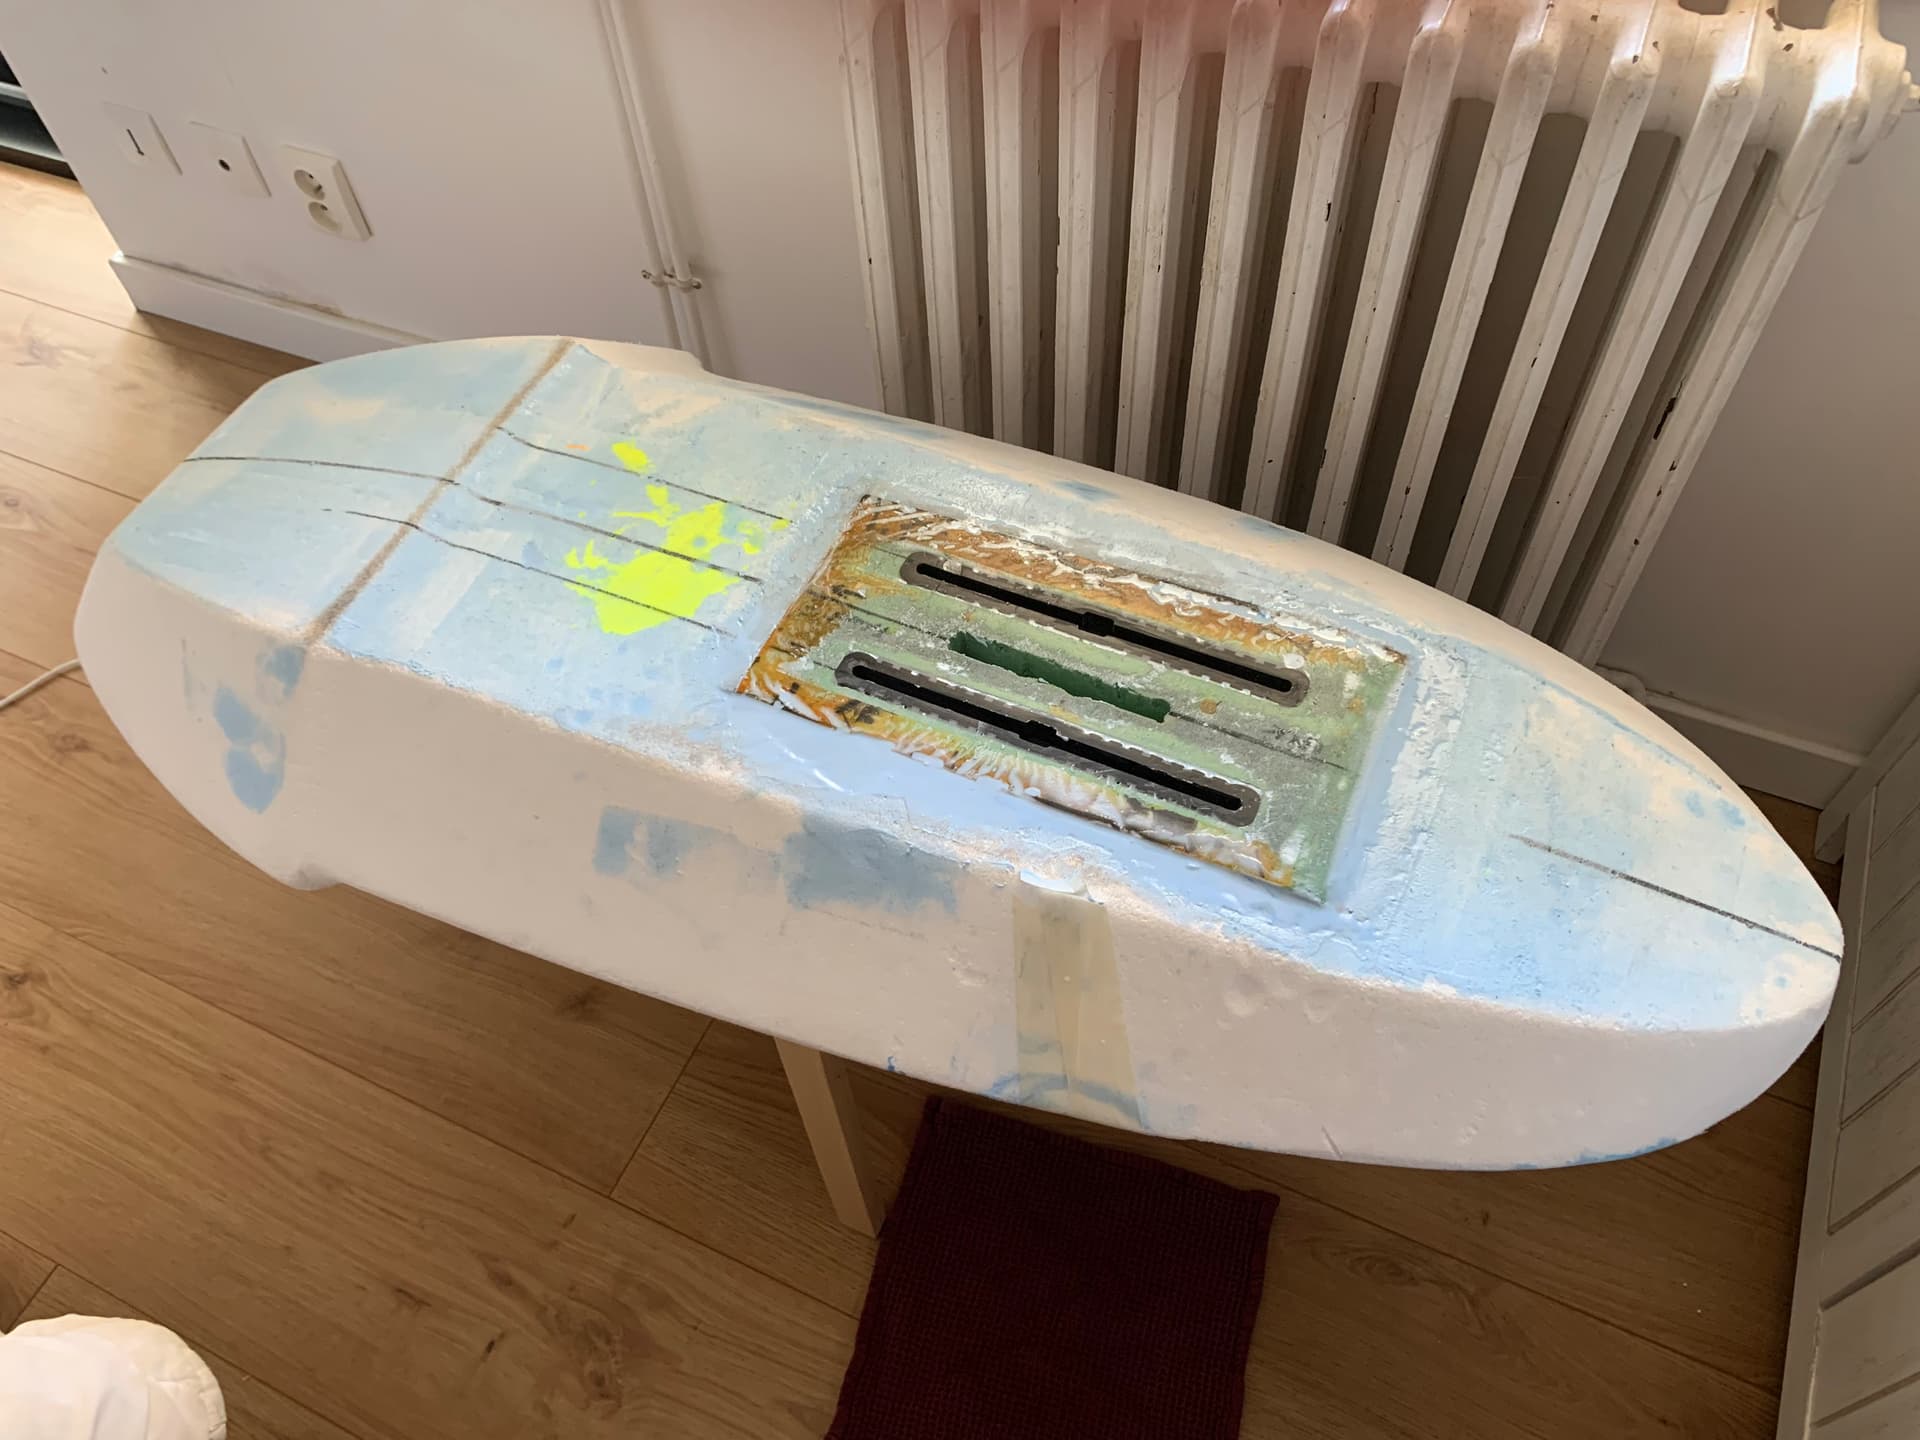
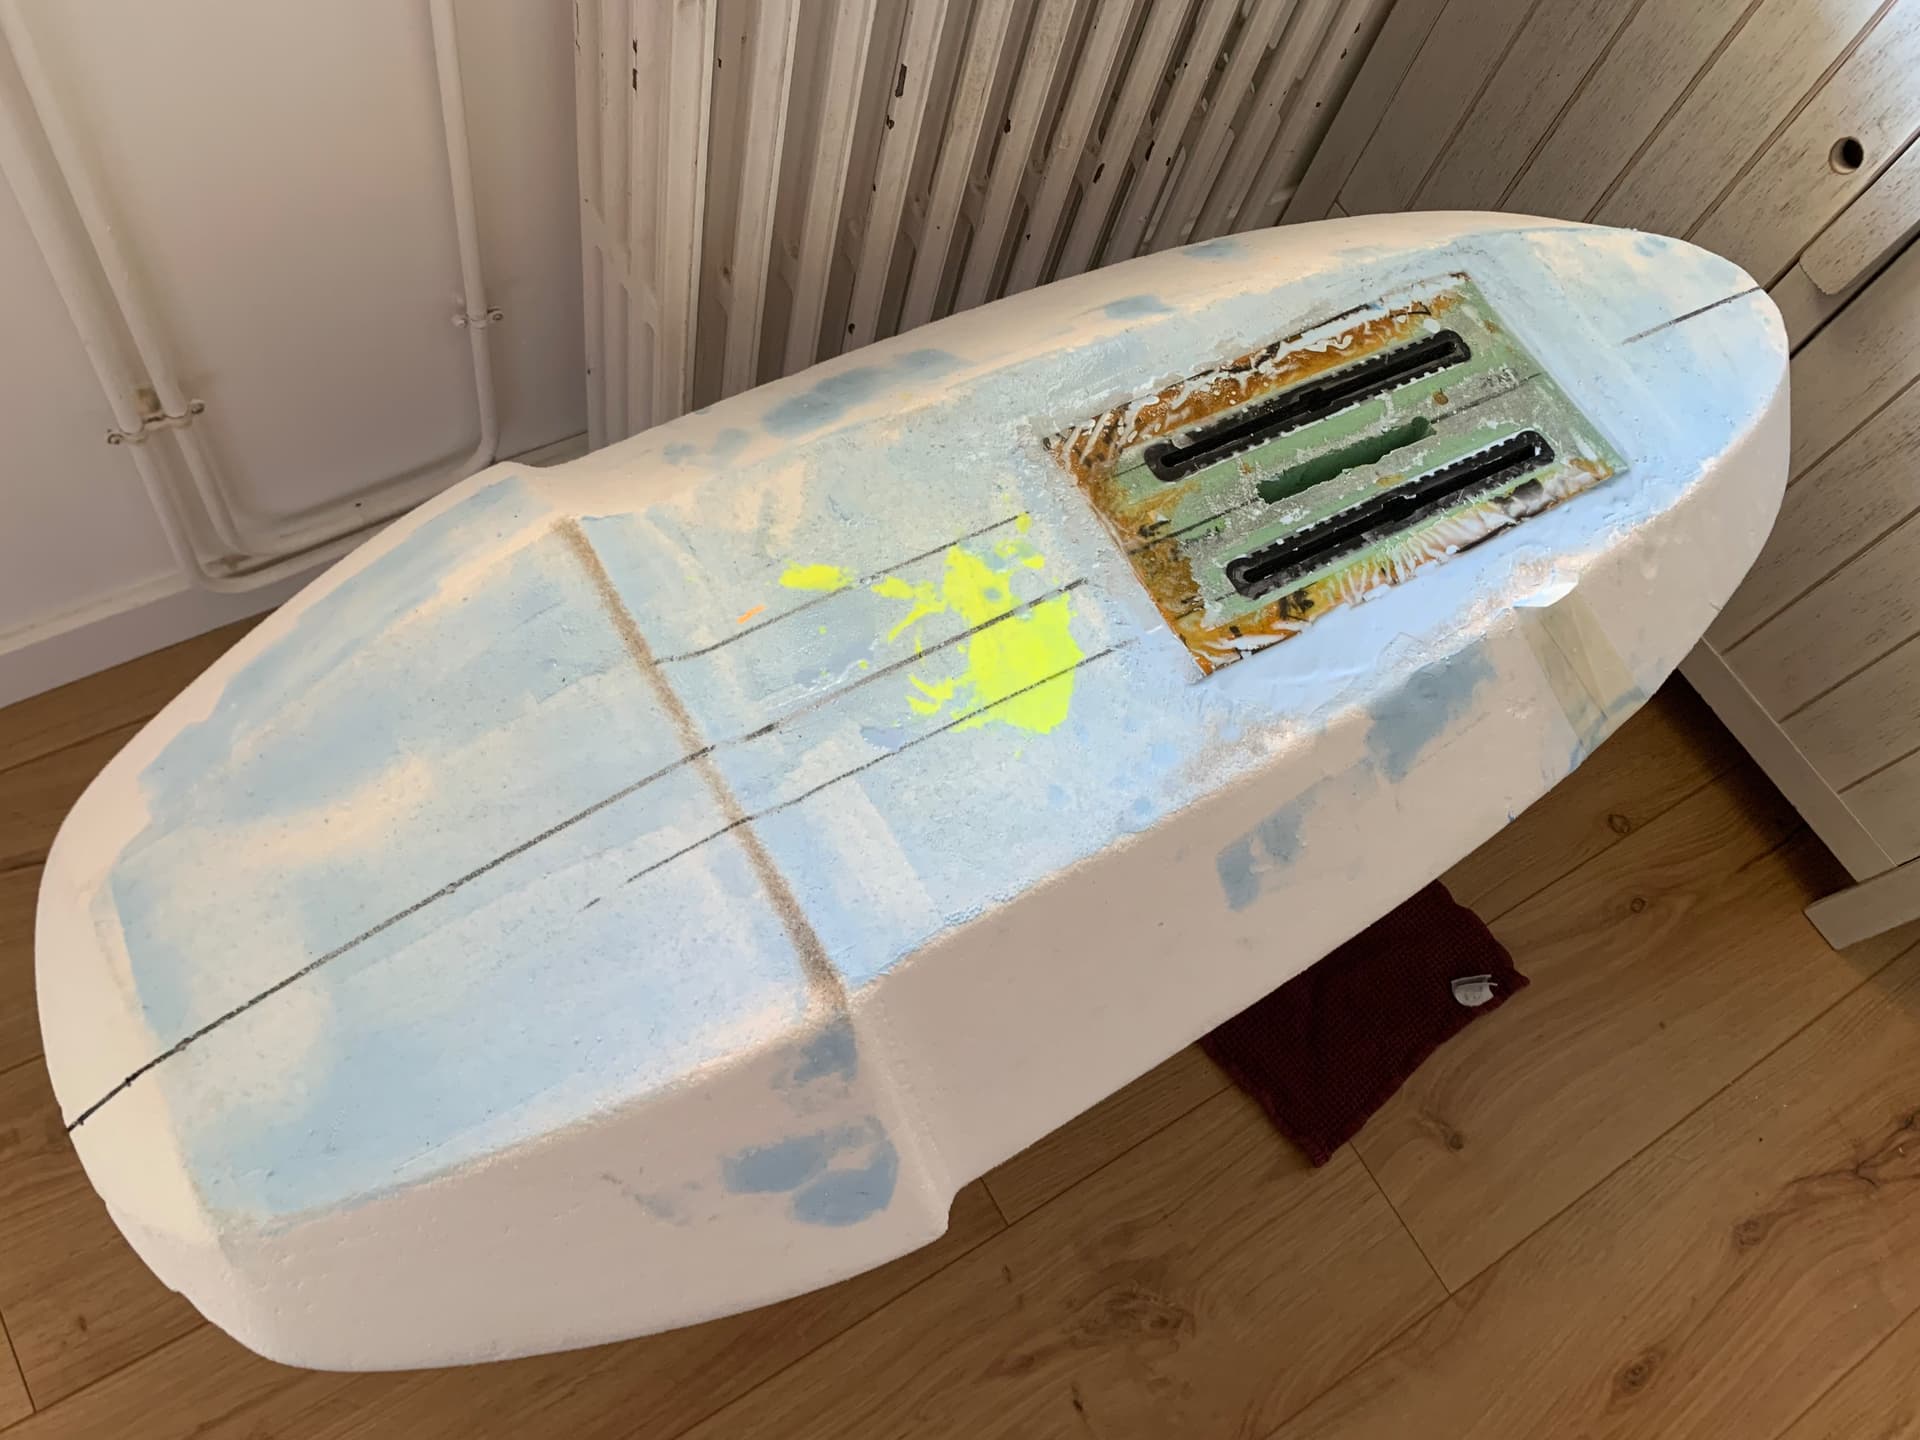
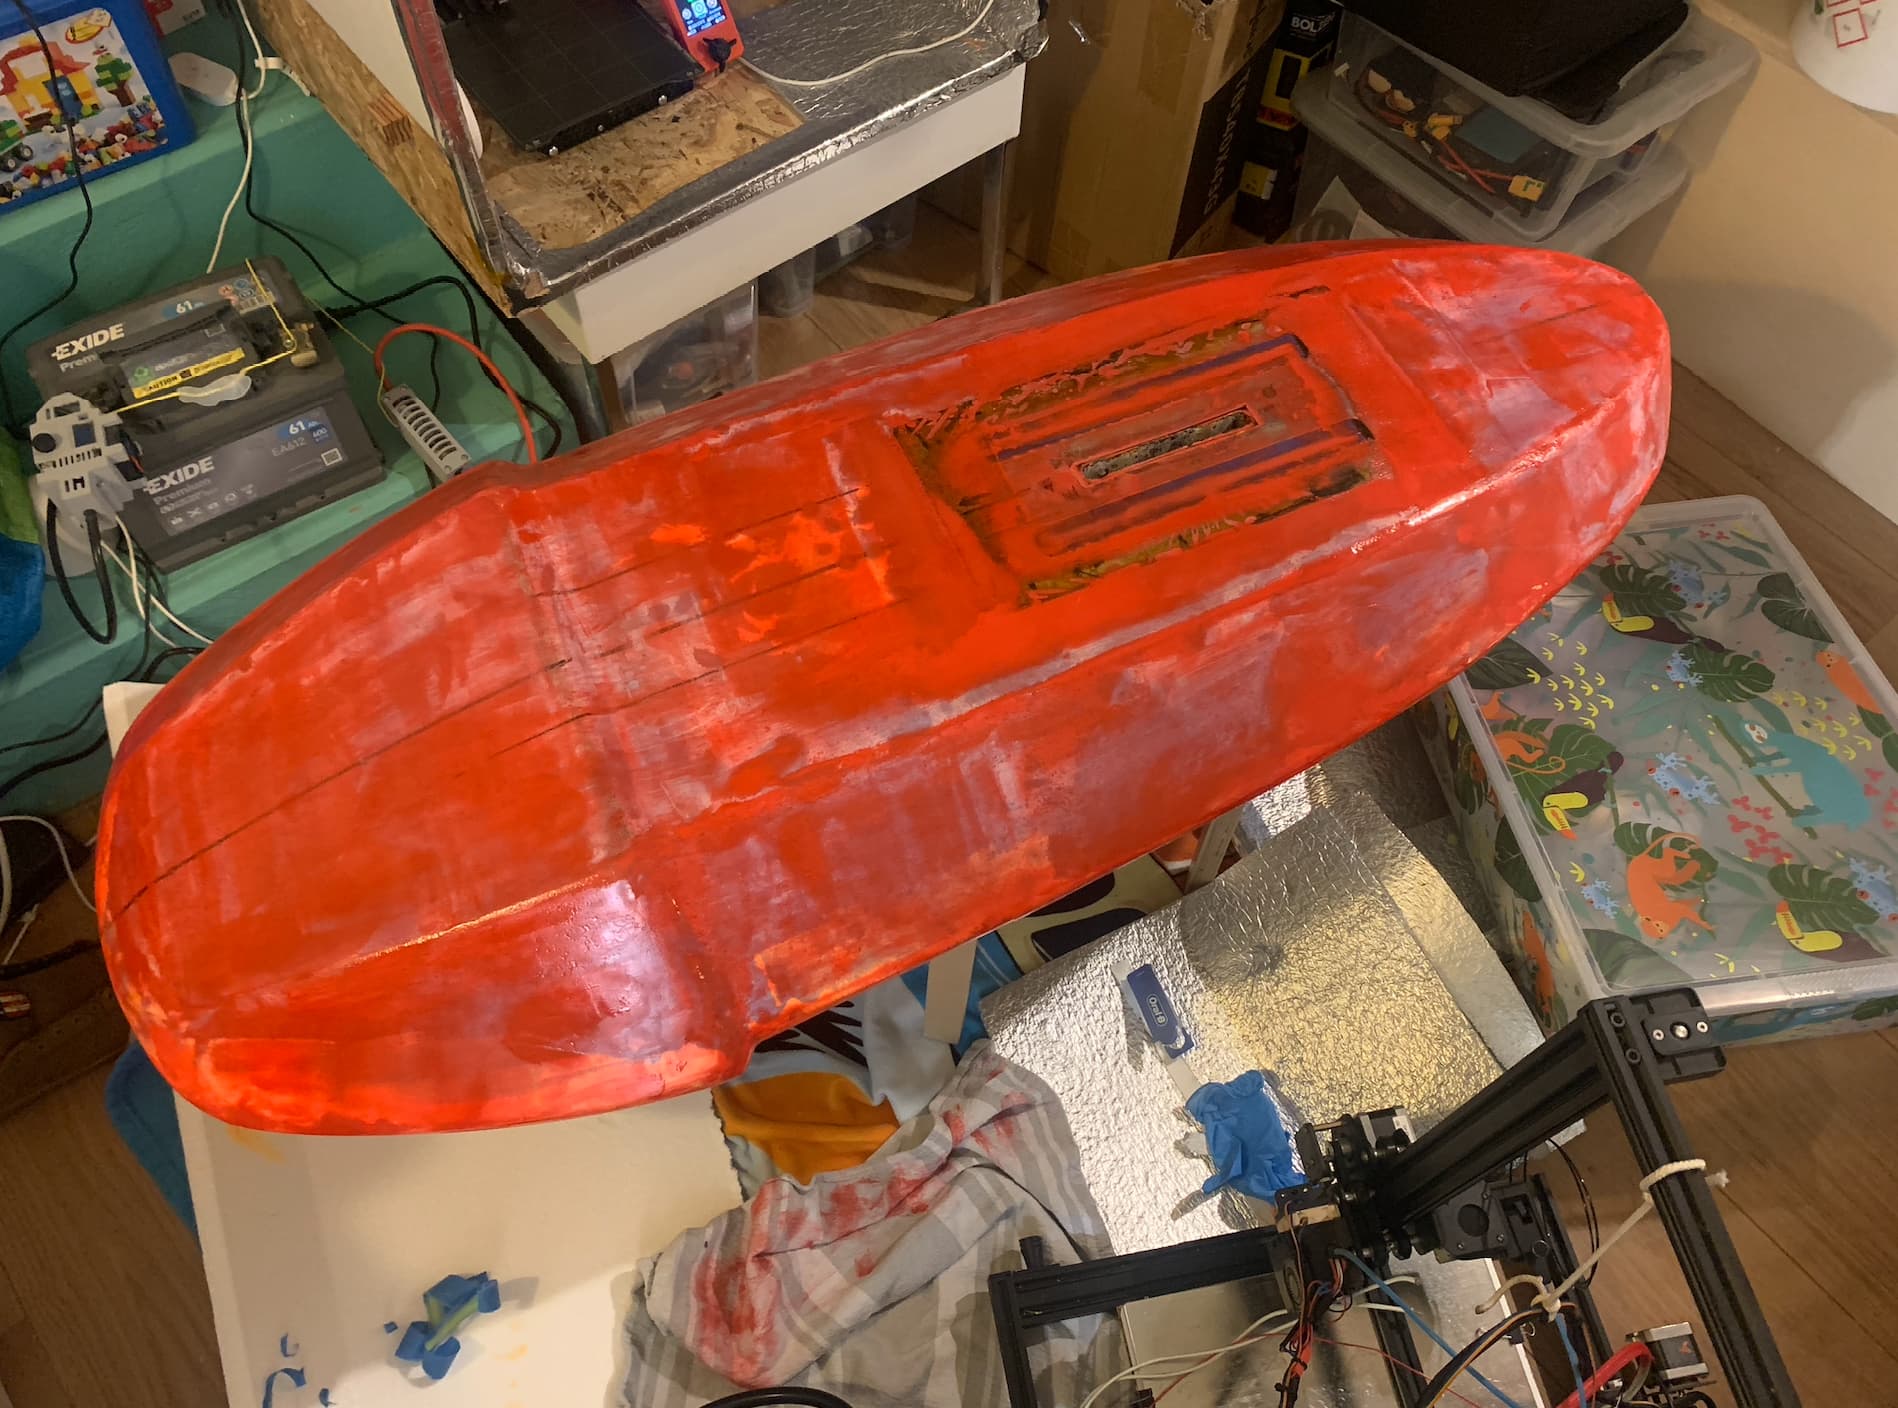
sanding and epoxying the box to the board. I’ve added a layer of 200g carbon in between. Used almost 300g of epoxy to fill the gaps here and there, for the full operation.
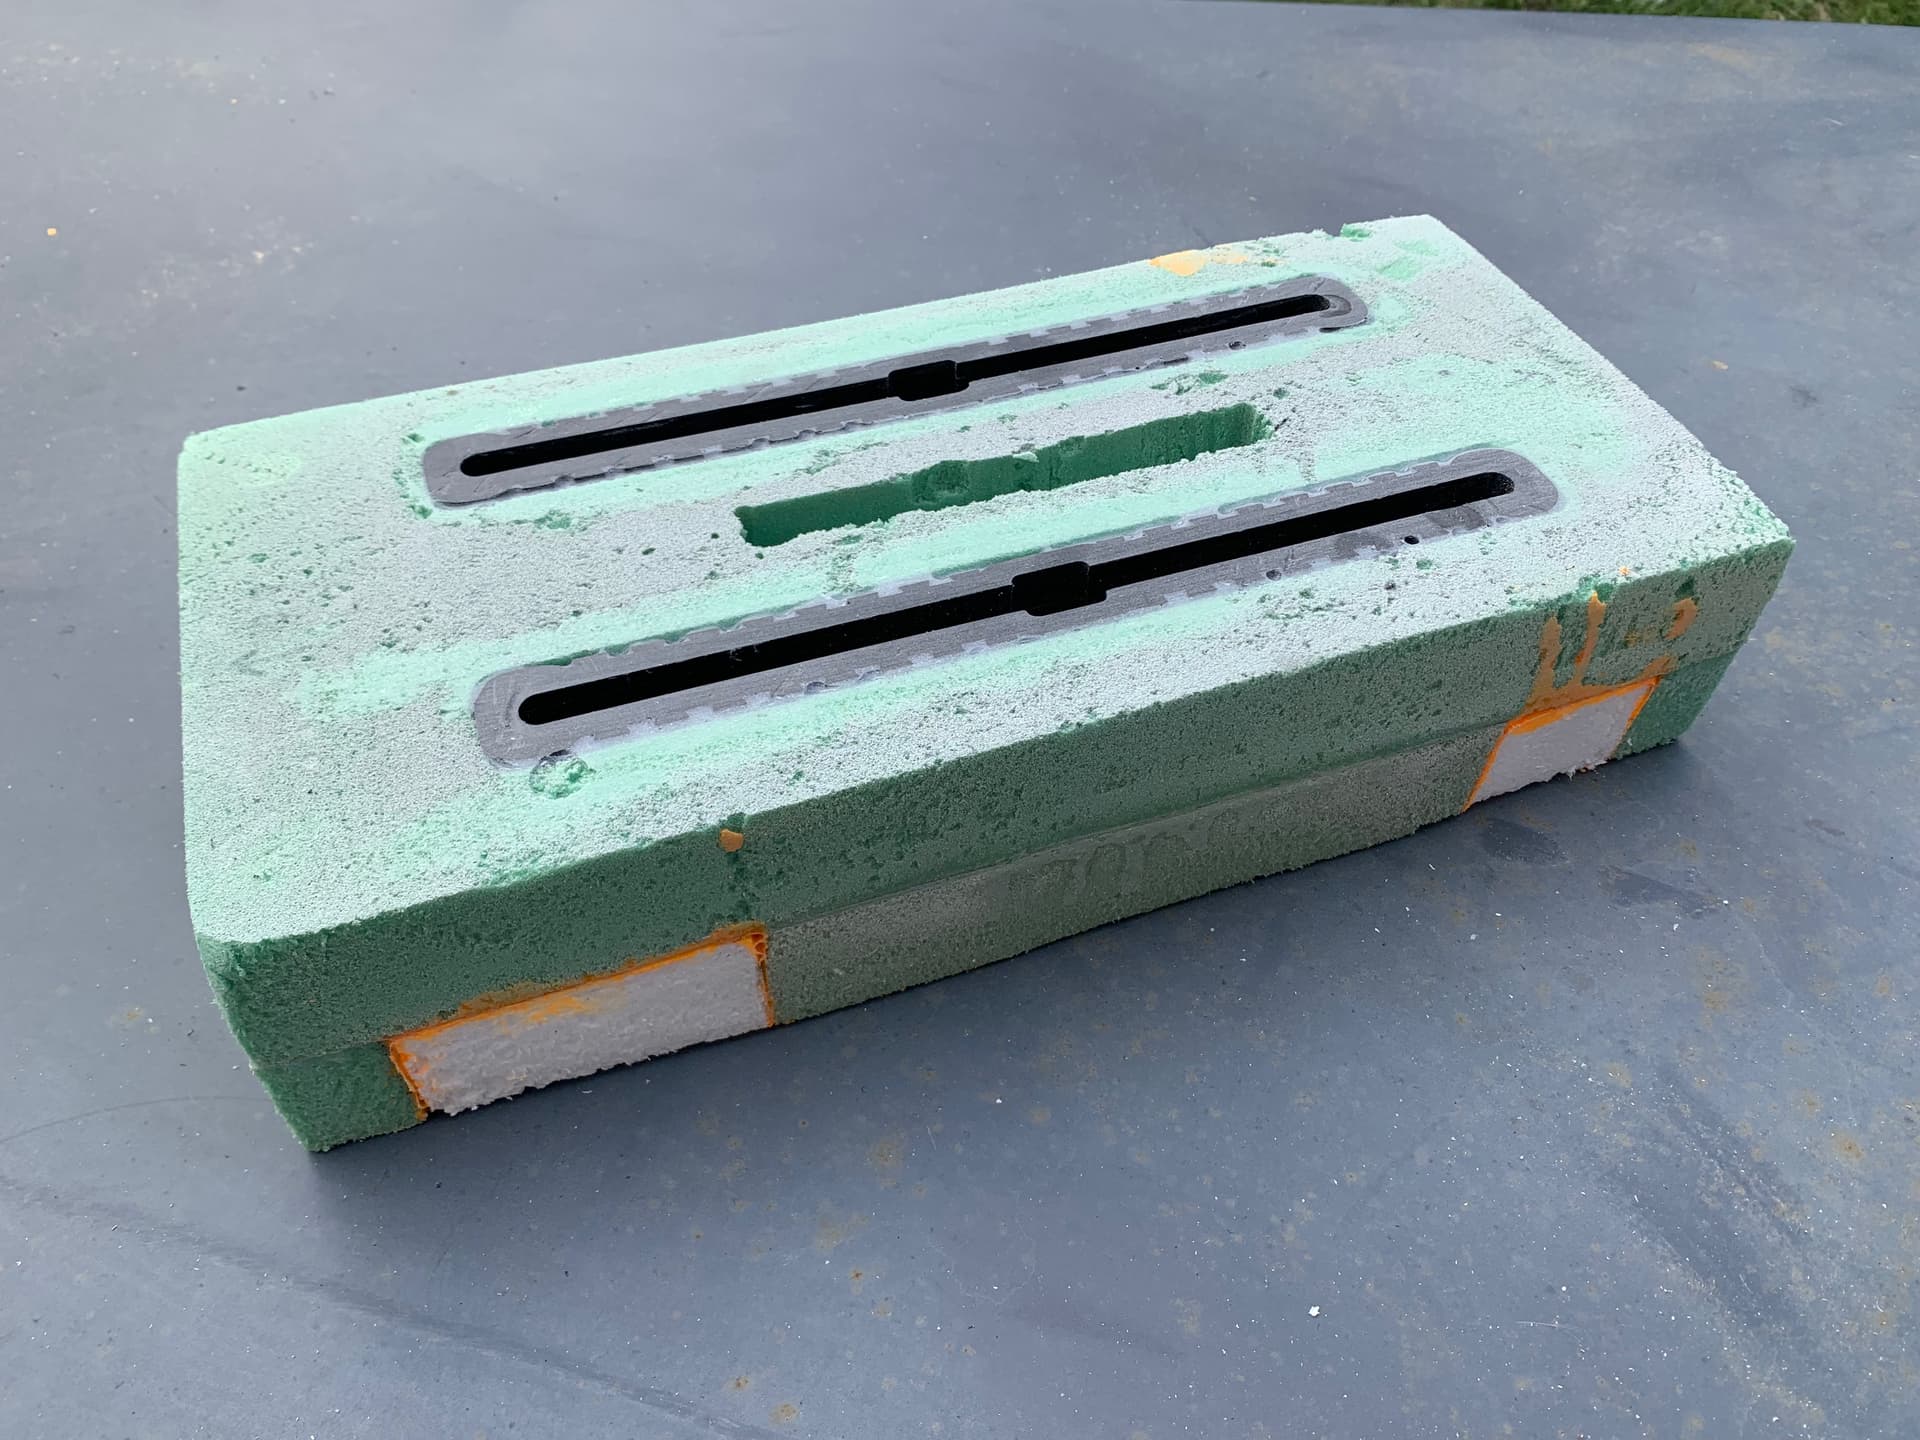
moving on with a little failure. I went a bit too easy on the epoxy filling and the mixture went to 180 which has melted a bit the foam inside. not a big deal and I’ve filled it back with liquid foam. Lessons learnt of being to confident.
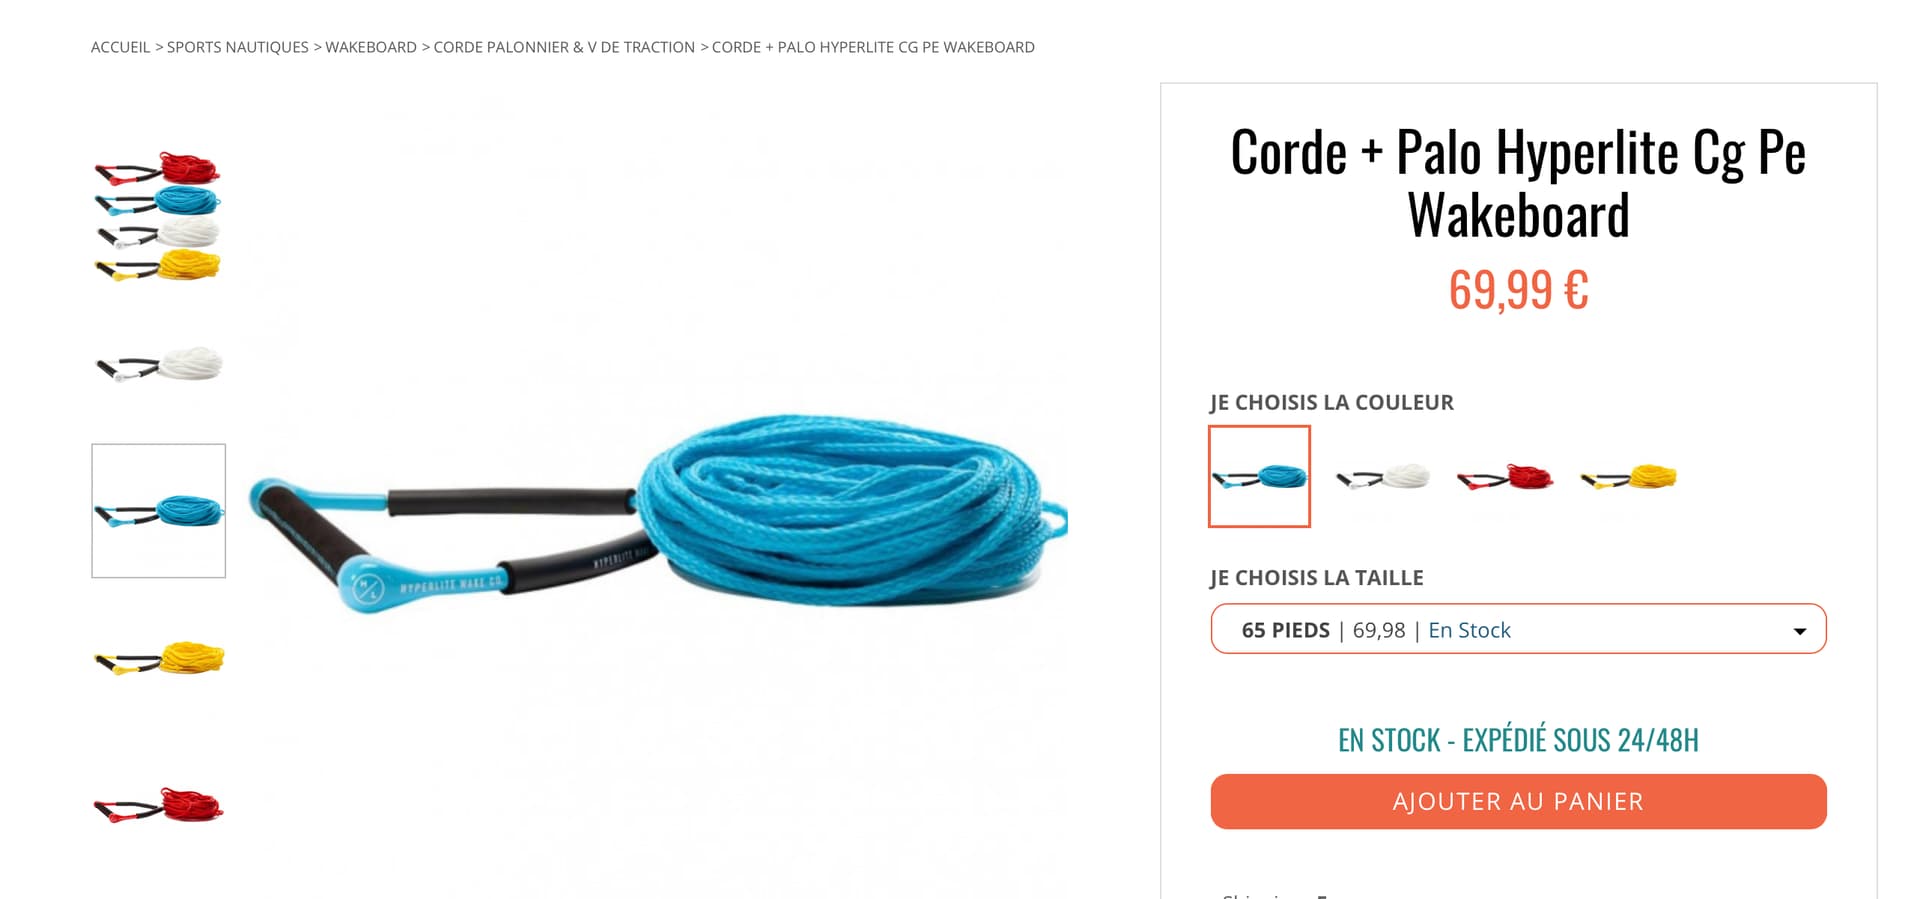
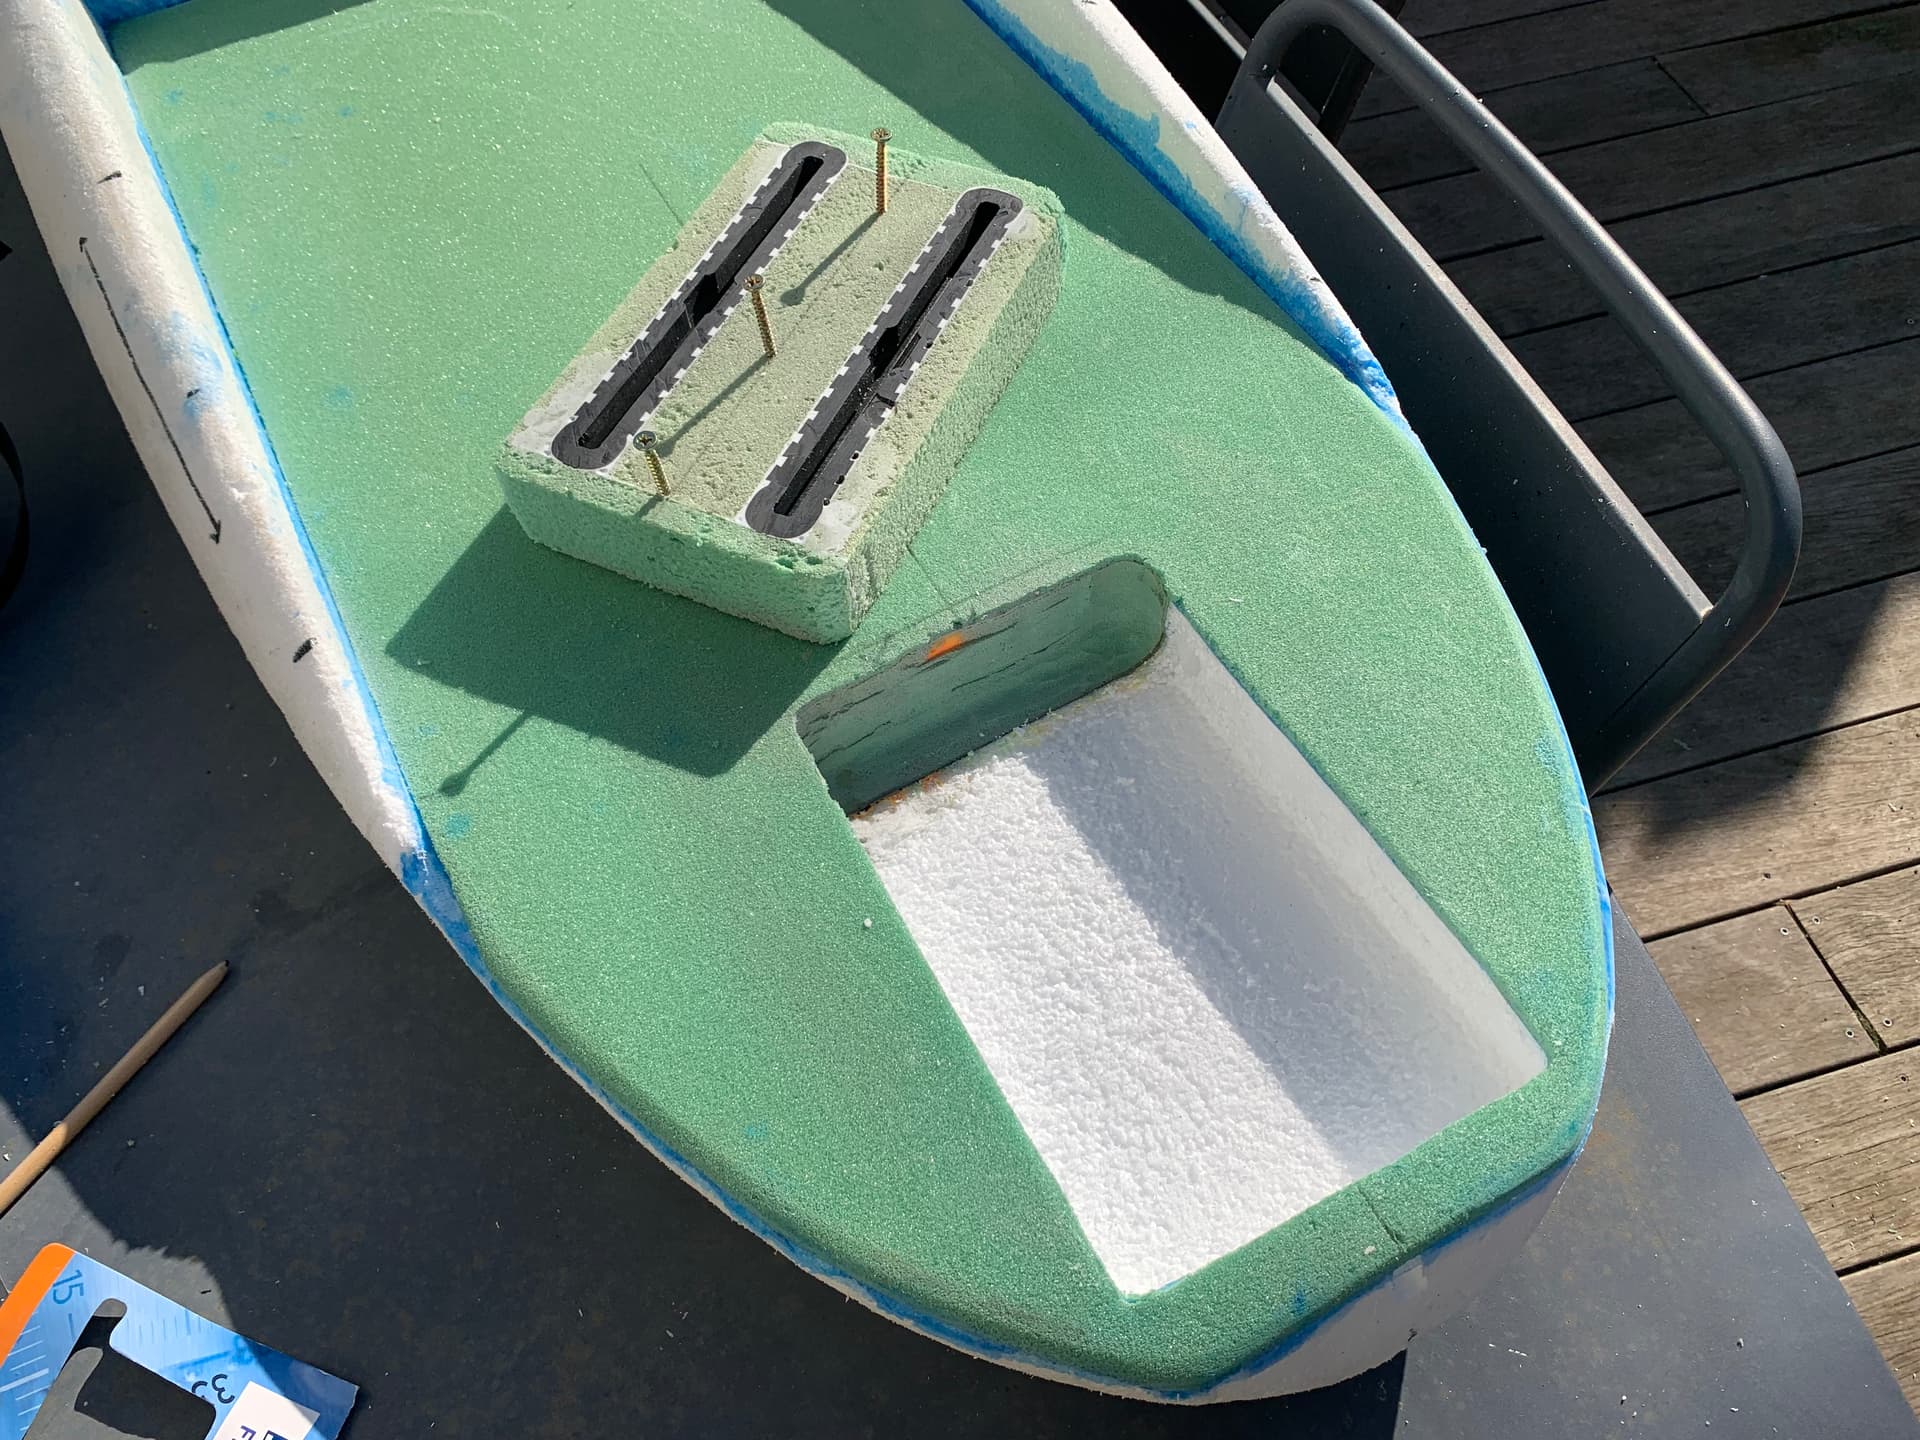
I’m now moving to the two USBOX that will be on the top of the deck. I will attach here few stuff including the wake rope. Two attach points for more strength. It’s way overkill but can open multiple scenarios to attach either directly the rope, or a tube in the future, to get the rope at a distance from the board.
I had some epoxy left so I decided to use it for the good. added some more glass cells and started to correct some gaps, holes, big imperfections here and there. This will also make the board a little harder to get impacts as I’m working on it over time. It’s a process but I need to start somewhere as I want a perfect finish.

2 Likes
Sorry to hear about the melting but as you know resin that in its reaction mode generates a lot of heat. I have had some nice fires in cans where I have had some “go off”
I generally use some type of polyurethane glue (Gorilla glue) to mount the box in the foam as
the foam doesn’t have any real strength against tear out. Glassing over the top of the box is where the strength comes from imho.
hell yeah !
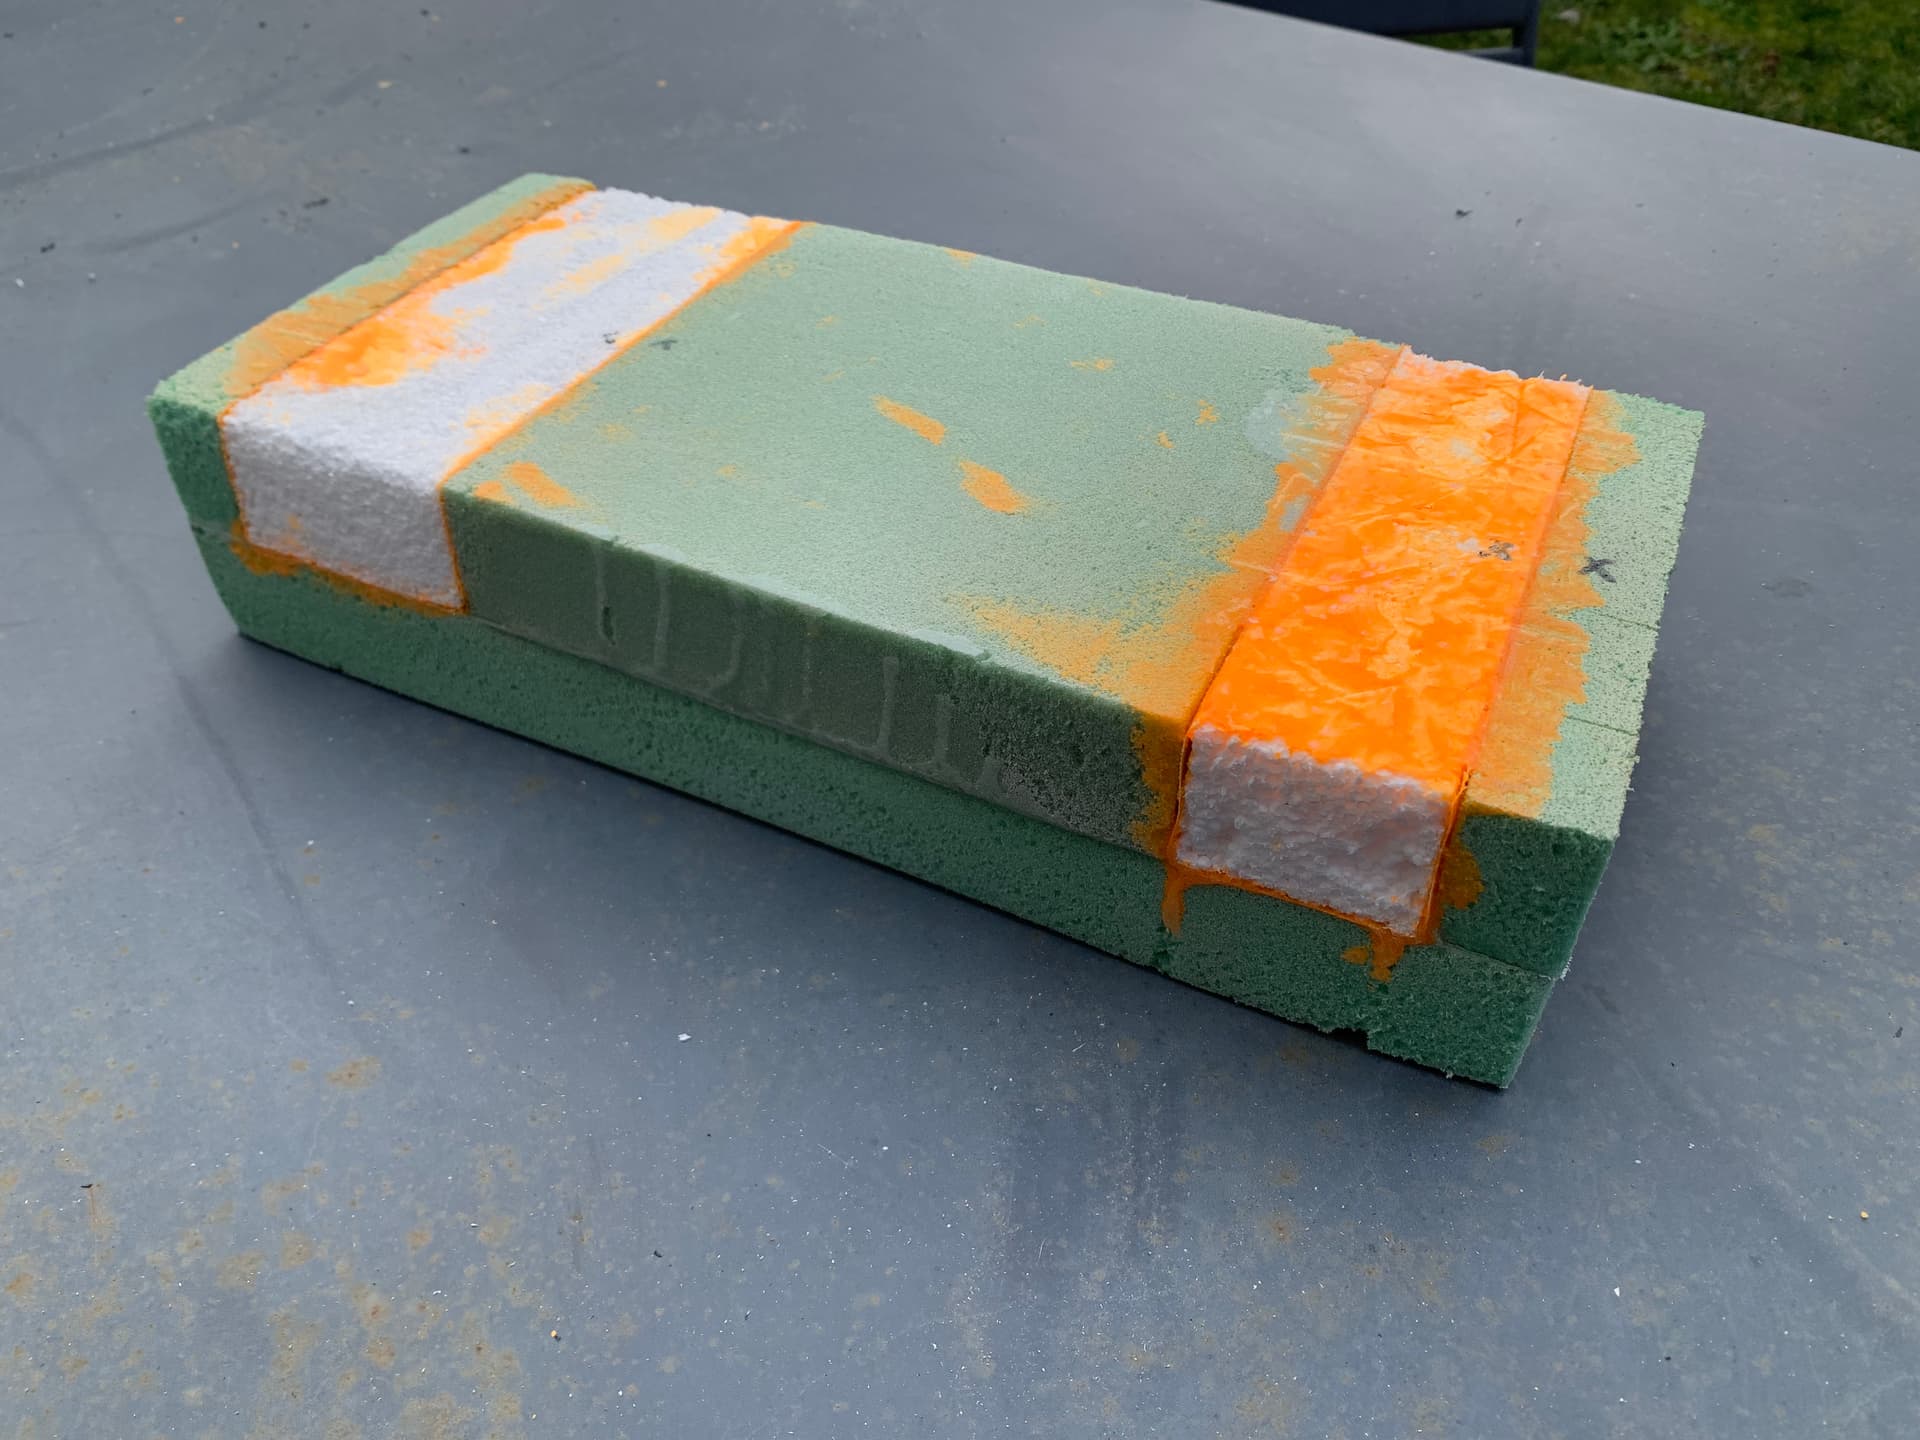
I made some progress on the top ! good news is that the top and bottom airex box will be somehow connected for a strong bond.

1 Like
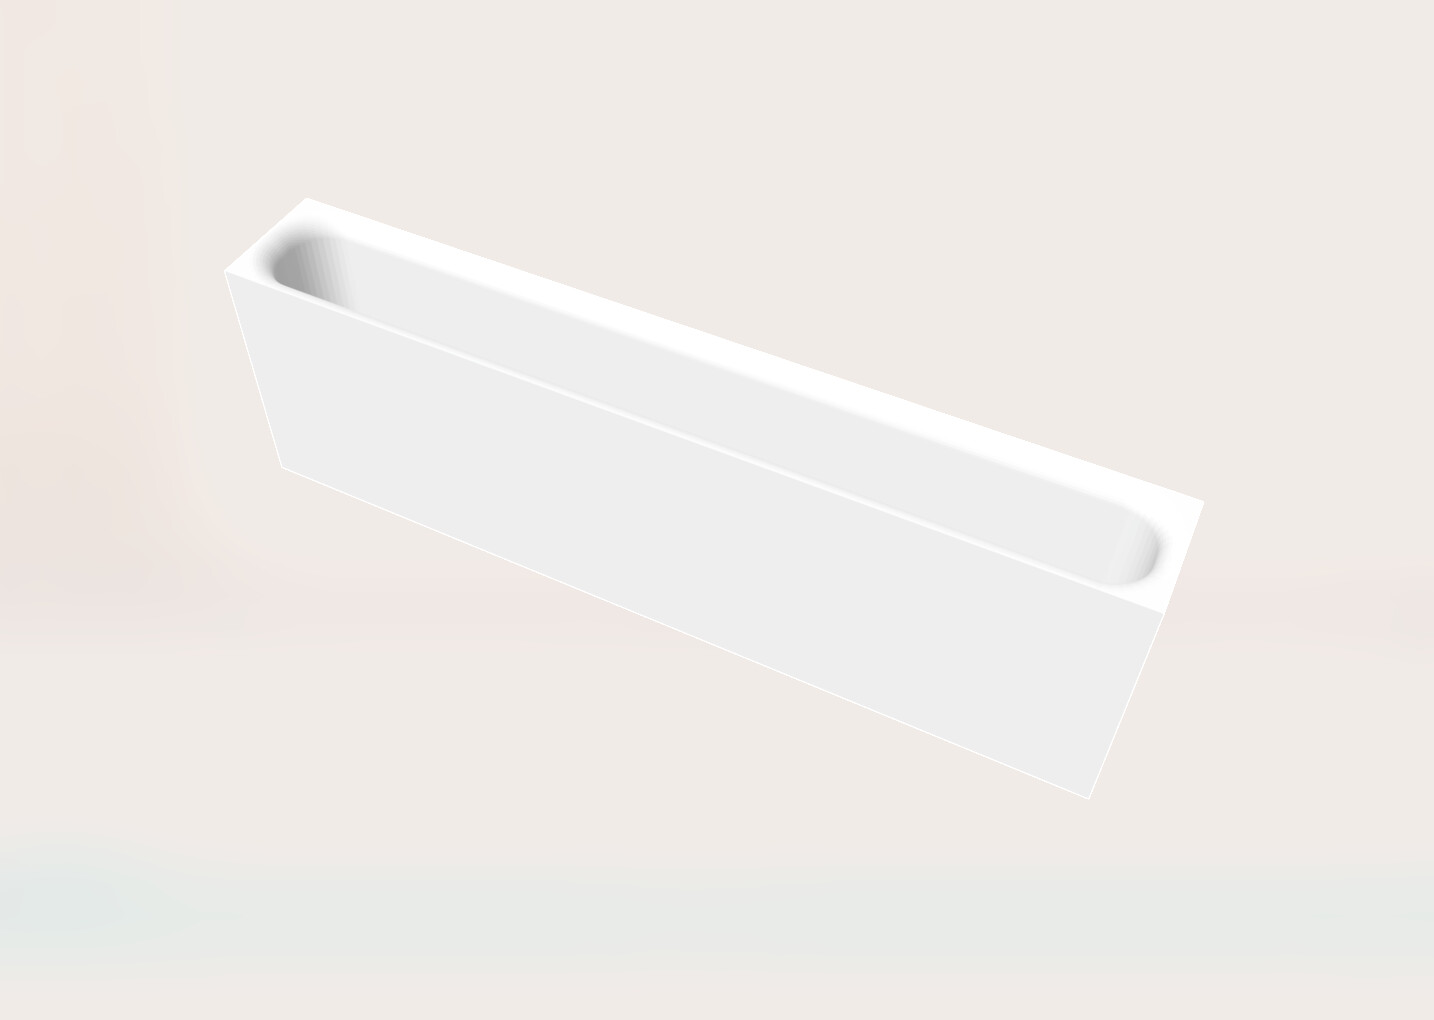
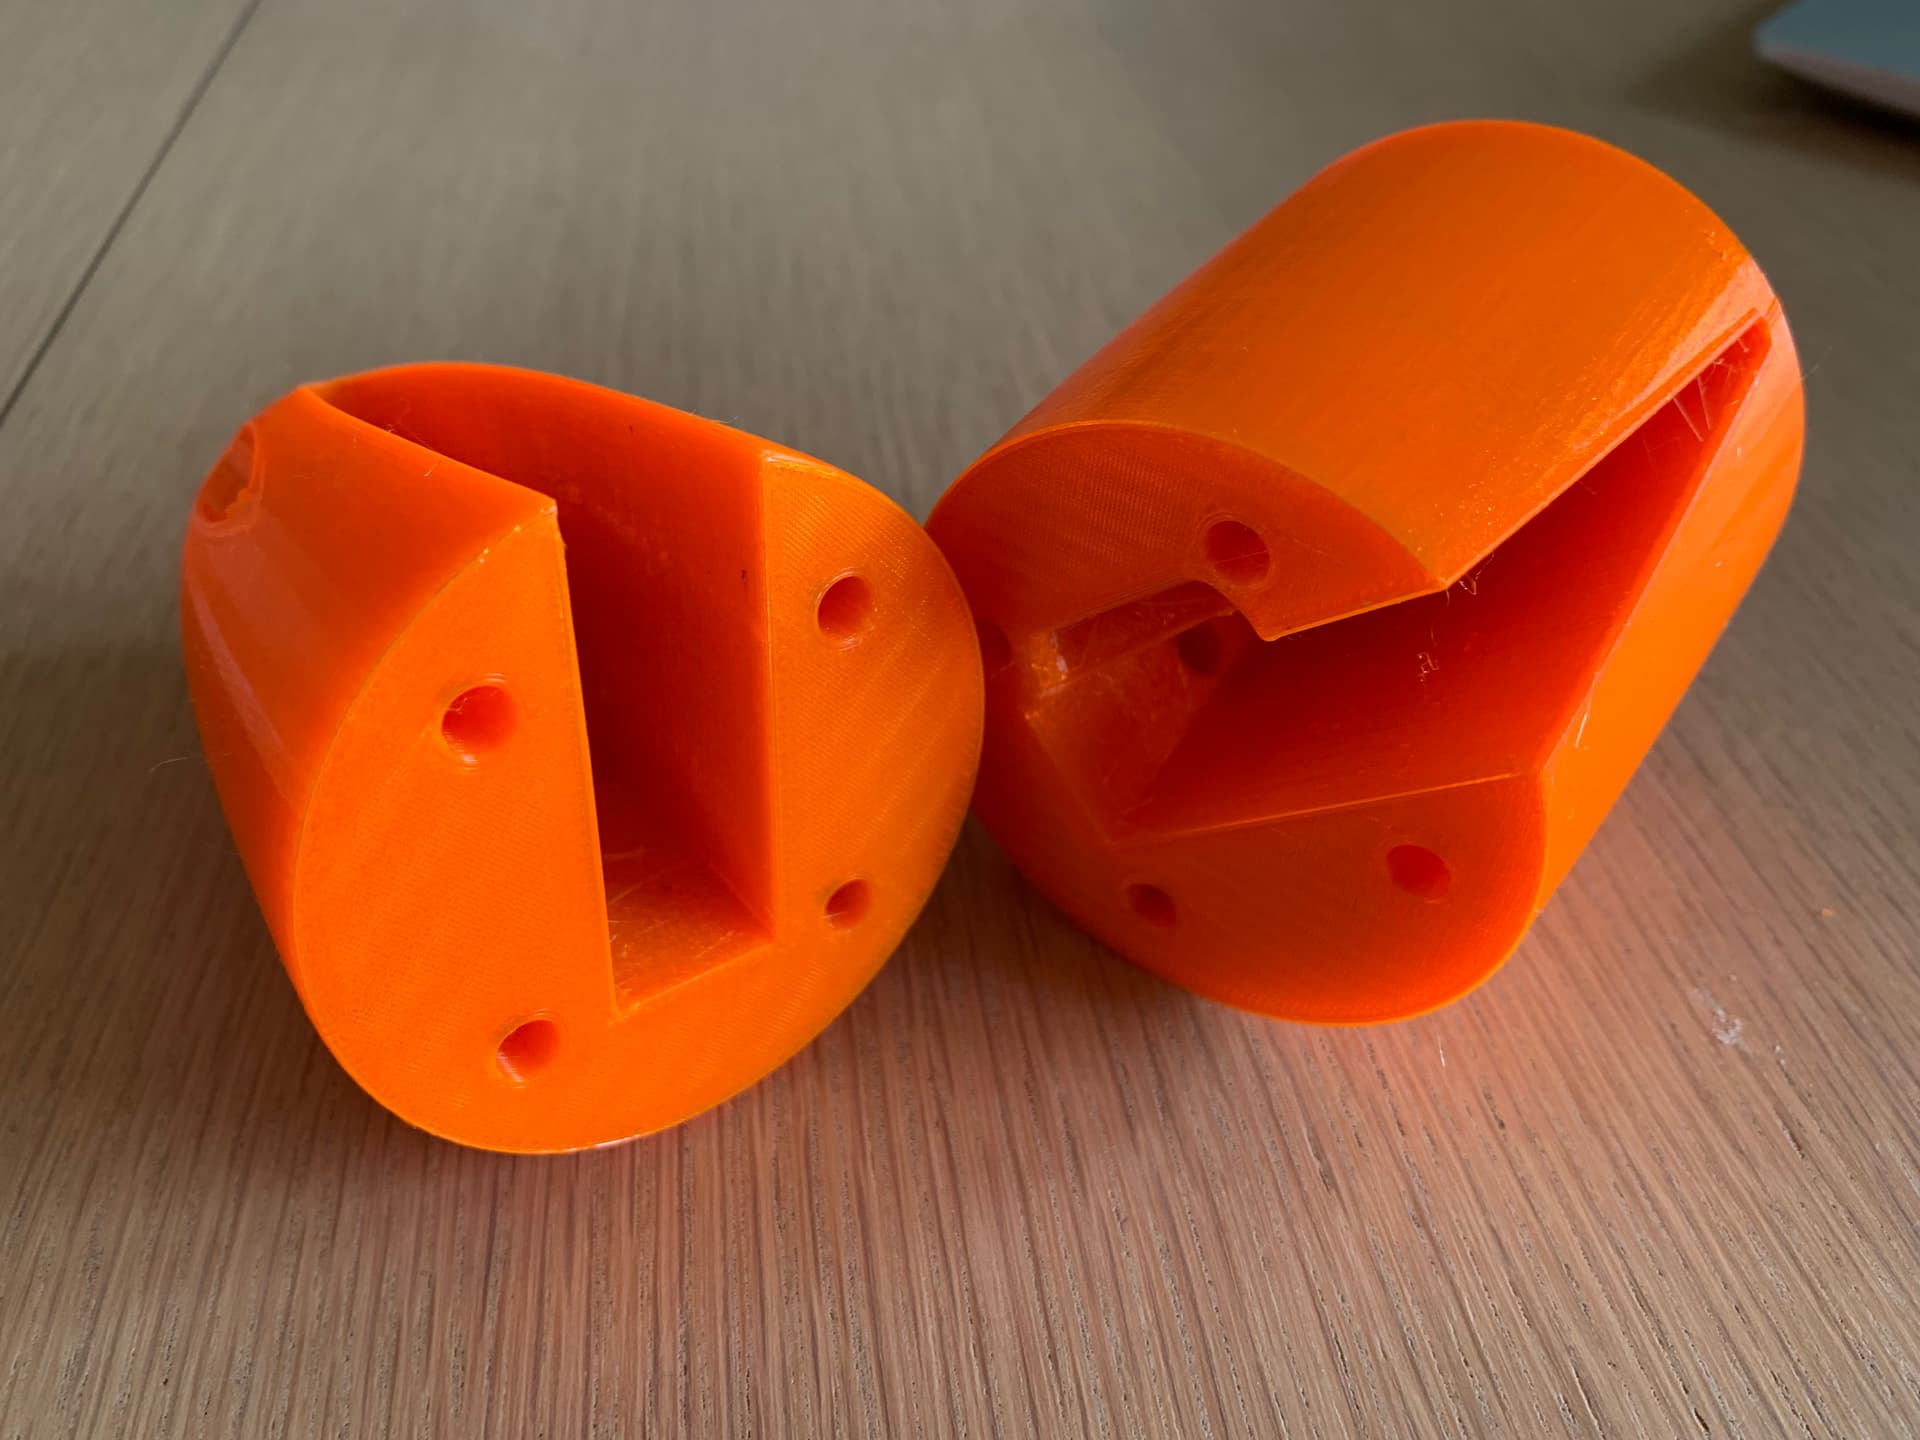
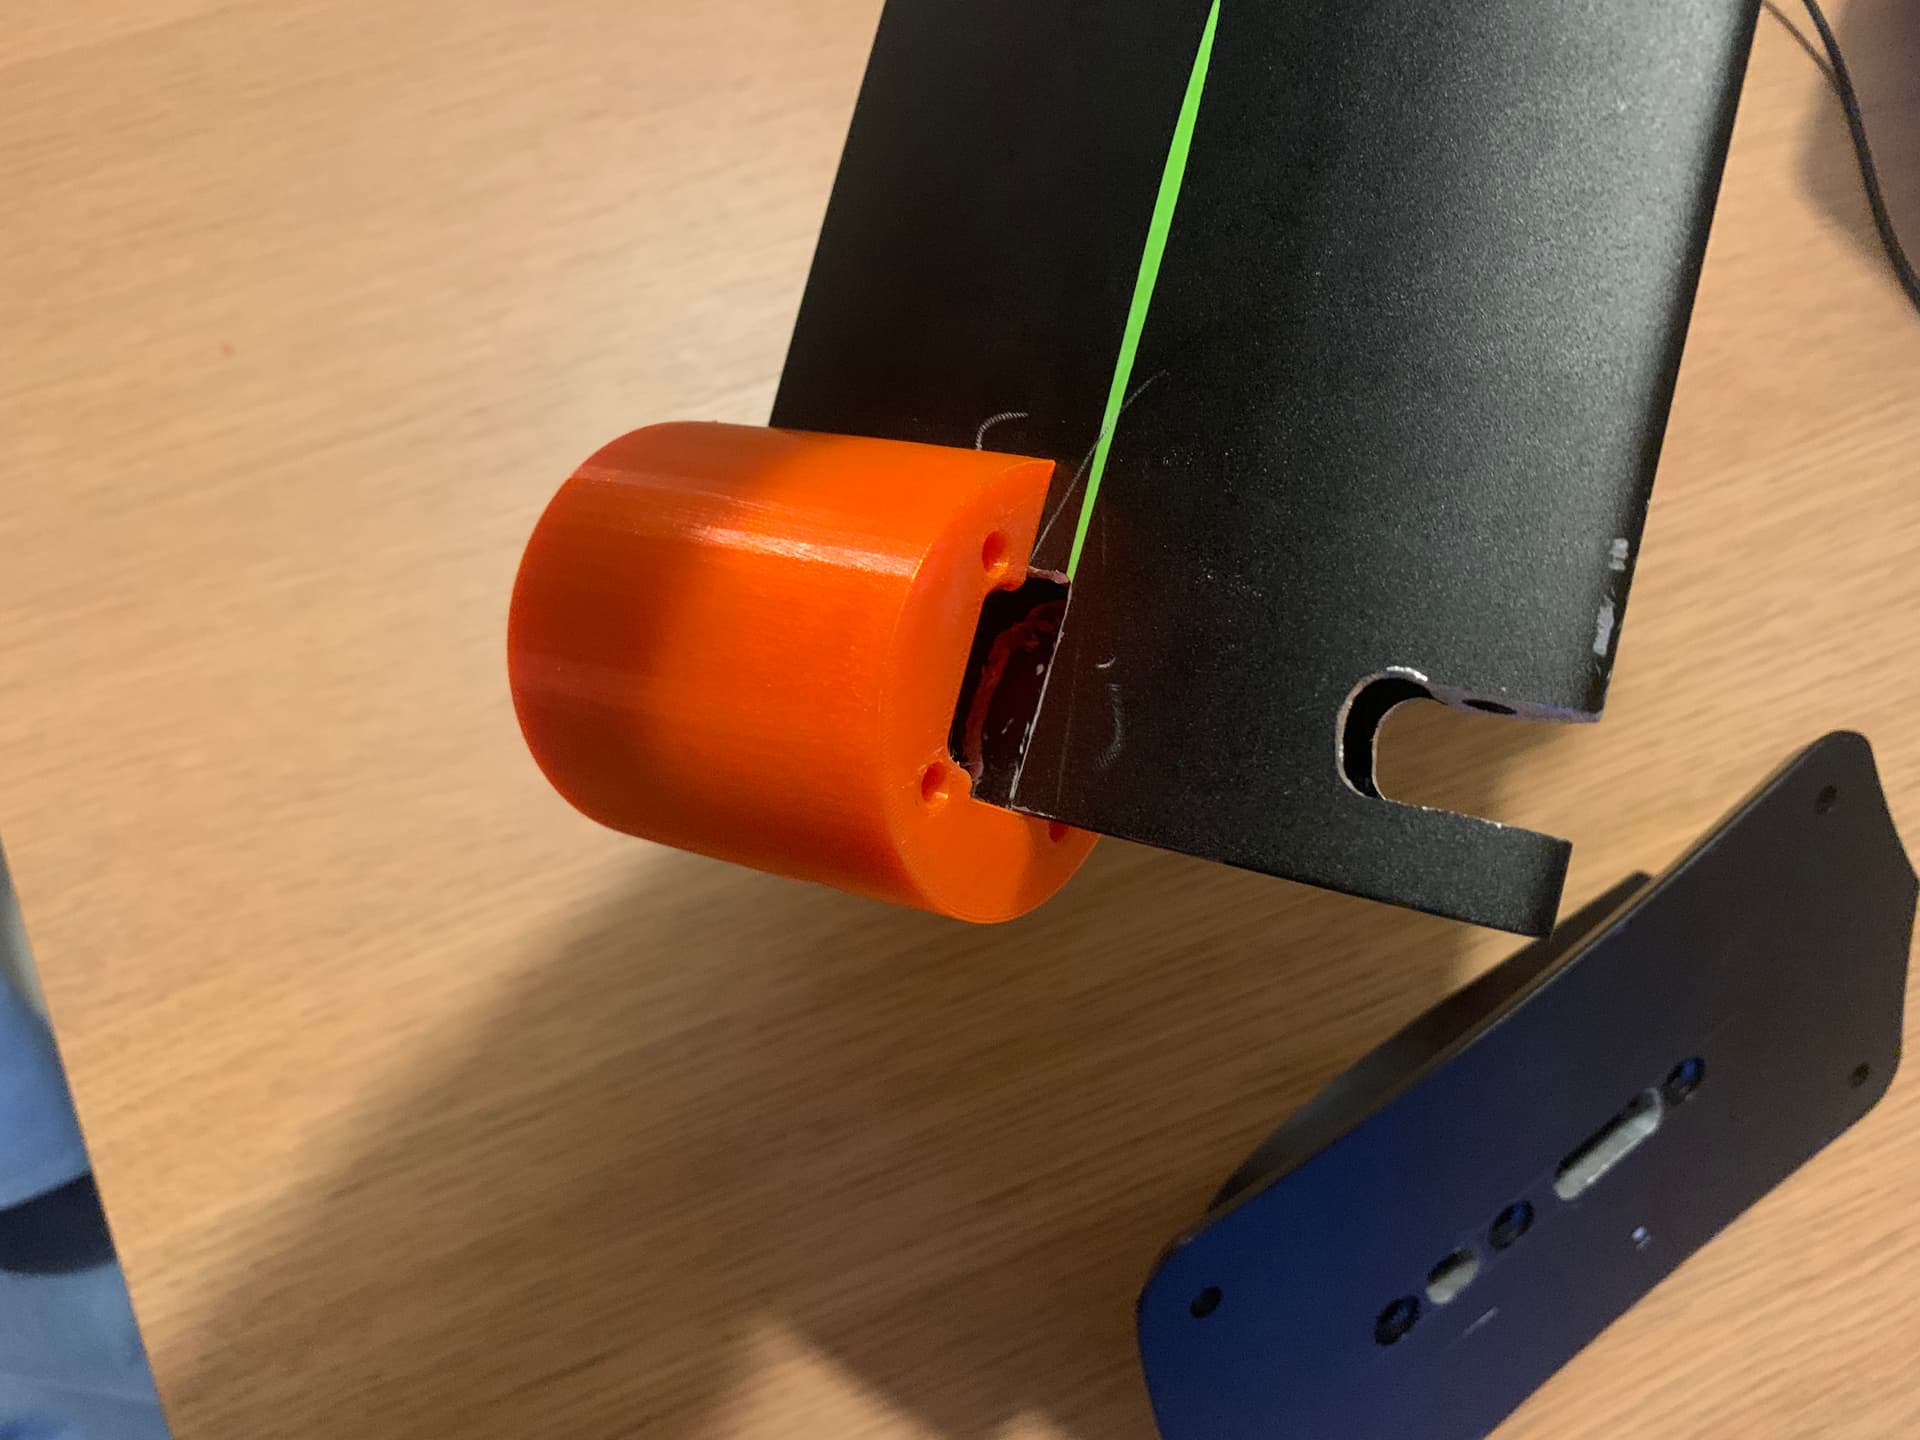
did a quick 3D PETG symmetric part that will make the cable passage throughout the deck a bit more professional and neat. I’ll add some CF inside later on.
1 Like
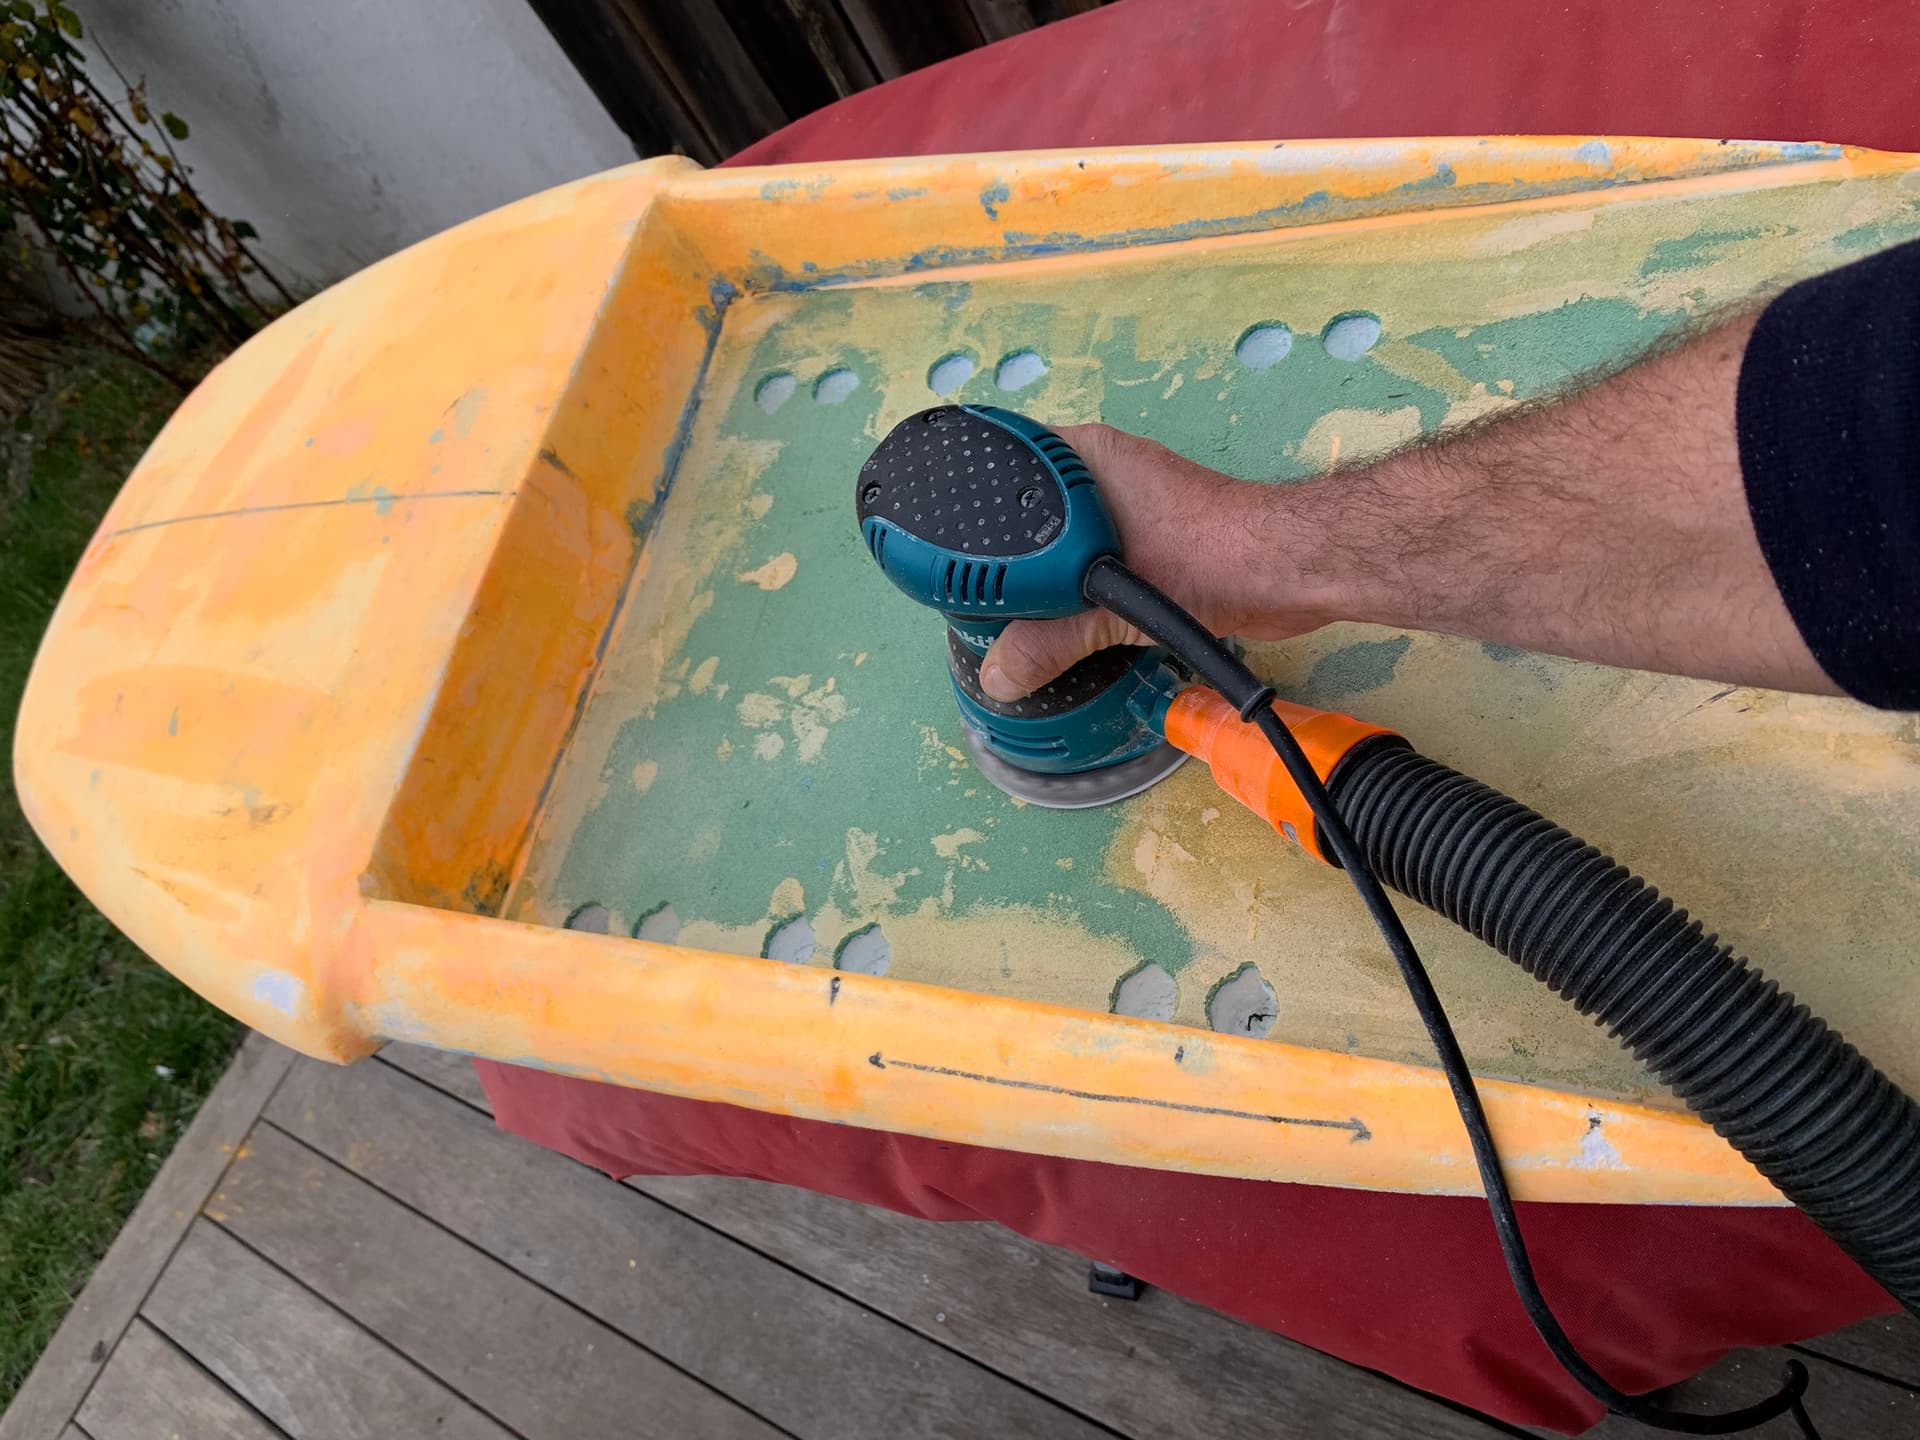
sunny day, I’ve installed the wire passage and took the opportunity to smooth some areas of the board to facilitate the finish. I prefer to get a nice surface before going vacuum.

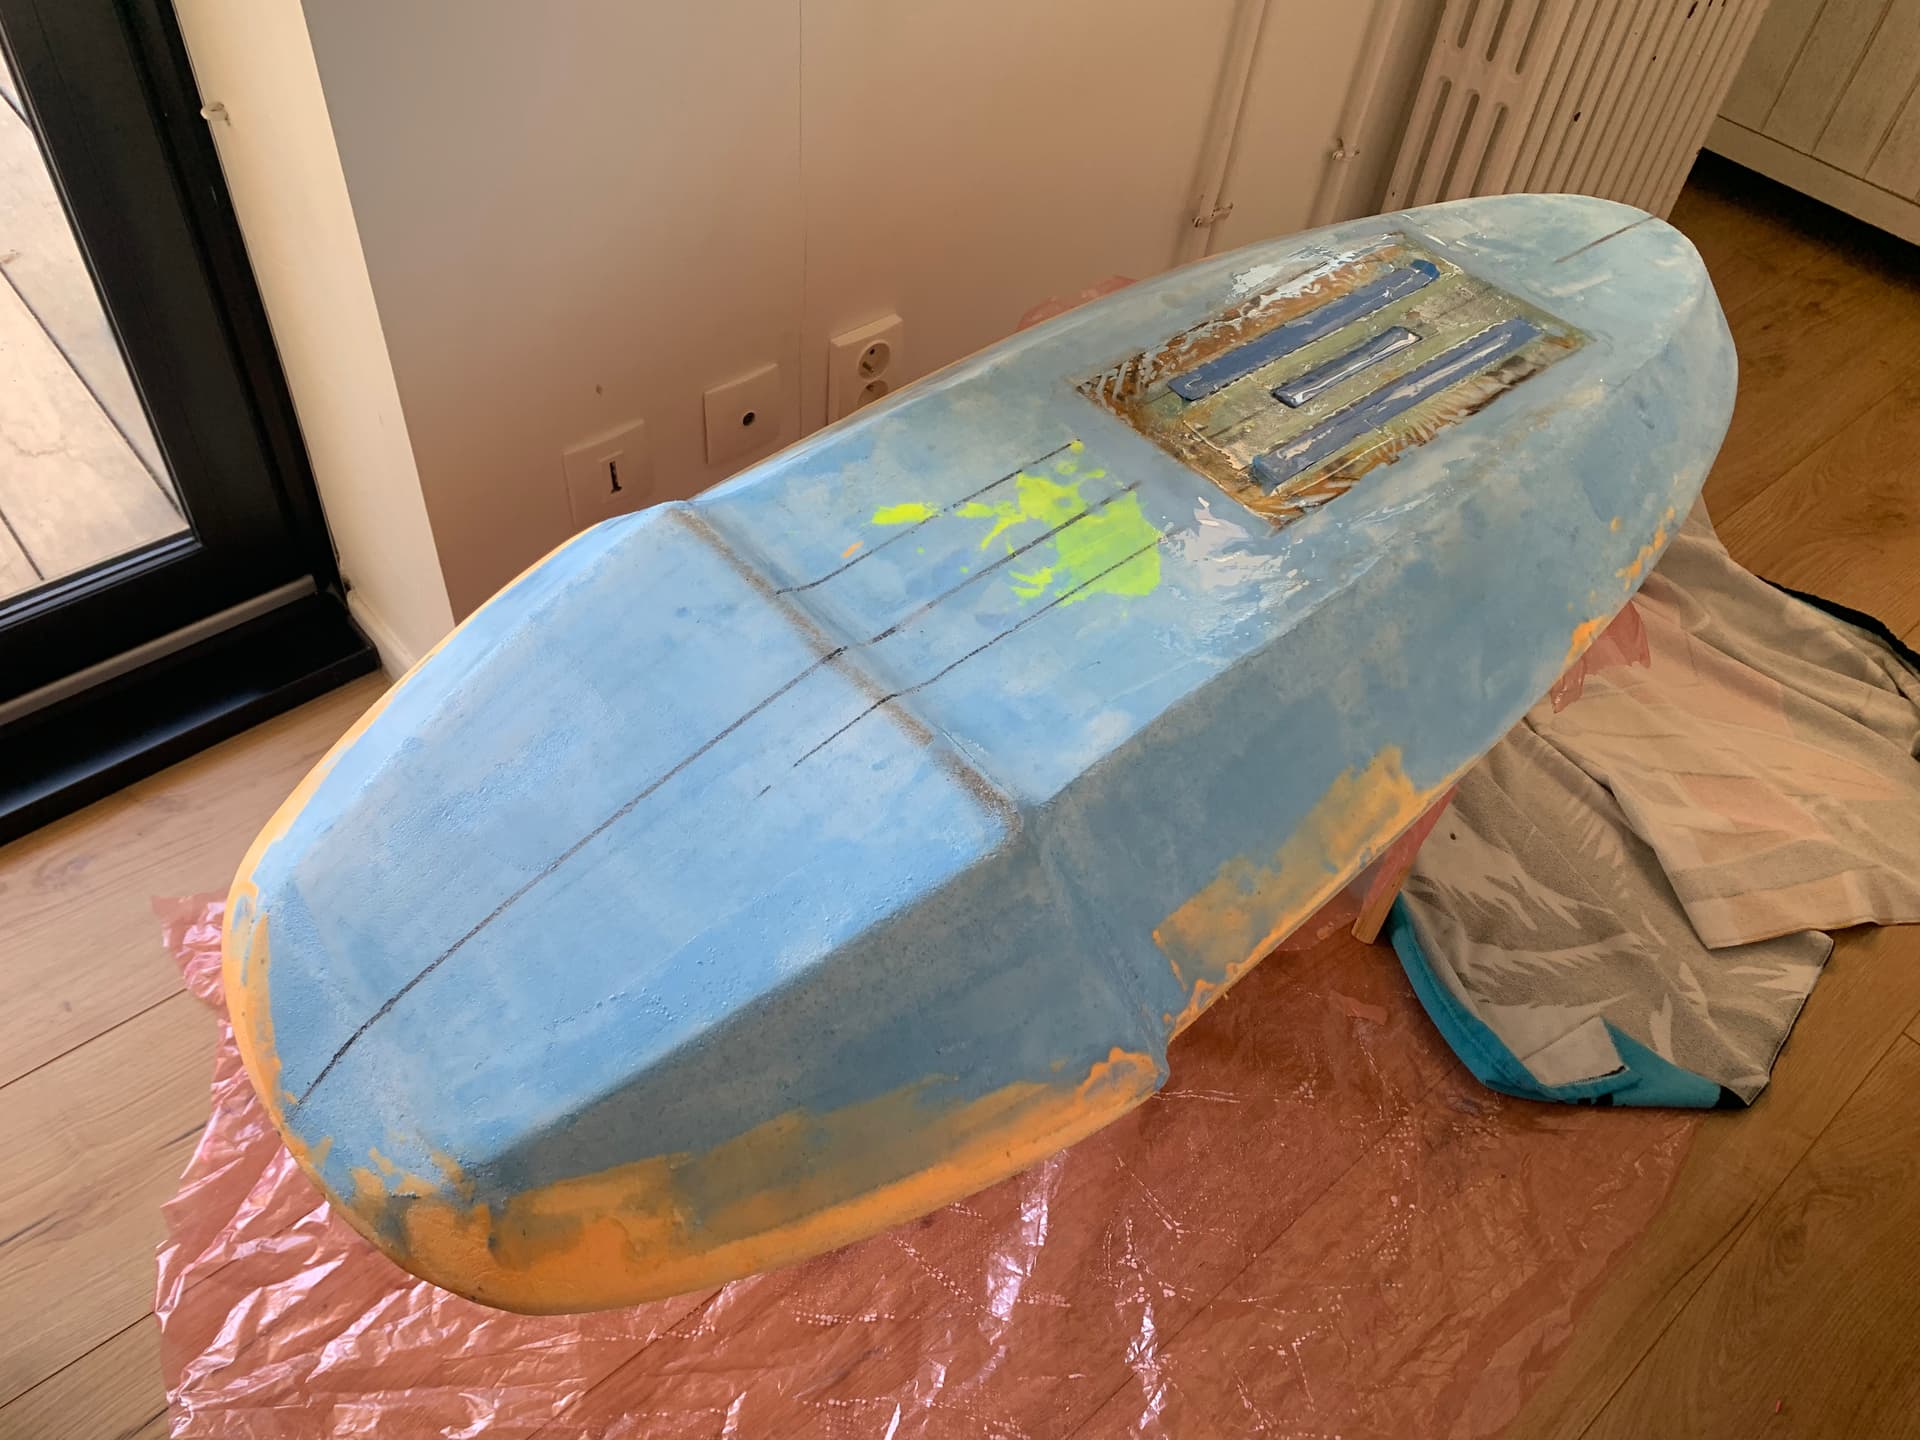
3 Likes
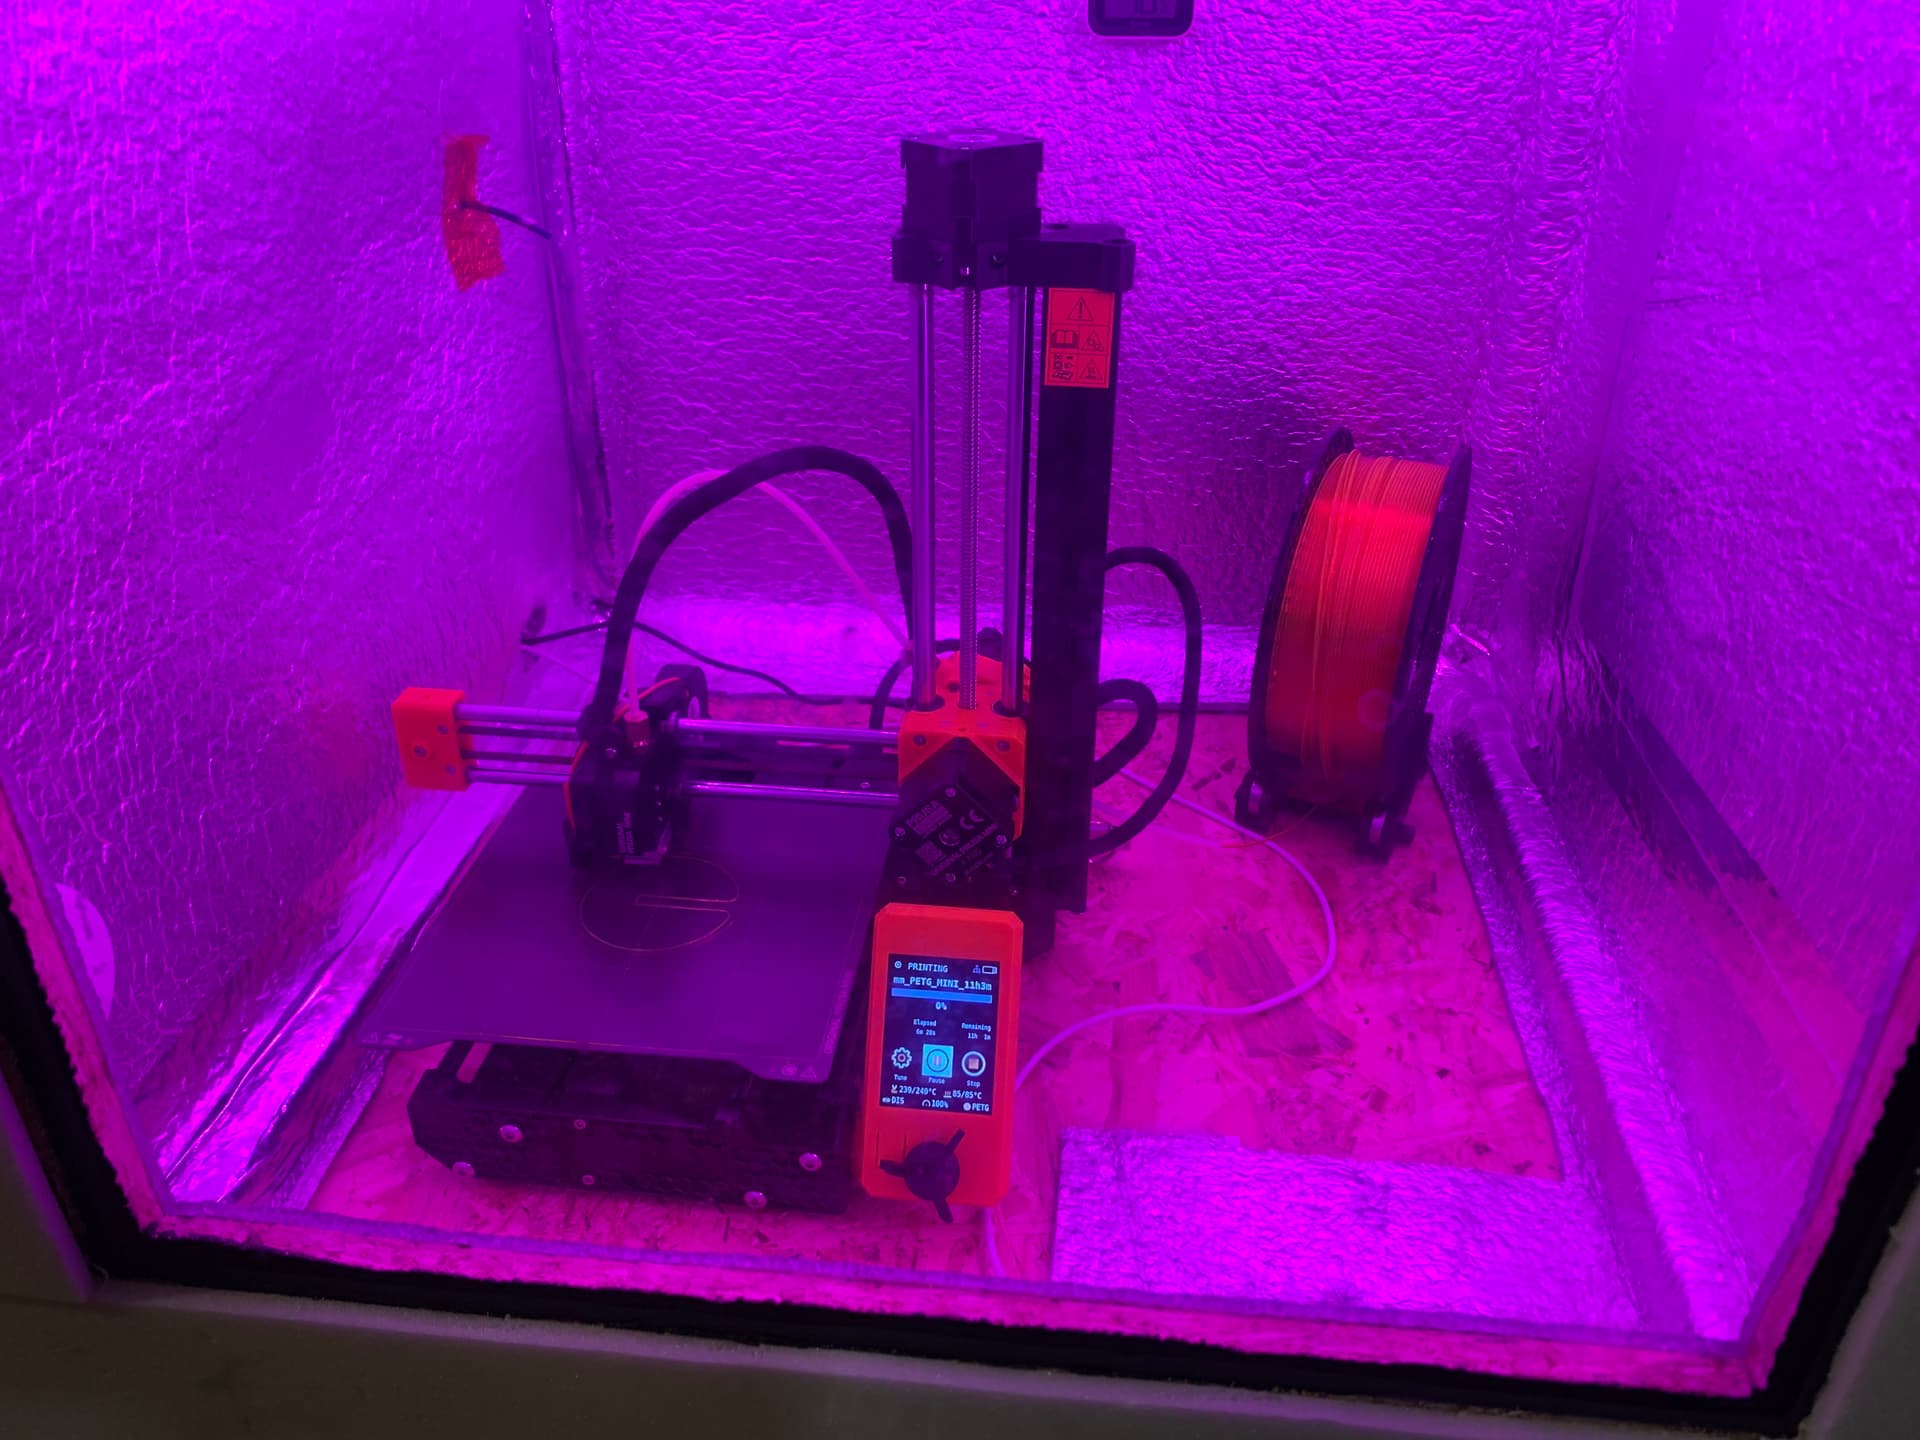
moving on with the prints.
I’ve also added the inserts to attach pelican case
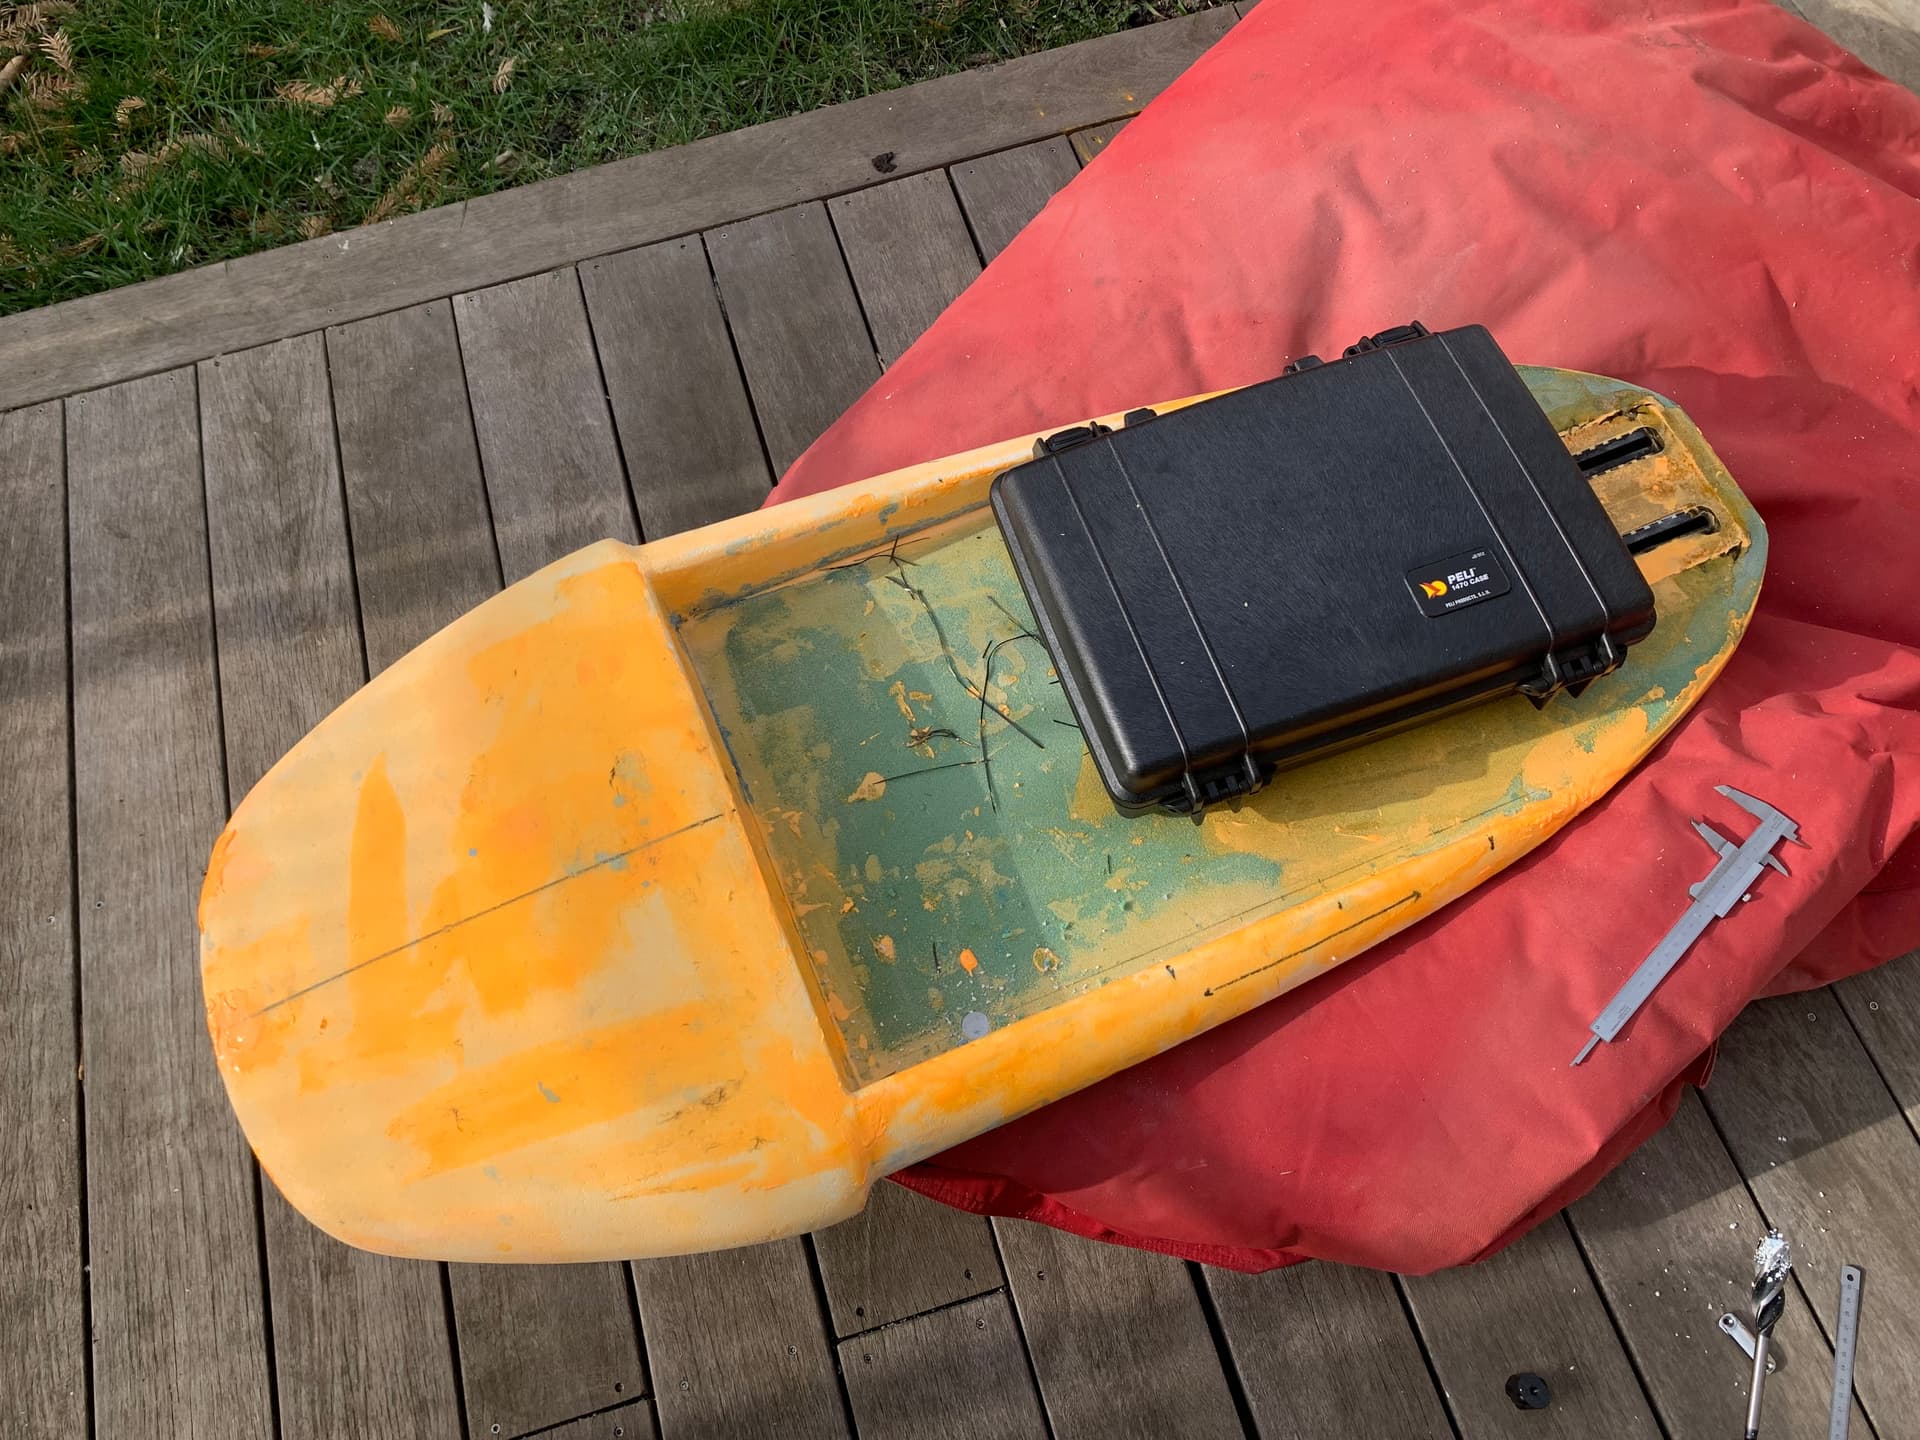
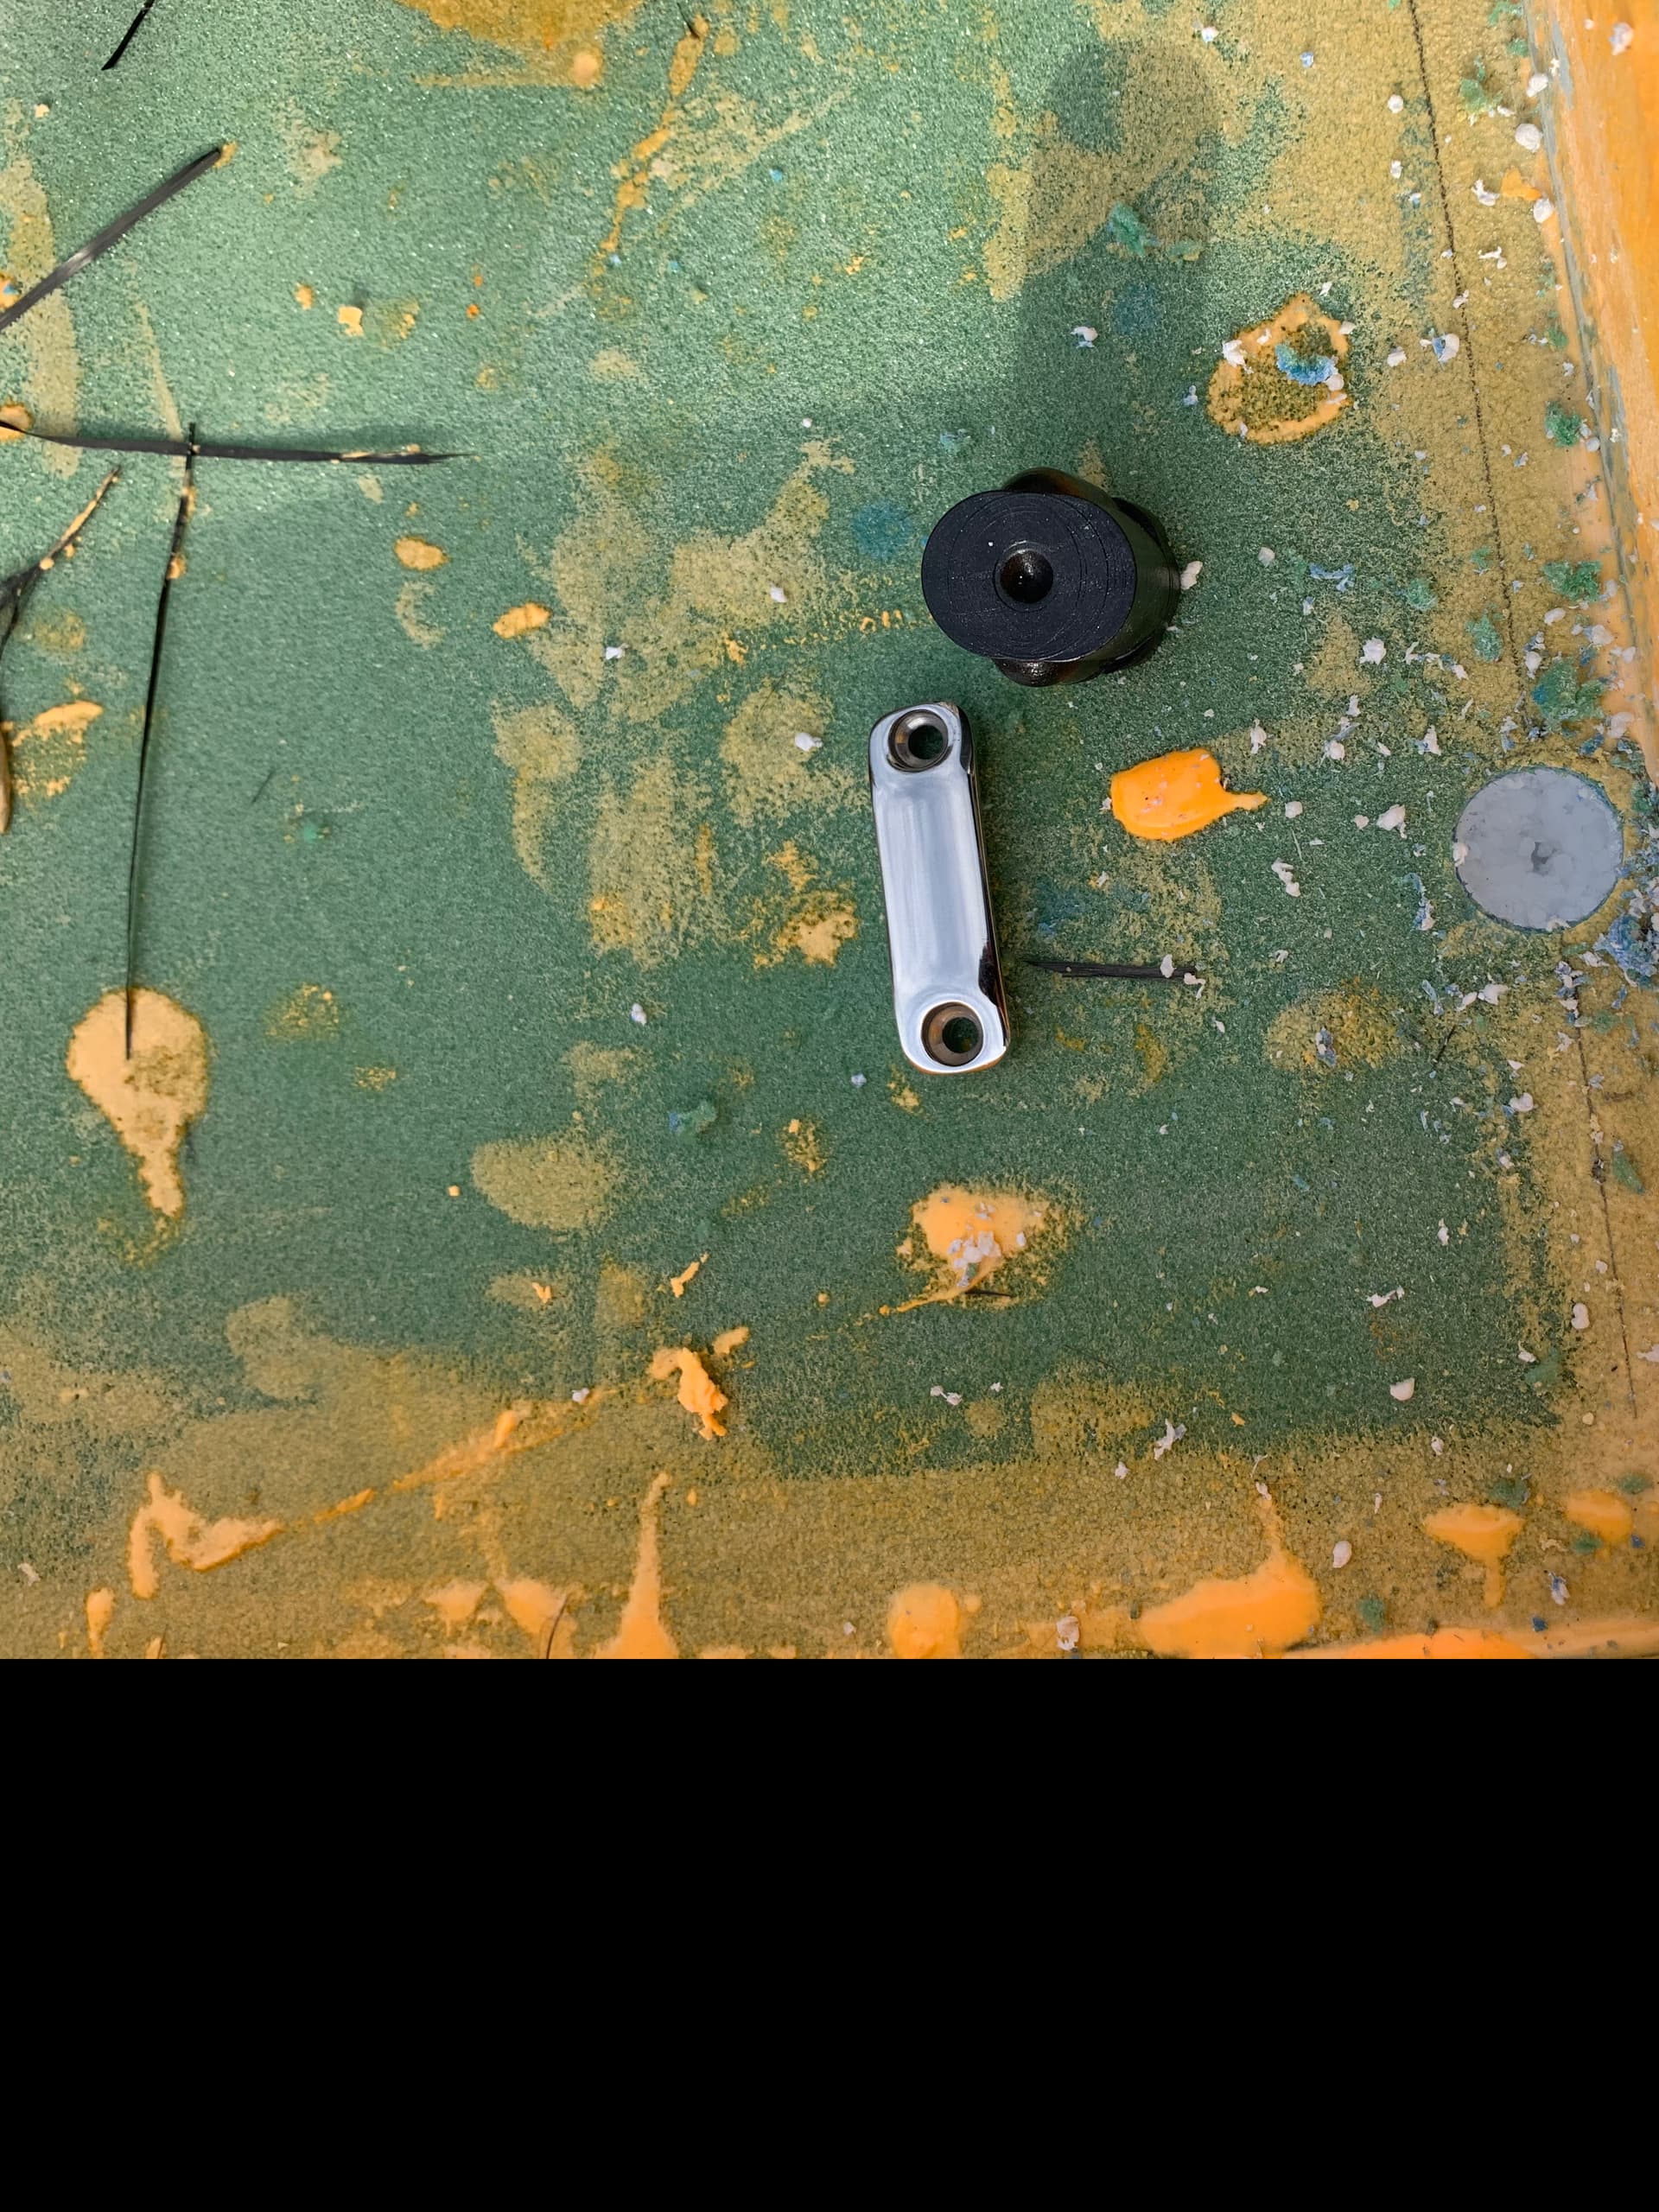
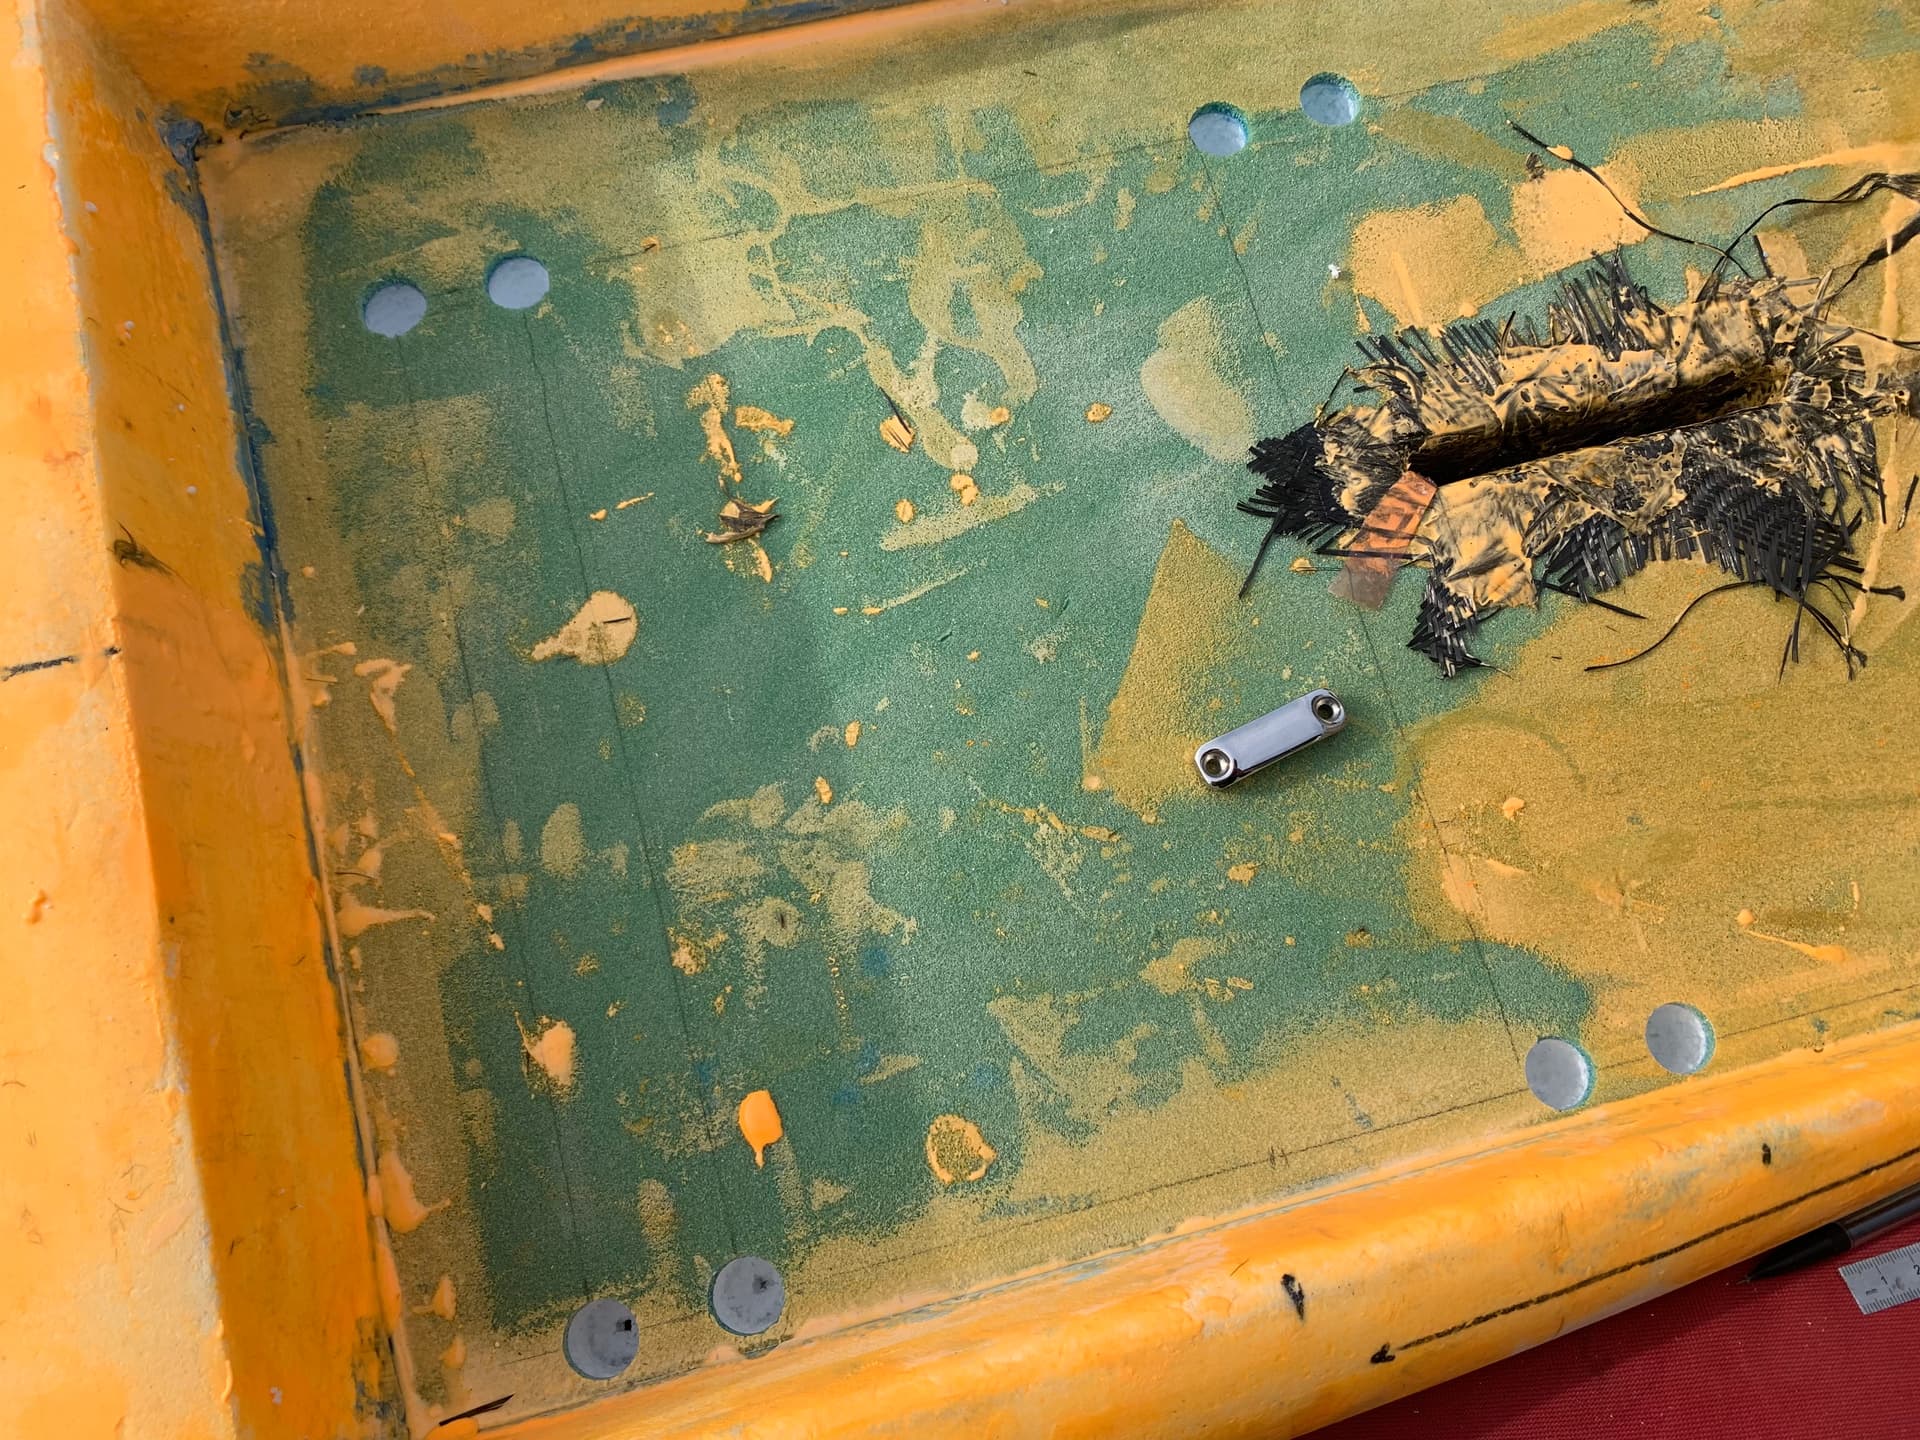
and did a bit of sanding
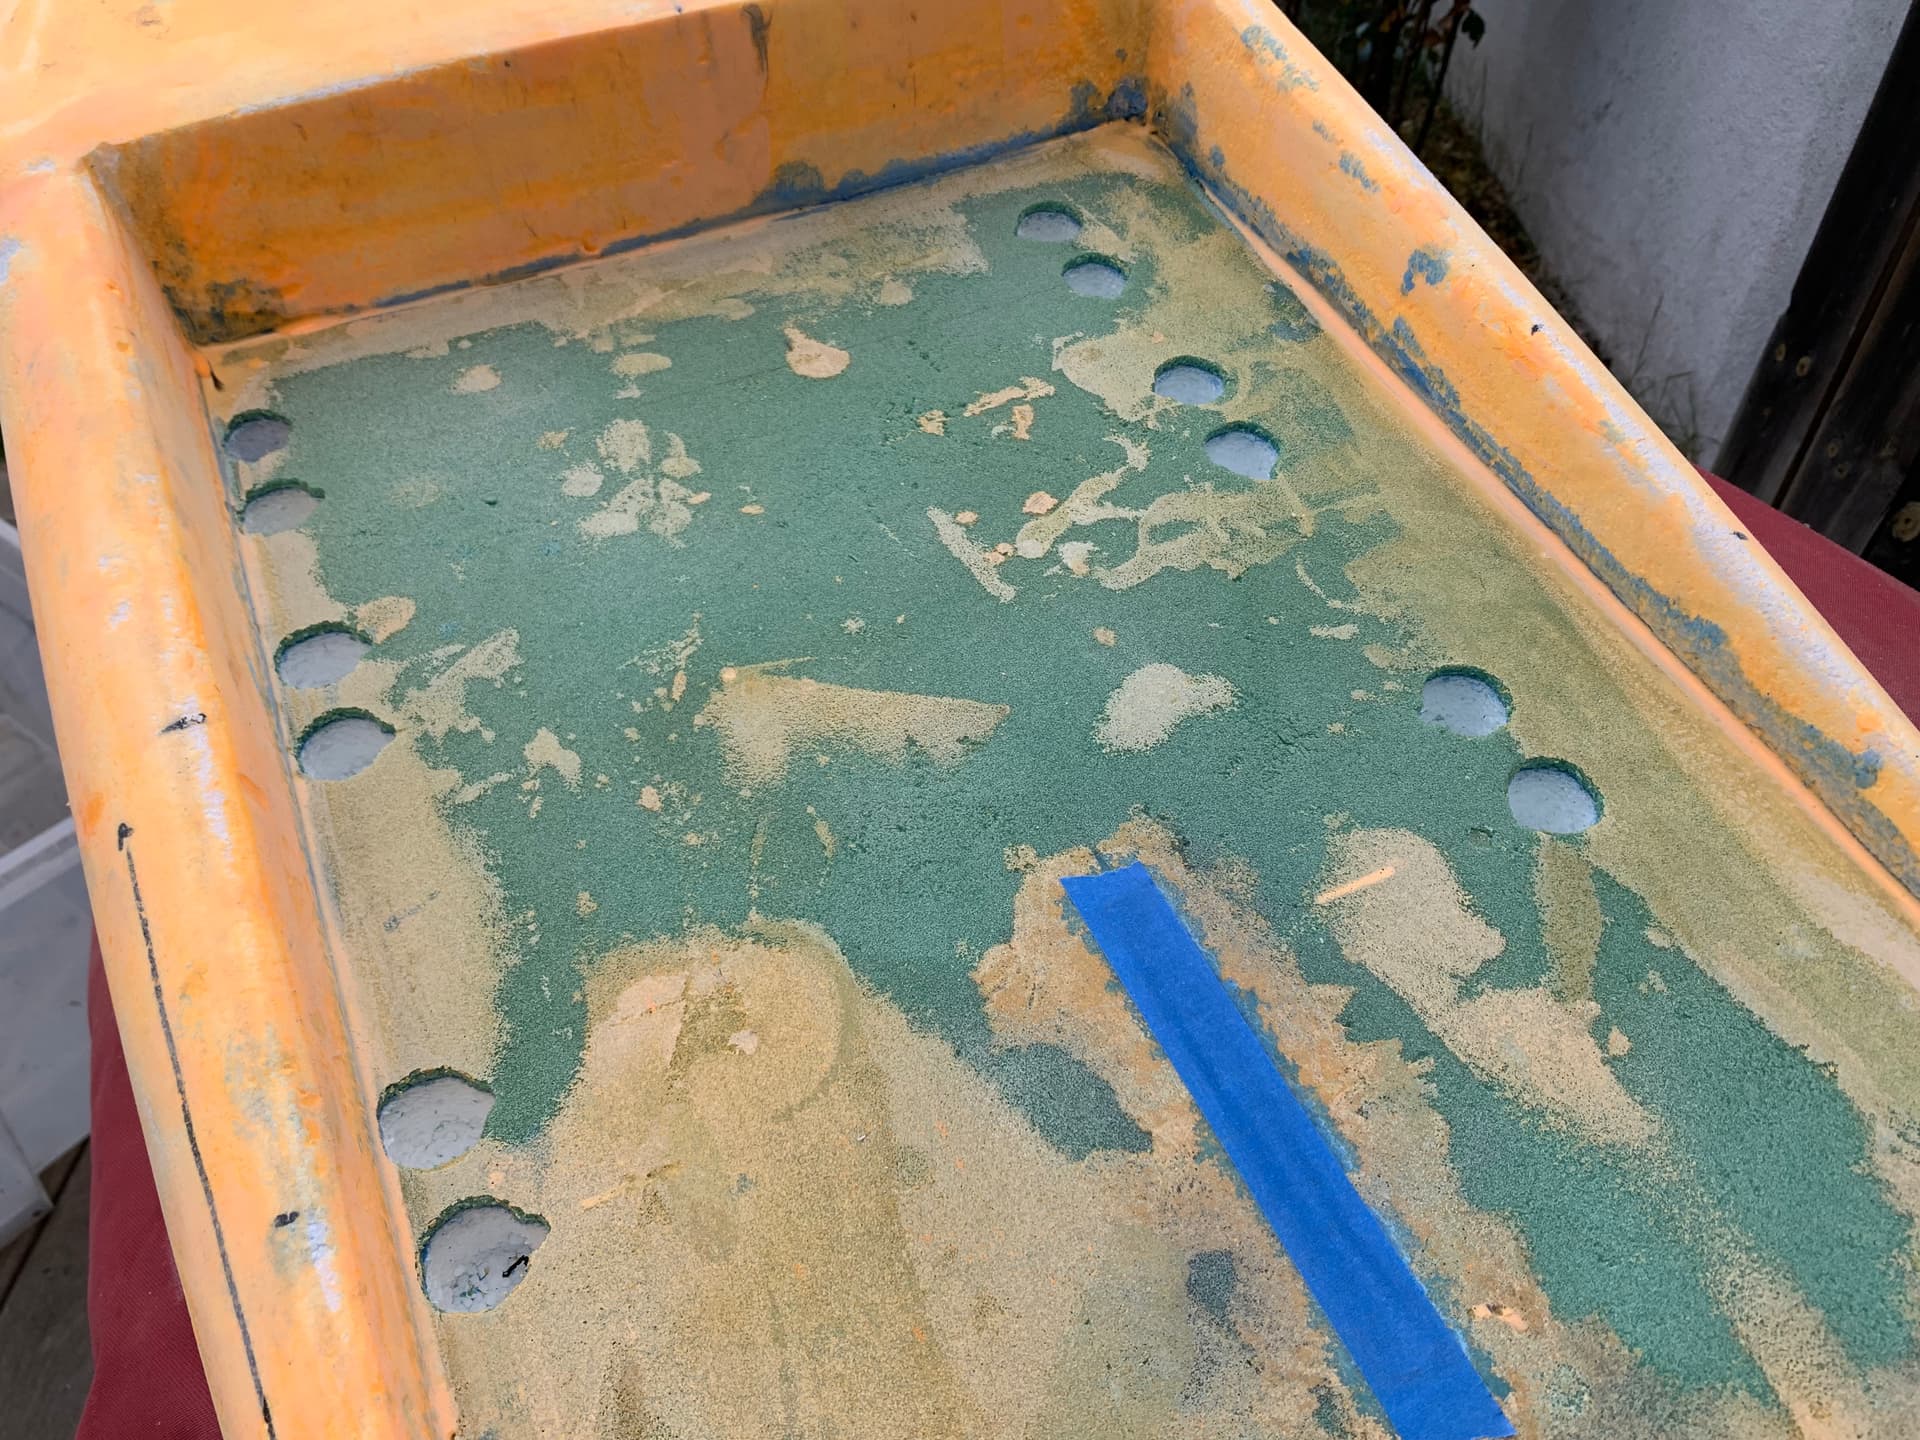
as you’re reading this, the inserts have been put in place with microballons & epoxy… and the remaining epoxy has been used with additional microsillons to soften and perfect the surface.
1 Like
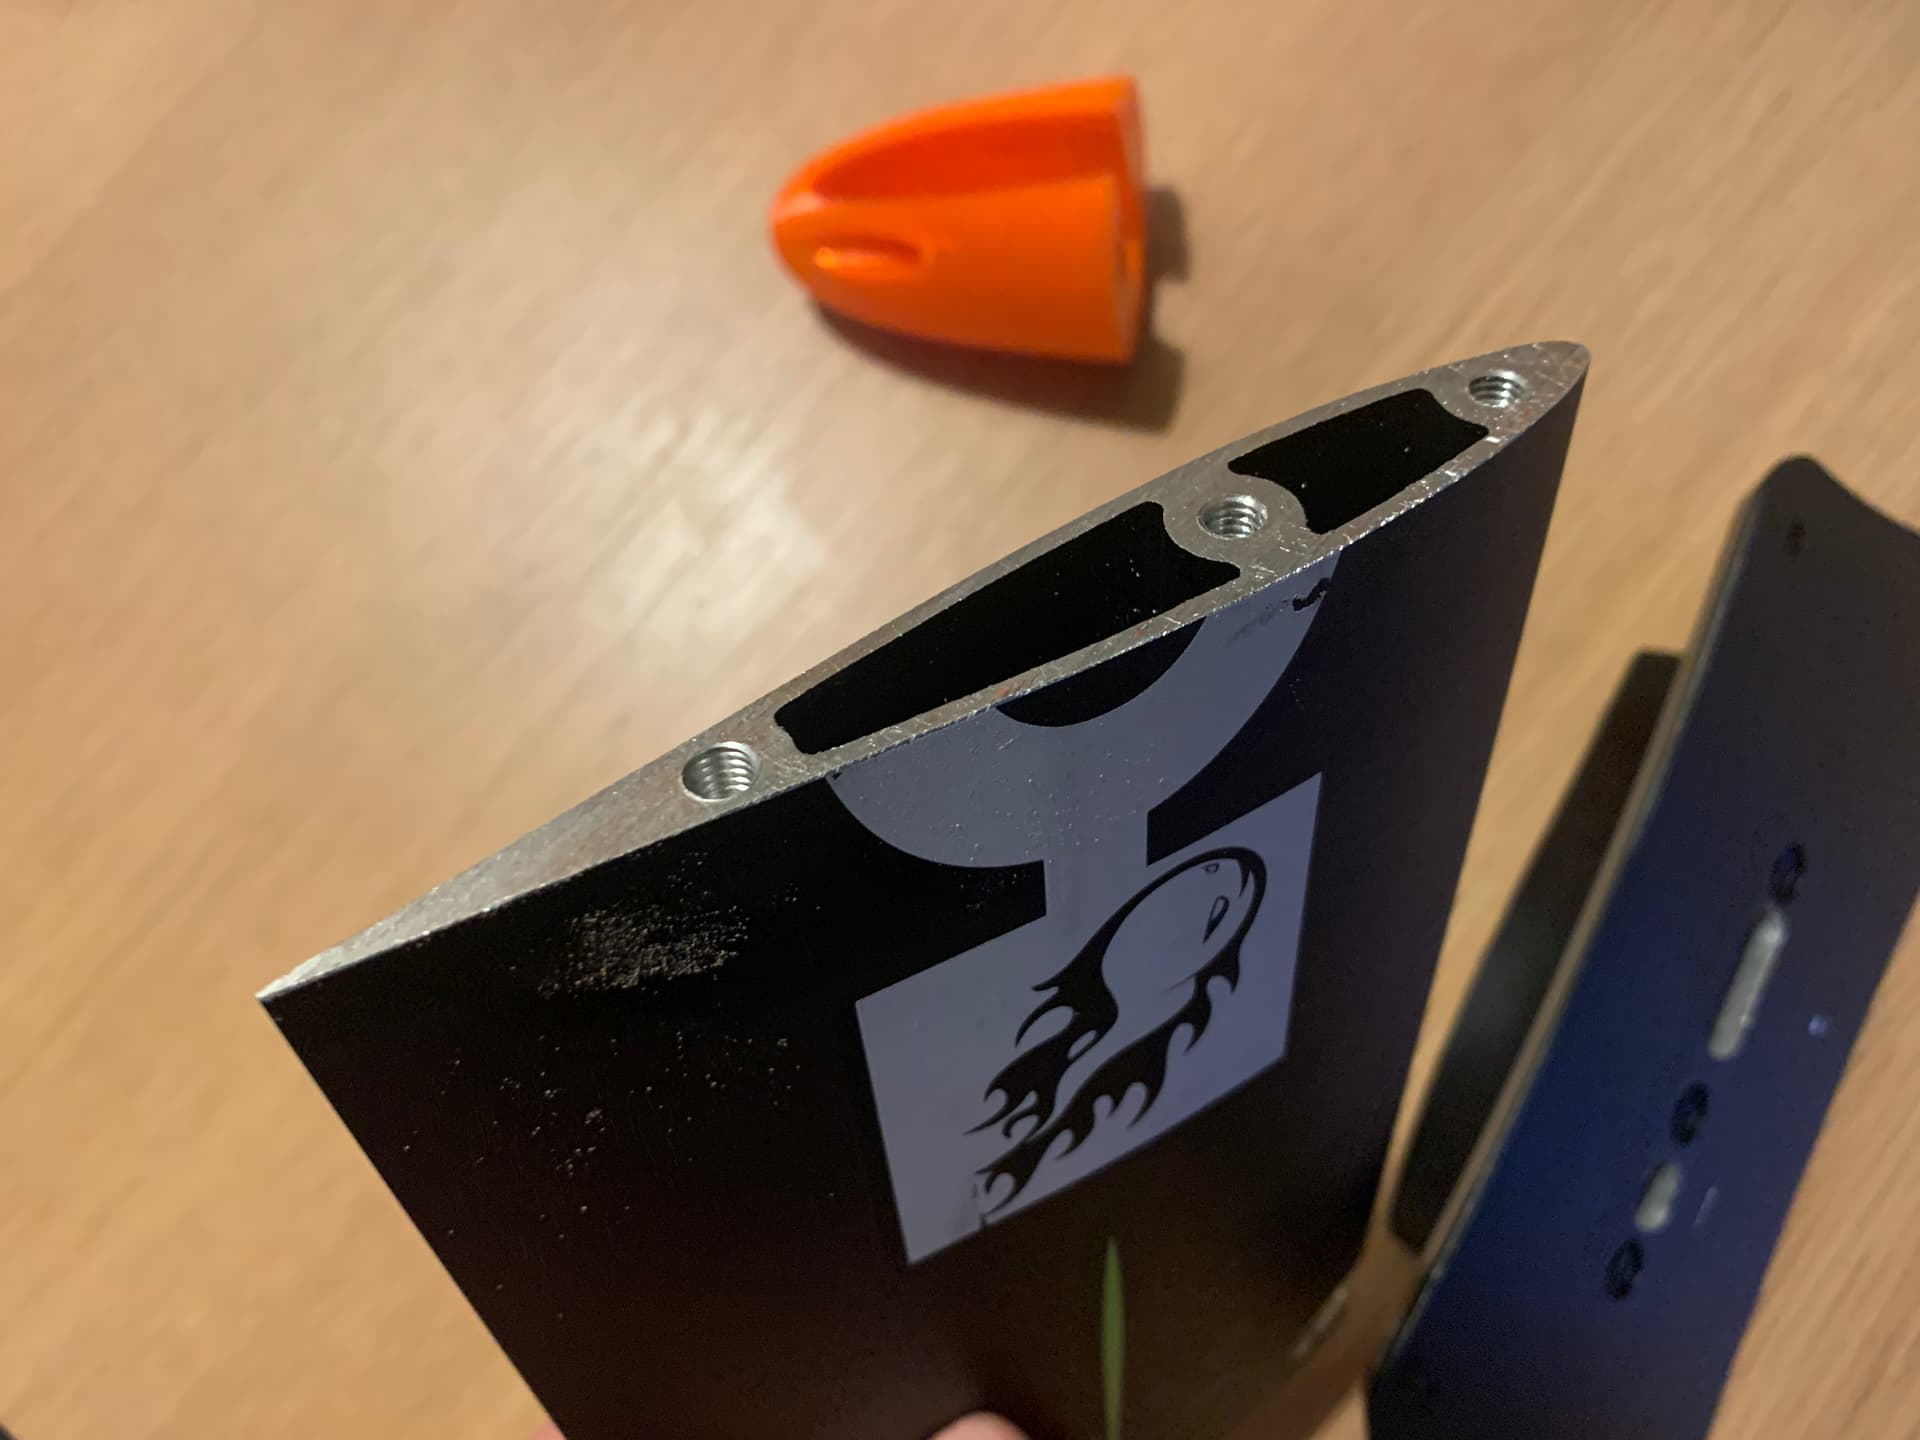
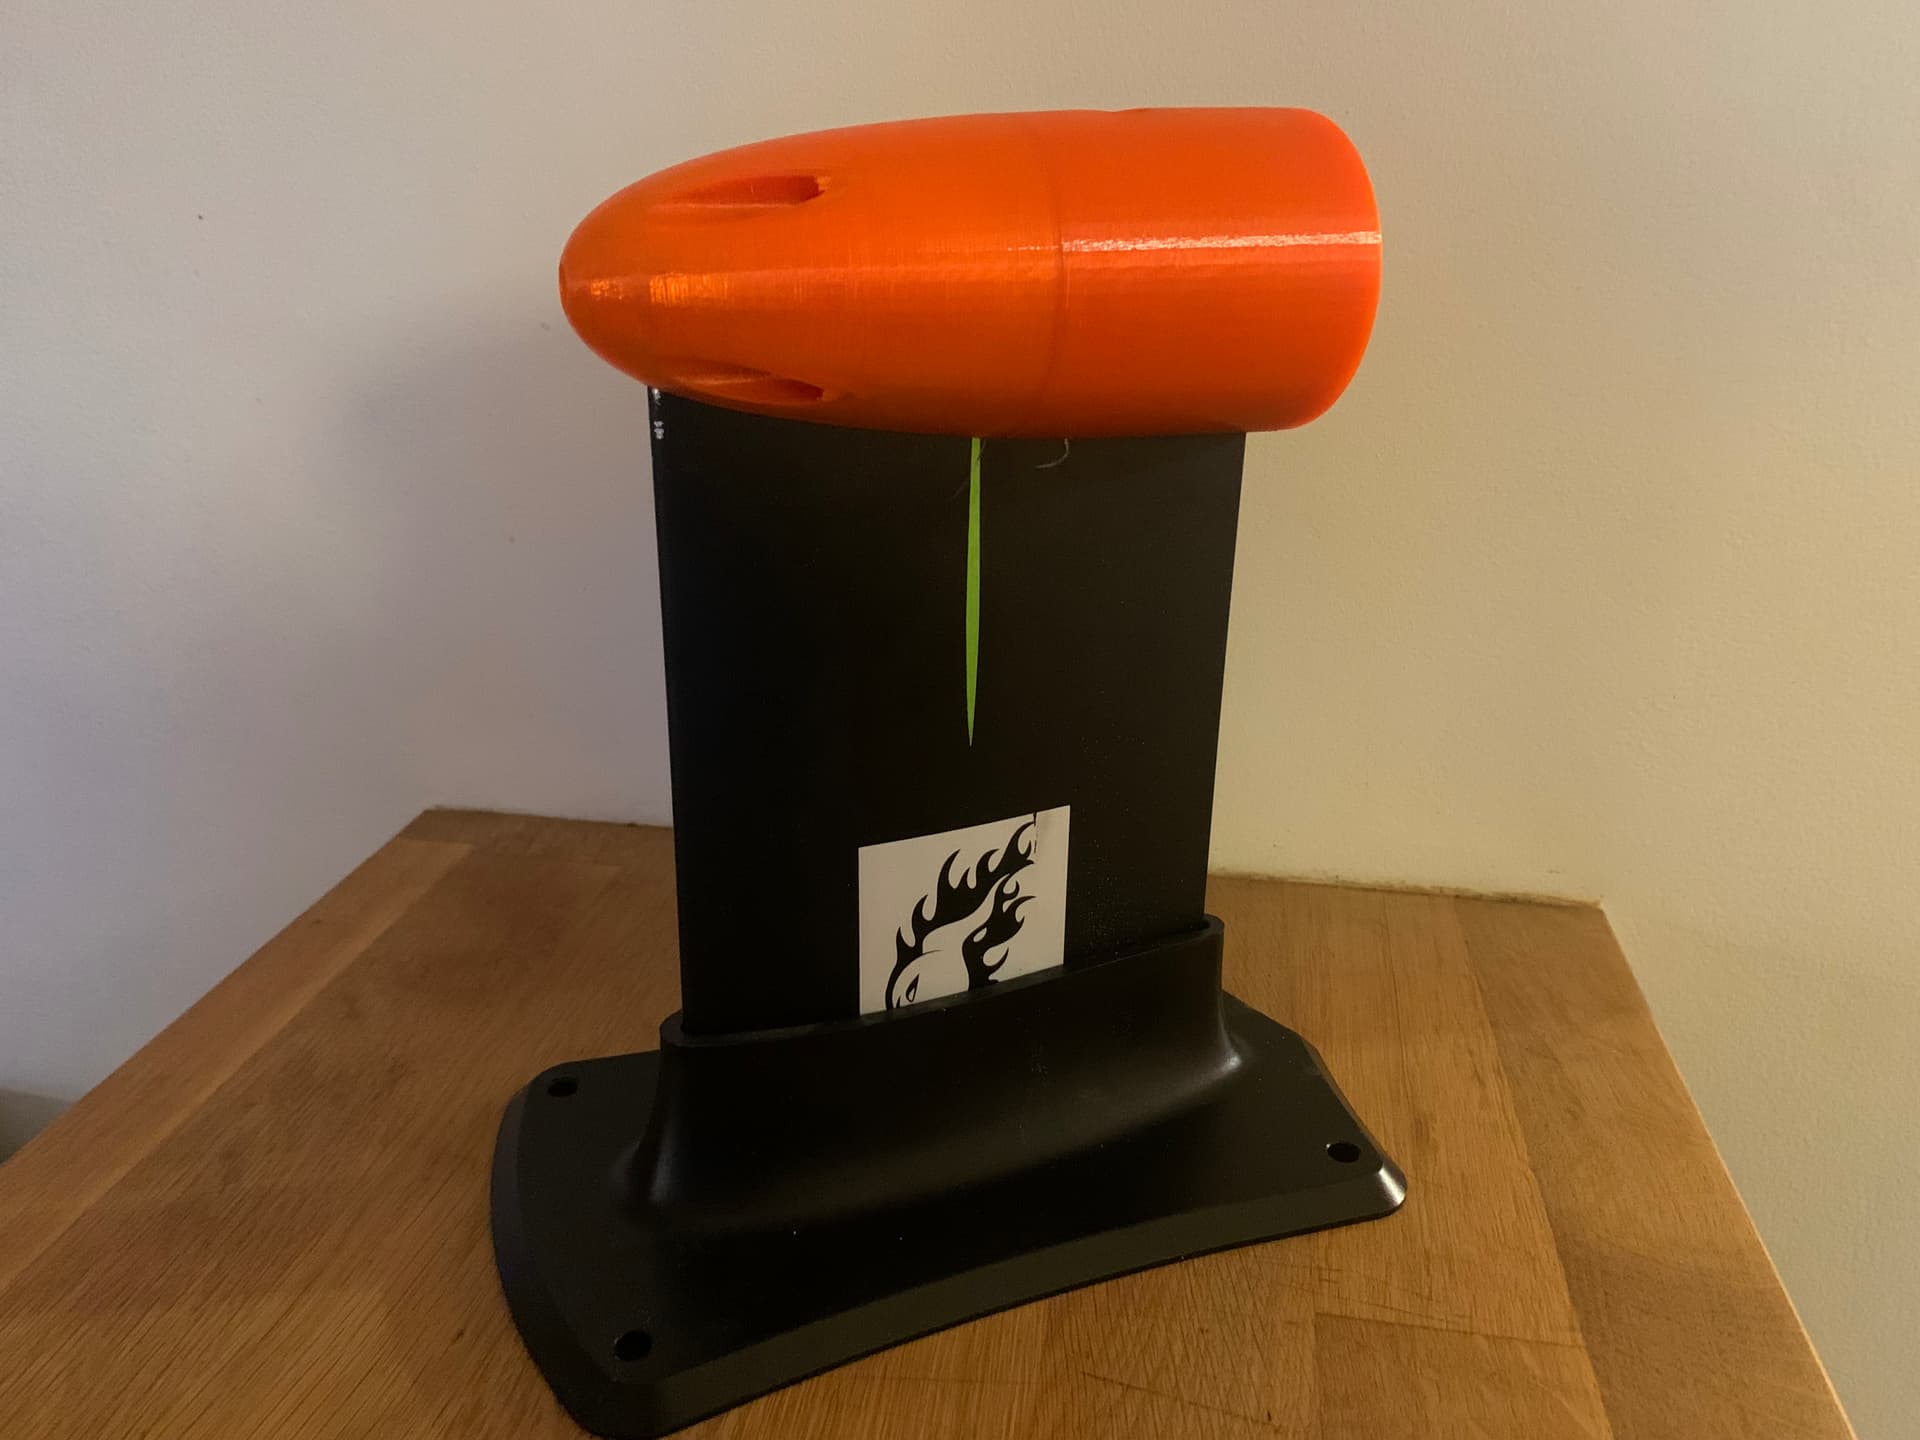
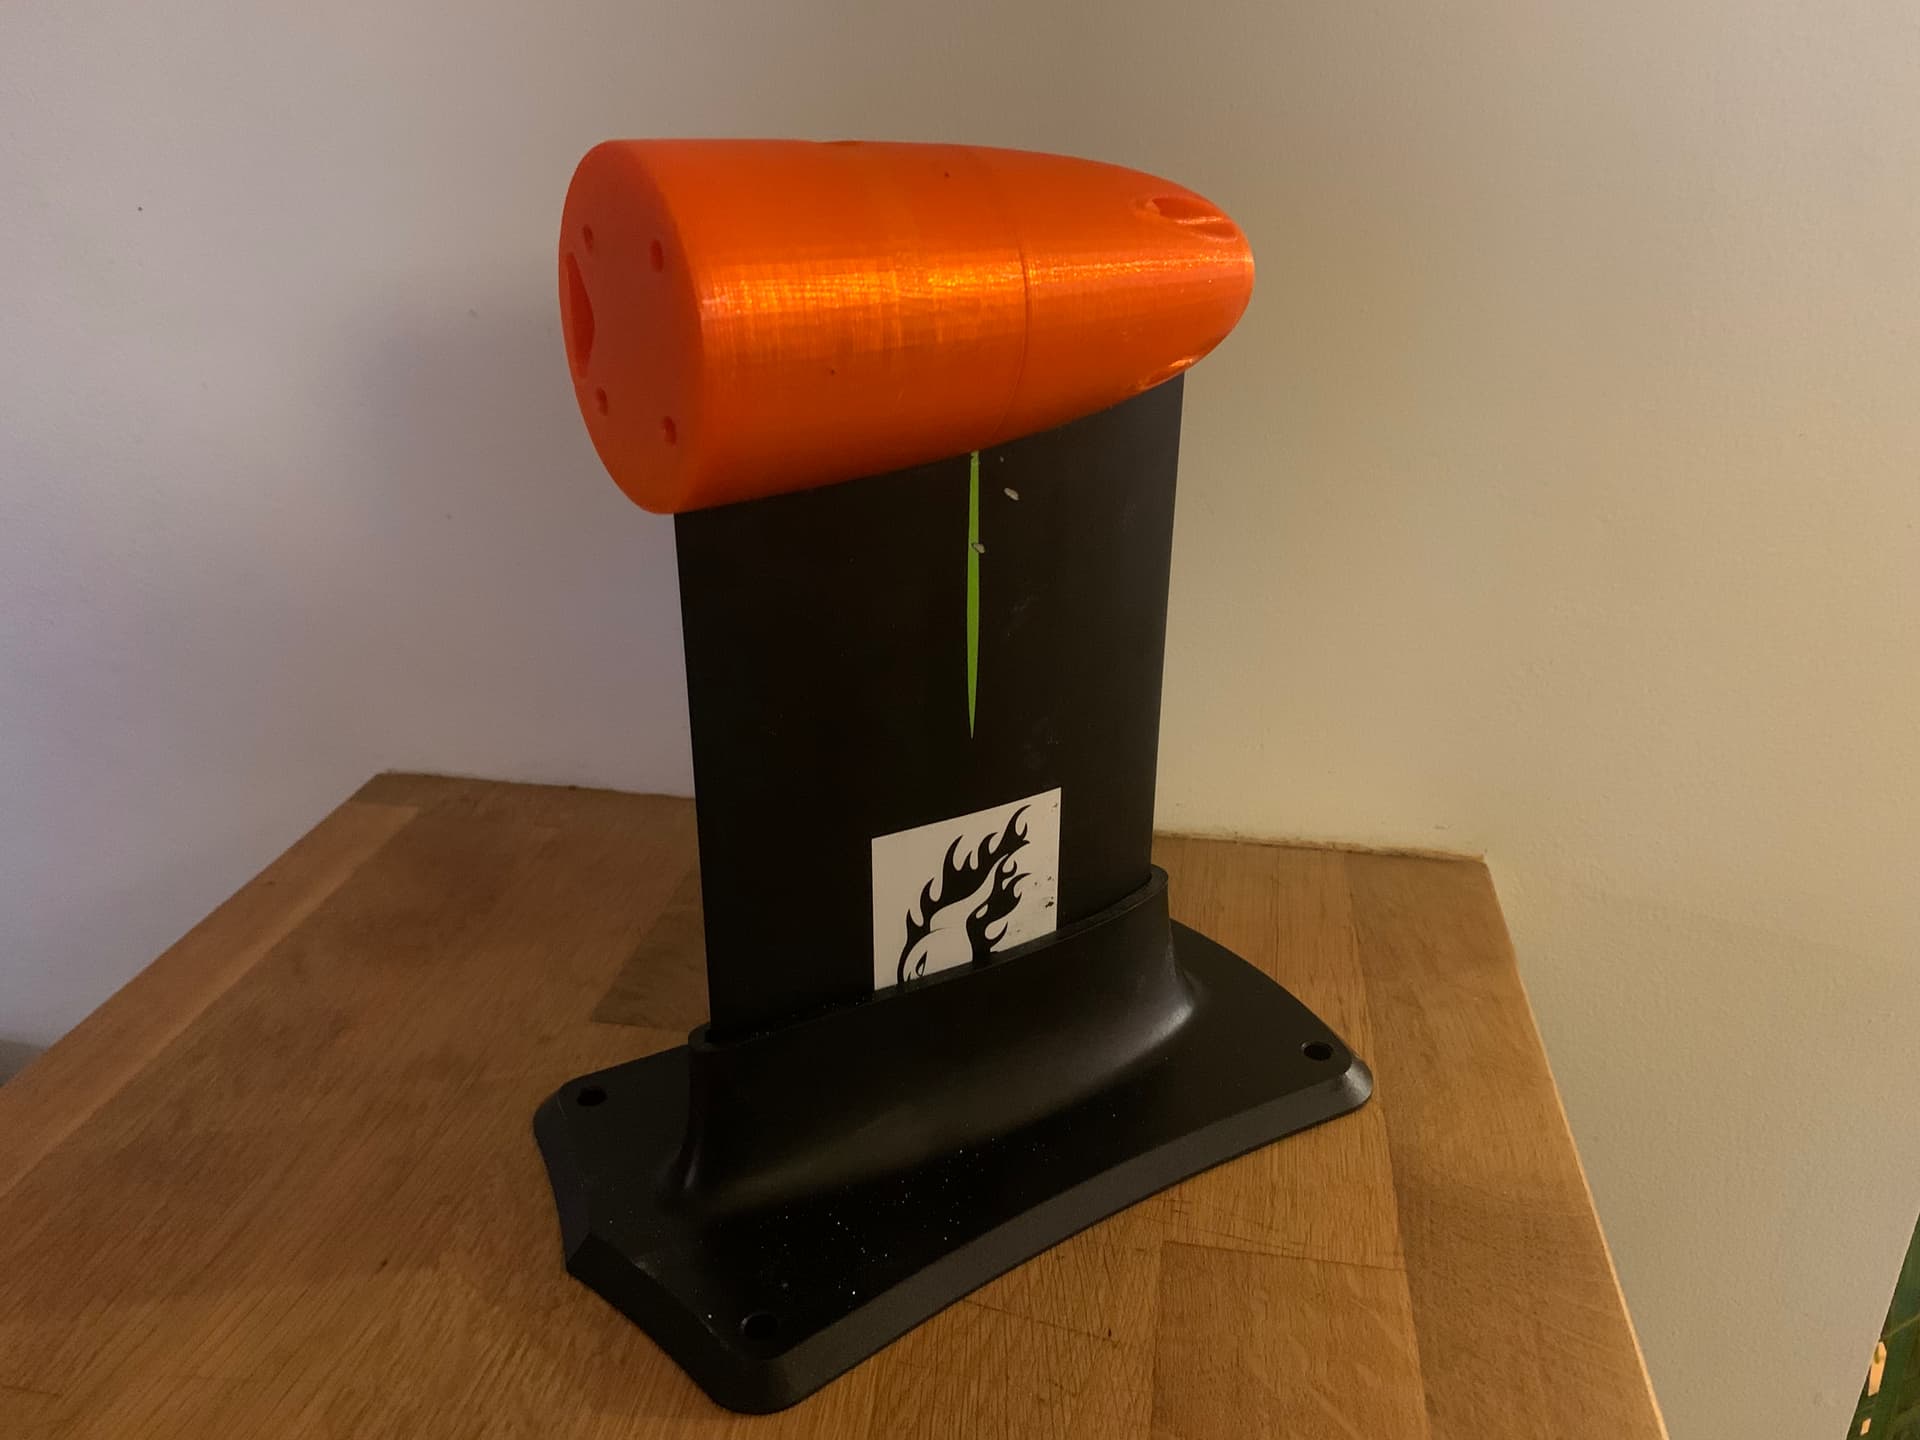
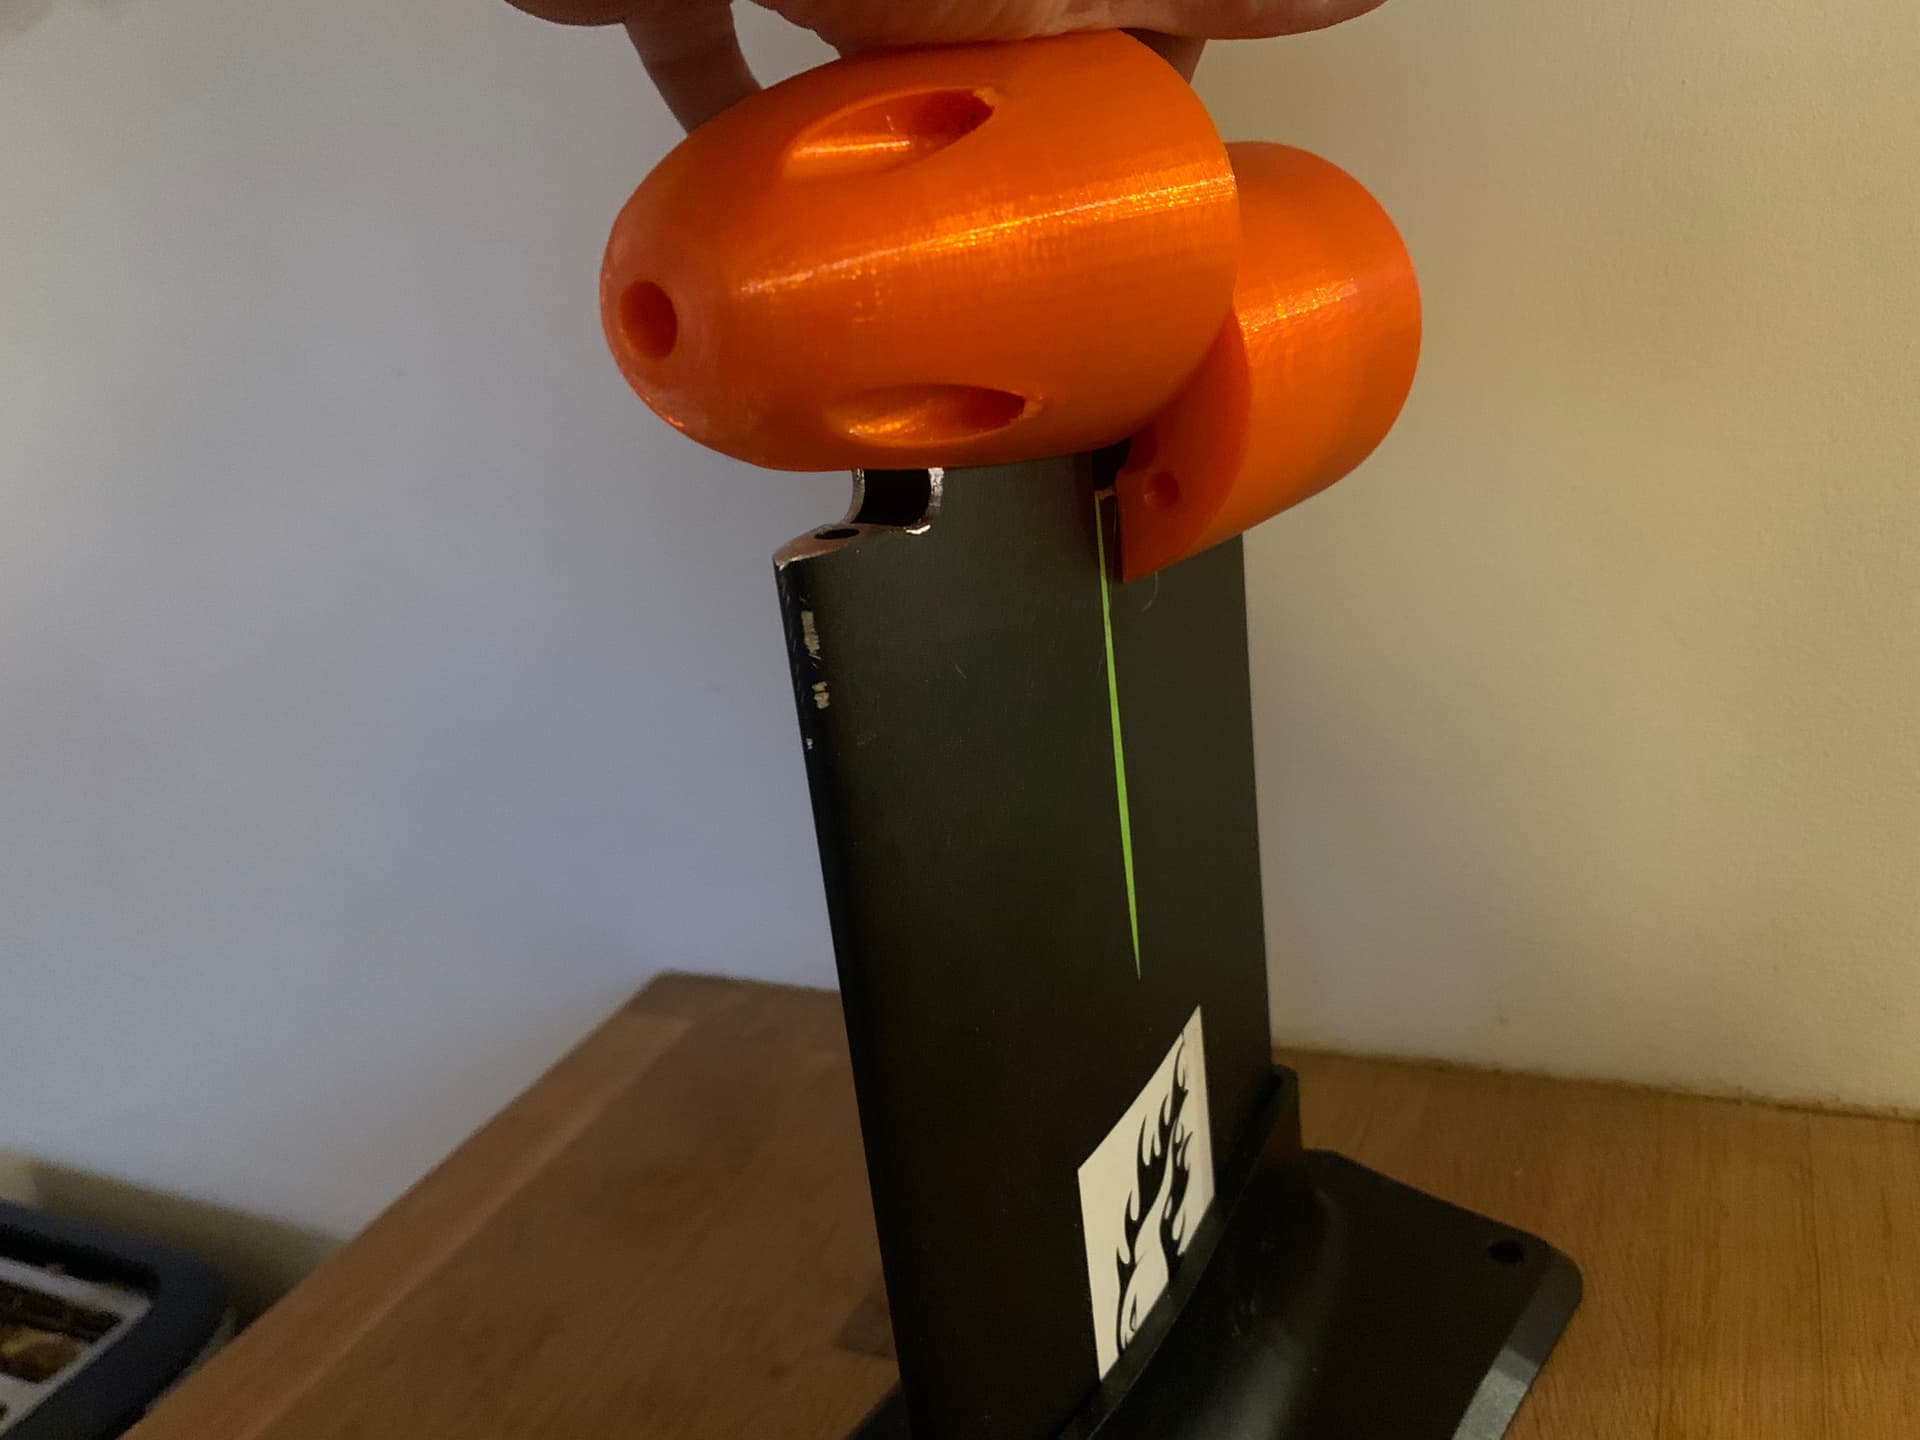
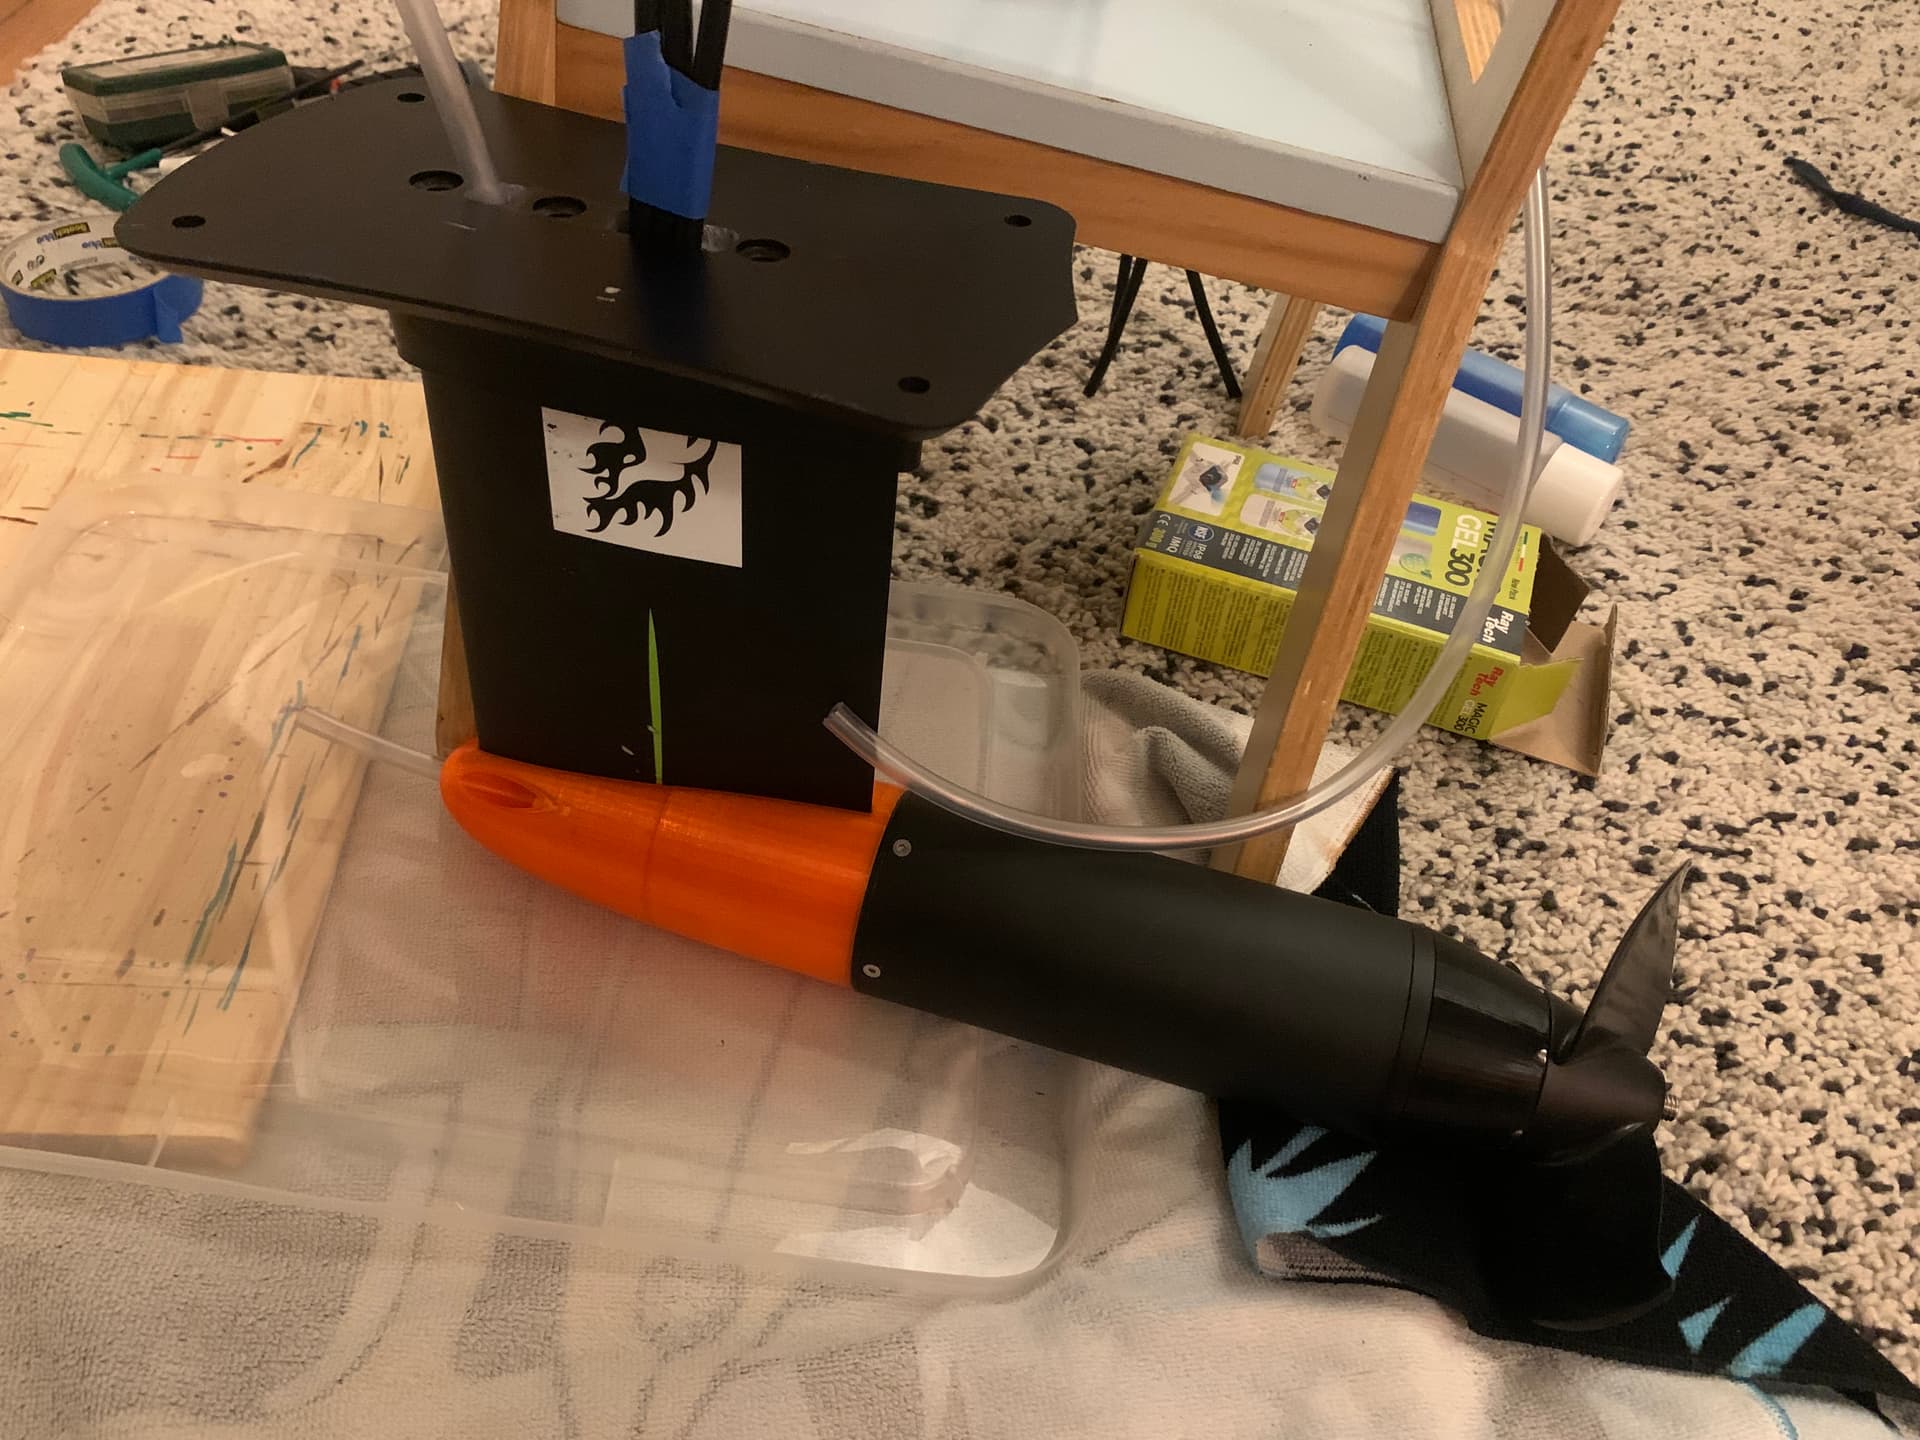
mast pod is almost done. I’m waiting for the screws to attach the motor and take this opportunity to add some silicon here a there.
any idea on how to avoid rust on the mast which is aluminium but has no more coat on it? black paint?
1 Like
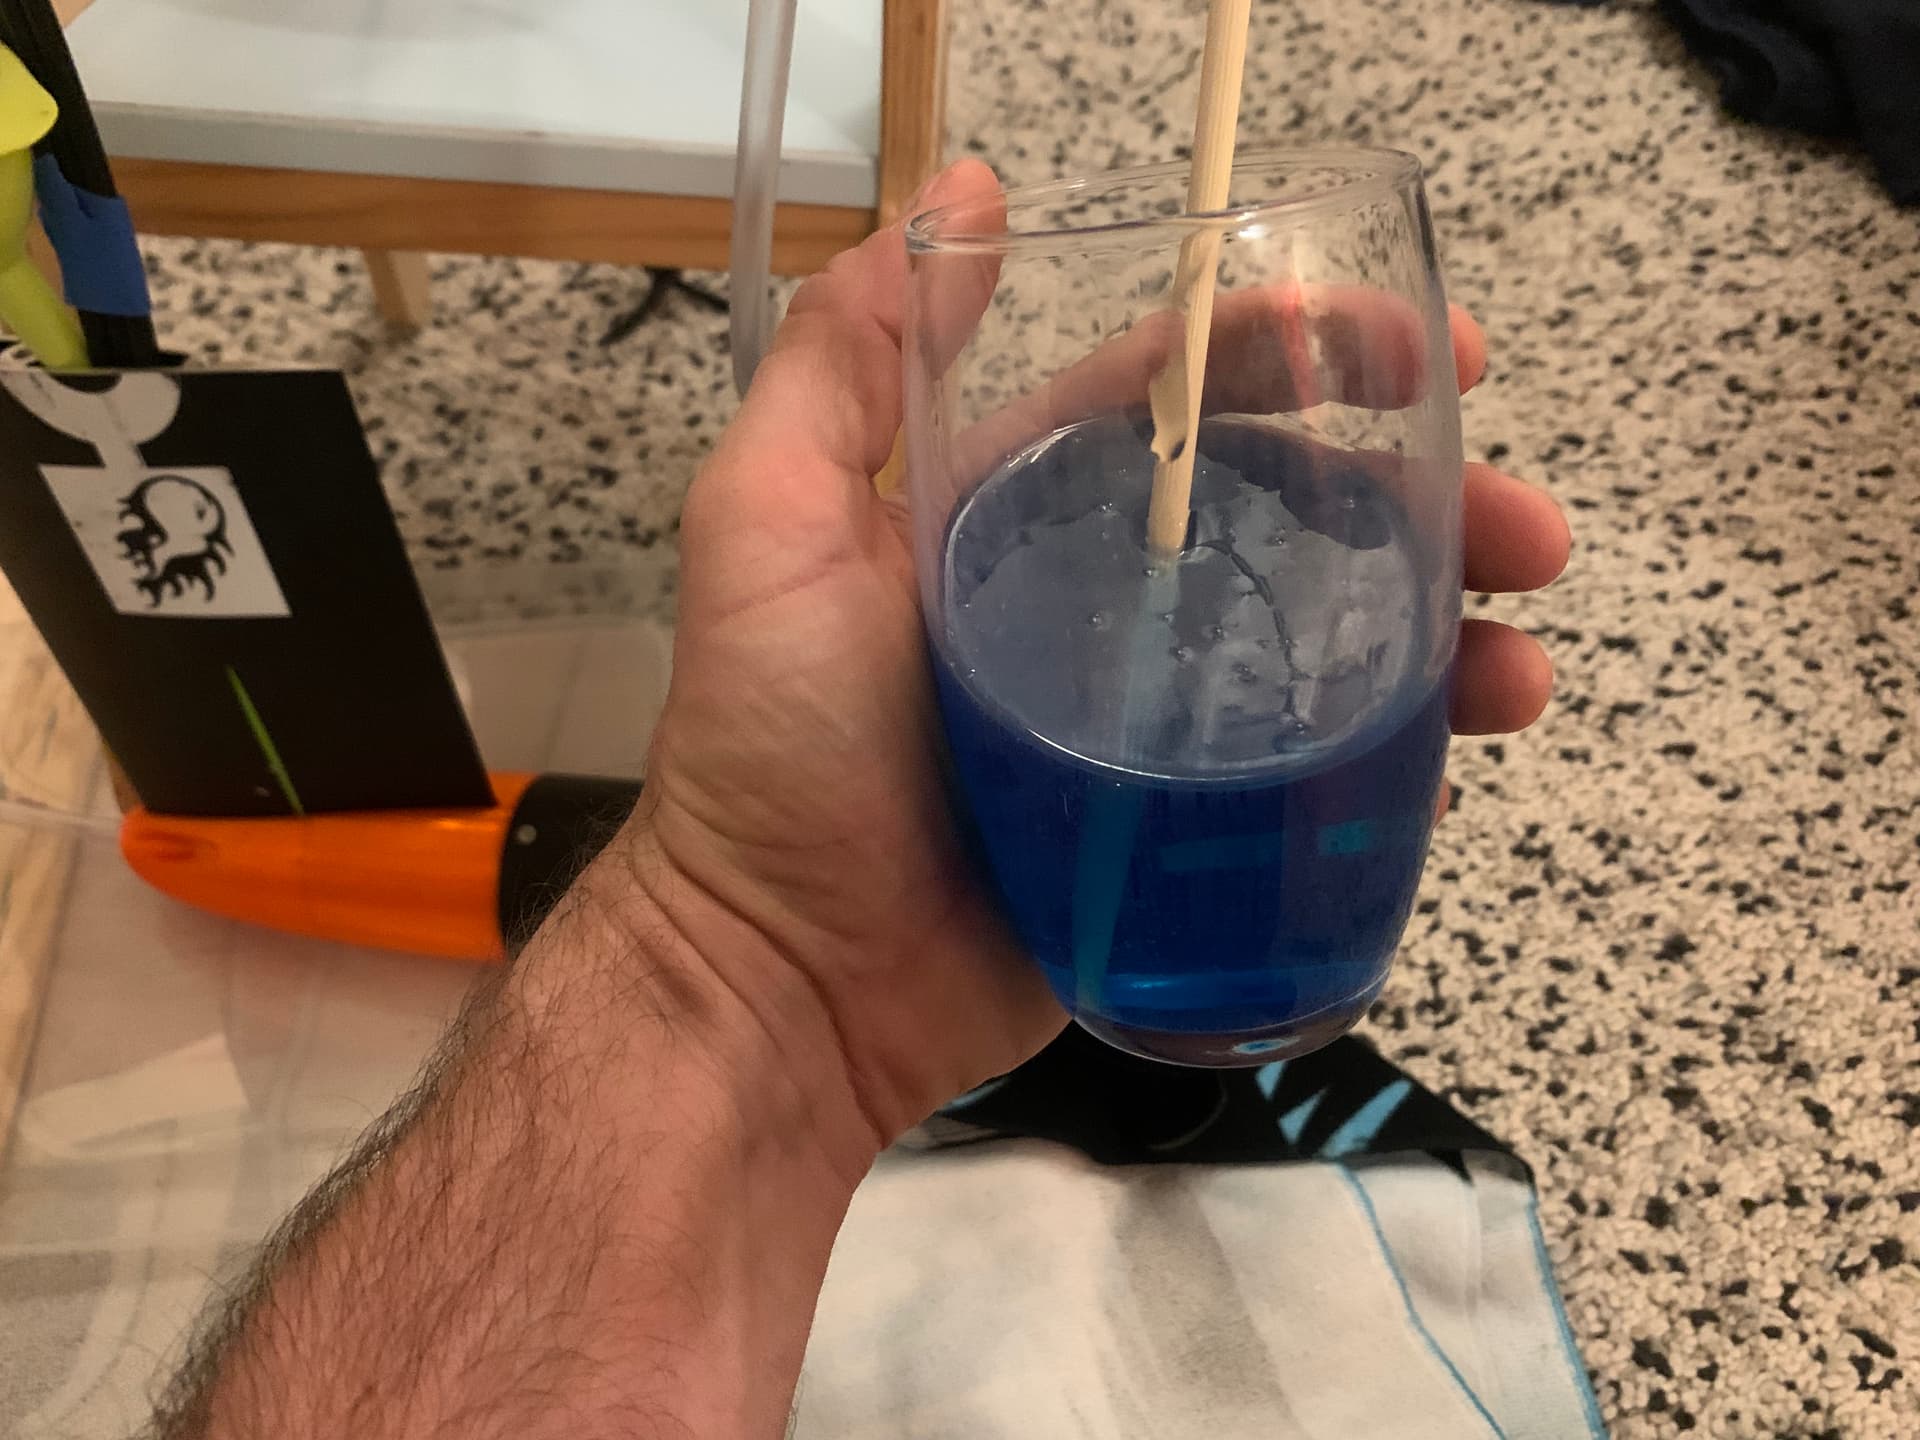
some orders have arrived. The mast & motor pod is now almost complete. I’ve added water sealant to keep the inside isolated and clean.
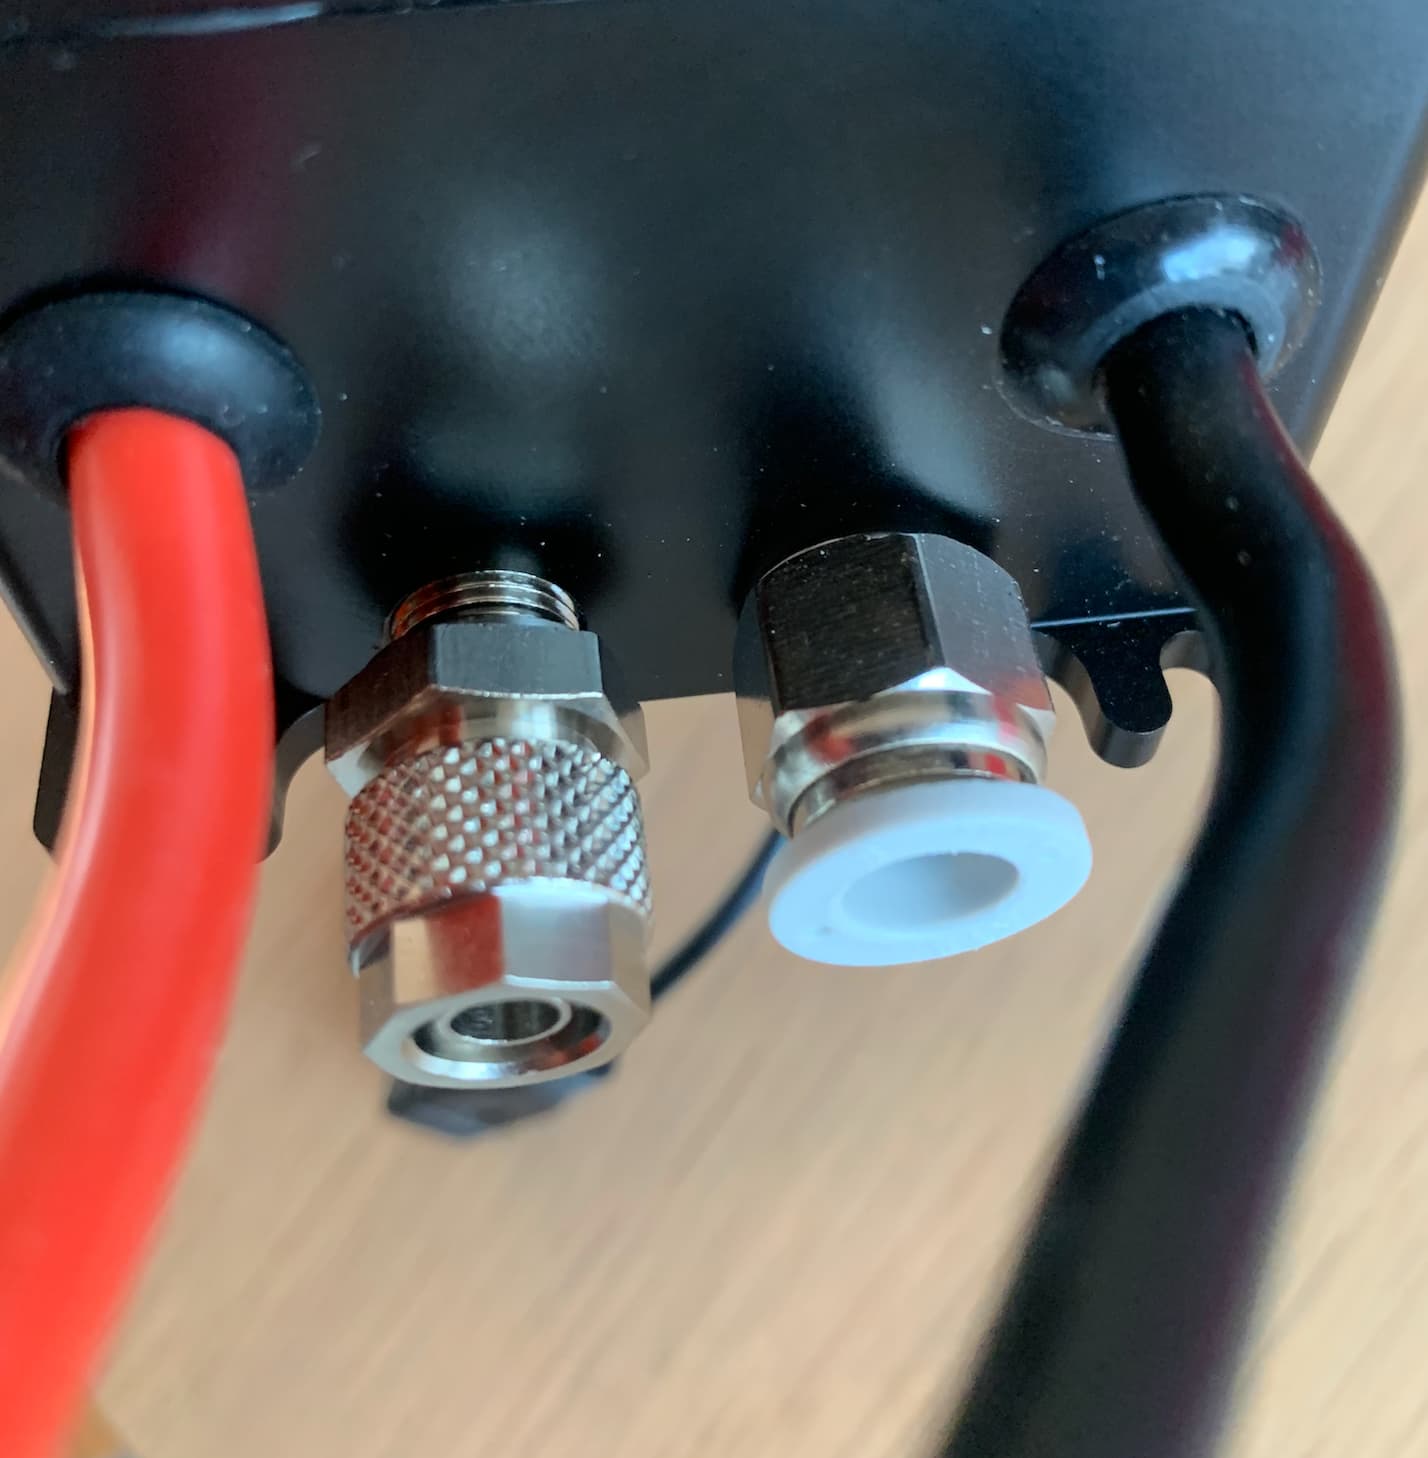
I also took care of the 75200 FESC with more appropriate water inlet/outlets. I’ll secure them with teflon tape.
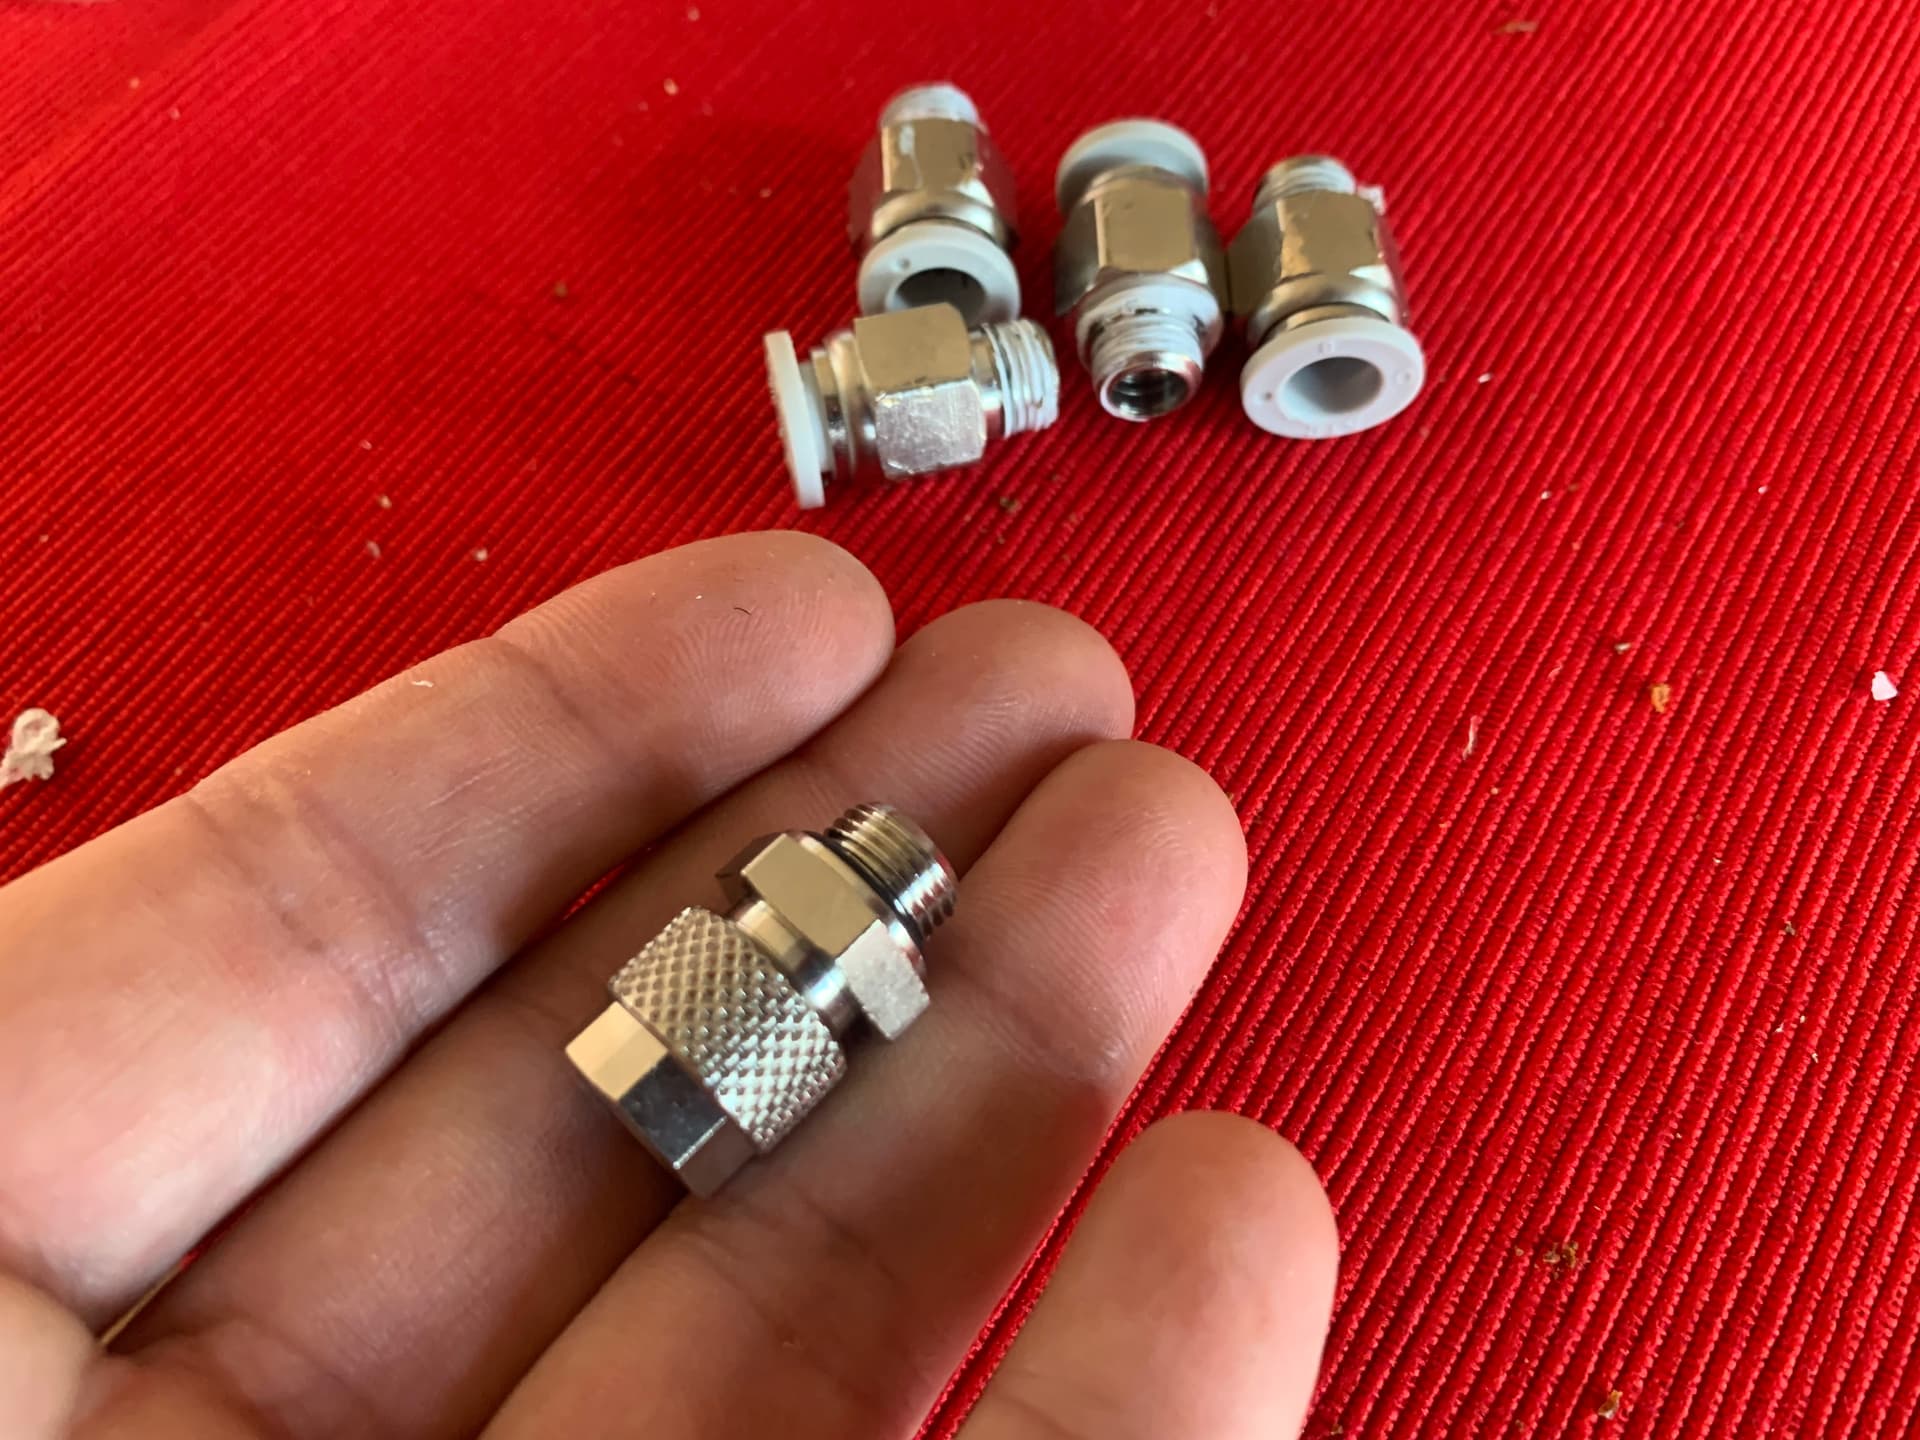
@Foilguy FYI
1 Like