I’ve taken some delay on the building of my eFoil so I decided to start another build in parallel. A much easier one but with a lot of uncertainty. I’m going for a Tow build, @Jatem 's style.
For the electronics:
remote : maytech v2
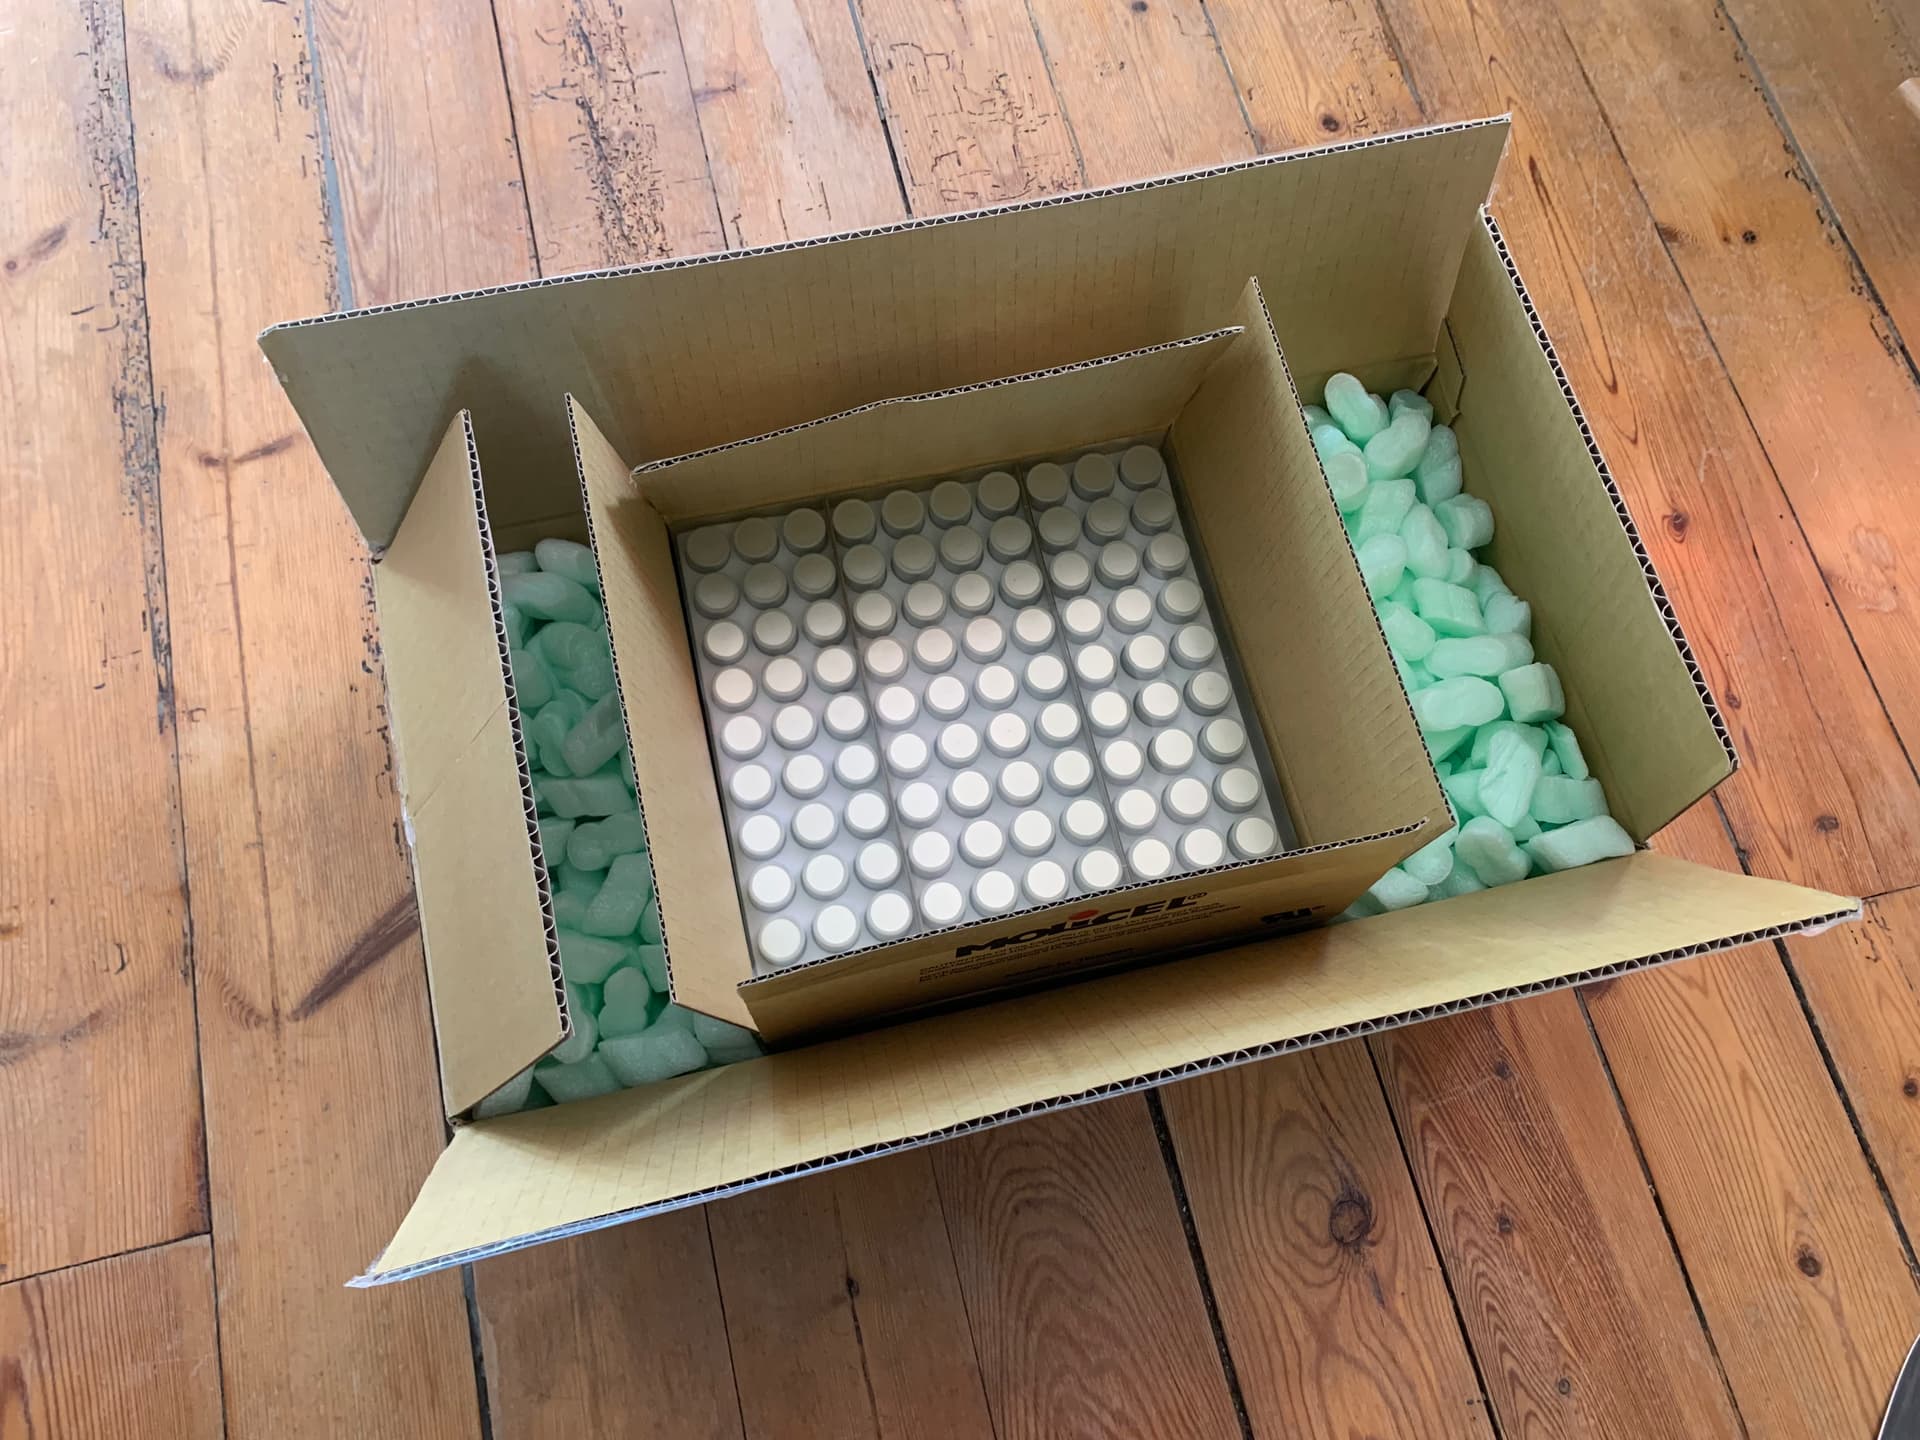
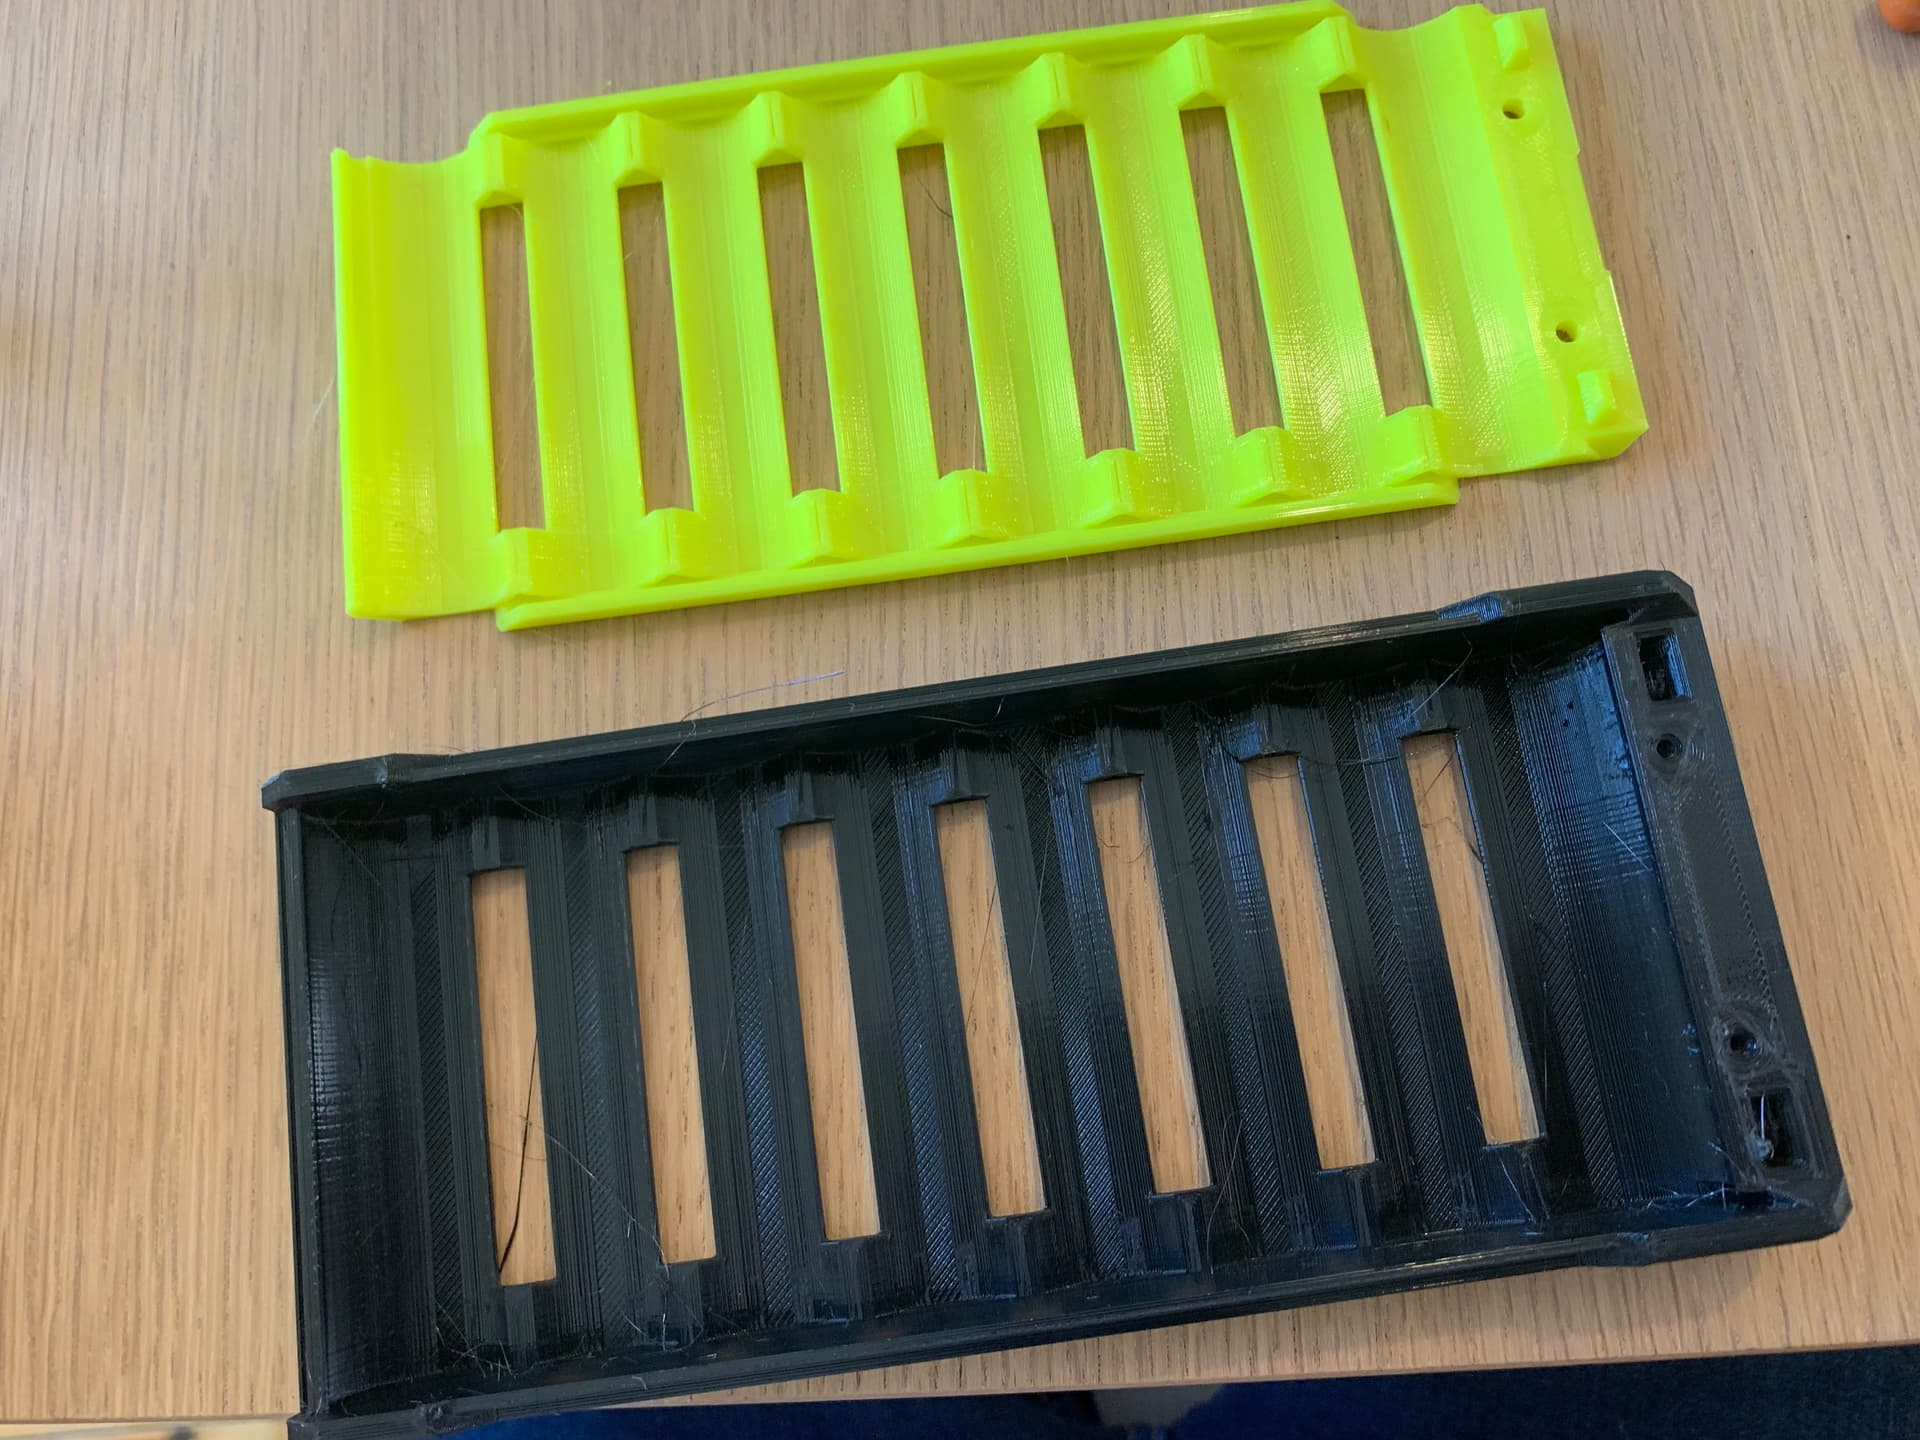
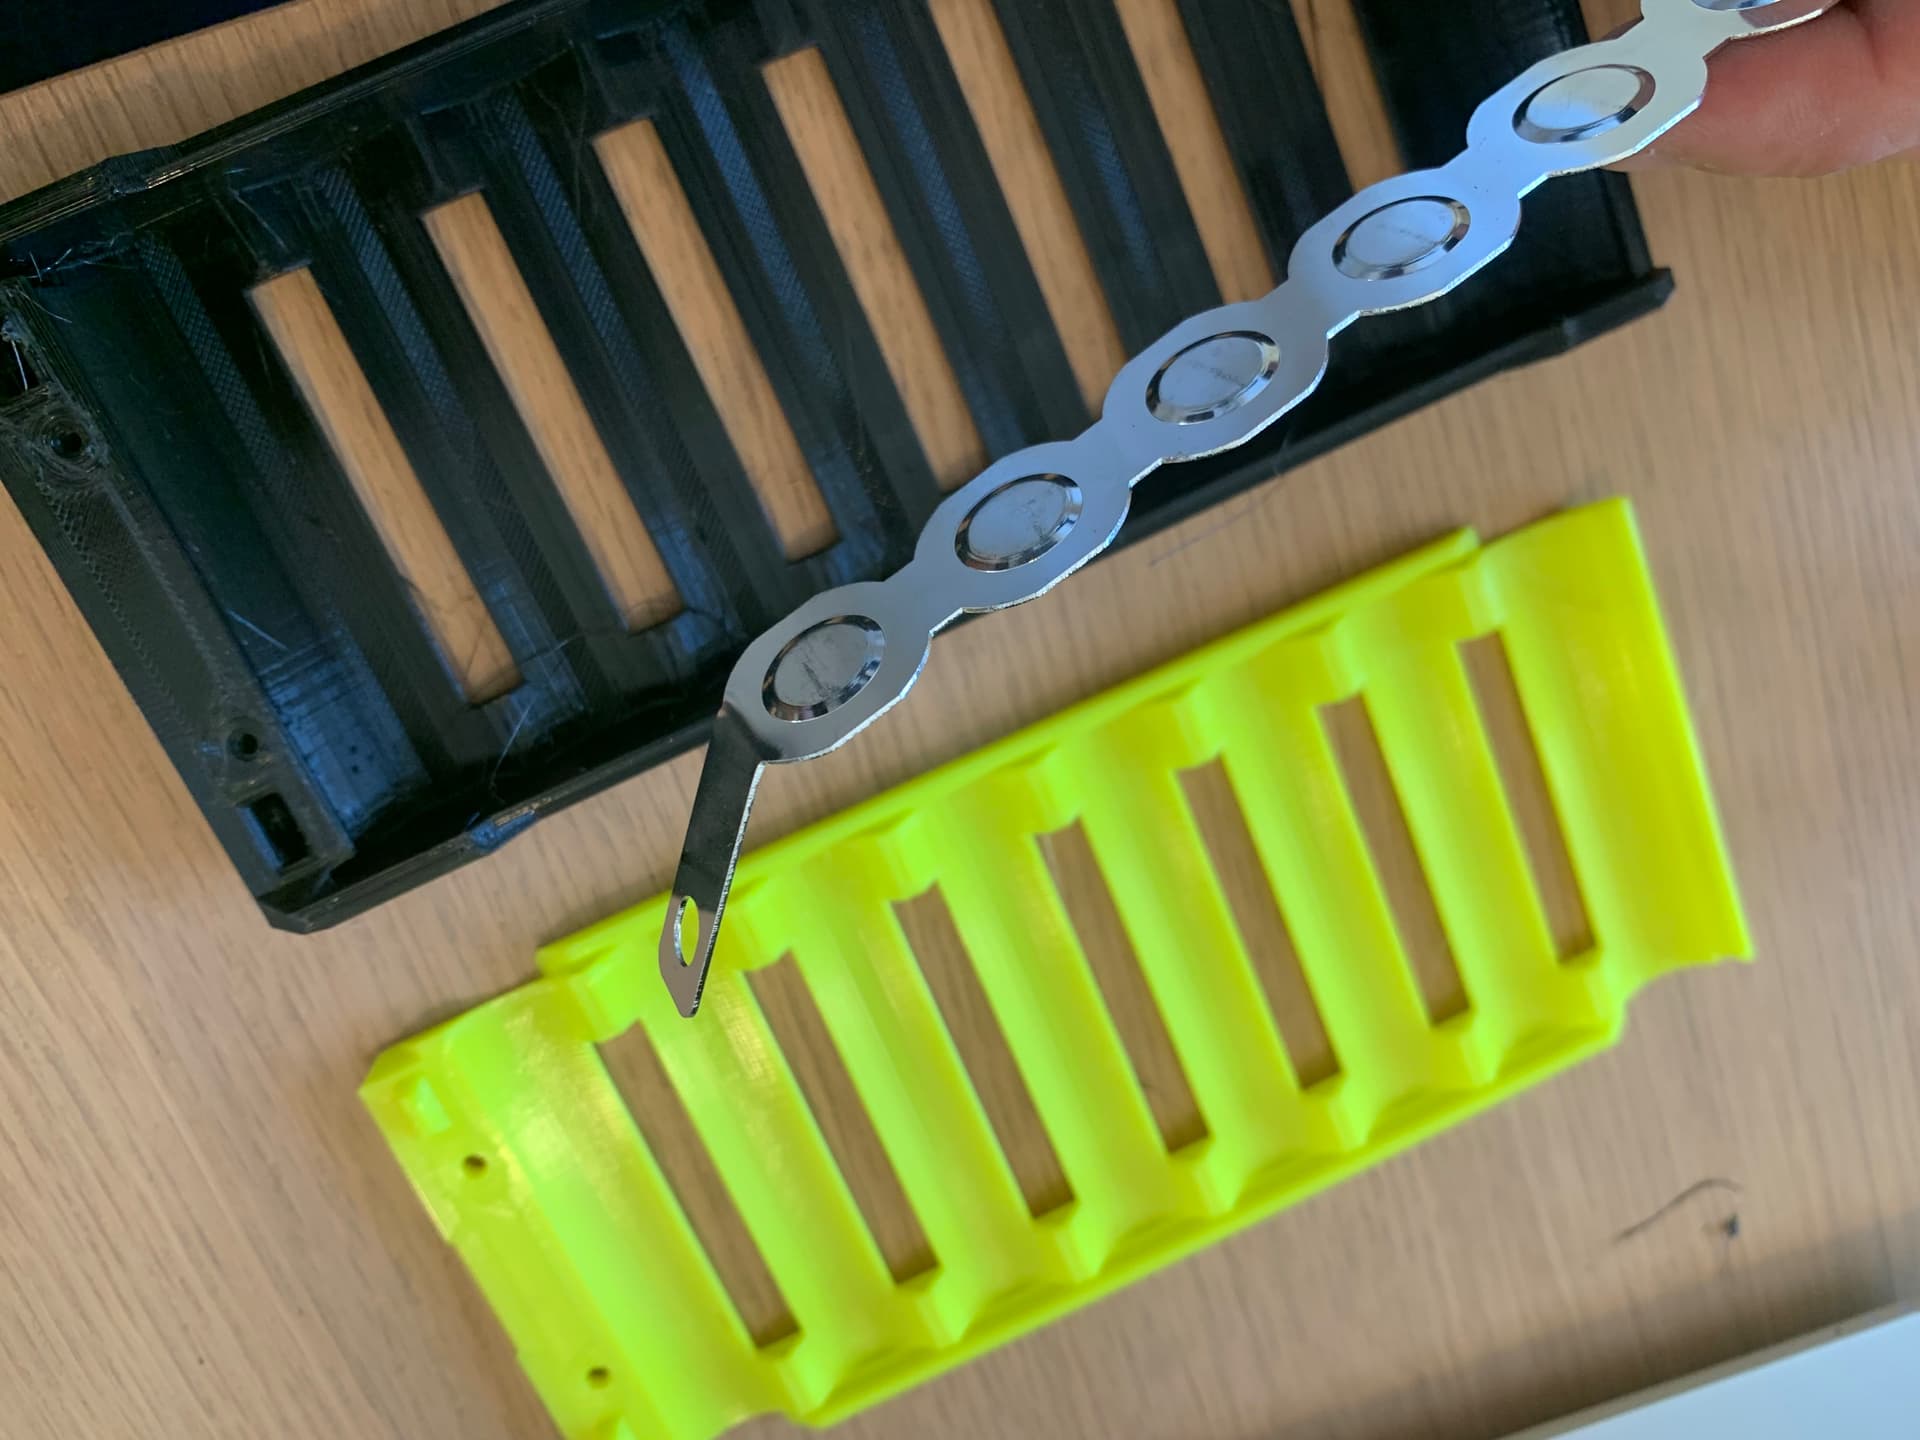
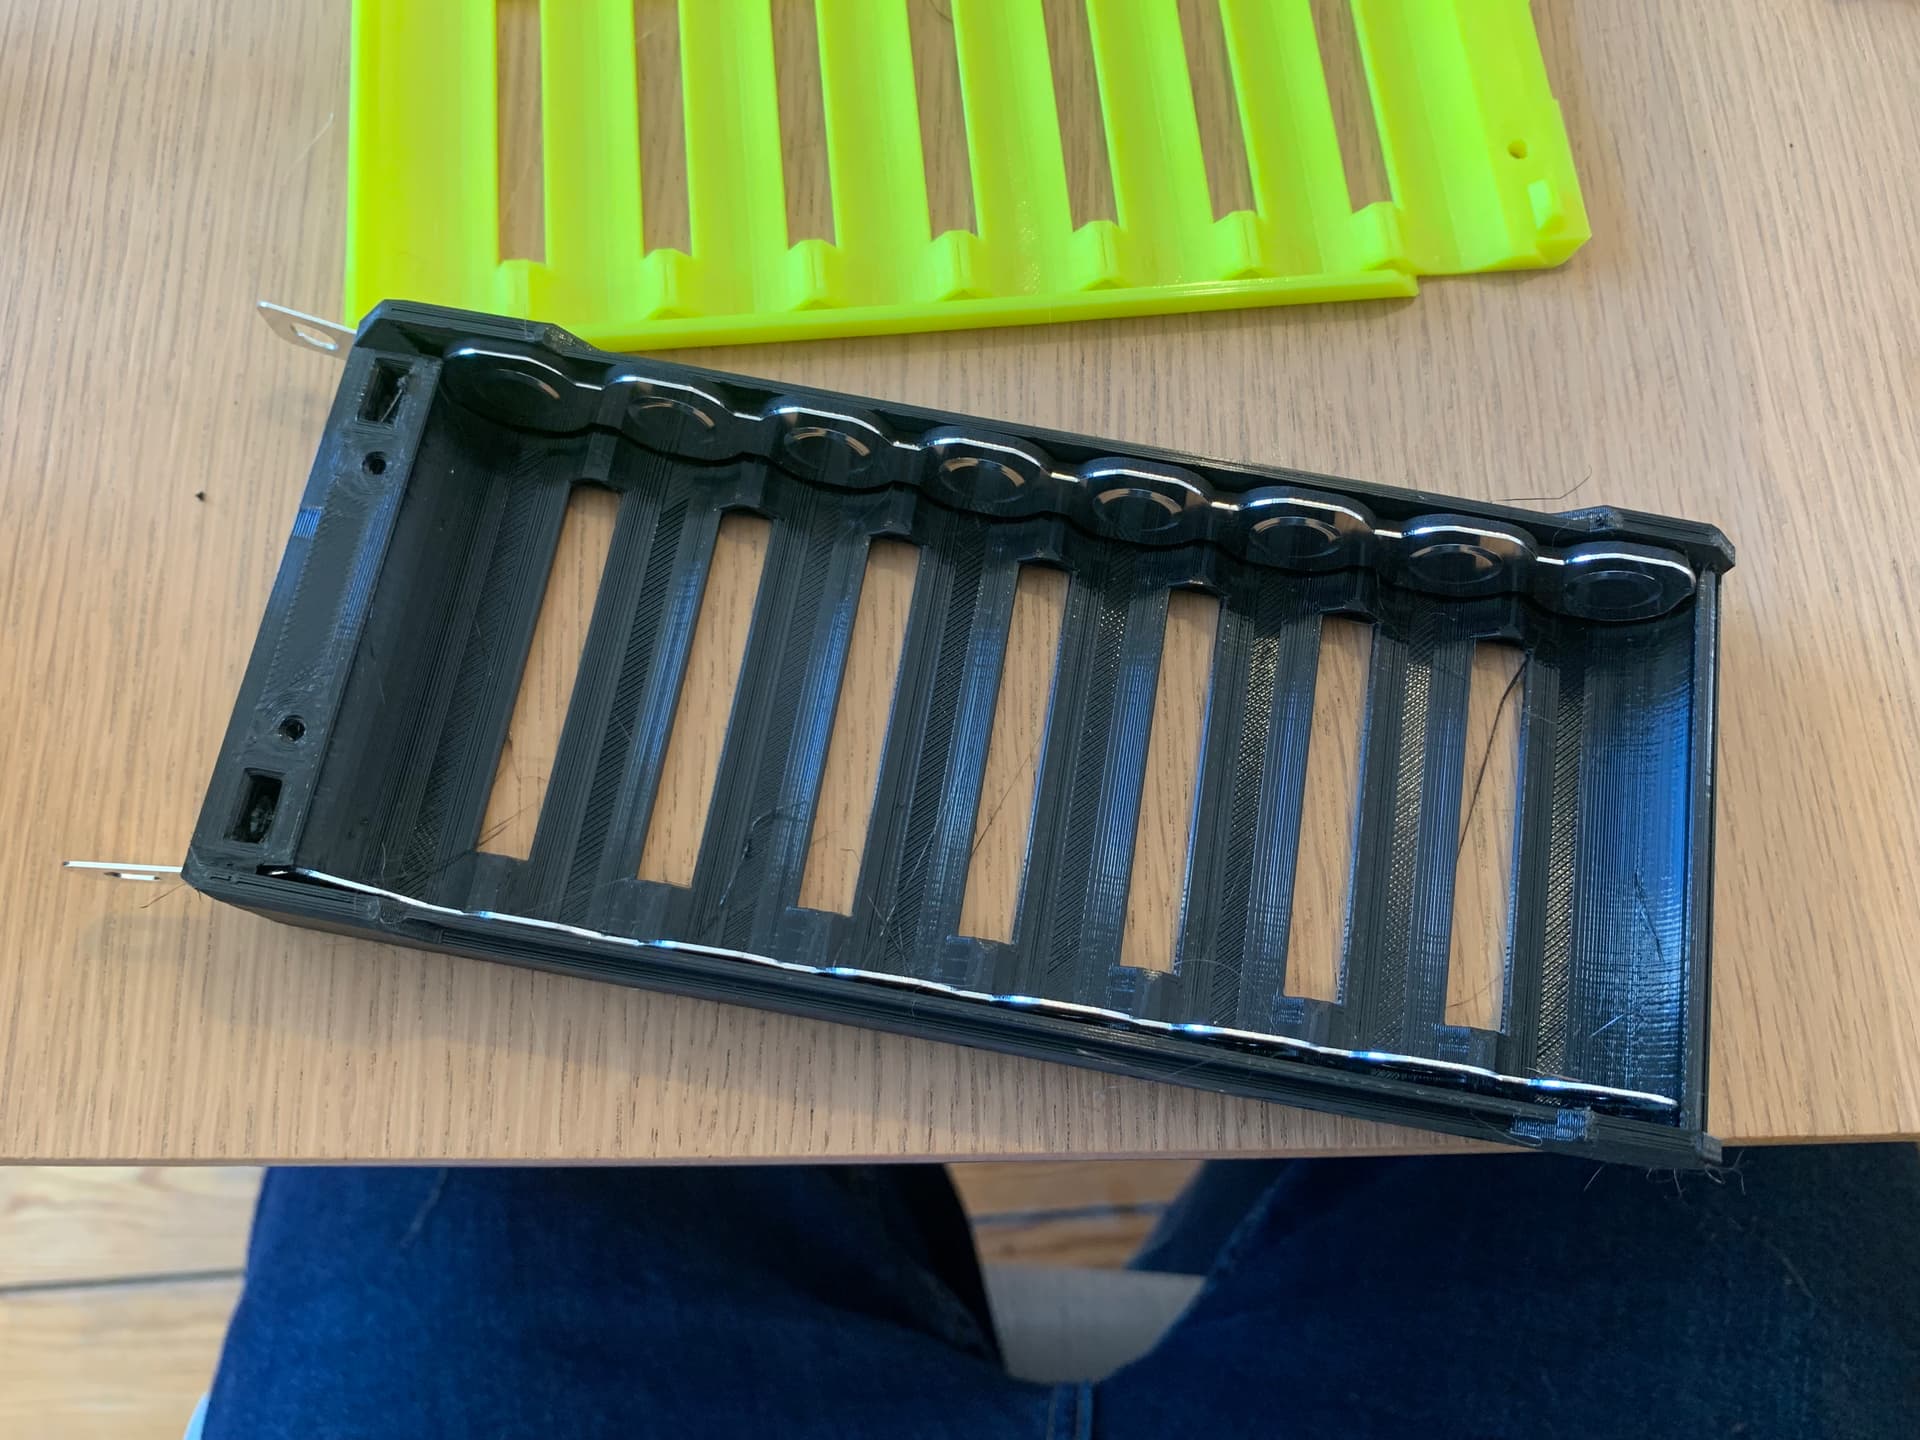
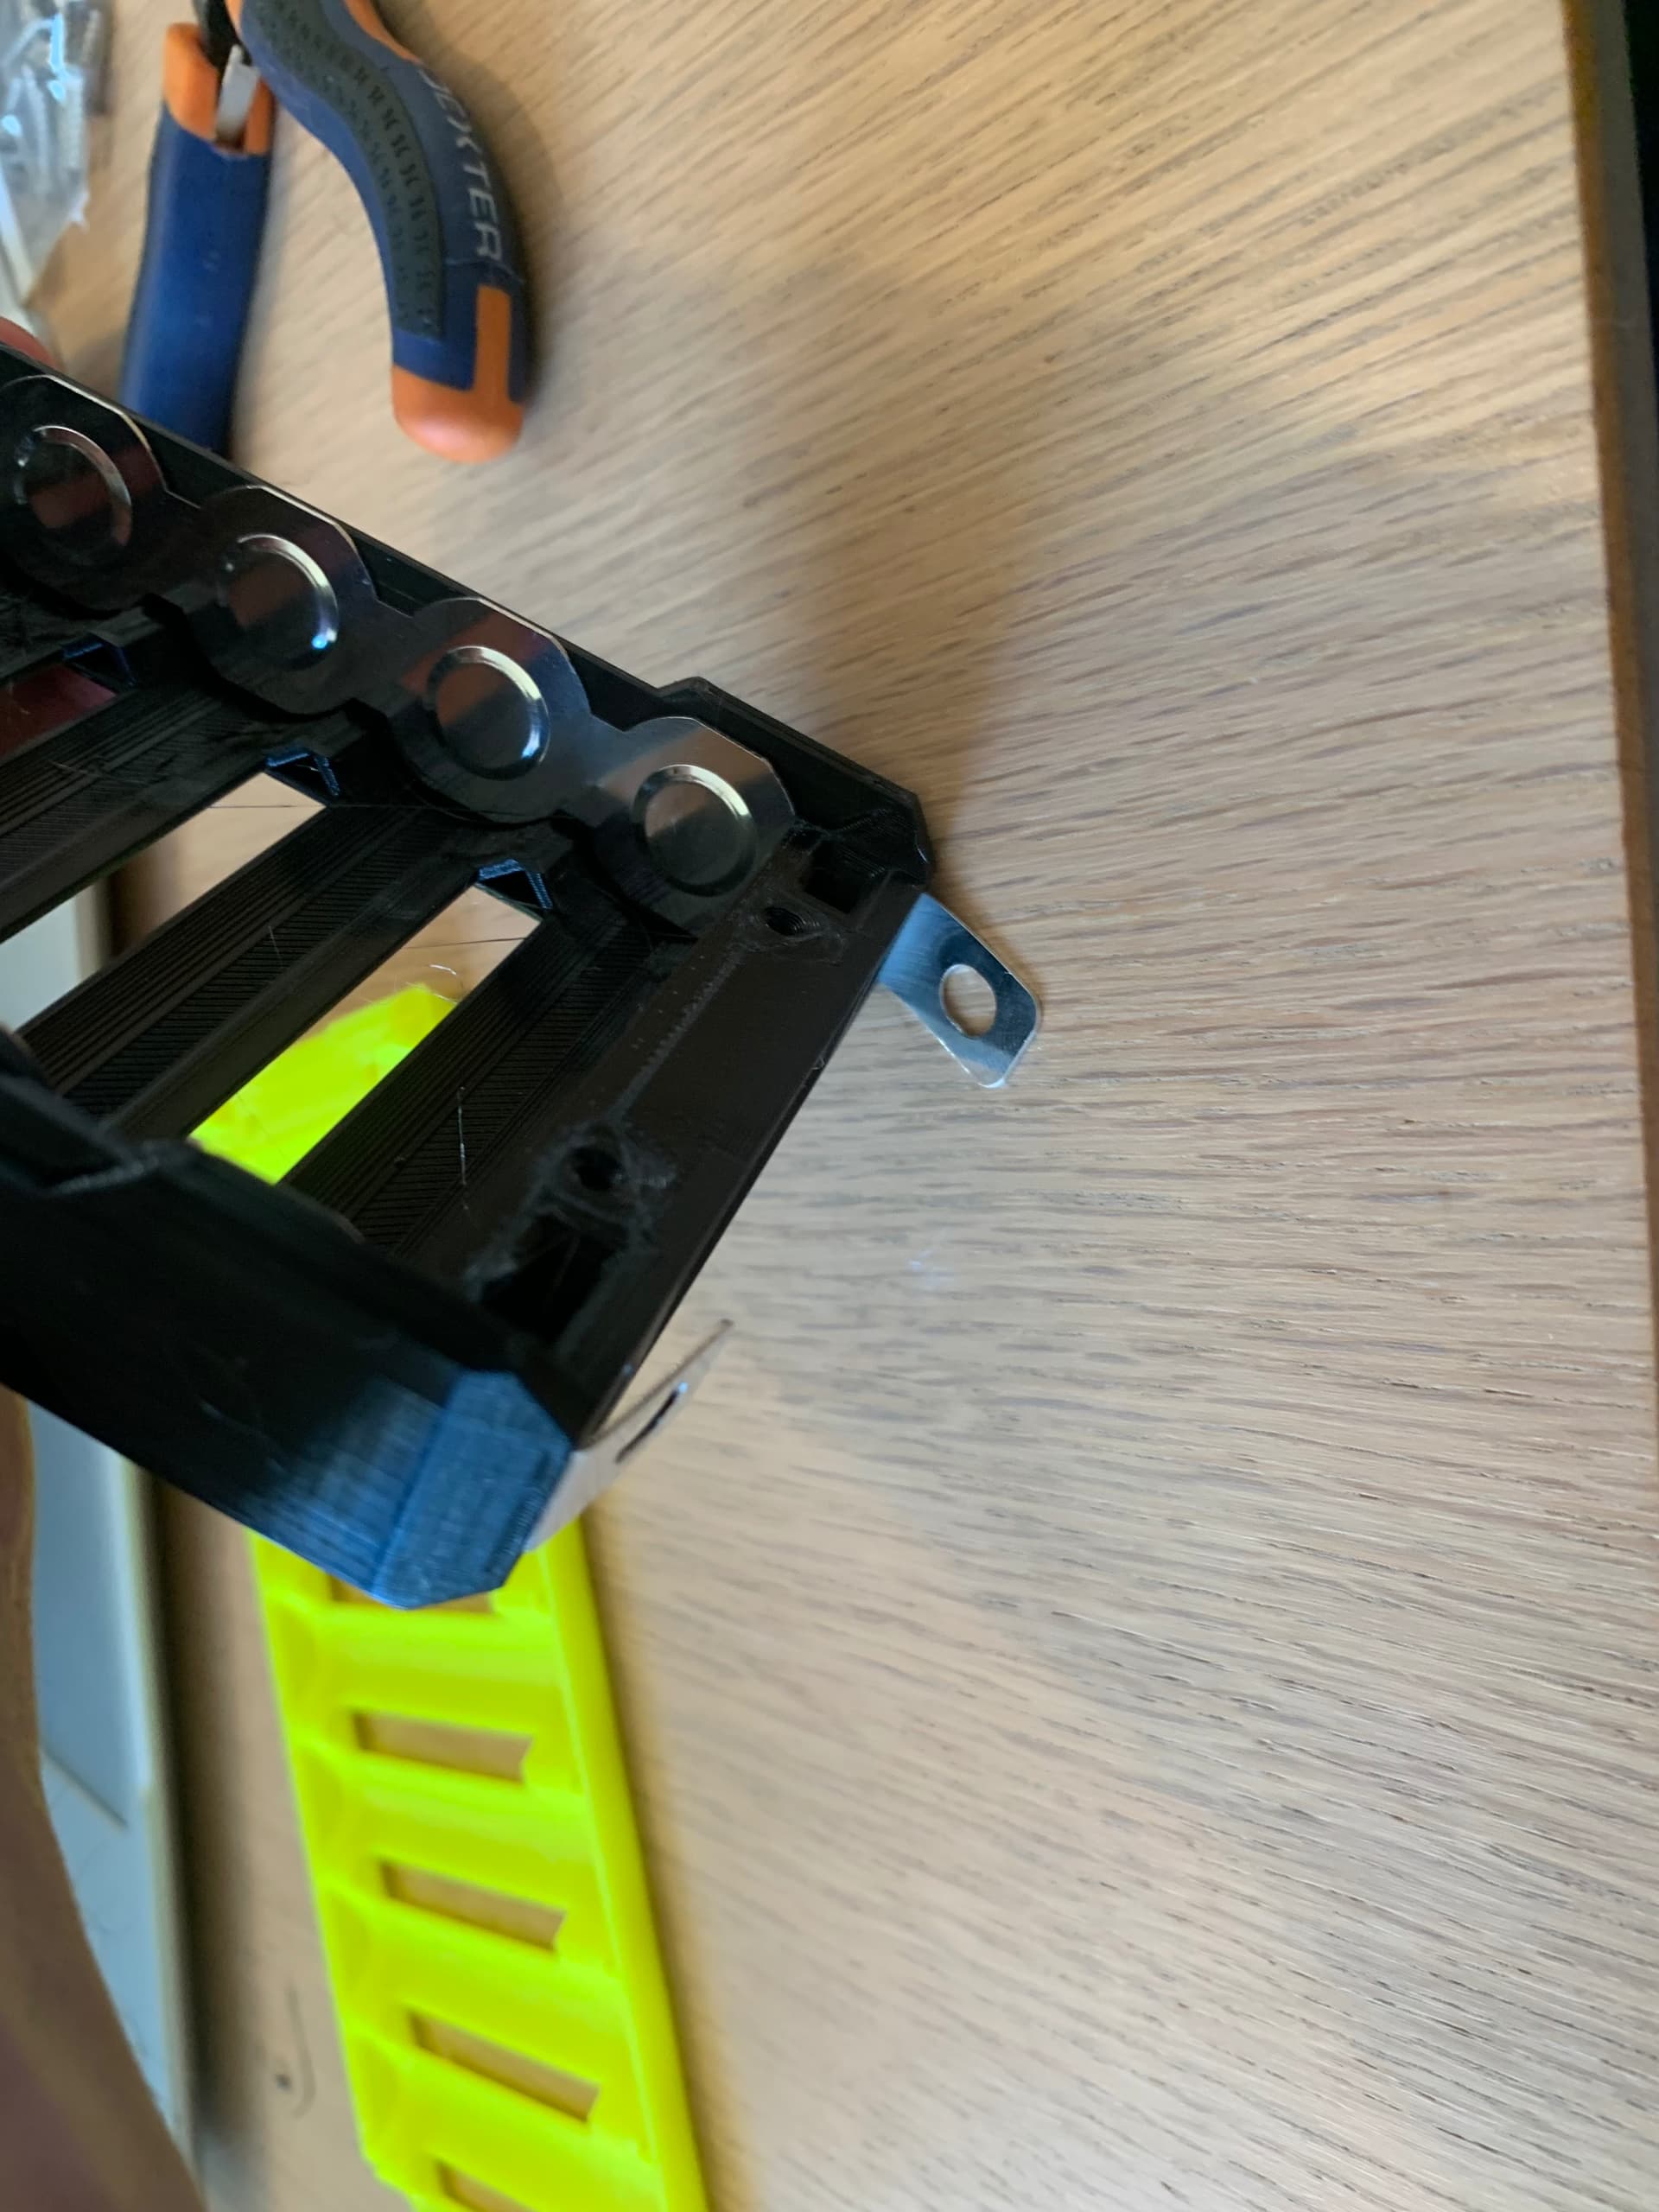
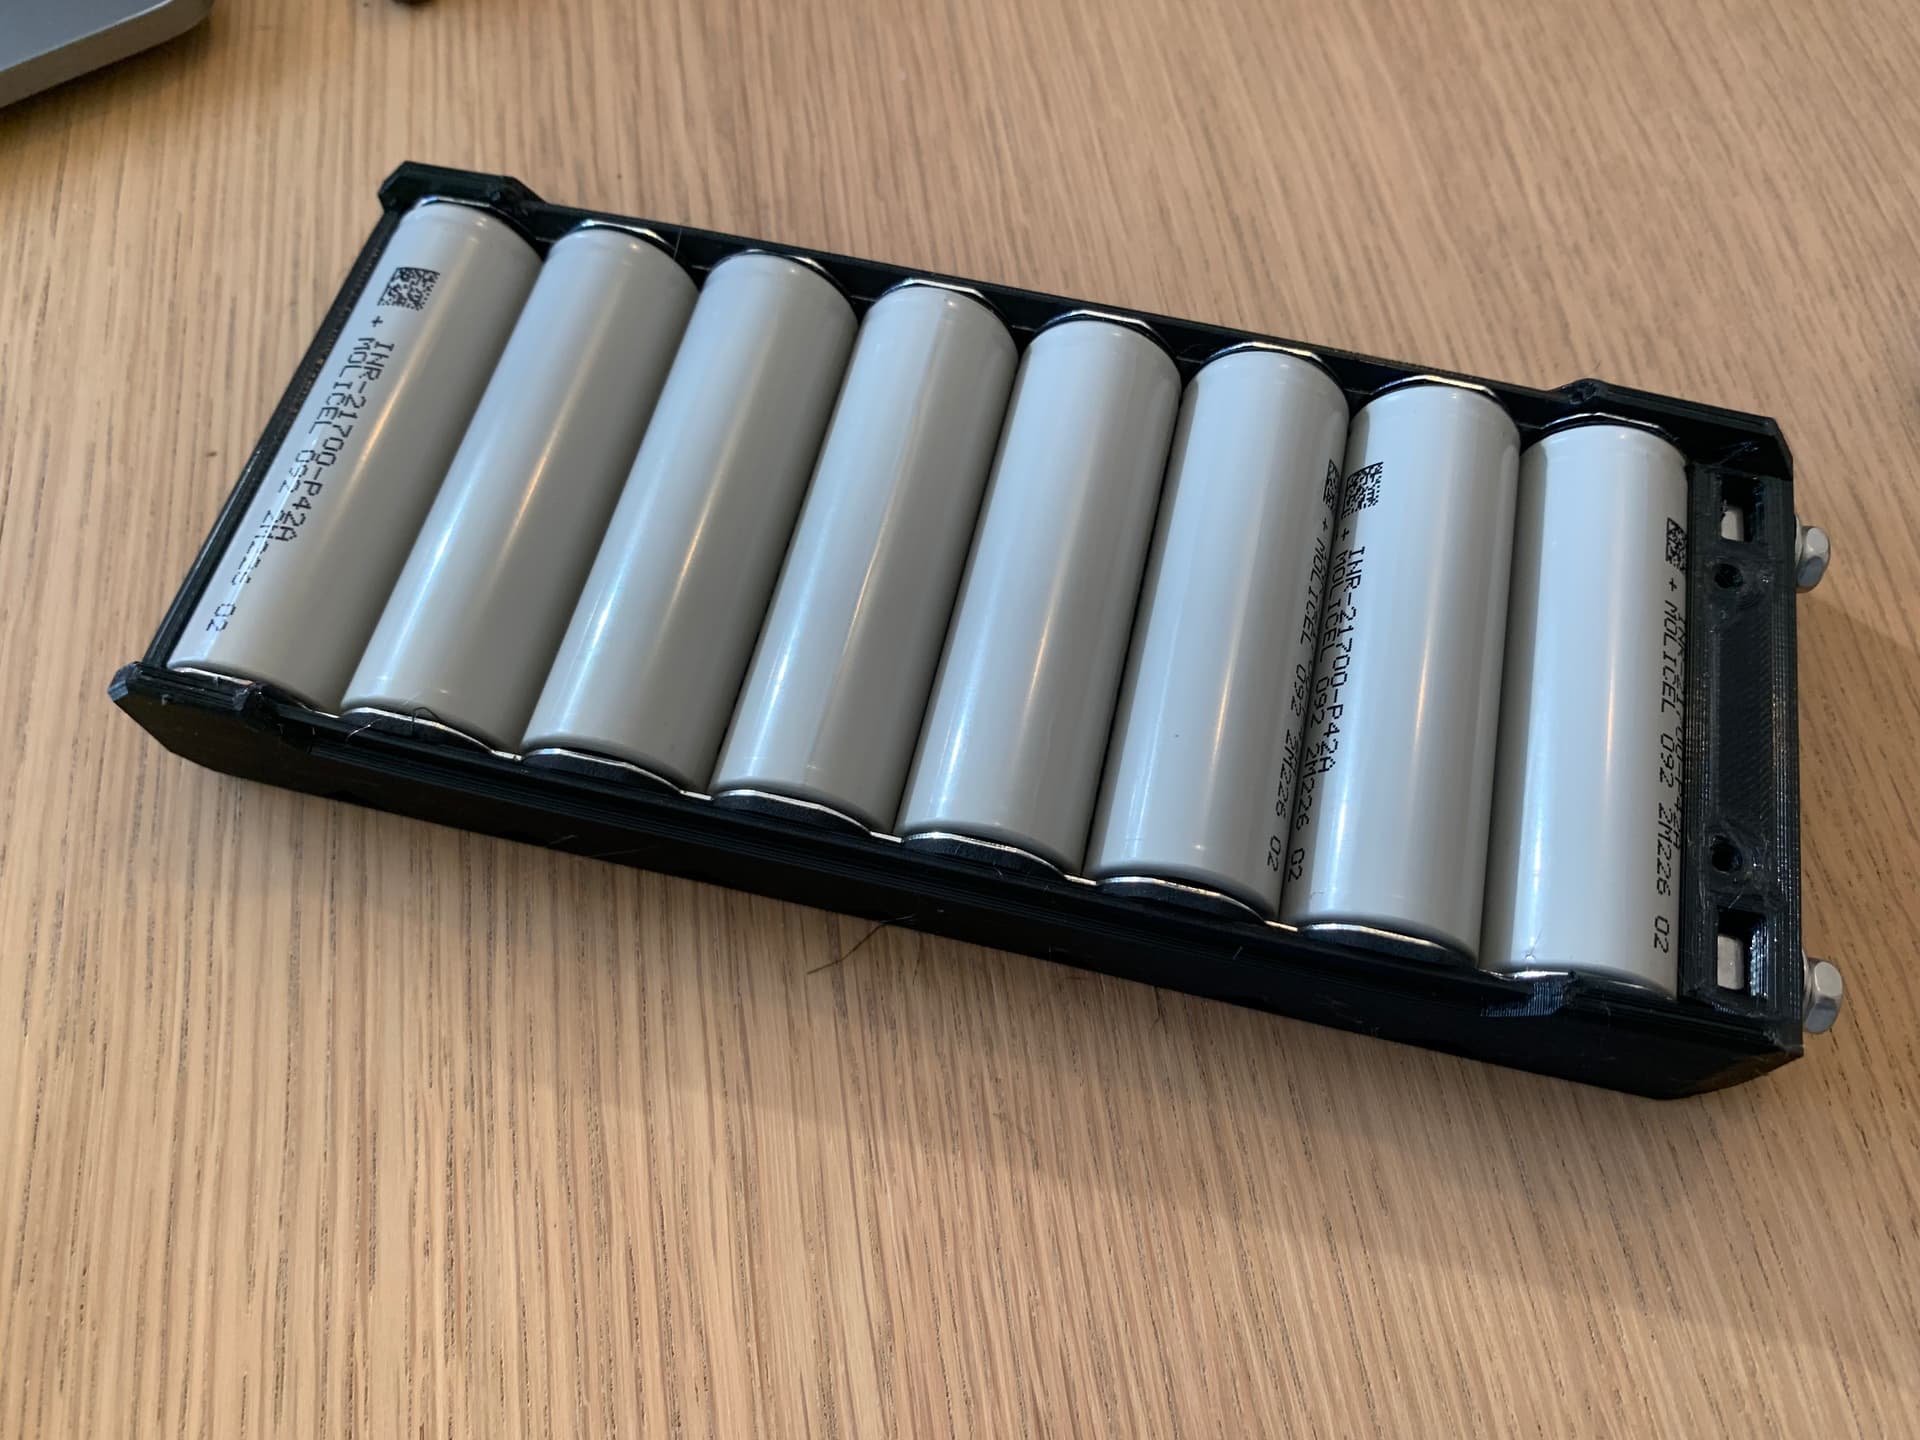
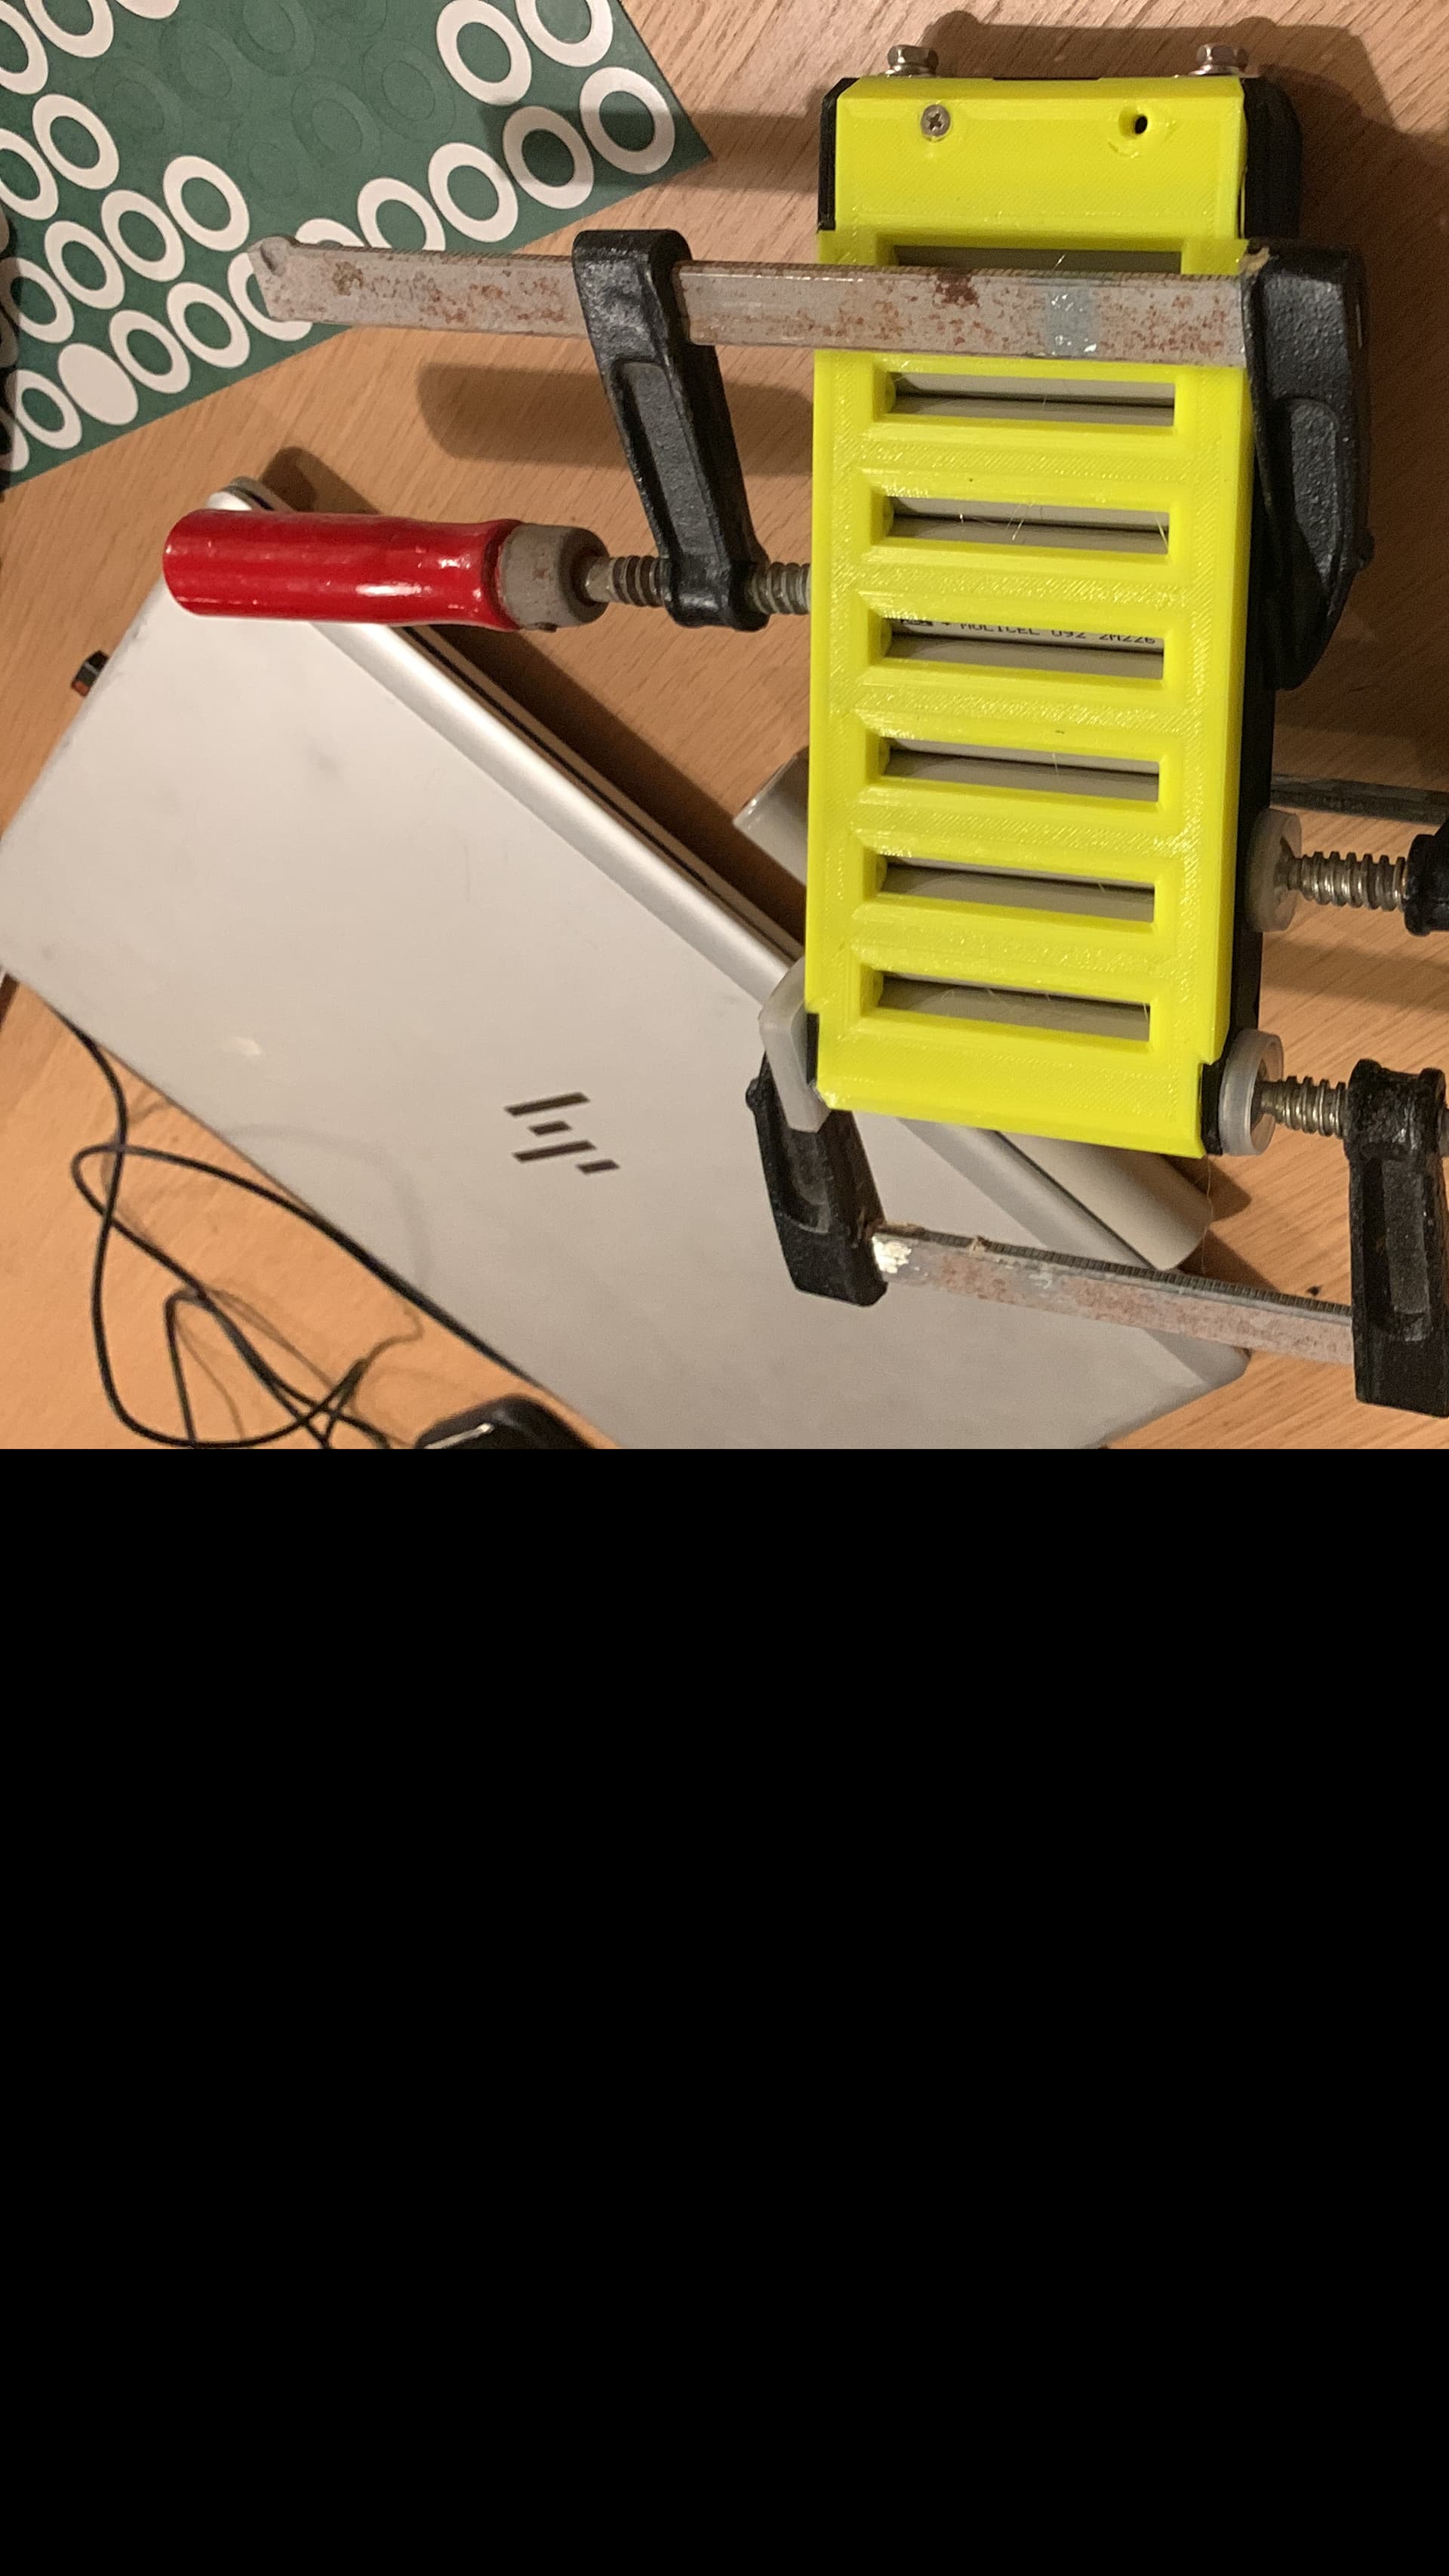
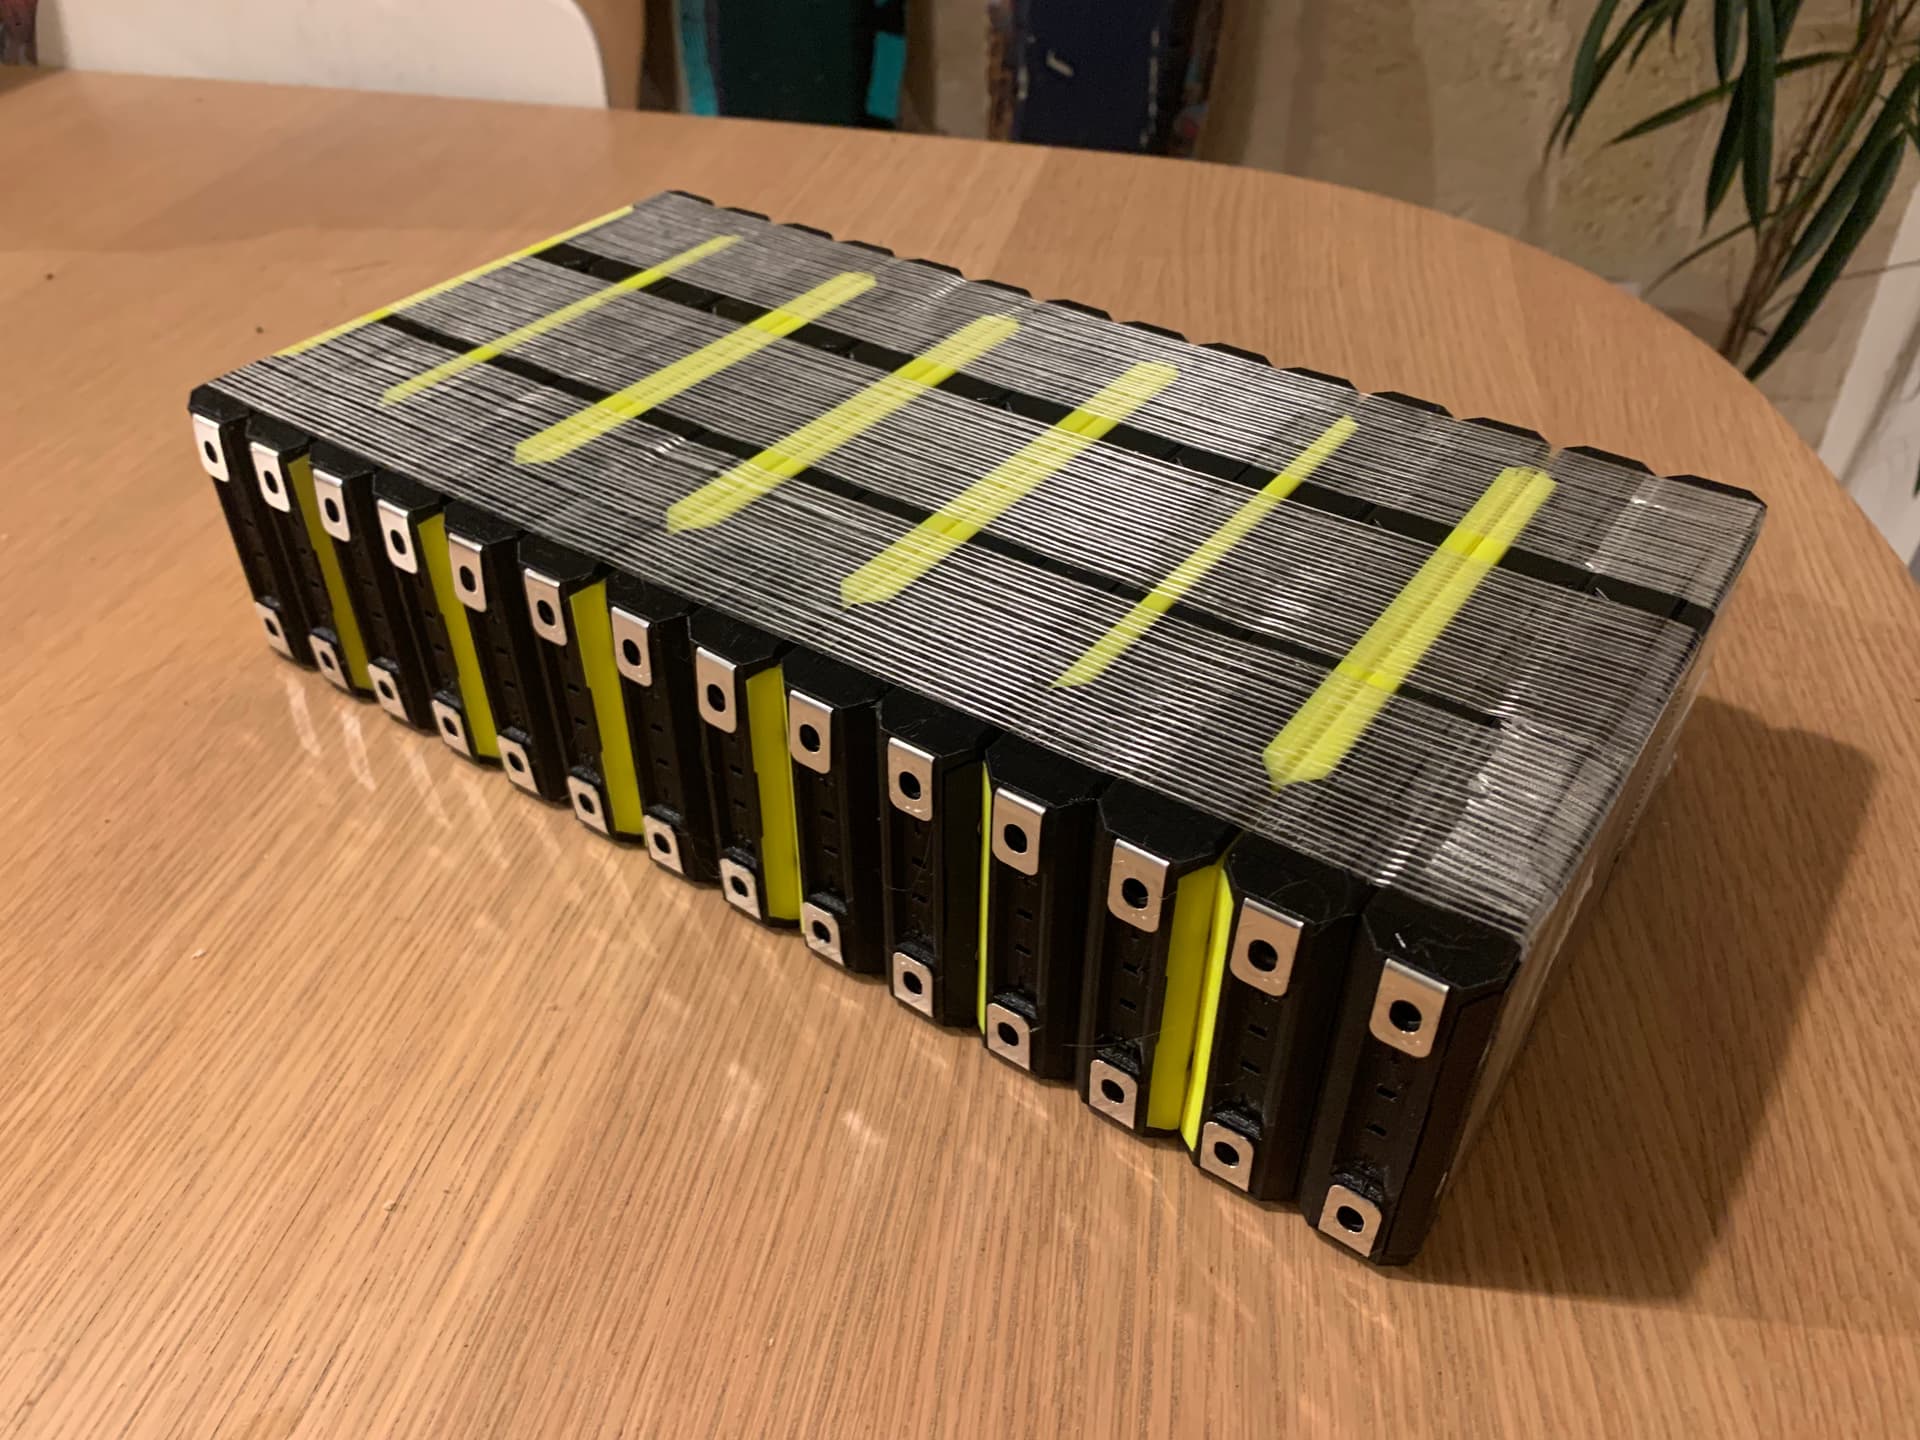
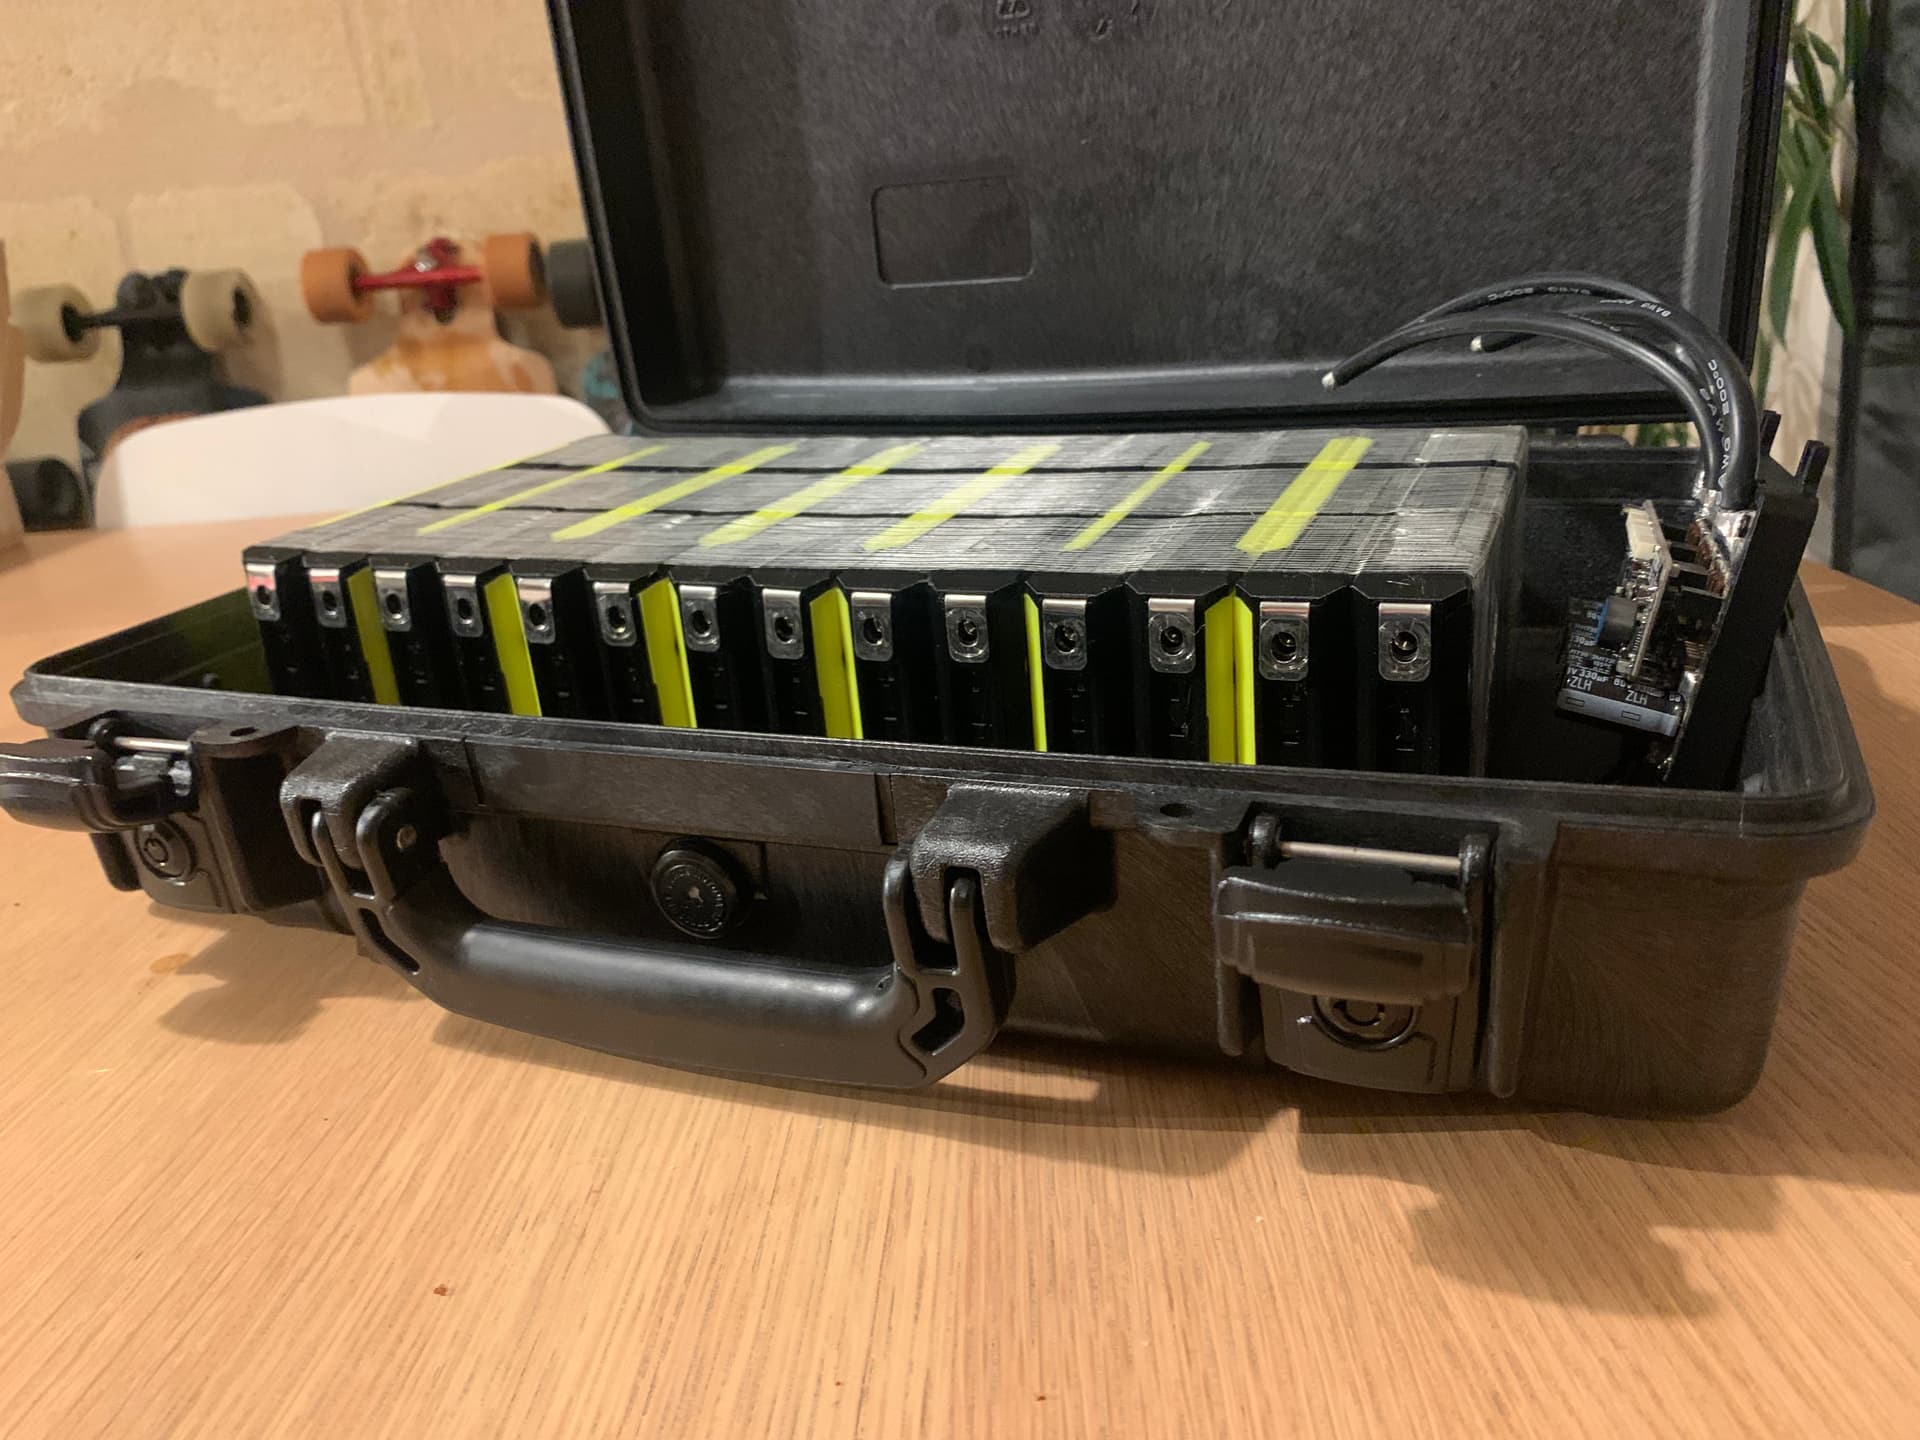
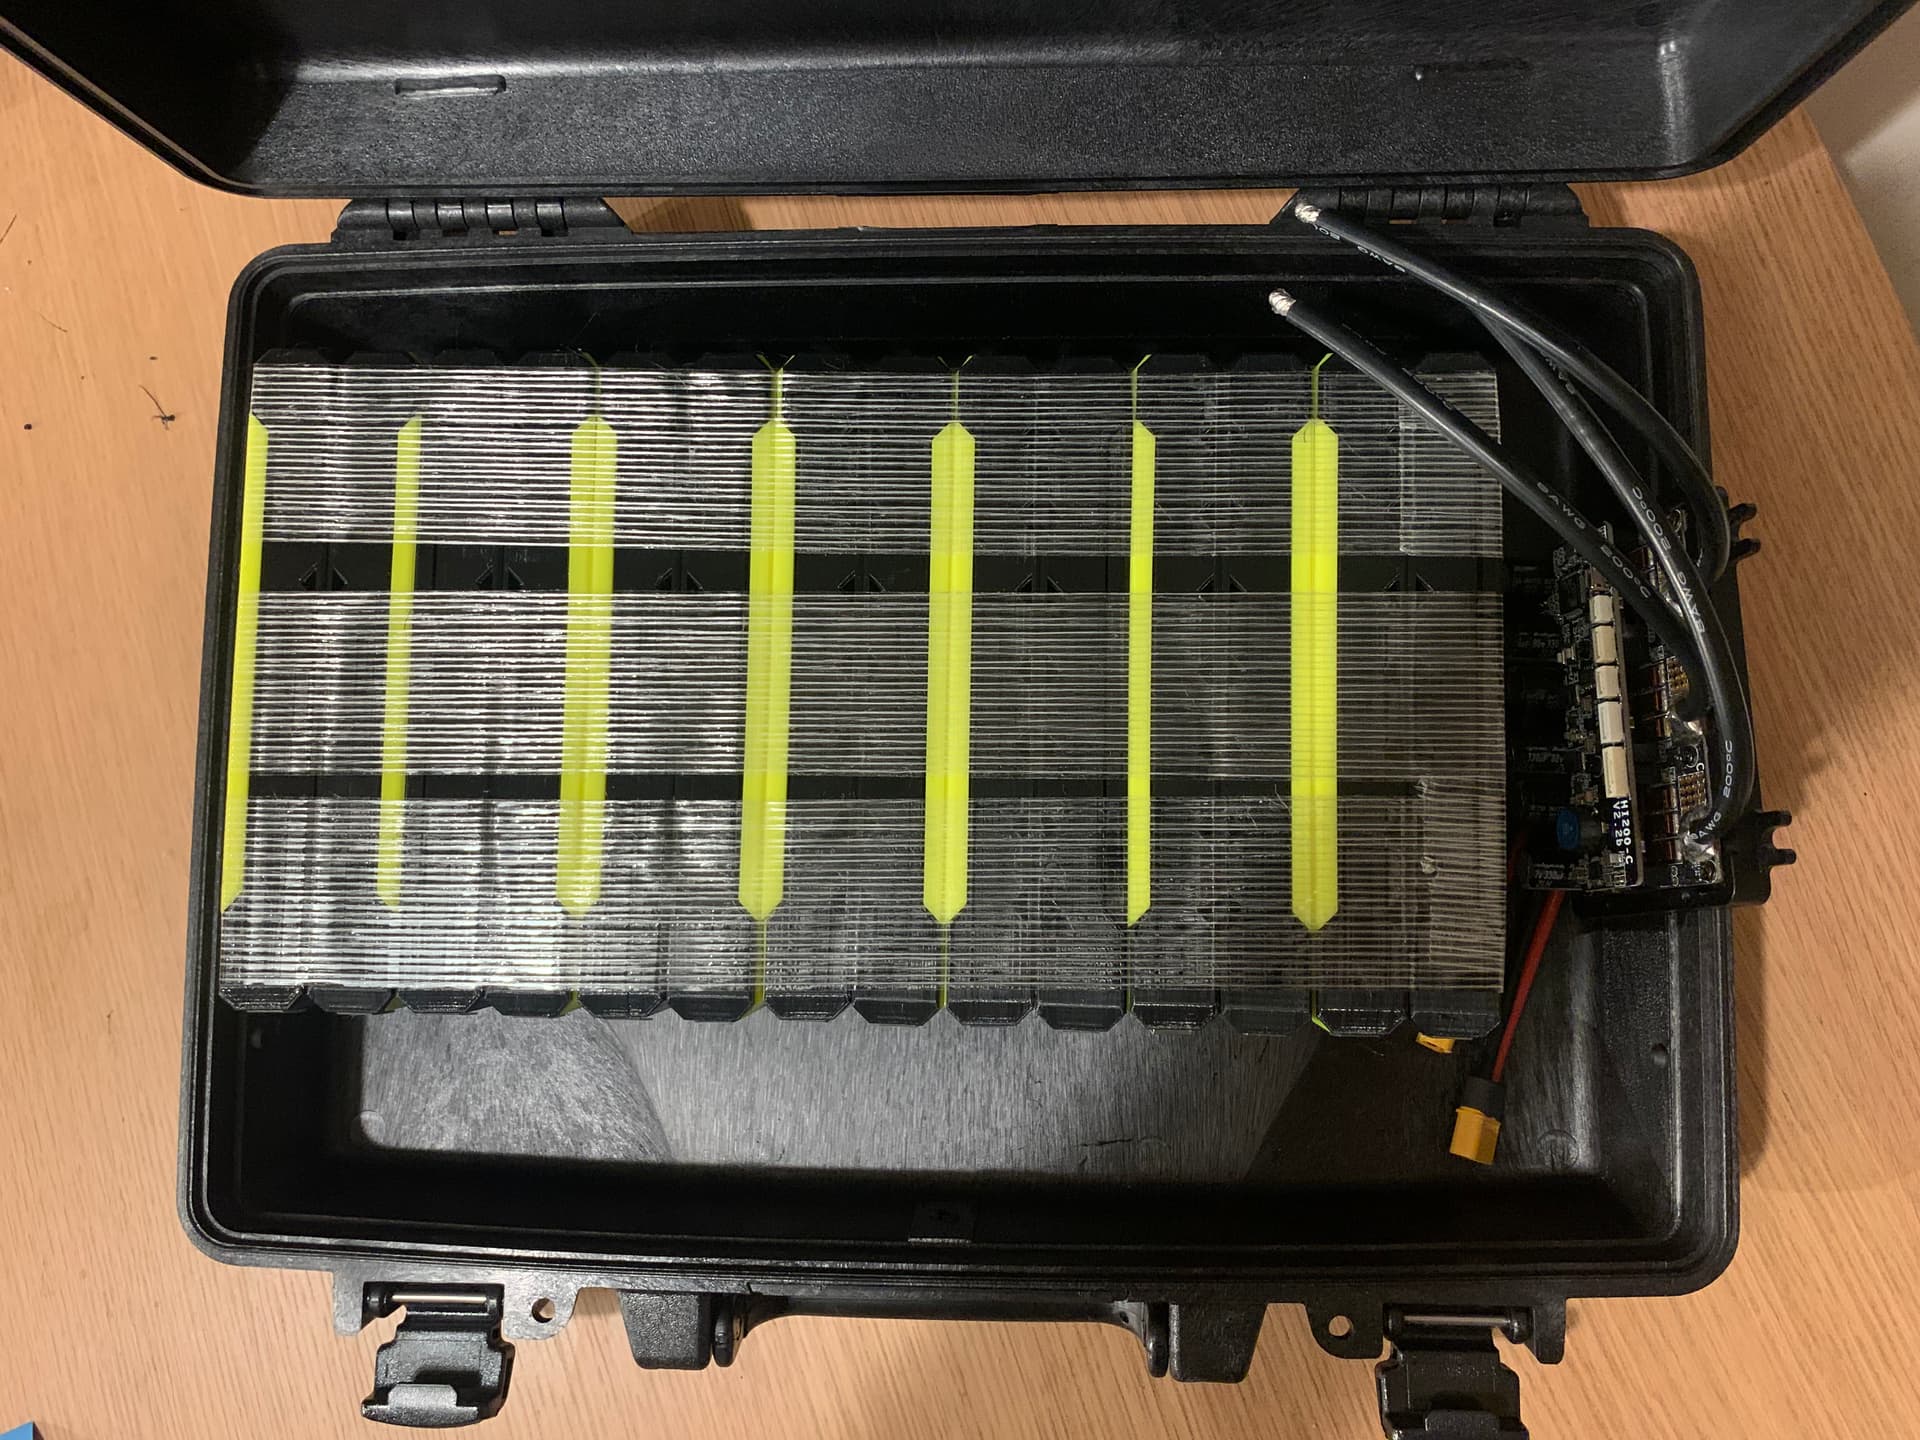
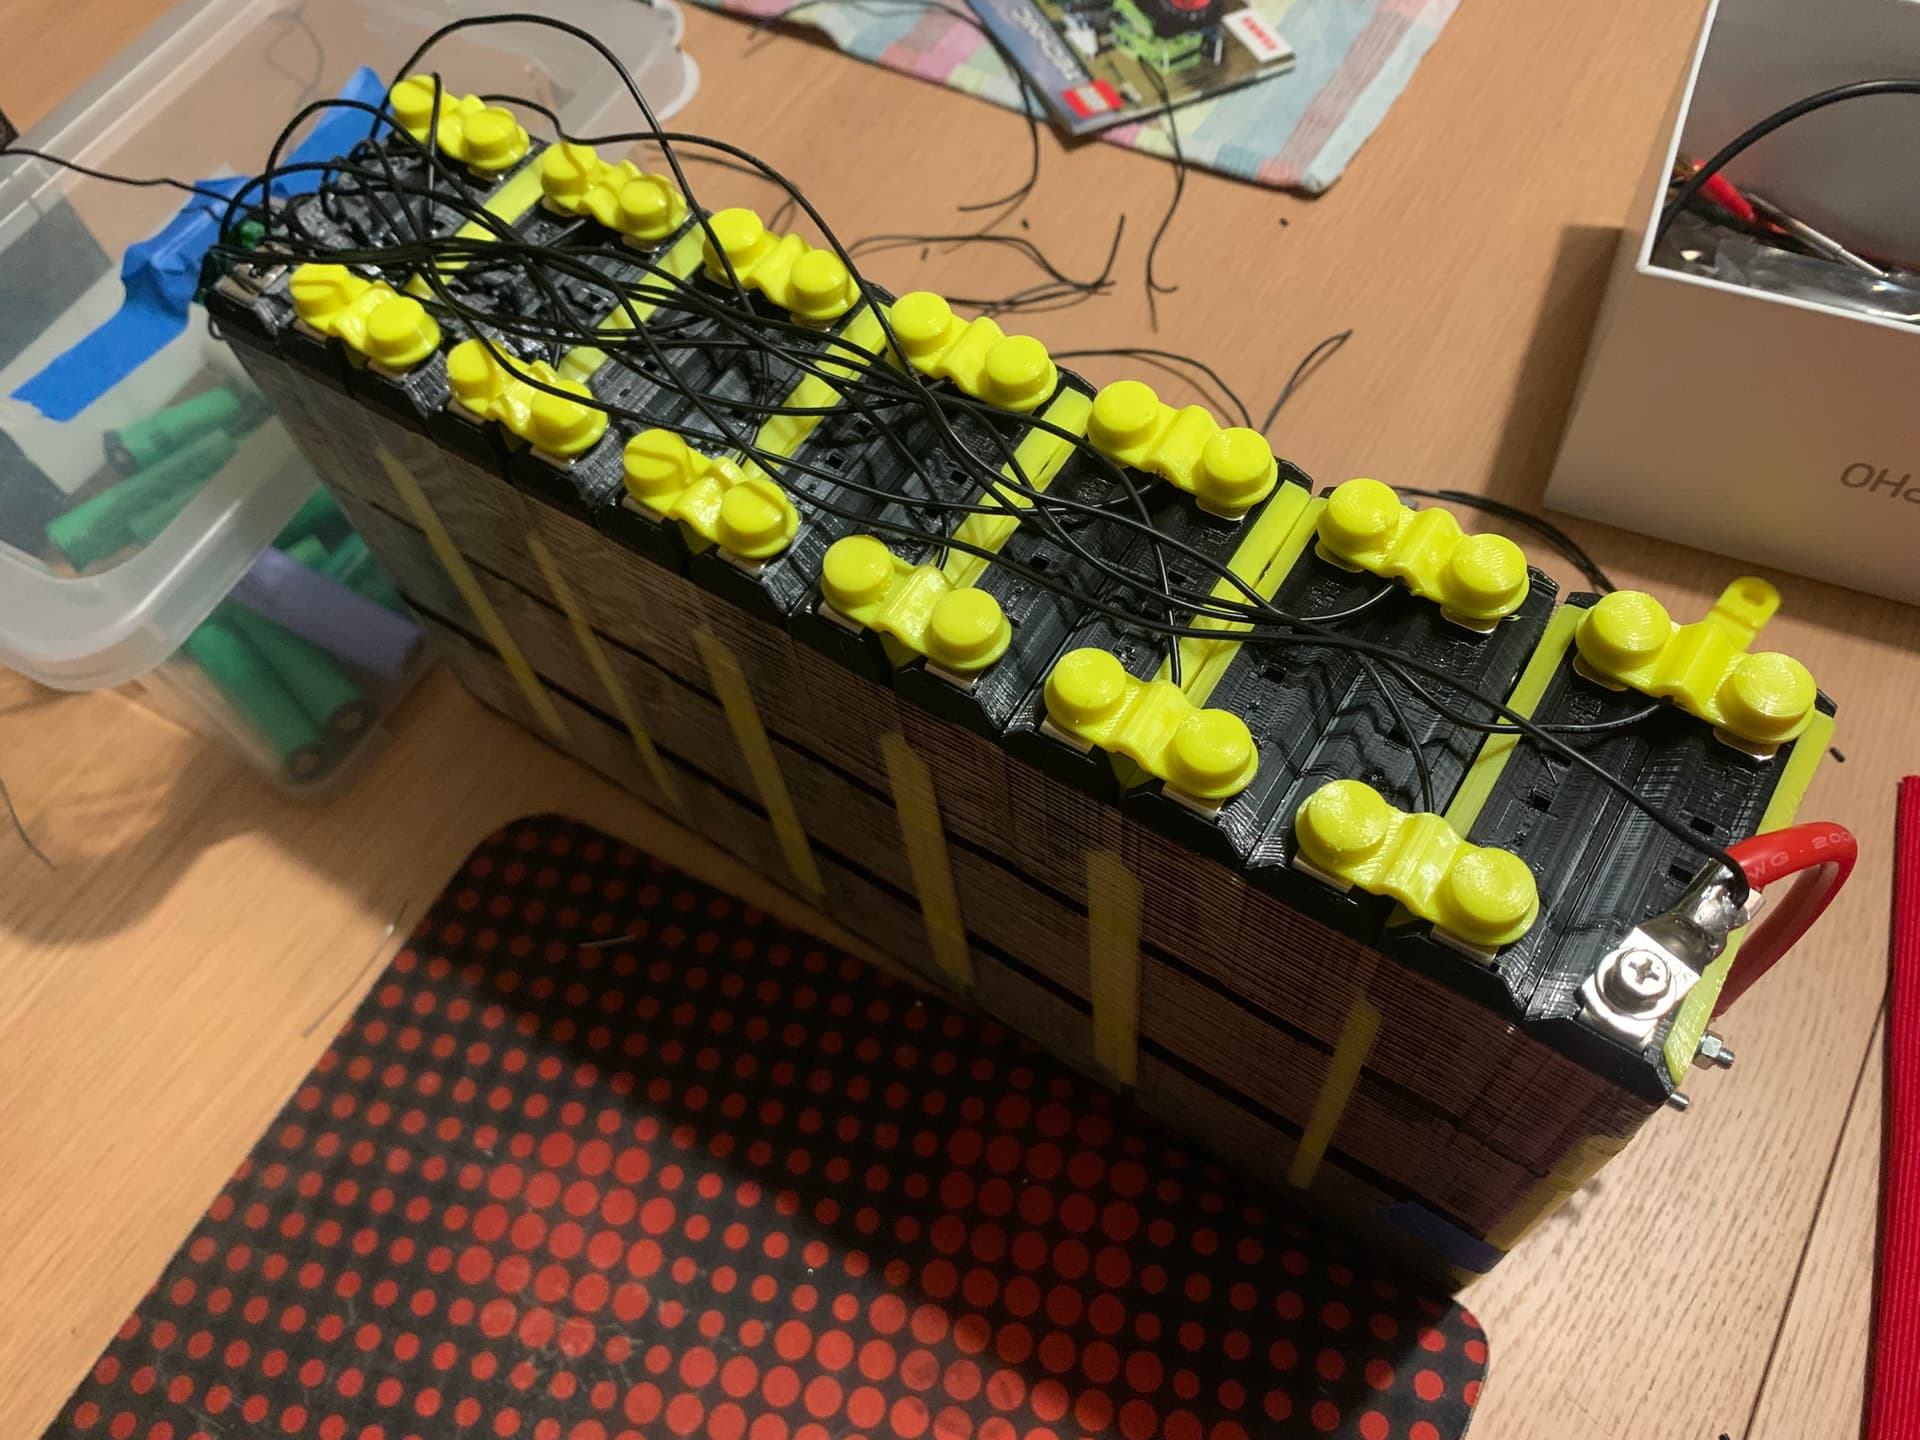
battery : NESE modules and I’ll put some 21700 cells. 14S8P.
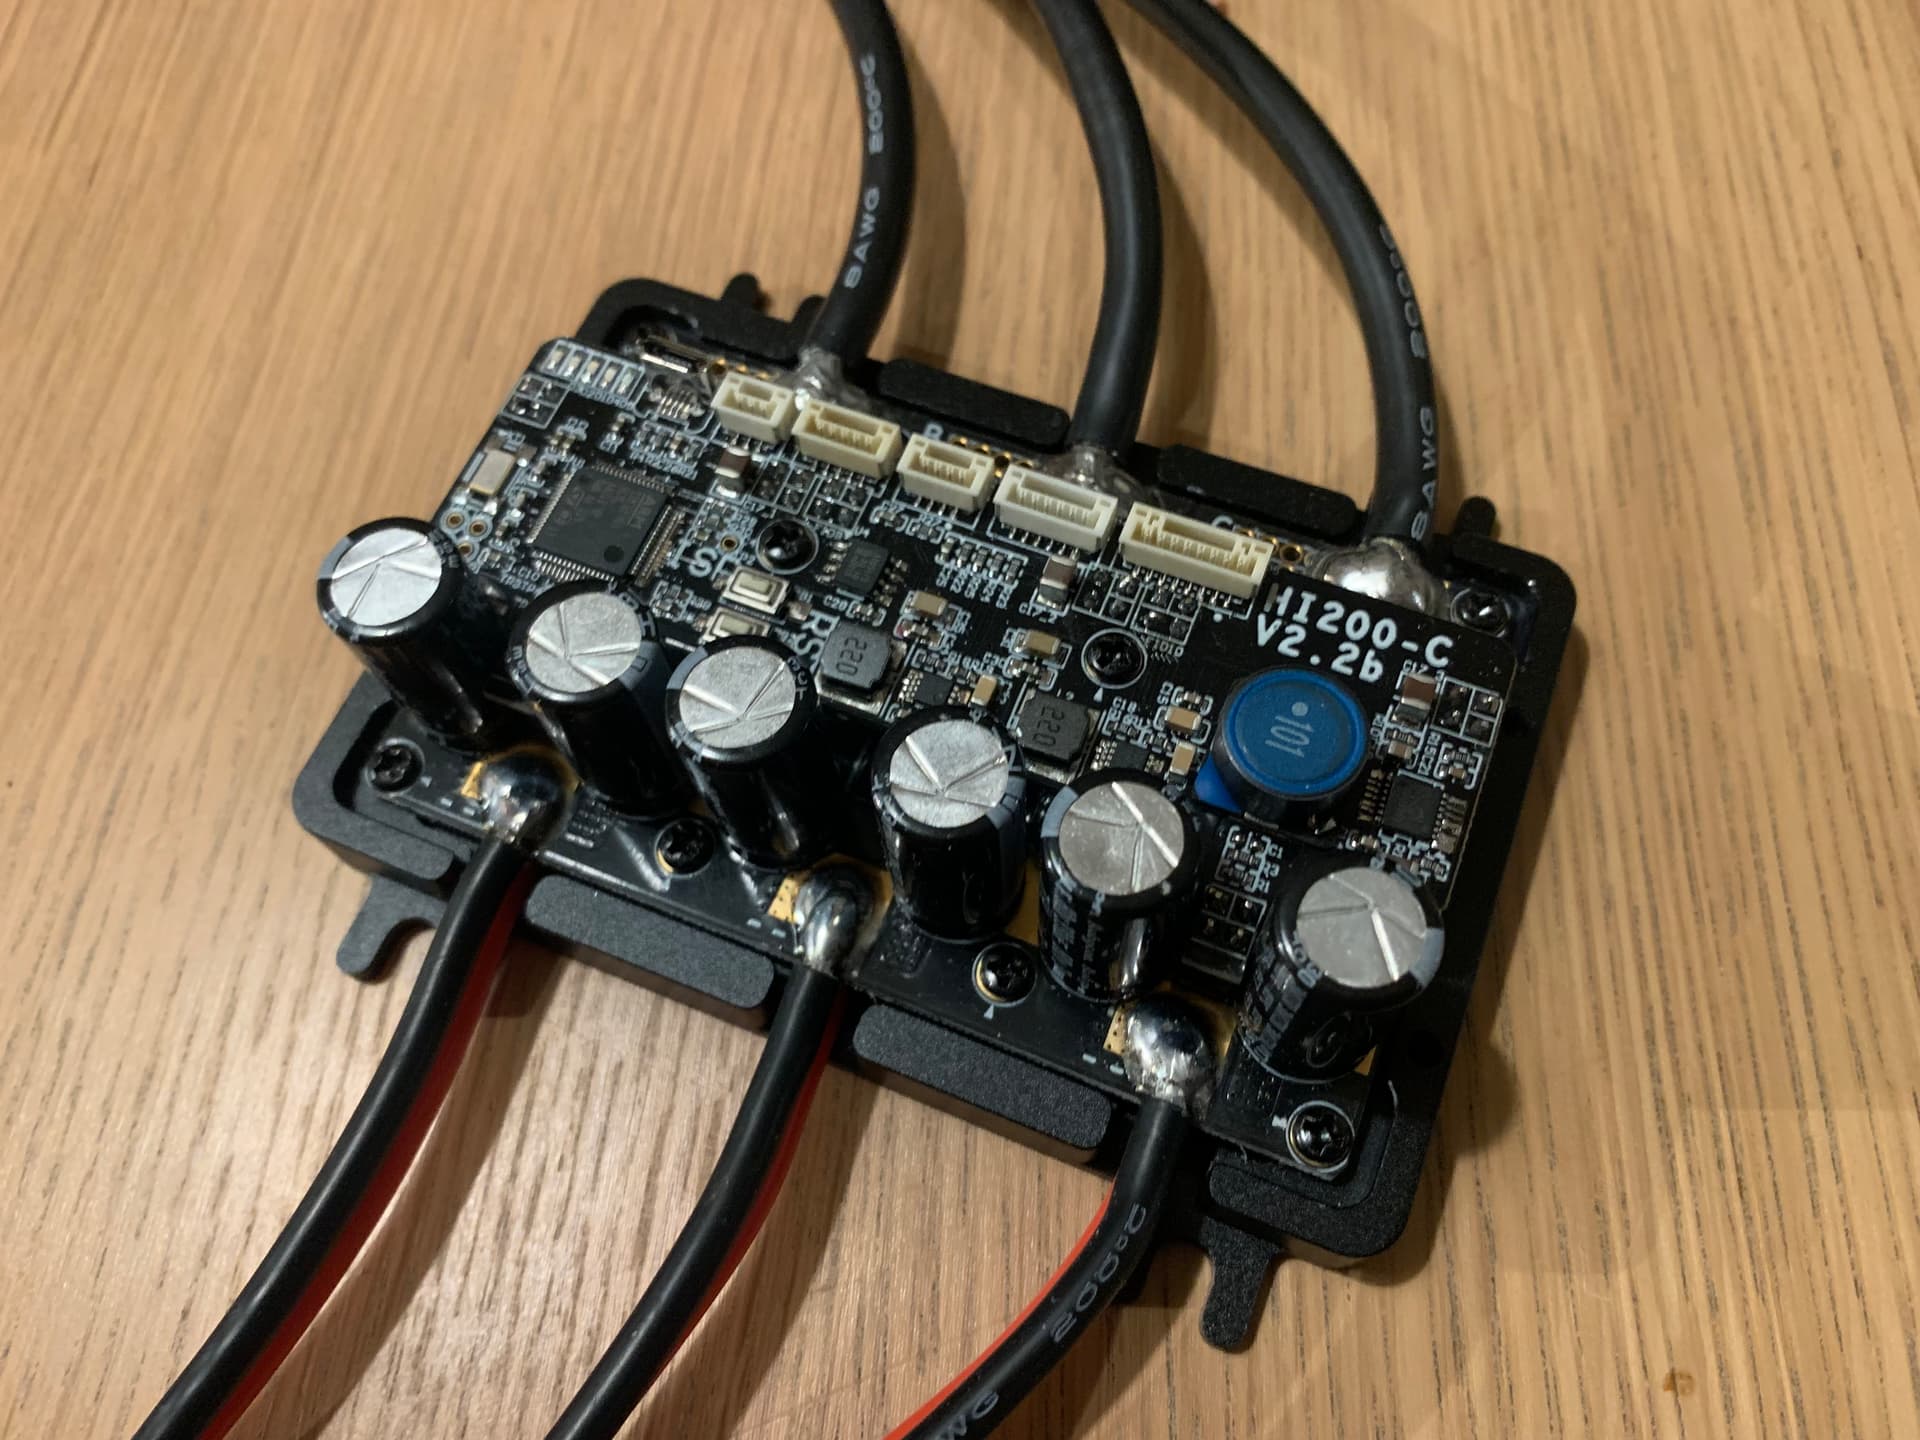
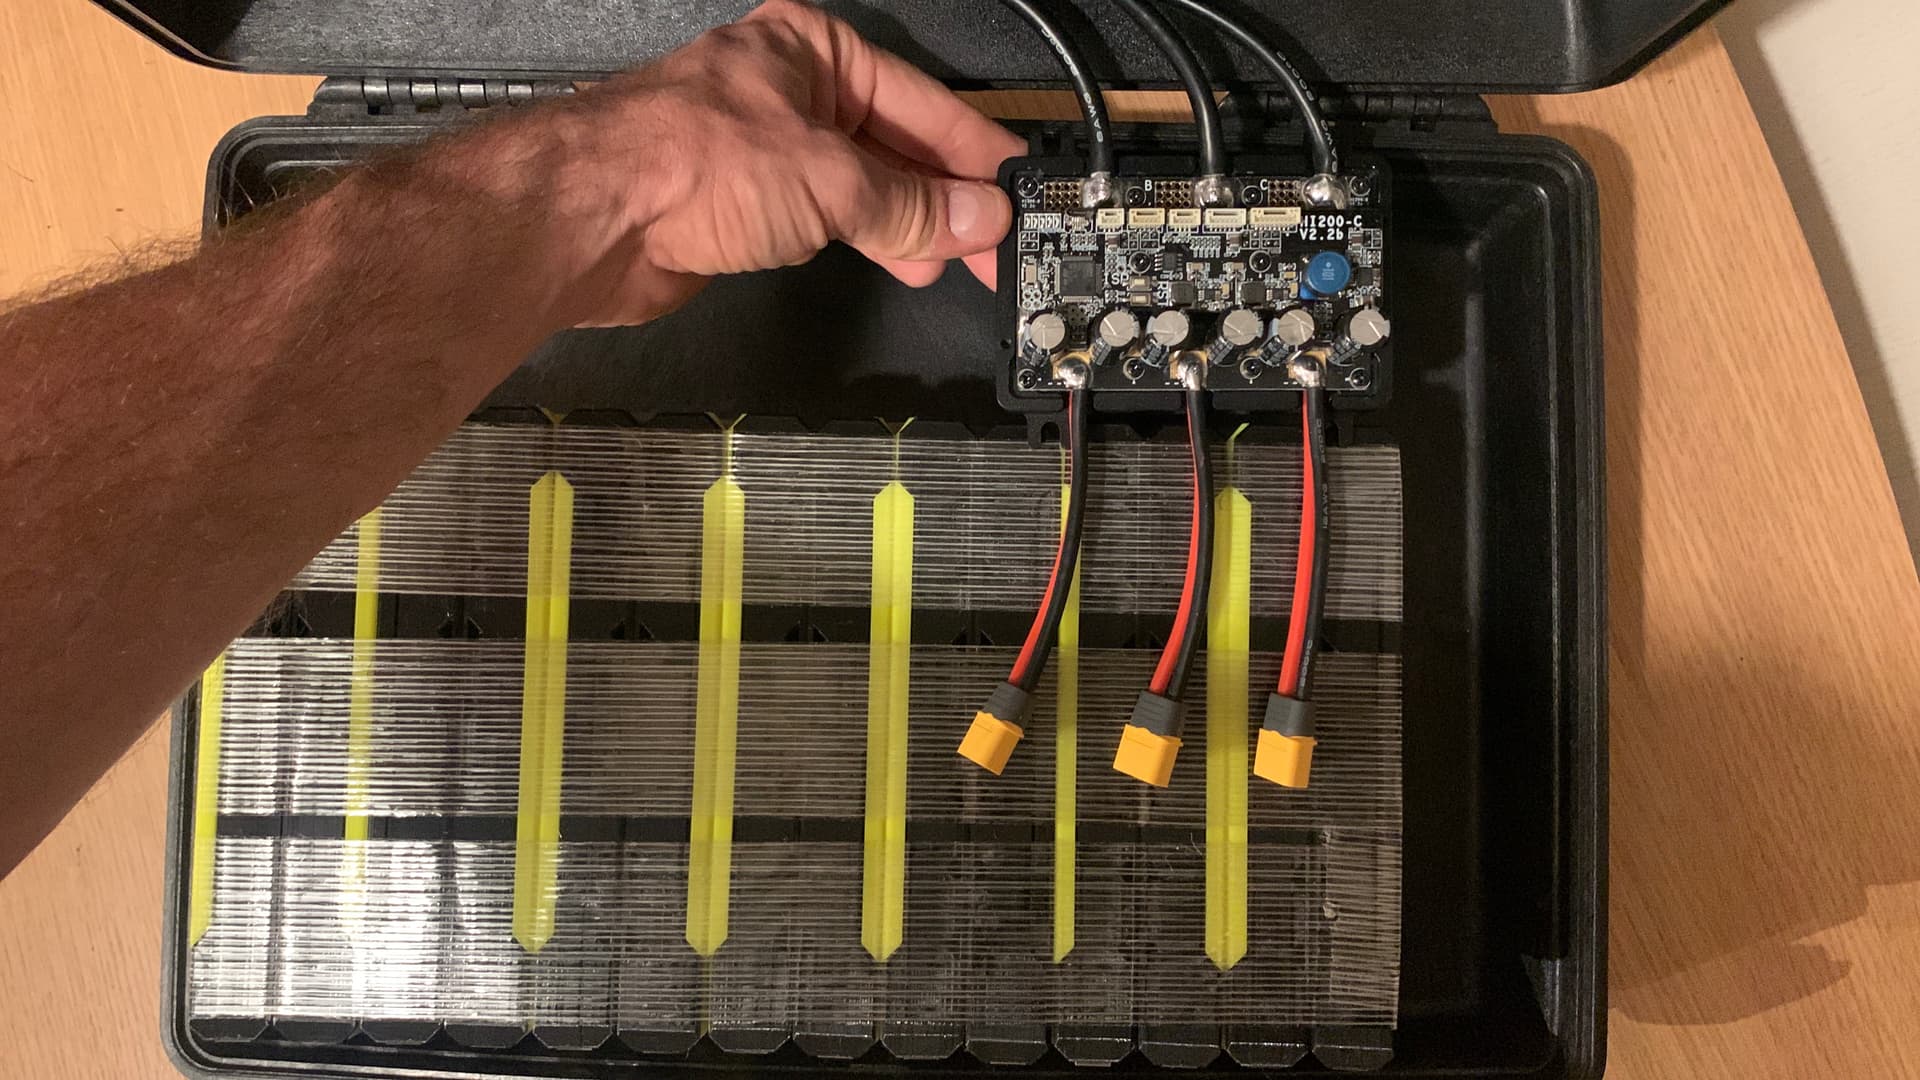
ESC is a Maker X HI200/HV200
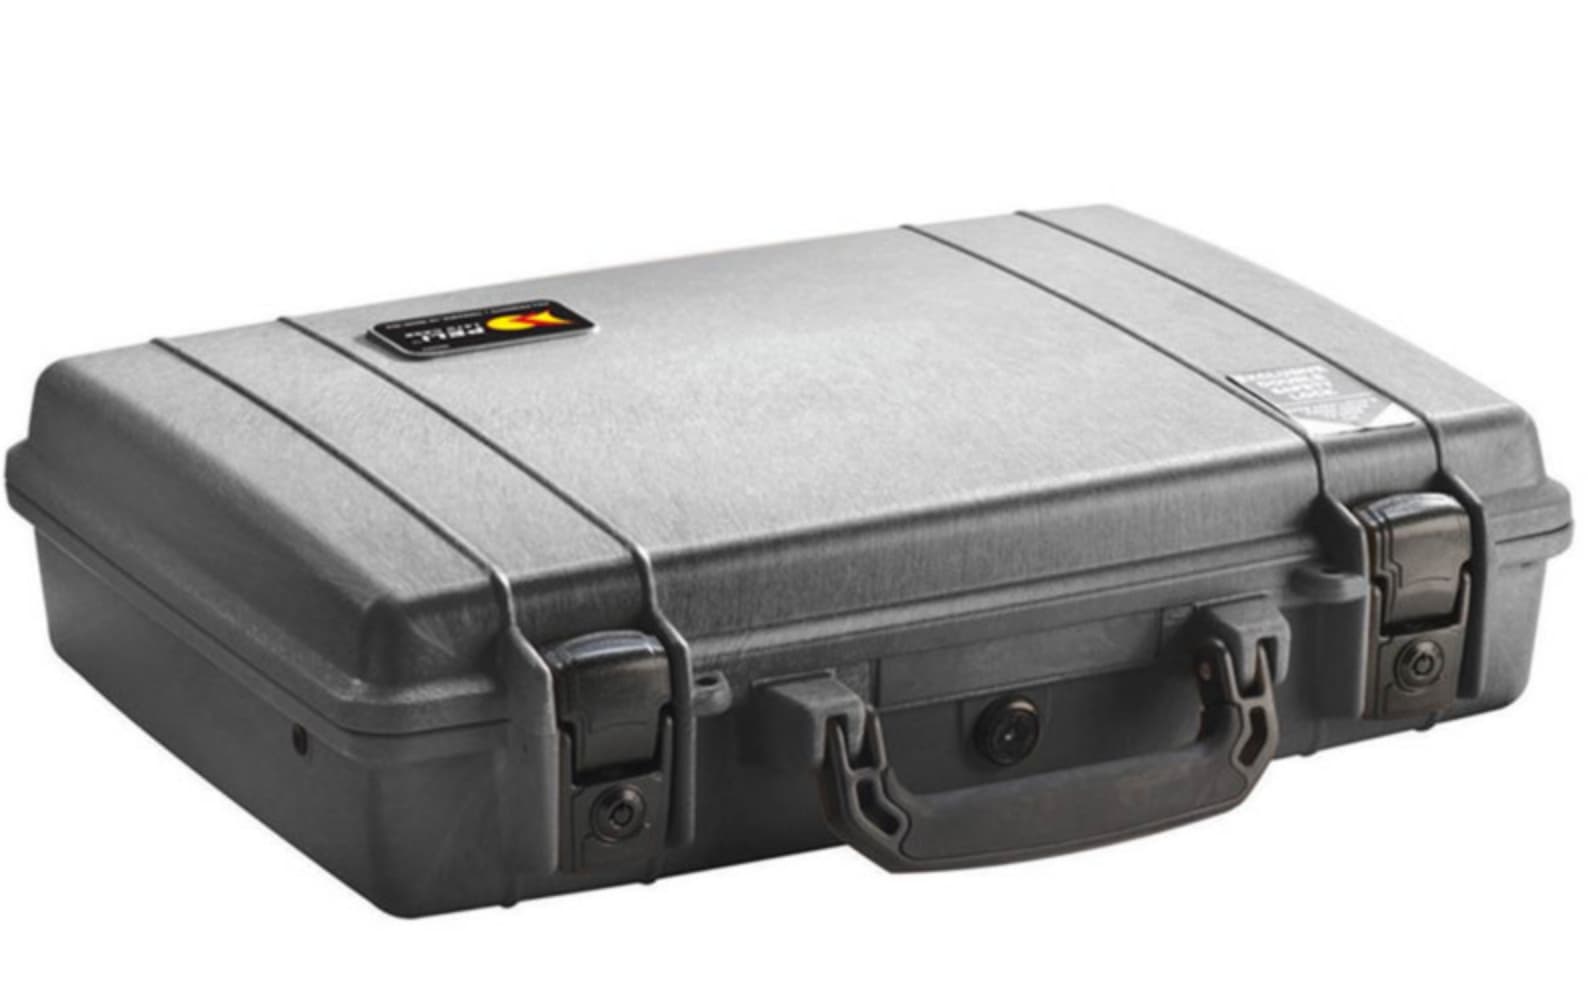
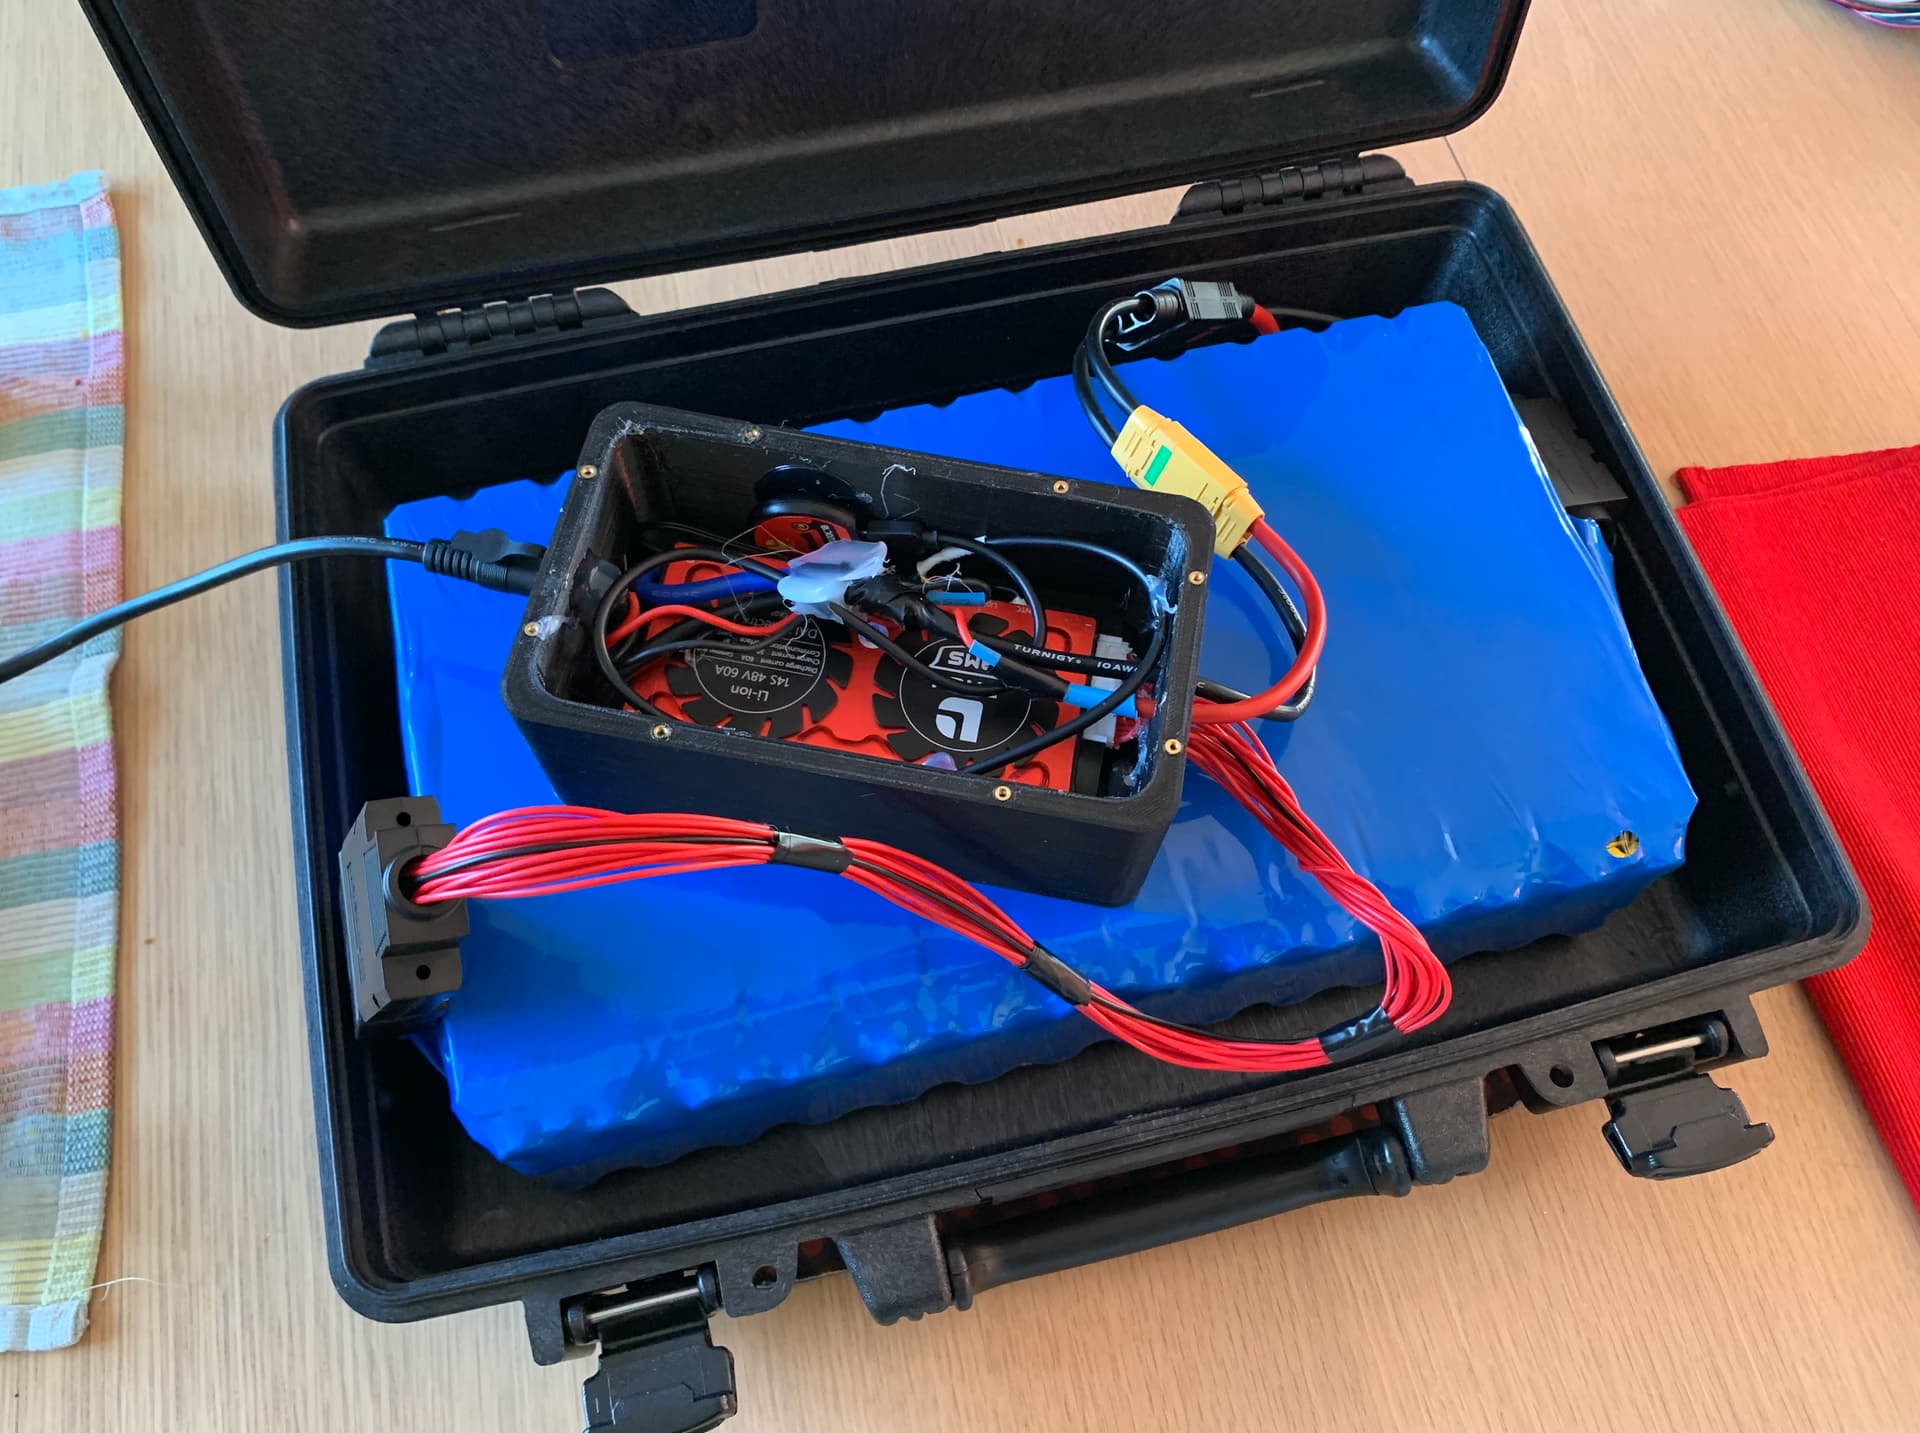
Batterie BOX : Pelican 1470
Motor : Flipsky 65161 120kv
For the mast, I’ve bought a cheap gong 55cm mast that I will chop to 20/30 cms (TBD).
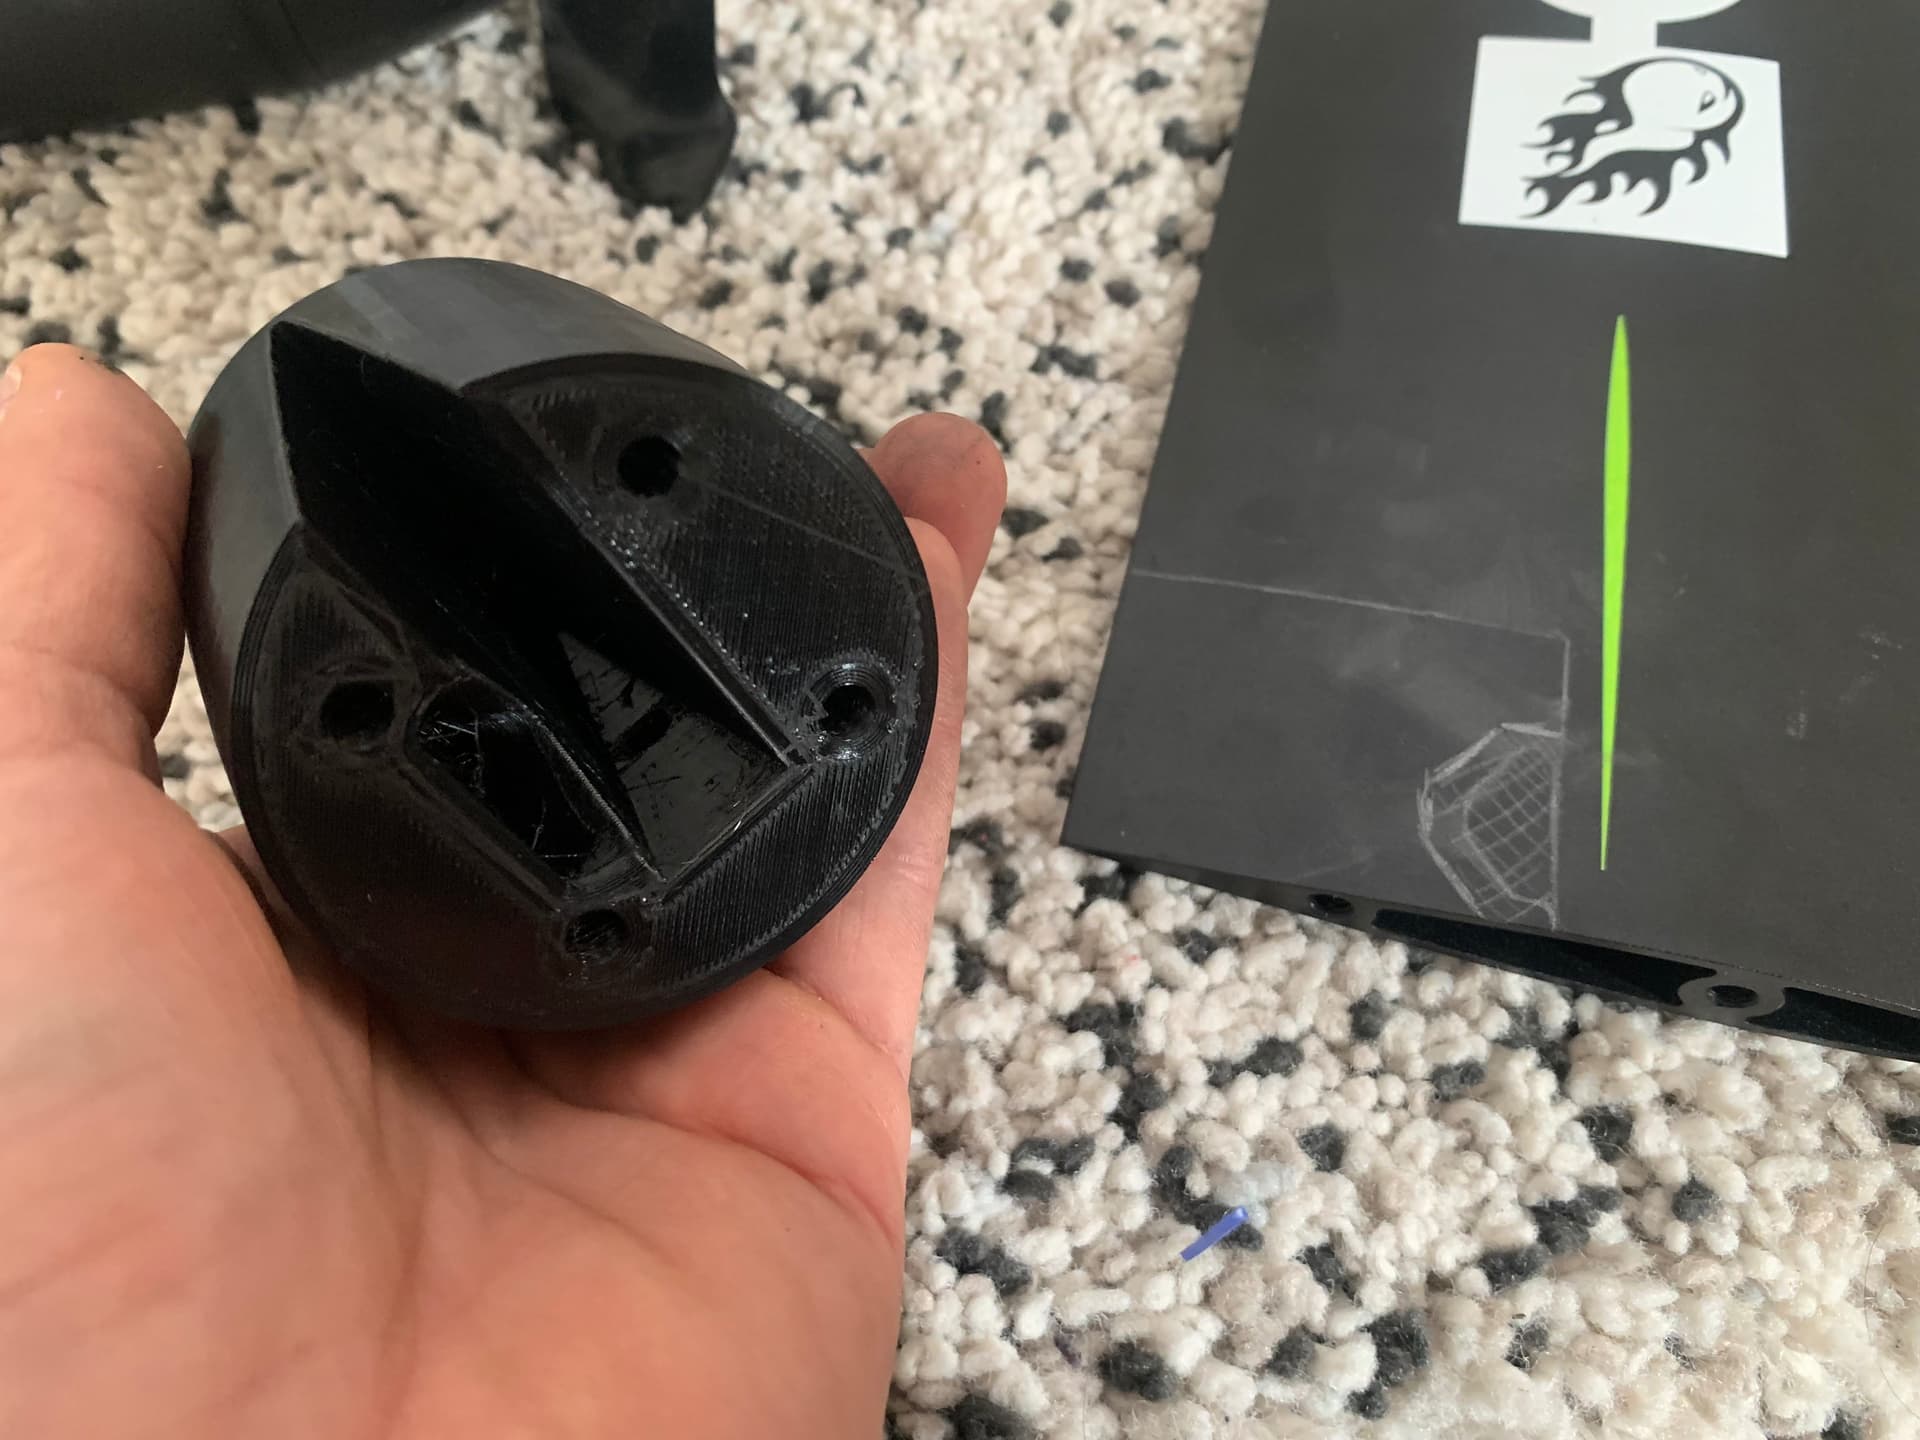
Quick 3D custom motor mount prints. I’ll keep the mast base to attach the motor to the board.
I plan to use US BOX rails so I can move the mast on the board (more to the front or to the back) as I decided to simplify and put the motor just after the mast. I’ll likely use some risers to have the motor slightly a bit nose down (to lock the board on the water). My plan is to start by having the propeller at the vertical of the rear of the board to have a good weight balance.
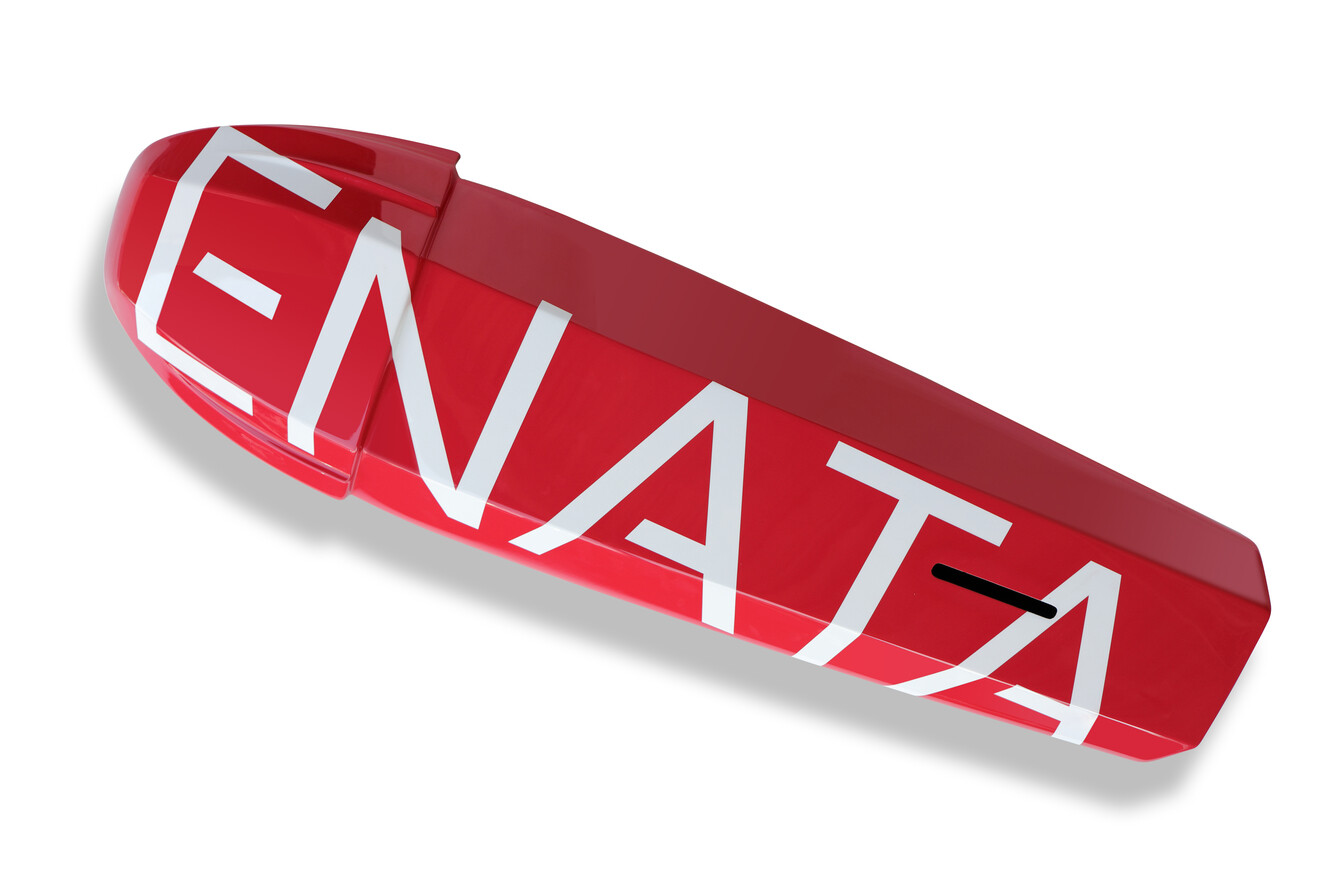
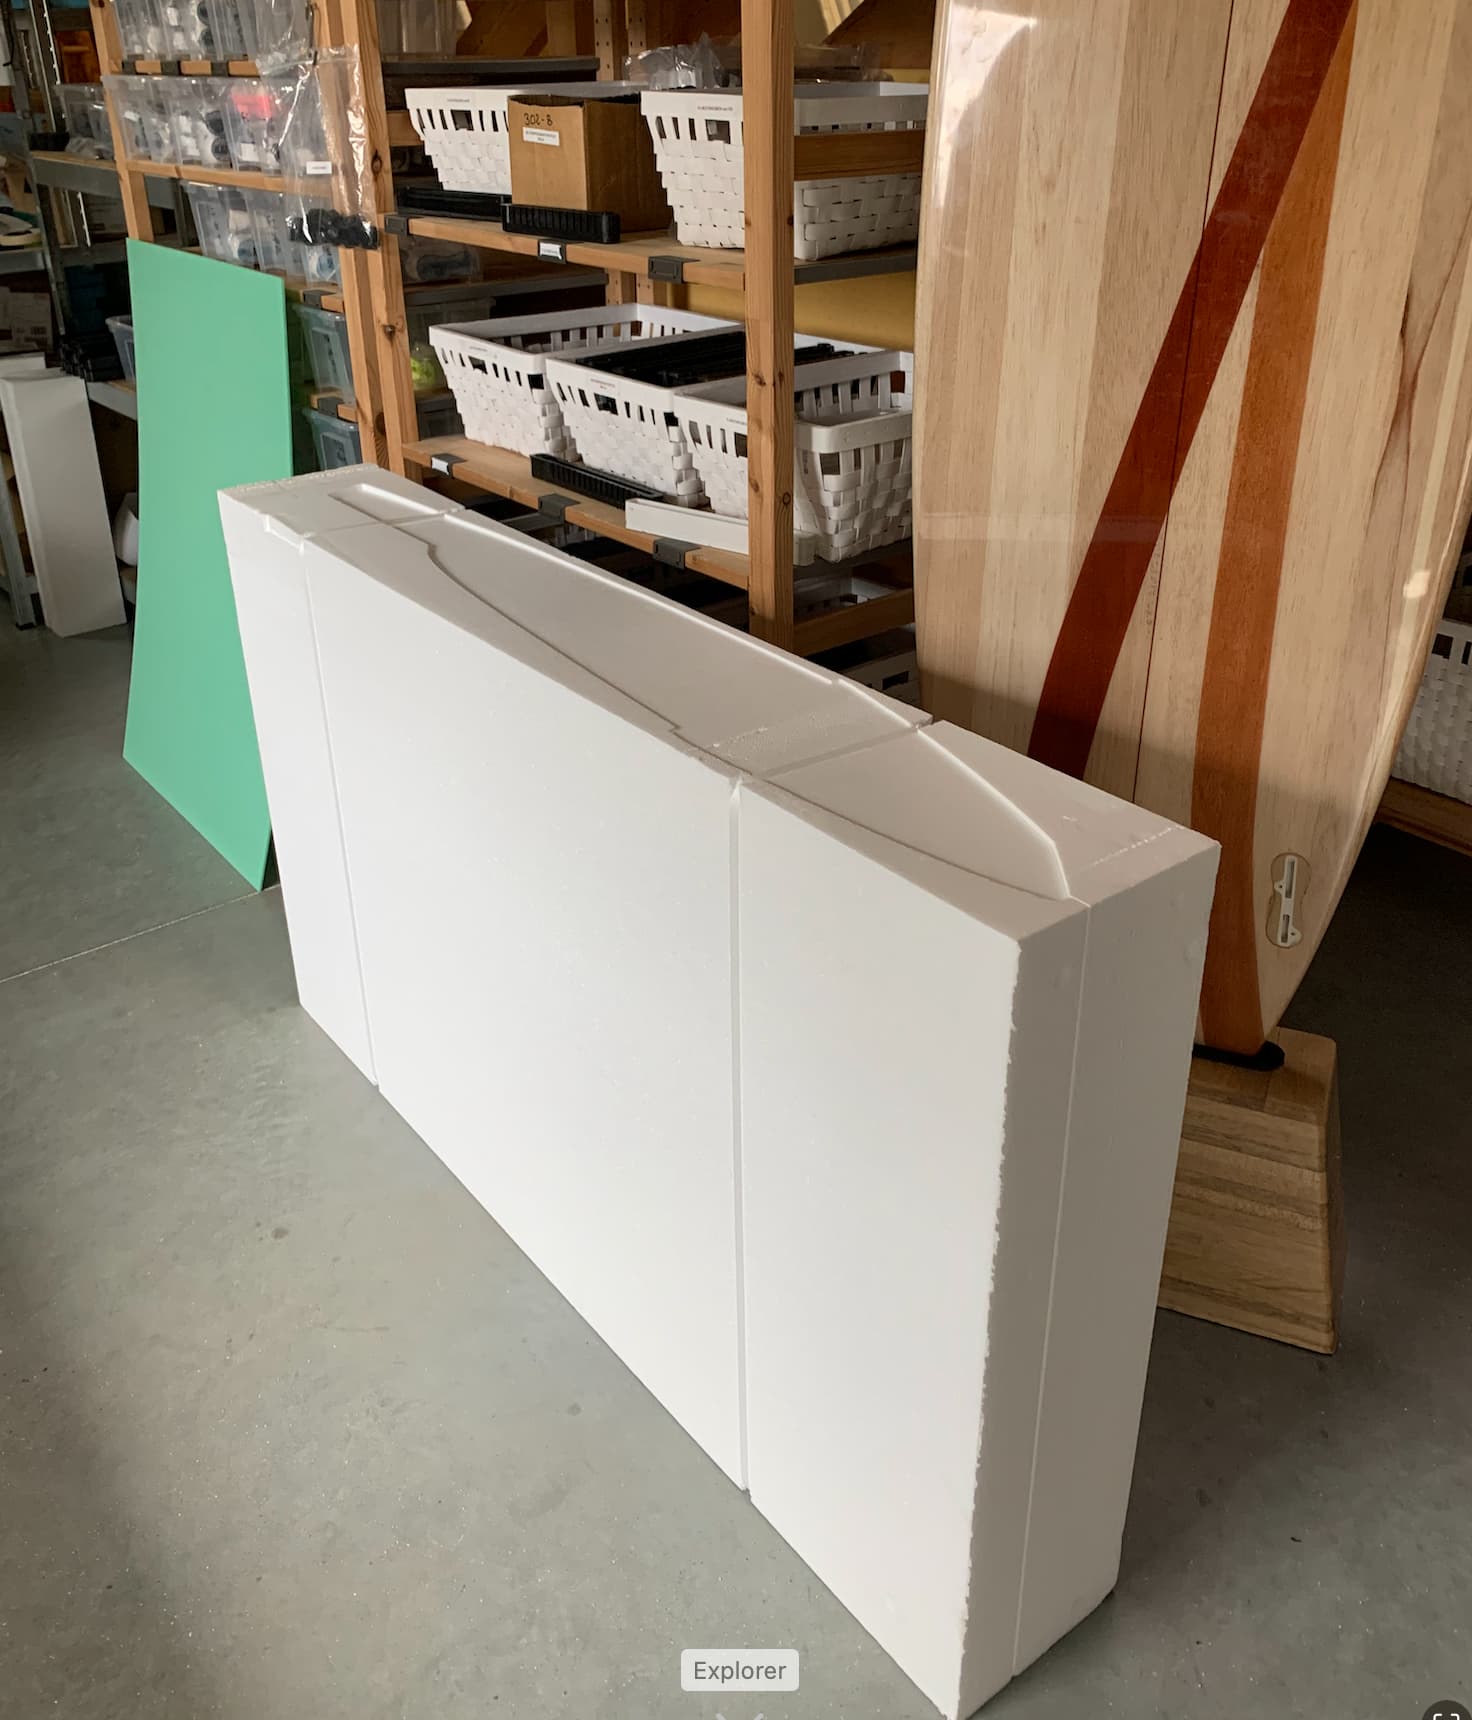
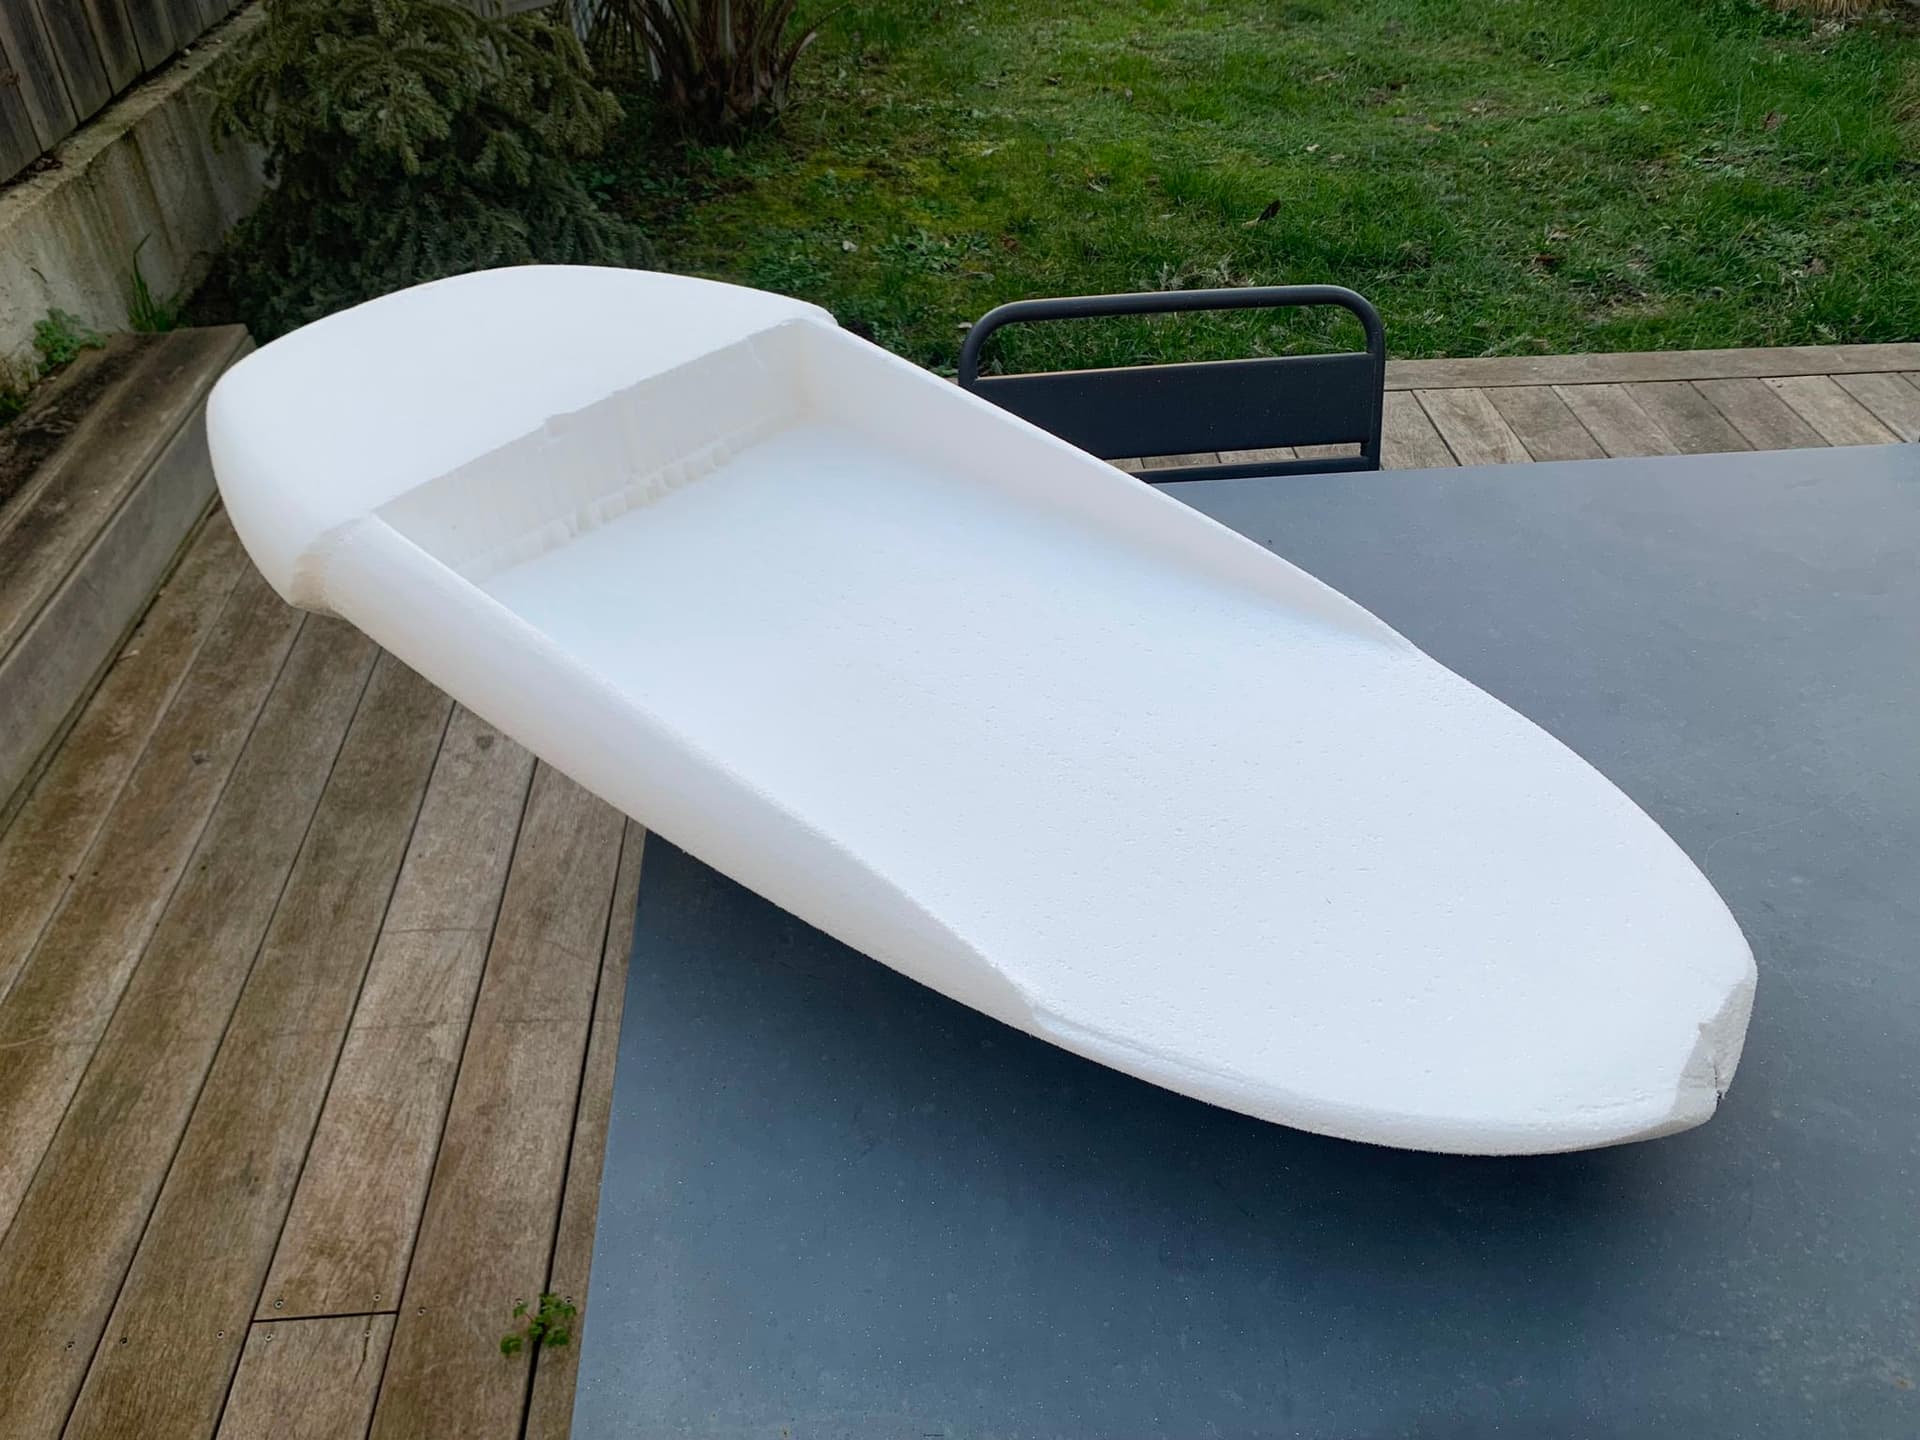
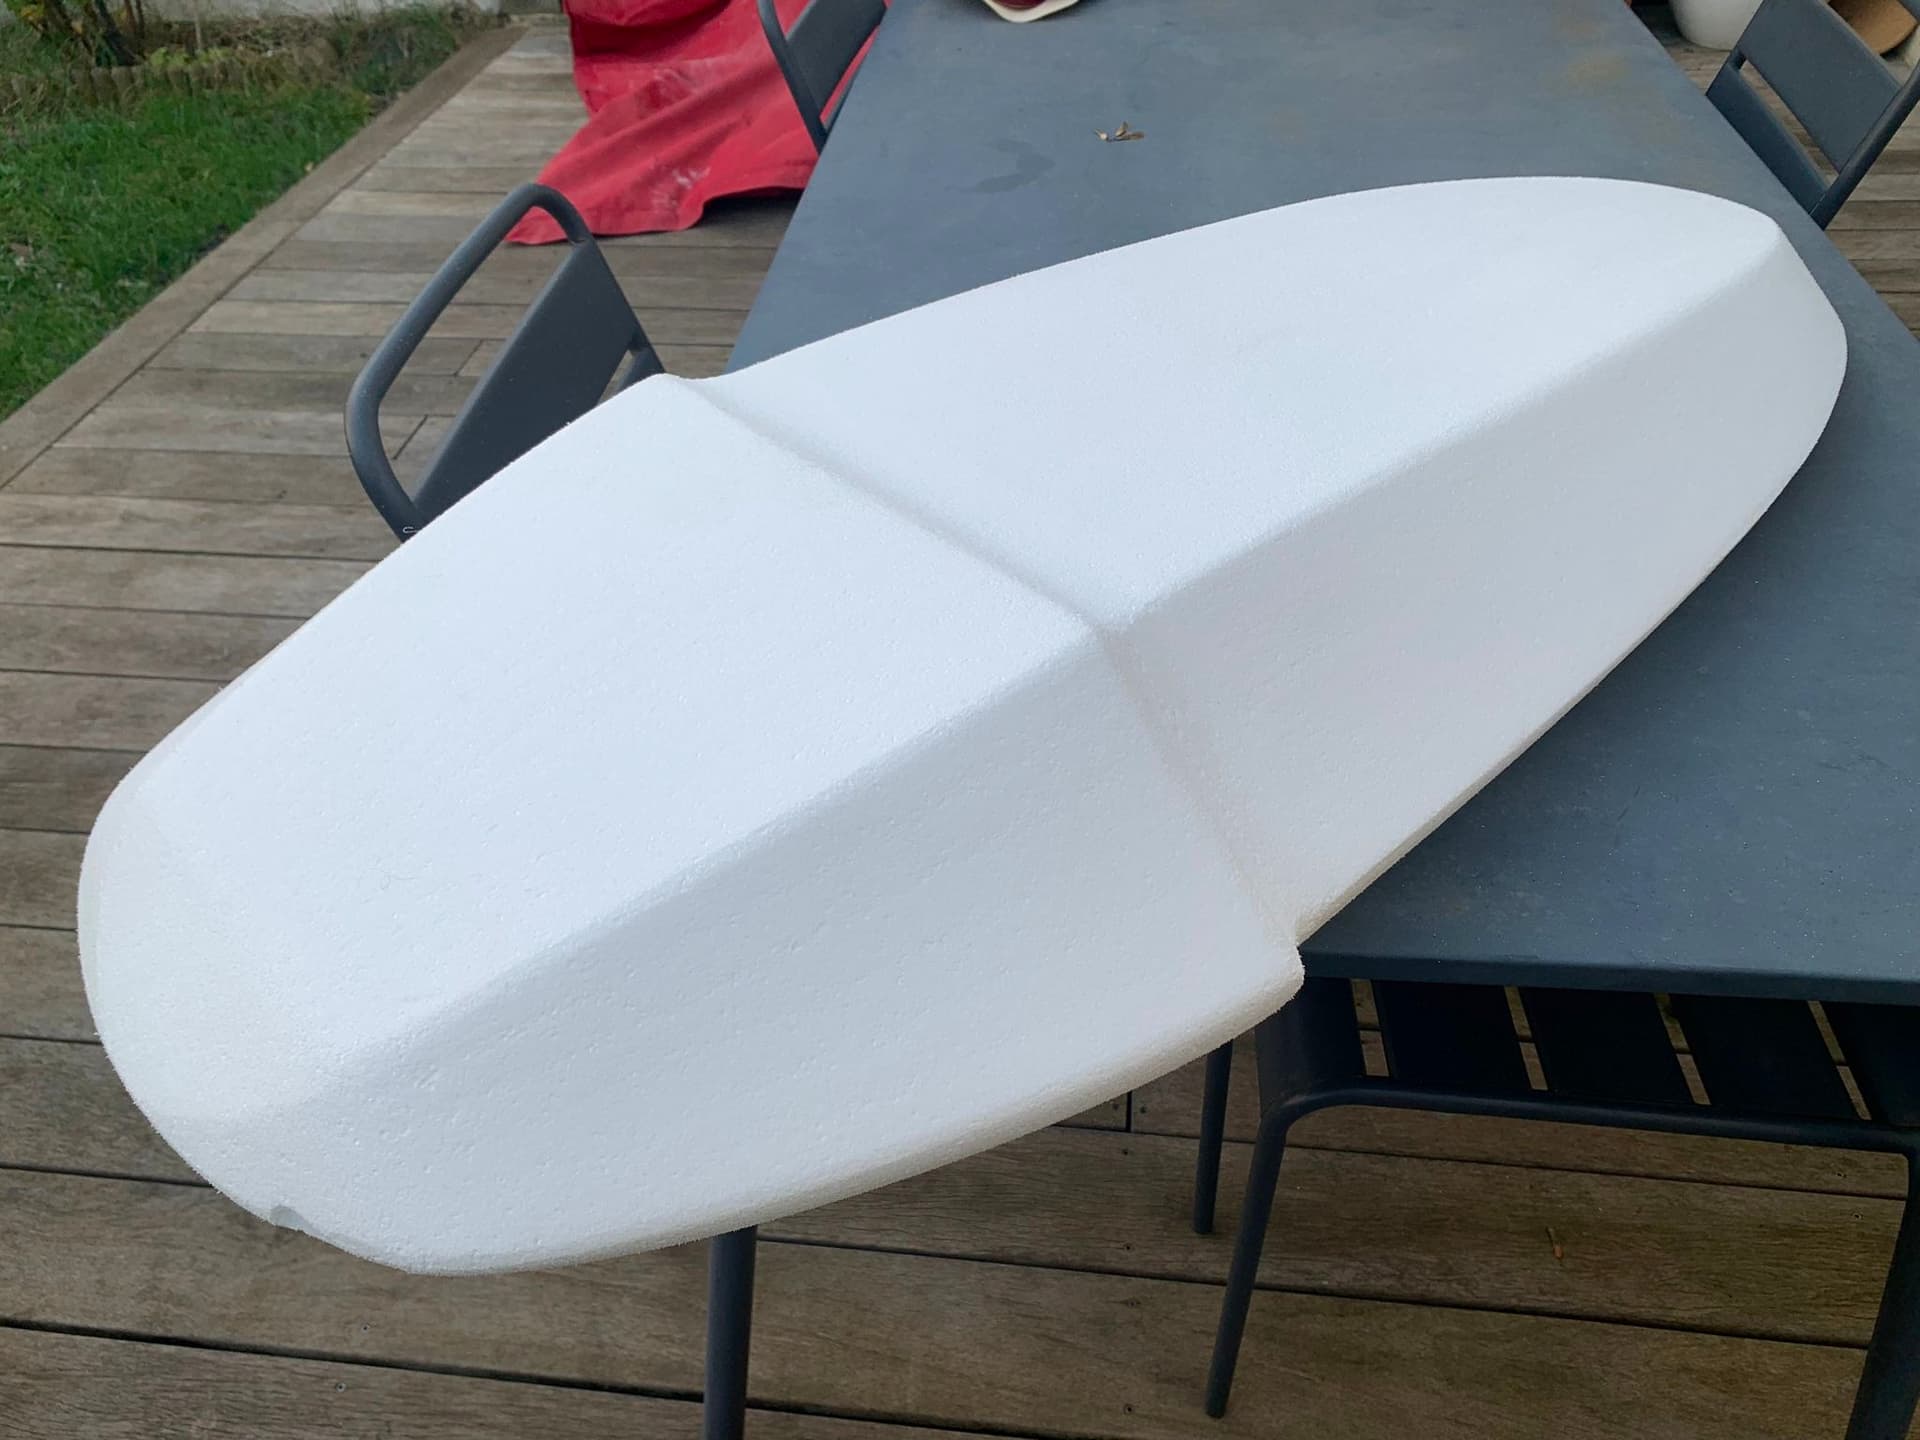
Now the challenge is the board design. I plan to go composites (carbon/gf) like my dock start board but with a more “yatch” look on the front. I’m still wondering how to attach the bungie cord and which one to get. Some ideas I’m thinking about.
Nice ! Just make sure that the nese module are really attached between themselves , no play at all and take in account the cells temp building up to the discharge rate wanted
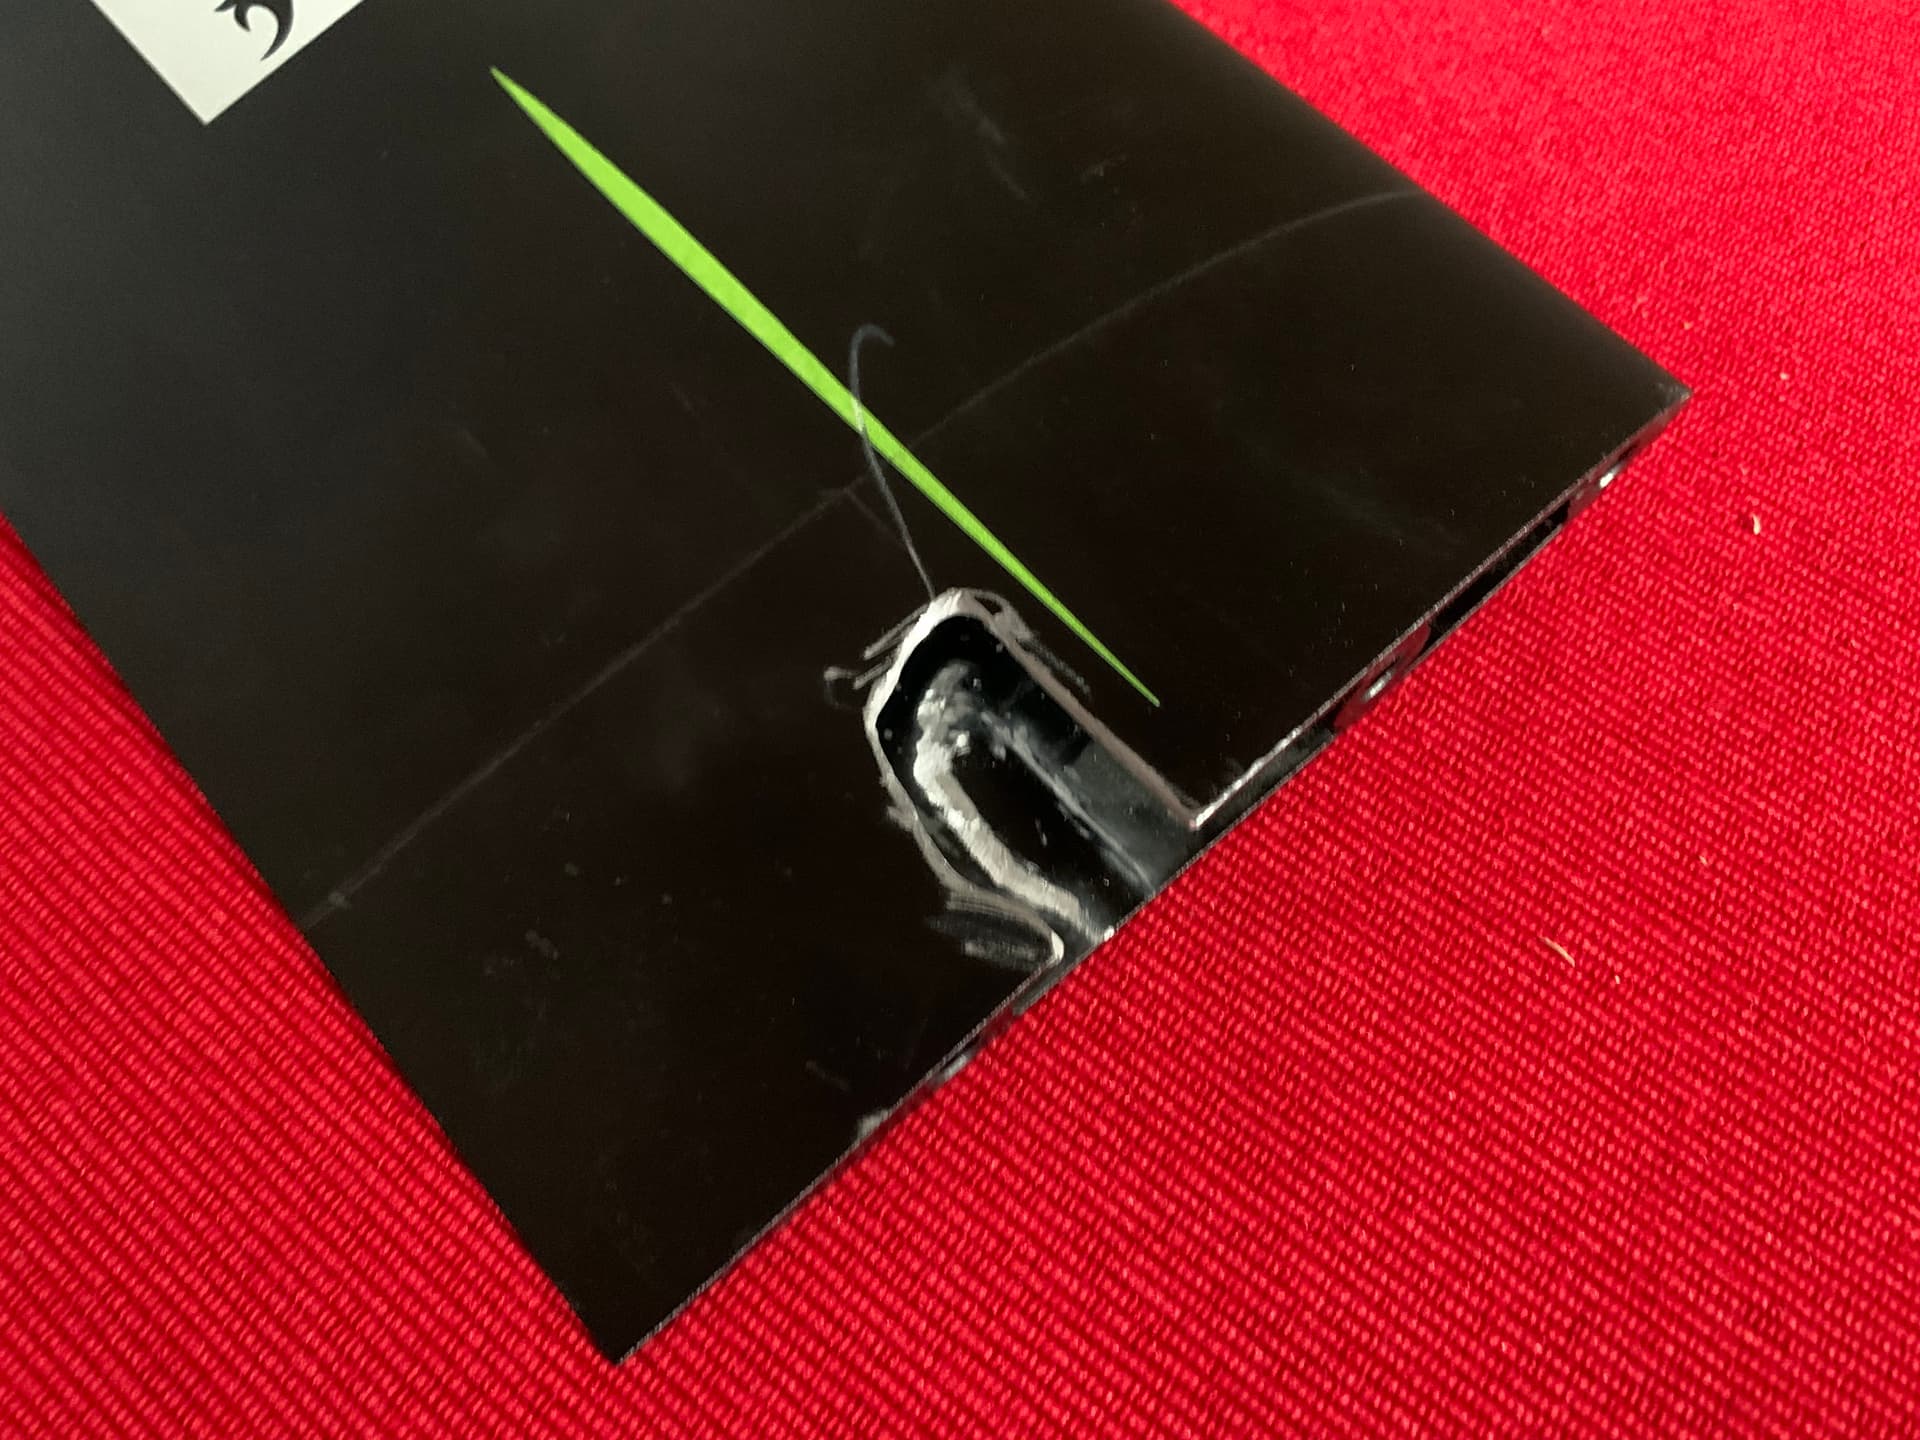
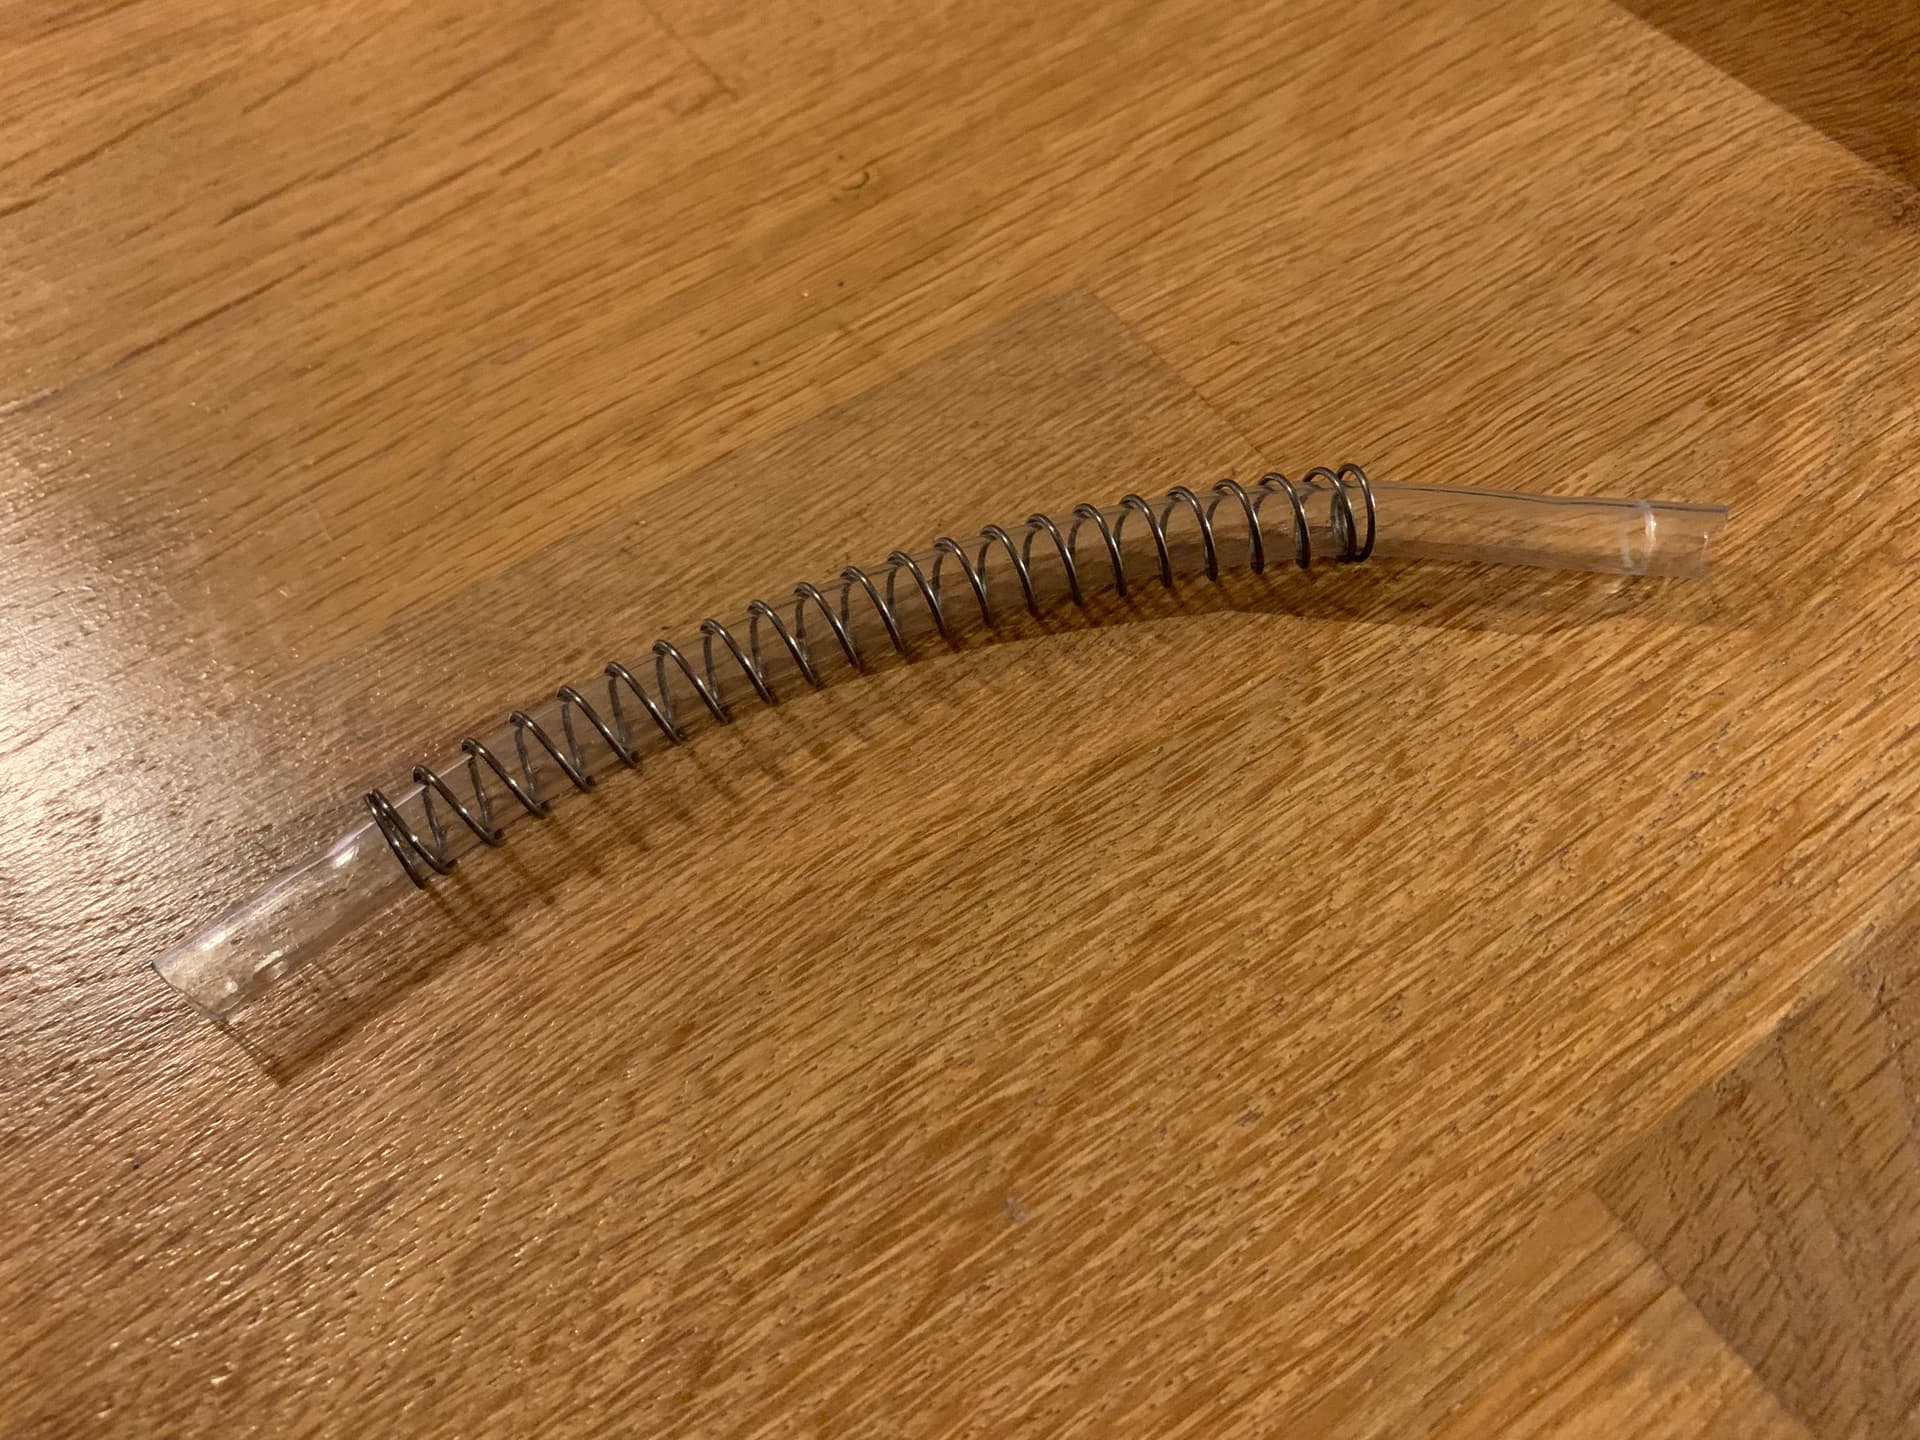
moving on. I received the FS 75002. Overall quality is great but the tubing is very poor quality. I would trust this water tubing. I’ve removed and replace the tubing with a stronger one.
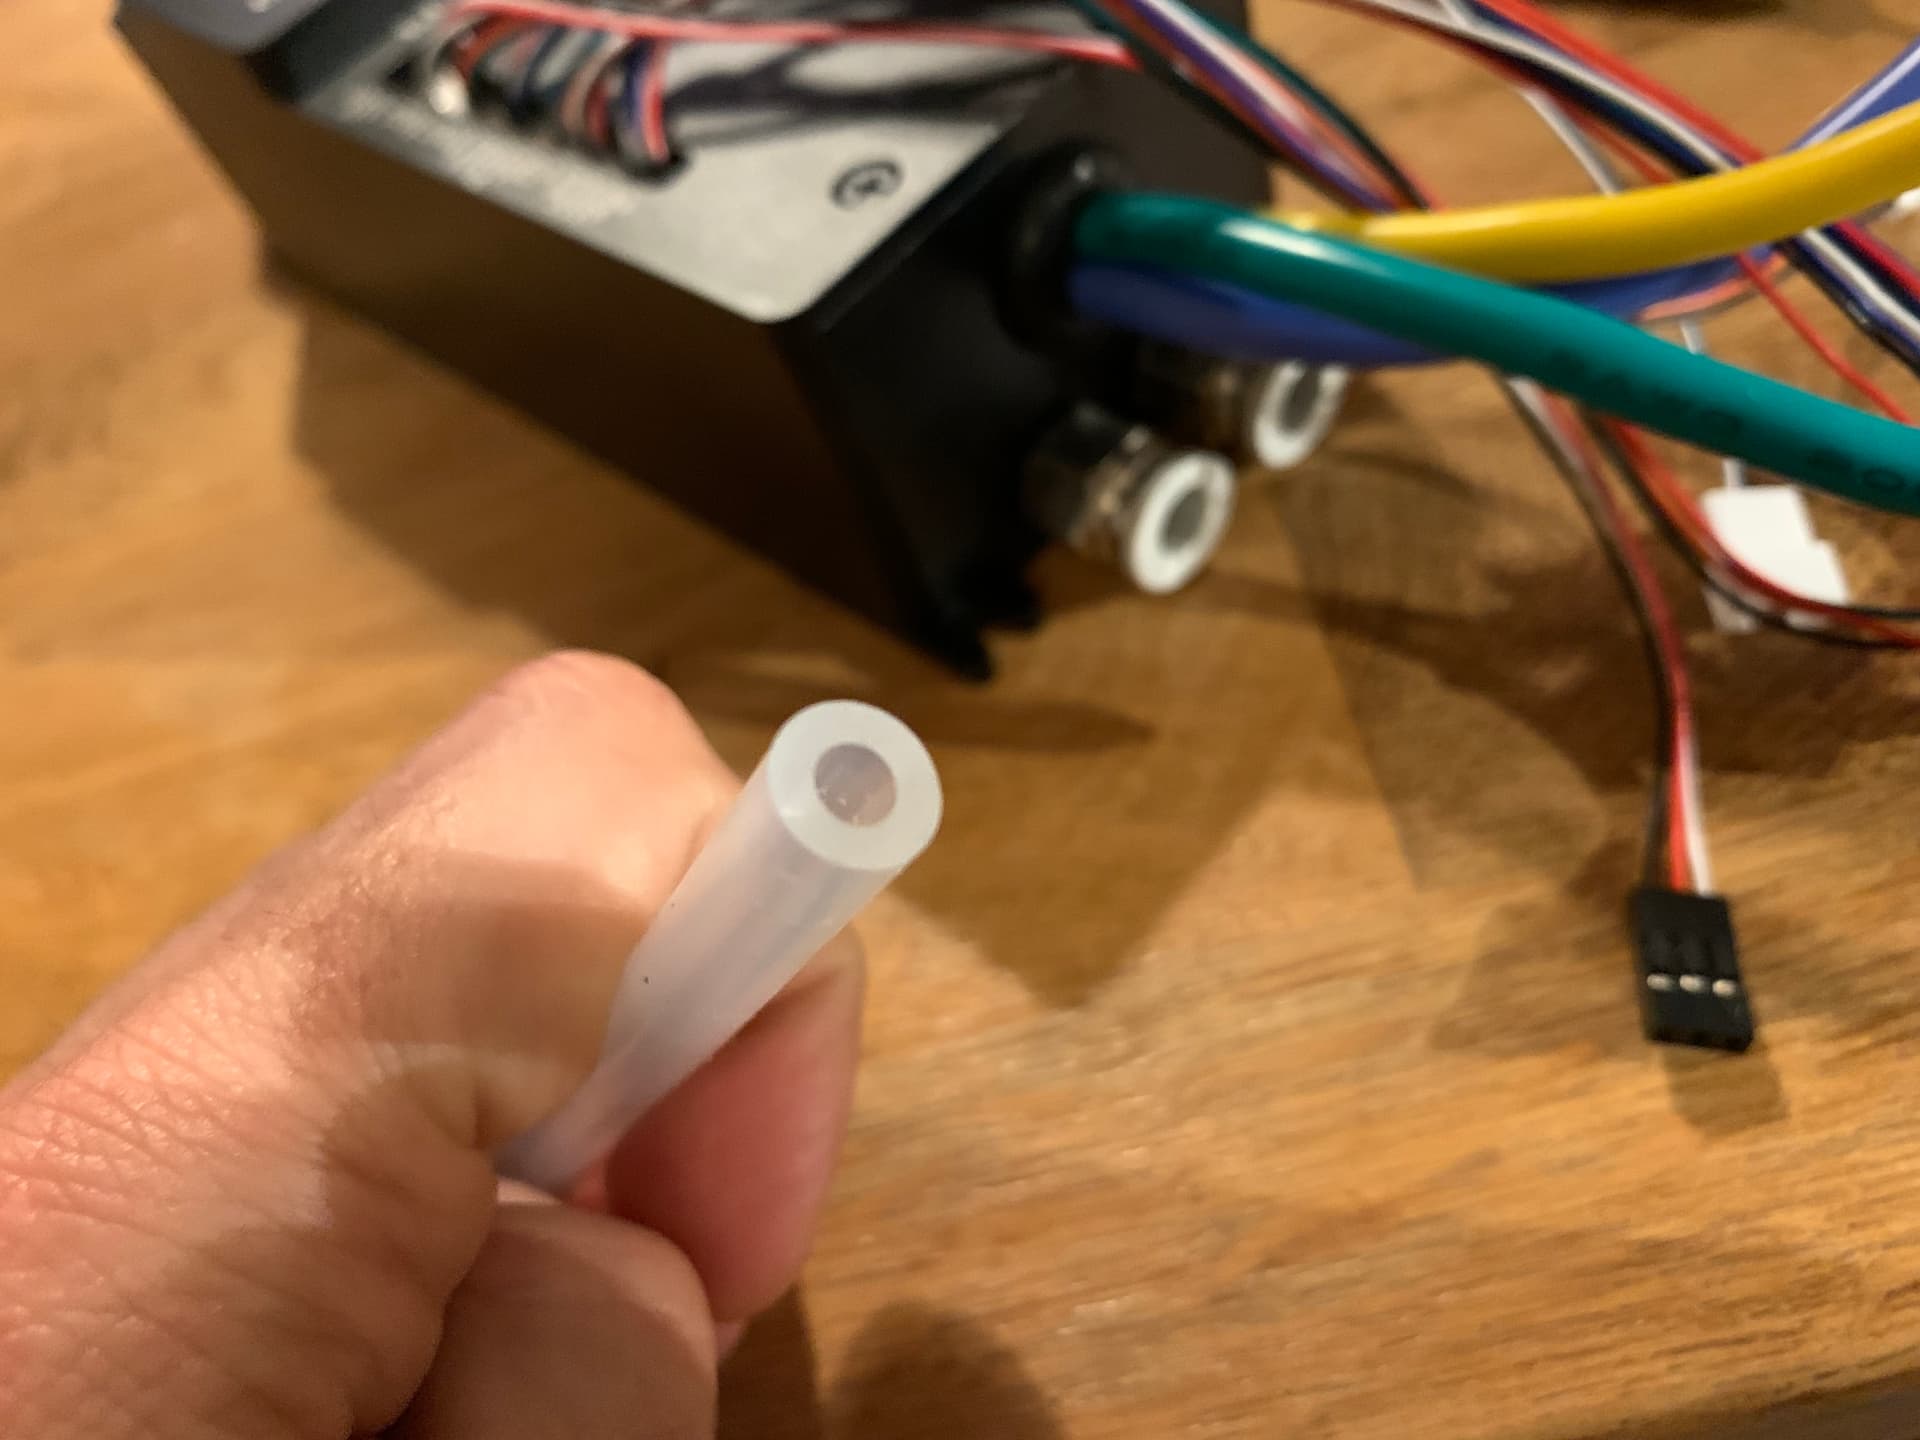
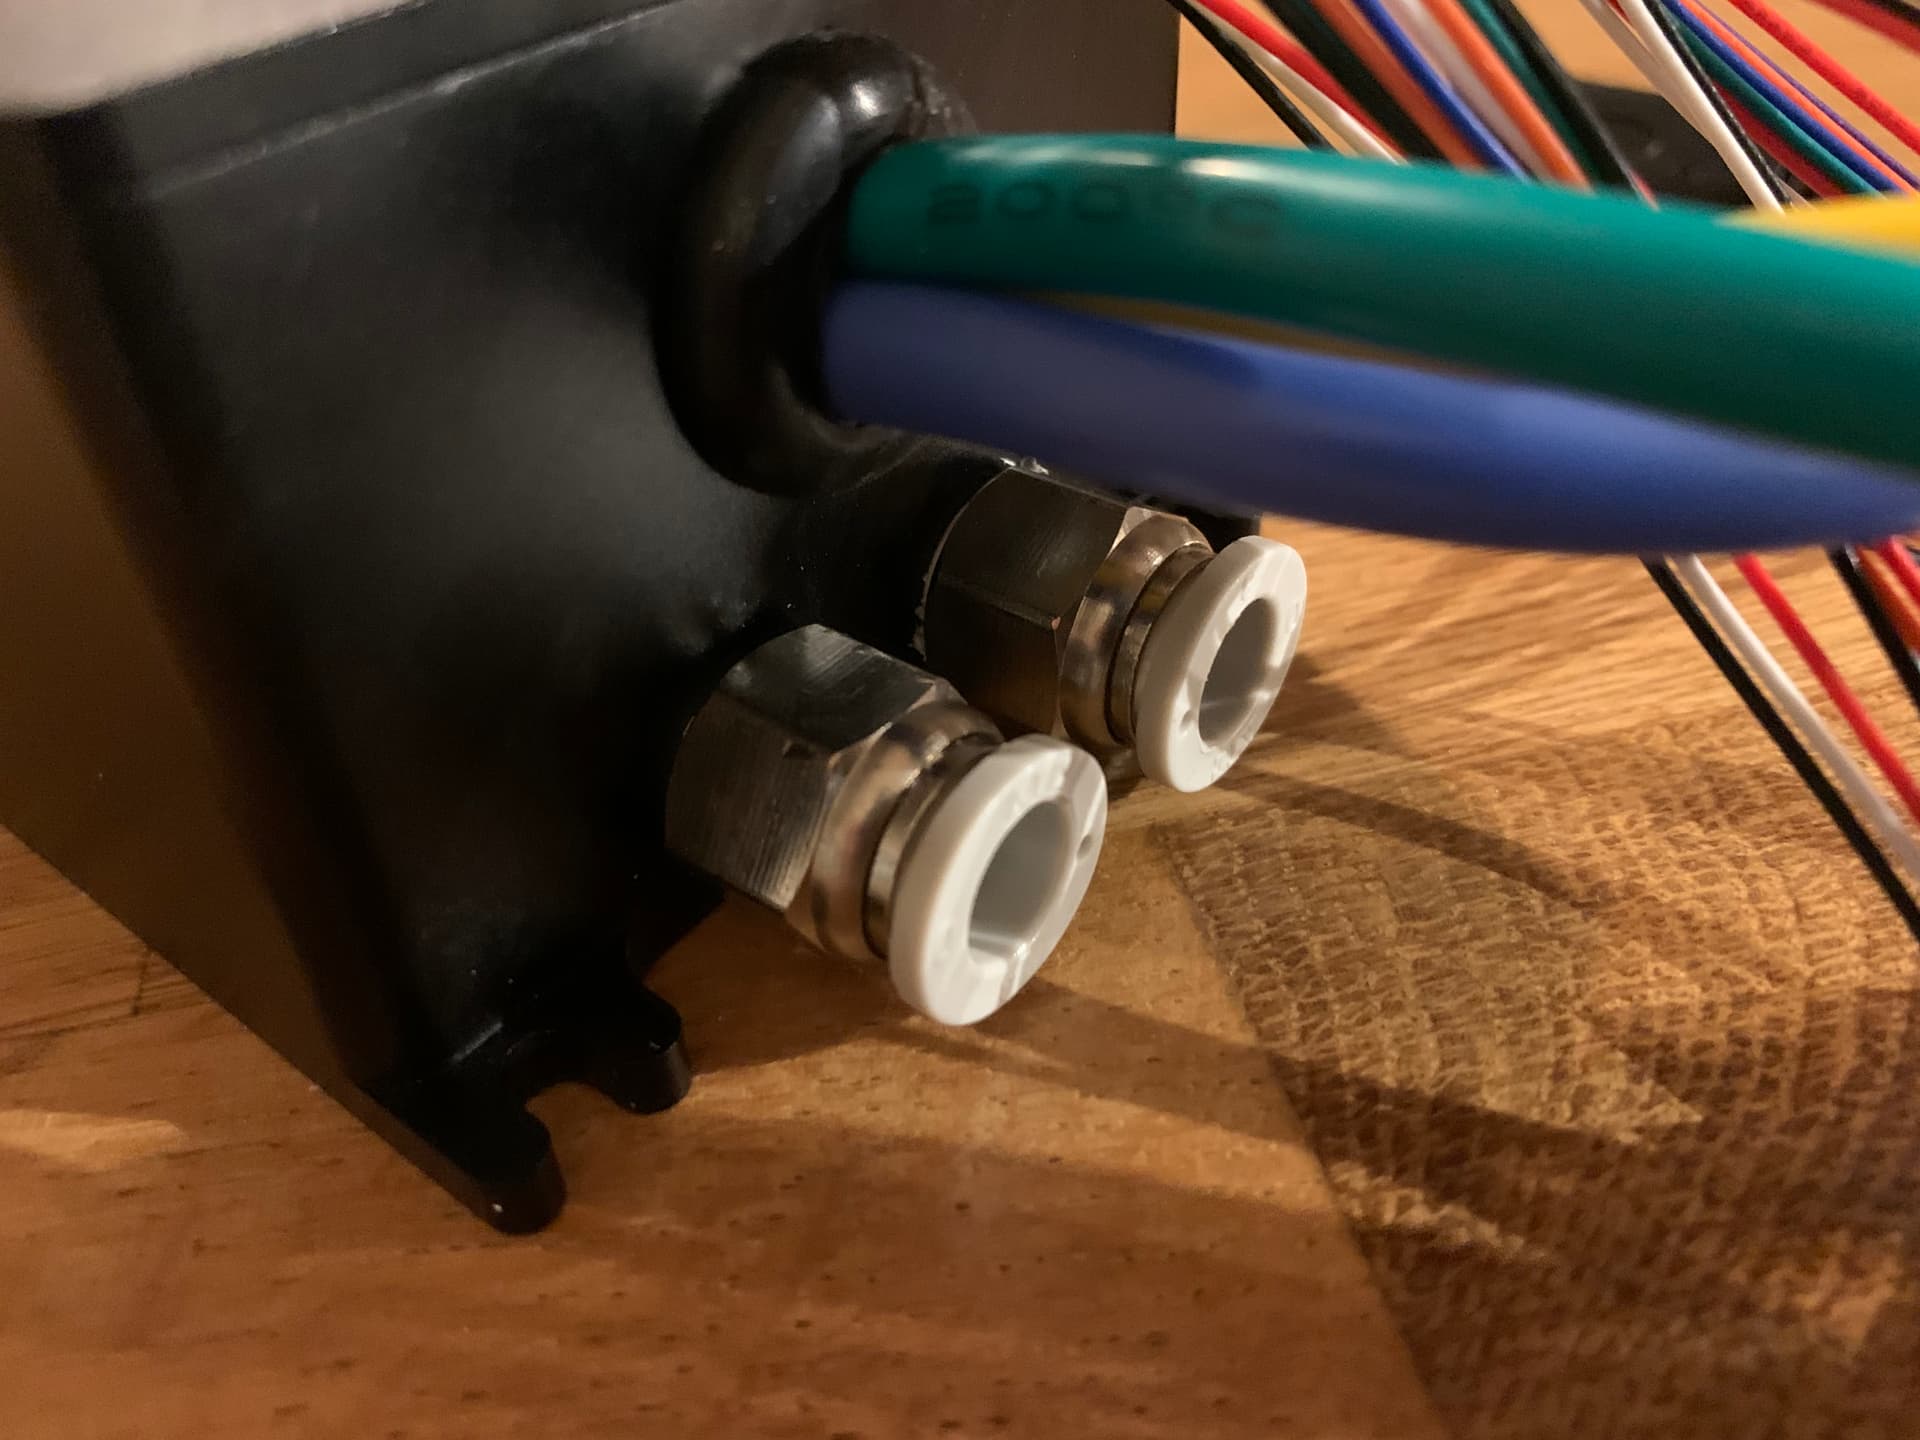
I’m still wondering if I keep the water connectors or replace them with something else. This 3D printer like connectors don’t inspire me too much confidence. I can also put Sikaflex F11C to make the connector/tubing zone waterproof.
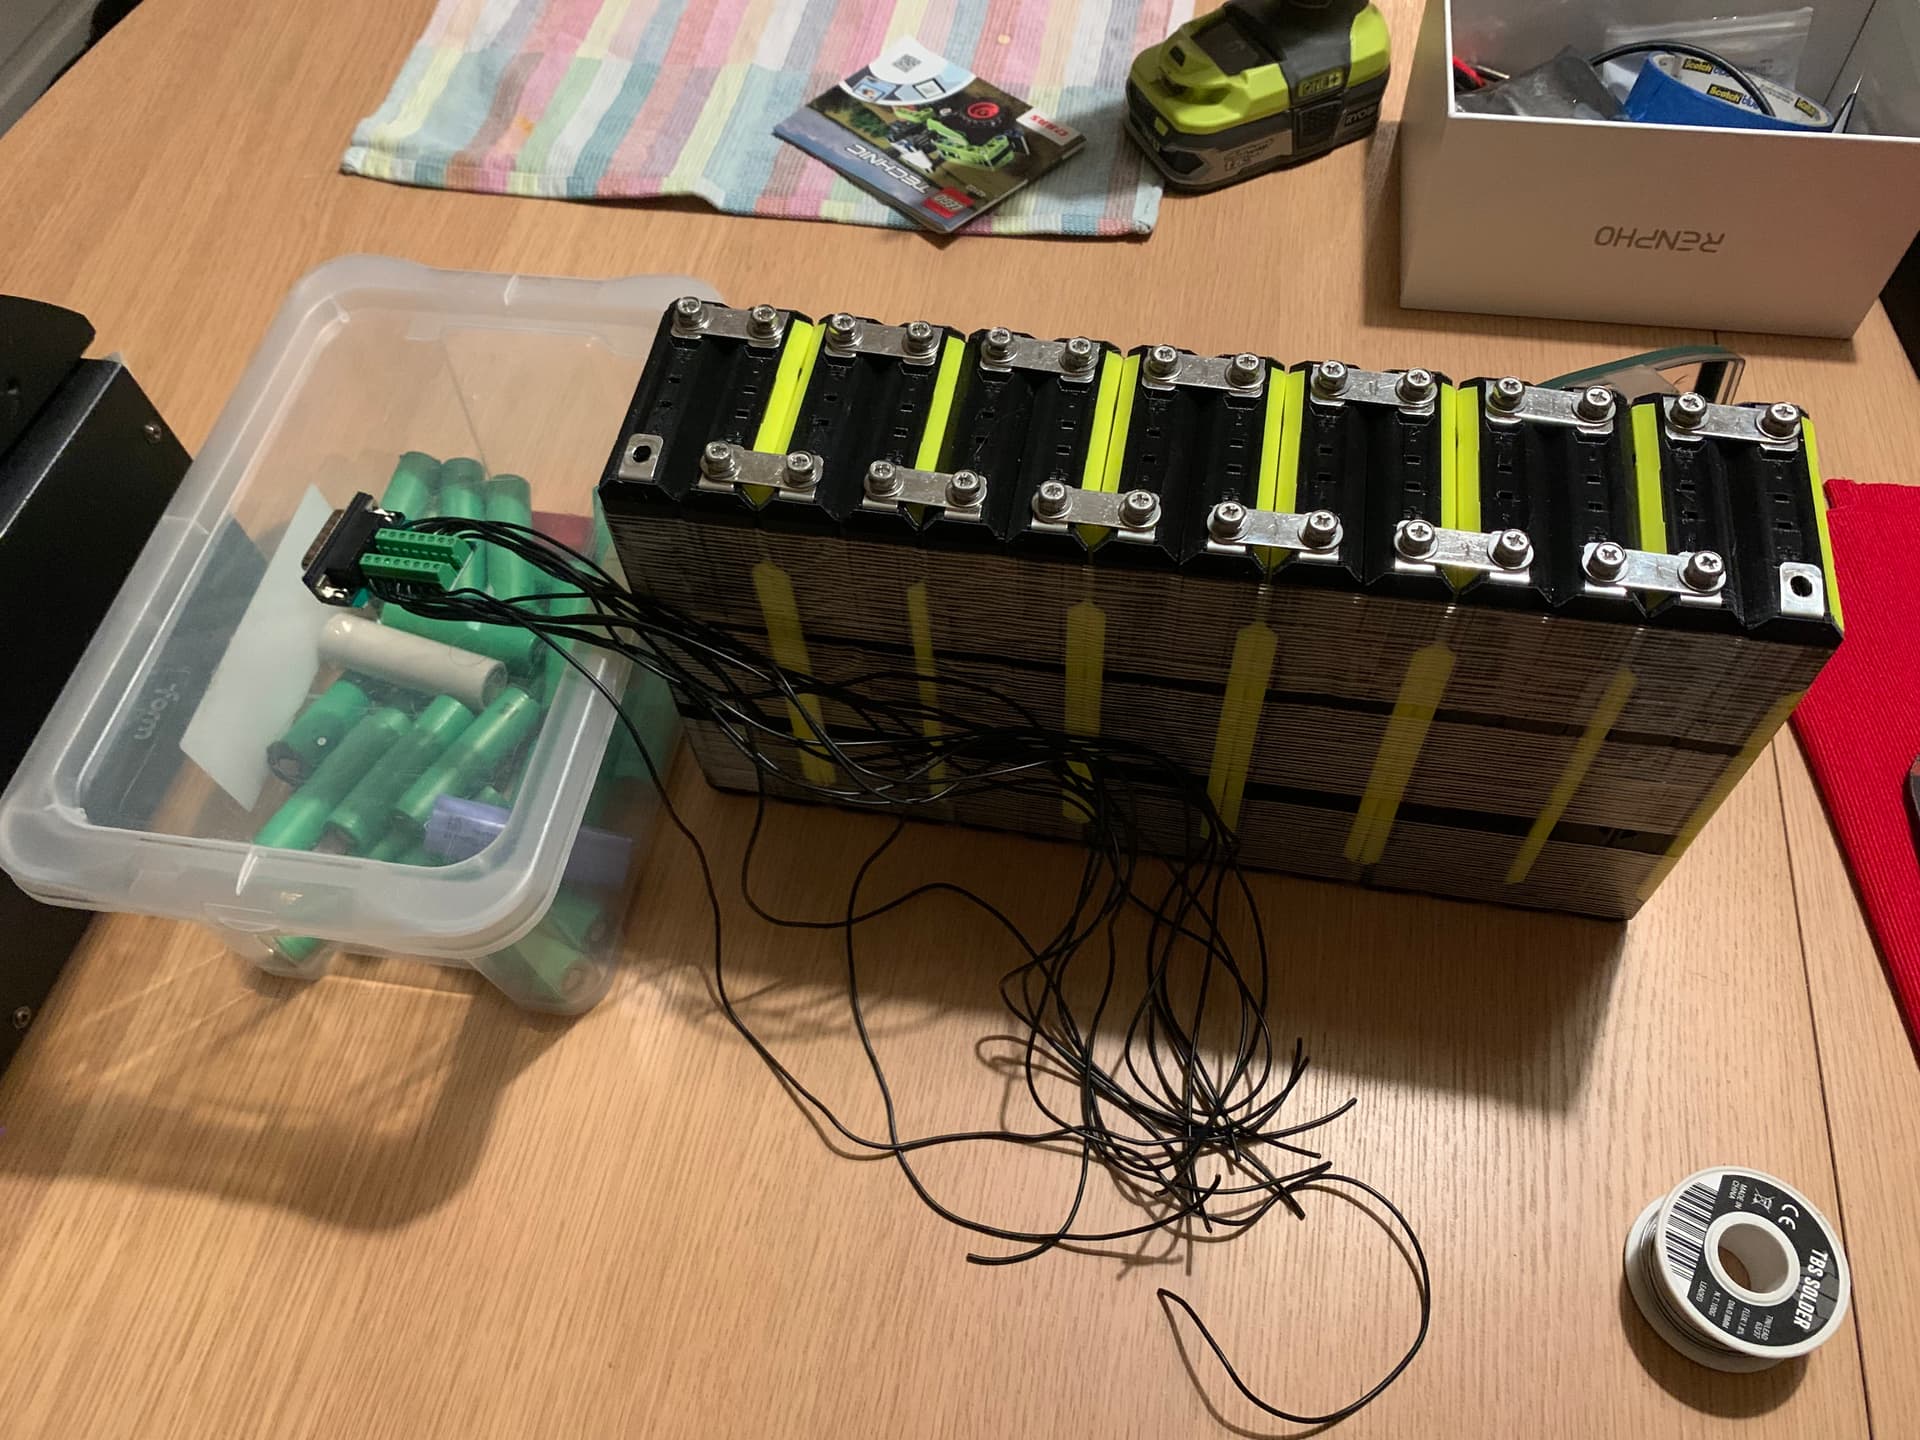
moving on to finish the battery (14S8P) with NESE modules. I added loctite on the nuts and decided to solder the balance wires to the strips (thank you Mark!).
I will use an external BMS so I can share it between my upcoming eFoil and this project. AWG10 & QS8-S connectors will be used.
yes brother! loctite all the way; I’ve also tighten them pretty hard. that’s also one of the reasons I didn’t put some connectors to attach the balancing wires and soldered them on the strip.
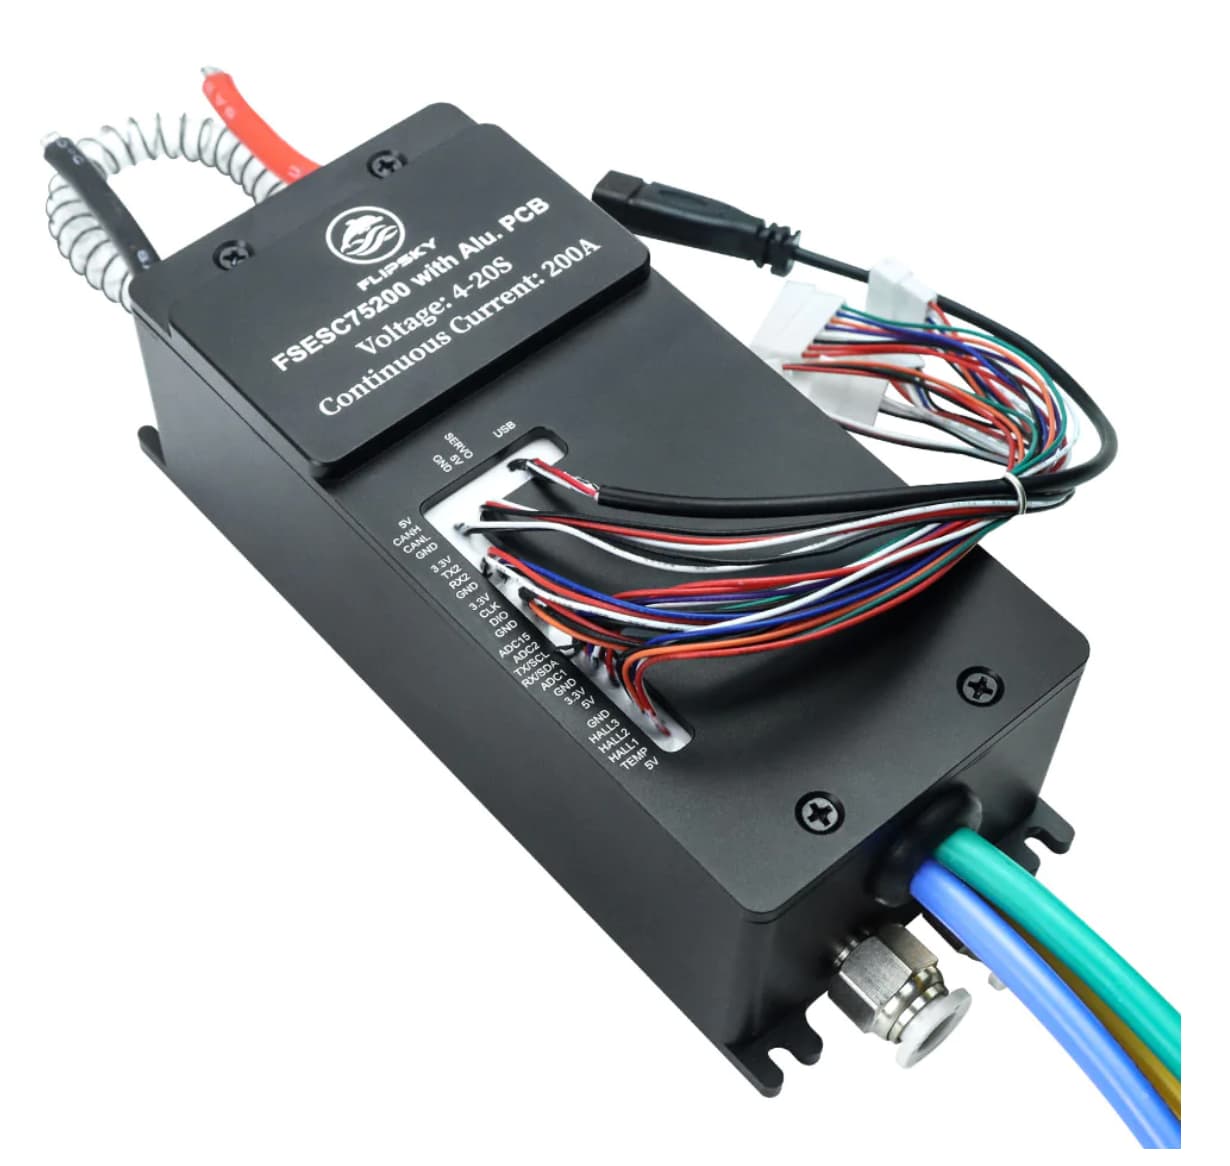
I am awaiting delivery of some FLIPSKY components to start my “case” on top of board build. I also chose the 75200 VESC from FLIPSKY and am curious about more detail on how you enhanced the original product.
I would appreciate some additional photos and detailed description of what you did to reduce the leak risk.
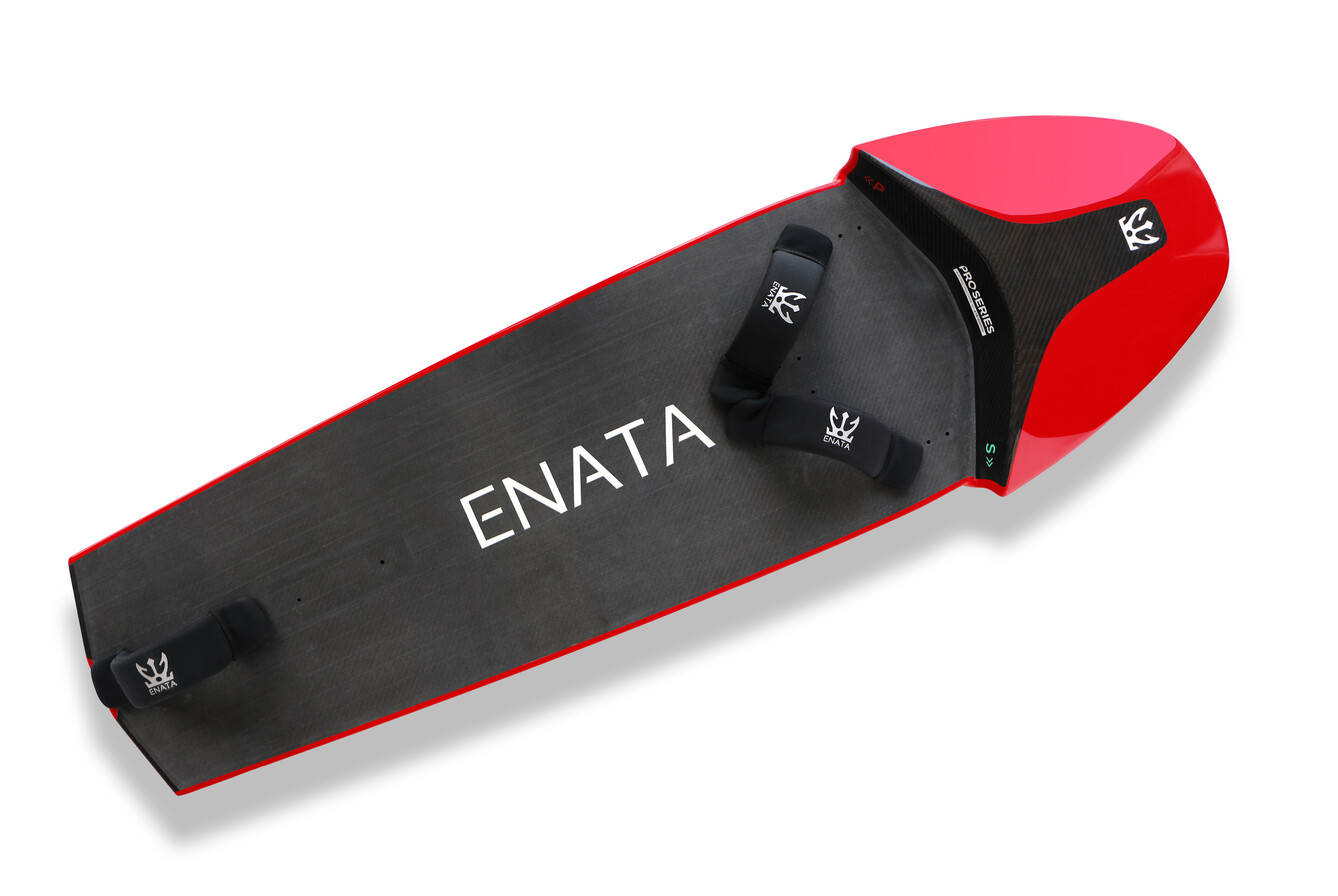
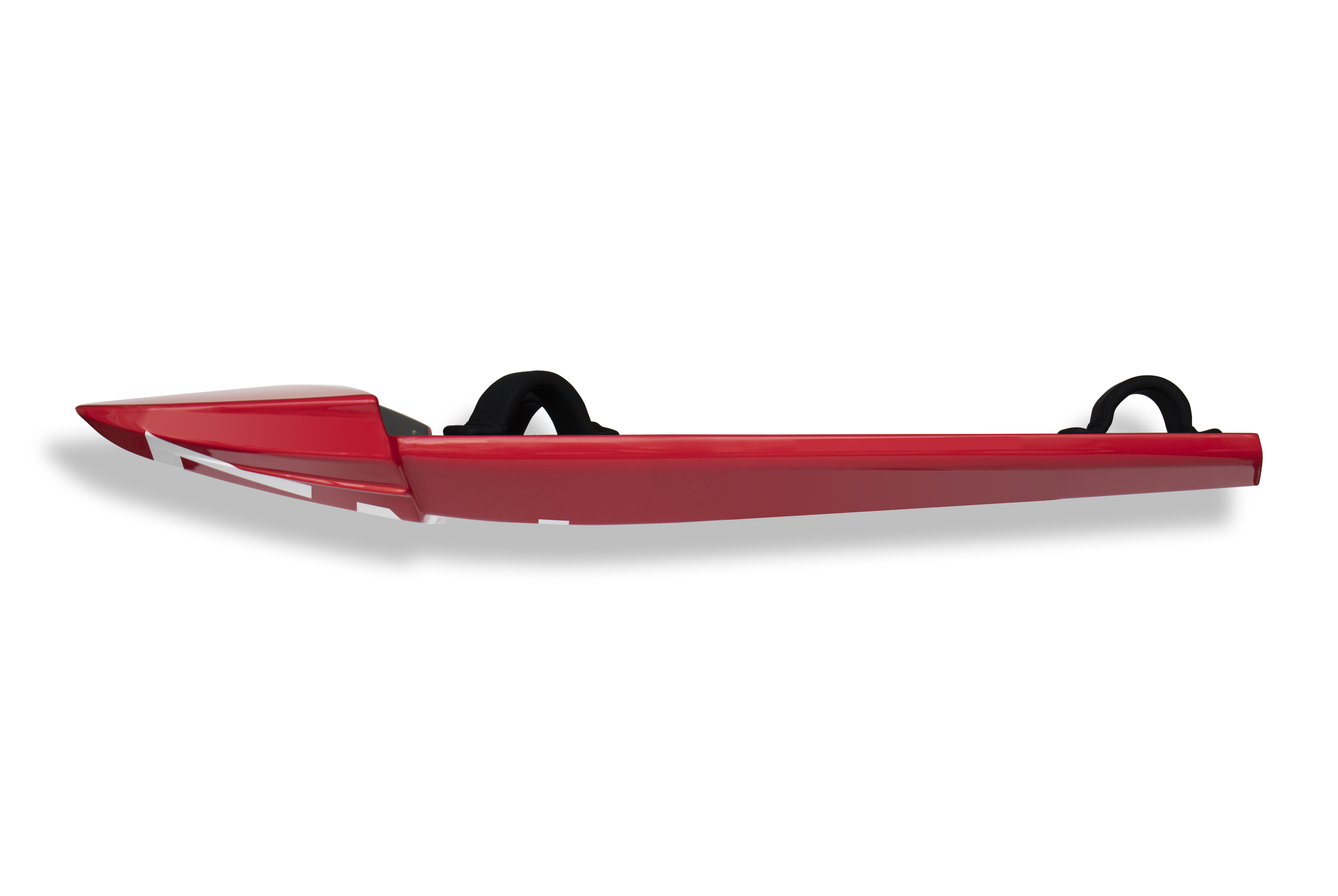
It’ll be interesting to see how the narrow tail on the board handles the torque twist of the motor. Running a bigger/wider boogie board significantly improves usability in tricky conditions, because the wide tail resists flipping to one side from all the prop twist when you’re giving it lots of throttle.
thanks brother! I plan to put the mast in the middle of the board with USBOX to move it and tune it over time until I get the right balance.
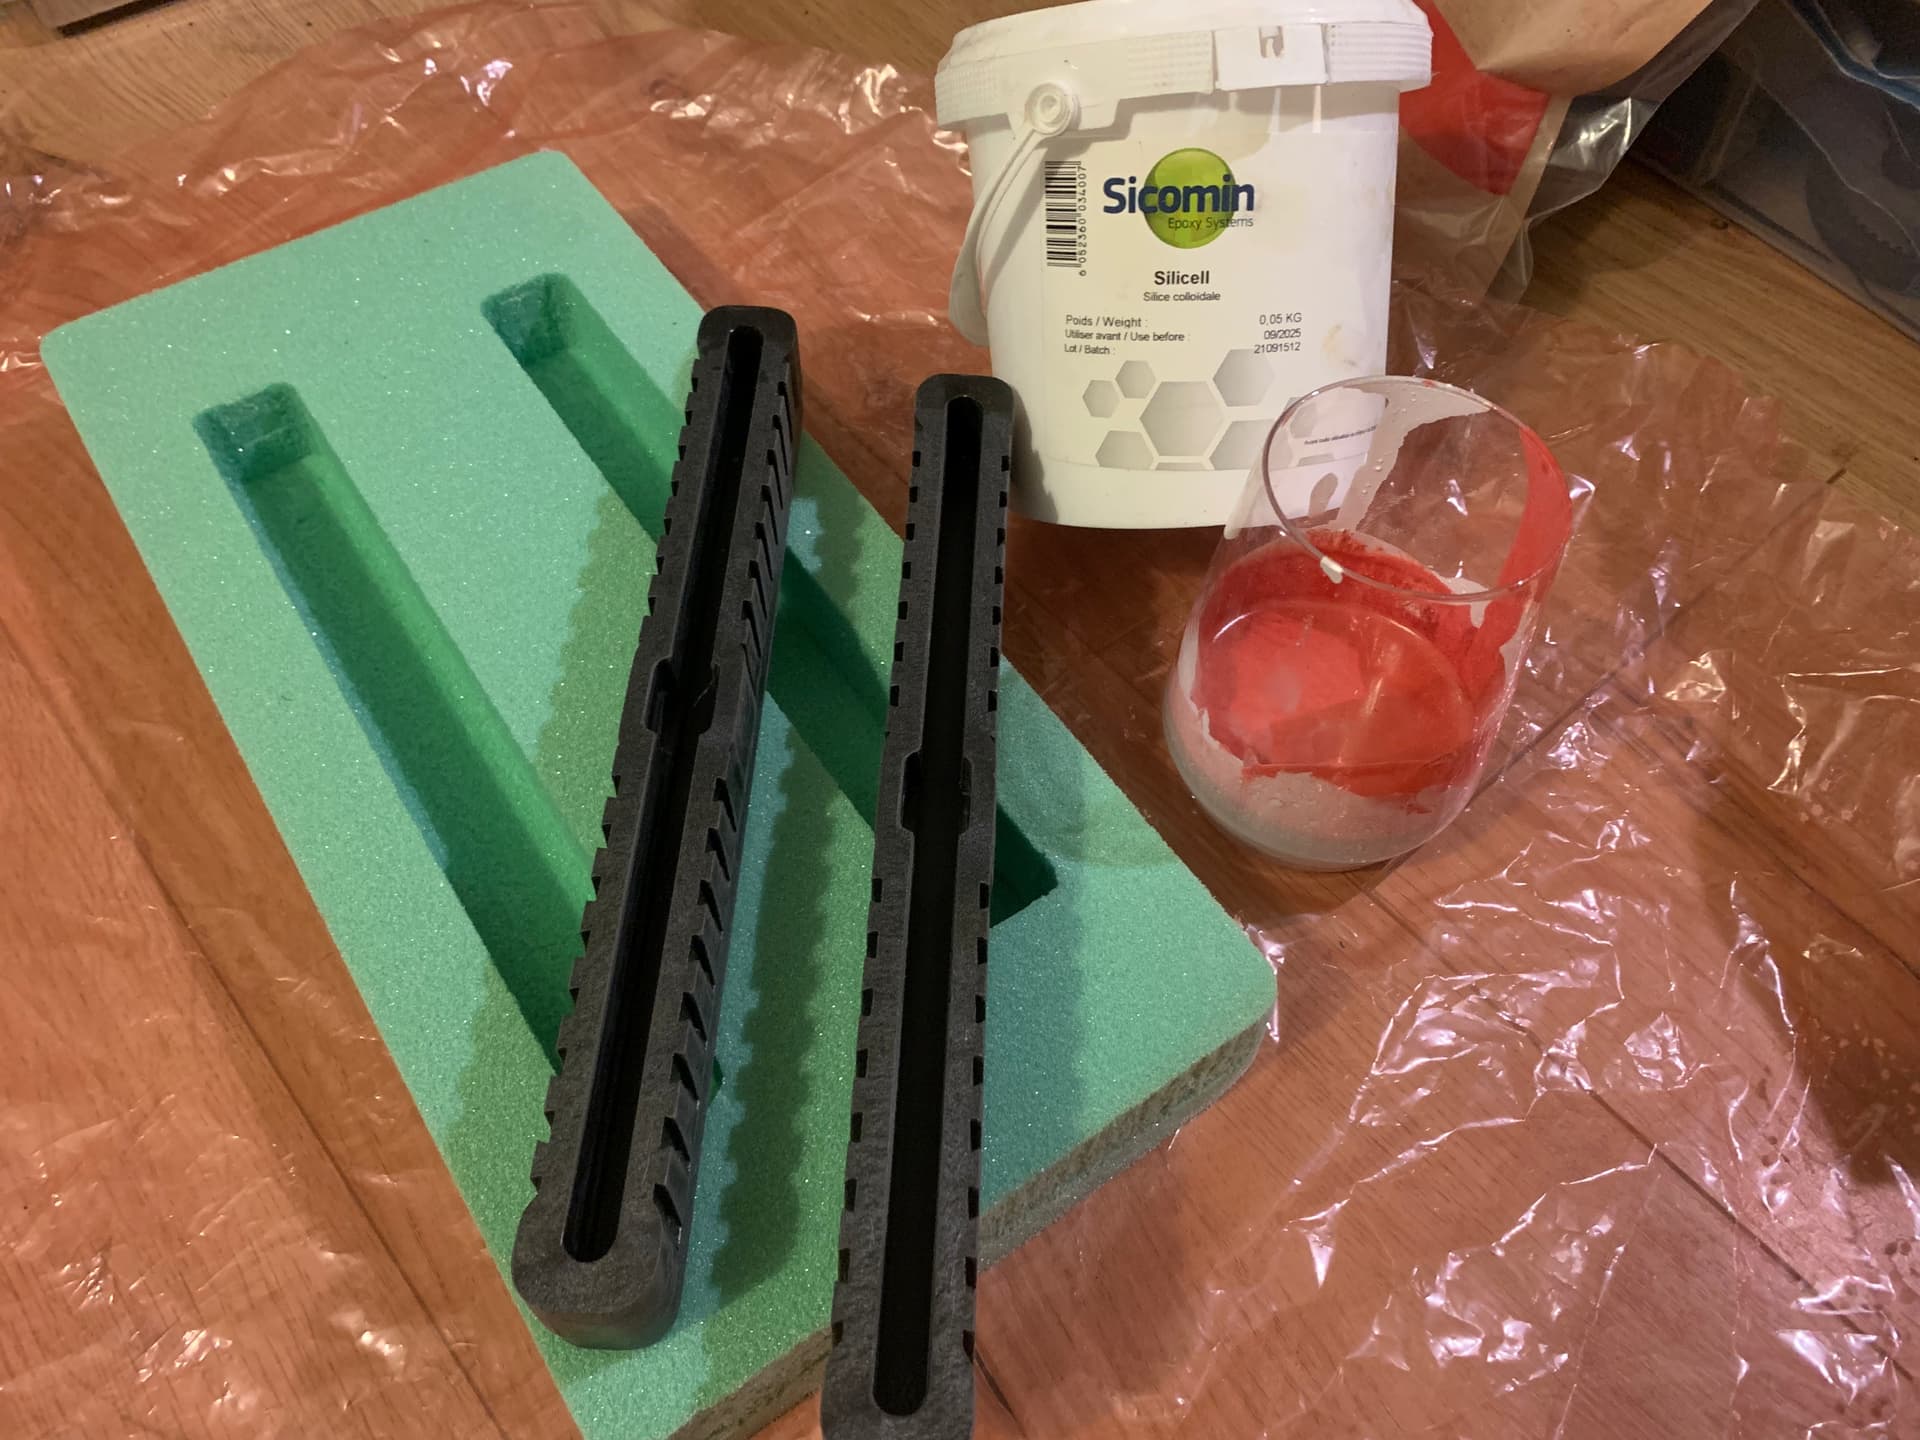
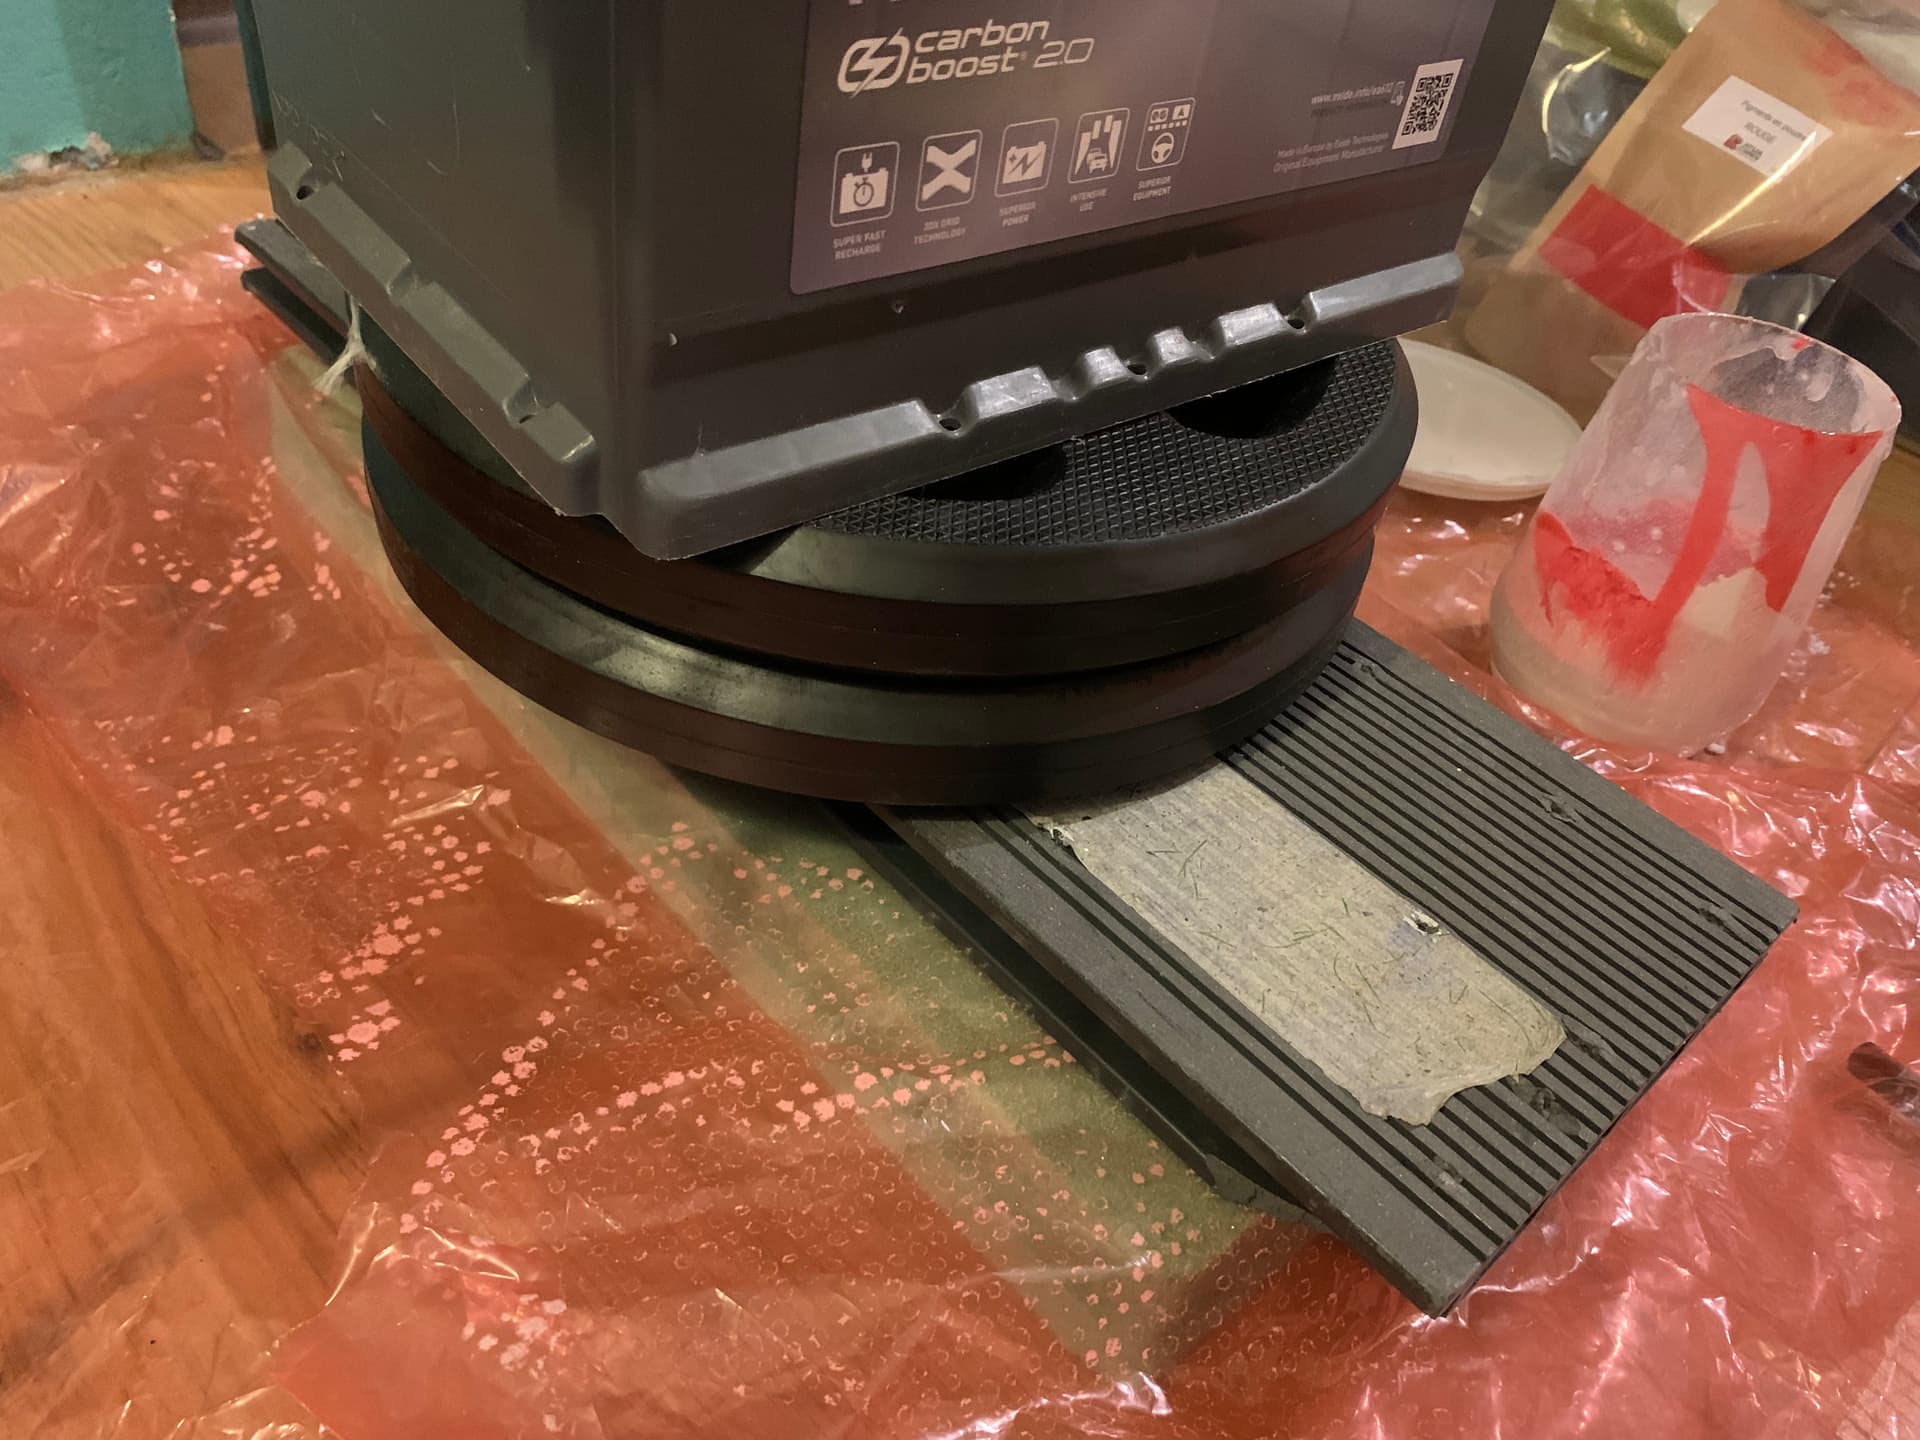
I’ve moved forward on building the USBOX & Airex combo. It’s overkill I know, but I’m not going to lower the standards! I’m using Silice cells because it’s mechanical property vs glass cells.
50 grams of resin / 25 grams of hardener and some silice powder. A good mix and then I through this in one USBOX rail holder. Same for the other one. Sanding the USBOX rails is super important for a good bond.
I will also dig a rail between the two USBOX to enable the 3 motors cable and the water tubing that will escape on top of the mast baseplate … to move freely when moving the mast on the USBOXes.