Thank you.
People used to say German engineering or made in Germany.![]()
But I also think that this is becoming less. I am very happy when others like my work.
By the way, I’m not an engineer, just an electrician. ![]()
1 Like
Your are « A King of DIY » I want to say !
Continue to inspire us ![]()
4 Likes
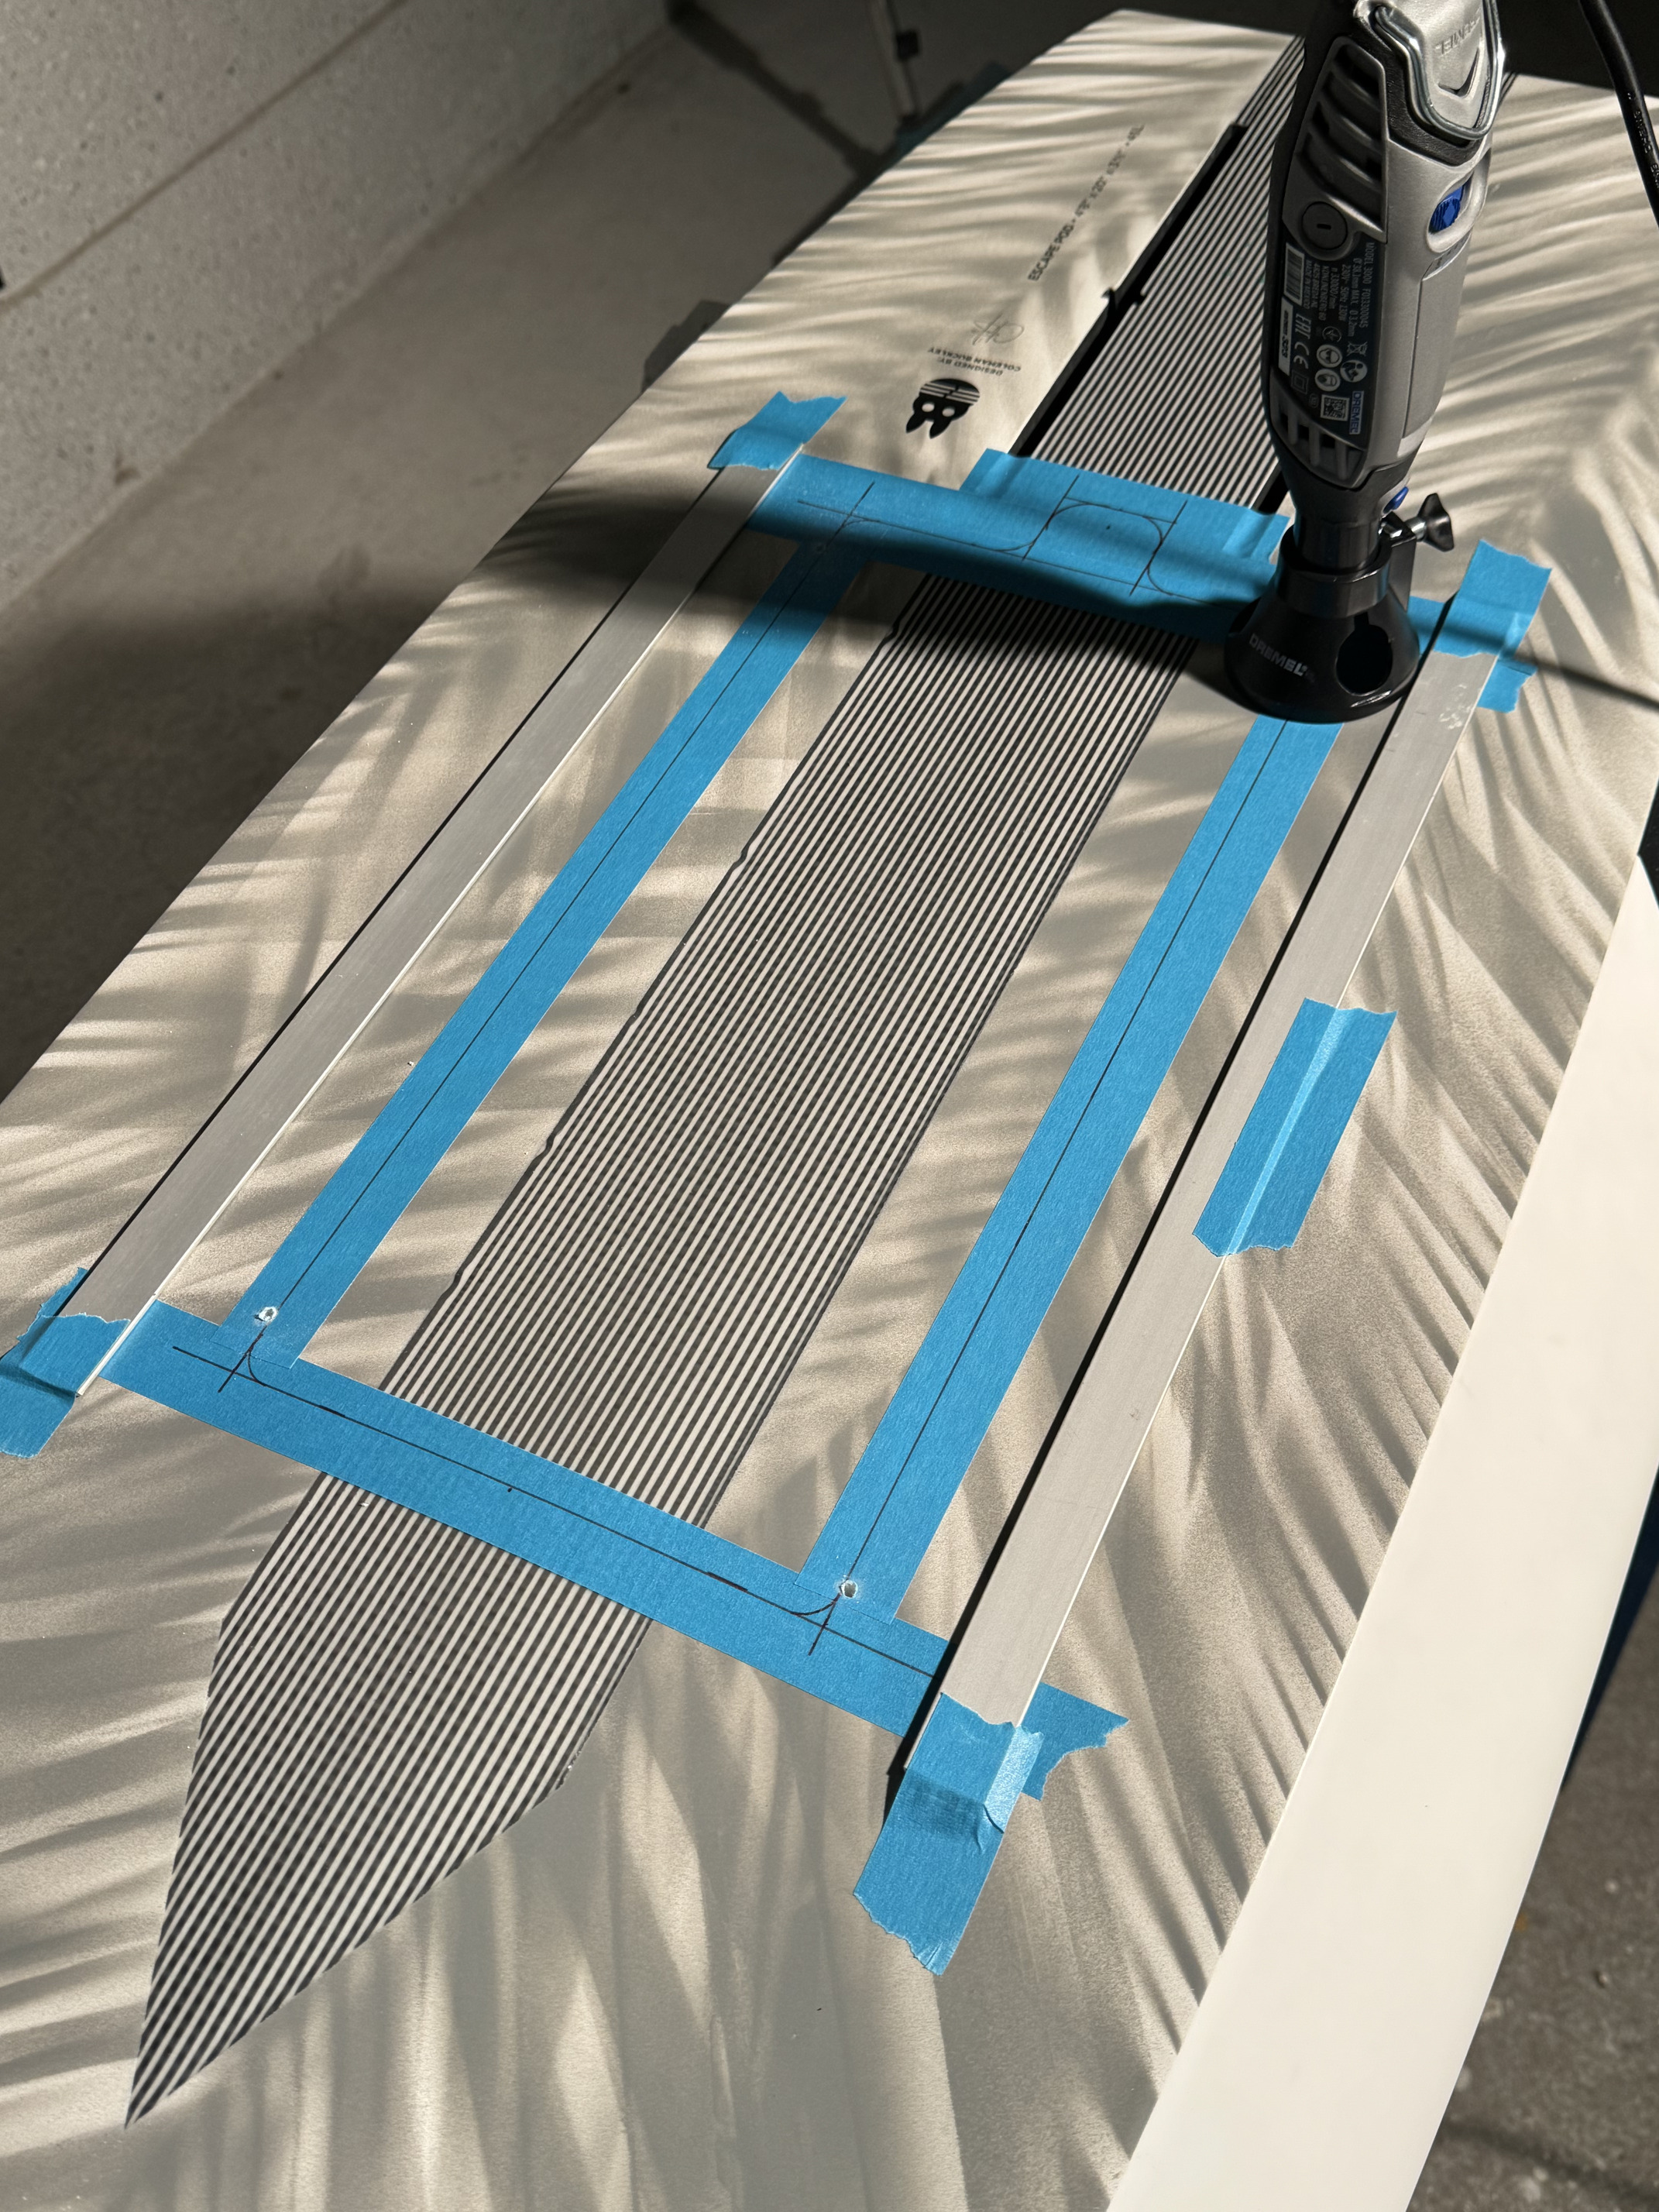
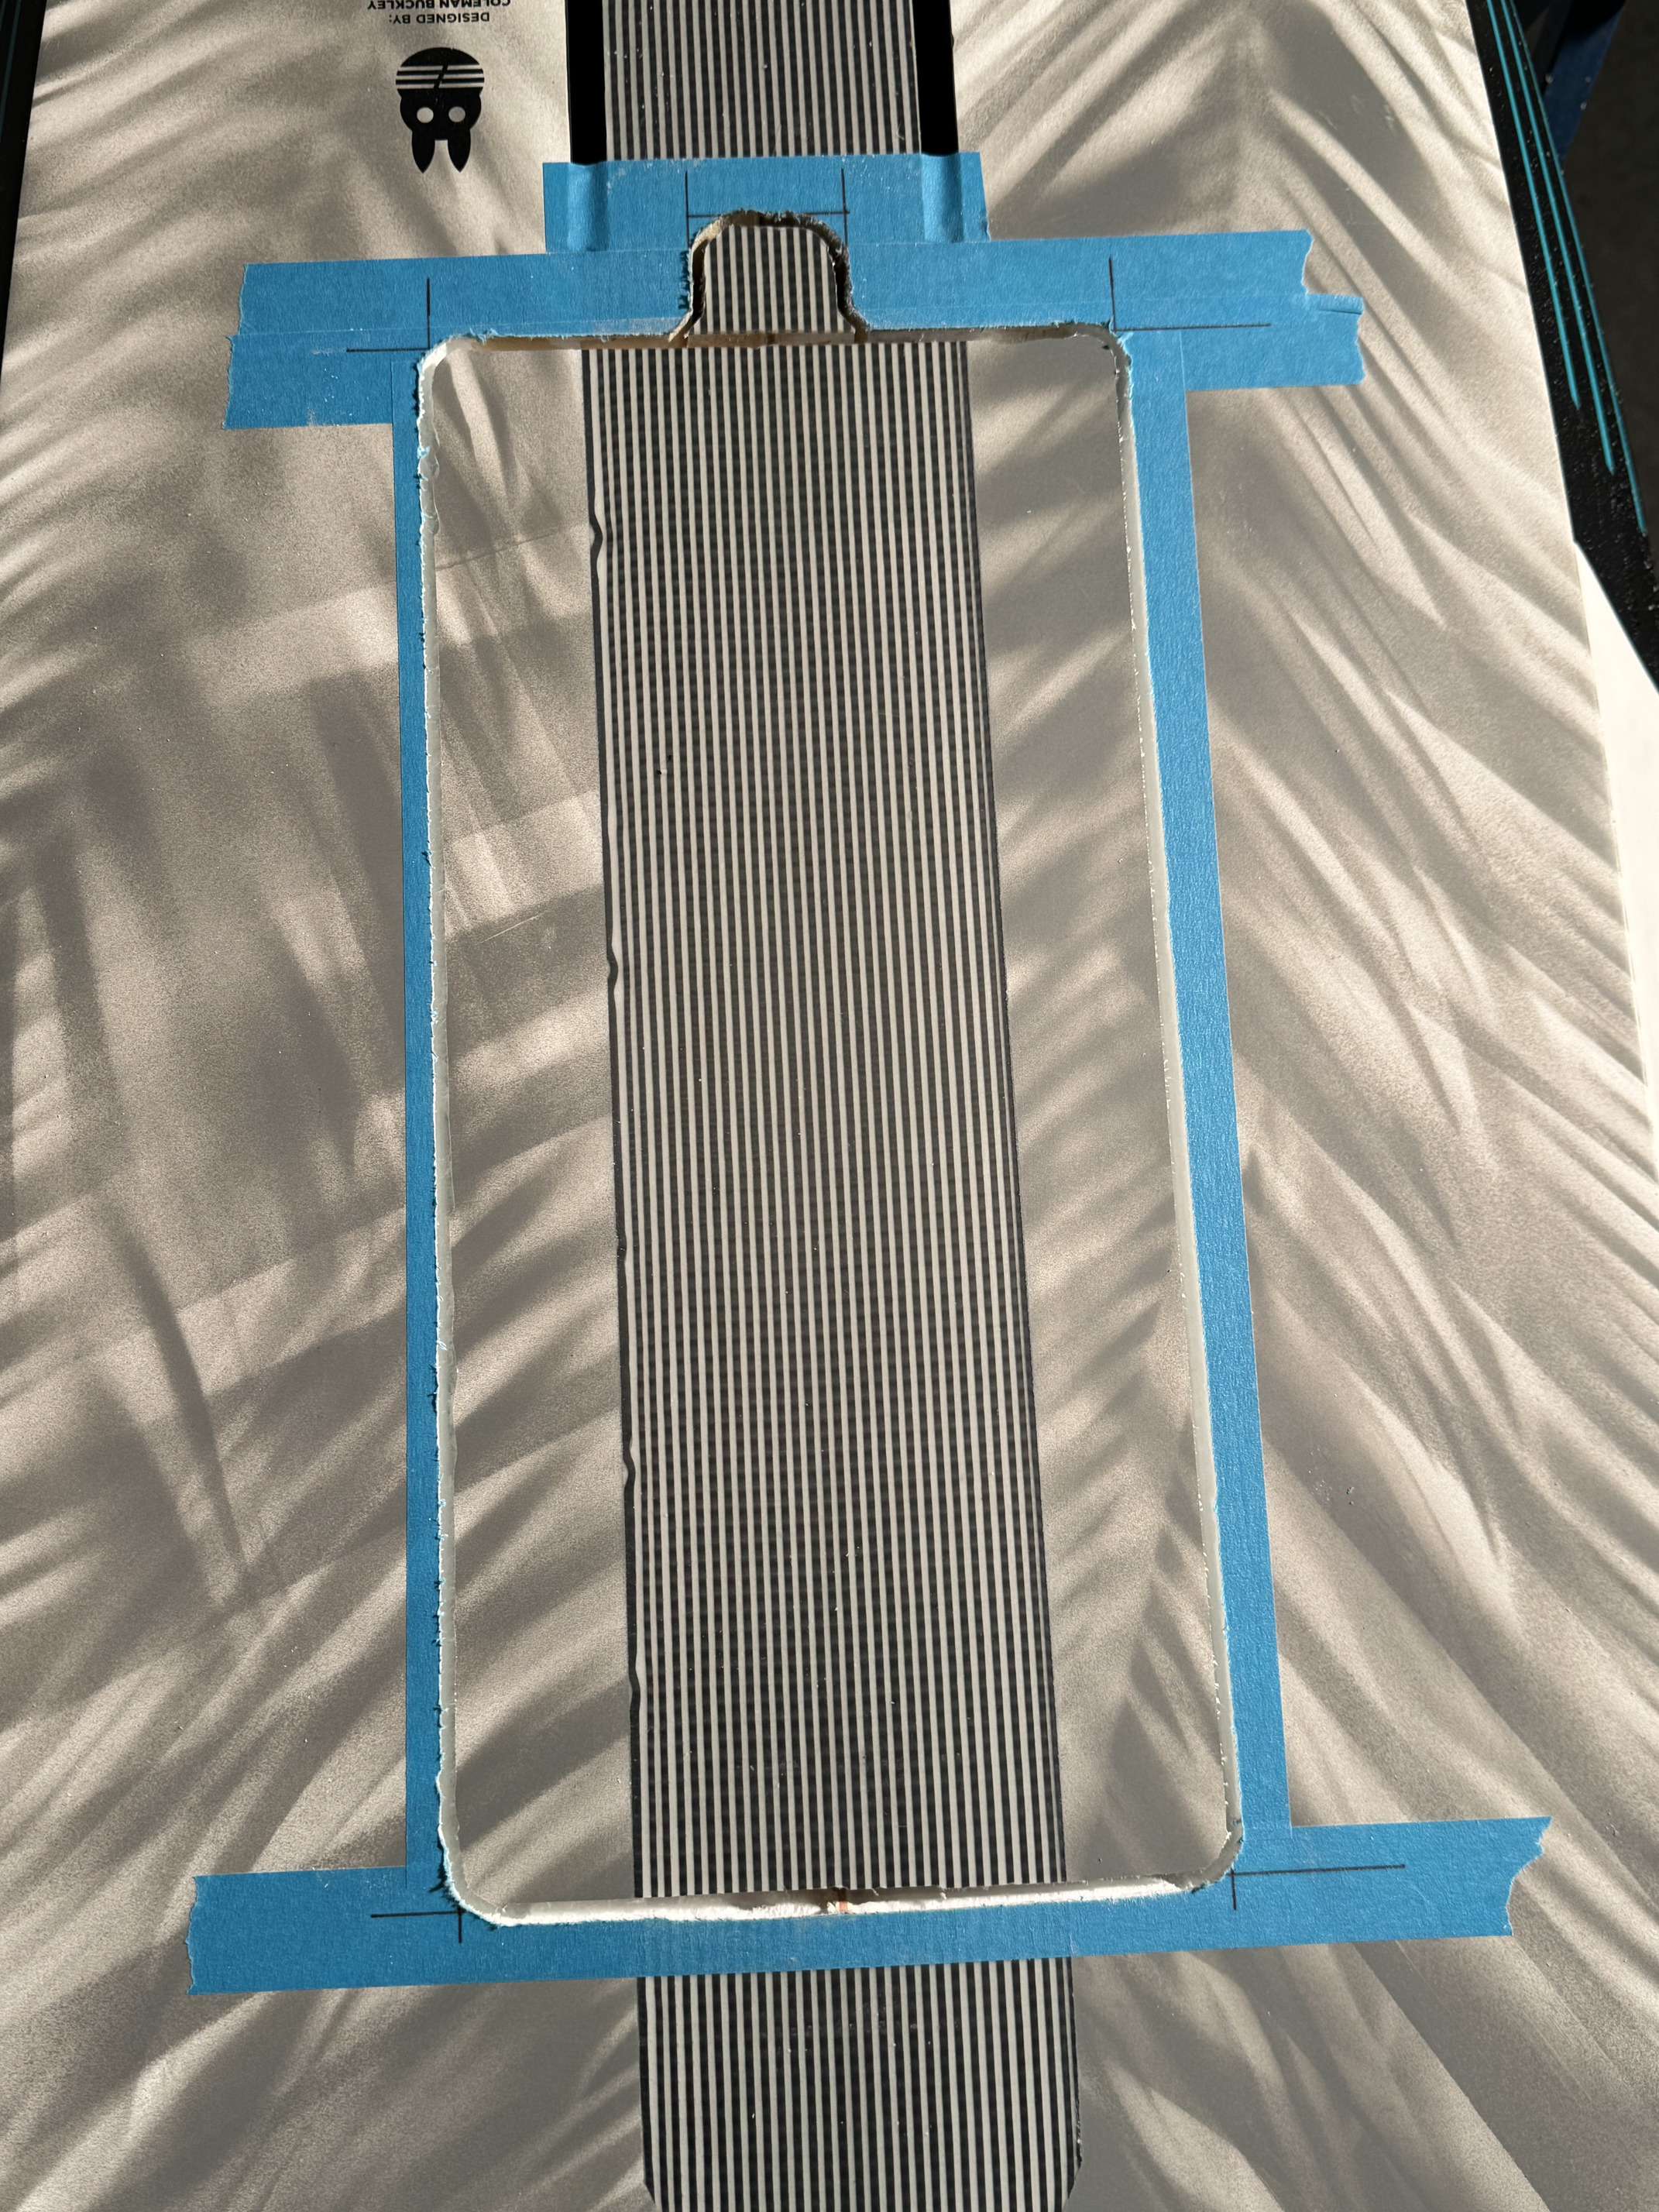
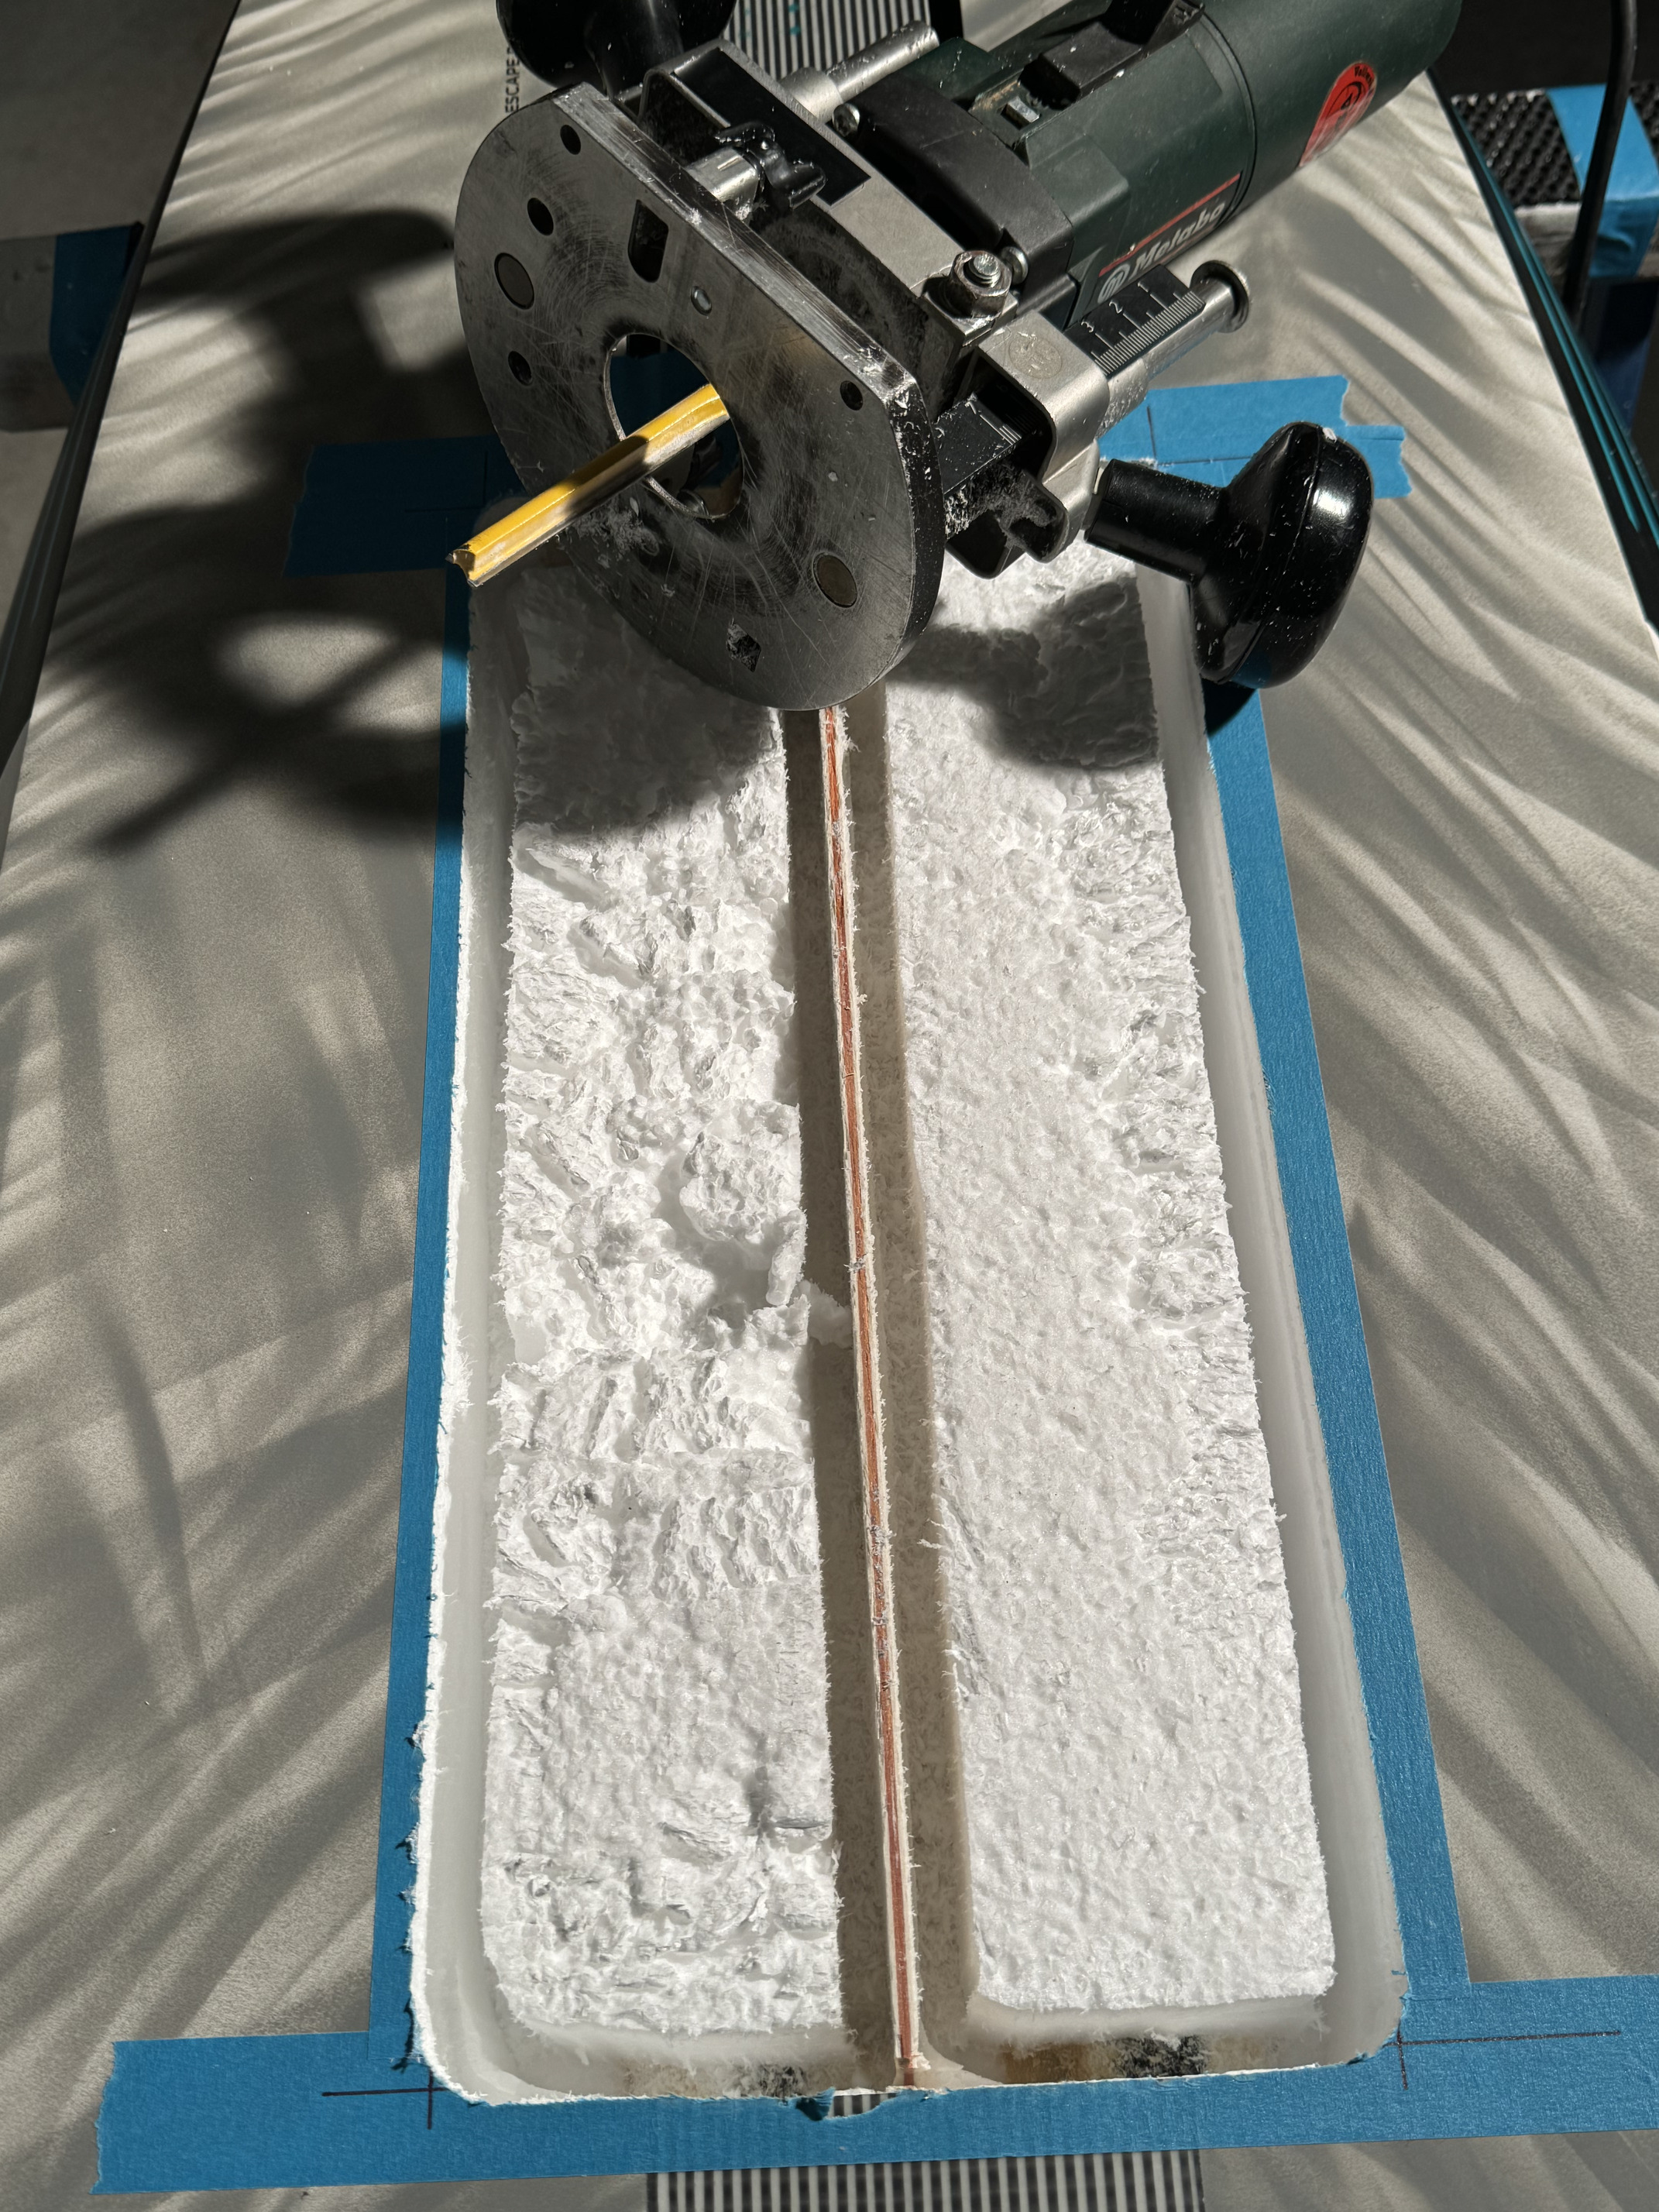
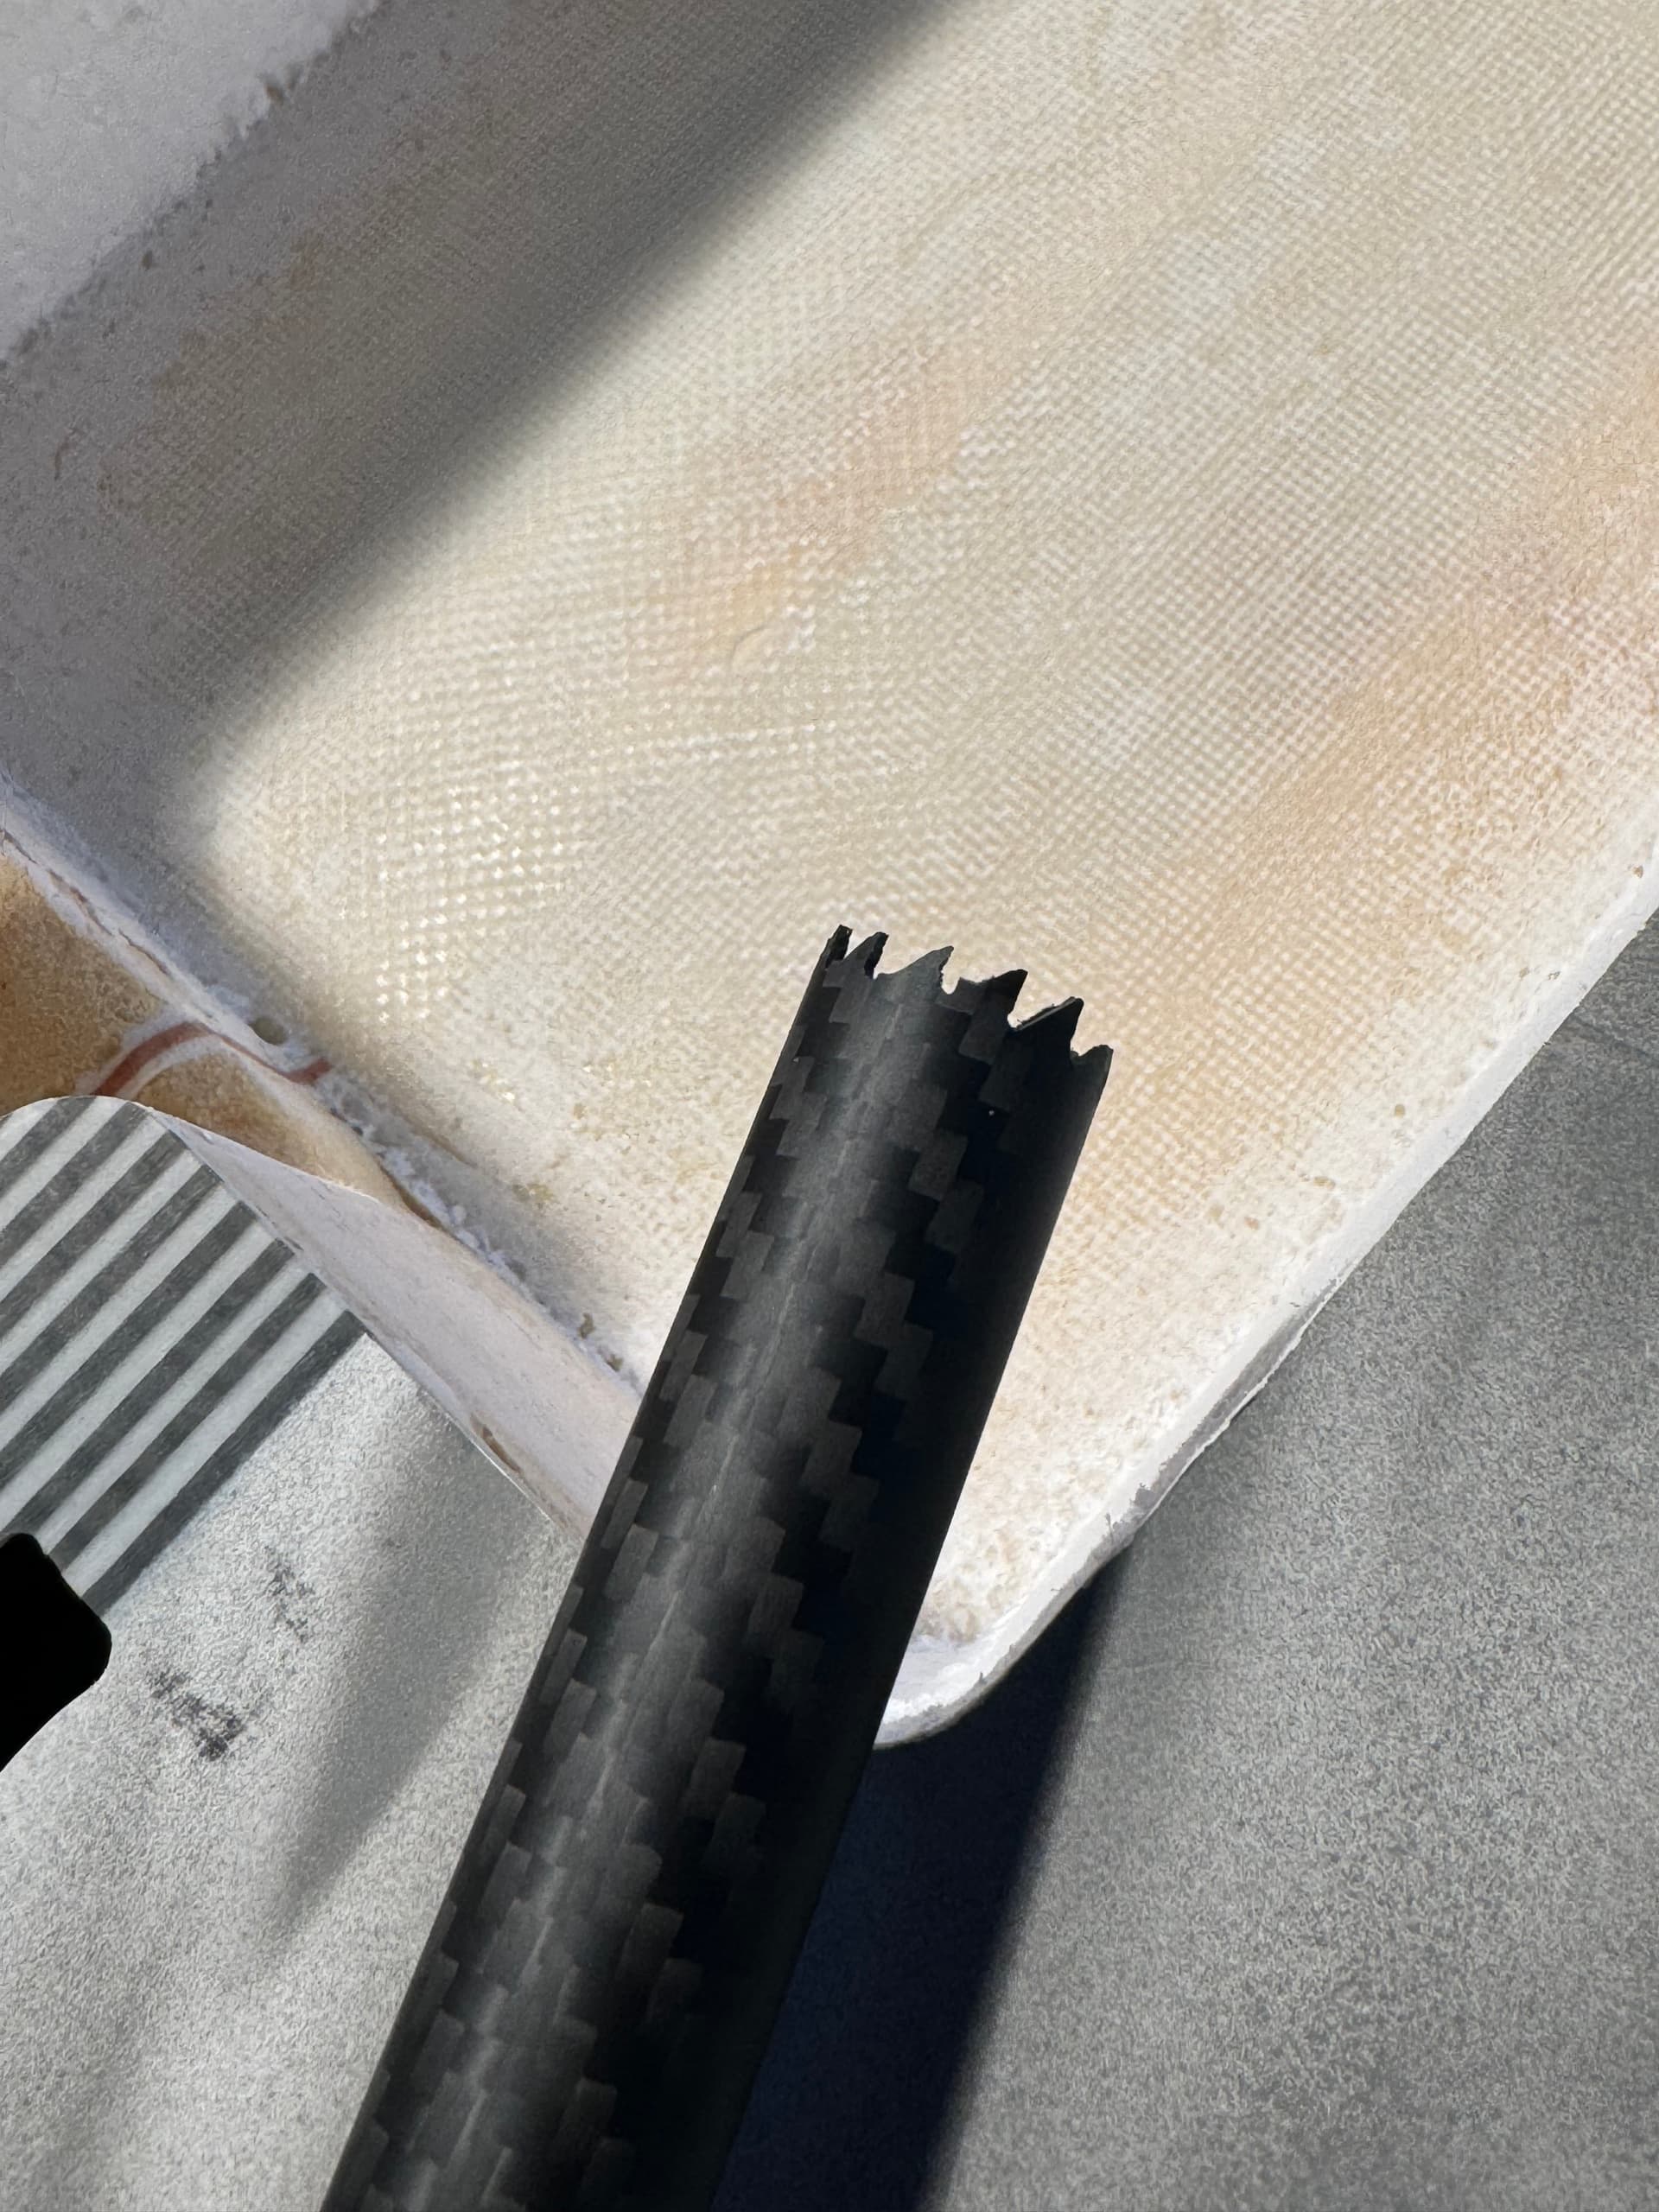
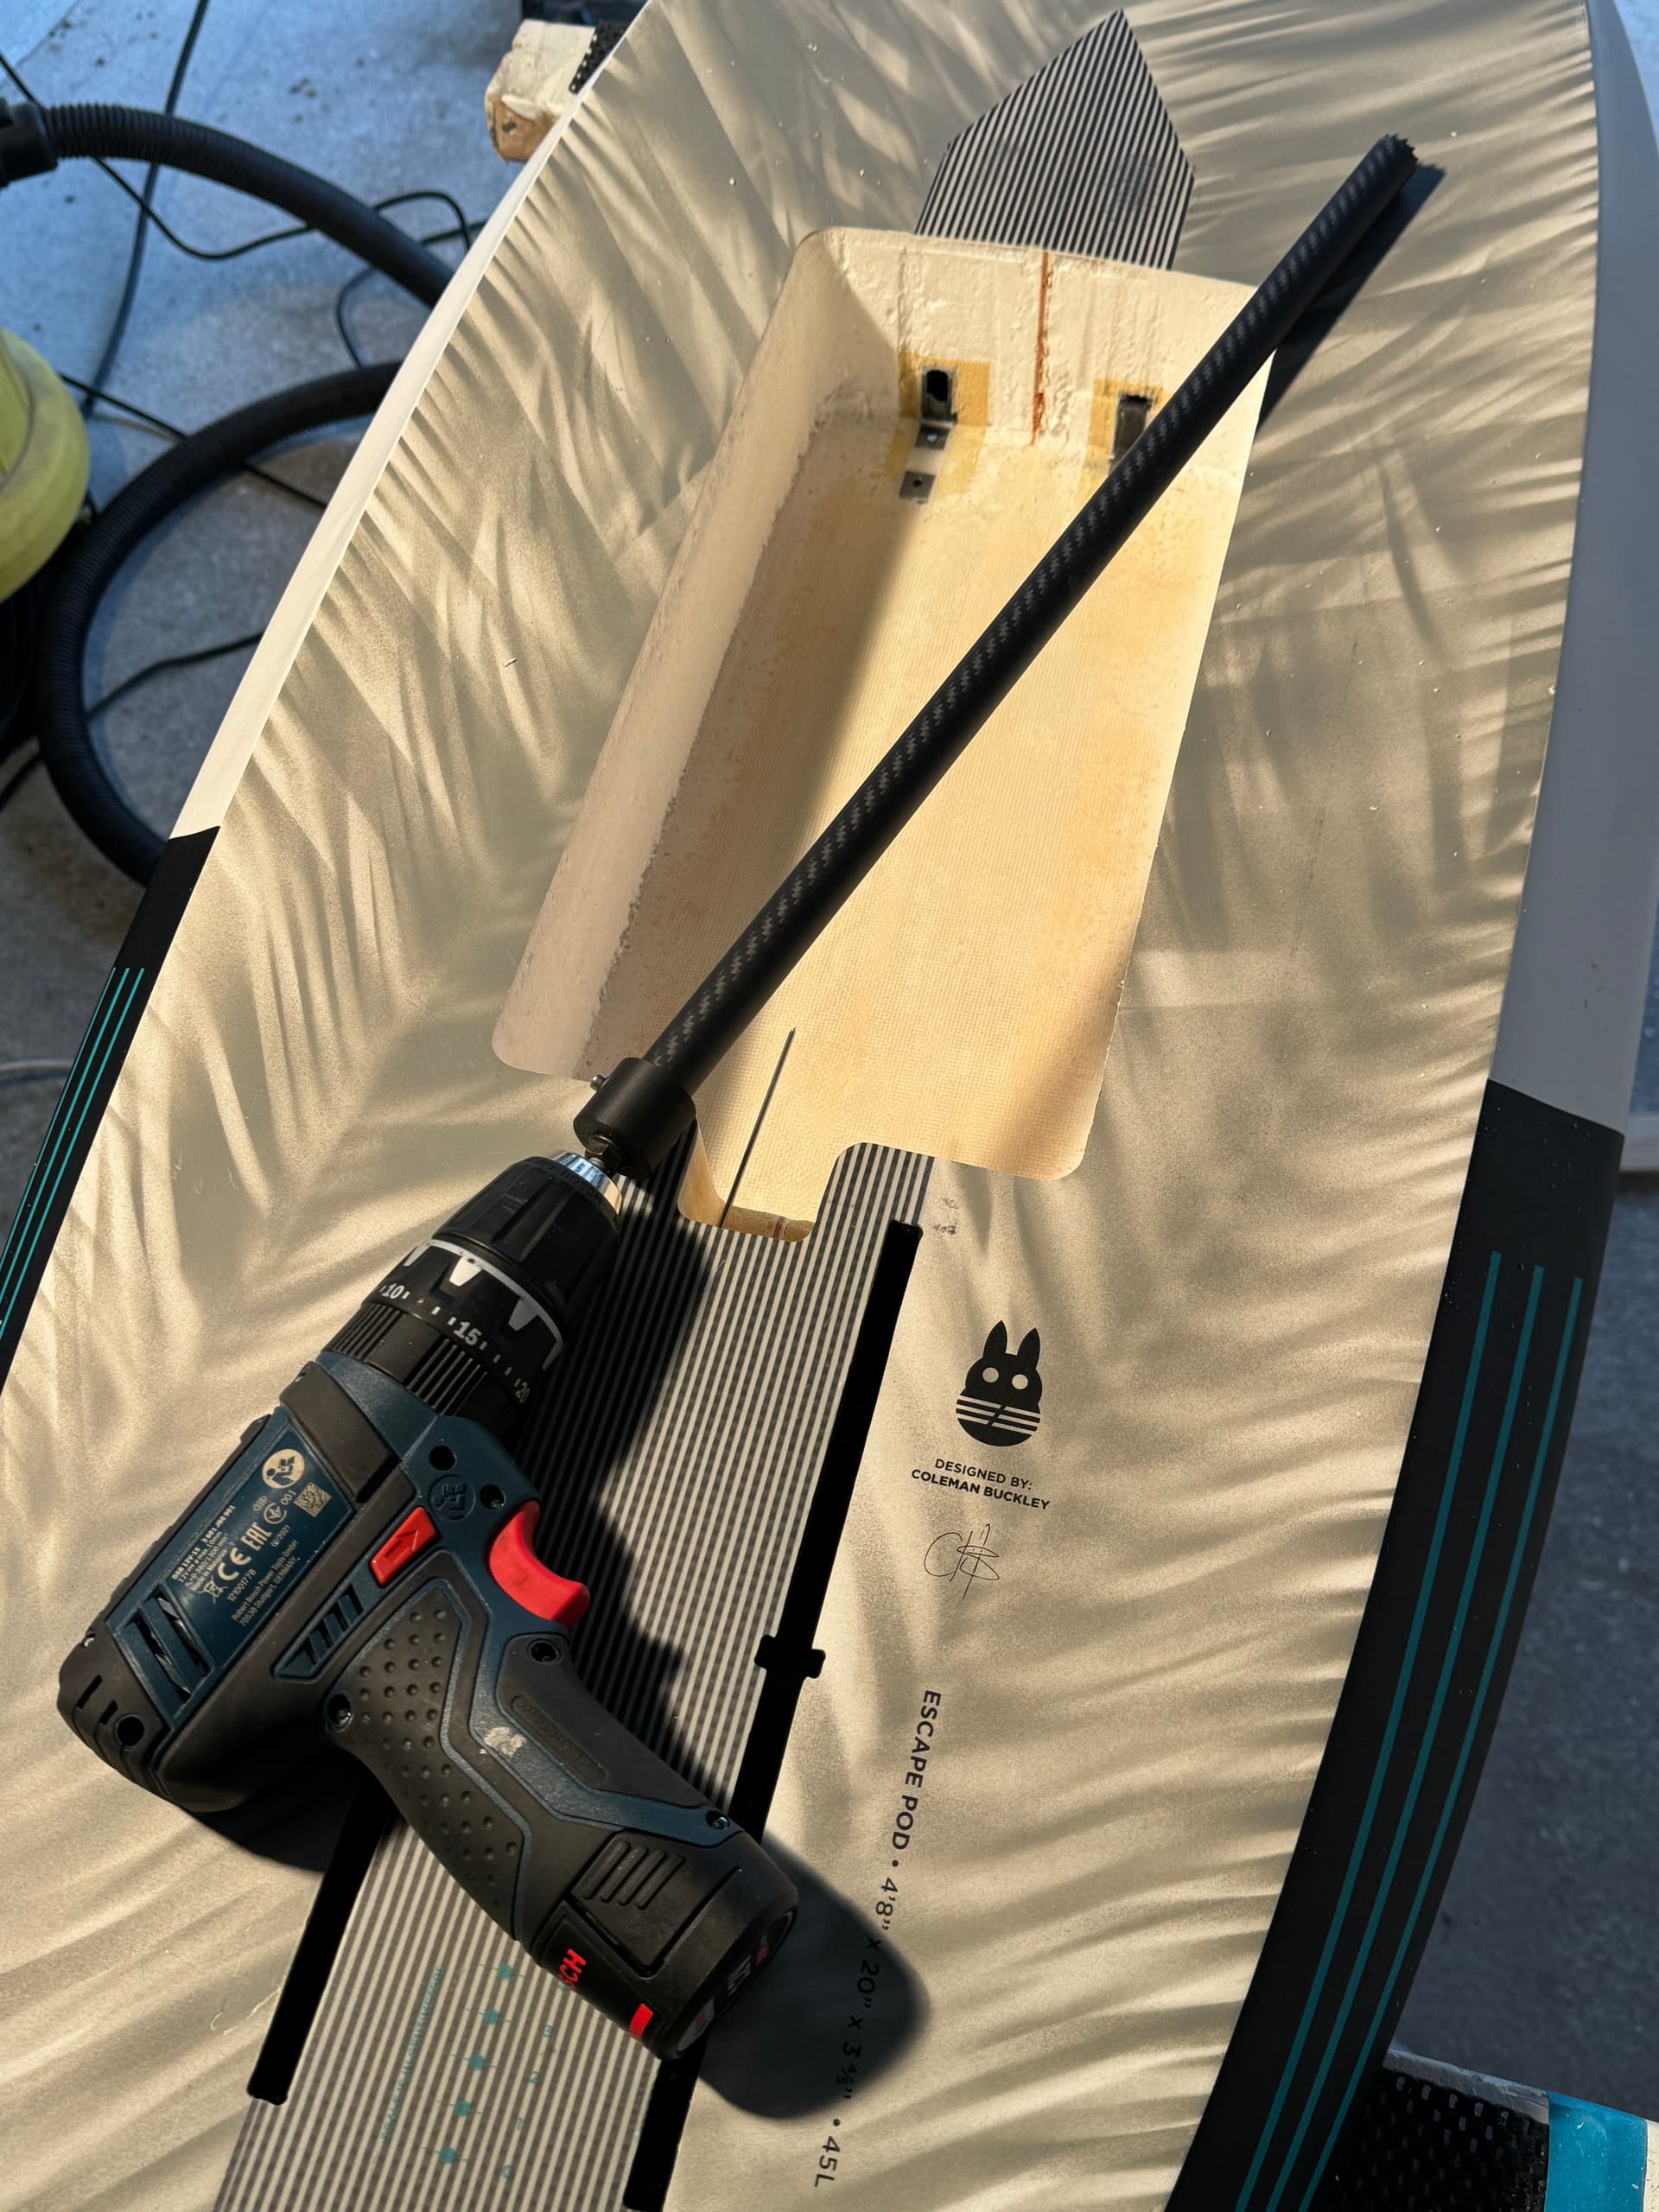
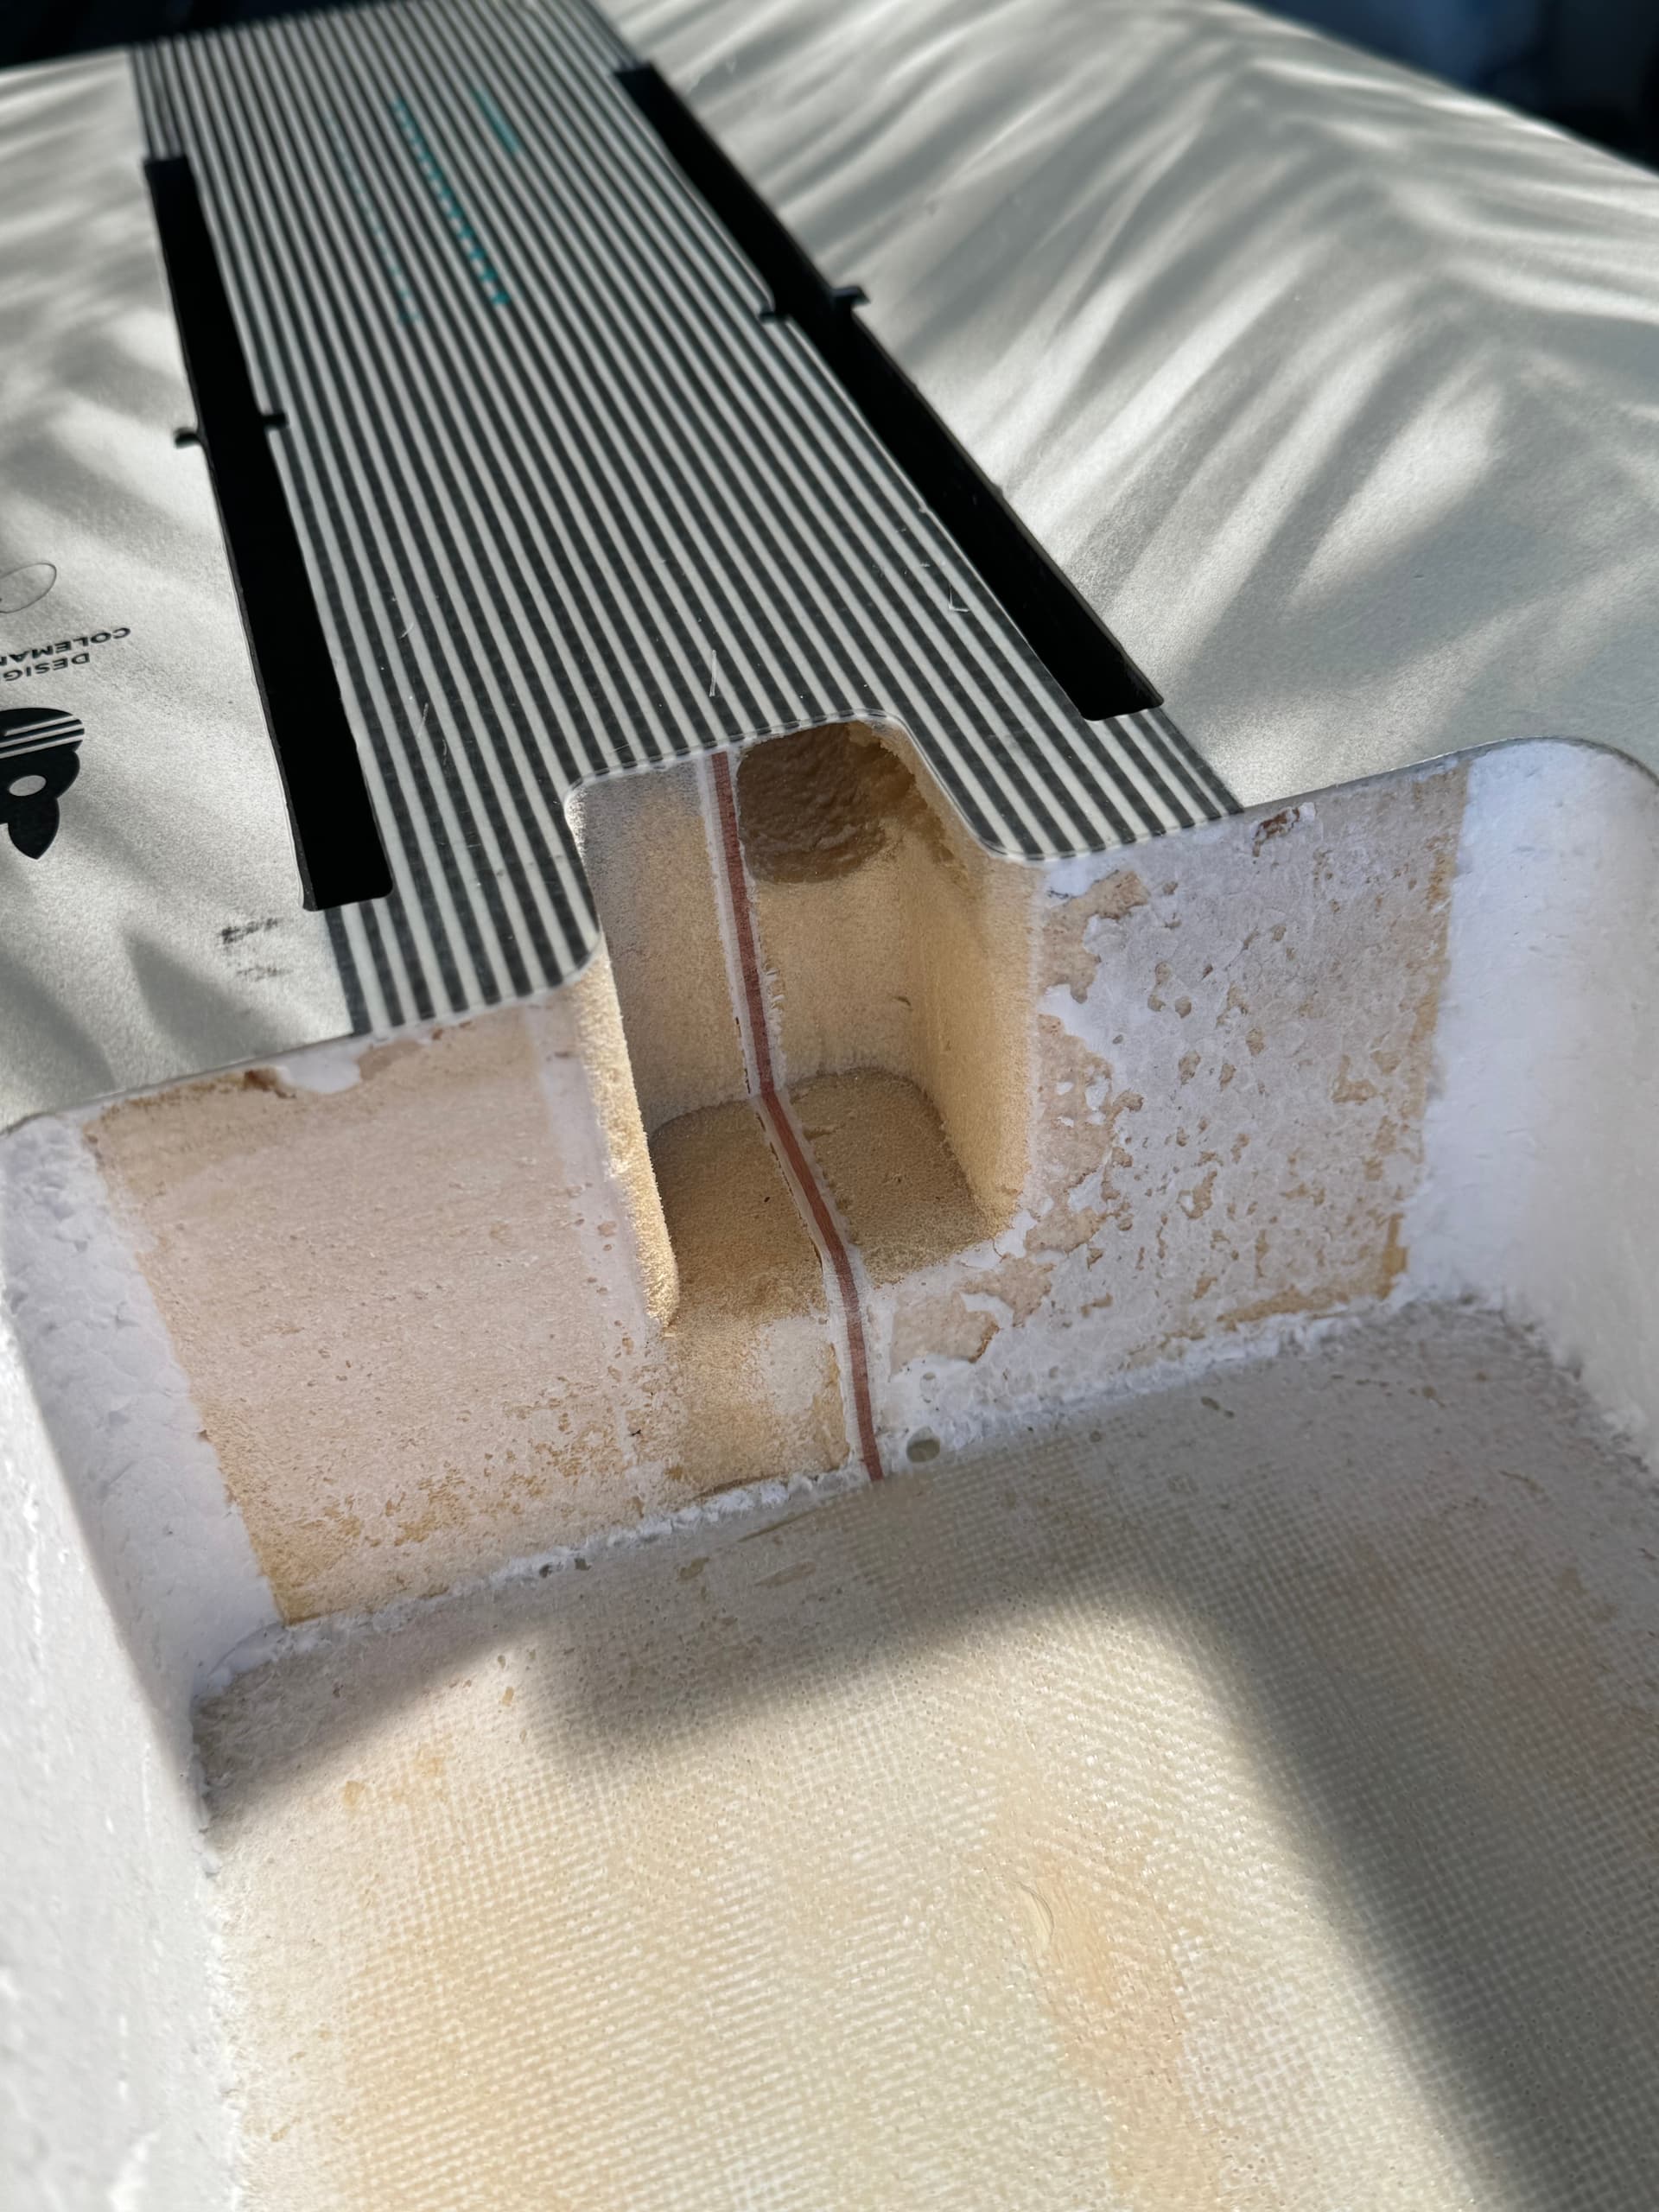
Today I started opening the board.
The stringer was very annoying but is now removed ![]()
Tomorrow we’ll continue with the finer details.


5 Likes
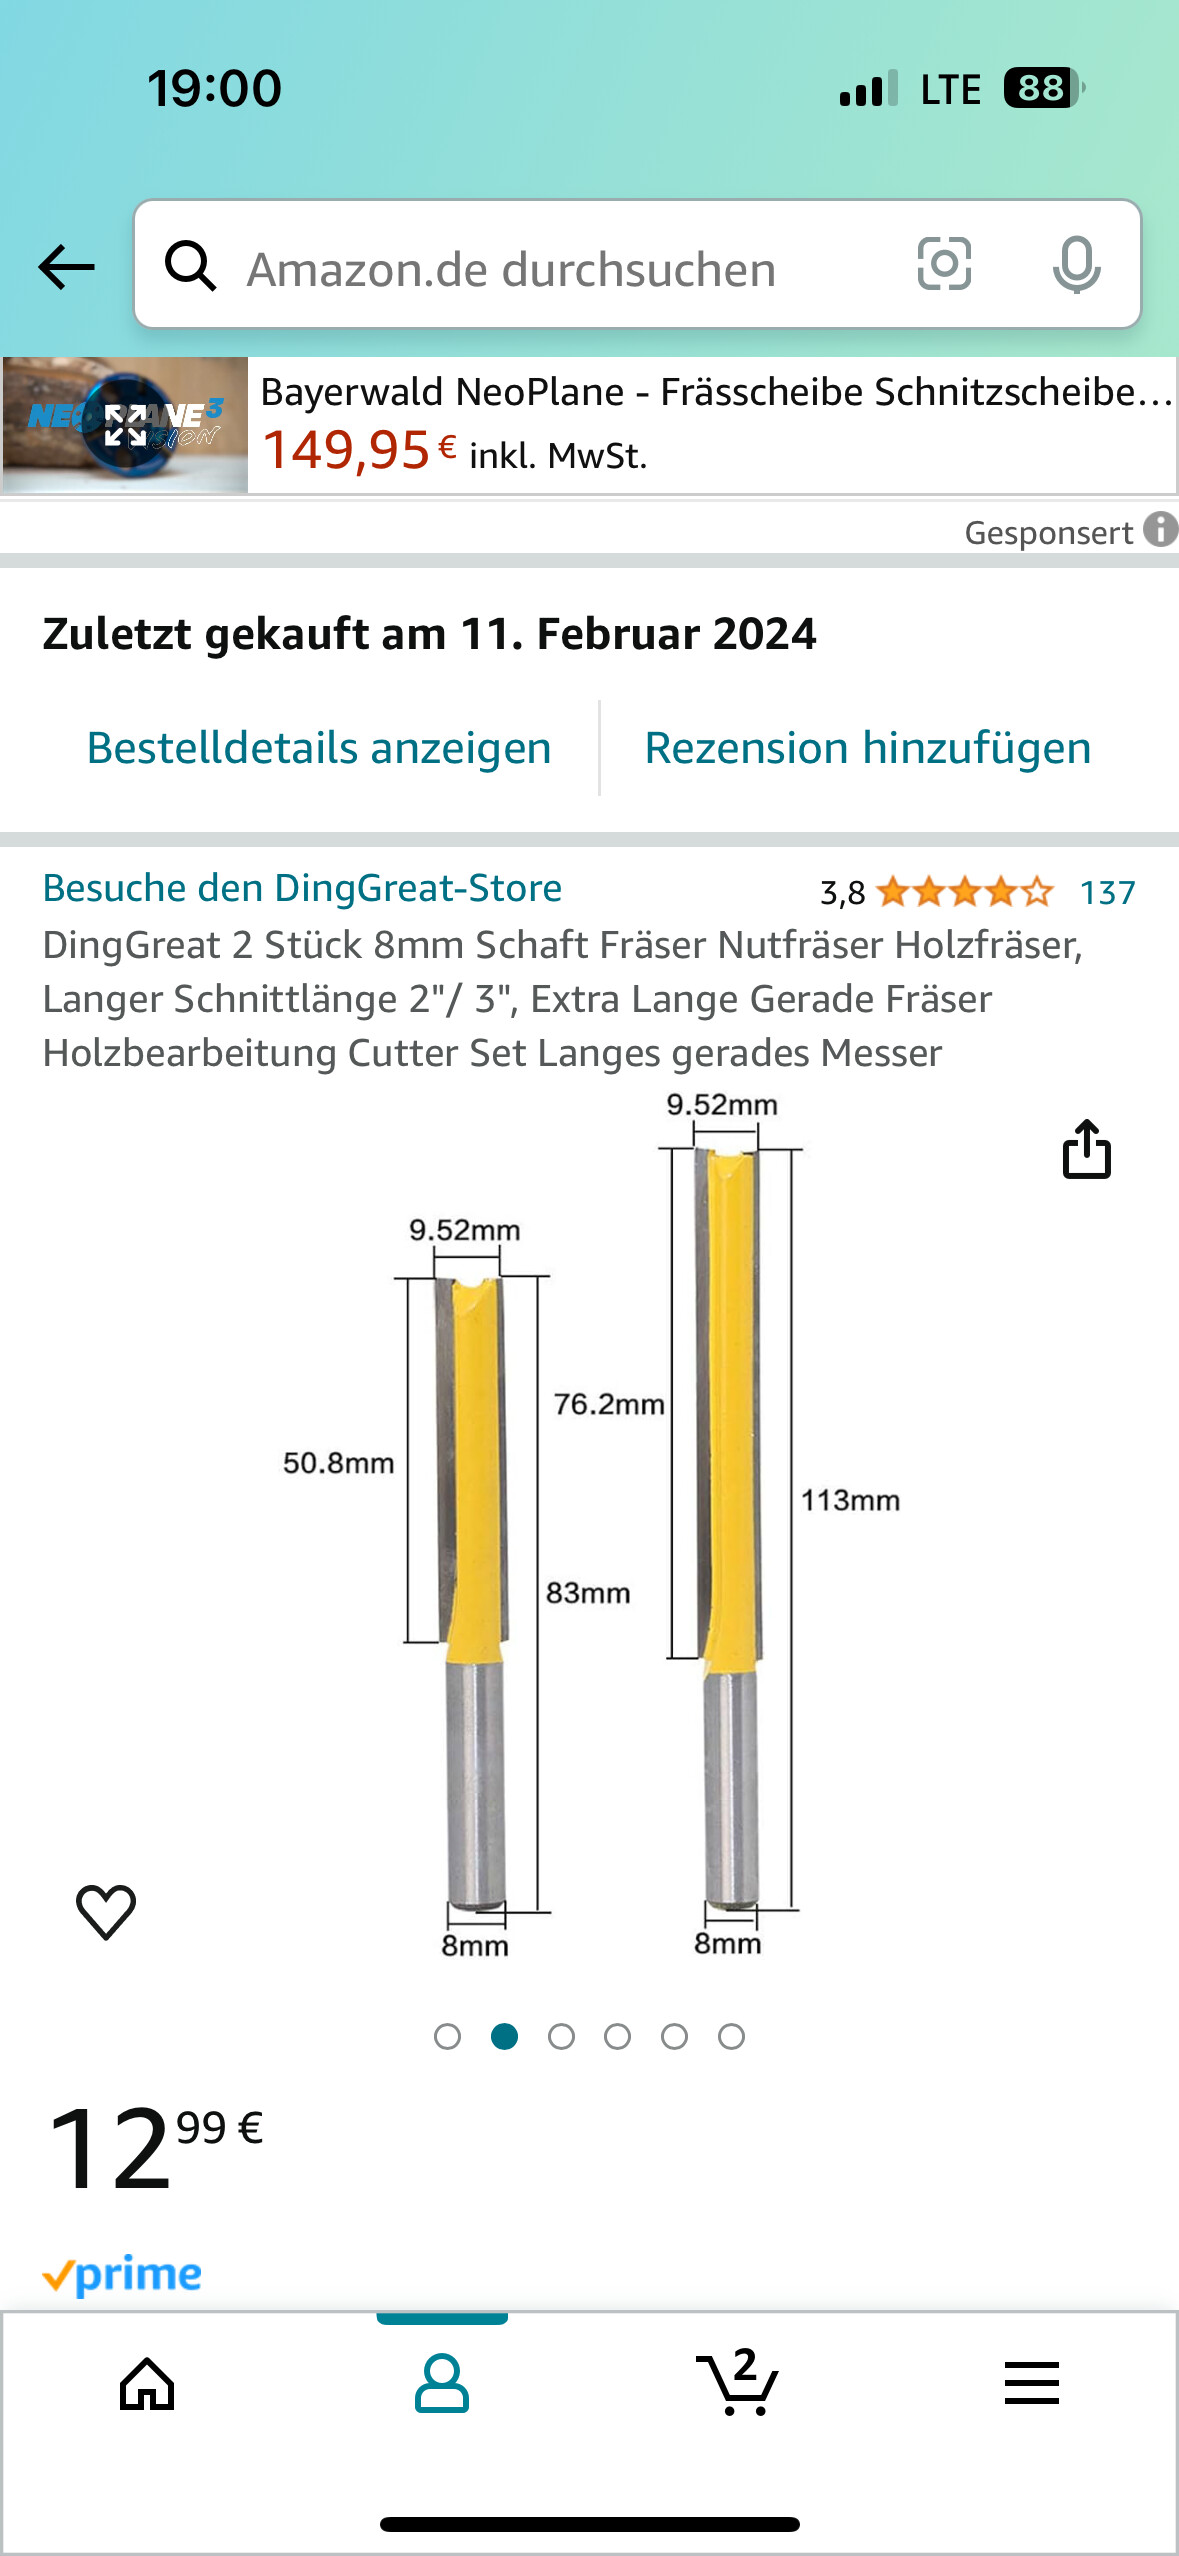
Your router bit looks very long! Ive been looking for something to cut 120mm deep if its that long?
1 Like
Hi @hangloose! Great looking build, as was your prior build. I have read through each of them and gained many great tips. Thanks so much for sharing your designs and expertise.
How does the waterproofing on the Saite motors look? Is it as good as your own DIY waterproofing that you did on the previous build? If doing another build, what would you choose? DIY or vendor waterproofing?
Thanks
Chris
2 Likes
Hi Chris.
In the case of the Saite 63100, only the sator was filled with epoxy by the manufacturer.
On my 6384 I also filled the rotor between the magnets. But I think that’s not necessary.
With Saite, the additional charge for the epoxy filling cost me €40.
For a Saite 6384 or 63100 I would always add the epoxy filling from the manufacturer.
On one e.g. BDUAV 6384 I would do it myself again.
1 Like
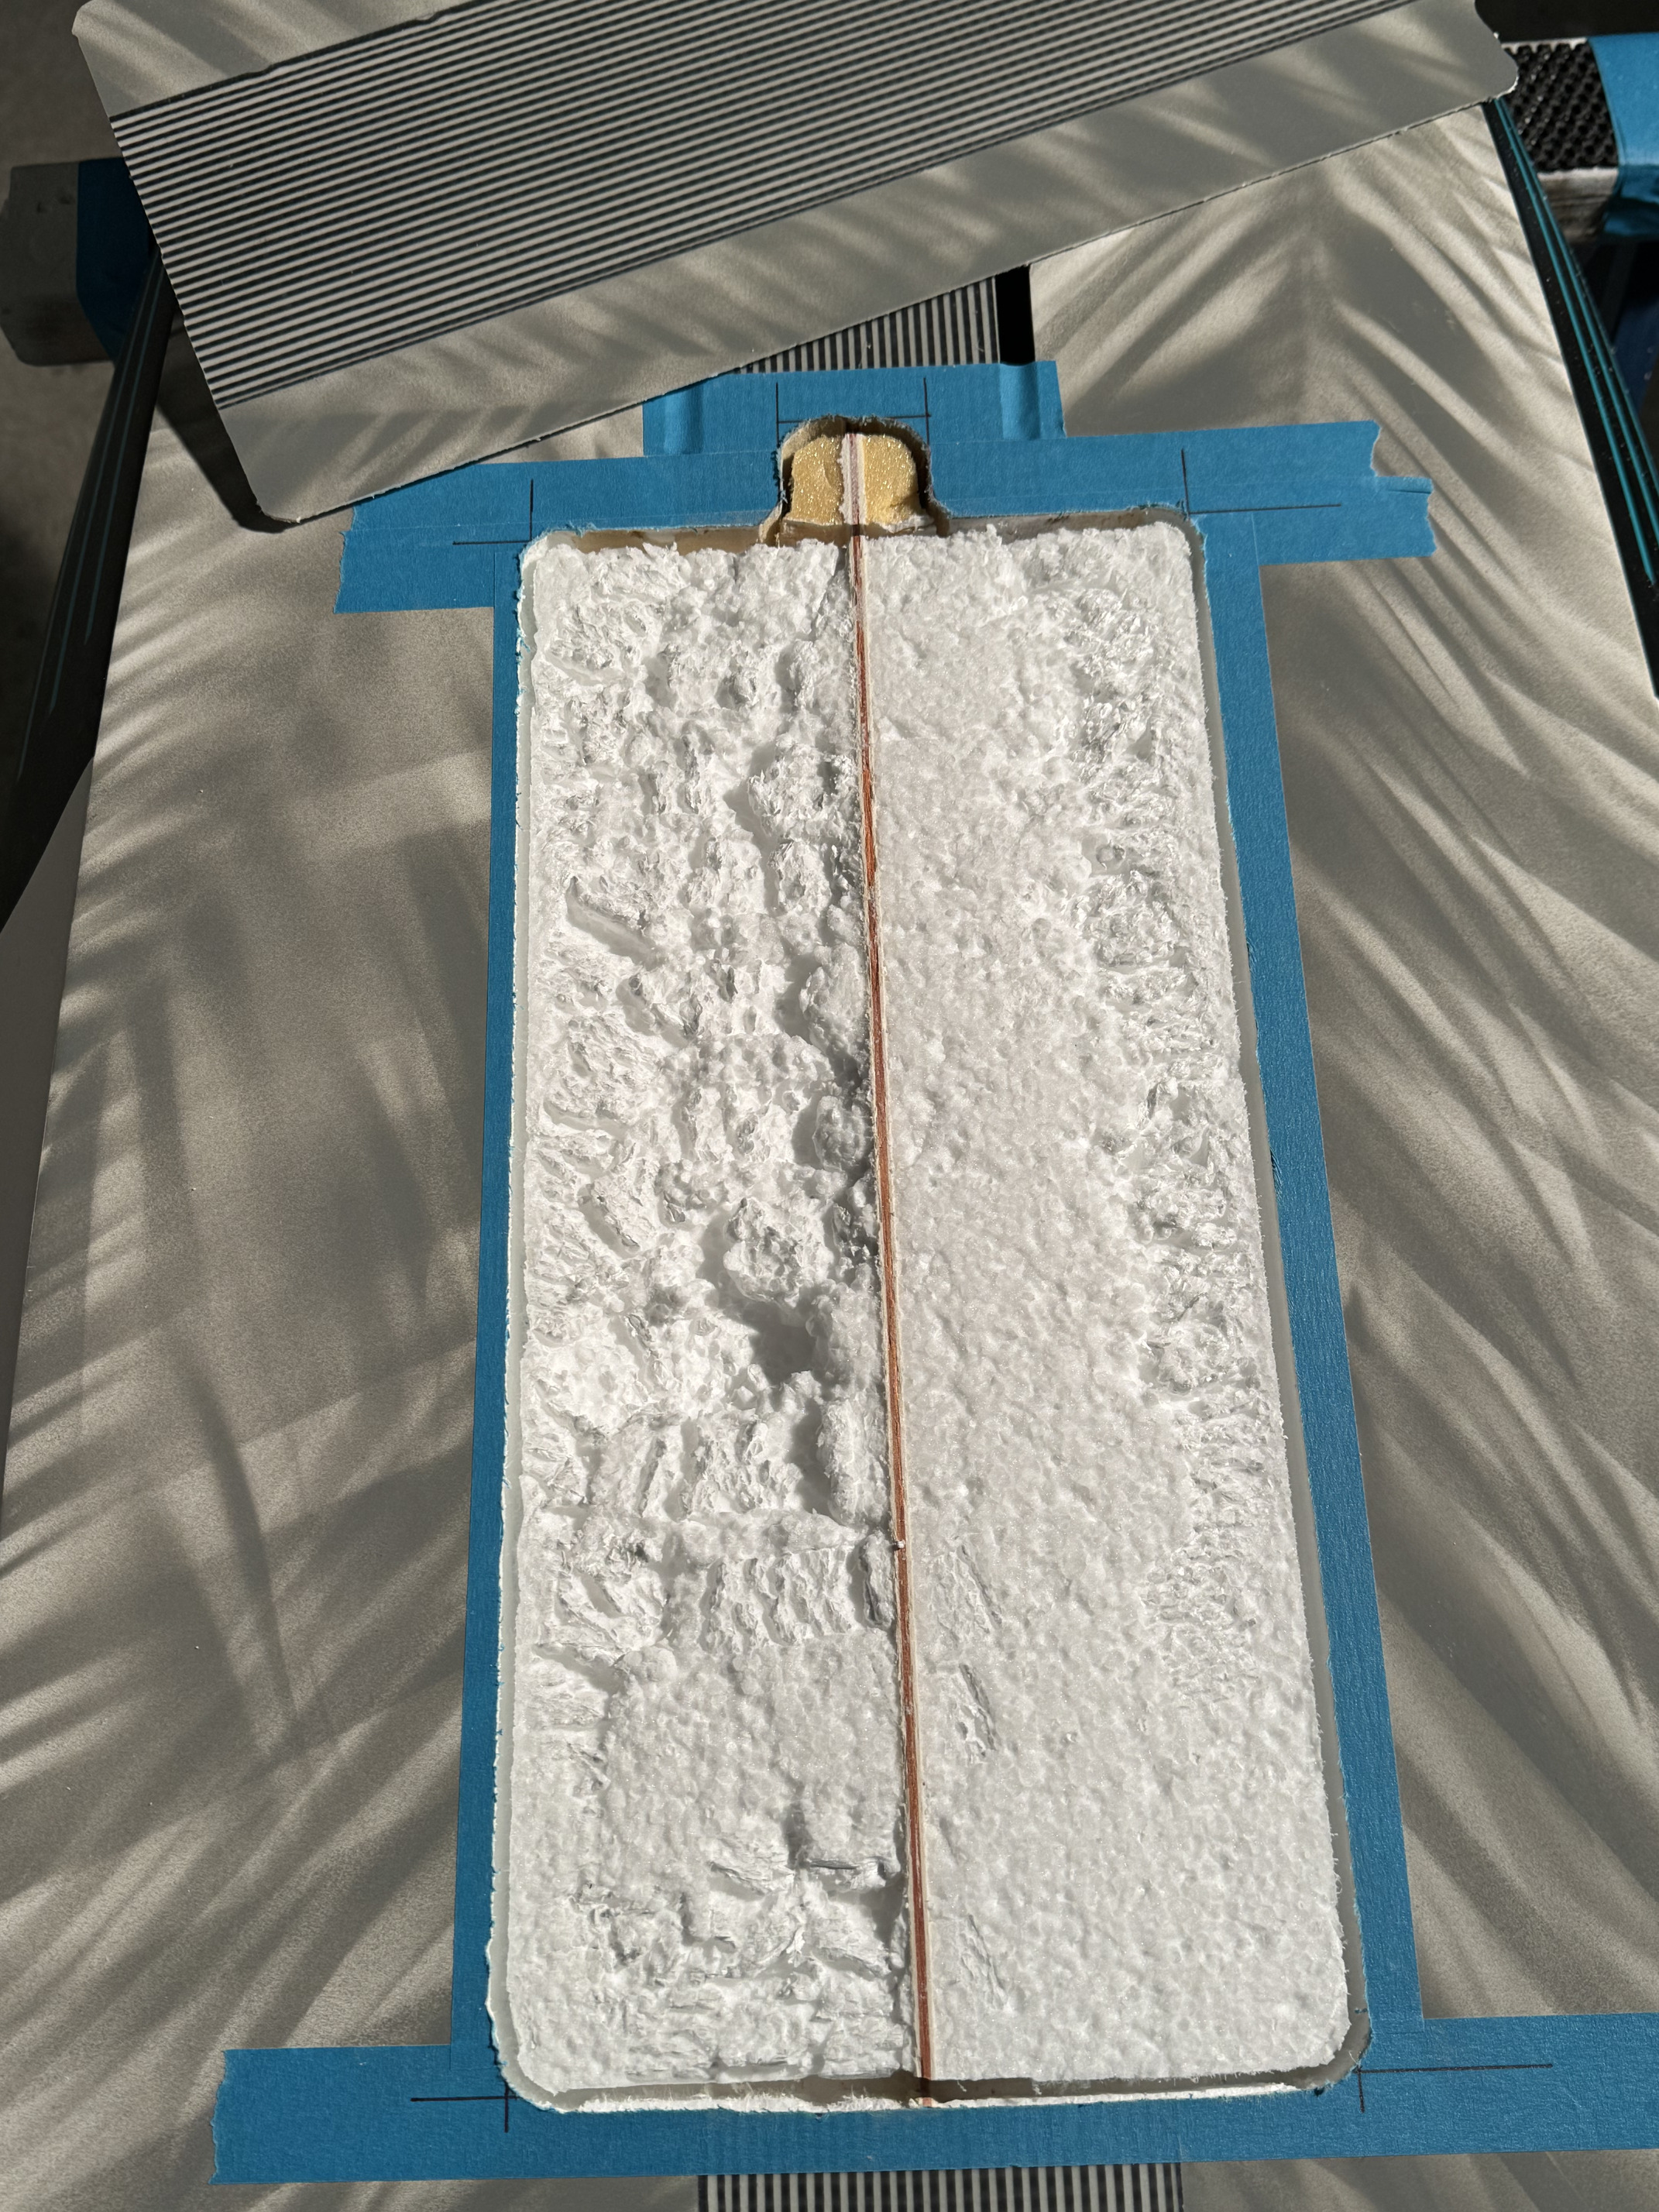
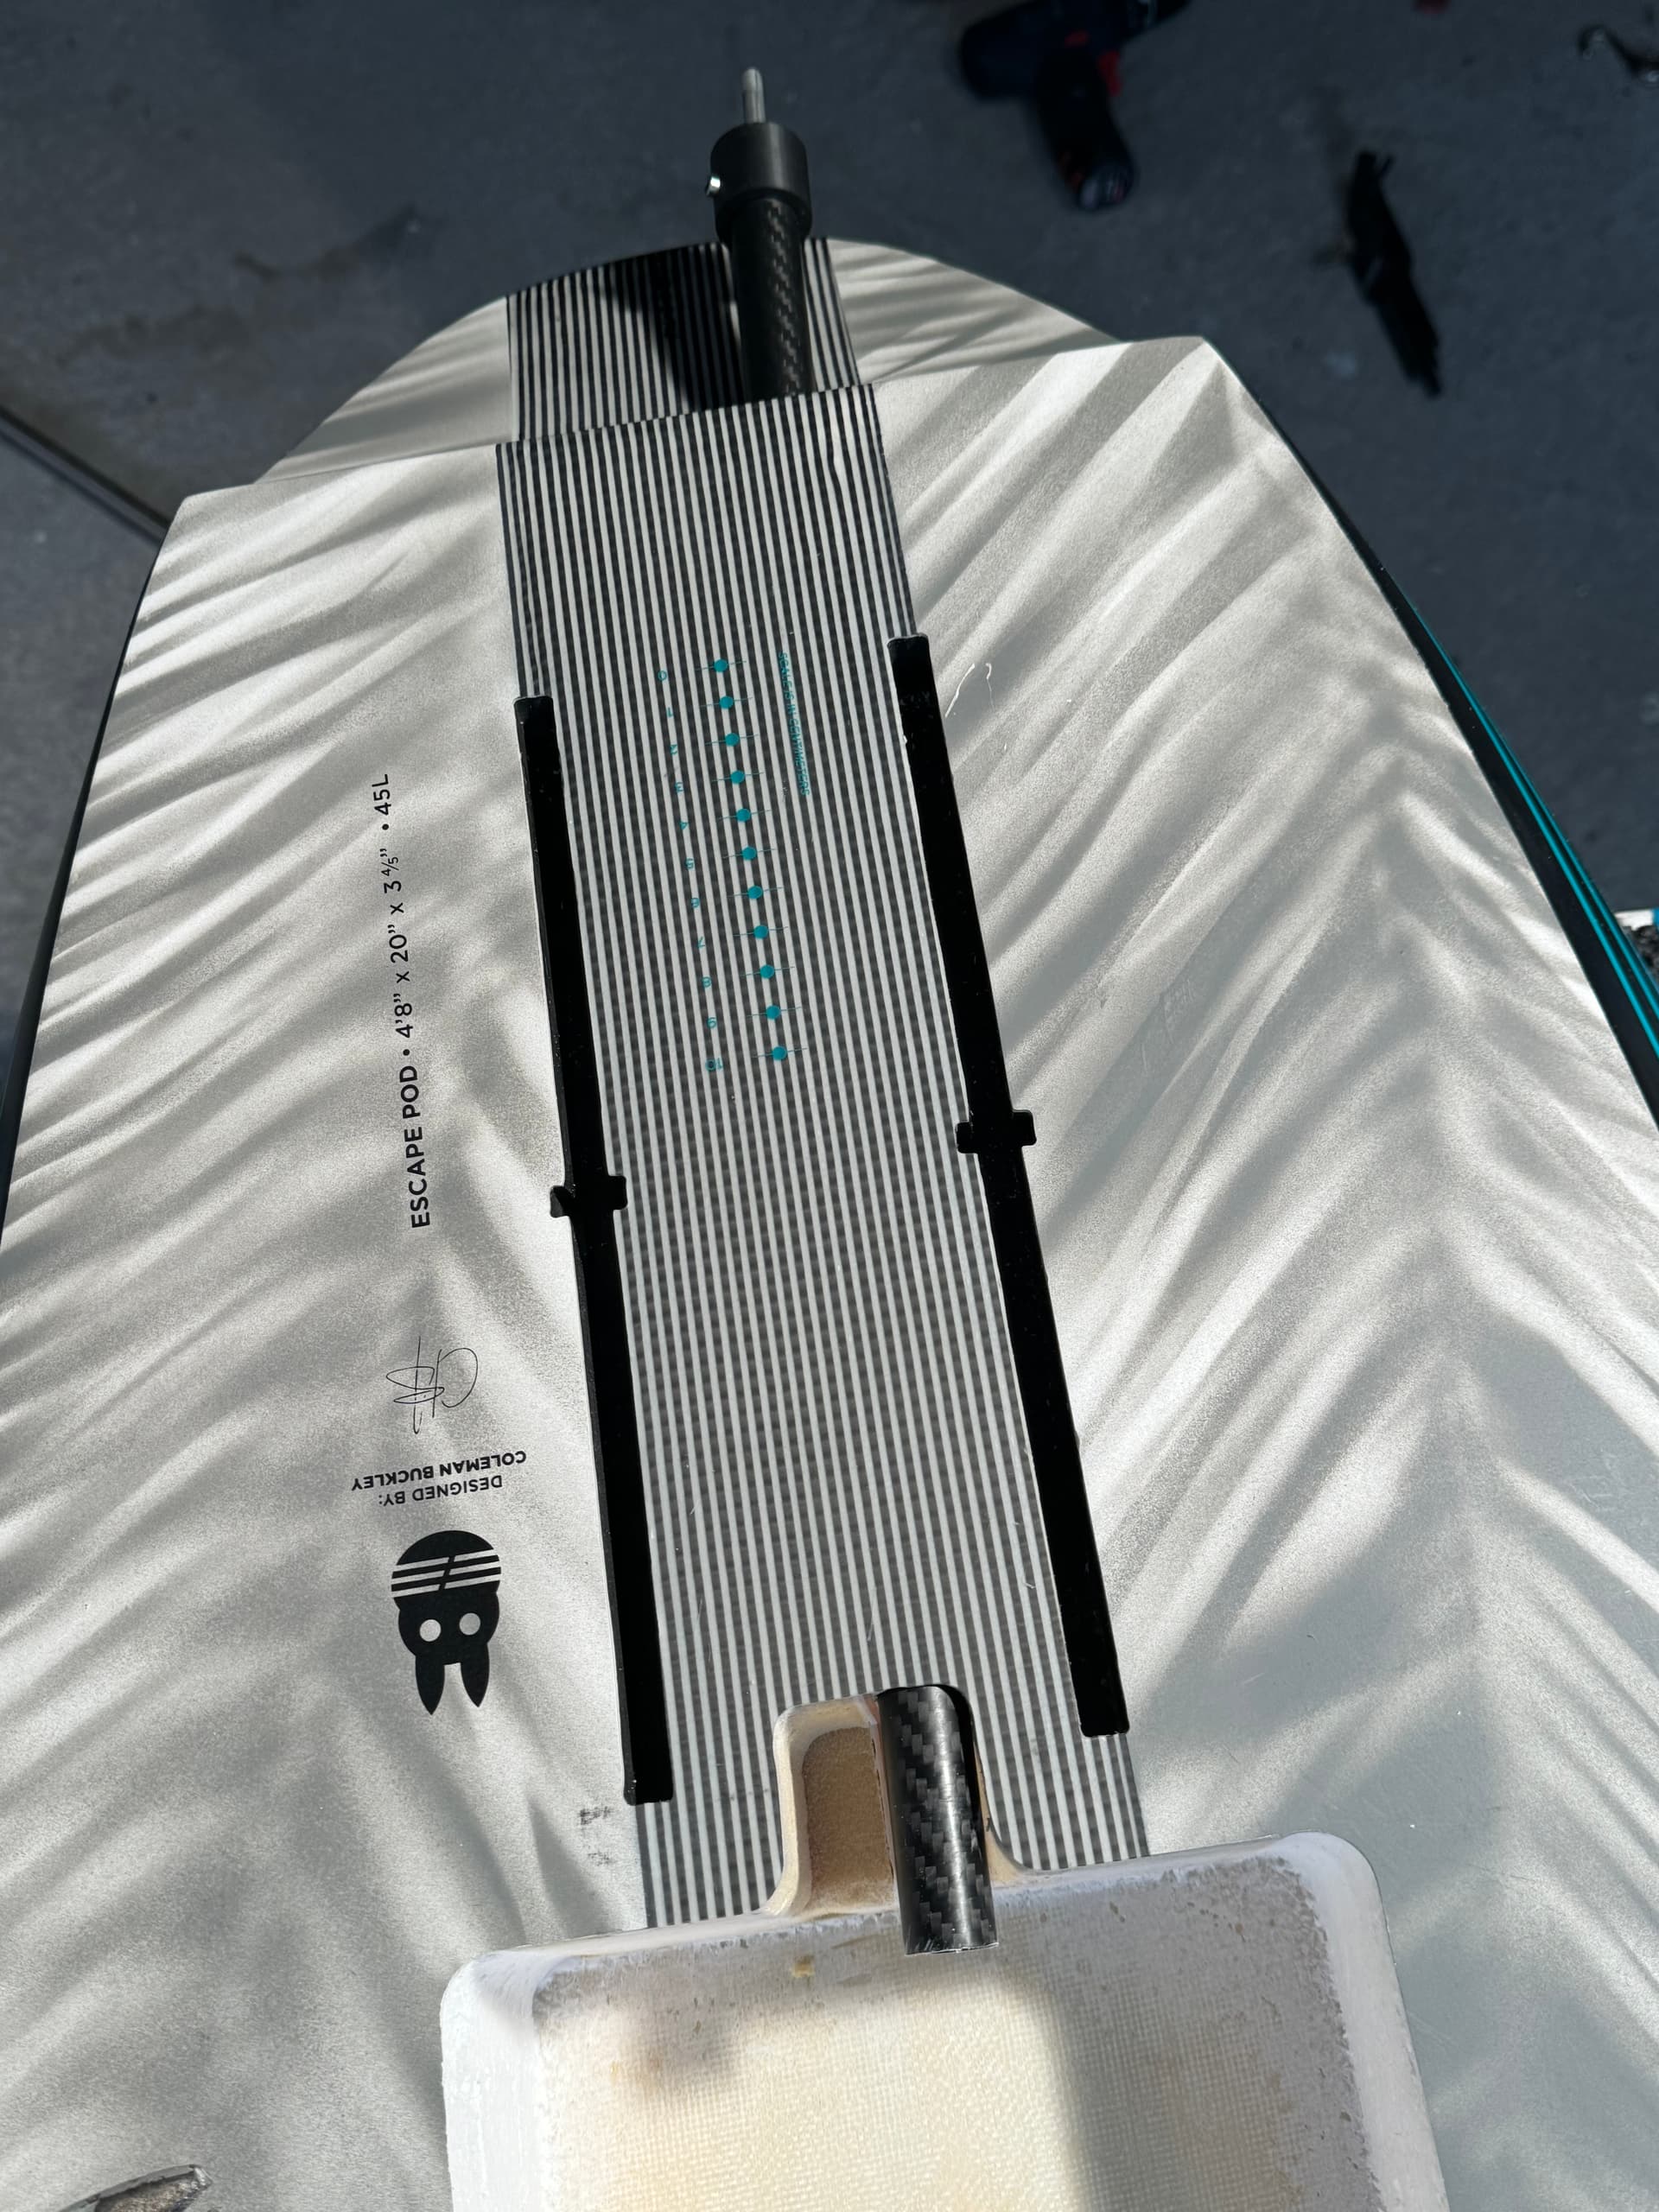
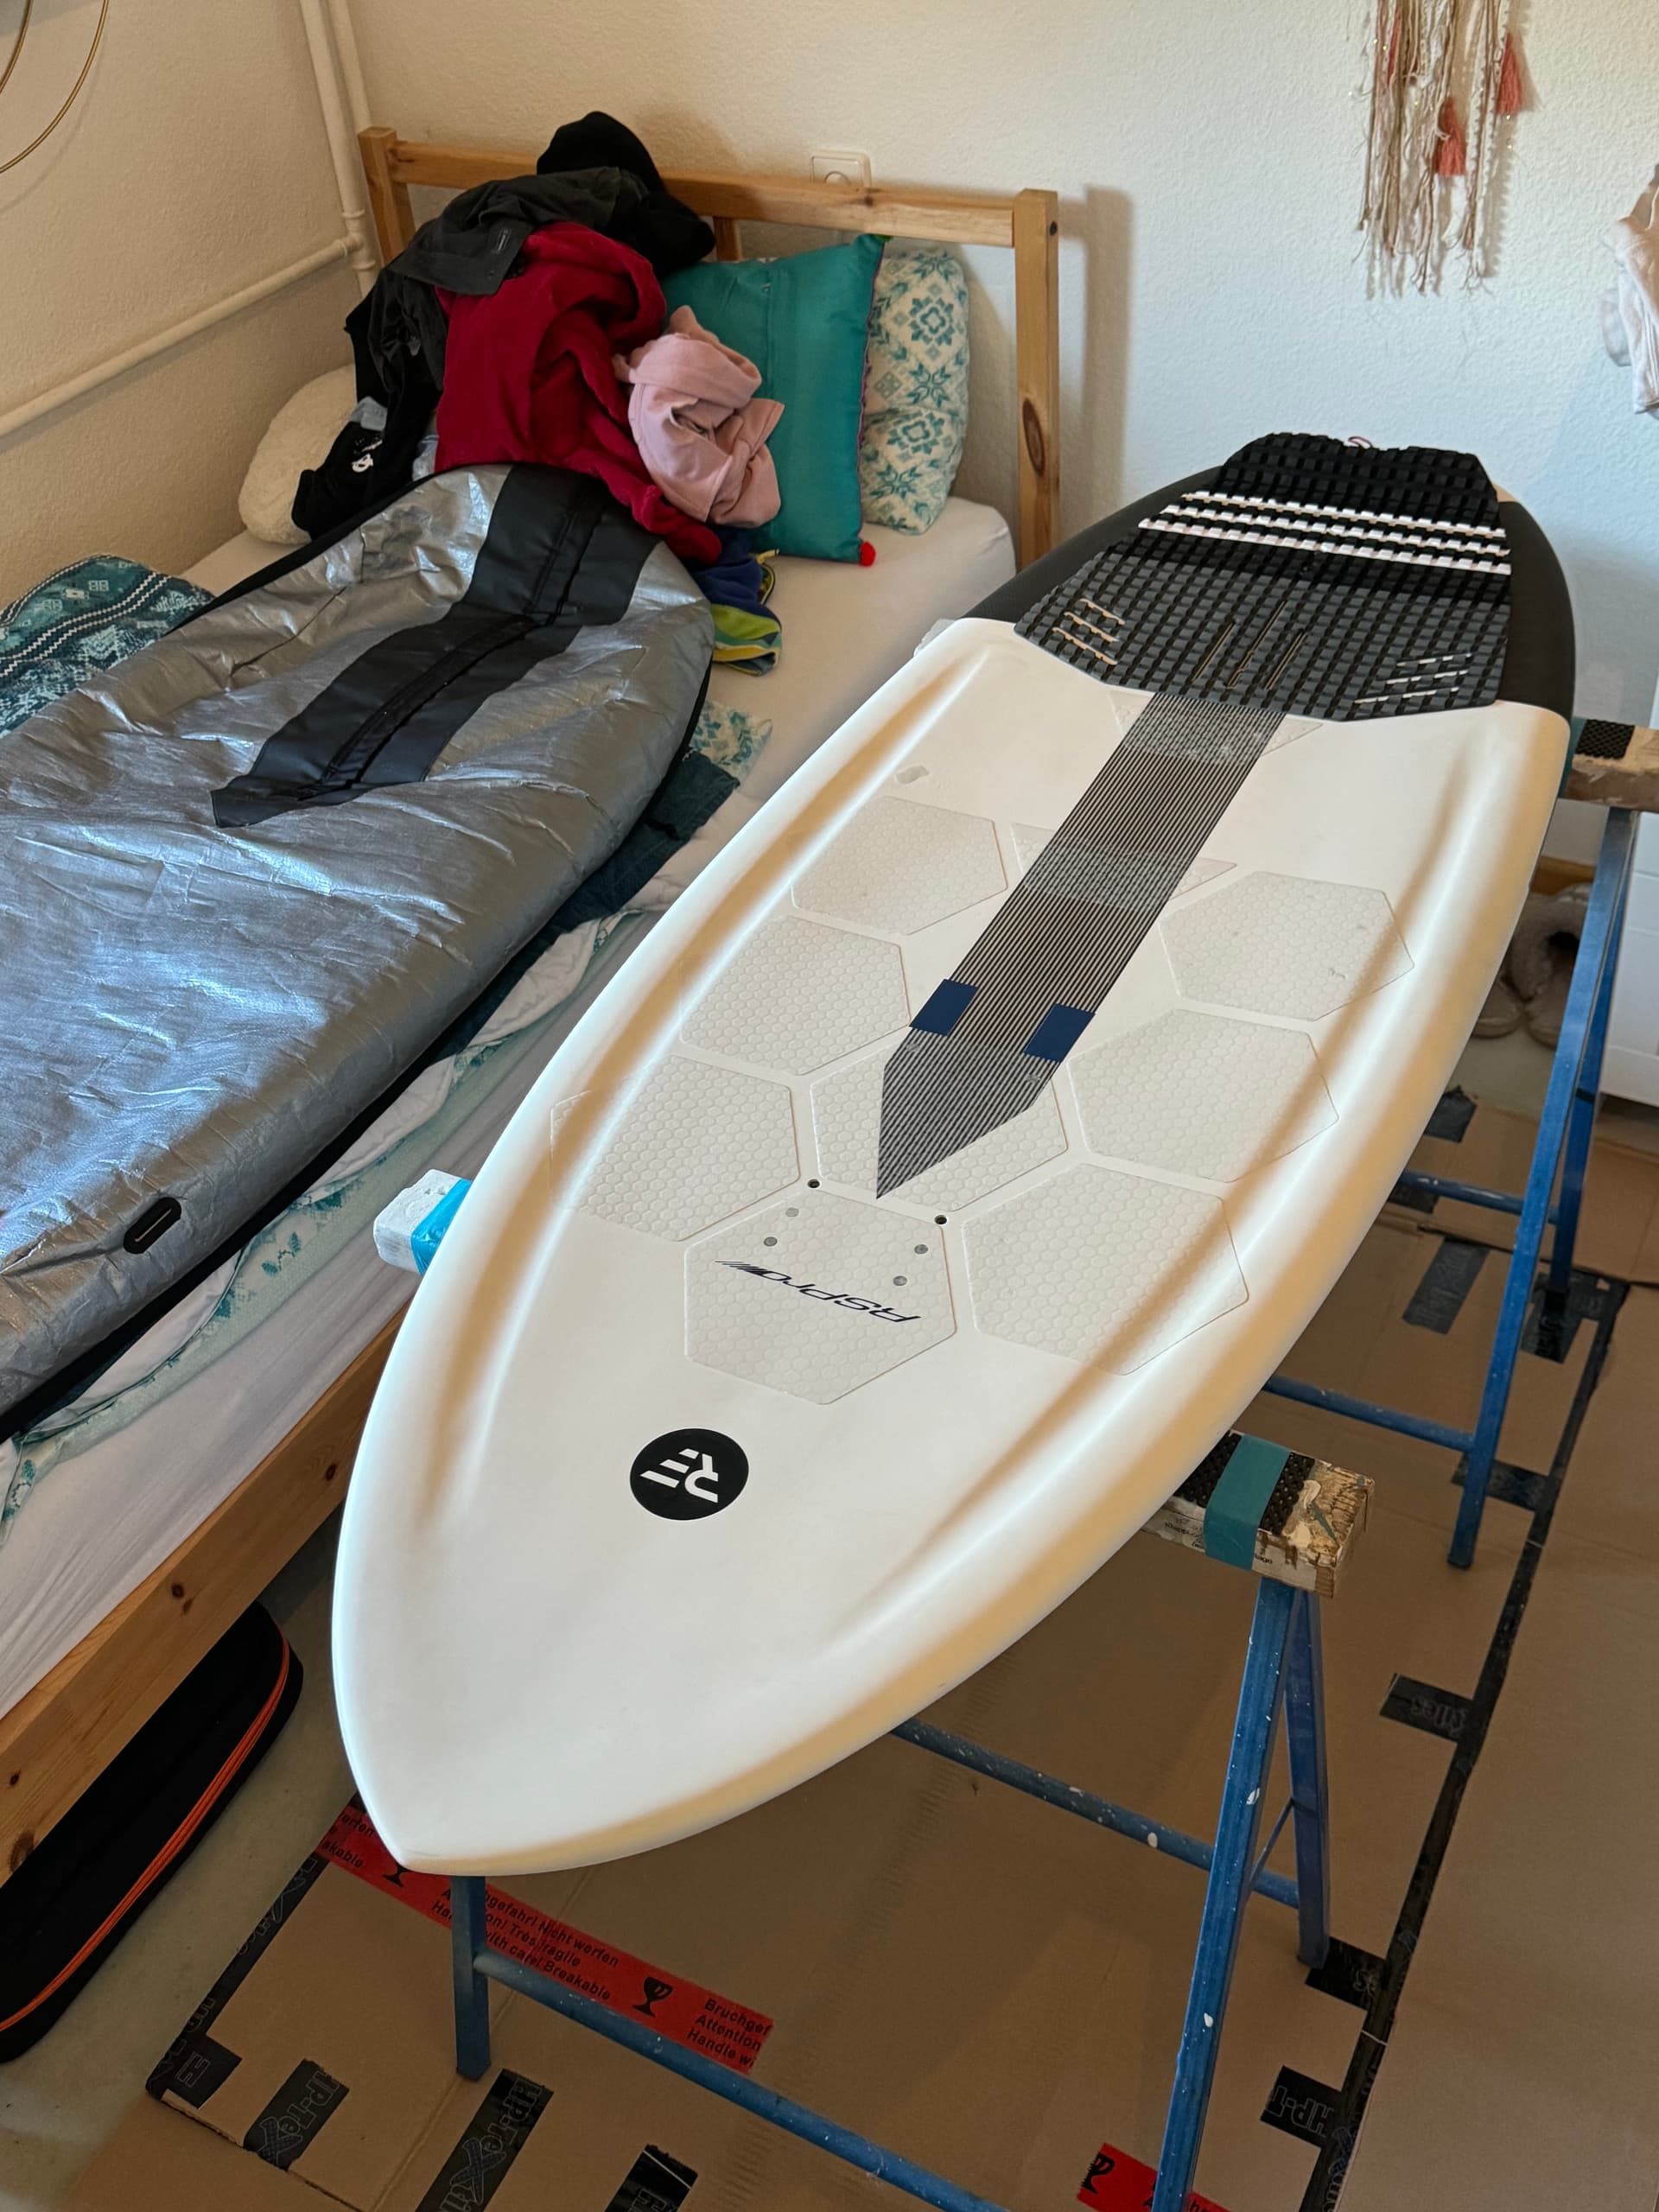
In the last few days I’ve been doing some fine-tuning on the board. The next step will be filling and sanding again!
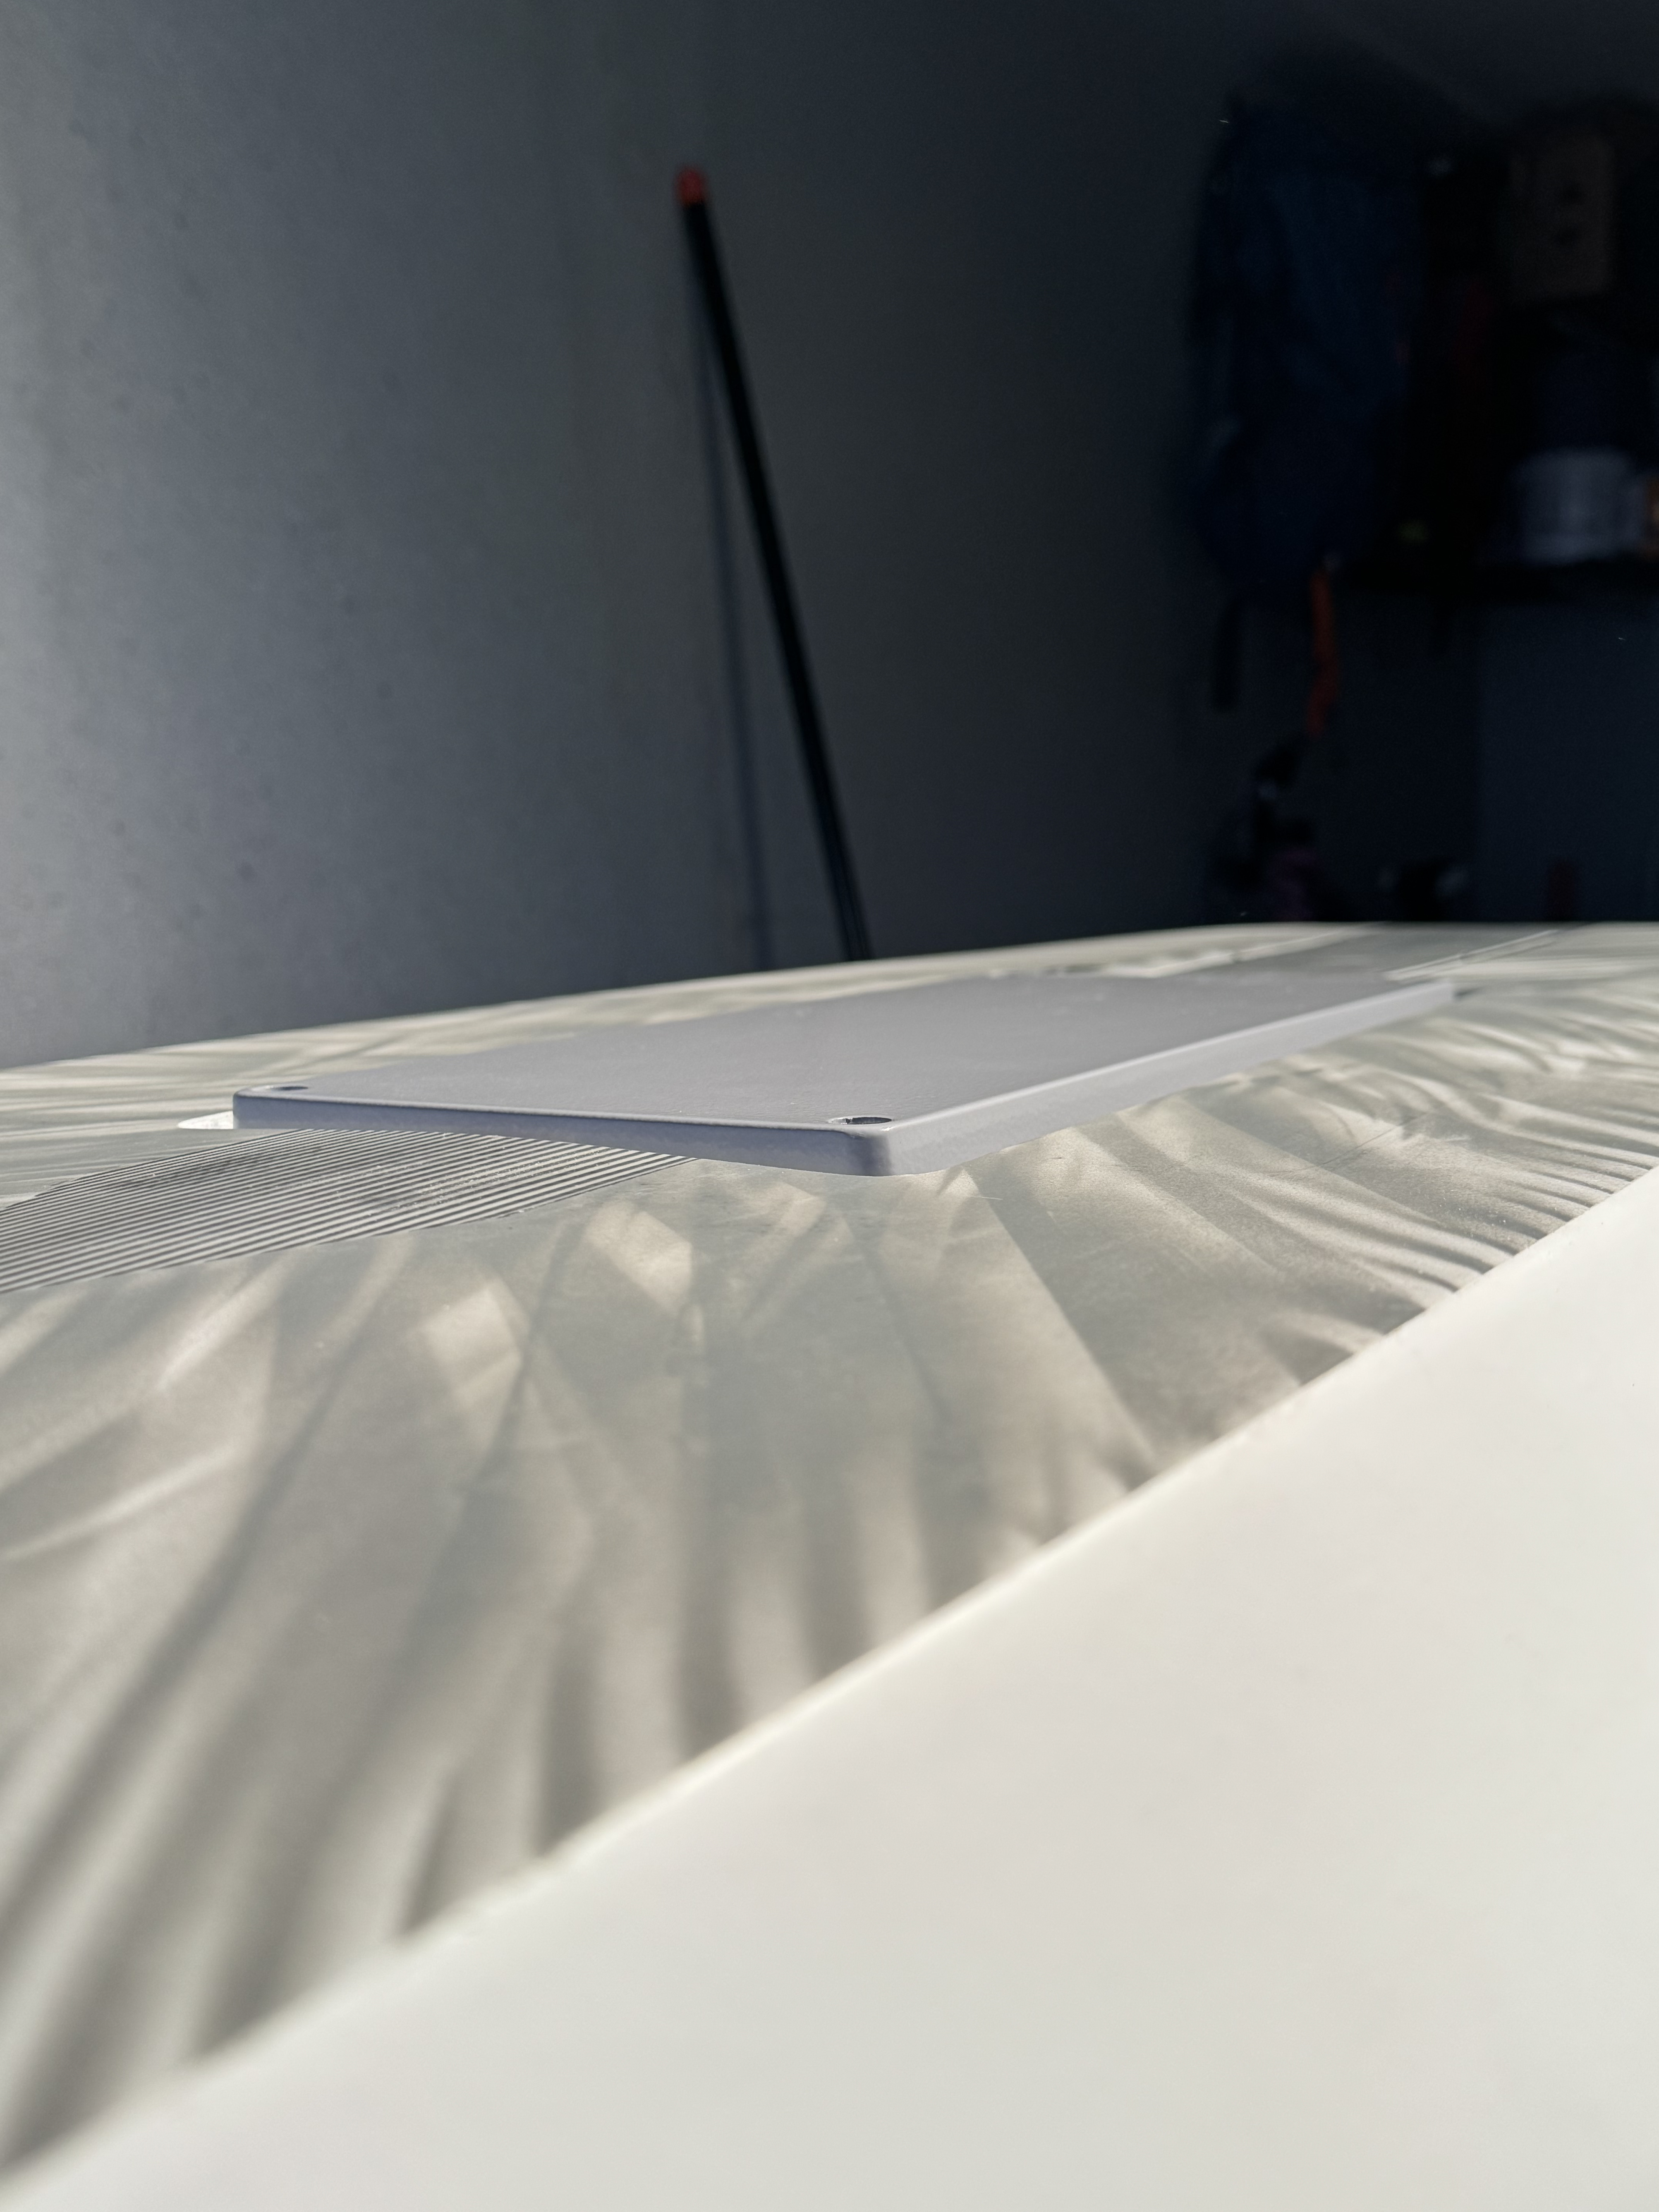
5 Likes
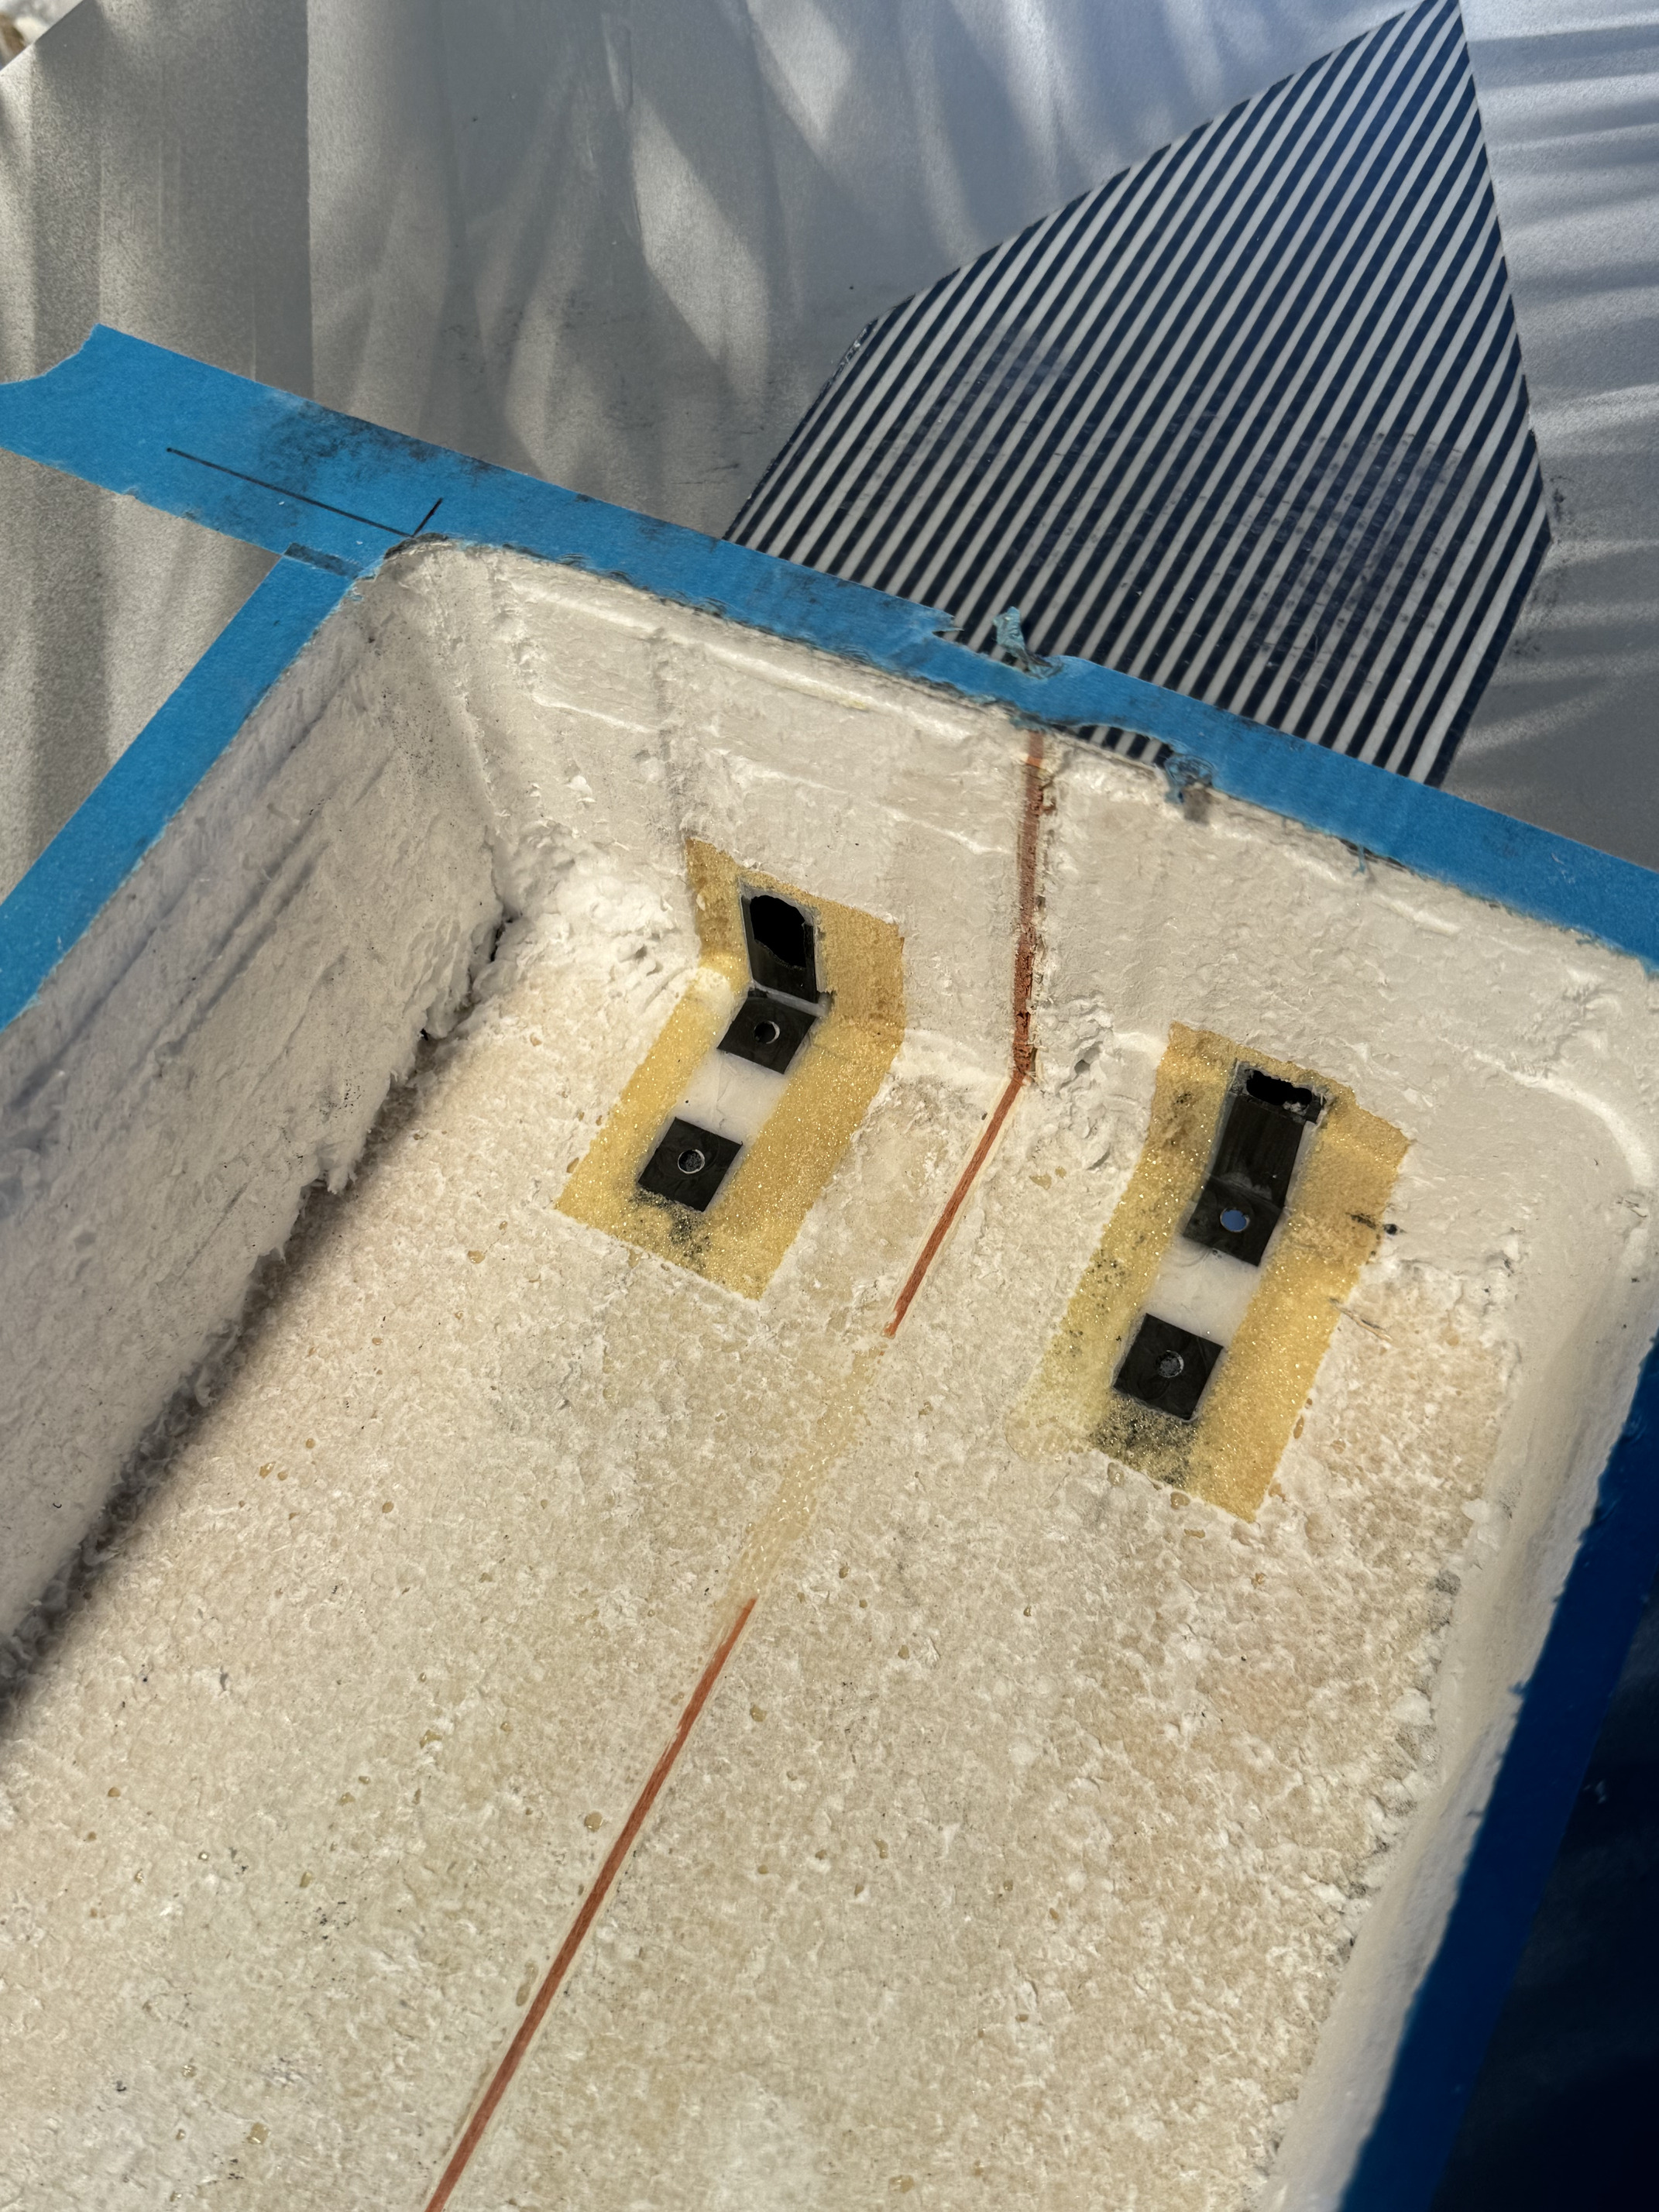
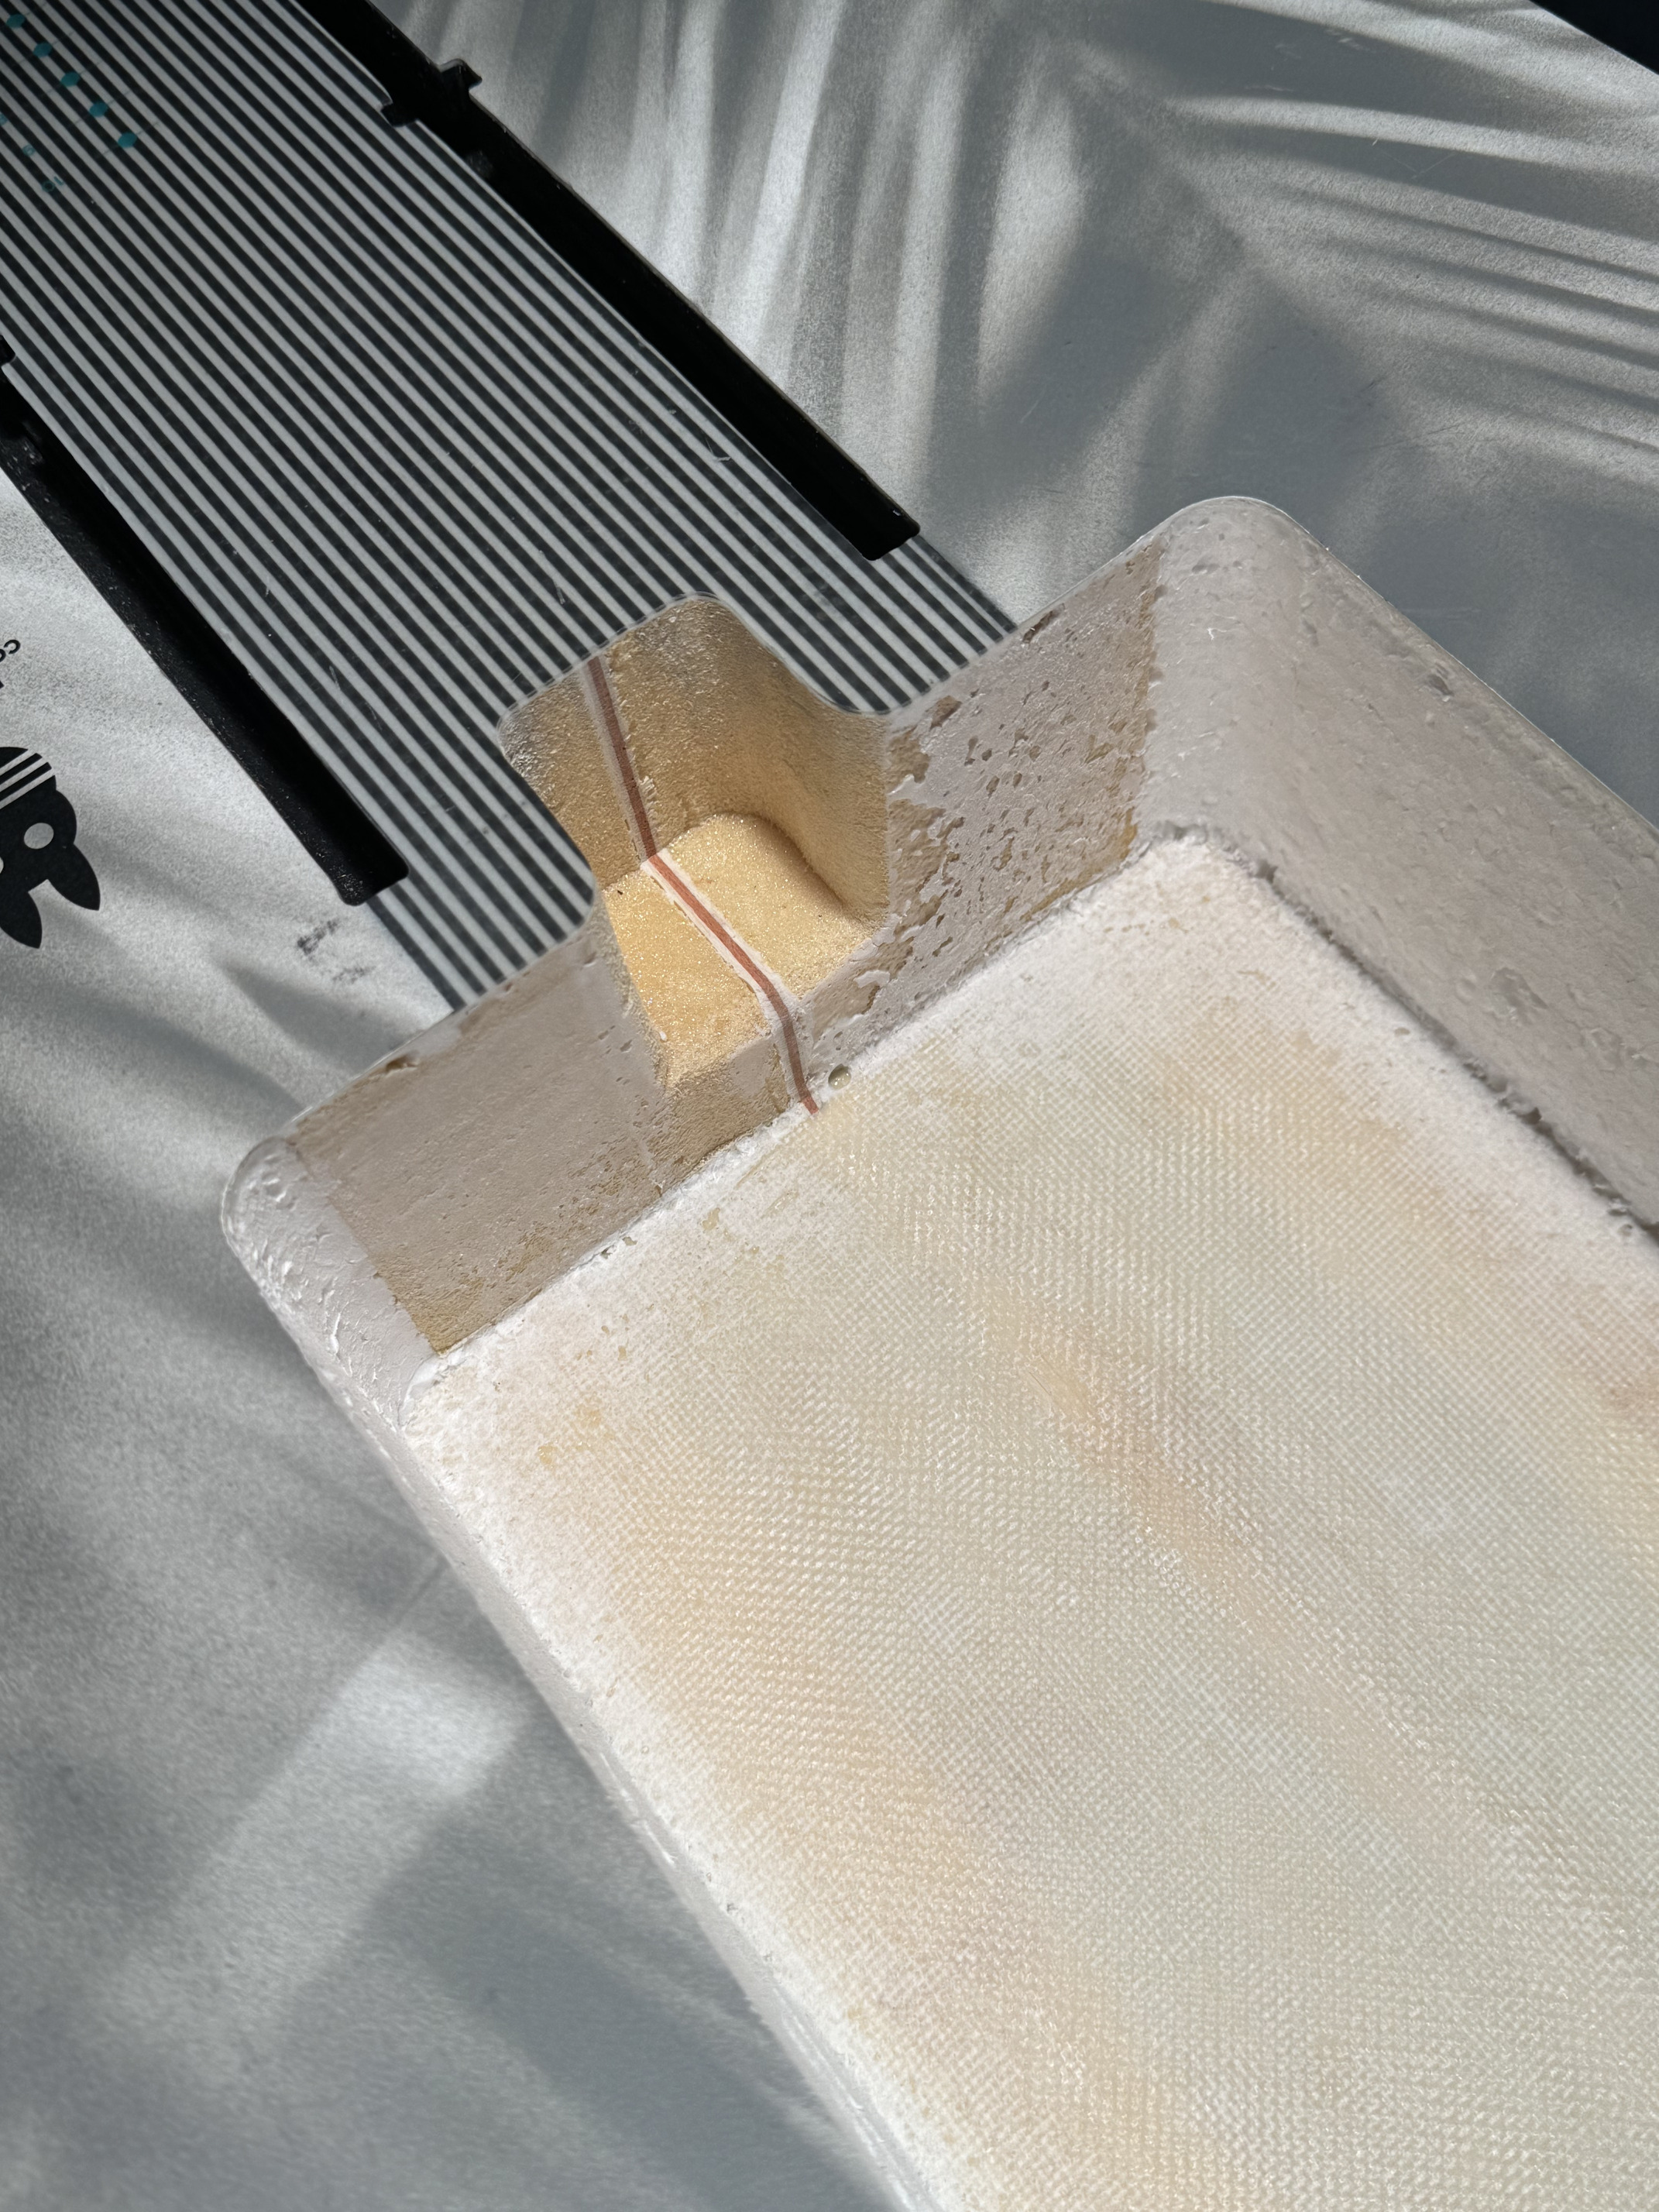
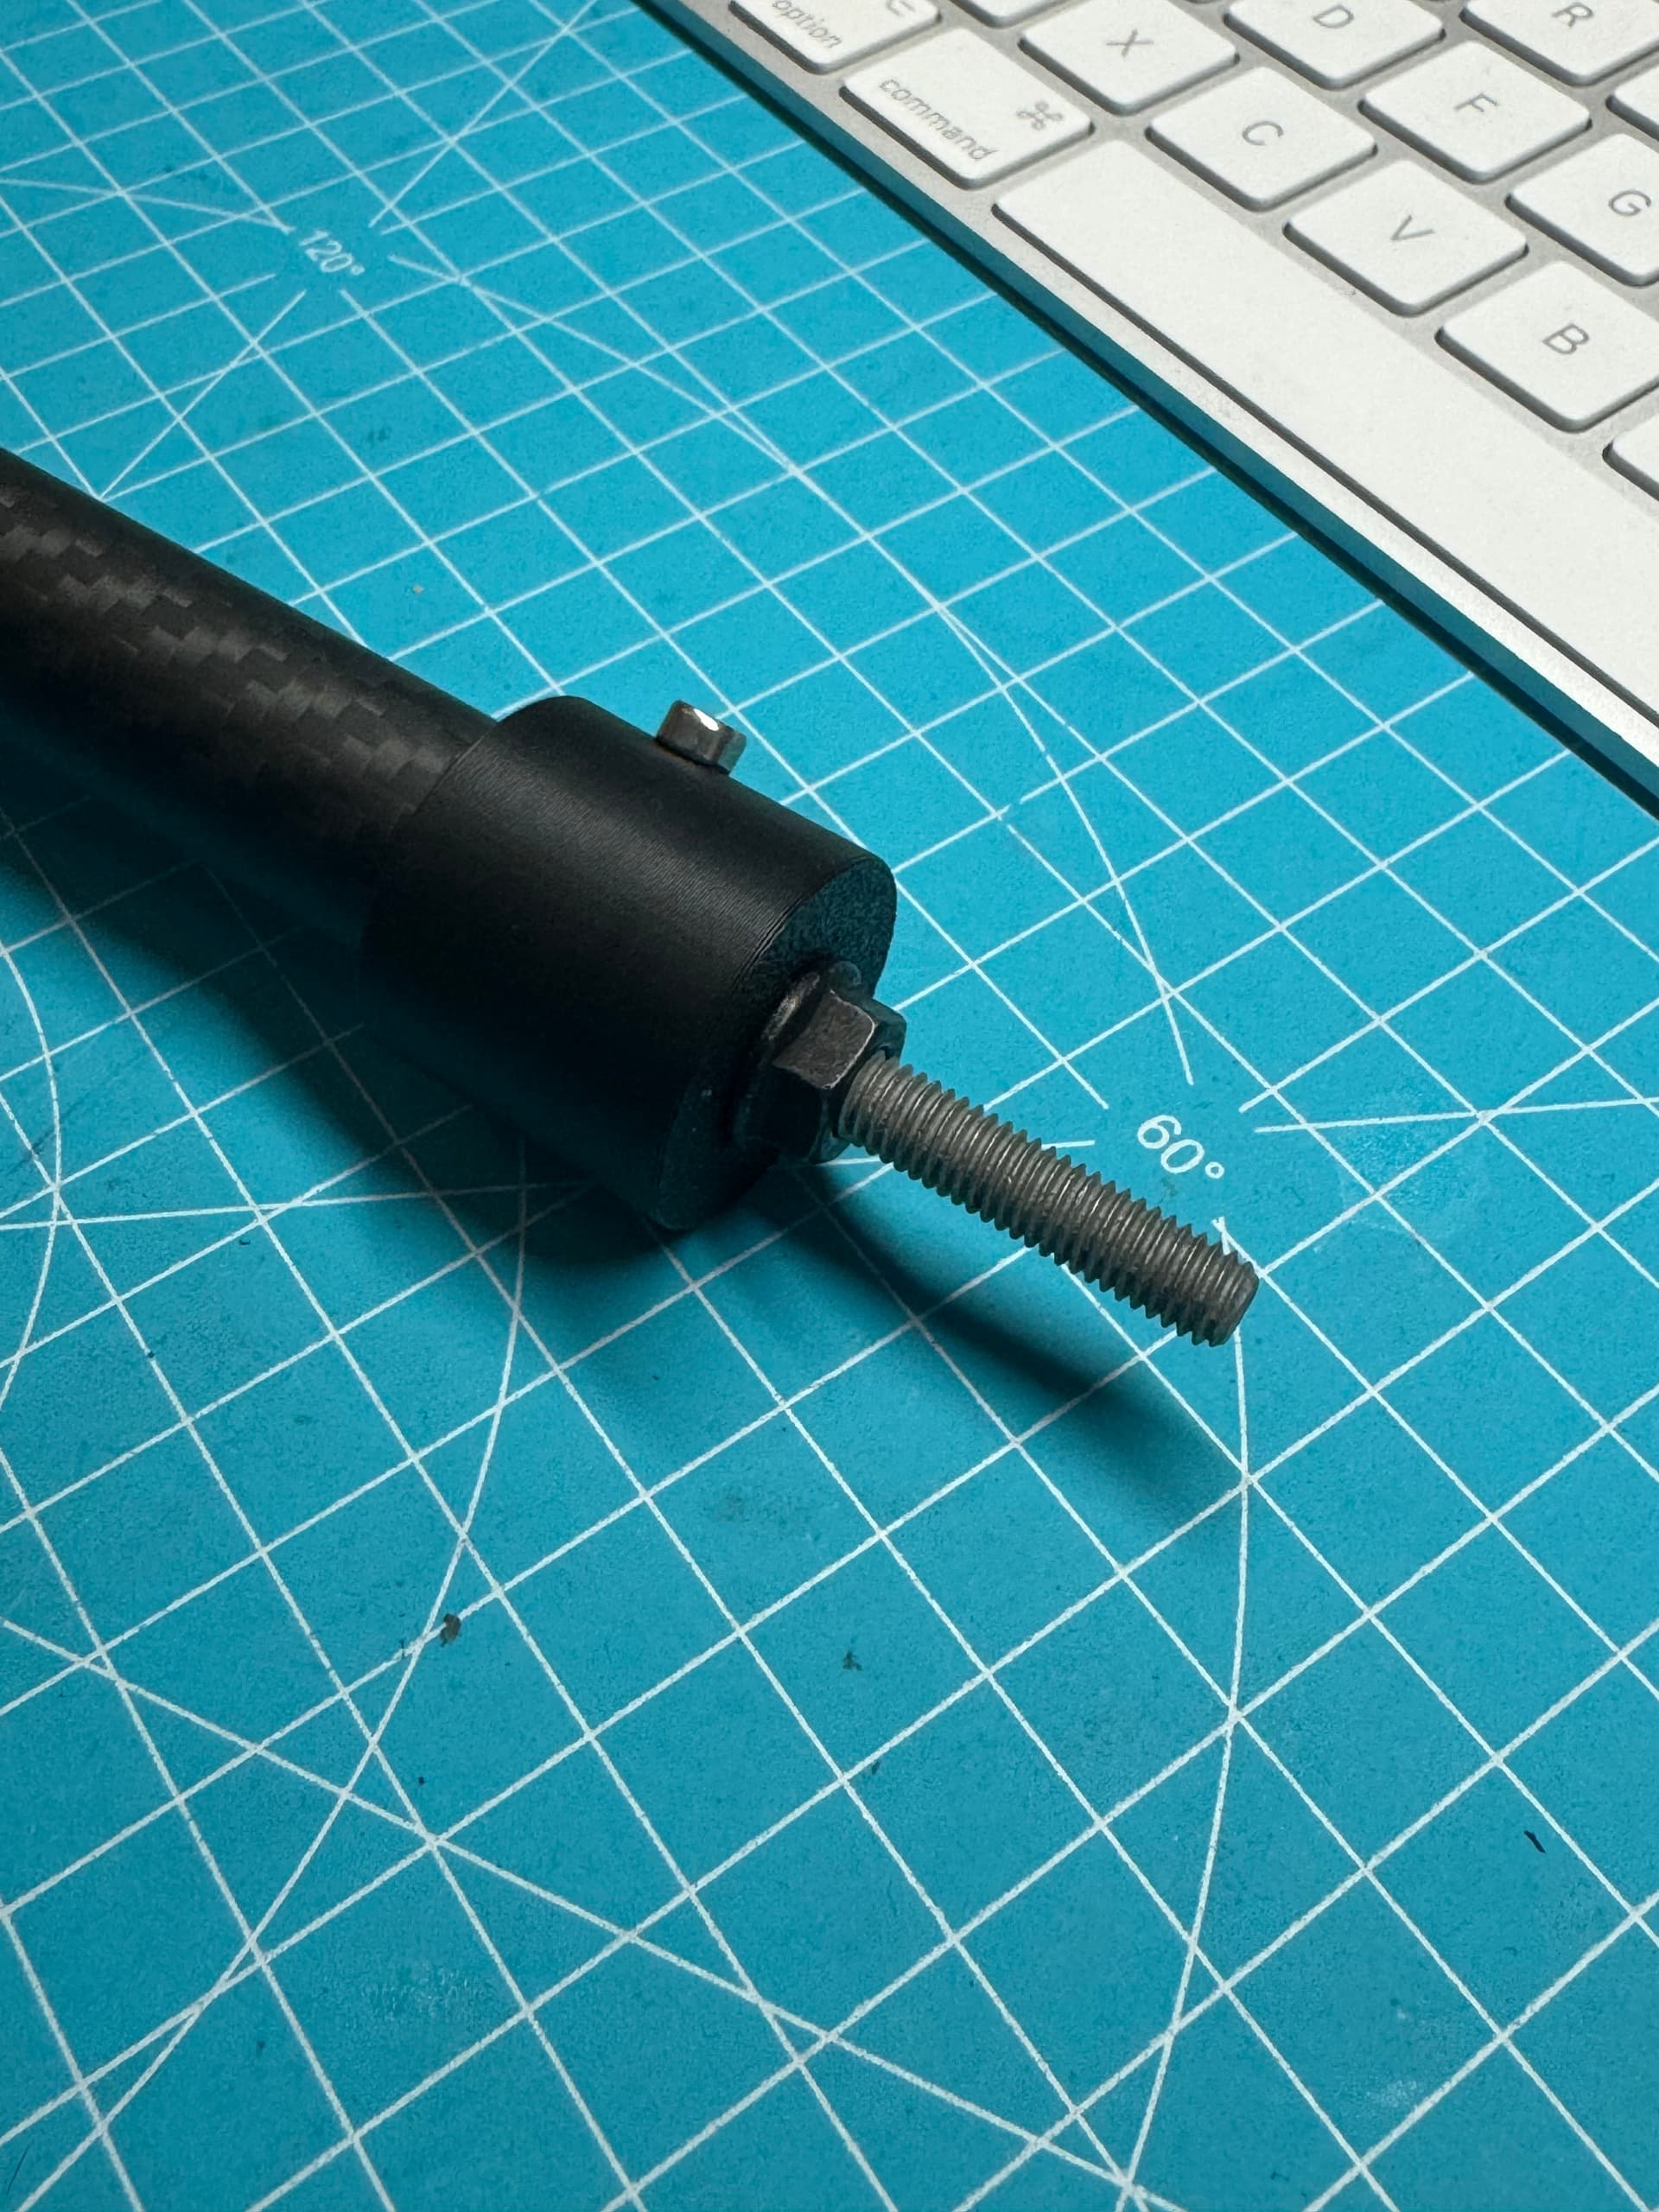
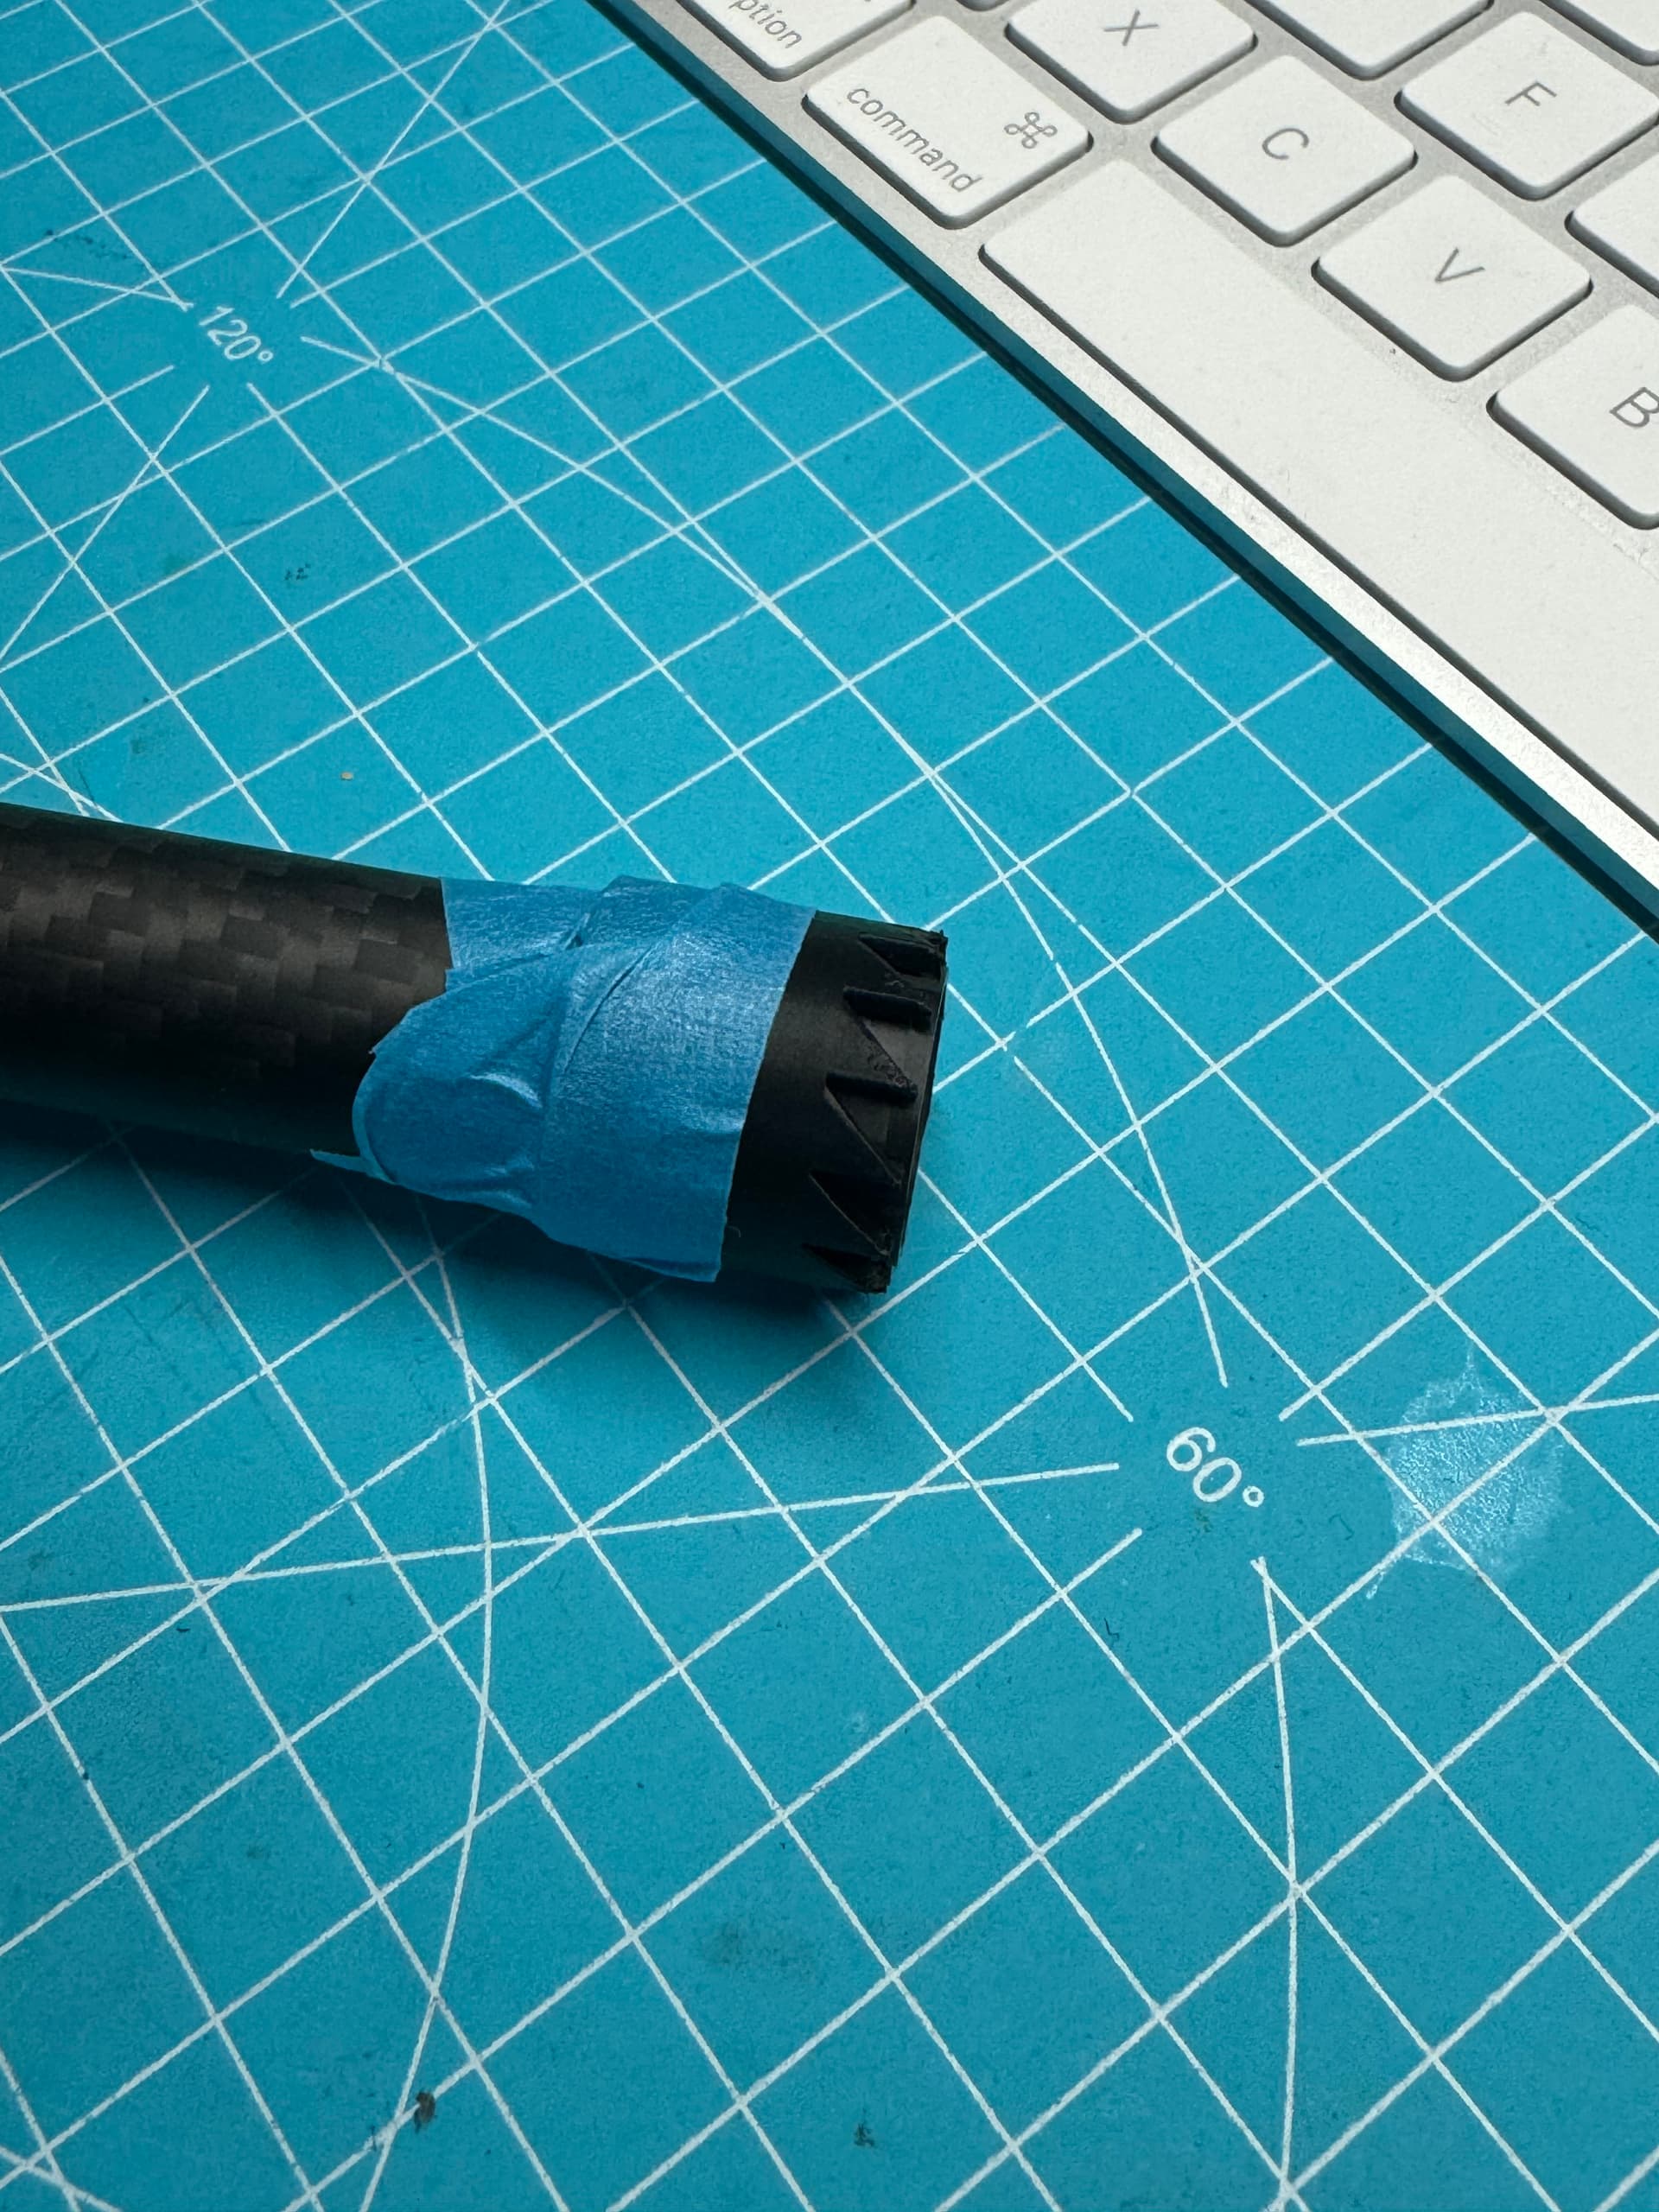
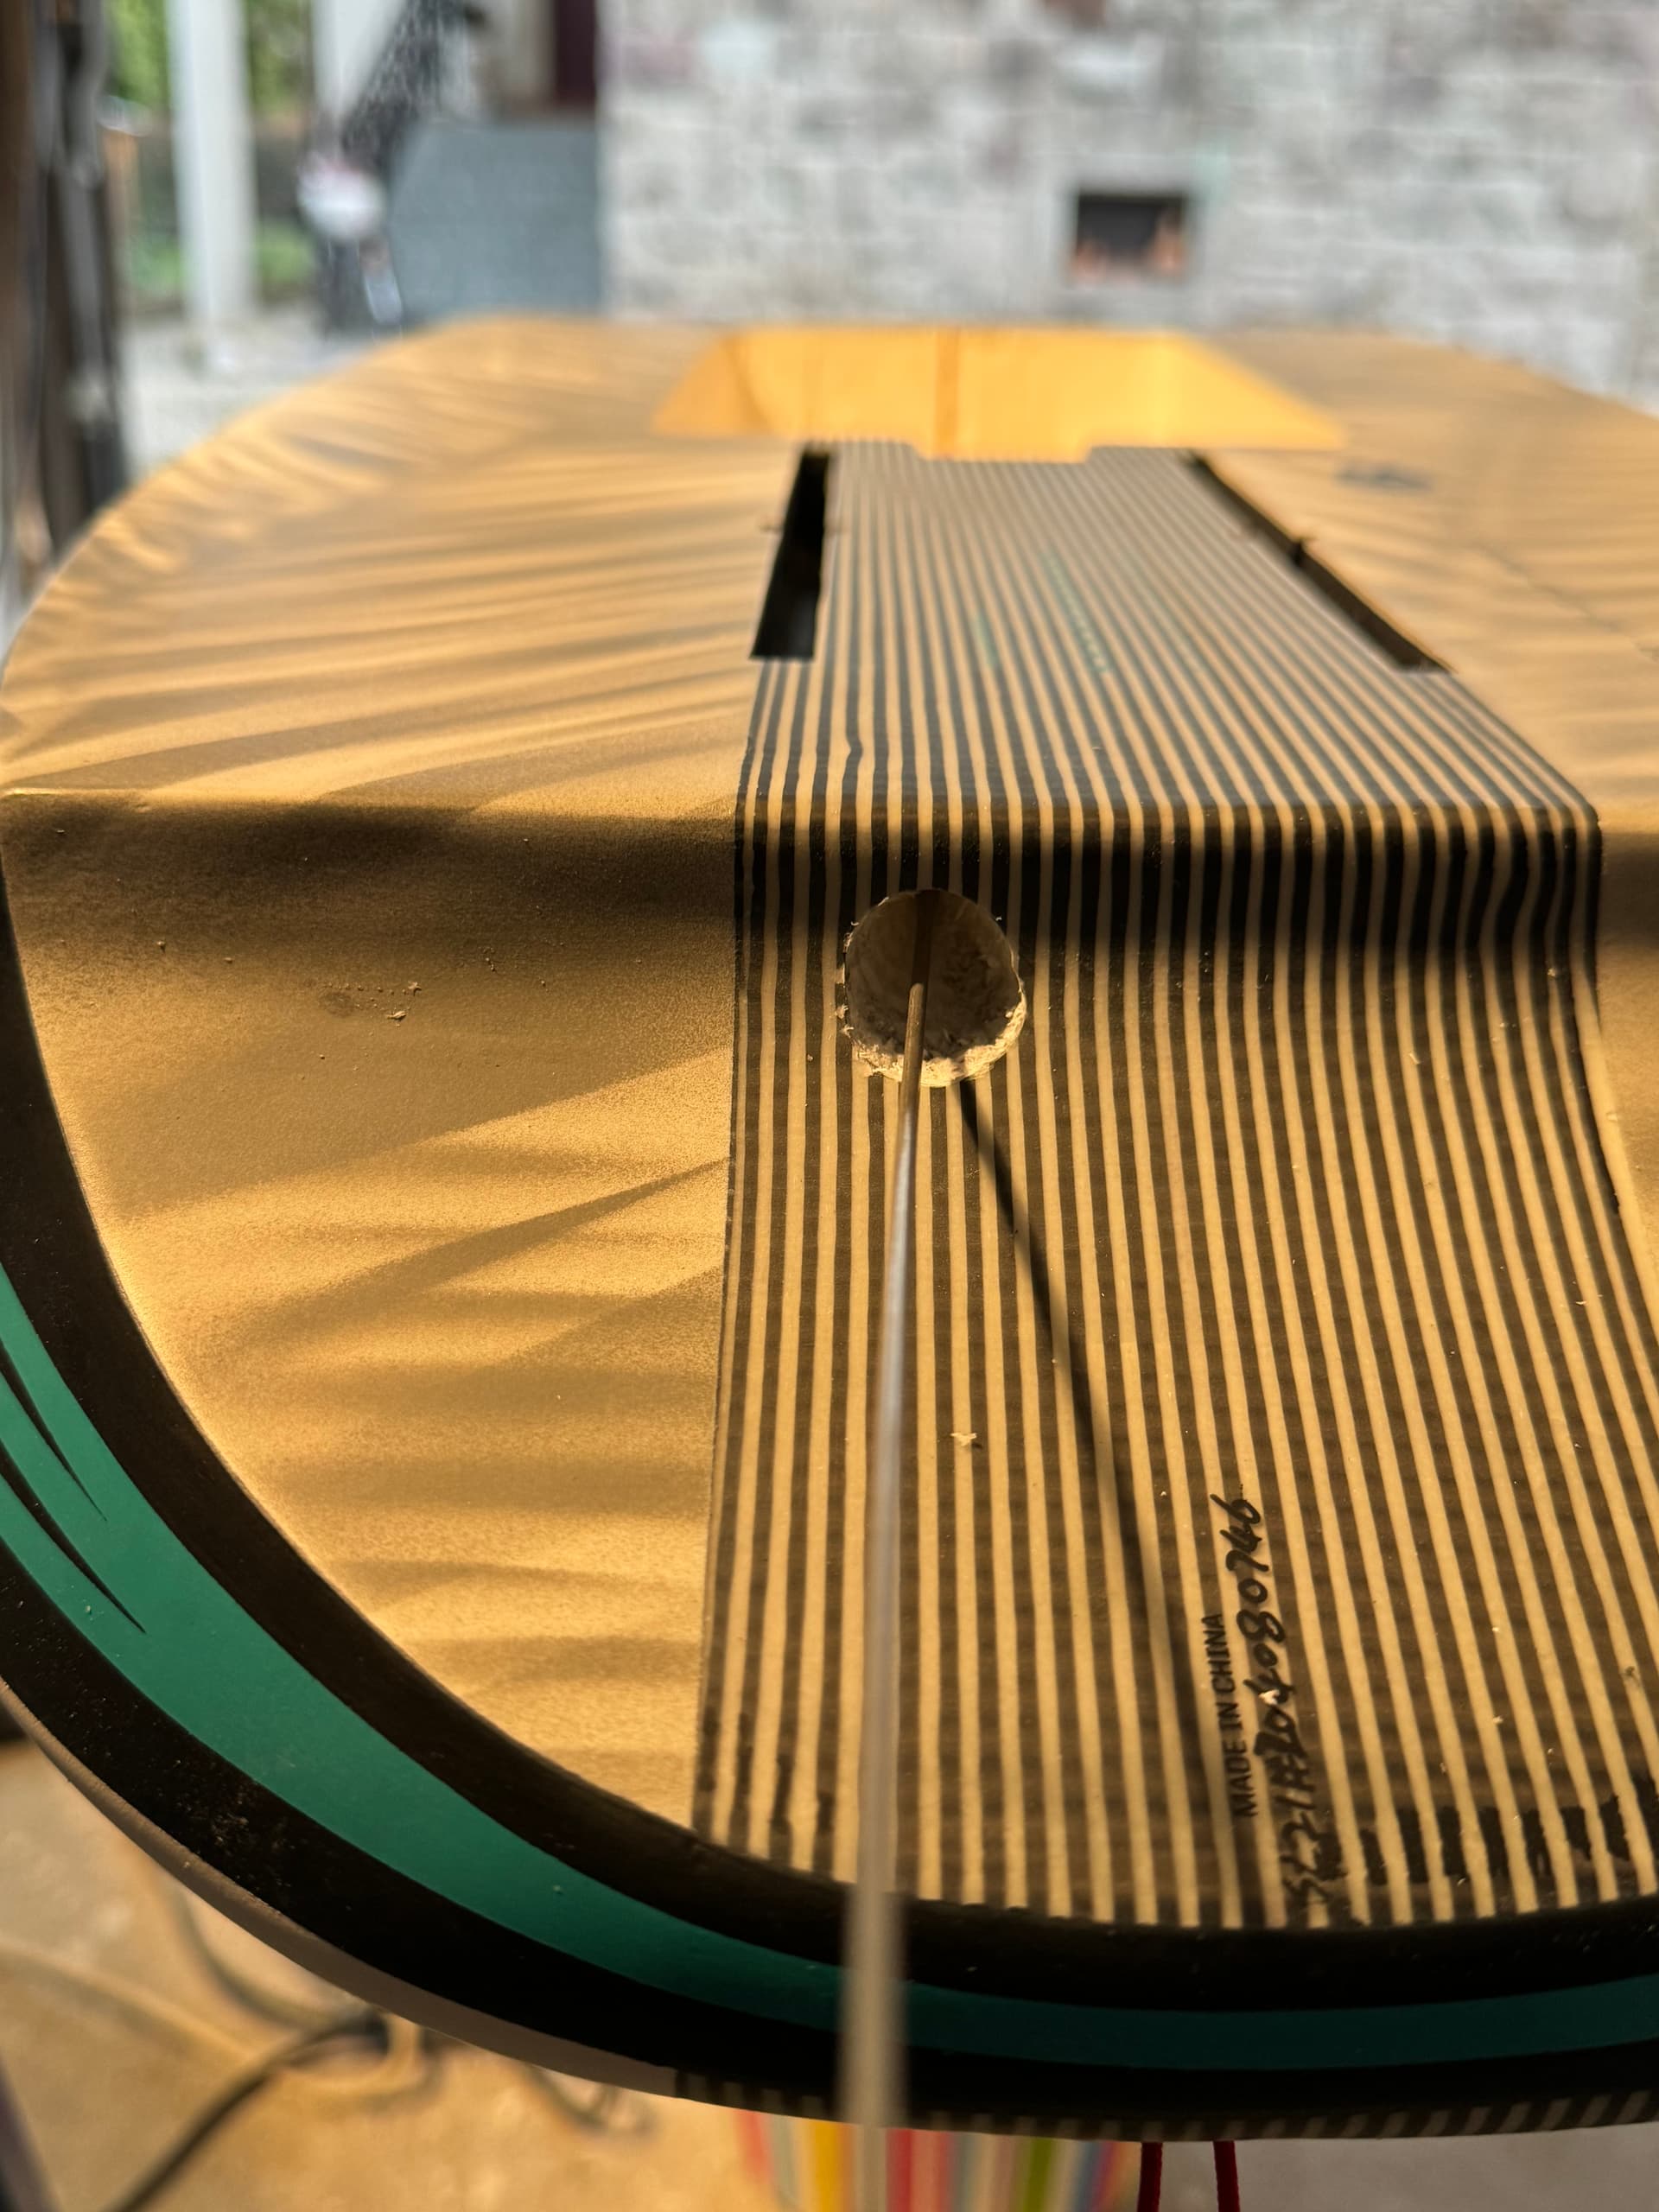
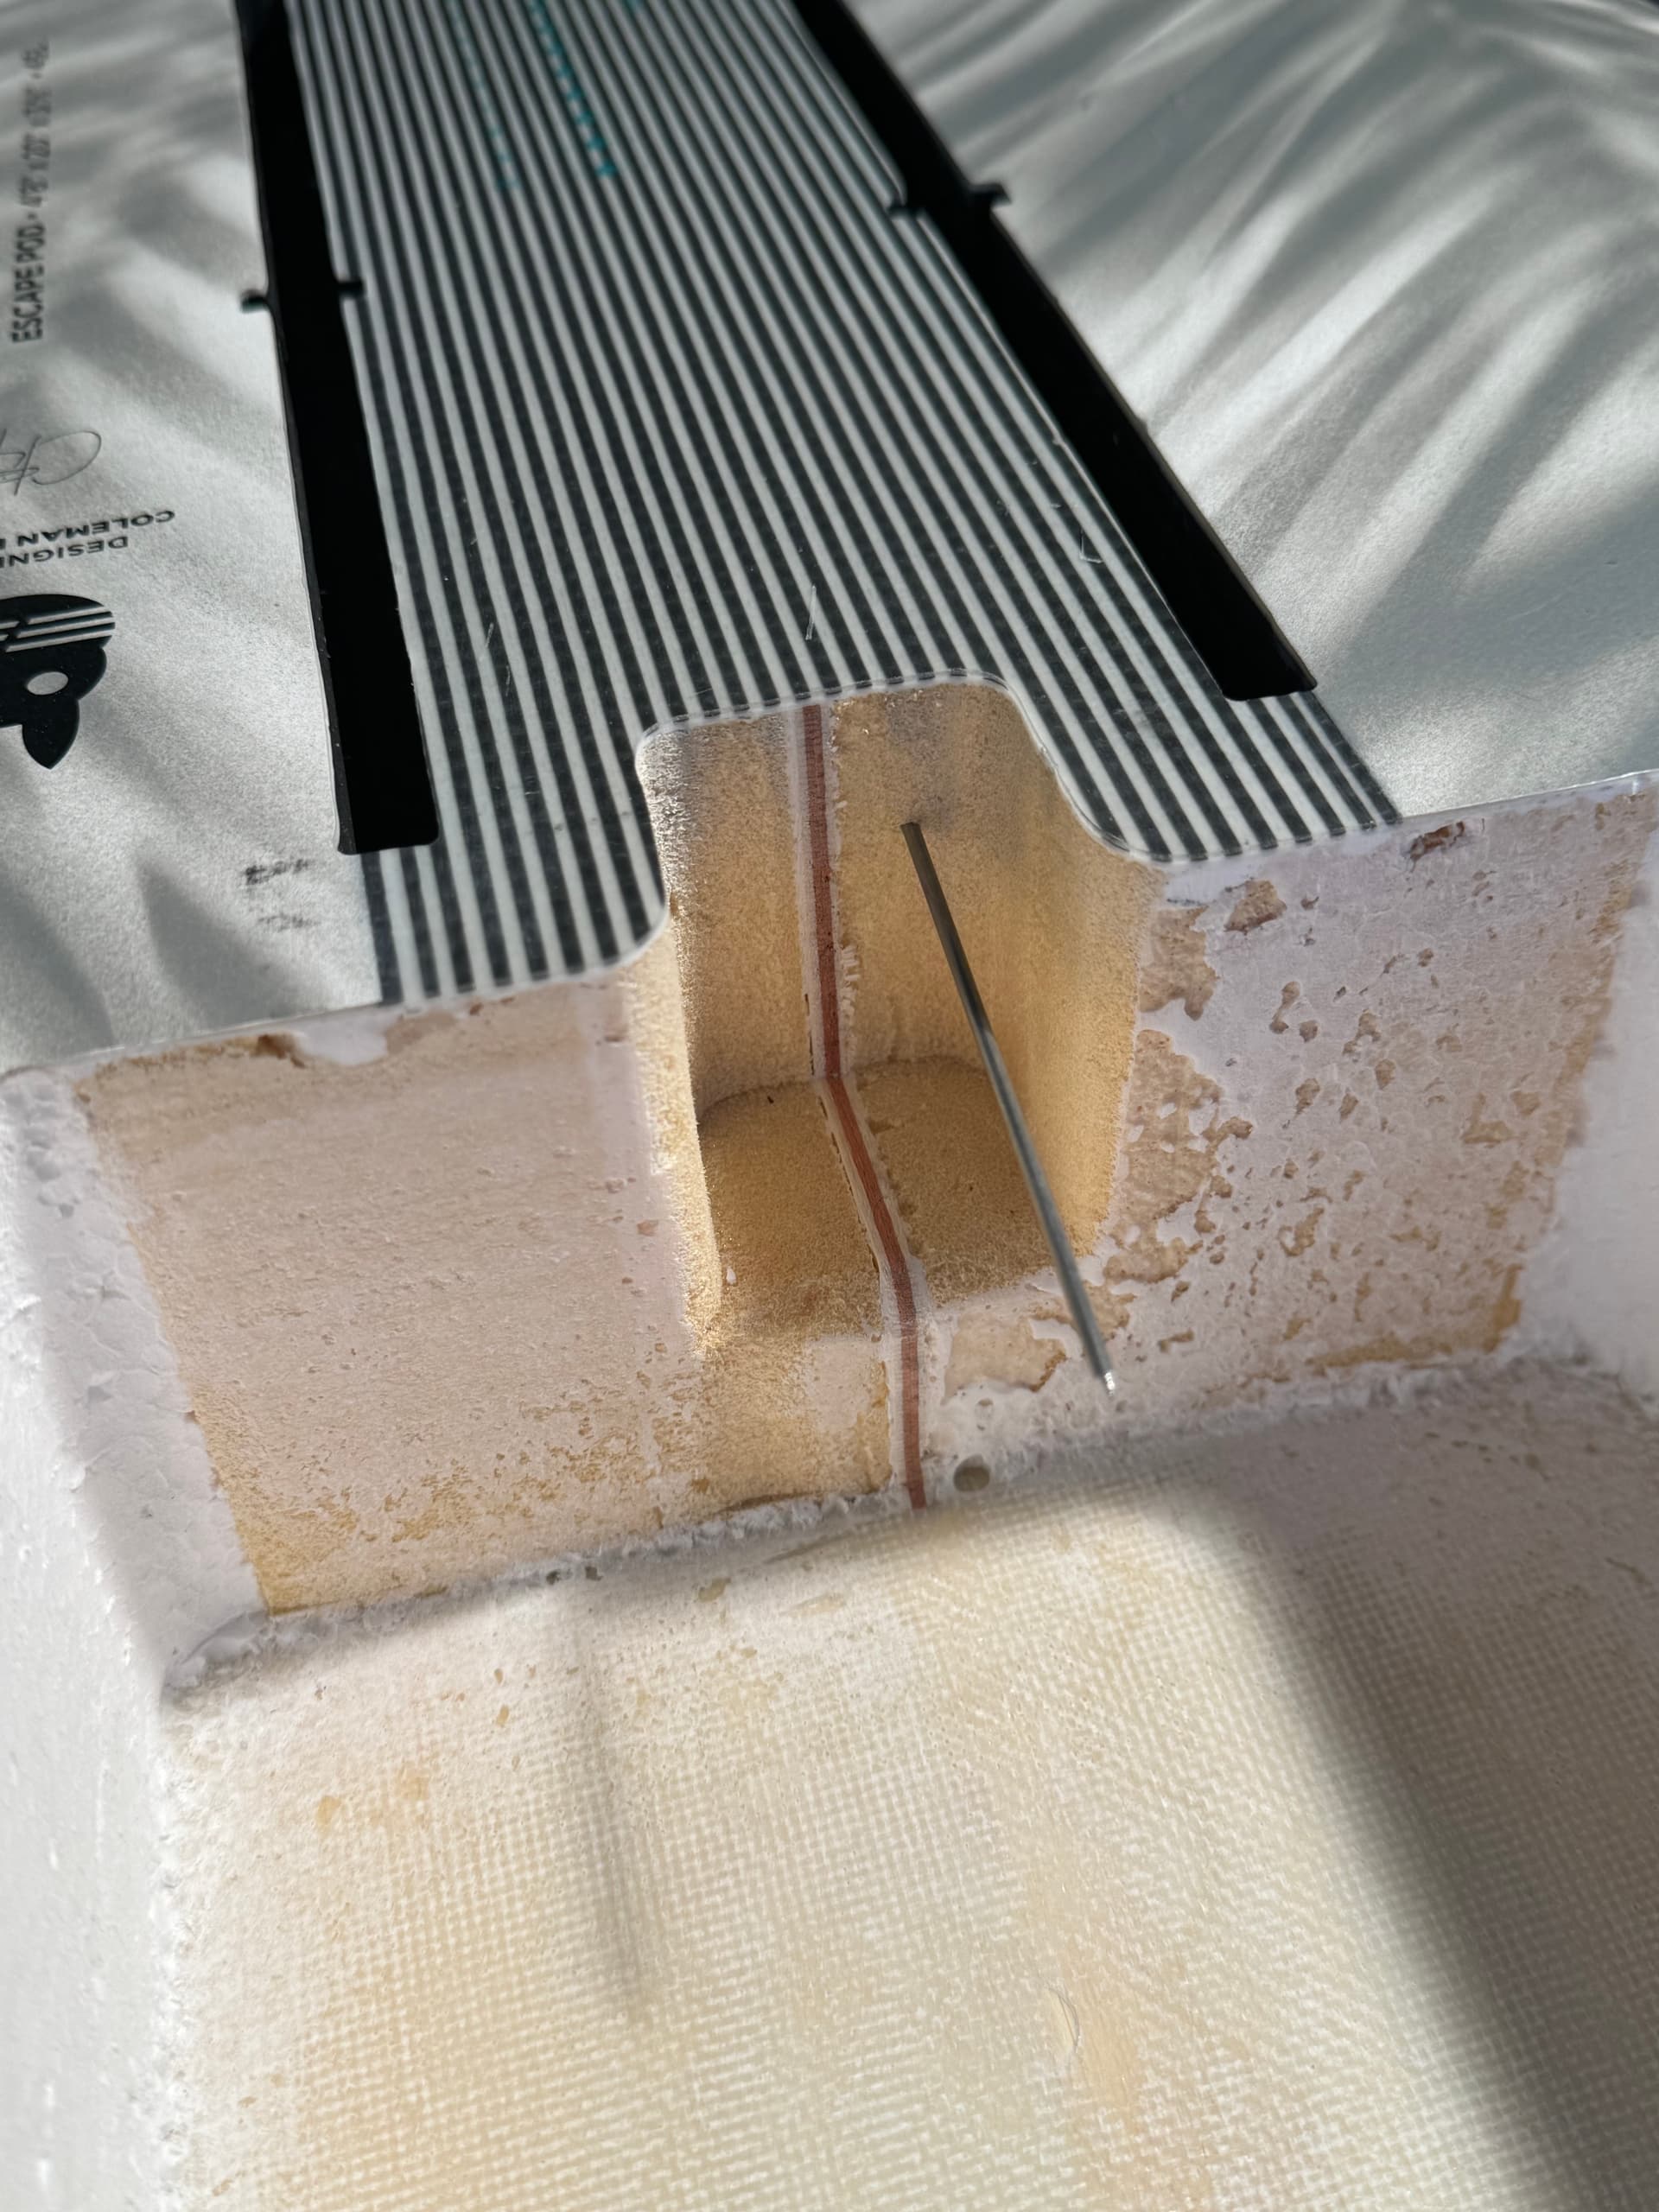
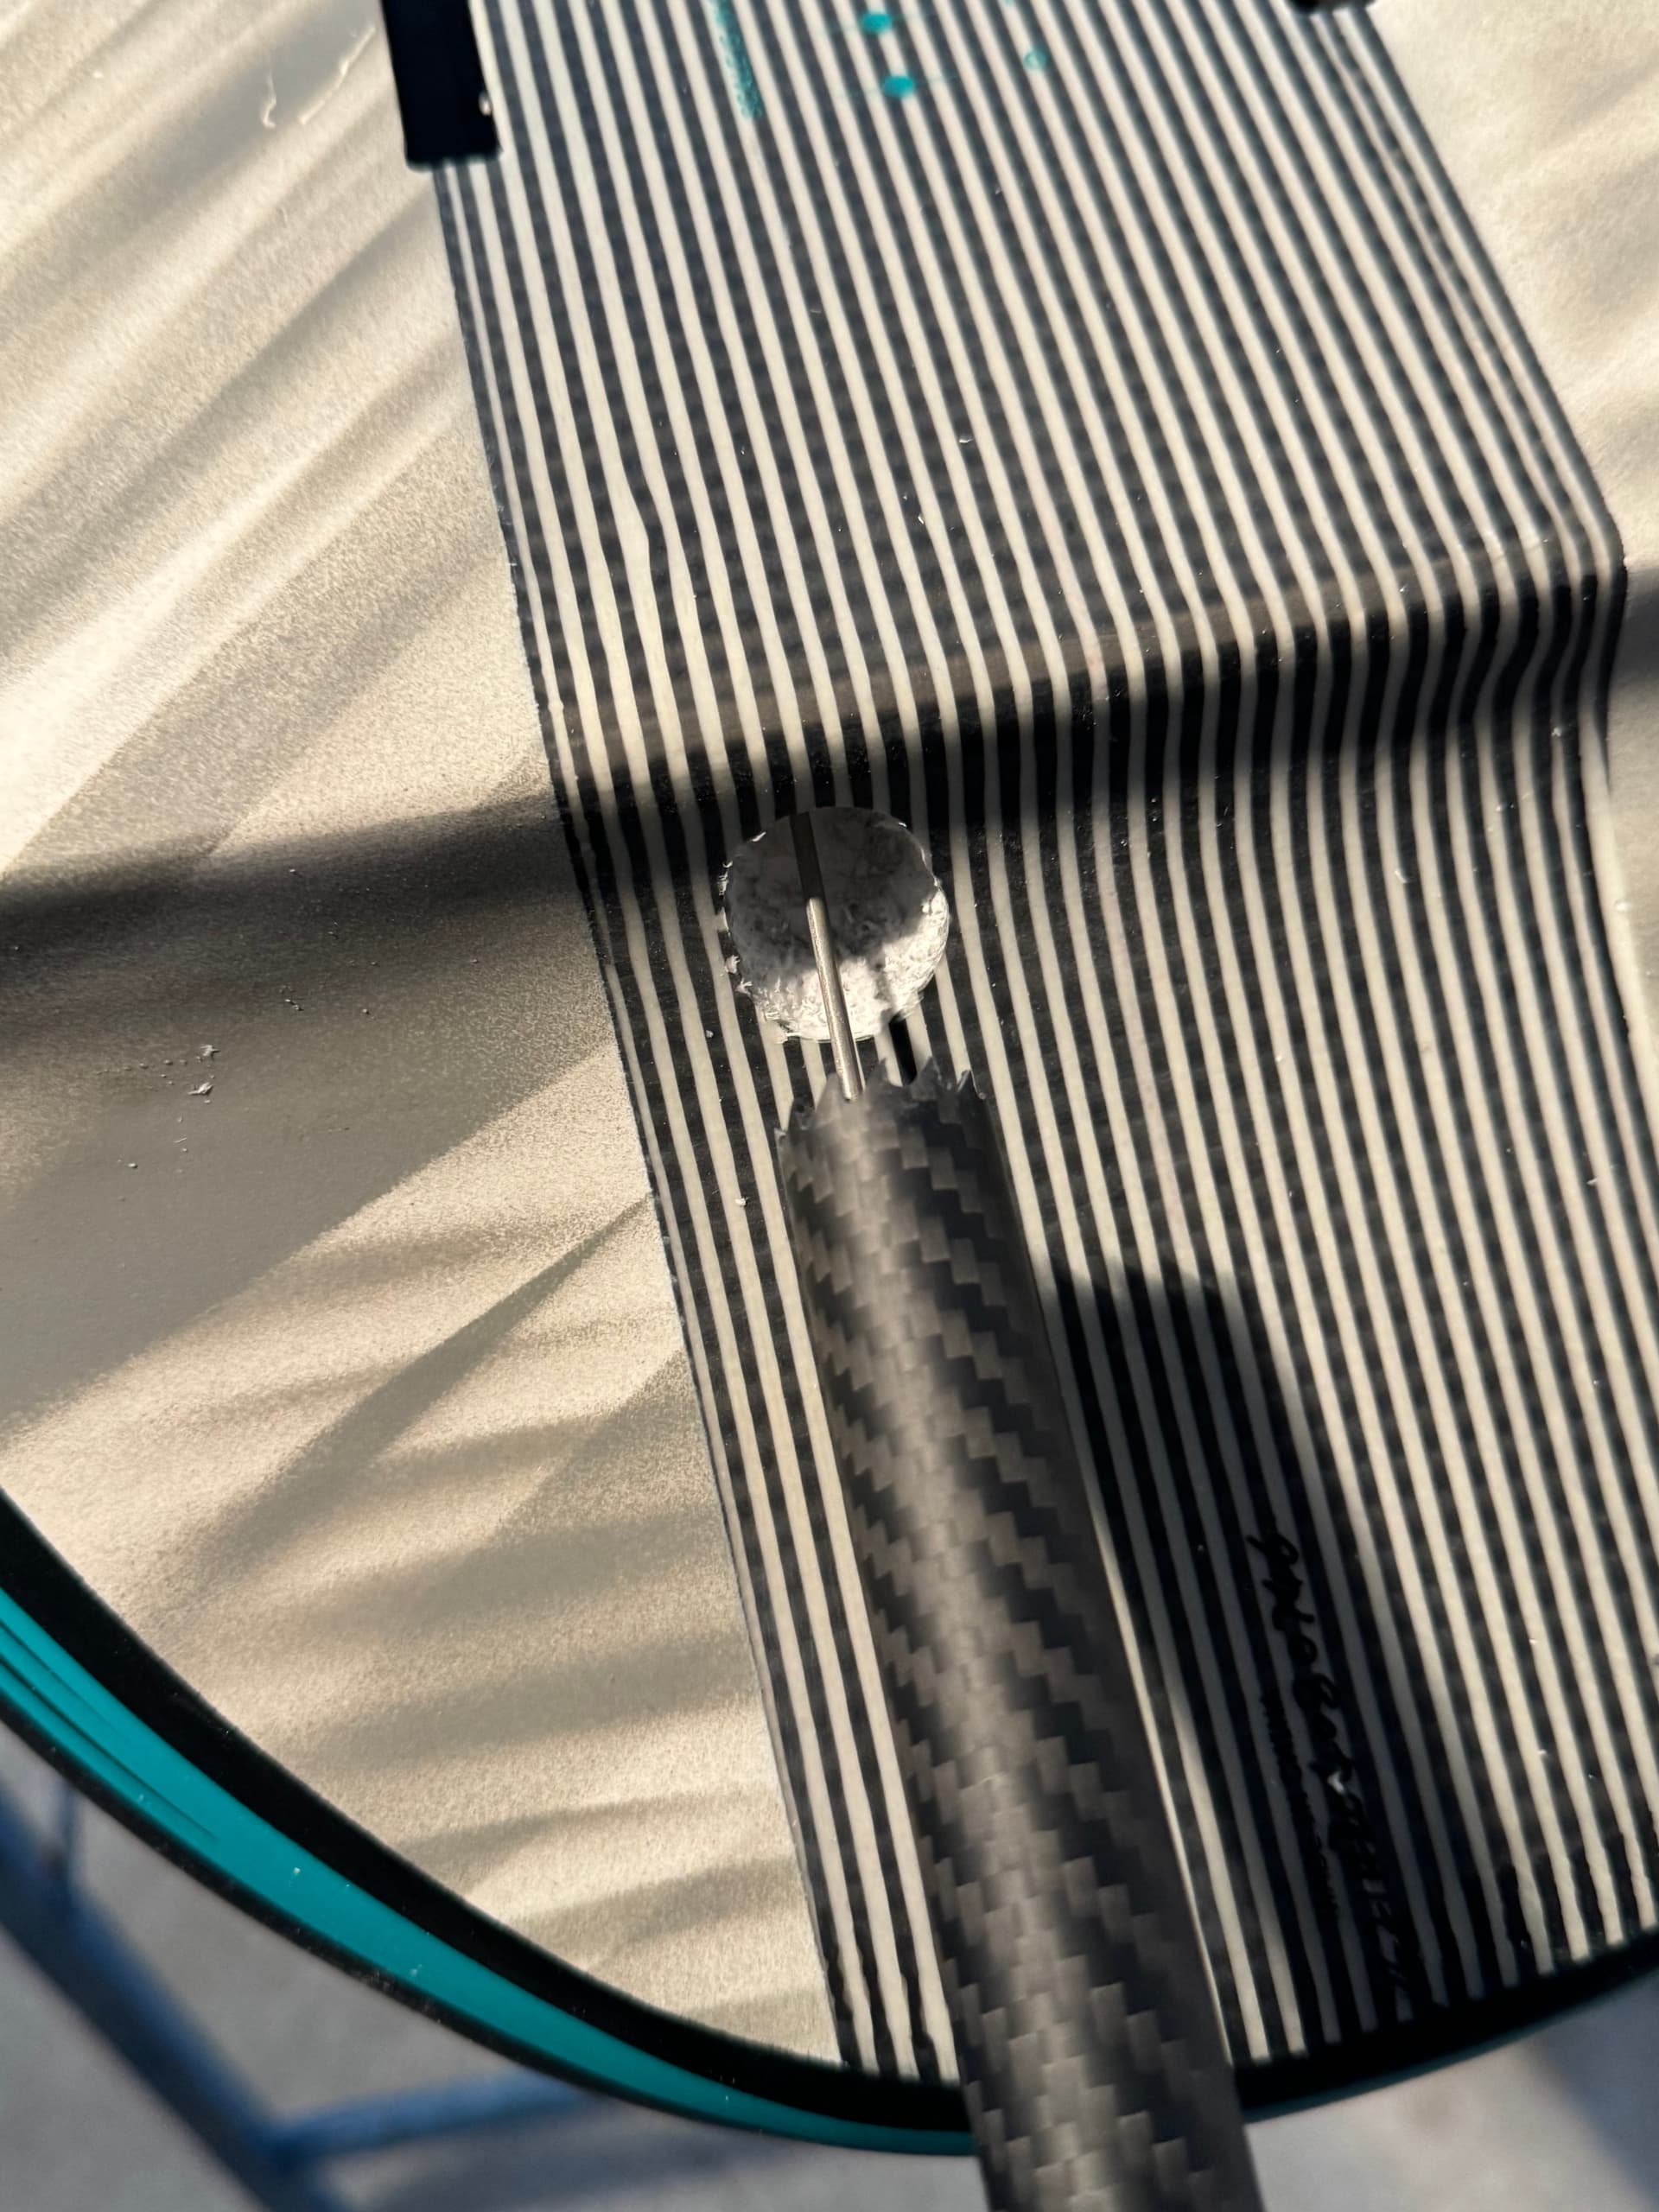
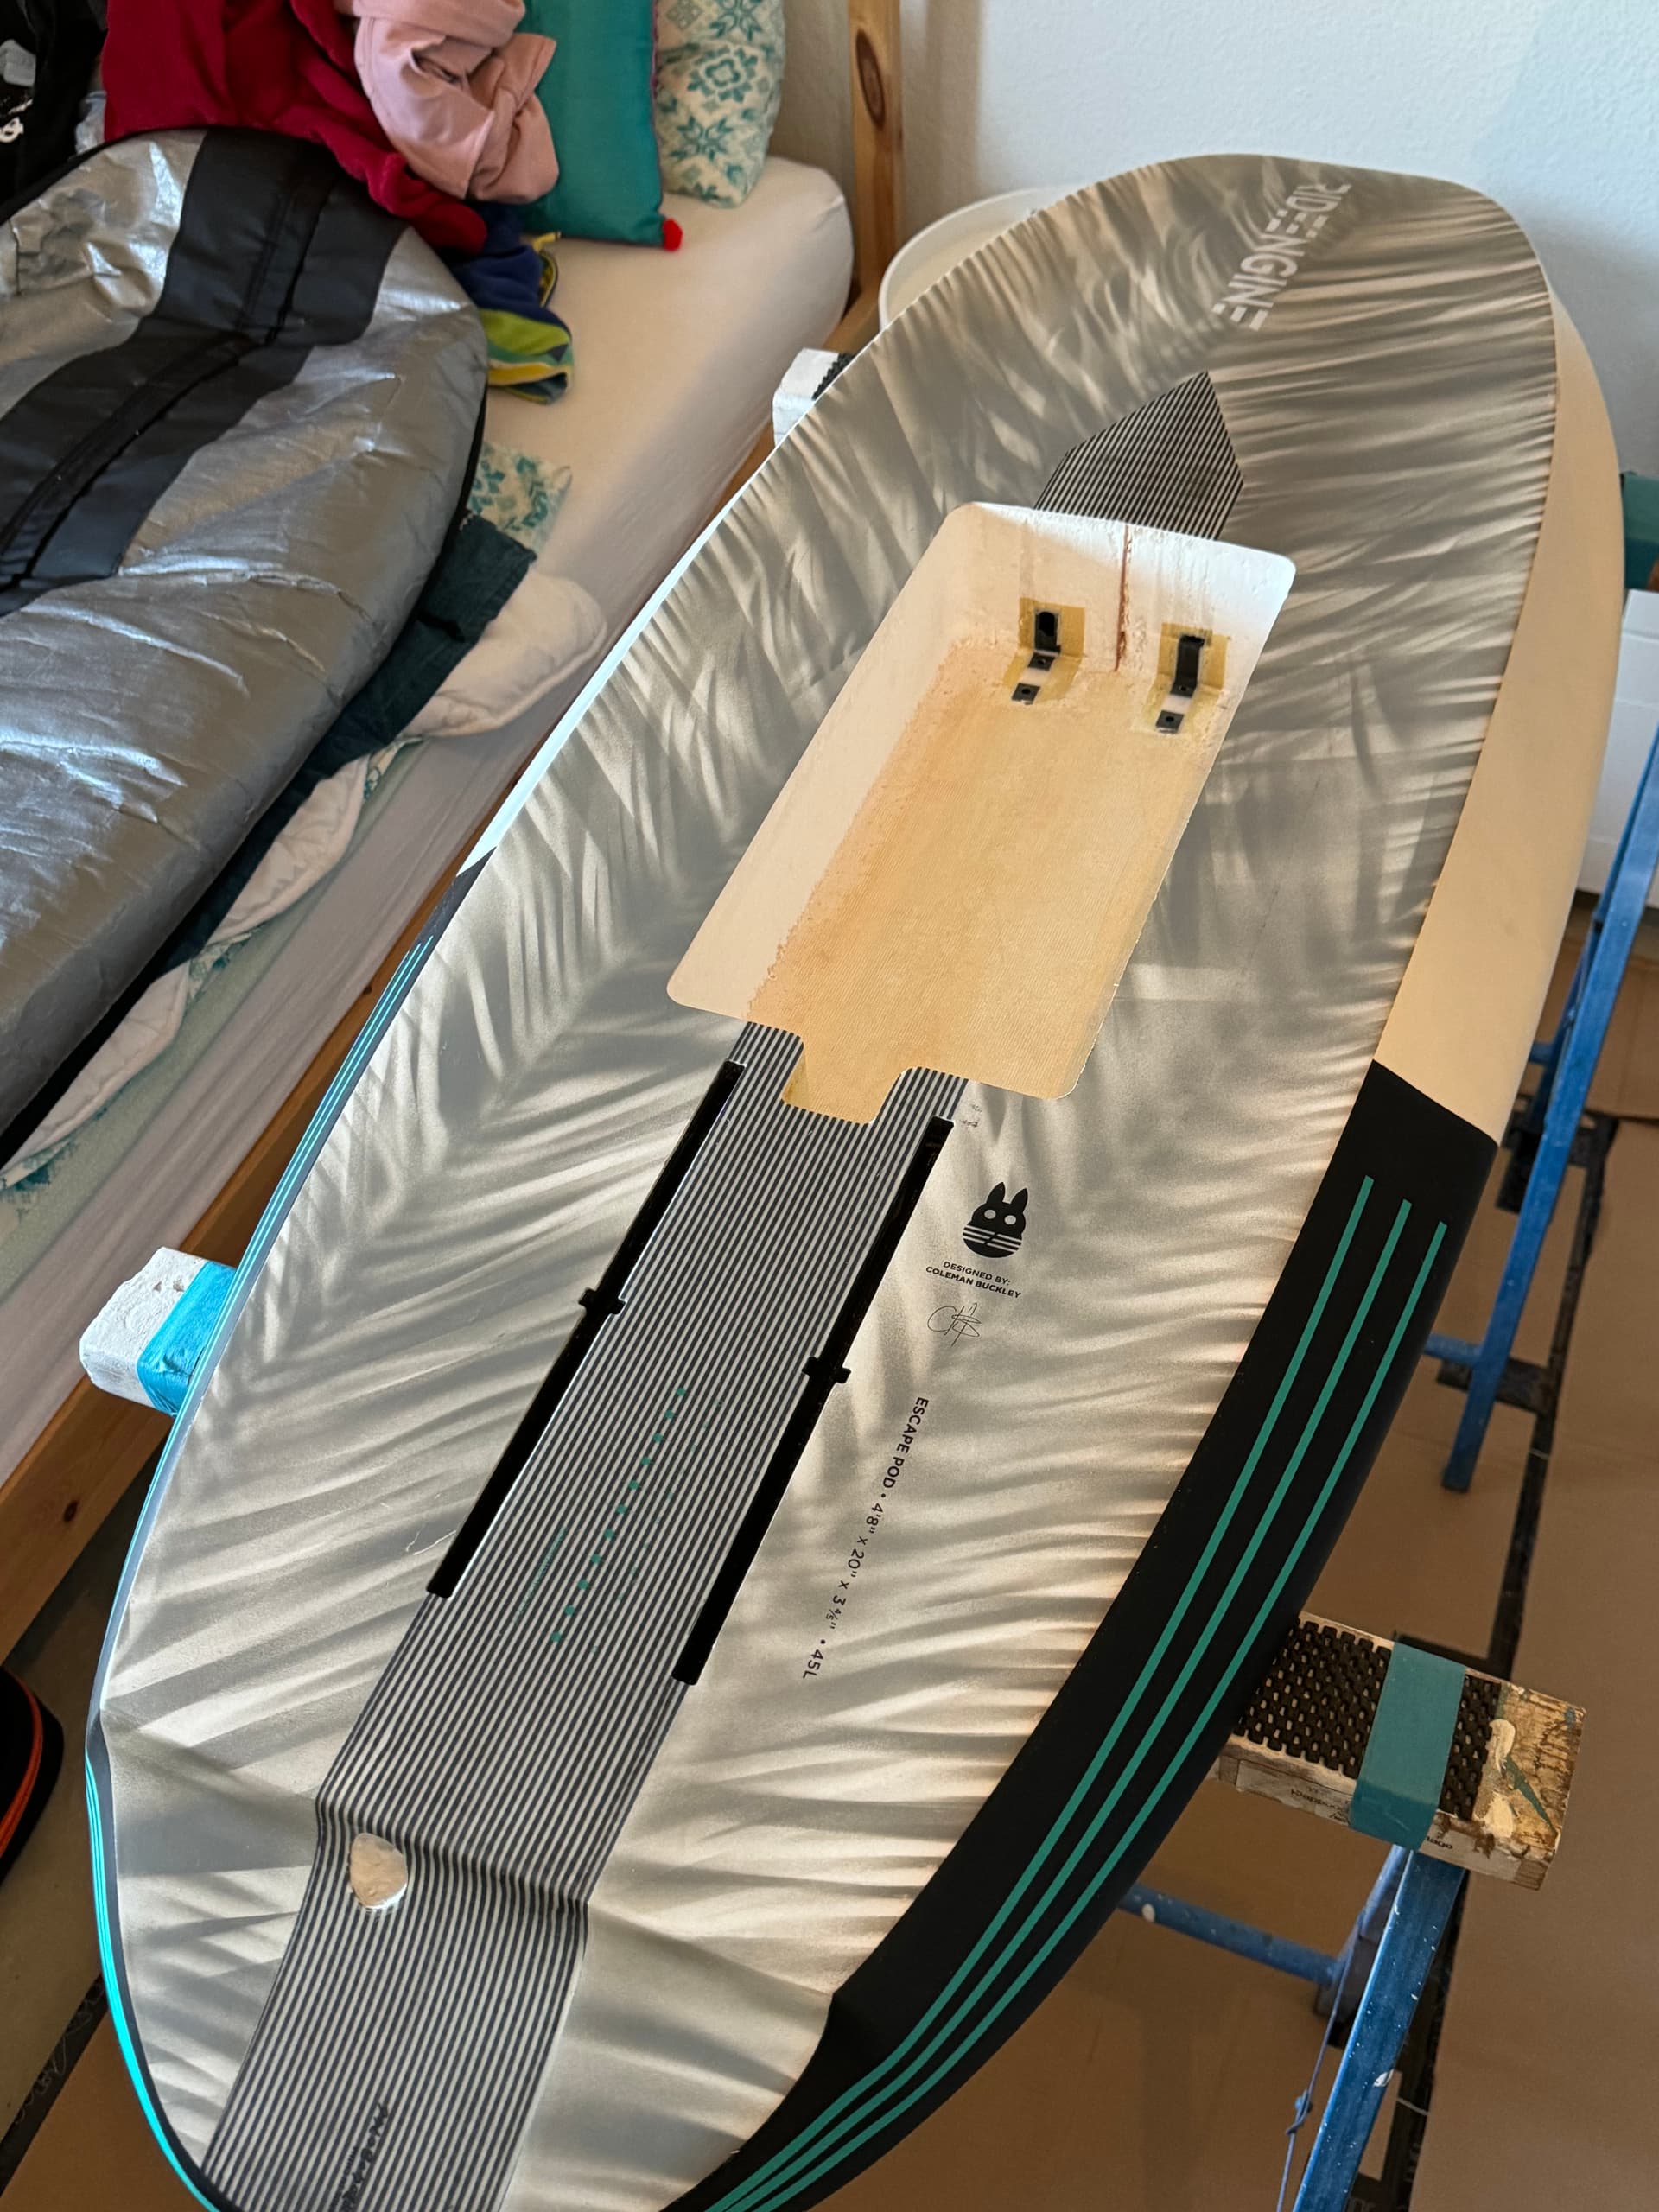
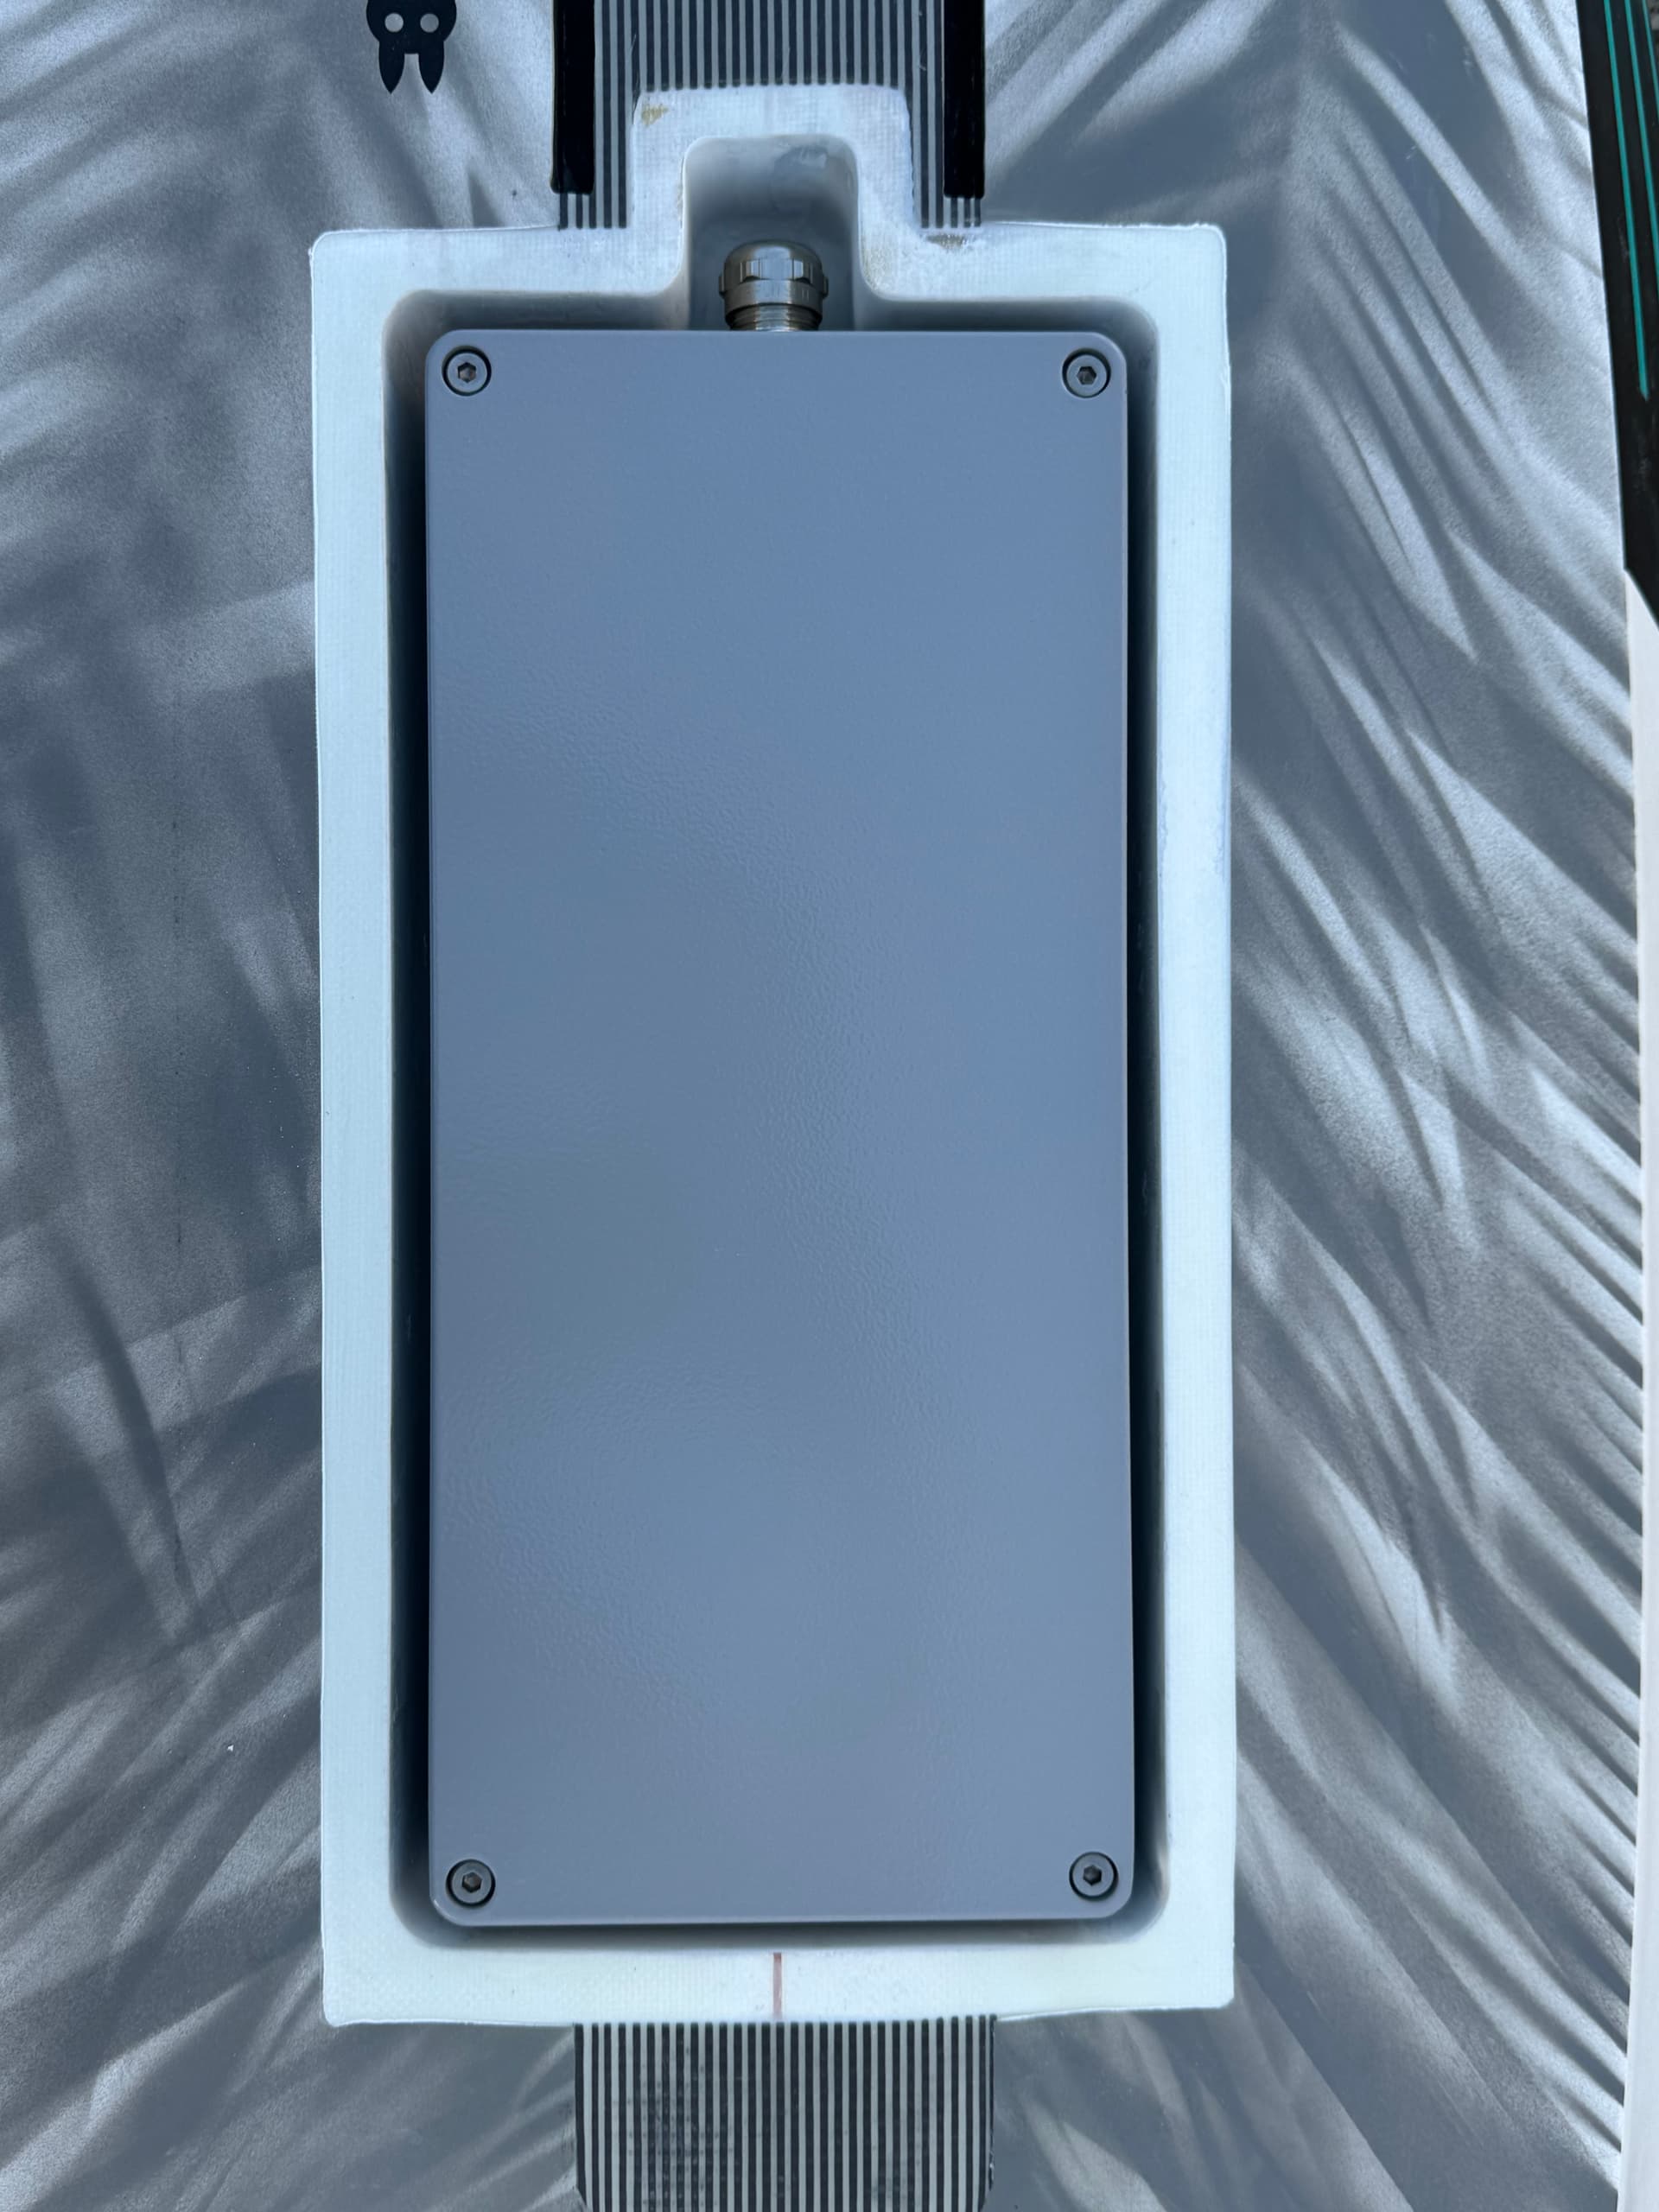
In order to have the motor cables at the rear of the board,
I used a CF tube on the US box.
The hole would now be in the board.
Next is filling.
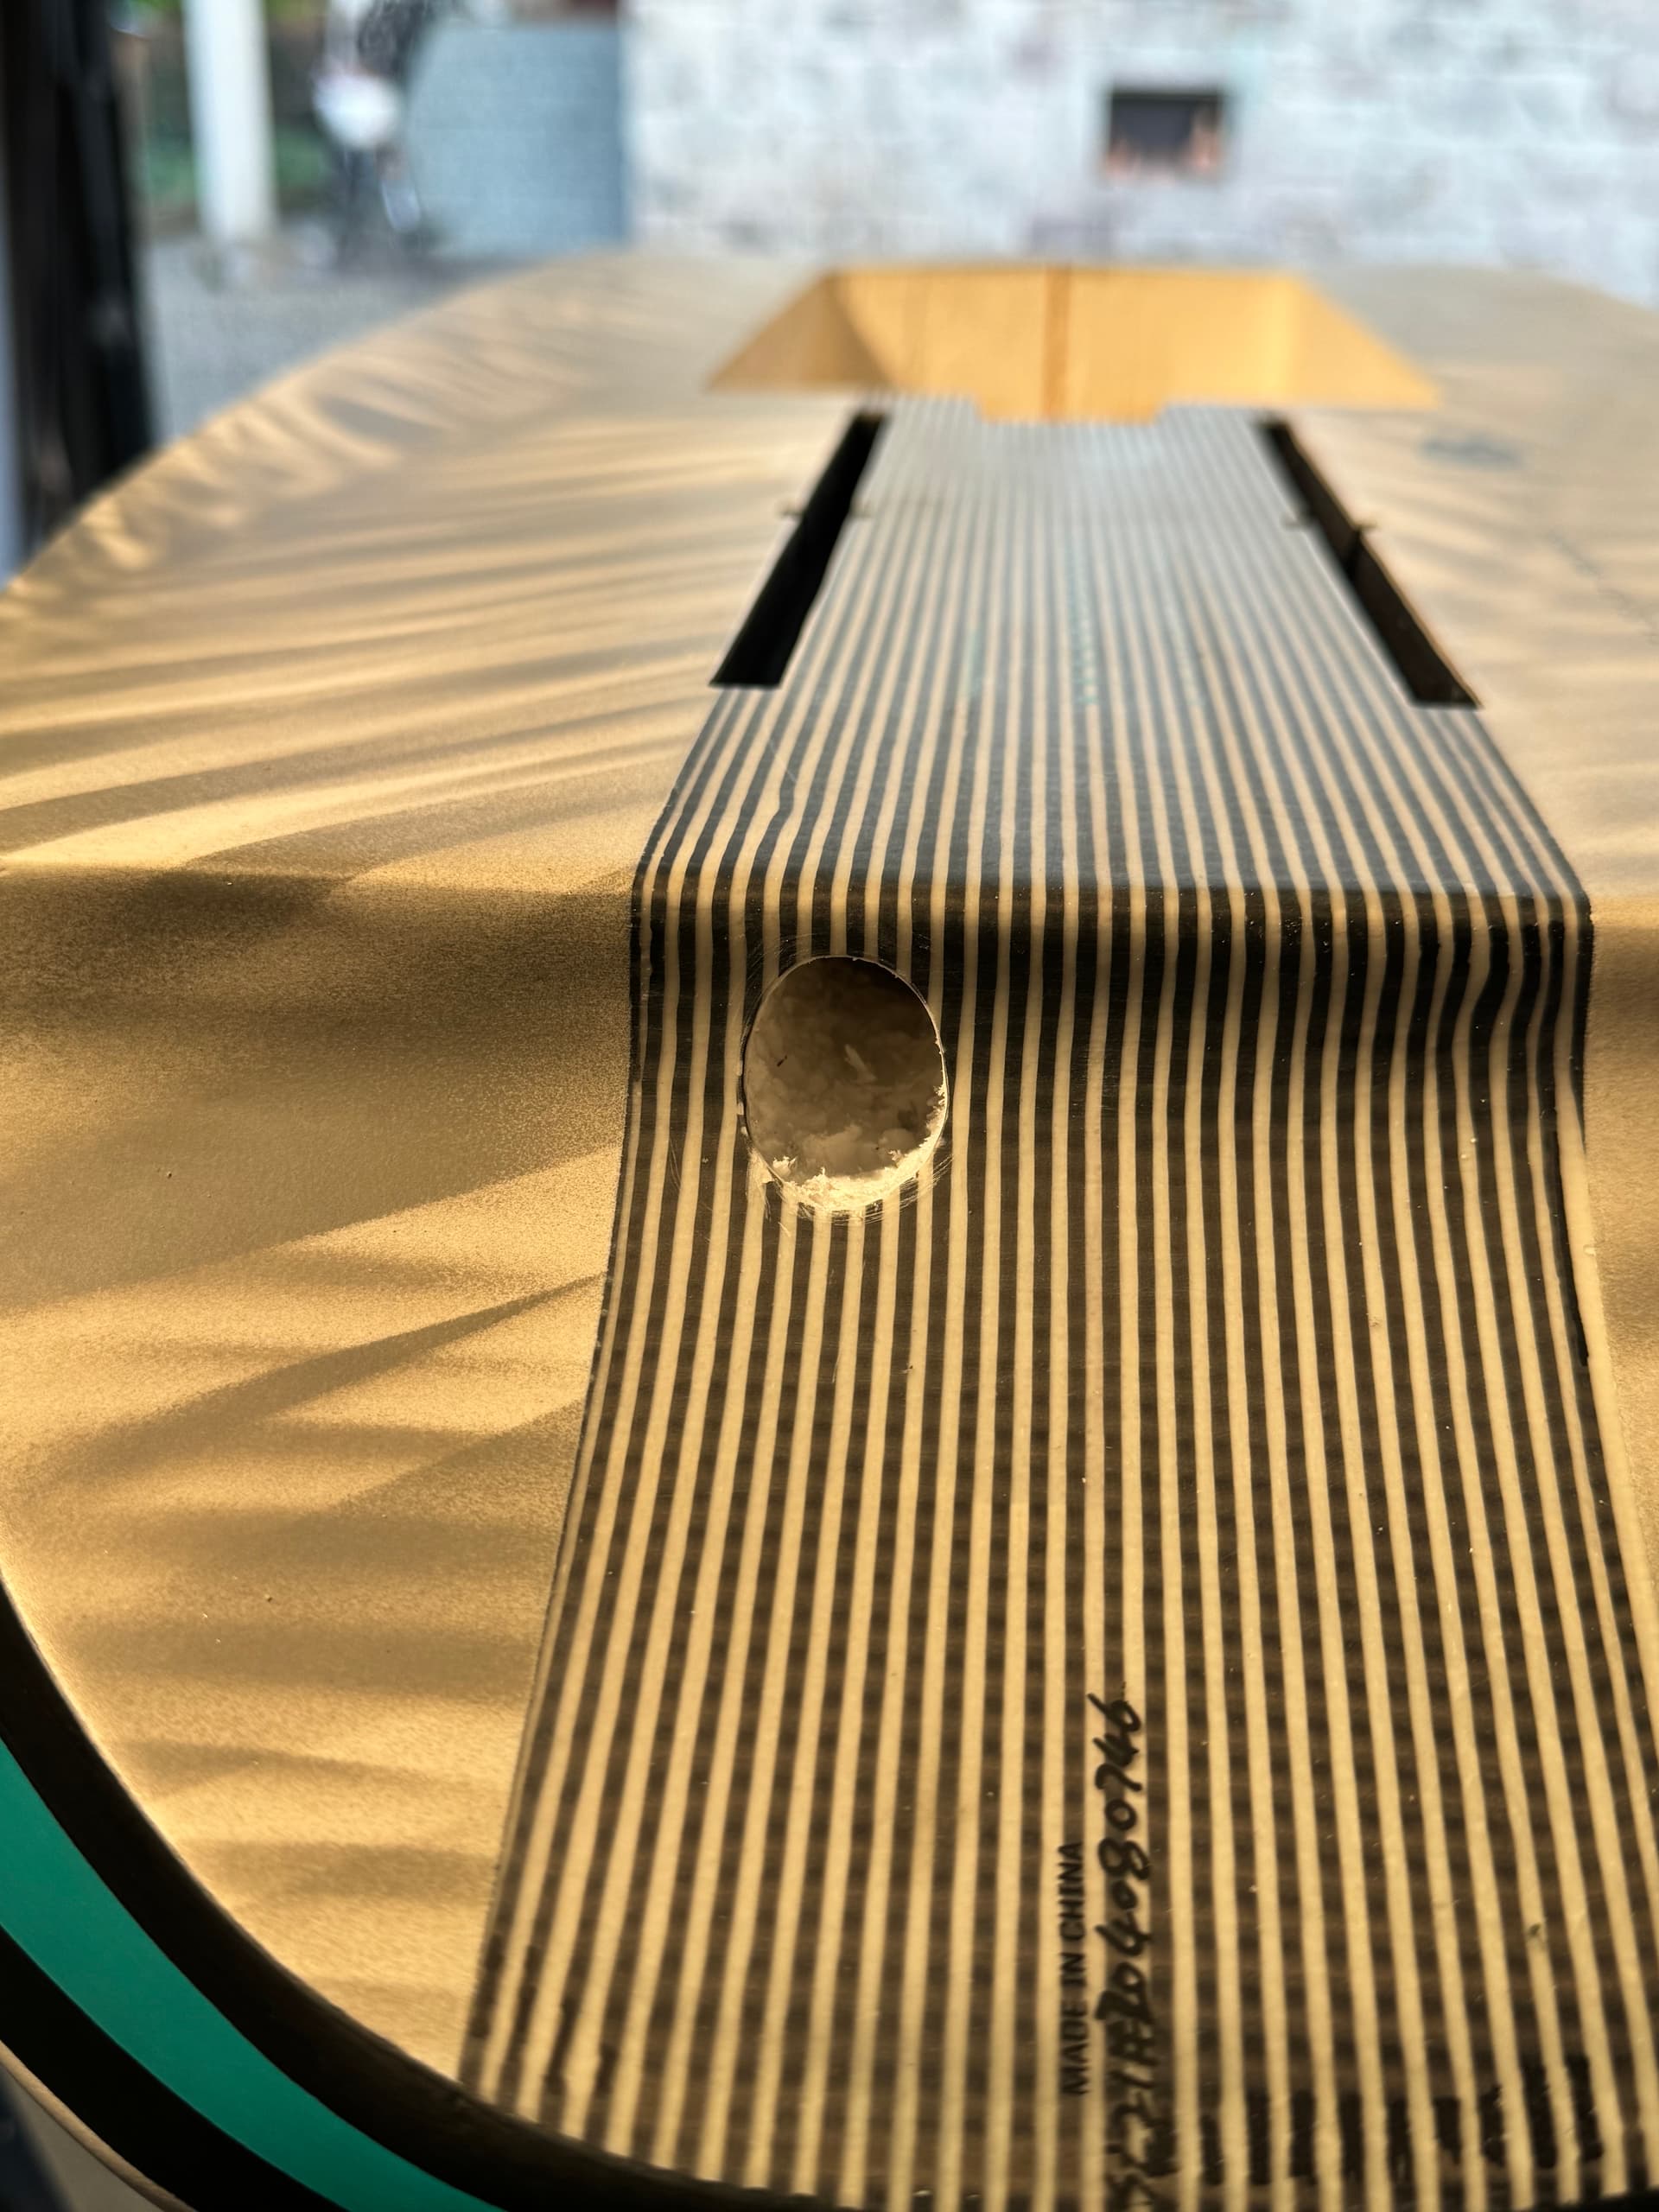
8 Likes
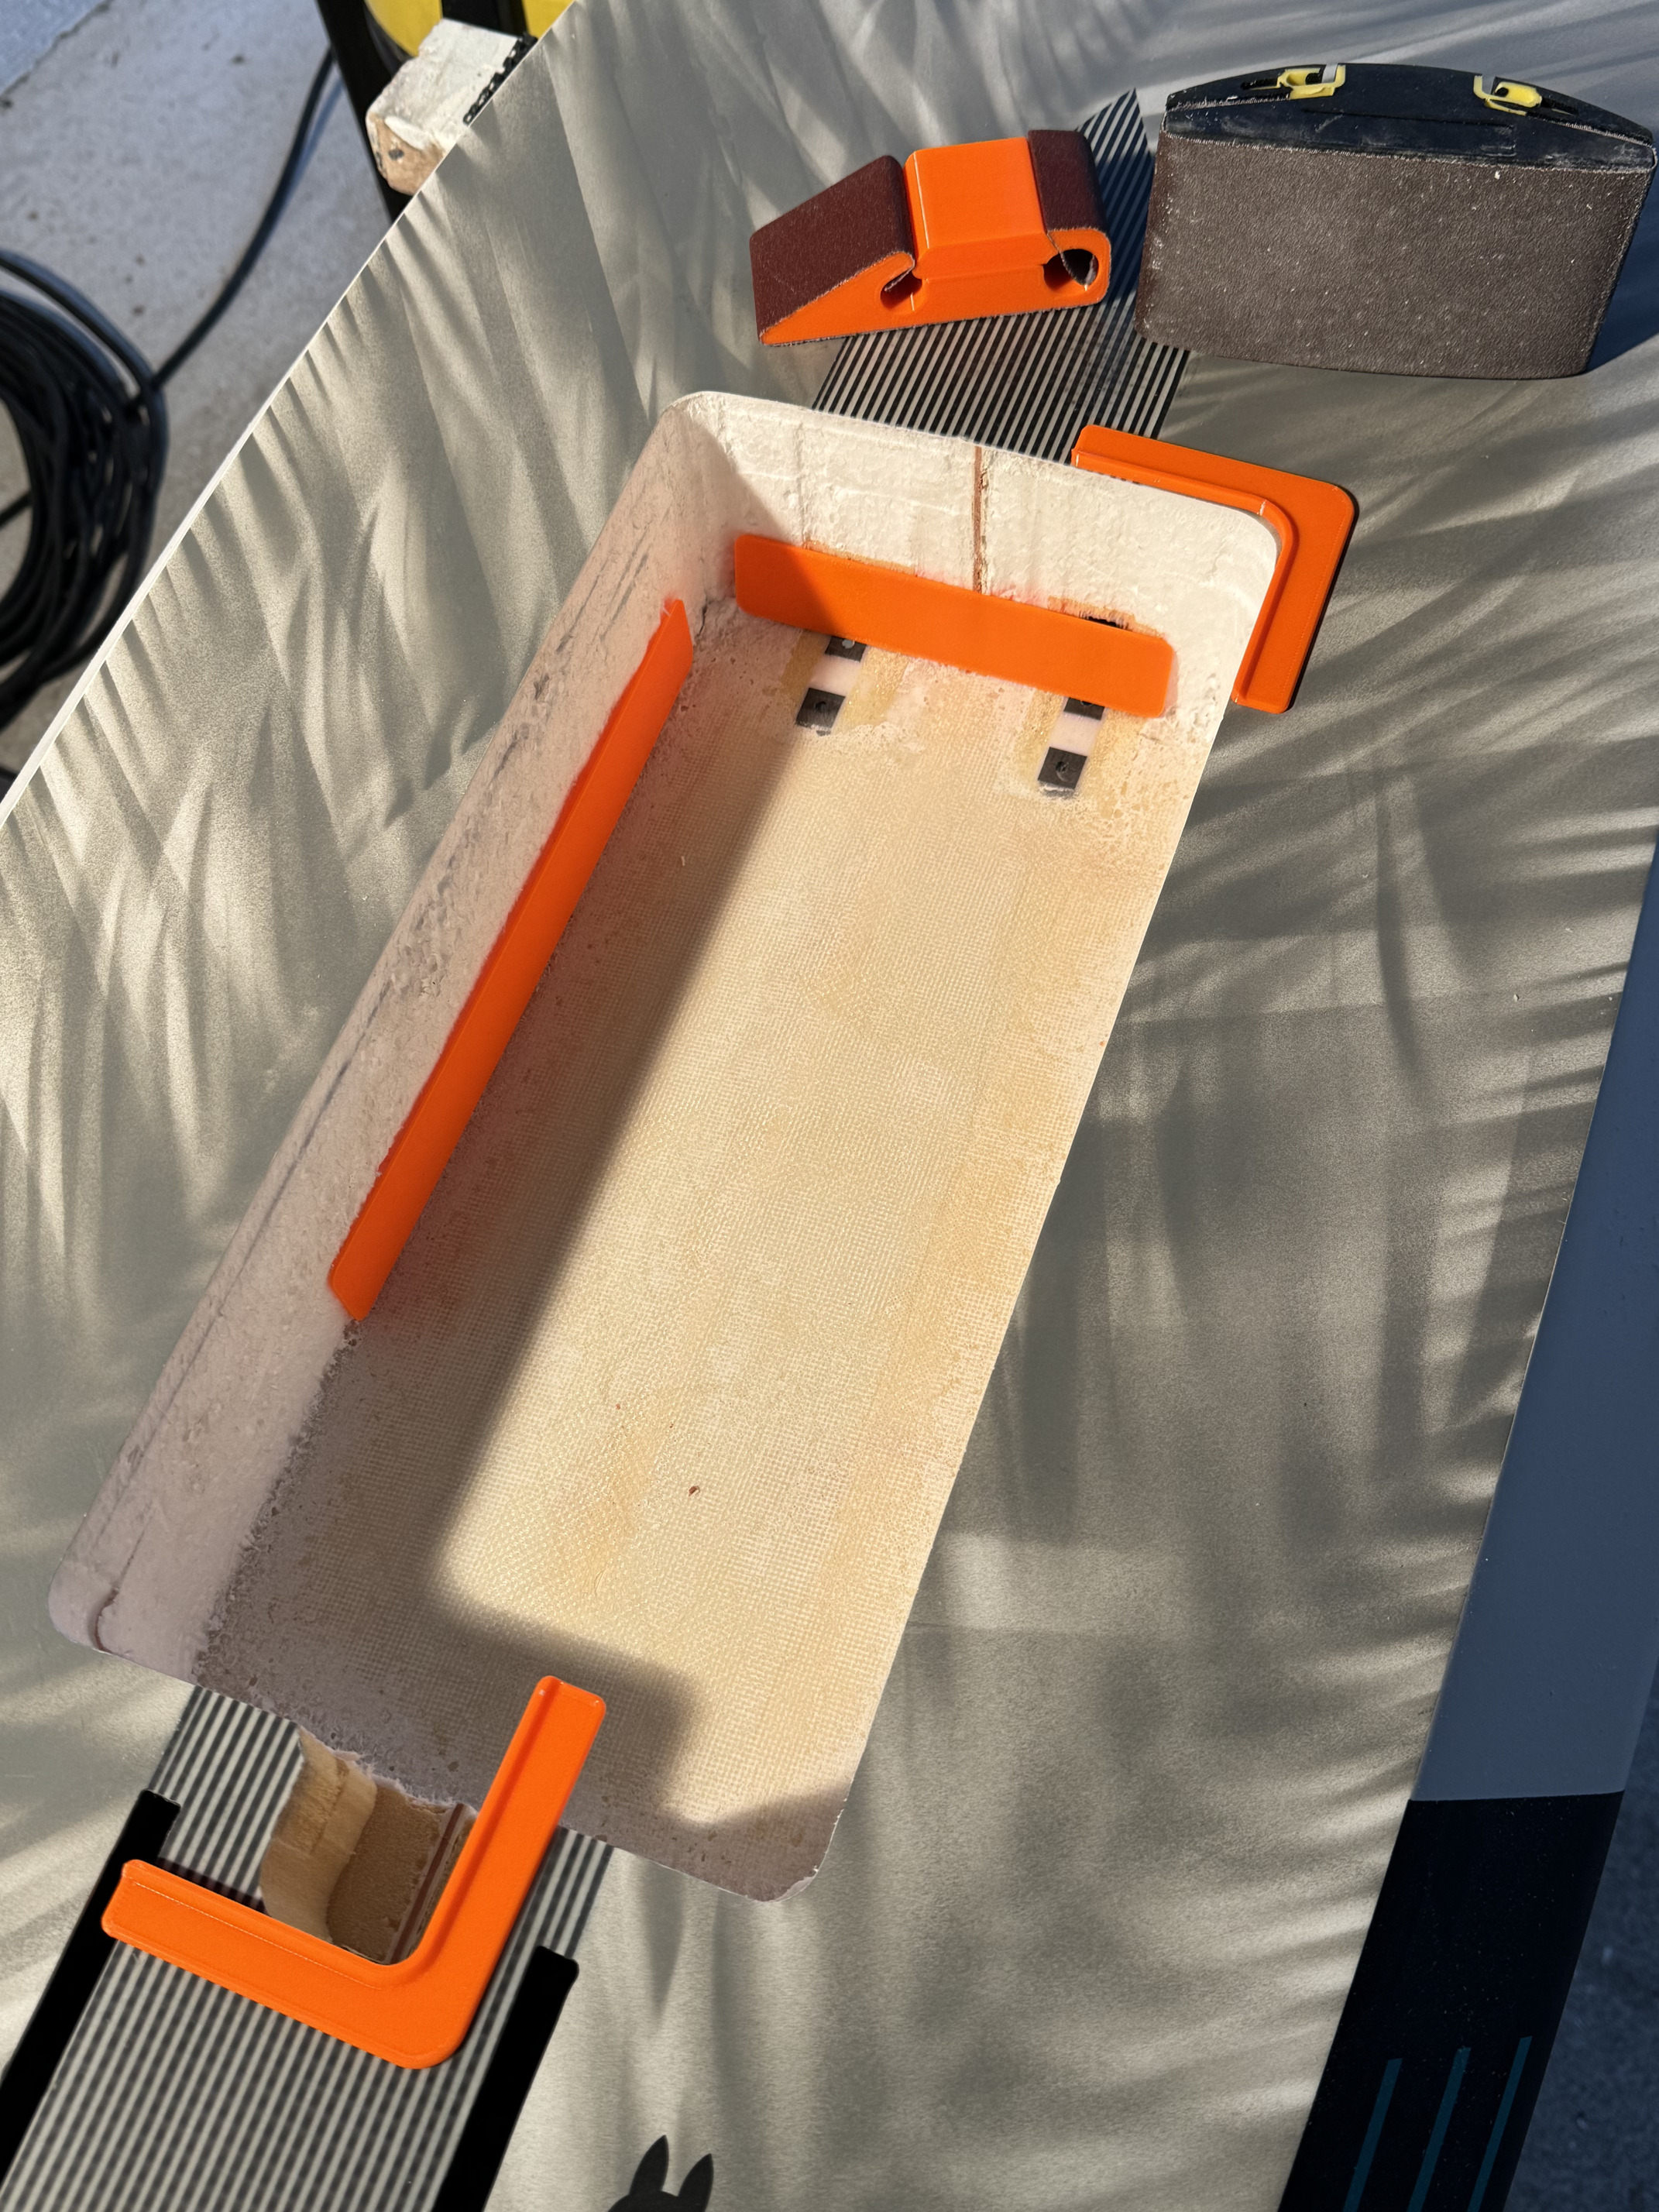
In the last few days I’ve been filling and sanding the board ![]()
It was filled with epoxy, MicroBaloons, thixotropic agents and pigments.
After two coats I am satisfied.
Next week we’ll start laminating.
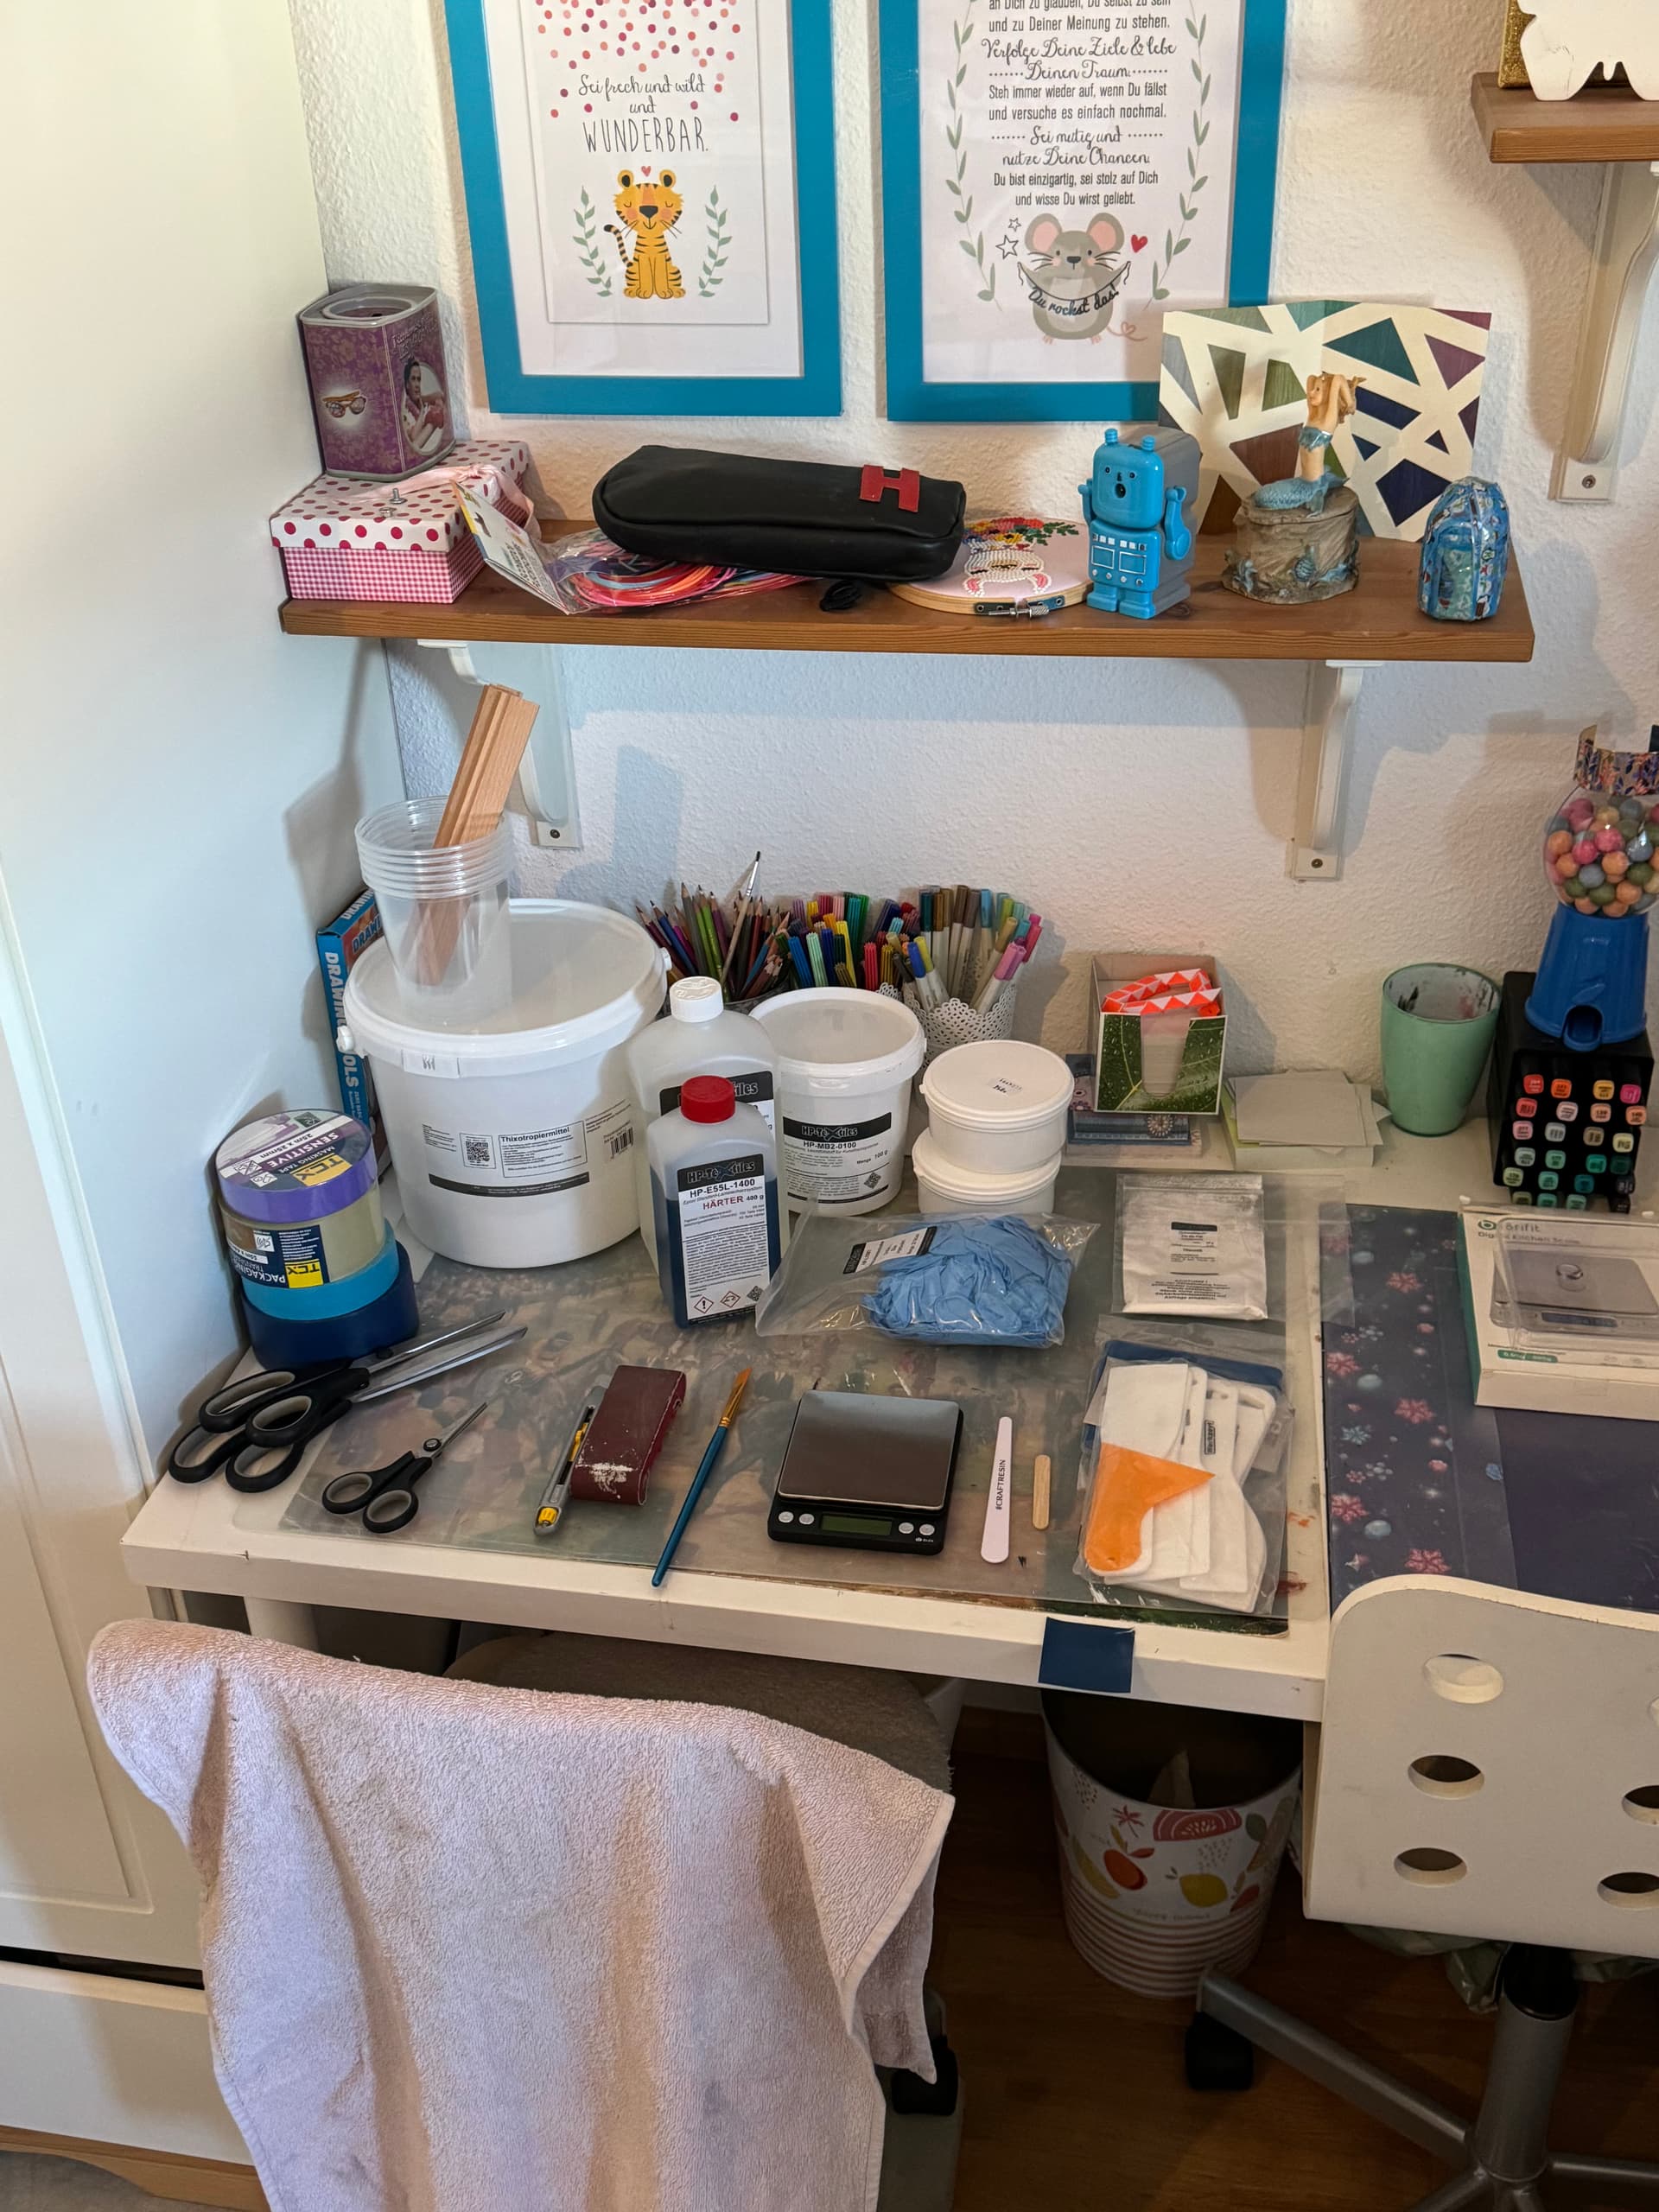
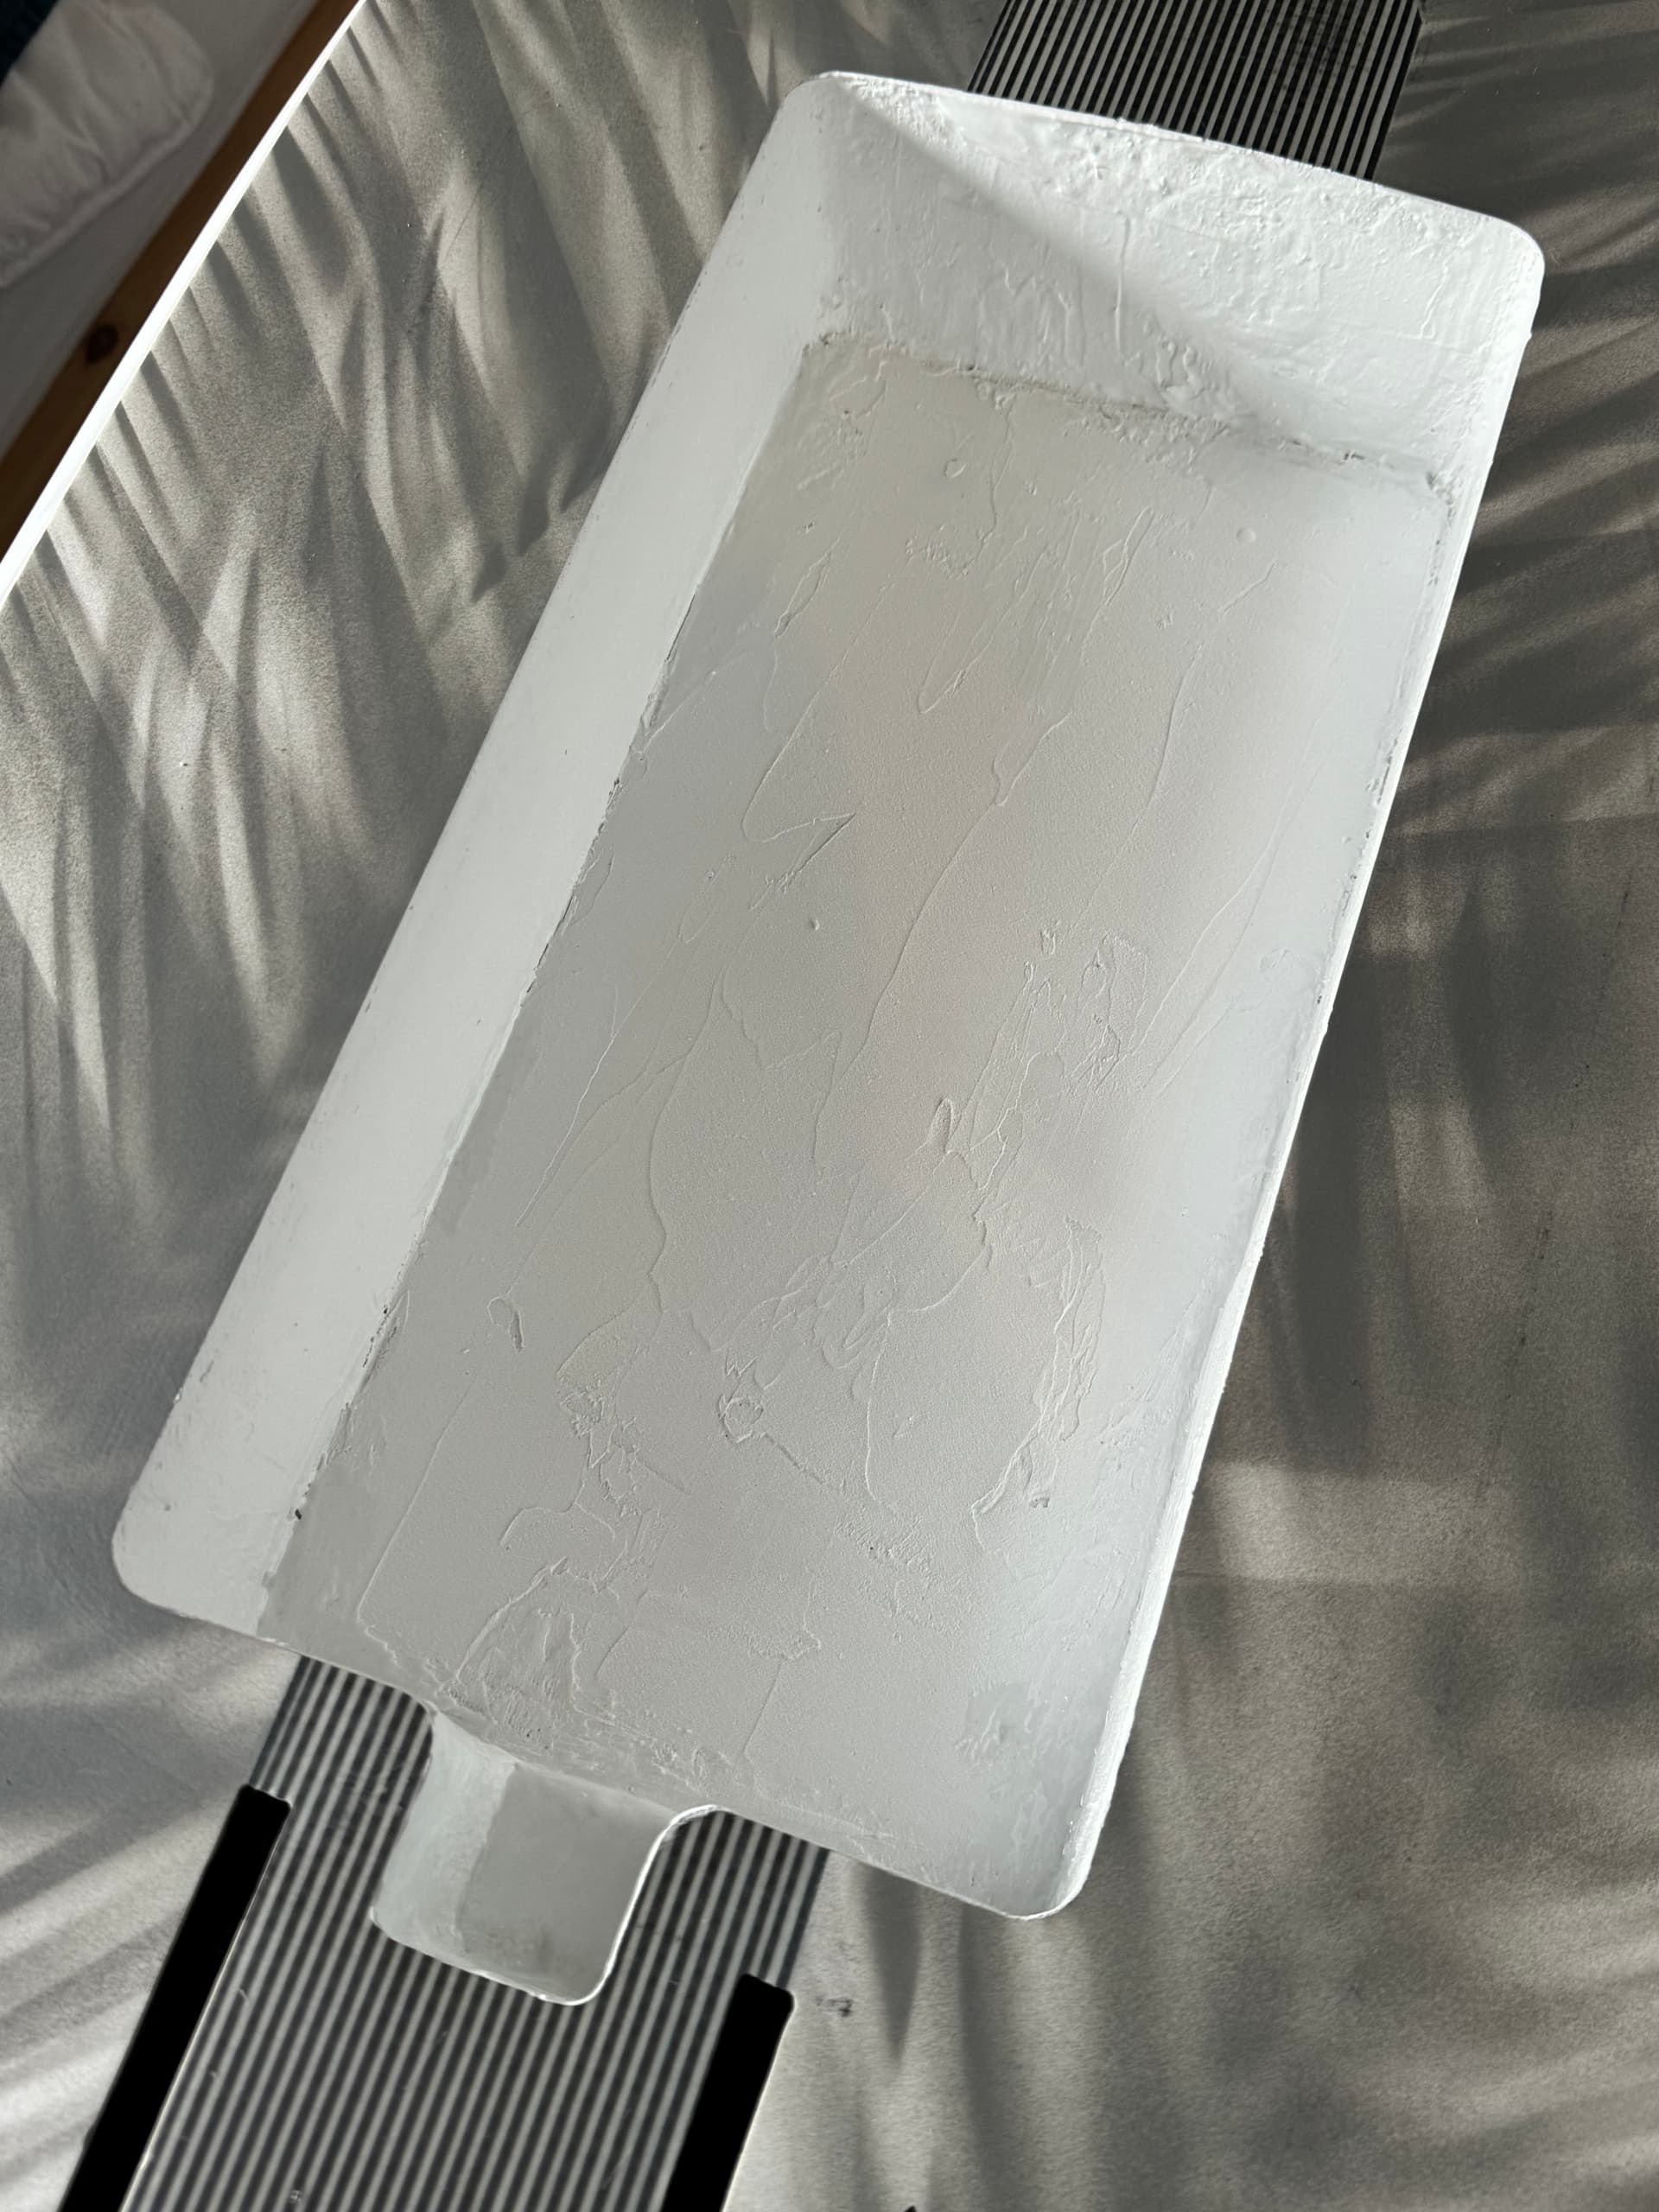
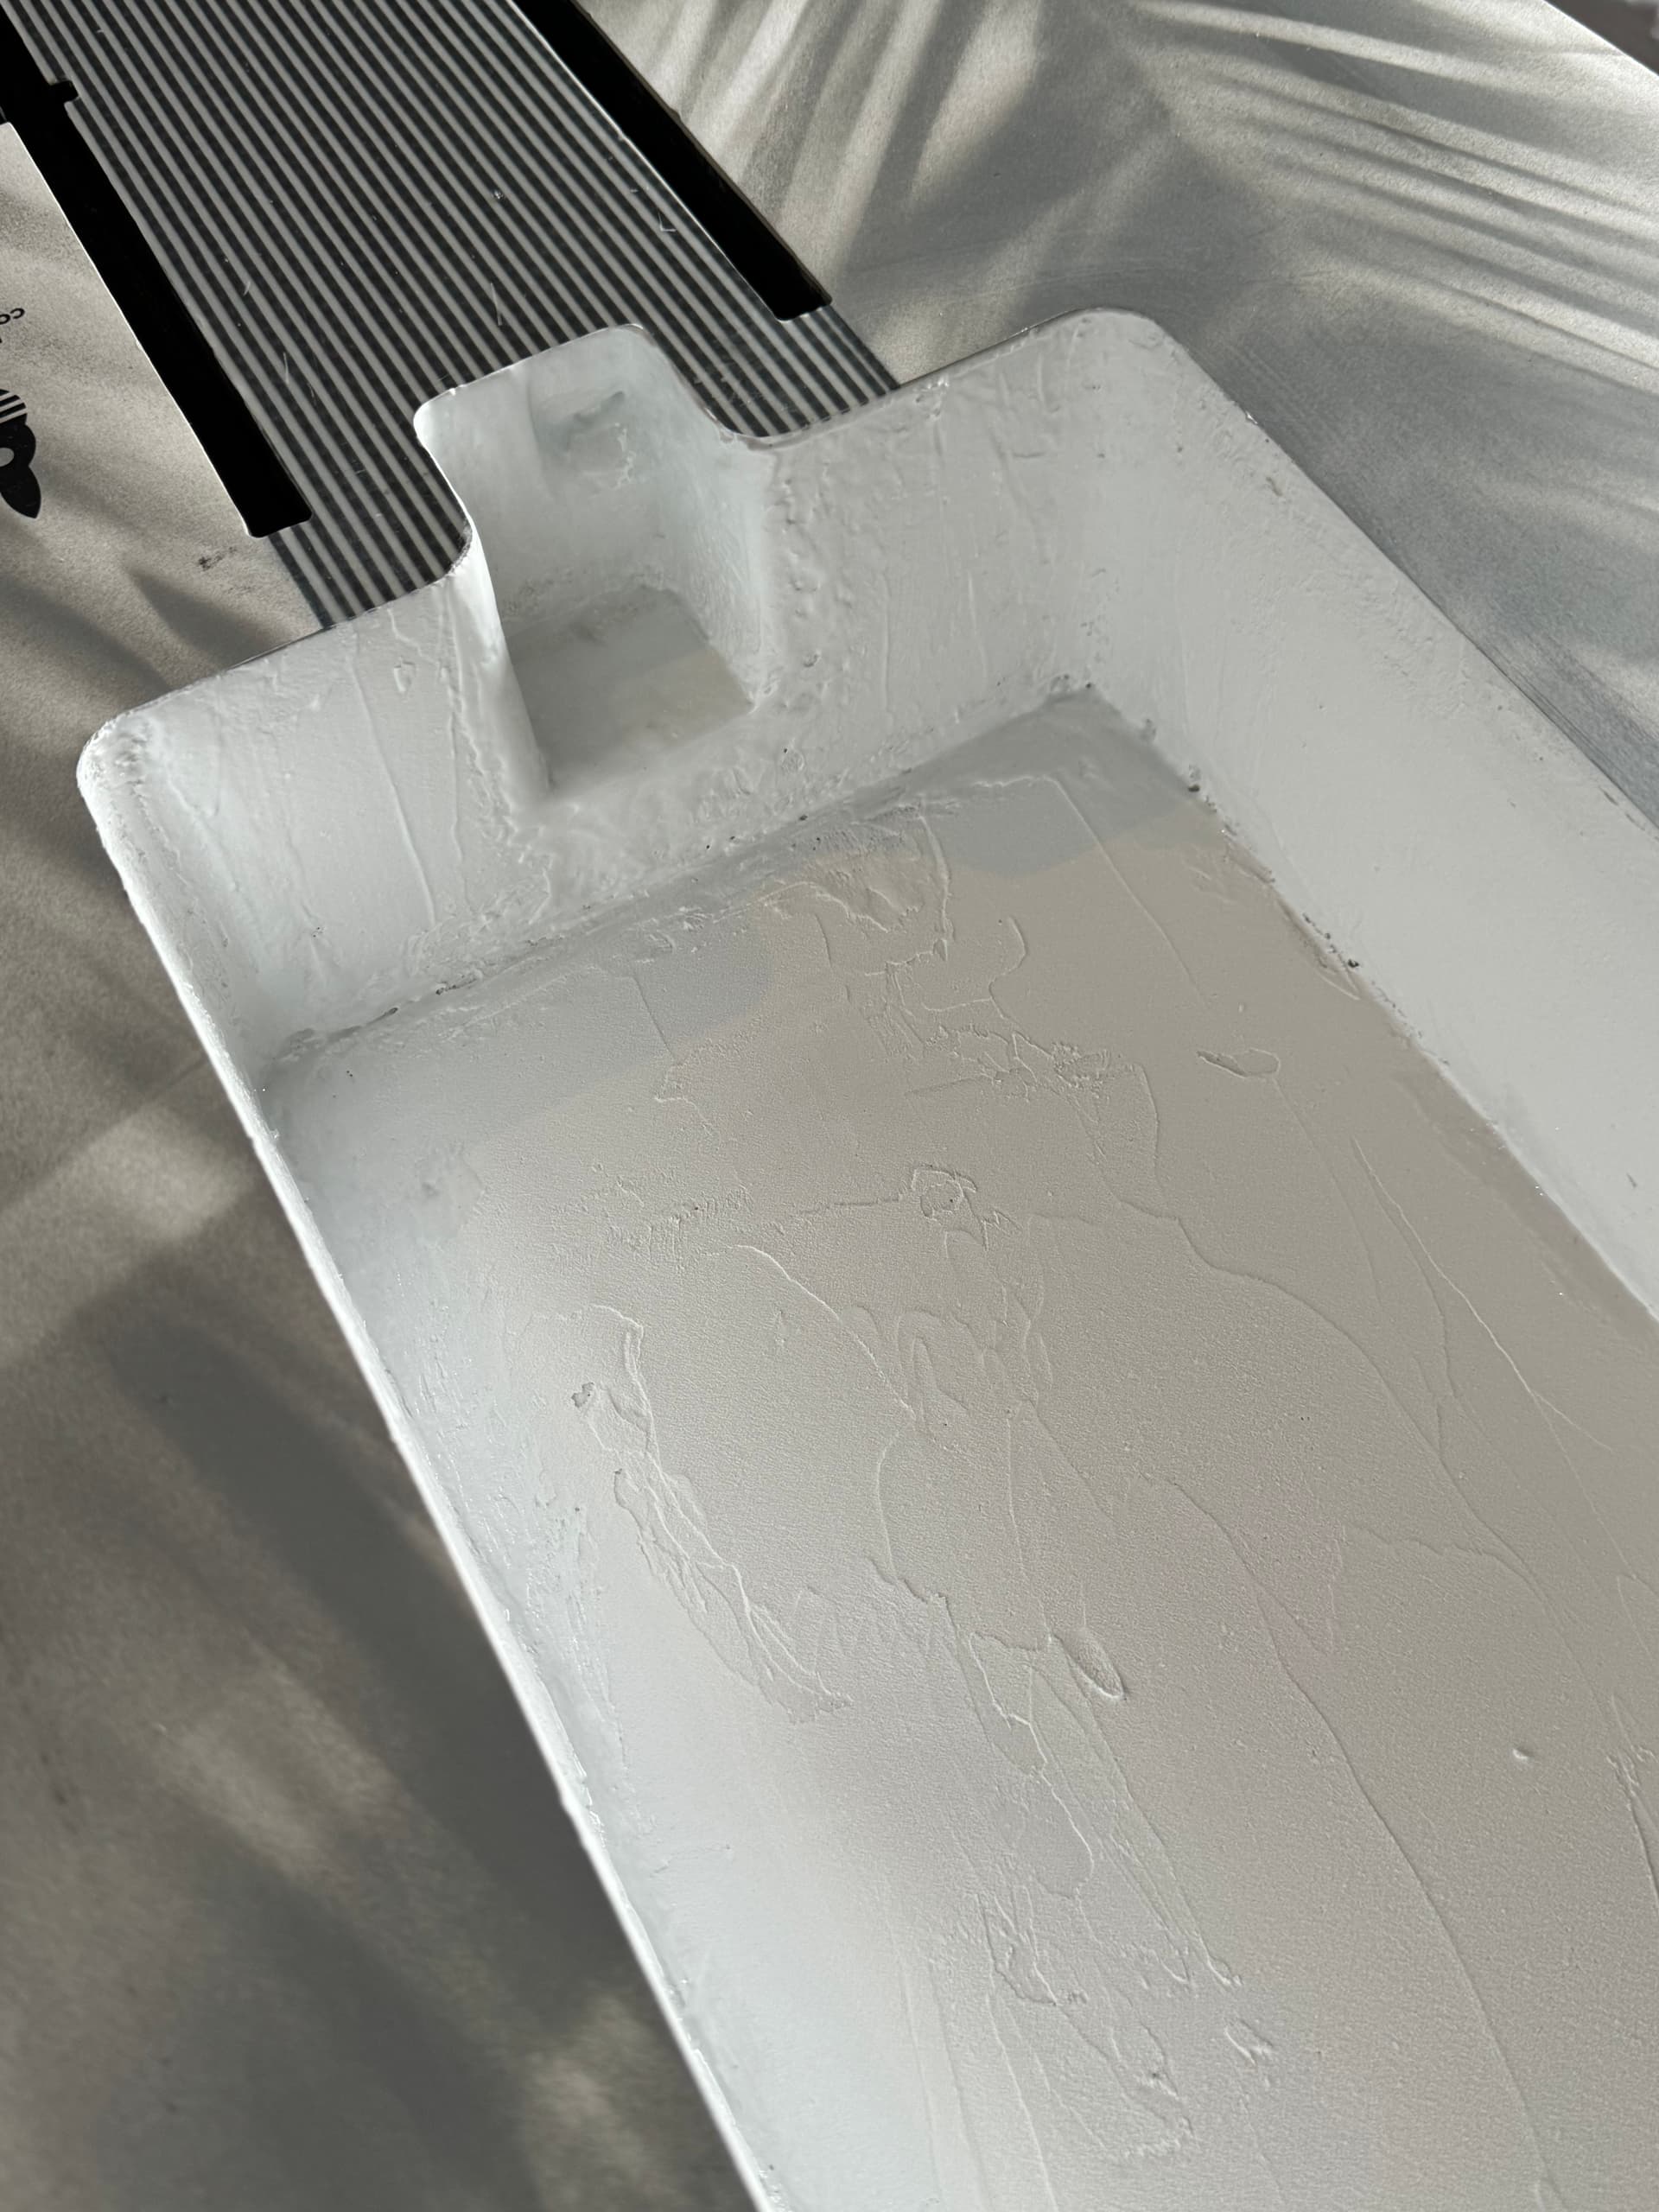
10 Likes
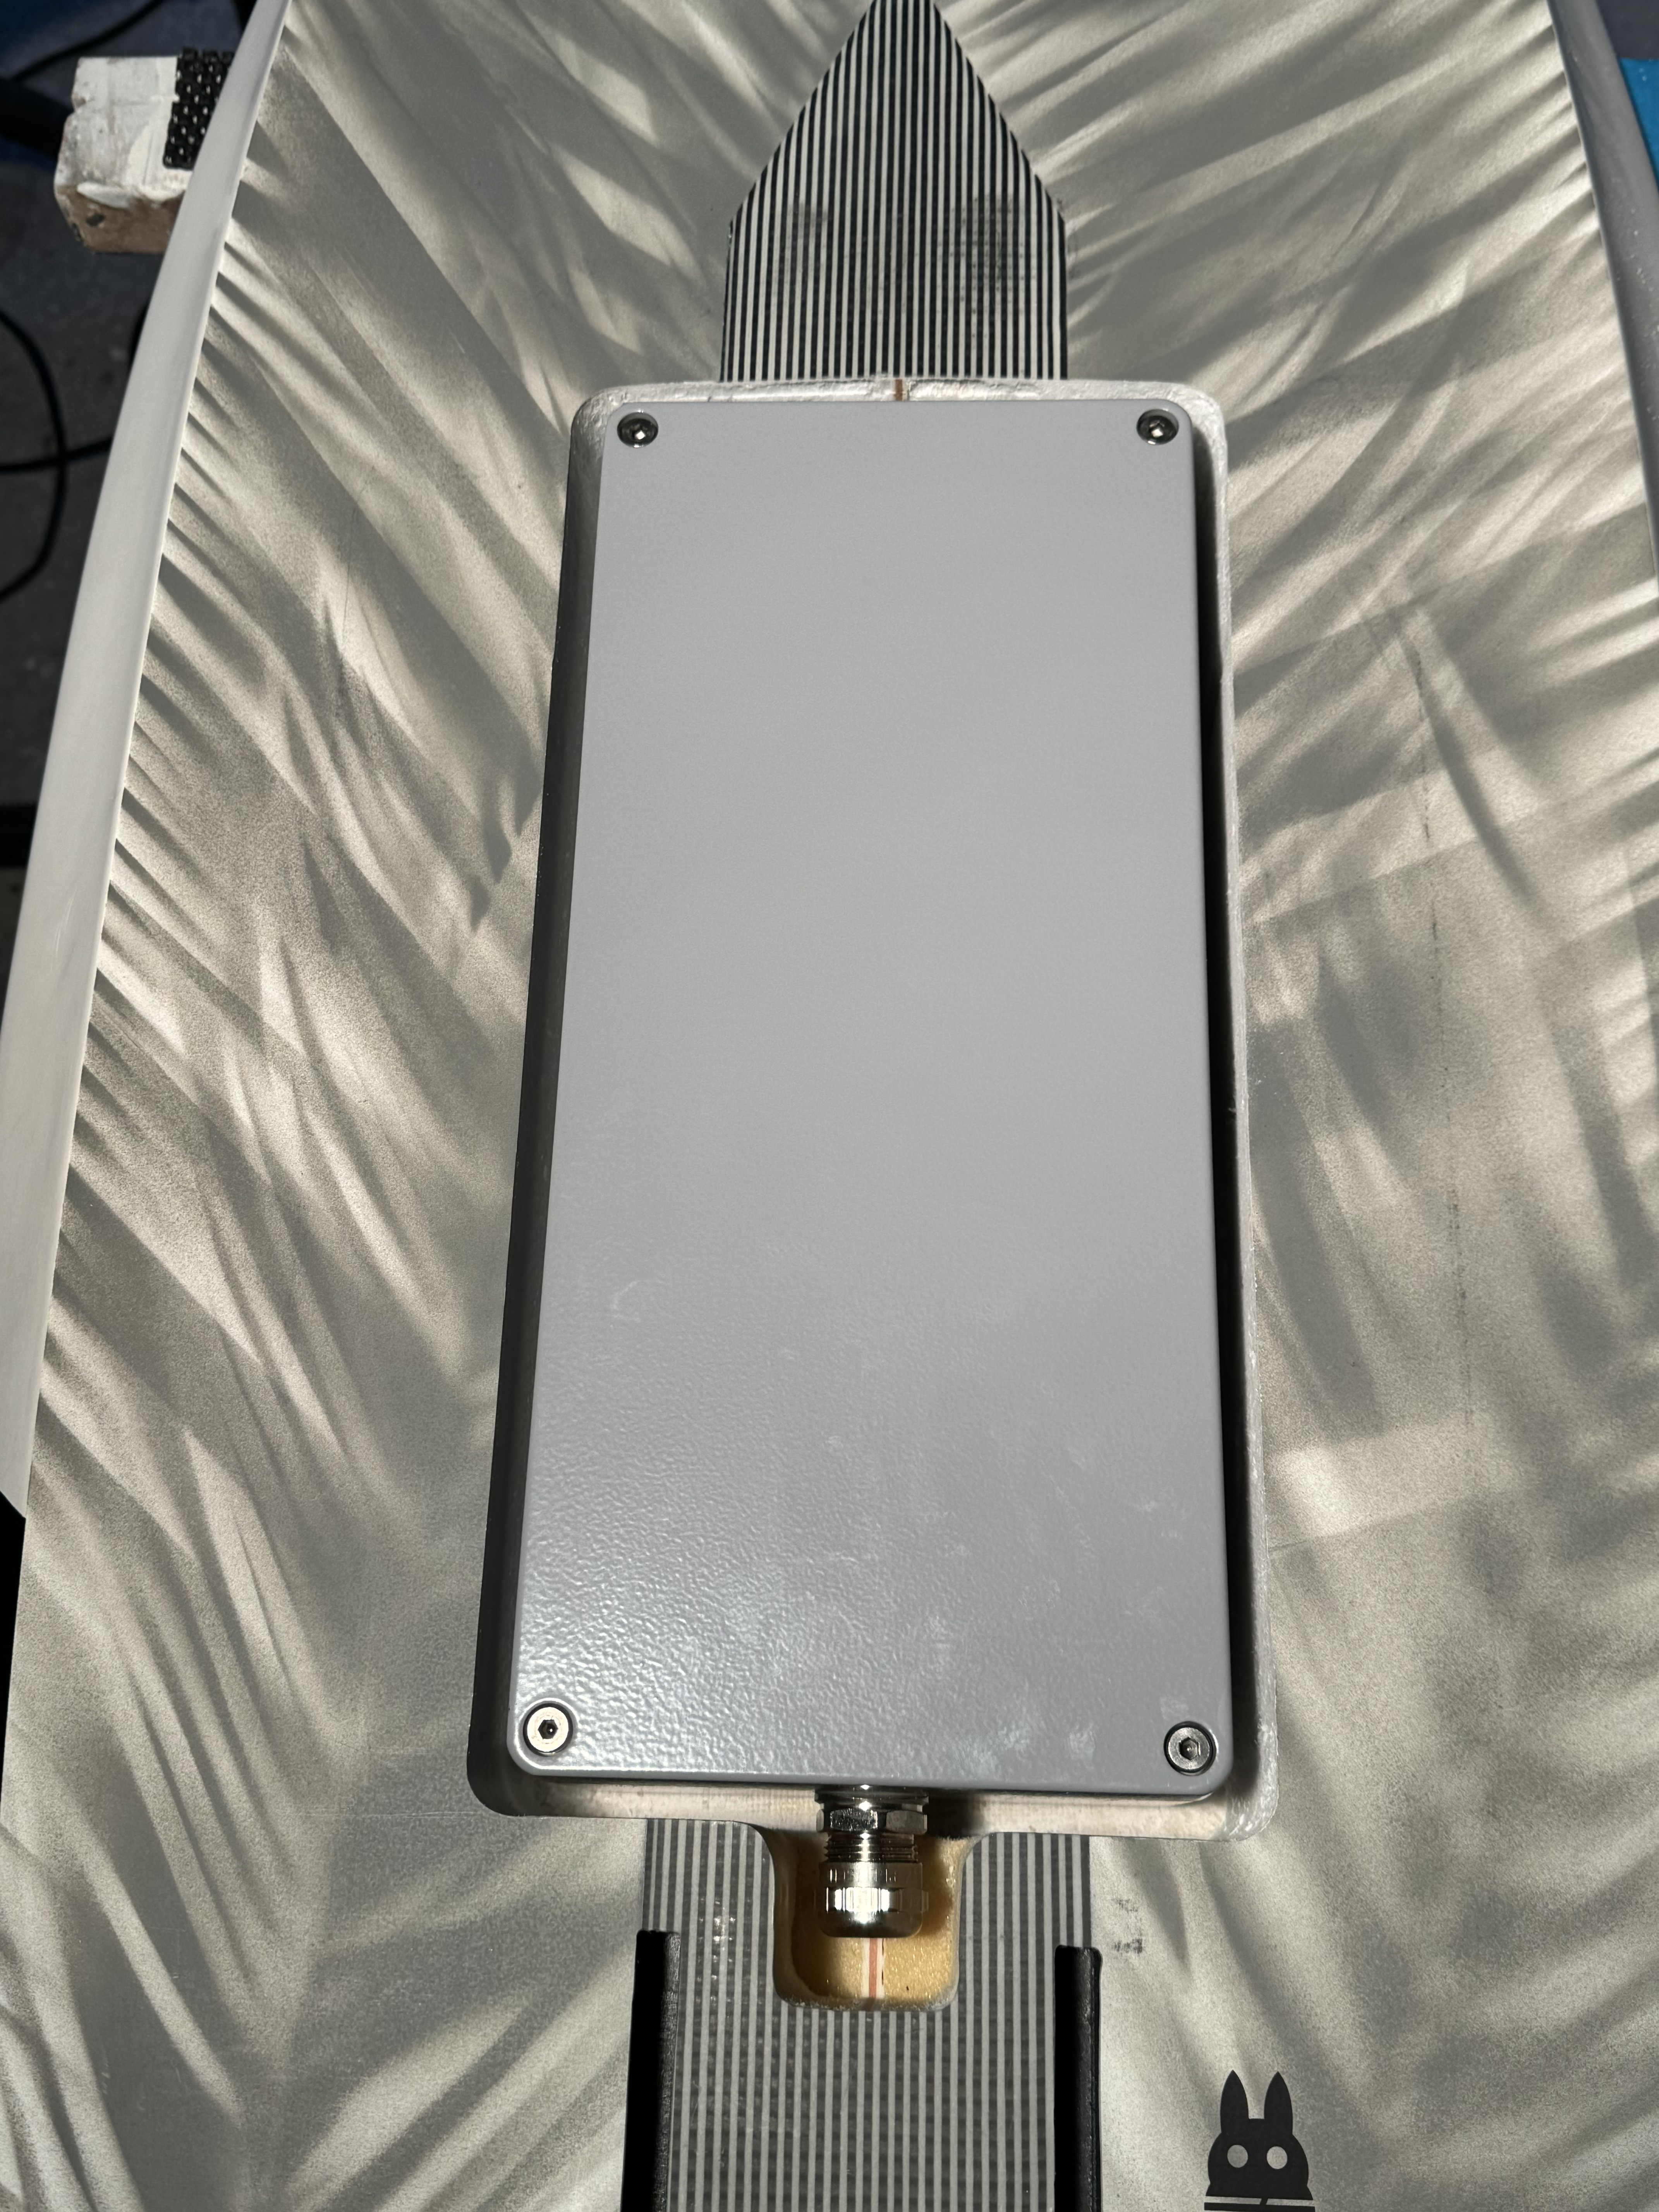
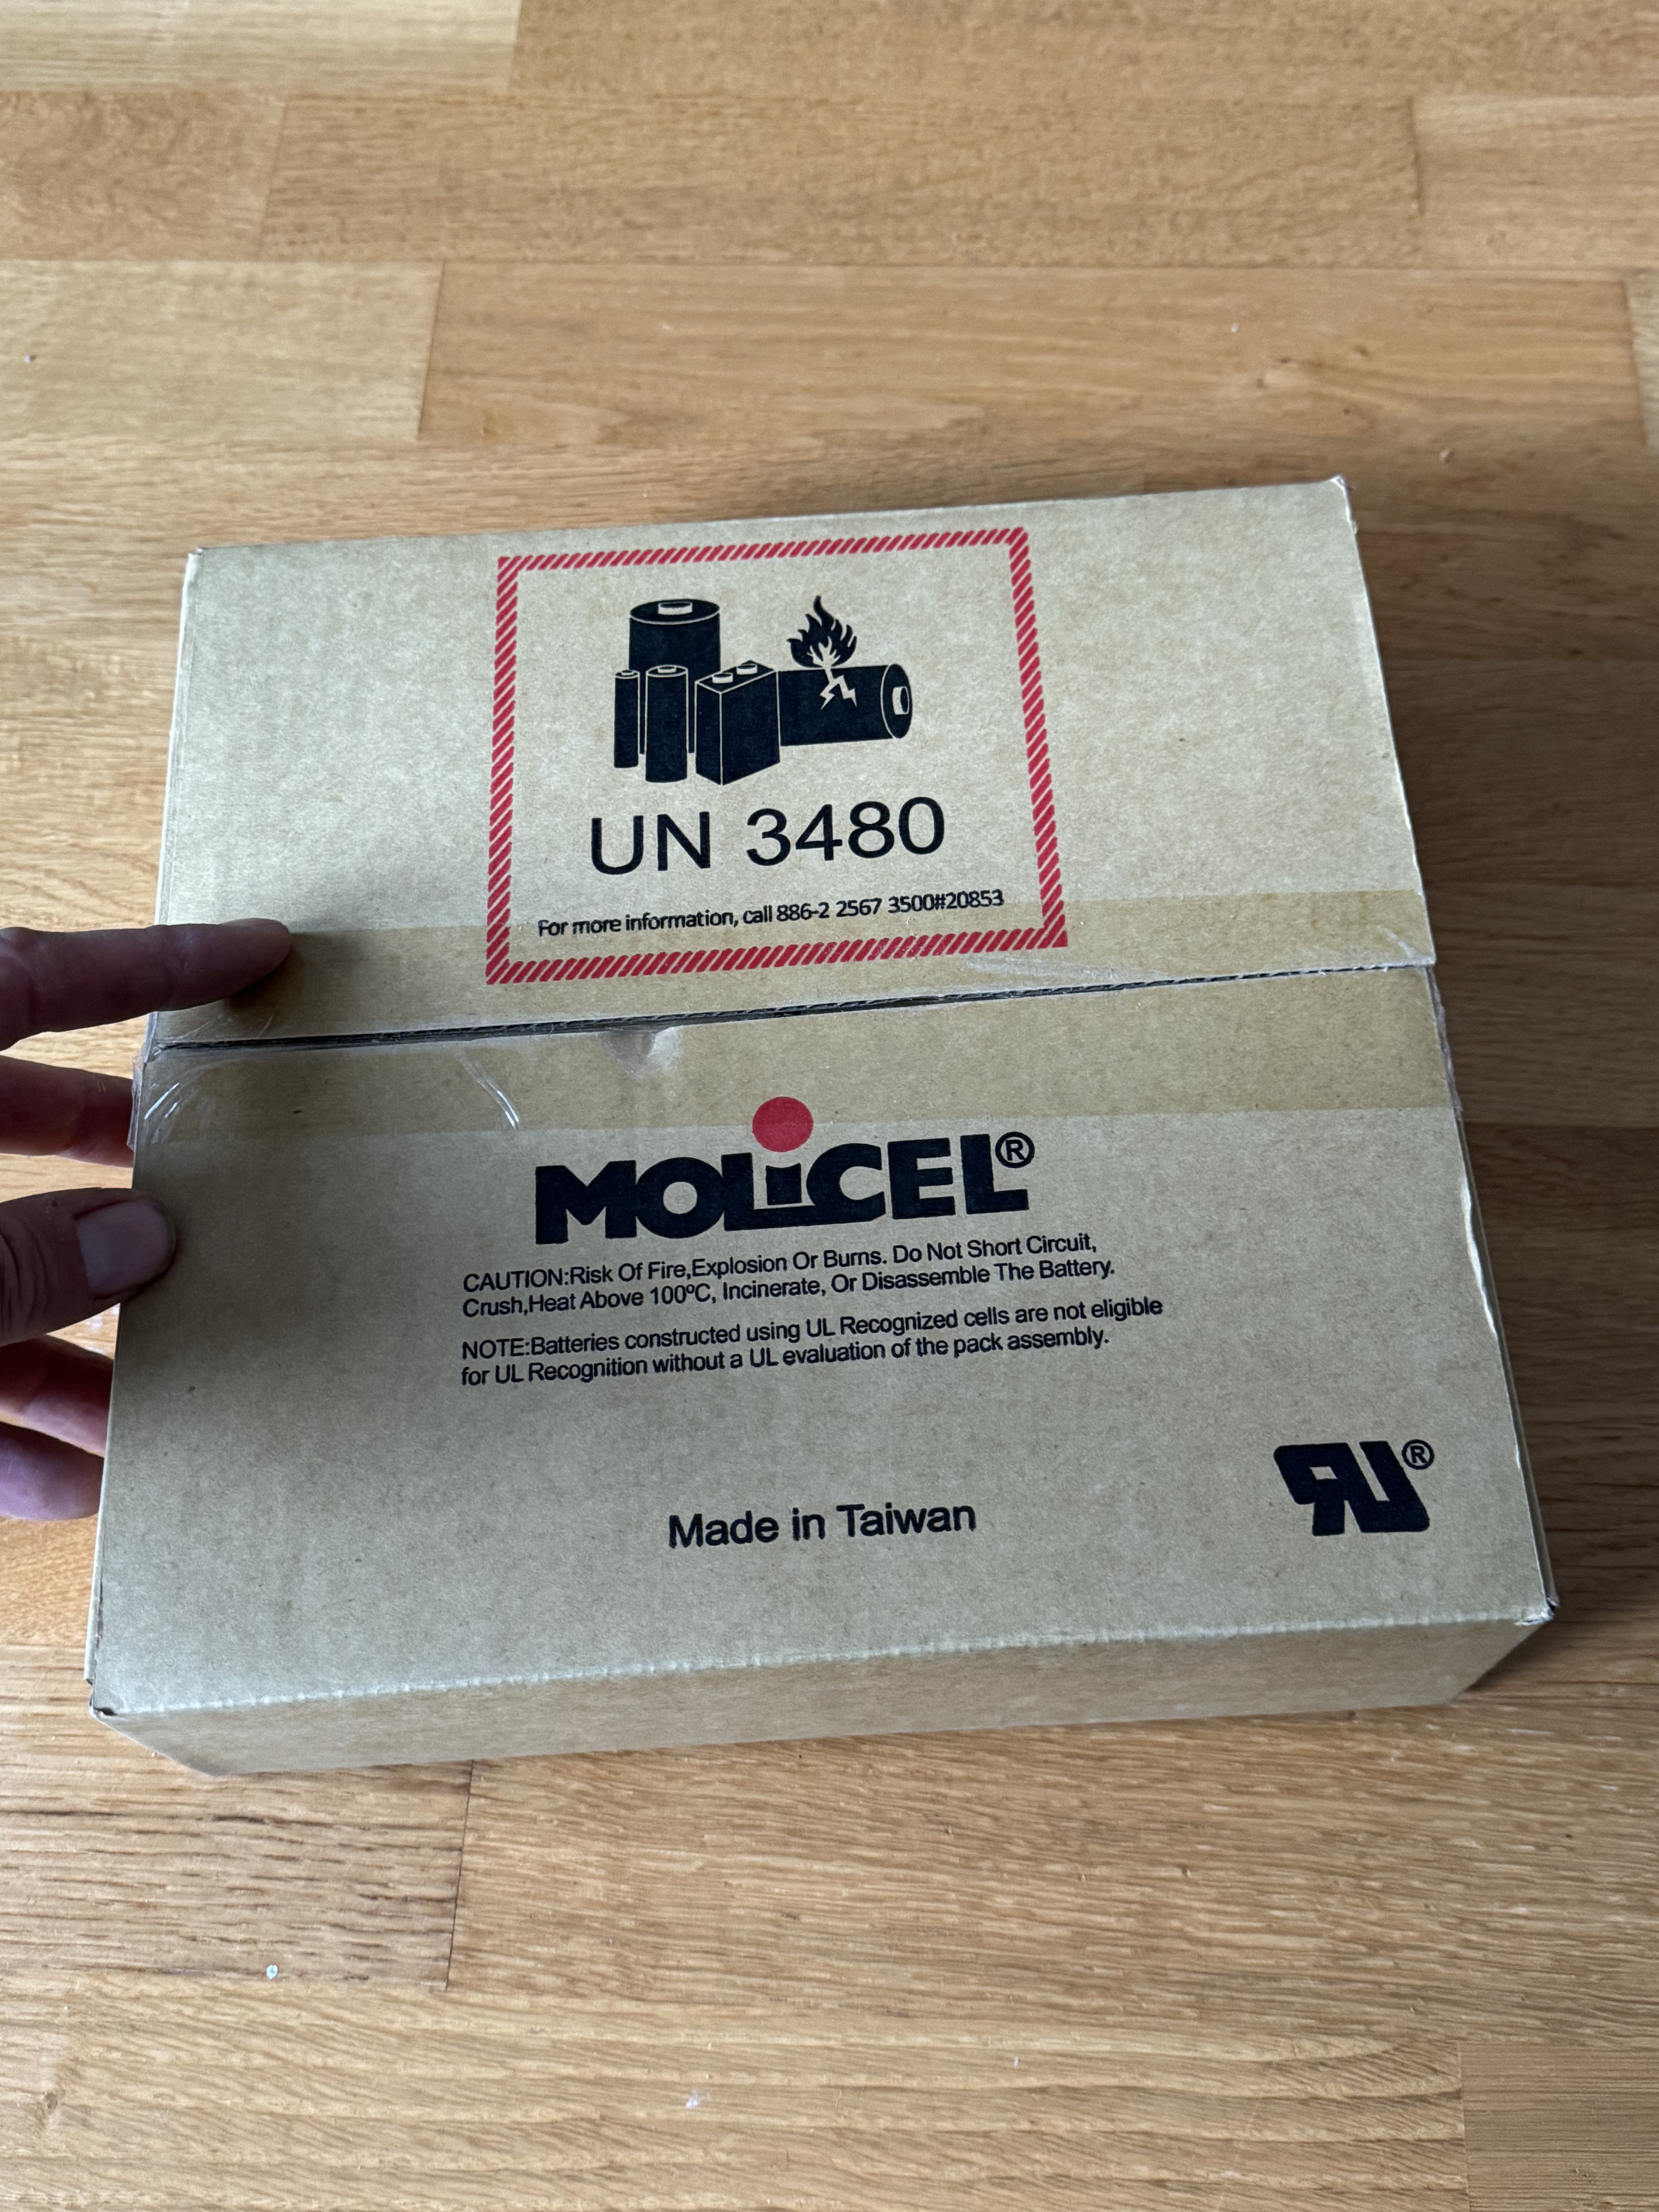
Battery build completed ![]()
Since NKON still can’t supply cells, I got 100 cells from @EASYFOIL.EU
Thank you for that ![]()
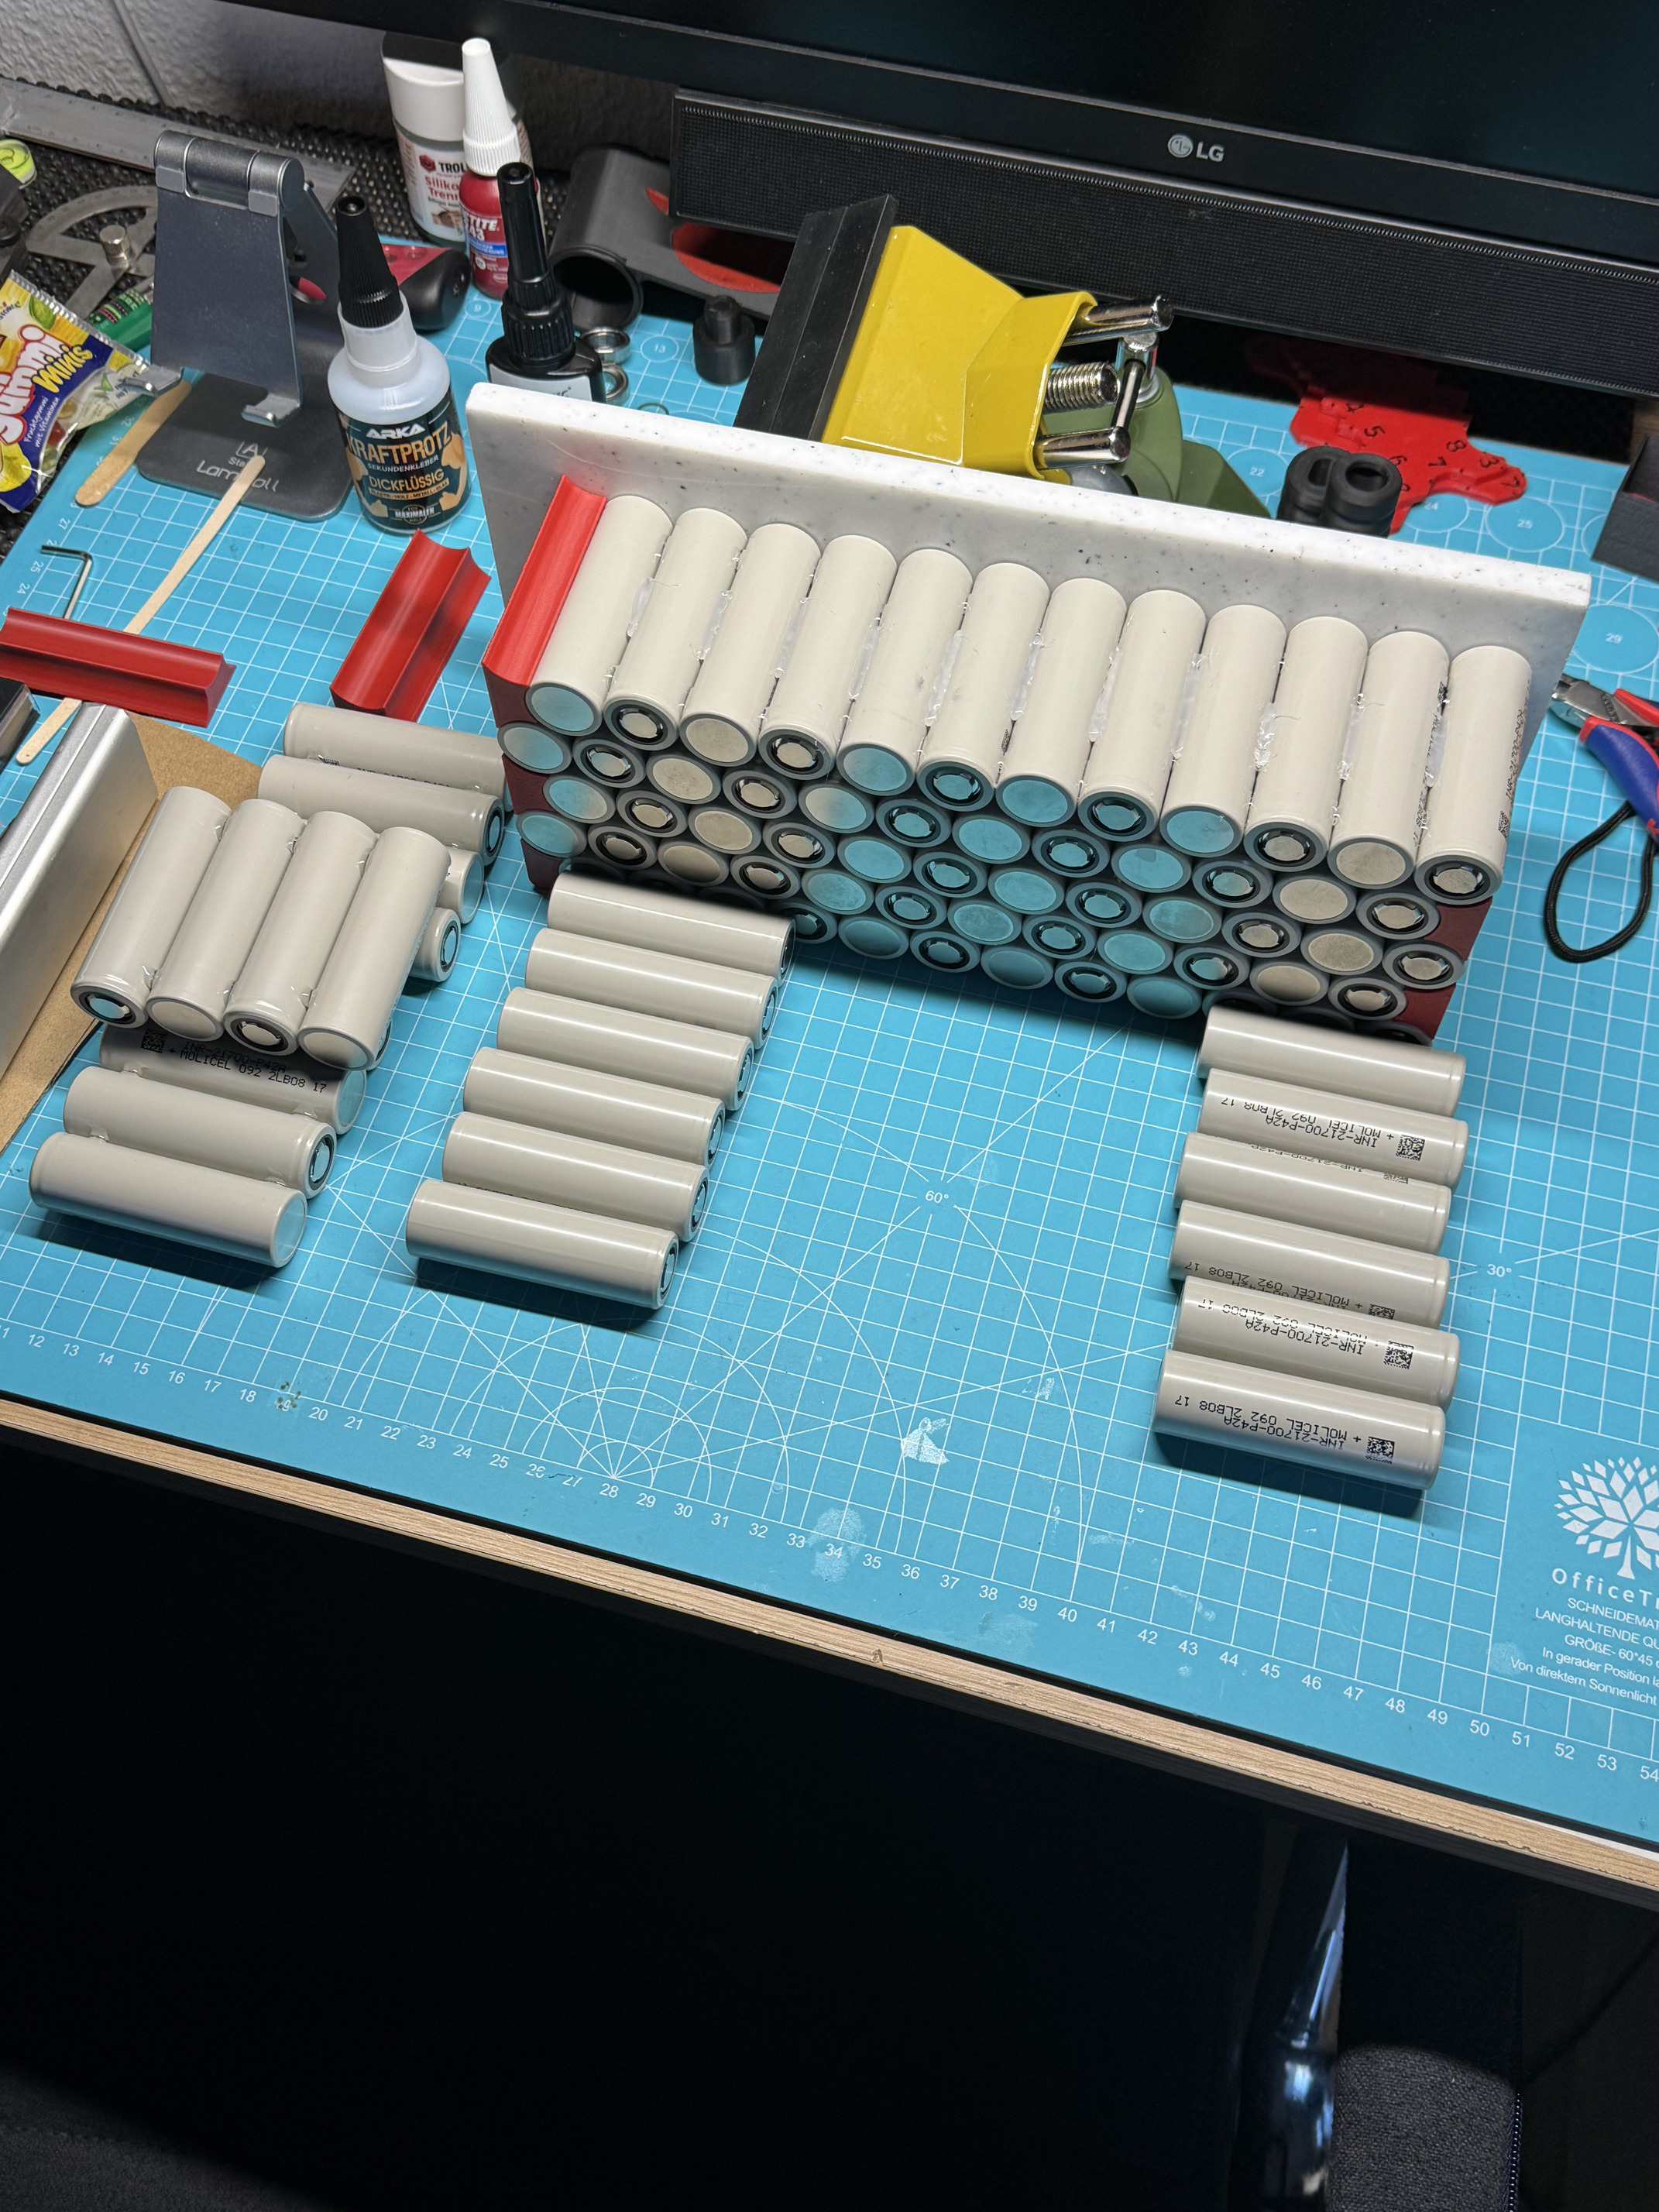
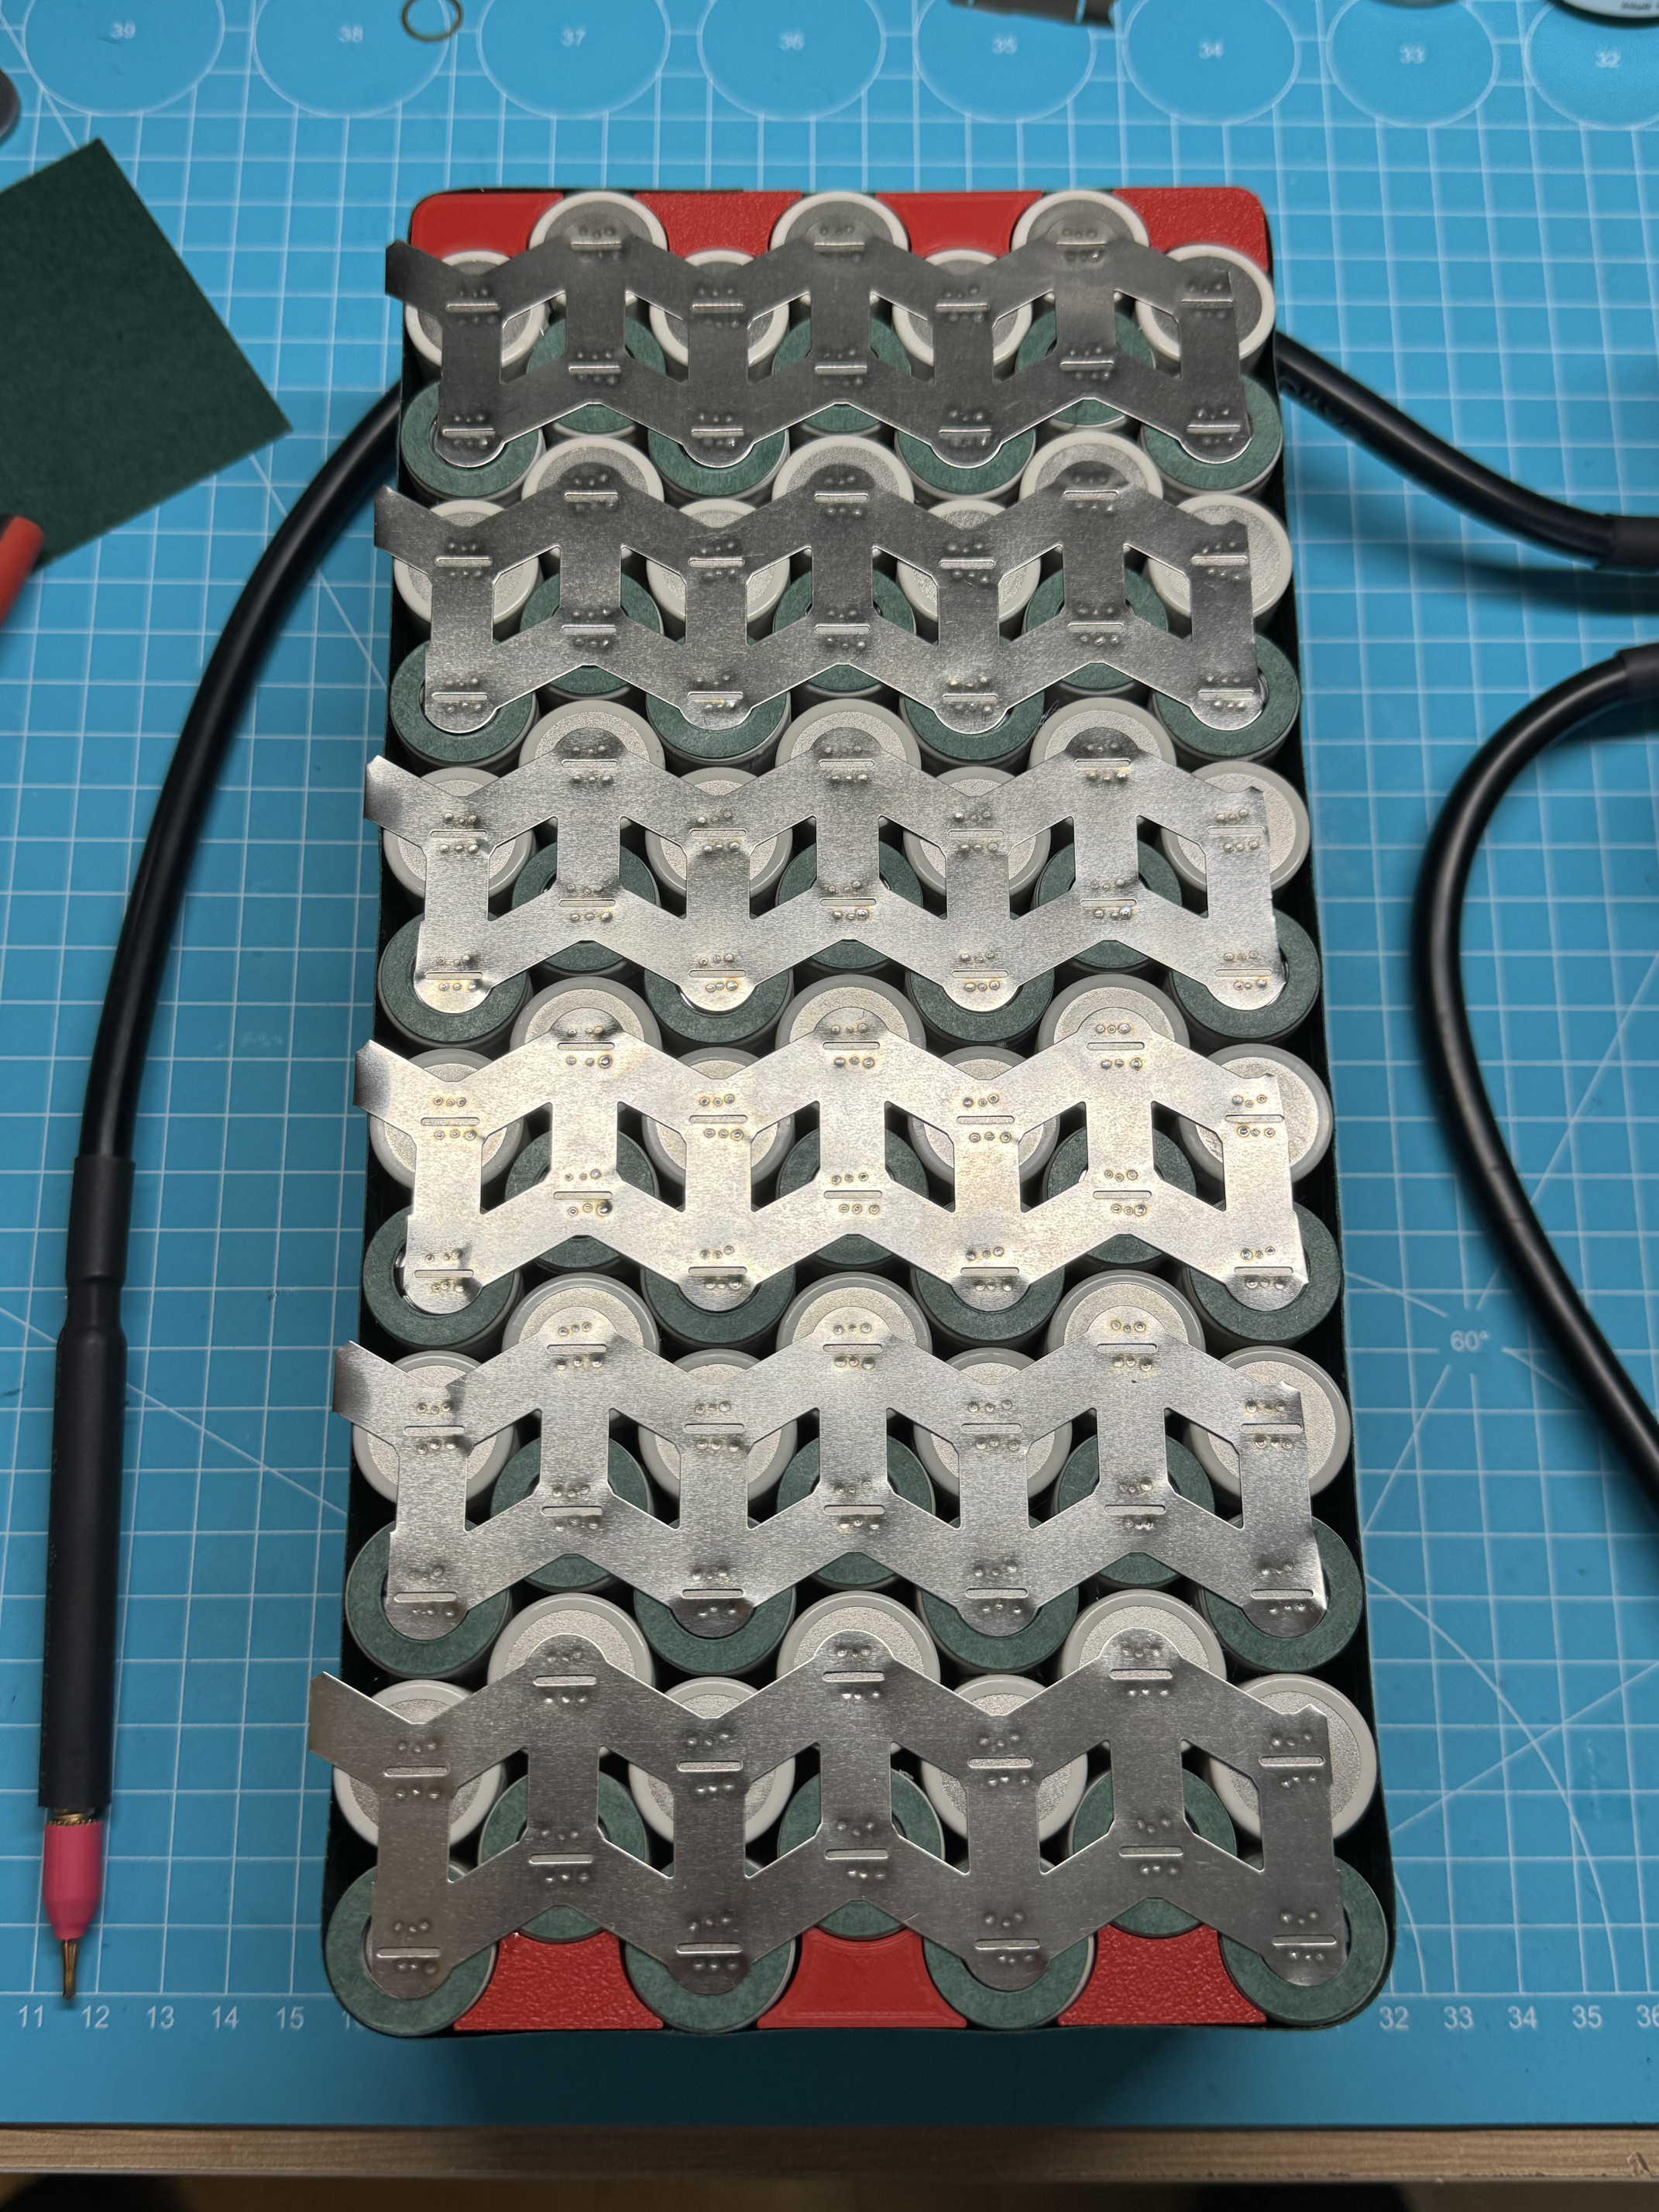
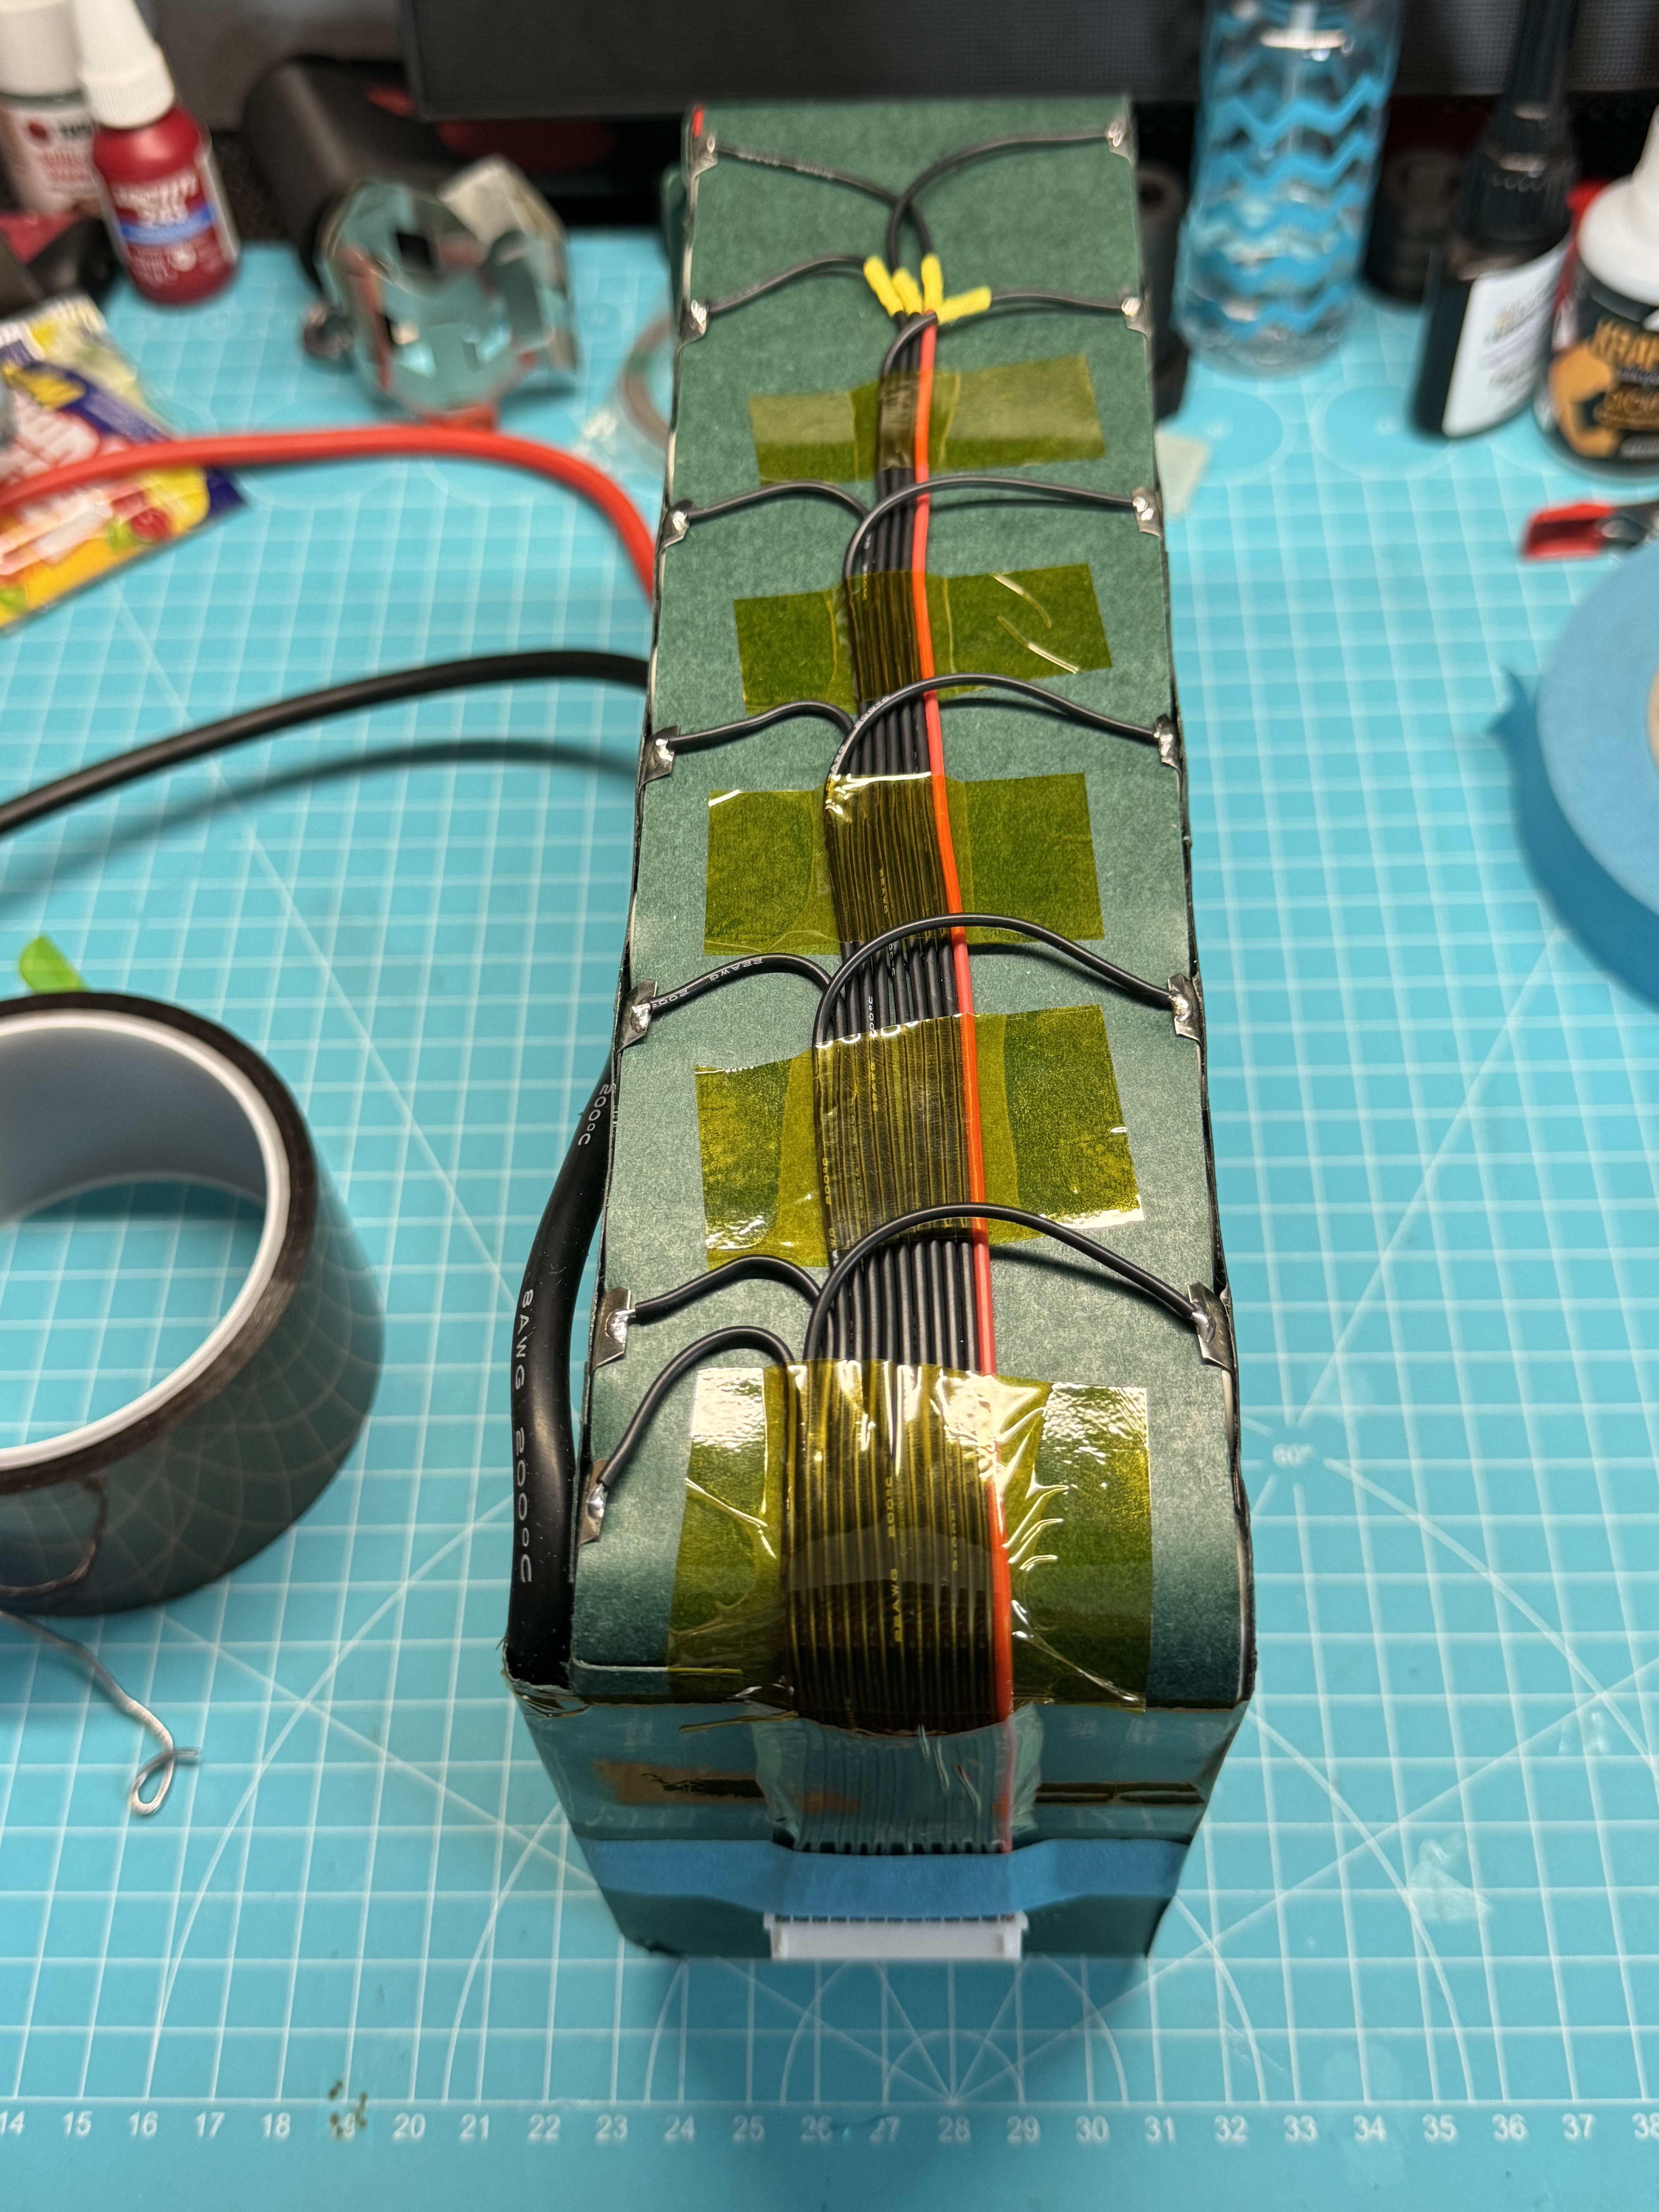
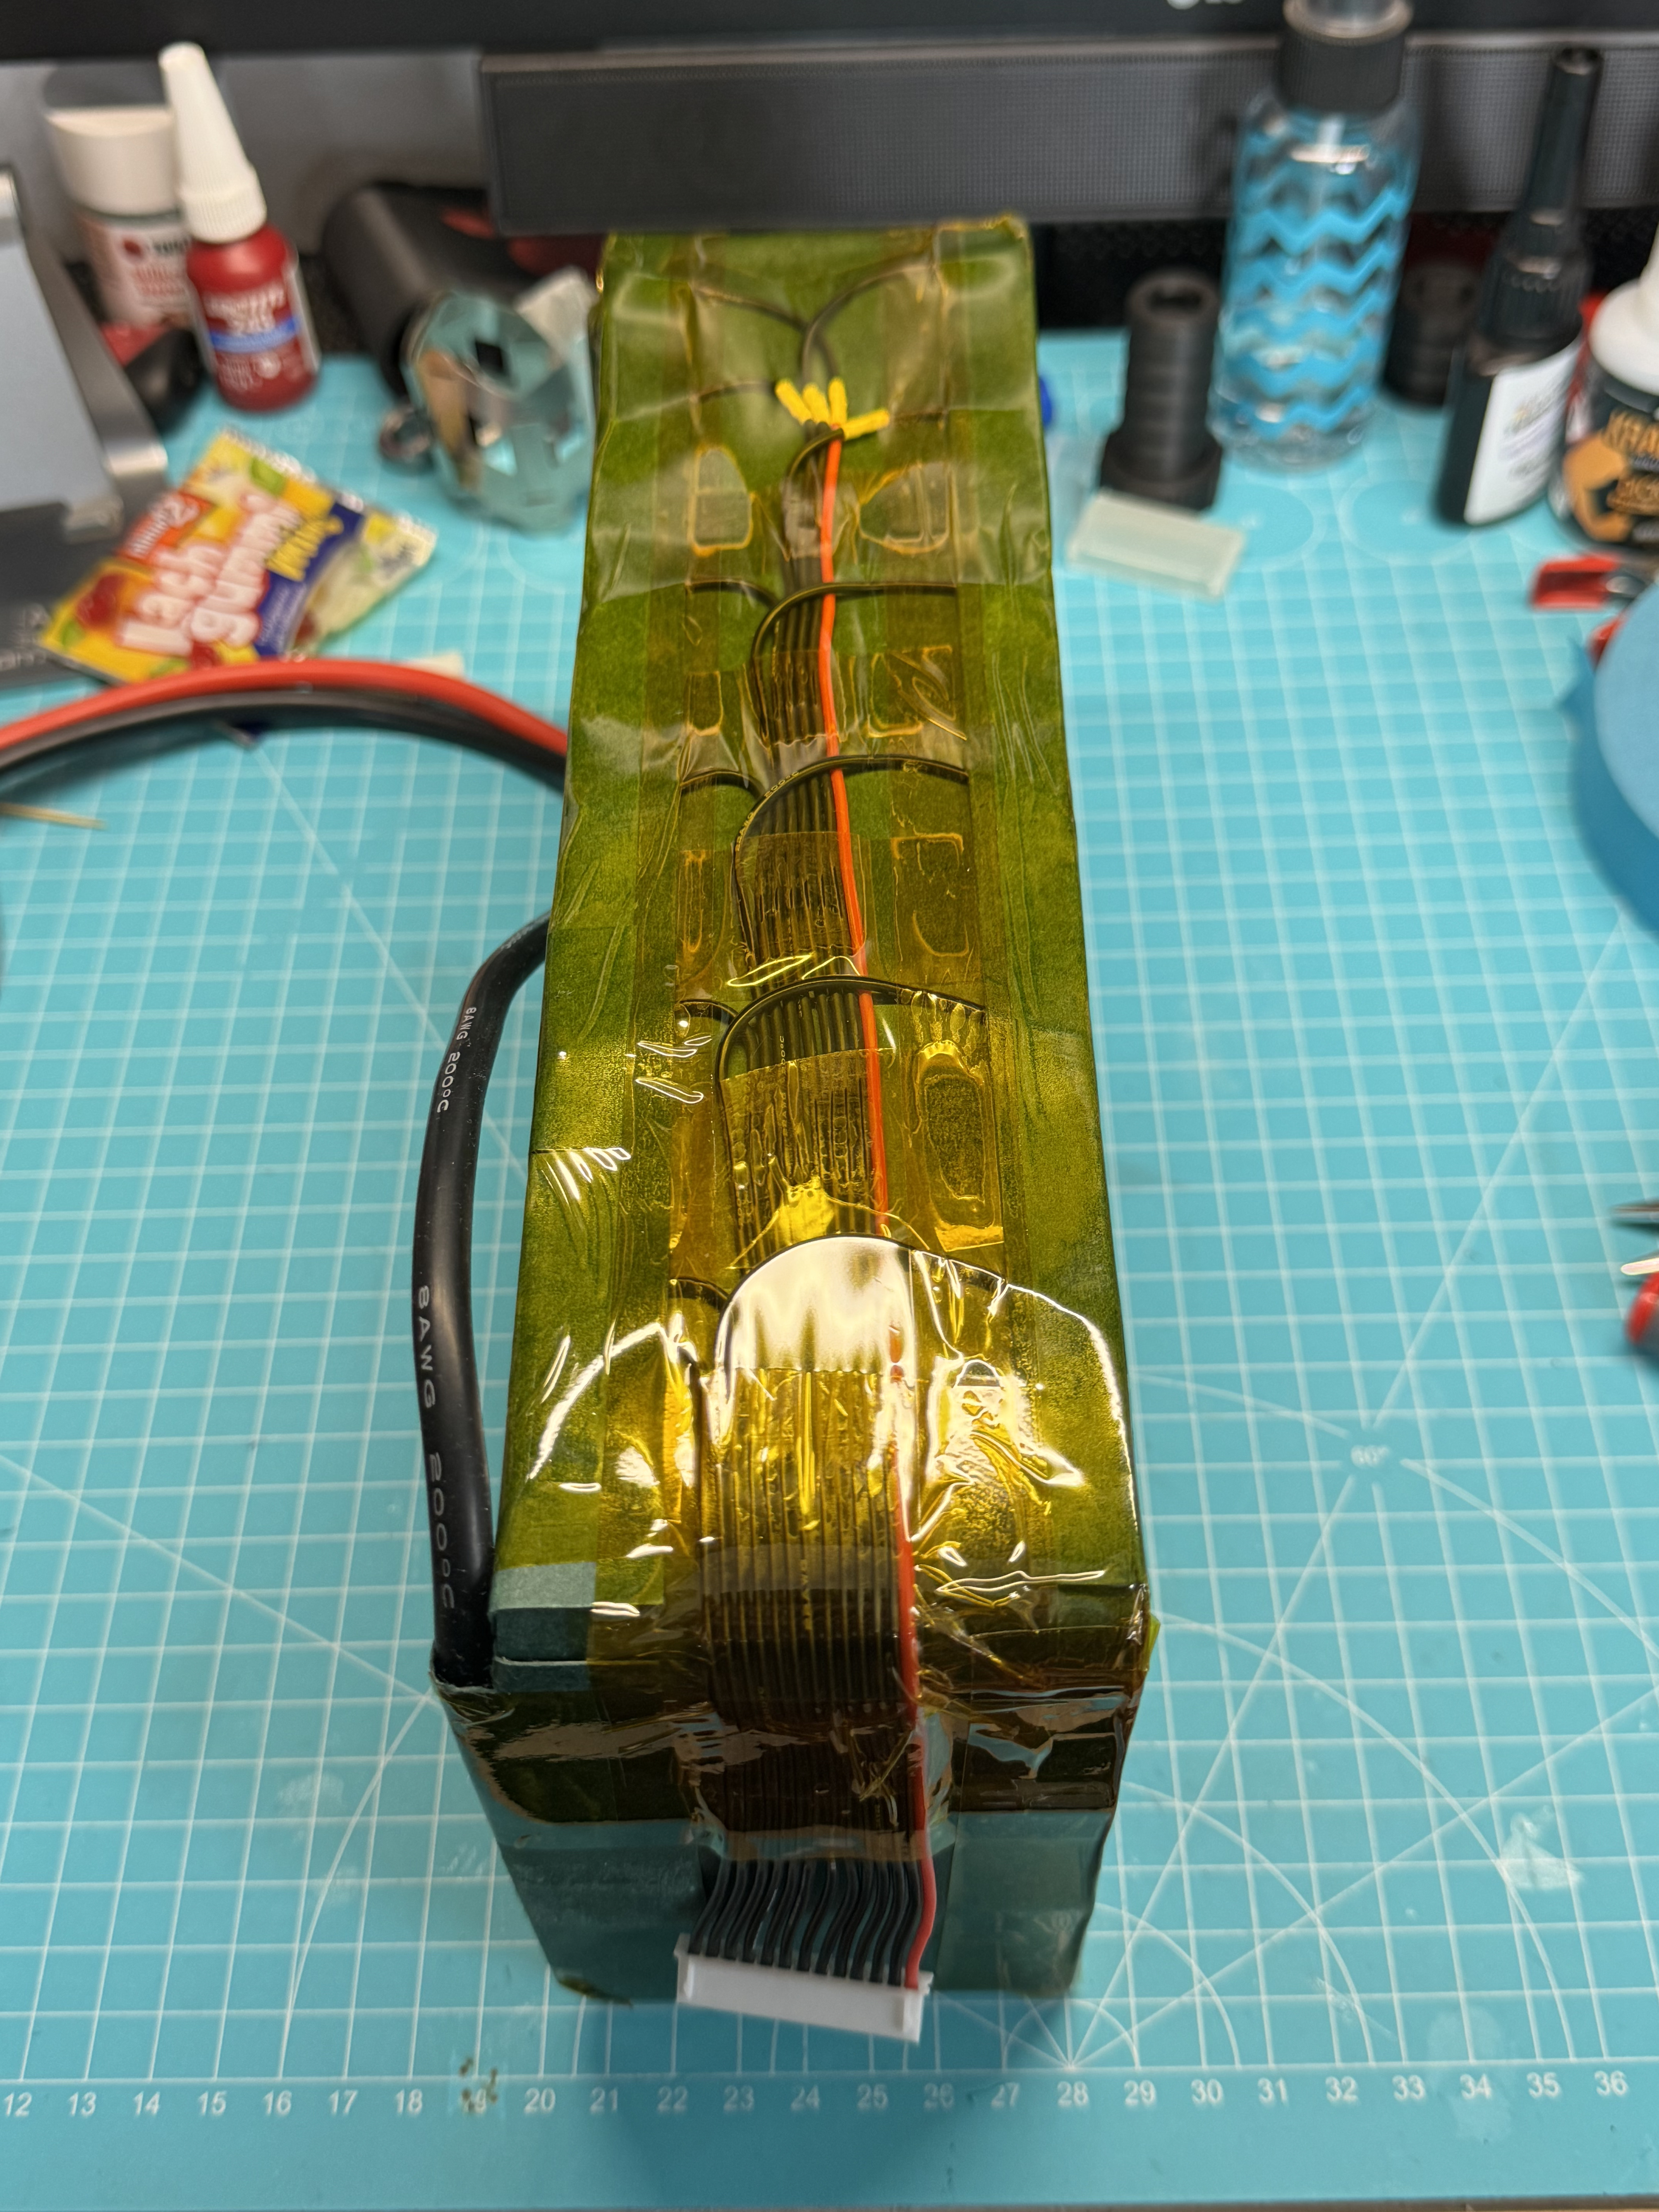
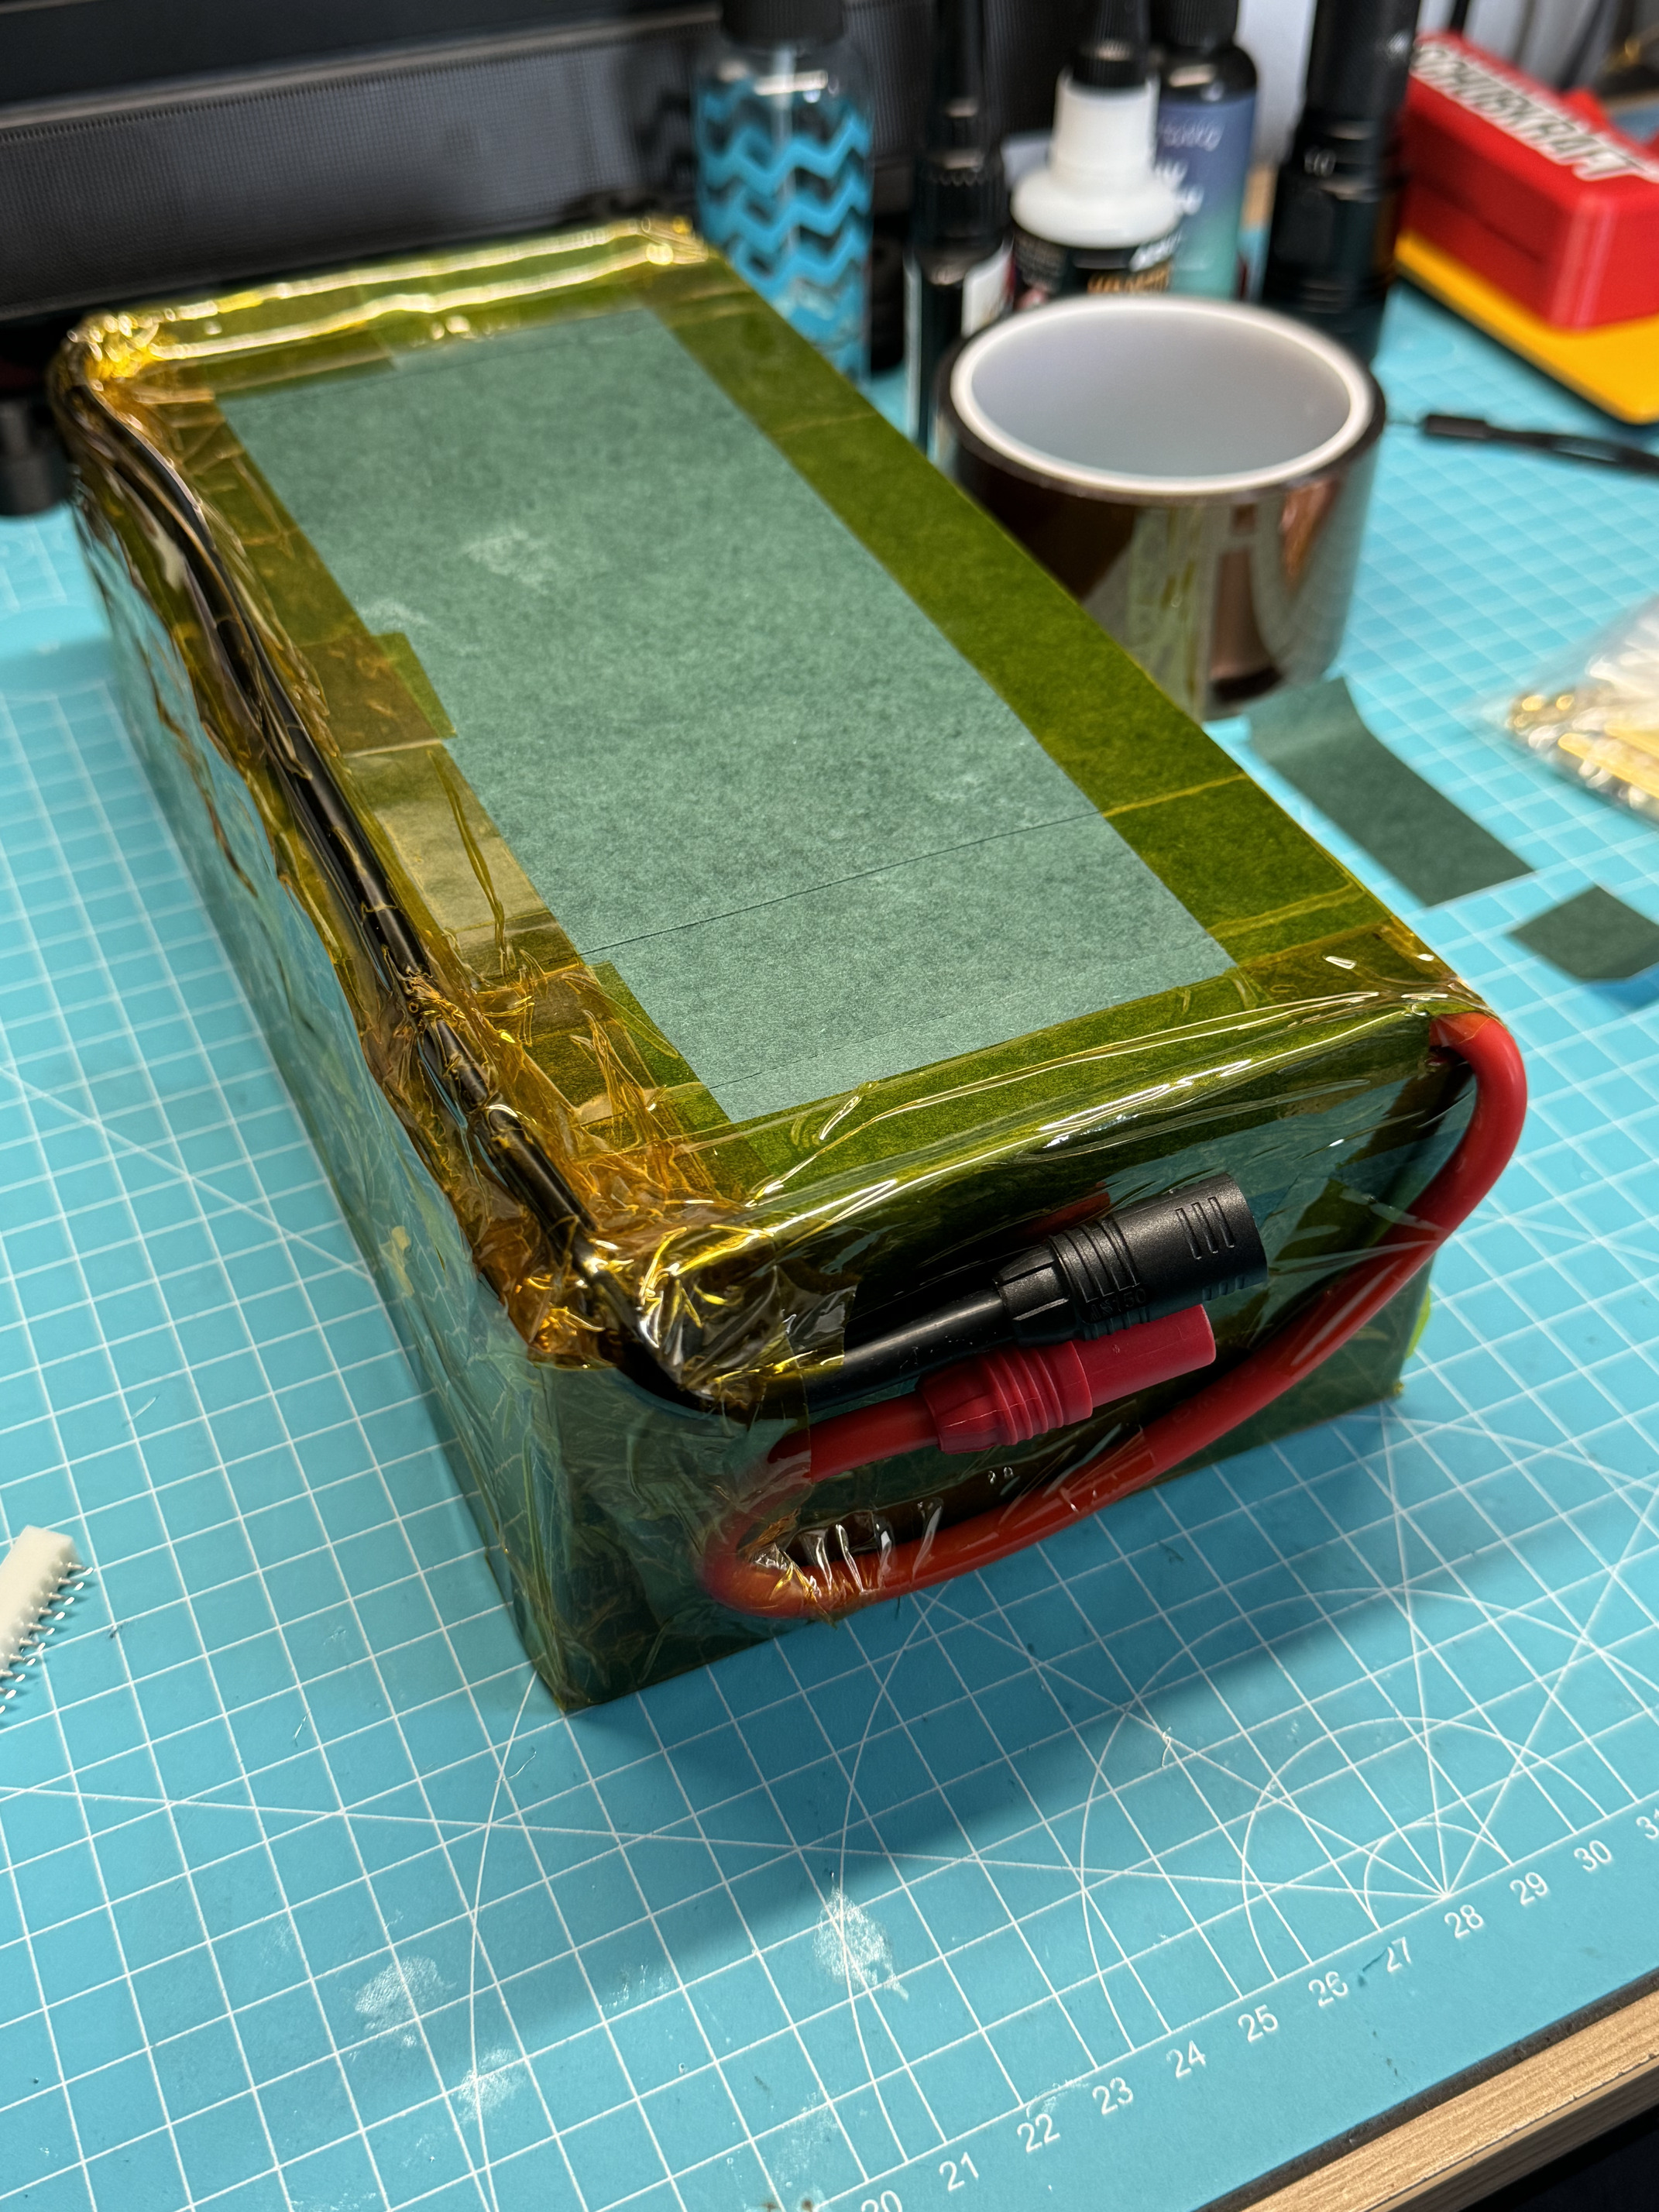
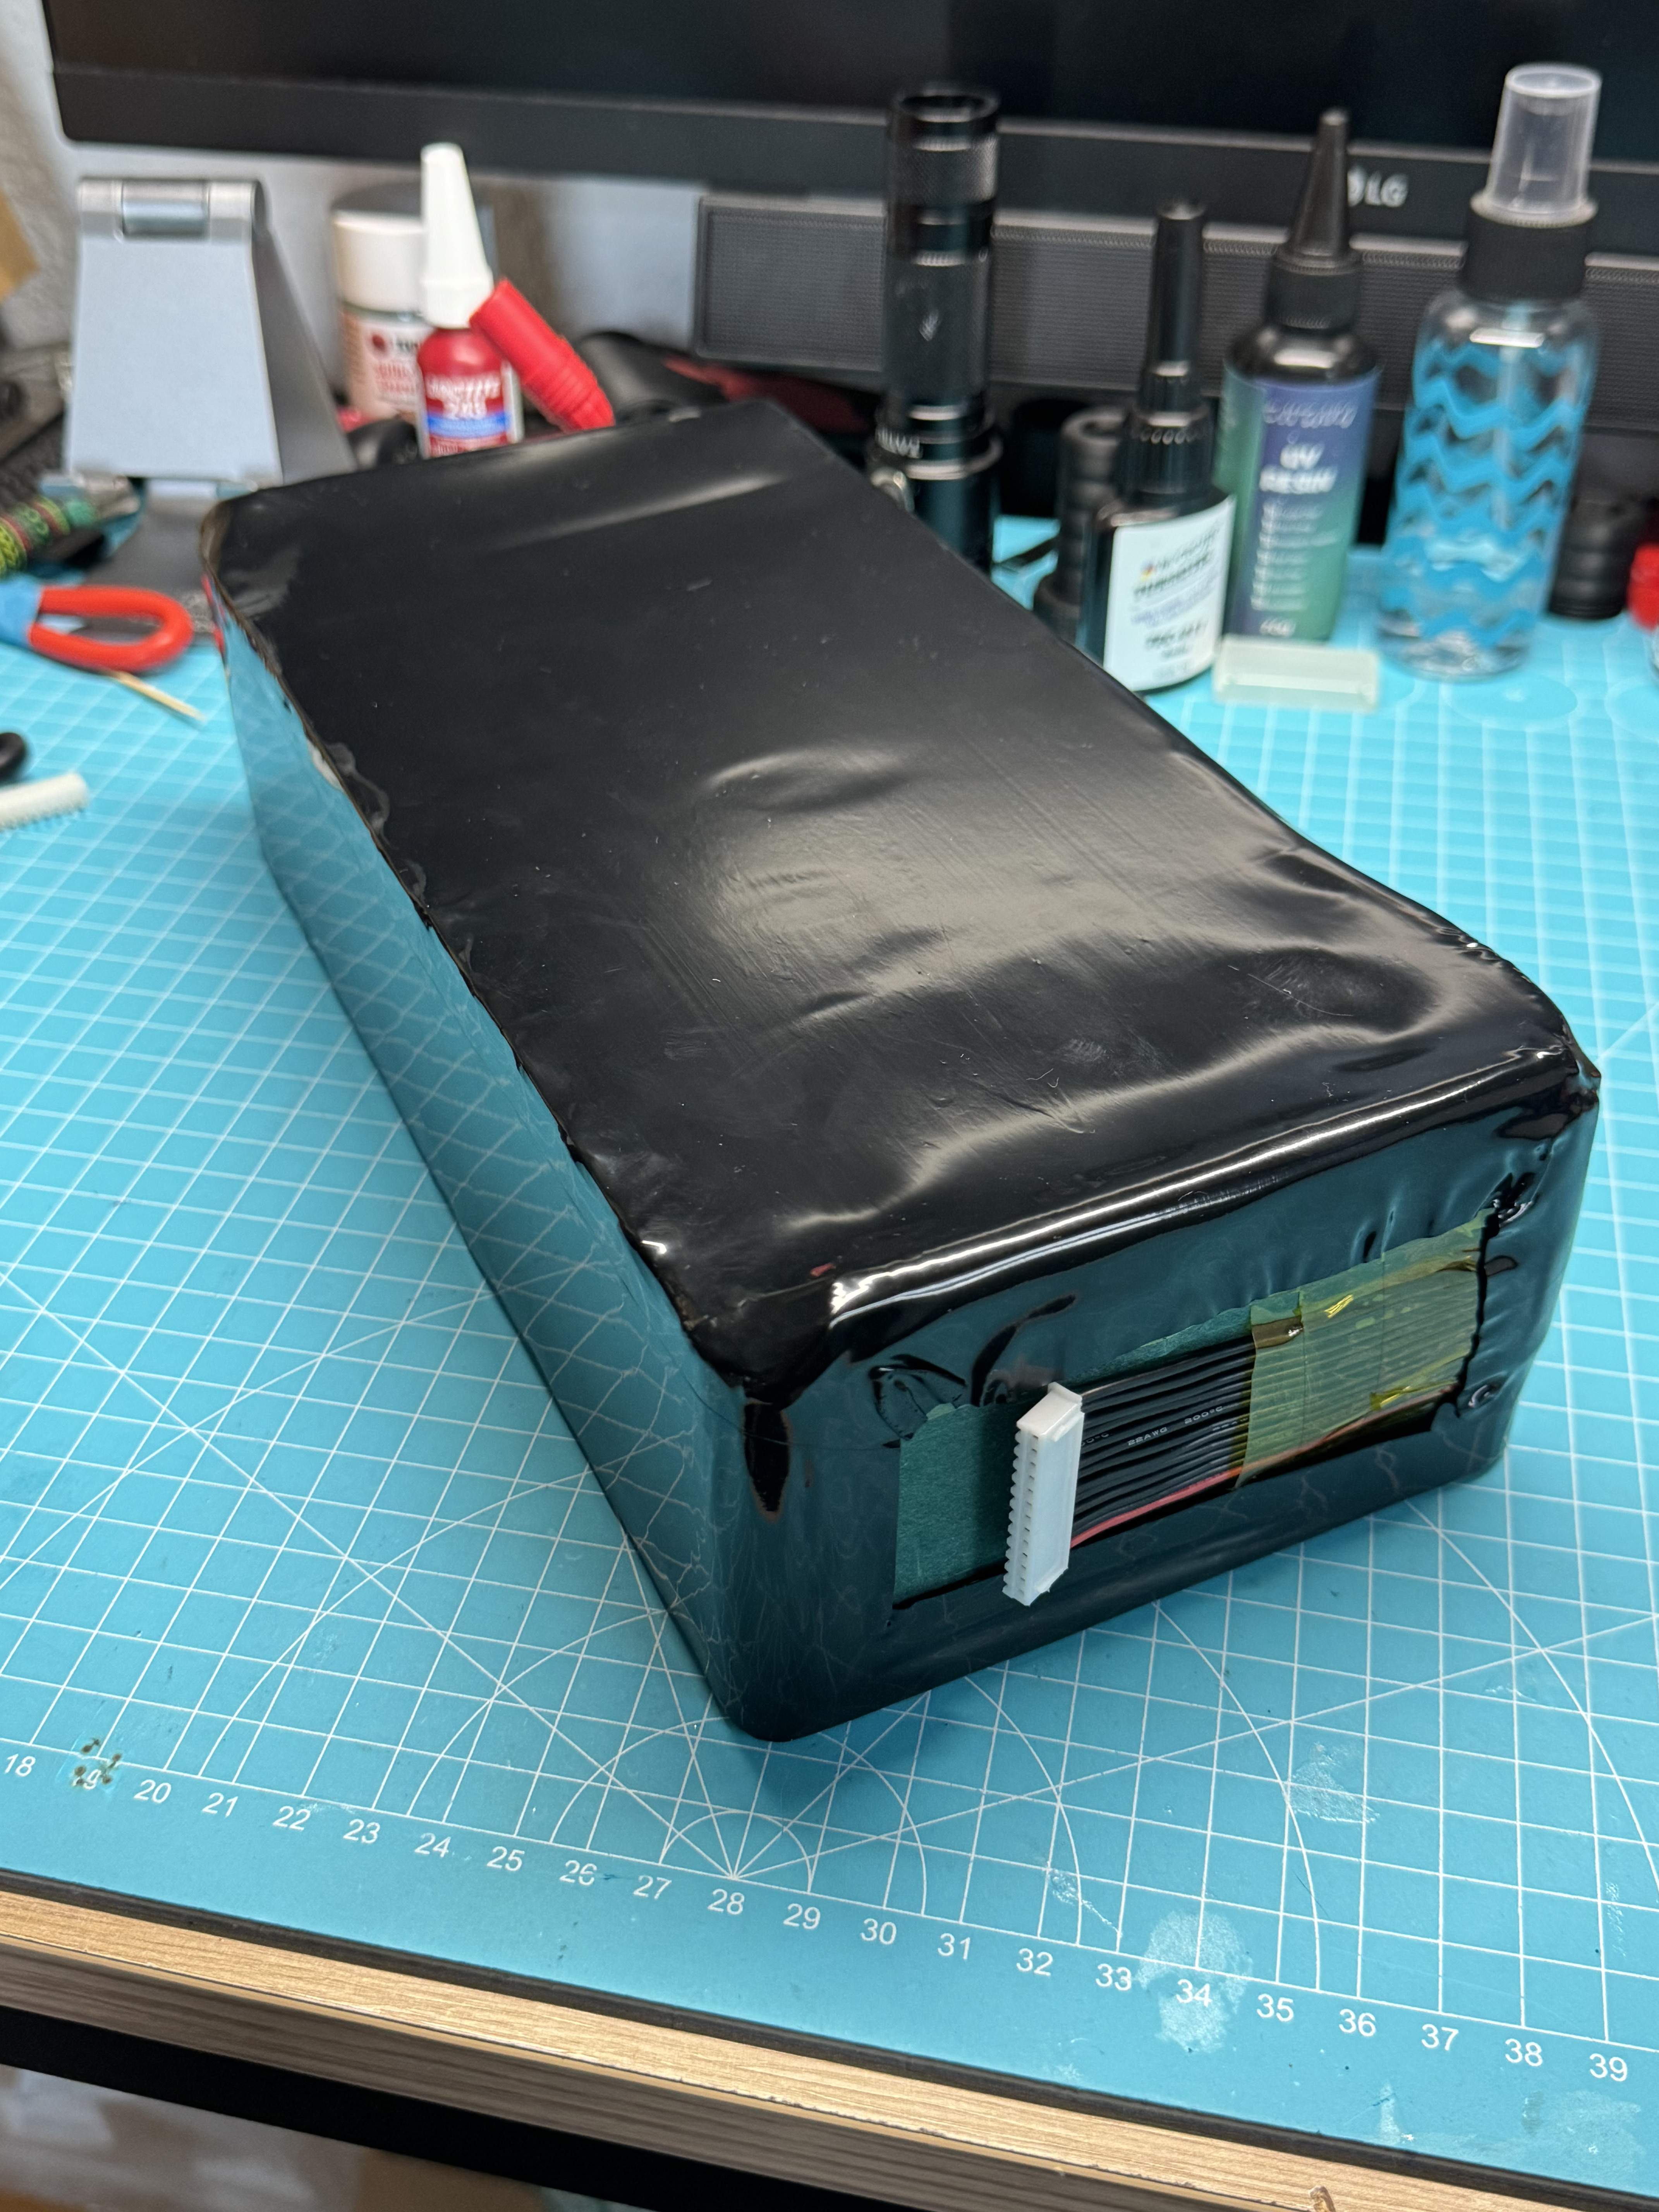
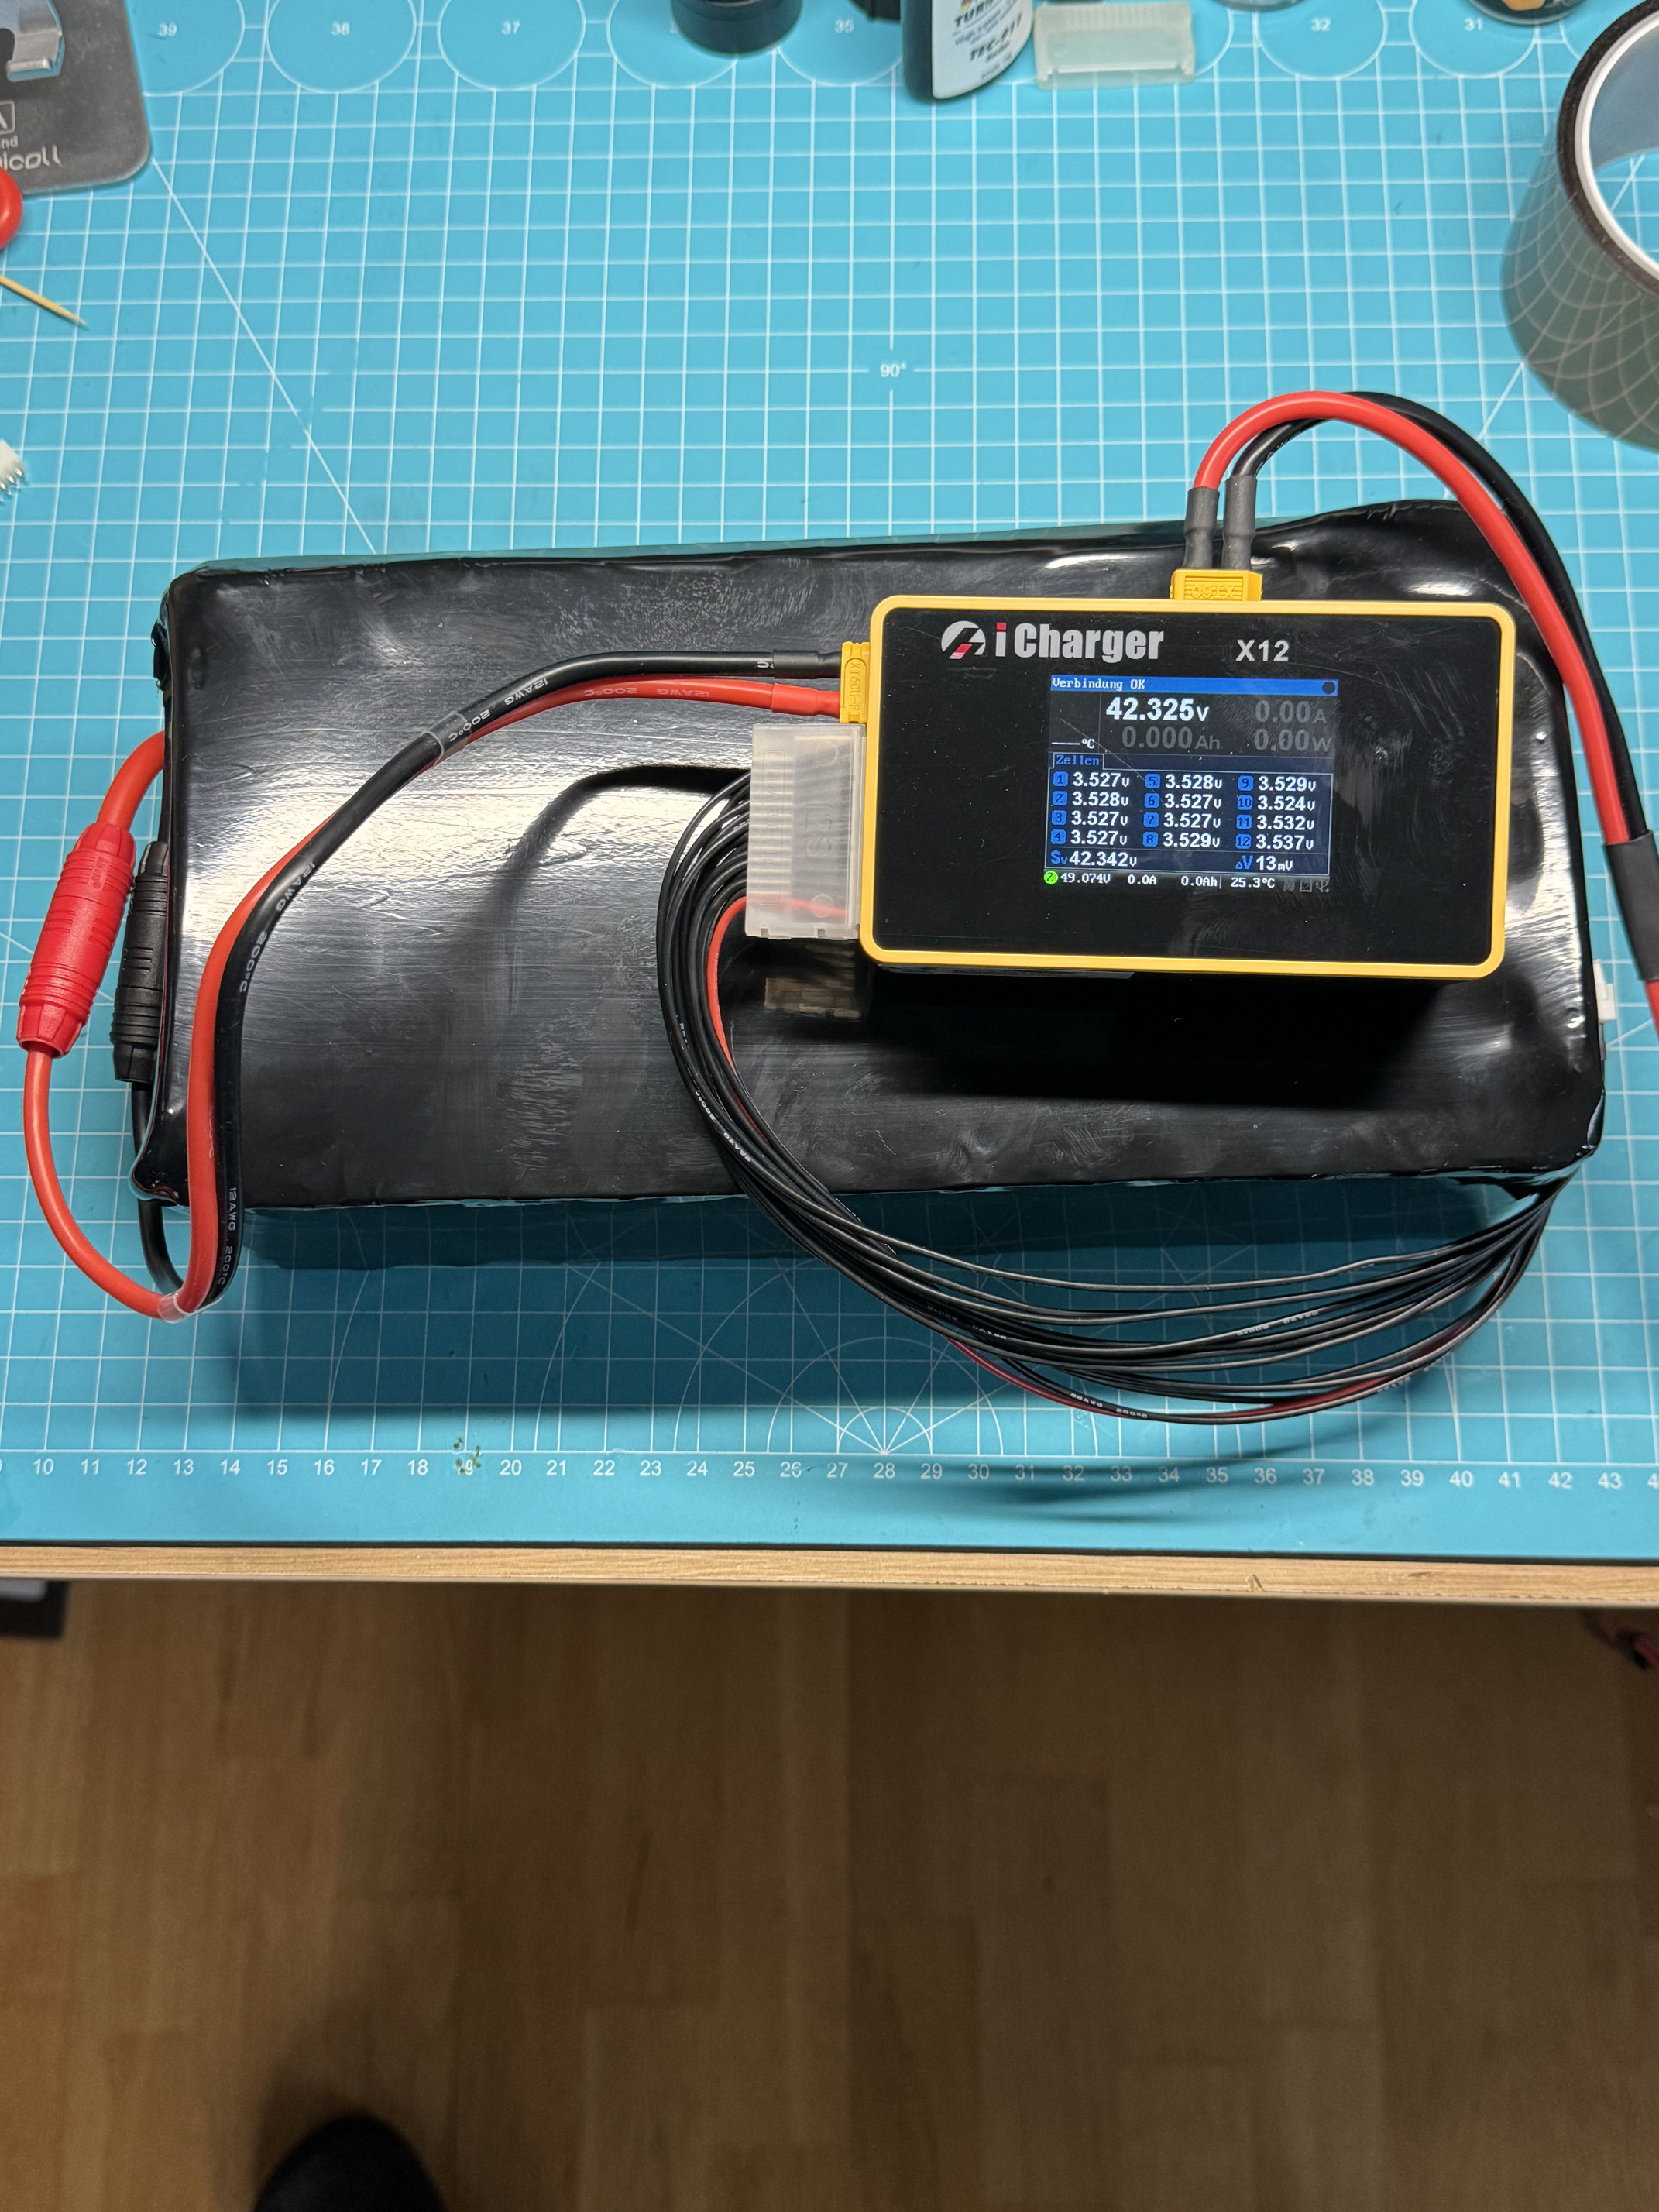
In the last few days I have finished my P42A_12S7P battery.
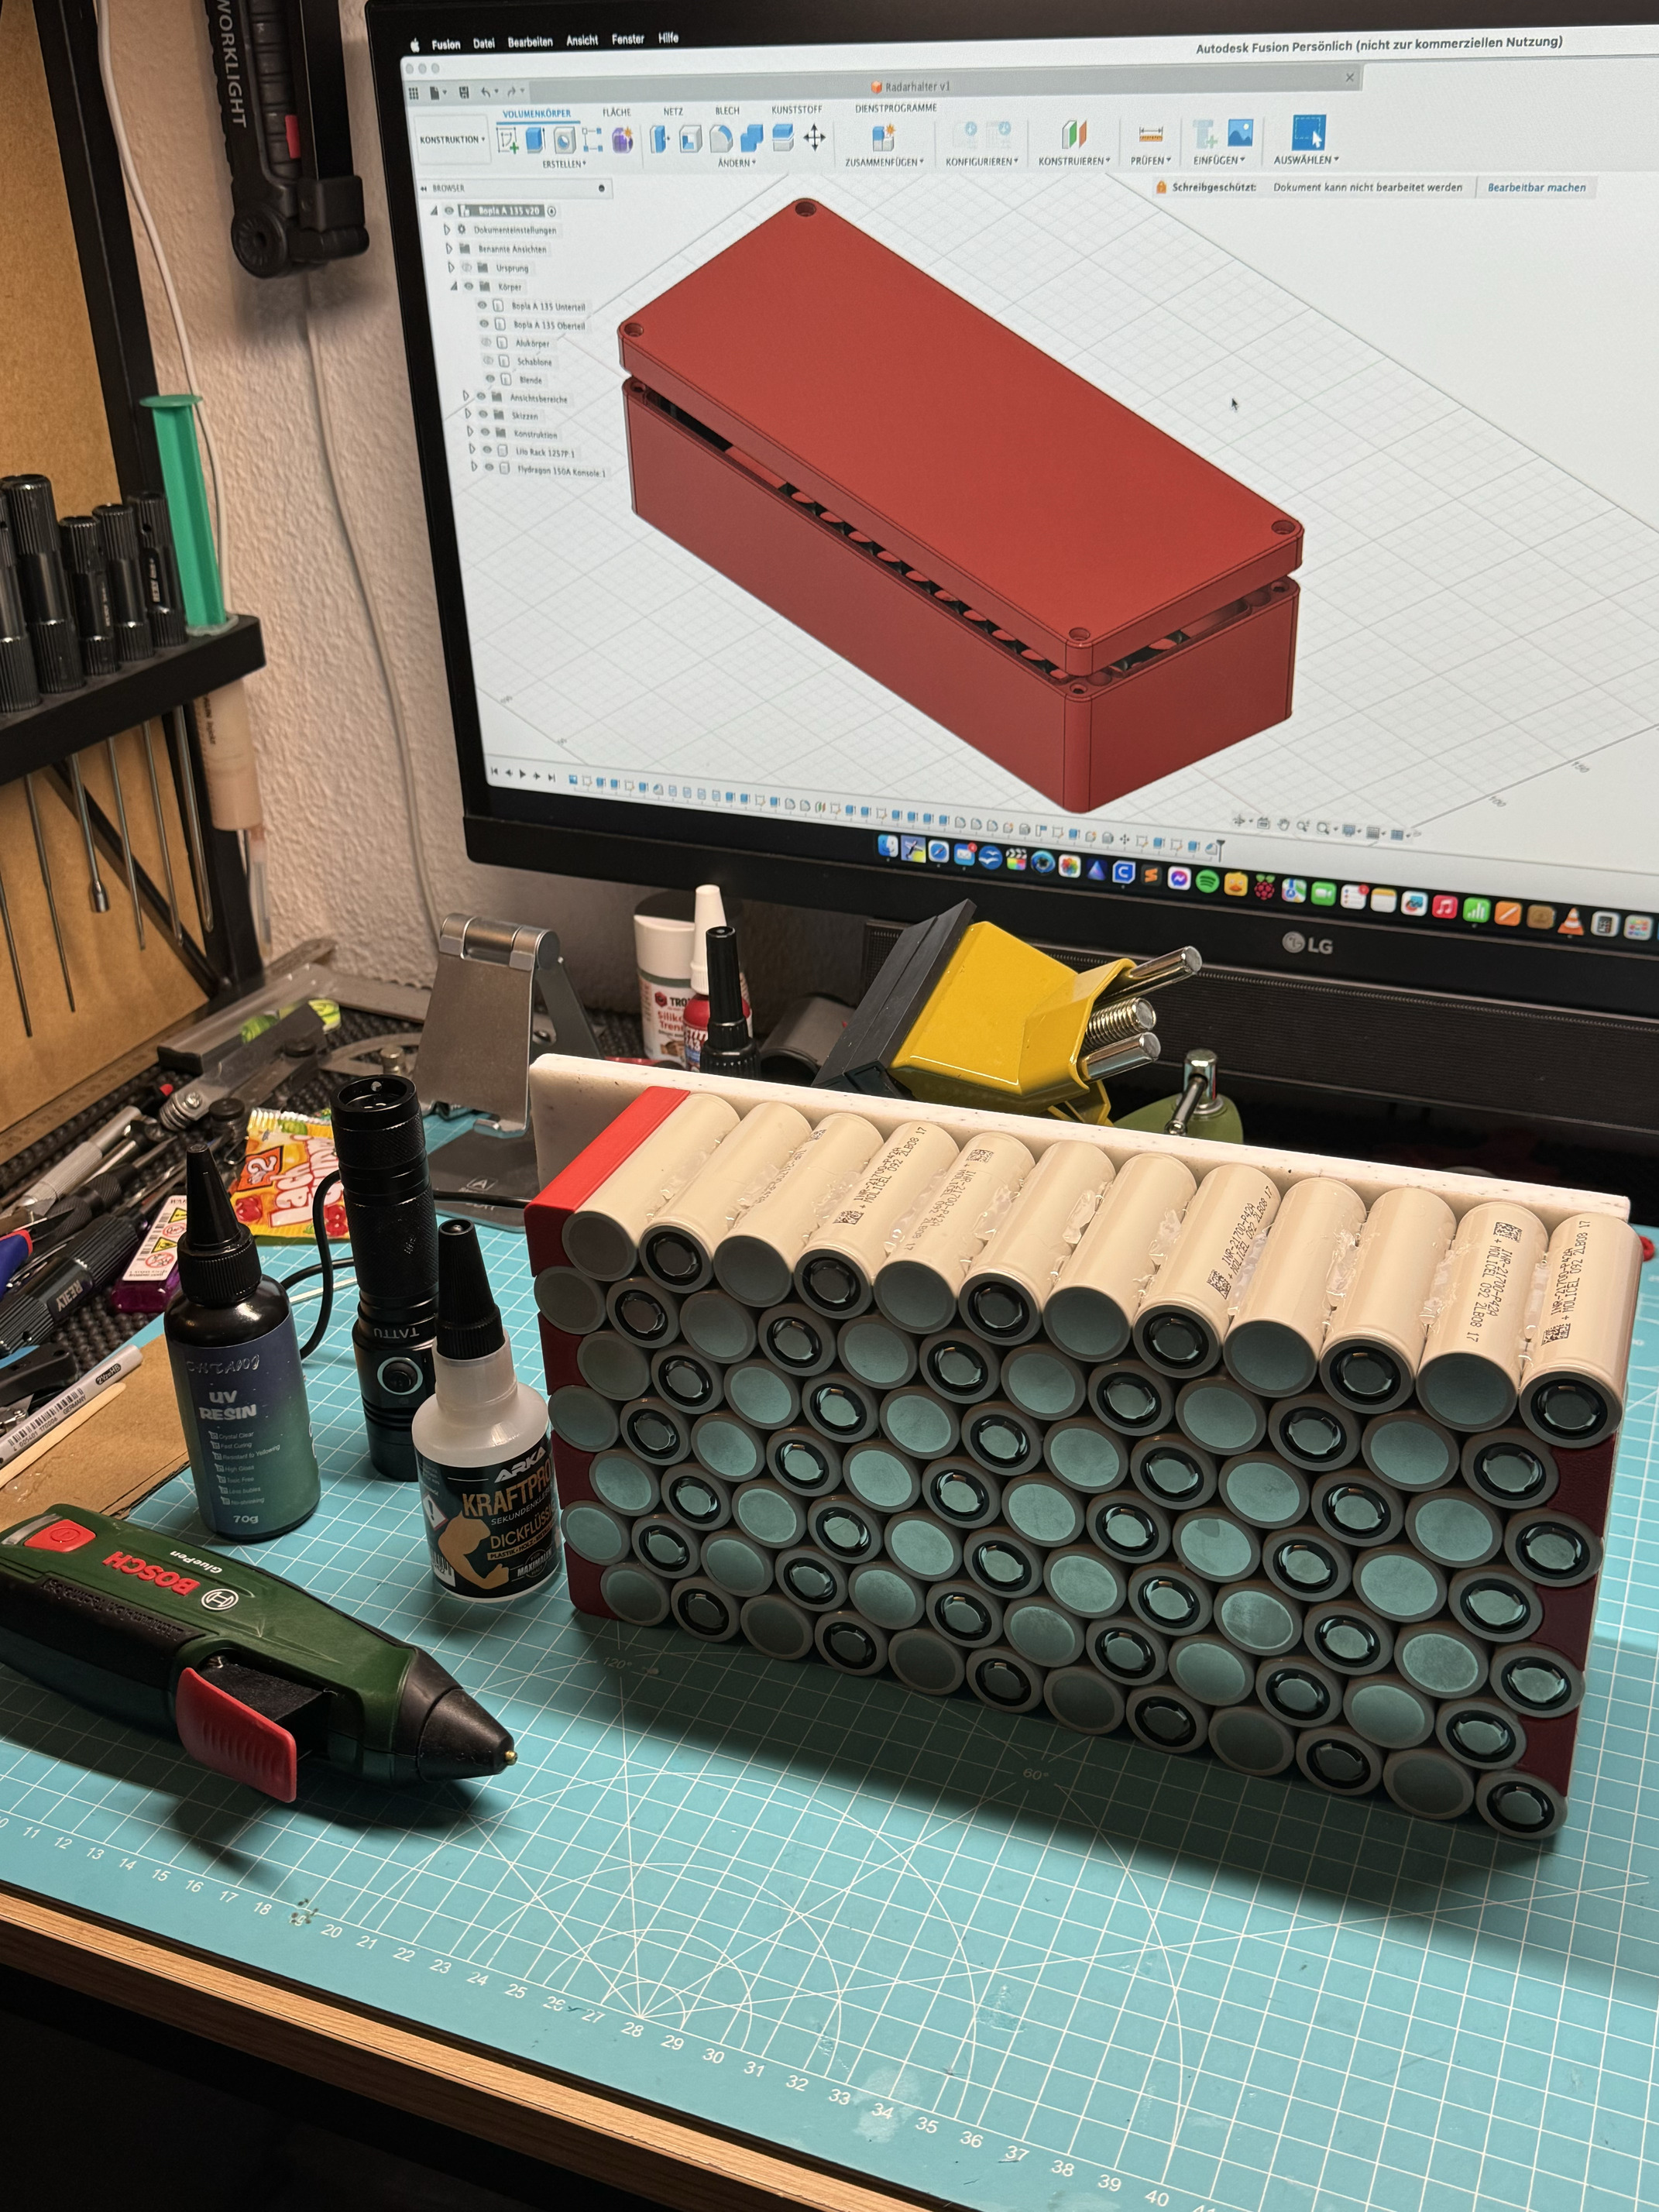
First fixed the cells with UV resin.
Then gradually connect all the cells with hot glue.
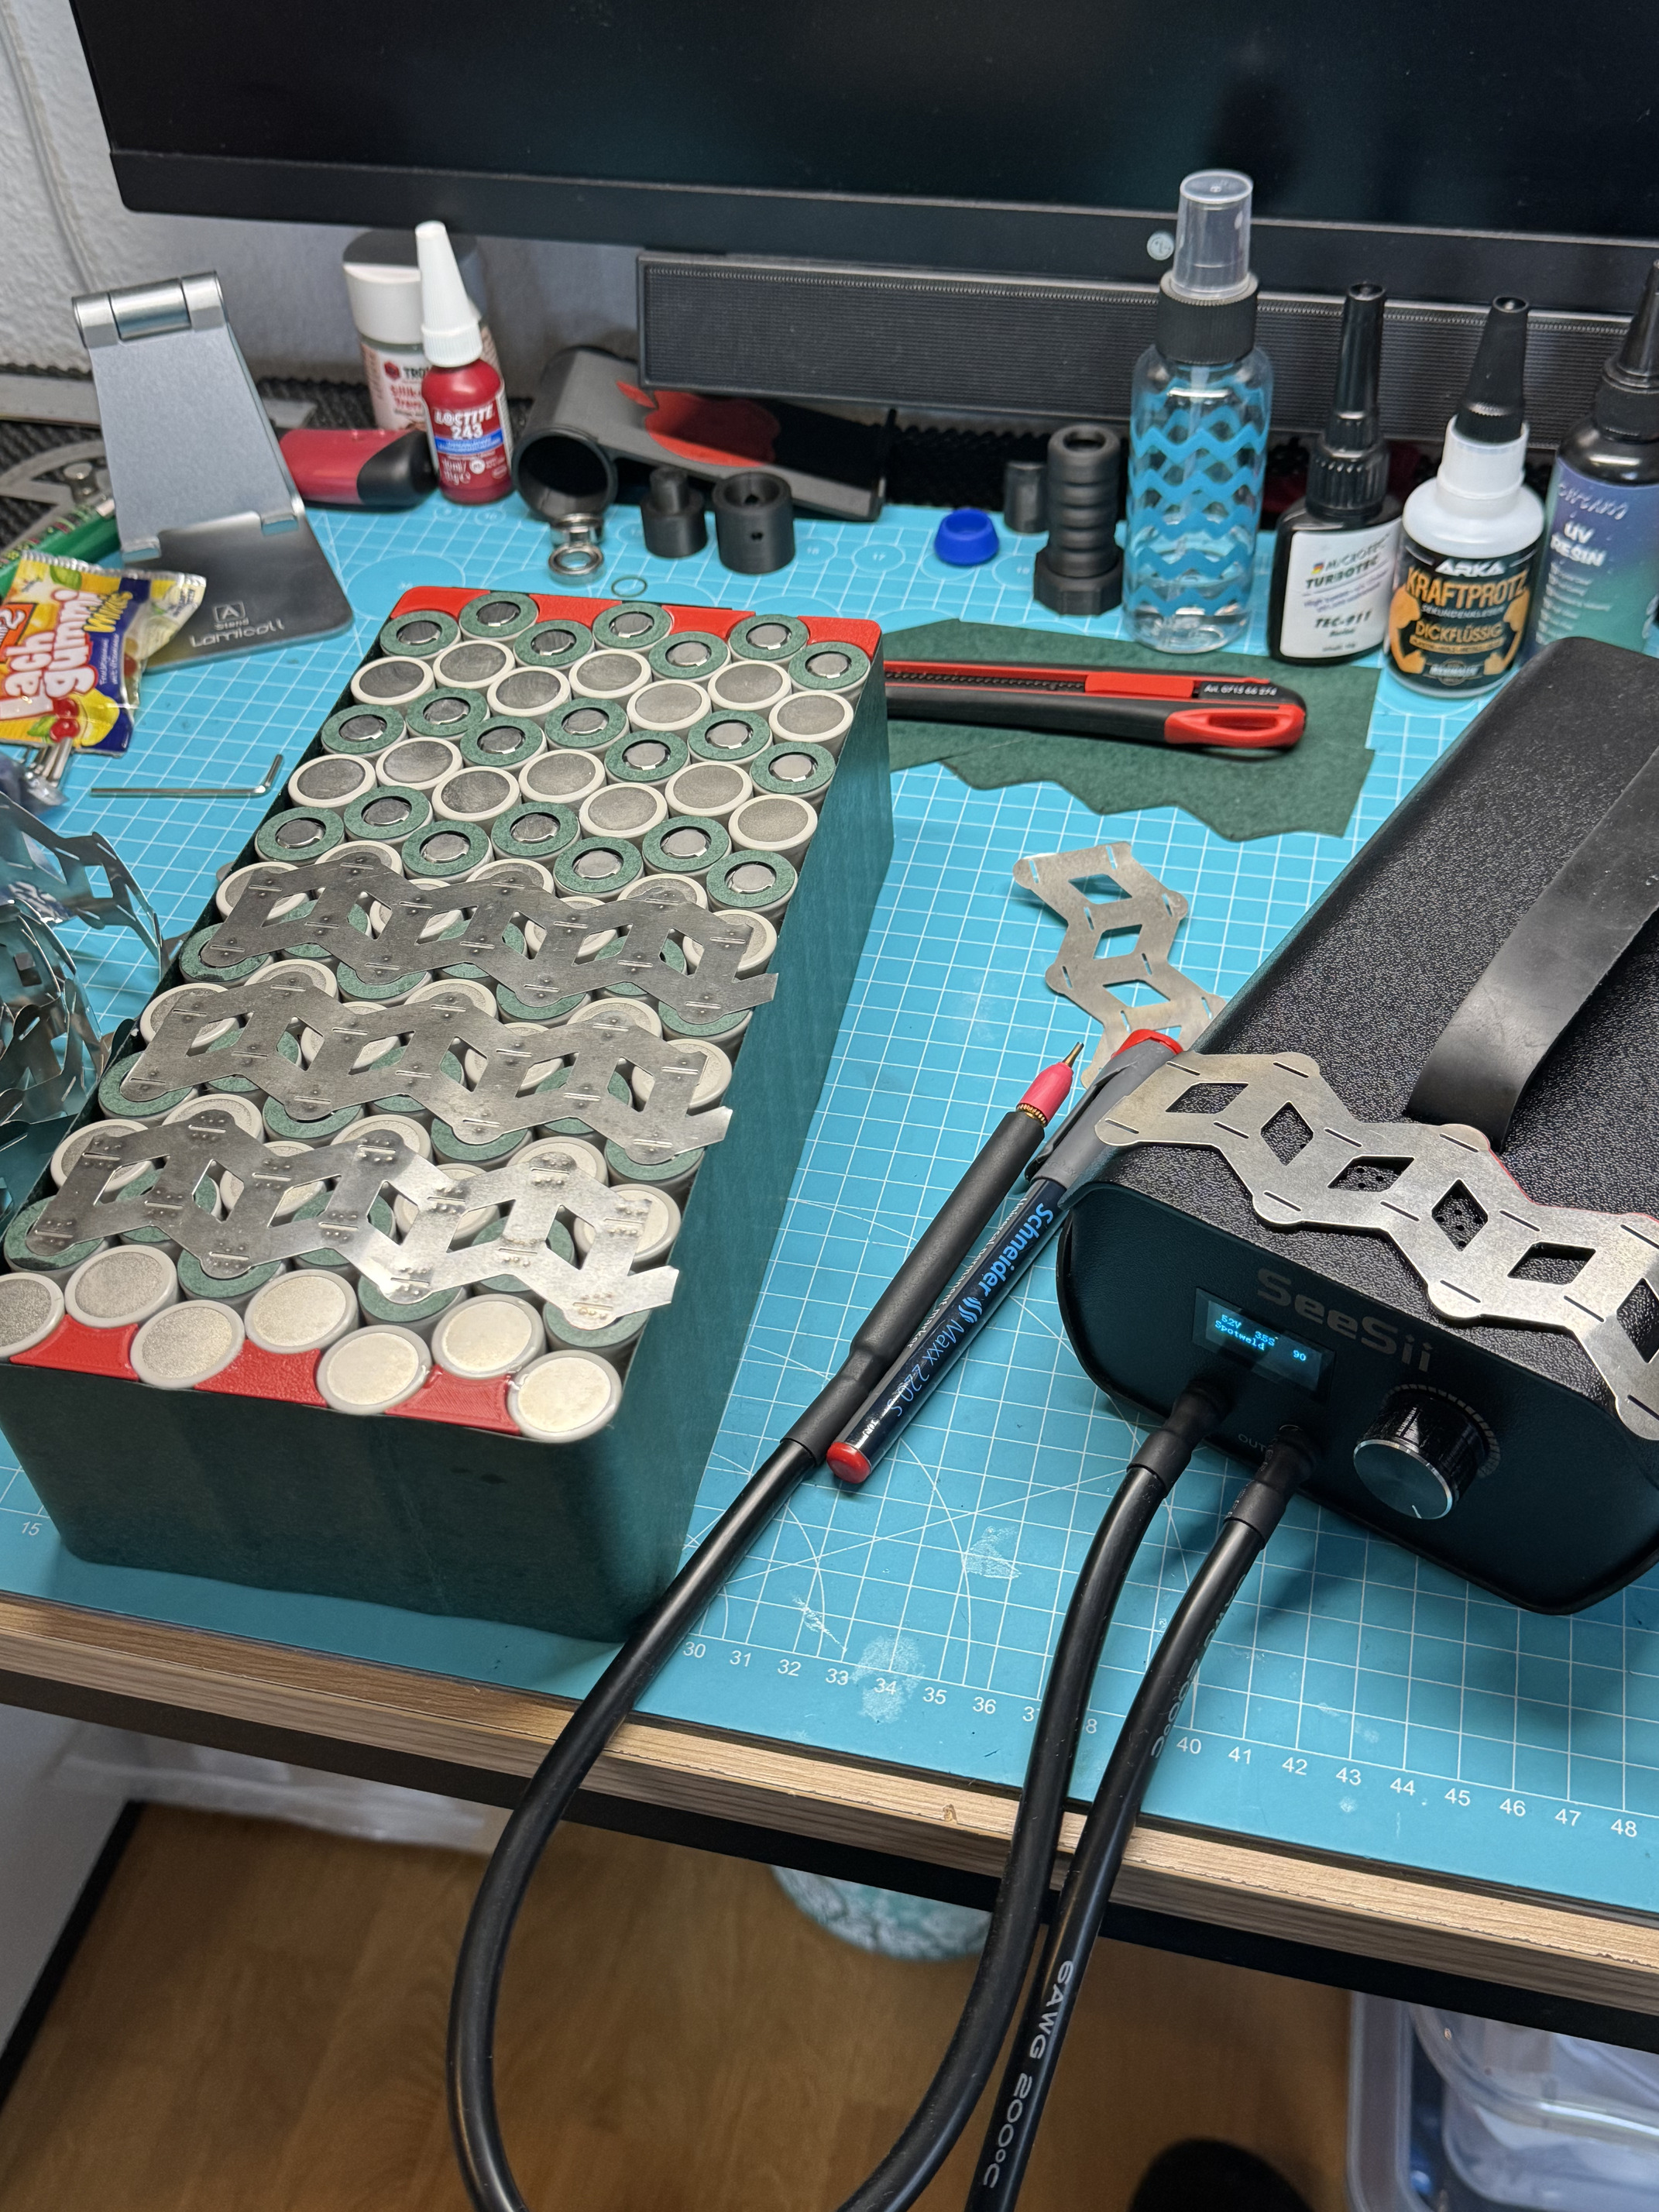
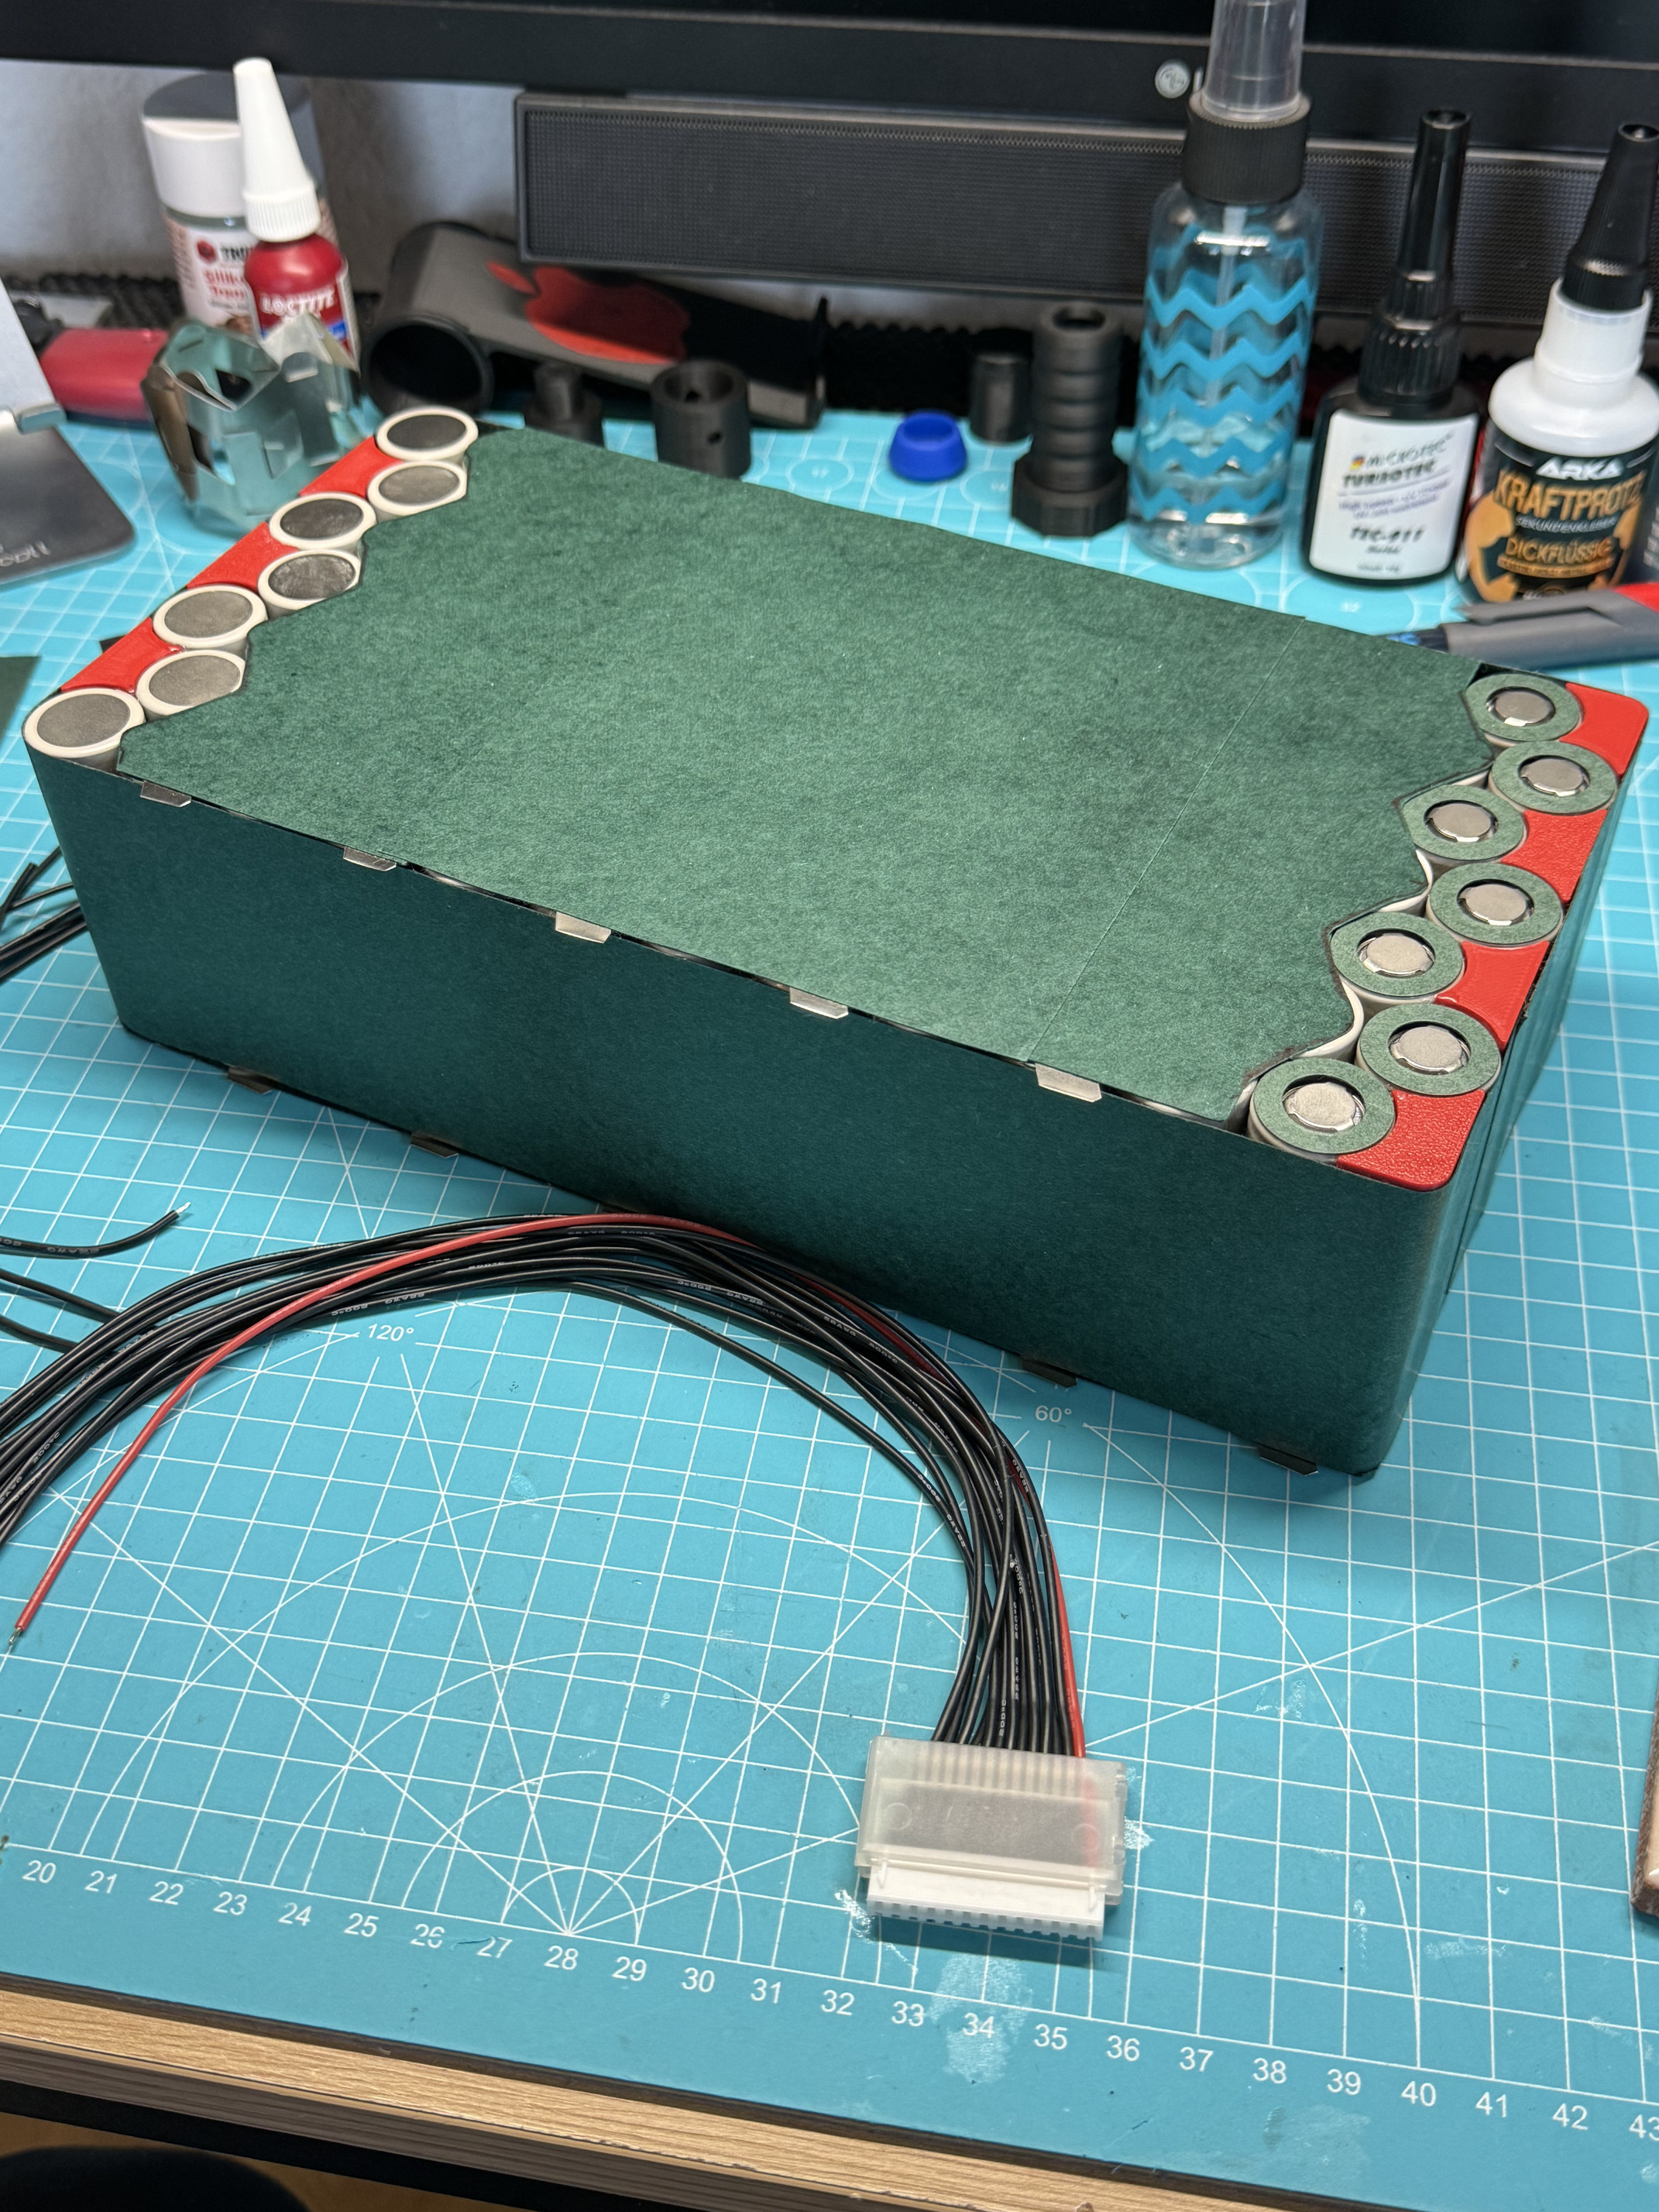
Since I wanted to make full use of the Bopla Box,
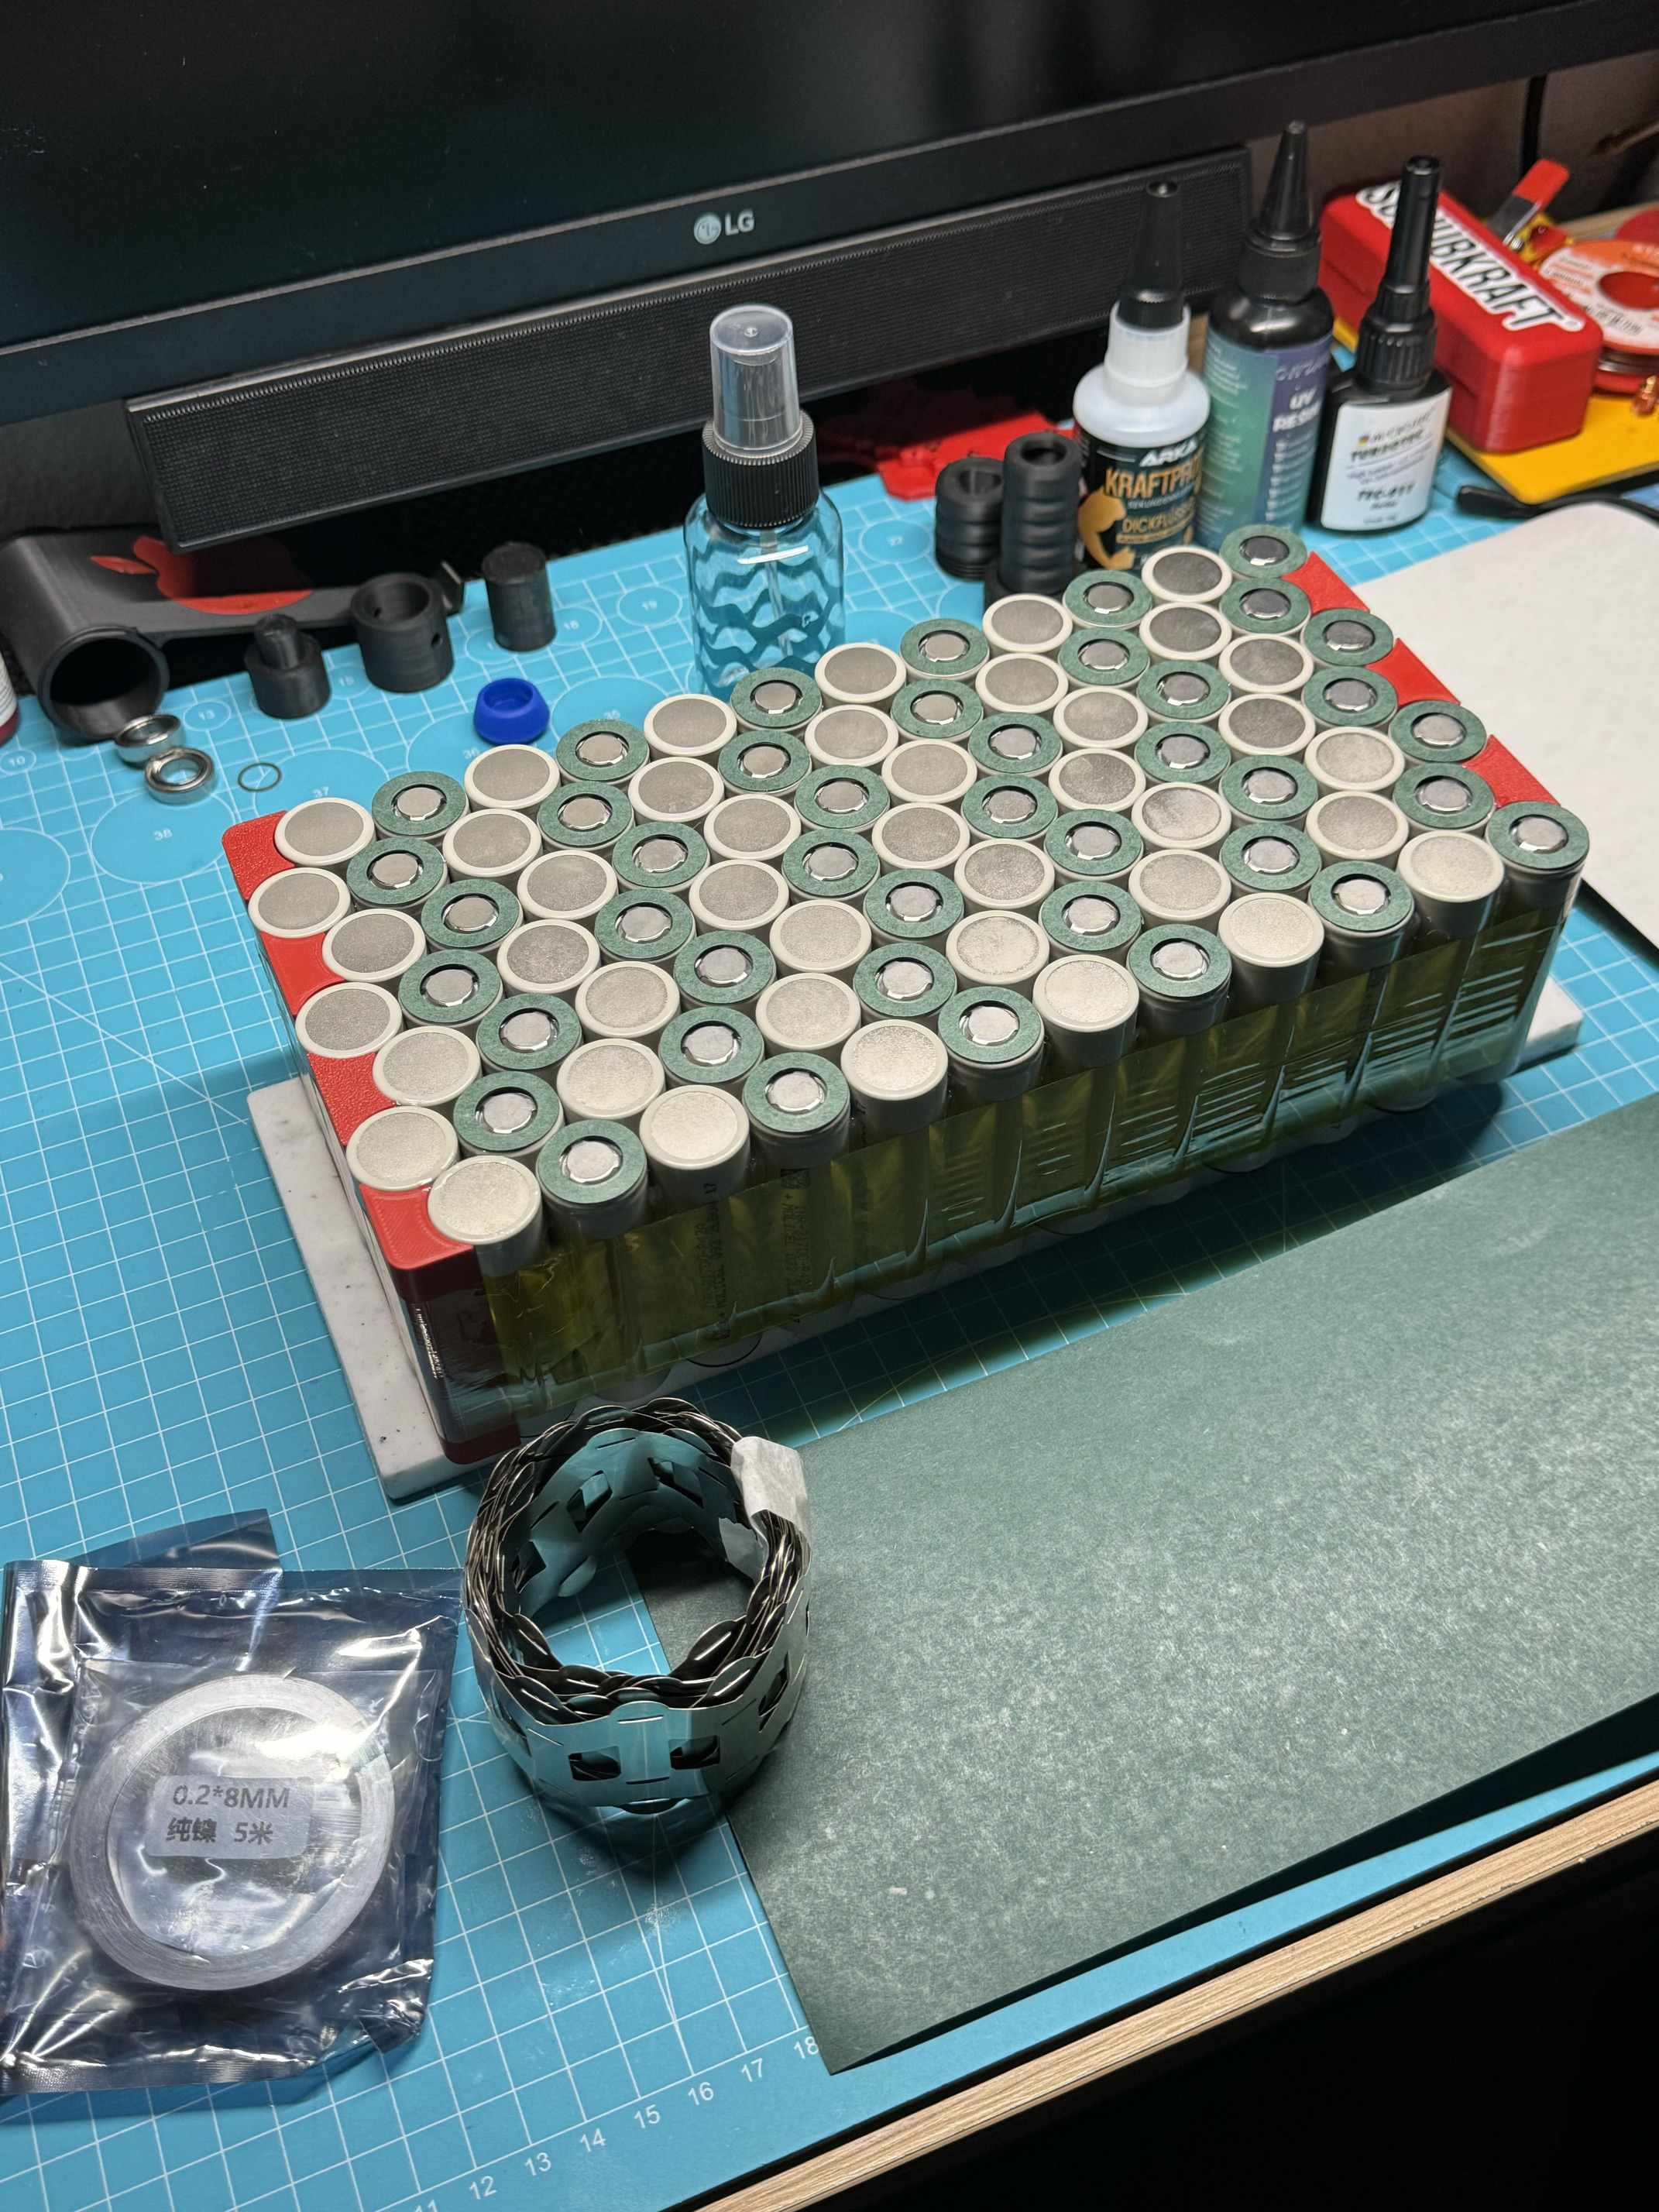
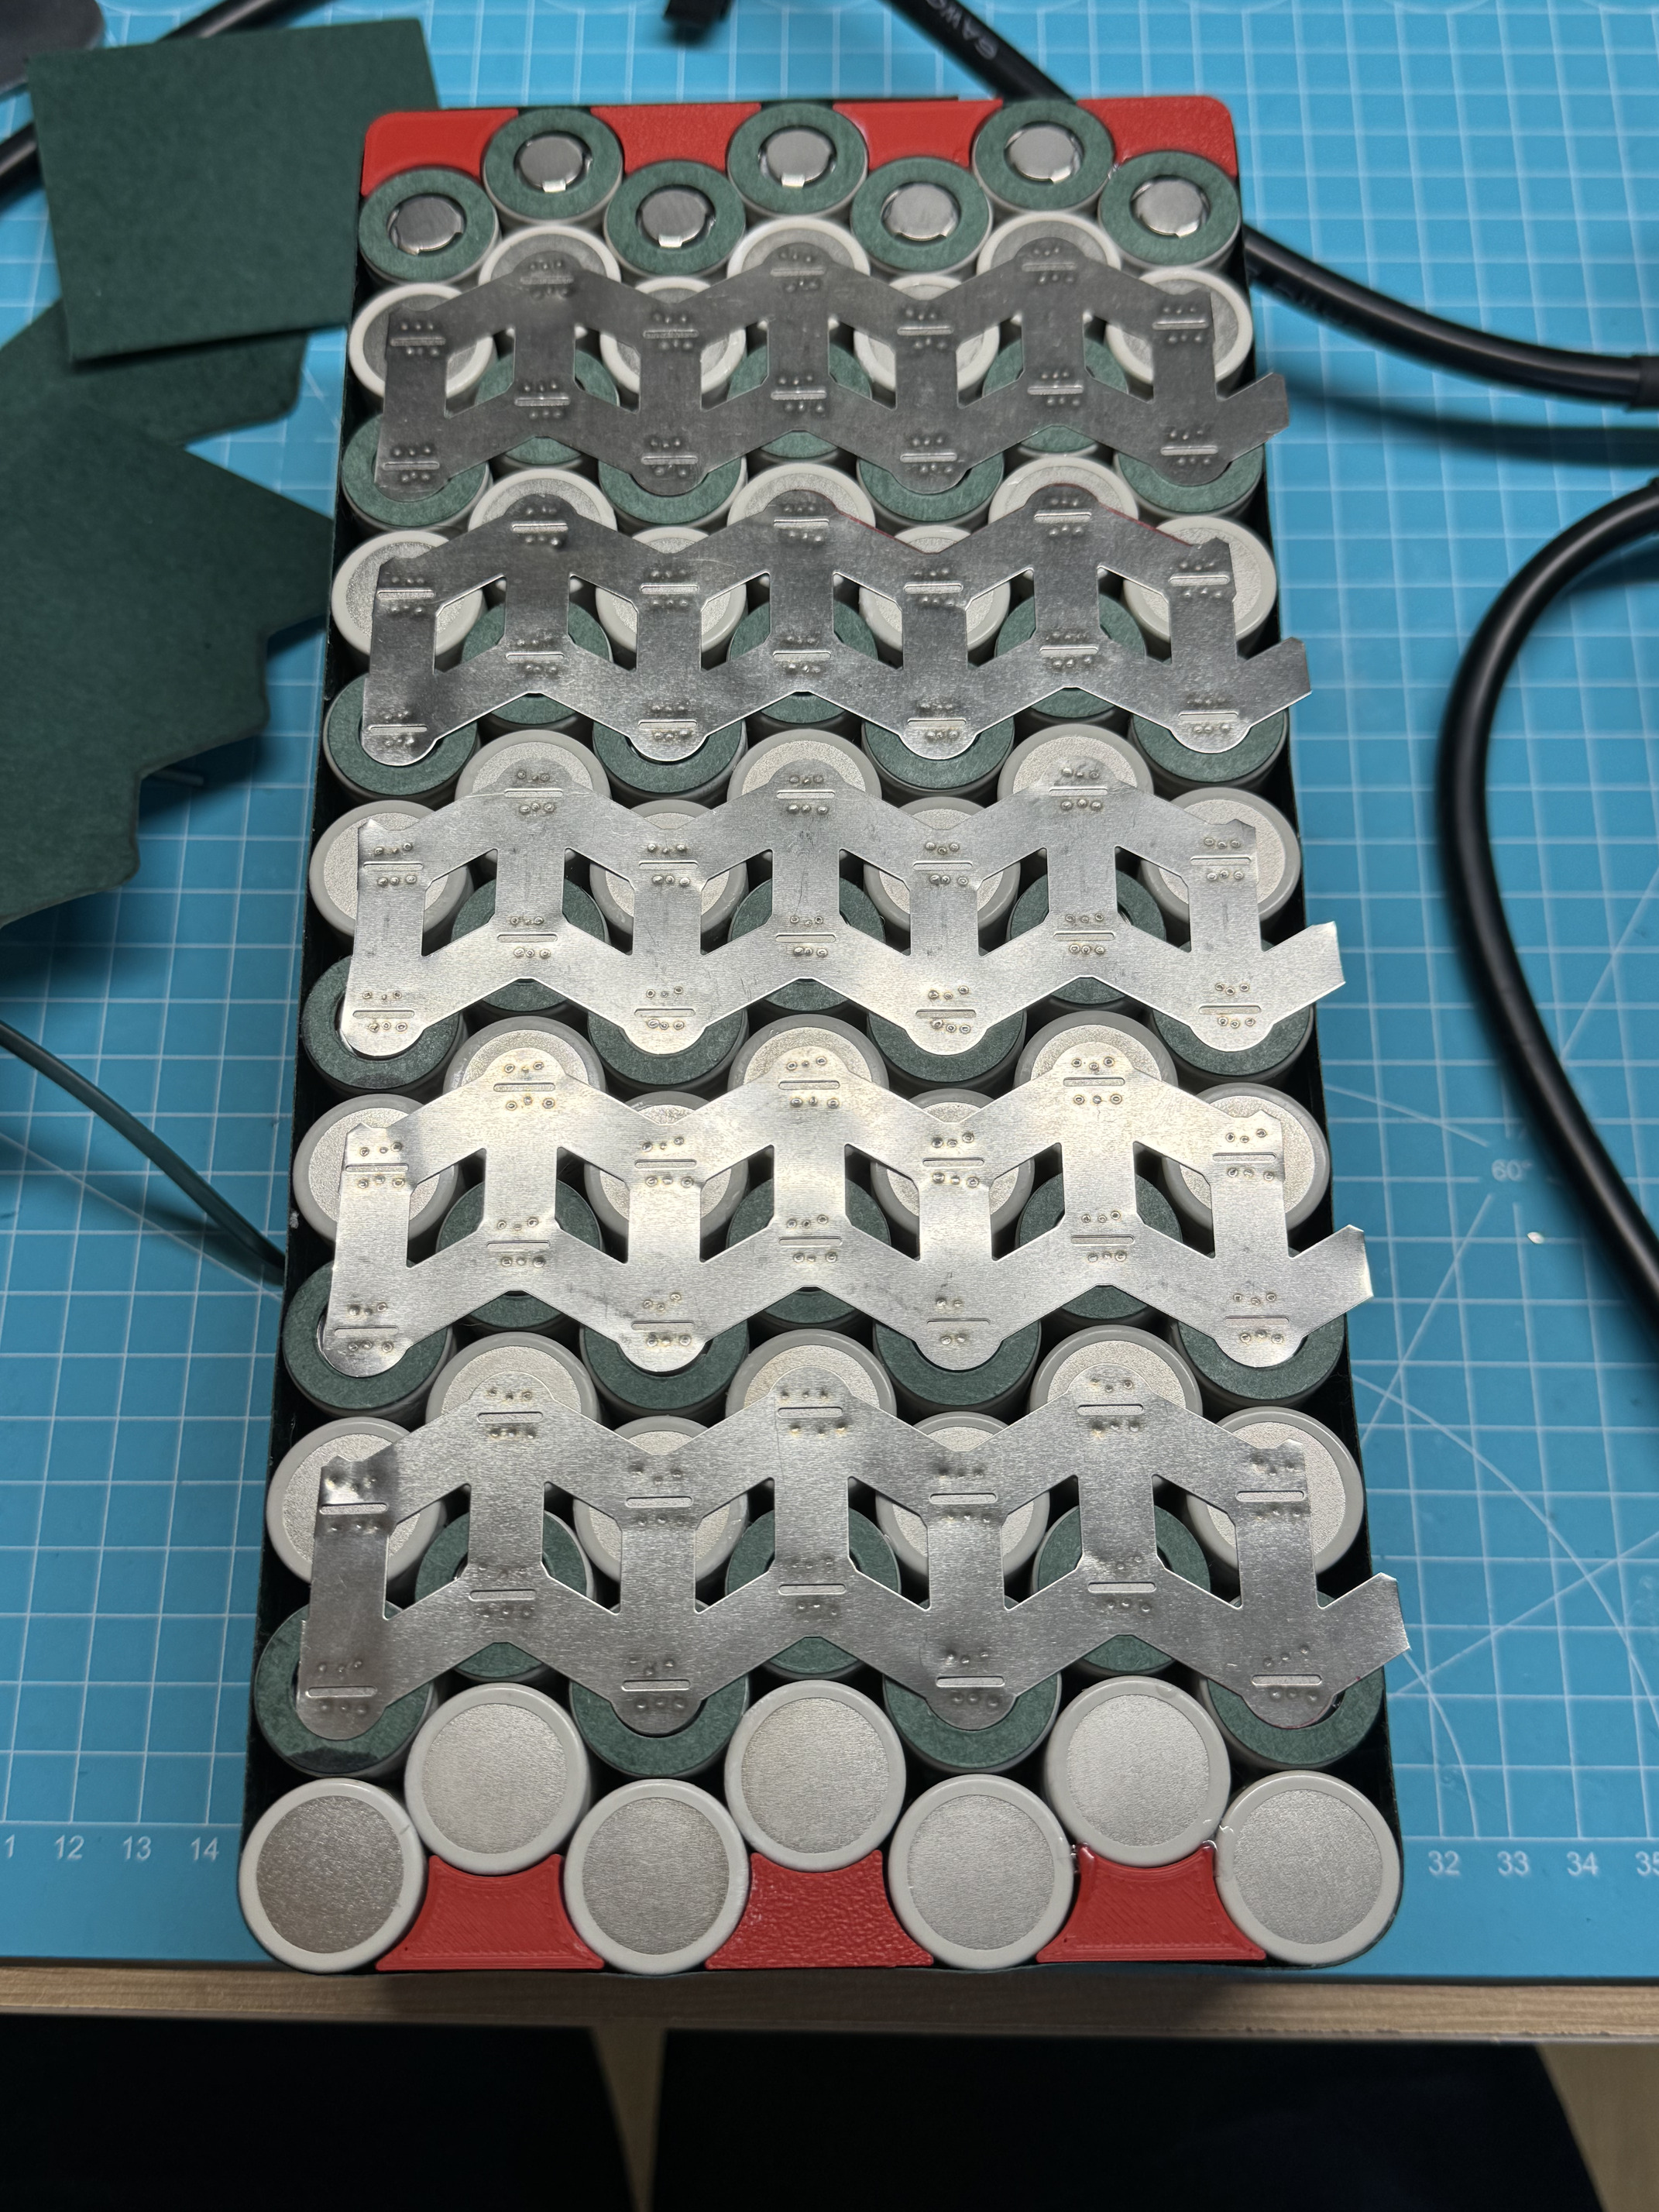
I chose the W arrangement of the cells.
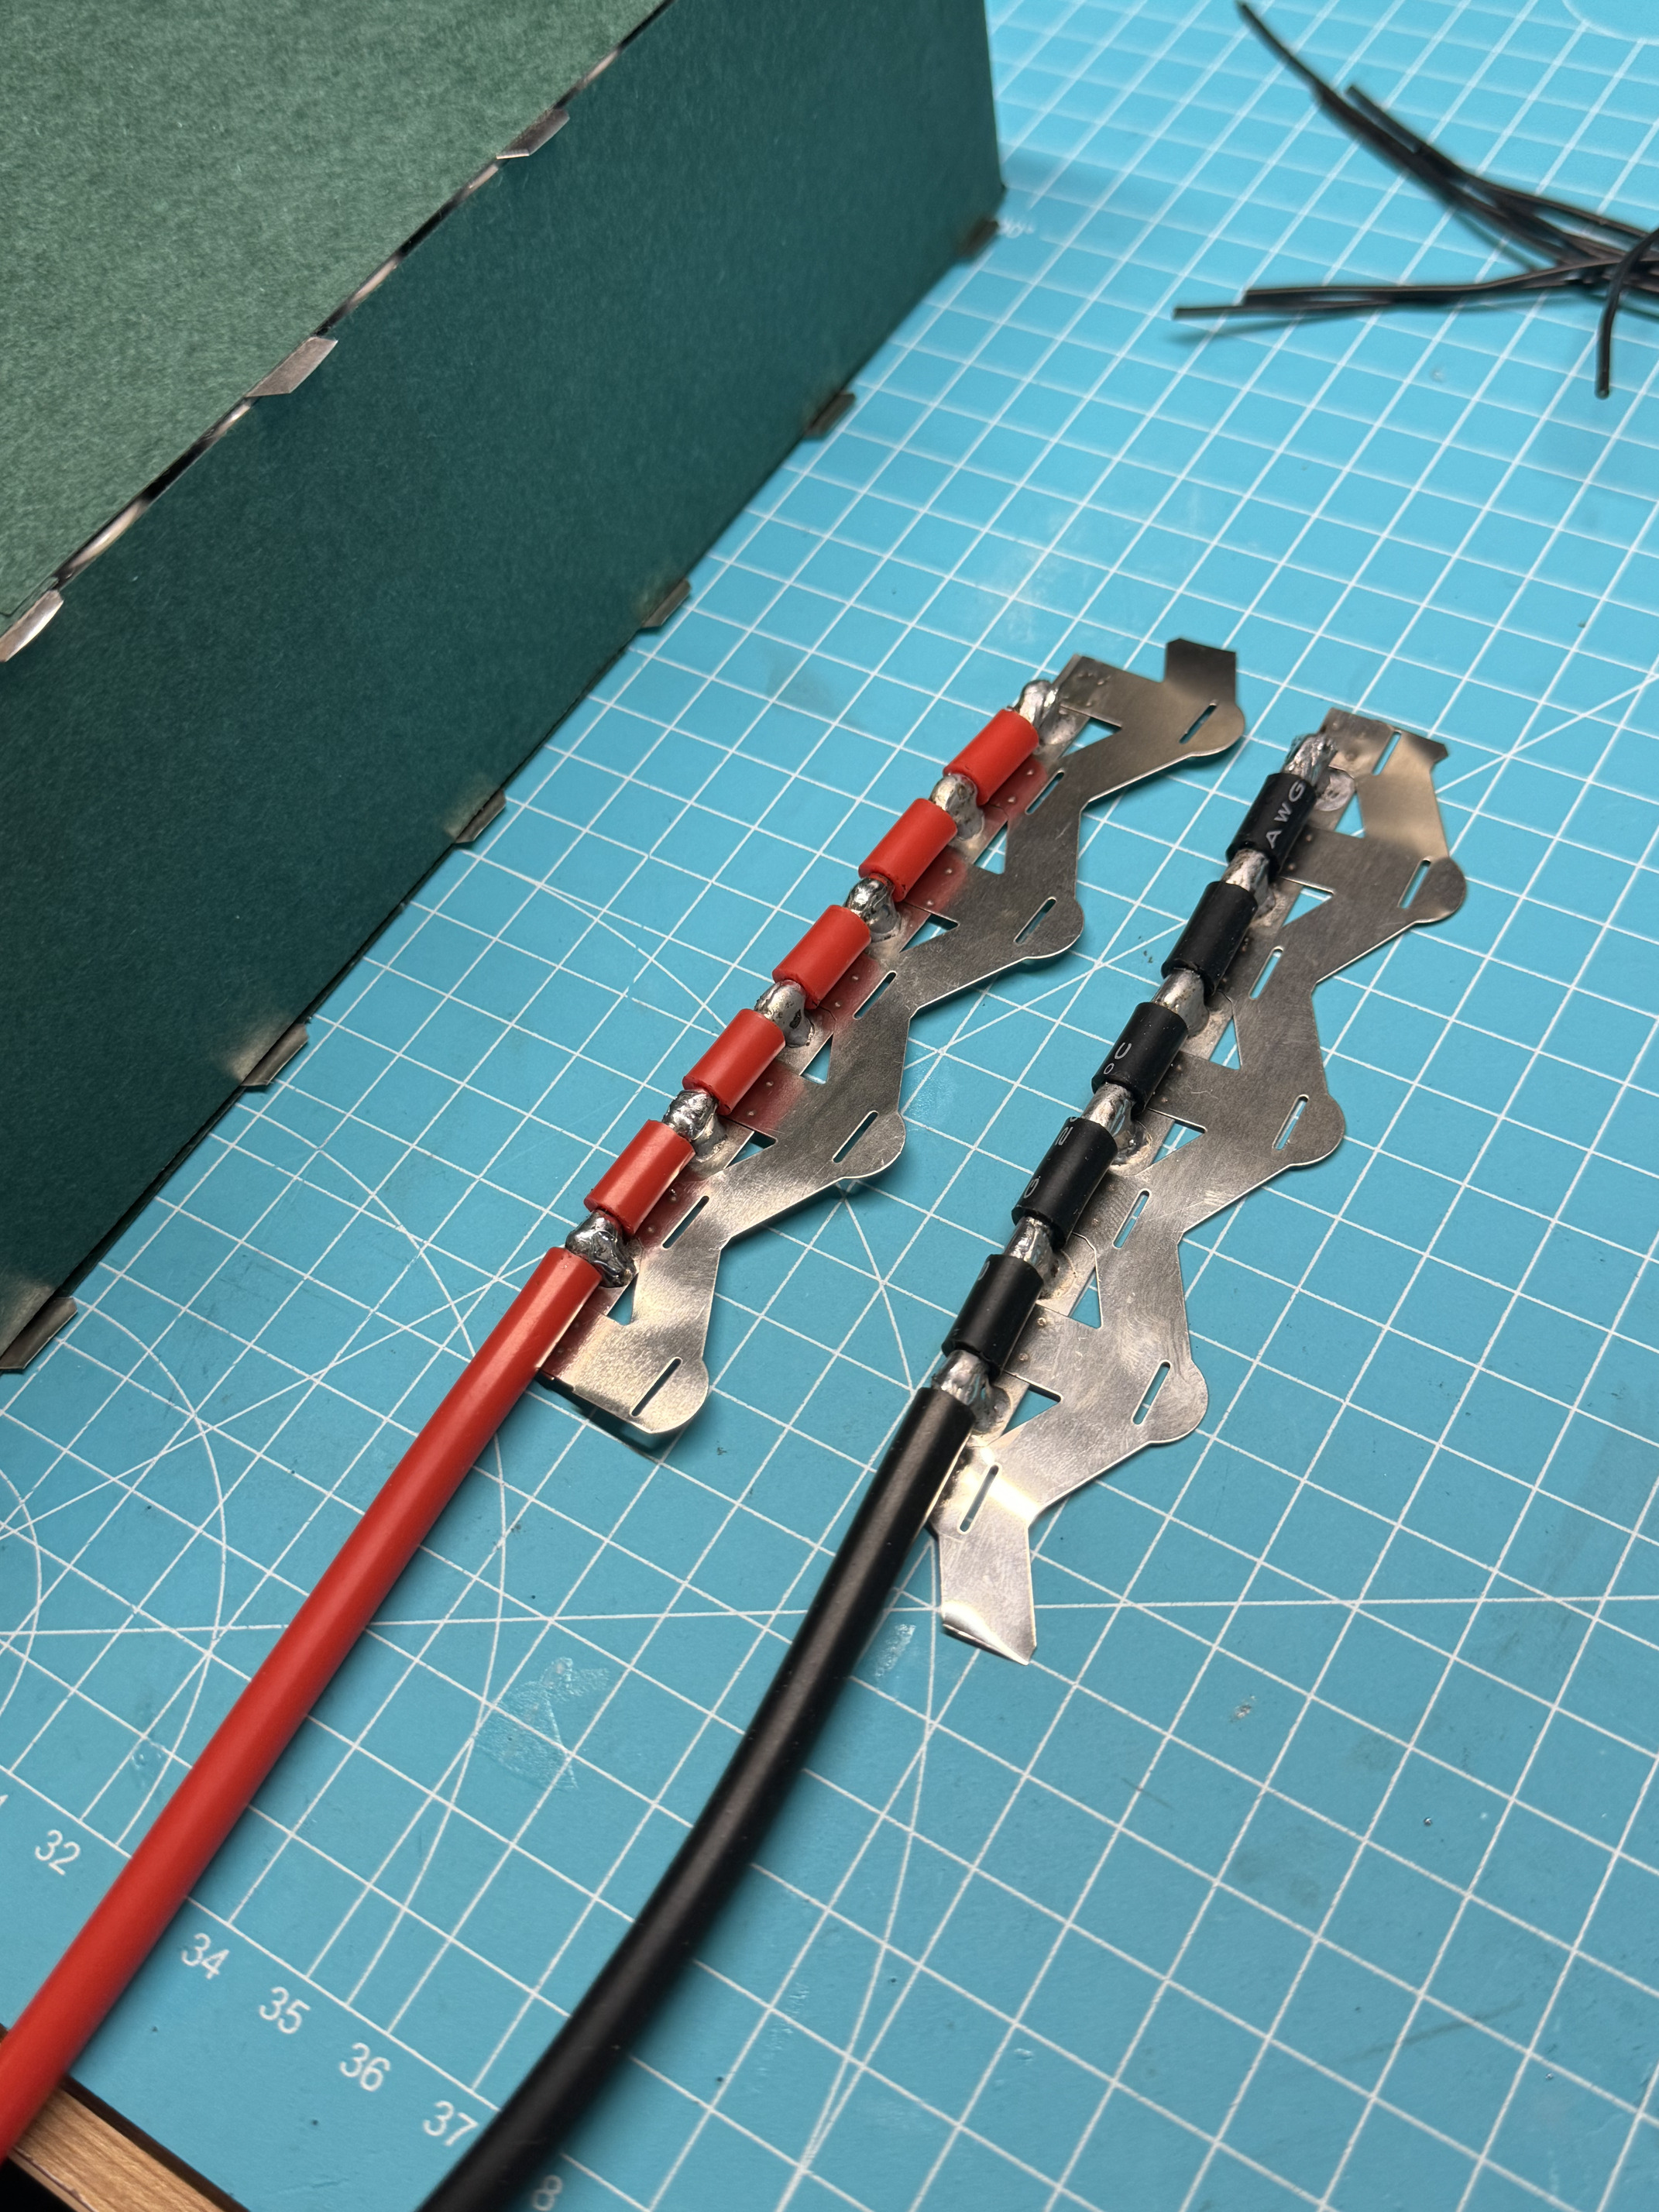
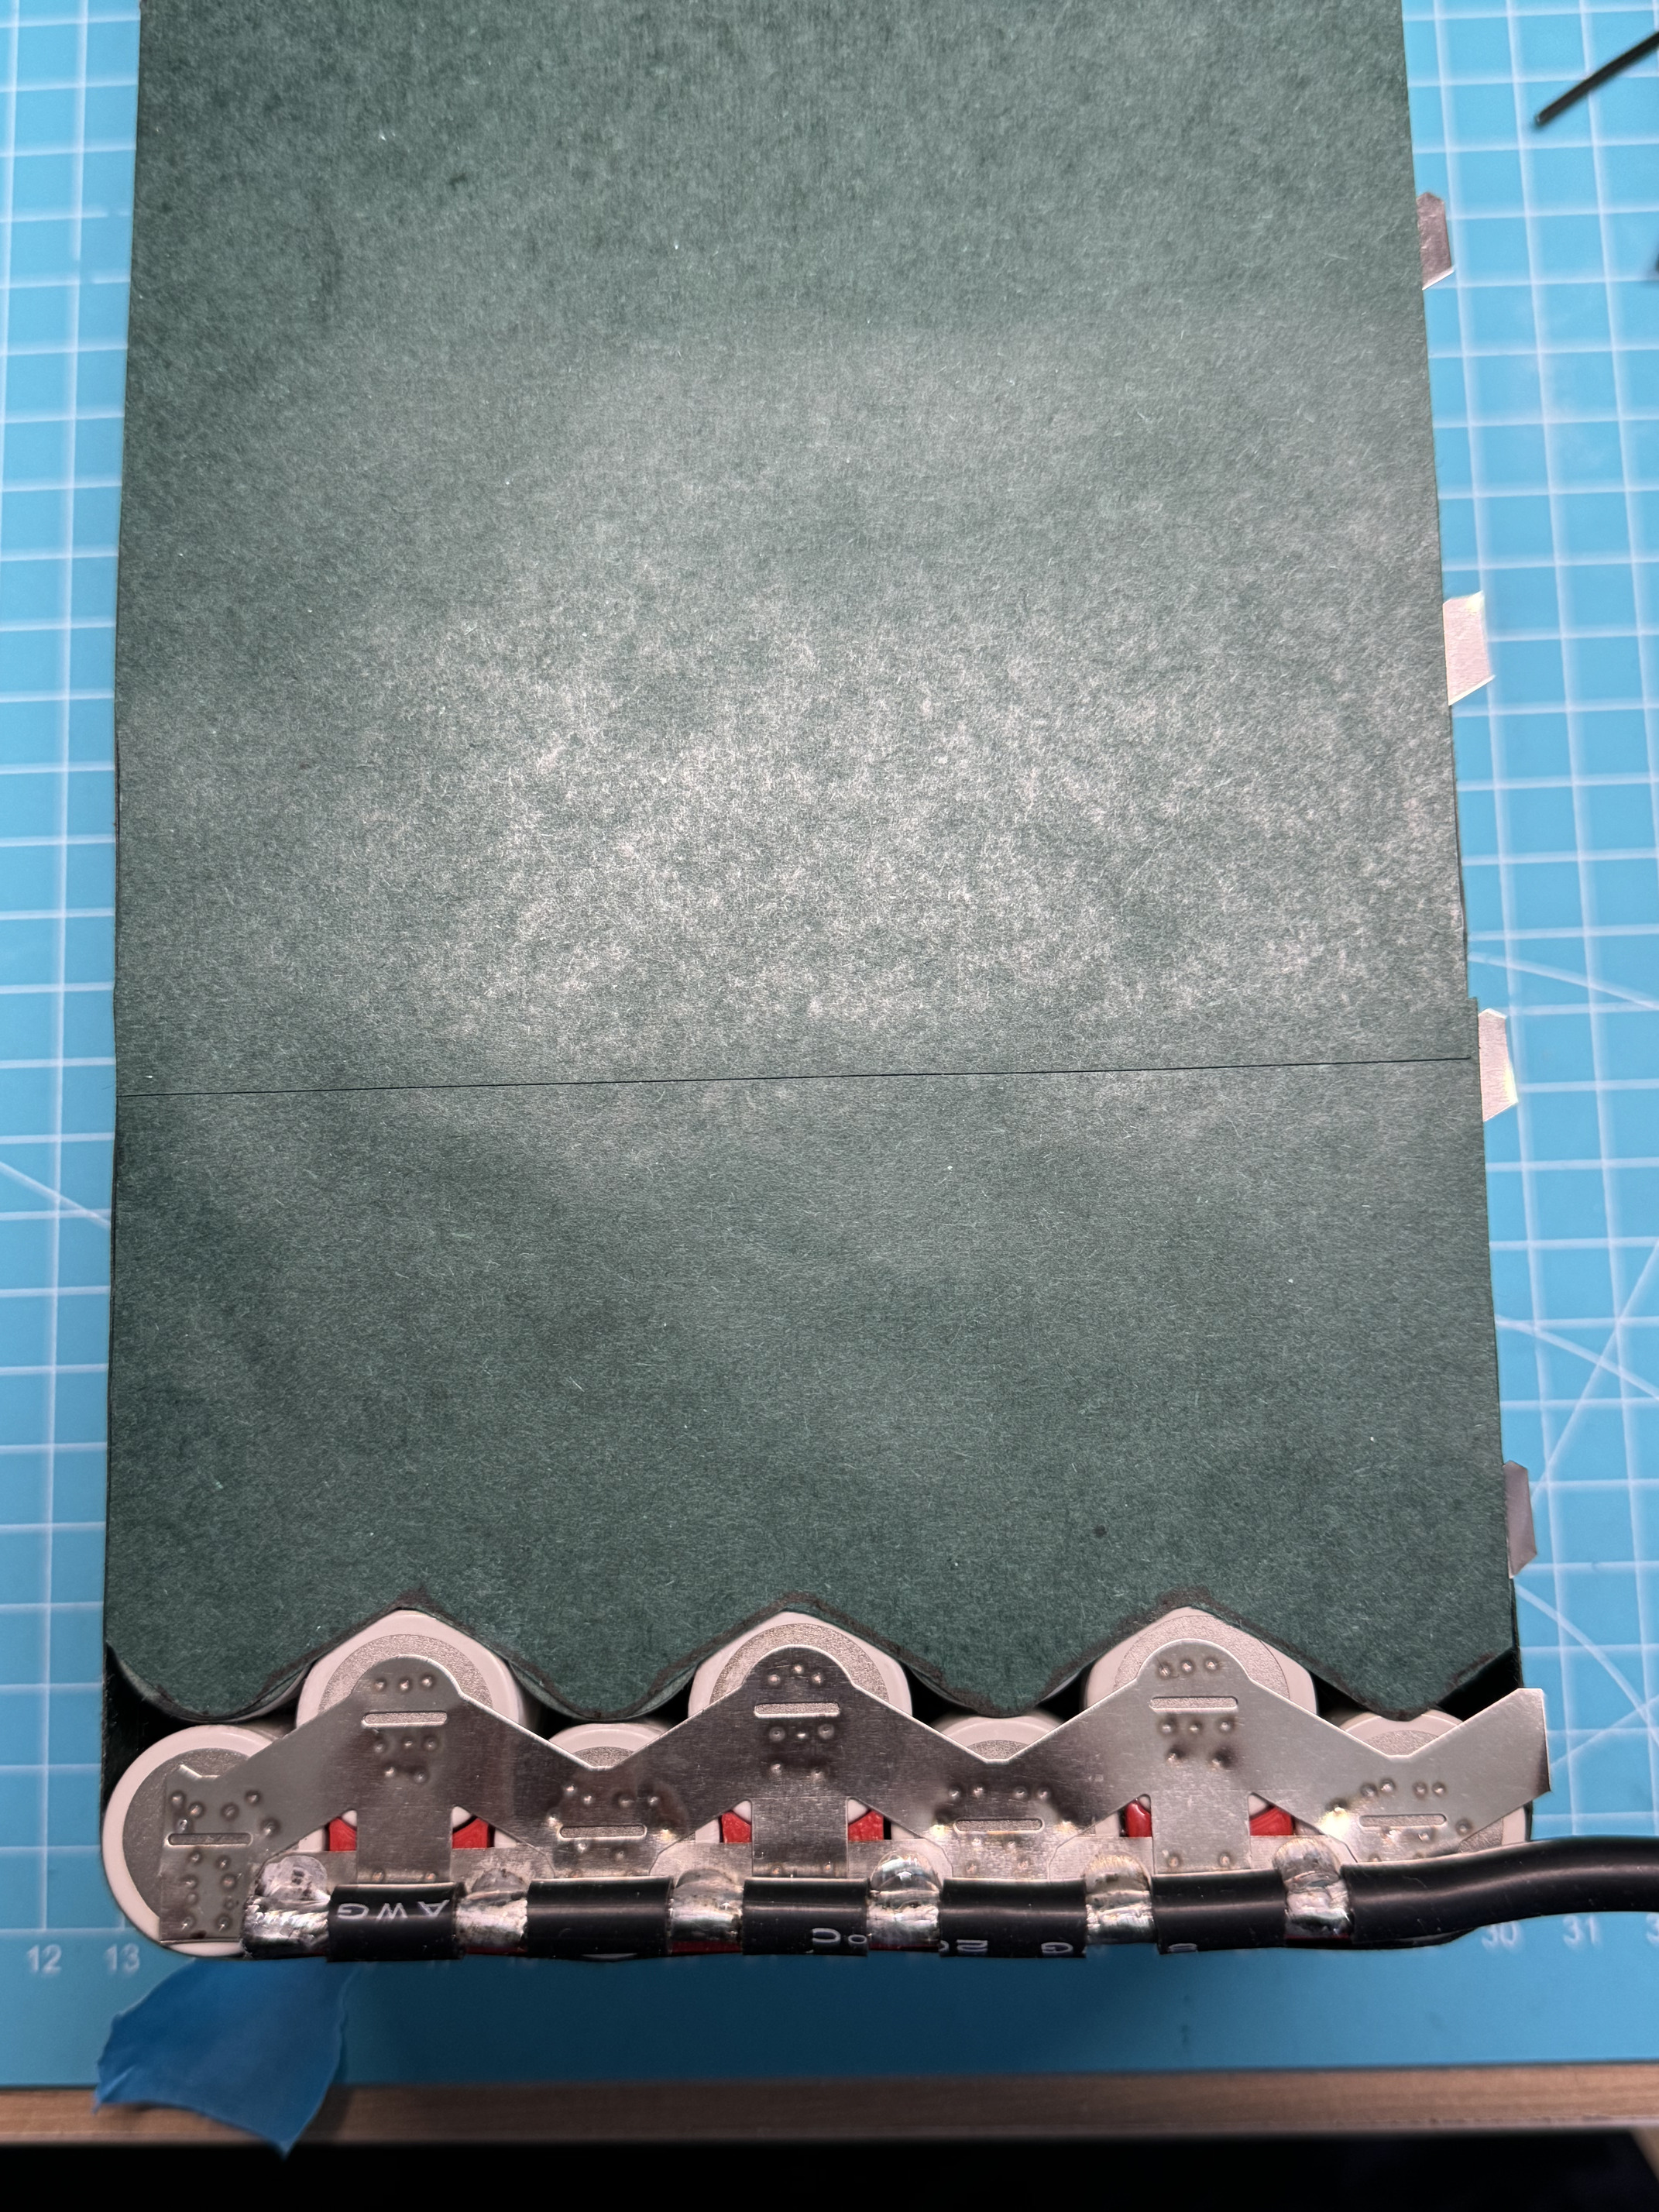
I used pure nickel w-tape 0.2mm.


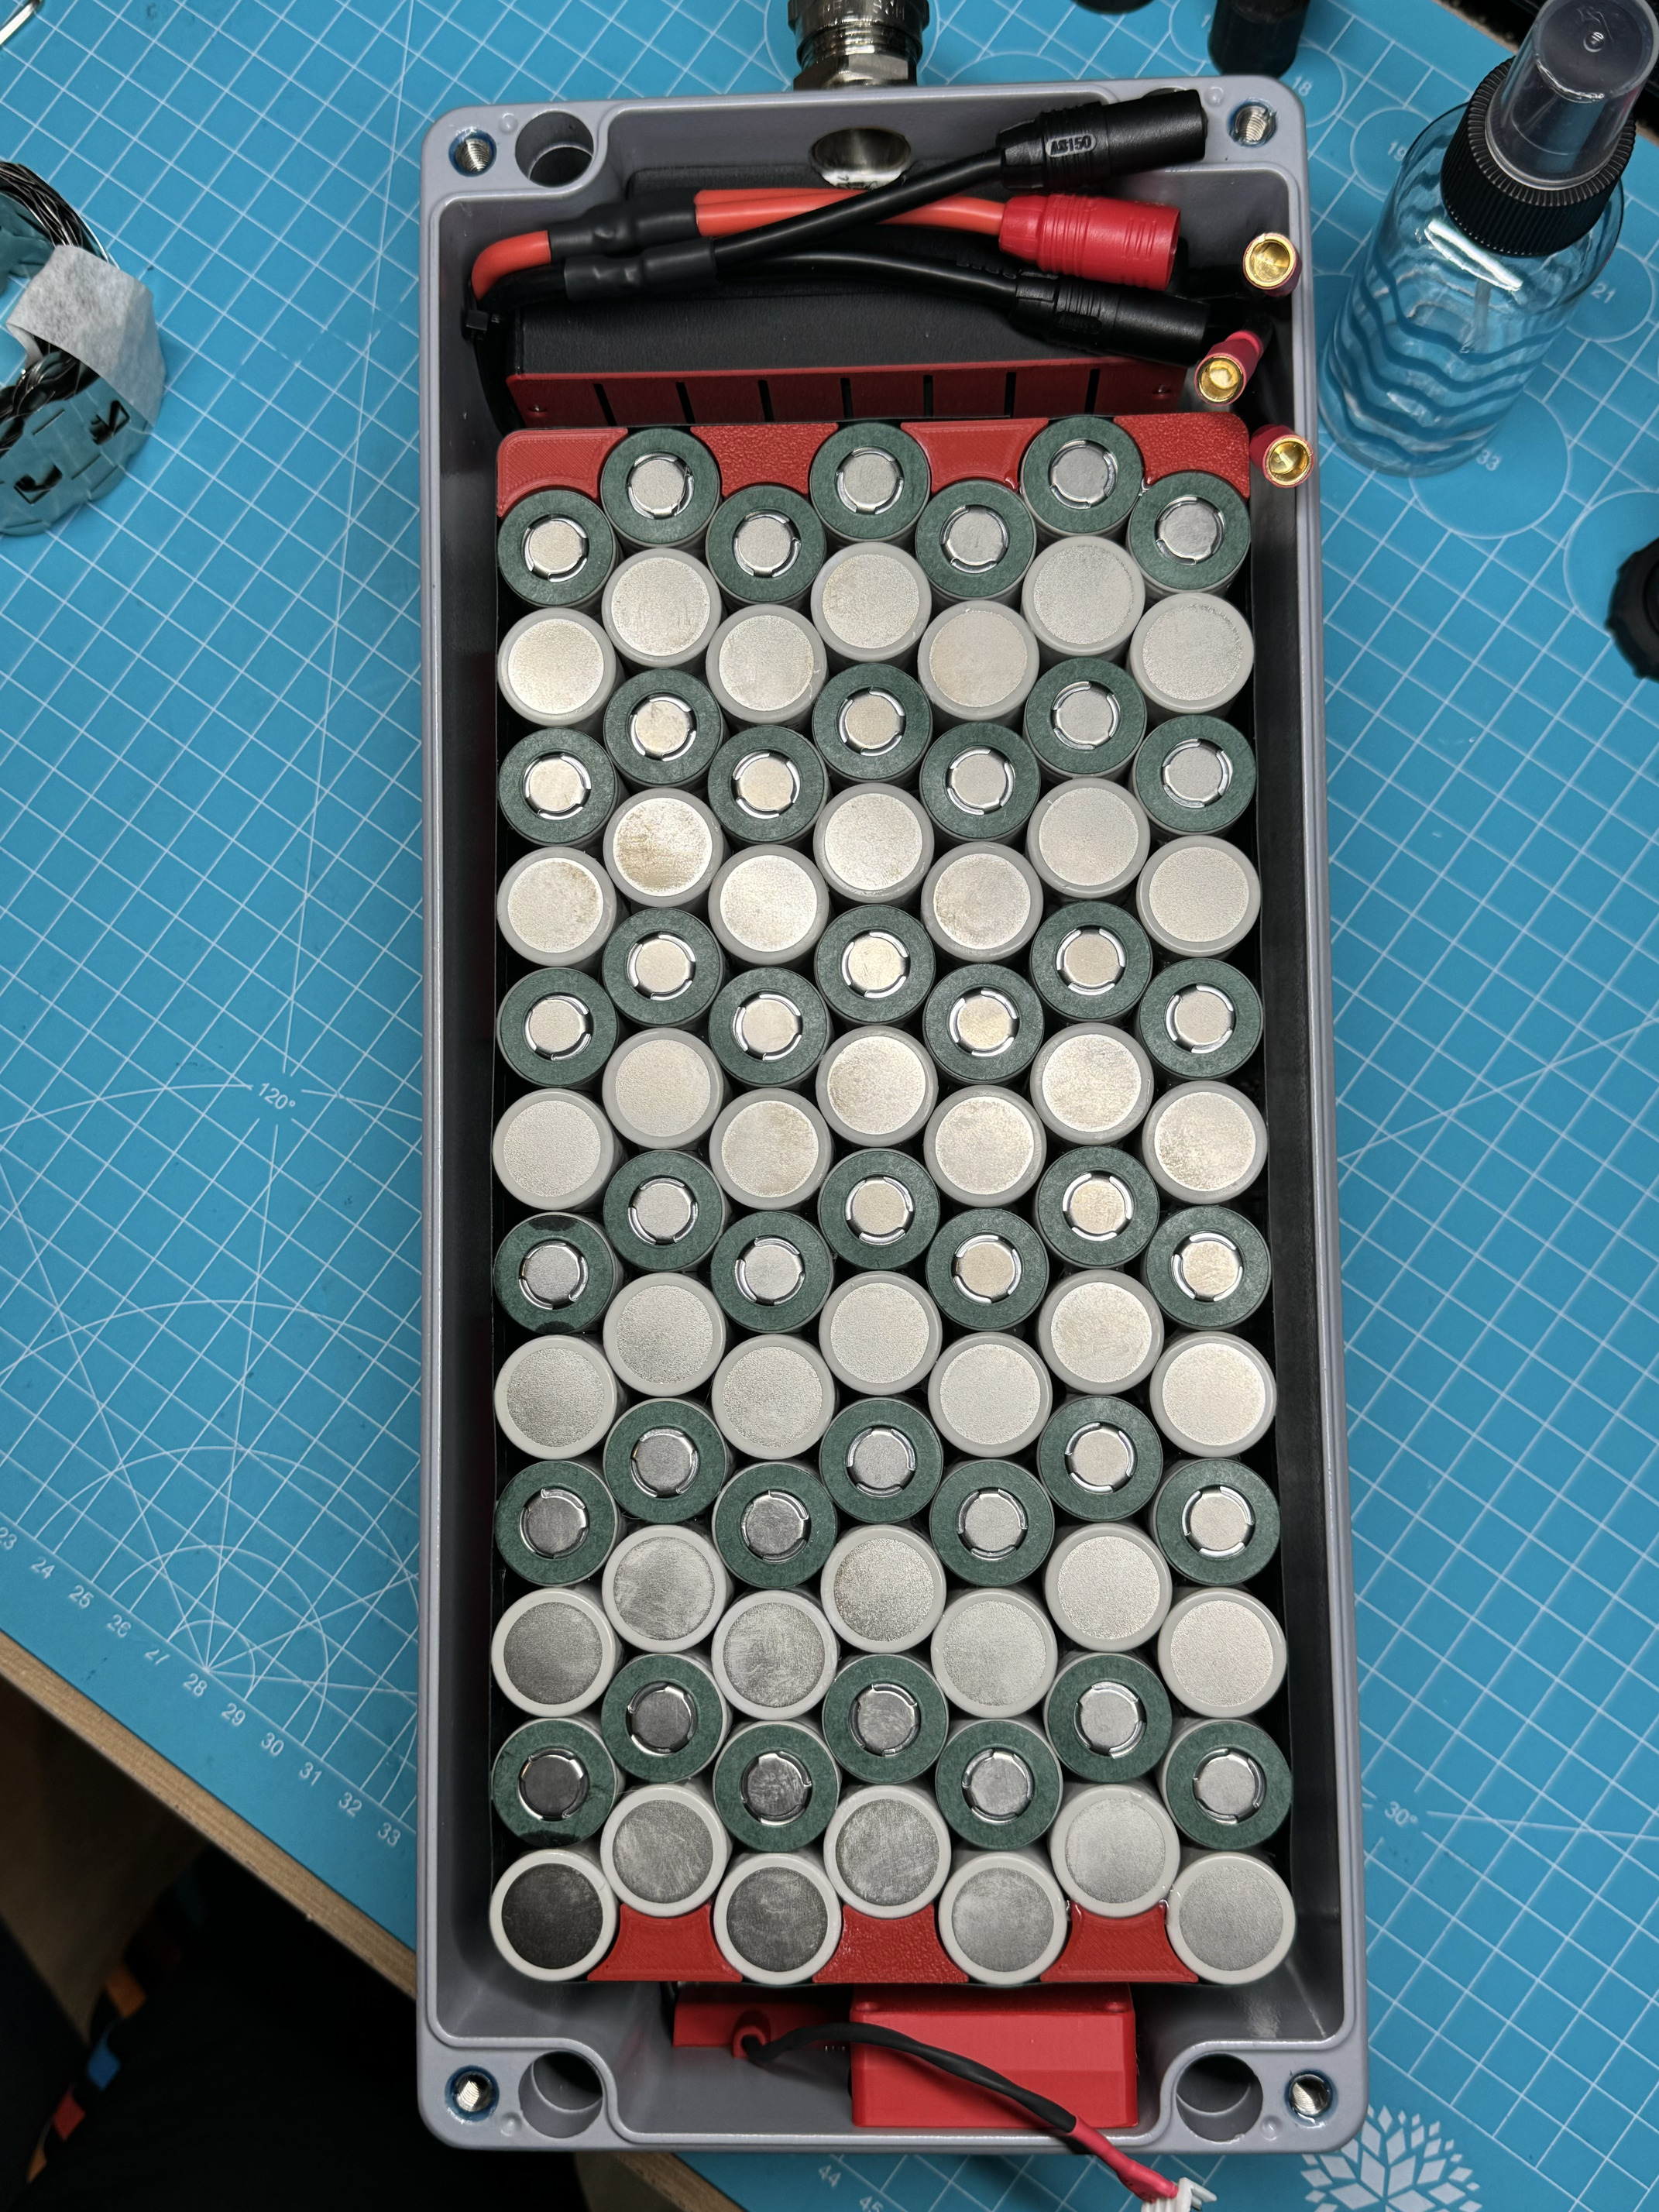
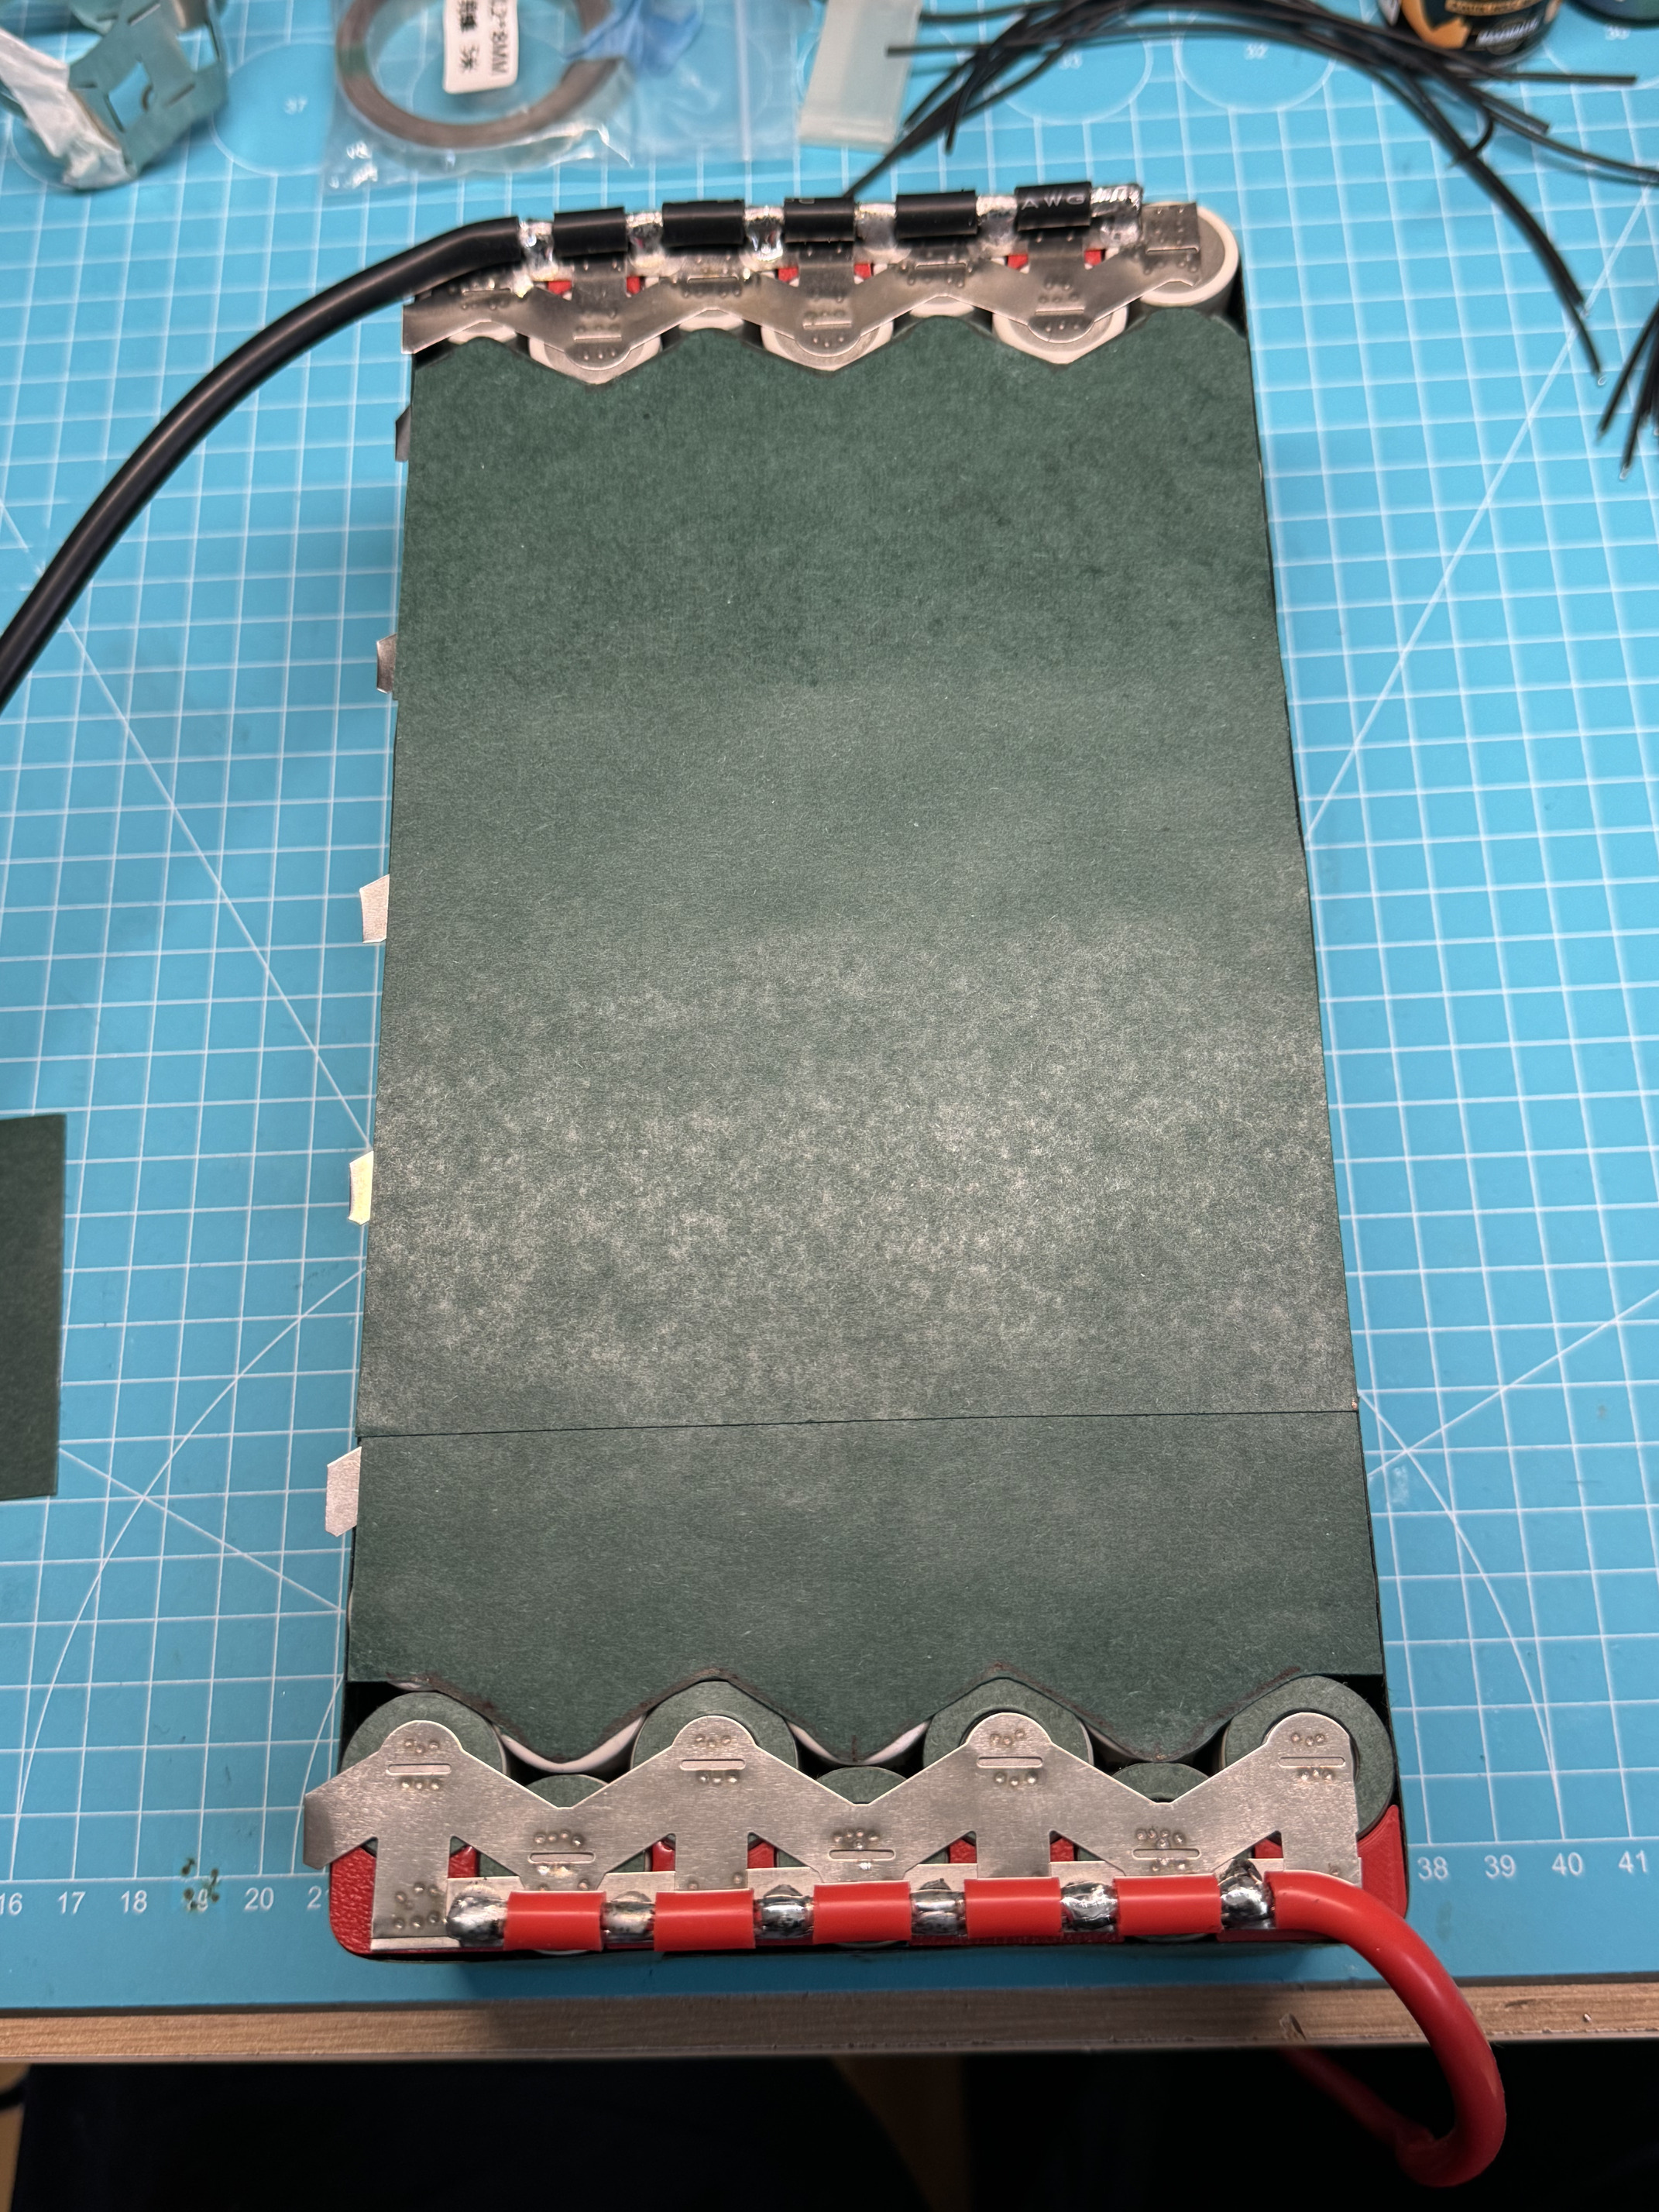
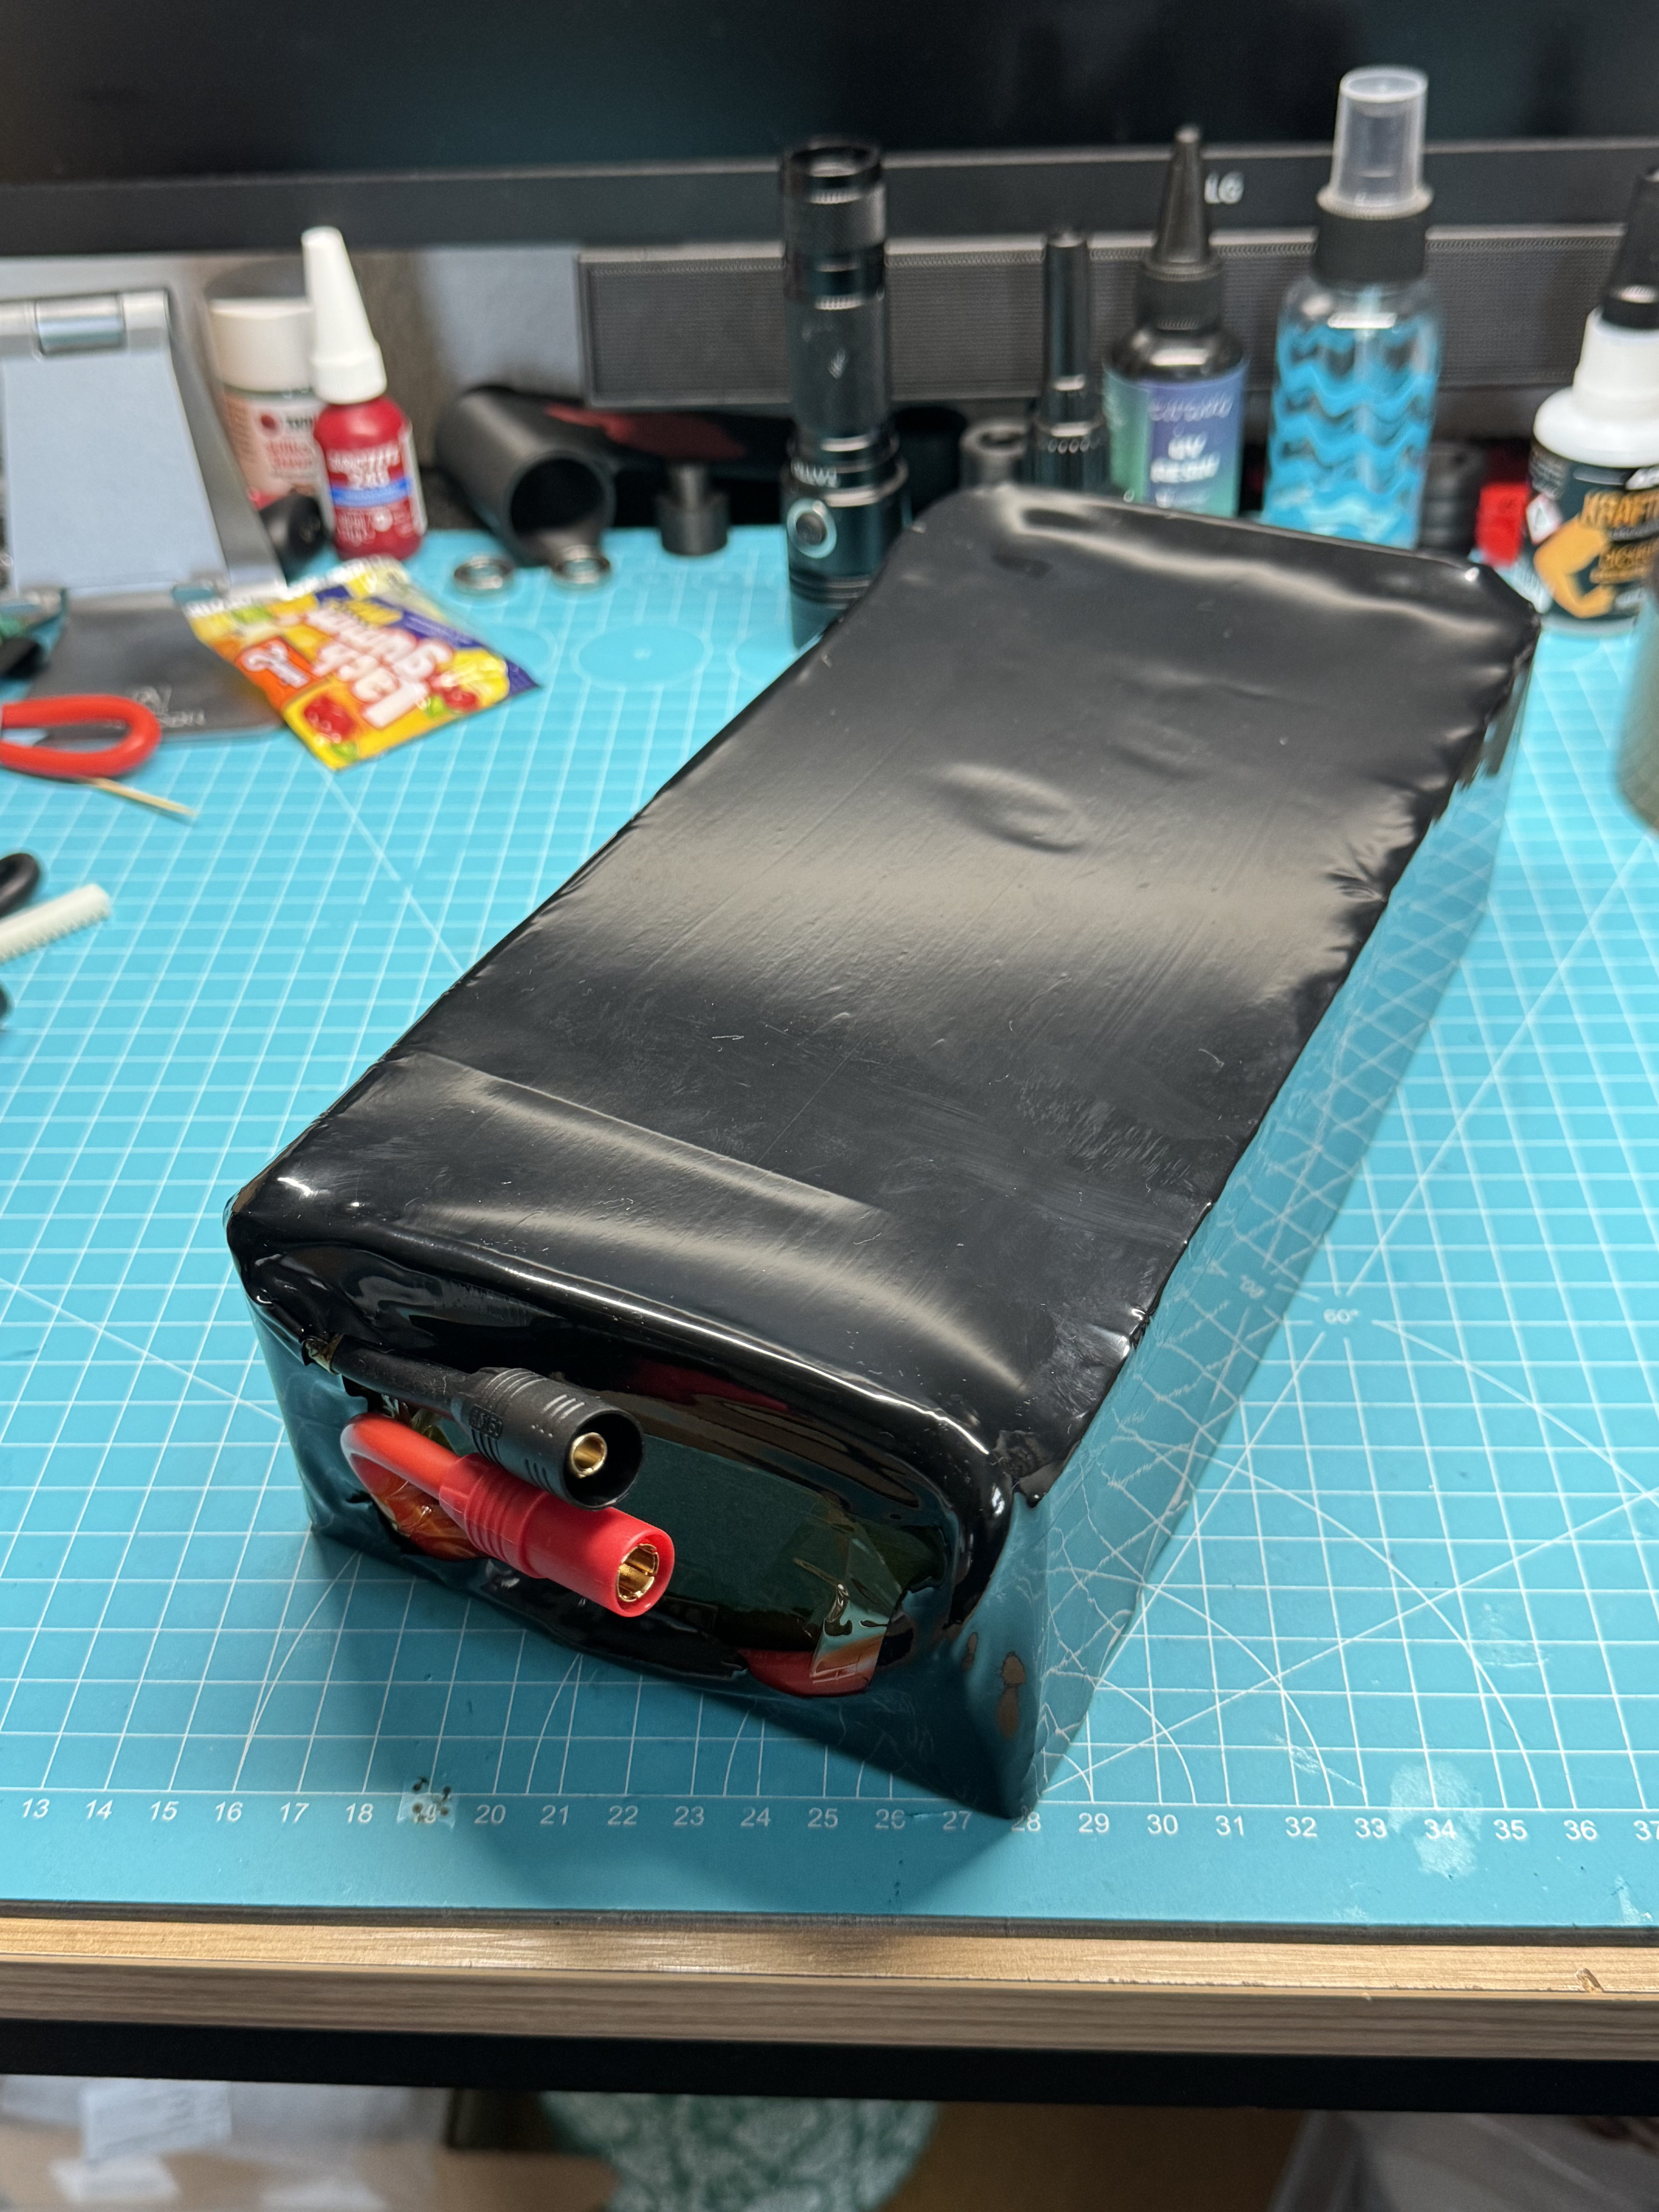
14 Likes
Look at that!!
That is some serious battery porn! ![]()
Great job for this tight fit…
Thank you for your inspiration during this project!
3 Likes
Tidy battery build. With no cell spacing, and vibration, do you think the cell wrapping could eventually wear through and short two cells together?
3 Likes
No, I’m not worried about that at all.
The nickel band means that no movement at all can take place between the cells.
In addition, the cells are glued to each other with hot glue and UV resin.
1 Like
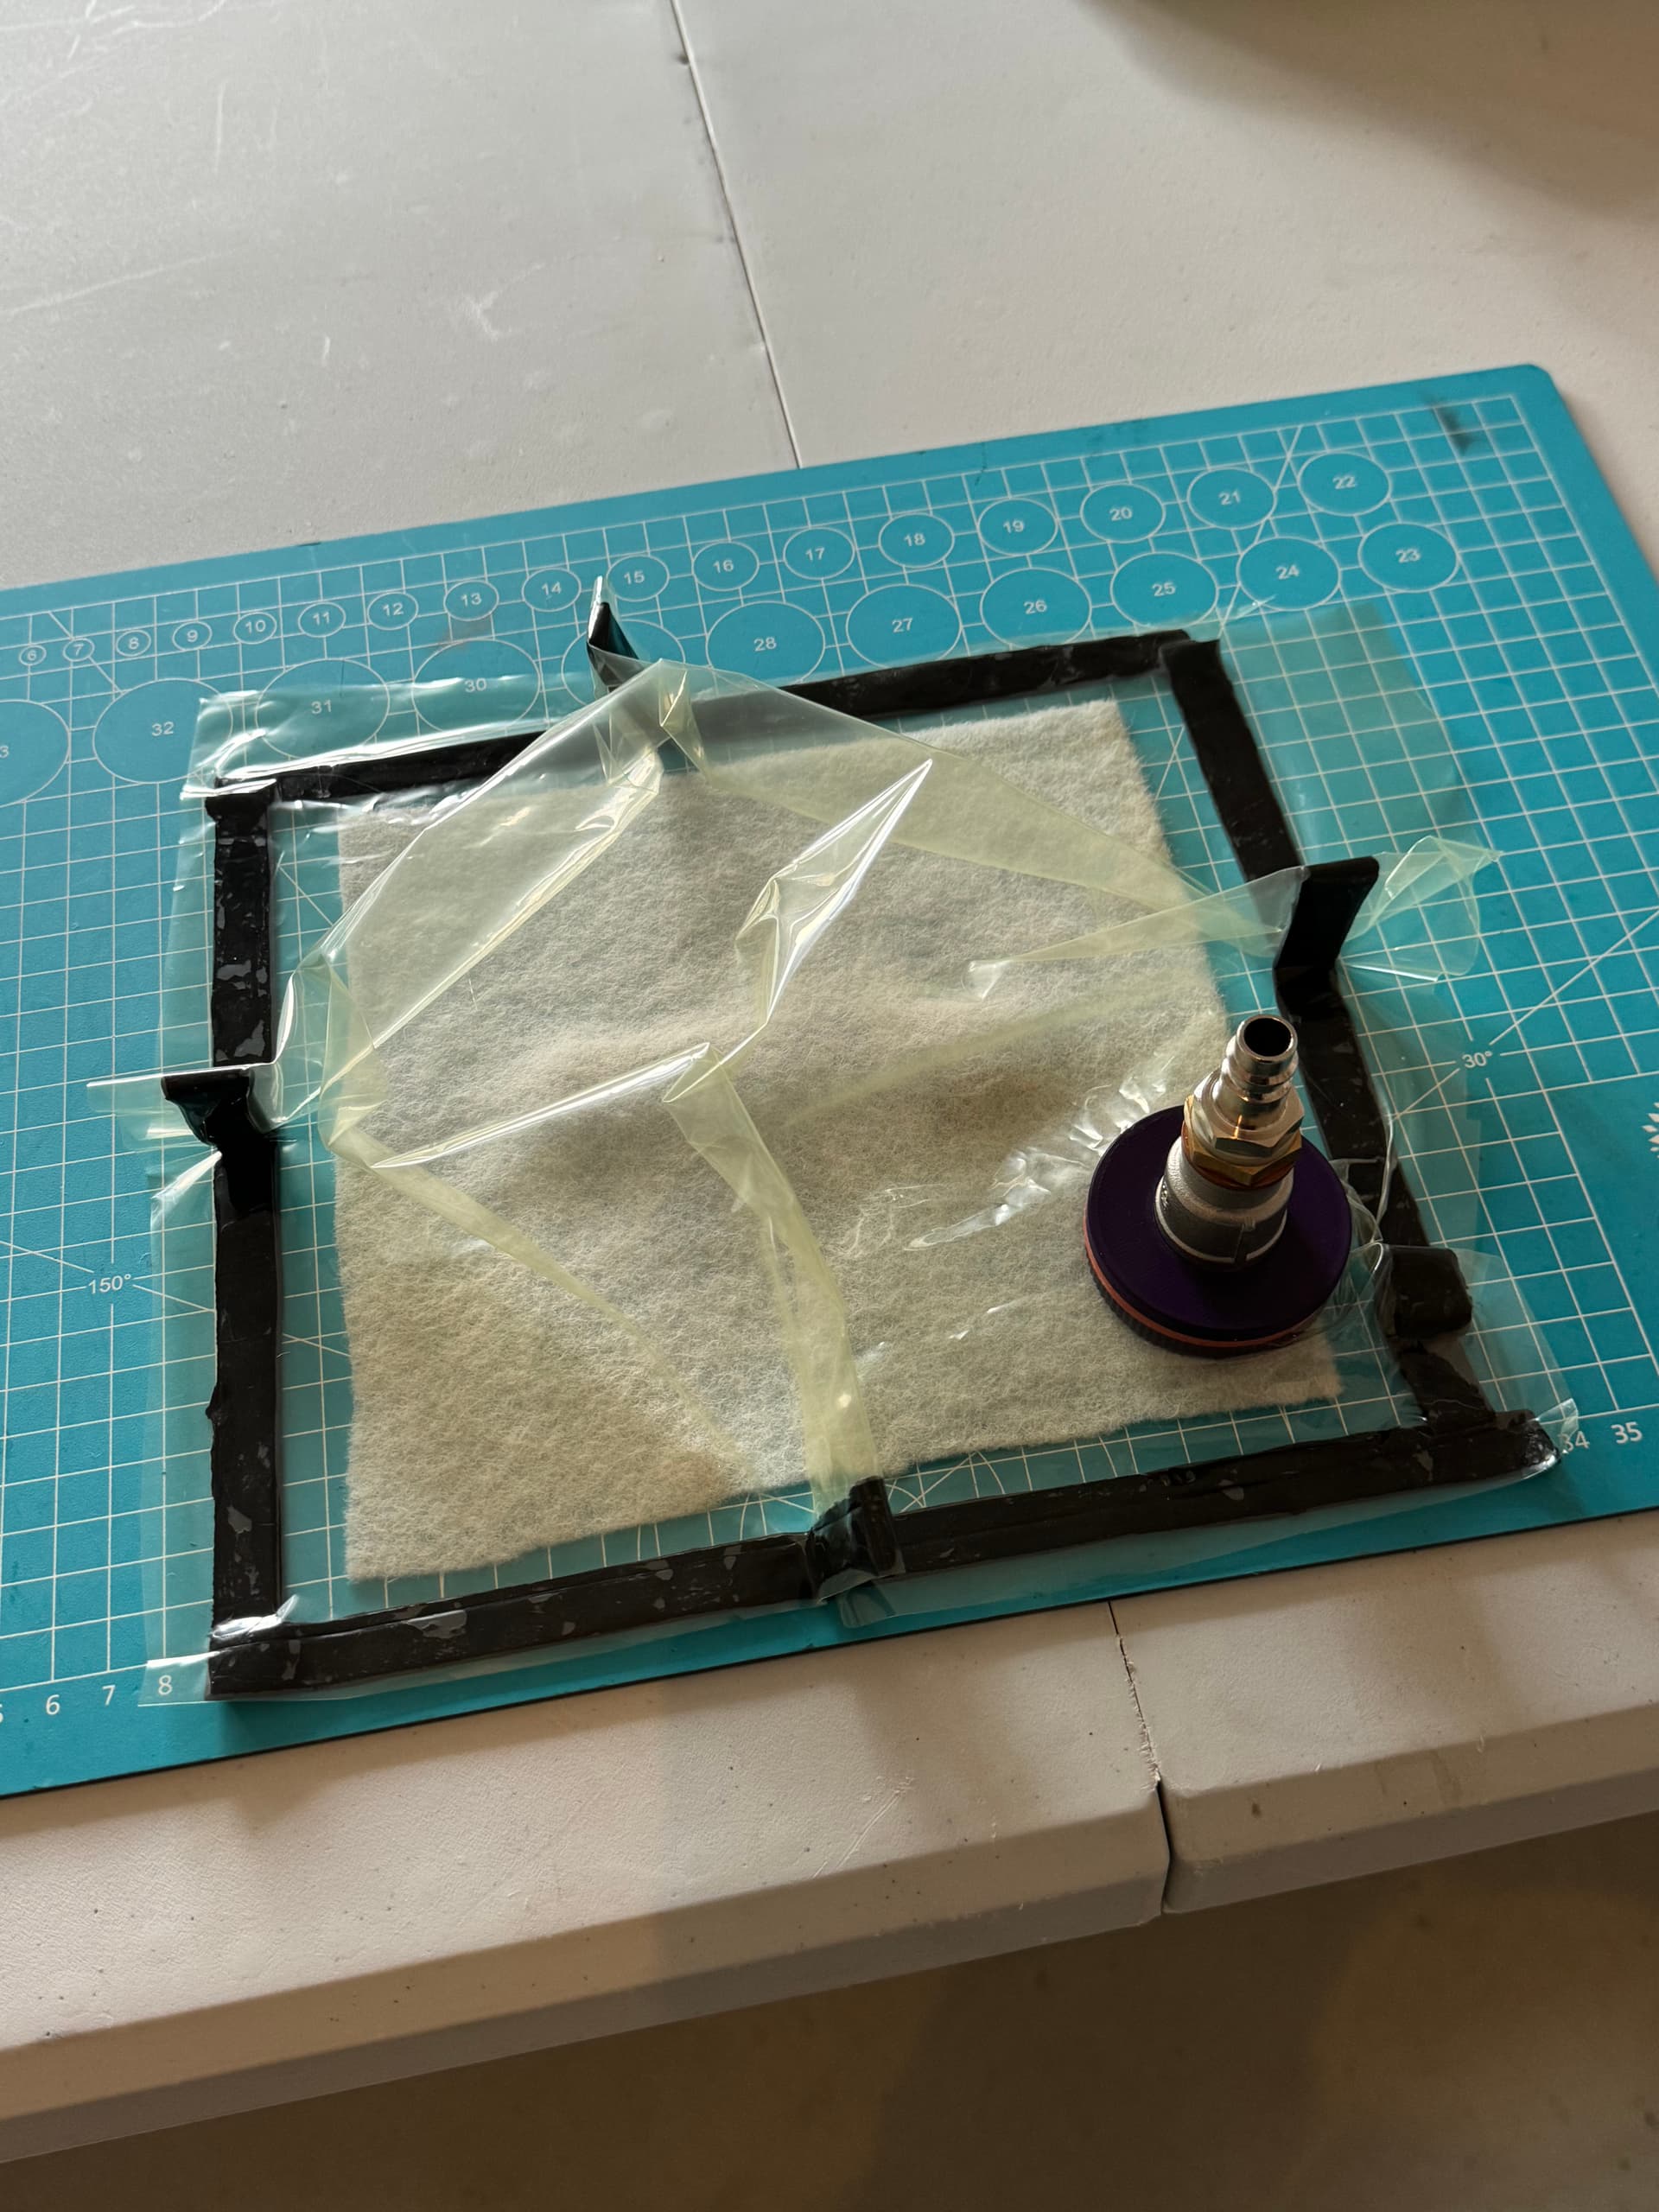
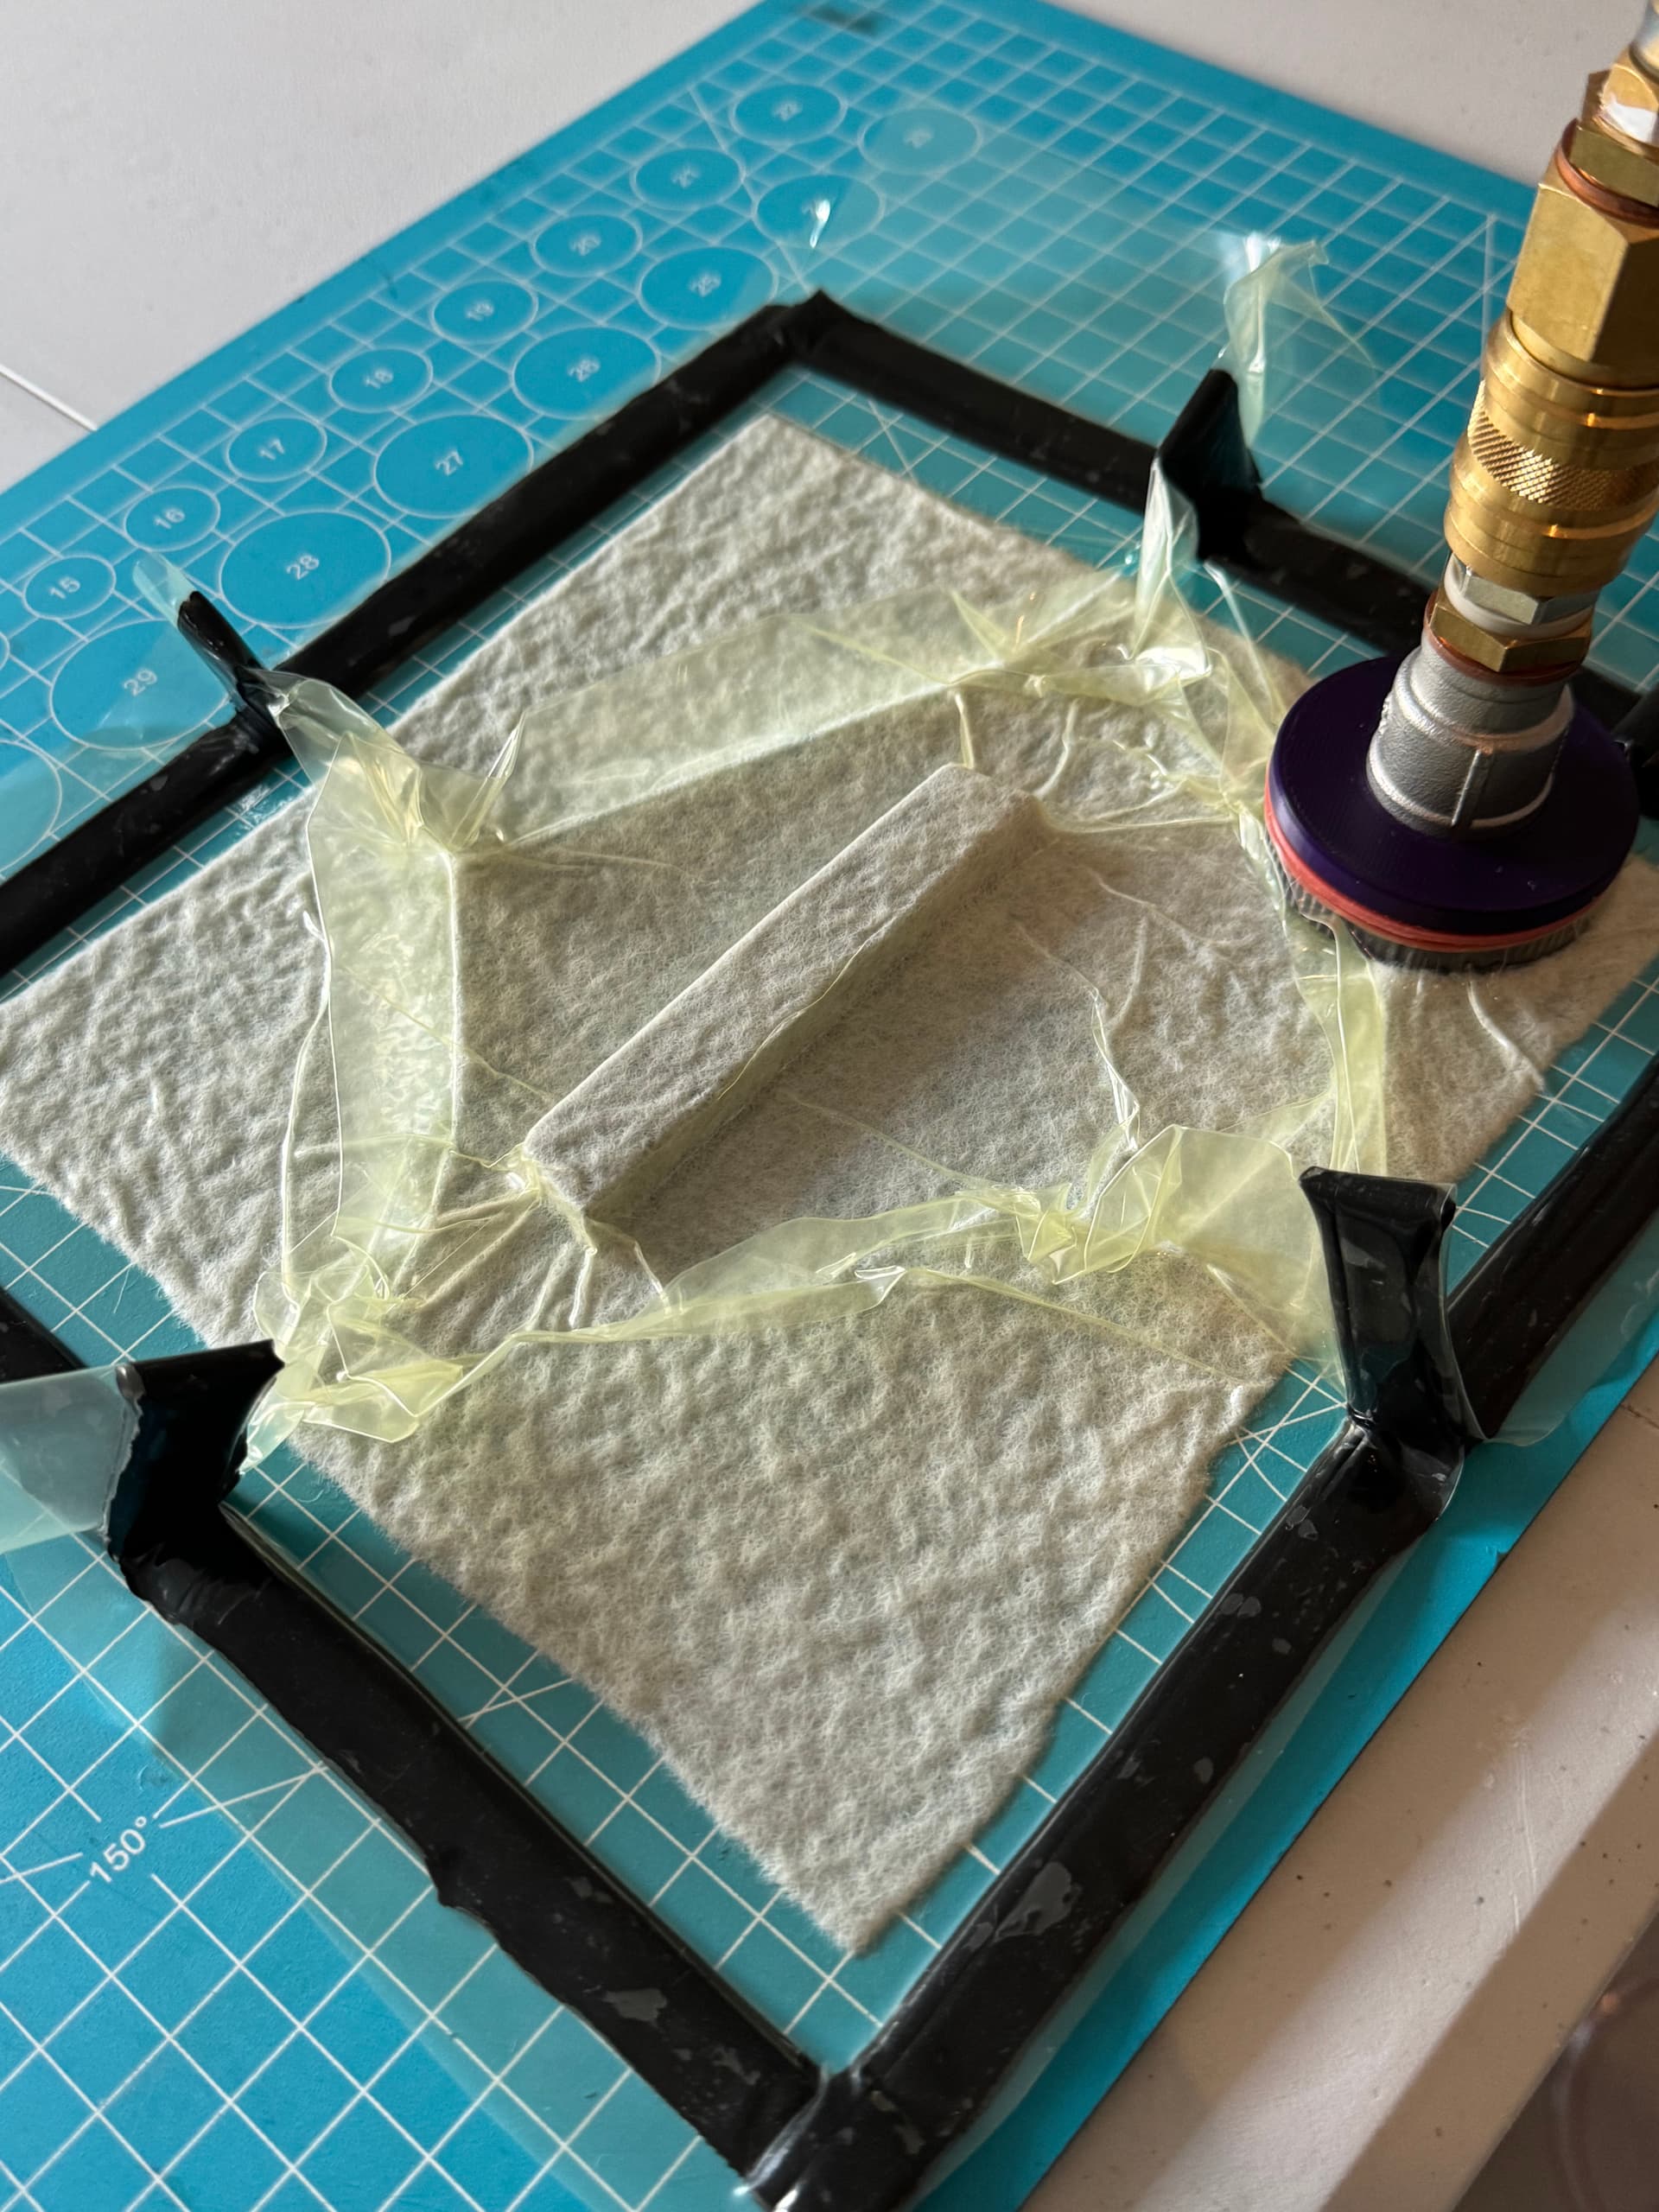
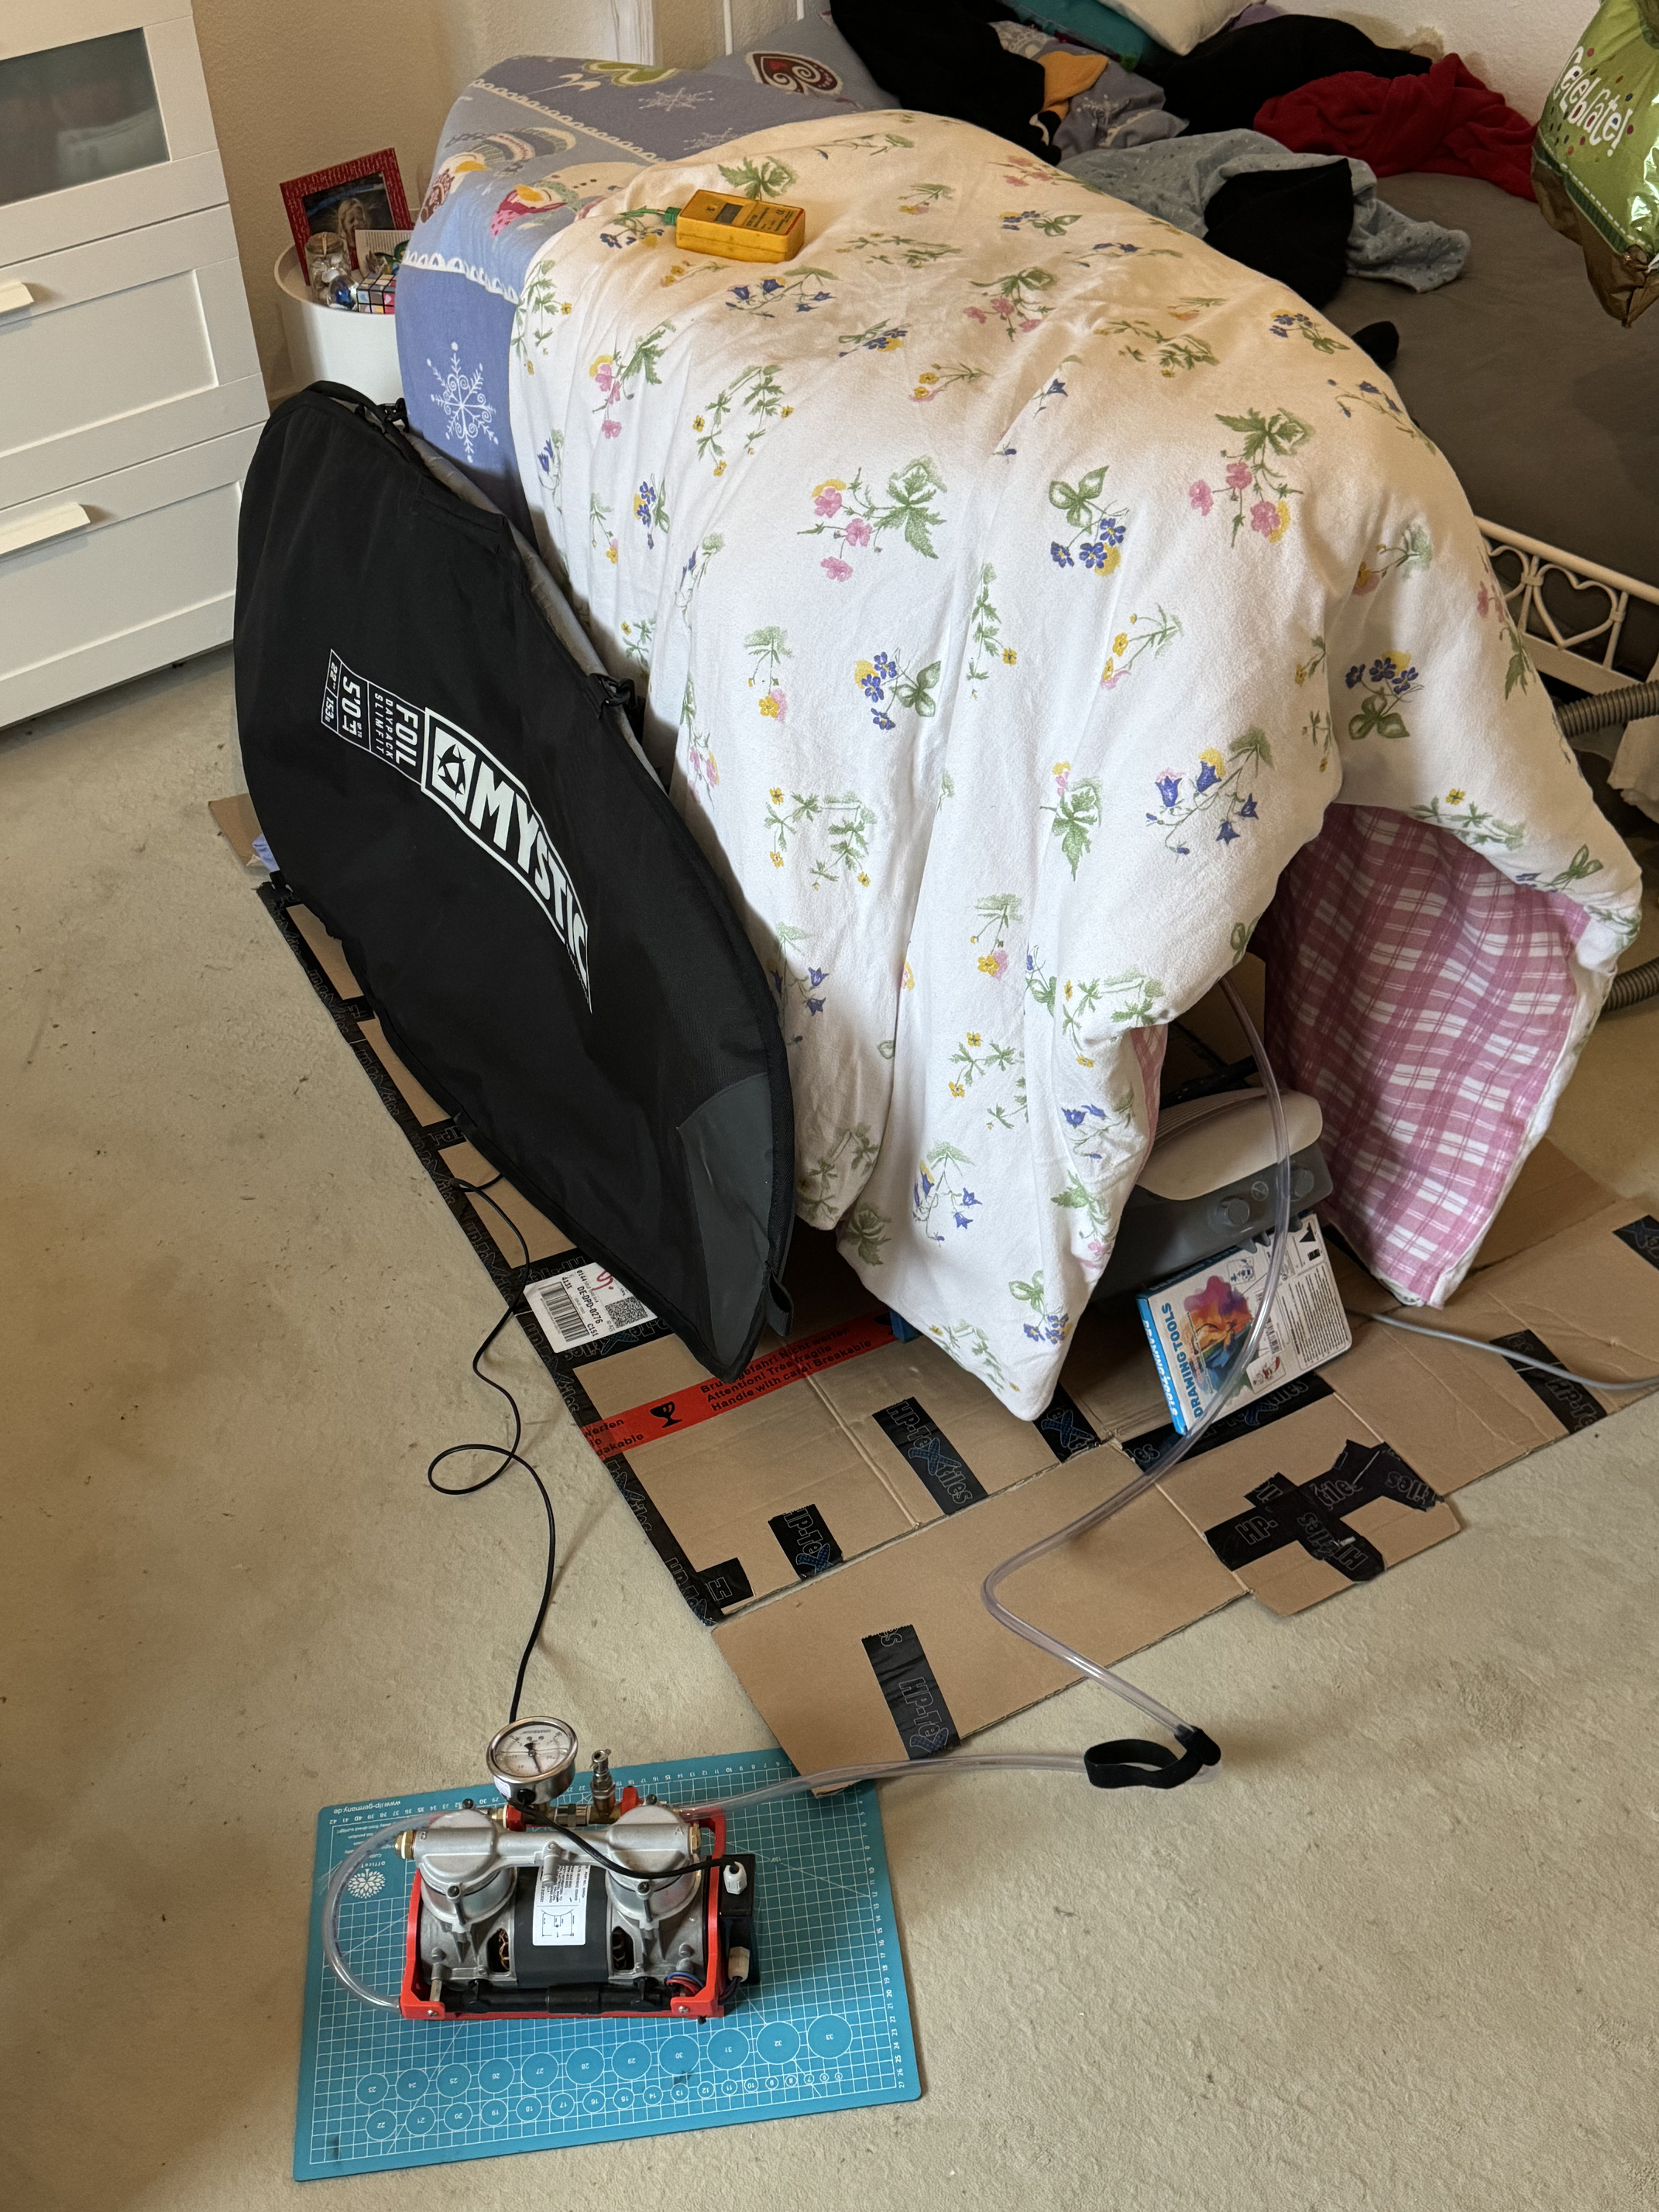
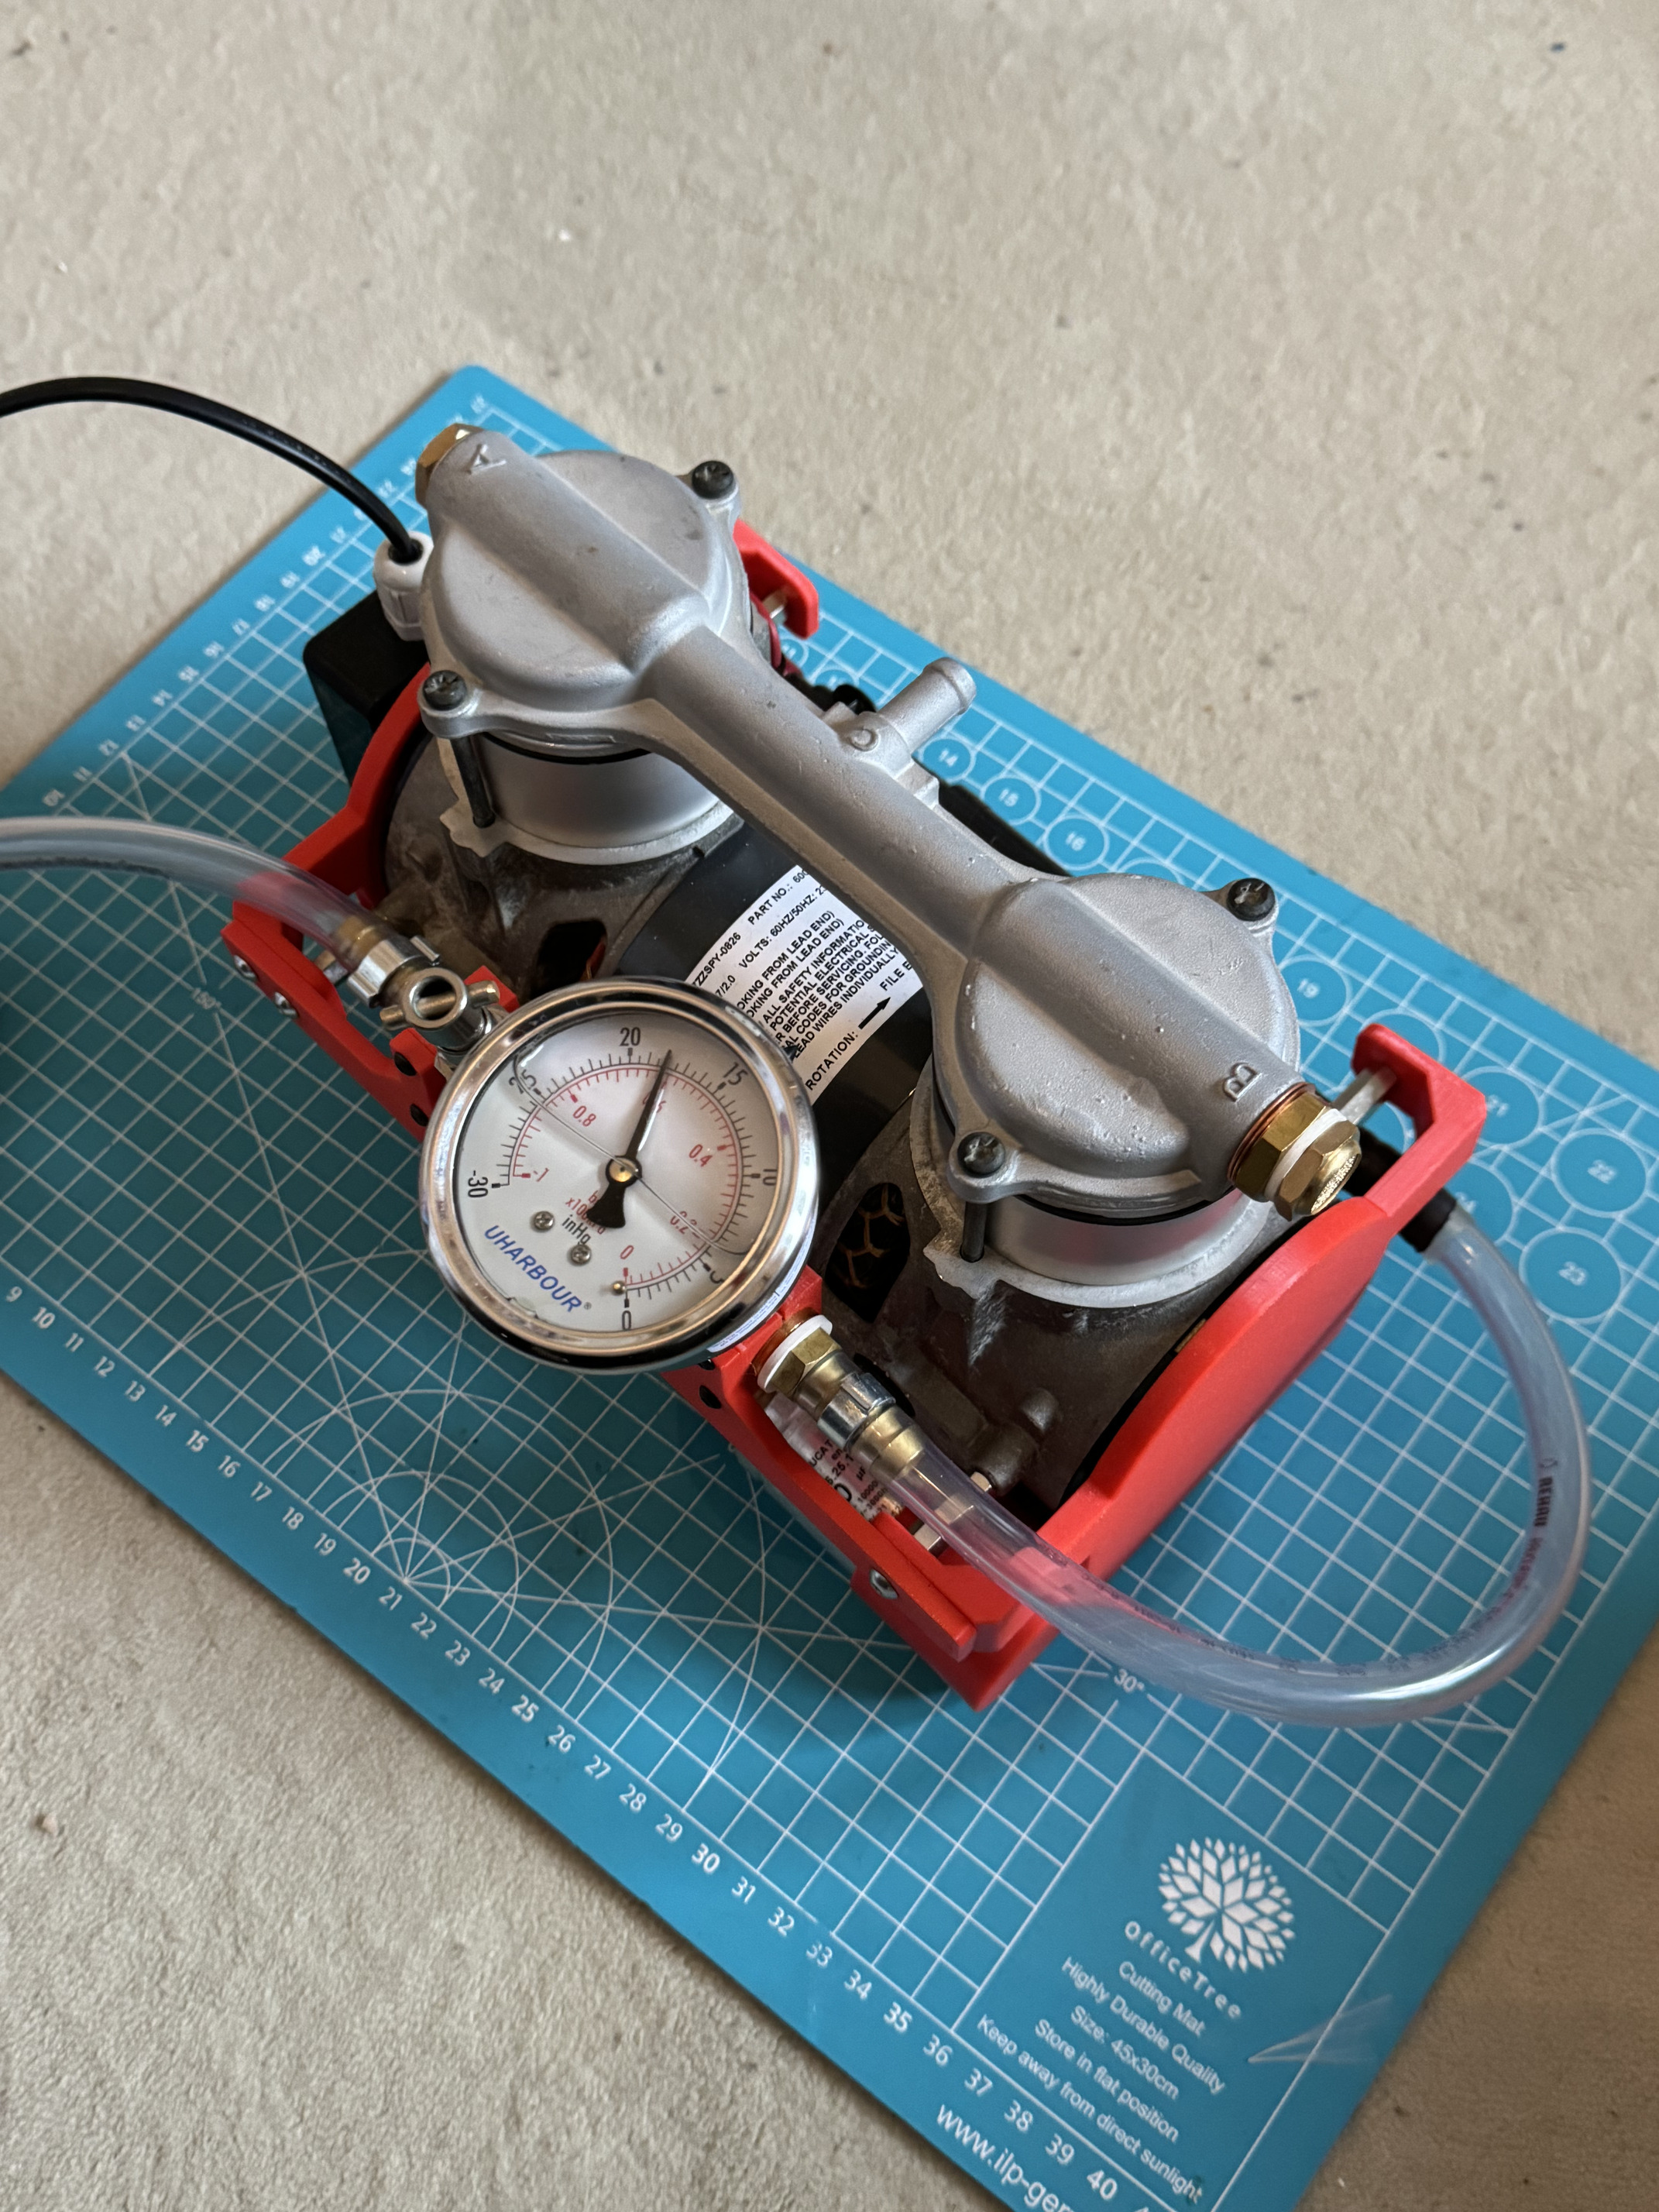
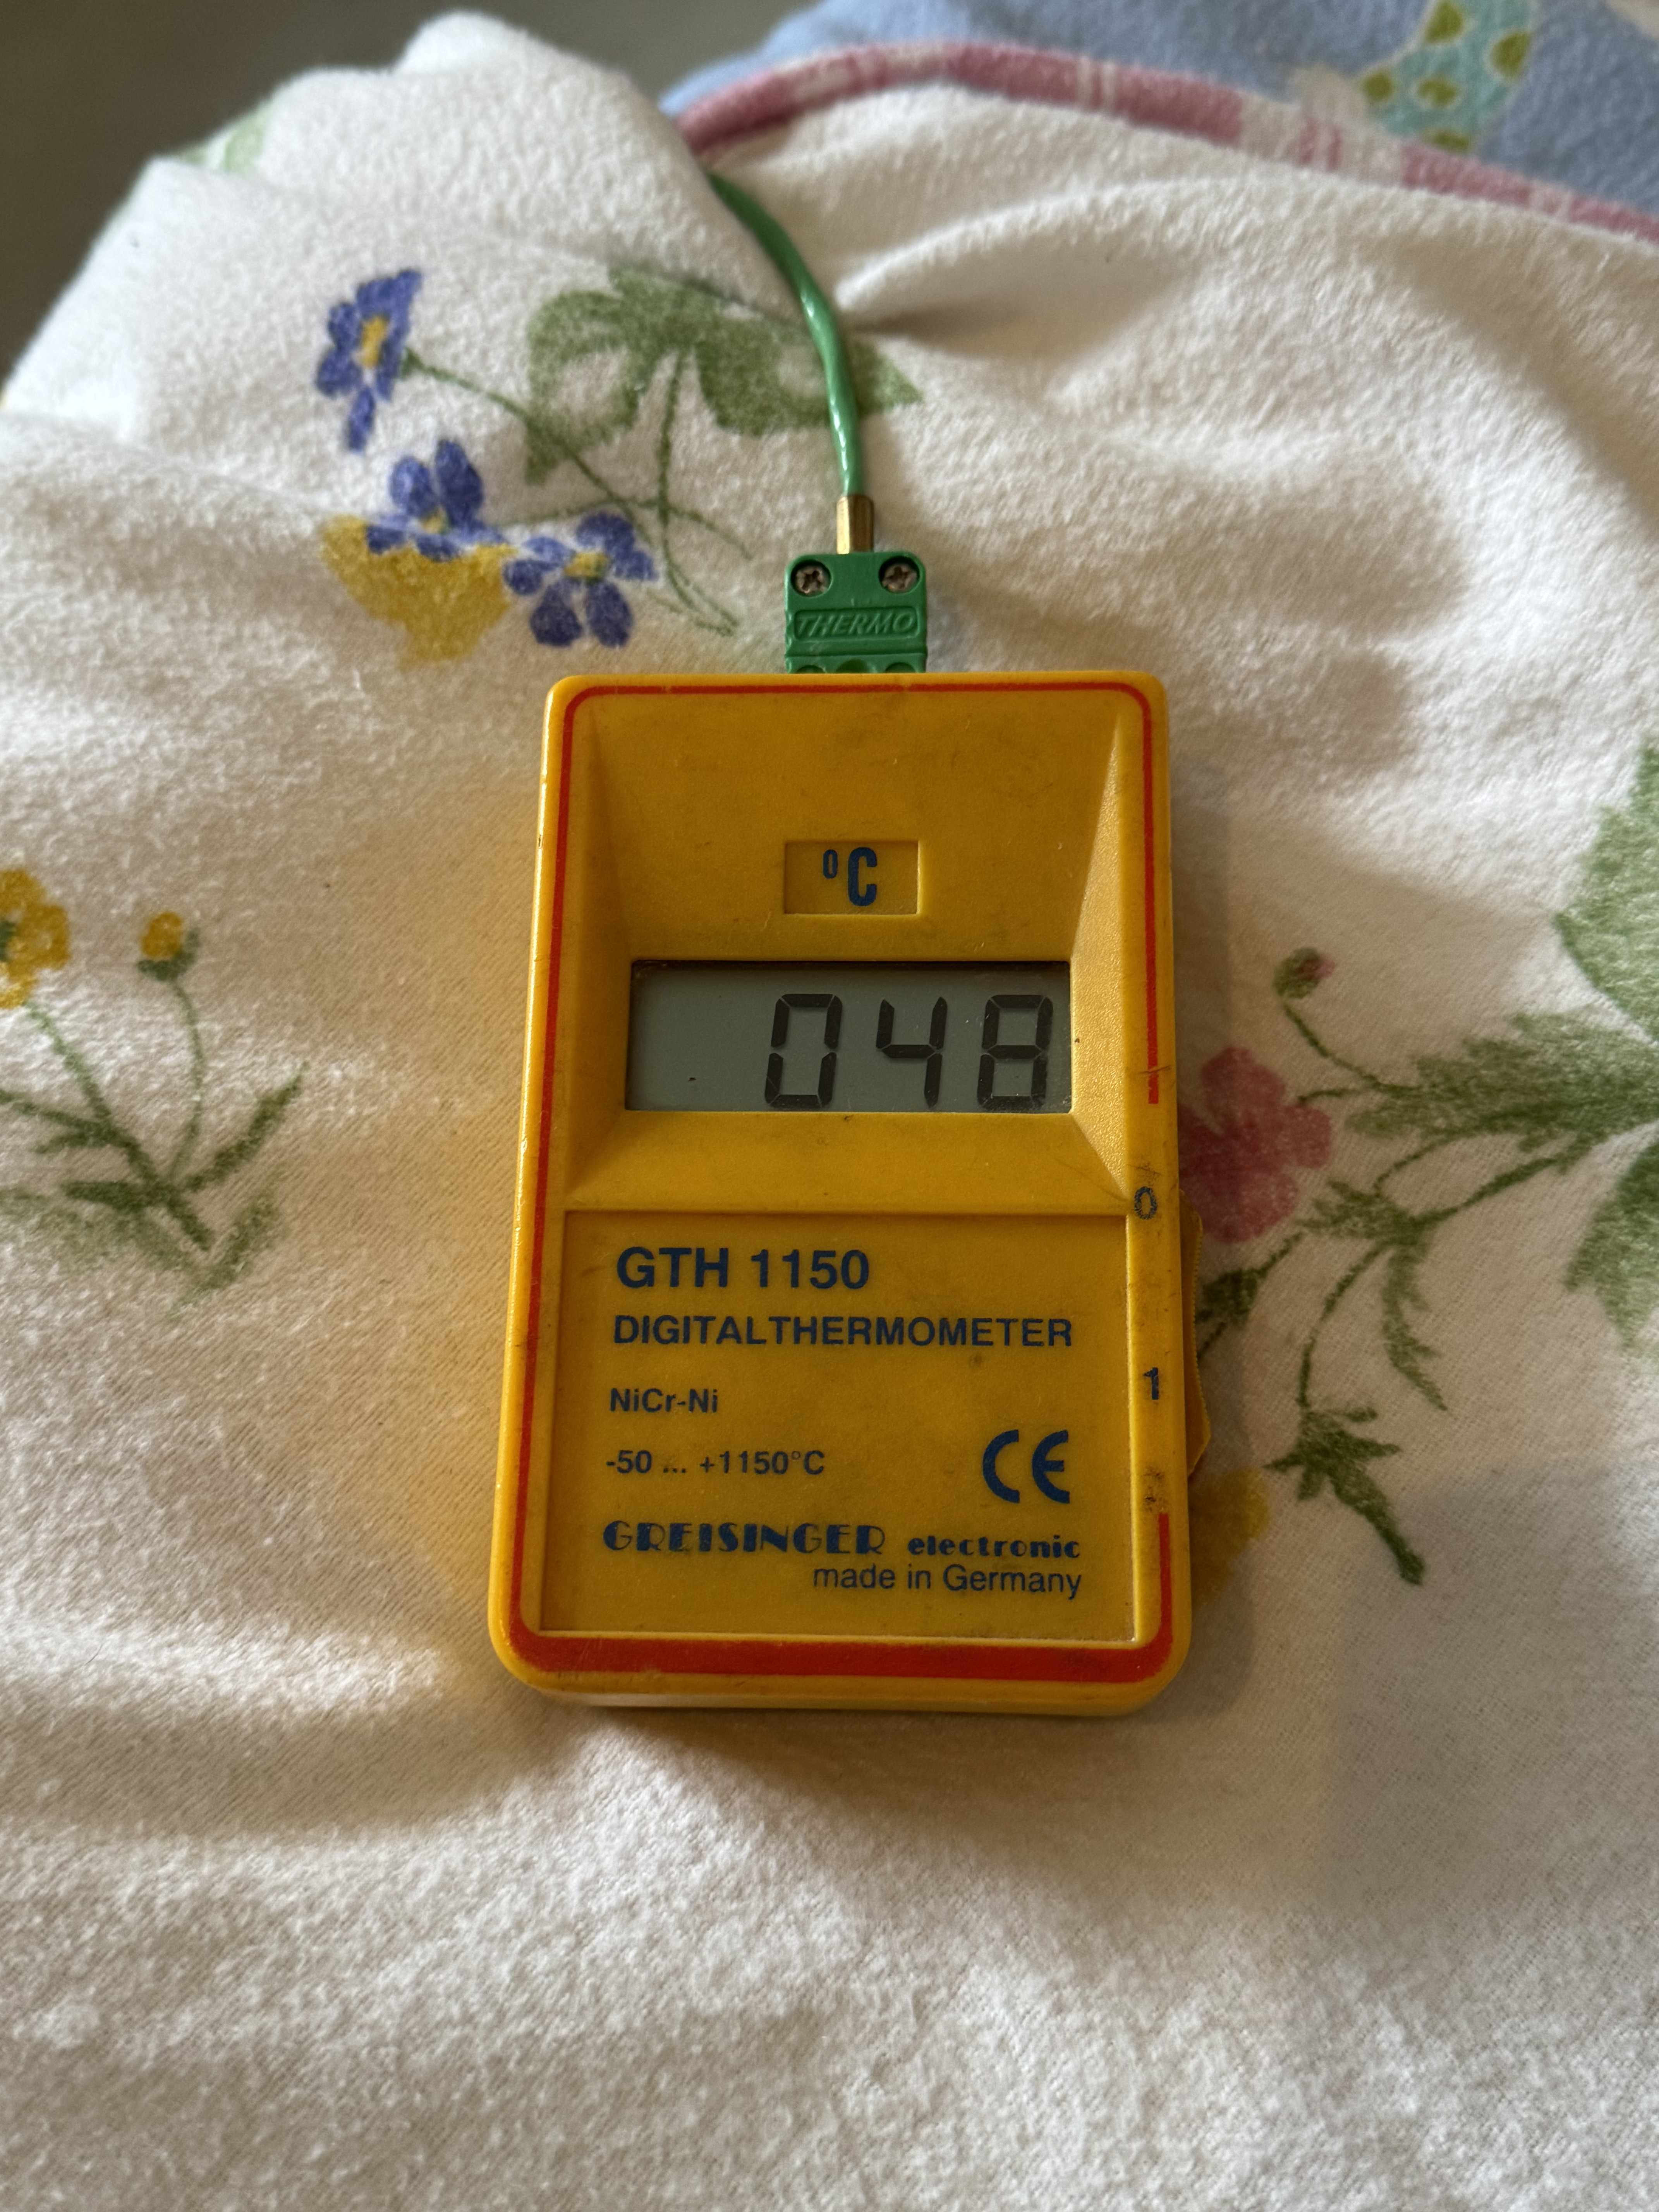
All preparations have been made to start laminating tomorrow.
Since this is my first time laminating with a vacuum pump, I did a little test to test its functionality.
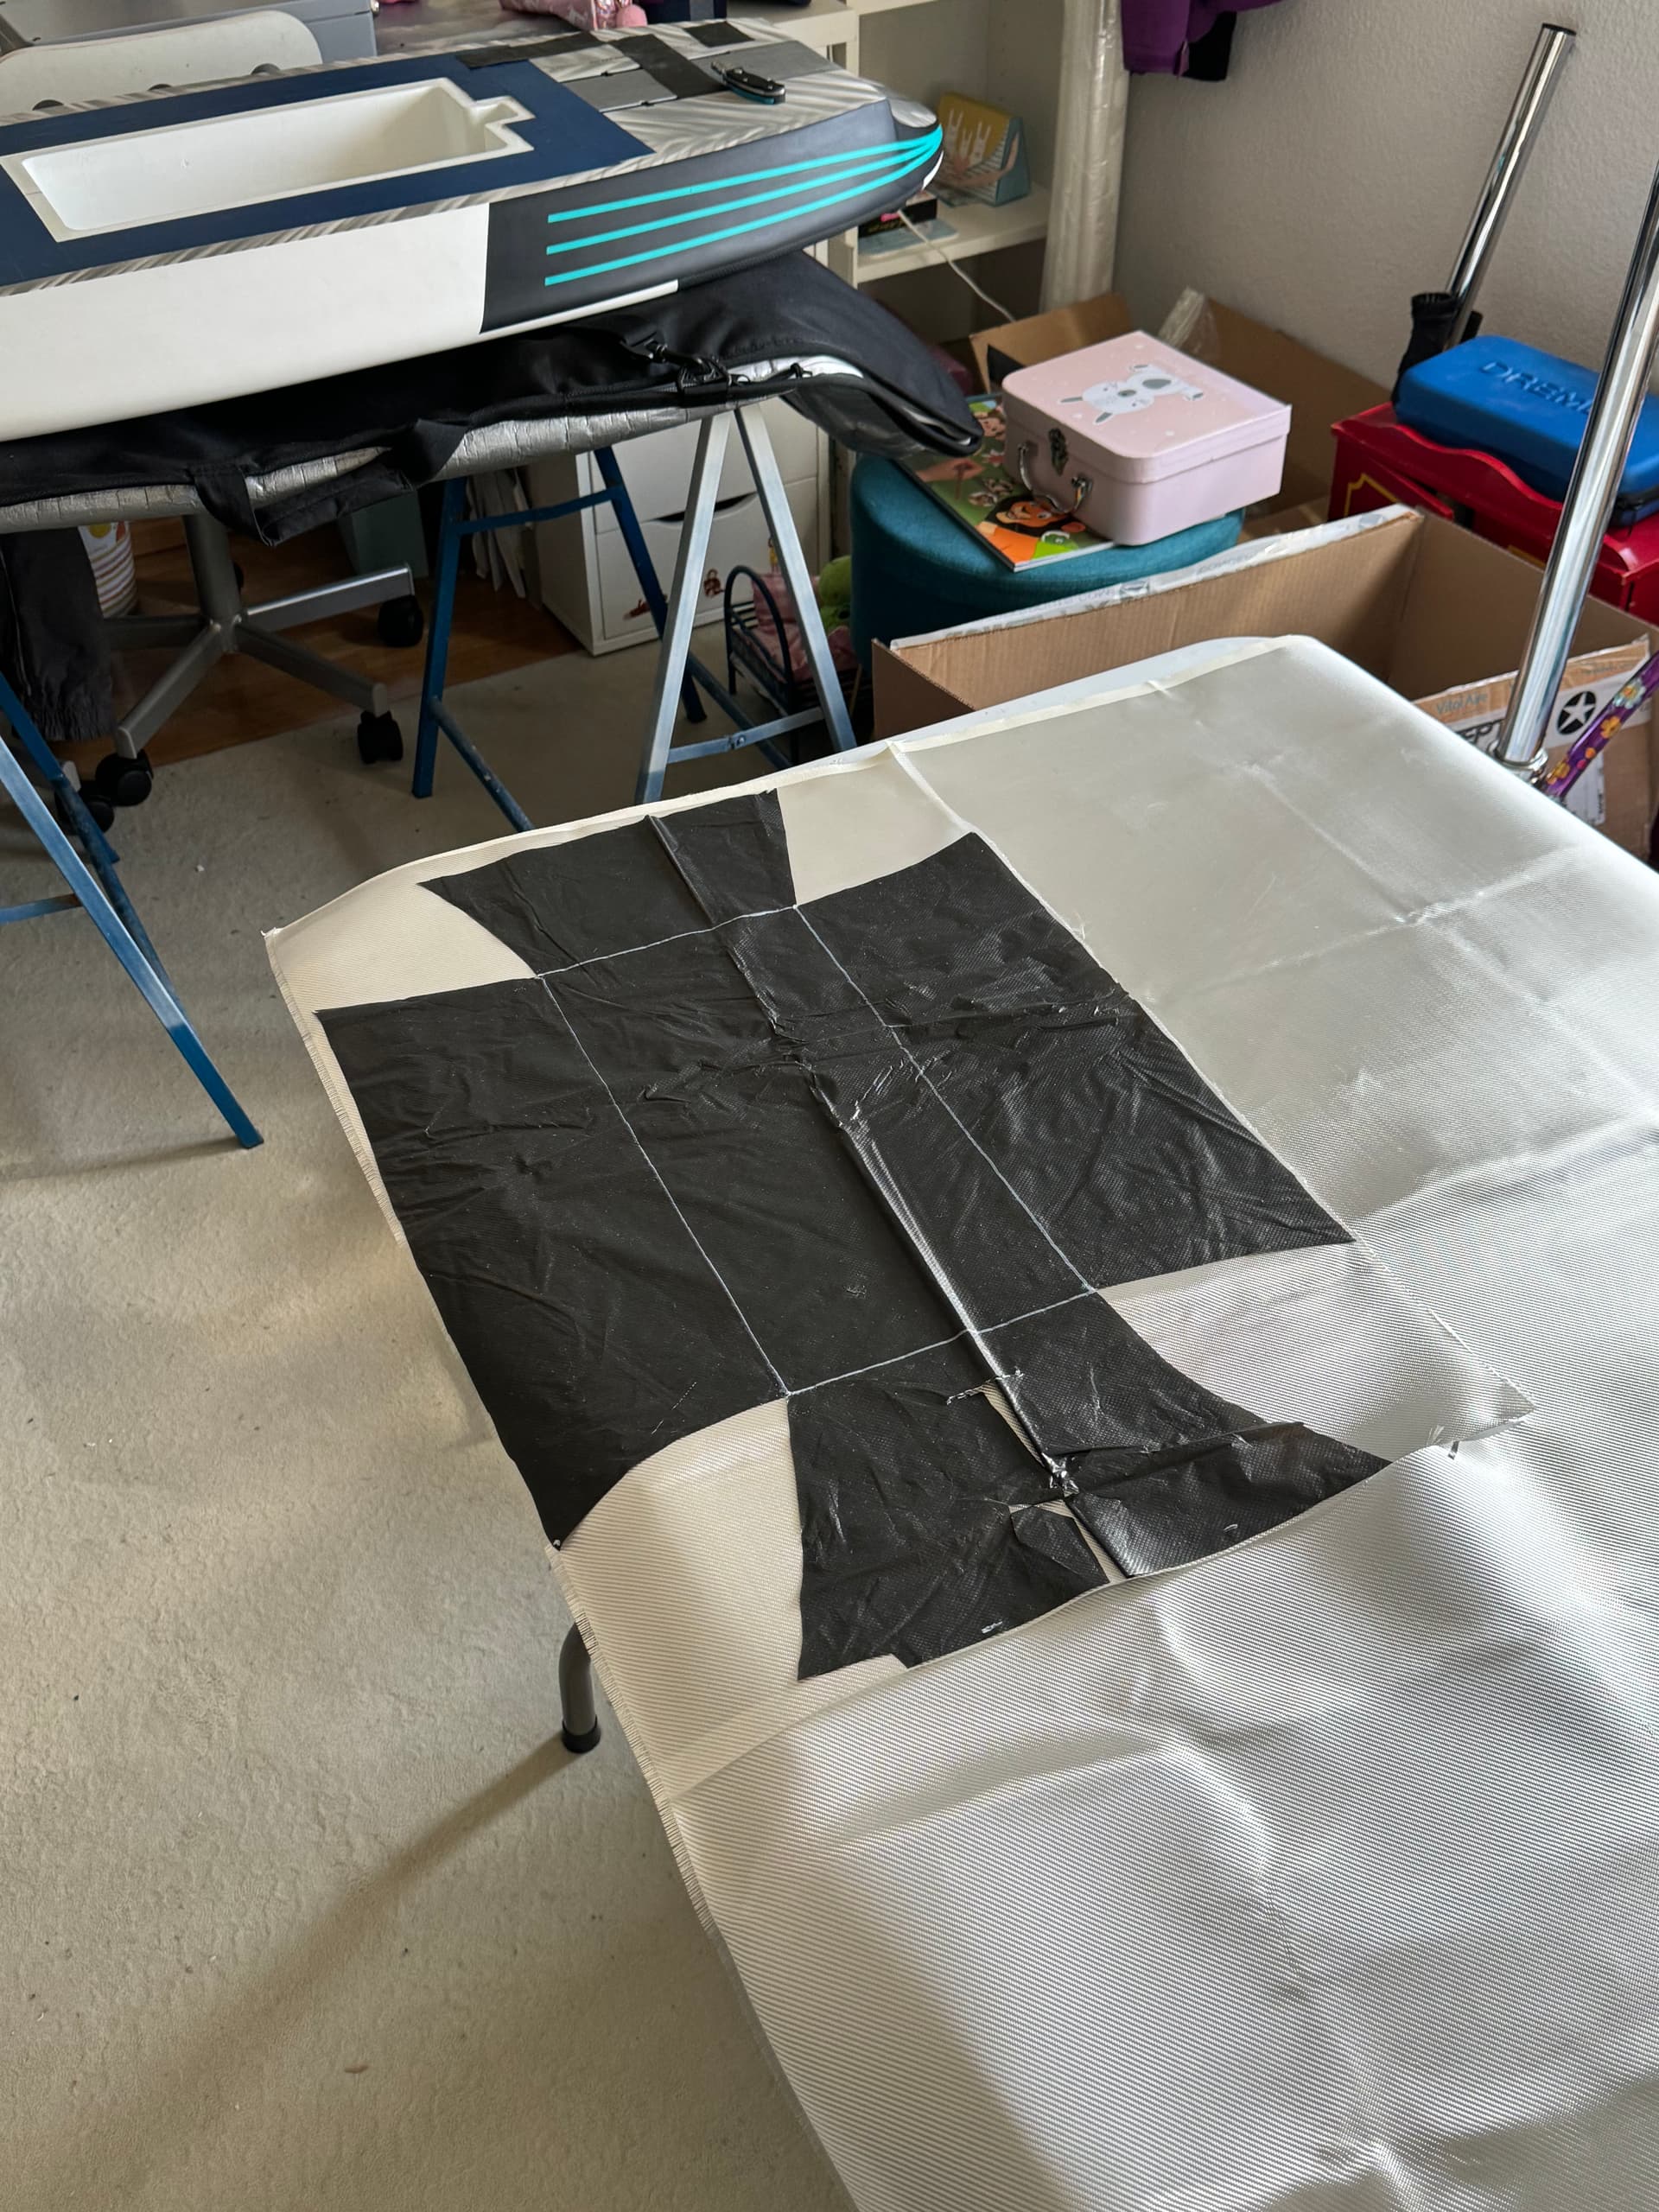
4 Likes
What do you use for your power-supply for charging?
At home a laboratory power supply 0-70V & 0-30A. On the road my Camper Lifepo4 or a Meanwell 24V RSP-500
2 Likes
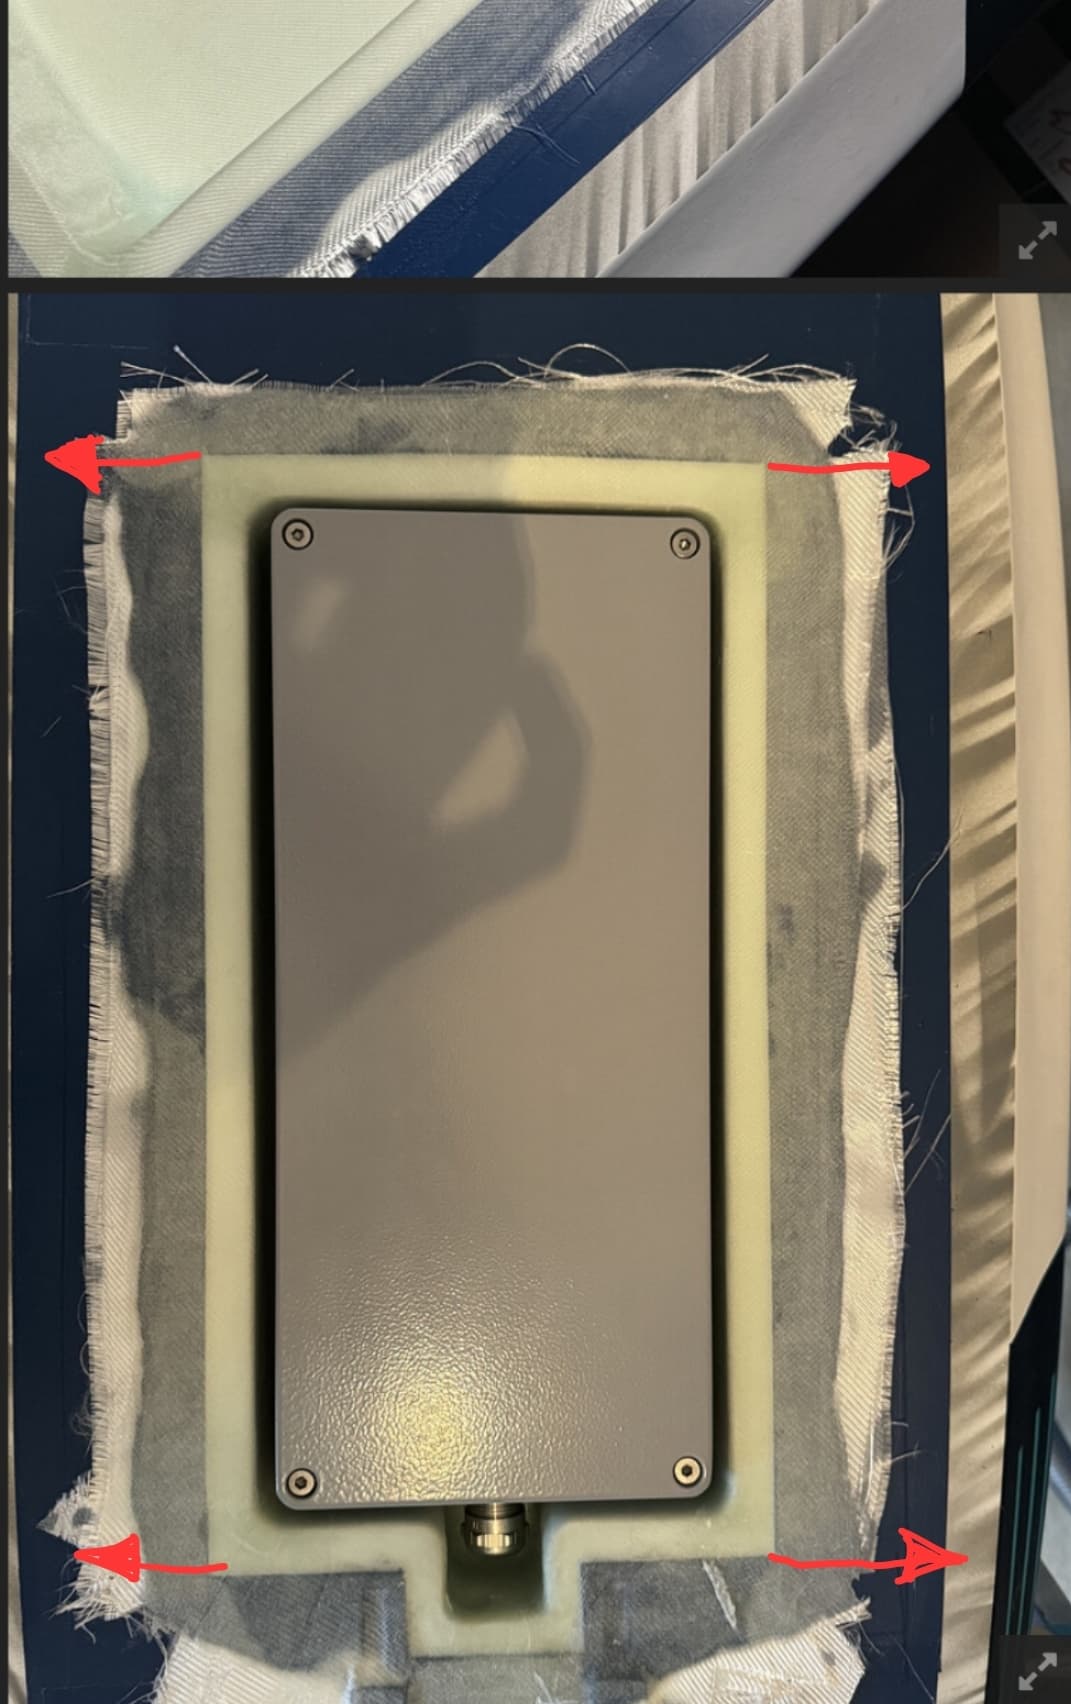
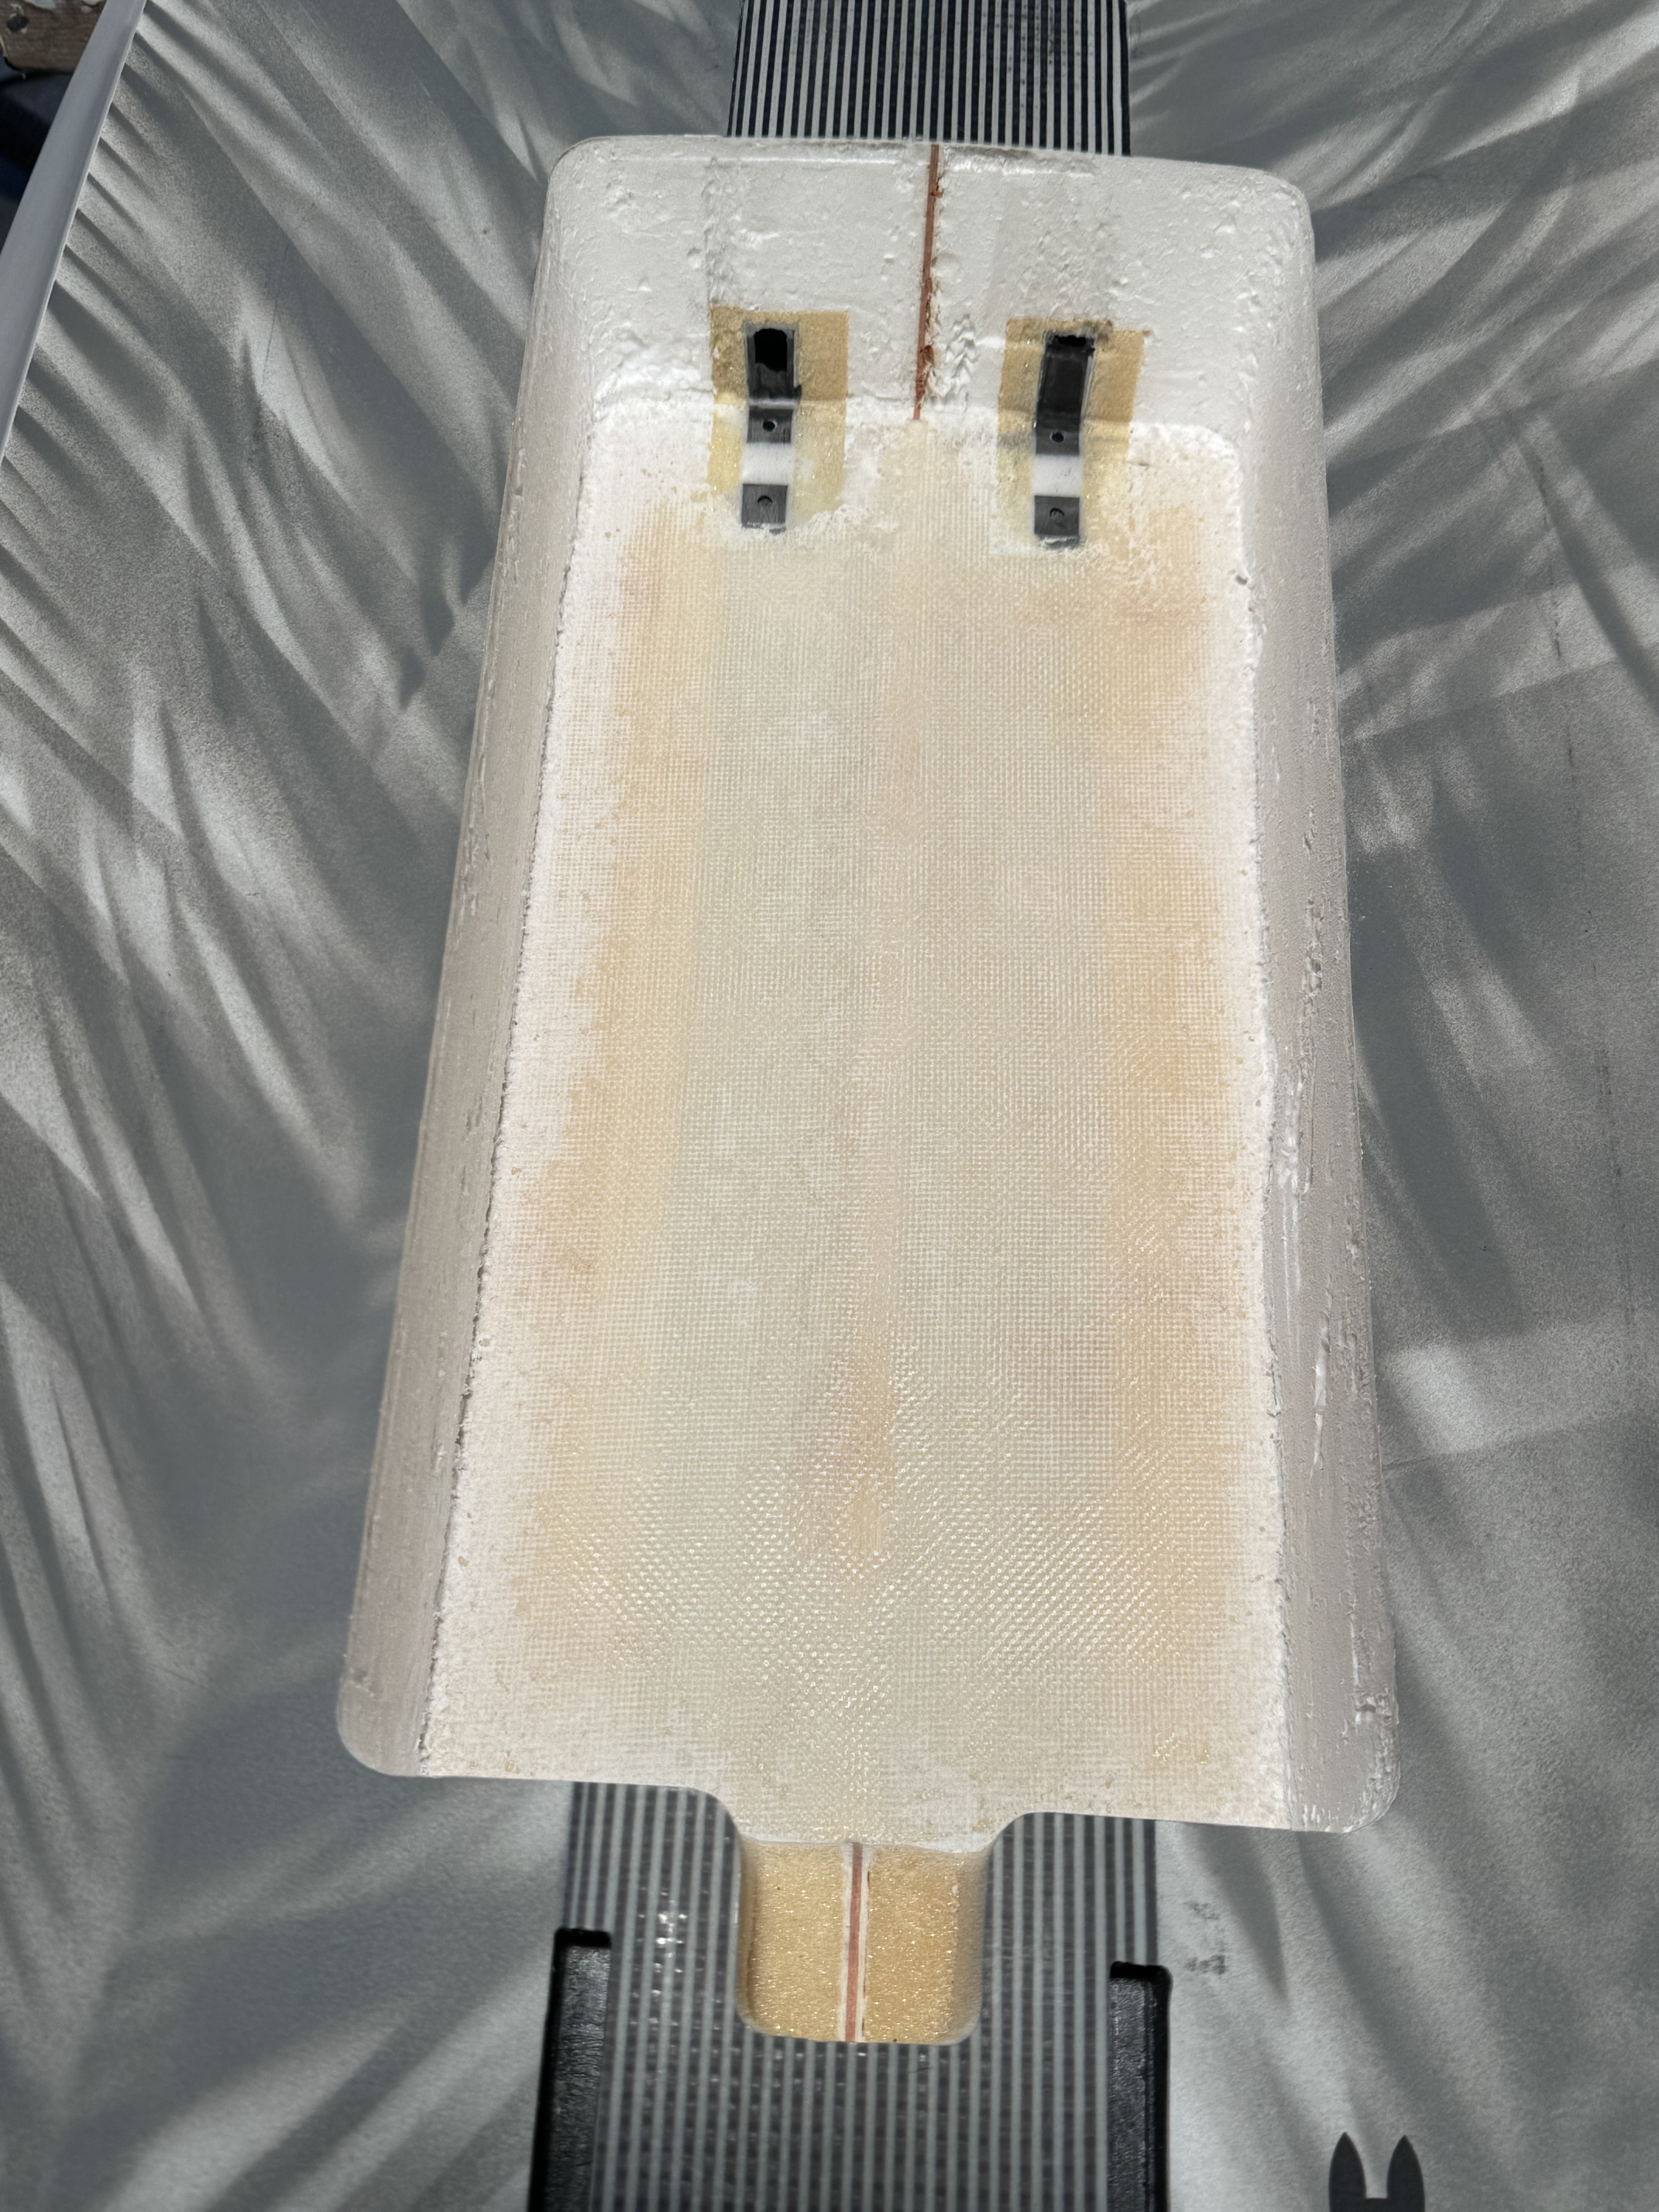
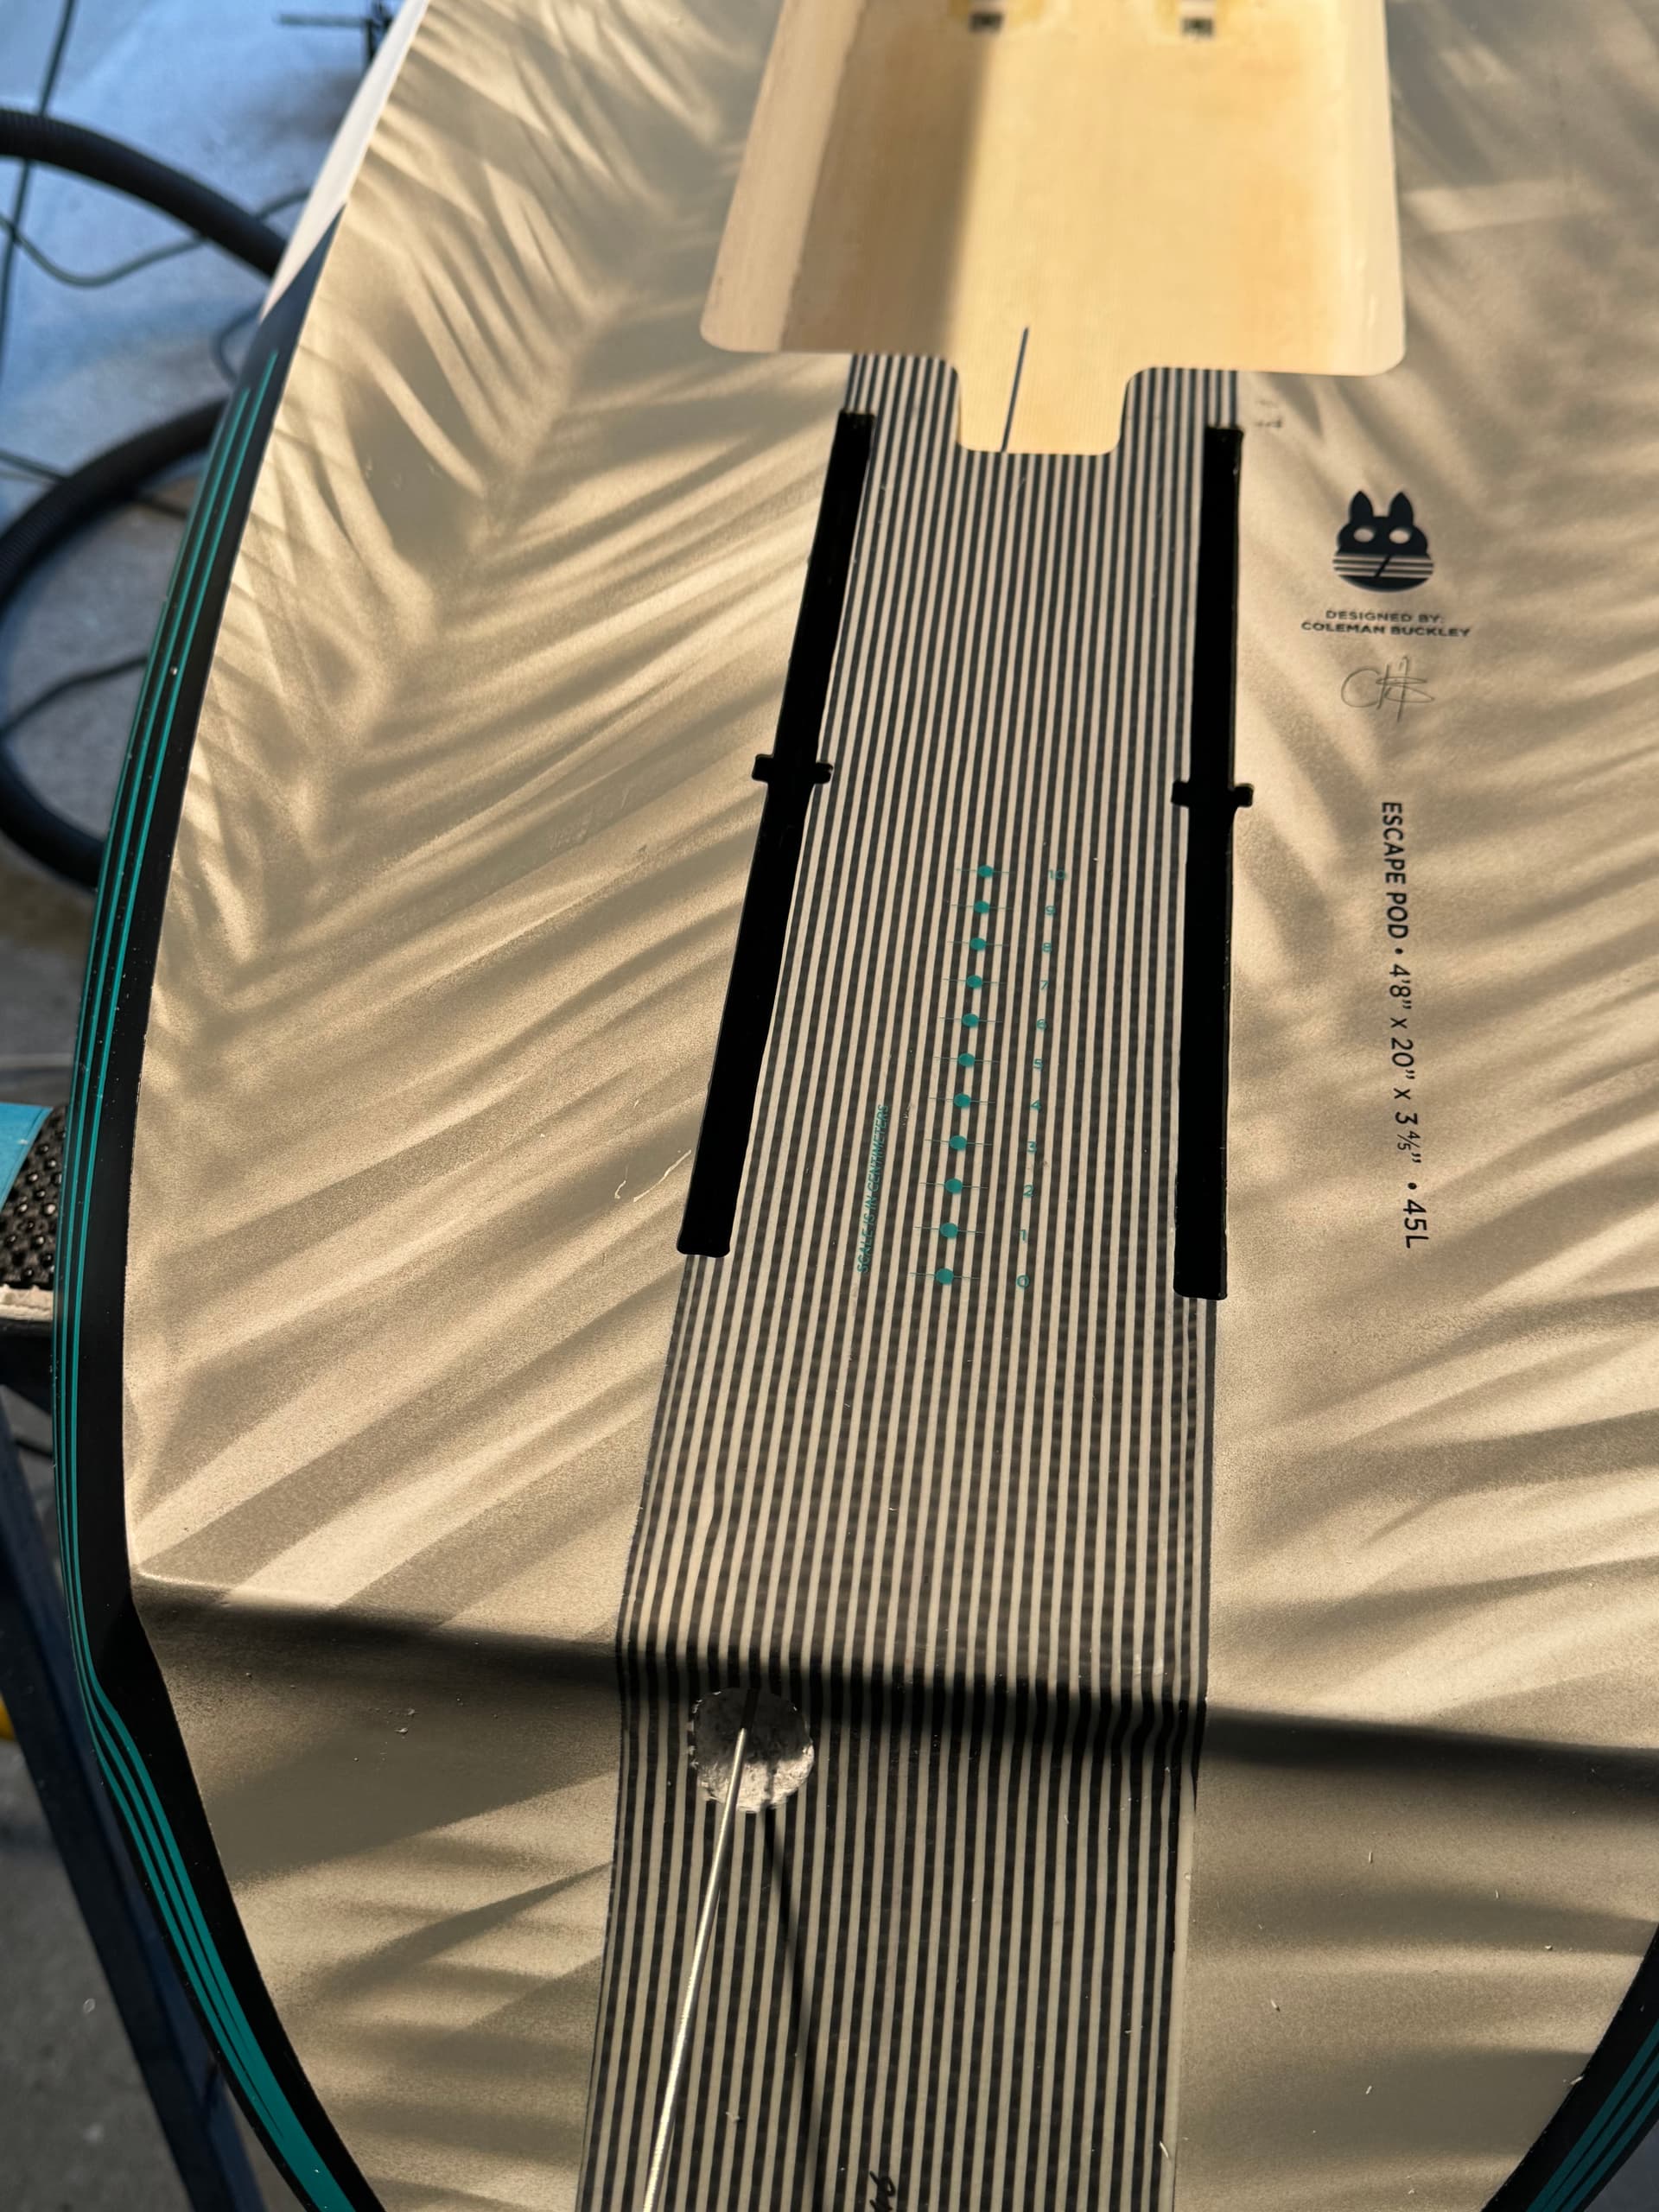
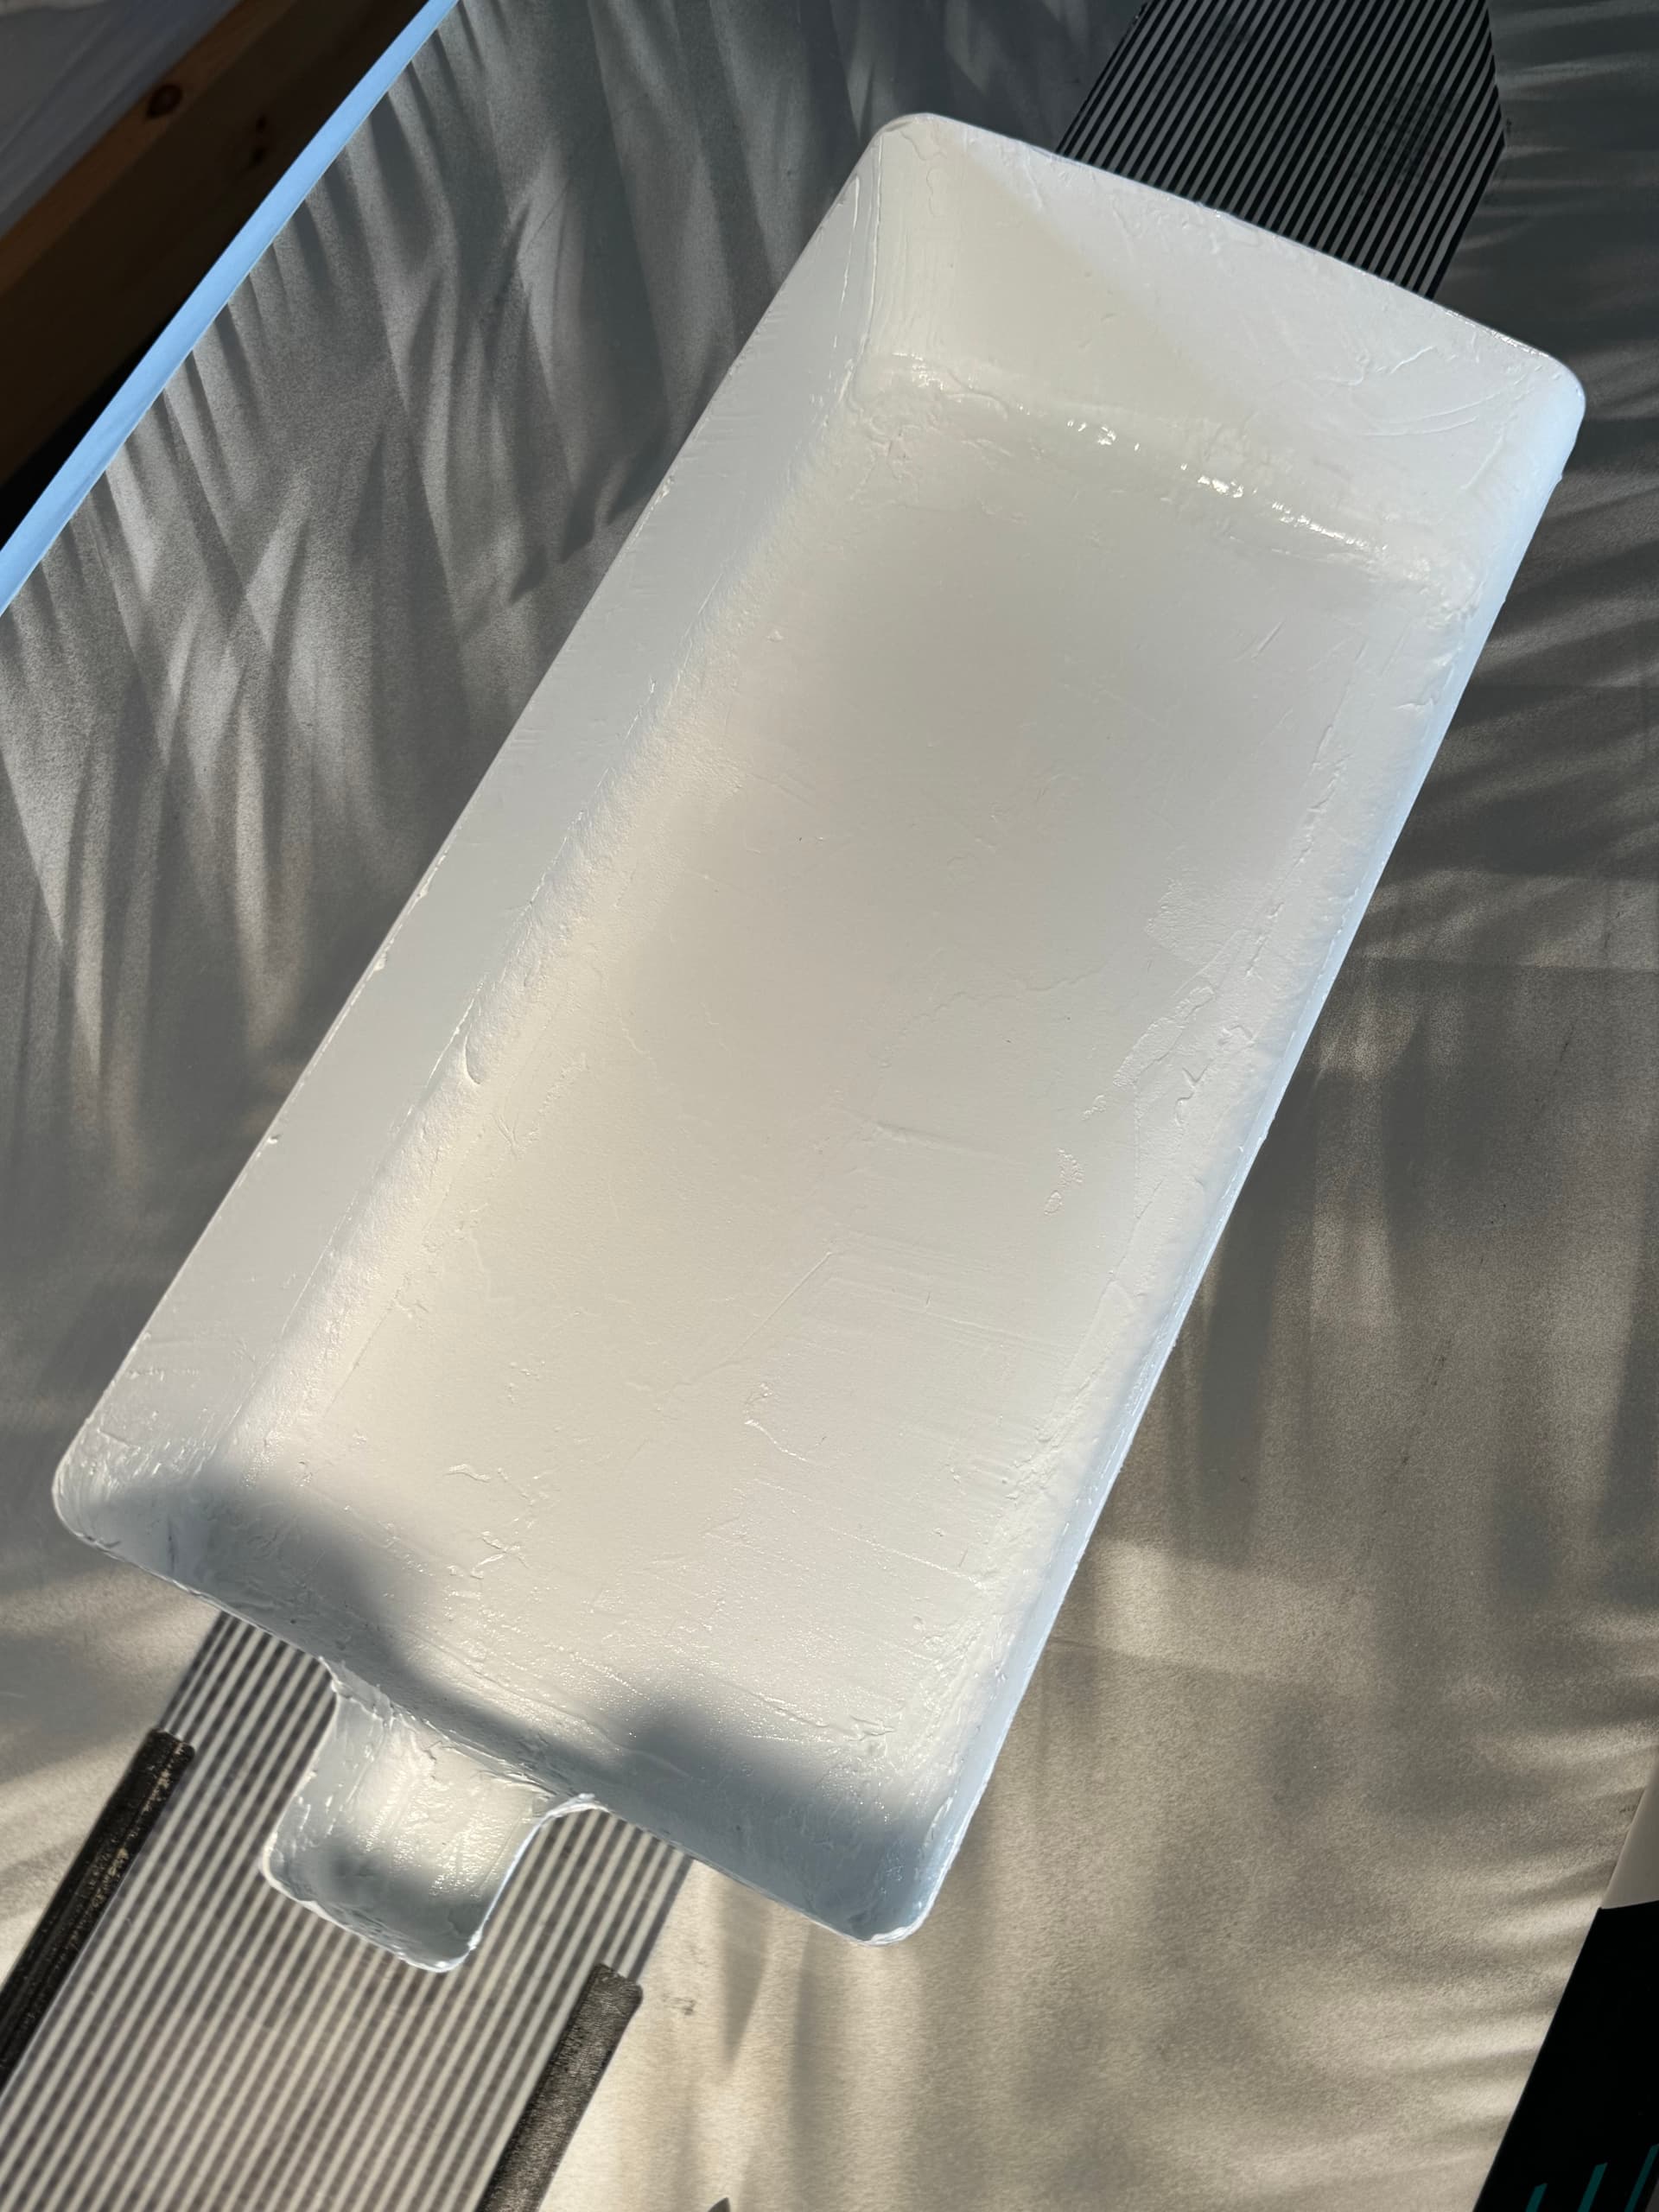
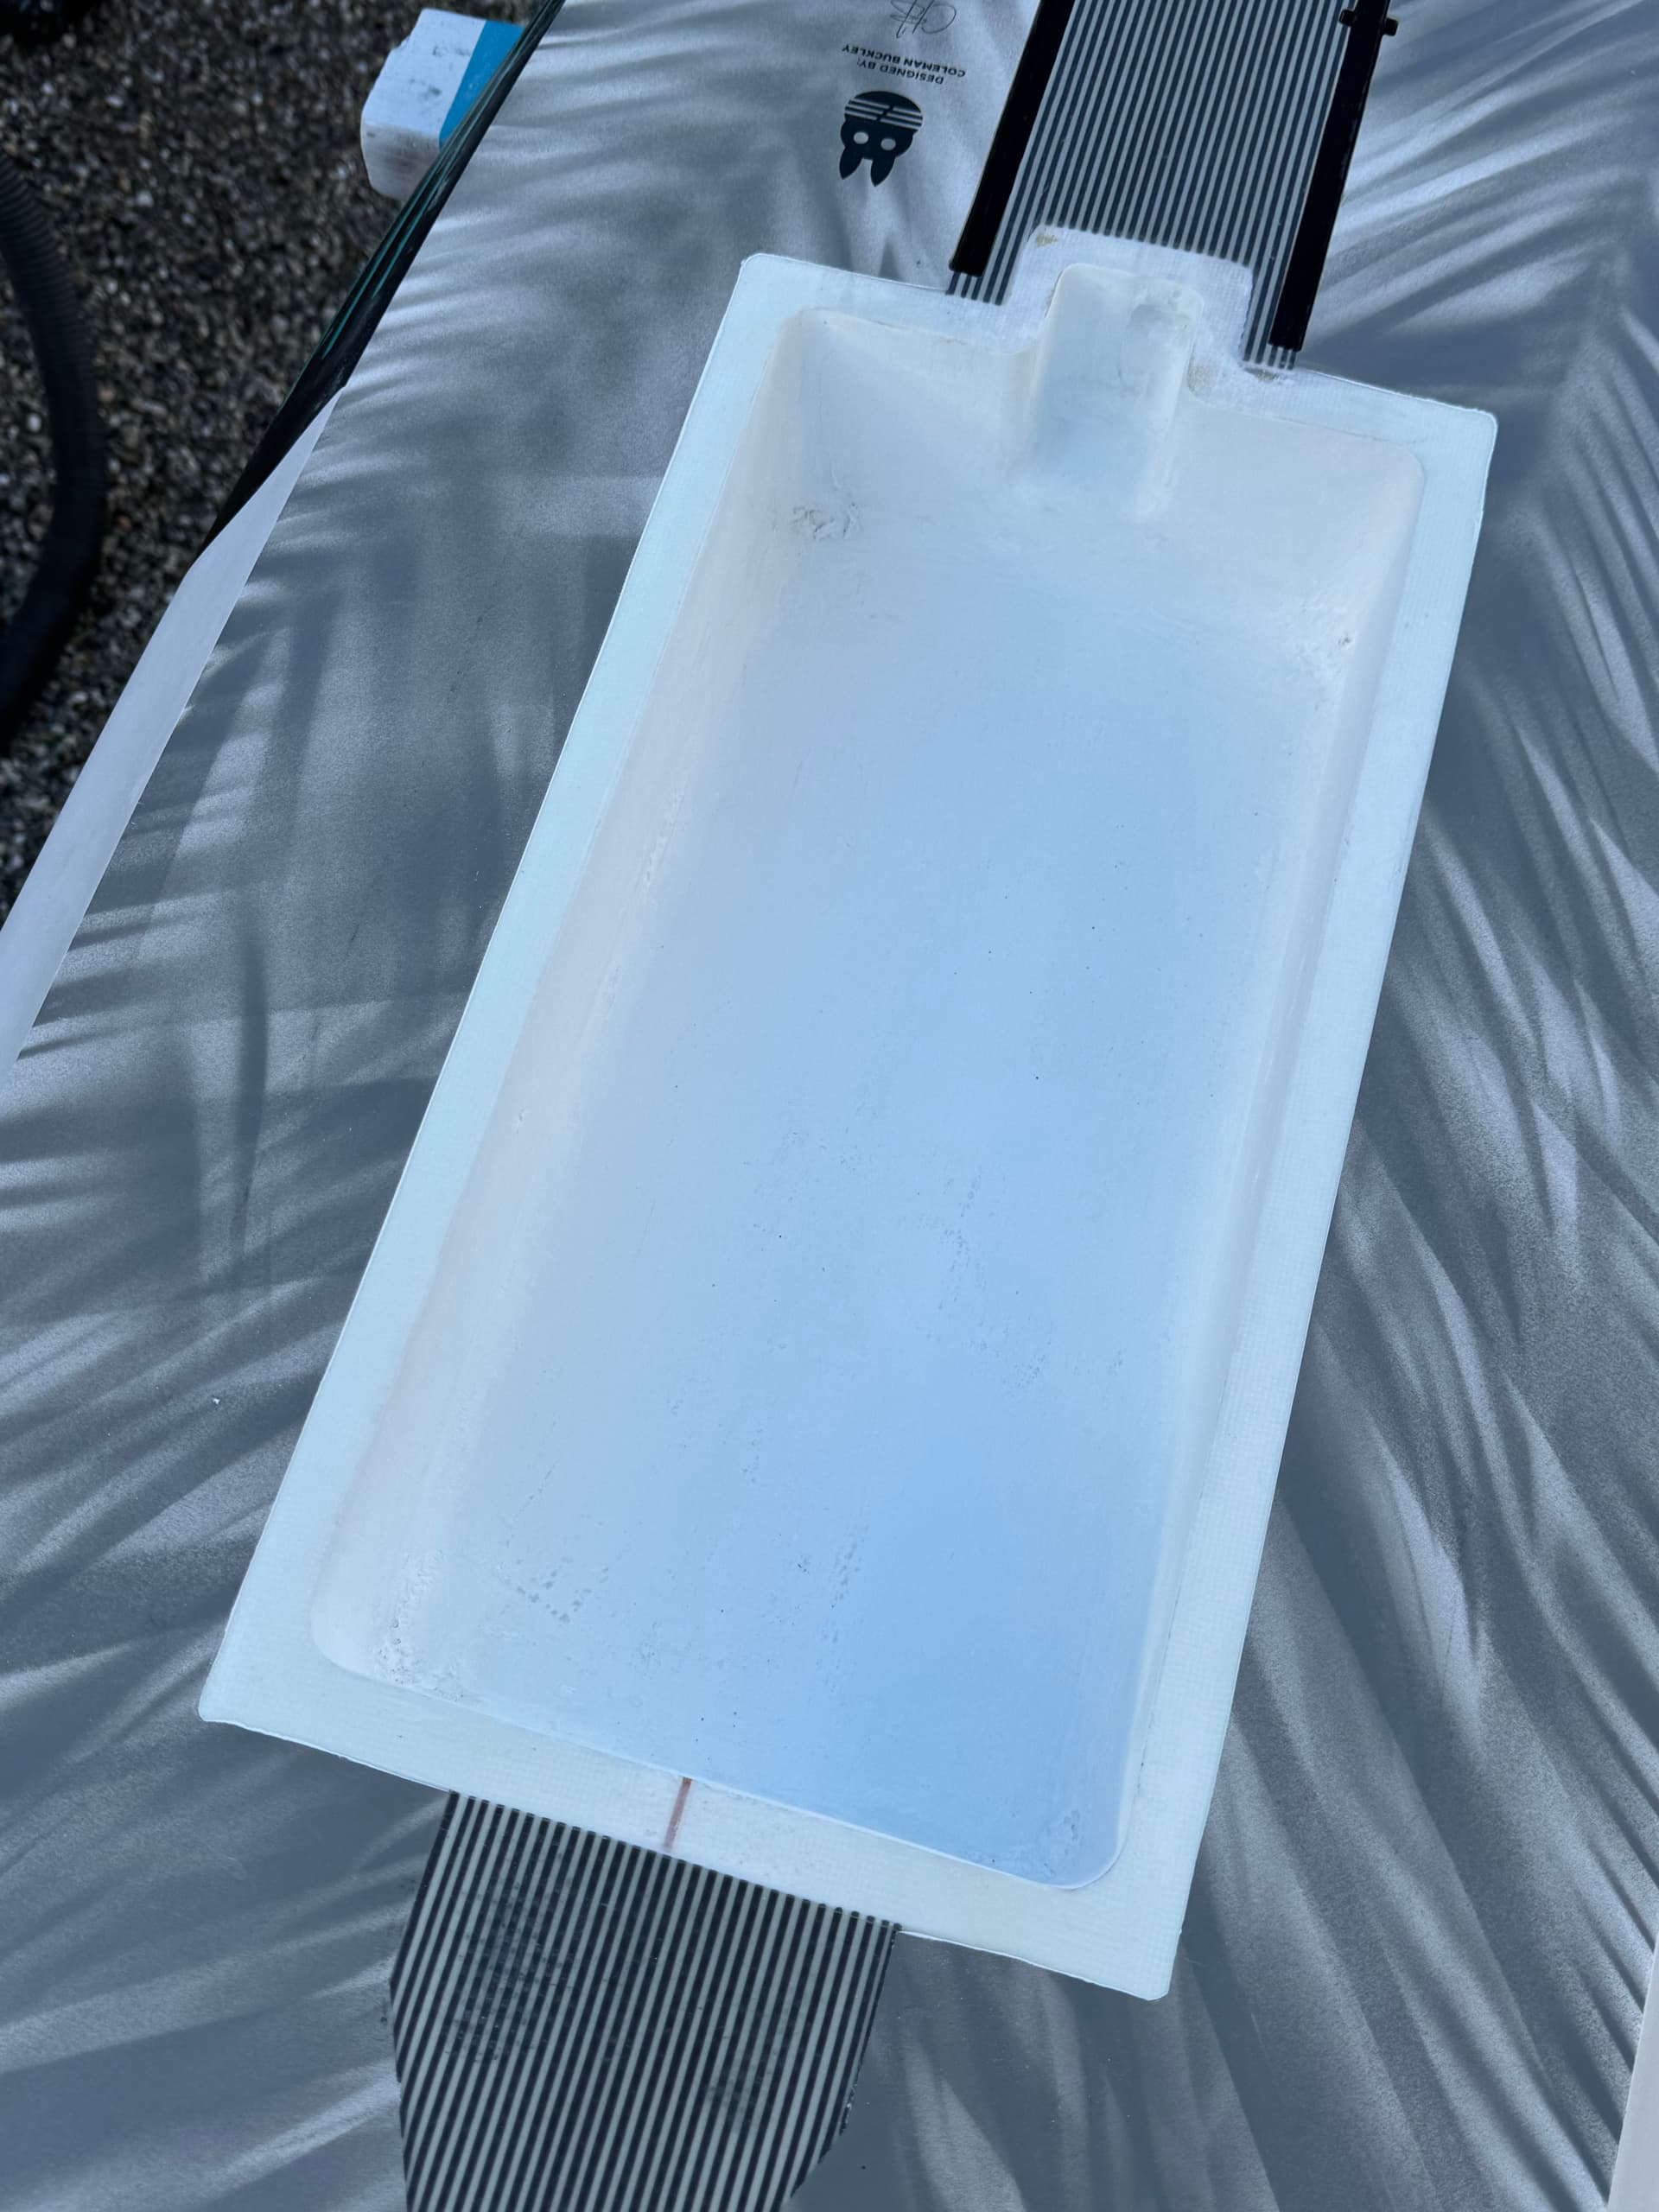
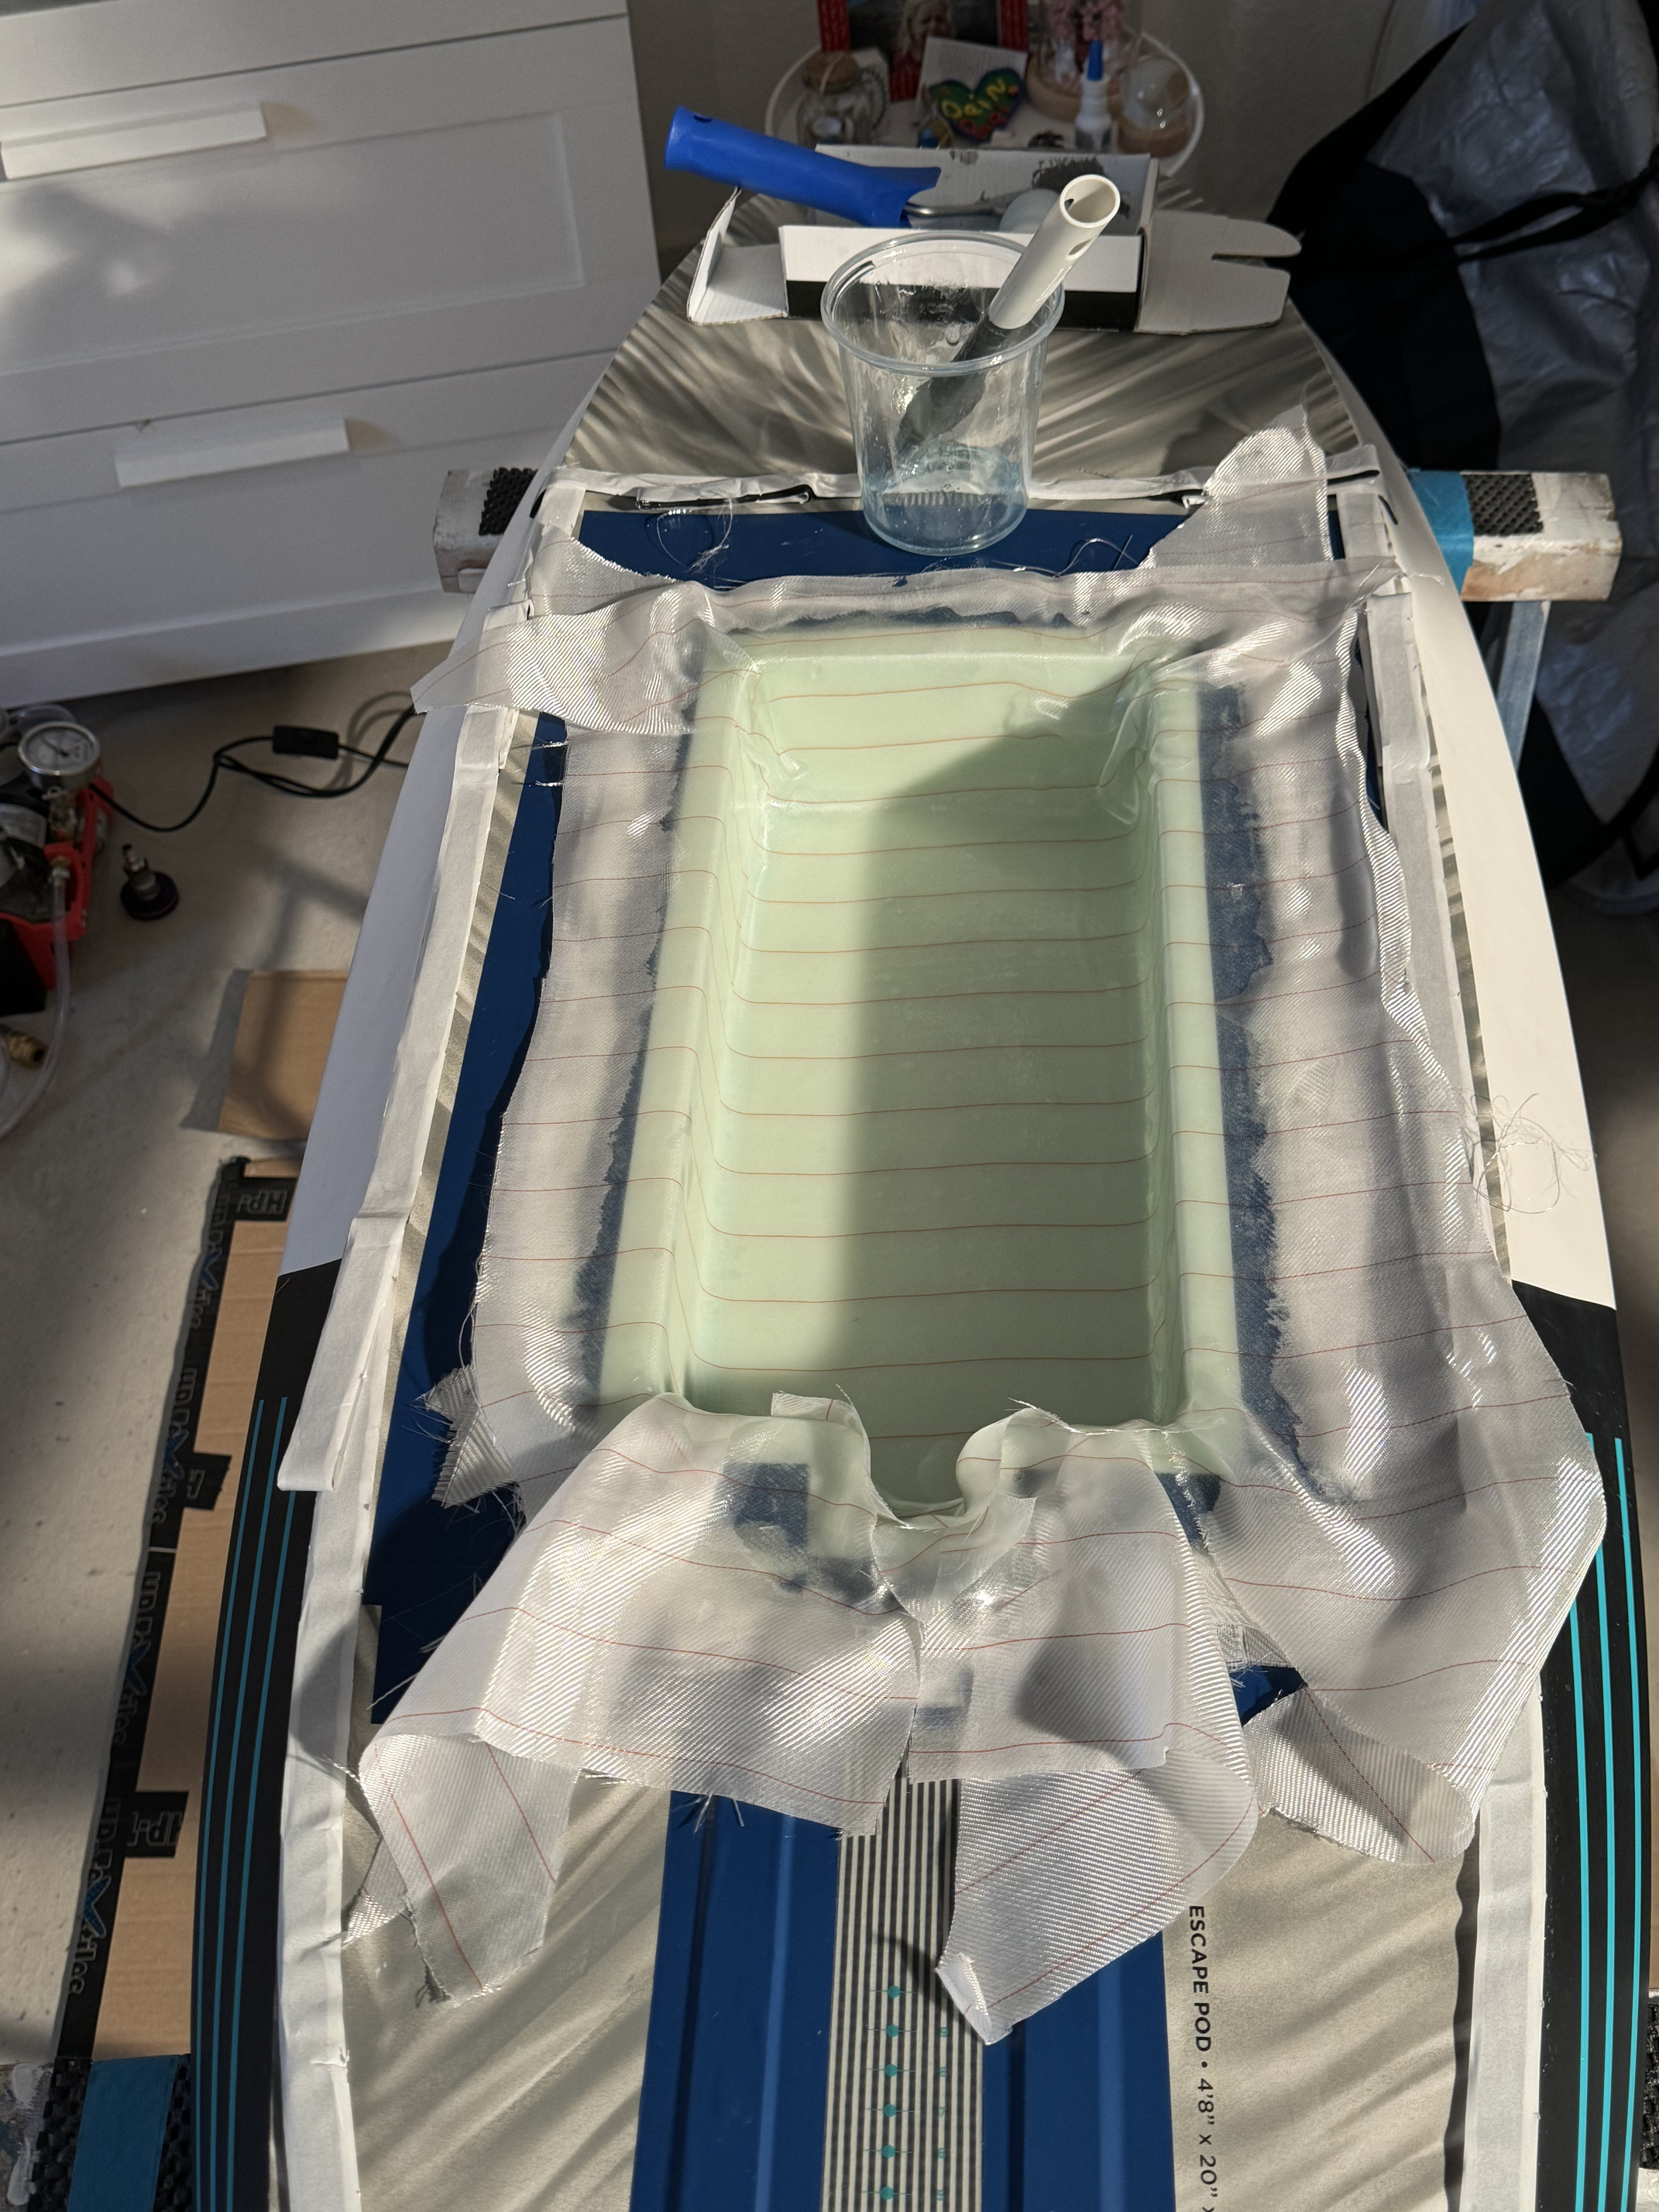
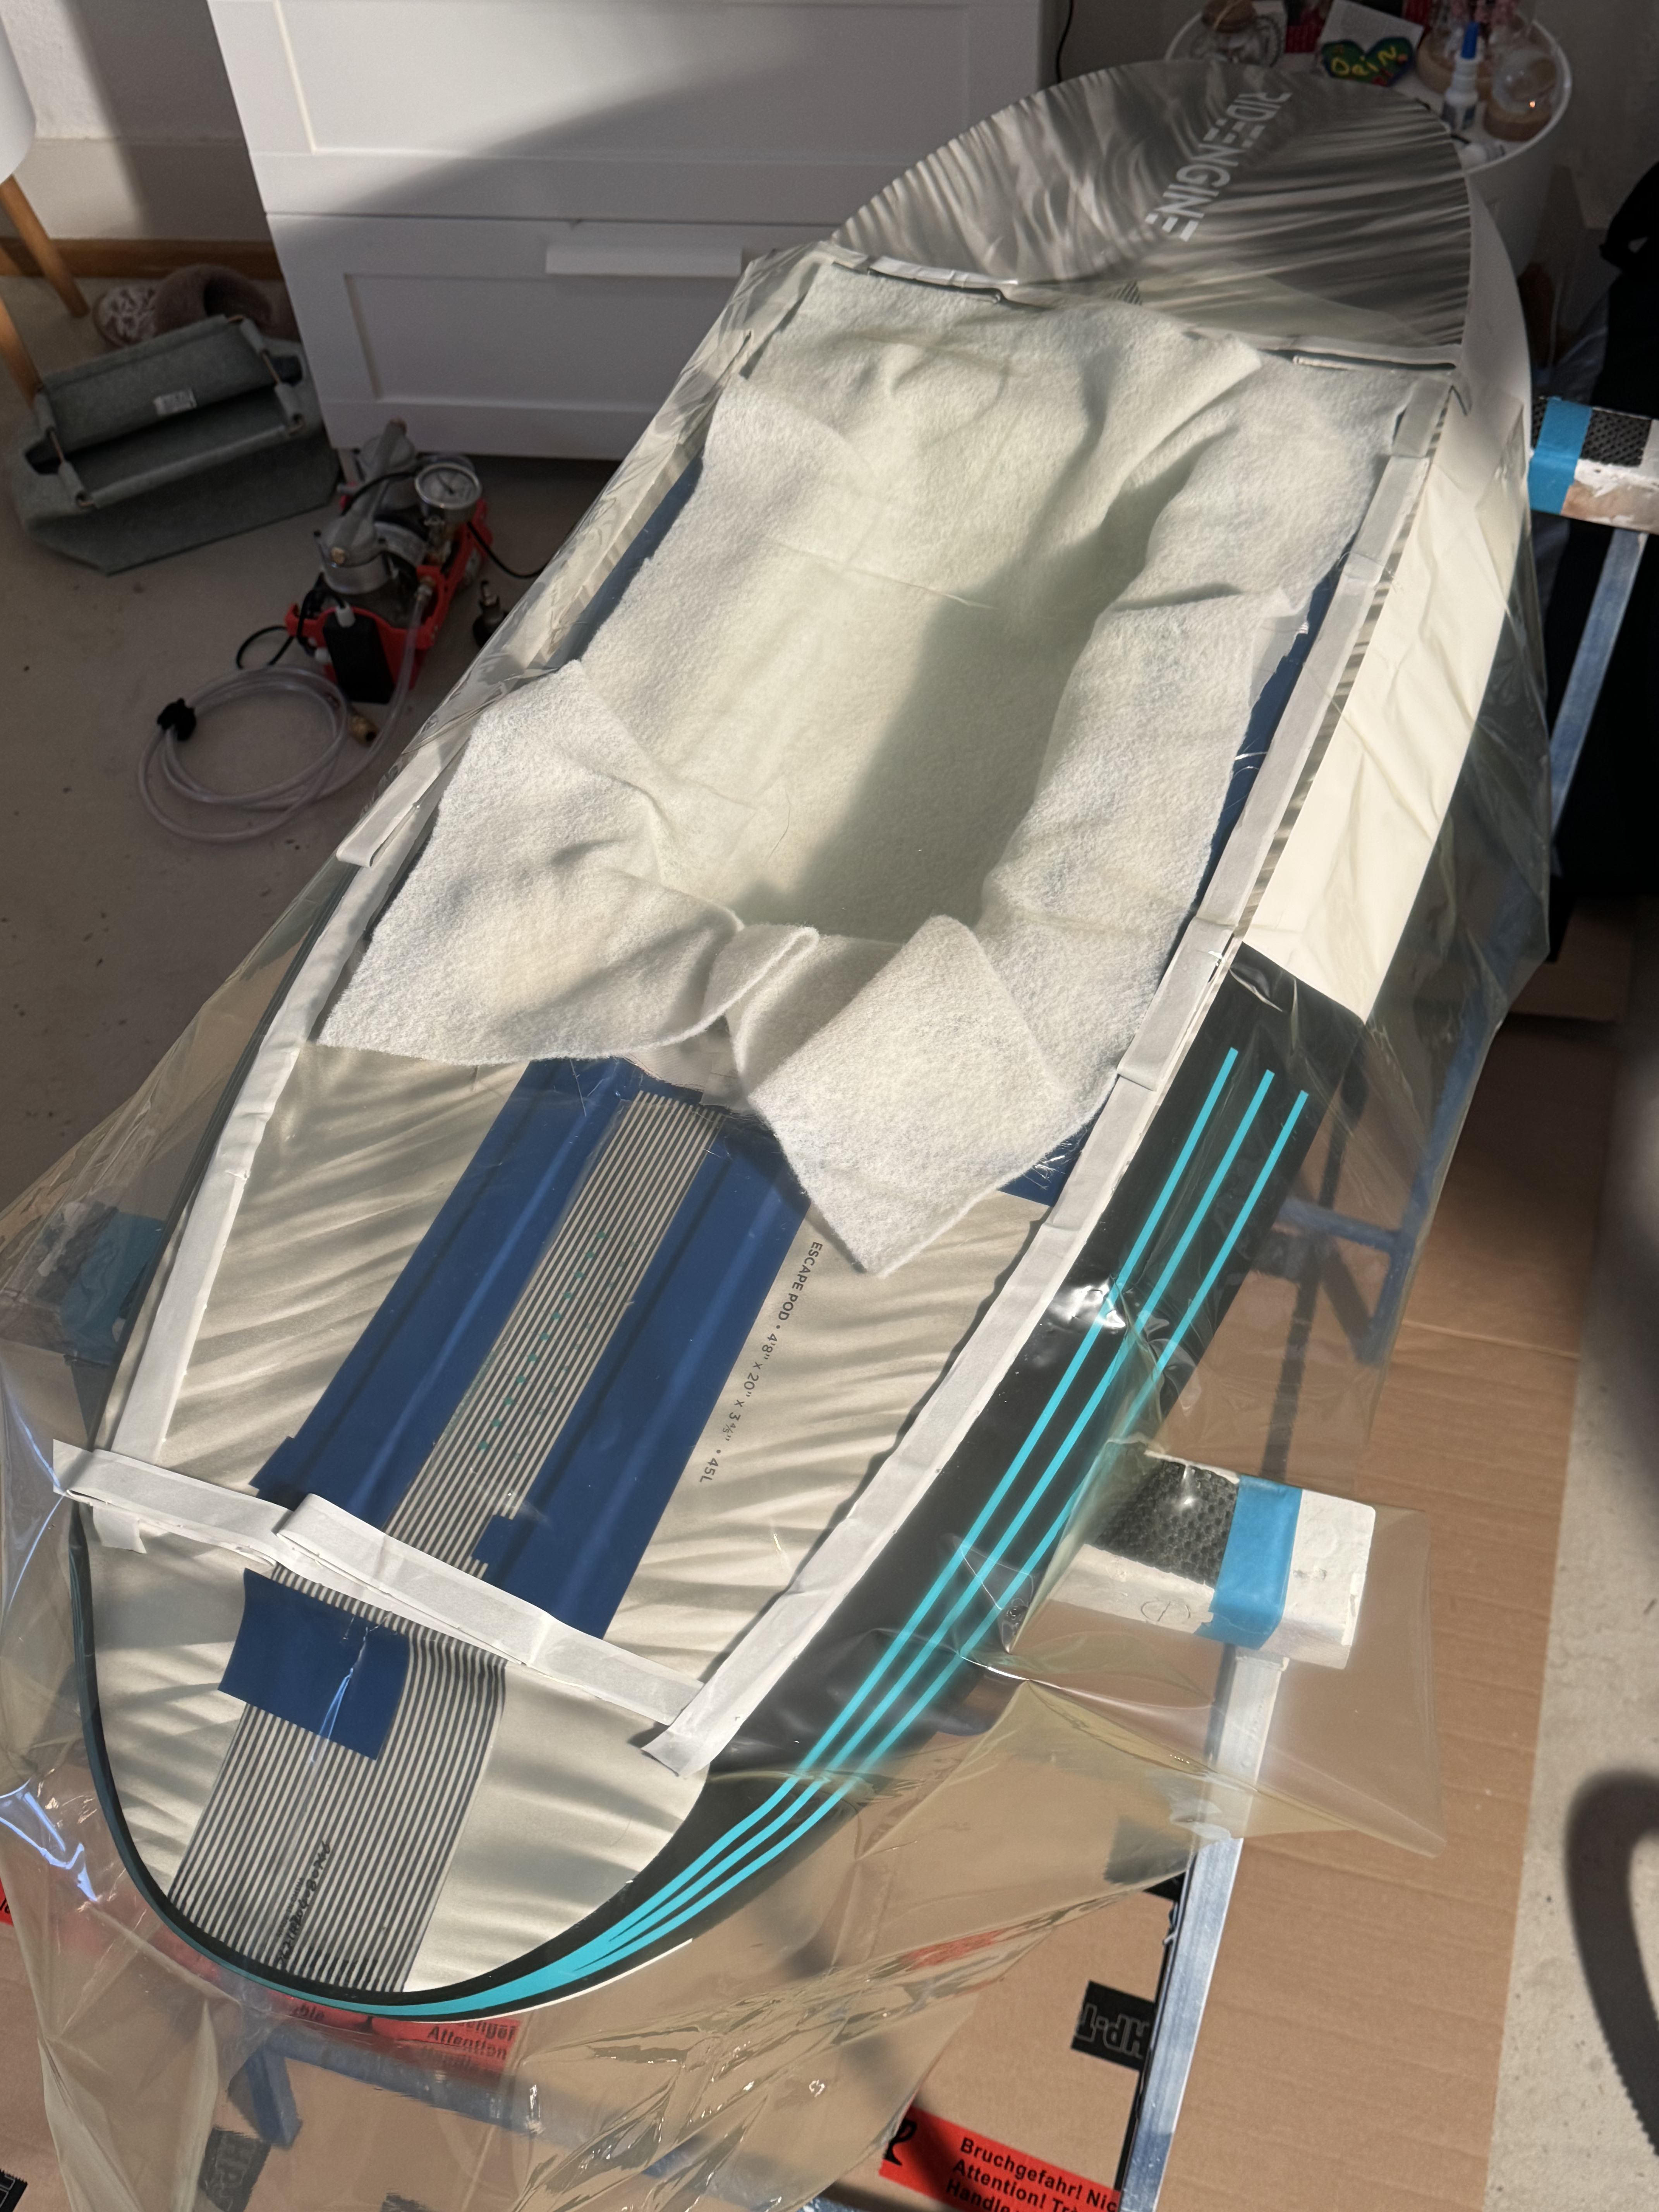
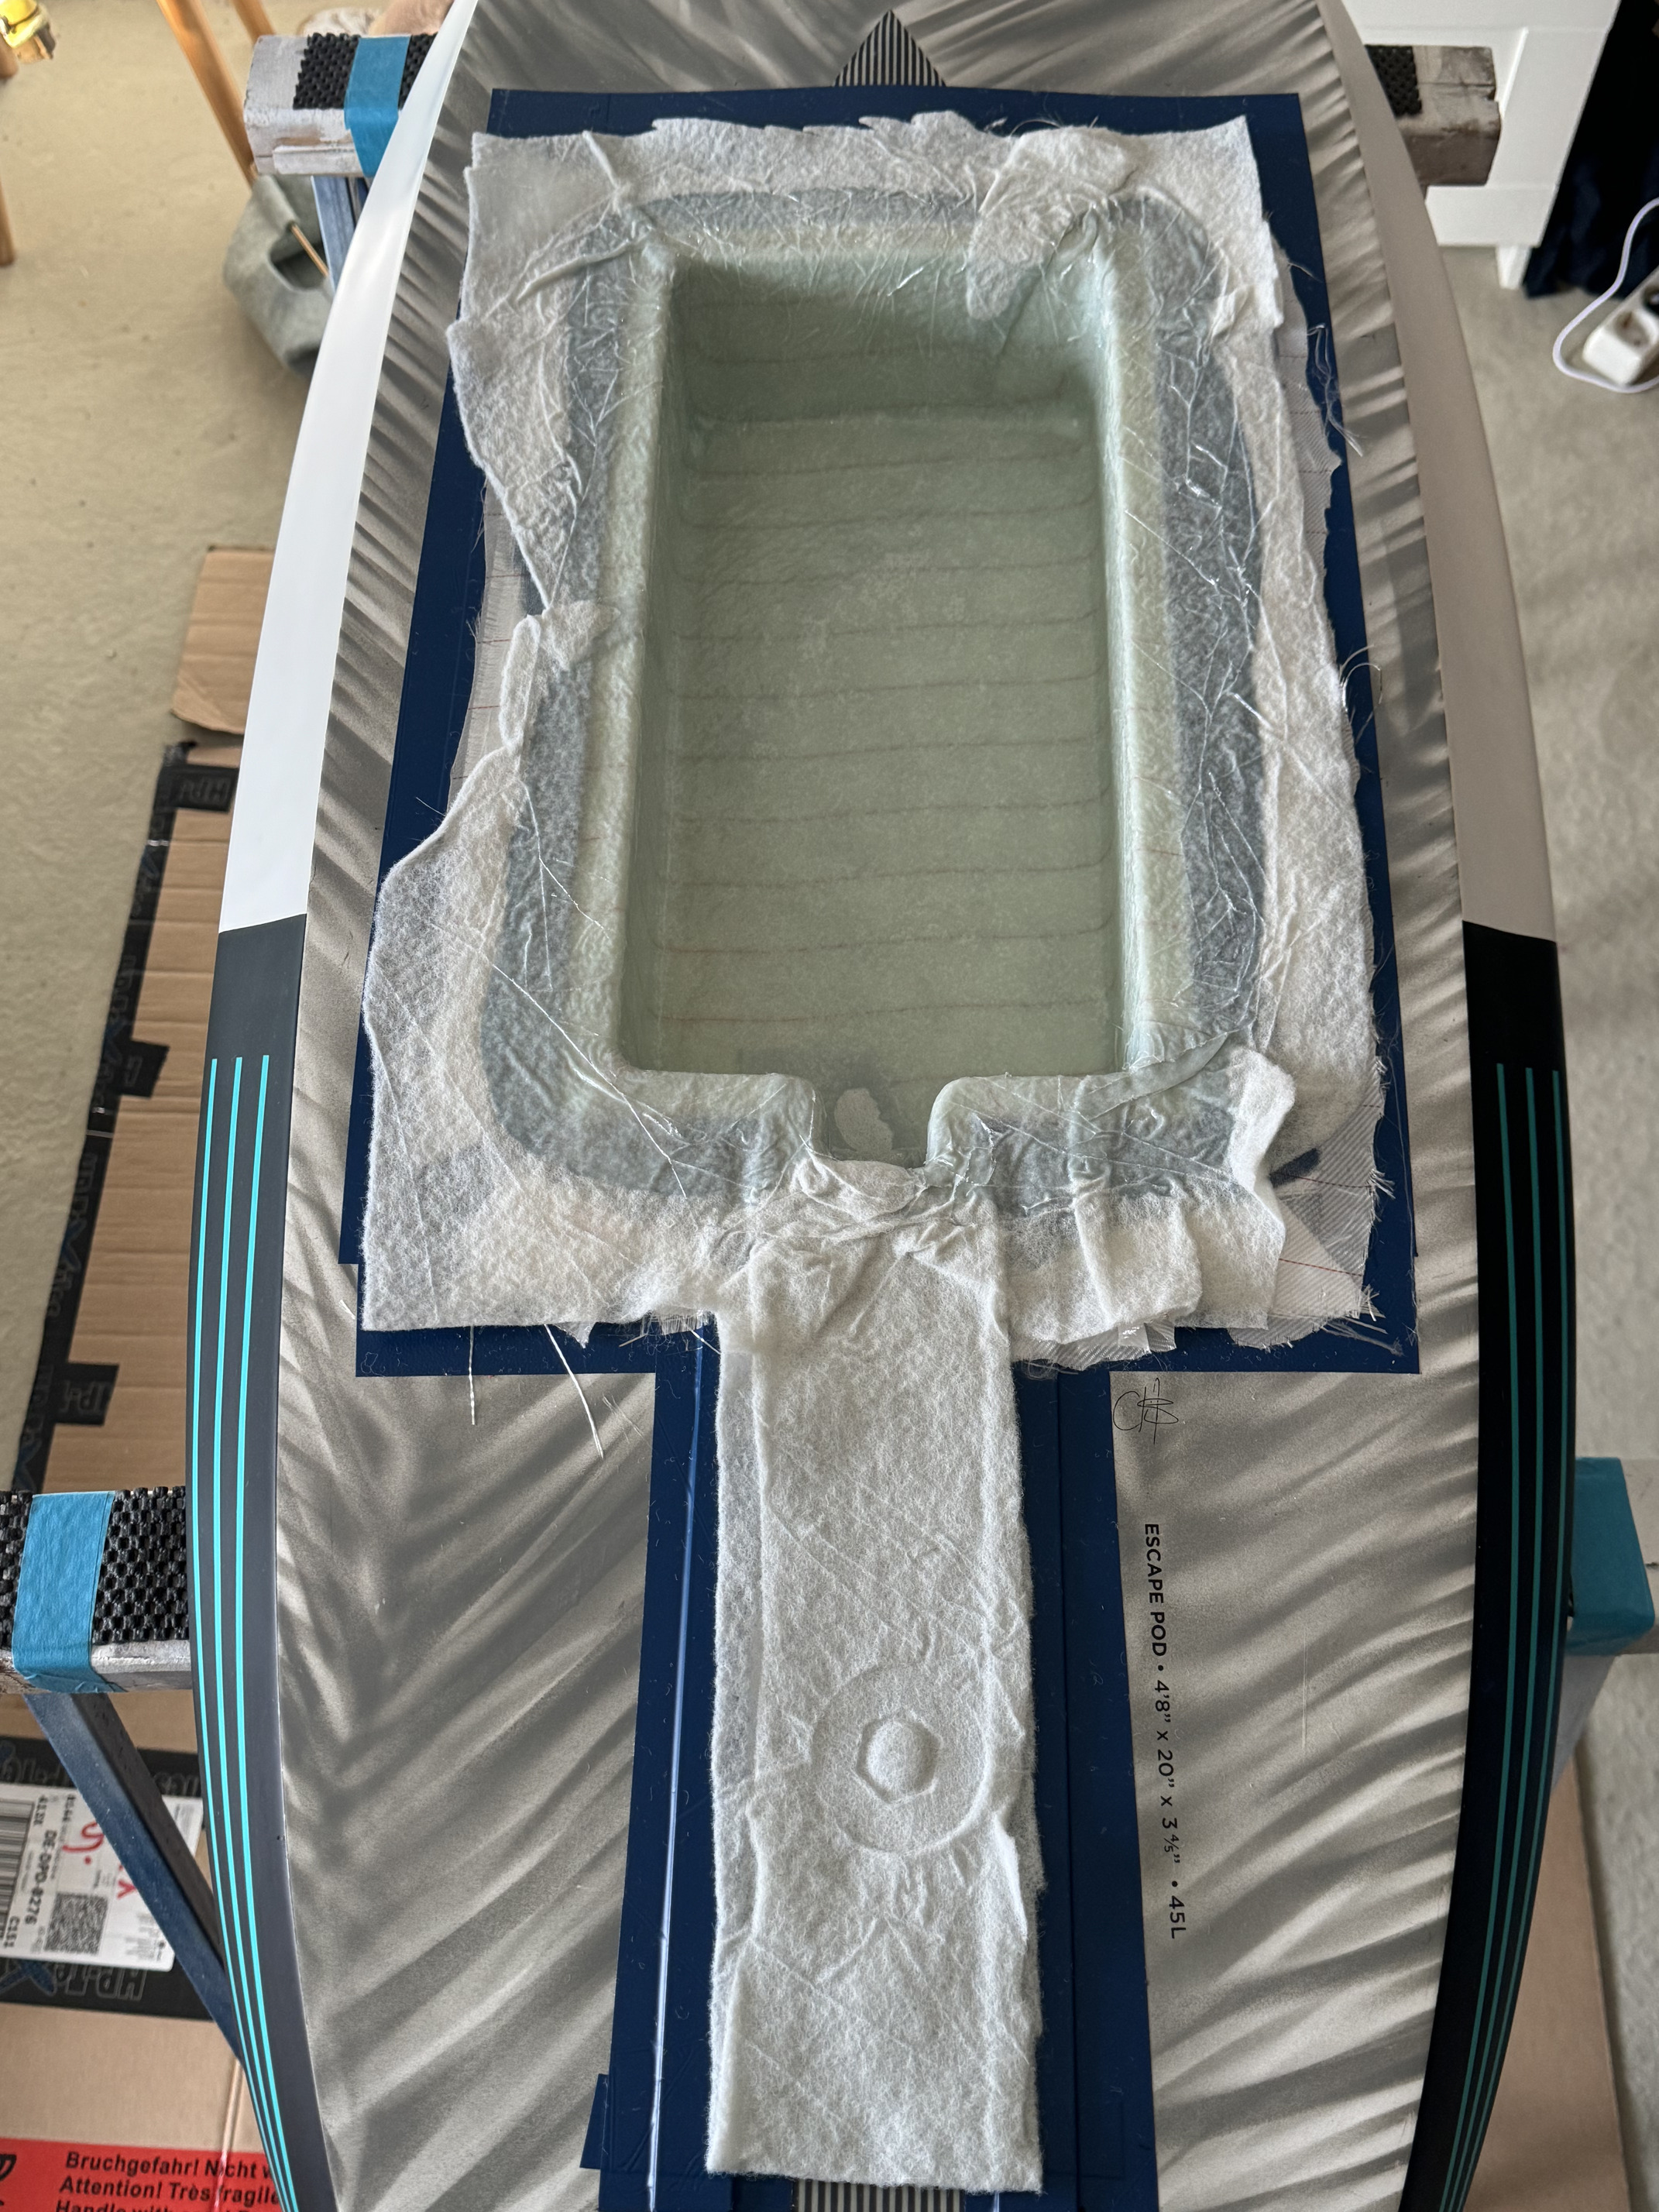
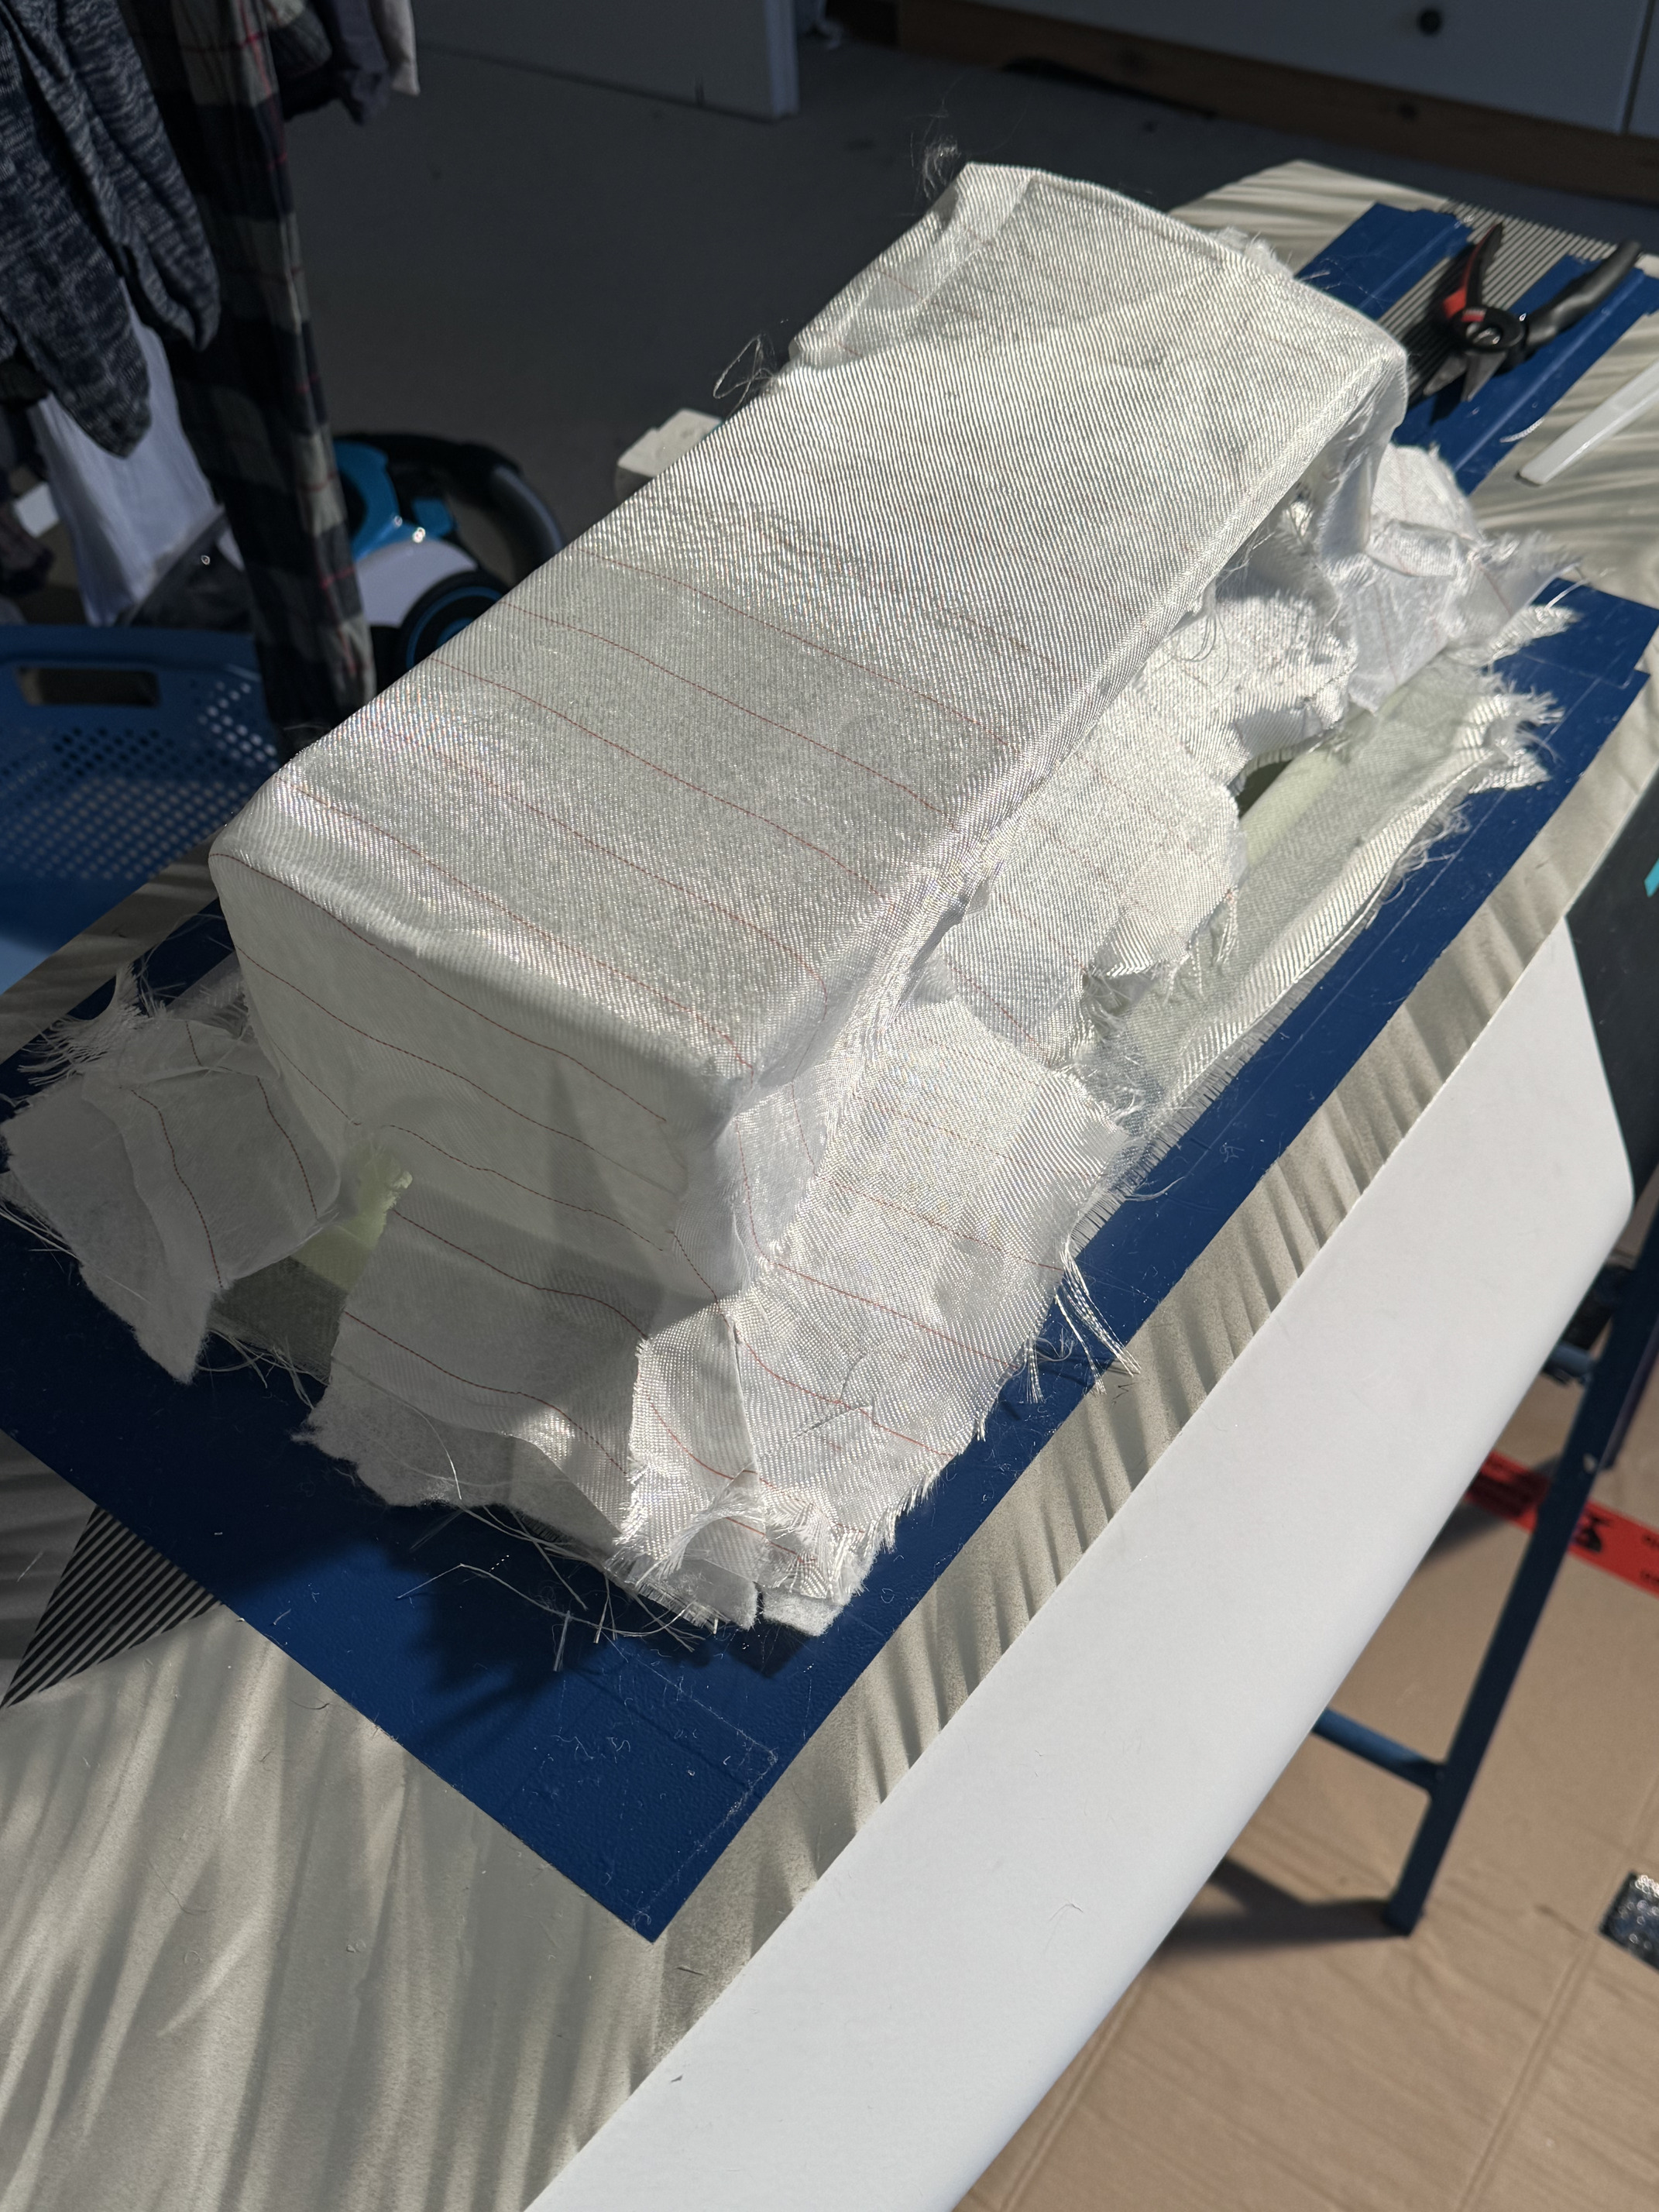
Today it was time to laminate. ![]()
For the laminate I used:
5 layers of 200gr fiberglass and 300gr epoxy.
The bathroom heater was used for curing.
I cured it for 6 hours at around 50°C and -0.65bar.
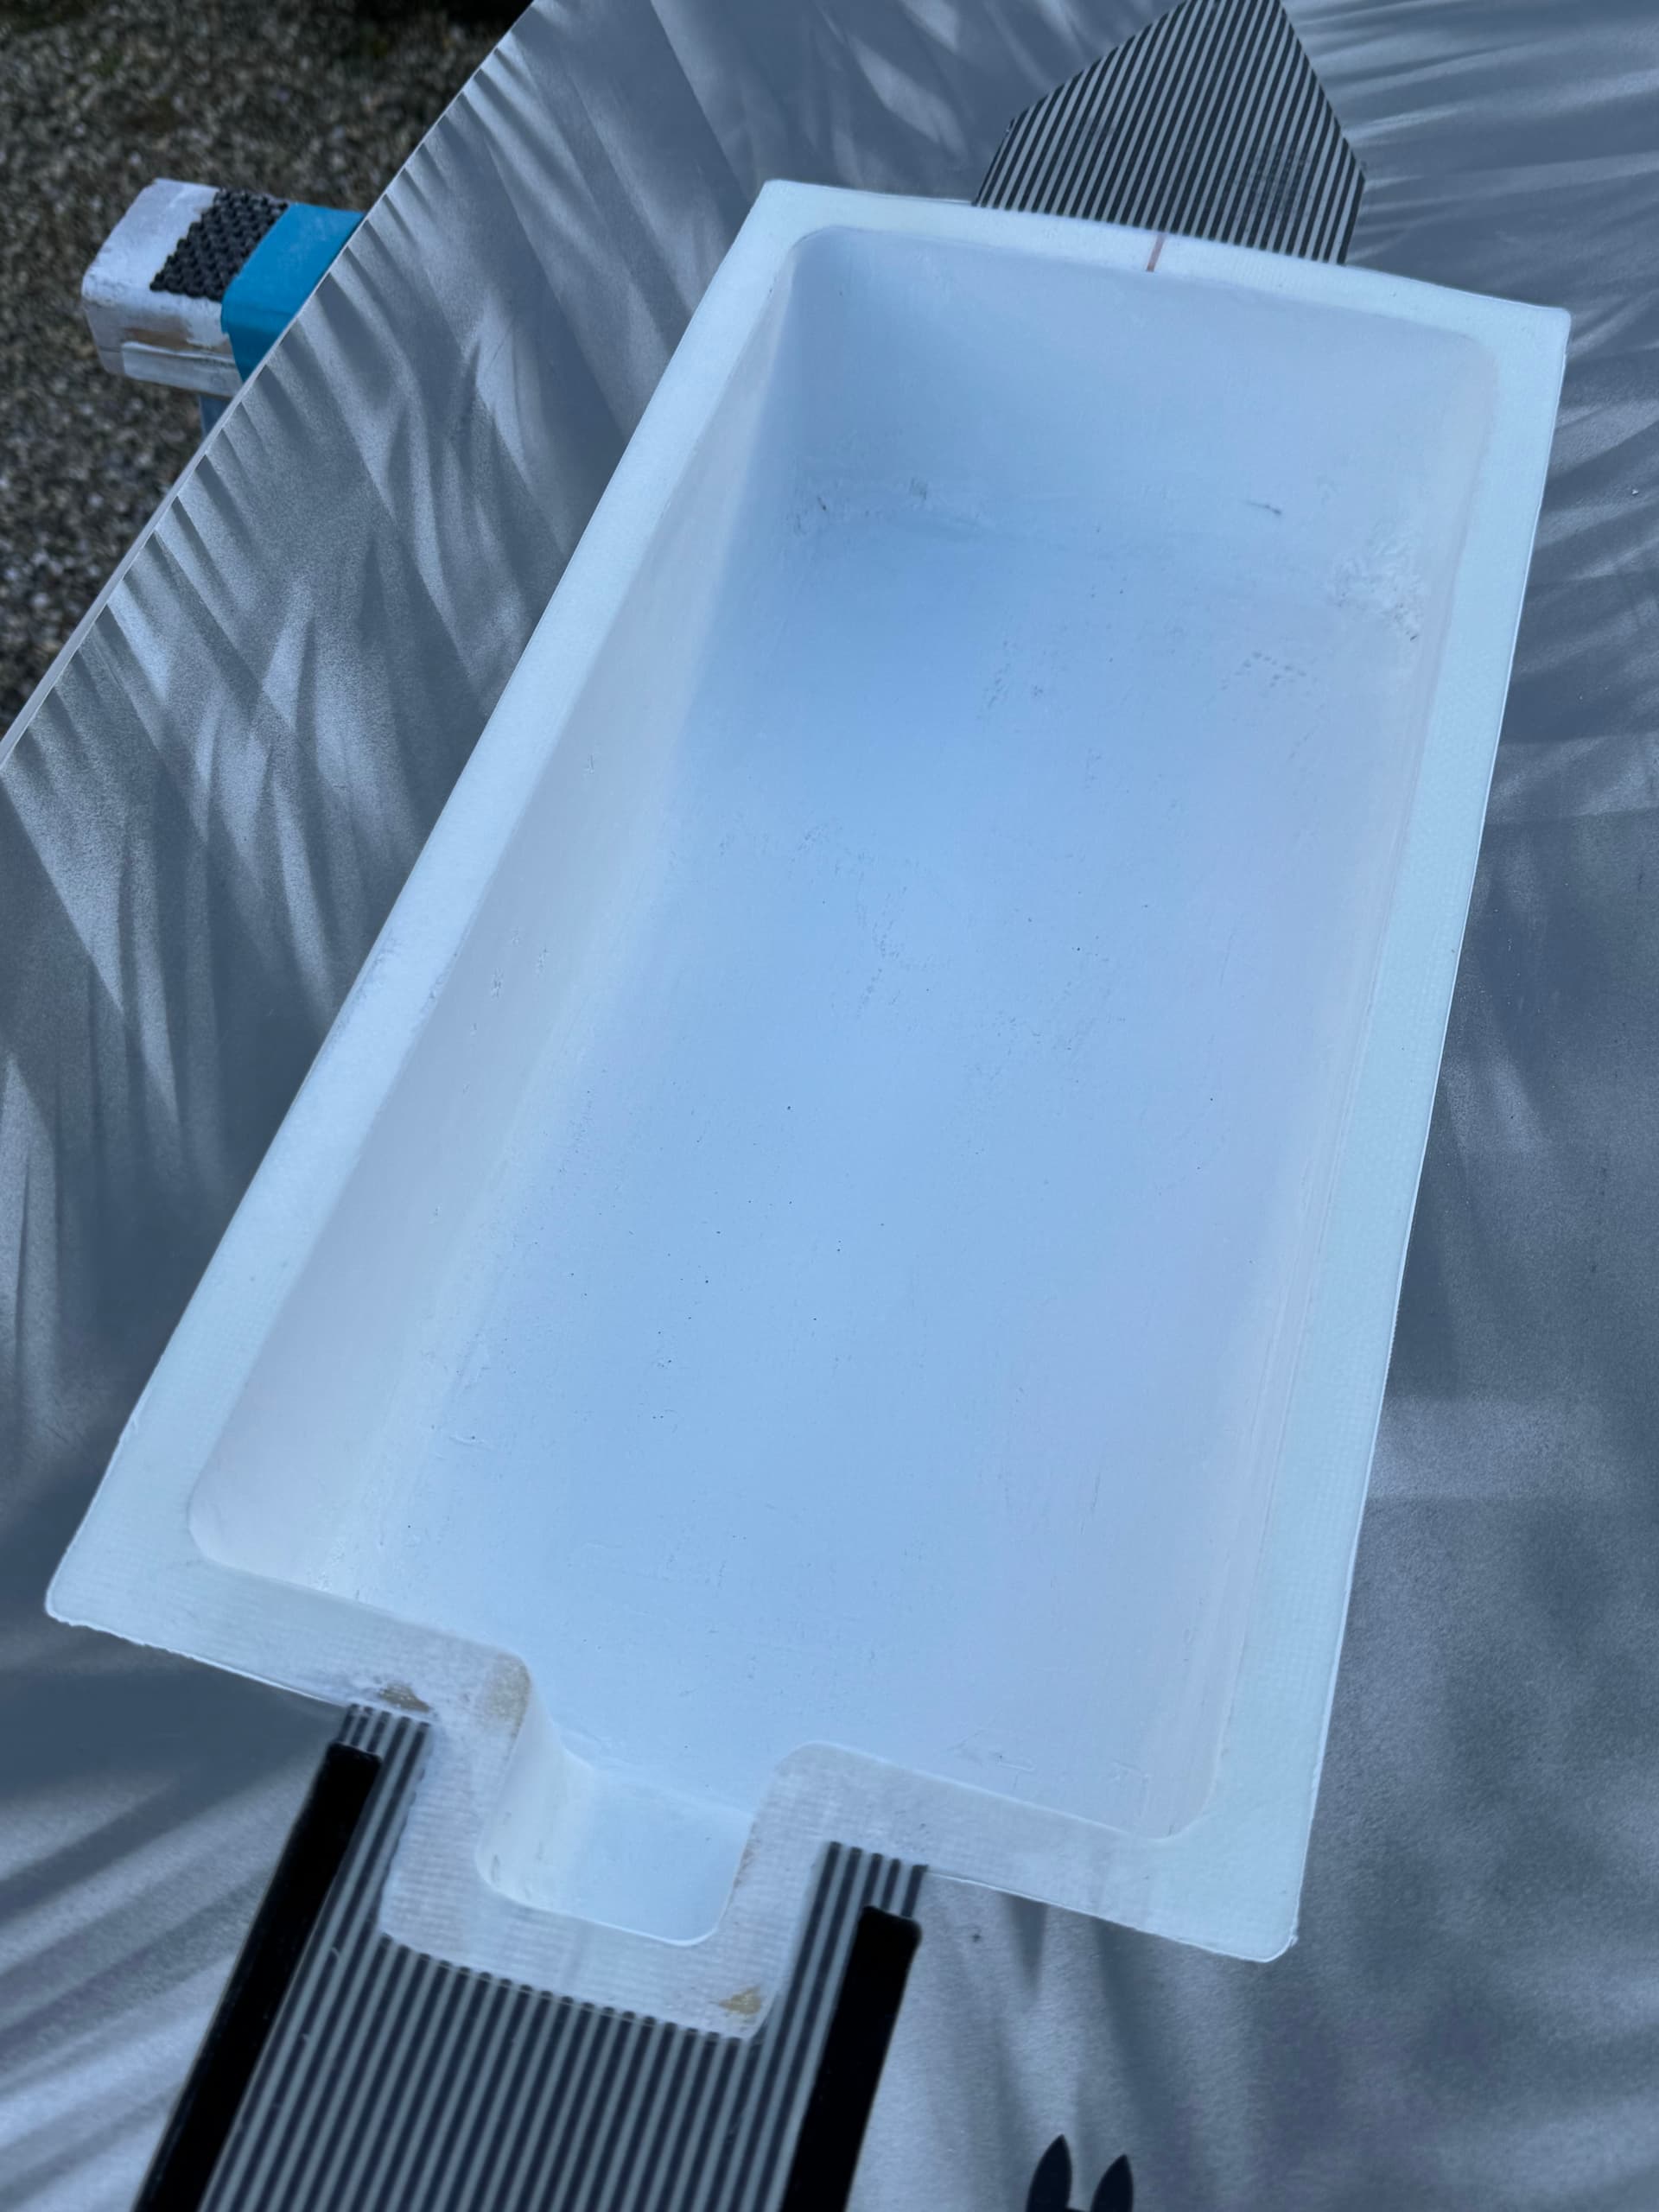
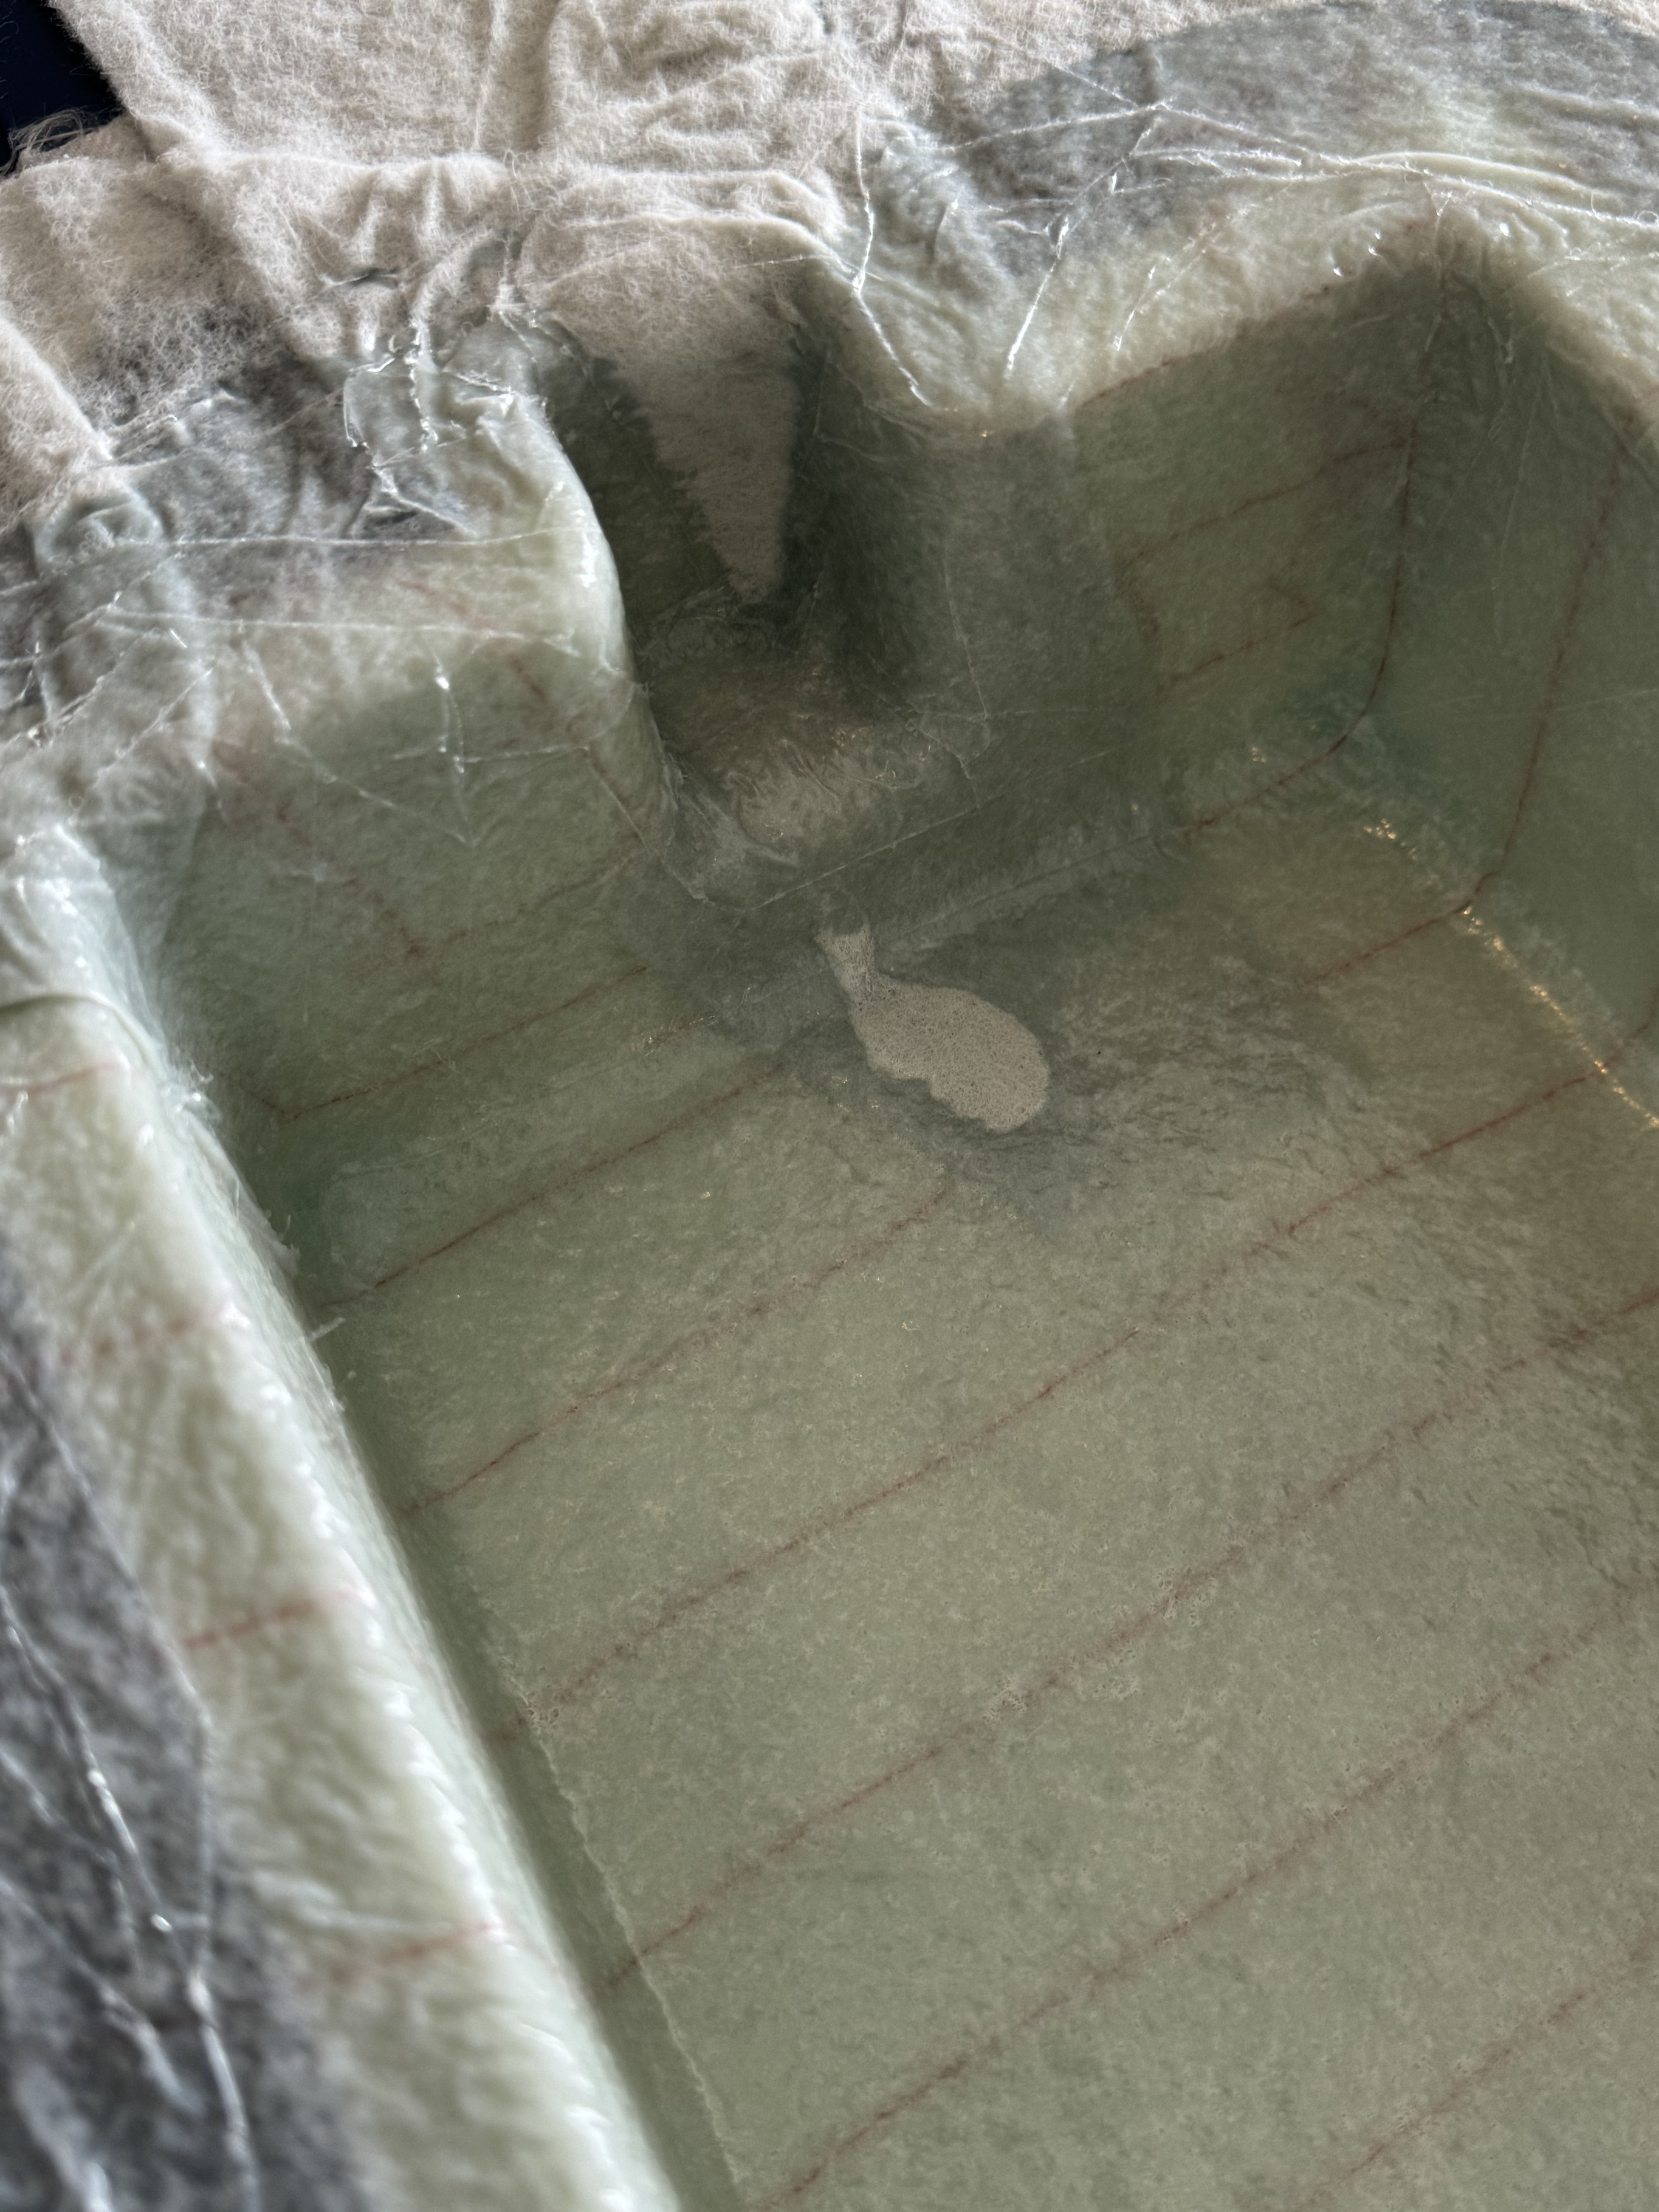
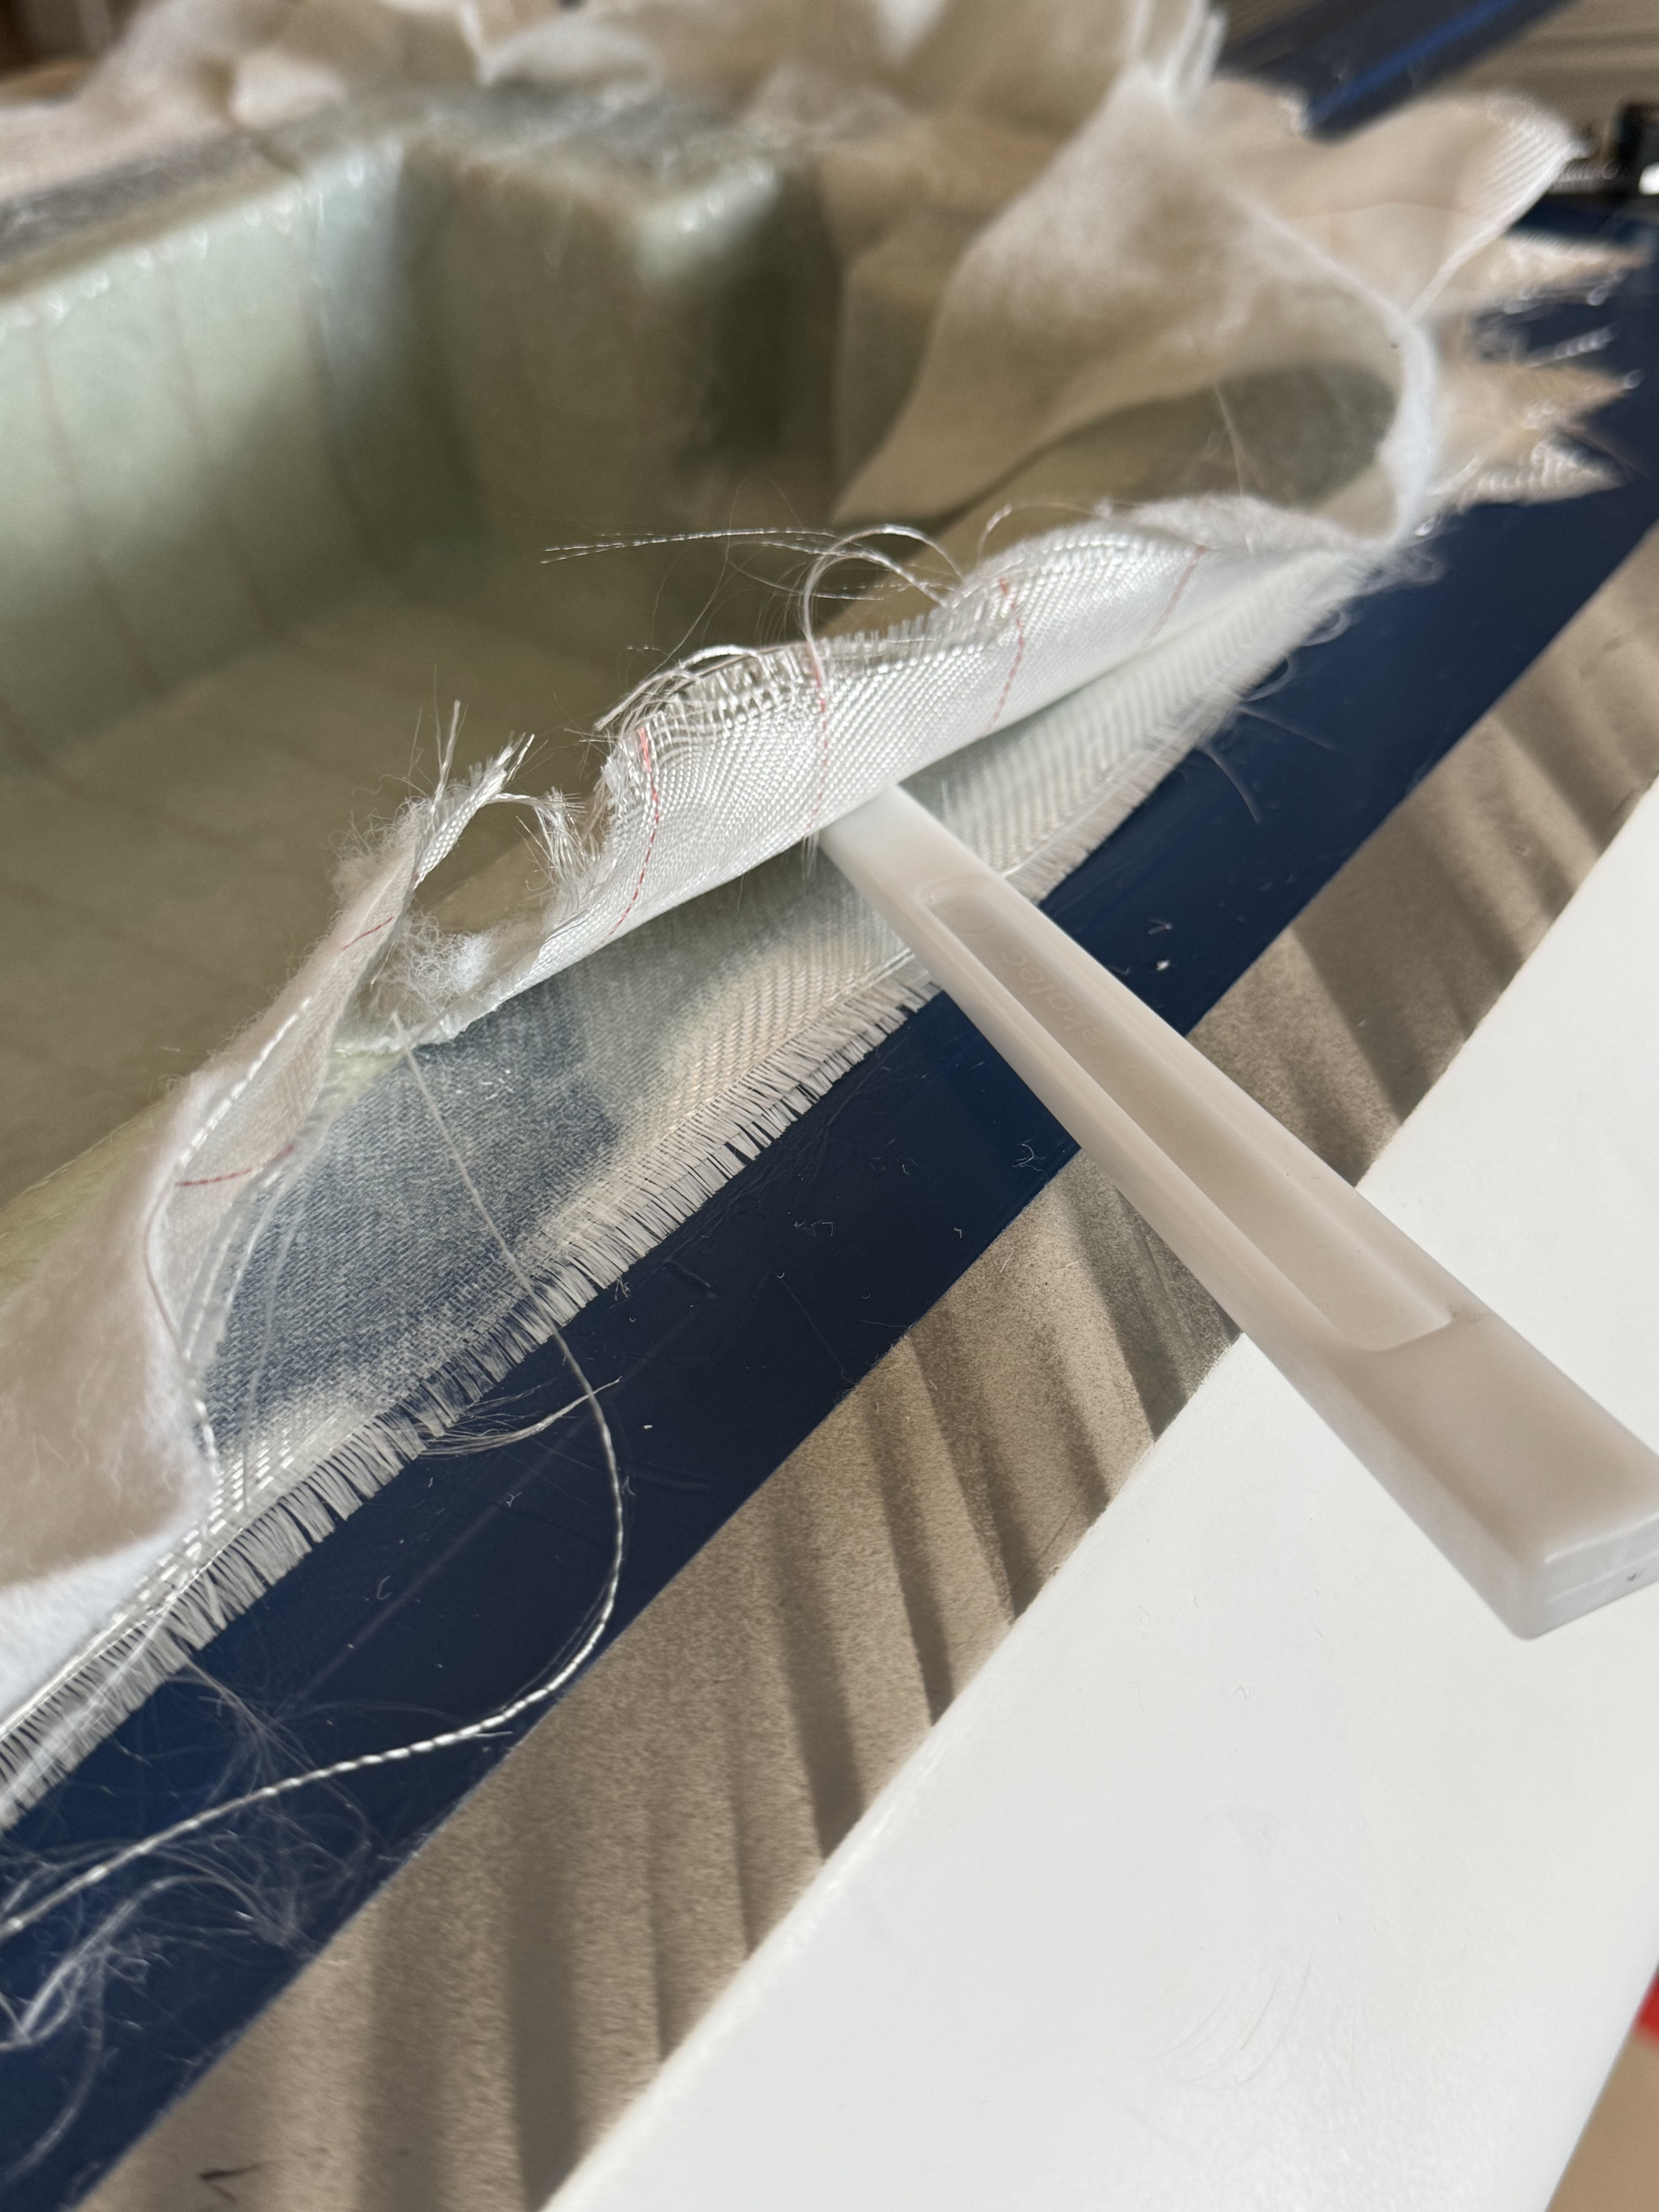
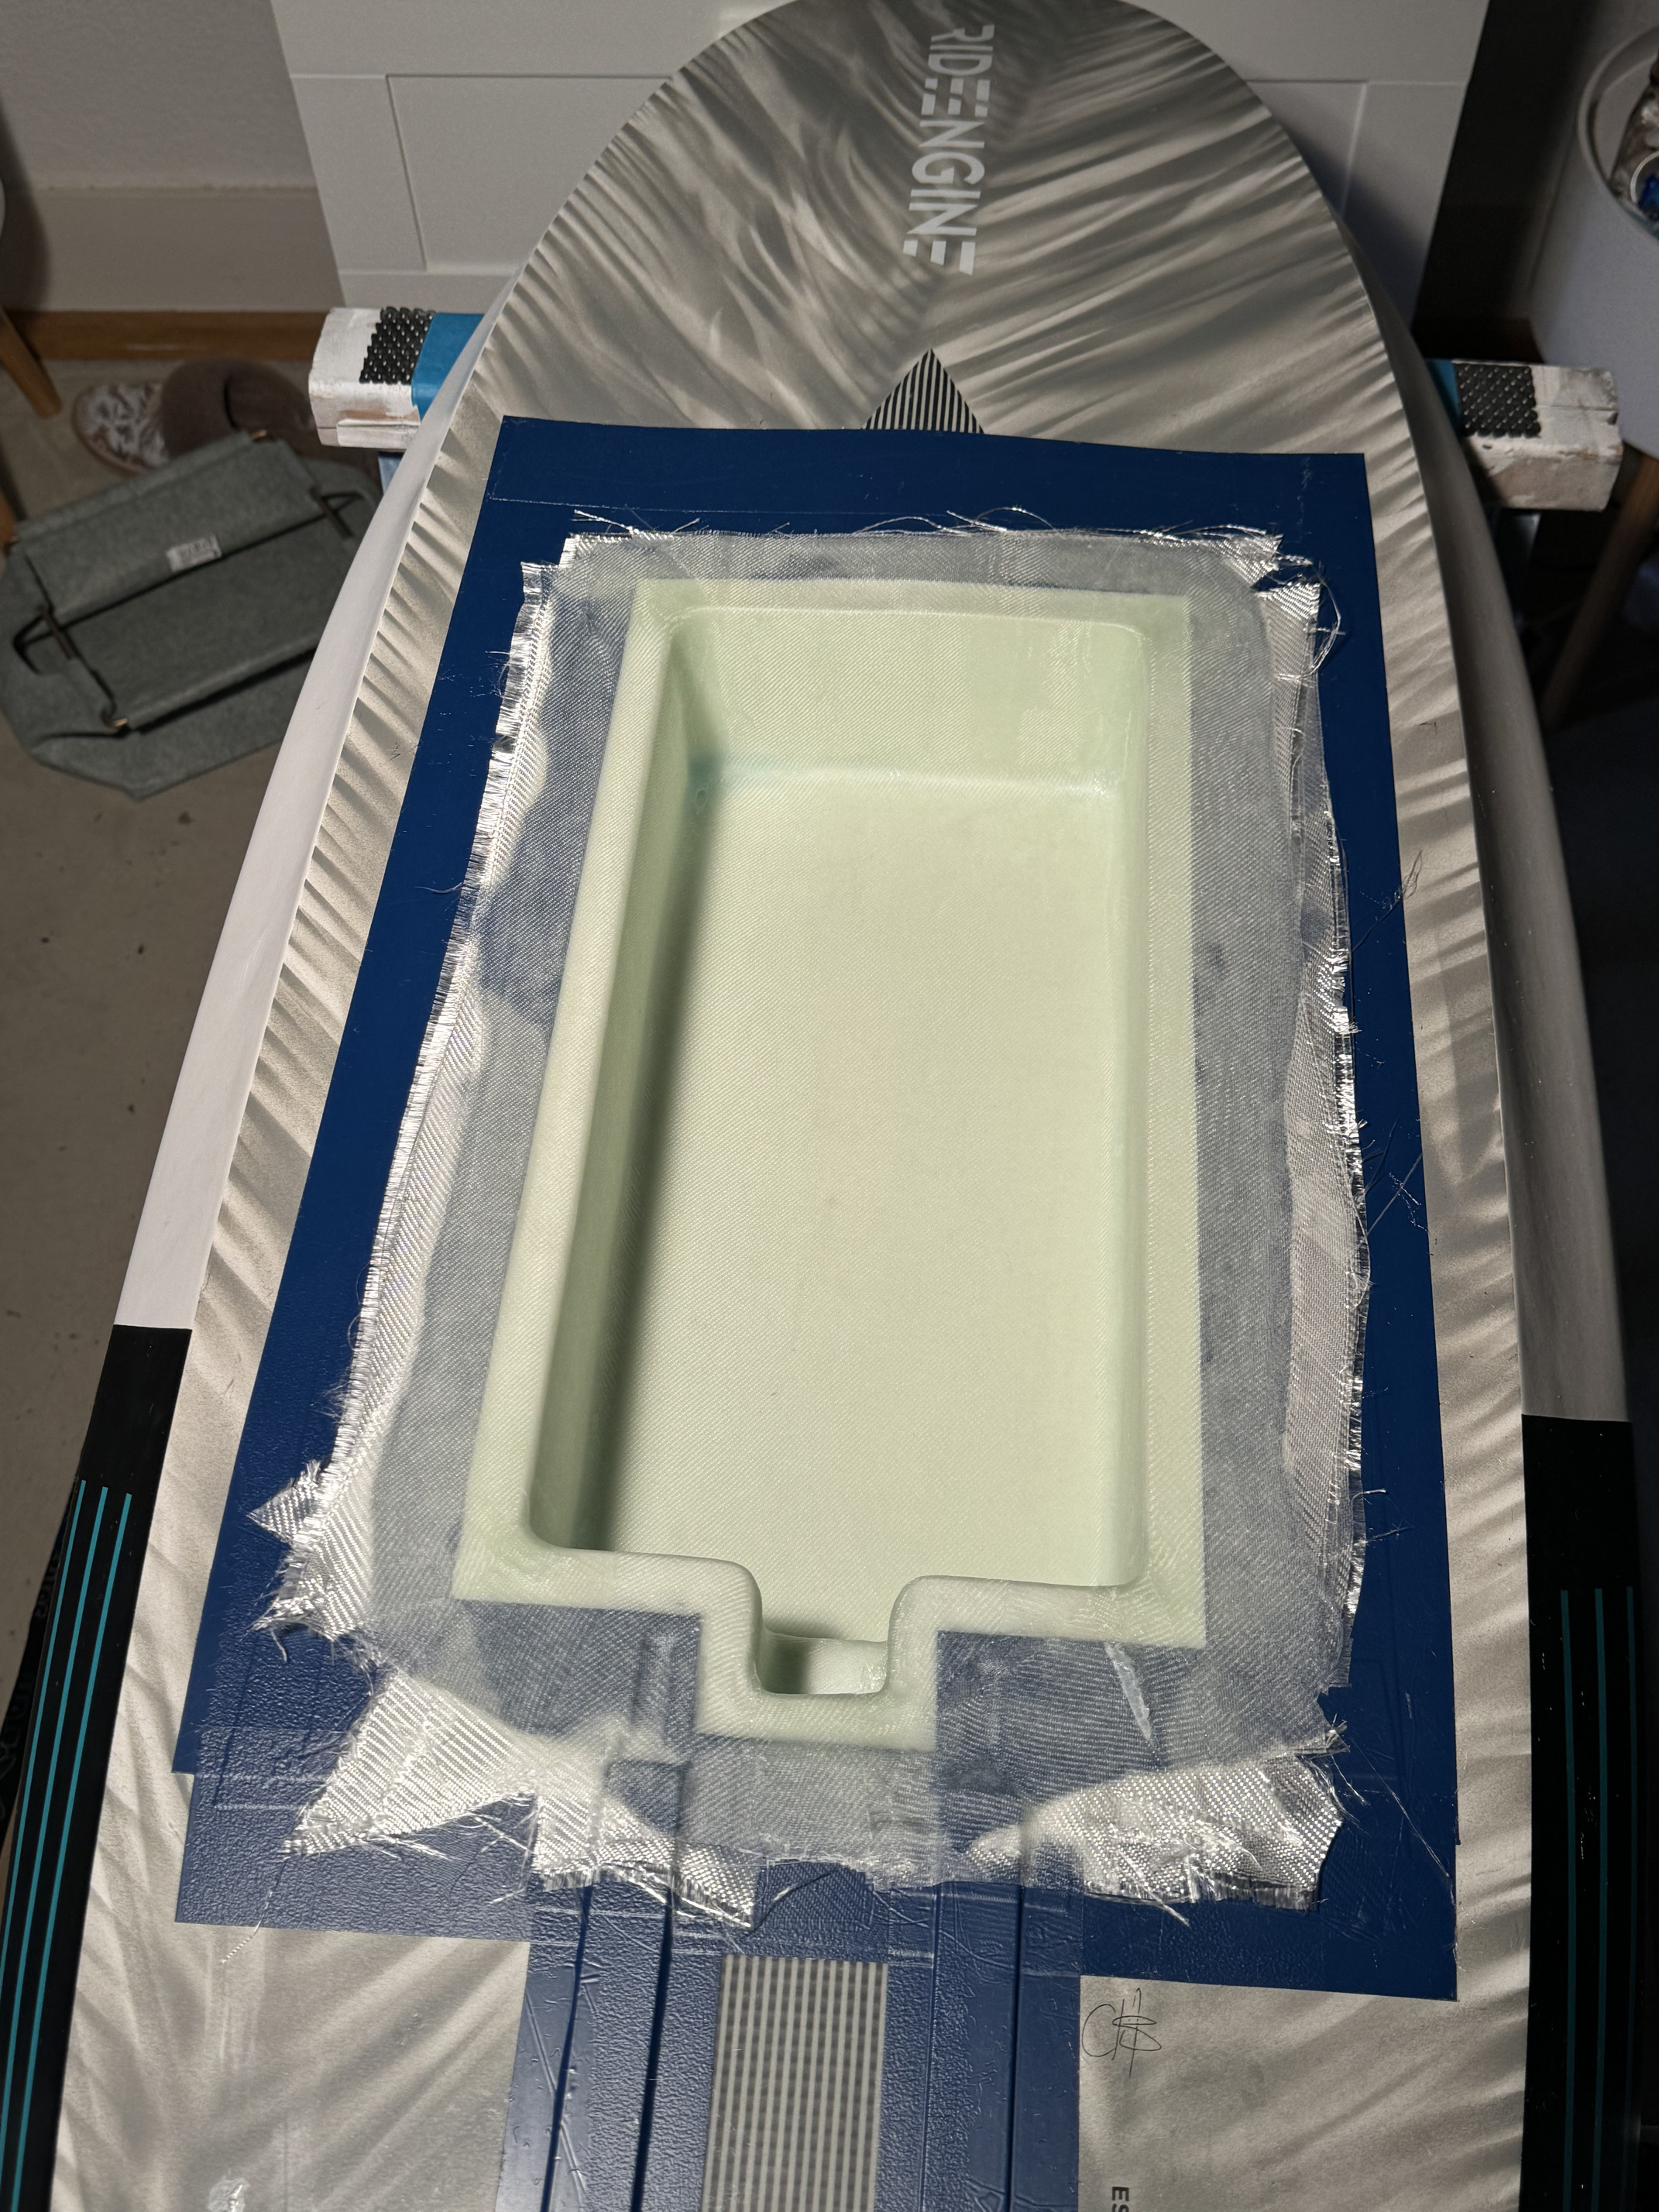
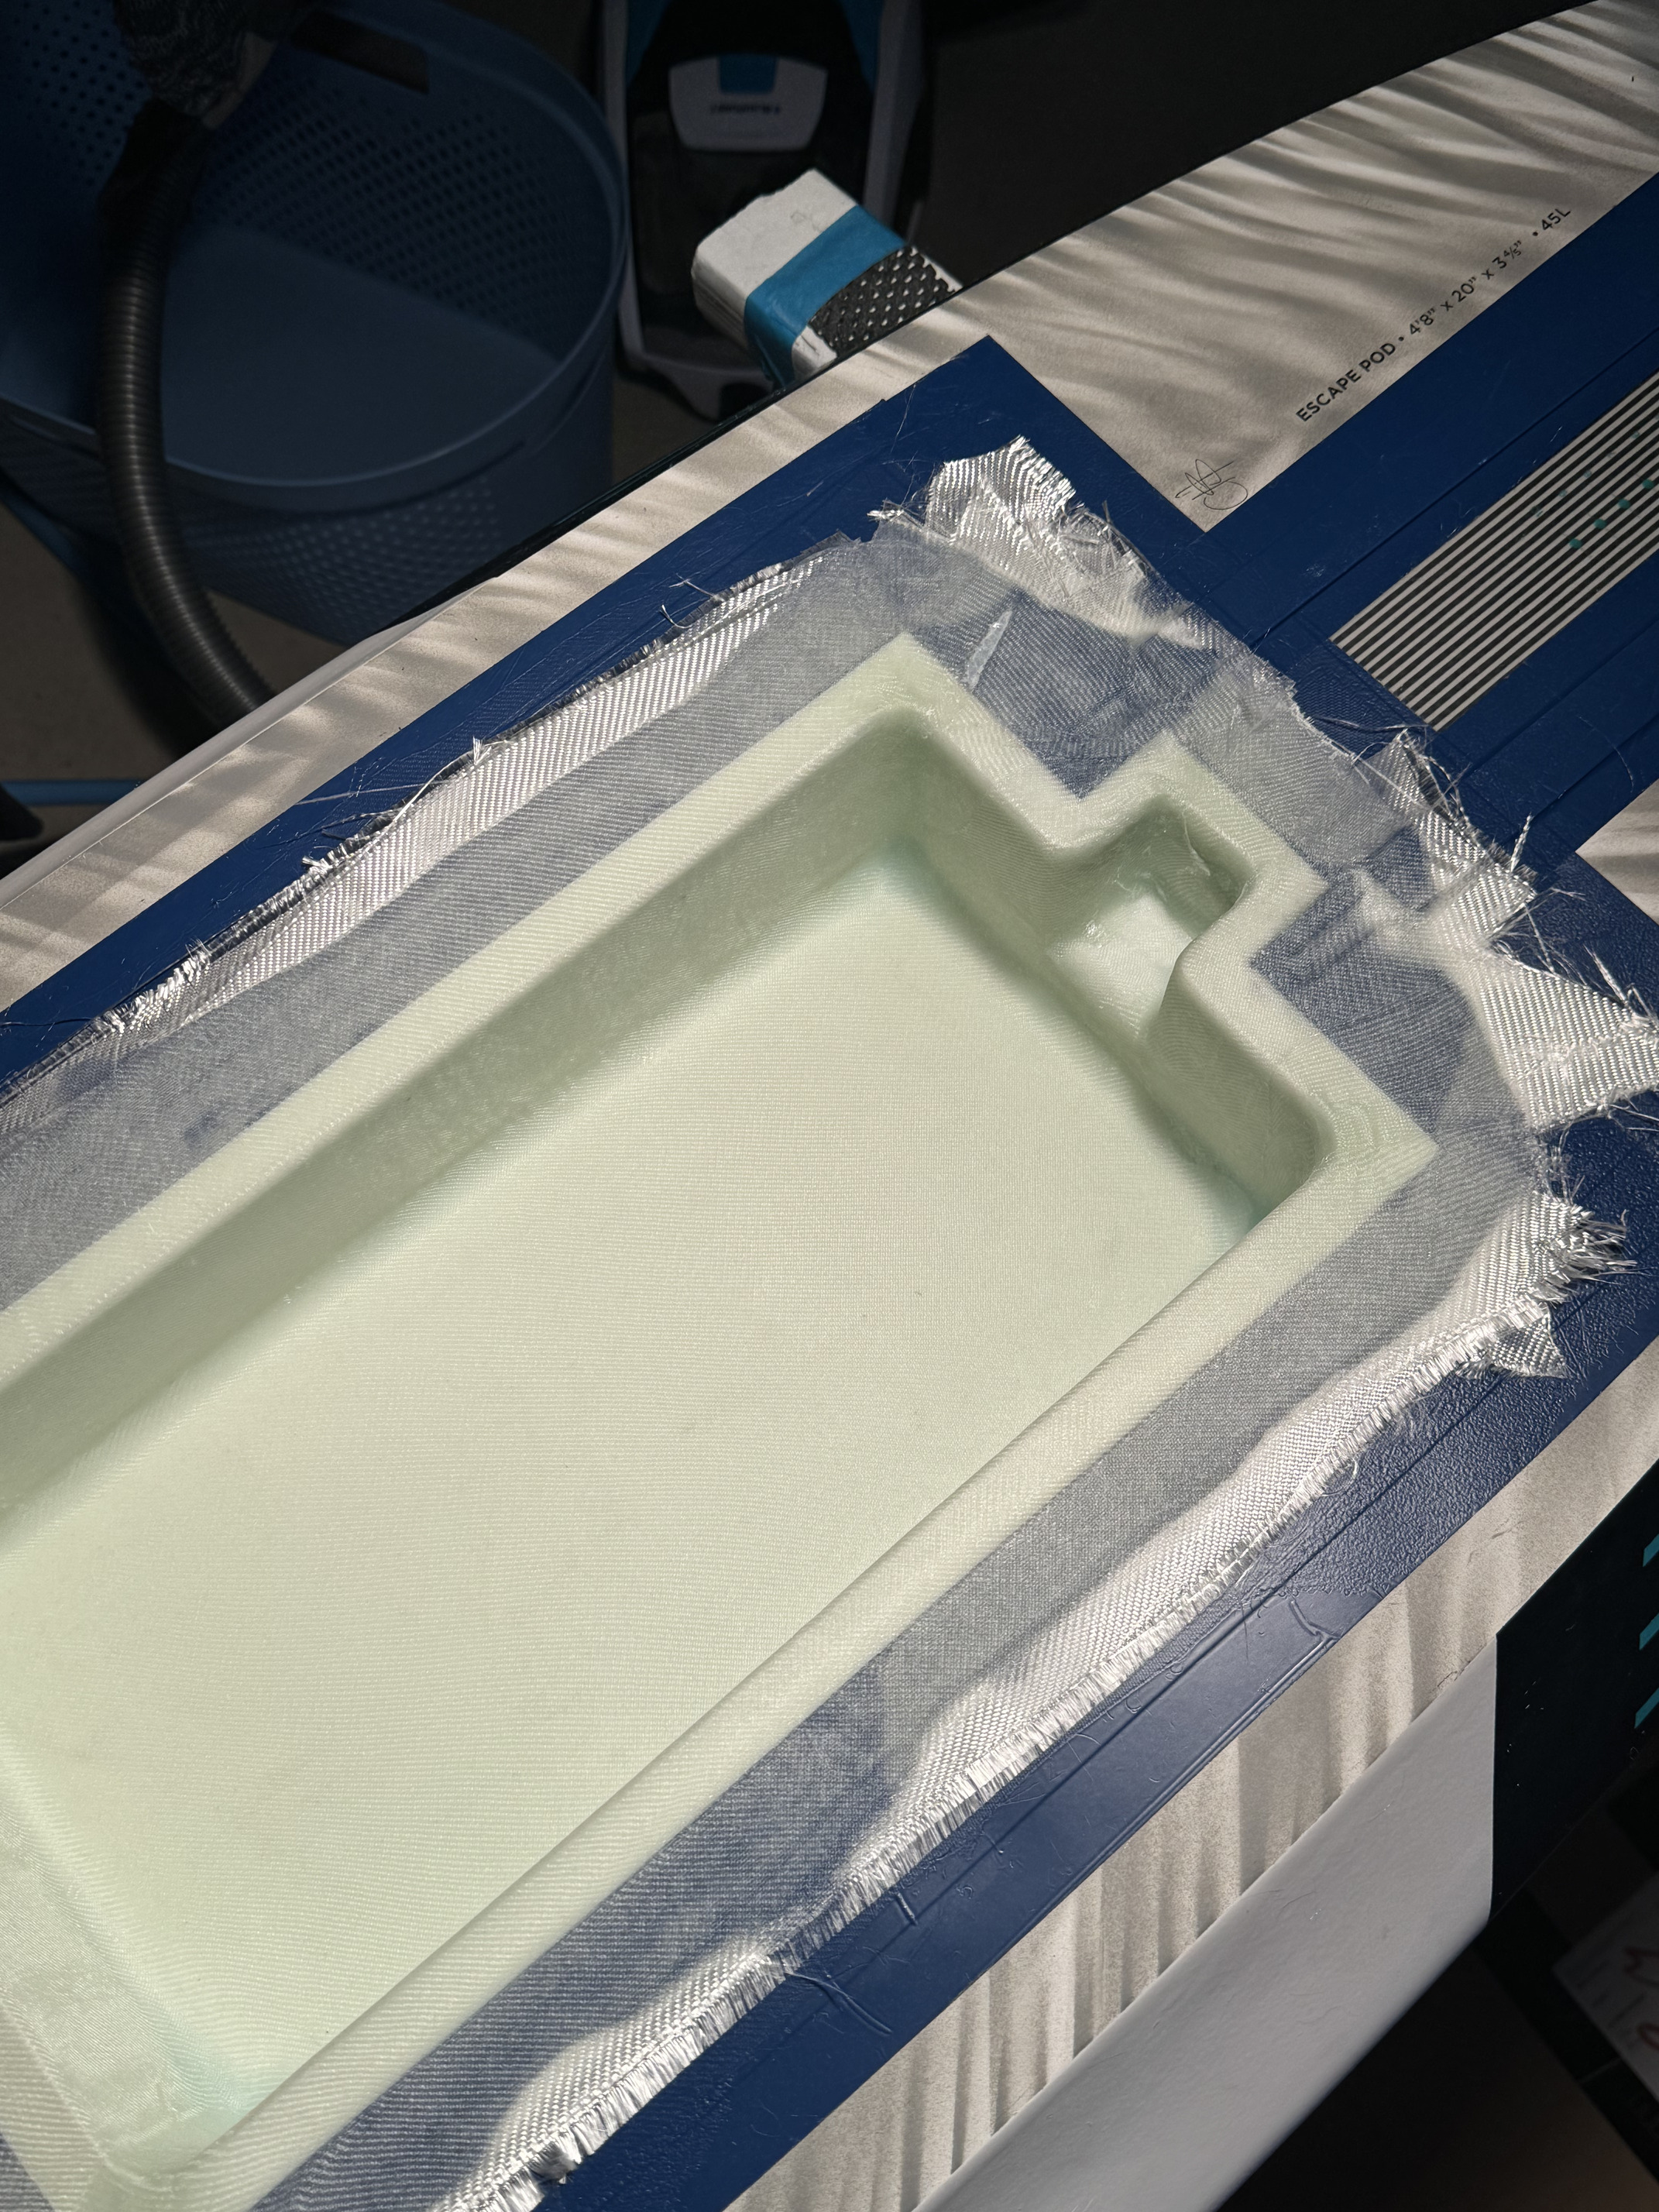
Then it was time for unboxing.
I am very happy with the result for the very first time using a vacuum pump.
Over the next few days the laminate will be sealed, sanded and sealed again.
The CF pipe is then installed.
A big thank you to my laminating teacher @tosh.jah
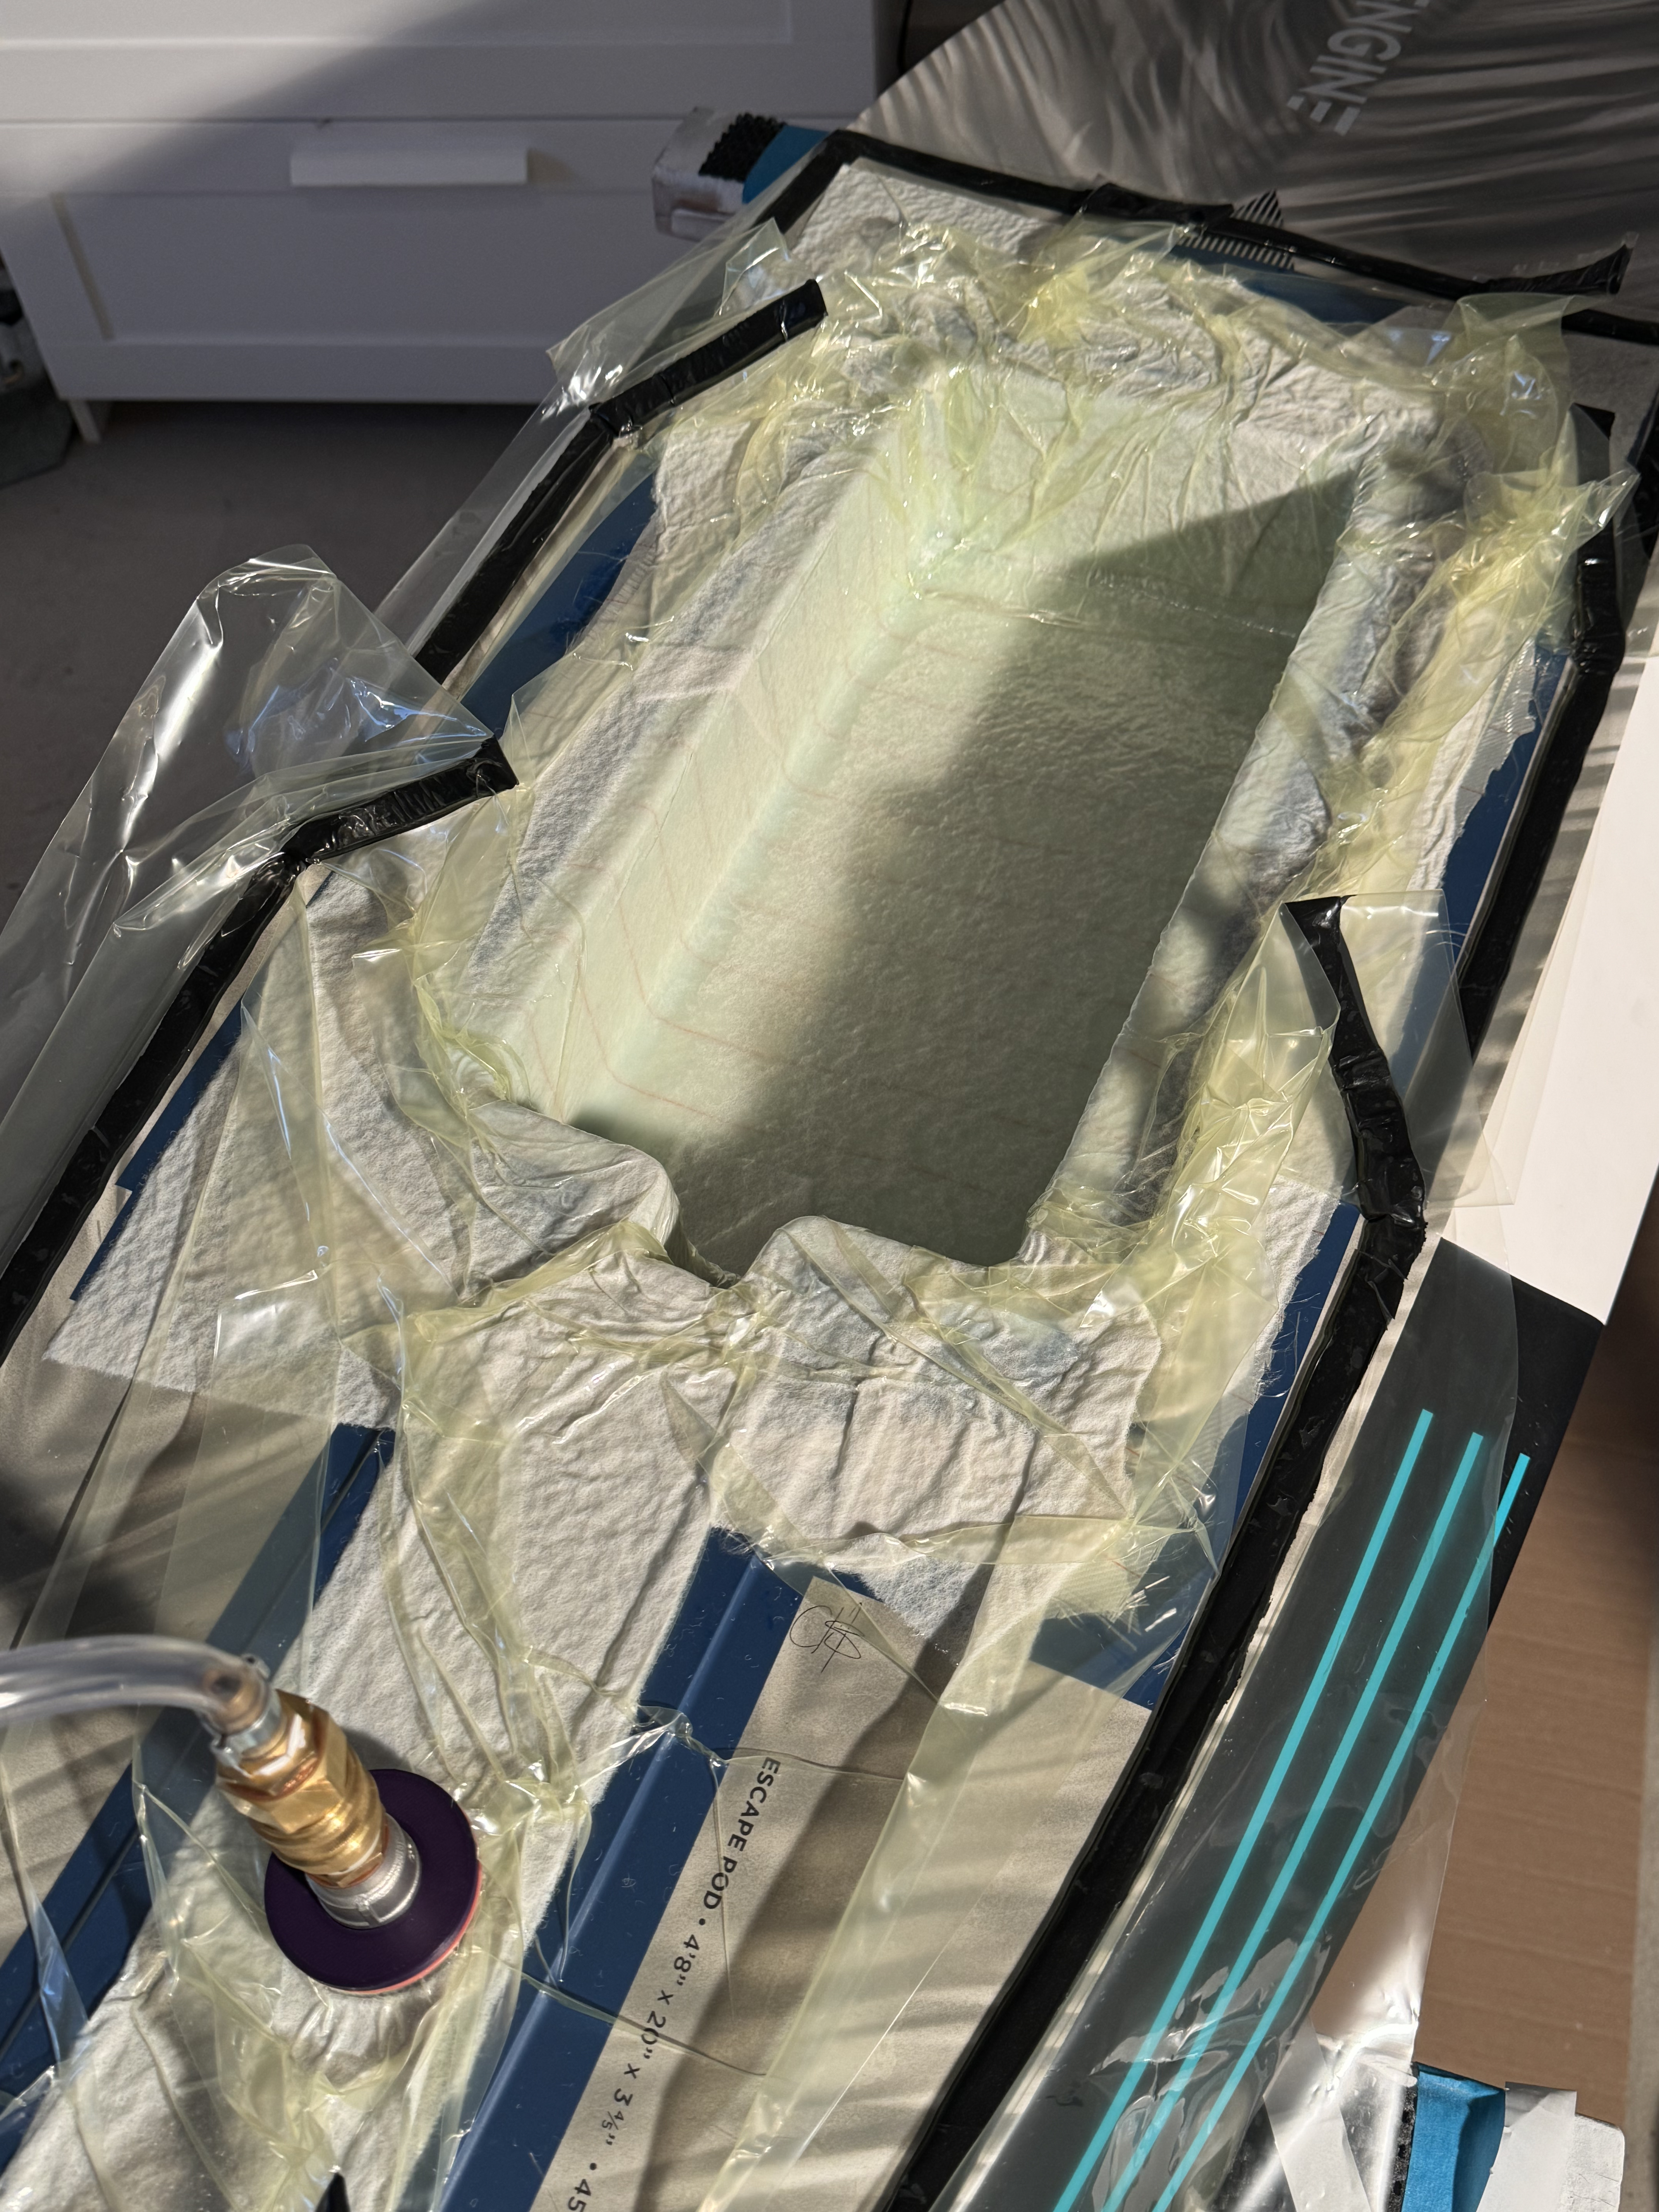
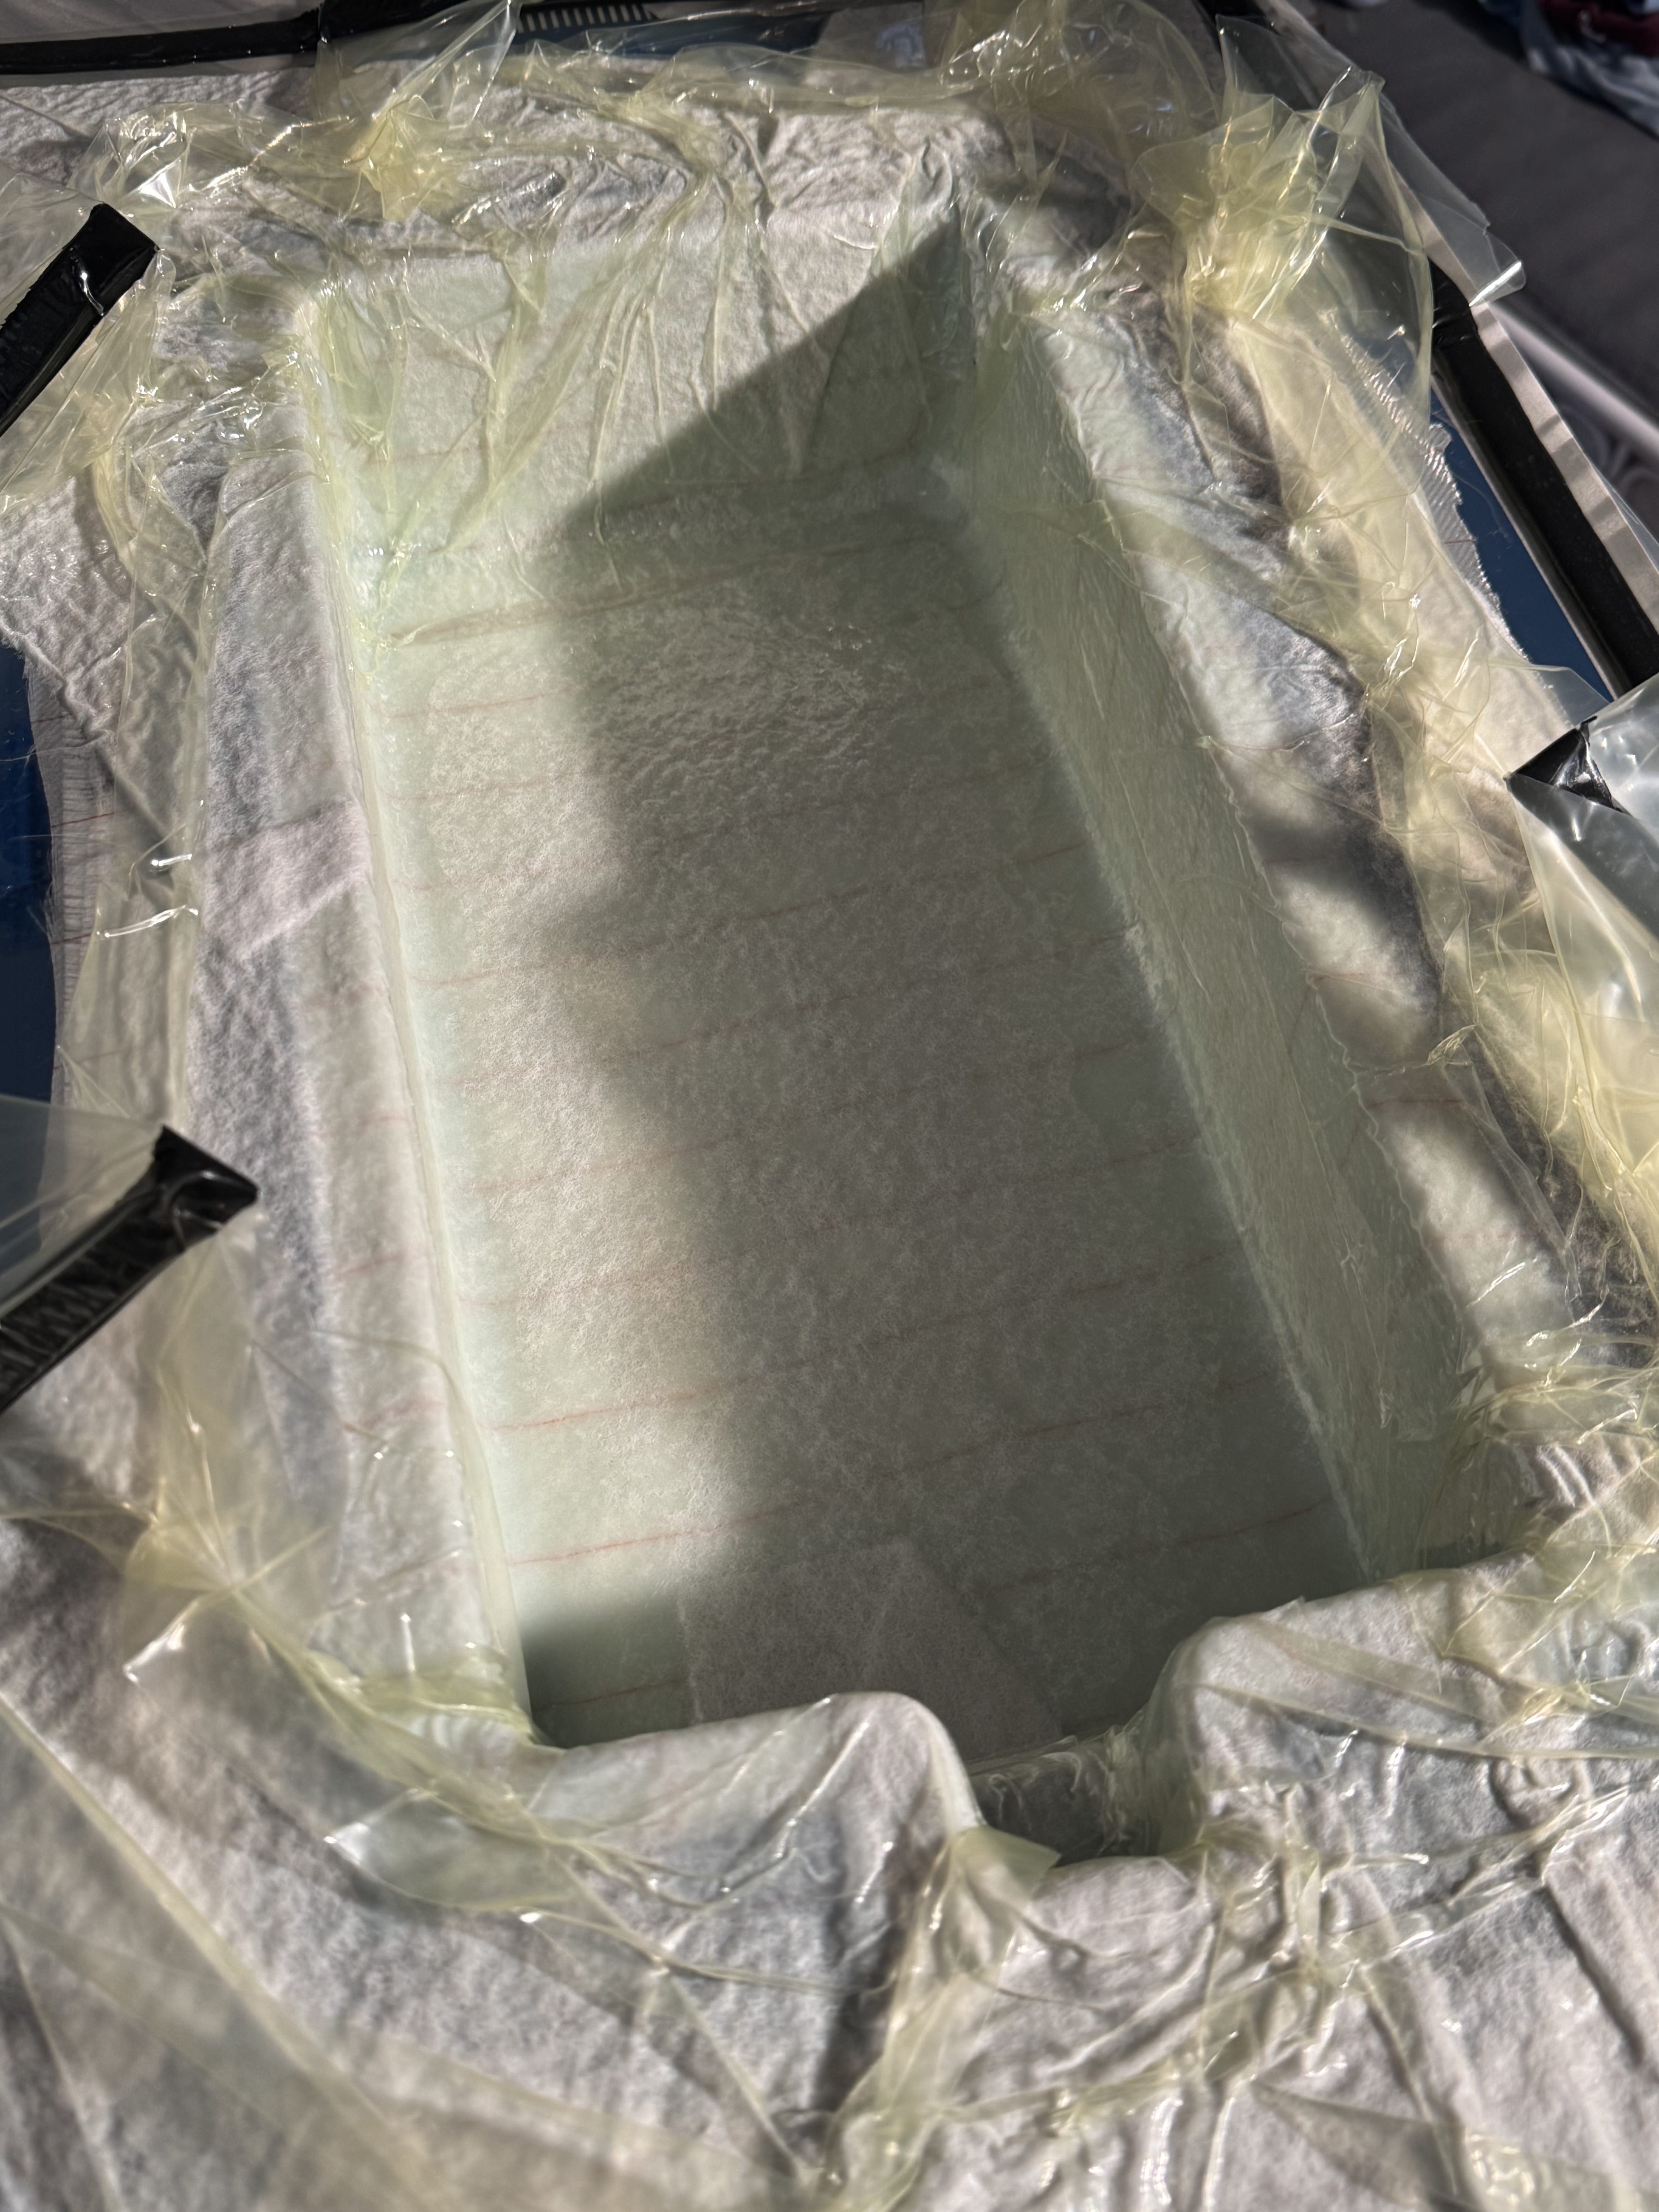
Unboxing:


5 Likes
Excellent work…i built a carbon tub for my DW board and that took longer to sort out than laminating the whole of my board…lol.
K
1 Like