The motor windings absorb a surprising amount. I leave the corrosionX in the motor. The motor should be around half full. I’ve done 4 motors this way. Several months. No issues.
The reason I don’t fill it all the way is to reduce the resistance / drag on the spinning rotor.
I notice no increase in resistance with the corrosionX in there.
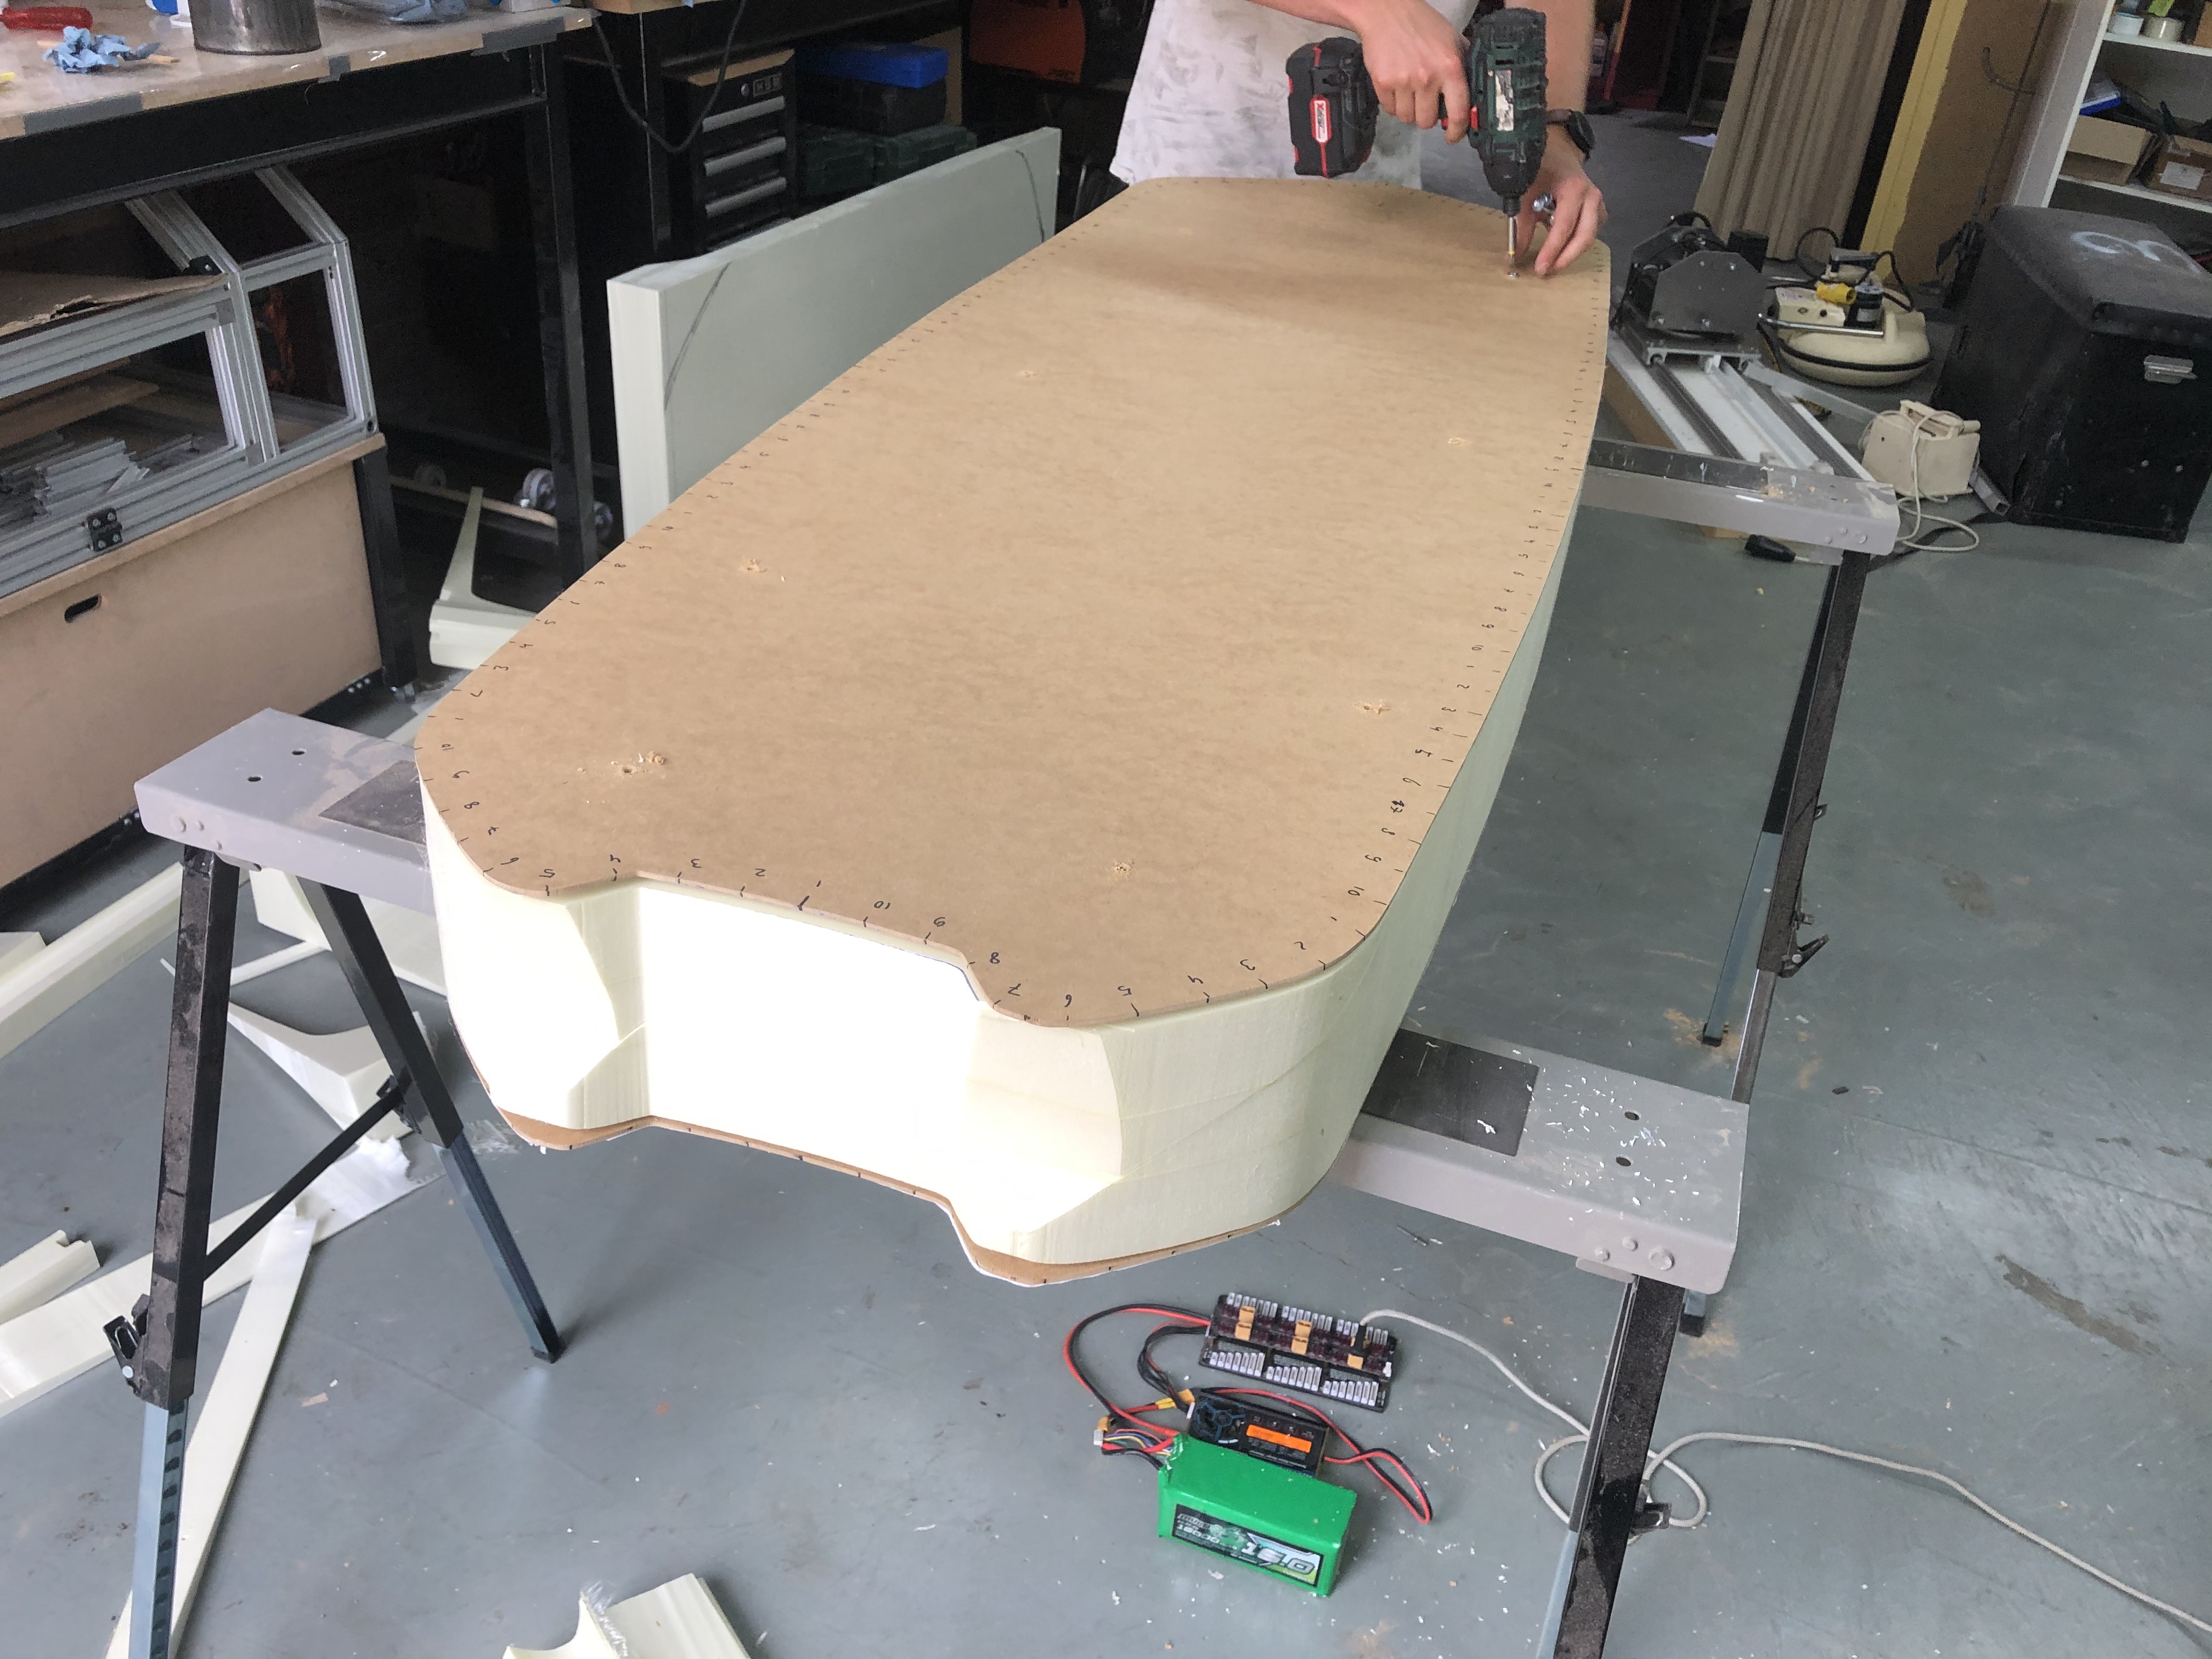
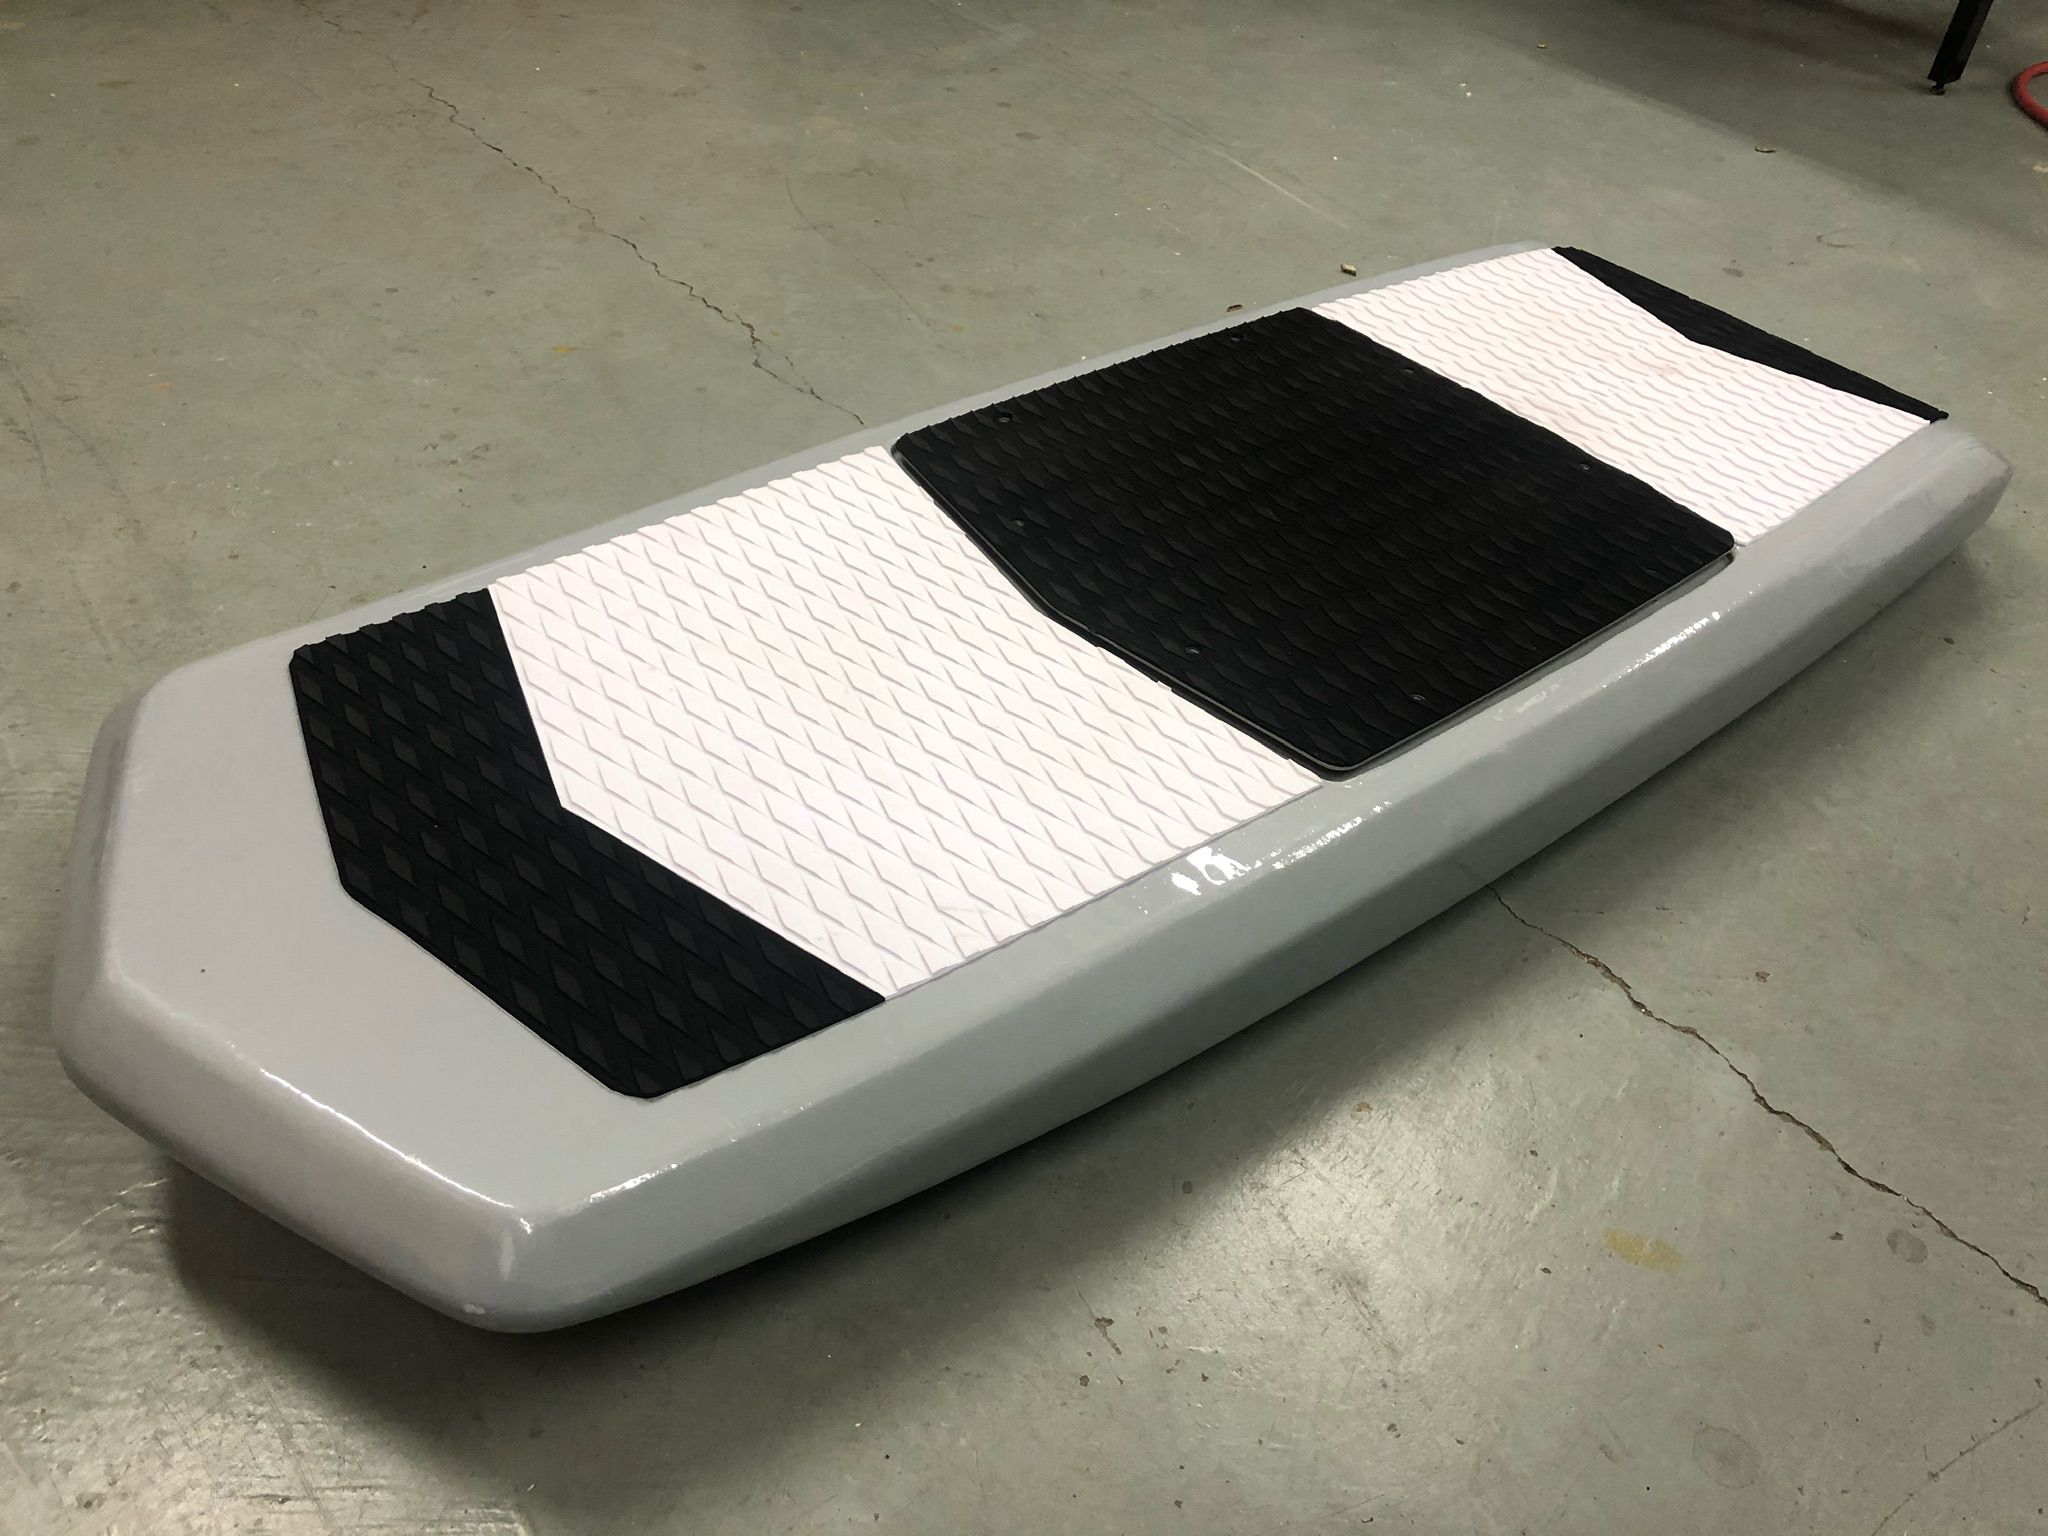
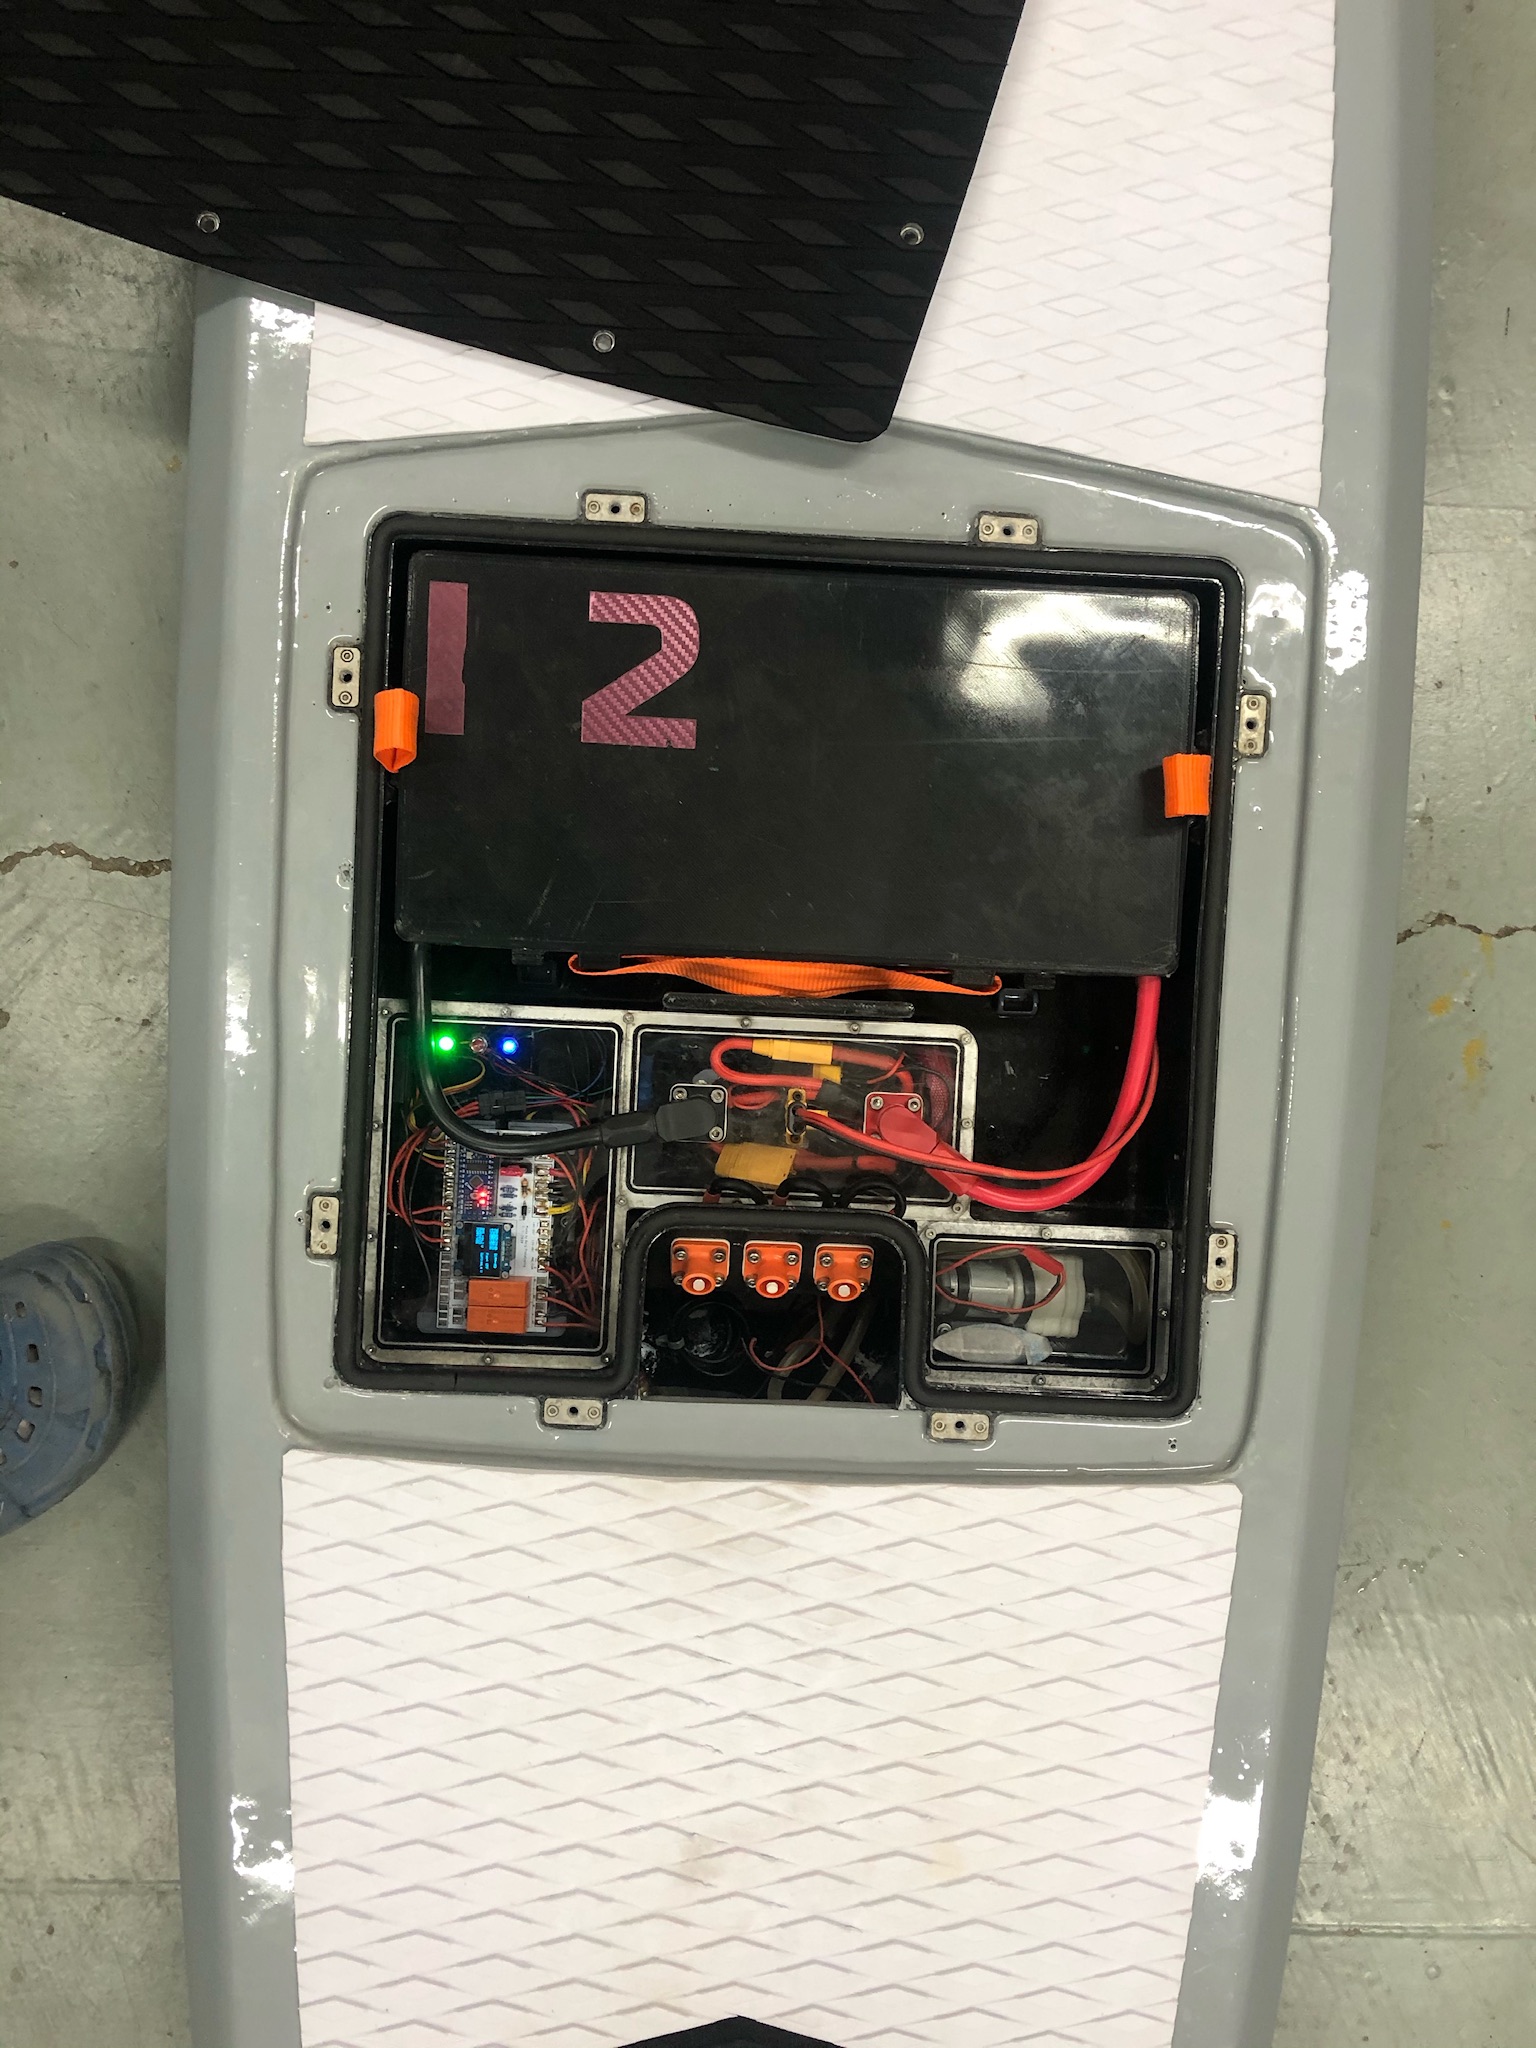
The board is currently working (pictures will follow).
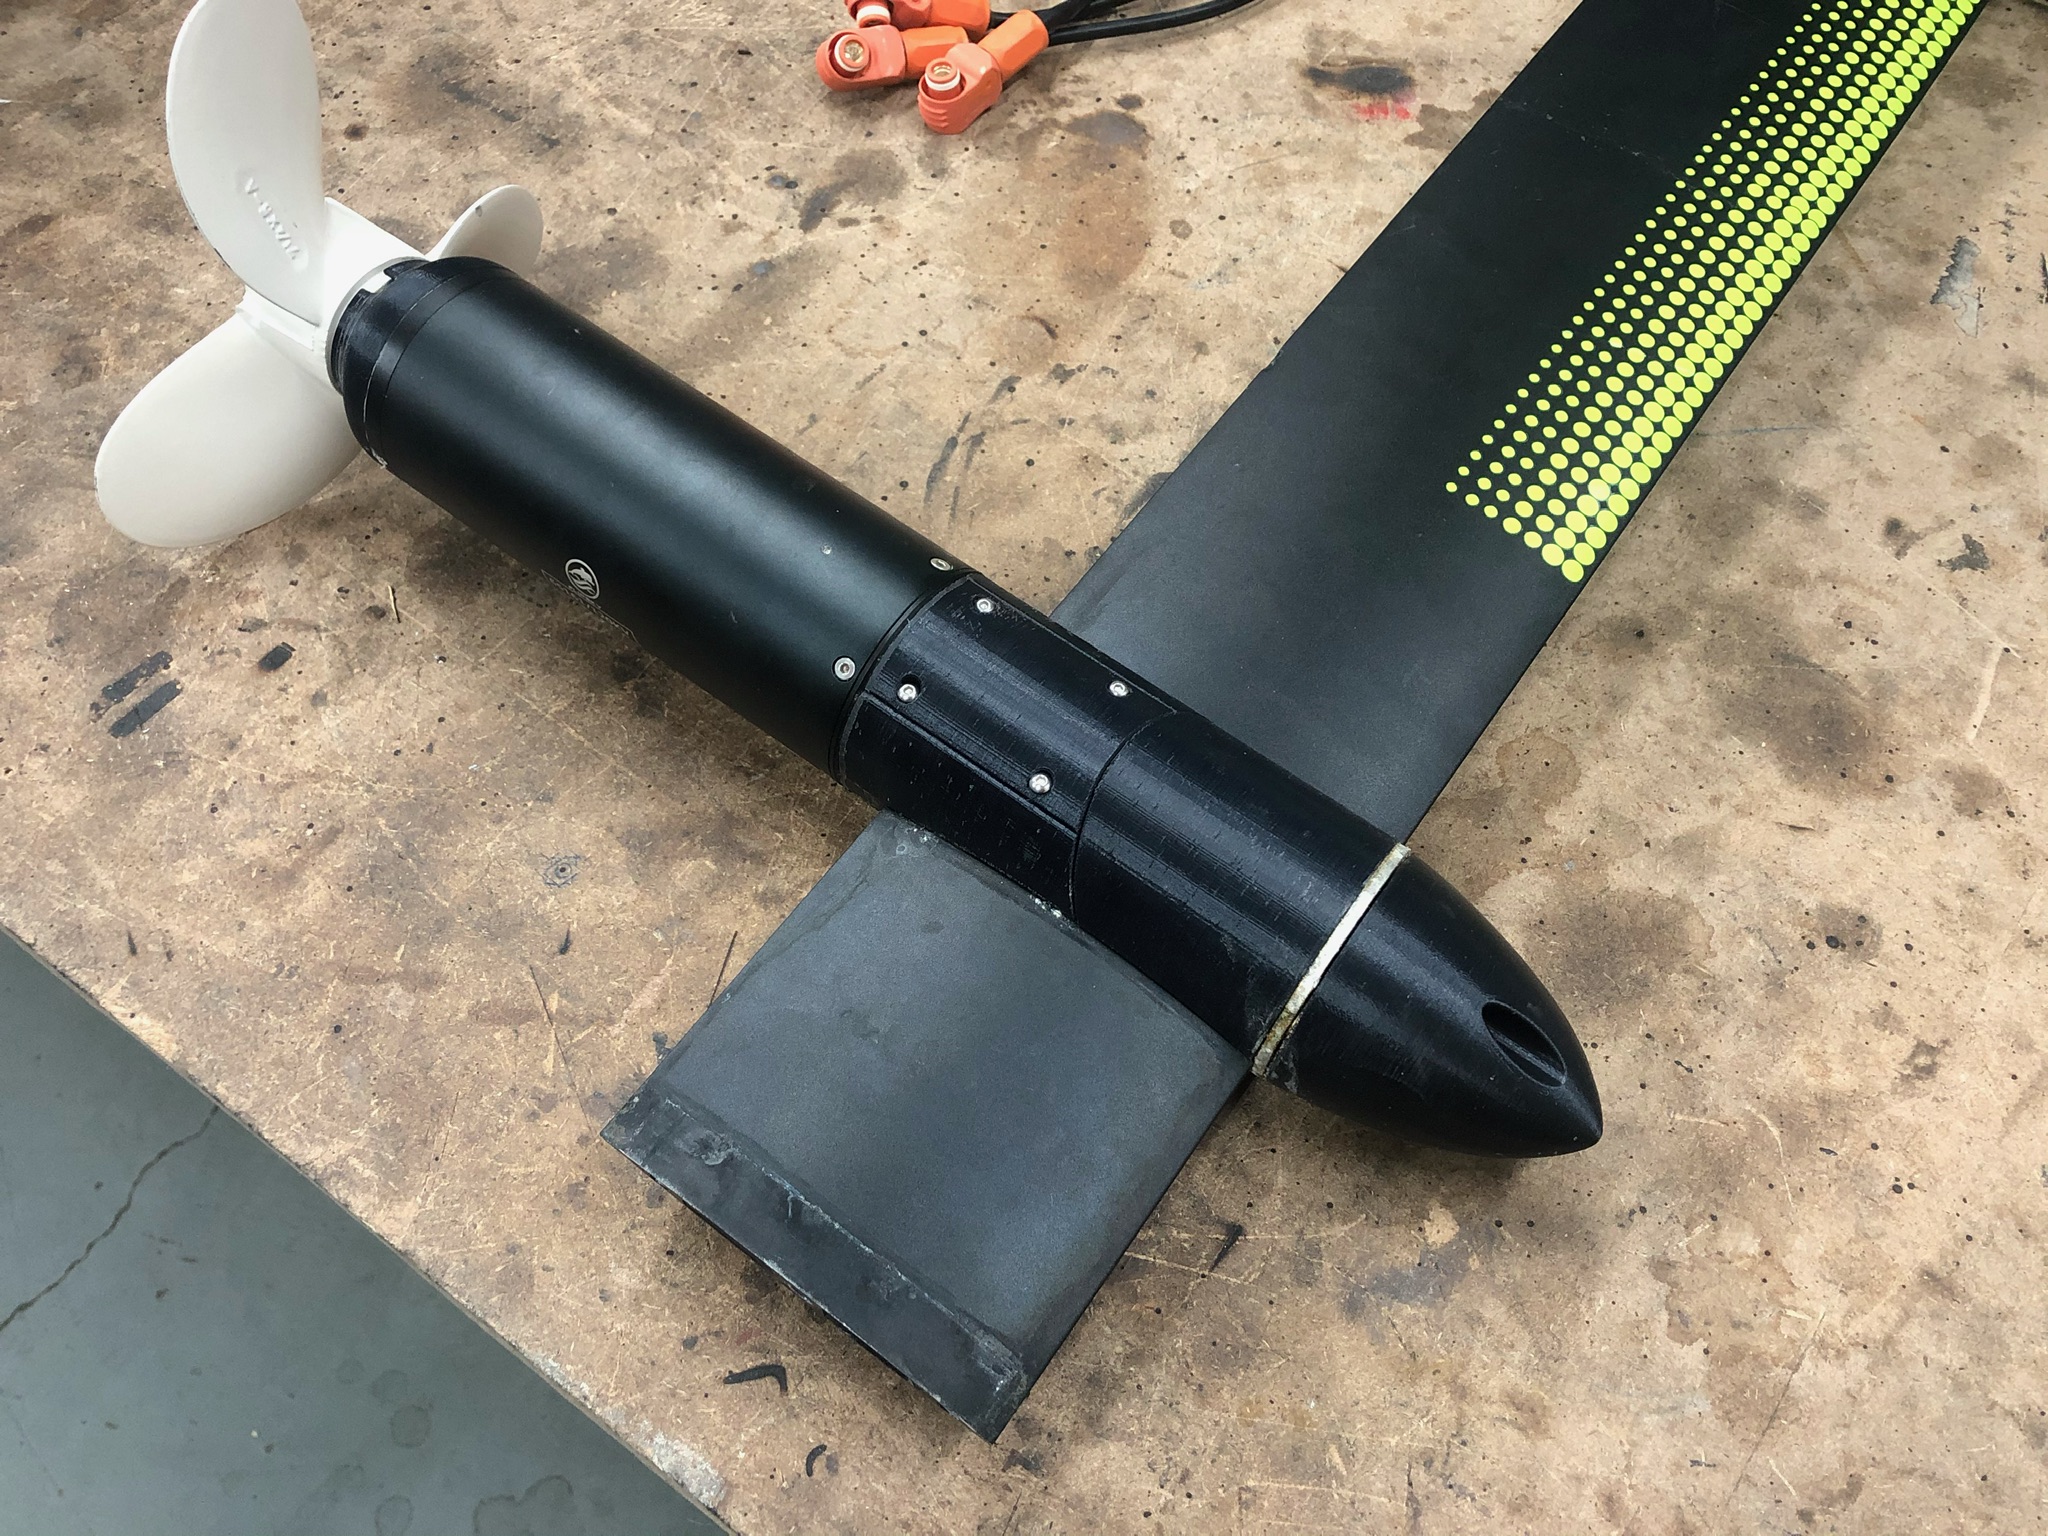
The prop is actually not that bad with the L size allavator from gong, I’m able to get 56Wh/km efficiency.
Depends if you wants to get all te power out of it. The Vesc 200 can do 140A (didn’t test more but has 4 235A capable fets per phase side so should be able to push the 200 no problem.) motor current but even with water cooling will get warm in a minute or 2. It can only handle 80a on the motor continuously without getting to warm. But that should be enough power 3.5kW is a lot for a foil.
Thanks. I ordered a 120kv motor from flipsky, 12 mm threaded shaft. I havent found any printable props that would fit that shaft with the threads. Has anyone found any props files for that type of shaft? I could maybe try and switch my shaft to the non-threaded version…
No stick with the threaded. The other one is much more harder to adapt props for. I have a folding prop that should fit yours I just didn’t test mine yet.
Basis specs:
Diameter: 165mm
Pitch: medium, no exact numbers
Blade: 3blade and 2blade design
shaft: 12mm
pin: 4mm
Printed with supports (quite a lot) with a layer height of 0.16mm. Some post-processing is needed.
Please, stop spamming all thread, HGLTECH.
You do not contribute to any knowledge.
I hope The forum members do not buy anything from HGLTECH. I Will for sure not do it after all spamming from different users created lately from HGLTECH.
Please, just post in the comercial thread and contribute instead when you have new product that might be of intressted for The members.
@SoEFoil Yes, I have read through that thread a few times, but you’re right probably a better spot for my questions. Most props i’ve seen on that thread weren’t adapted to a 12mm threaded shaft.
@noahark Yes I have read through and appreciate that all being in one spot. I was having a hard time understanding it though because it didn’t seem like any of the fusion files showed a prop with a threaded hole to fit a threaded shaft. They all look to have smooth holes.
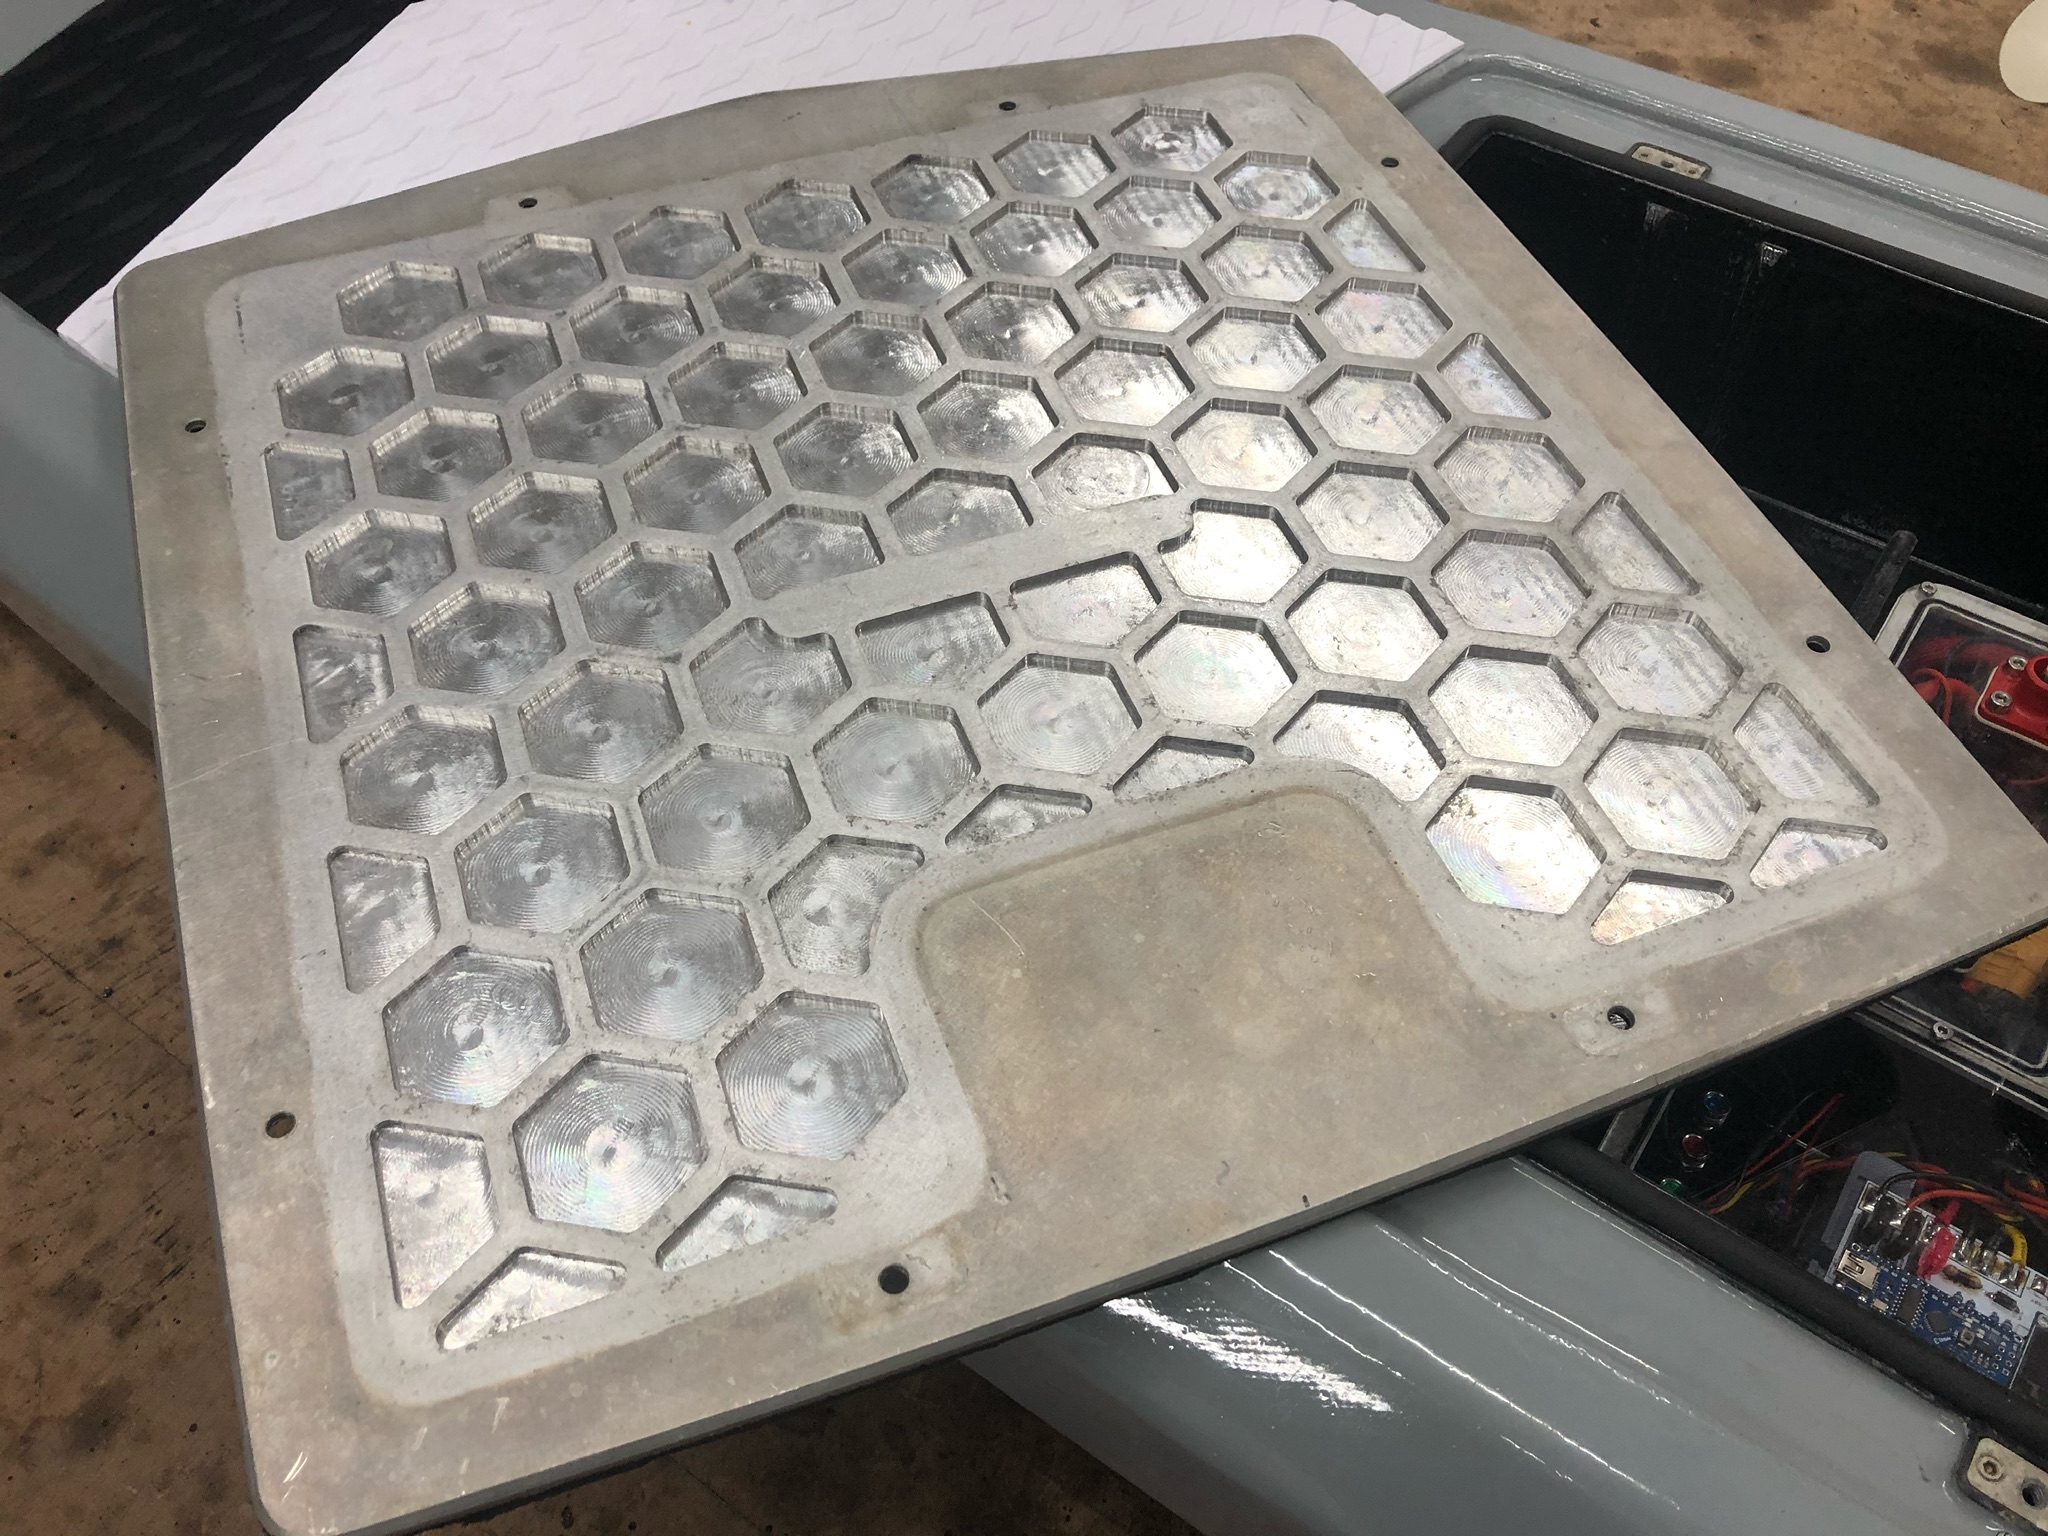
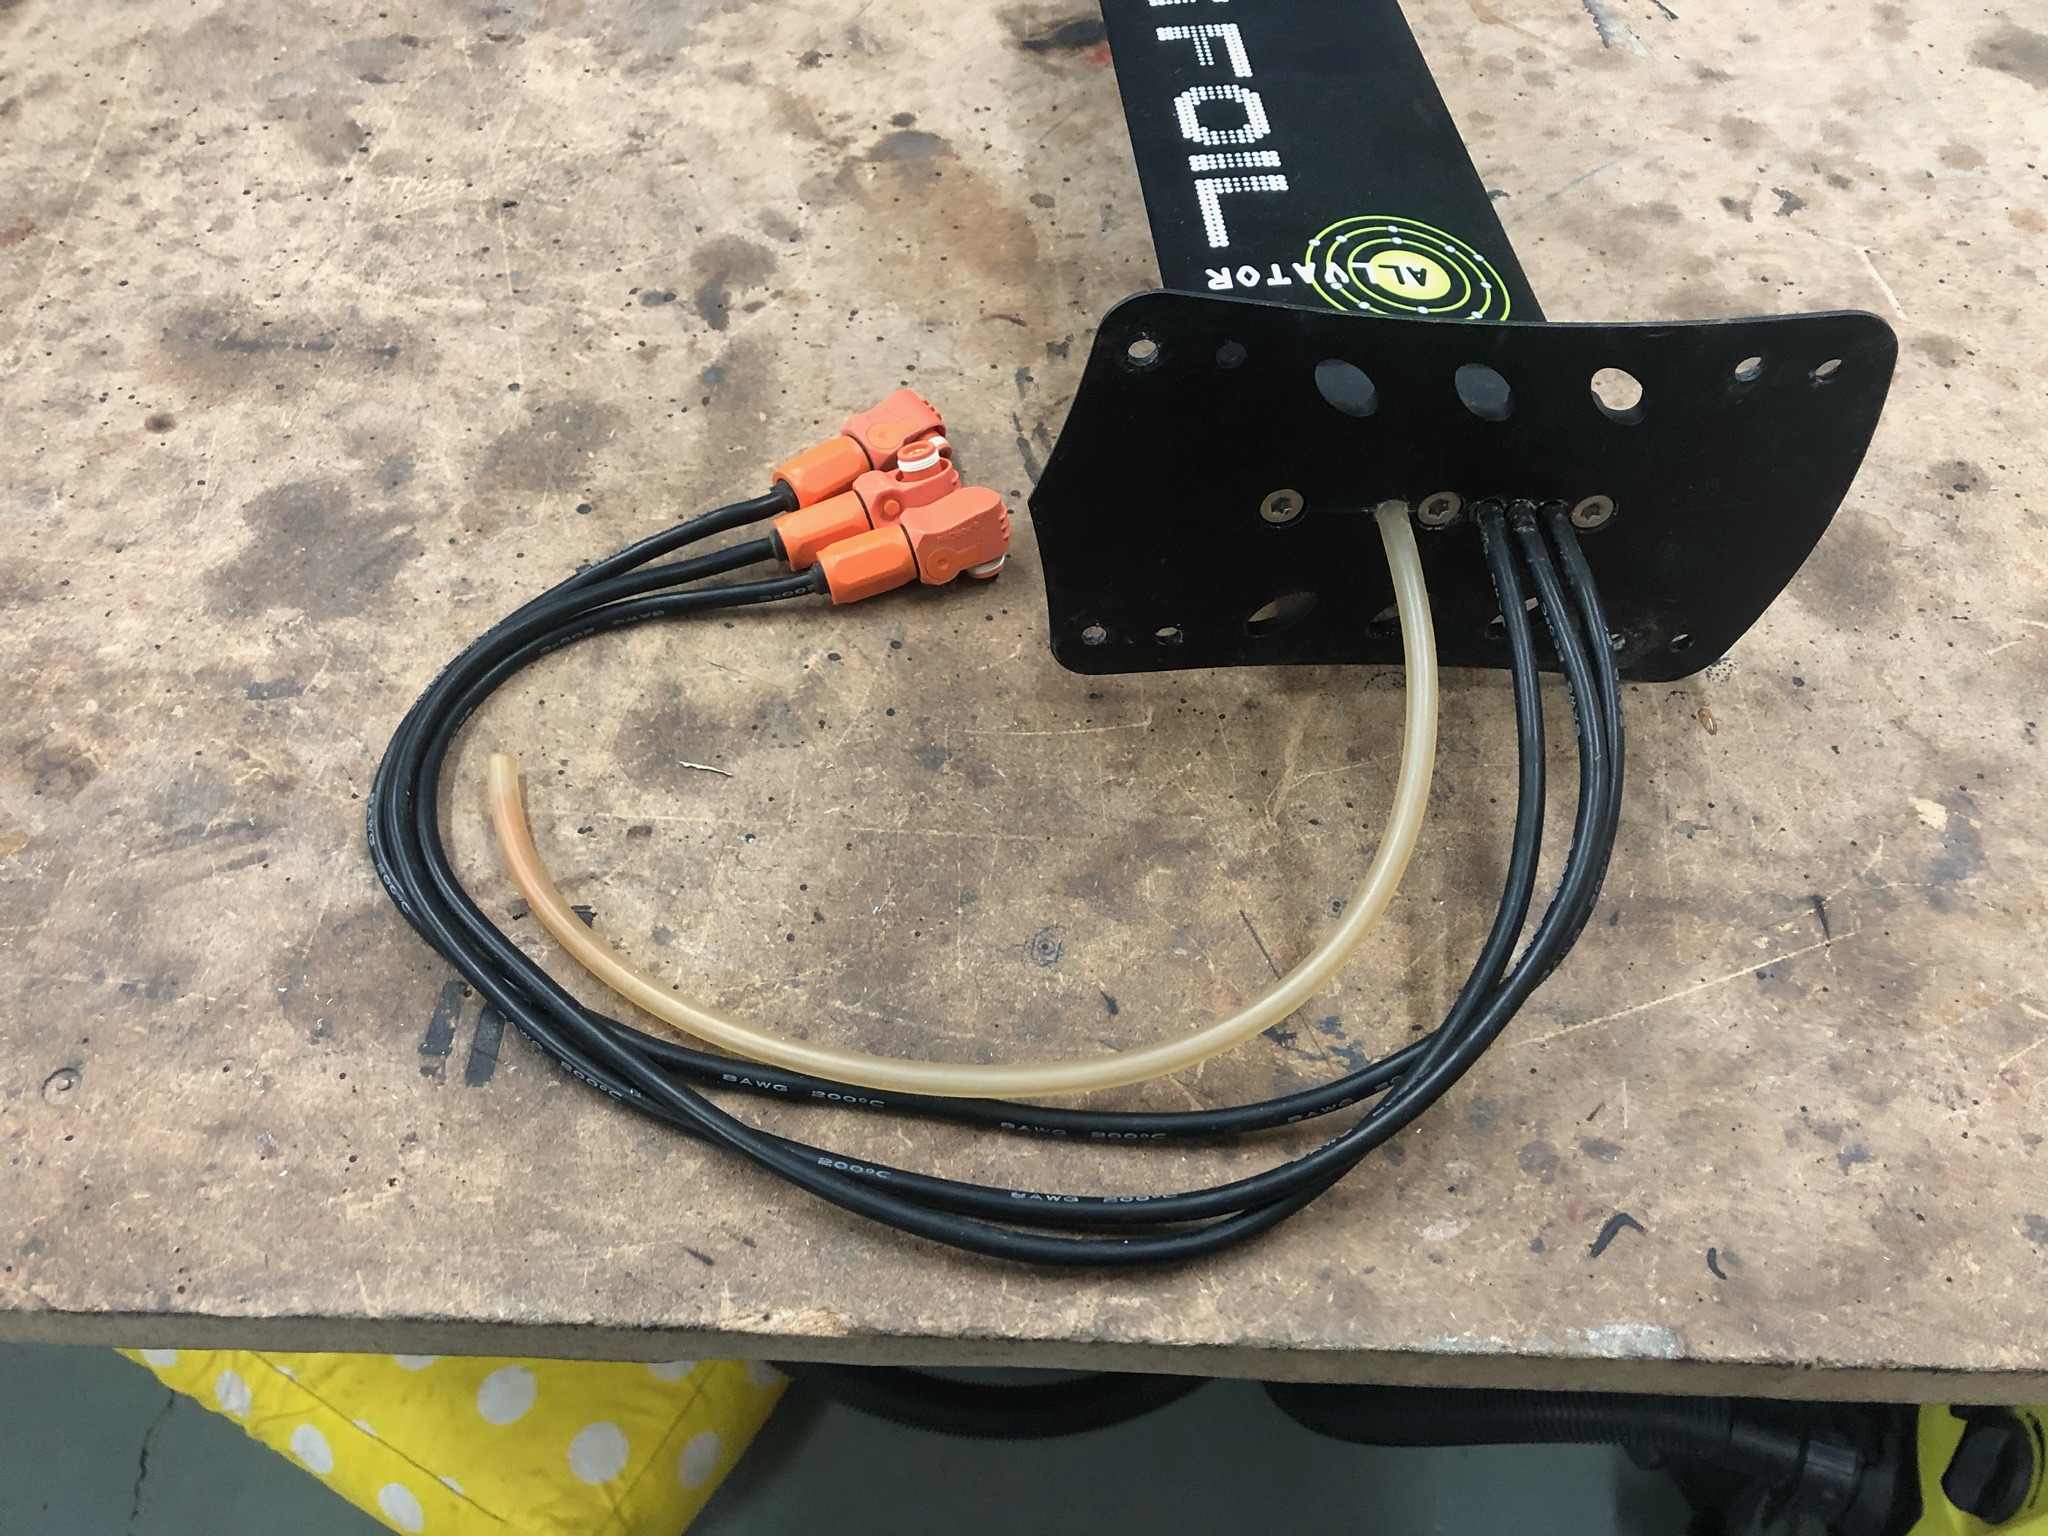
The mast with the connections and the water input for the water cooling. The mast mount is 3d printed in PLA+ but seems to crack after some time so this would need to be made of aluminum
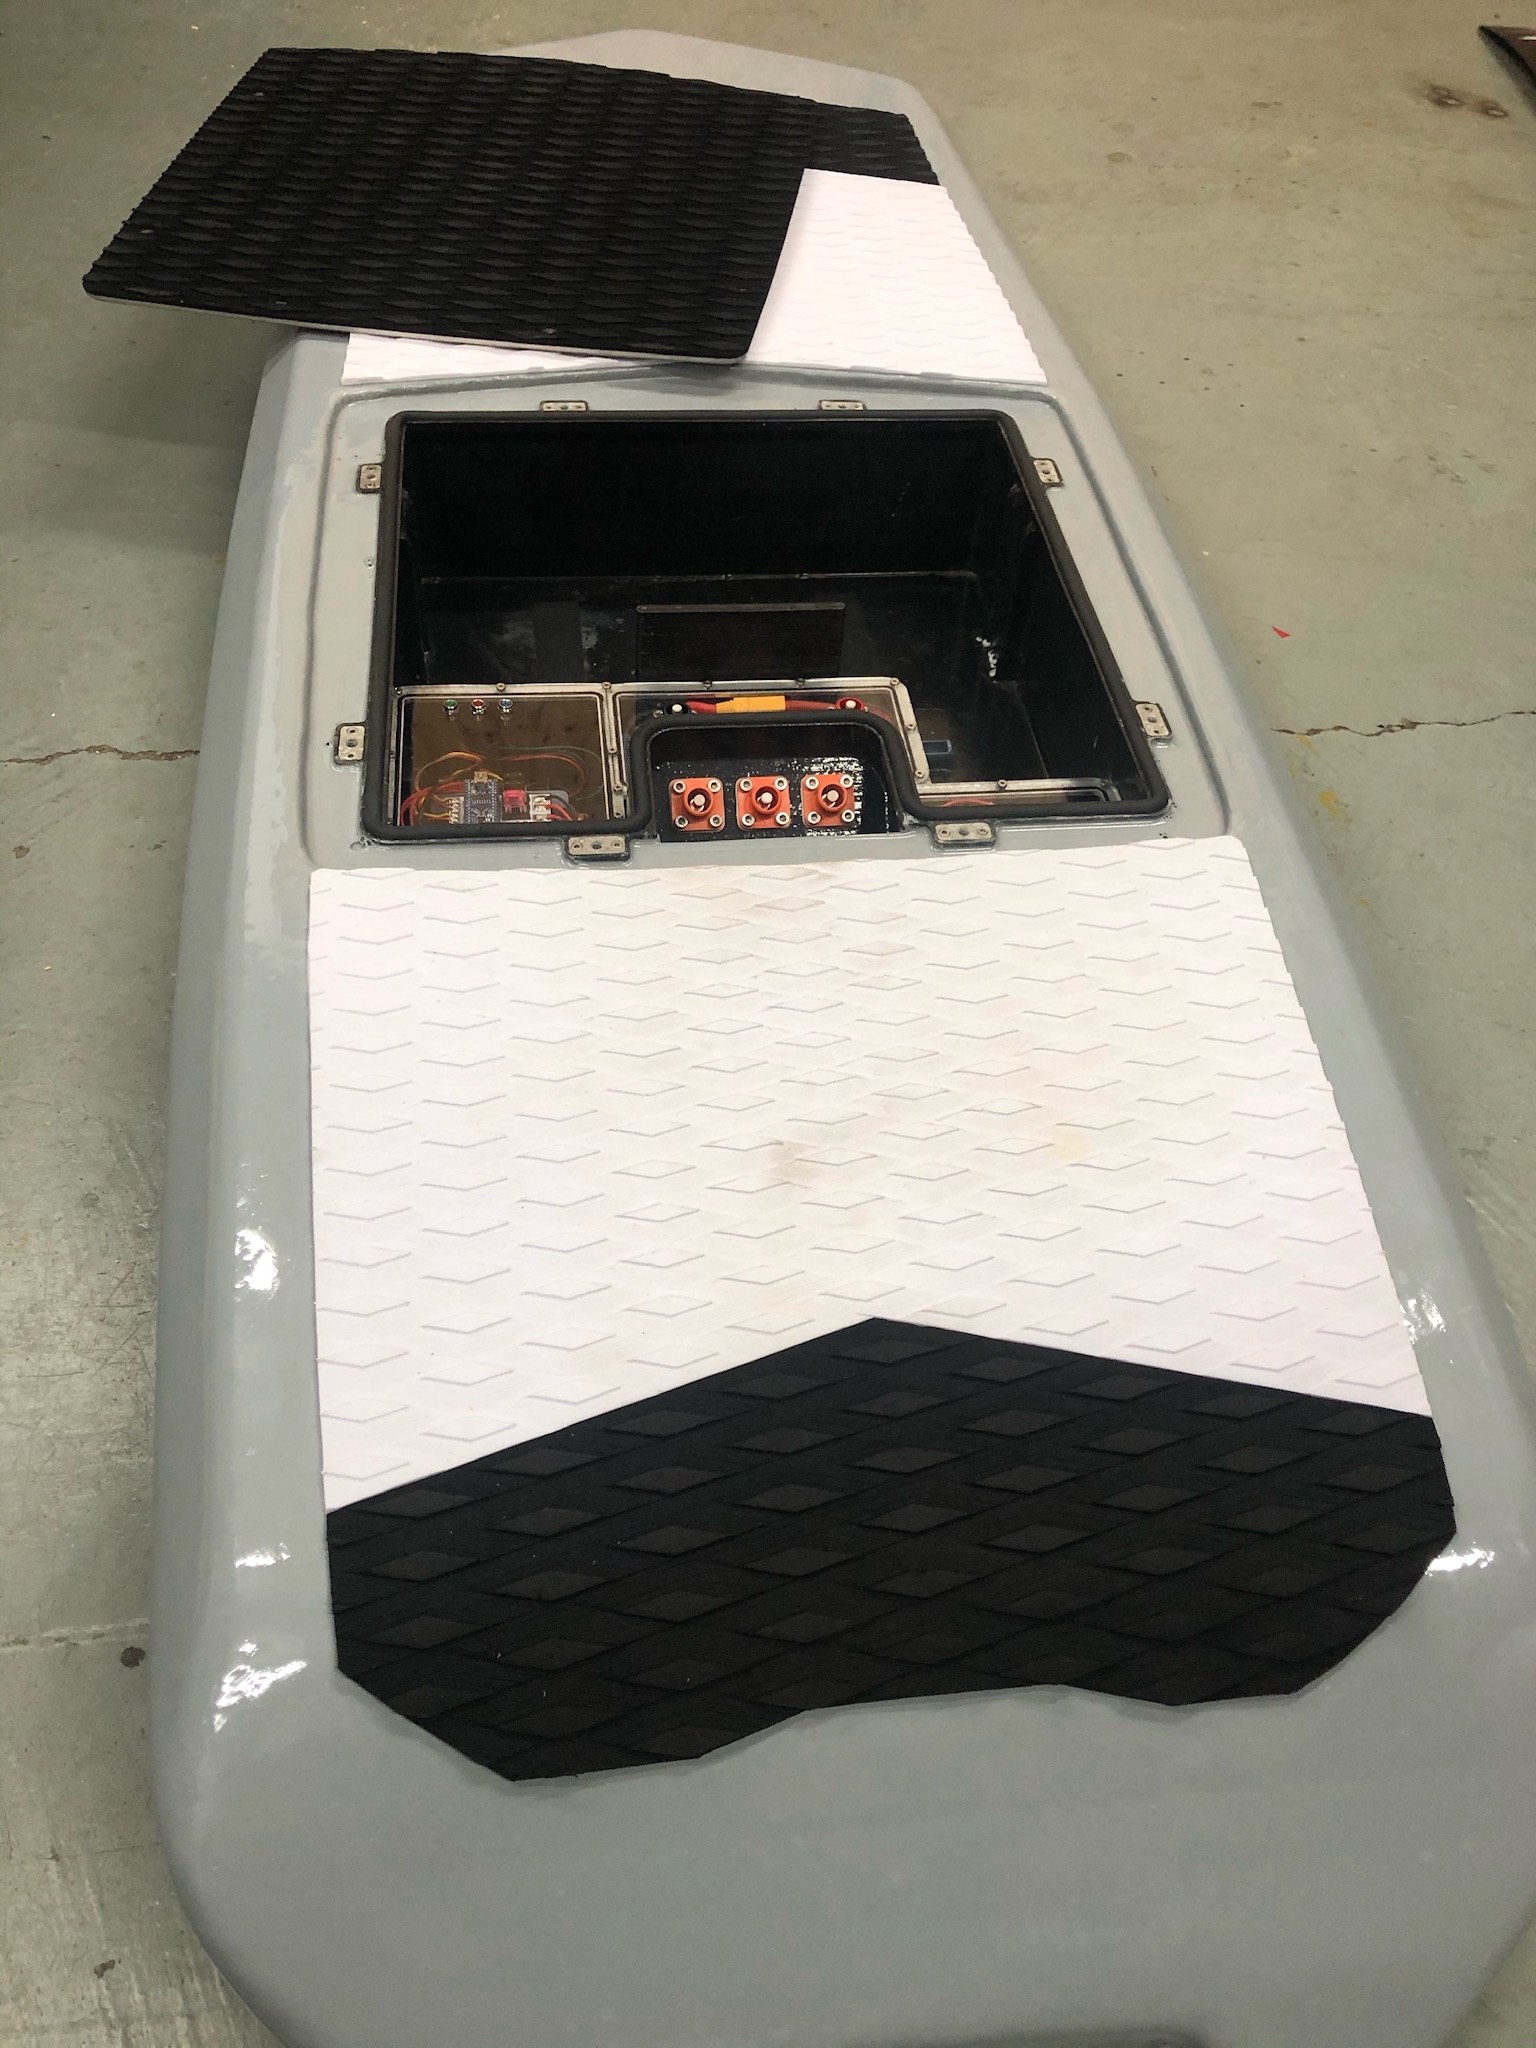
This was quite a project and took many design and think hours but was definitely worth it all! Thanks for all the tips i got when starting and have fun foiling!
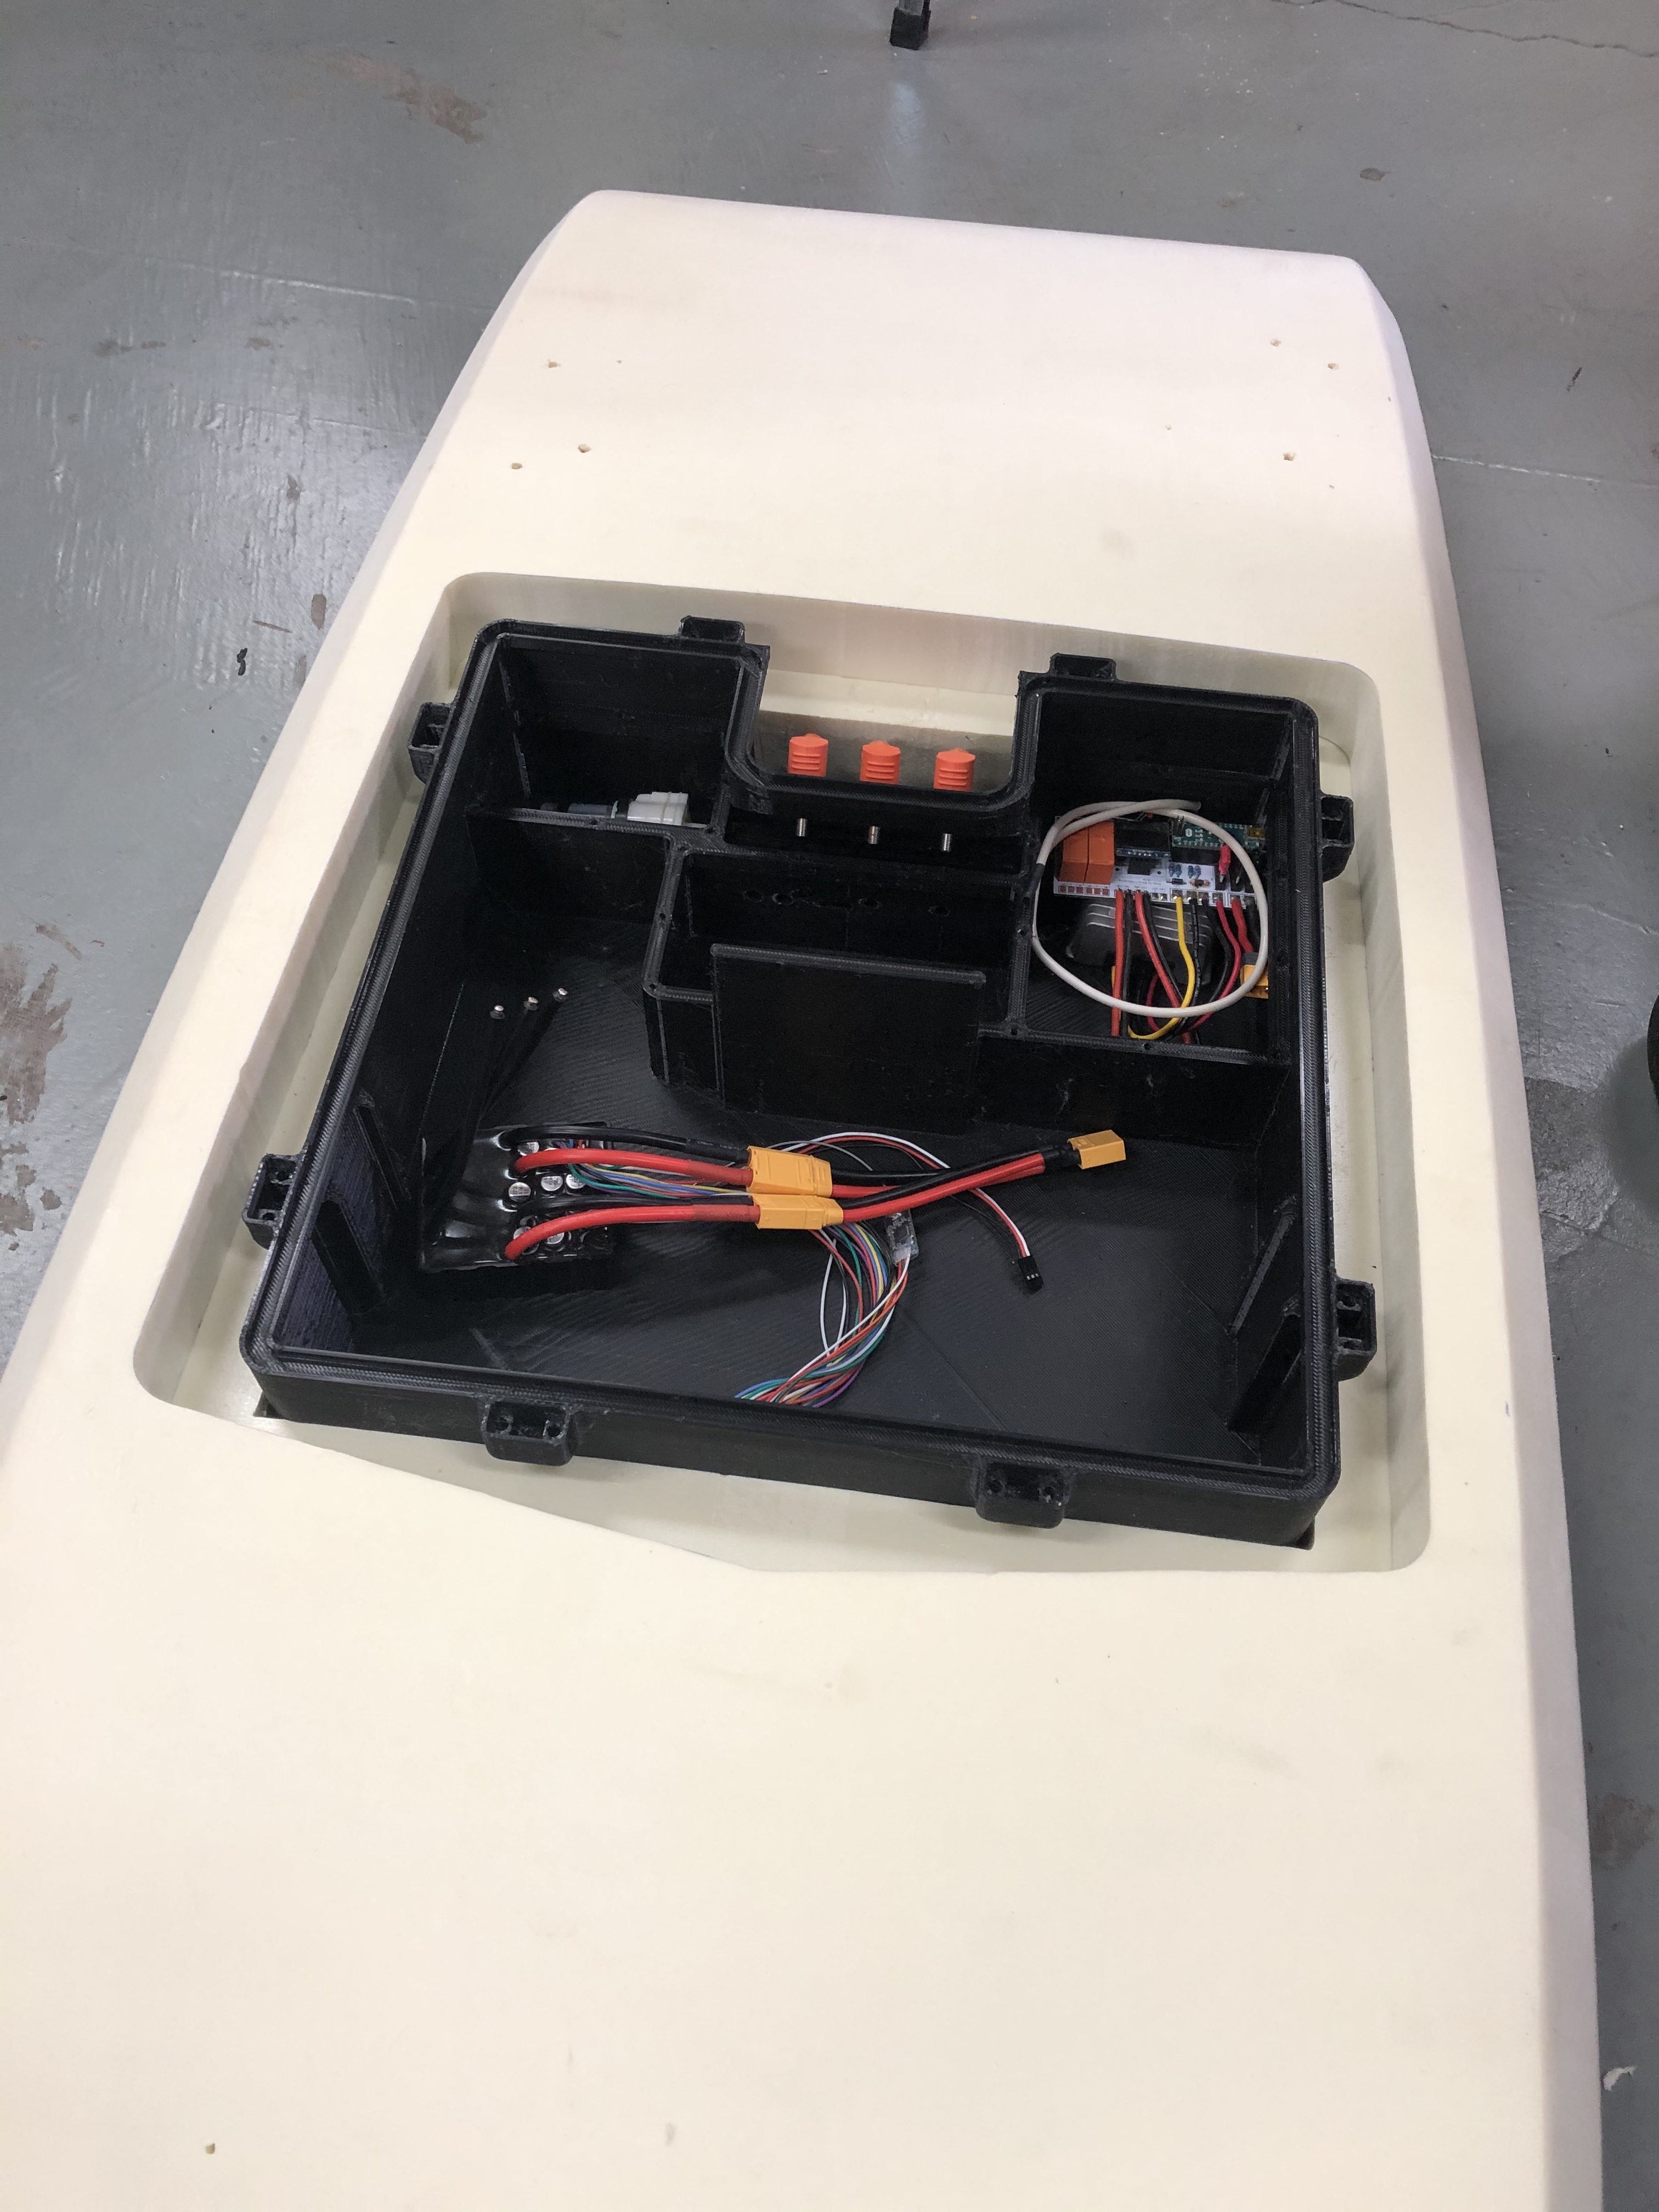
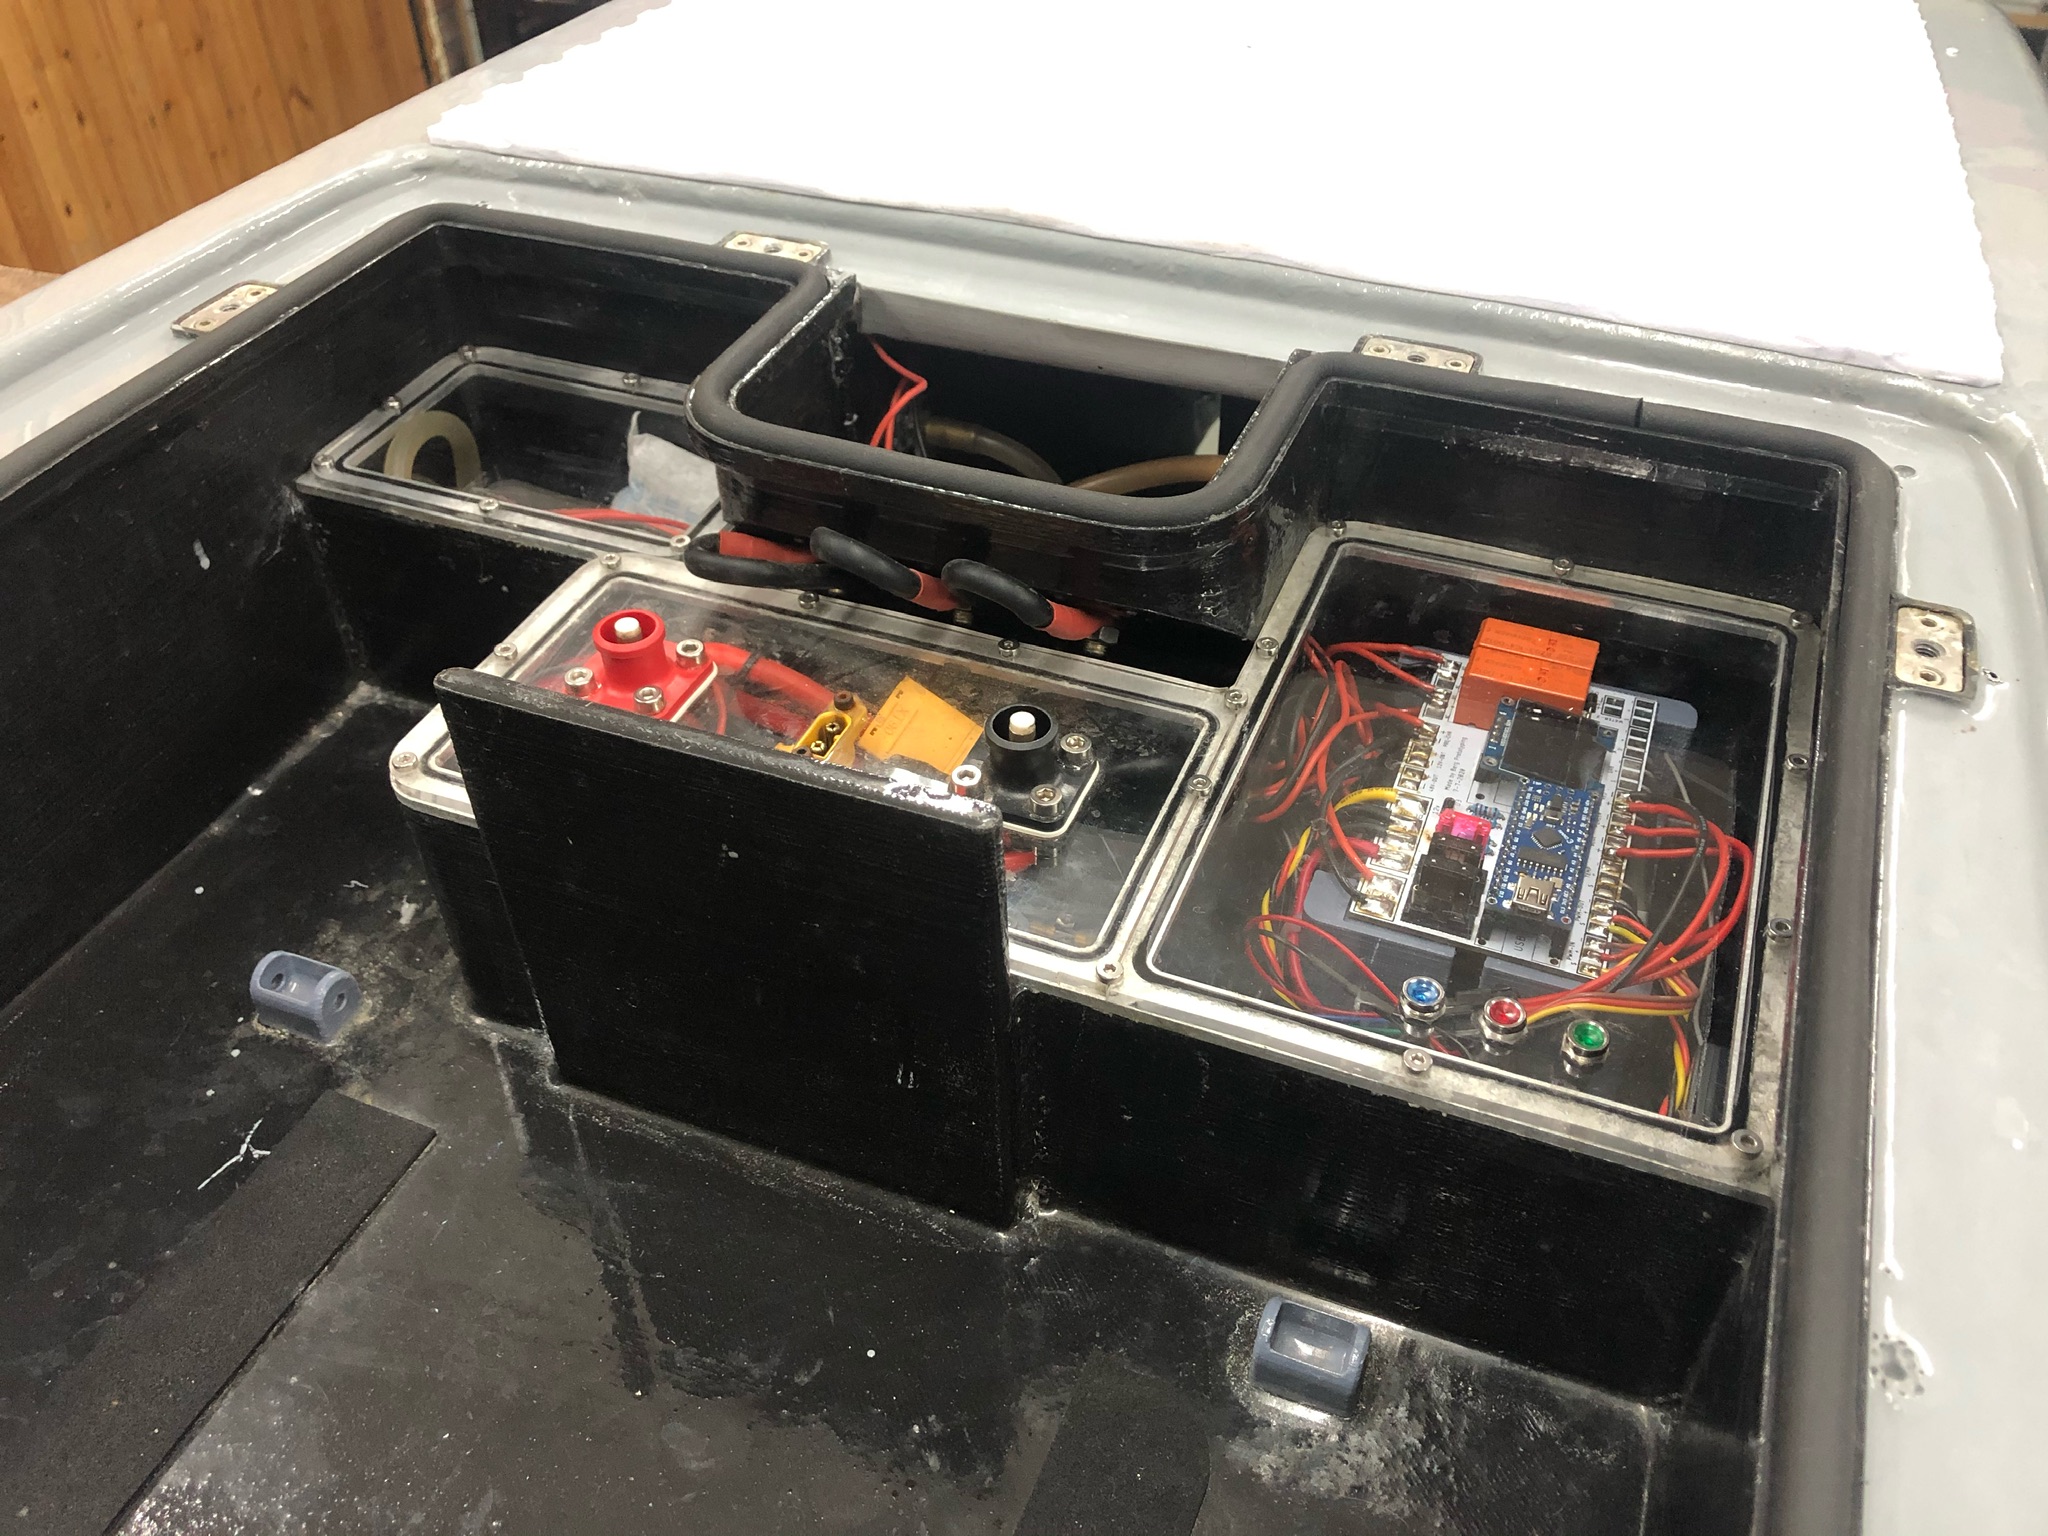
These are indeed the Surlocks from Amphenol, This is the 120A version. I run it at the exposed waterside. And if you keep them dry inside and do not connect and disconnect in the water they will keep on working.


 .
.