Good idea @lishine - that takes the loading/strength out of the equation. I think having one row of battery cells either side of the mast might work (I was going to use 2x6s for my 12s setup) - be similar height to the FD Slim. My Axis base plate has additional threaded holes it could screw on to.
These strength-related aspects certainly complicate matters. I contemplated positioning components on two sides, but ultimately decided to try placing them on just one side since that approach is far simpler. I can start by getting it operational above the board first.
People often ride with a box mounted on one side of the board, positioning it towards the front. So having it mounted on a single side seems acceptable. It’s just a matter of compensating for the 2mm displacement caused by the added box by adjusting the feet placement accordingly.
The problem with it on one side under water is that water has a lot more drag than air.
So drag will be applied unevenly?
That is a good point that I didn’t think off.
But it matters only while speeding up.
The amount of drag is not more than say fdgen2.
yep. it’ll want to pull the board to one side while taxiing…but once on foil it wont be an issue.
I am contemplating having the cells upright, wrapping around the mast… 3d printing a larger foil shape to contain them. I think an additional benefit of this is that it can house everything in a foil shape rather than a box with rounded ends like FD#2 (which is not very hydrodynamic IMO).
The cross section of the batteries and components still needs to be accommodated - so the most efficient use of space plus in a hydrodynamic shape is surely going to be better. Of course the FD unit is very compact and would be hard to beat. Also I like it’s simplicity (just a rectangle) where as going around the mast is significantly more complex - but avoids having to deal with massive stress/load.
Will mockup something.
Have made some progress with this - and the idea is starting to make a lot of sense… I’ve added it to my build log here
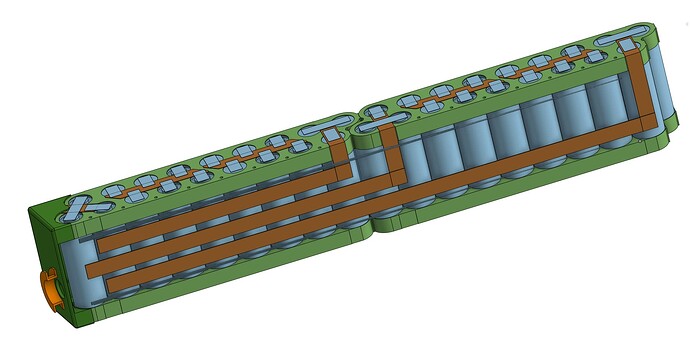
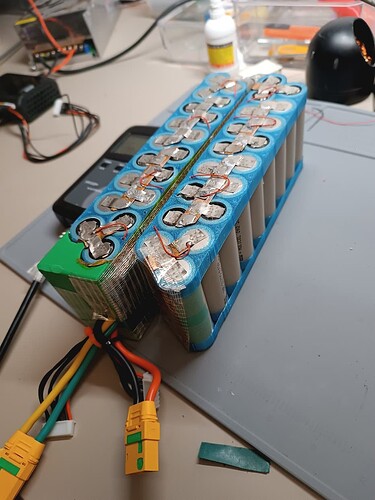
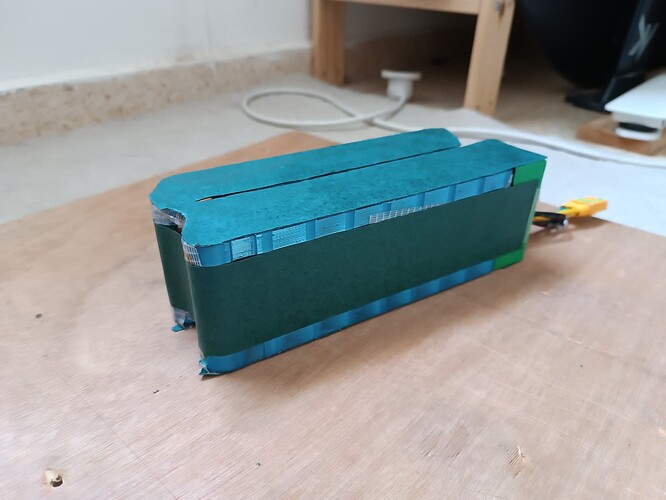
From model to reality:
Originally it was designed all to be inline to be inserted into aluminum under water, but for the box these two halves are folded.
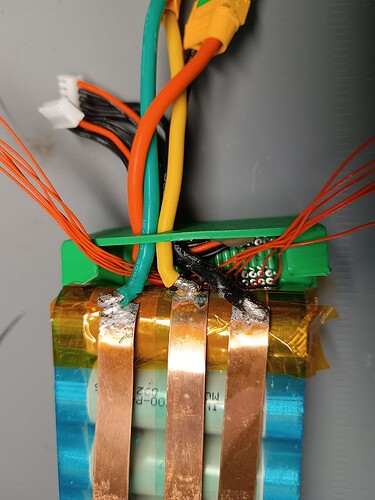
Because it was supposed to fit inside tight space, the model walls are especially thin. And used the copper strips instead of wires to keep width and height small as possible.
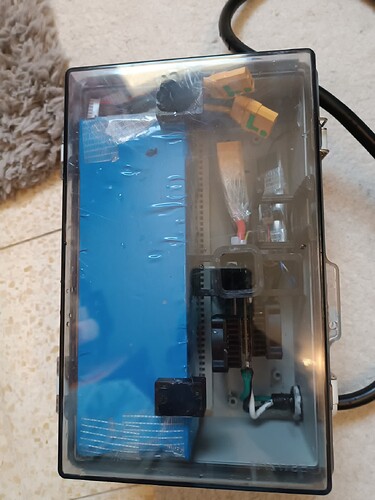
Under the petg end cap there is a 200A fuse and pico fuses for 14 balance wires.
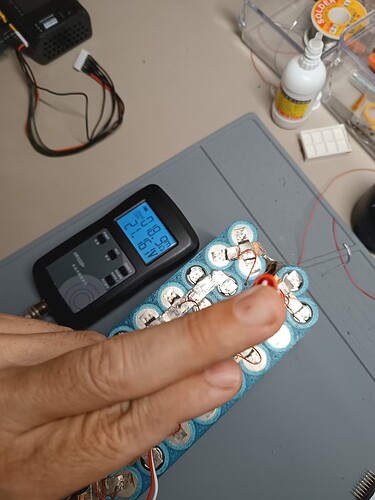
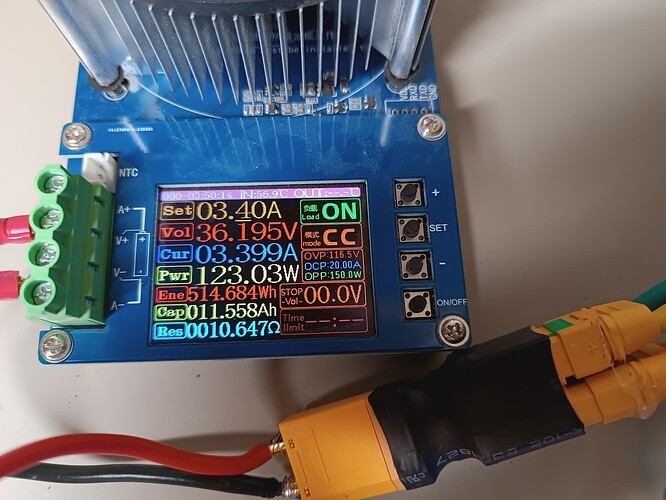
Each bank ~20mohm
Total for 12s3p batter 40mohm
Each battery ~9mohm
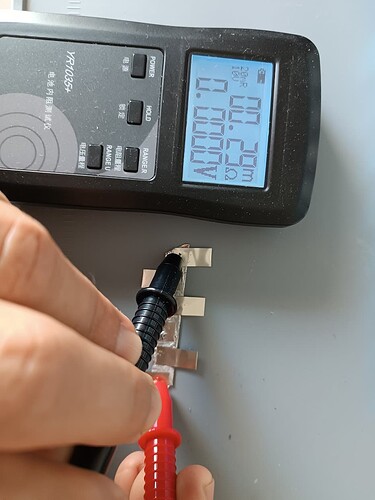
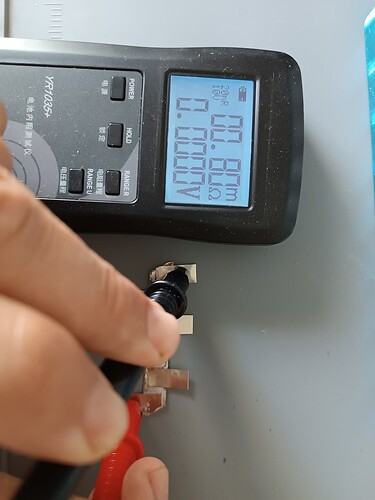
each connection ~0.9mohm
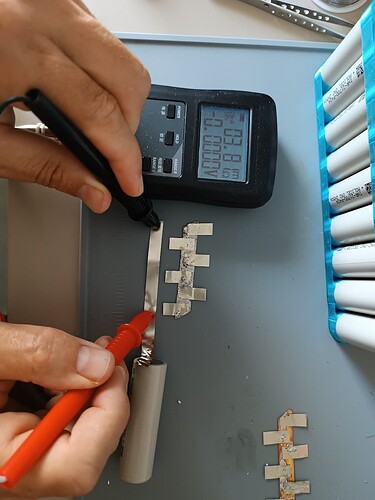
Comparison of 0.15X8mm pure nickel resistance vs same length copper 0.3X10mm
from battery to battery:
Used Fnirsi SWM-10. Conclusion - these kinds of products suit only non pure nickel strips.
My conlusion for next time - to solder copper strips by making holes in the strips first (and freezing the cells for any case).
Charger - ToolkitRC M6D - charging dual at 9A, excellent charger till far. Make sure to calibrate it, and then you will get accurcy of < 0.01v. Even after discharge most of the cells within 0.001v.
I recommend this internal reistance instrument - YR1030
Capacity:
12s3p of Molicell P42A
460Wh of actual in the water till AFAIR 2.9v
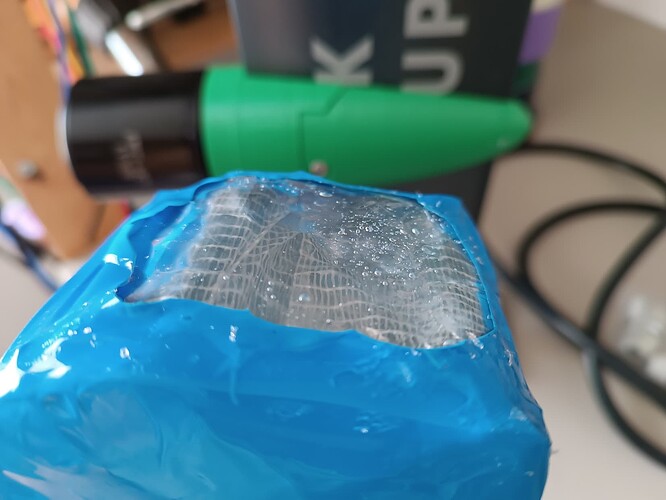
Potting compound sealing one end
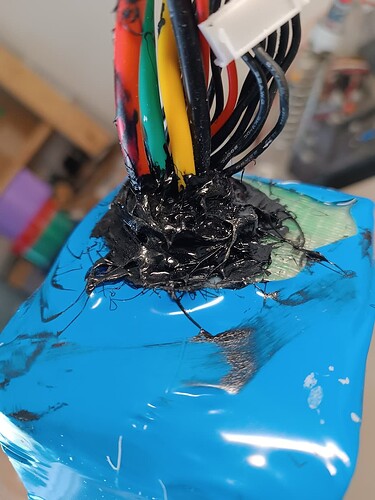
The other end additionally marine silicone around the wires. Underneath these is a ring holding wires together. I should have instead sealed from inside the petg cap and made the wall around wires larger
Message me if you want to receive a link to the Onshape design. It is parametric - for example I generated the 32700 holder
Model of the holder:
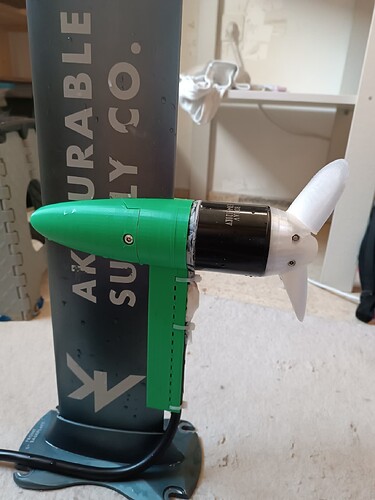
Remixed model of @hangloose motor mount , suited for KT mast or of any, with some modifications.
The mount is slides on the mast by pushing. I don’t know if it is good or bad and how it should be, but if not pushing, it stays in place.
https://www.printables.com/model/901403-motor-mount-for-6384-on-kt-foil-or-any-foil
Remixed model of ThermikDreher two blade propeller:
Printed using PC 0.2 nozzle. The stl is set in an orientation ready for print and more printing instructions are there.
When I printed in low infill, it break in the second session. Now with 100% infill it held two sessions till far. Base with low infill also broke, now printed with 100% infill.
More parts:
- Box mount
- Cable exit from box holder
- Prop protector
Super glue used to glue petg parts.
Perspex glue used to glue PC parts.
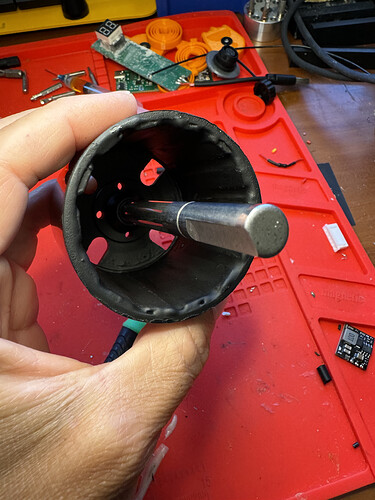
Motor: 6384 from Aliexpress
- Cut the shaft
- Replaced with SS bearings
- 12AWG Cable soldered on the outside, covered with liquid tape and heashrink. (But I don’t recommend liquid tape - I think it does not adhere good to the cables and the size of the connection is too big. Need to find other solution)
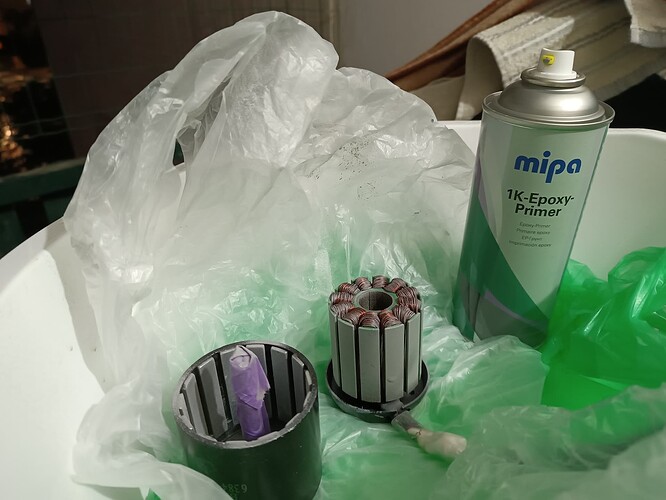
- Magnets sprayed with 3 layers of epoxy primer.
VX3 Remote:
- Screws were replaced with SS M1.7/6mm
- Opened and covered antenna with lacquer
Impression: - Need to find solution for this tiny wire that that is connected to hand
- Readability was pretty good in sunlight, I saw my speed - it was nice. Though I wish the battery indication was bigger.
- It stoppes communication with being little tiny under water, almost spray.
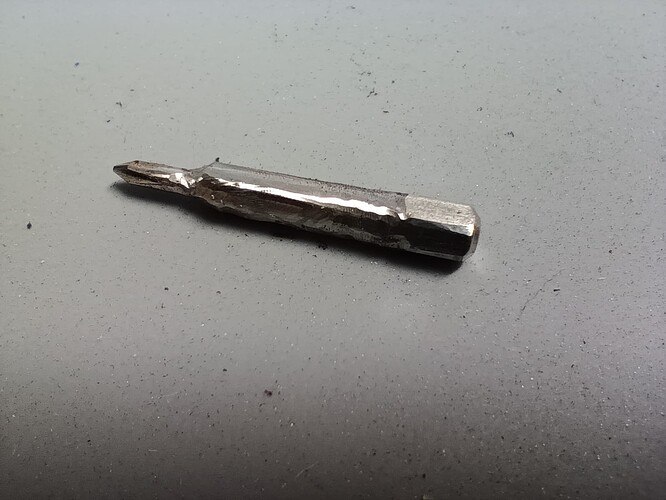
Need narrow long bit for unscrewing:
That is not my experience with either of the VX3 I have. Sounds like a marginal signal problem that the little bit of water makes it disconnect.
Good to know.
It is when I start up on the knews on 90L board and hold both hands on the front and water covers a little the front at first seconds. Then the speed halted, but the remote not vibrates. Then I need to release the trigger and press again to engage.
After the first session I replaced the original antenna with longer one which I attached the closer side of the cover, It improved a bit , but I still have to be aware of water. ![]()
Are you talking about using a longer antennae inside the VX3 or the one connected to the VESC?
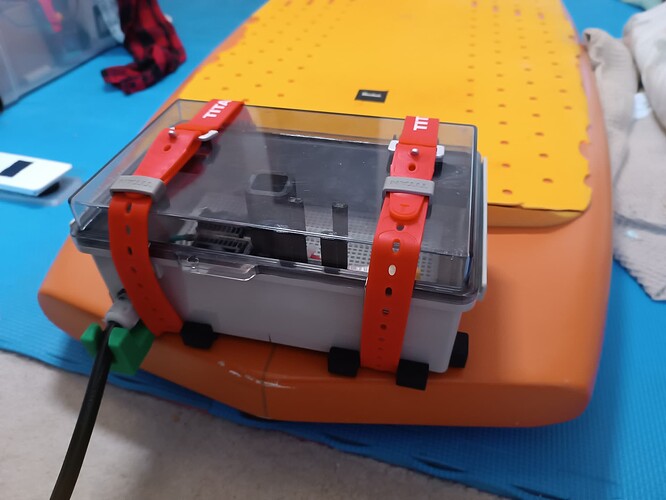
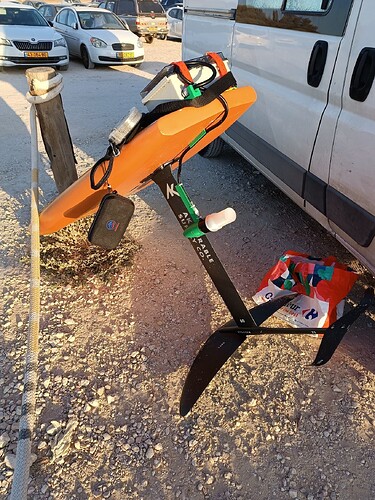
Box: 275x175x100 from Ali
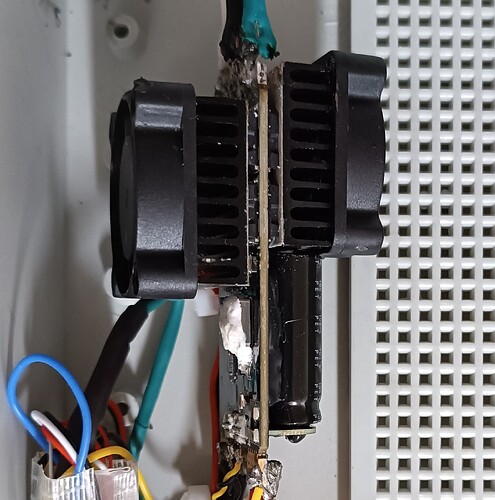
The size is bigger than usual builds because 12s3p together with a fuse barely fit in the smaller box. And I wanted to experiment with Esc cooling.
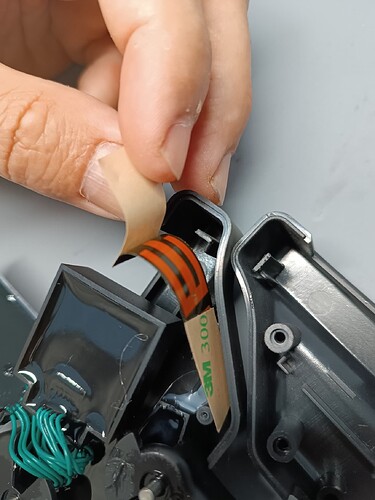
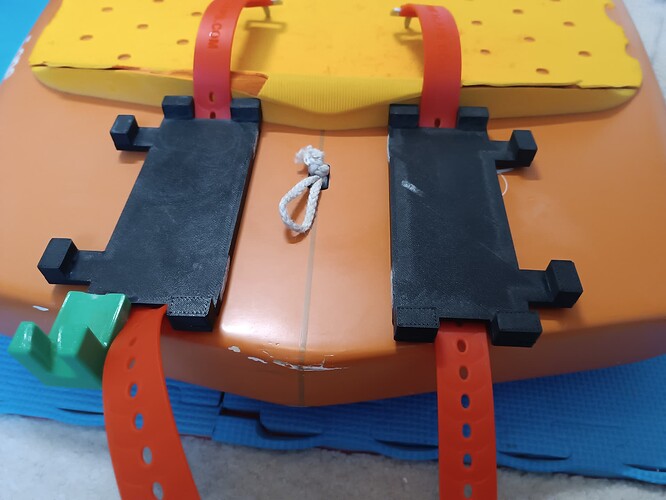
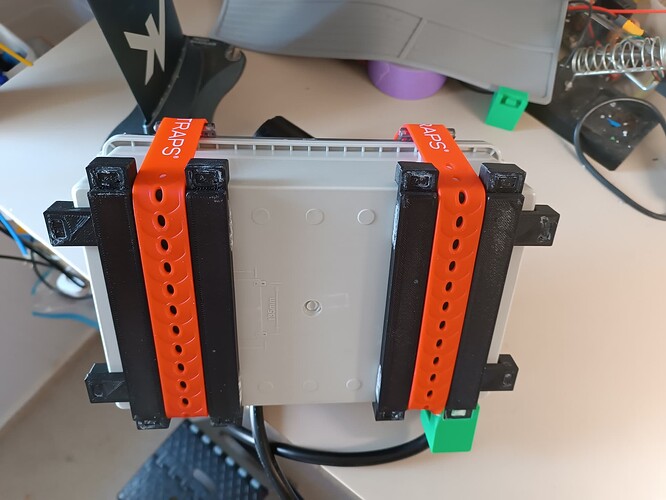
Support frame is glued to the board with 3m double sided tape.
Box is held to the frame with titan straps.
Later covered the top with a shinny sticker so that to reduce sun heating the internals.
Impression:
It is pretty waterproof together with the titan straps. Seems that I got in 3rd session a few droplets of water on the cover inside , but I am not sure.
The problem with such a design when having to open a box is that while opening I everything else is covered with water so have to do it carefully. Also have to be carefull when closing to that nothing is there laying to on the o-ring.
It held well the board being thrown in beach brake.
Ergonomics:
The sharpness of the frame is not good with crawling on the board. Can be better.
The box at the back - makes harder to get knee over it and sometimes knee hits it.
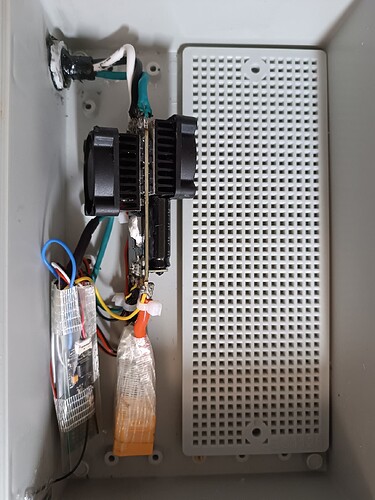
BLHeli 160A ESC
Being cooled by 5v small fans. So far so good.
Replaced the built-in heatsinks.
ESC, receiver, 5v BEC
It was a long ride - 8 months weekends, weekdays, evenings. Researching, planning, ordering, building lab, learning and practicing 3d printing. Dealing with self perfectionism.
Thank you all the people in the forum ![]() , without you it would not have happened!
, without you it would not have happened!
Eventually it flies, so all good, calling it a success.
It has shortcomings, so calling it V1.
Conclusions after 4 sessions:
- BEC broke - have to add some protection, like caps on it’s input.
- propeller broke - reprinted with 100% infill
- It helps to learn foiling in less waves, less wind - less chop. Especially important first session.
- That thing of leash tangling with the back leg when it’s being raised on the bord. I am still trying different options - connecting to calf/waist/ankle, spiral/straight/spring leash, exiting behind or before the box. Or attaching to front of the board.
- The thing with remote gets disconnected with a little under water. Nice to see vx3 speed and pretty visible in sun
- Sharp edges of the box support frame is not good
- To turn on after the foil is in the water
- When battery is close to finish , have to press more on the trigger. Idk if it is good or bad.
Shortcomings of the box and specifically box at the back:
- harder to raise the leg above
- leash tangles around the box
- far from the remote
V2 in progress - flat box on top in middle of the board
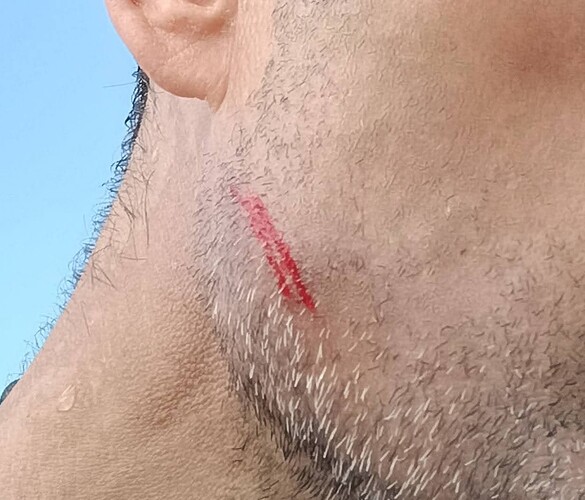
When entering with the board upside down suddenly got hit by something in the face. Then realized that it was a propeller. Apparently I pressed the trigger unconsciously.
Conclusions:
- To turn on the remote only when foil is in the water.
- I am gratefull that this is a plastic propeller…
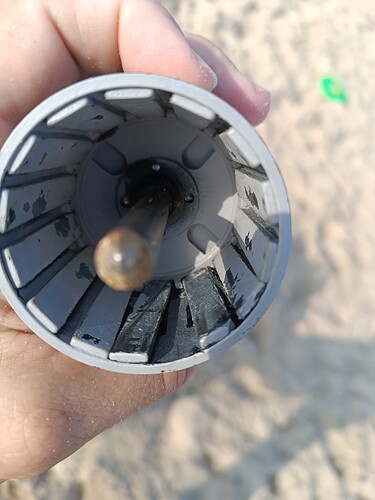
I always put epoxy with microballons in between the magnets for that reason. I mix it really thick almost like putty so I can do it all at once and it not be runny. It will keep the magnets from shifting like that.
Yes it can be fixed, just push the magnets back to where they are evenly spaced then add the epoxy filler between the magnets.
The black is just rustoleom spray paint. I don’t put epoxy on the magnet face.
I did that as well, I used an ice cream stick to evenly distribute the thickened epoxy.
Thanks! Saved my day!
How did you fix the box base to the fone board?
