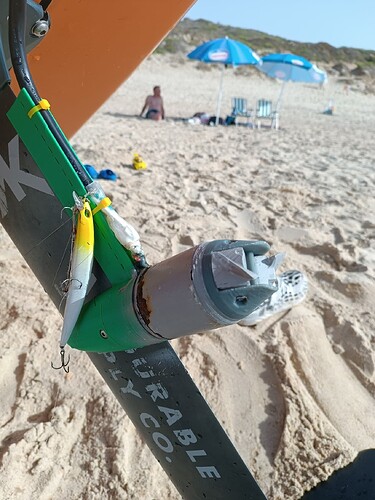
It was more to prevent the epoxy to flow to one side, not to balance it. I use a flanged shaft for the prop, so it was easy, just put the shaft in the vice.
ok, so you found flanged shaft which fits the holes.
I made once an adapter to balance 3d printed prop. I found that the blades are very similar in weight up to 0.01gr , so i stopped with balancing.
'Printables
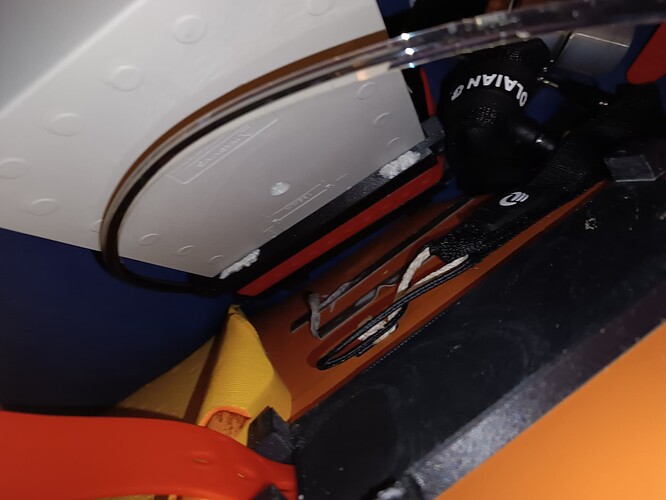
Actually it is 4 columns of 3m double side tape.
You can see in the picture two box holders - each having one column to be glued to the board.
Here what happened is that board was in the car on it’s side and only the bottom side of the box was tied with the red strap to the holder. With the 2.5kg battery.
It got disattached as you can see. But I think it is a good test - it is not indicative of the usual stress when both sides tied and in the water.
And it can be seen that the connection to the 3d printed material was worse than to the board, so it can be reinforced with some epoxy or e6000.
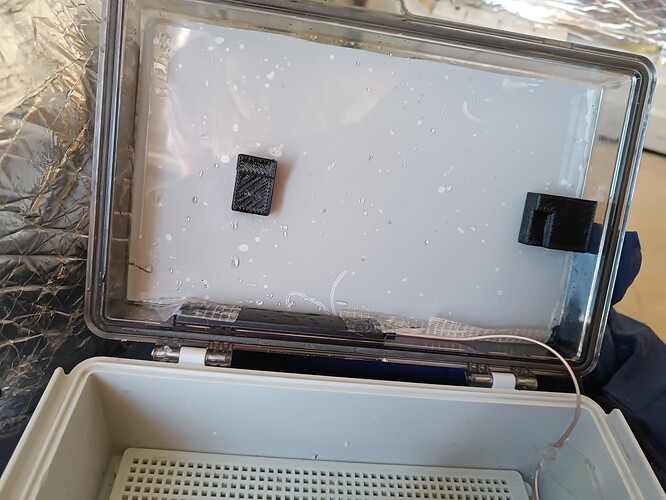
Condensation in box:
It happens also on the battery itself.
Which means - electronics should be coated.
Is your water temperature a lot colder than the air? Thats a lot of condensation.
No, water temperature now is about 32c and air temperature about 35c.
It happened overnight, when air temperature dropped to about 27.
So the box should probably held open after the use.
Well, till far, for a few sessions - the superglue with soda holding well.
It was easy to apply. Enough to put a little near the top between magnets.
Just need to be sure it is lower than the magnets.
I will update if anything goes wrong.
@Jesserosco
In order to dip motor into corrosionX you dissasemble it from the mast, right?
The other thing that disturbs me about corrosionX - is that it smells very tough I would say - not to do it inside an appartment or even a car. And the smell stays on the motor.
@lishine Pavel, thanks for replying on my thread and pointing me here. Your build looks great! I have a few questions, if you don’t mind.
1.Is your battery 2 separate 6s3ps connected in series or just a single 12s3p?
- With regards to the fuse, if it is a 2x 6s3p, where have you added the fuse? Is it after you’ve connected the two packs together? Or is is there a fuse per pack?
I am glad to help any way I can. And BTW there is a website I made to help with the knowledge - see first post in this thread - to be updated soon.
It is 6s3p x2
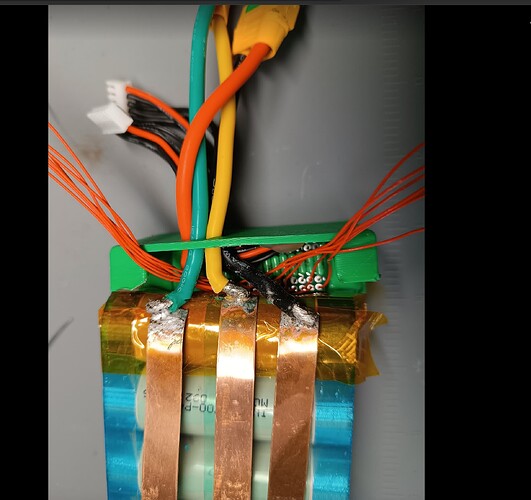
Here in this picture, you can cross reference it to the other pictures above.
Black wire - is the bottom of upper bank.
Top of the upper bank is the right edge of top battery - from there copper enters the petg cover, from right to left goes the fuse and then connected to ther red wire that goes to the outisde.
Bottom bank straight goes outside with left two wires.
So yes, the fuse connected to + of one of the banks.
But in the future I would put fuse outside between esc and battery.
Yes, currently I use 2A, that means charger balance to use max 1A.
Super glue has poor long term resistance to water. Saw testing where most tested cyanoacrylates failed totally and all lost a significant amount of strength after being exposed to water. It’s a poor choice for us.
Thanks, good to know.
That motor is being used ![]()
Ye ![]()
Actually I tried to prevent the rust…so painted with epoxy primer, but it got off partly.
Anyway, today I am already after corrosionX treatment, hope it will prevent any rust. The motor sound actually was fantastic before the prop snapped.
