It shows the 59% at power up or all the time when powered on?
How do you read the battery? Via analog ubat or via VESC UART?
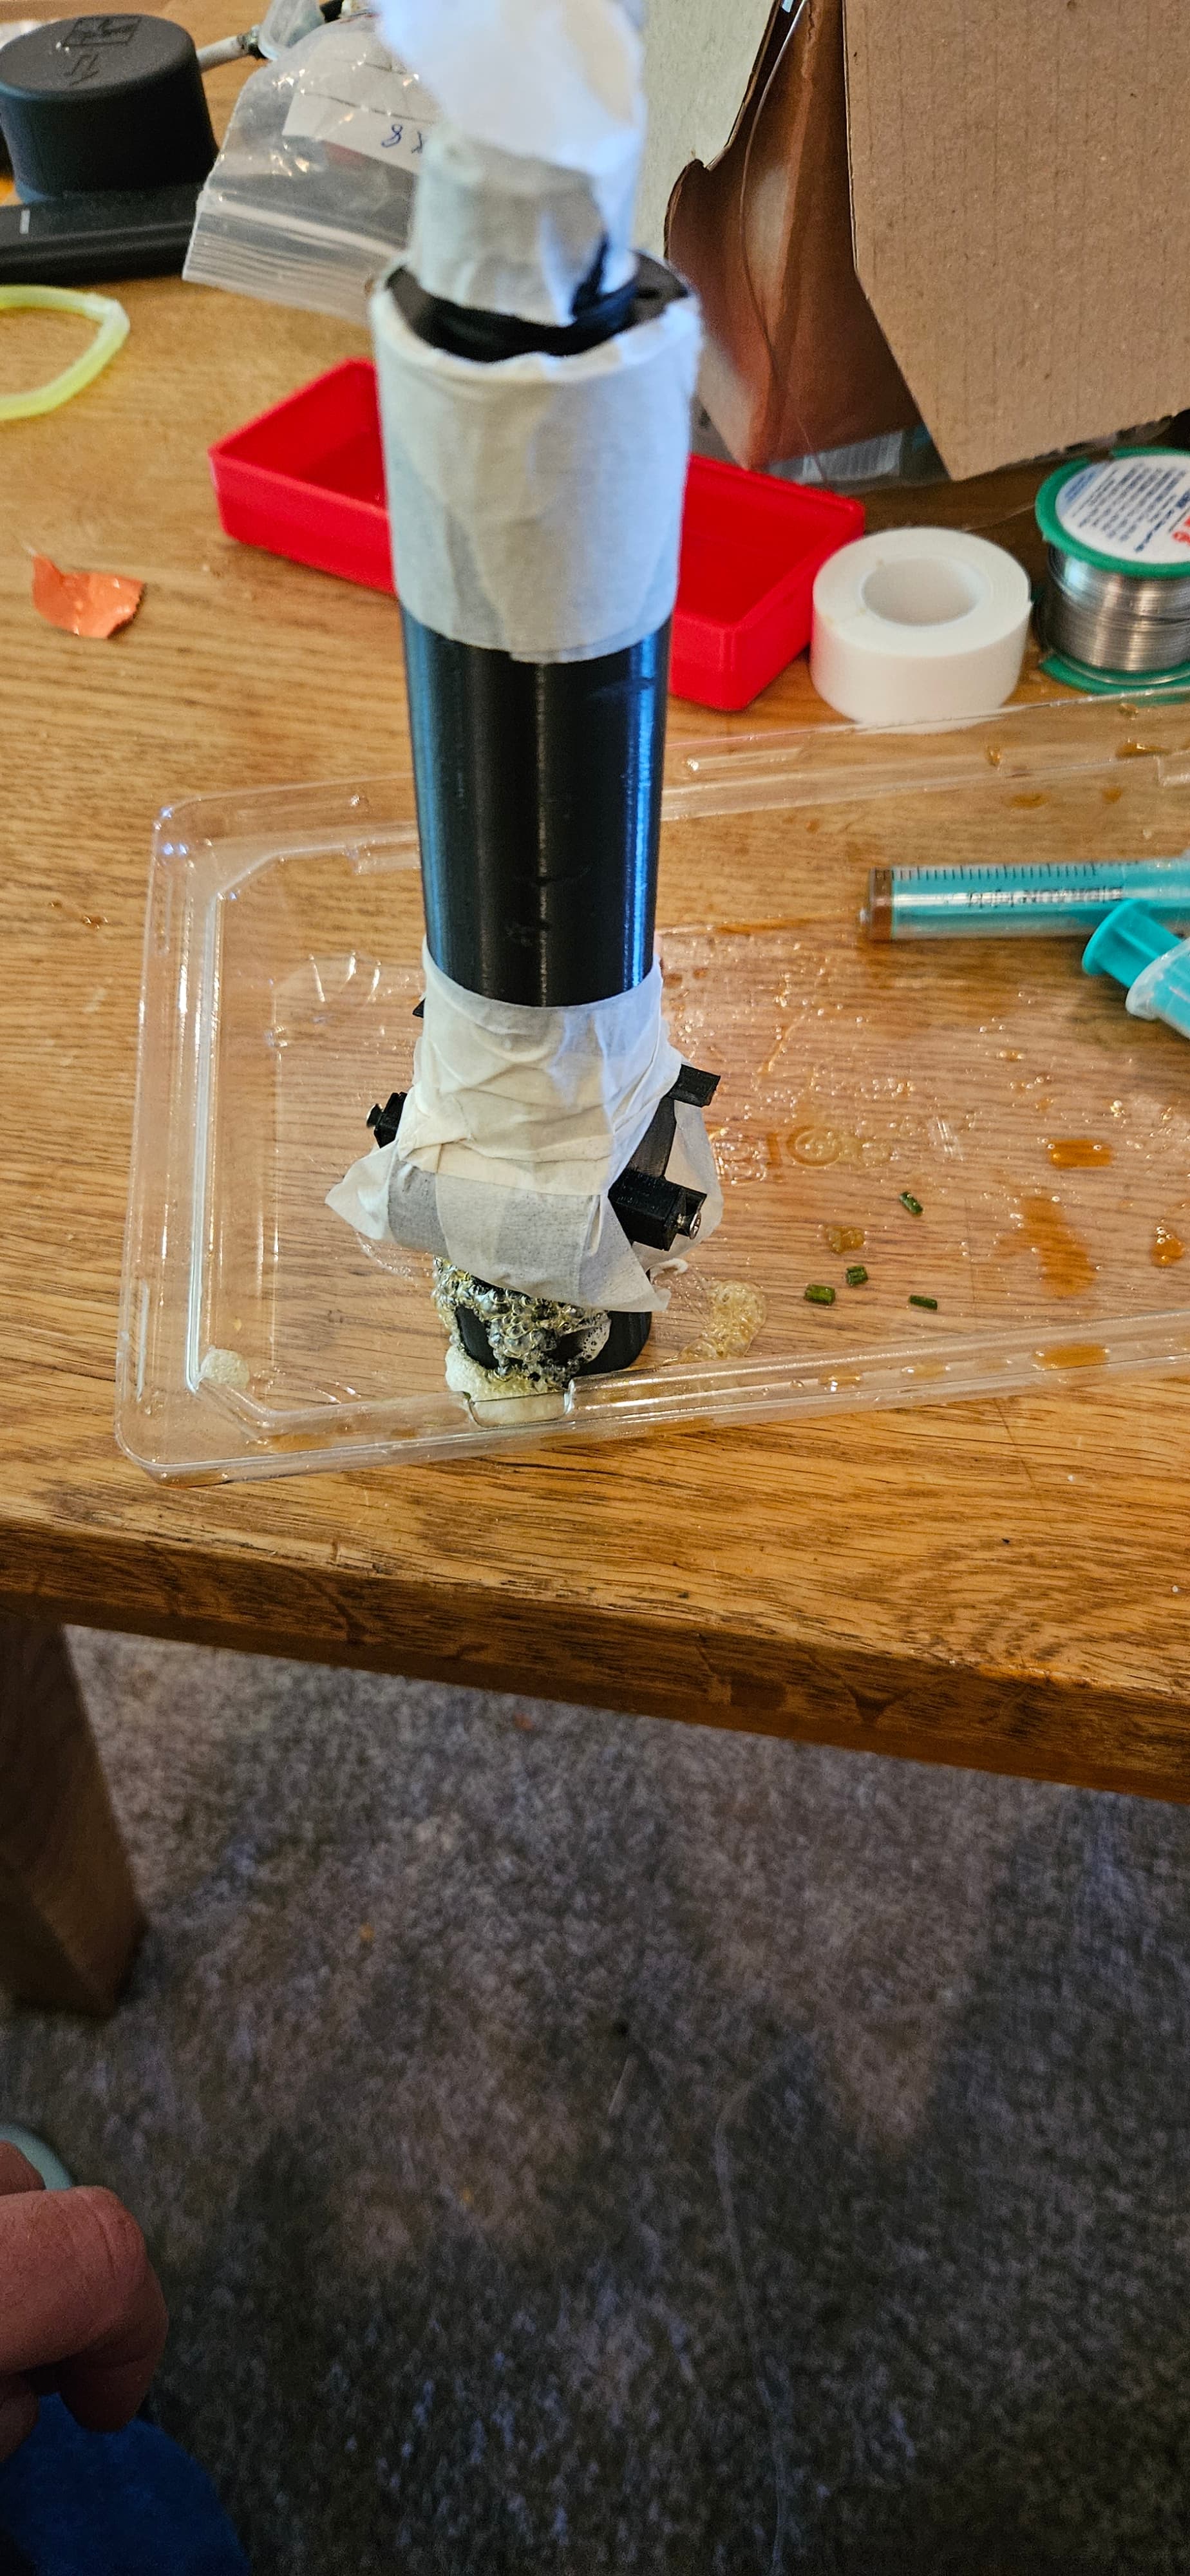
Hi, I bought a complete kit that I put together and I was doing the filling today.
I mixed and then put the handle in the pot as in the video. But for some reason it was leaking out at the side when I pushed down the remote in the cup.
Was it because I was not quick enough after I mixed it or is it because the cup was not tight enough?
How to redo it?
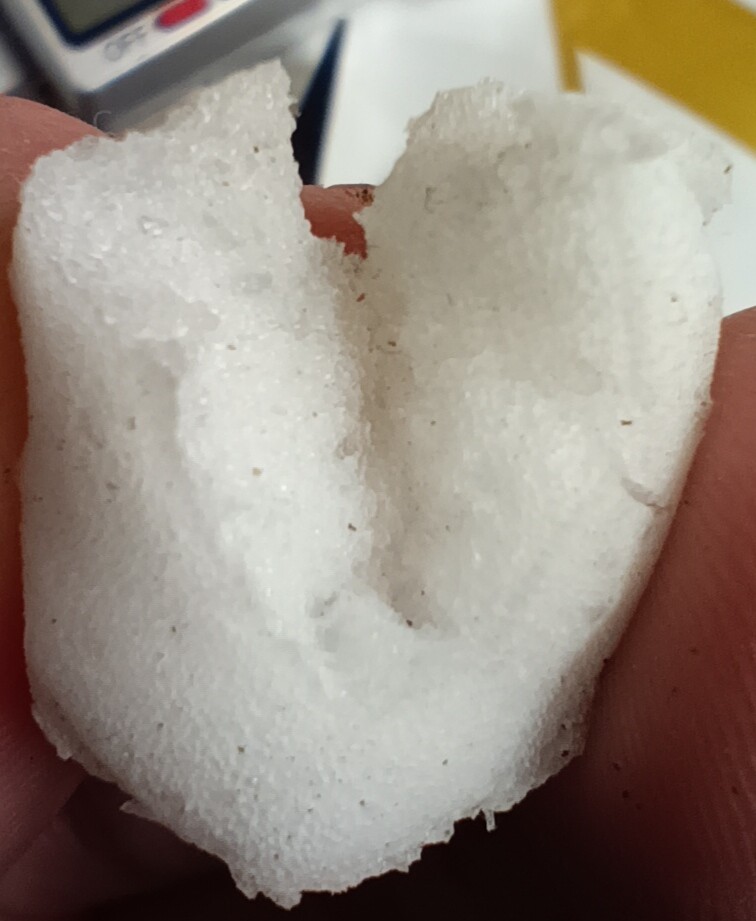
Looks like it was not properly mixed actually… so you should have mixed longer…
Also I see some liquid left in the syringe on the right?
How far did the foam go inside the remote?
The liquid on the right is just soya.
Aha, so I mixed to little.
I havent removed it yet. I will do that and check if I can see anything
I turned on the remote and it read about 59% for about a minute. then I turned off the remote. I have the UBAT part of the RX board plugged into the wire that goes from the battery to the controller.
I’m showing 3.83v on the 3v3 pin by sda/scl.
I’ve tried reloading the code a few times with no luck. Such a weird issue.
I feel like these mateksys BEC’s are the cause of most problems. I have zero proof of this, but they have been finicky for me. Can you run off 2s for the BREmote RX with differential steering or is that too high a voltage? Im gonna find a better BEC… any suggestions?
3.83V is too high, out of spec…
Seems like the 3.3V regulator may be damaged, this can indeed happen by a bad BEC giving more than 5V to the Rx input… Some BECs give out voltages peak at startup…
Sadly I don’t know of any high quality BECs for the voltages we are talking here… you could check industrial regulator bricks, like from traco power (https://www.tracopower.com/sites/default/files/products/datasheets/tdr2wi_datasheet.pdf?t=1725408001)
1 Like
Same here, can you measure the voltage on the 3.3V pin?
No matter where I put the power on my voltmeter it’s still shows about 50 V and the remote shows about 58%
He means to use a voltmeter to read what the 3v3 pin is in volts. So put your voltmeter black/negative lead on the ground/gnd pad and the red/positive lead on the 3v3 pad and tell him what the voltmeter reads with the battery plugged in. There are a couple different 3v3 pads, so make sure you check the one that is next to SDA and SCL.
I wonder if leaving the RX board disconnected until after connecting the battery would help prevent any voltage spikes? I also ordered the mateksys pro BEC to see if it works better.
Looking at the traco power TDR 2-4811WI, it outputs 400mA maximum. Is that plenty of power?
Have you ever published your pistol grip case?
No, because I still haven’t been able to solve the problem with the correct placement of the magnets. So far I have either the correct range of the trigger or the selector. If someone wants to do this, I’m certainly ready to share the model.
I’m sure this is a solvable problem, I just don’t have enough time.
after i start using it, it seems to give a bit better of a reading of battery level. now when its 49.6v it shows 80%. I do check the voltage meter at the same spot the wire is connected that goes to the RX board for the battery.
Yes that would help
The Rx needs 50mA tops, and the two ESCs should not consume any power. As long as you don’t have the servo to steer 400mA is enough
1 Like
Hey @ludwig_bre, do you think you could update the step assy to include the LR parts? I’m building one and want to see the total. Pretty please ![]() ?
?
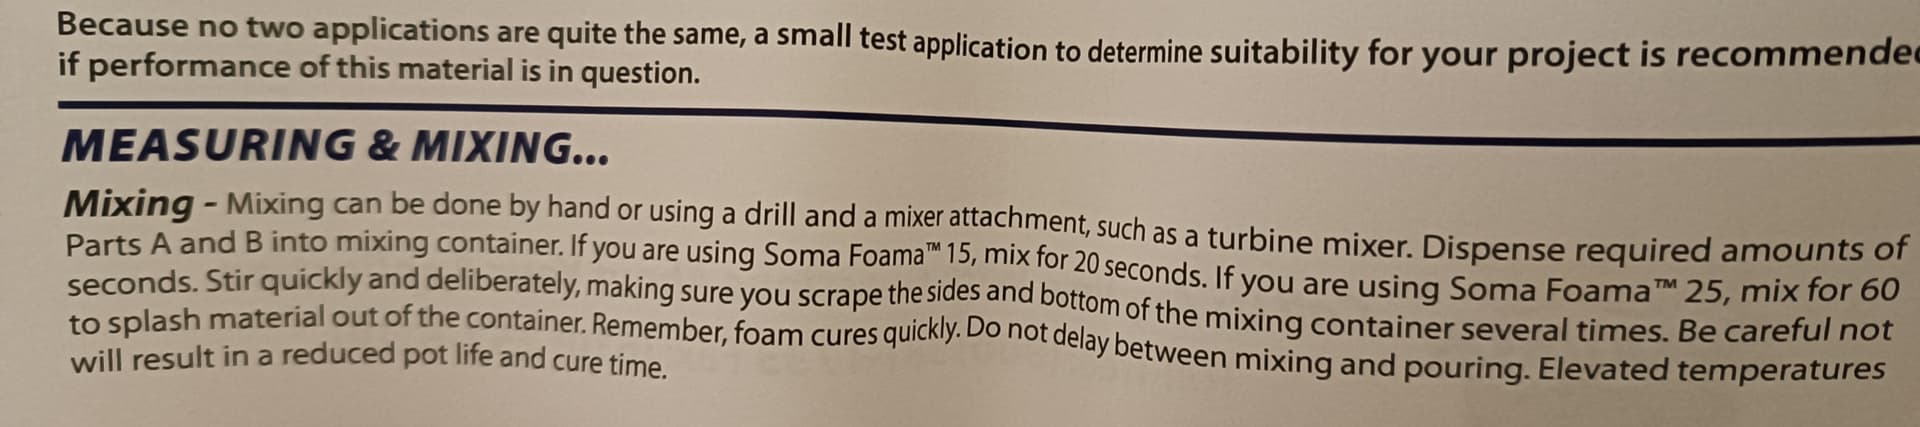
I received Soma Foama 25.
It looks and feels fine, glued to petg and it doesn’t absorb water. However, the working time is quite short—only 1.5 minutes, with 60 seconds for mixing and 30 seconds for pouring, leaving little time to address any bubbles.
It only expands to about x2 its original size in a few minutes.
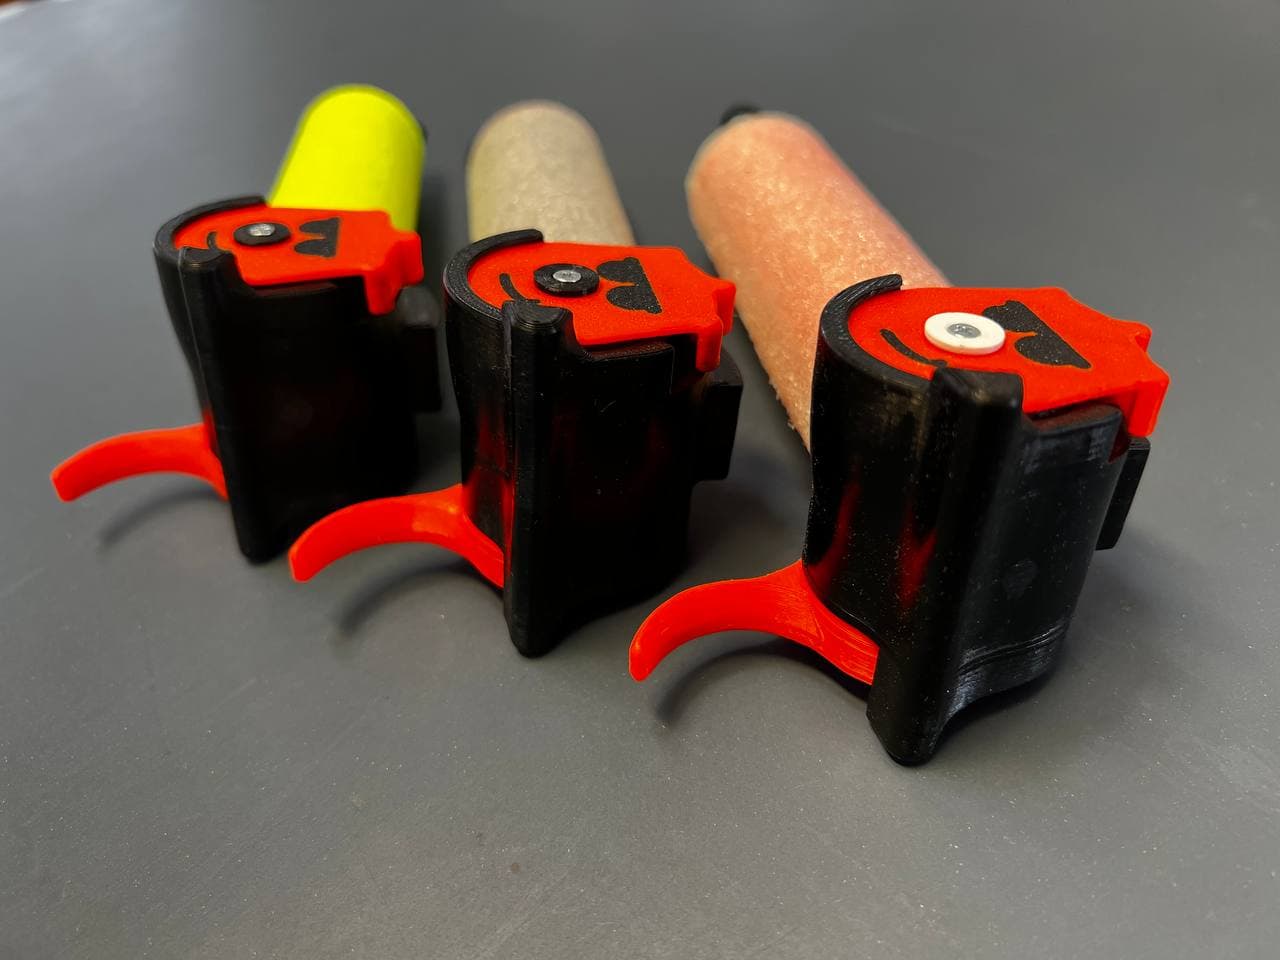
Let me know if you’d like to see some experiments with it.
Hmm, I dont have the step files of the newest LR parts, as a friend designed them and we only shared .stl files
Here are some real-world pictures:
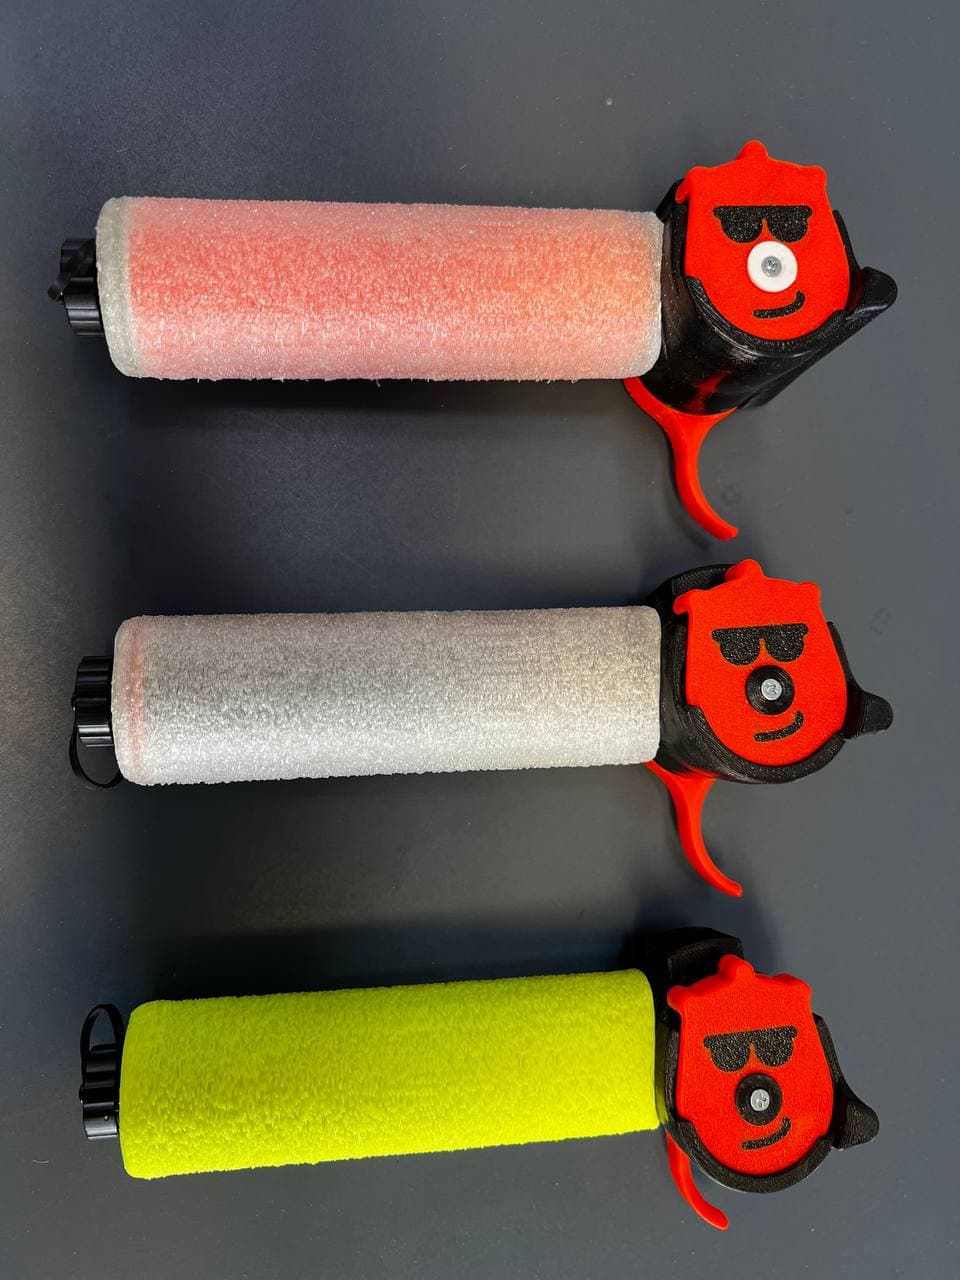
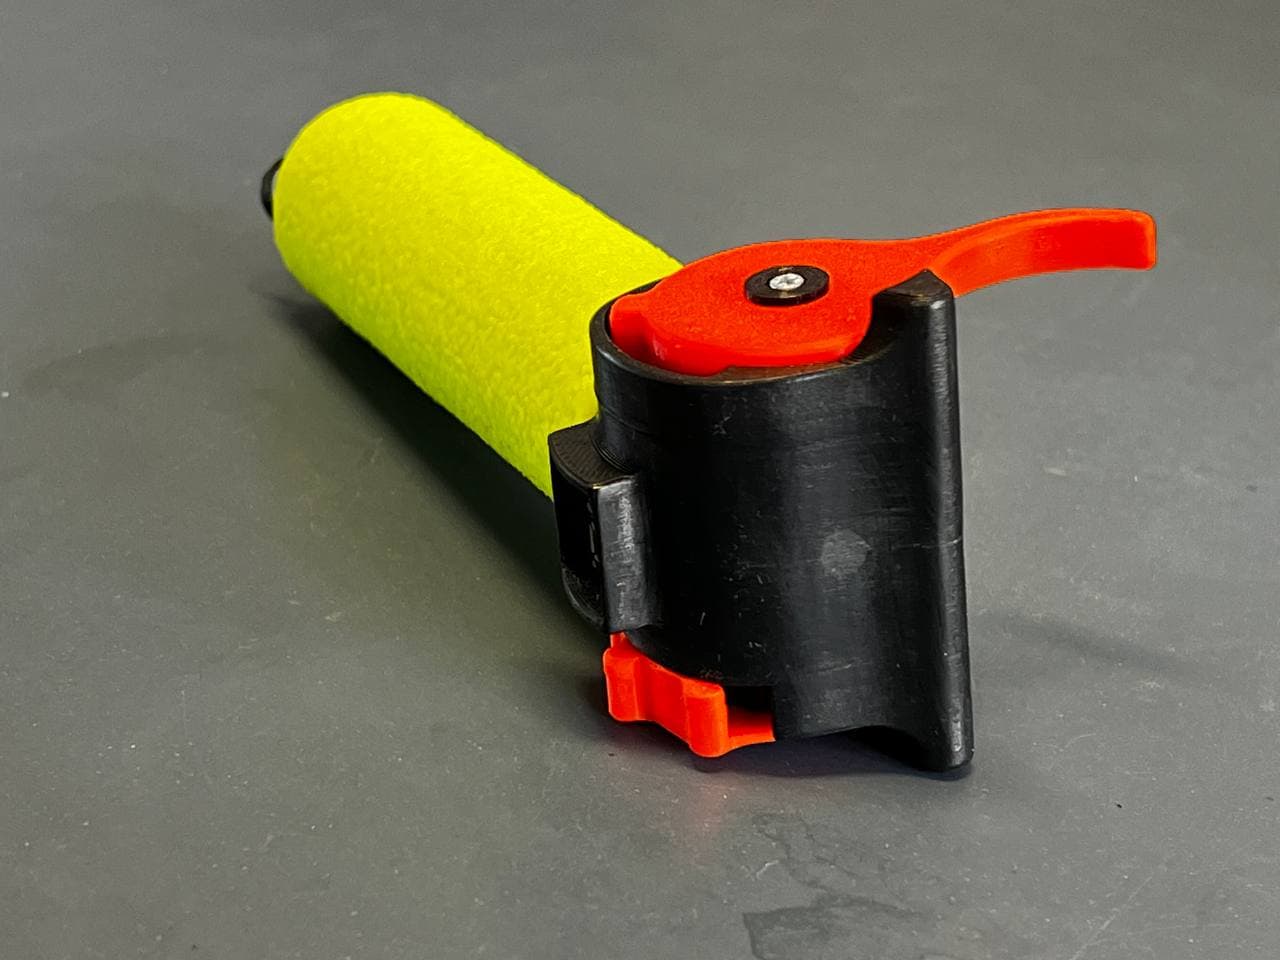
3 Likes
I mean I could probably do it, which software have you been working on this model with, if it’s onshape it should be fairly simple to share the design.
I could redesign them from the stls i guess… hate working with stls, even converted ones.