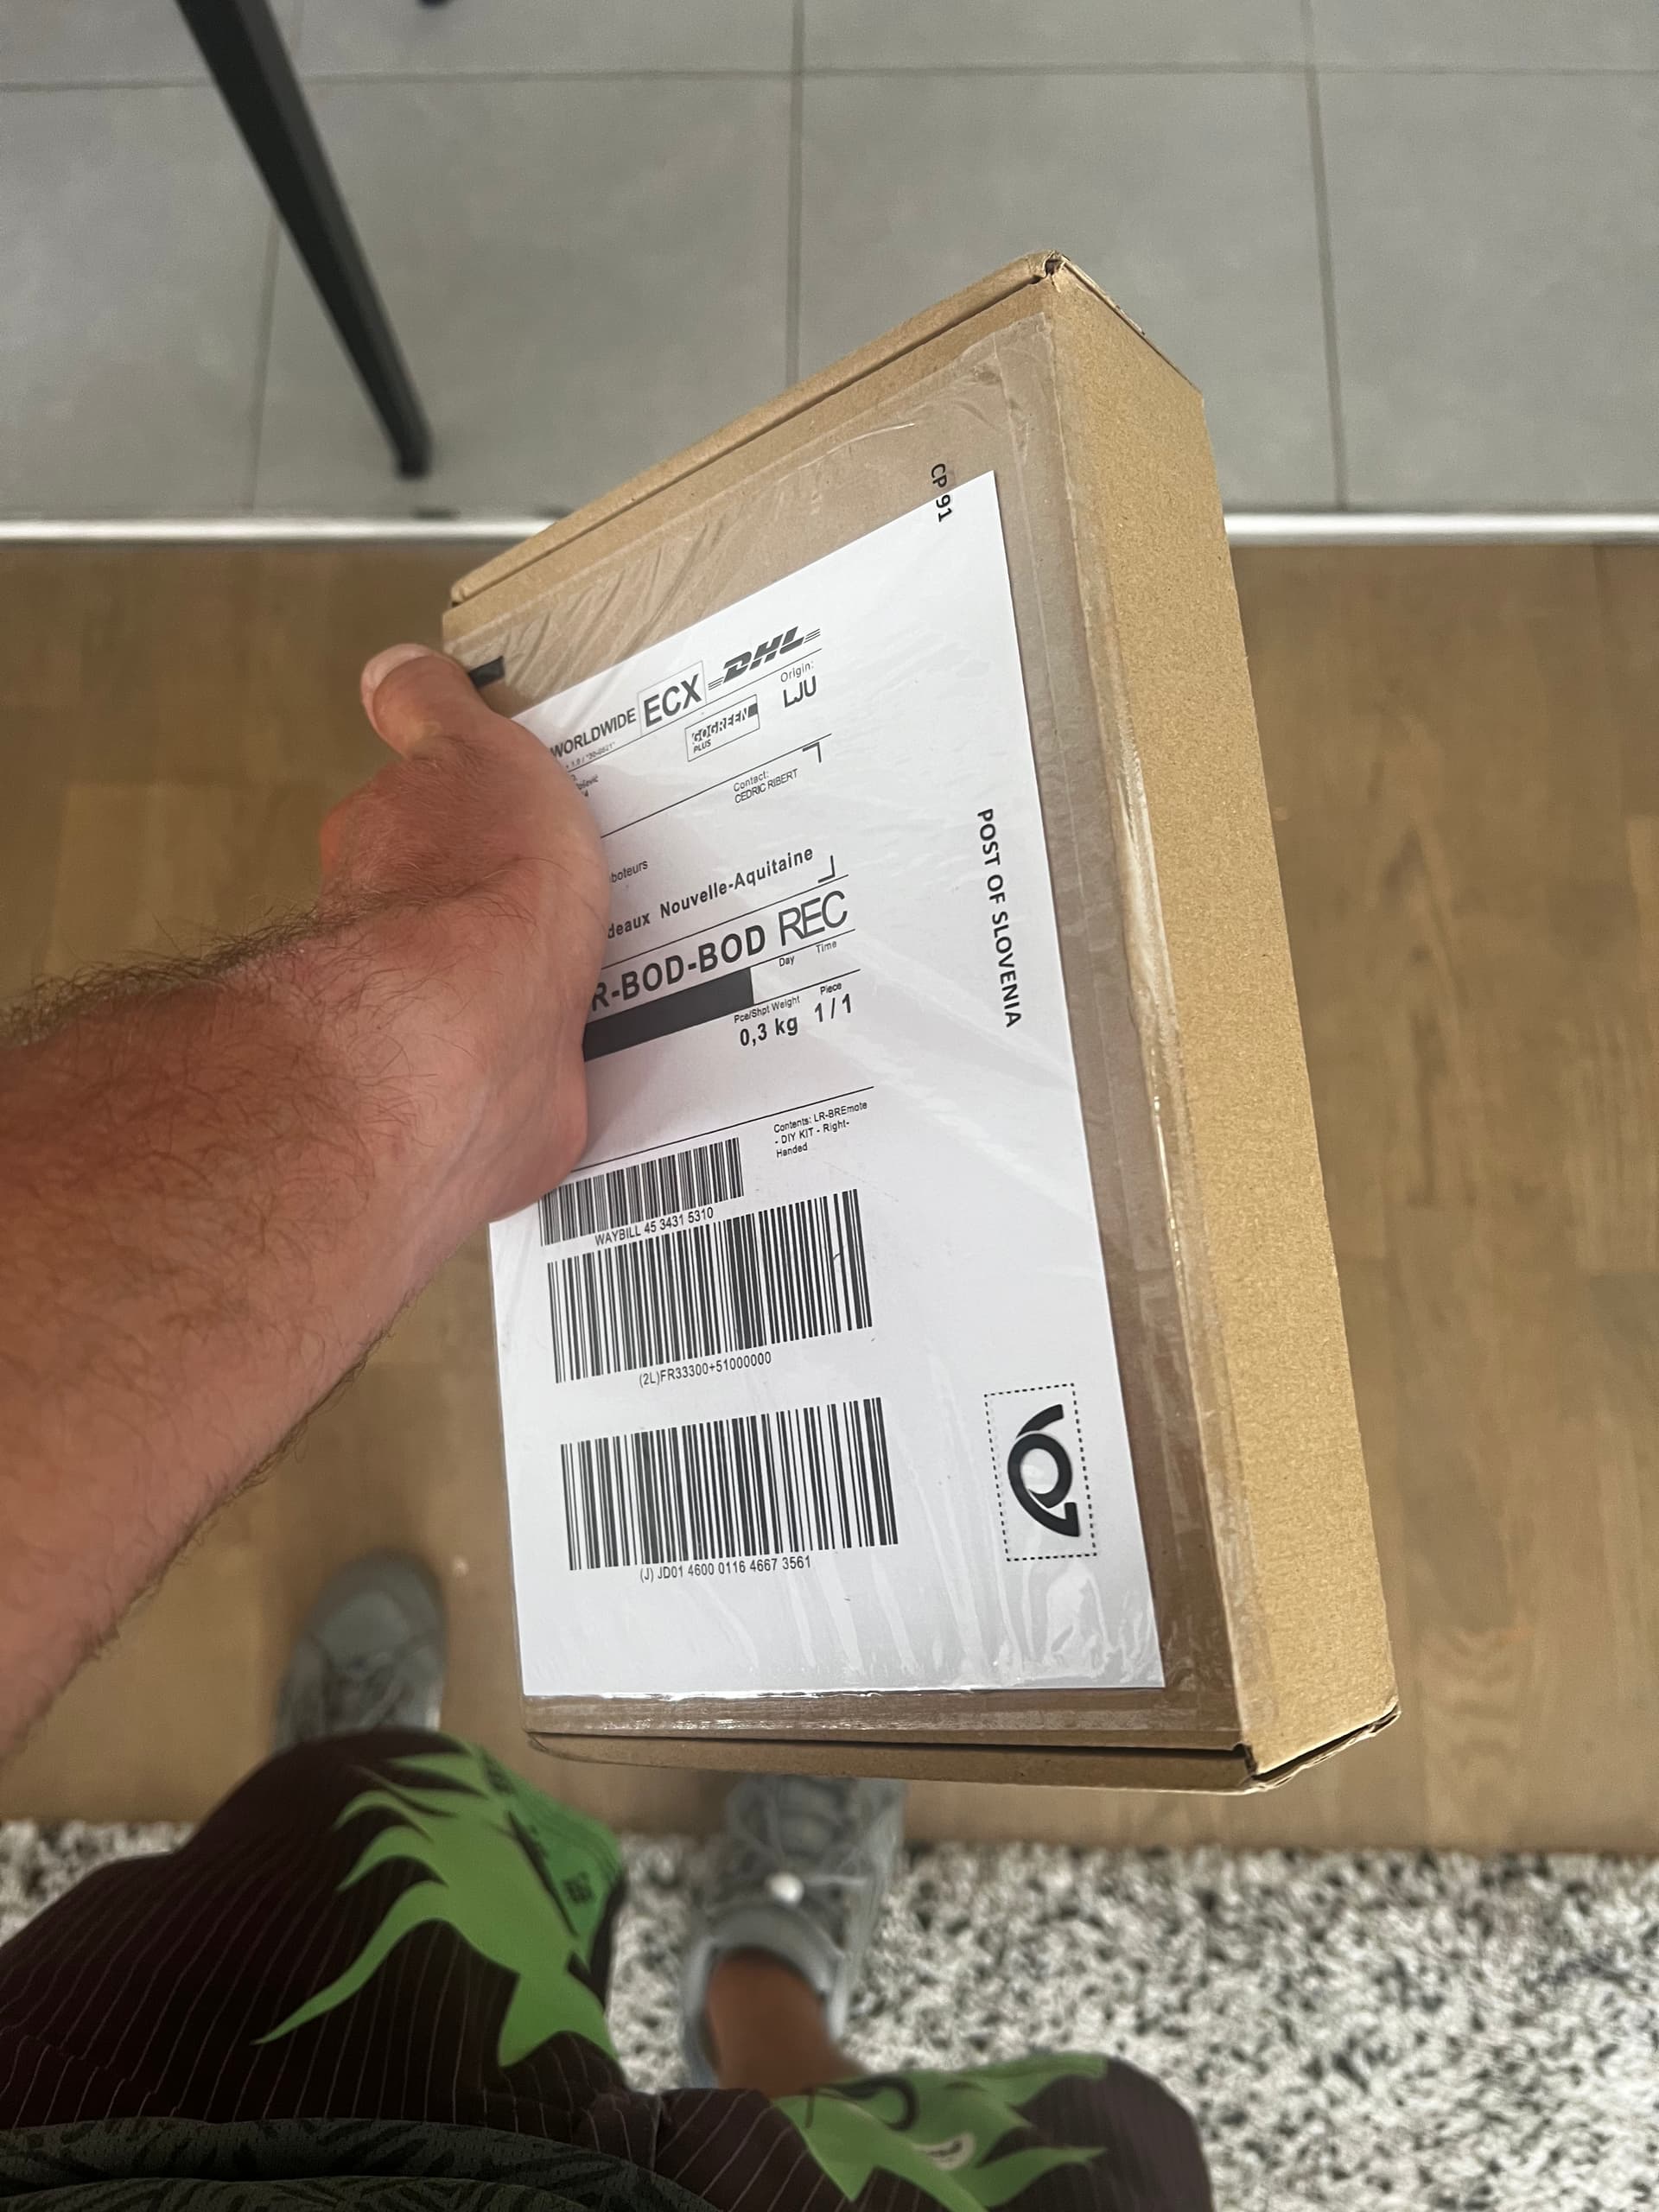
To make the moments before your vacation easier, I have packed you another complete LR Bremote DIY case (housing, screws, magnets) so that you can fix the old one and the LR-BREmote – DIY KIT transmitter-only version.
To ensure you get the package on time, I chose DHL at no additional cost; the package will be in your hands on Monday.
Hi
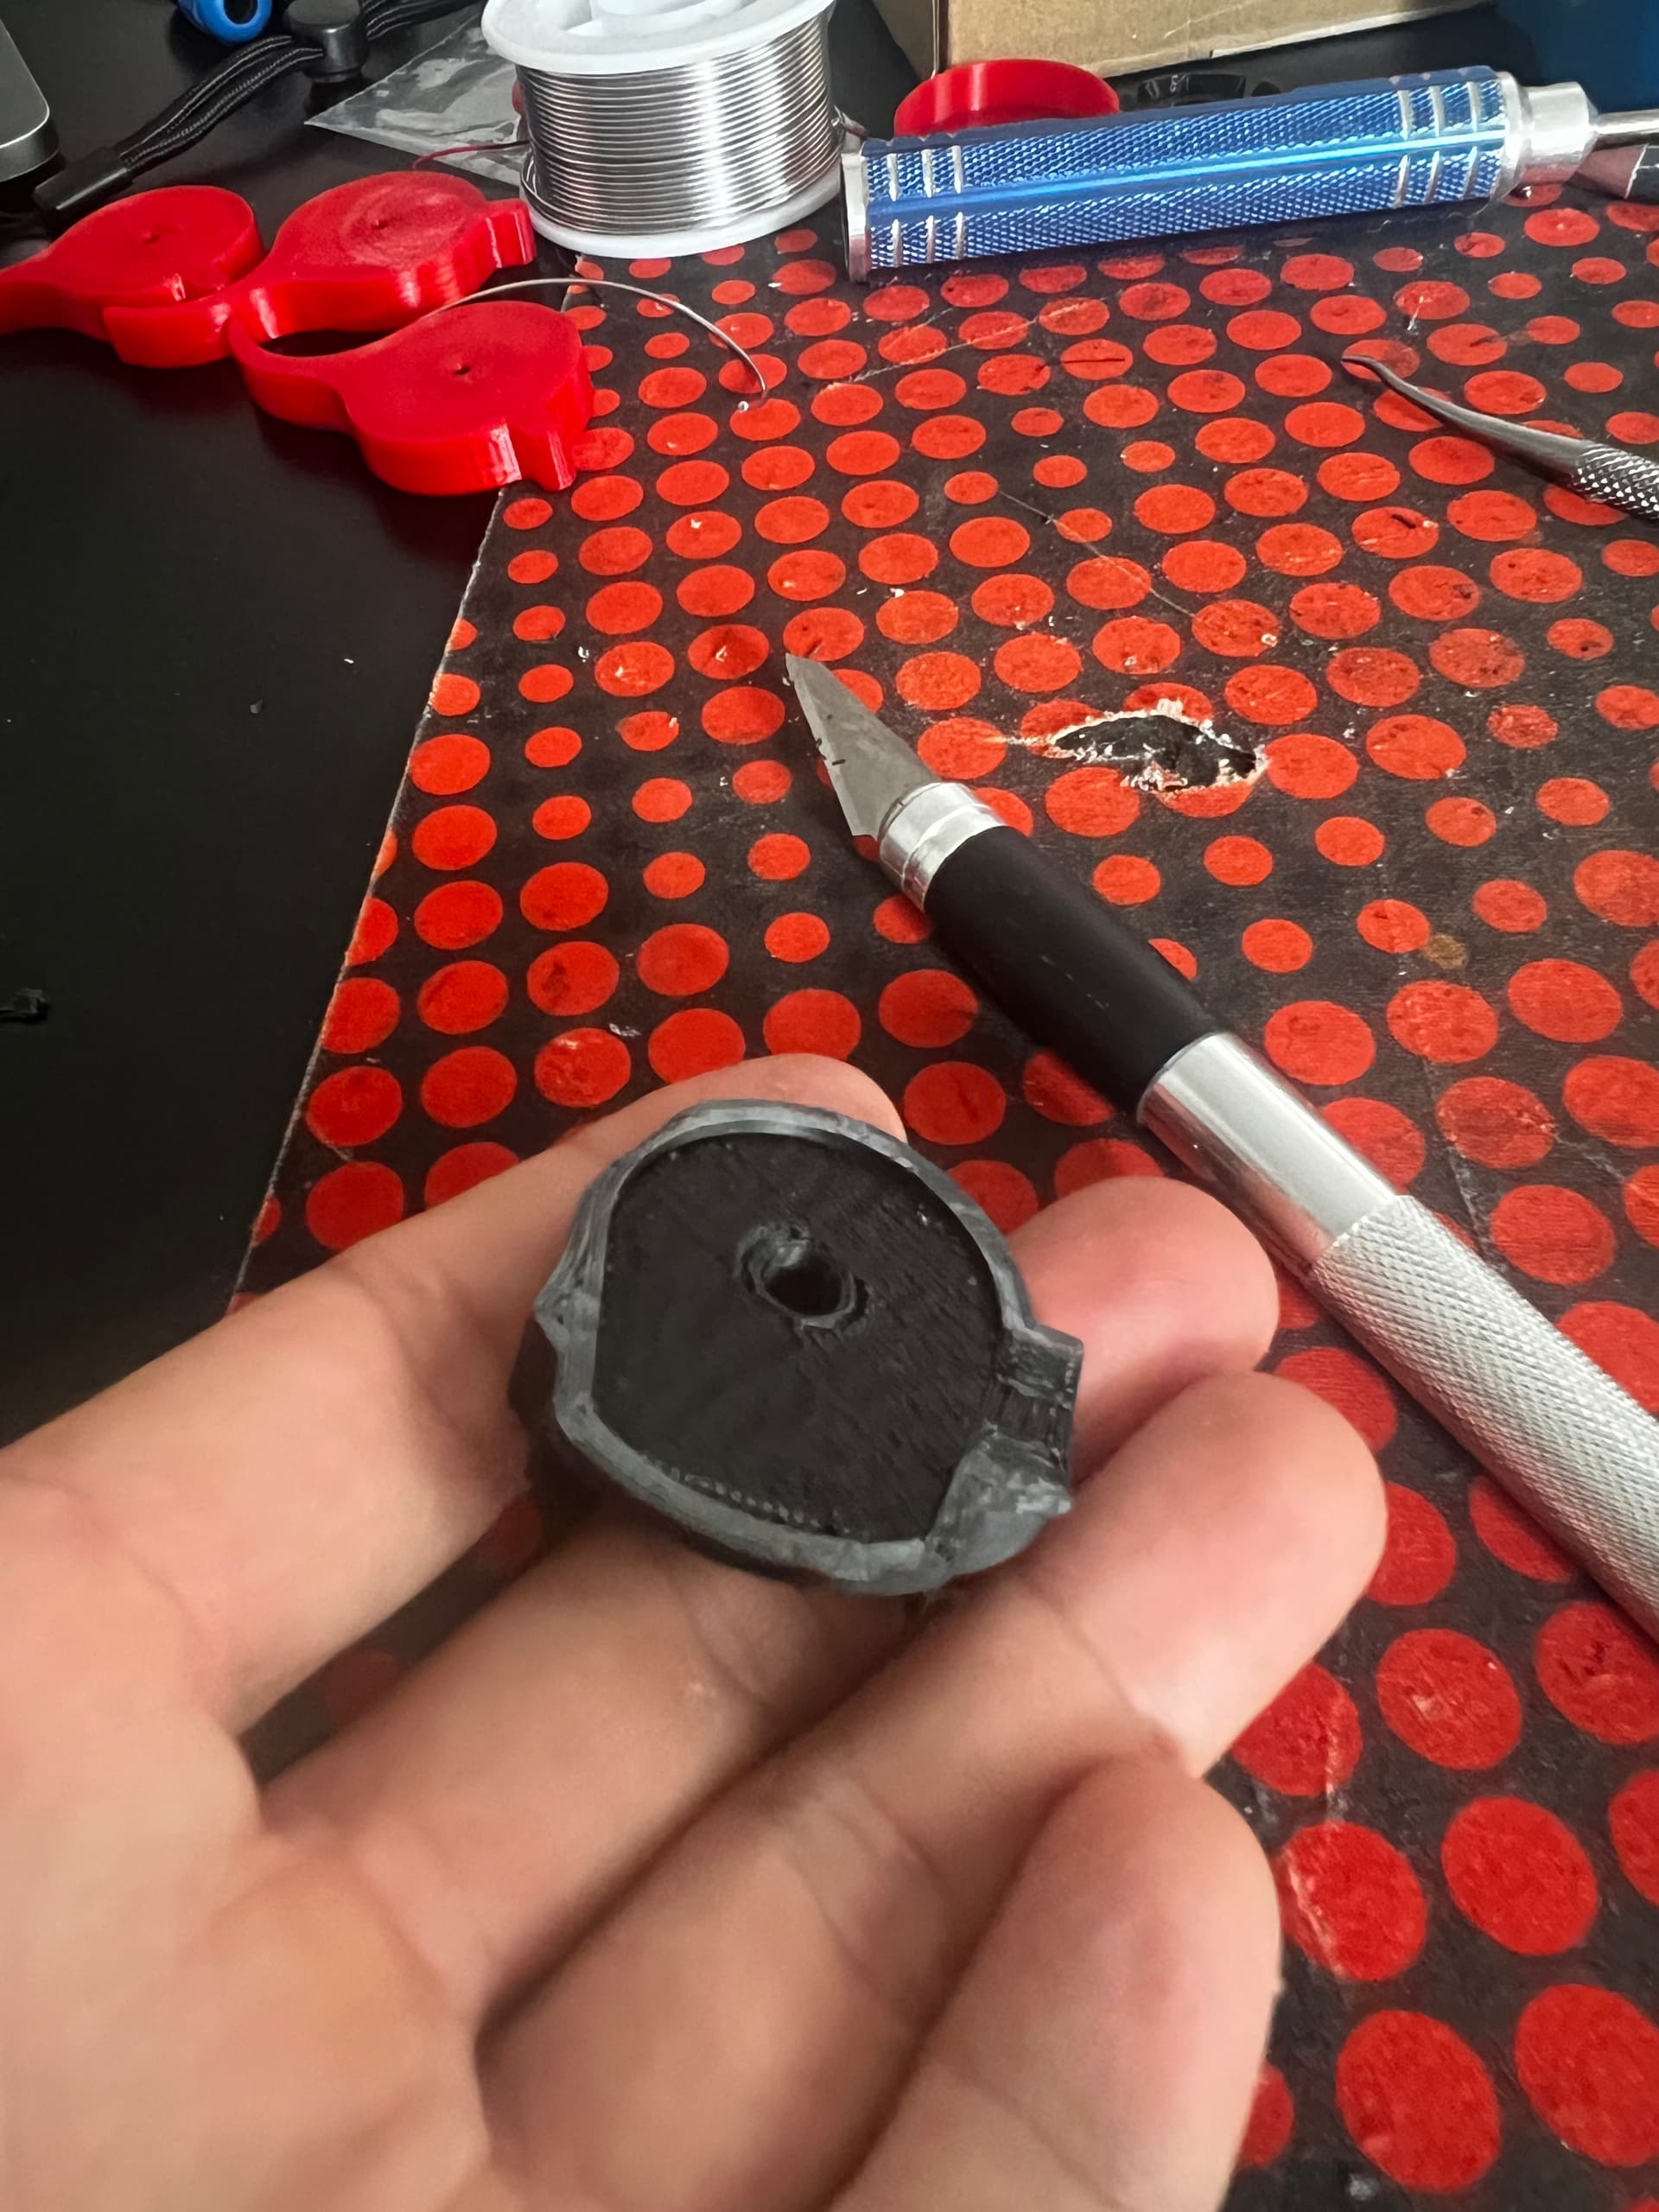
Of course, I also included two packs of foam as you asked for. By Monday, I will post my conclusions regarding packaging and type of foam. I did a research that showed the causes of poor reactivity of polyurethane foam expansion in different parts of the world. Although I always send the same type.
Btw if you build a new remote, you may try the new version from my friend Jürgen, who increased the travel of the toggle for better steering
Also don’t forget to check if the antenna connector is bent and cover with a bit of hot glue.
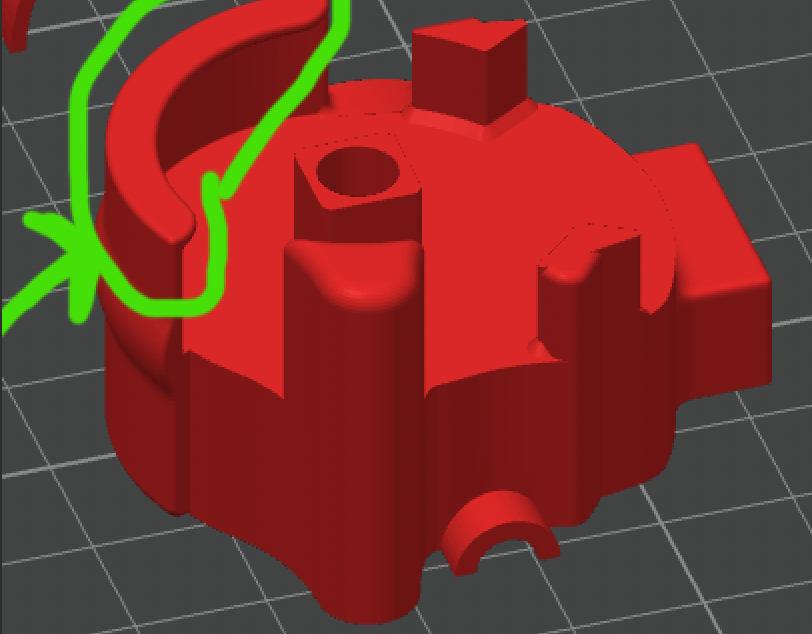
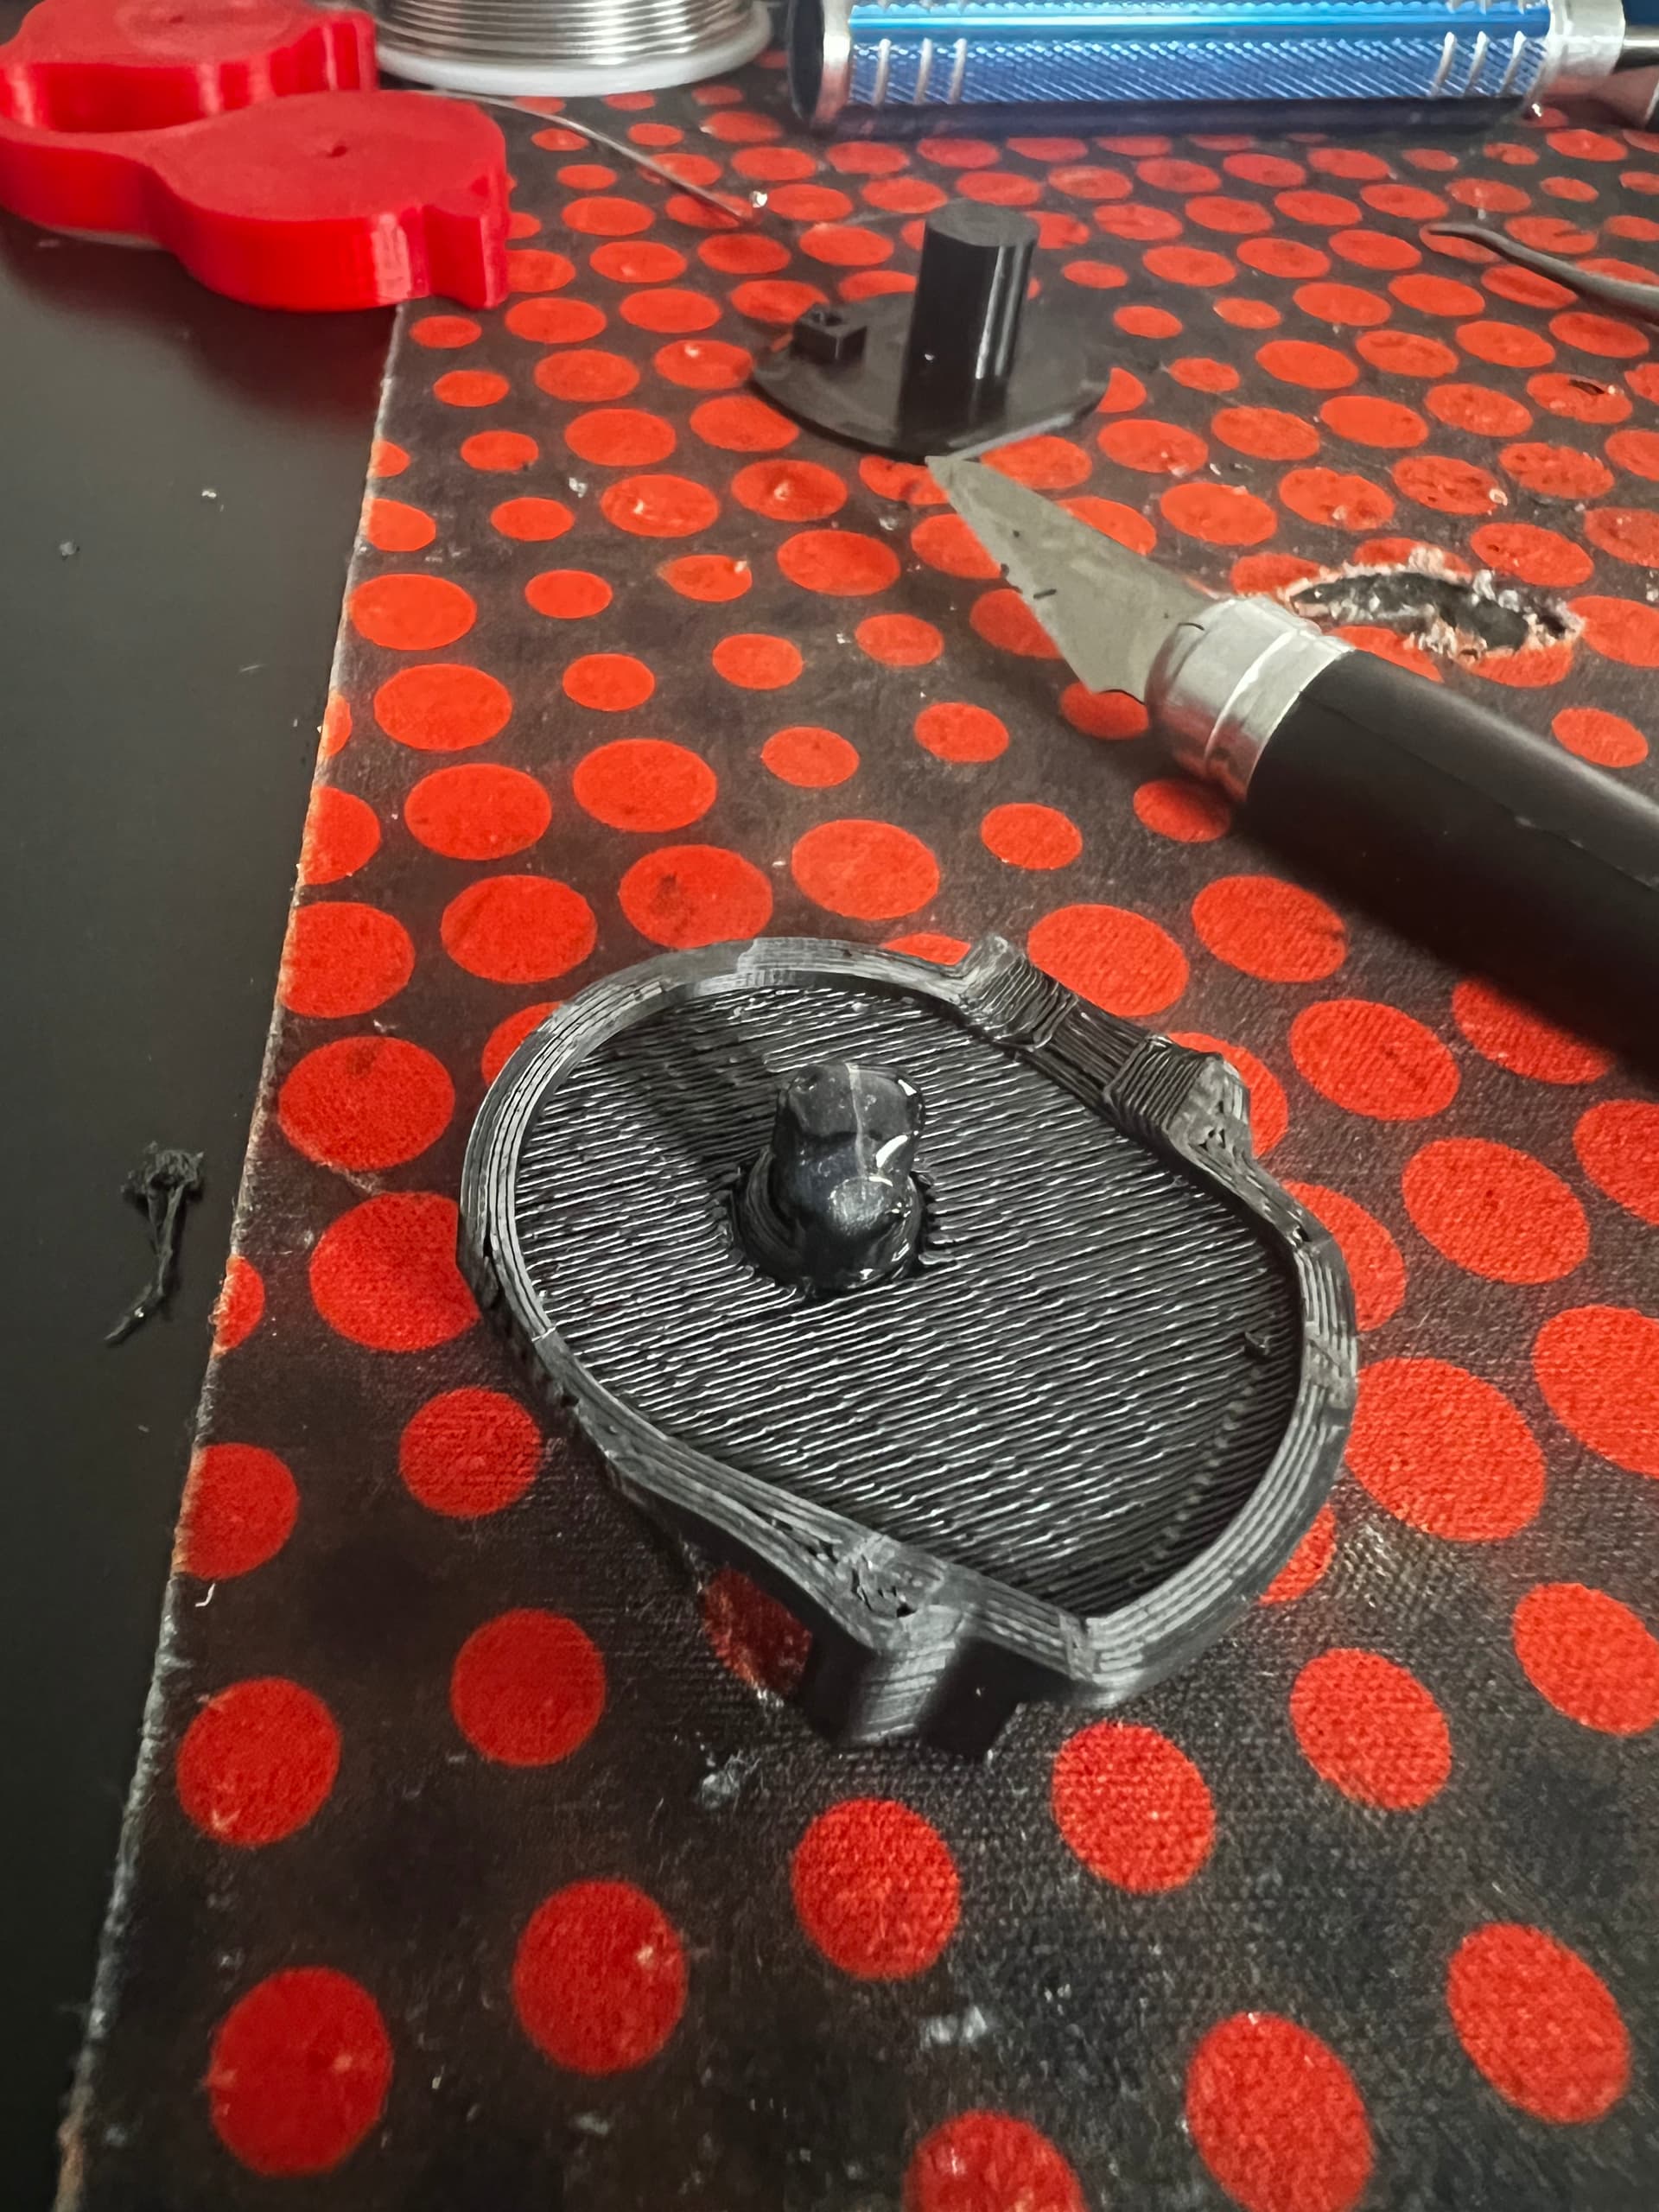
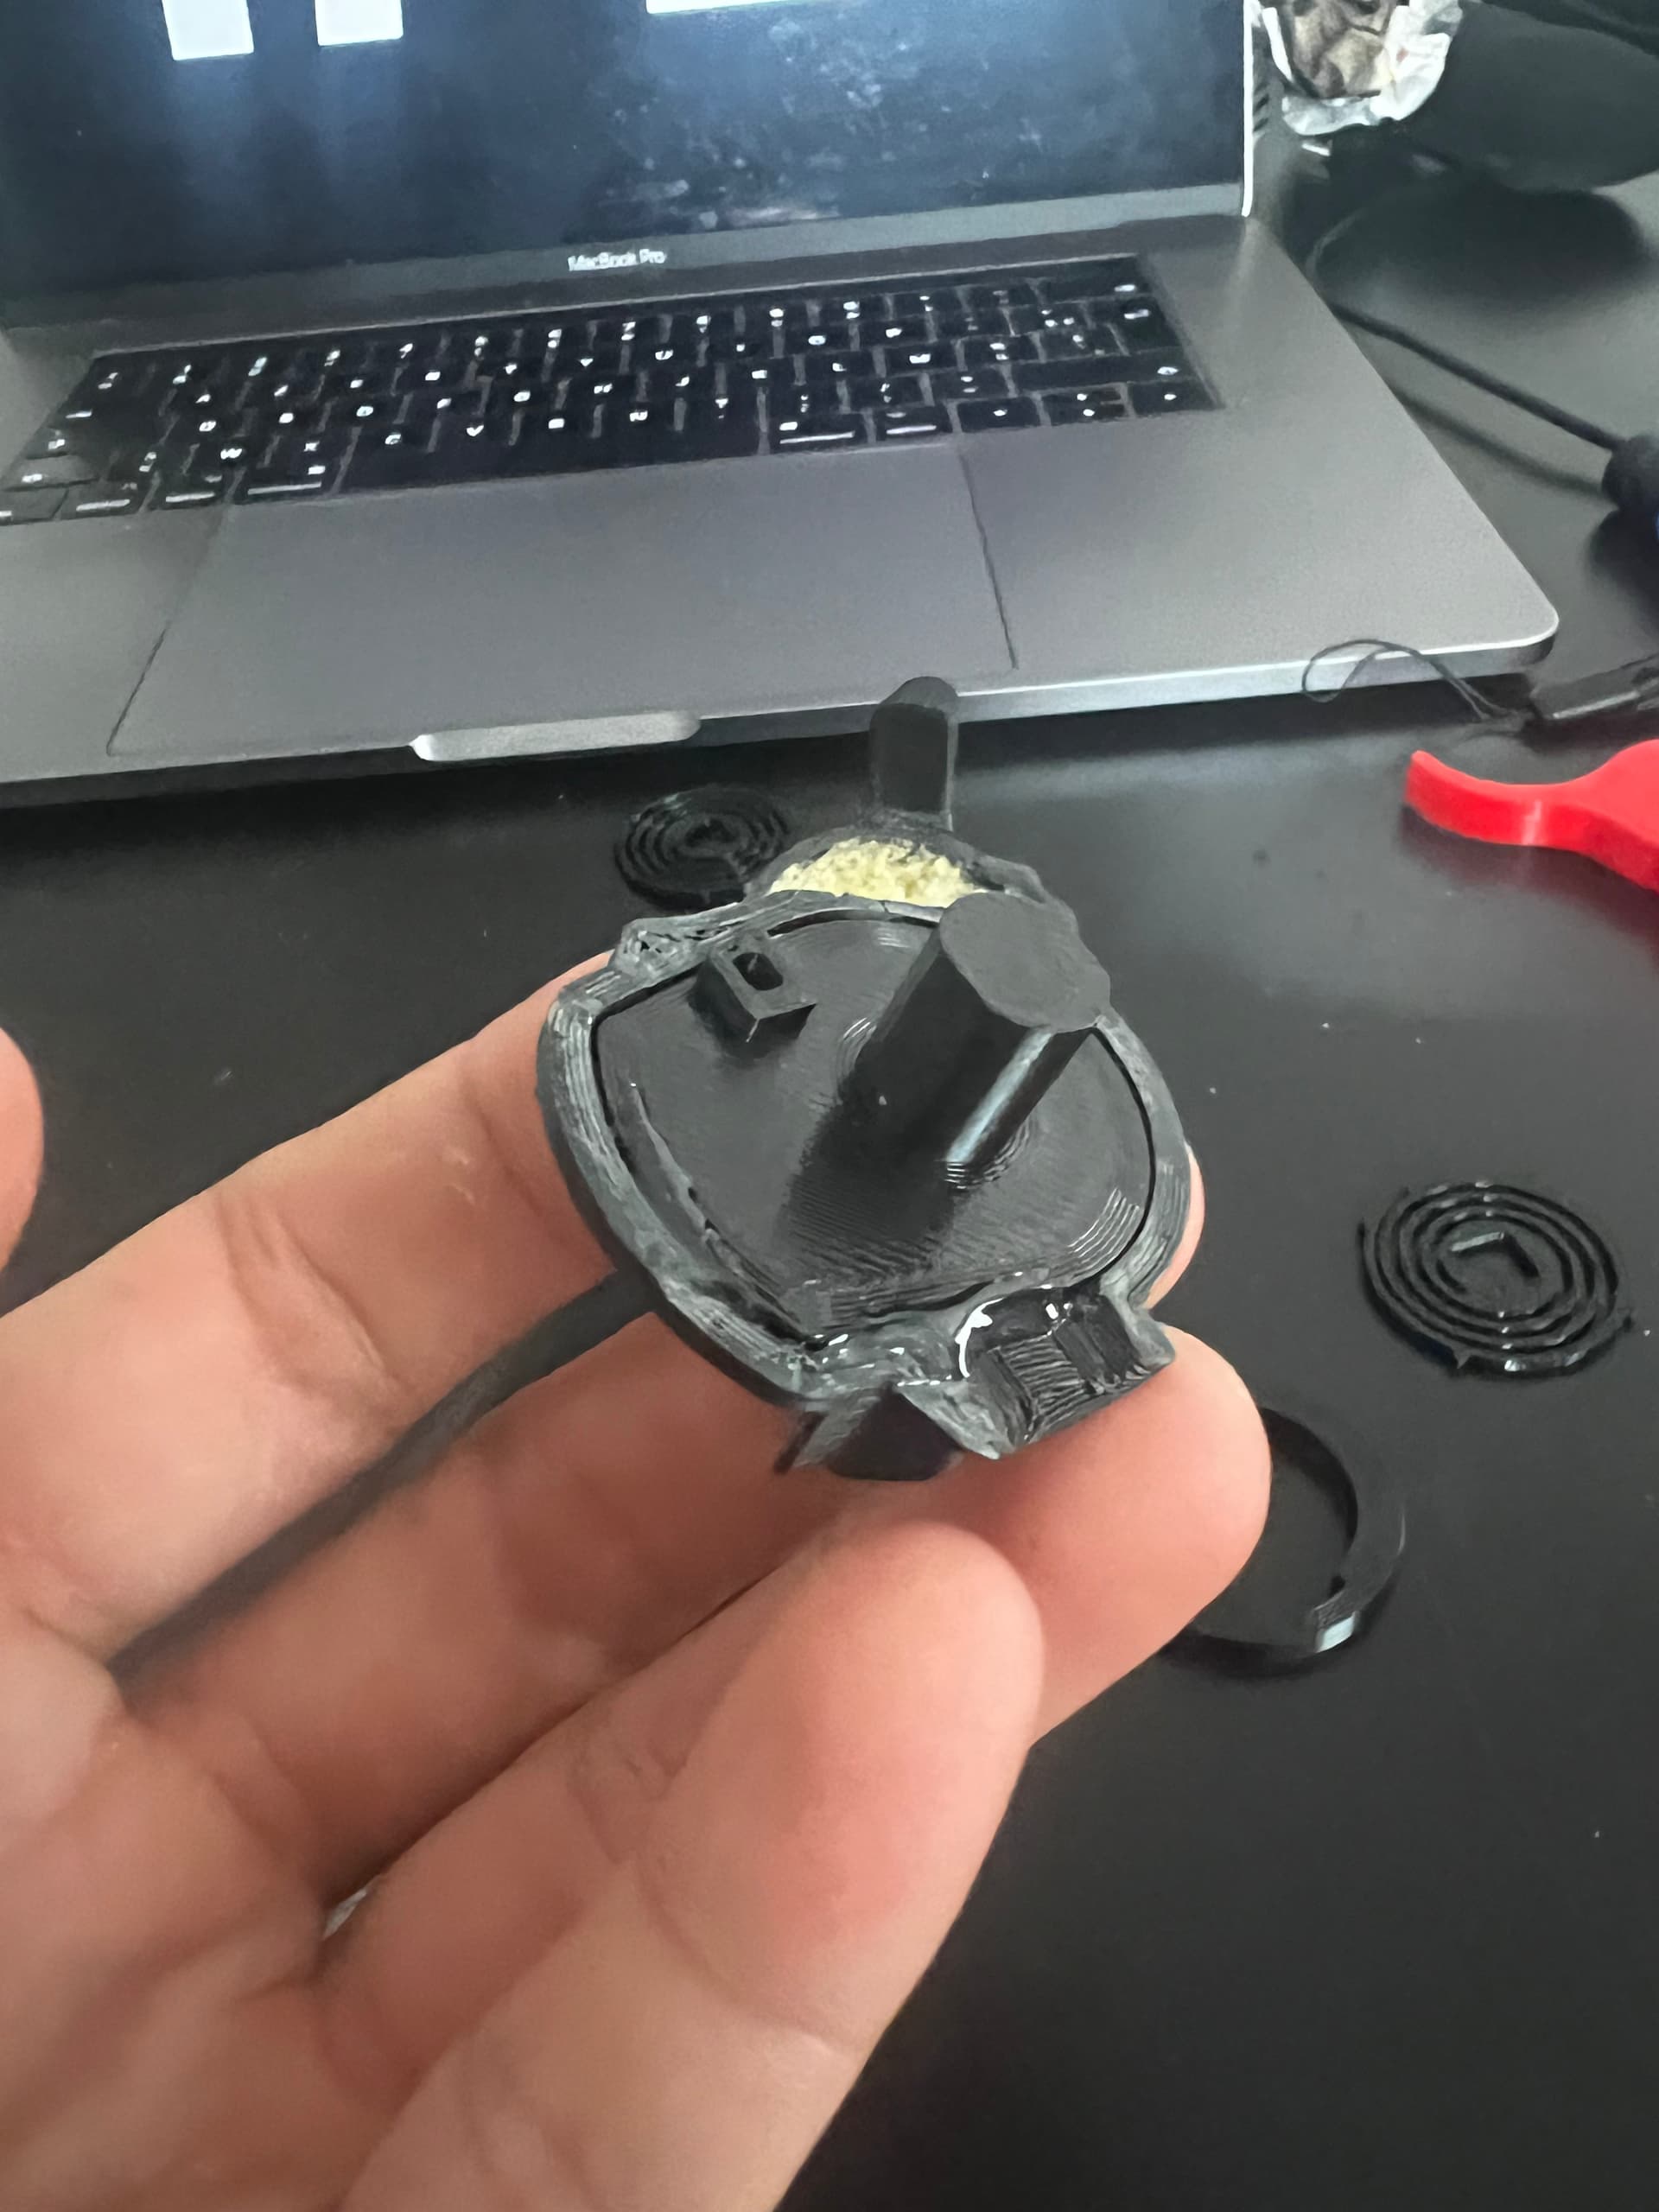
I noticed there is a lip on the piece on the print file, but my remote does note have it. is this piece the same as the other side but in reverse? or is there a more updated version without it?
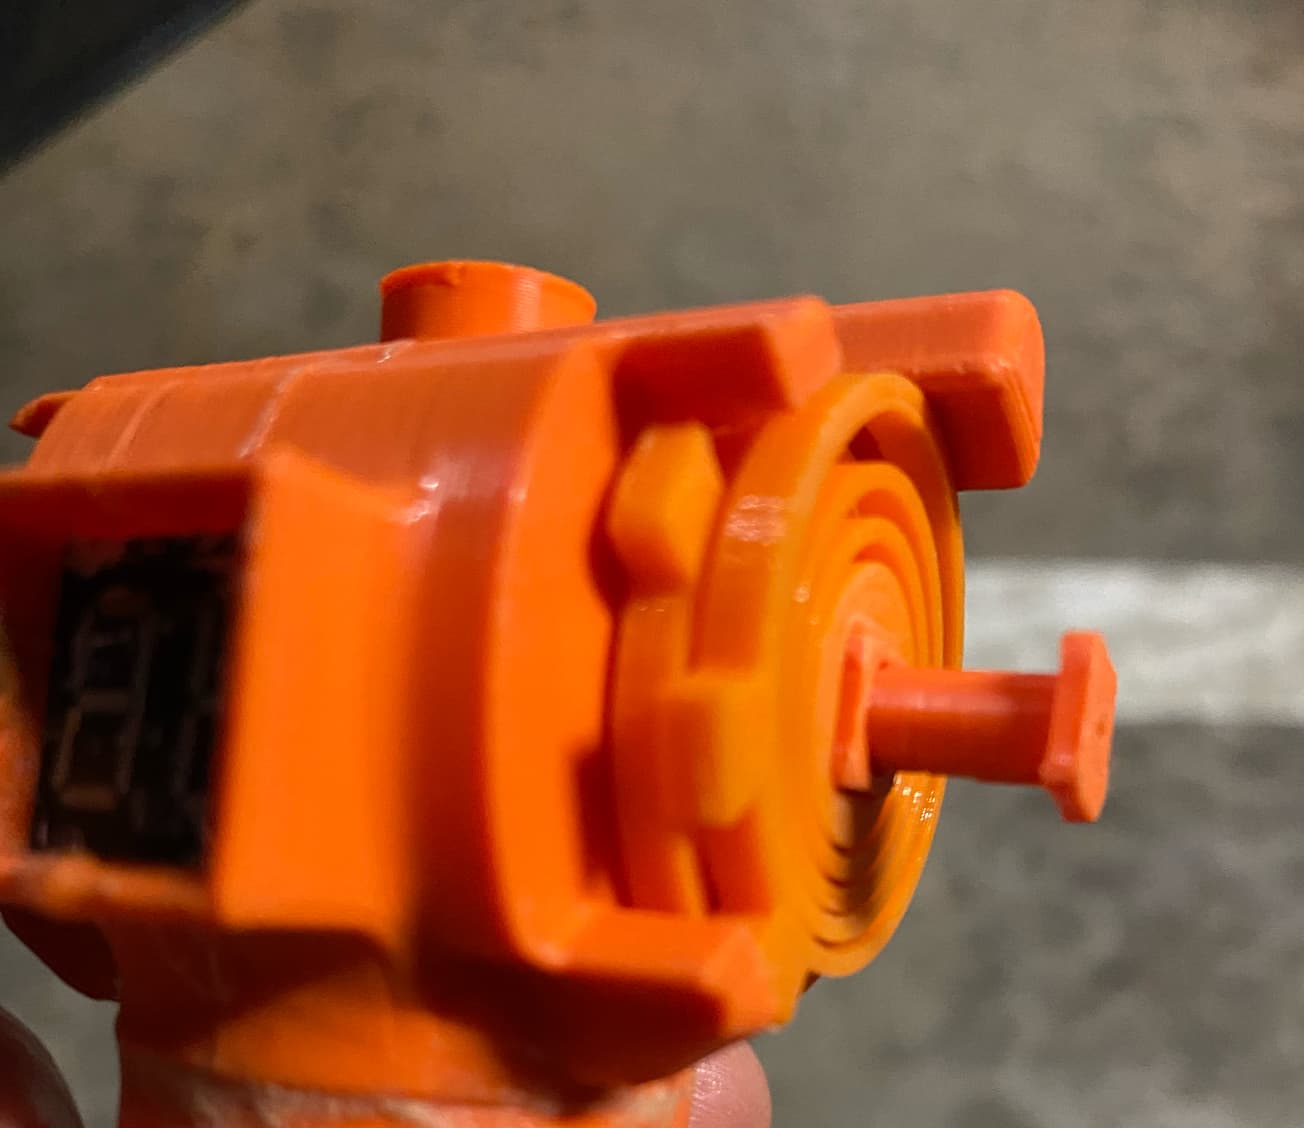
This is the side of the toggle button - the shield is a protection from accidentally turning the toggle
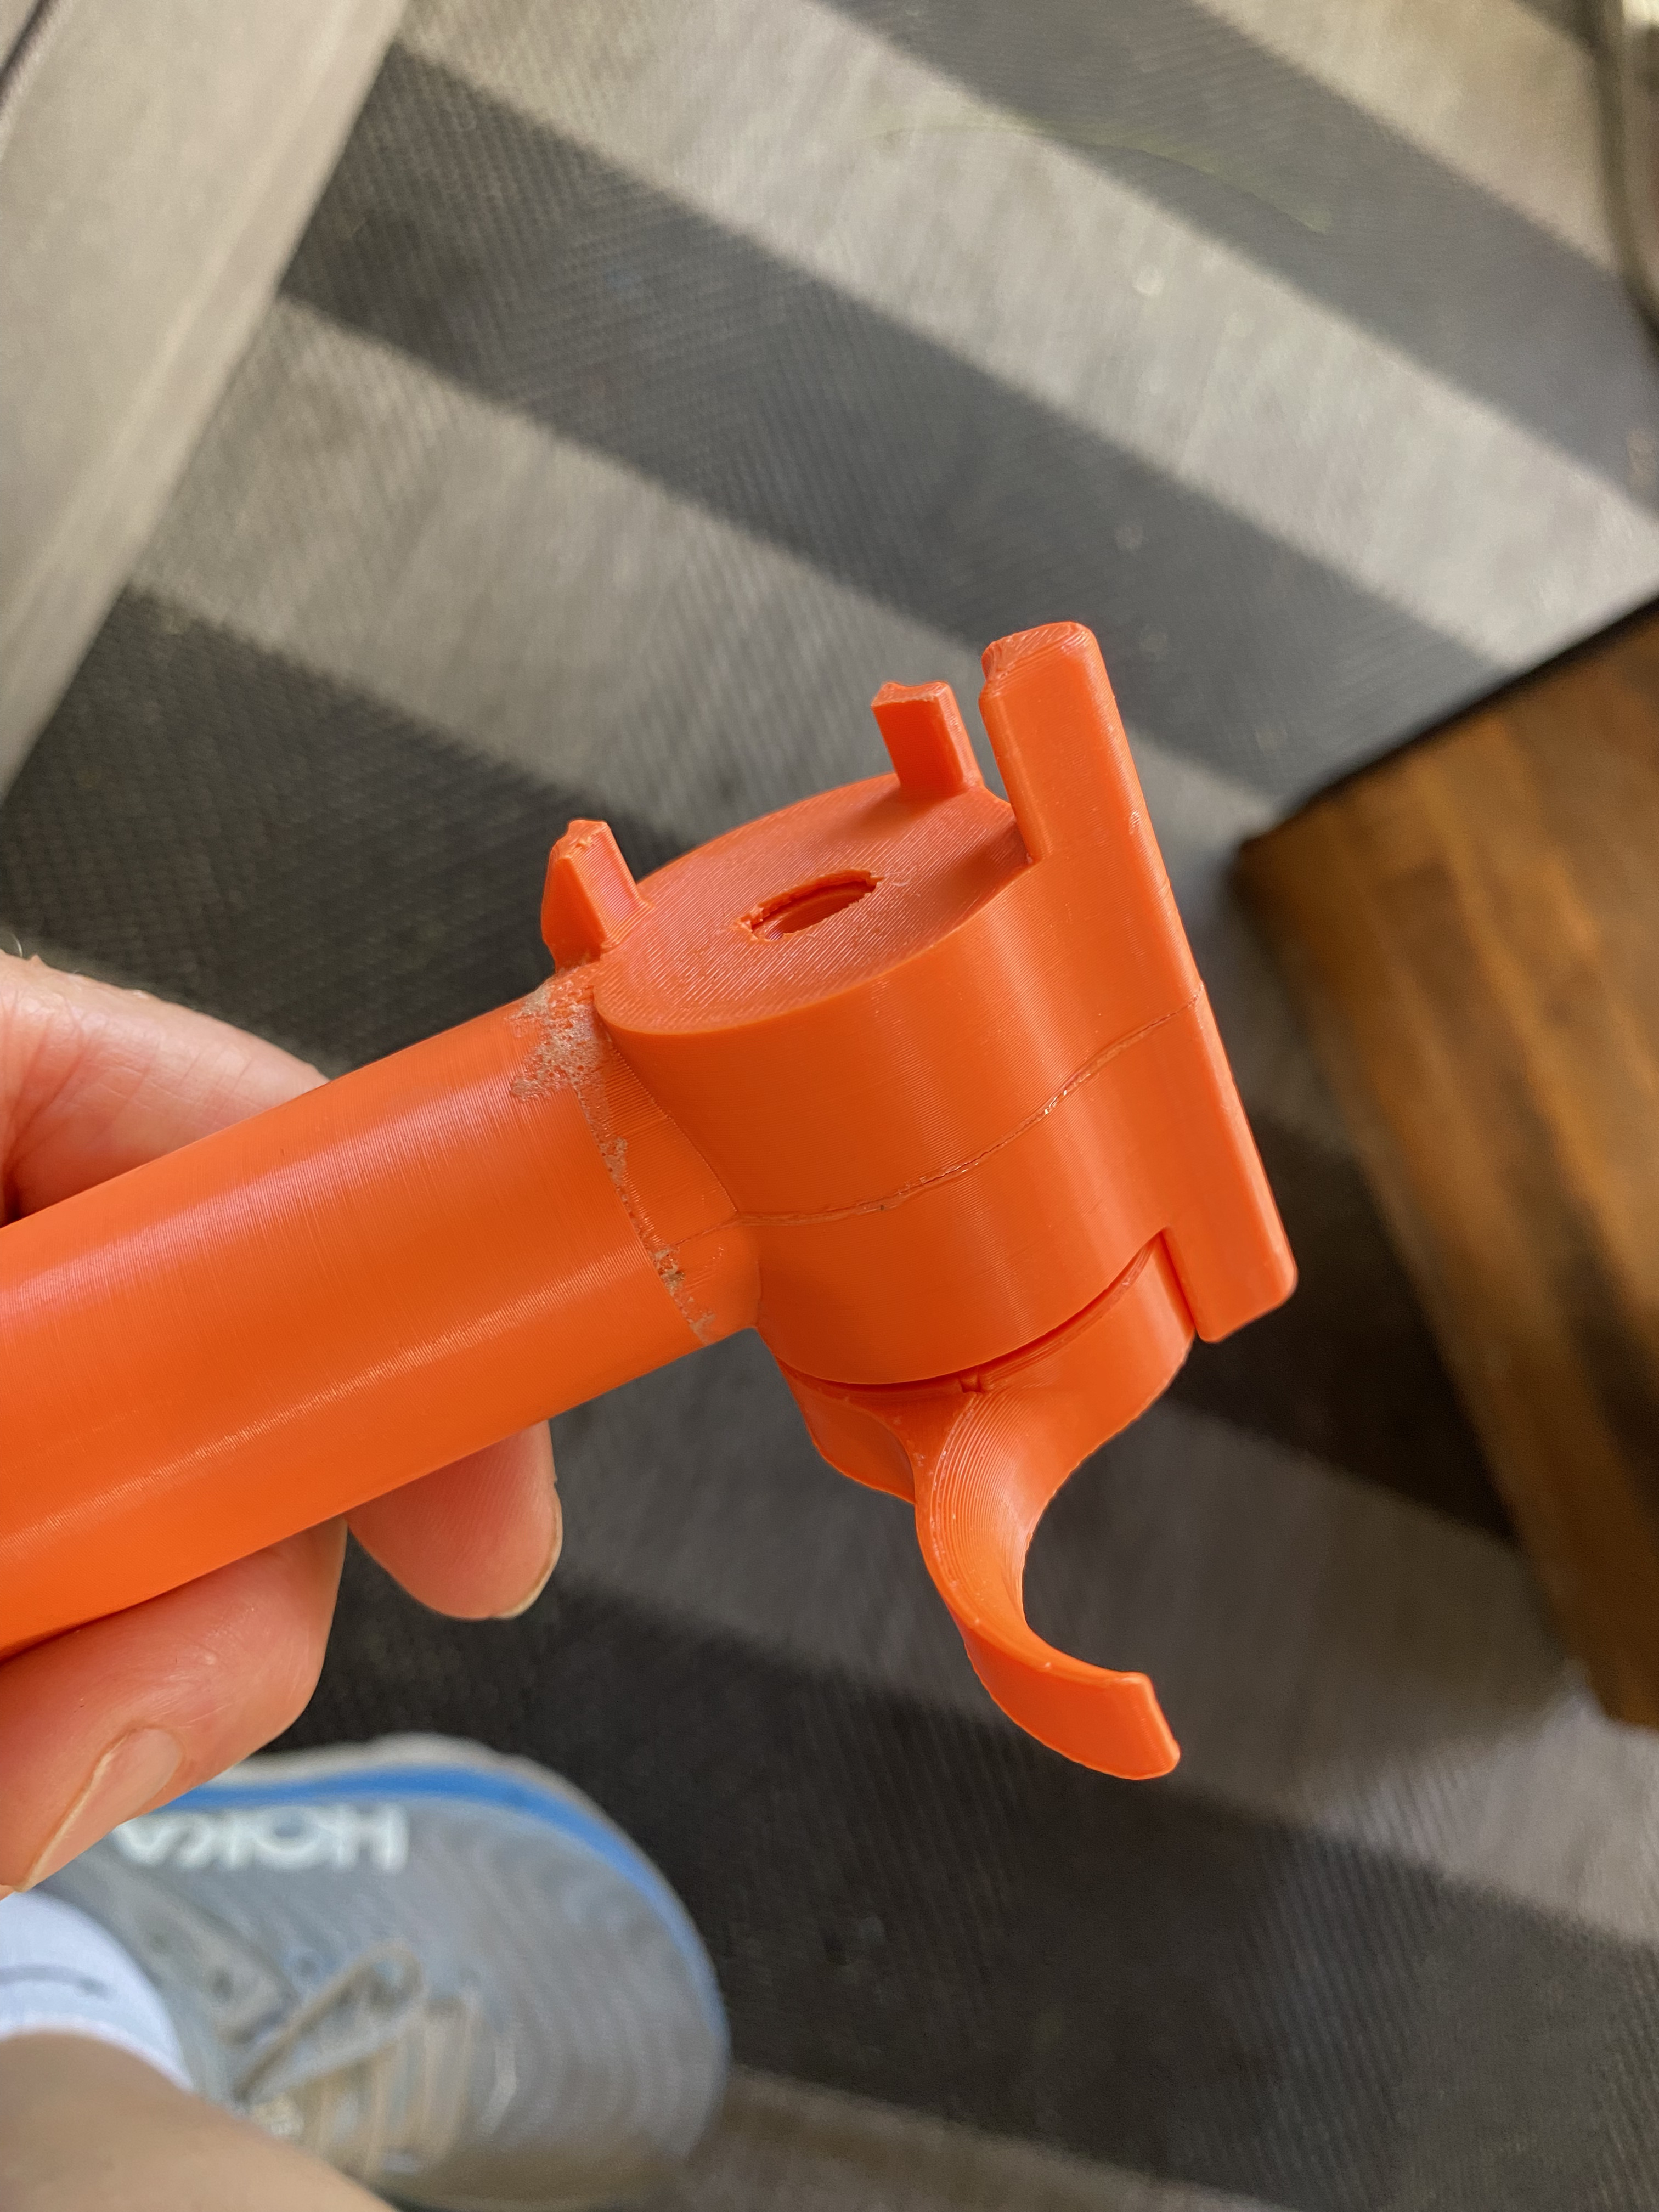
The trigger side looks different
Those are the new files I uploaded? Your version should be the one from GitHub
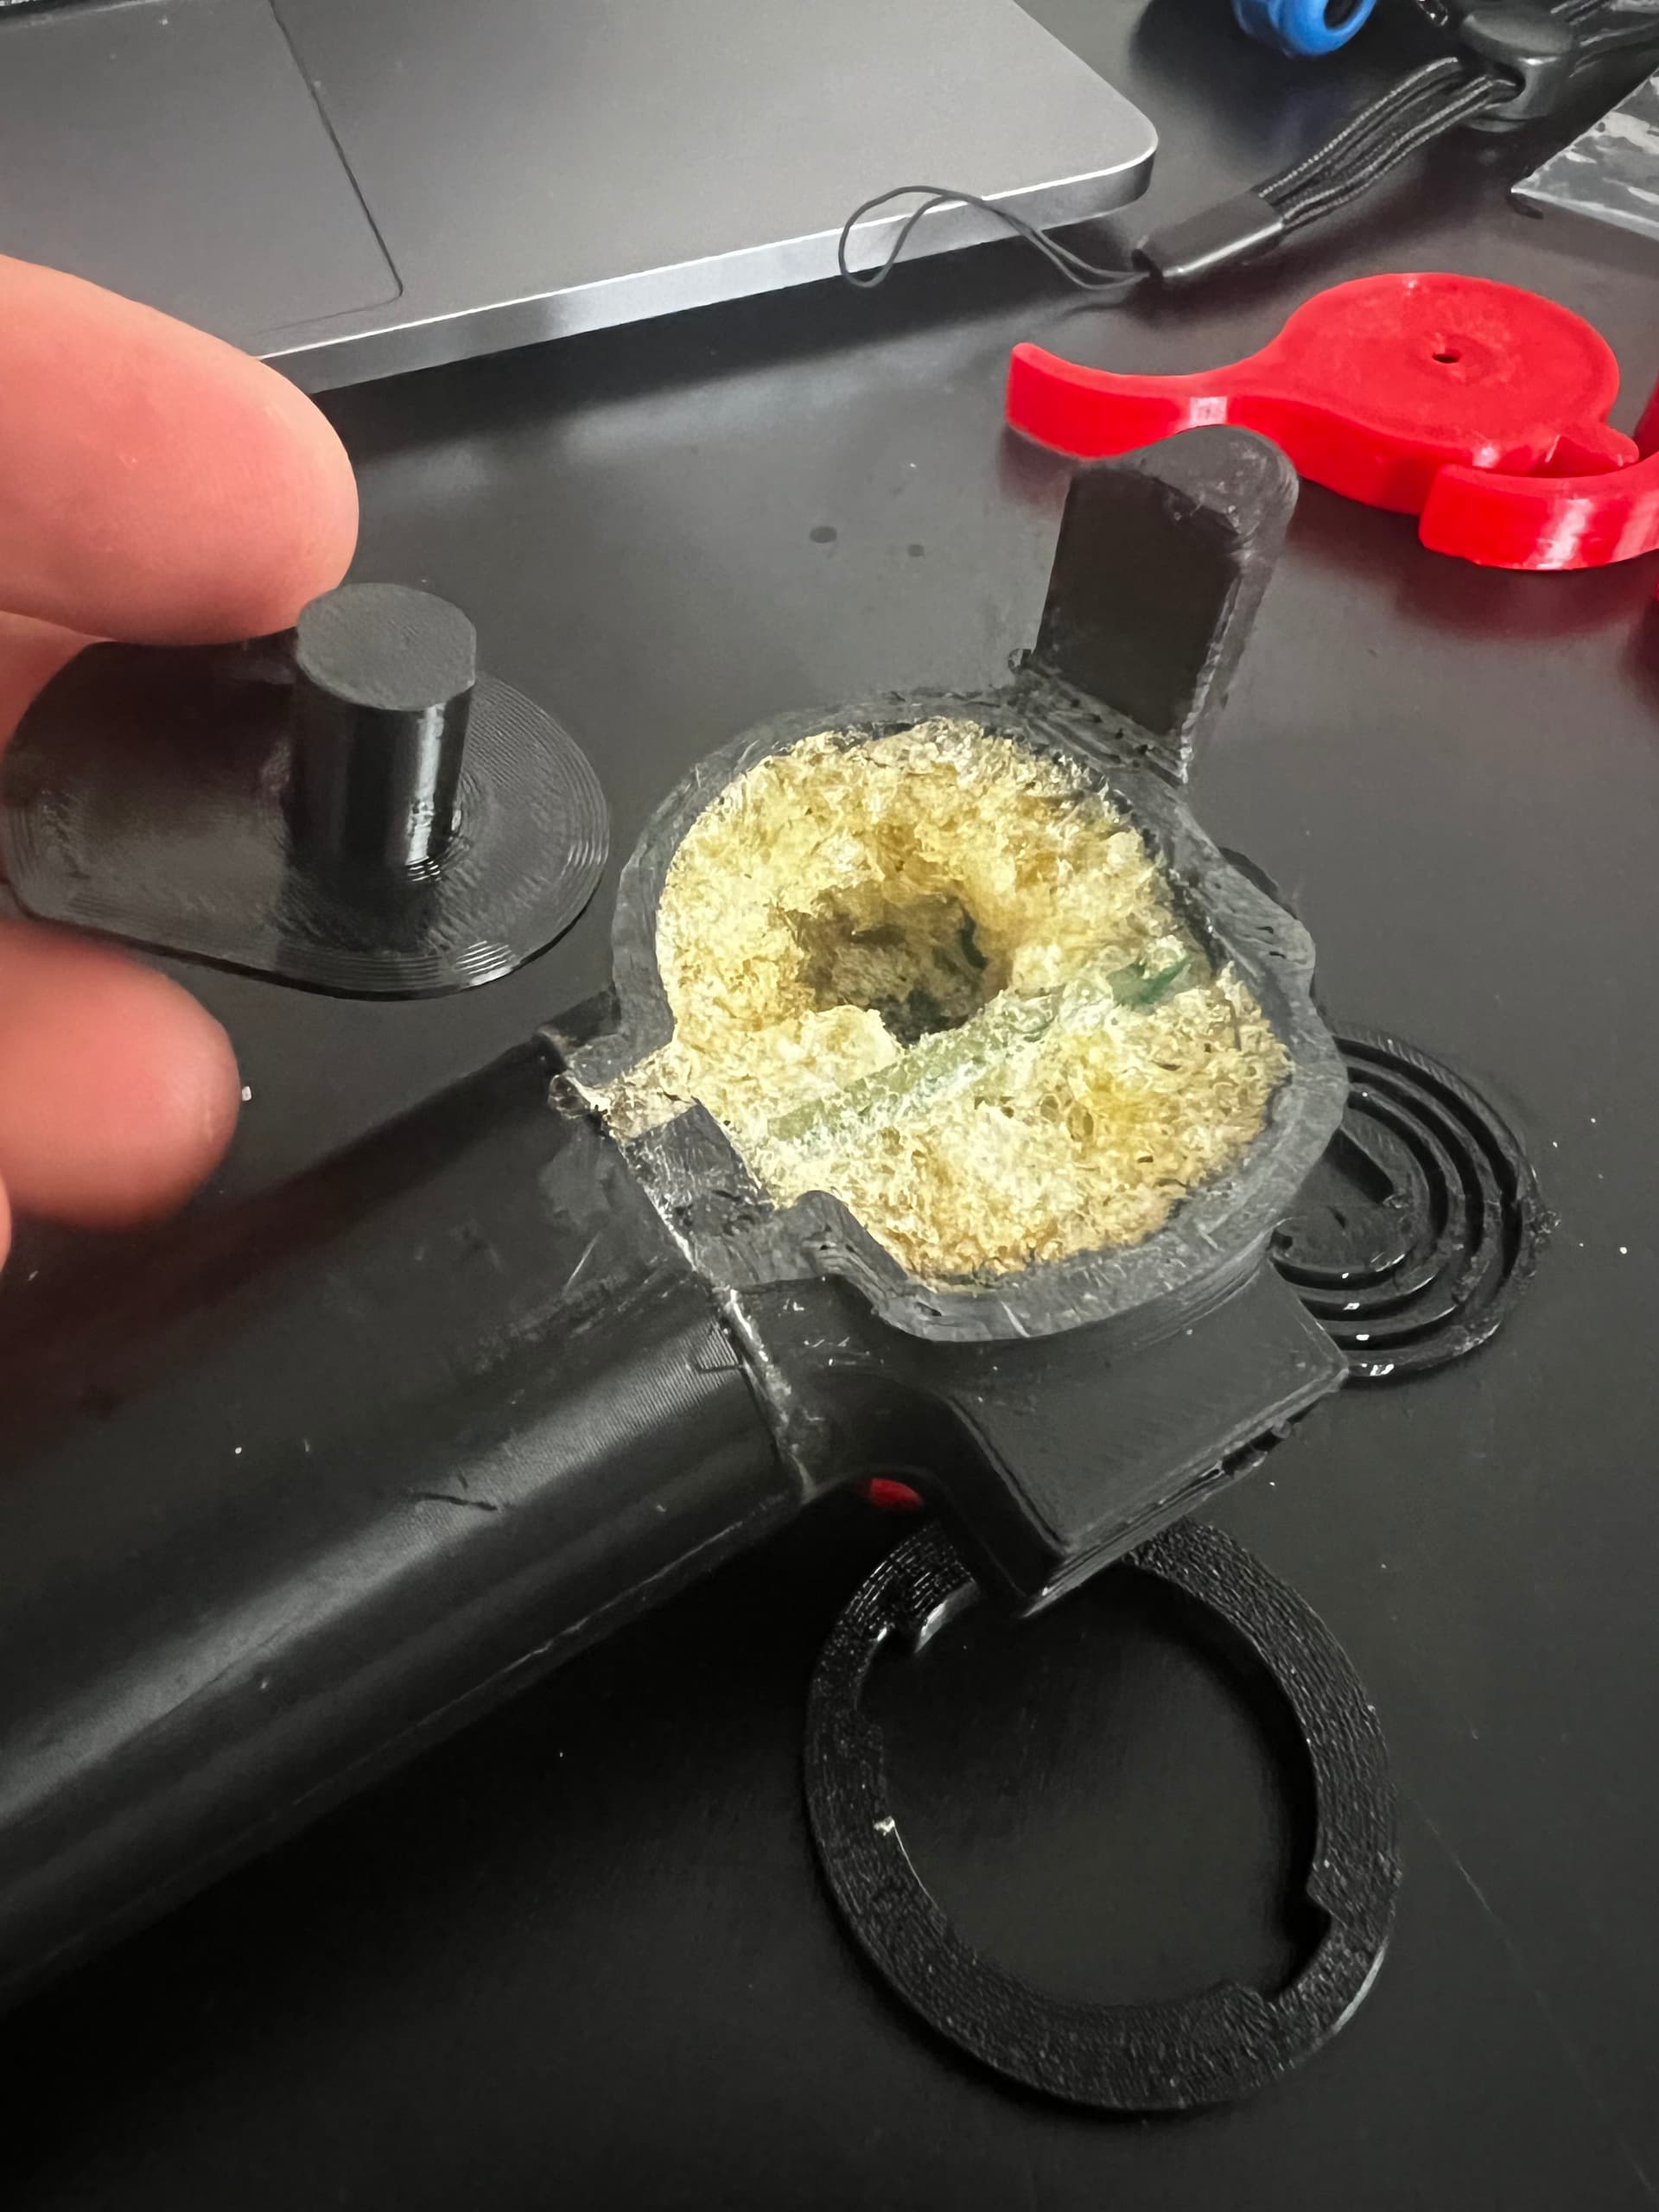
Cured foam is high heat resistance (will resist up to 350°F/176°C), water resistant, UV resistant and resists oxidation and ozone degradation.
Used for potting and encapsulation of electrical circuits and vibration dampening
I’m looking for some help. I’m not able to successfully calibrate communications between the Rx and the ESC. I’m looking for a way forward.
The ESC is a Hobbywing FlyFun HV 160A. It supports a throttle frequency of 50 Hz. My understanding is the frequency of the Tx is set to 61Hz, which should be OK.
All is good between the Tx and Rx, it calibrated OK, no errors there. However, when I attempt the calibrate steps between the Rx and the ESC, I hear no beeps from the ESC.
I’ve contacted Hobbywing Support and they suggest I lower the pulse timing for 0 and 100% throttle.