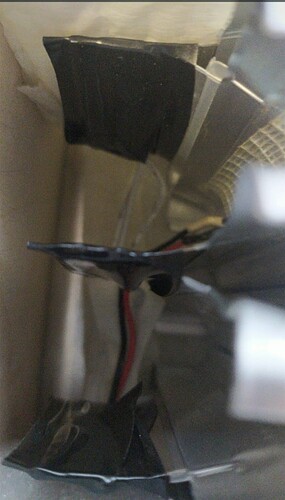
Woow…
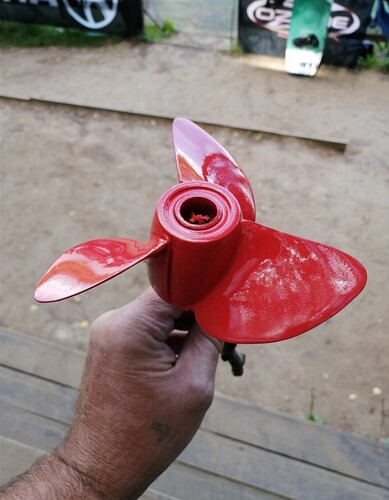
That is to low infill fot that part…
I would print it at min 50% infill, and increase outline layers…
4-5 outlyne layers and min 50% infil…
You can also increase infill line width or extrusion to get stronger part, it helps a lot with strenght.
Also wanted to ask you…
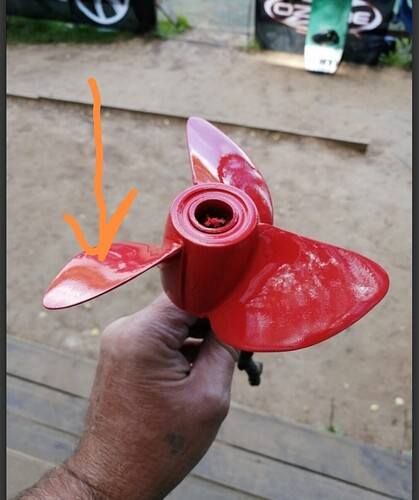
Did you thin out whole blades after cutting or just sharpen the edges?
Im have same propeller that i cutt in similar way but didnt do any shaphening jet.
Yes, I reduced the thickness of the blades. I stitched it from this side, it is more direct. But before you process the screw, you need to understand whether step 7" will work with your assembly. Everything is very individual! My build and with my weight works better with a step of 5".The wing goes out in any situation and the maximum speed is 38 km. h. I want to try step 6".With step 7, I barely get out on the wing. Read above in my feed.
And how do you like such a battery? LiMNC! 75a.h!I think you can ride for more than two hours!
My friend collected one for himself!
Which are they?
…………….
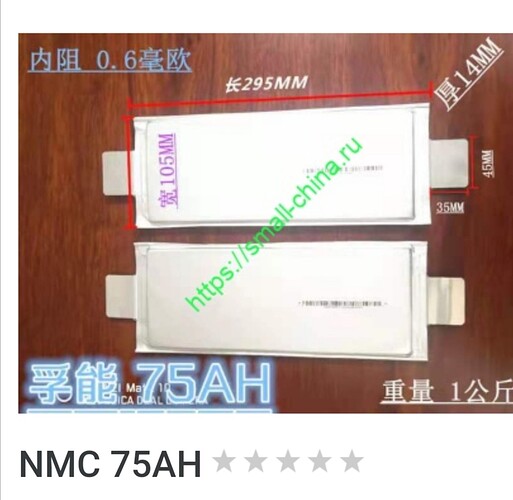
Elements in a soft case of the prismatic type. According to their dimensions, they fit in size instead of LG 60AH.
Cell characteristics:
weight: 1000 g
dimensions: 30010014 mm (excluding contacts +70)
Package volume: 0.42L
charge cut-off voltage: 4.2V
Charge current: 0.5S
Capacity: ~75000mah discharge
:
Long-term current: 2S (150A)
Peak current: 4S (300A) 10sec
discharge cut-off voltage: 2.75V
number of cycles 2000+
HV resistance 0.6mOhm
Package power consumption: 270 Wh
Package energy density: 280 Wh/kg
Specific energy consumption of chemistry: 640 Wh/l
The cost of energy intensity of these packages is one of the lowest on the market and comes out less than $200 per 1 kWh
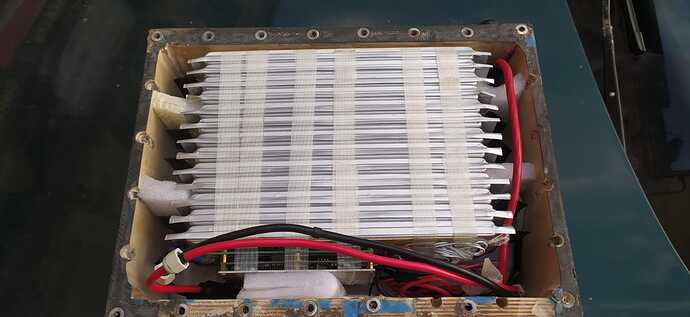
Hey Anatoly, it’s a 13s pack in that picture?
What’s the price for each cell?
Yes it’s 13s.In exchange for euros, about 40€.
I guess it would make more sense if written this way:
Continuous Discharge: 2C (150A)
Max Burst Rate: 4C (300A) 10sec
Yes! Perhaps! Problems with translation!
How did you join the tabs of the cells together? I’ve similar batteries over on my thread and let’s just say I’d be embarrassed to show how I joined them!!!
They are soldered over the entire contact area and insulated.
Fair play! Couldn’t solder or weld mine no matter what I did
This battery was assembled by a professional master. I checked with him, it’s spot welding!
Makes more sense!!! I wish I had been able to do it that way. Drilled the tabs in 3 spots and double bolted them with flat long washers between the bolts both sides for compression and then wrapped in tape for insulation. Far from ideal but it’s working
