For the Trollfactory silicone you didn’t need release agent, right?
1 Like
Exactly. With PLA and PETG no release agent is needed.
1 Like
Hello. I don’t want to use VESC either.
What kind of ESC do you use?
Hi some advice please? I have a Maytech setup 6384 motor and controller and the esc is the waterproof 160A one, i first tried a 10s3p battery setup which from the start would always cut out at 50% on the throttle, i tried numerous configurations and checks on the wiring but no luck, i then built a 10s2p and 10s battery to test and still teh exact same. The motor testing in the water without load seems good but as soon as i get on the boardand apply 50% throttle it cuts out. Also to note when the power is connected the motor beeps until the controller is on - can this be switched off?
Getting very frustrated please help?
I use the flycolor x-cross hv3 120A, the 160A is good too. I also have the APD 200F3 that are really awesome, but expensive and I had a hard time on the initial setup. I don’t have a lot of testing on the APD’s yet as the wind has been good, so primarily been winging, but the build quality is so much better than the Chinese stuff.
1 Like
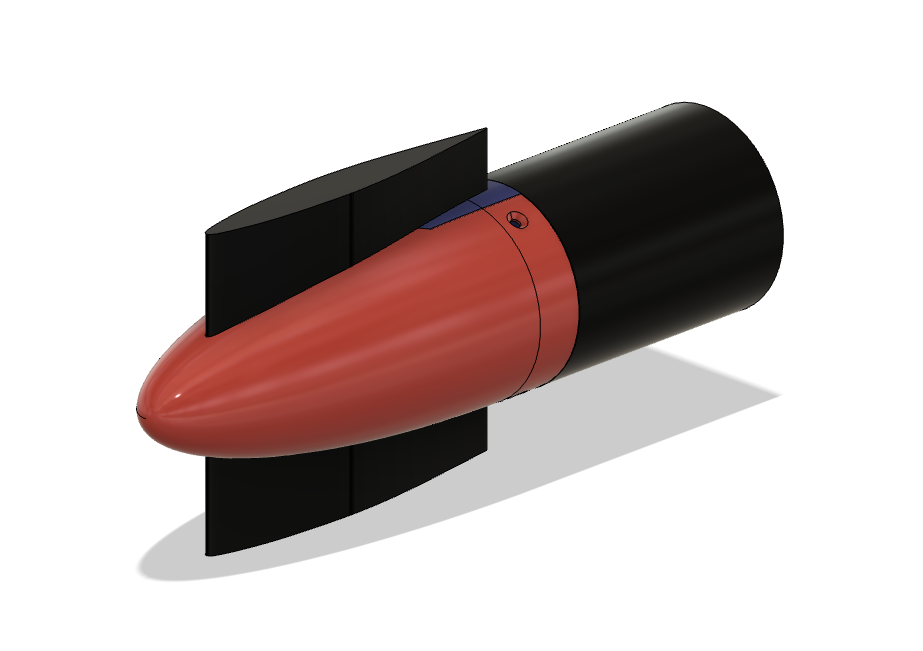
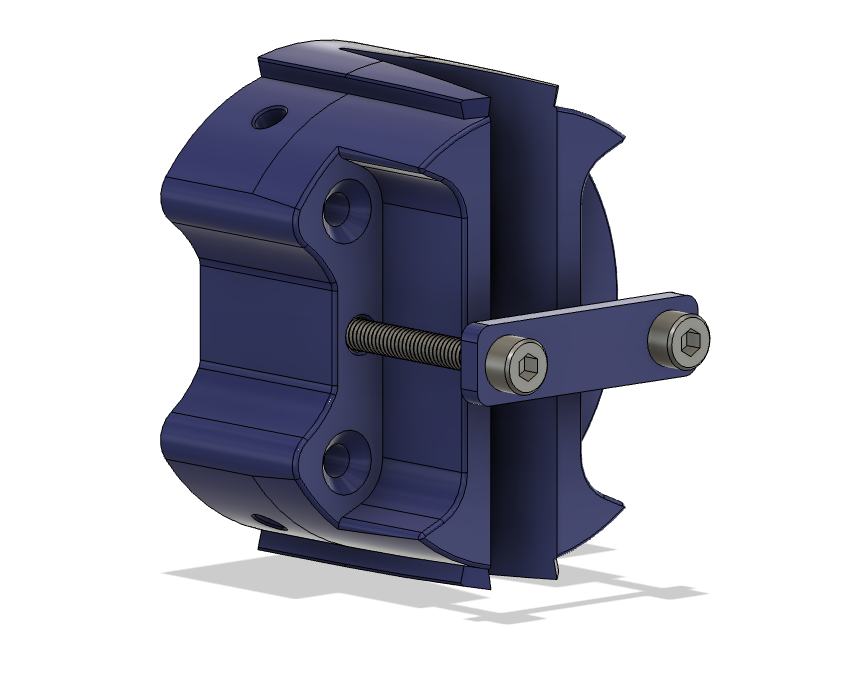
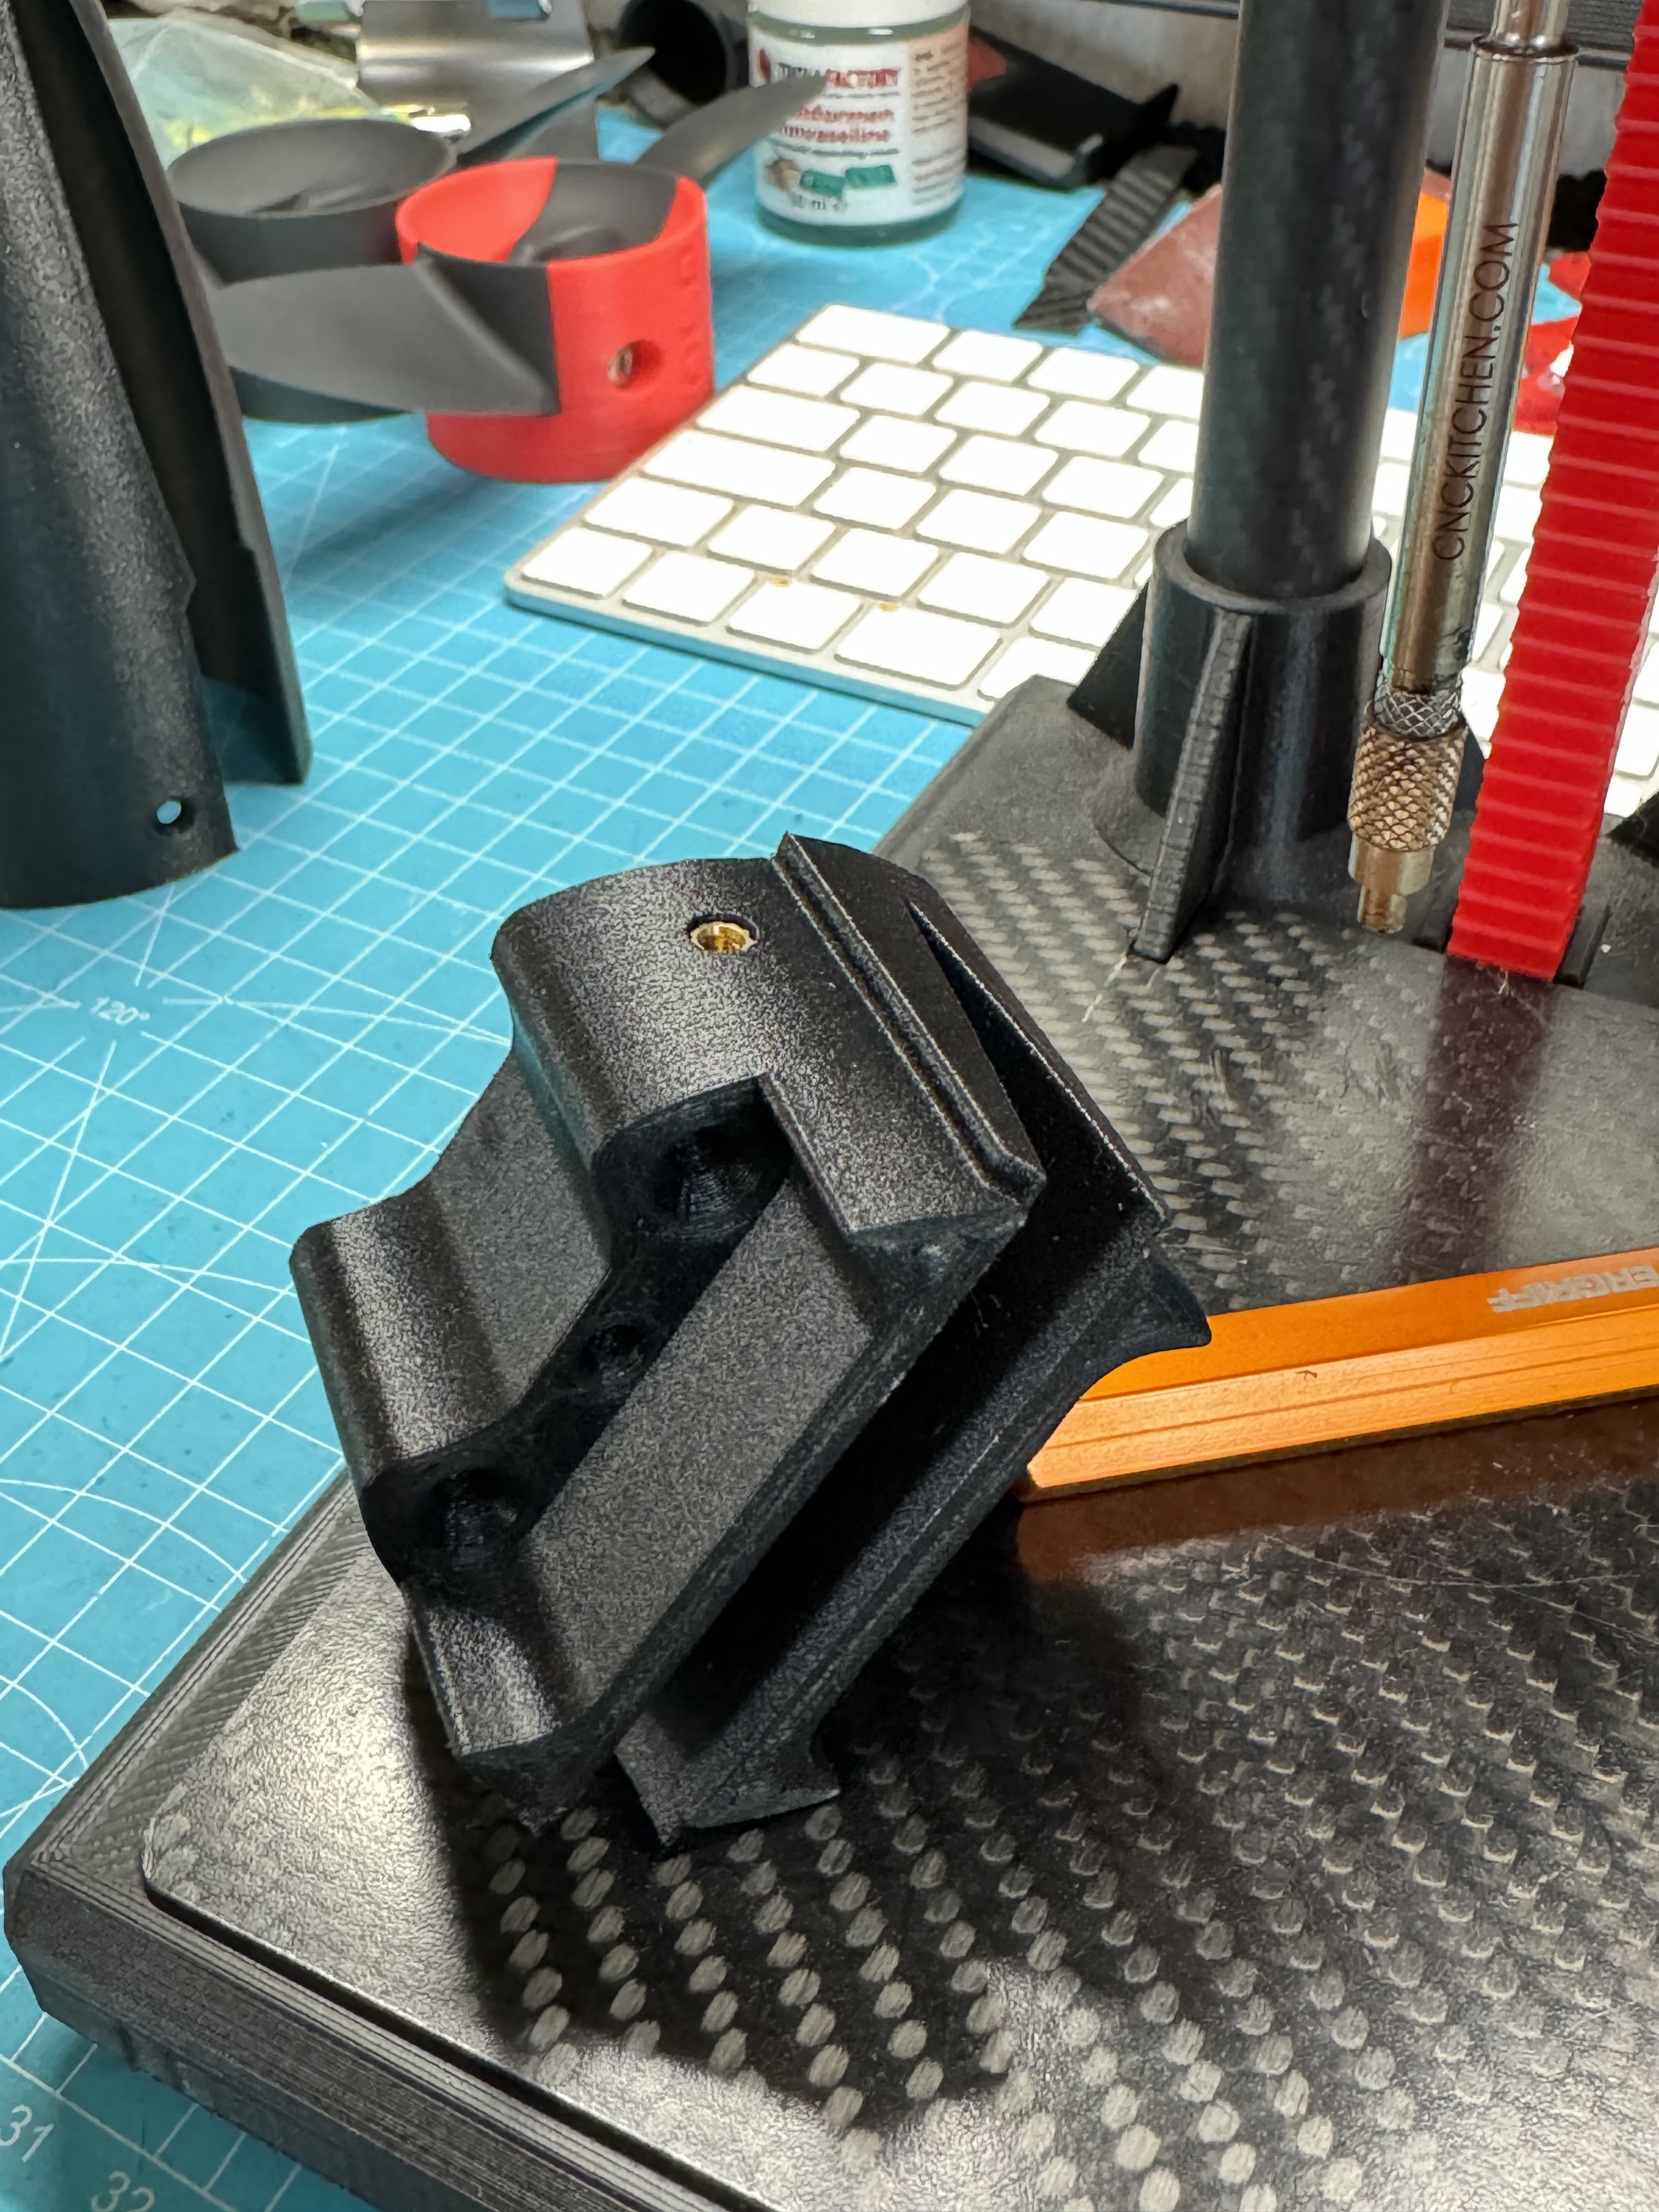
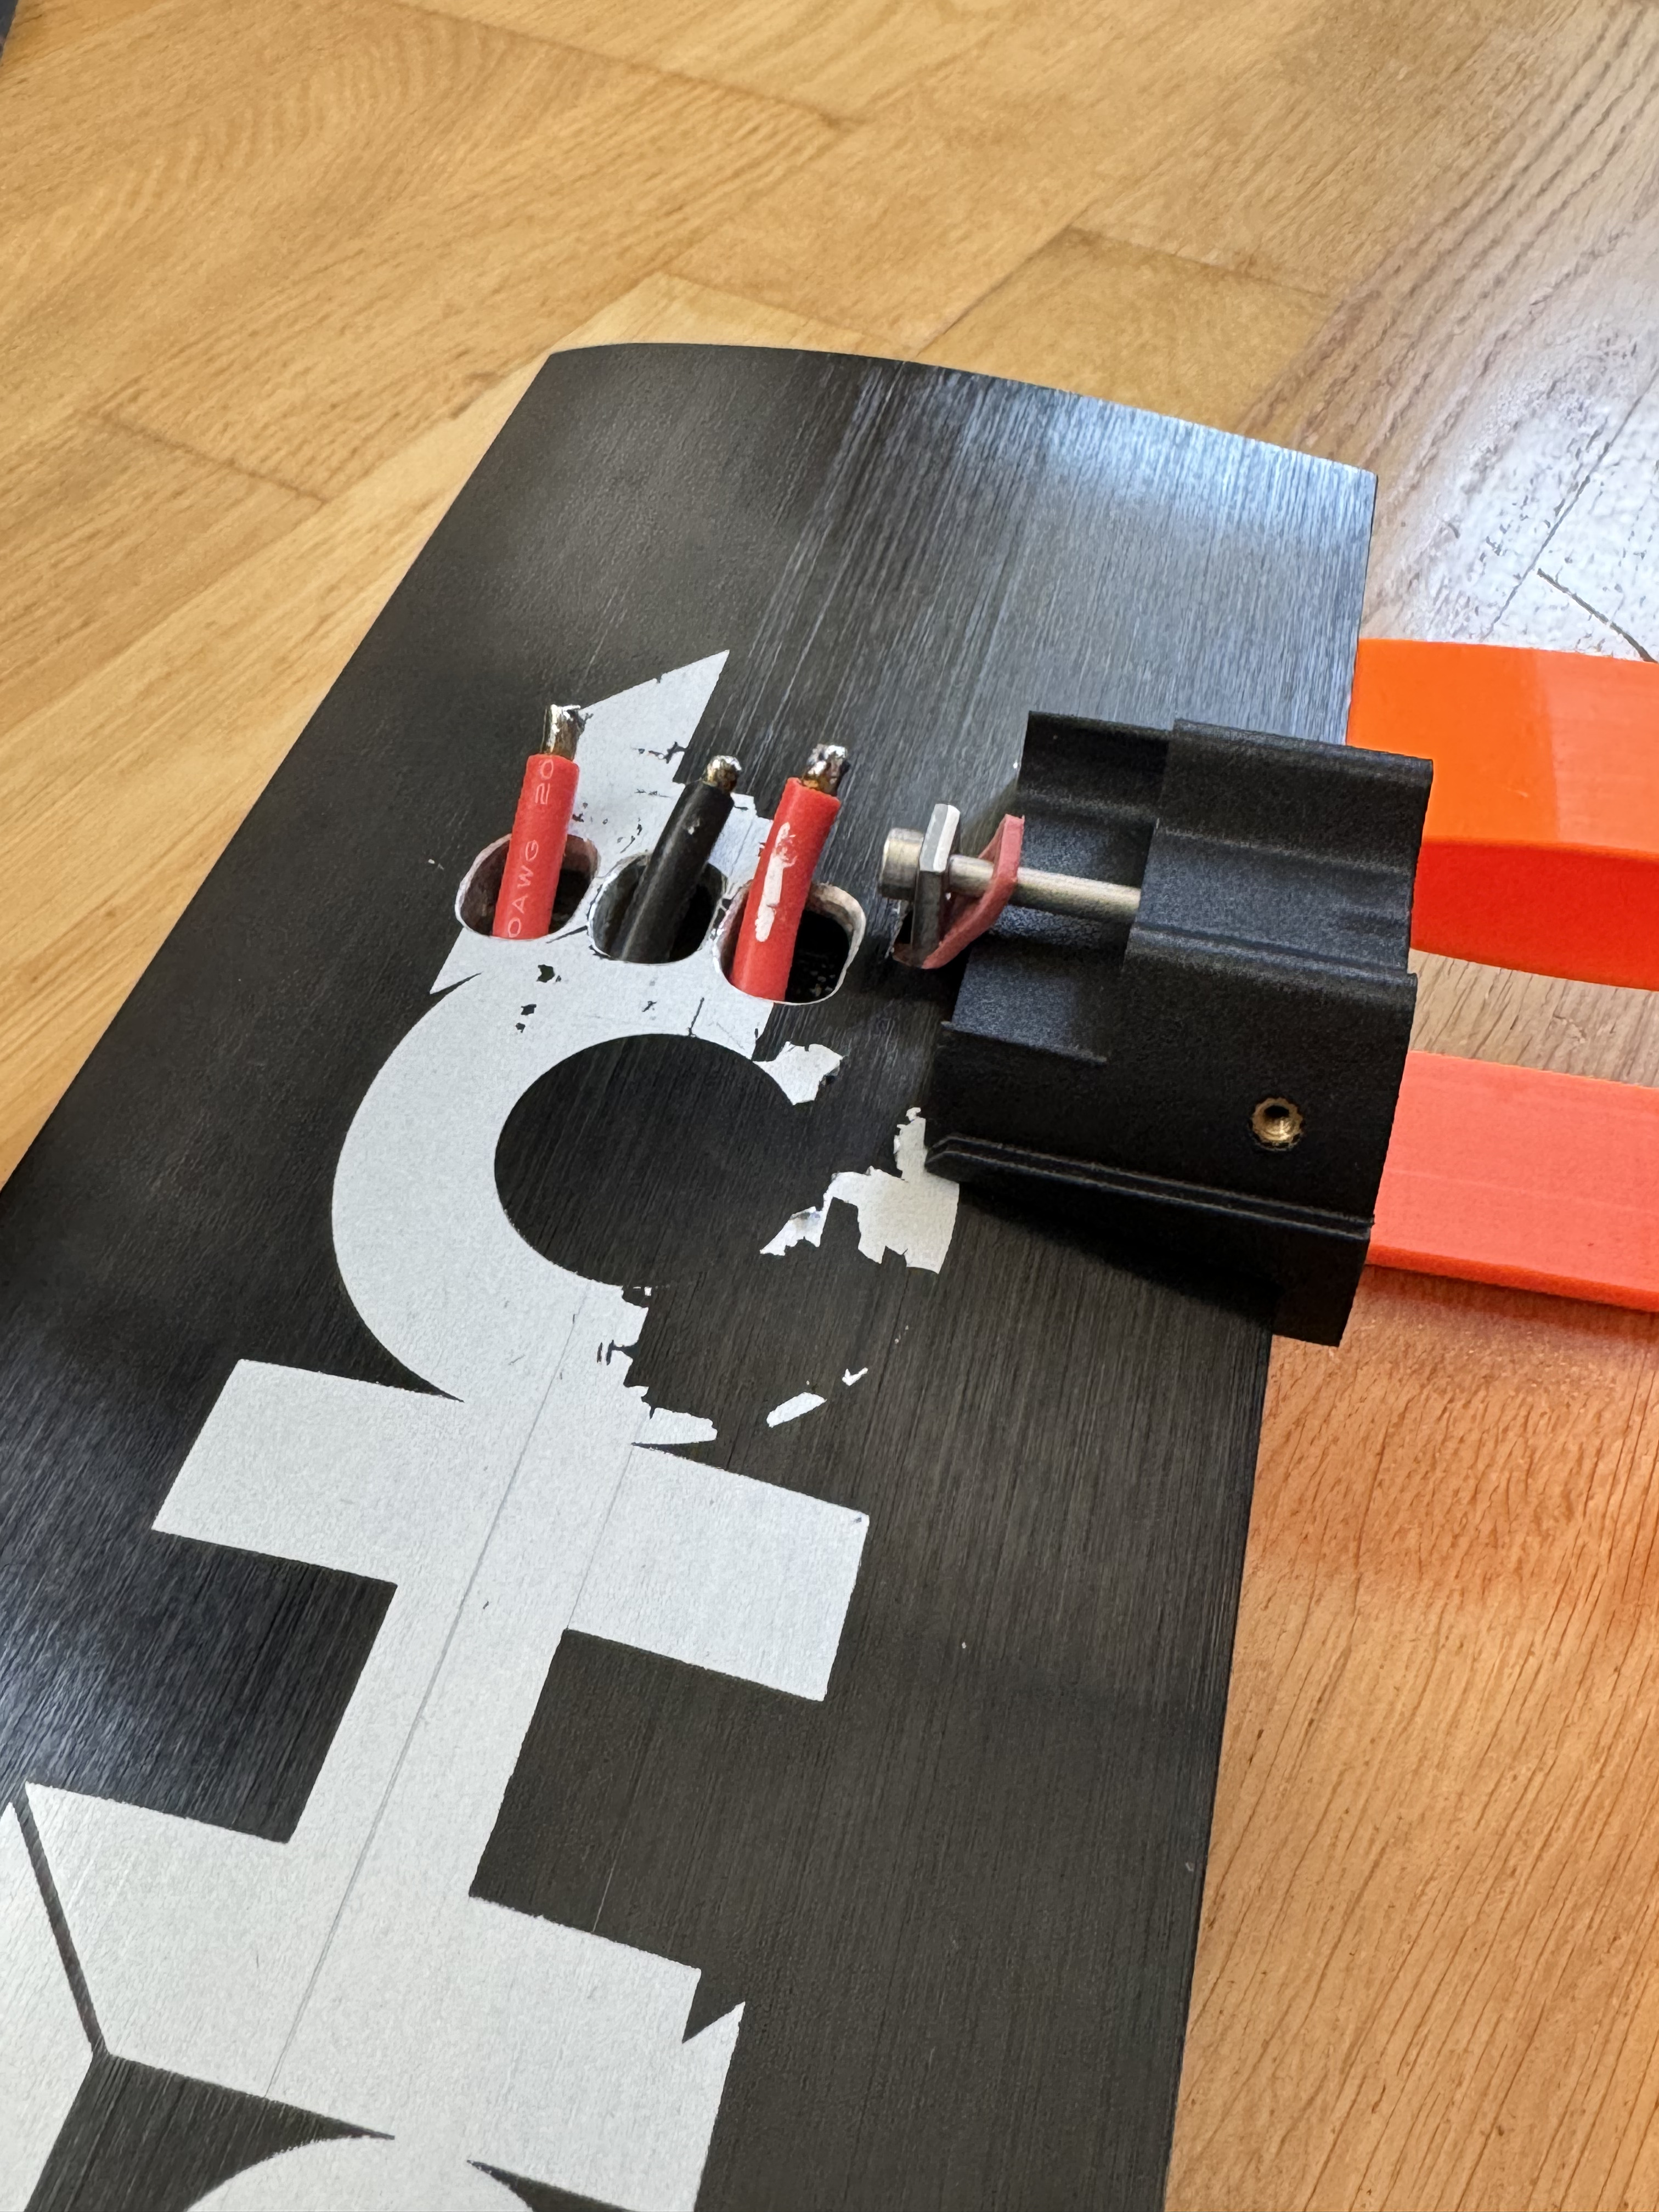
I have created a new motor pod in the last 2 weeks ![]()
With my previous motor pod in eFoil position, I gained insights after a few hours.
I have come up with a few ideas and improvements for efoil operation.
- Fixed slim clamp on the mast
- No front clamp
- Maintaining the slim and short design
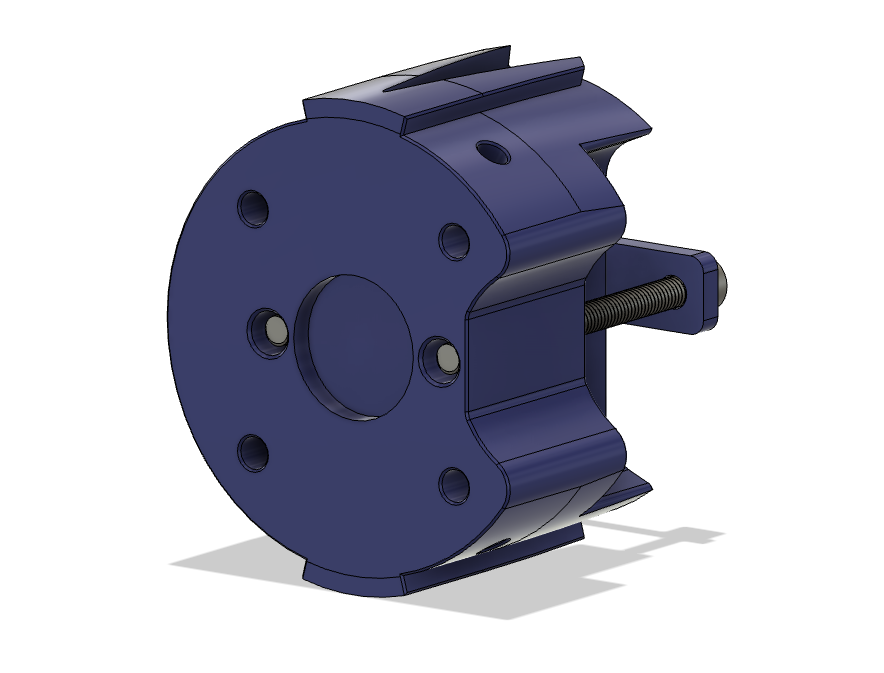
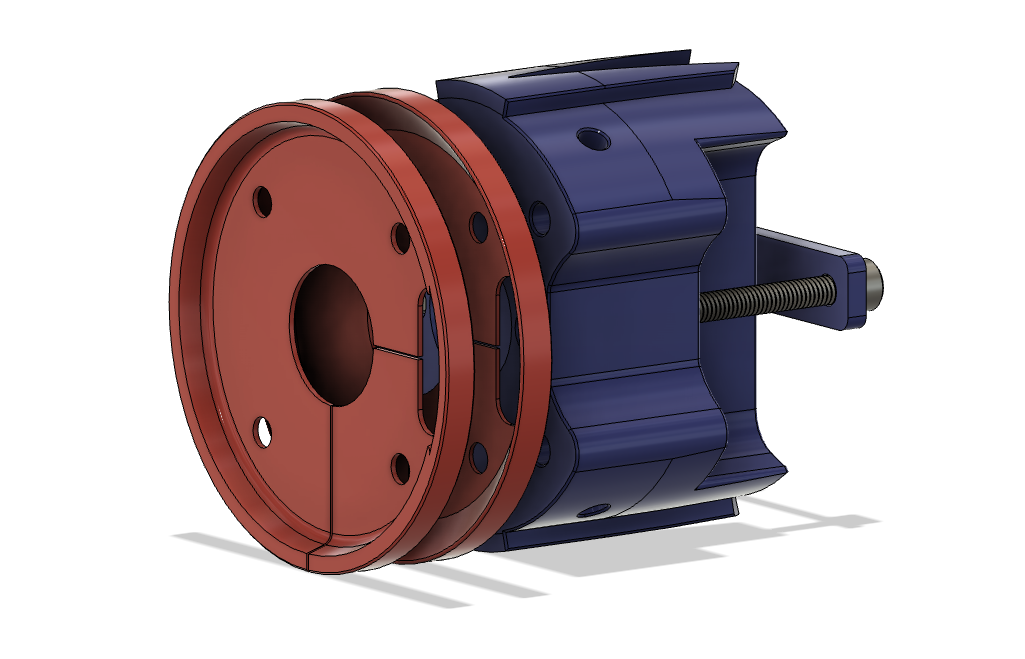
- MotorBase Adapter for different 63 motor bases
- Axis, Gong V2 and Slingshot mast mounts
- Easy to print and stable
- Make all the parts yourself and don’t outsource anything
- Easy maintenance of the engine
- Engine disassembly without removing the pod on the mast
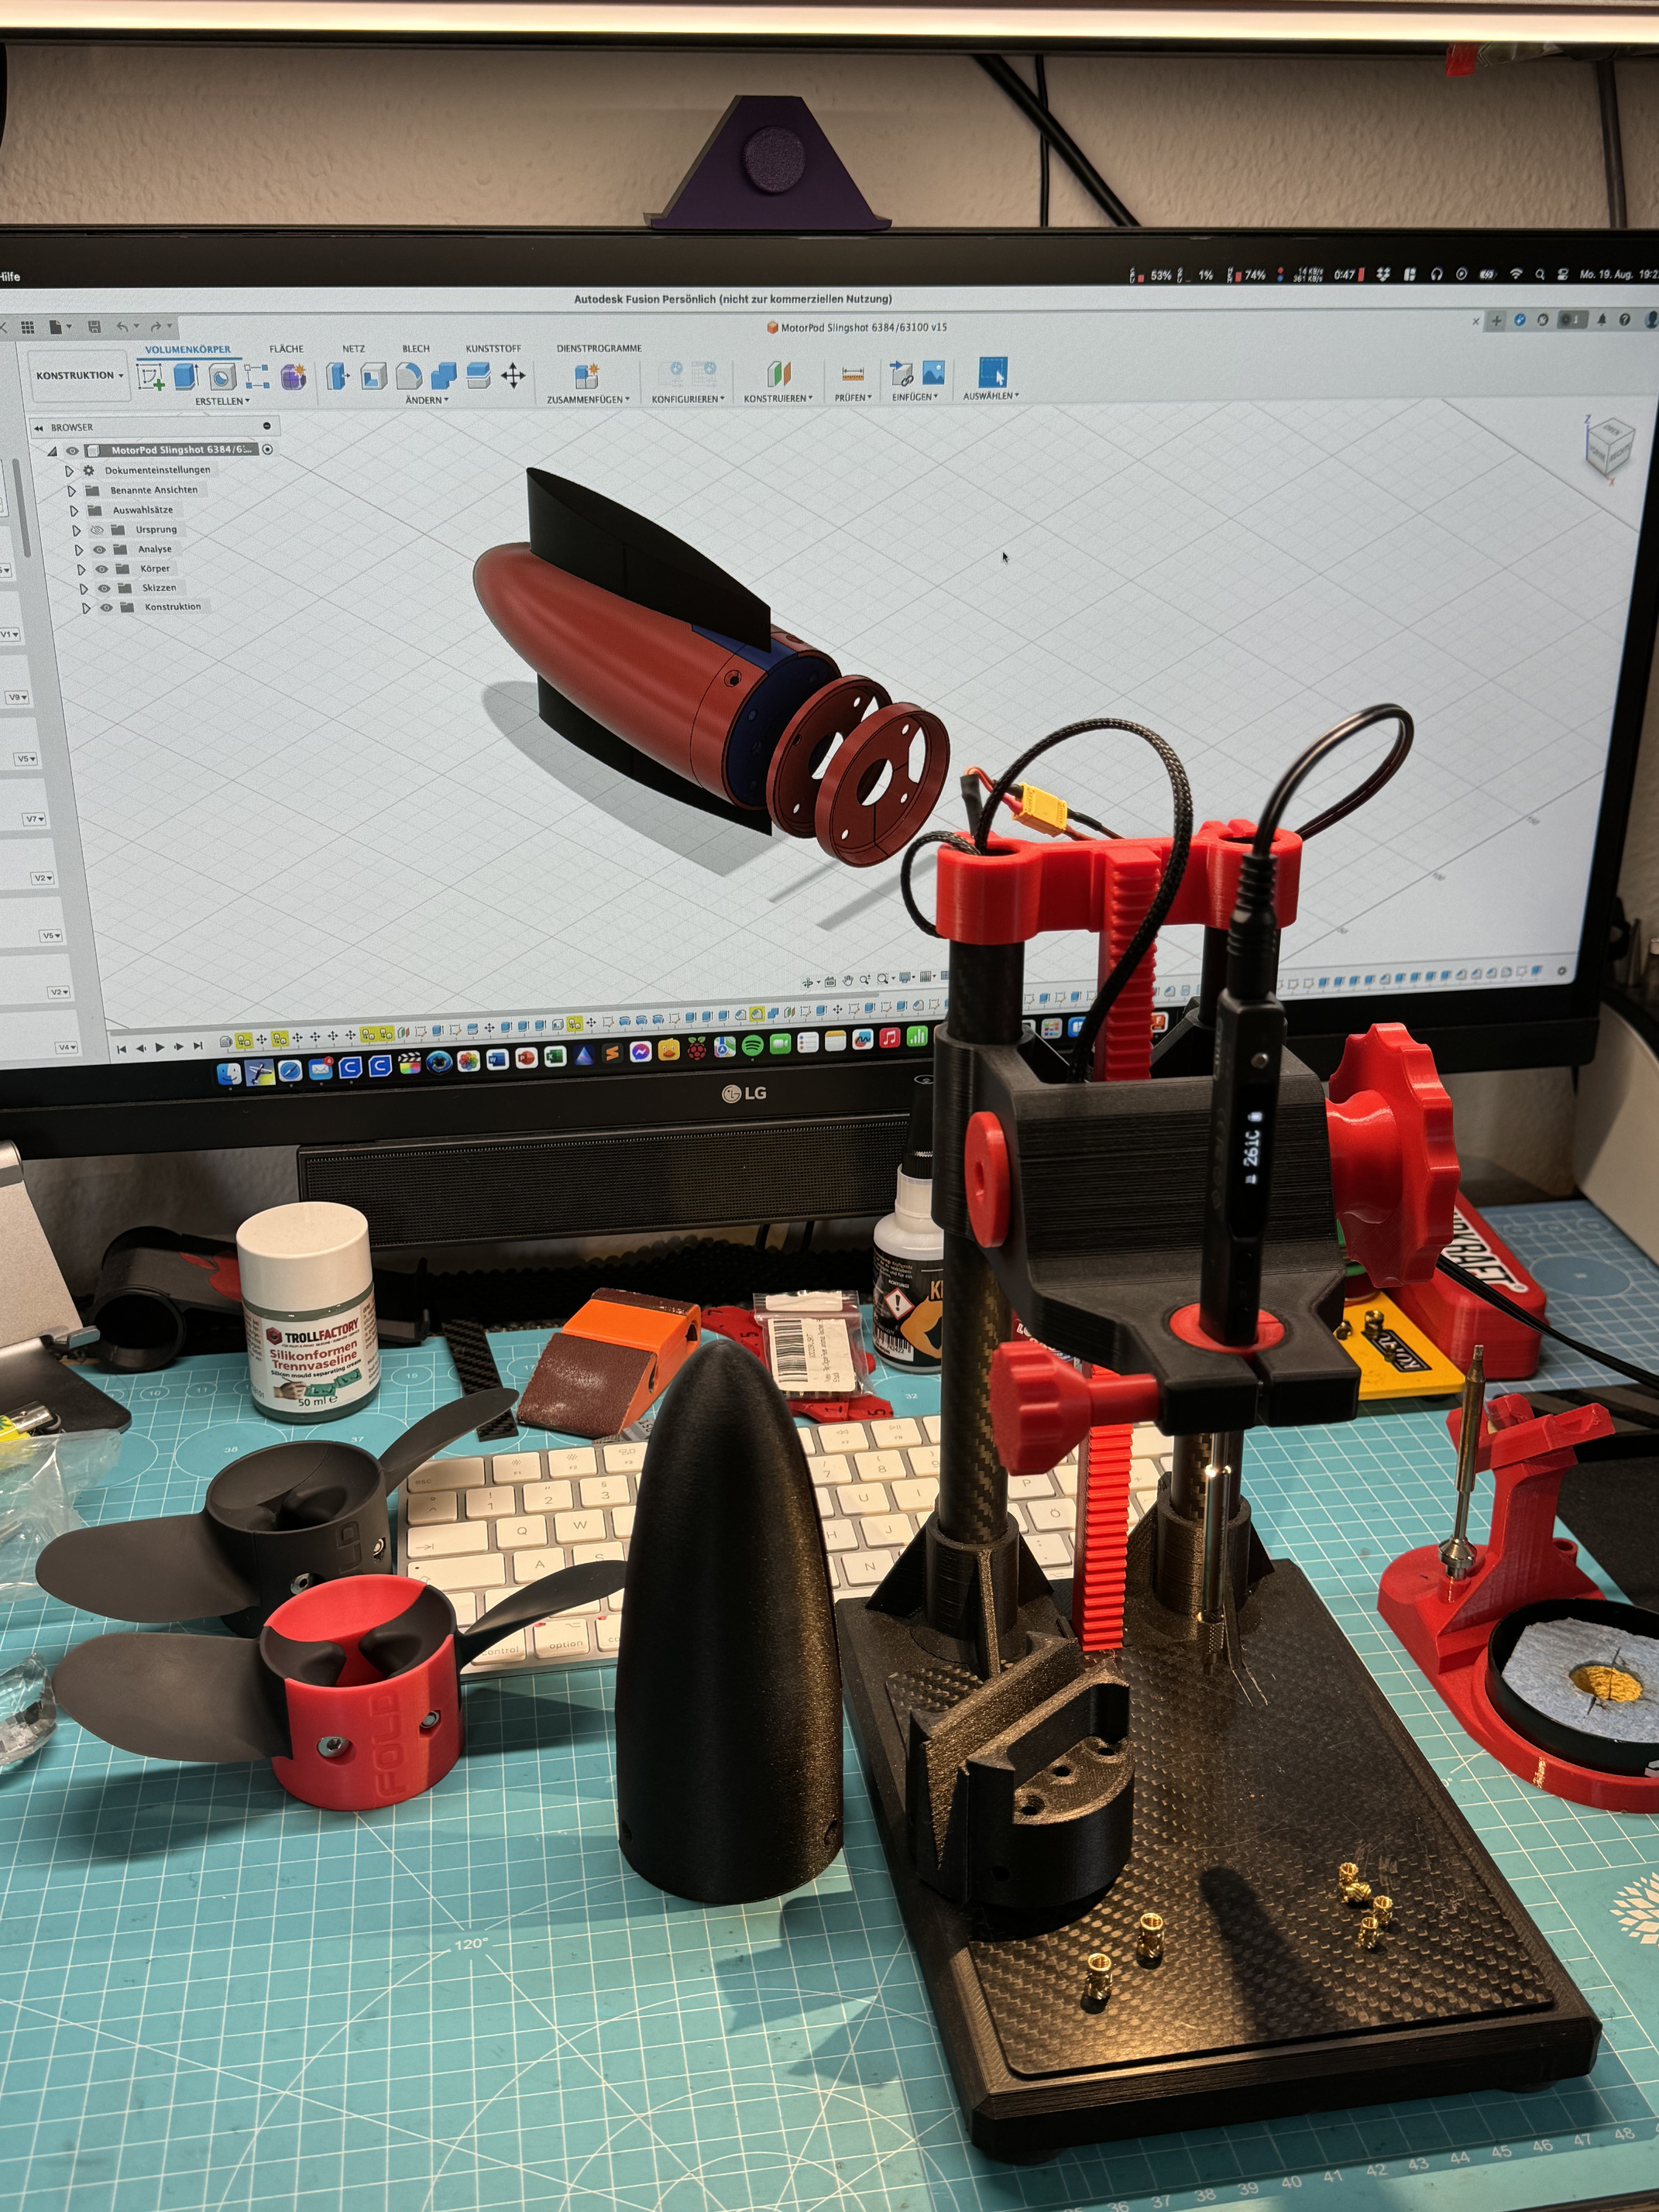
As always, I chose Extrudr PETG-CF for the new pod.
Slicer settings:
250°, 6 wall lines and 35% grid infill.
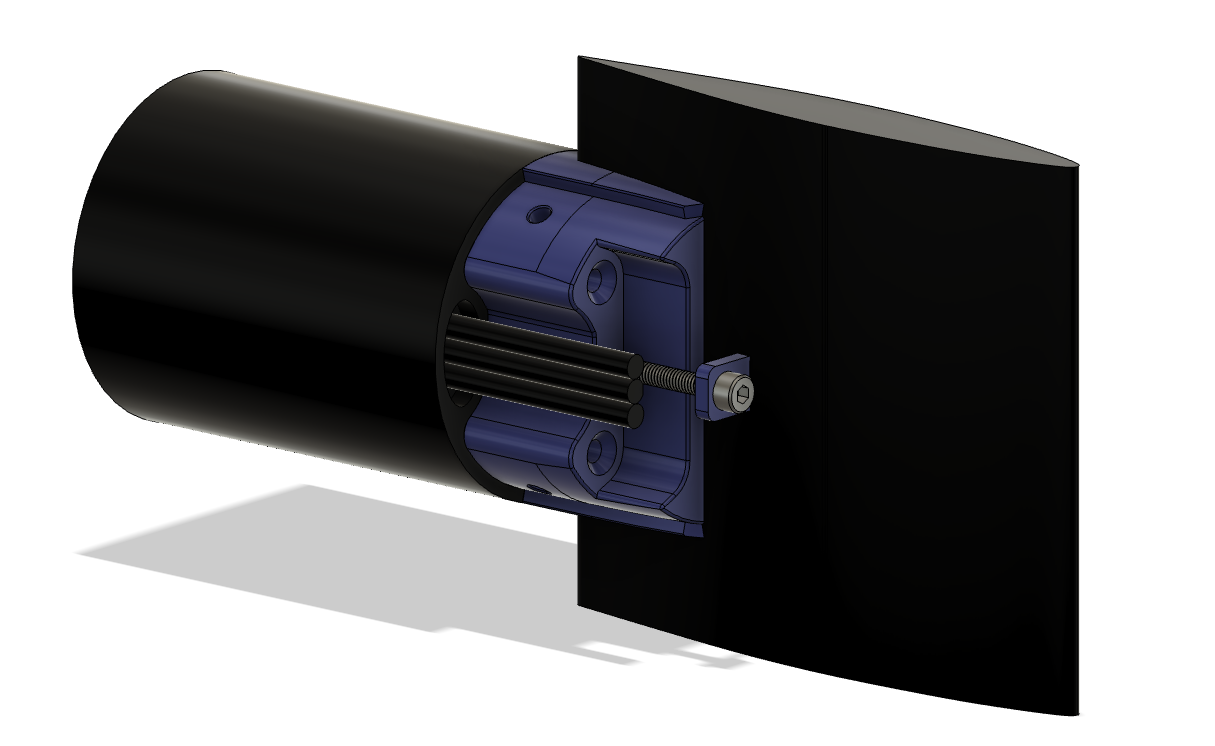
MotorBase Adapter: Saintsmart TPU
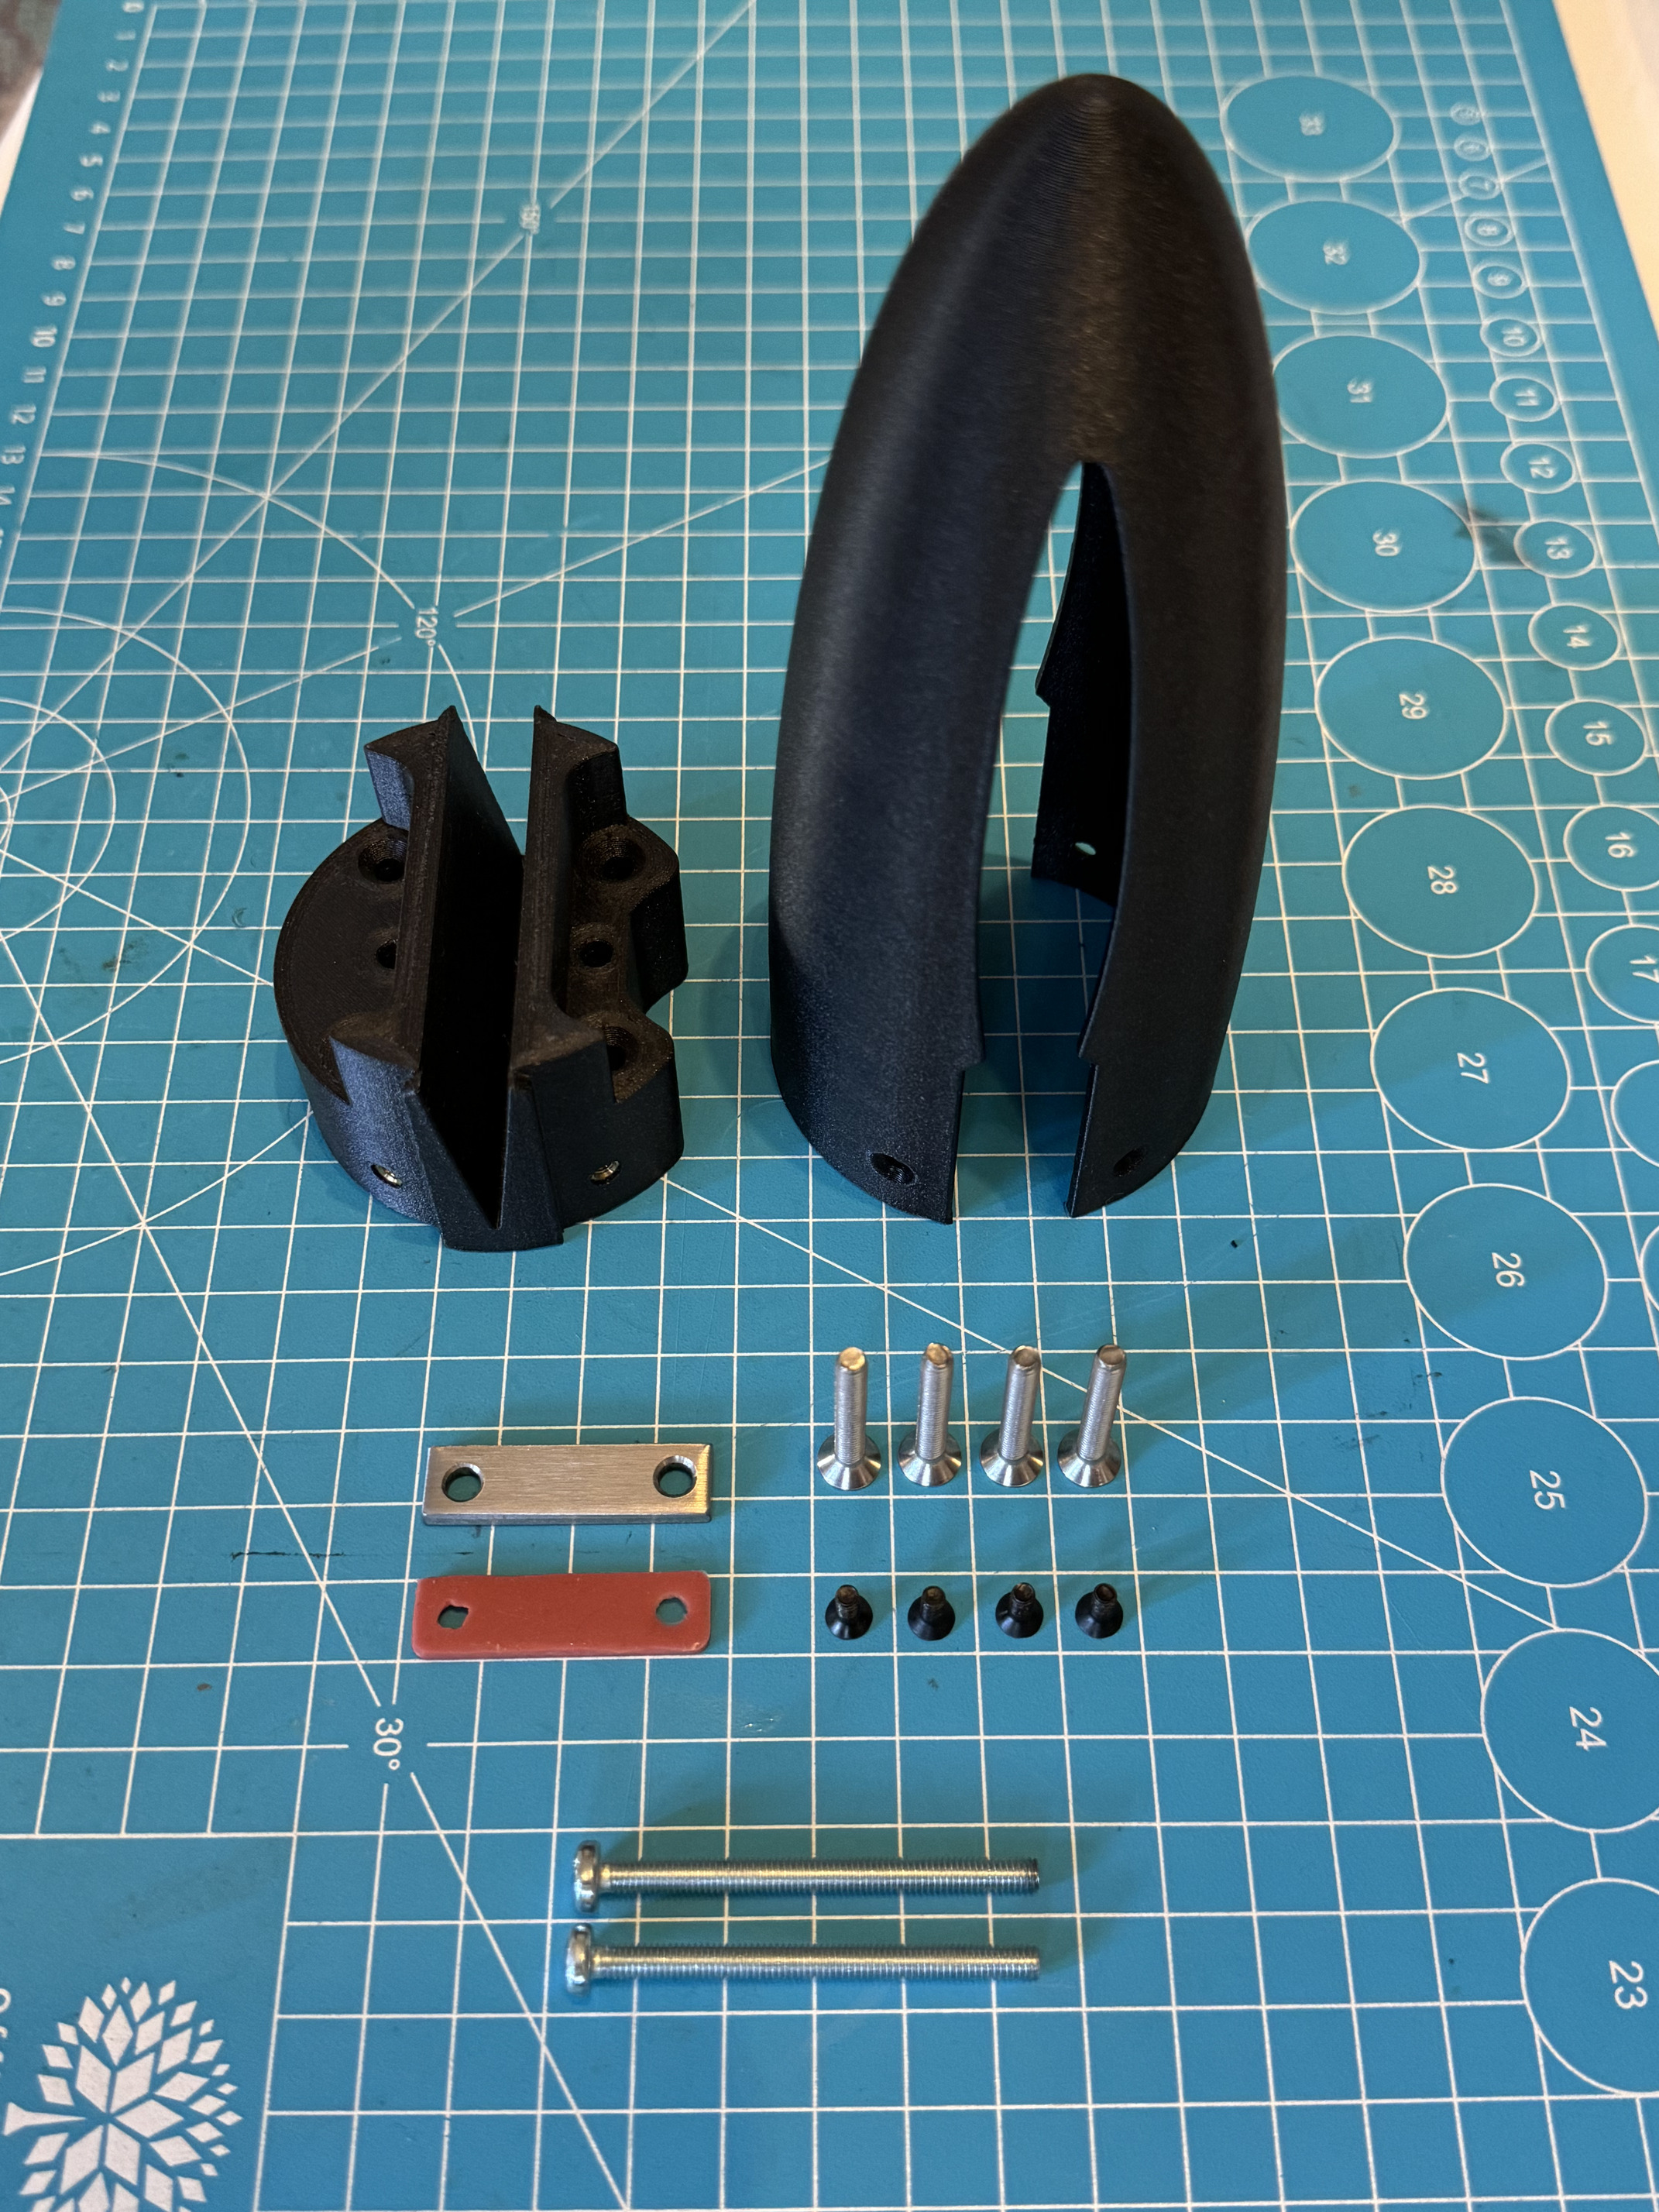
M3 and M4 fusion nuts are required for the assembly. I recommend and use only the Ruthex nuts.

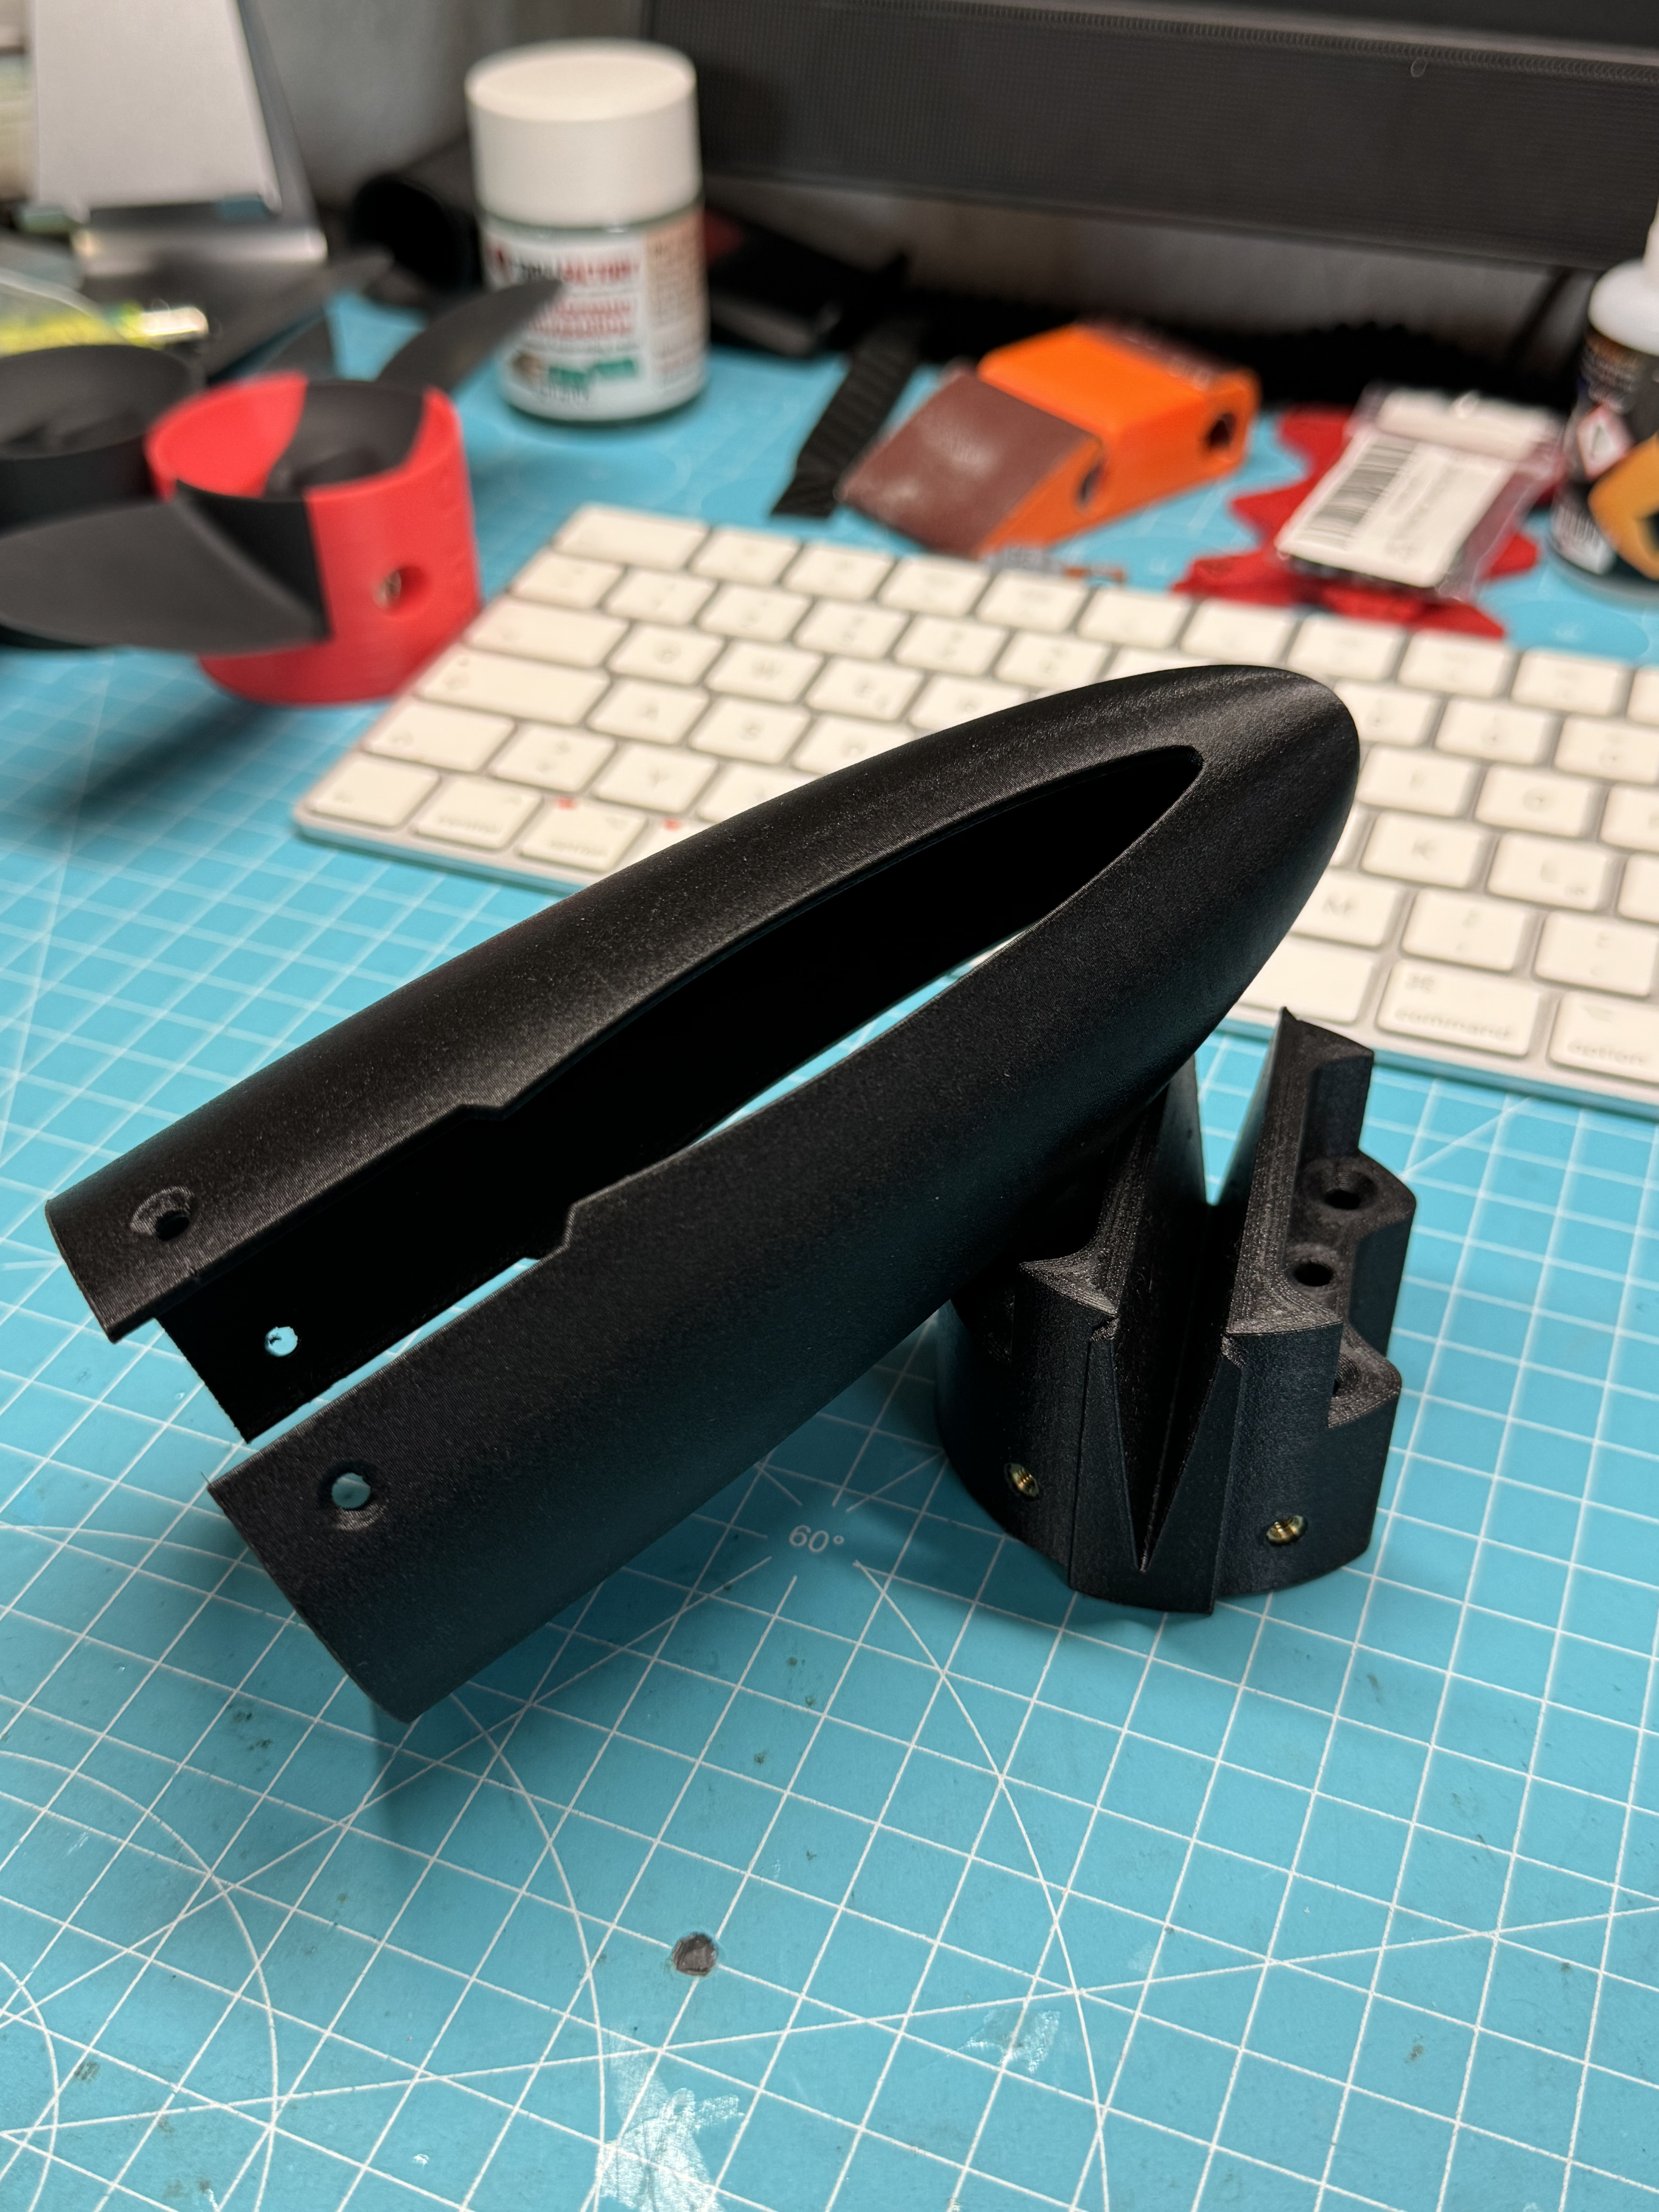
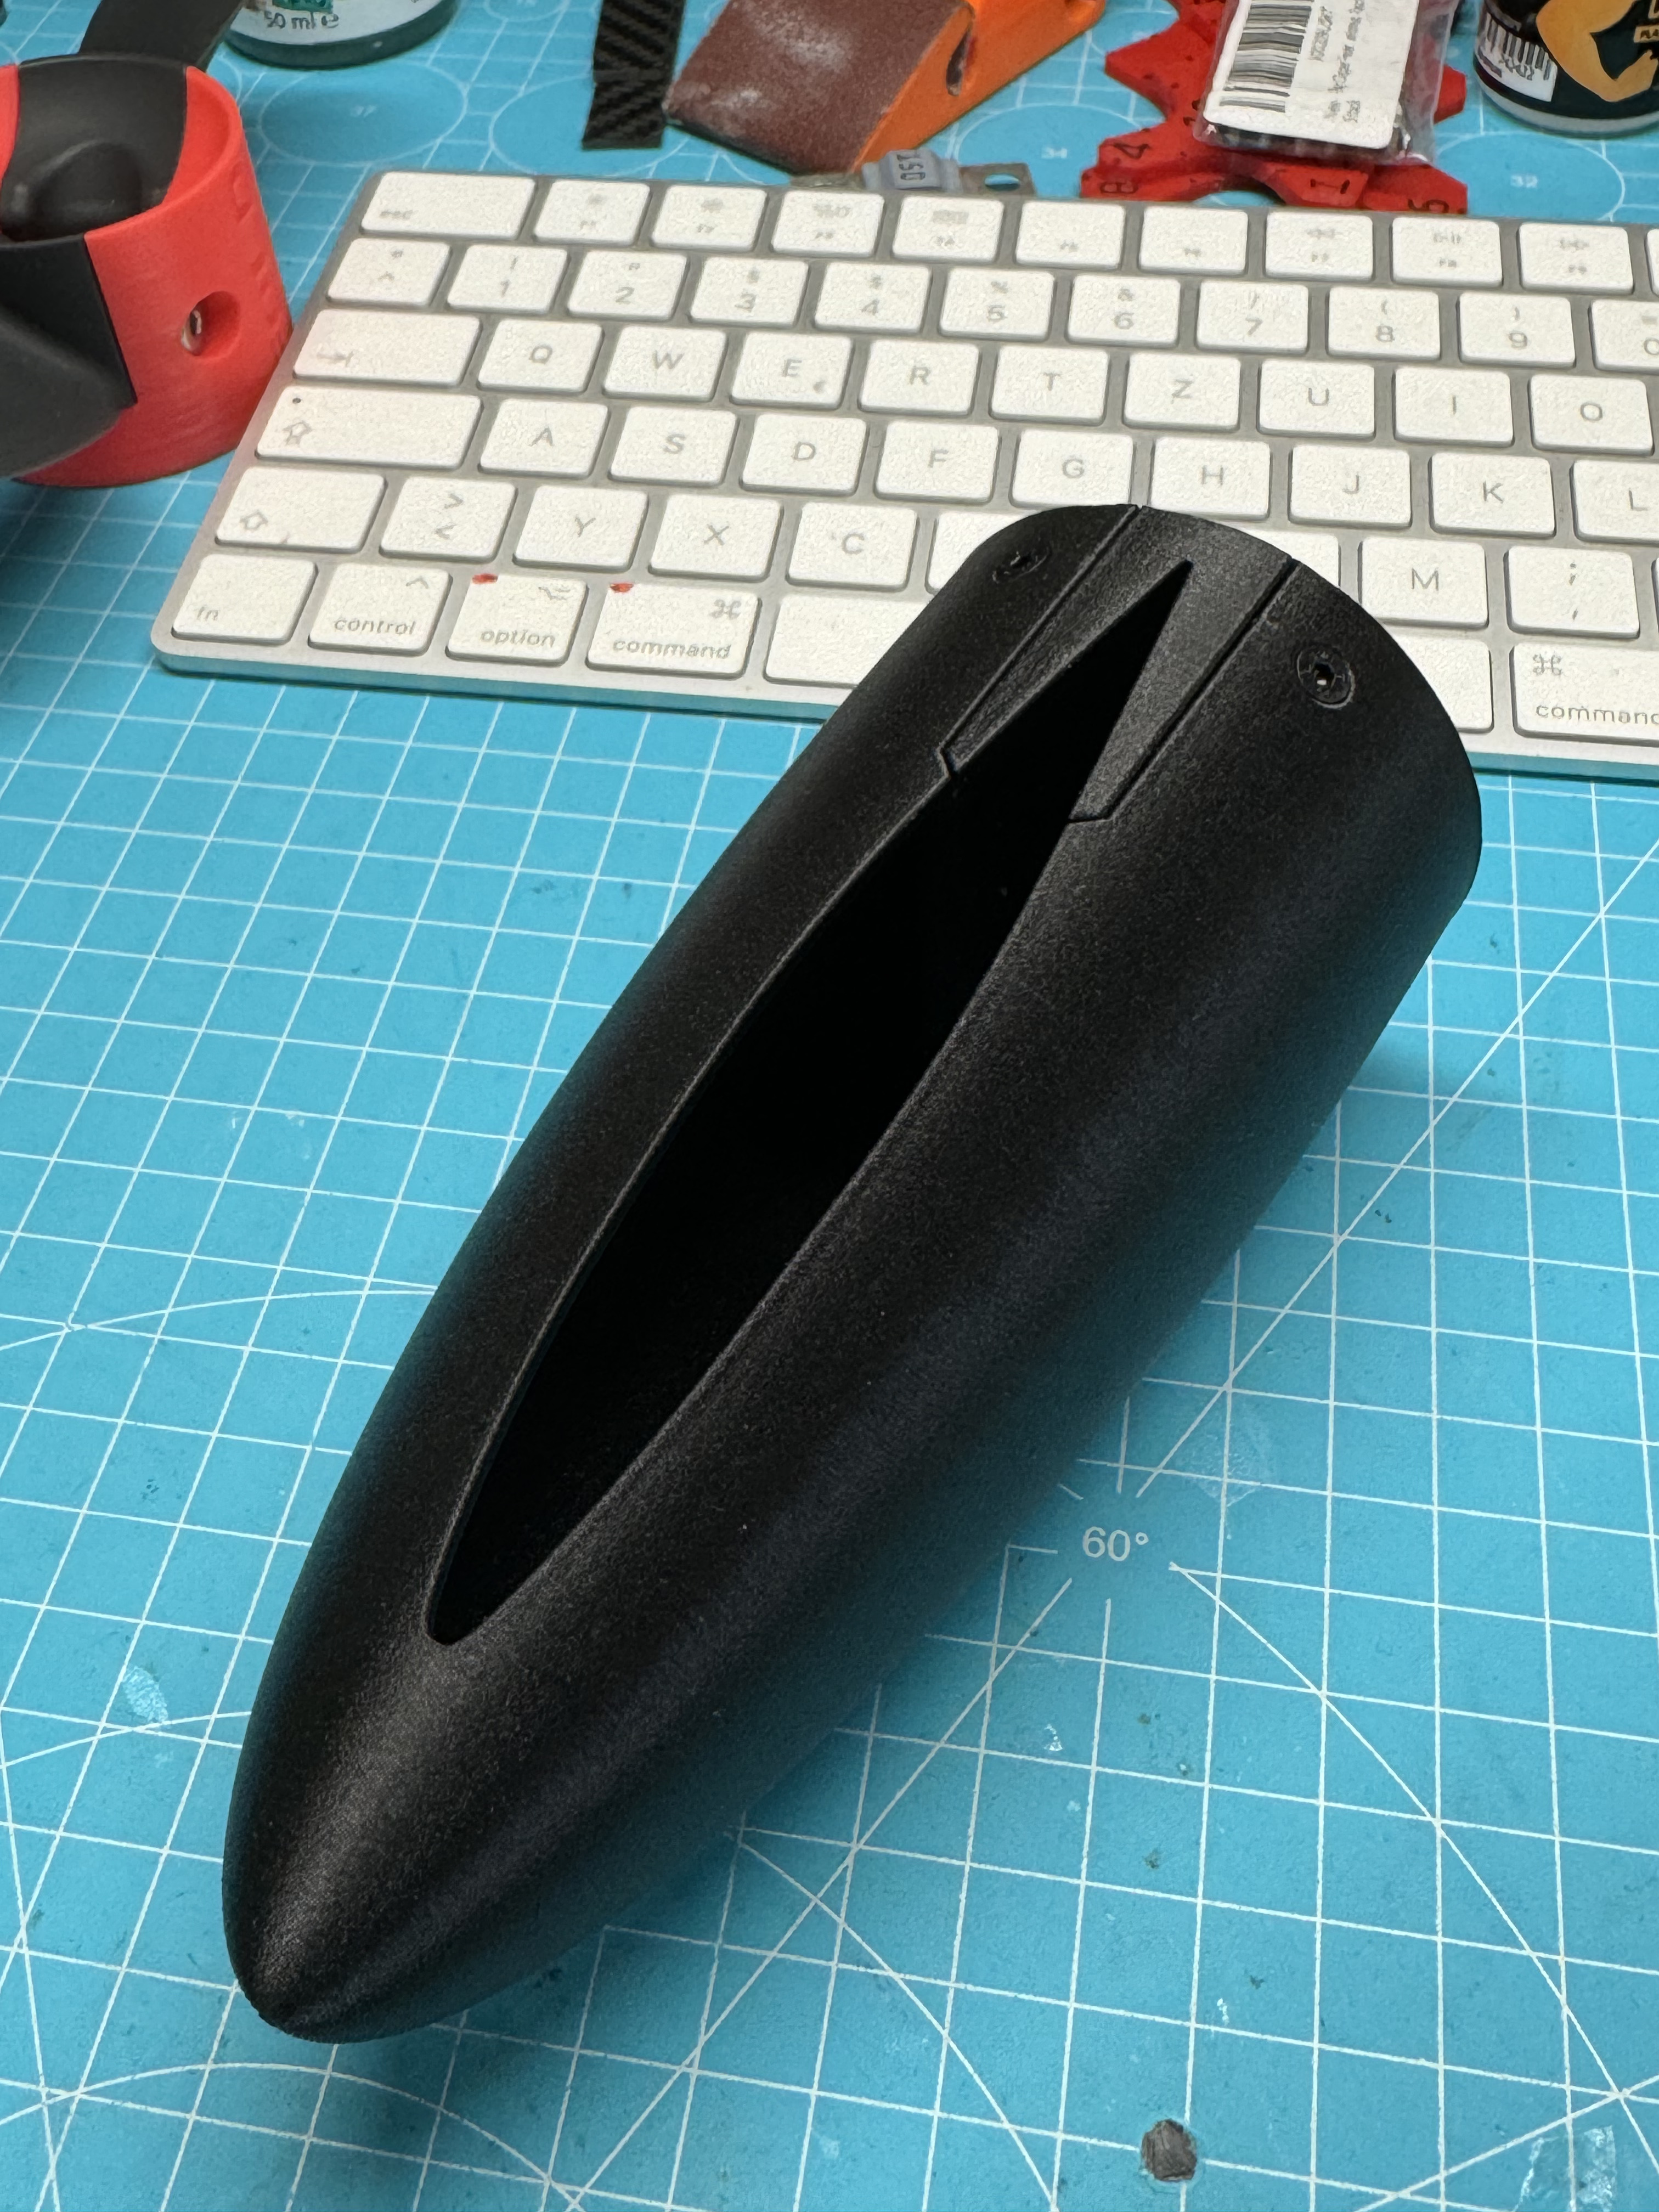
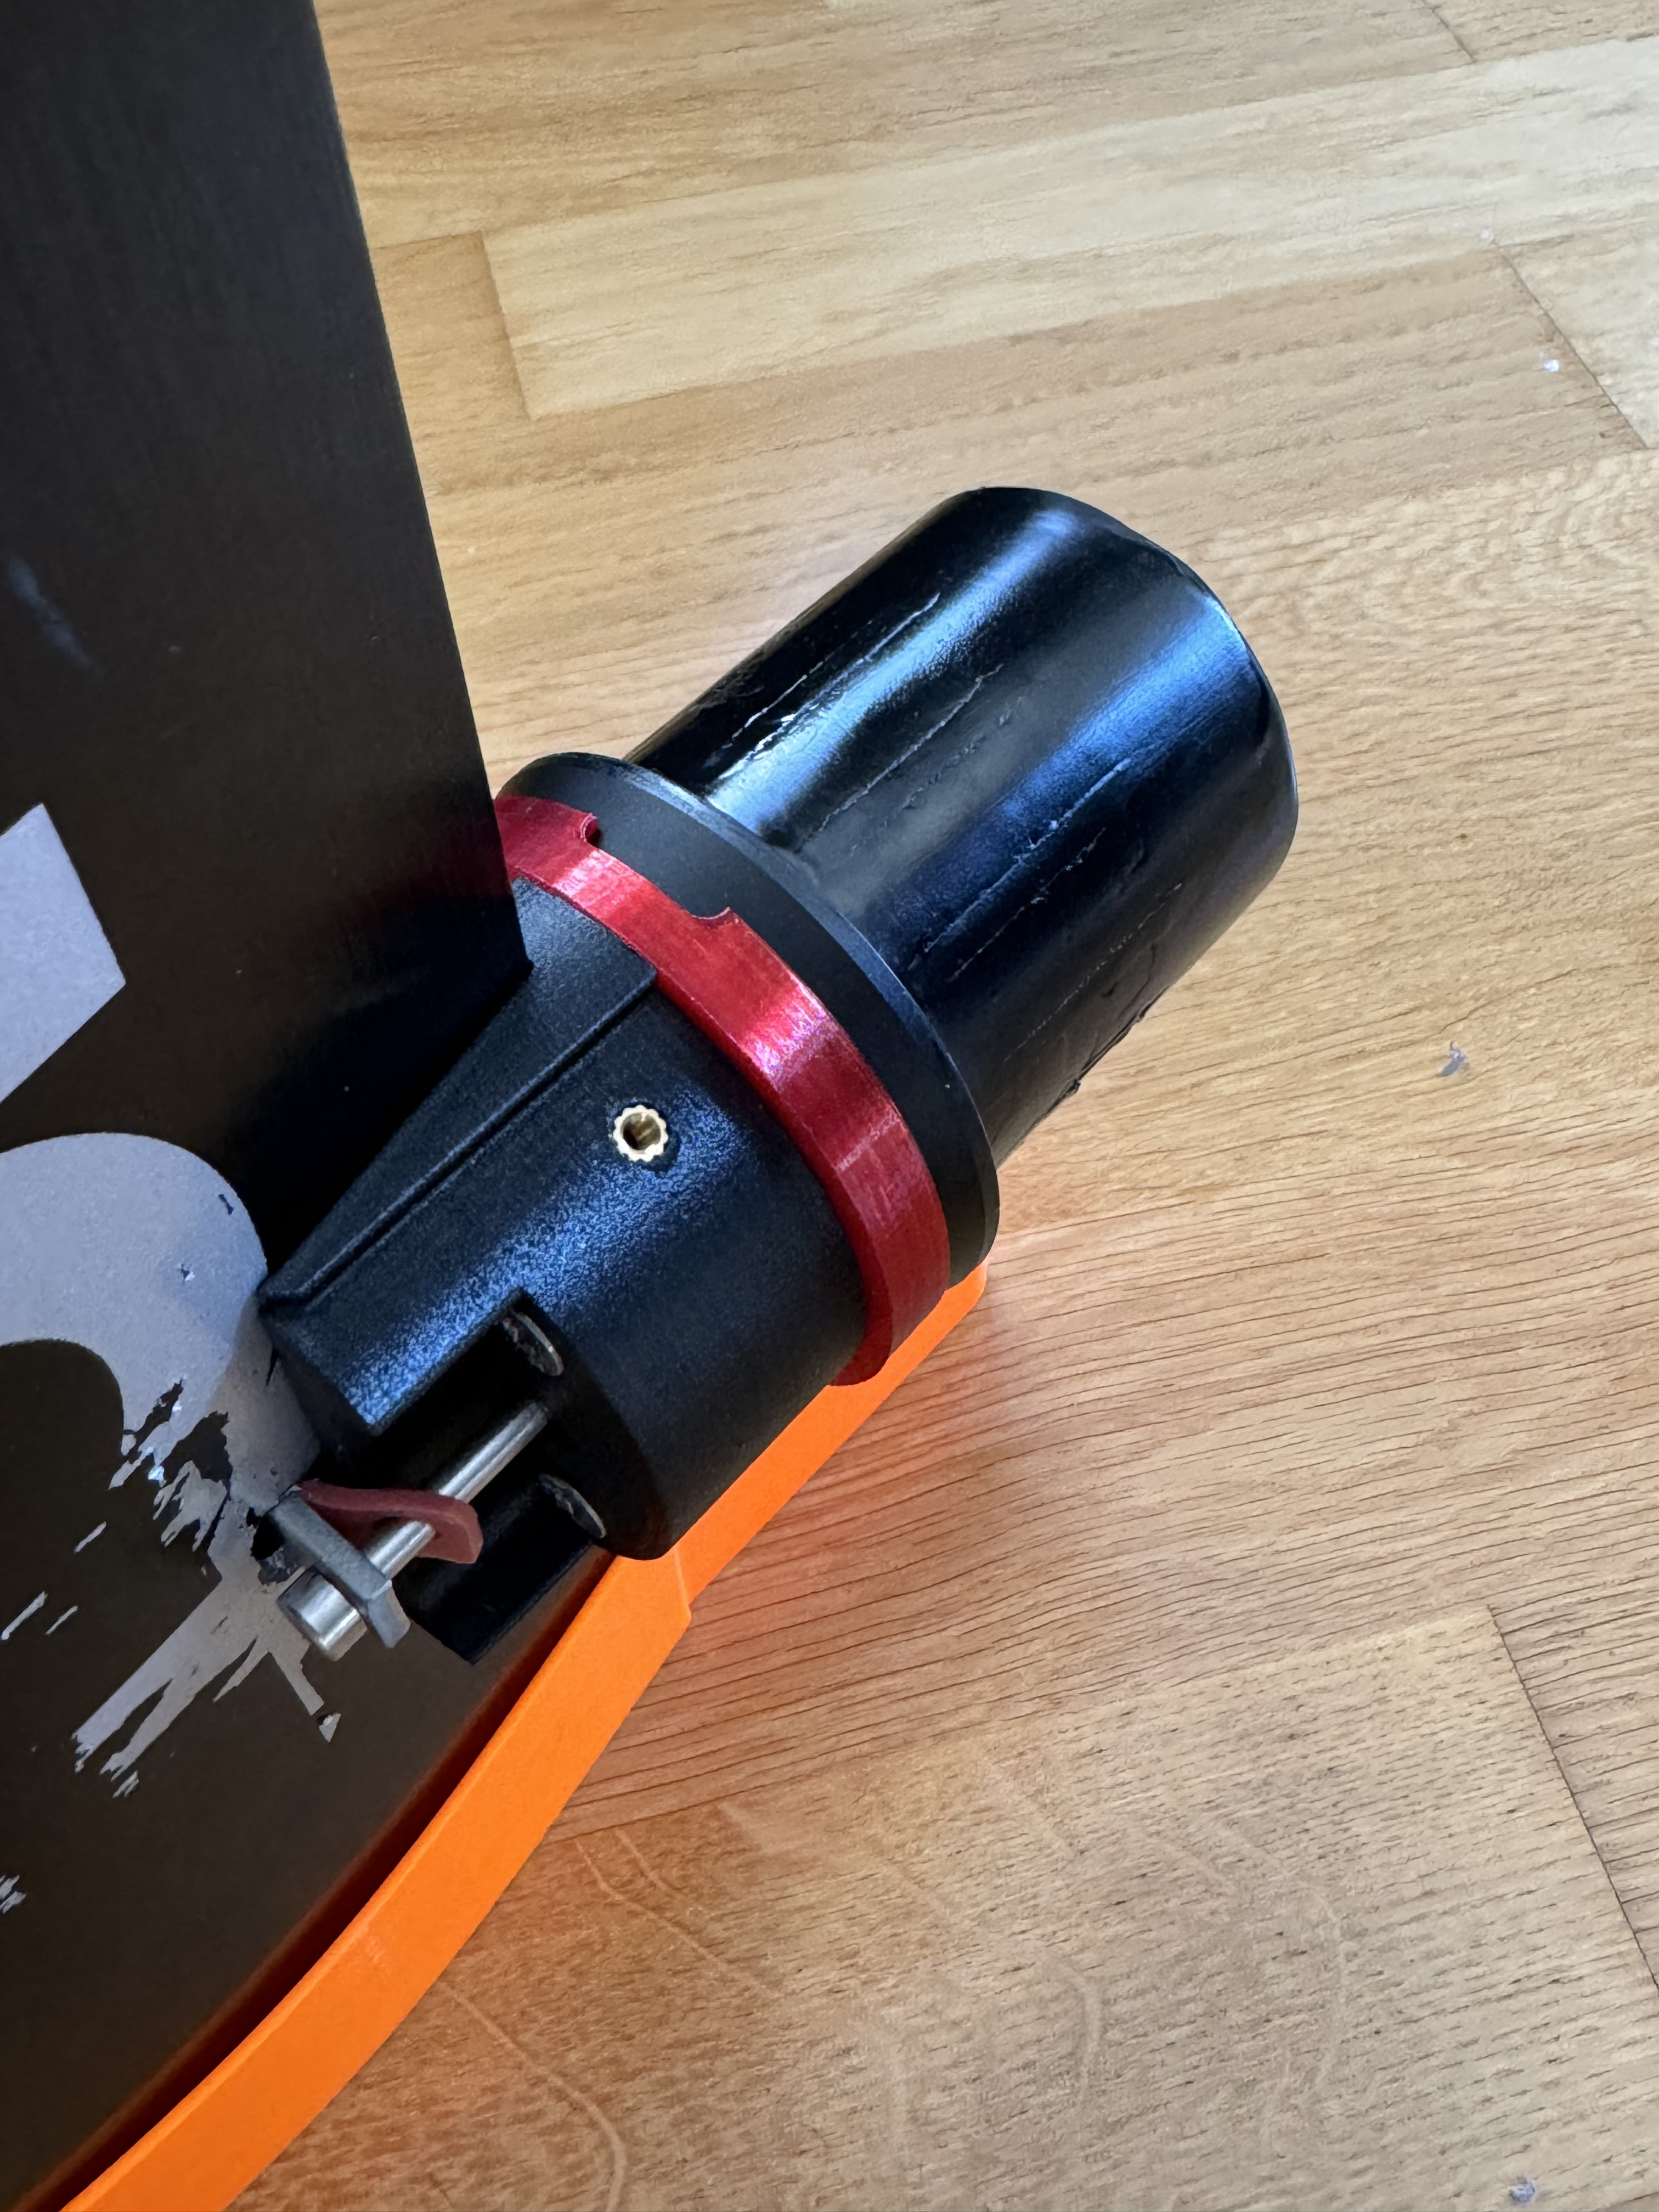
I made the clamping plate out of 3mm stainless steel. Instead of sheet metal, a 3D printed 4mm plate can also be used.
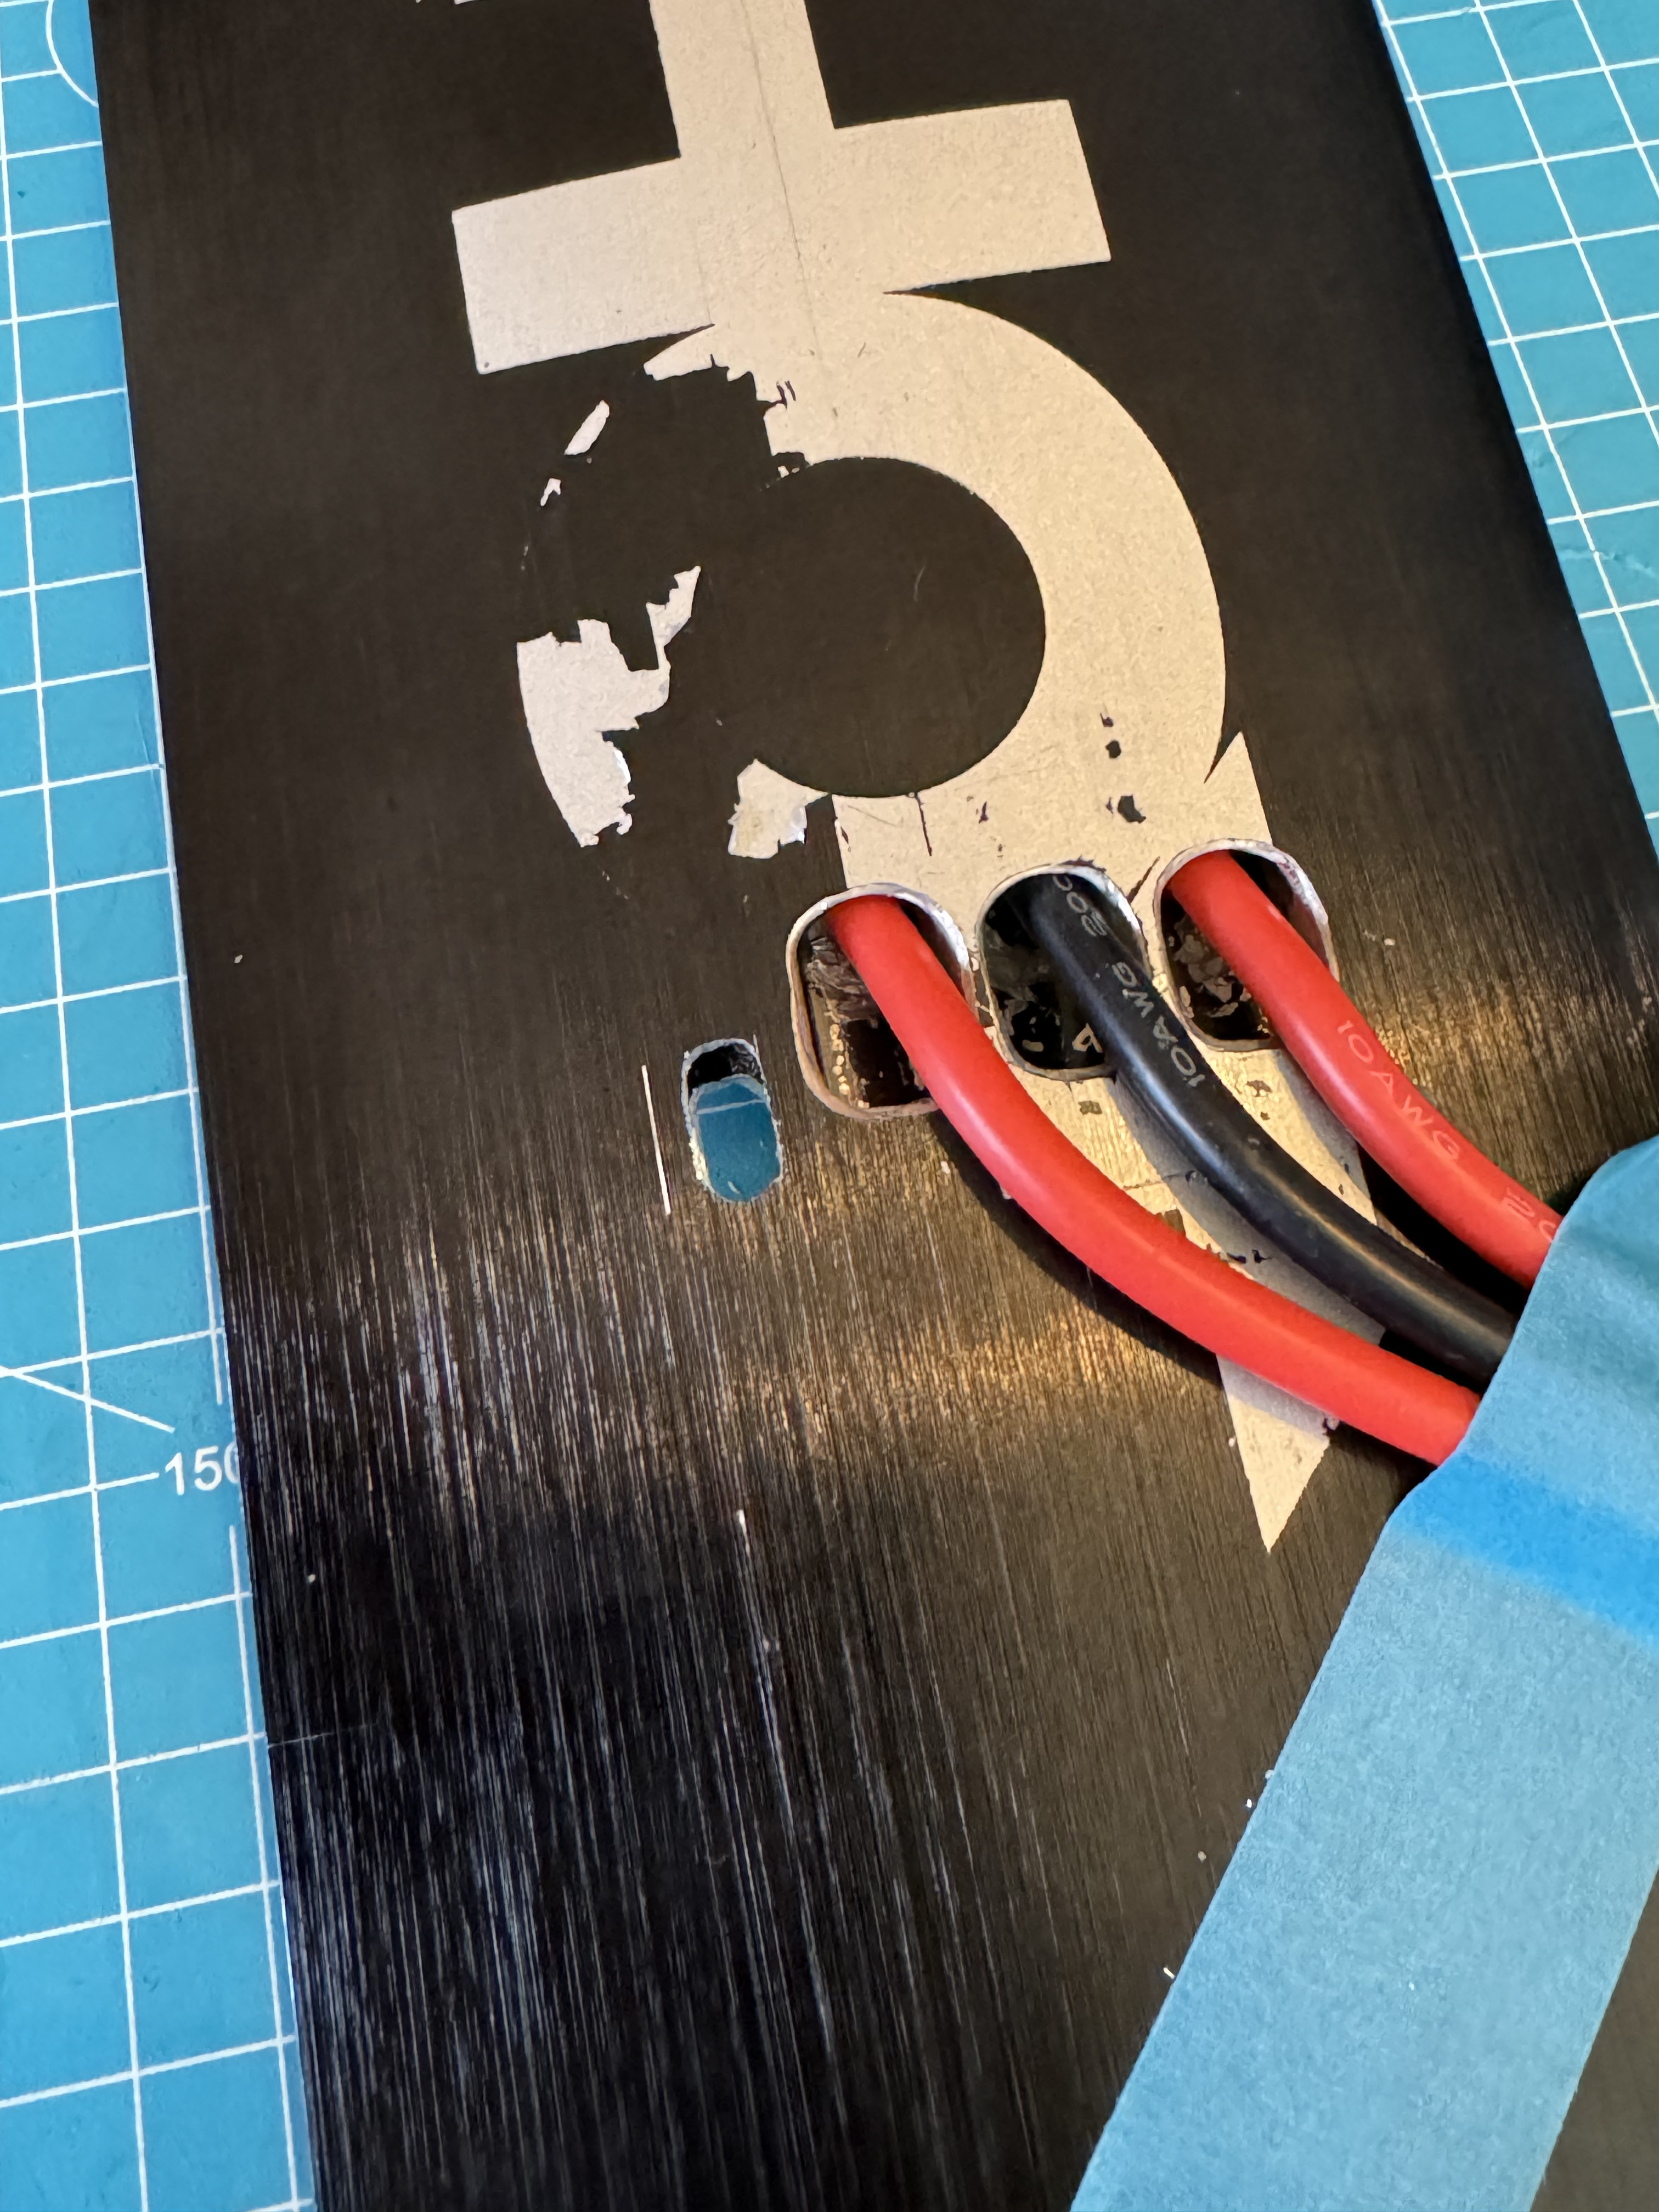
For the opening in the mast,I chose the last channel in my mast.
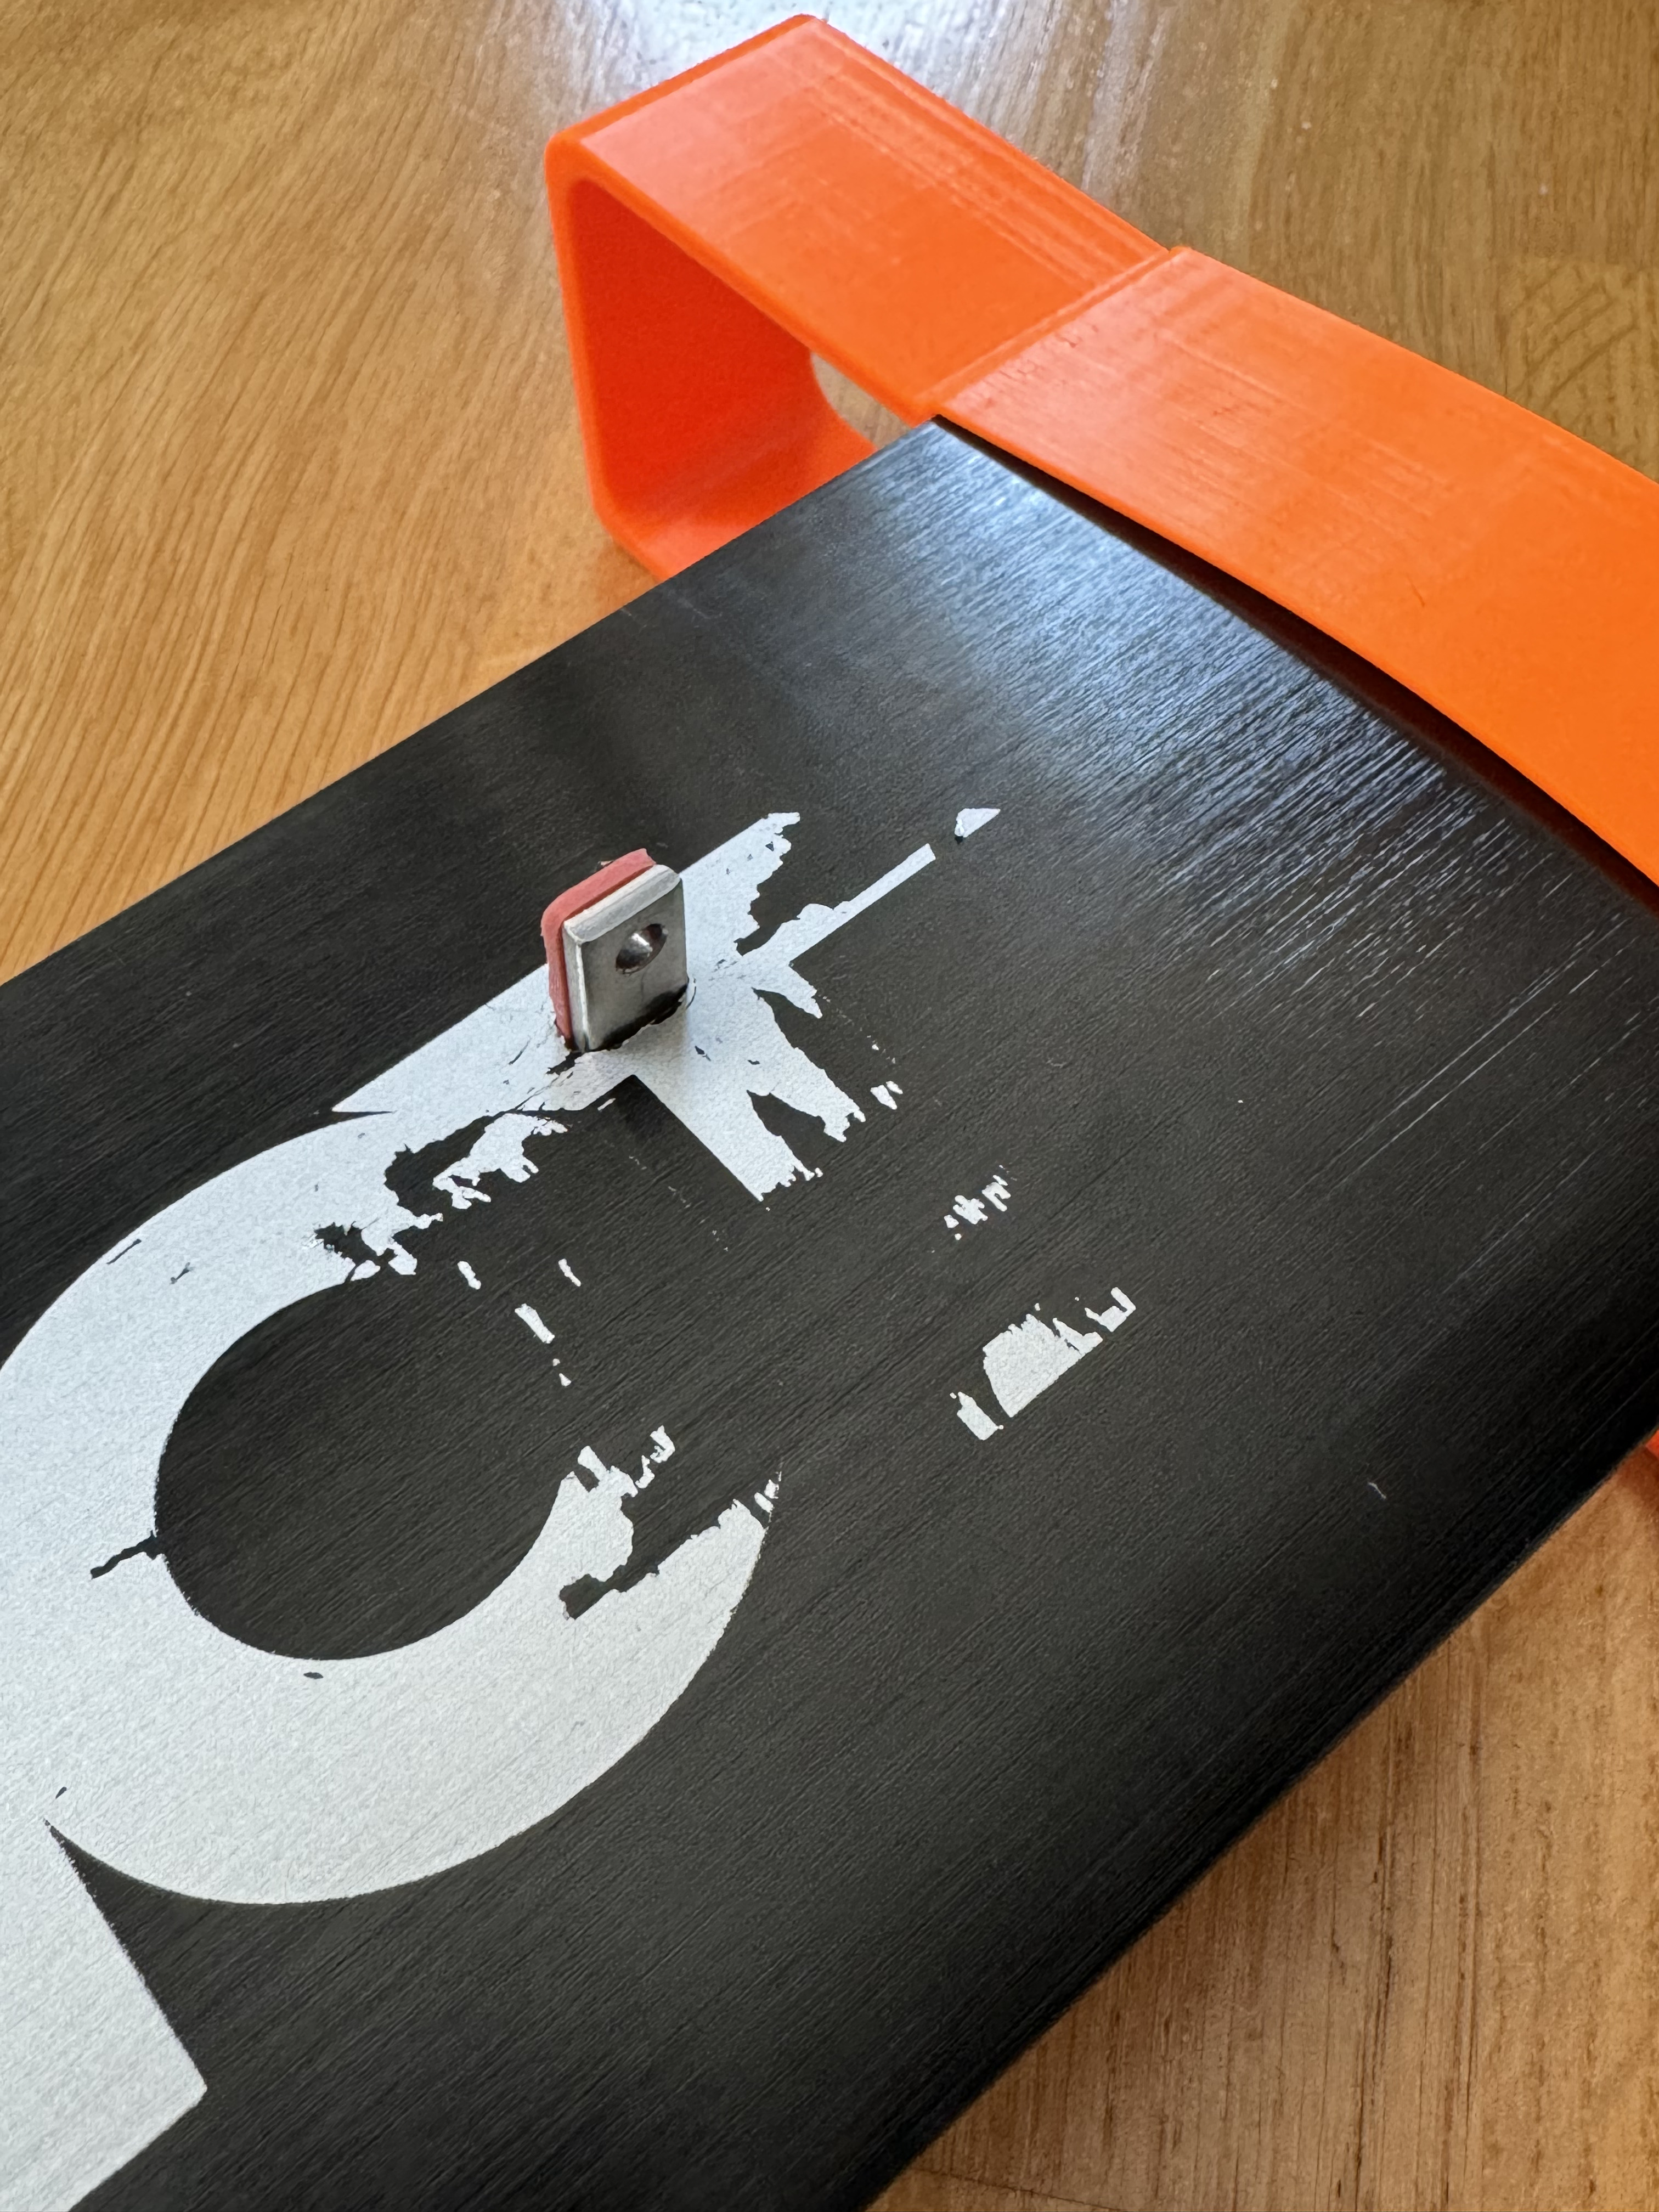
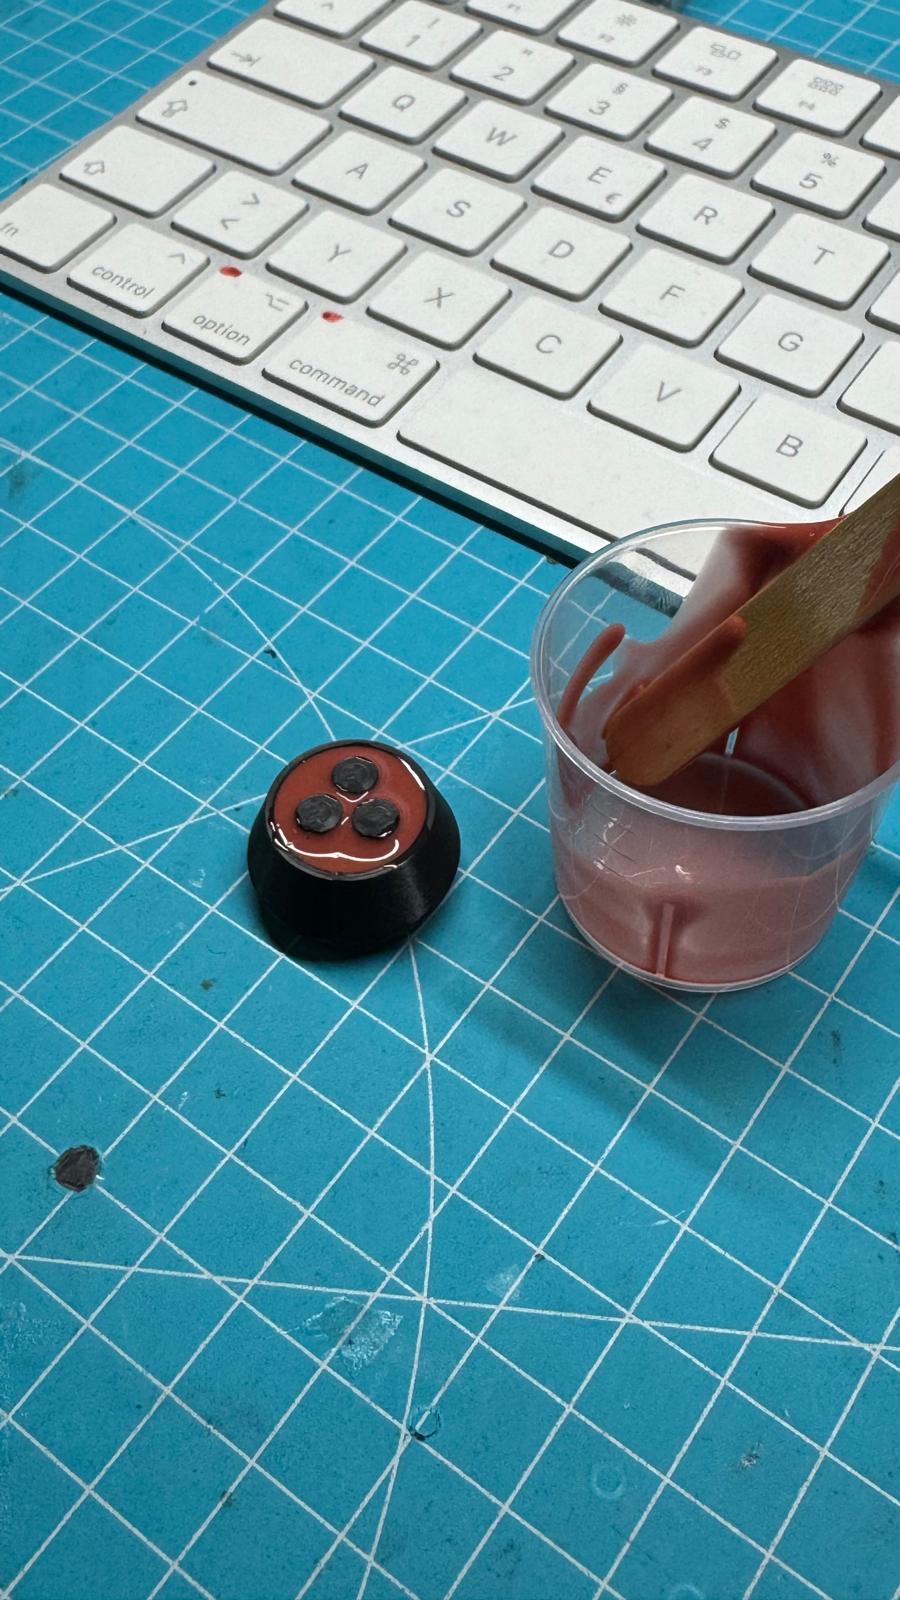
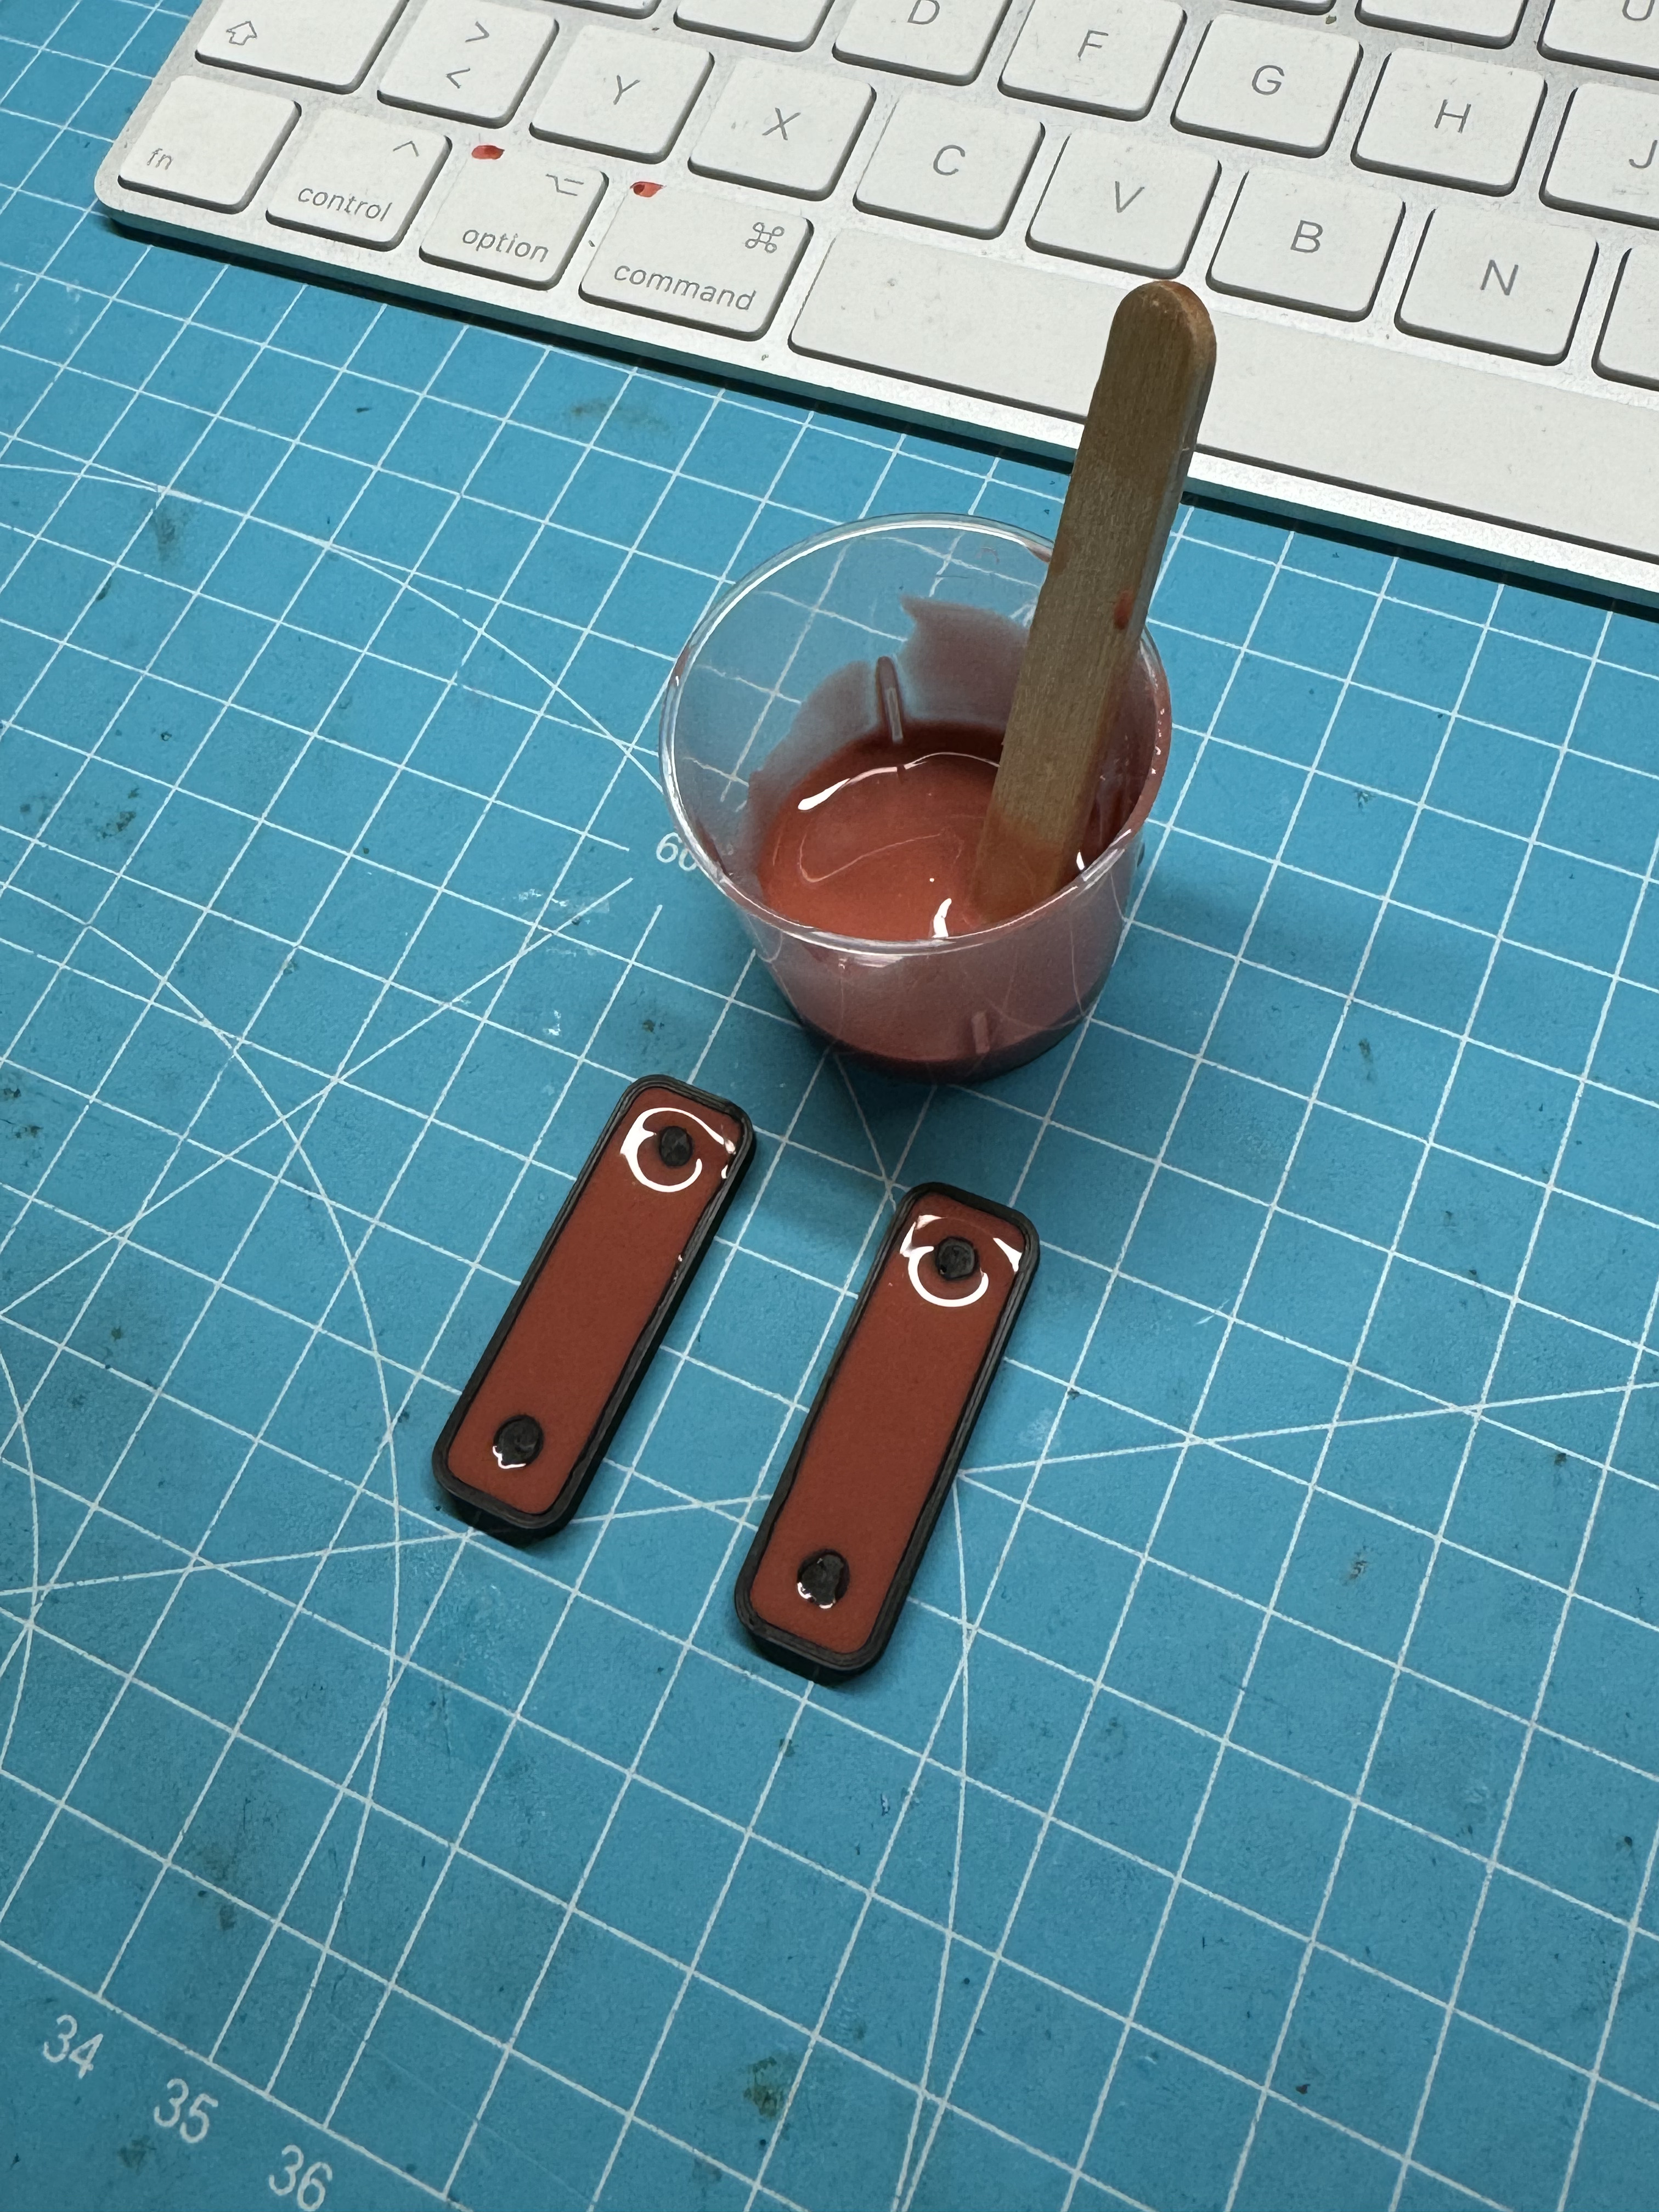
I also cast a seal for the clamping plate to provide decoupling. TPU works also
Assembly:


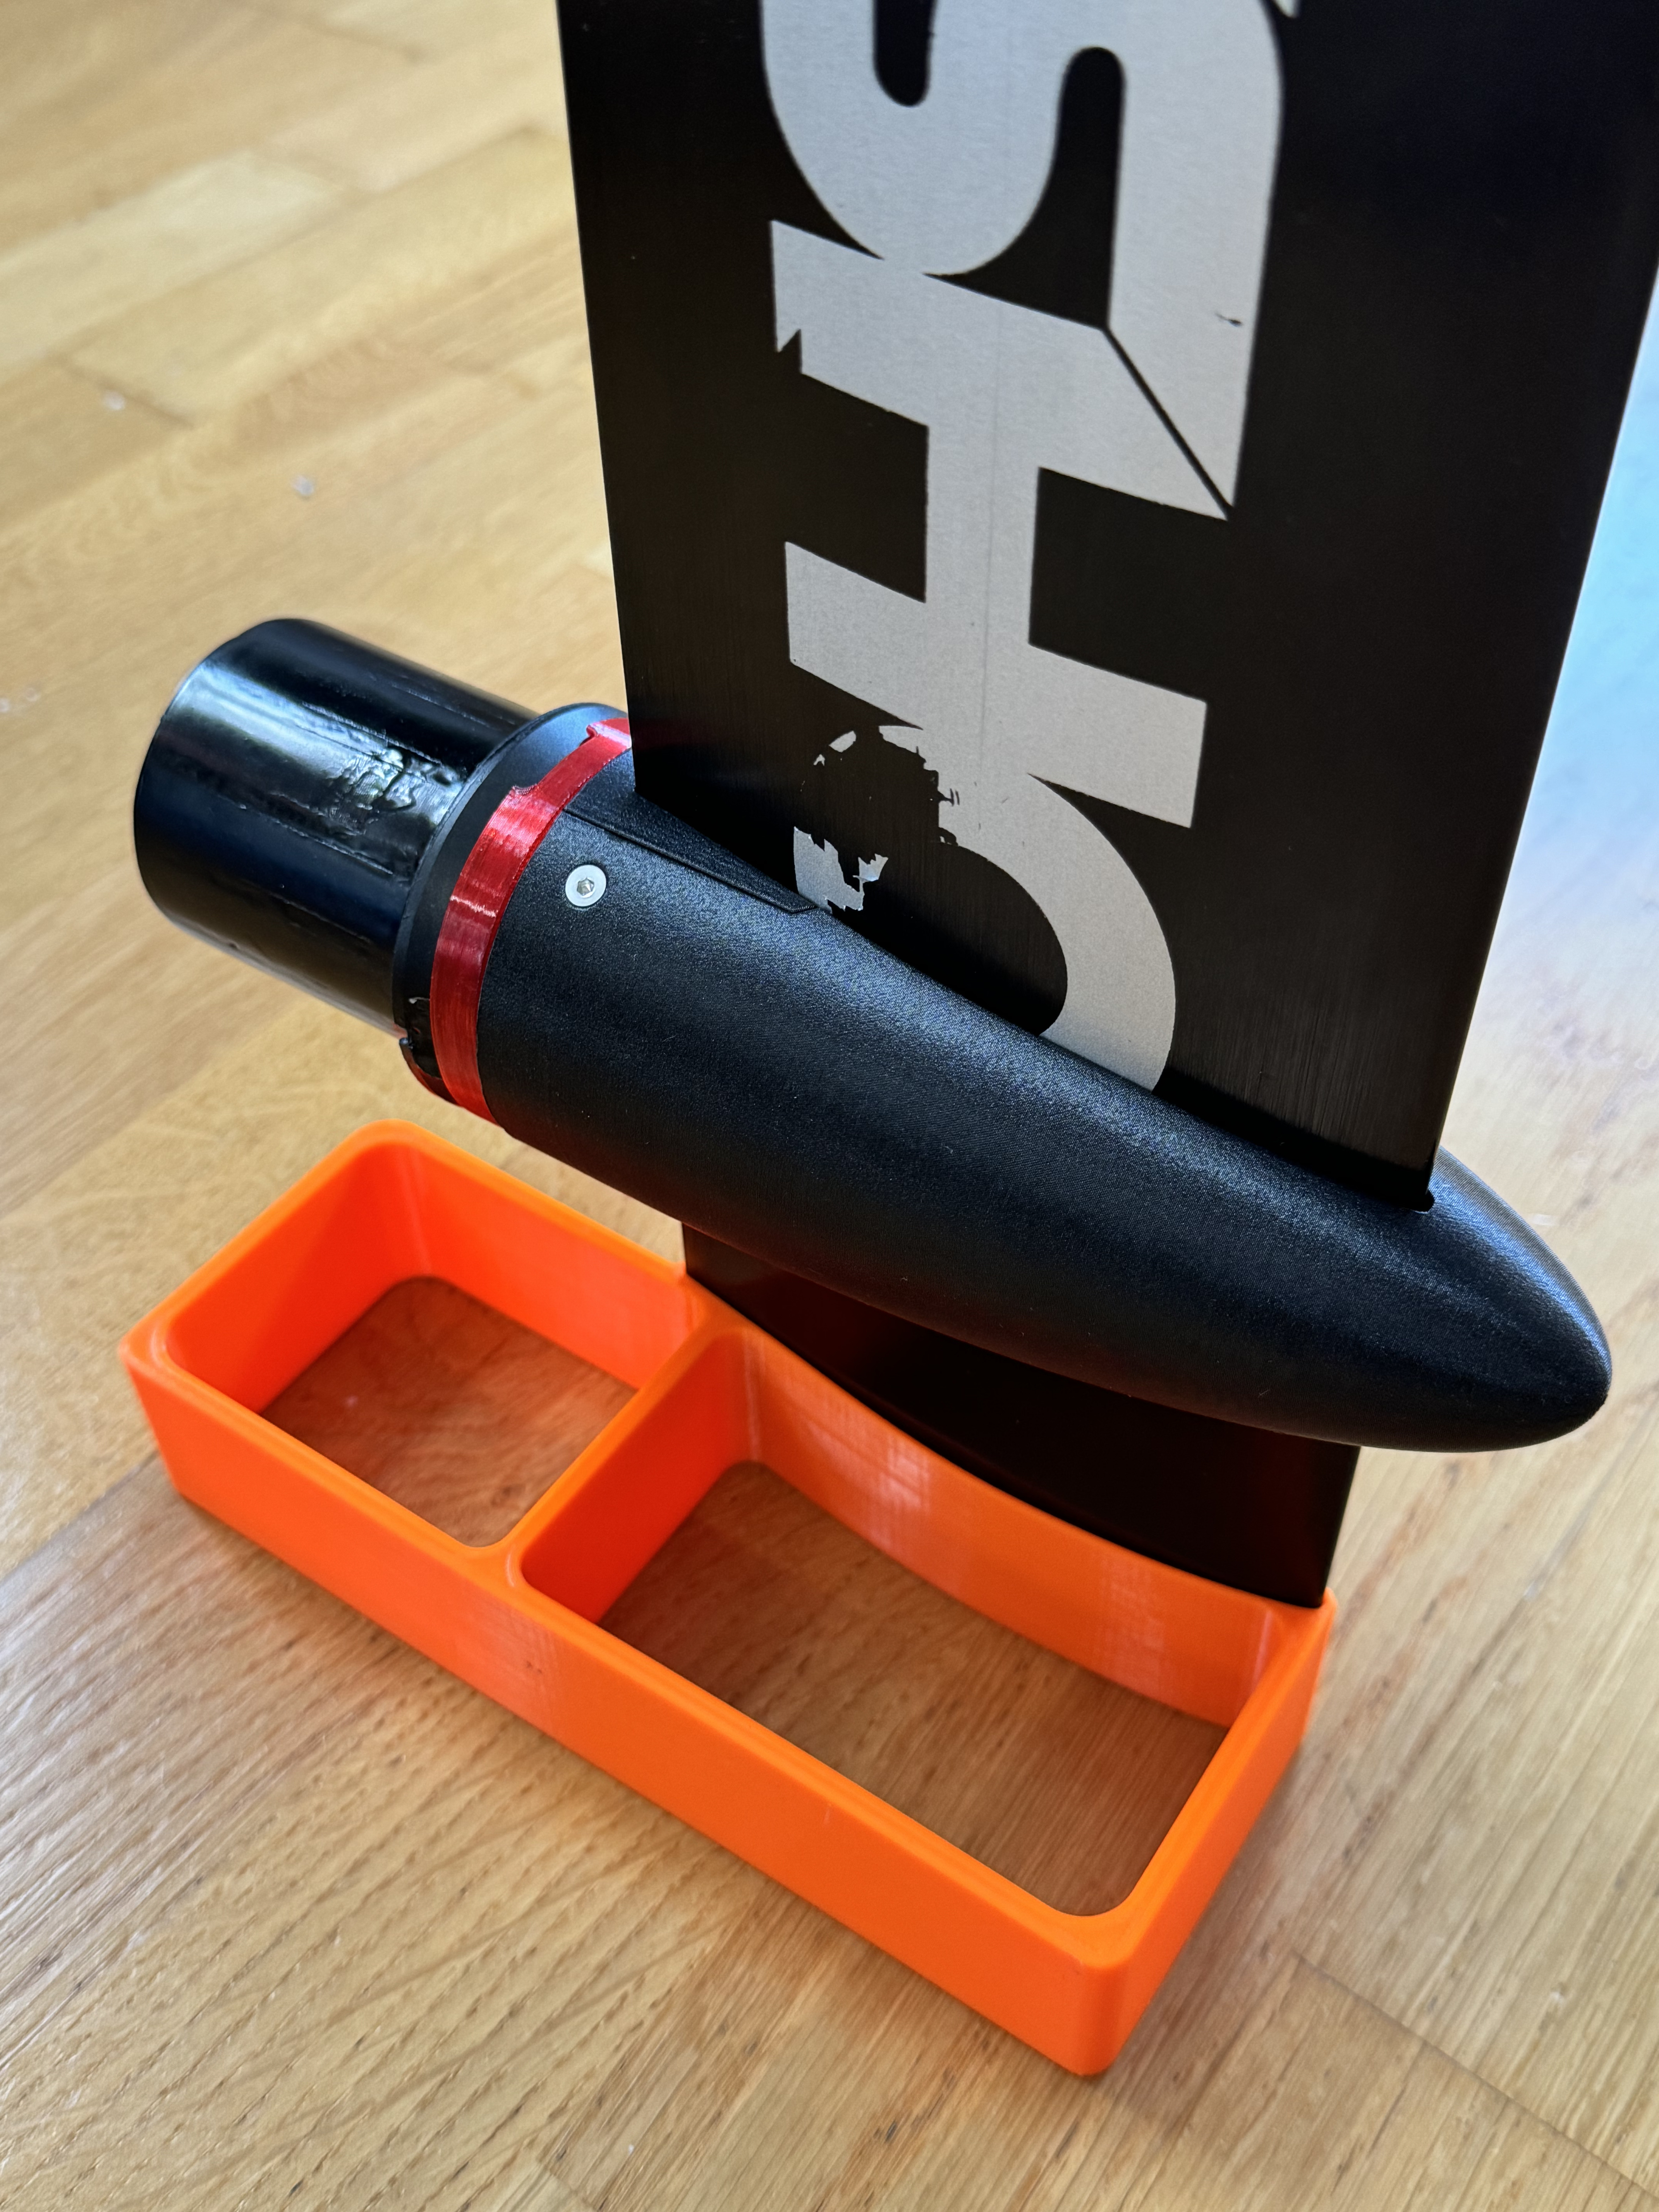

All files online ![]()
![]()
https://www.printables.com/de/model/985671-6374638463100-efoil-motorpod-slingshot-axis-gong-v
23 Likes
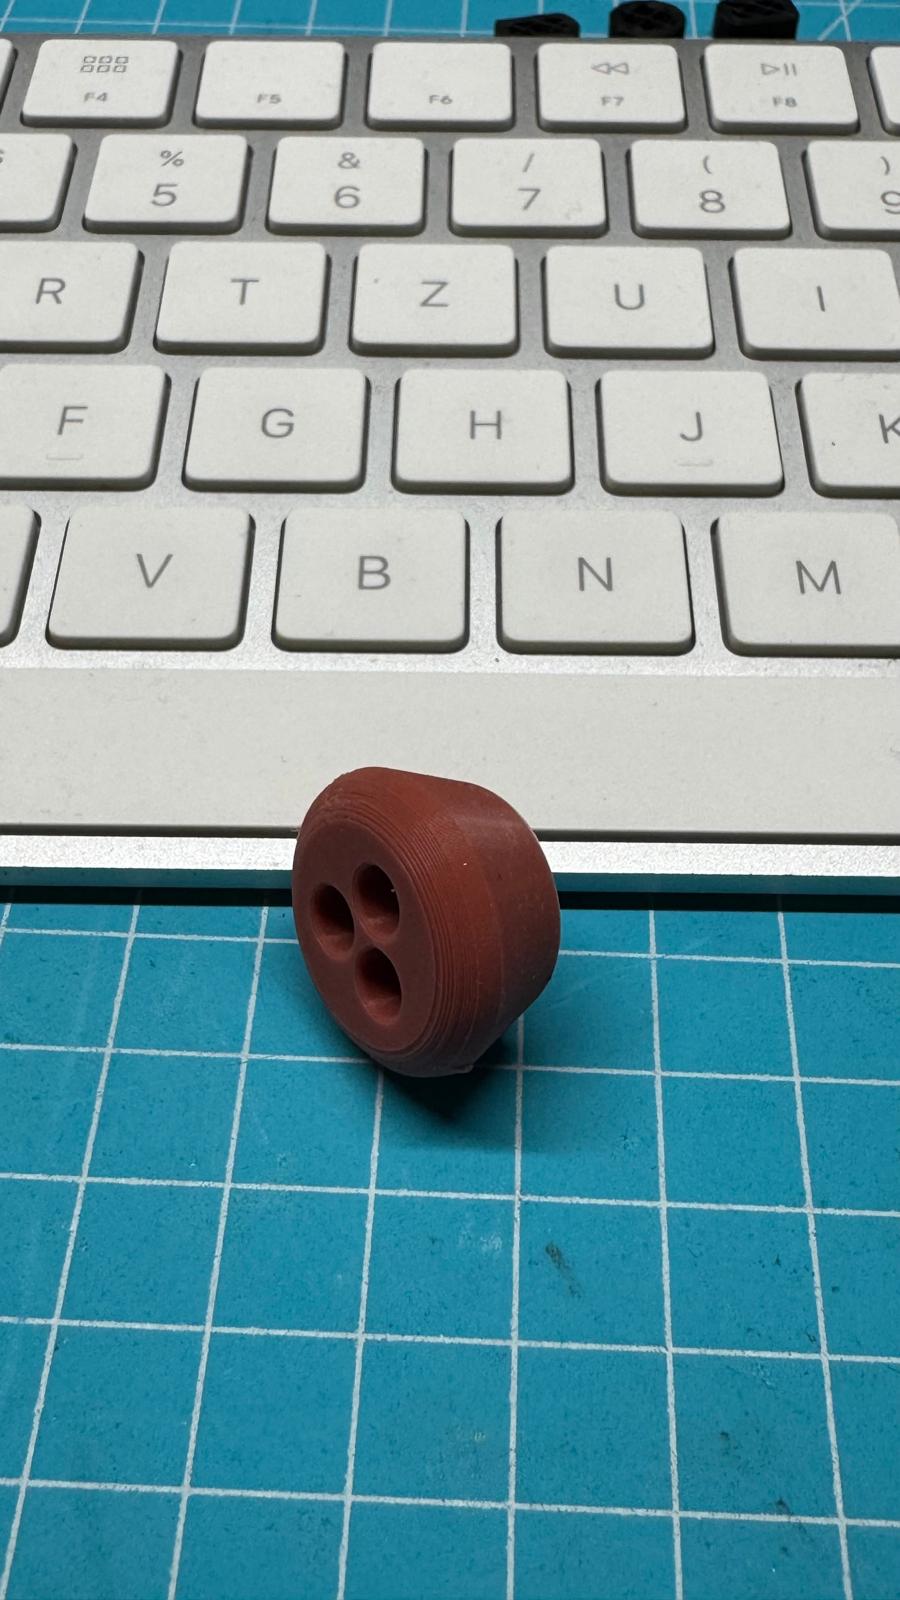
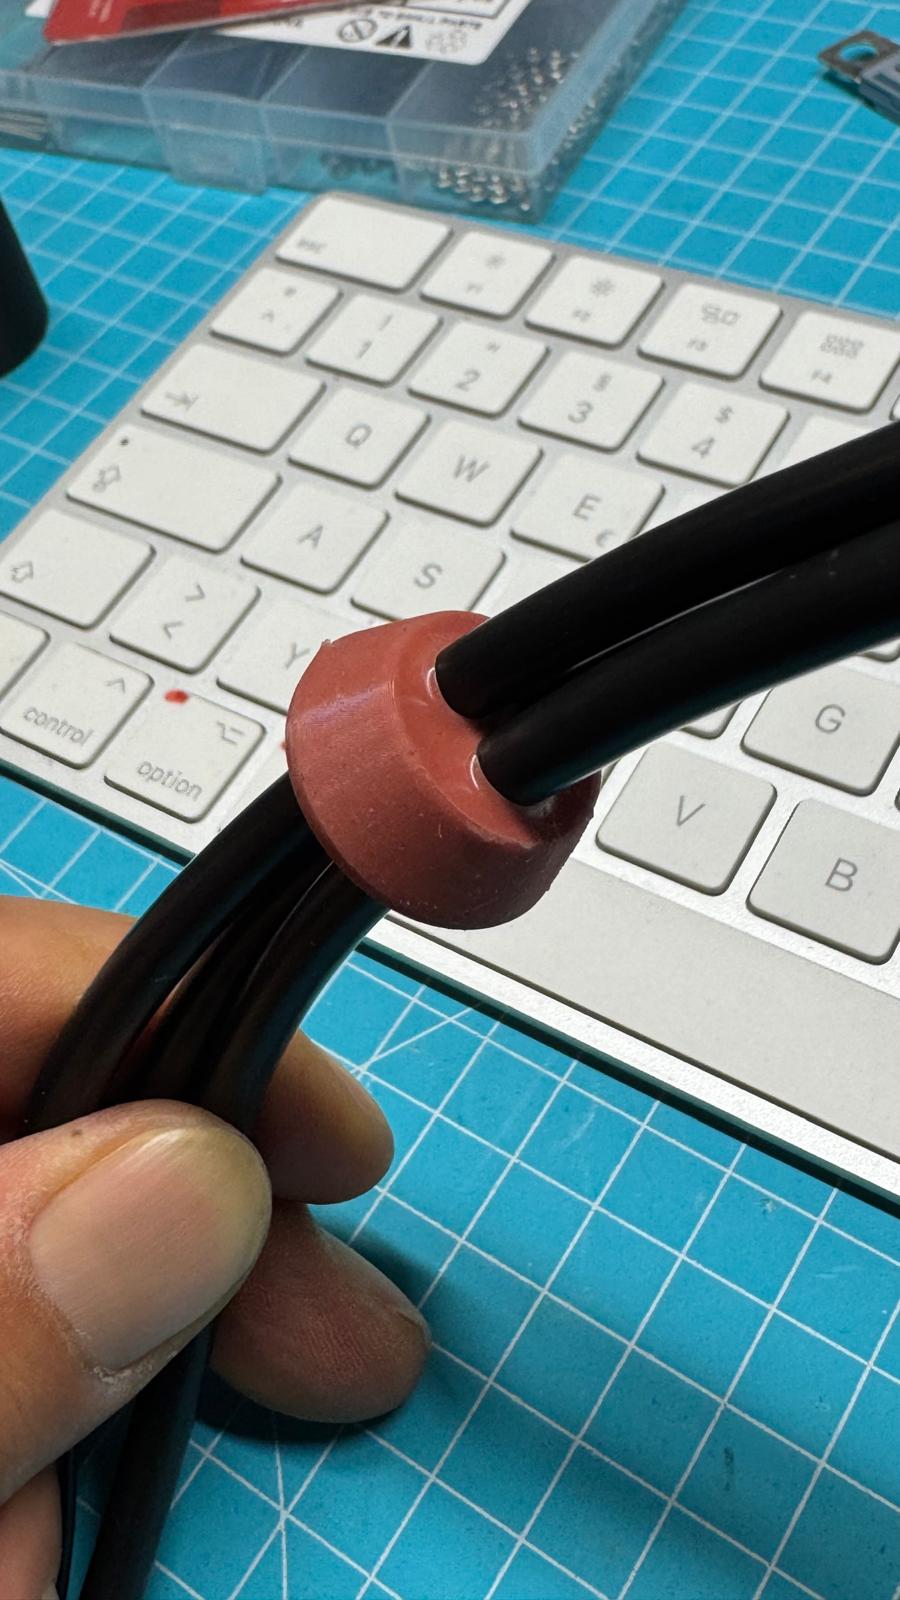
Excellent work! I wish I could print like that. I couldn’t get the threads of your connector to print well enough, so I remixed it, if that’s OK with you. I plan to pour a silicone gasket eventually, since the TPU doesn’t seem too watertight the way I printed it.
1 Like
Not at the moment.
But that could be a winter project.
1 Like
Nice remix. That’s ok for me.
Try a Silicon Mold. It’s definitely better as TPU.
I have never water on my gold contacts until now.
That would be perfect, thank you.
1 Like
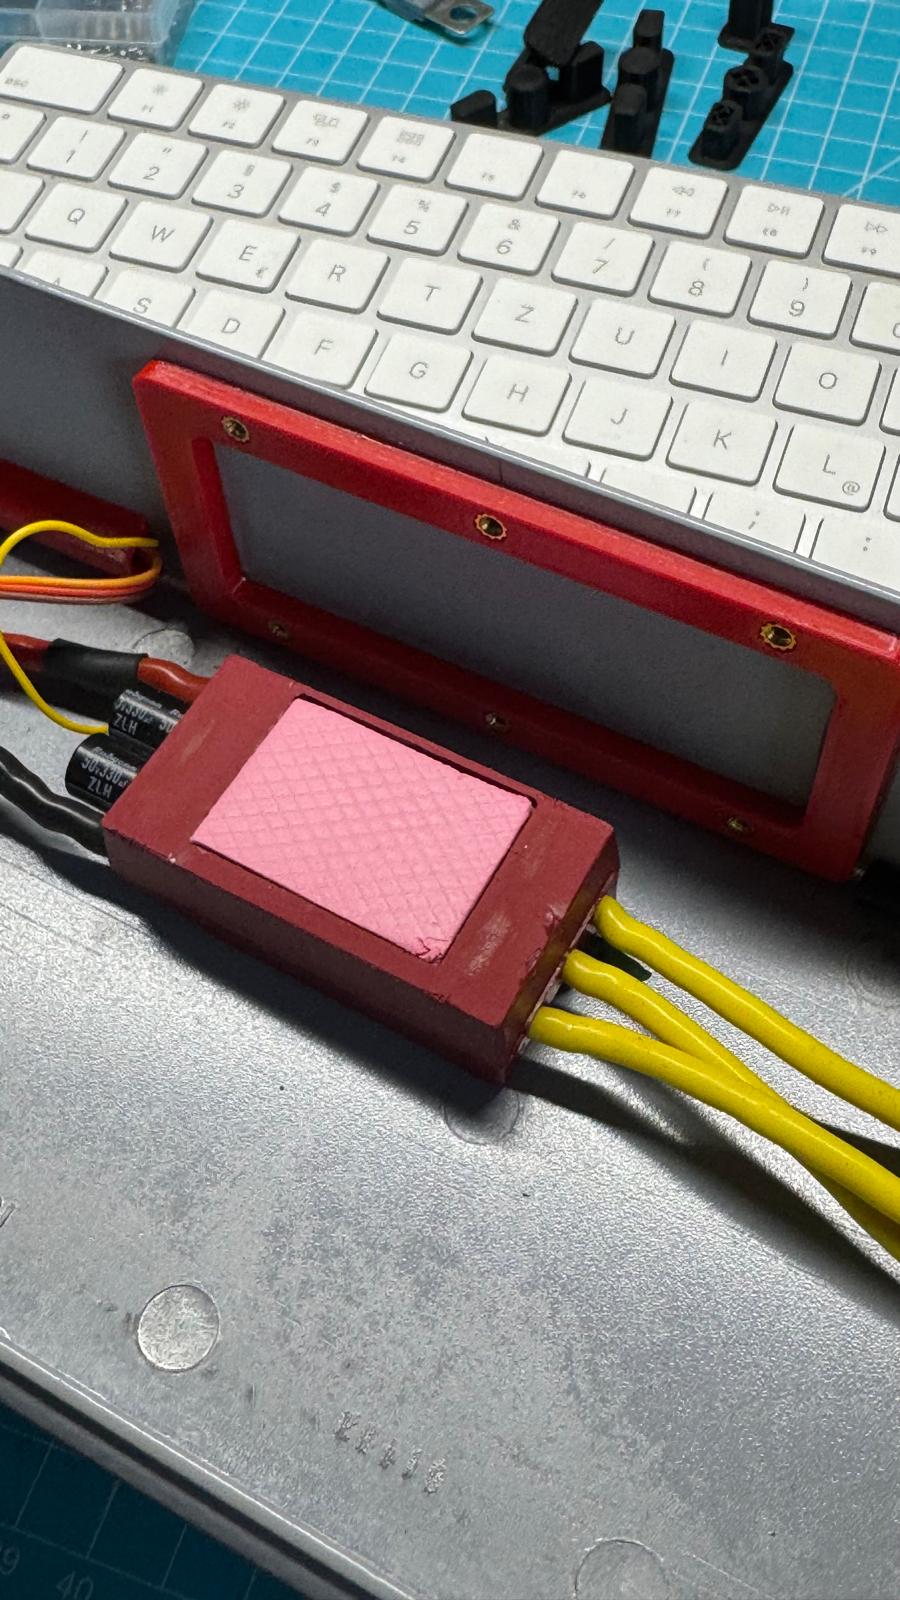
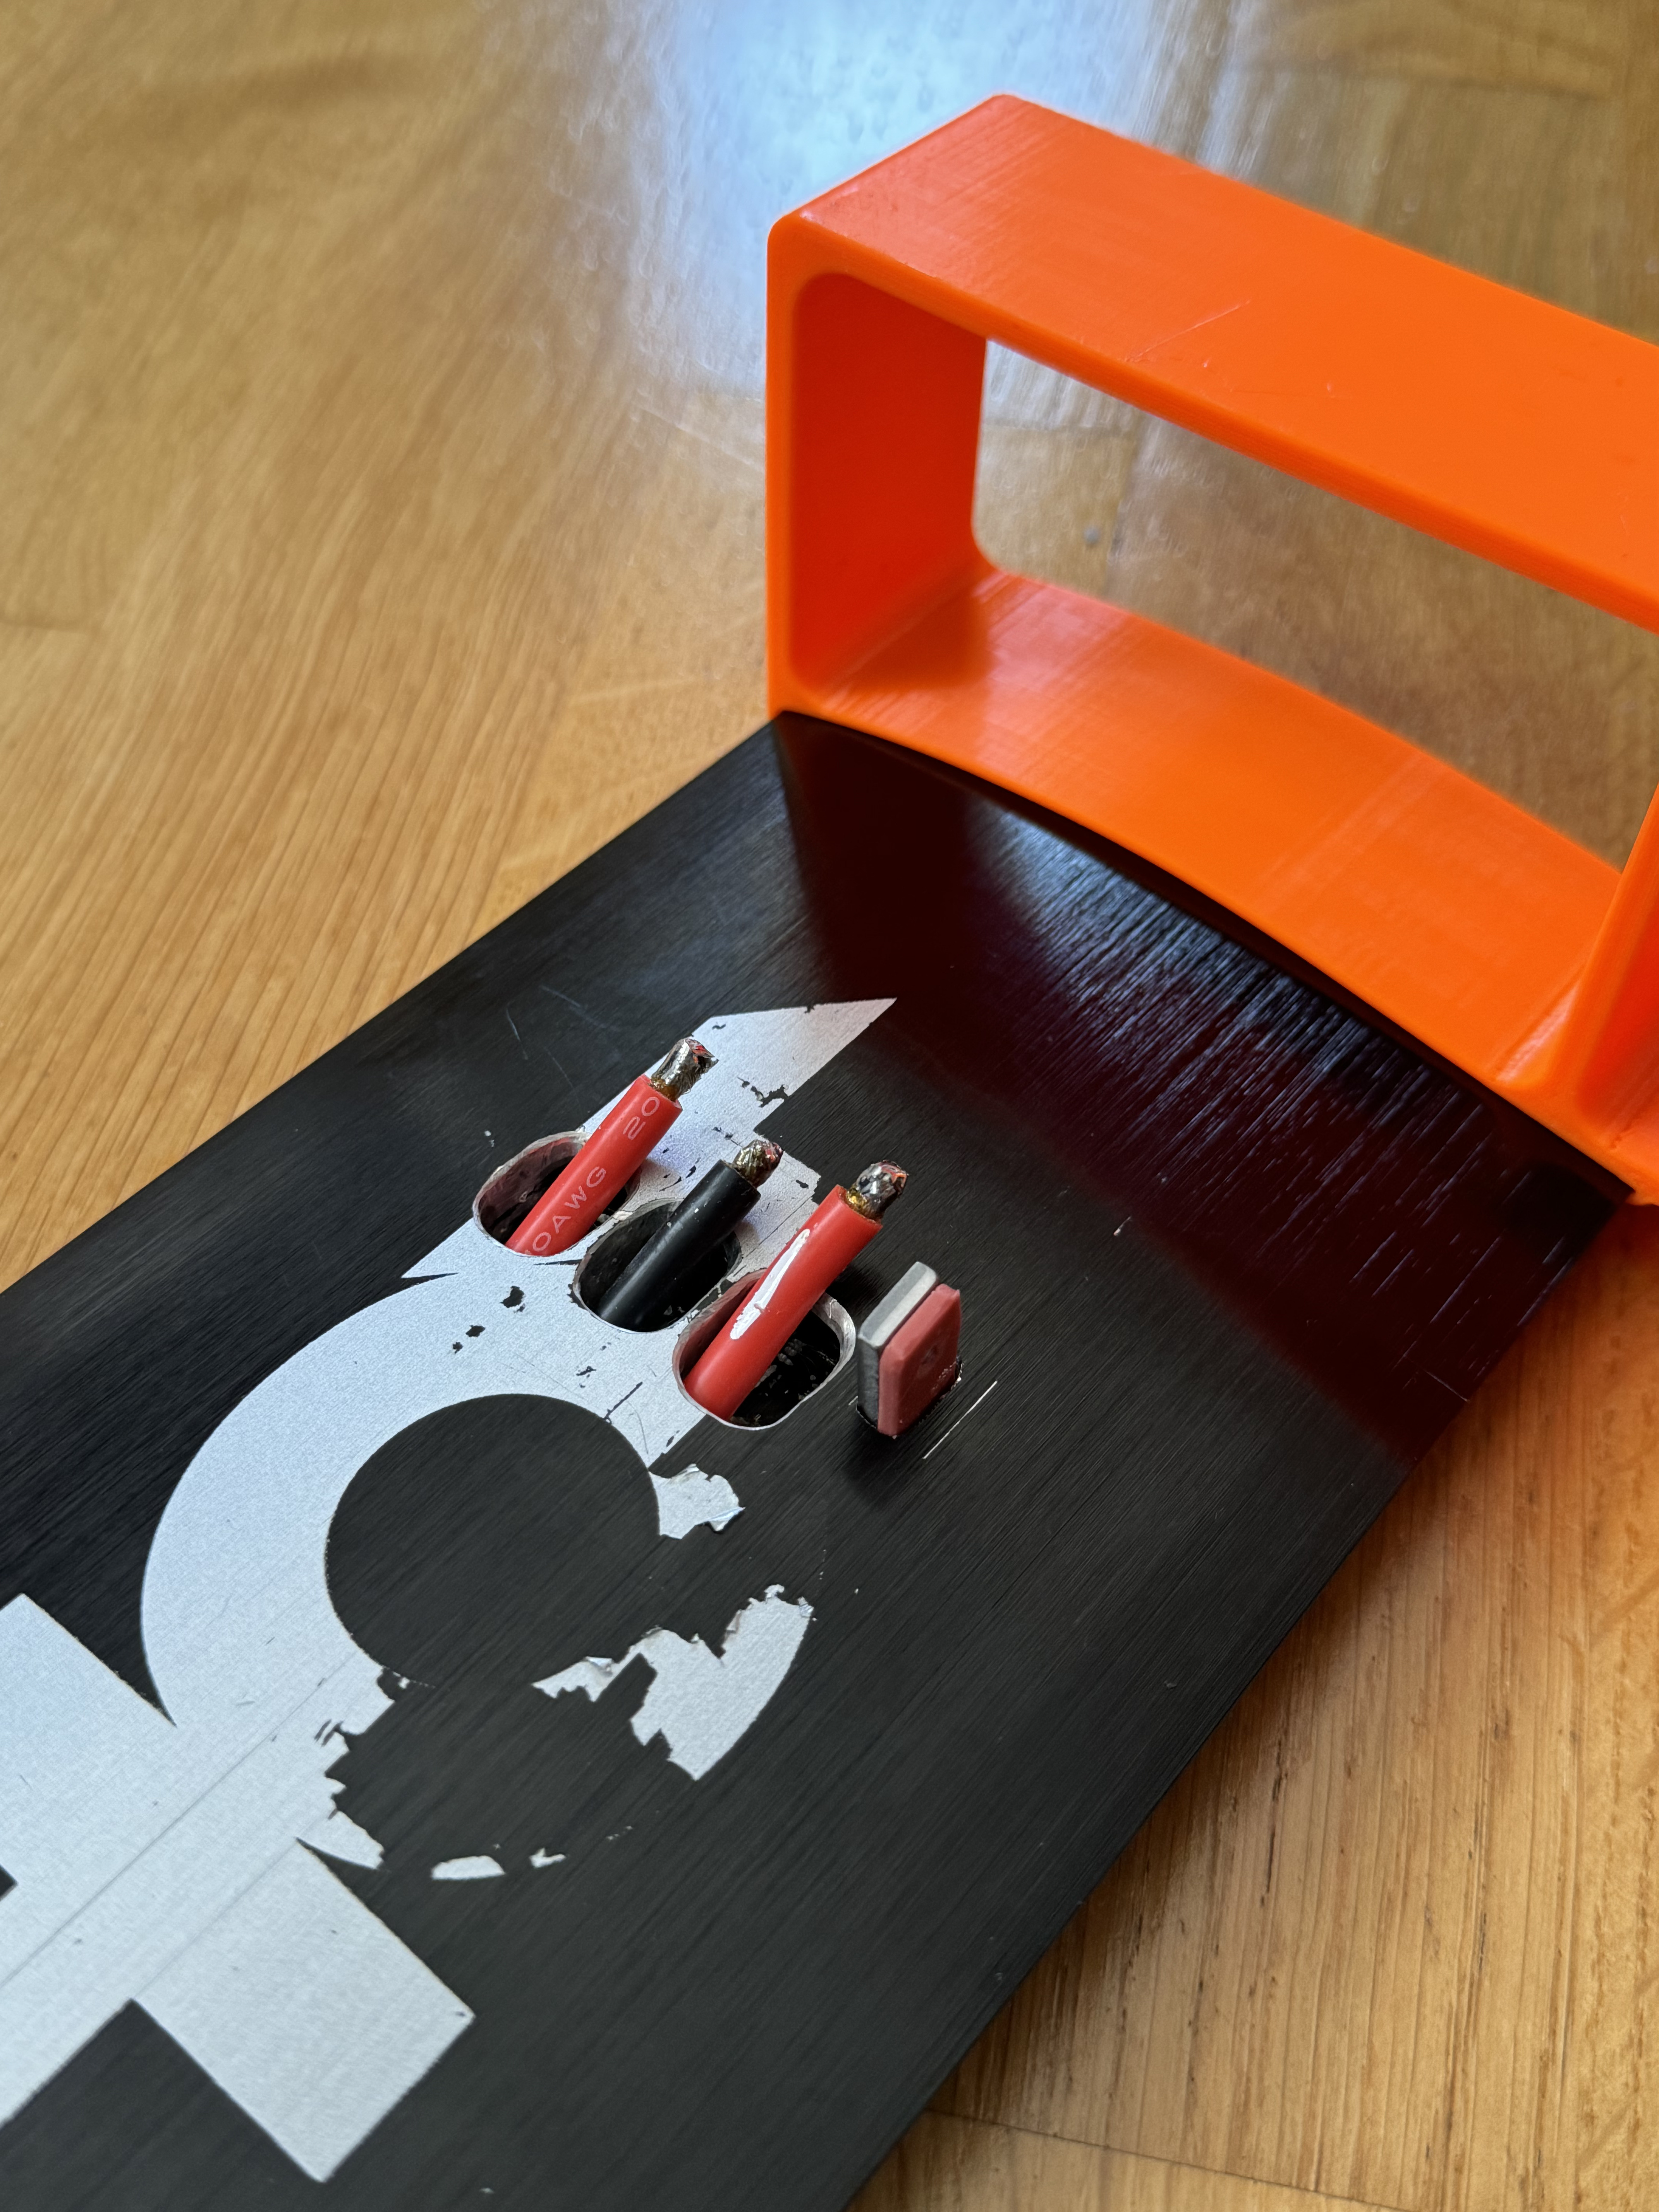
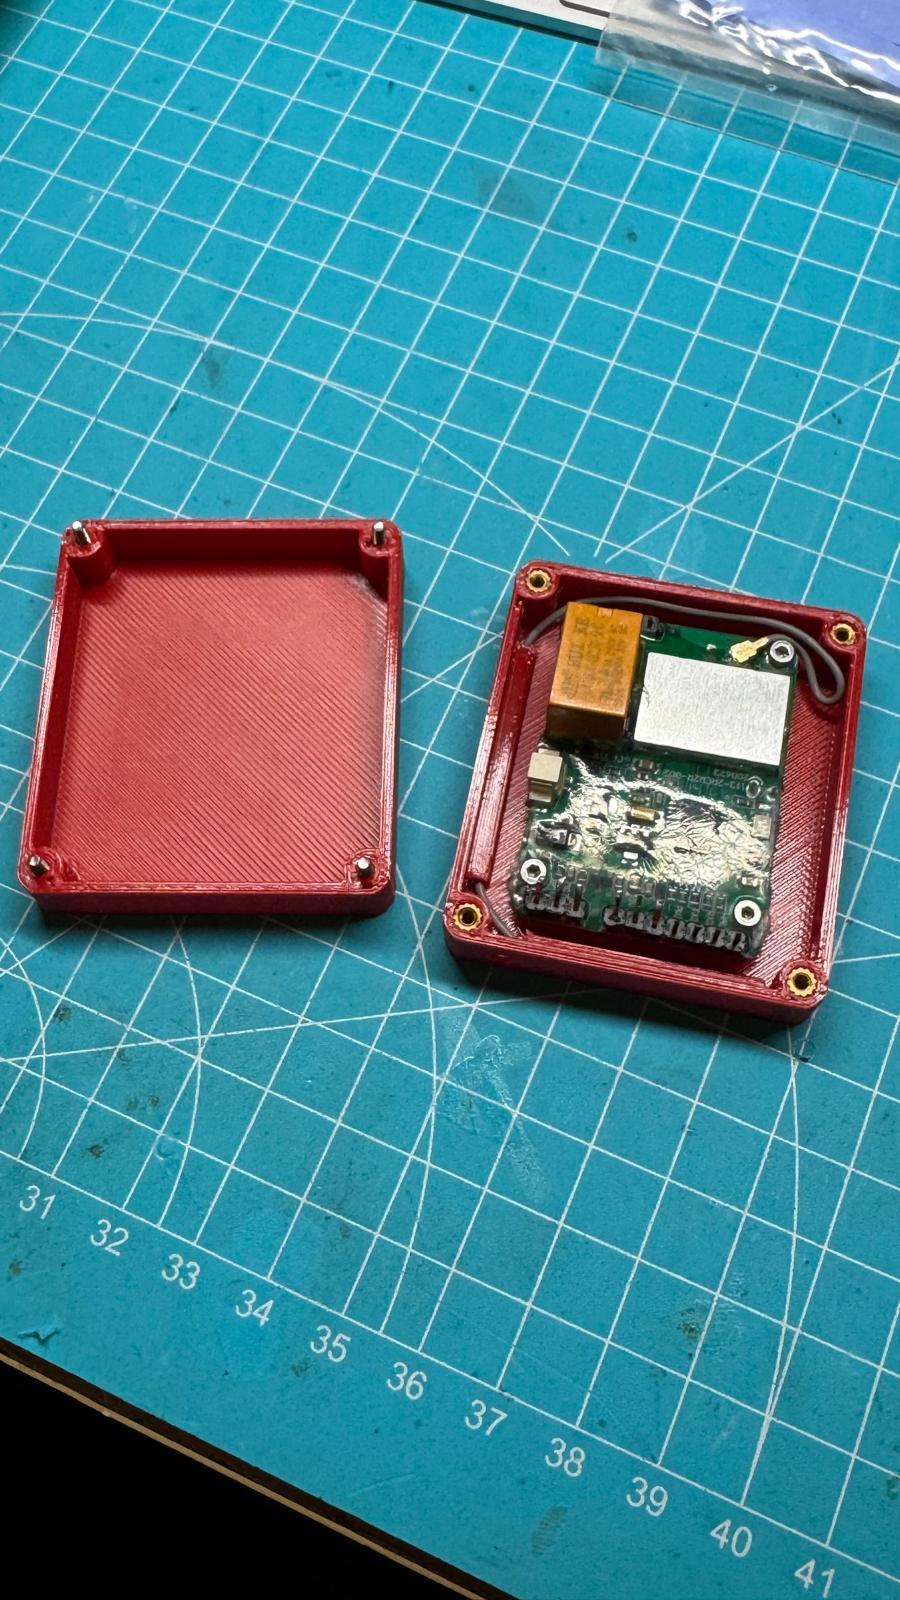
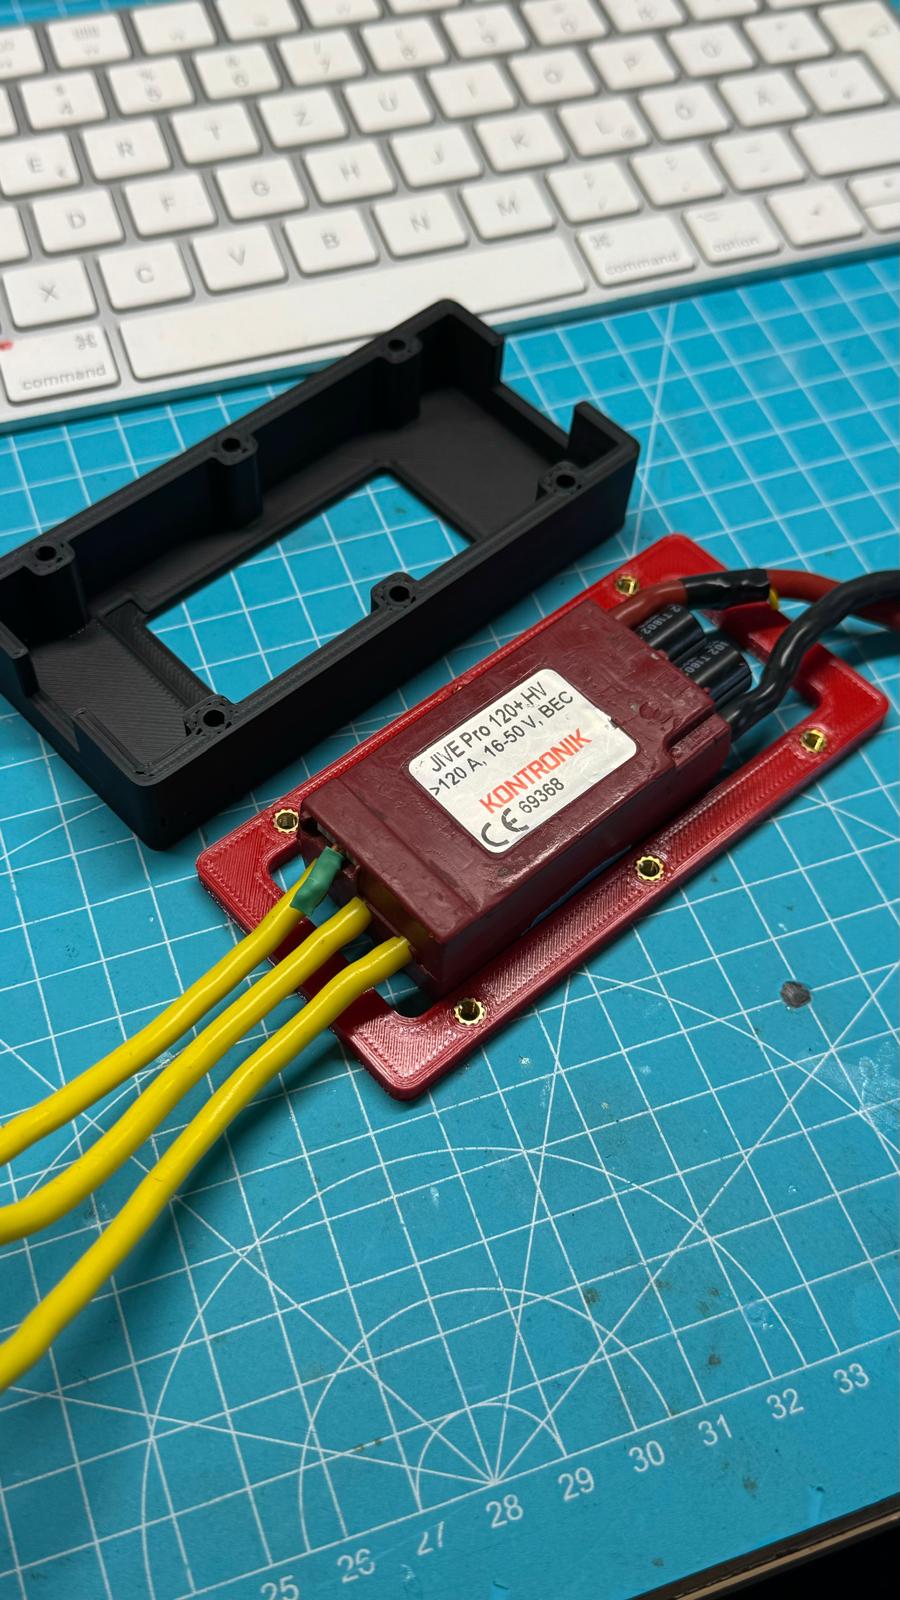
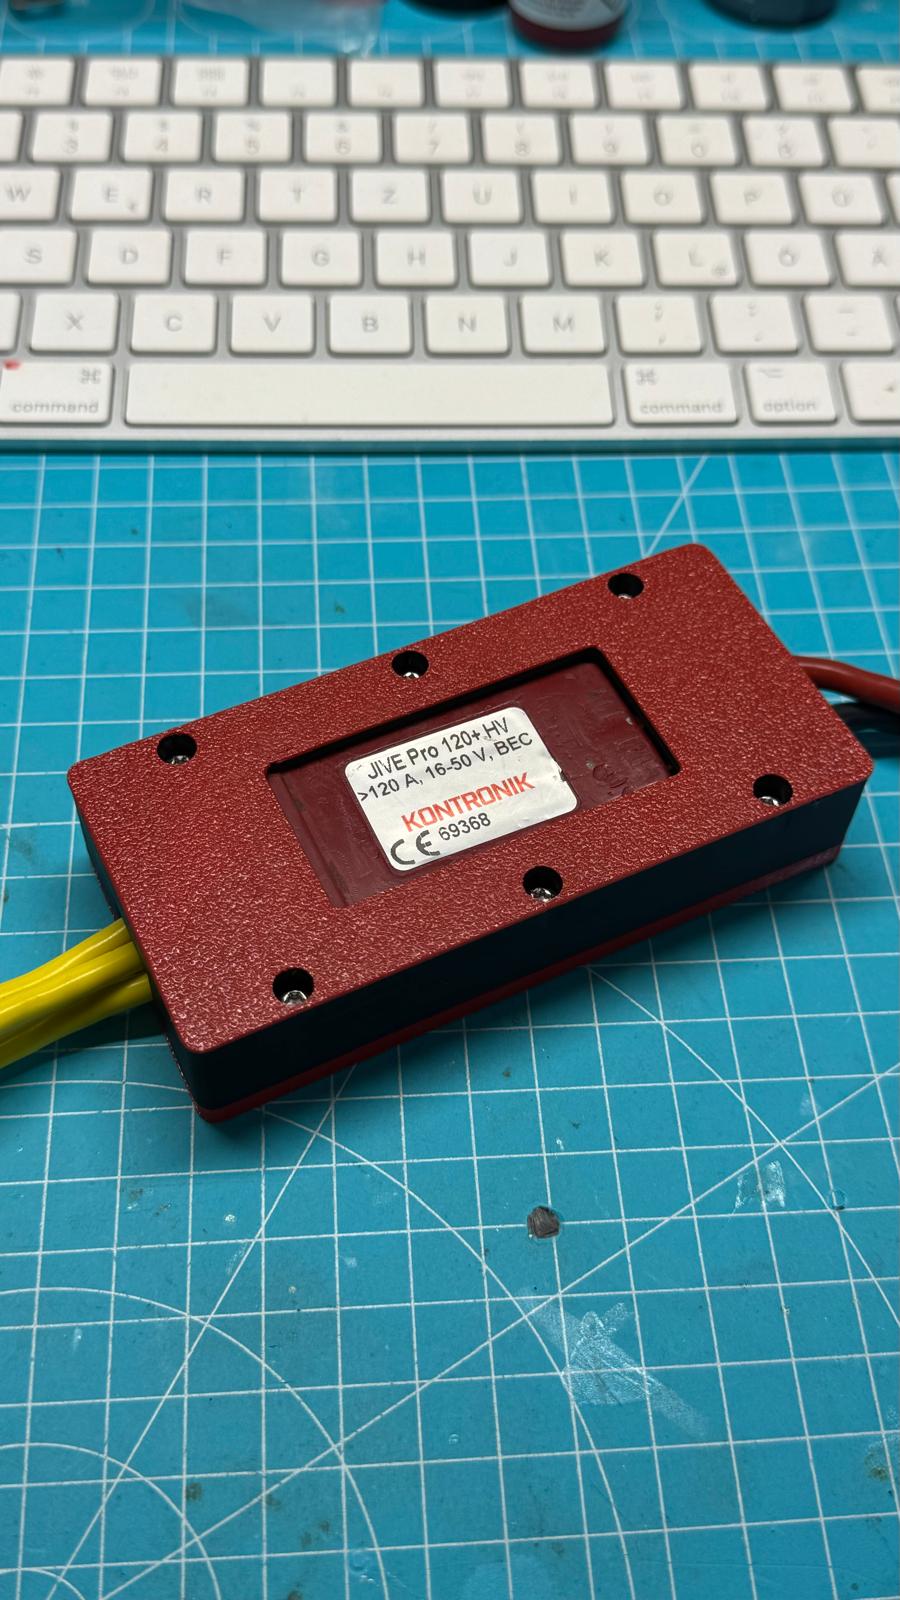
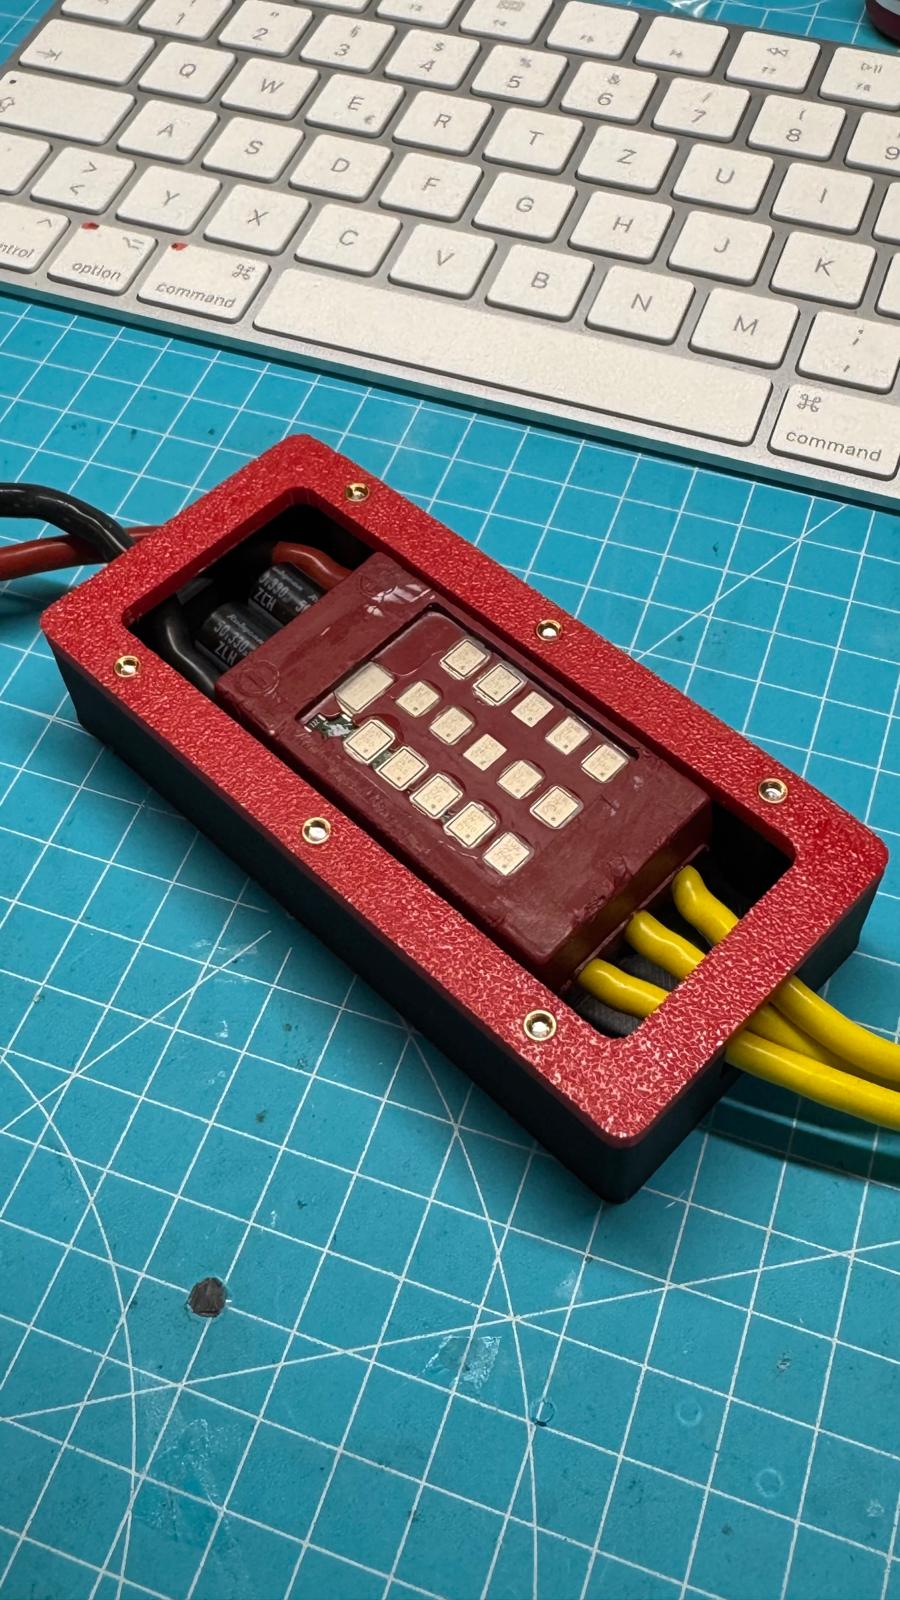
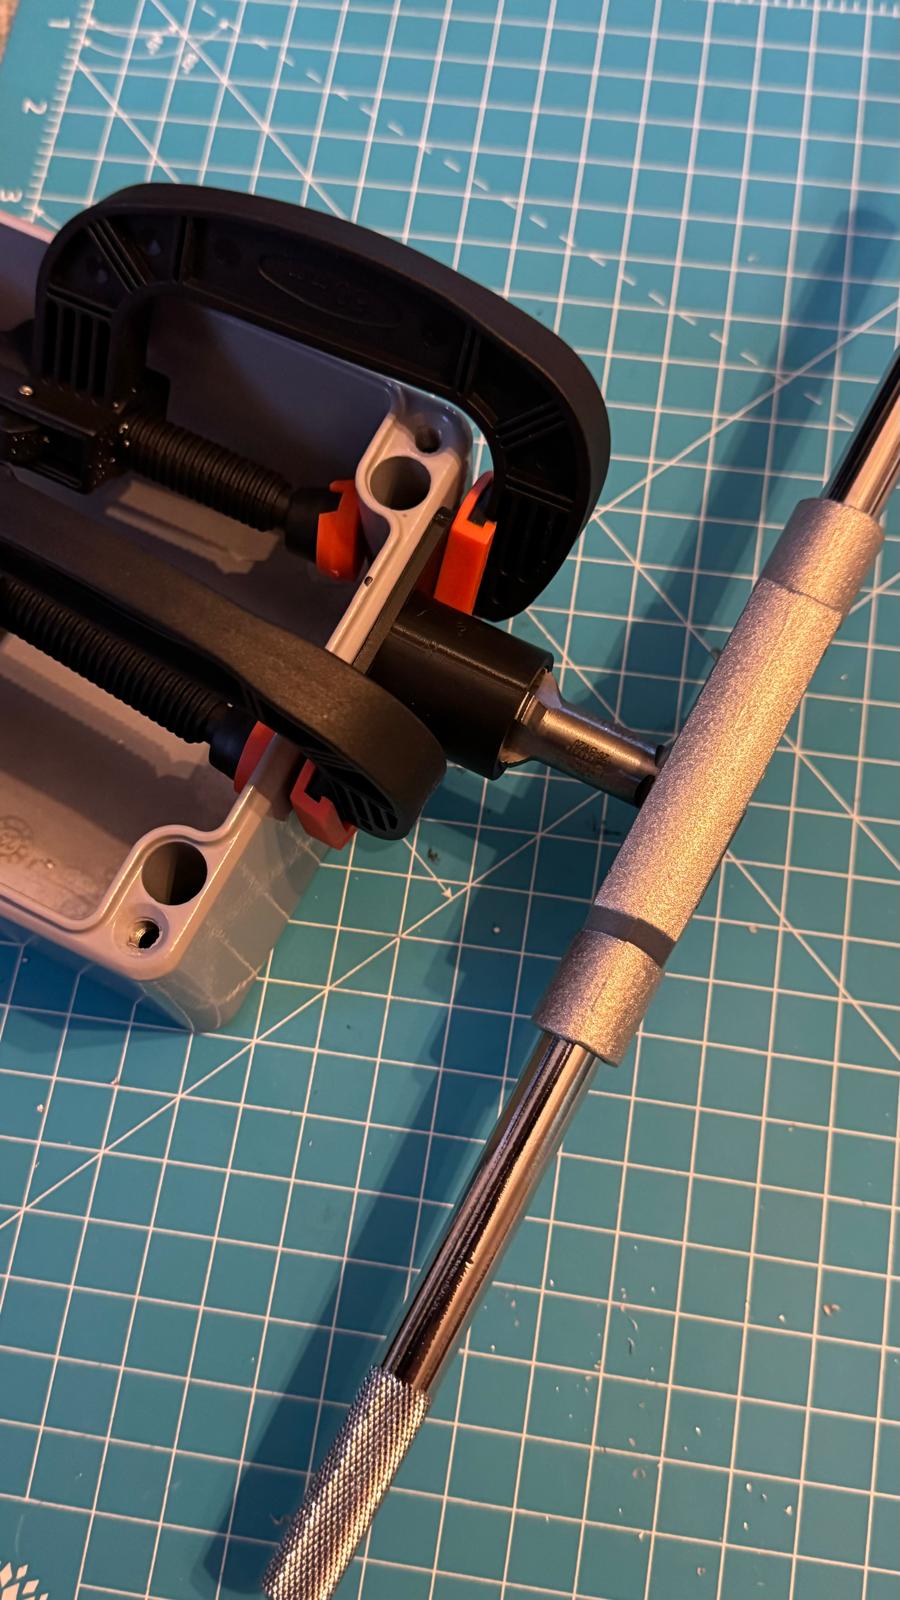
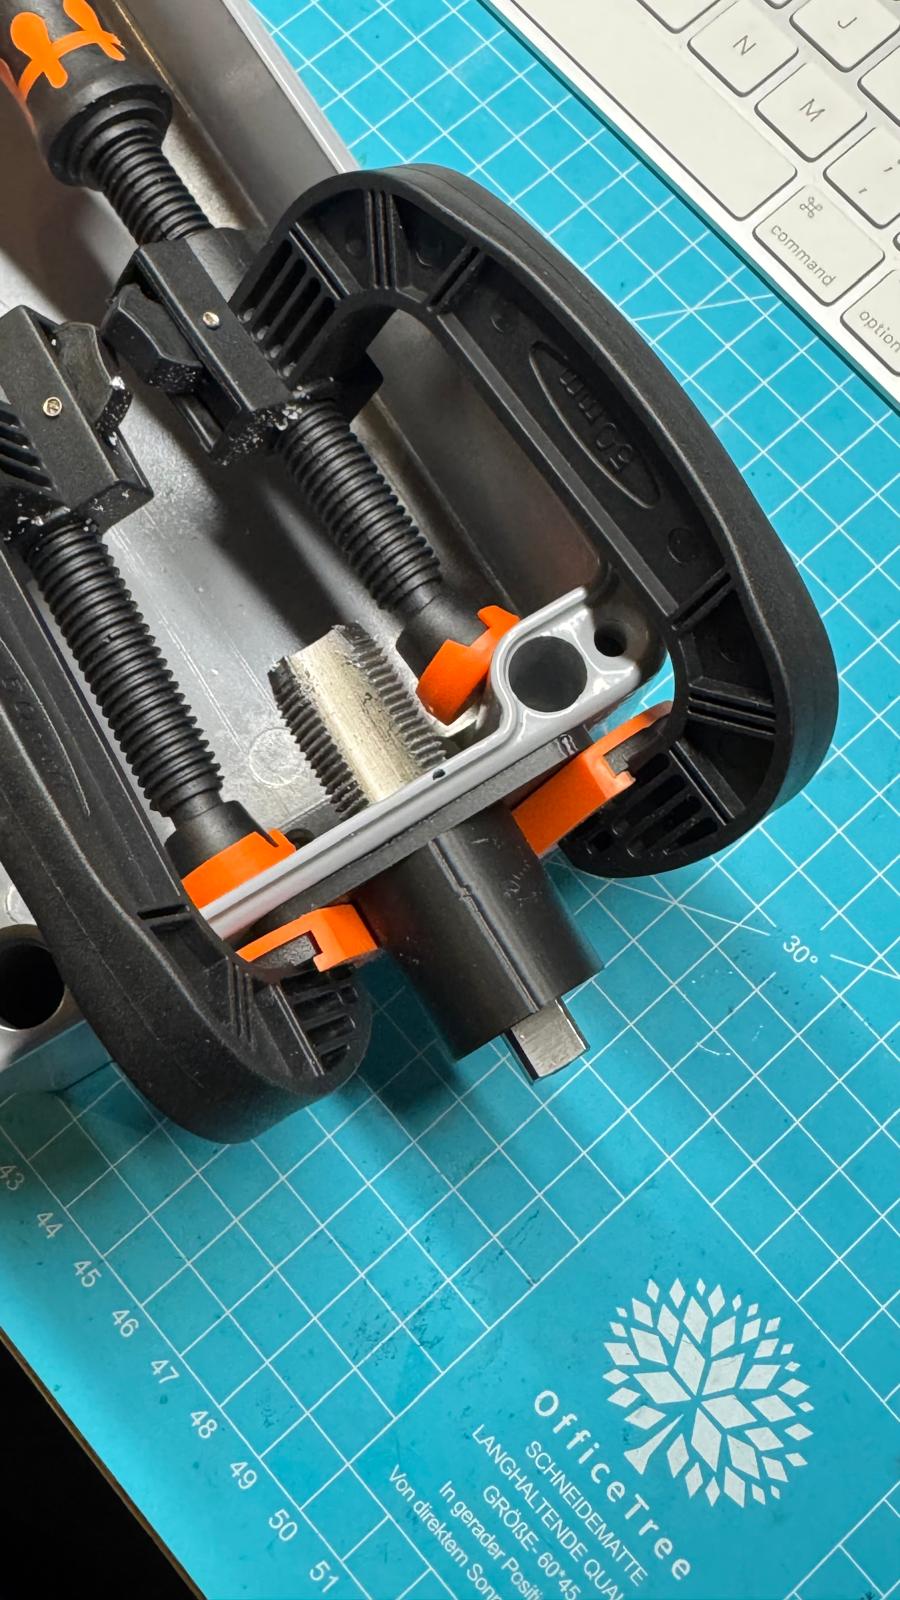
It’s getting cooler in Germany, so I’m going to upgrade my Slingshot board ![]() .
.
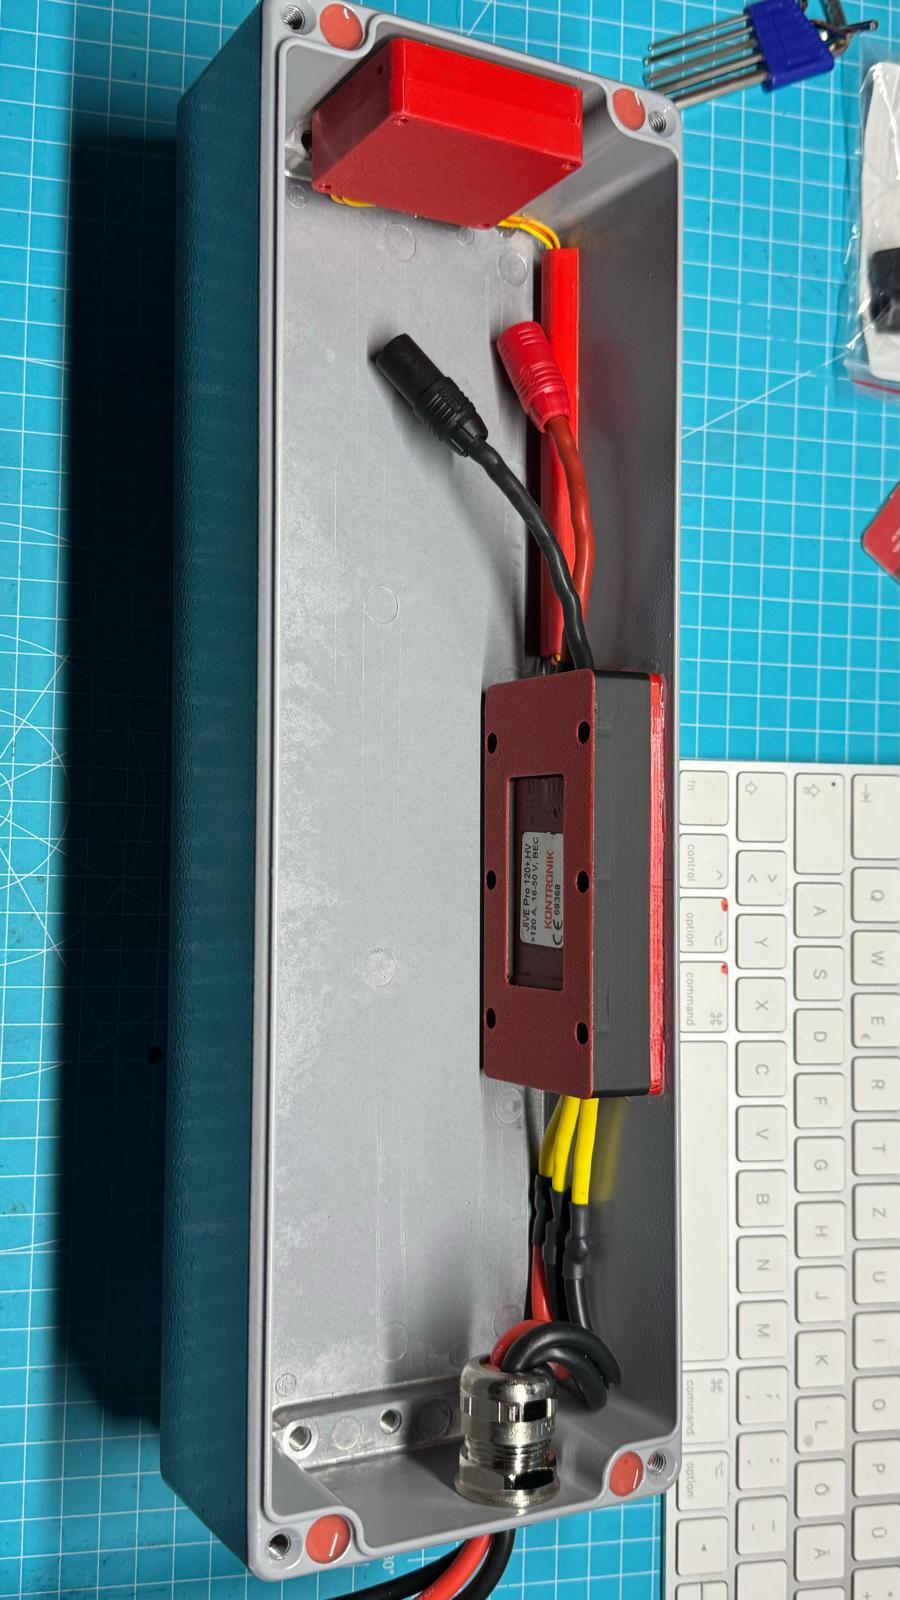
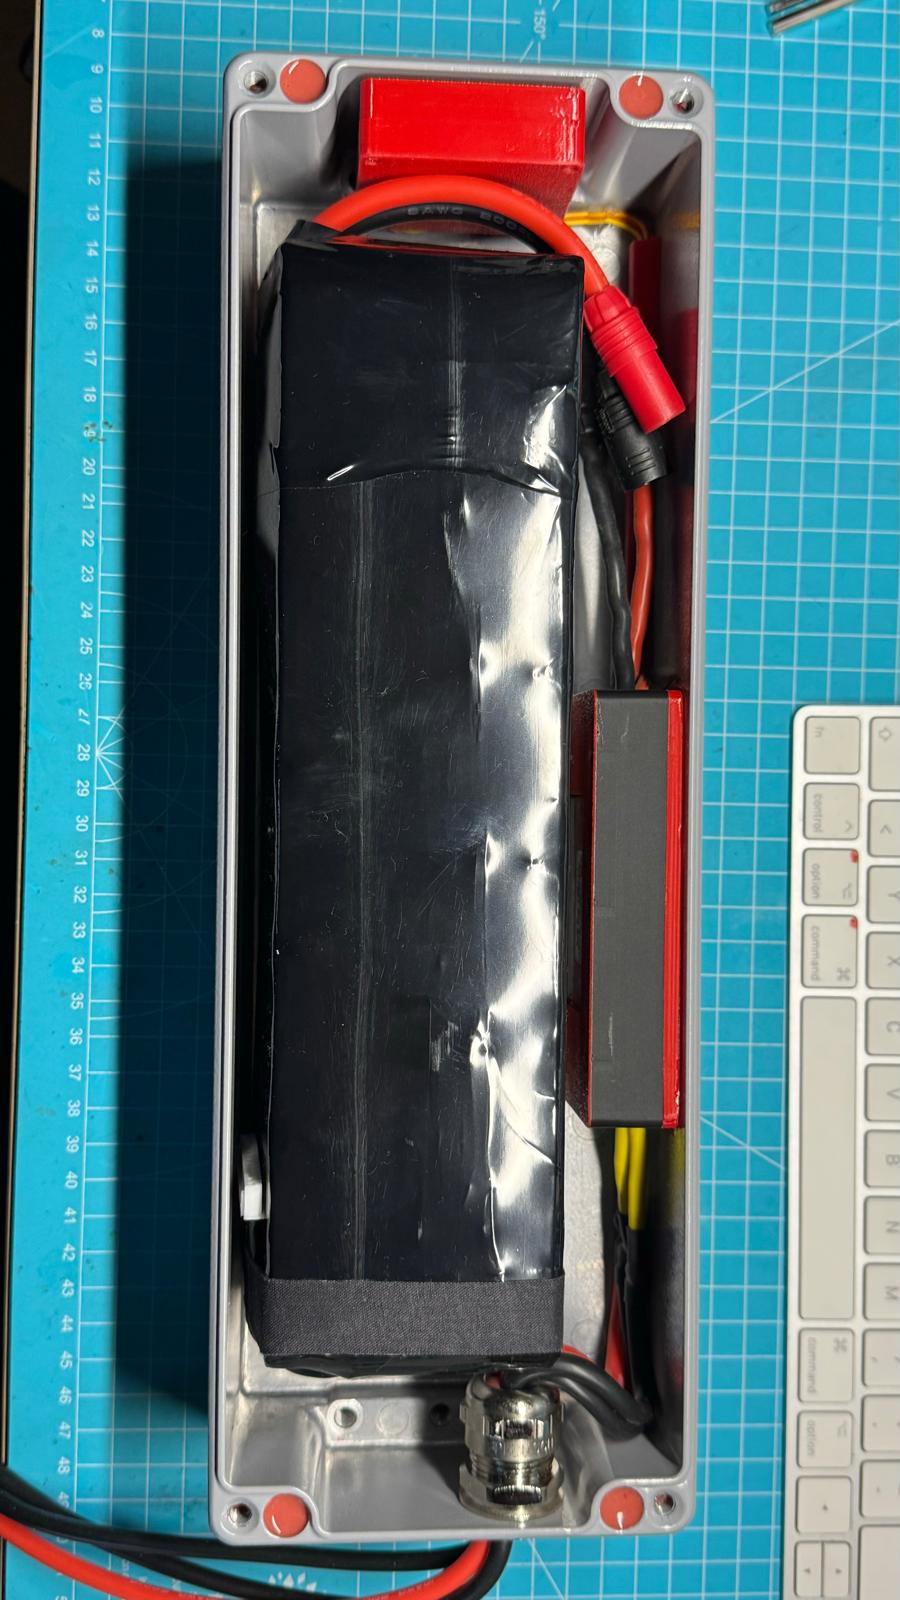
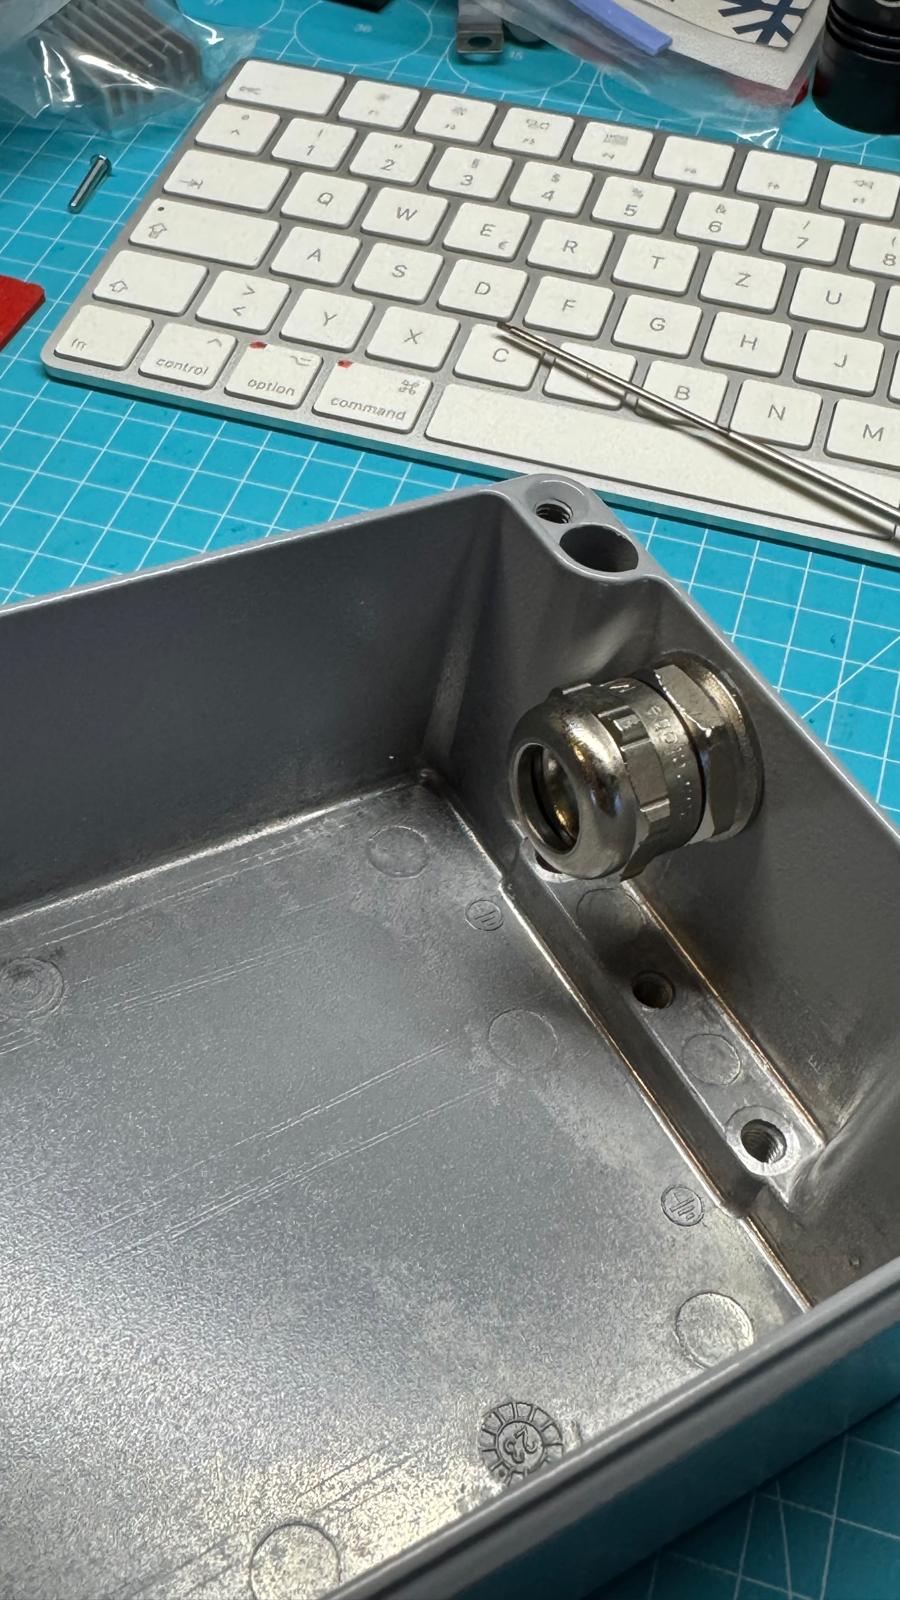
As with my second build, the Slingshot will have a Bopla box integrated.
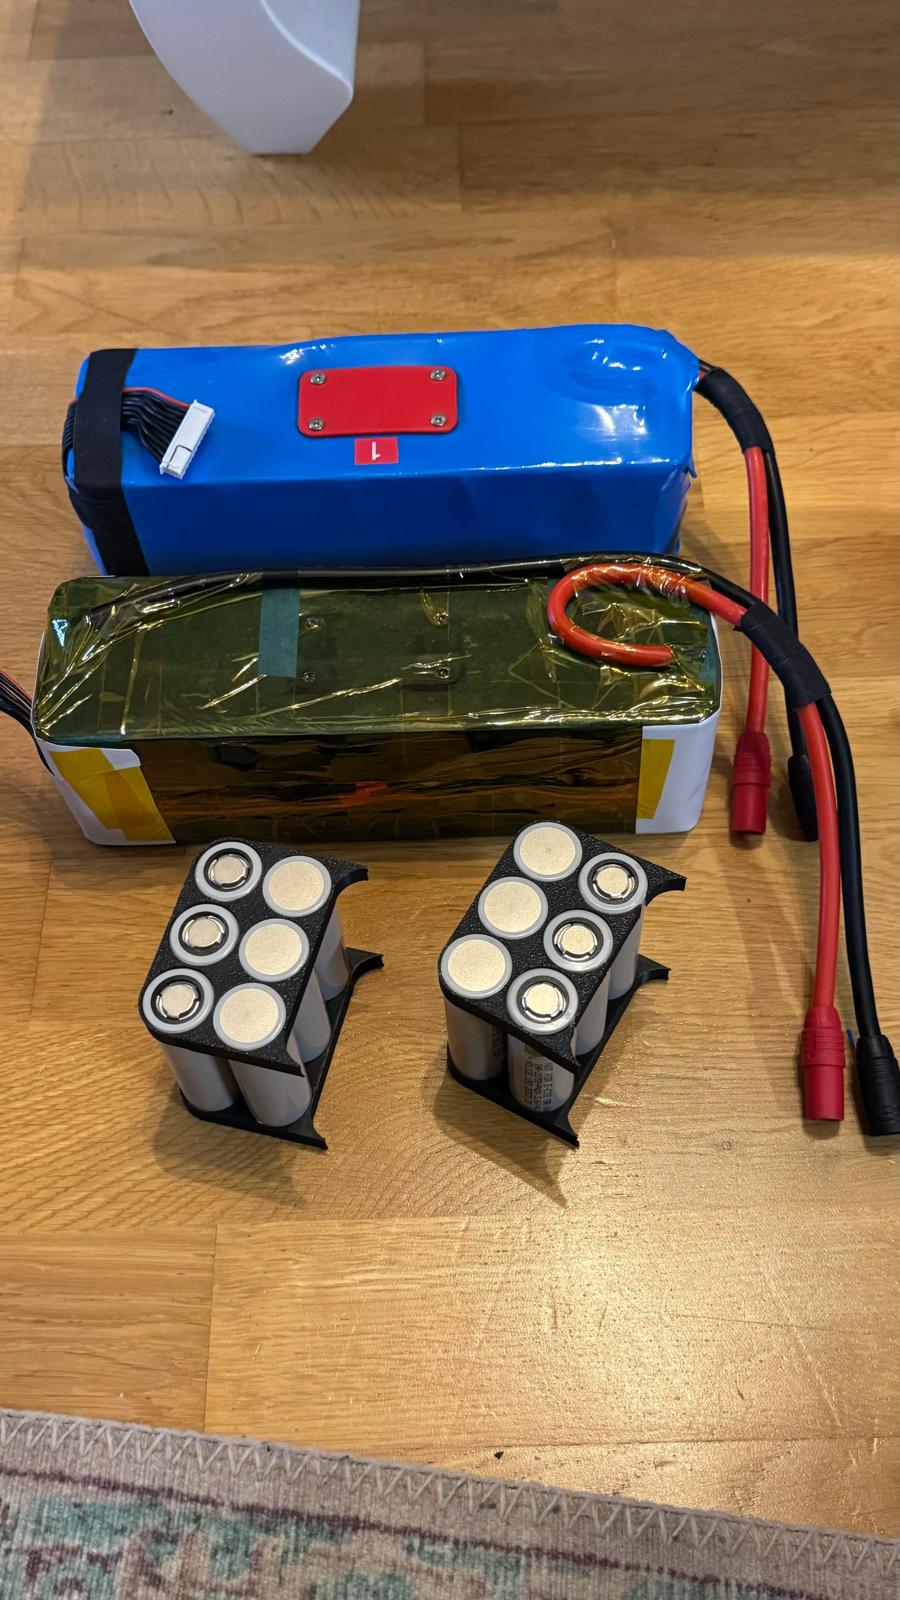
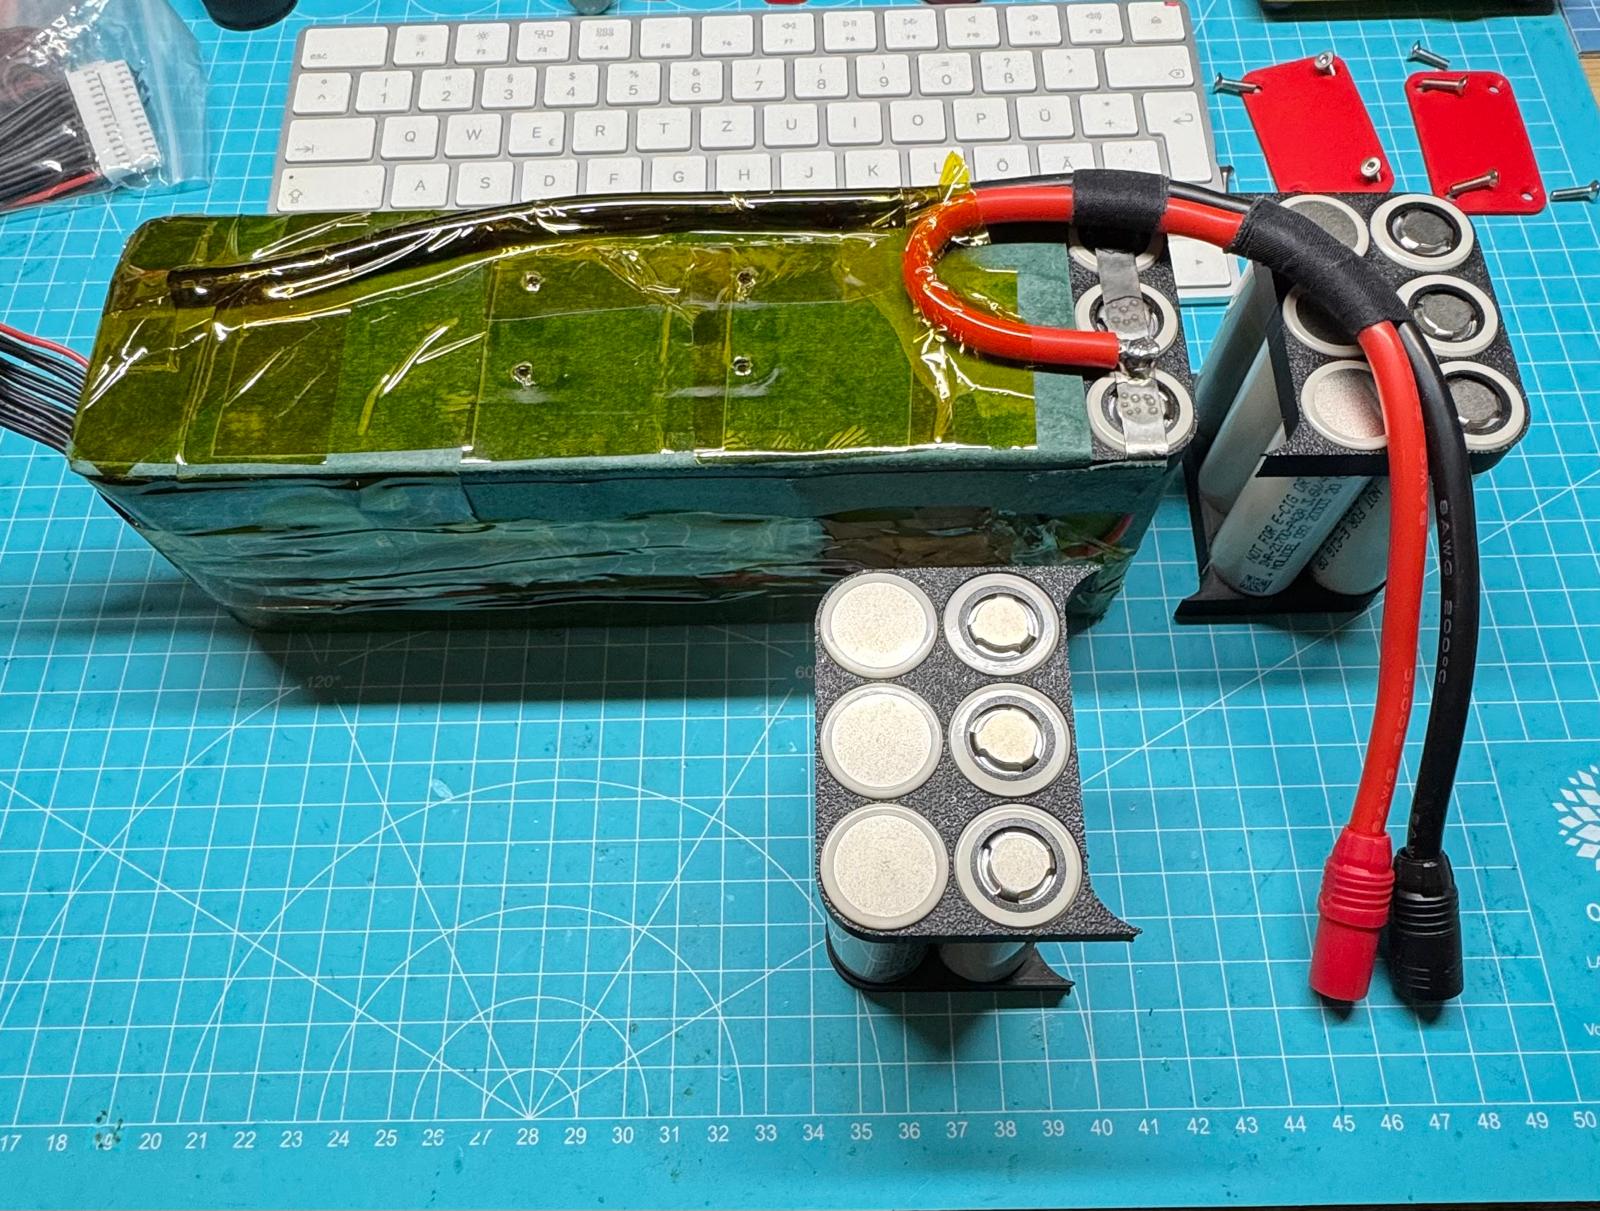
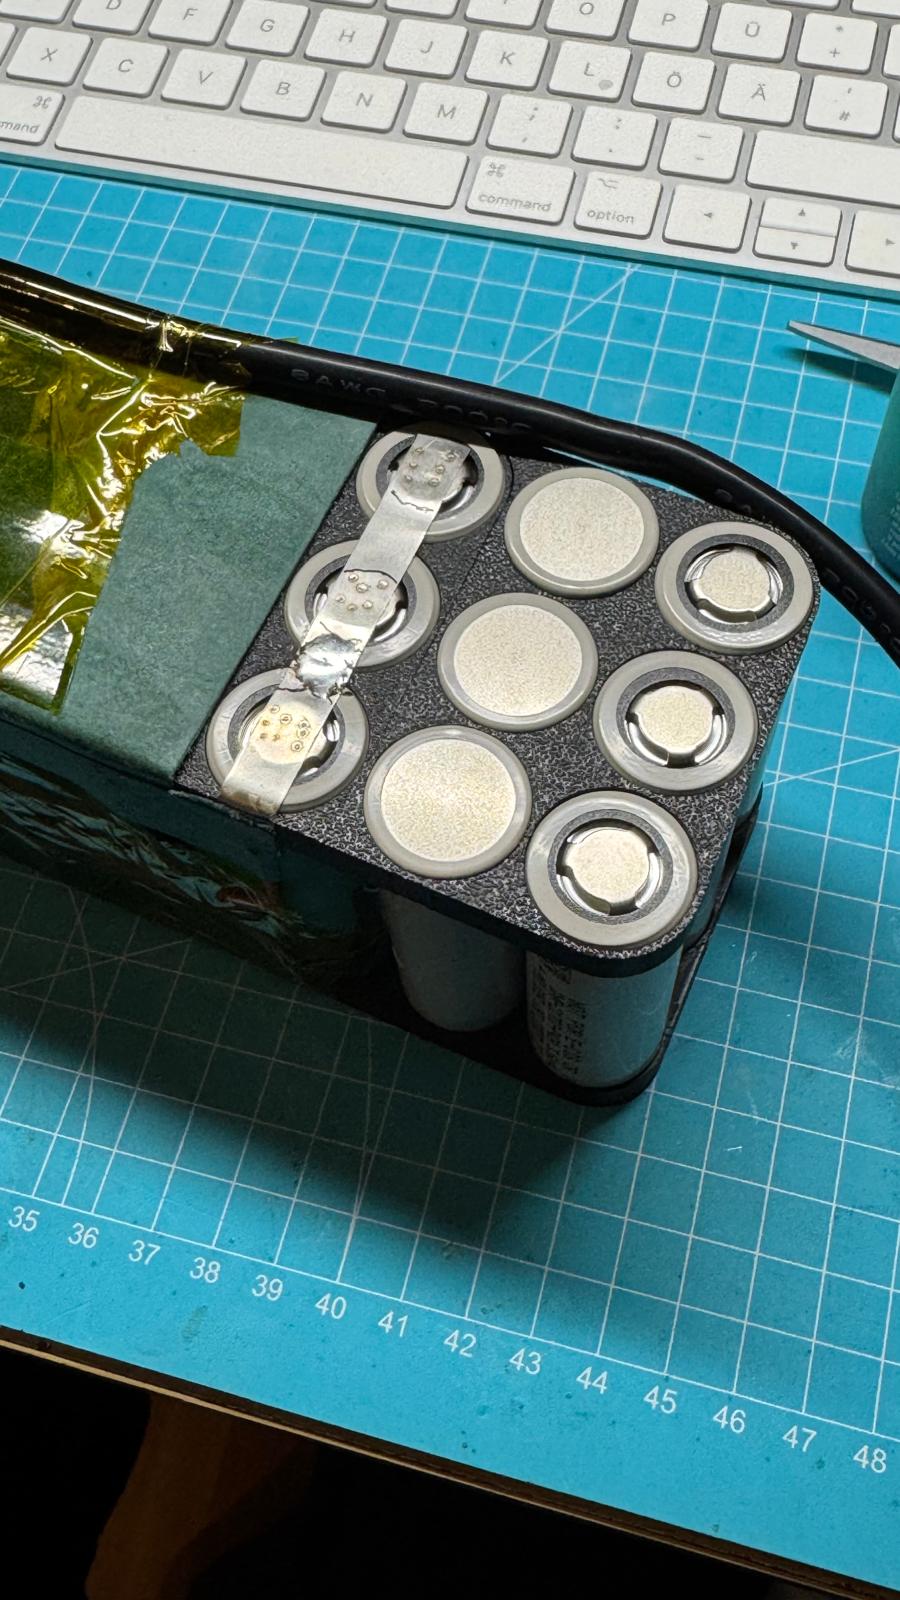
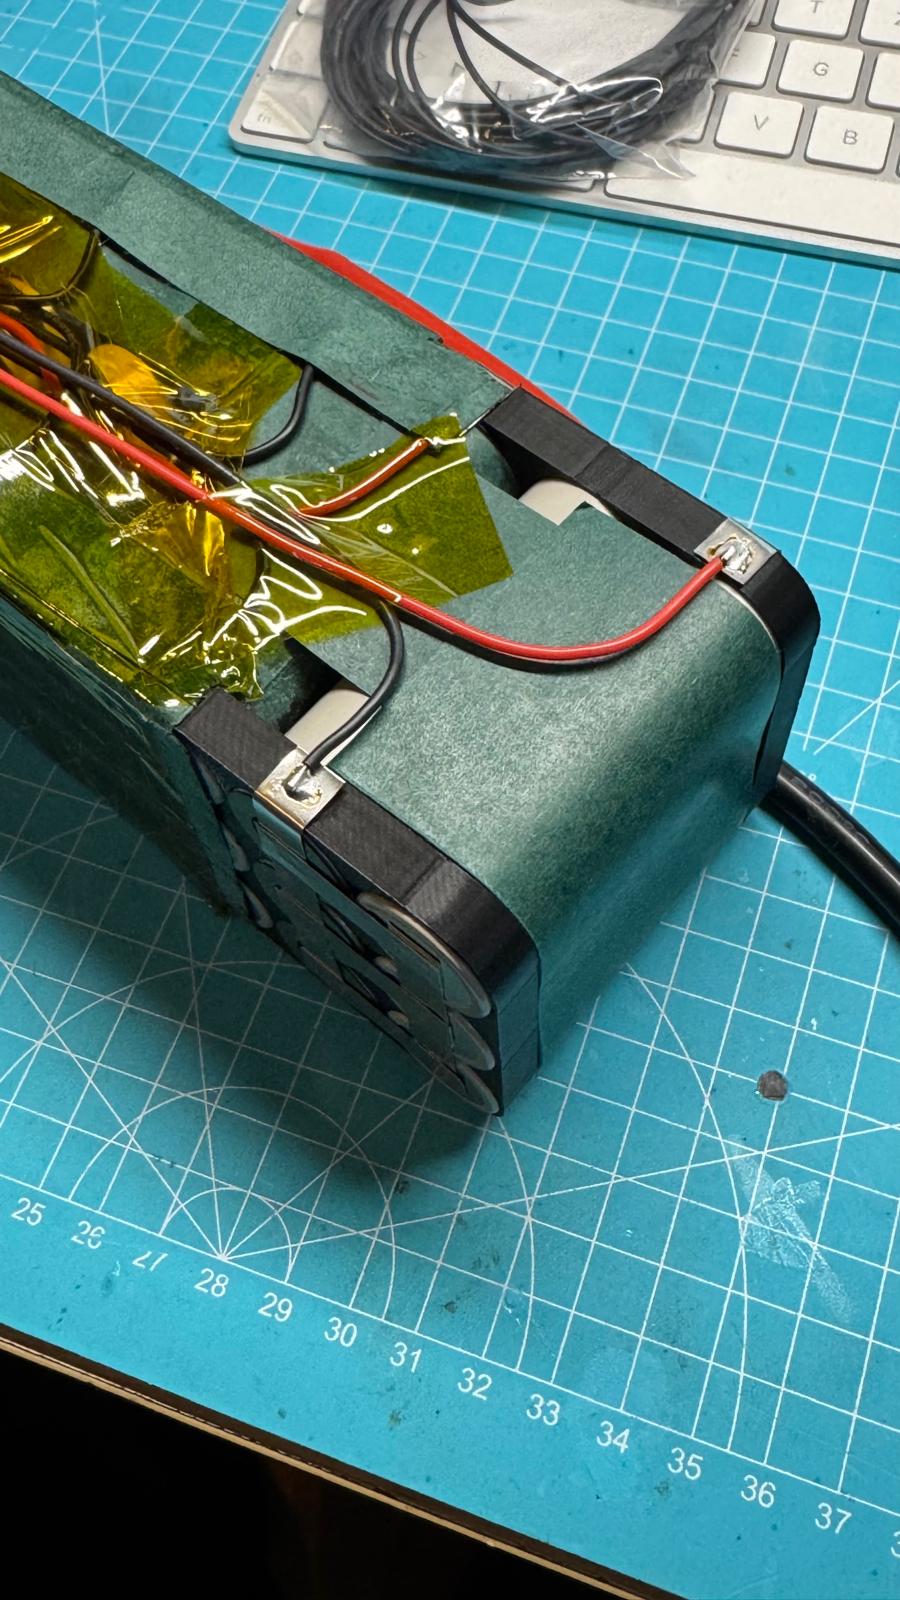
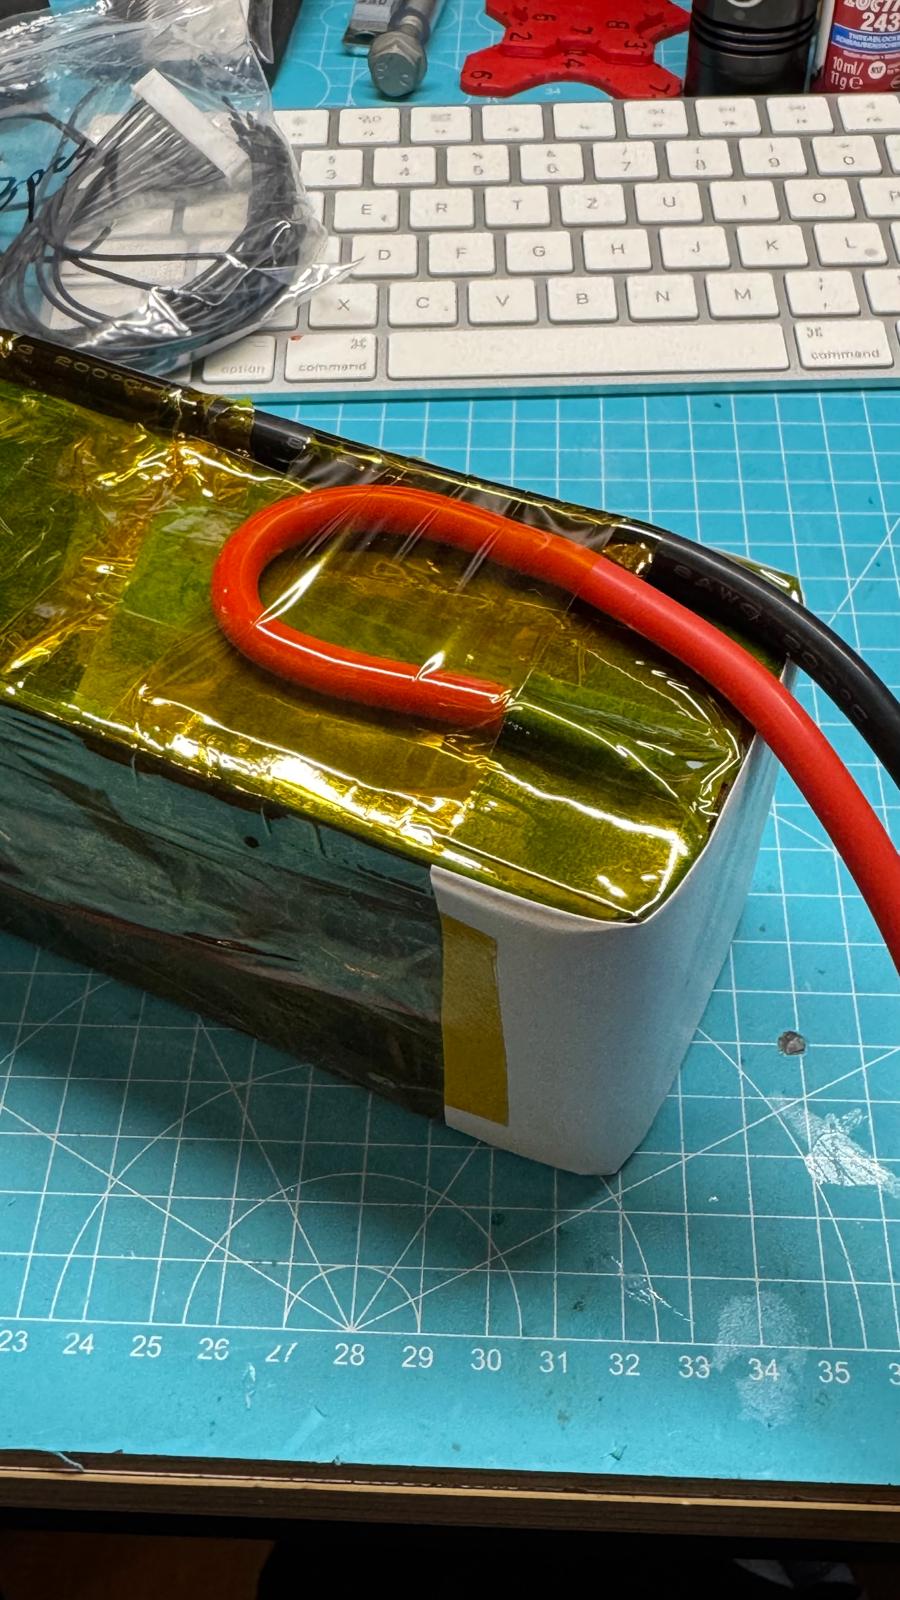
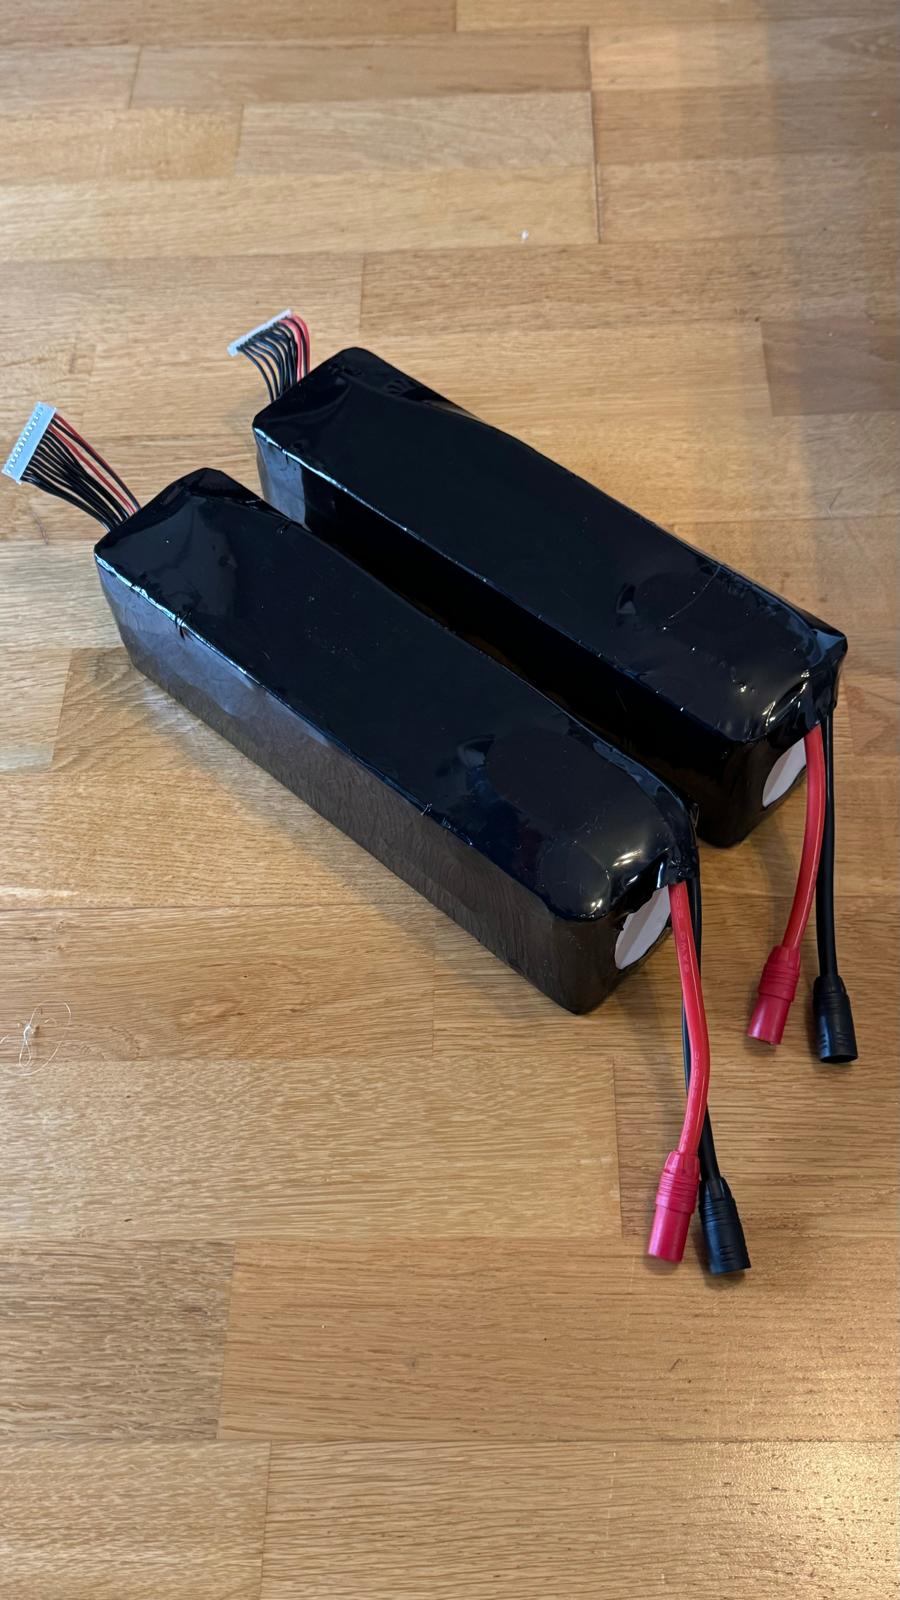
I’m upgrading my 10S3P batteries to 12S3P.
I can then use the batteries on both boards.
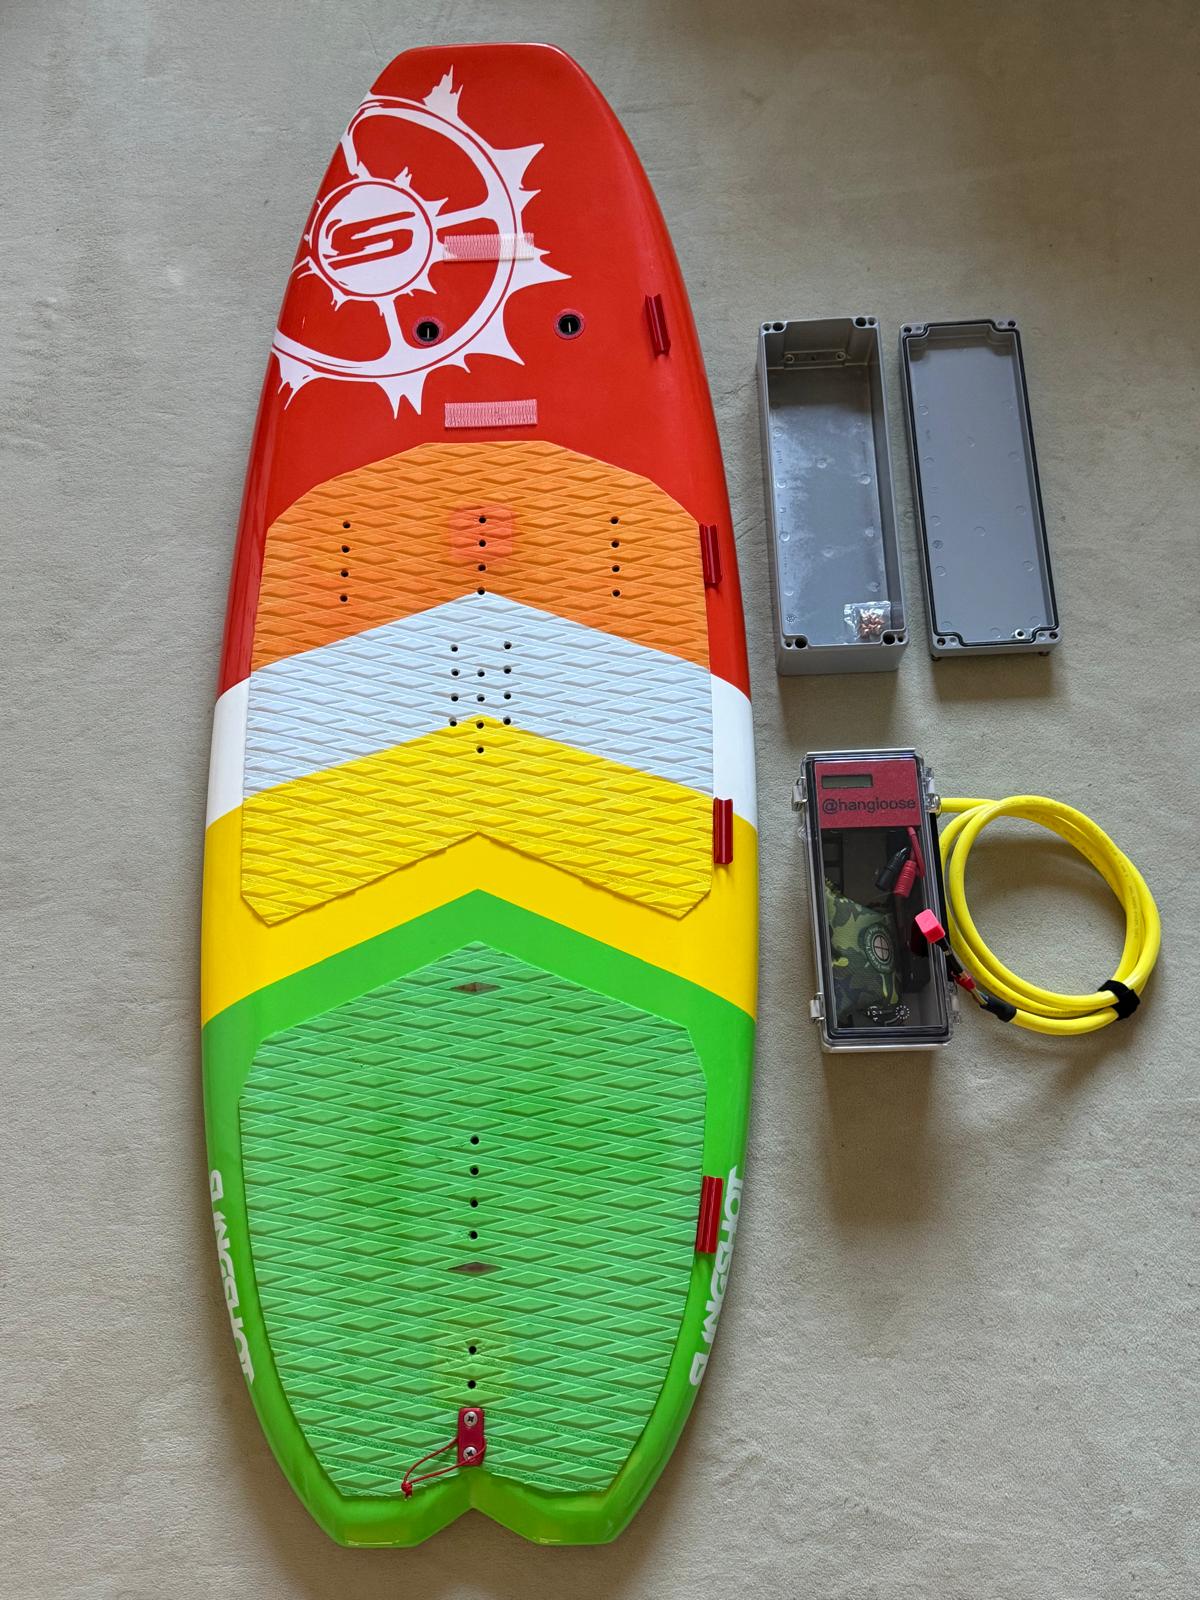
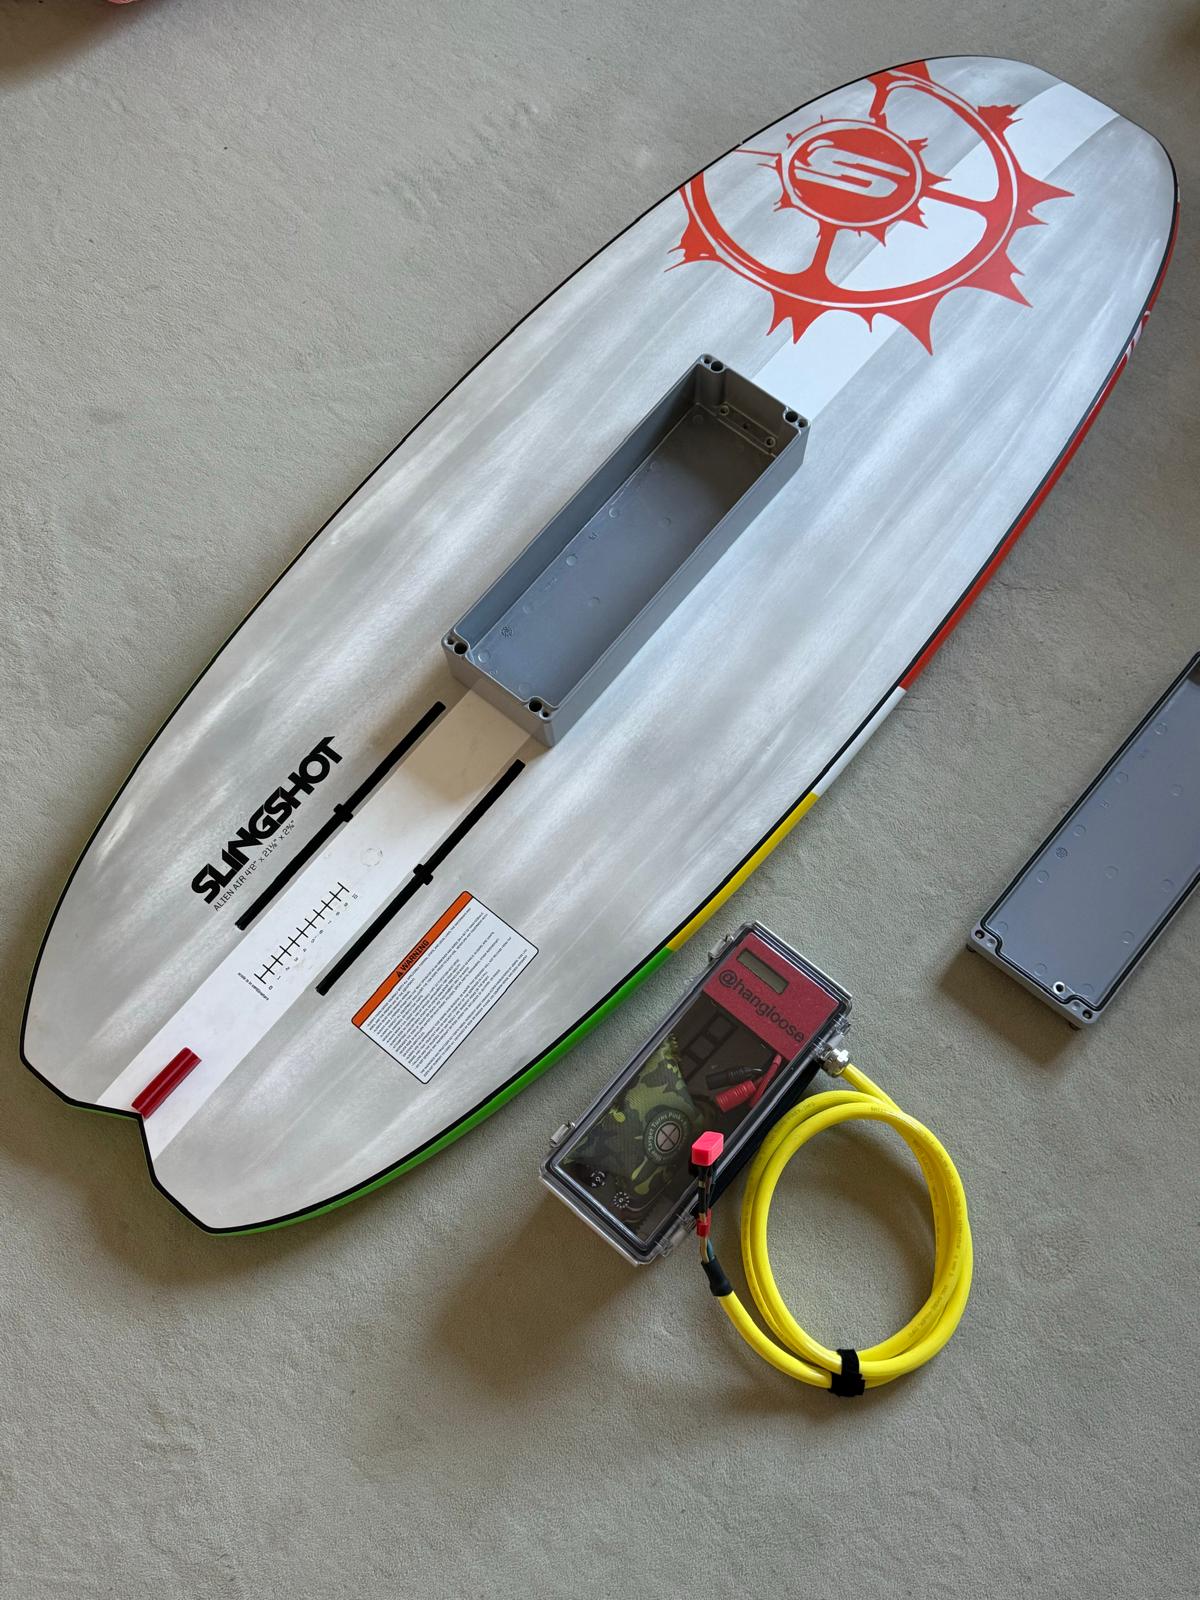
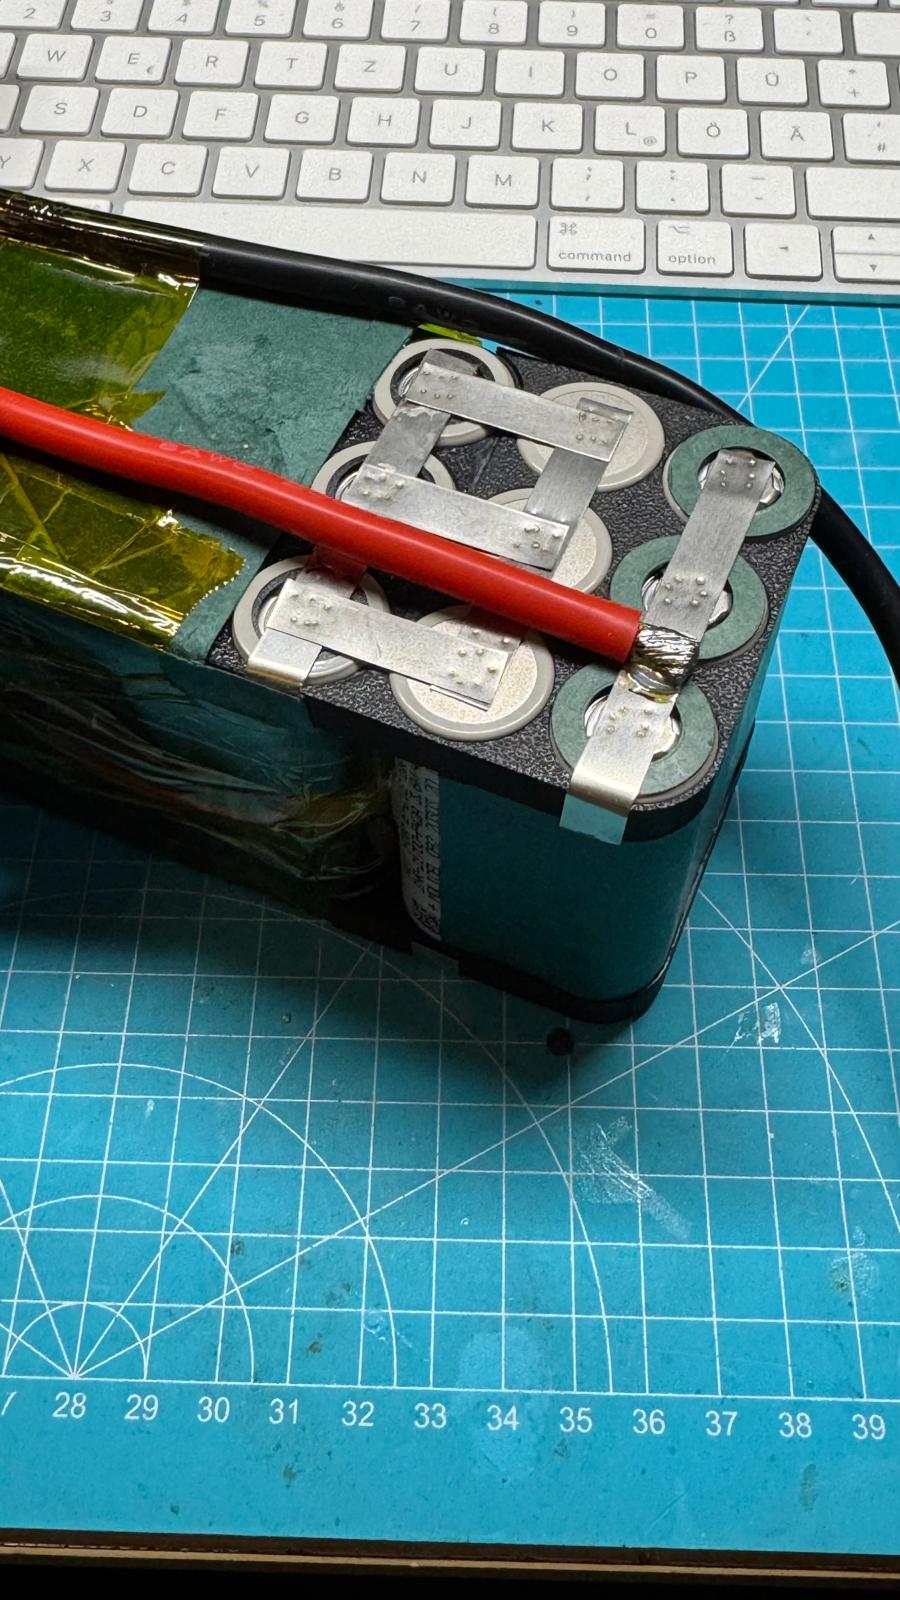
Next we move on to the Bopla box and interior.![]() .
.
7 Likes
Cool…i was missing your builds !!!
1 Like

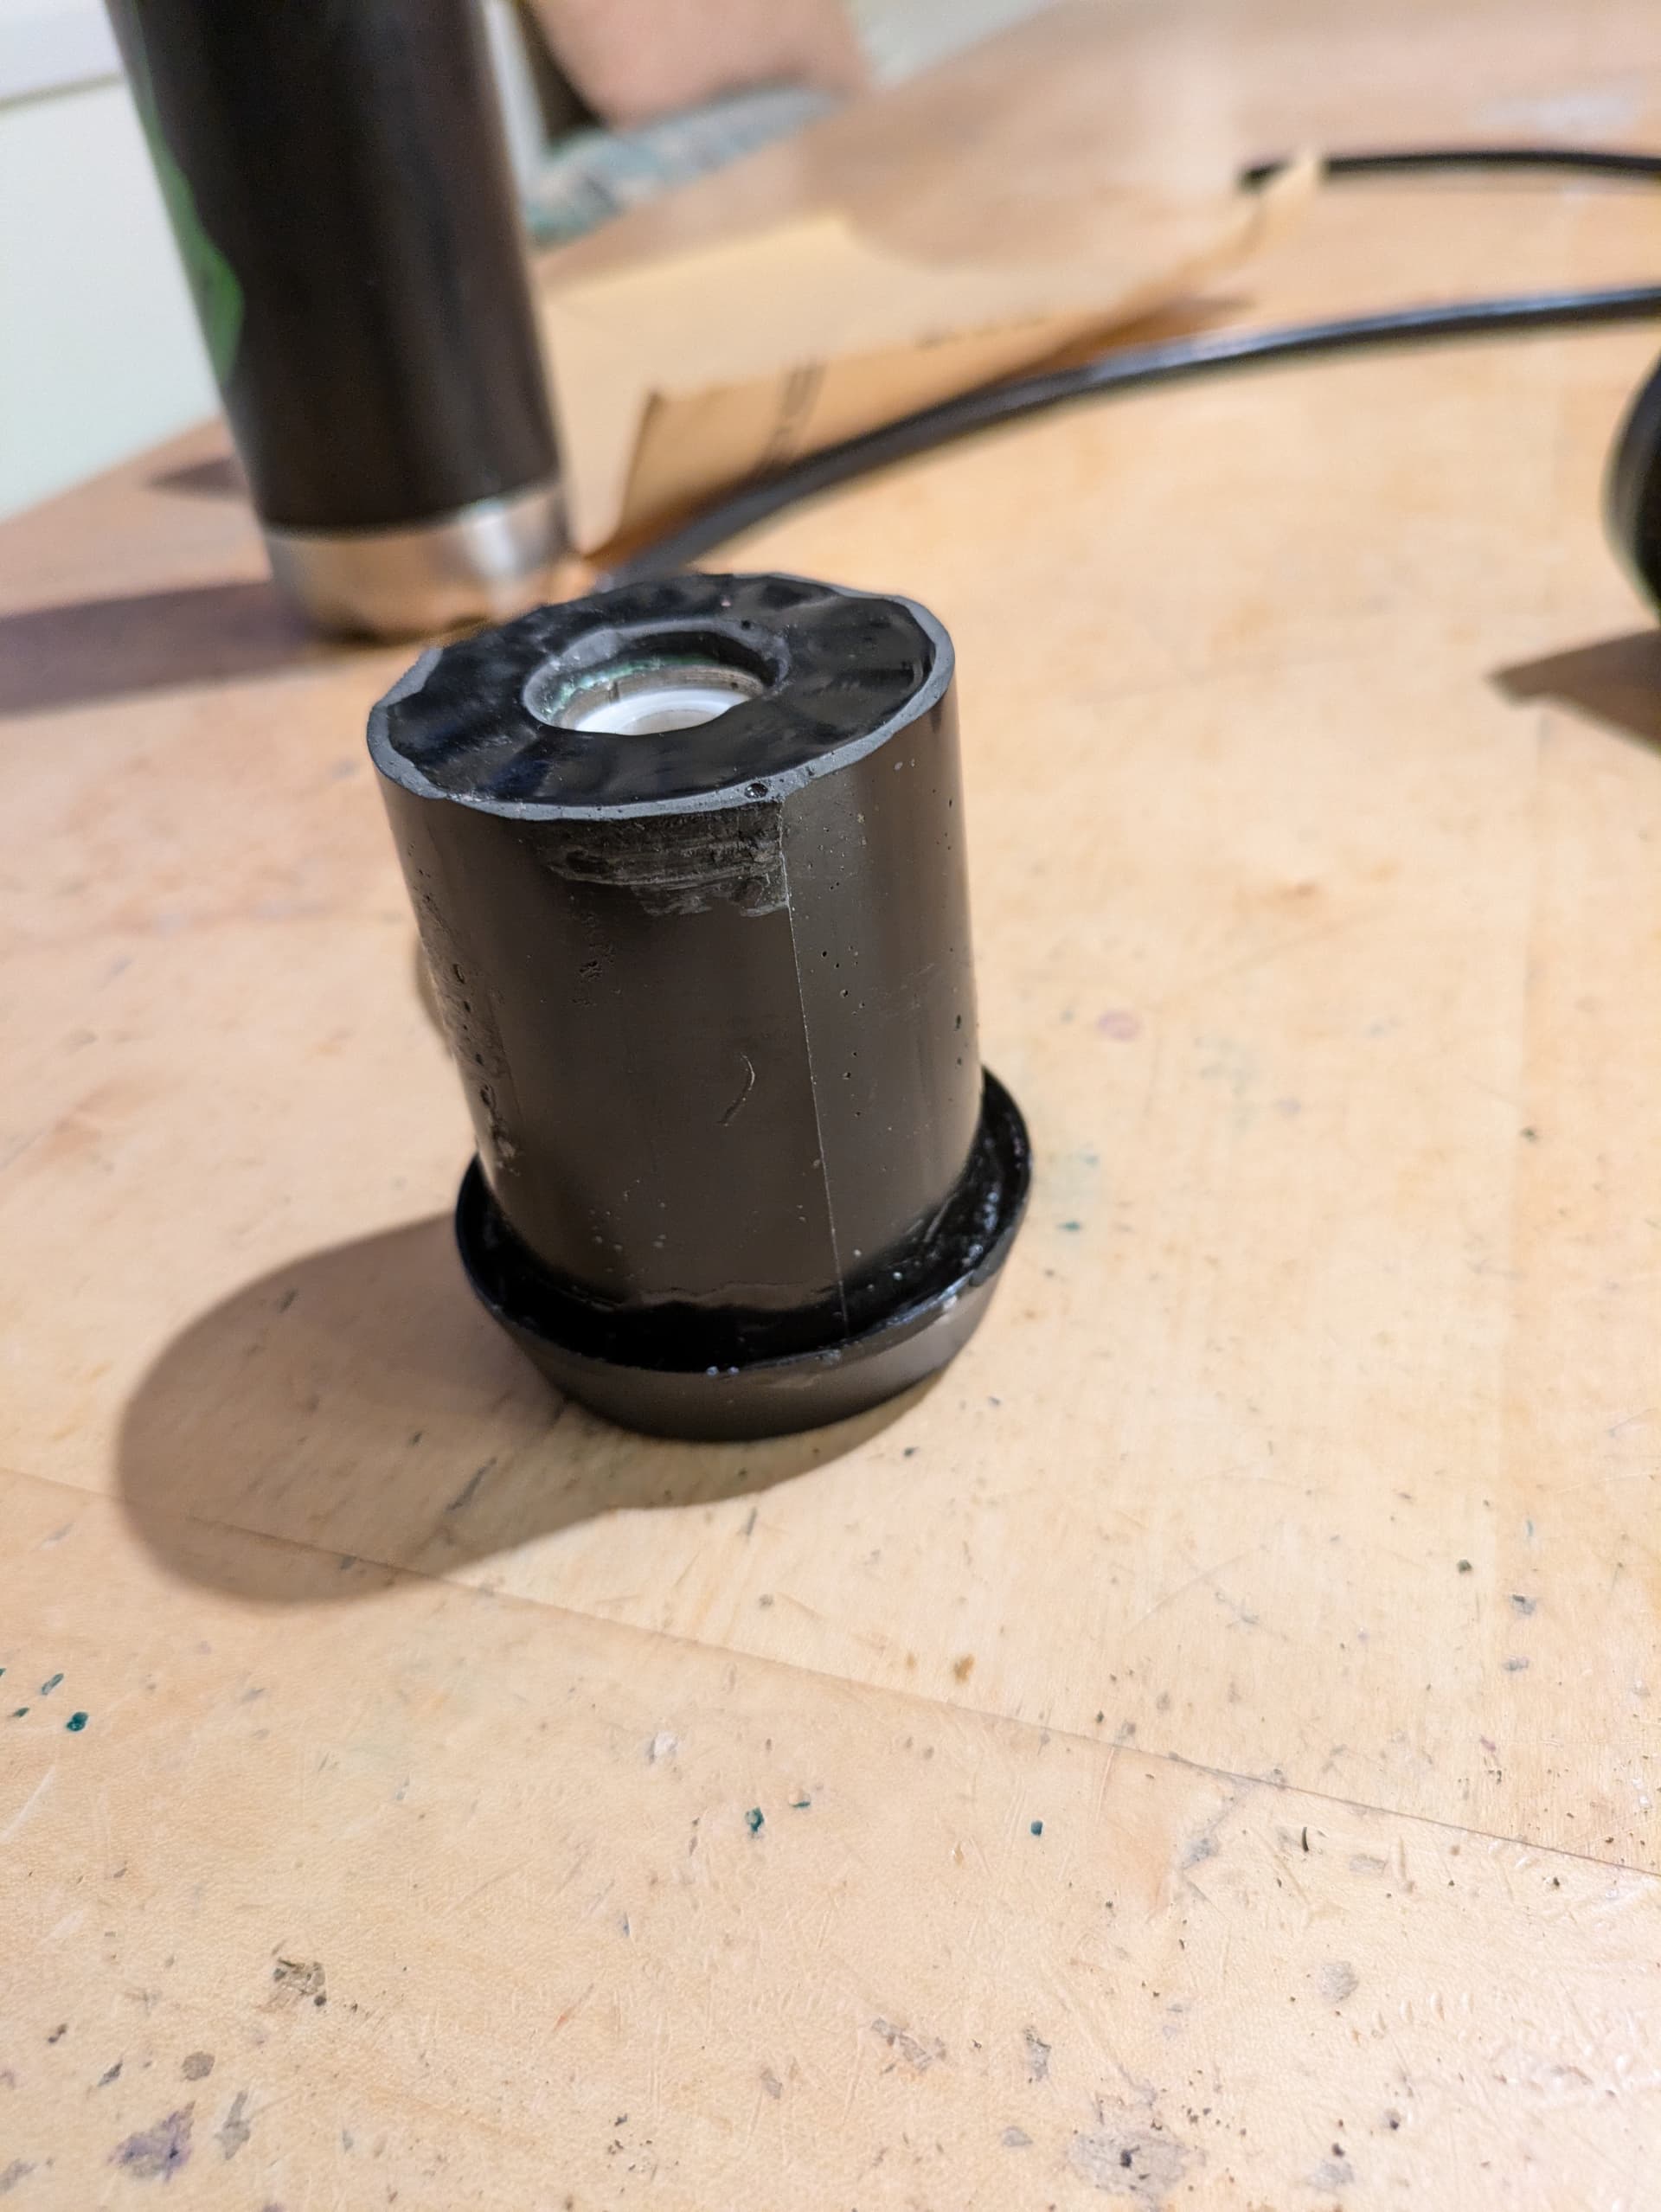
Yes, sandpaper. The thermal epoxy sands very well.
1 Like
Maybe create a holder/shaft to put it in a drill press and then sand it or use a file.
2 Likes