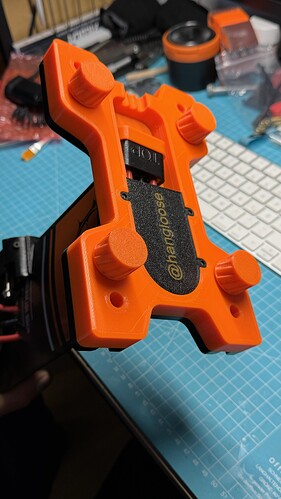
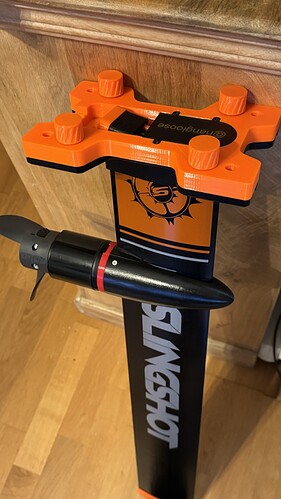
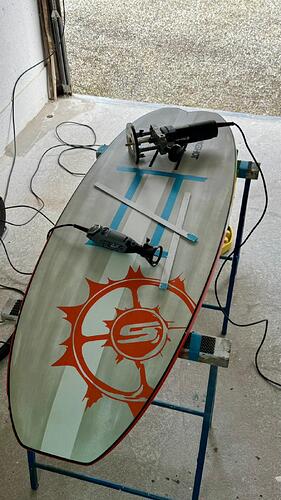
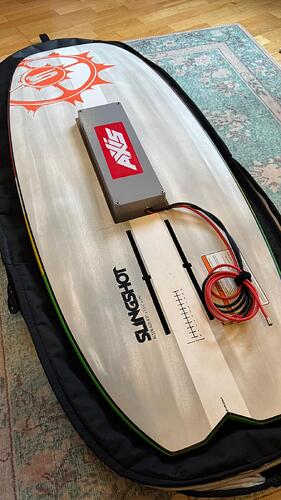
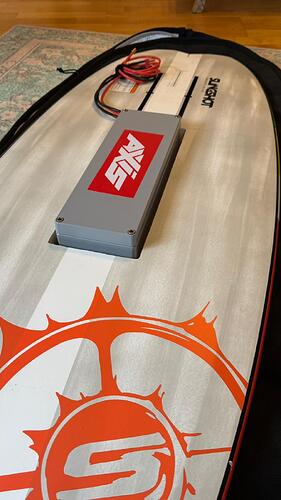
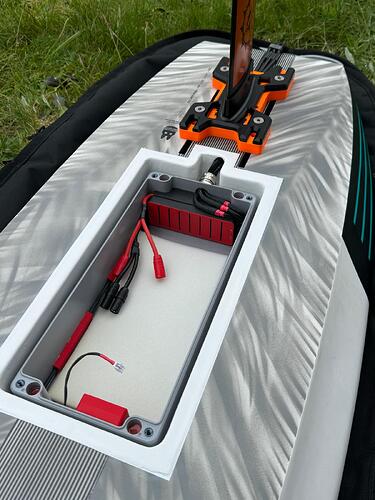
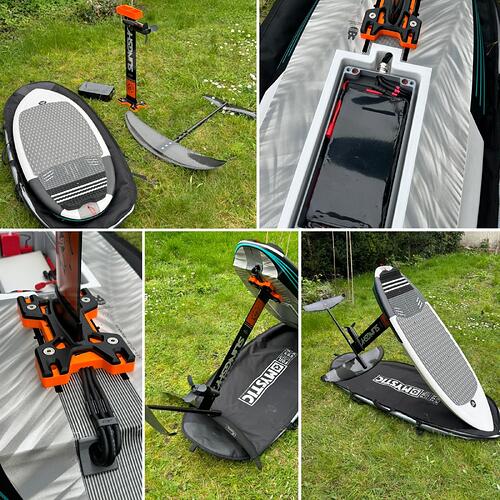
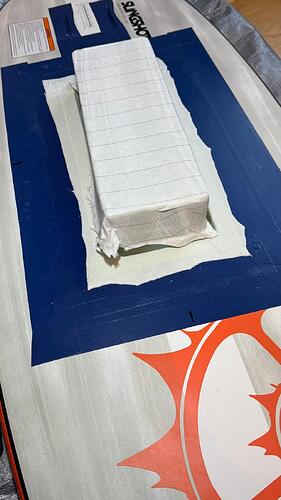
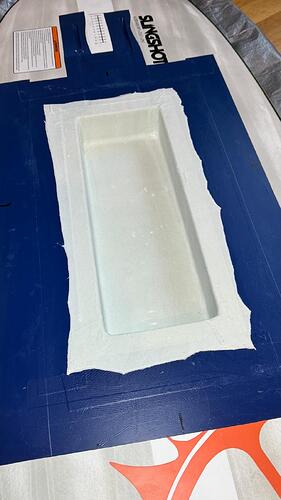
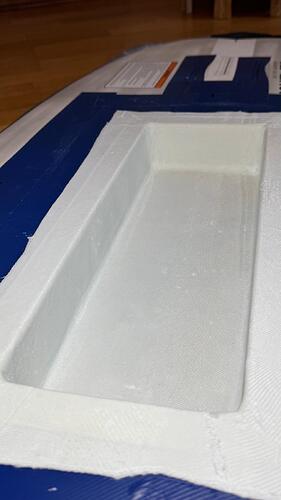
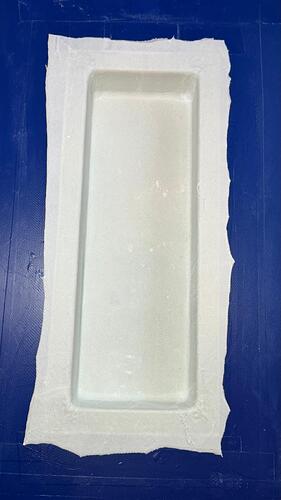
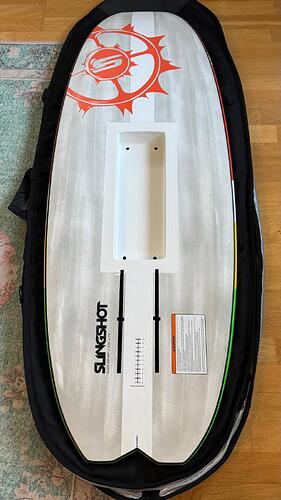
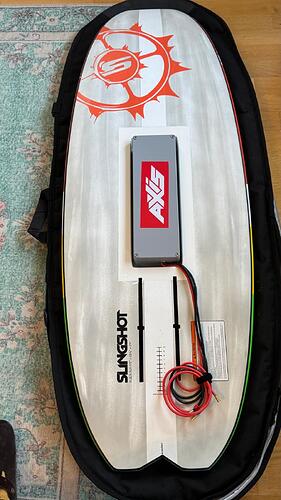
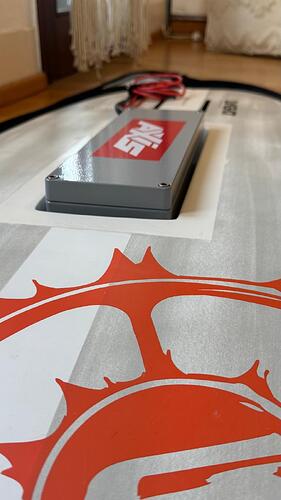
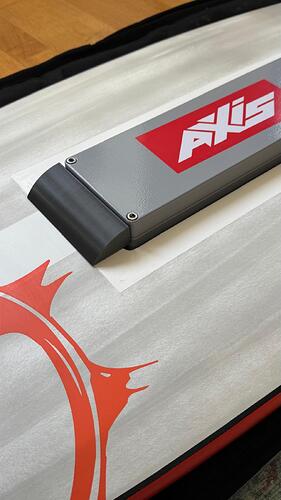
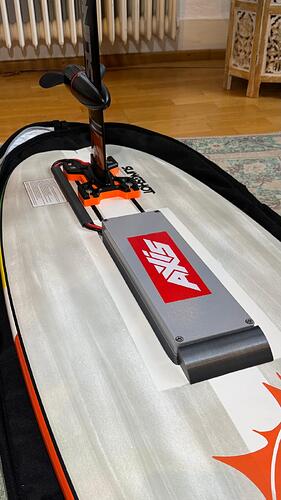
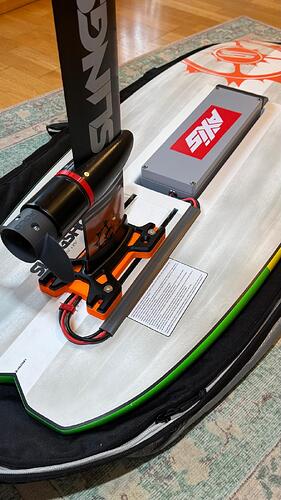
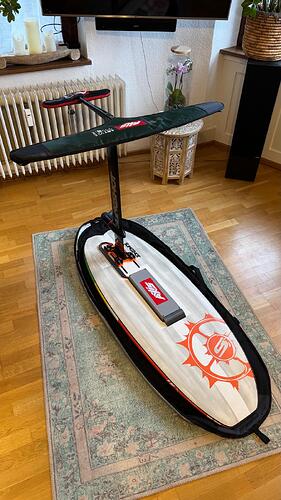
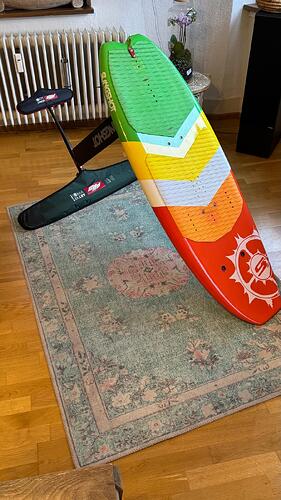
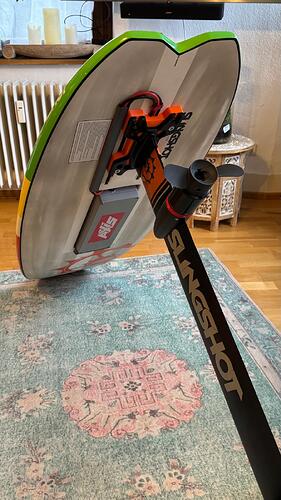
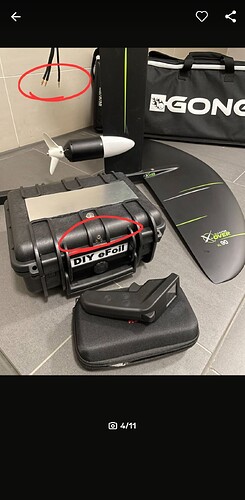
Today I completed my 3rd setup.
@hangloose, your ESC he Kontronic Jive 120HV+ is from 2016 (?).
Do you think it could be replaced by a 2024 Kolibri 140 LV (329€) replacing the fan by a 3mm passive aluminium sheet cooling ?
Can the ‘slow start’ be removed or attenuated ?
I bought my Jive Pro and Kosmik 200 used.
Yes, the Jive Pro is from 2016.
The Kolibri 140 LV can only run from 2-6S. If so, it should be the 140 HV.
The soft start is only active in helimode. So when the controller moves to a fixed speed.
The modes can be set on the Kontronik controllers with a button.
I also have the ProgUnit for my Kontronik controller. With this you can e.g. change the timing and other settings.
With the Kolibri you would have to remove the fan and heat sink and then continue working with your own aluminum block or heat sink for passive cooling!
I personally find the Kosmik controllers to be the best for eFoil or Assist operation and passive cooling.
They are very easy to install and set up!
See if you can find a used Kosmik in a helicopter forum.
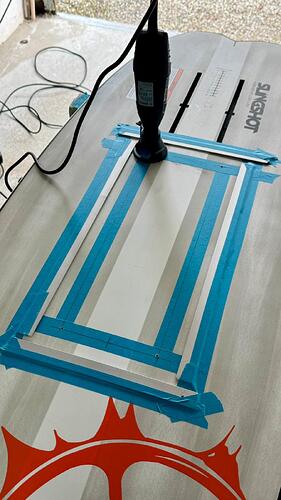
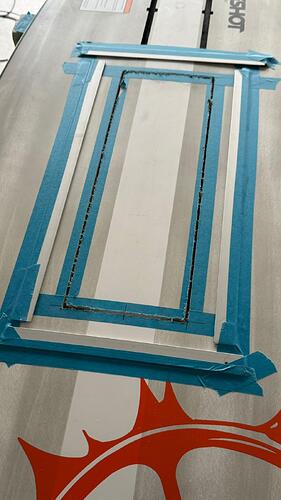
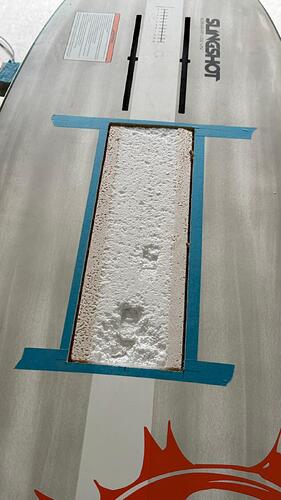
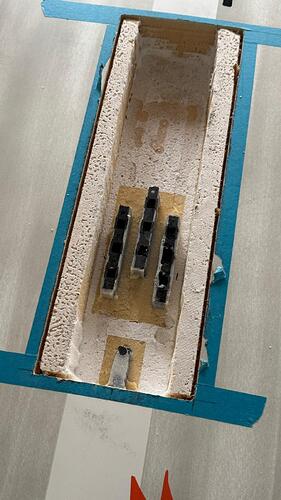
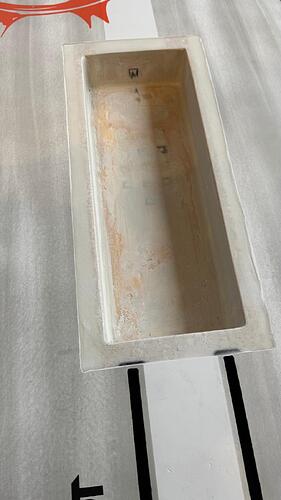
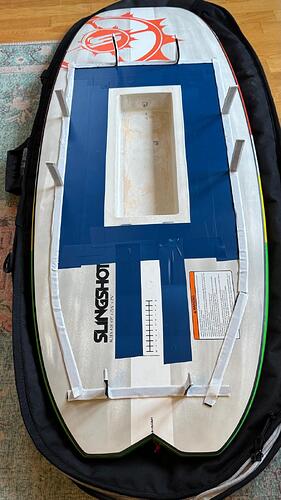
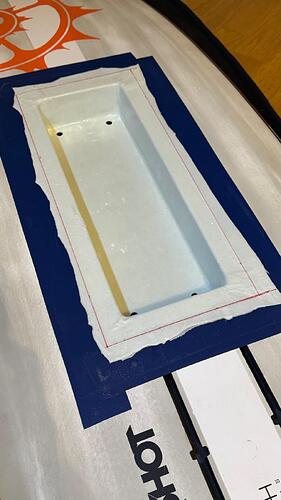
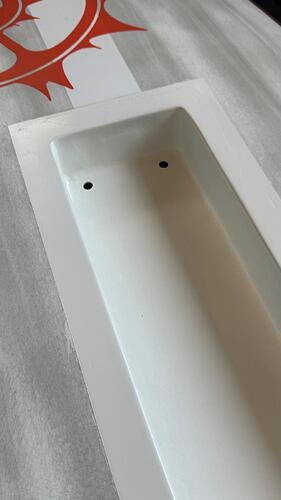
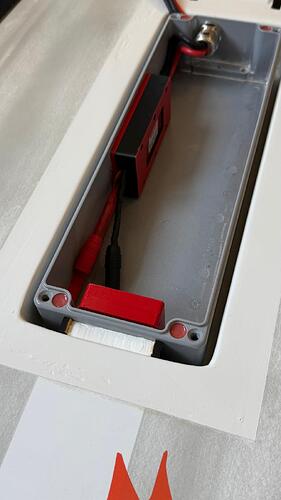
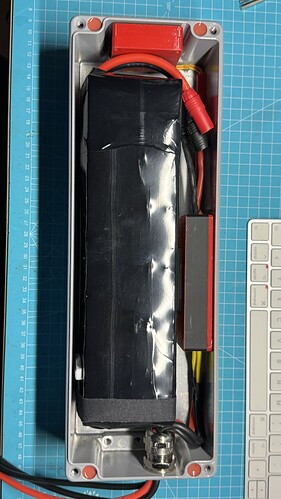
Today I made the cutout for the Bopla box.
In the next few days we filled and sanded to prepare everything for the laminate.
Beautiful meticulous work as always, be interested to hear your thinking re poking battery box out the bottom of the board versus poking it out the top of the board. Seems to me that the structural integrity of the board to prevent creasing or fin box displacement is so critical when you are removing the top or bottom layer of the board. Guess the top/deck layer is predominantly in tension and bottom section in front of the mast in compression.
I have a board with the battery box sitting on the deck positioned on centre line and between my feet and it’s surprisingly easy to live with but it’s higher volume than this board. Can imagine a box protruding from the deck would be feasible if it wasn’t crazy high even on a sinker board if you could say cover with deck grip and lie on it.
Also, hard to tell but is that timber or divinycell you have lined the cavity with? Thanks for all the effort sharing your projects ![]()
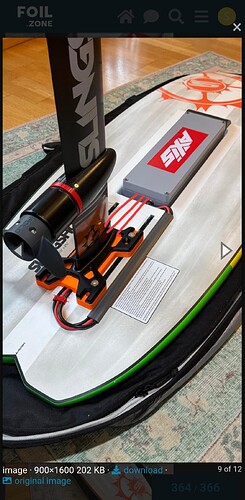
The box on the board was annoying, and since my daughter mainly rides the board, we wanted to sink the box.
I thought for a long time about whether to make the cutout from above.
But the board now only has 28 liters and the overhang at the top would be annoying. That’s why I decided to install the box from below, like in my second build.
In my second build, I also thought that the structure and stability would be affected because the box is even bigger and I had to remove more material.
But that’s not the case and the board is very stable and you can’t notice any difference.
The Slingshot board is made of XPS and Styrofoam.
The top layer has a wood veneer.
Here is a picture of the 2nd build that I have already driven for over 30 hours without any problems.
How thick is the board at the place where you made the cutout?
60mm at the deepest point
After filling and sanding twice, I am happy with the result.
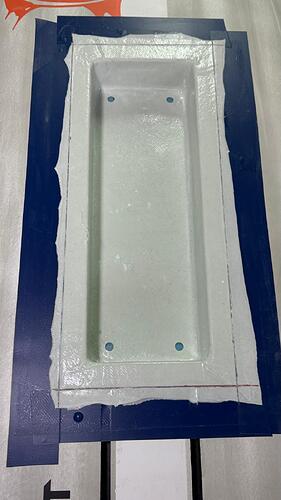
Everything is now ready for lamination.
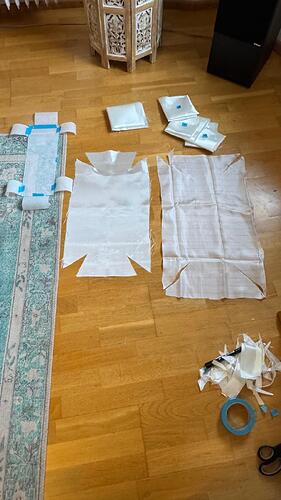
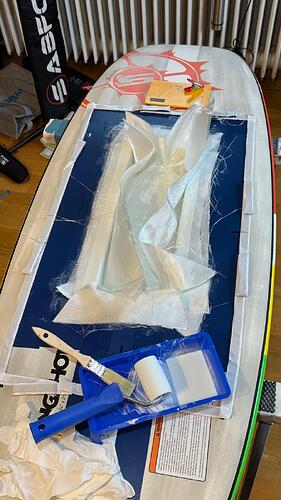
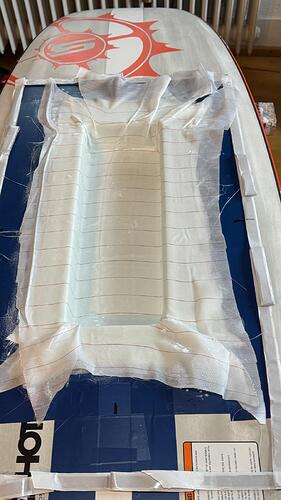
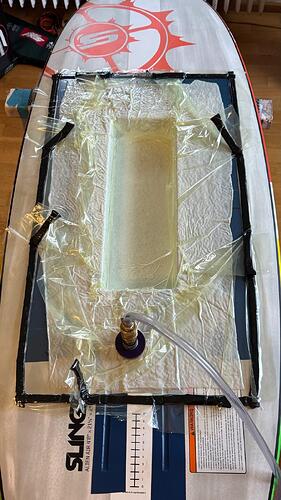
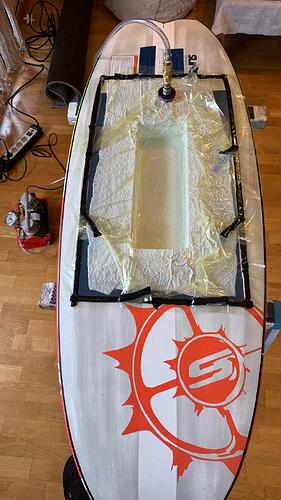
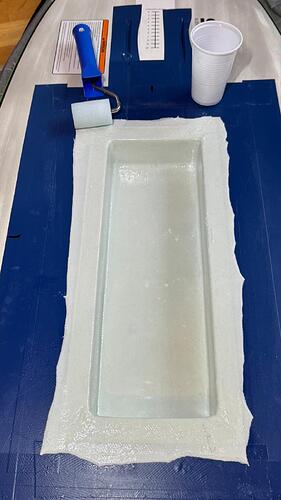
Like with my 2nd build I will use 5x 180gr gfk.
Hope you dont get too many wrinkles, but breether cloth, peel ply and vacuum bag relief folds looks on point ![]()
THX.
It should be even better this time than my 2nd build. Let’s see.
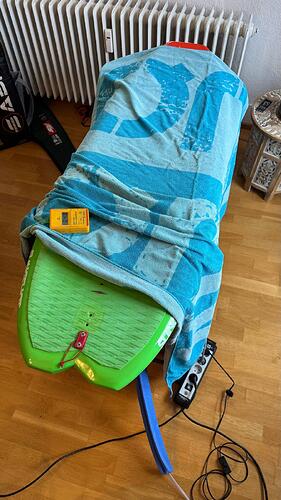
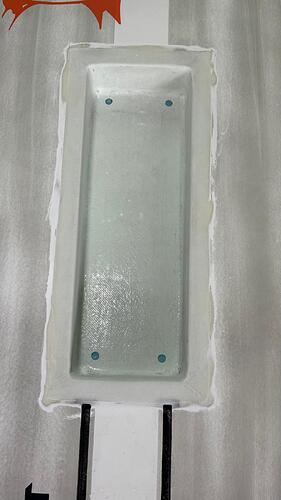
This morning it was time to unpack.
I am more than happy with the result.
A few wrinkles were unavoidable, but since the box will sit in the cutout later, that doesn’t matter.
Seal the surface one last time with epoxy.
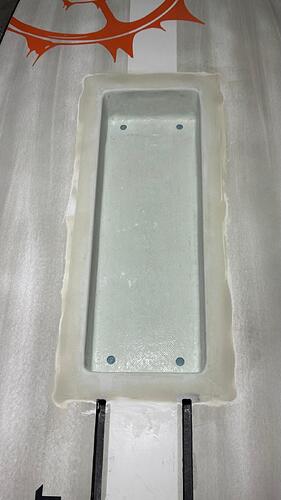
Next, I will remove the excess laminate and fill and sand it again.
Today I continued with my board.
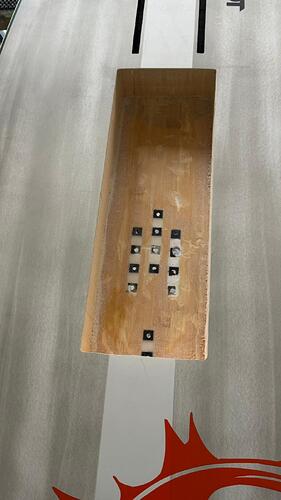
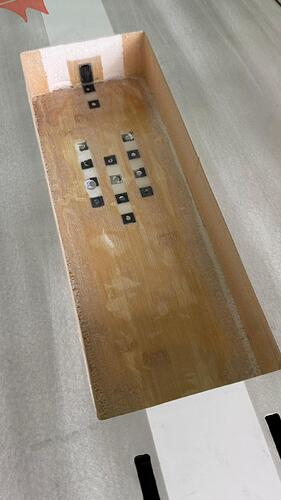
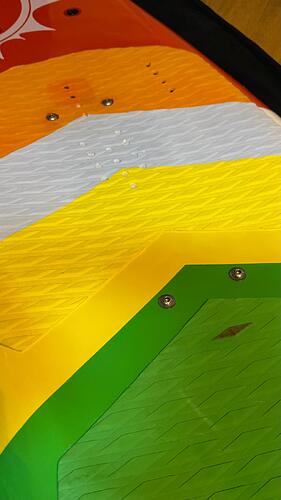
Drilled holes to attach the Bopla box.
Then I removed the remaining laminate.
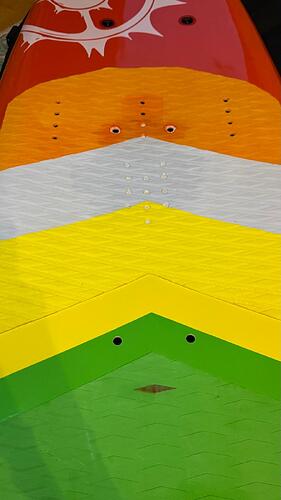
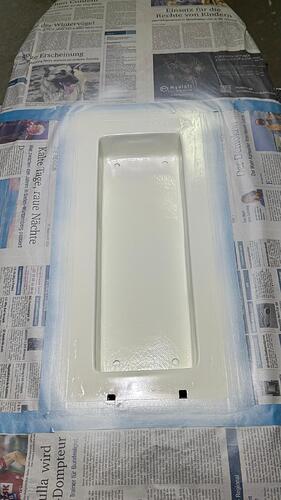
Sanded, filled and sanded again for the last time.
Now the paint has to dry and everything will be put together tomorrow.
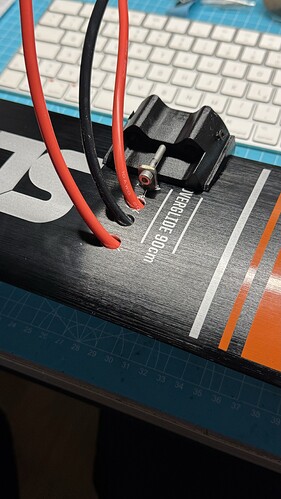
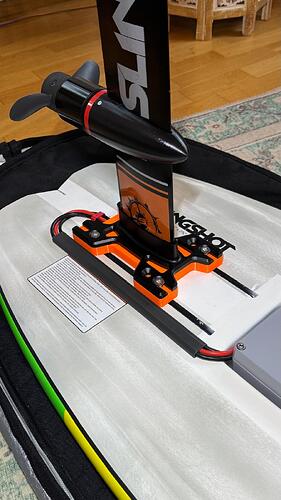
Why not route the wires from the front? you already had the mast base plate cast?
10S3P for this one? ferry wave catching machine with the smaller axis foils you adapted ![]()
Hello Adam.
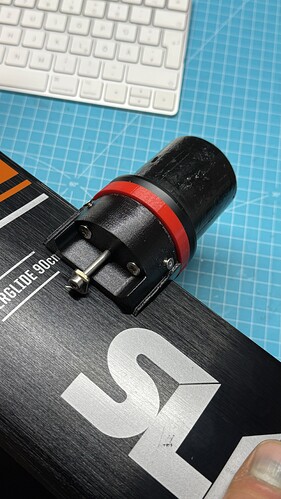
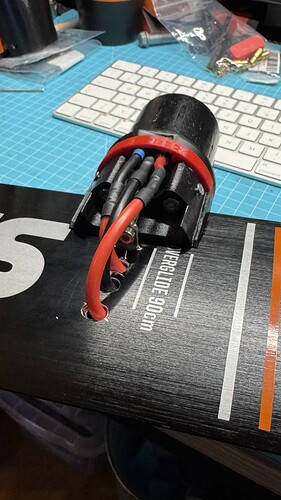
Since my three spacer base plates are all connected to the cables from behind, I initially decided to use the cable duct.
This also gives me the opportunity to use the full area of the tracks.
But maybe at some point I will redesign all my spacers and work with the cables from the front.
Battery setup is 12S3P.
As written above.
I have three masts with different setups.
Since the masts should also work on my second build, I run the cables from the back into the mast base spacer.
This way I can swap all of my setups around.
This could be solved over plugs, maybe with a longer adapter cable .because everything is so clean looking in your build. Isn’t it true that there is no need to water proof the 3 Phase cables? I saw some config with no waterproofing the 3 Phase wires. But I am not quite sure if this is a good idea without waterproofing. Could someone explain exactly?
