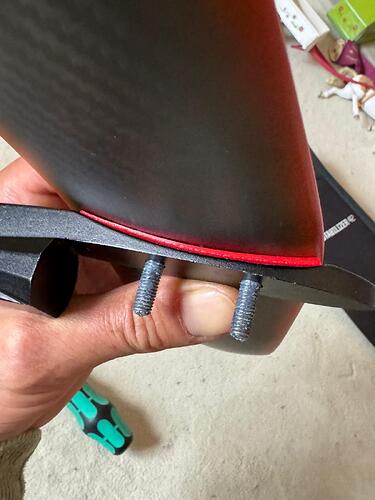
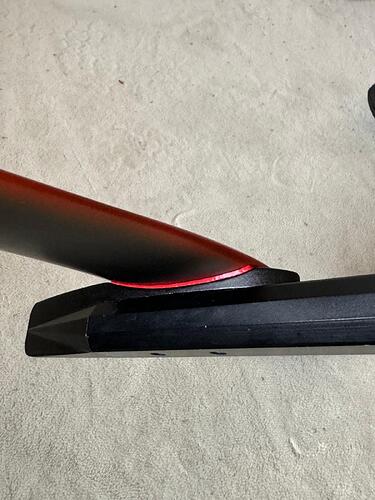
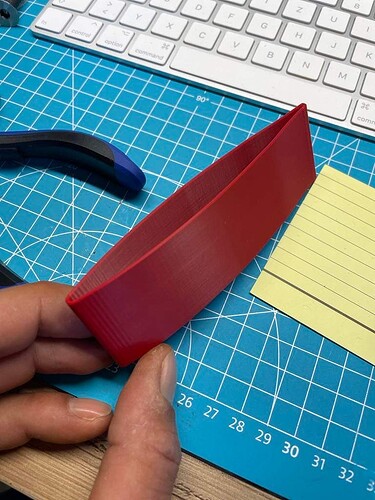
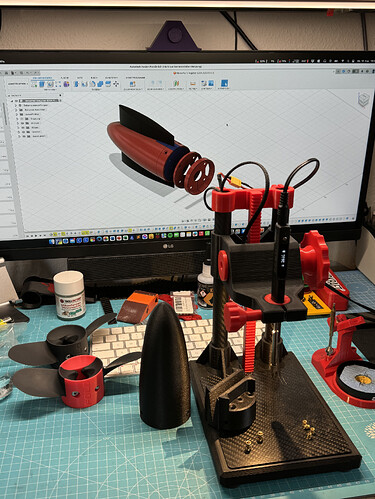
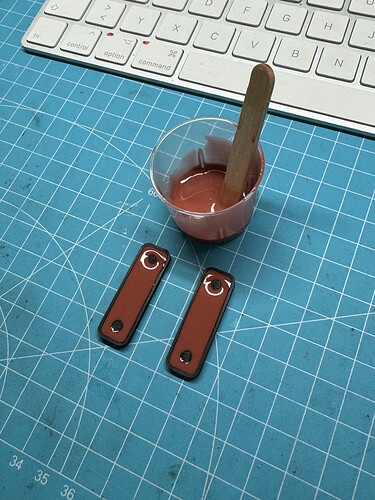
That sleeve for epoxy casting - you made it fit same as the stator diameter, but not tight, and then after turning around the epoxy covered the outside metal, right?
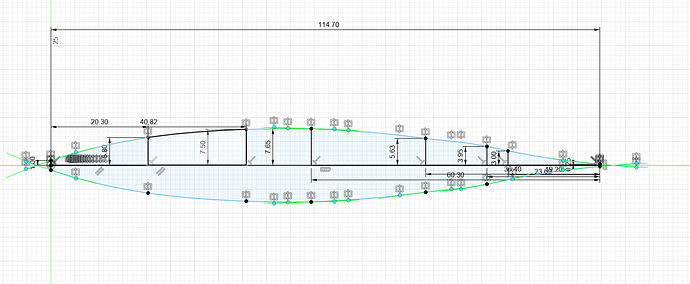
Looks very nice! How did your manage to get the exact curve or arc dimensions from the mast into your 3d program?
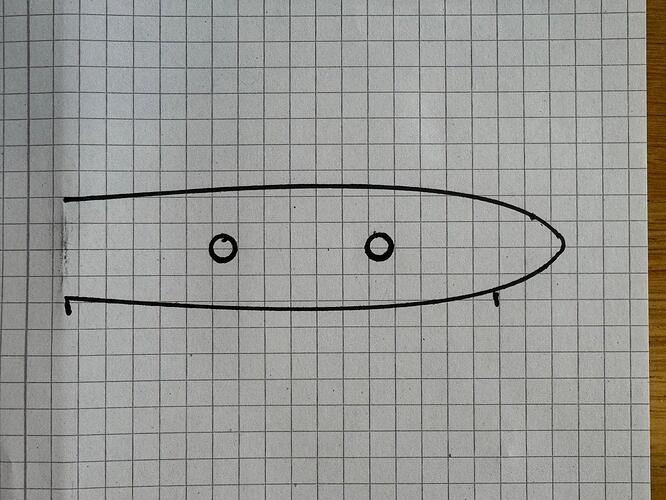
Last time I did by making a photo looking at the edge, measure length of the edge, insert photo into Onshape sketch, set the length of image to the measured value, trace the line with a spline or bezier.
Notice a tangent middle line which divides front and back, it helps later.
The mast also can be placed on paper, trace it with a pencil and then photo etc.
How simple can it be!!
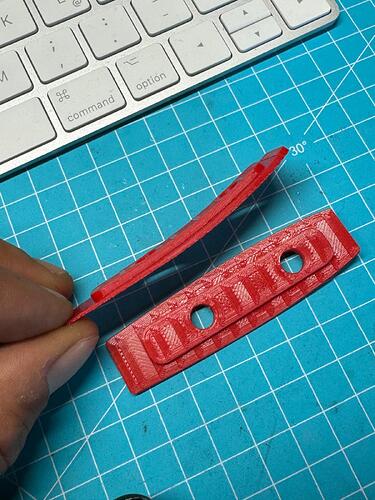
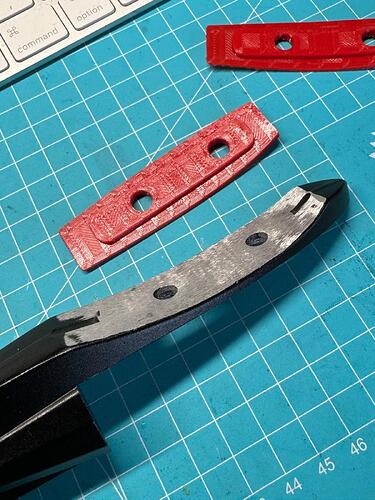
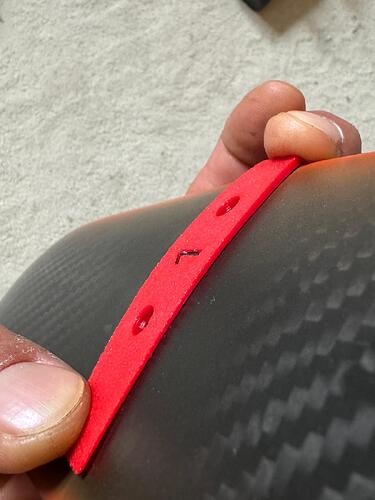
Yes, it’s not hard with a caliper and photo/scan/traced outline. This is gong V2 mast trial piece, printed with inner outline protruding into mast
wauw very nice and simply
I solved it this way too.
Either create a template and photograph it. Then transfer it to the CAD in scale.
That’s how I did it with my shims.
Or, like with the mast, measure the part and transfer it to the CAD.
awesome and simple solution!
For the Trollfactory silicone you didn’t need release agent, right?
Exactly. With PLA and PETG no release agent is needed.
Hello. I don’t want to use VESC either.
What kind of ESC do you use?
Hi some advice please? I have a Maytech setup 6384 motor and controller and the esc is the waterproof 160A one, i first tried a 10s3p battery setup which from the start would always cut out at 50% on the throttle, i tried numerous configurations and checks on the wiring but no luck, i then built a 10s2p and 10s battery to test and still teh exact same. The motor testing in the water without load seems good but as soon as i get on the boardand apply 50% throttle it cuts out. Also to note when the power is connected the motor beeps until the controller is on - can this be switched off?
Getting very frustrated please help?
I use the flycolor x-cross hv3 120A, the 160A is good too. I also have the APD 200F3 that are really awesome, but expensive and I had a hard time on the initial setup. I don’t have a lot of testing on the APD’s yet as the wind has been good, so primarily been winging, but the build quality is so much better than the Chinese stuff.
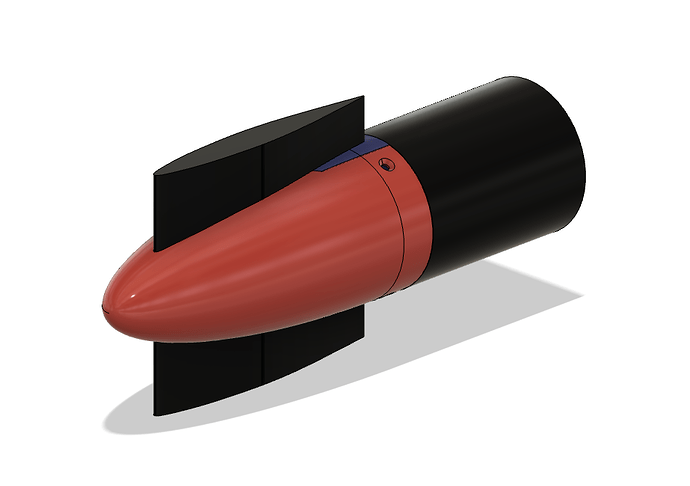
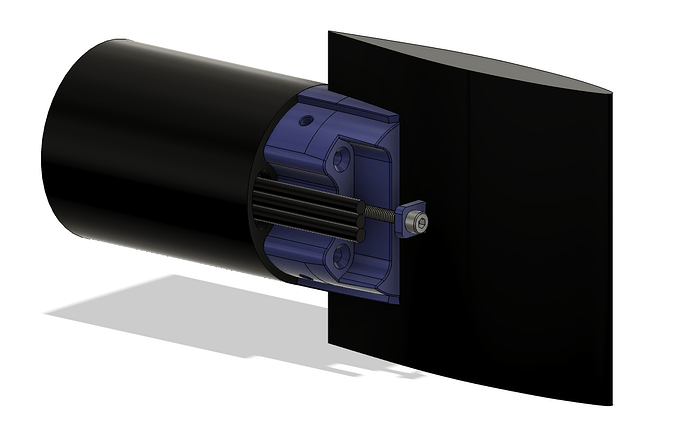
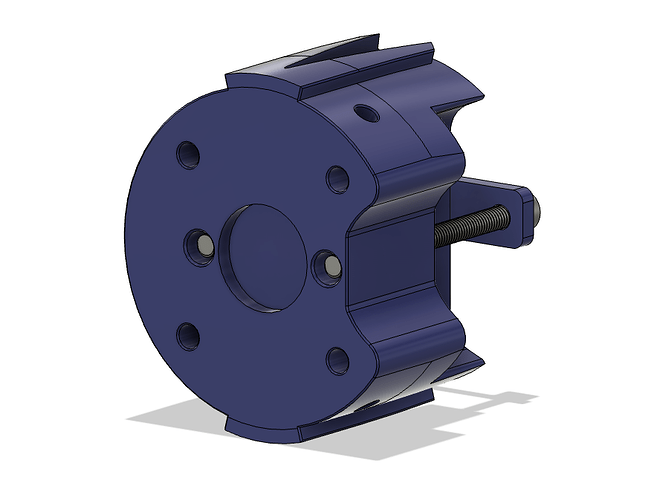
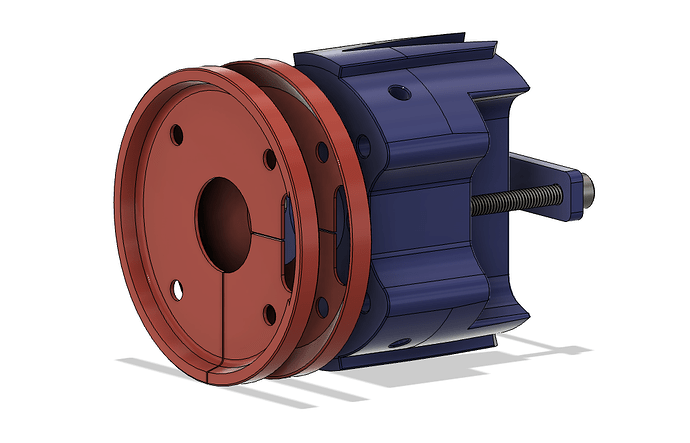
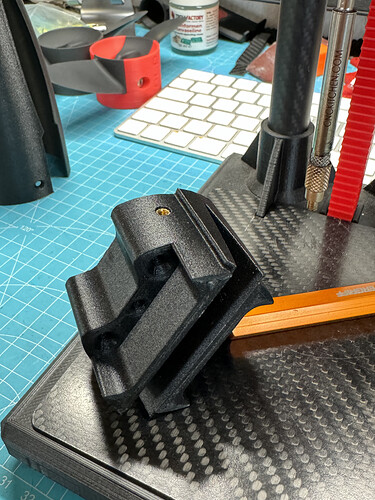
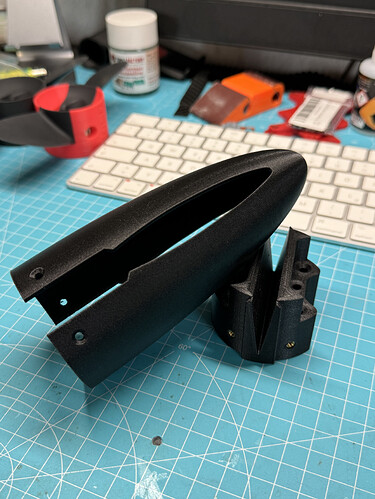
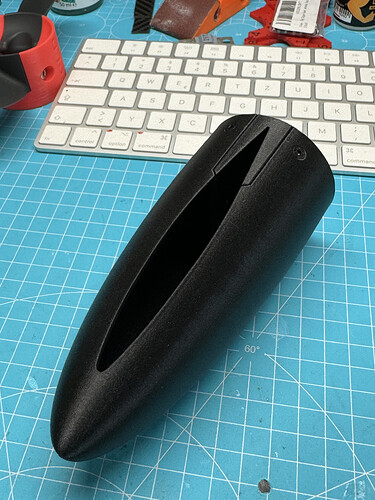
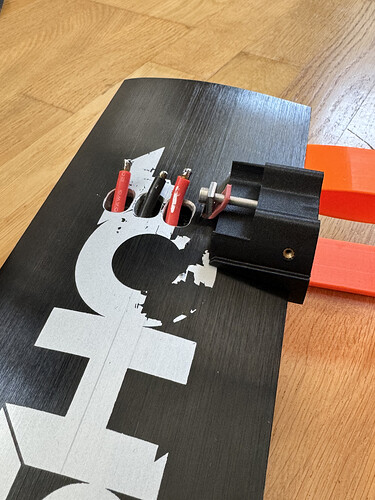
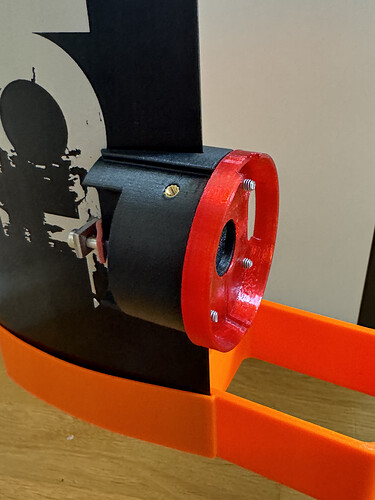
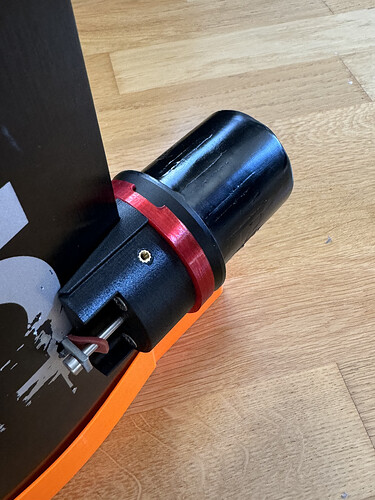
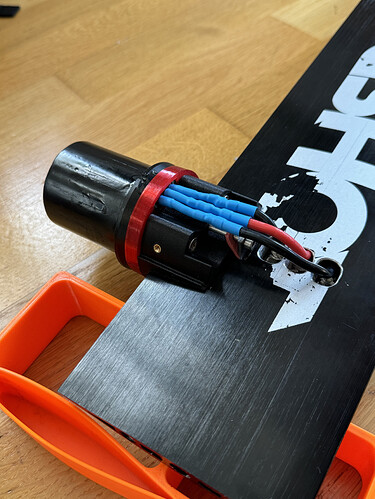
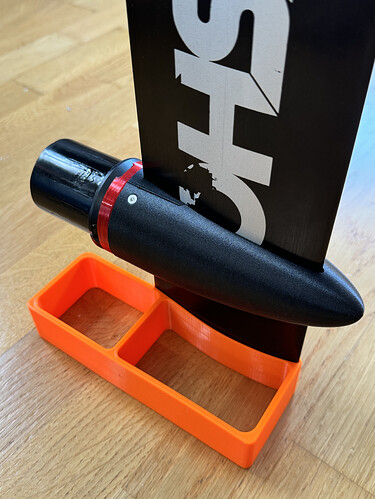
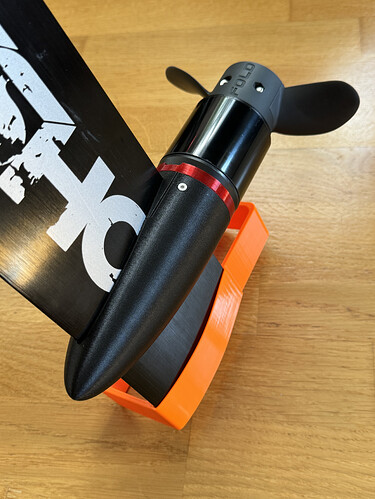
I have created a new motor pod in the last 2 weeks ![]()
With my previous motor pod in eFoil position, I gained insights after a few hours.
I have come up with a few ideas and improvements for efoil operation.
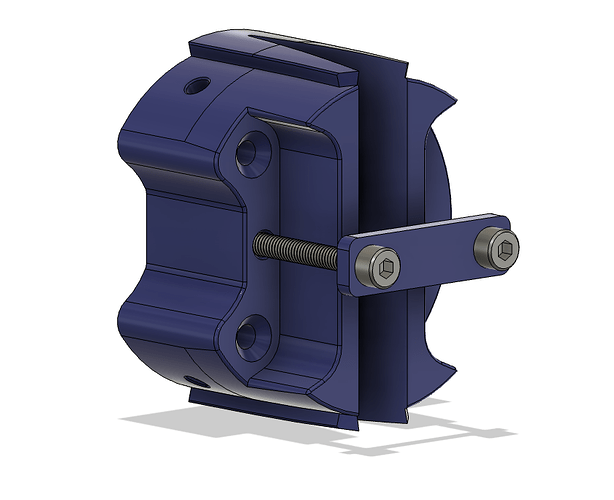
- Fixed slim clamp on the mast
- No front clamp
- Maintaining the slim and short design
- MotorBase Adapter for different 63 motor bases
- Axis, Gong V2 and Slingshot mast mounts
- Easy to print and stable
- Make all the parts yourself and don’t outsource anything
- Easy maintenance of the engine
- Engine disassembly without removing the pod on the mast
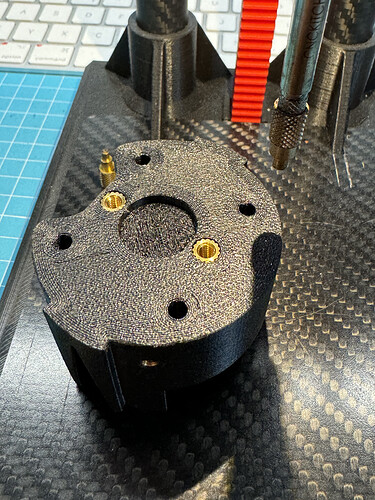
As always, I chose Extrudr PETG-CF for the new pod.
Slicer settings:
250°, 6 wall lines and 35% grid infill.
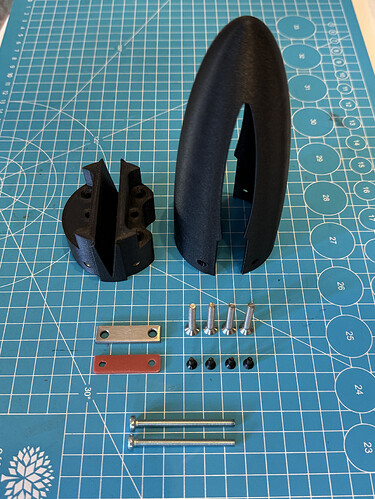
MotorBase Adapter: Saintsmart TPU
M3 and M4 fusion nuts are required for the assembly. I recommend and use only the Ruthex nuts.
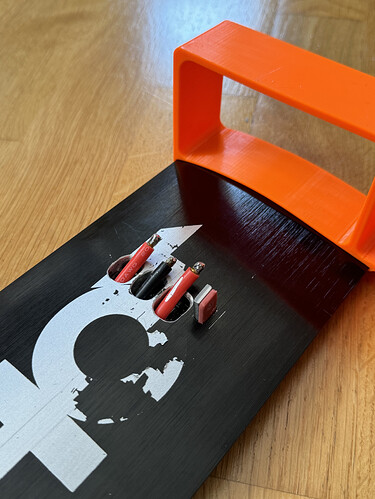
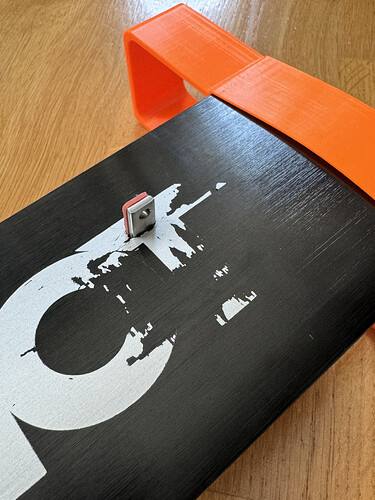
I made the clamping plate out of 3mm stainless steel. Instead of sheet metal, a 3D printed 4mm plate can also be used.
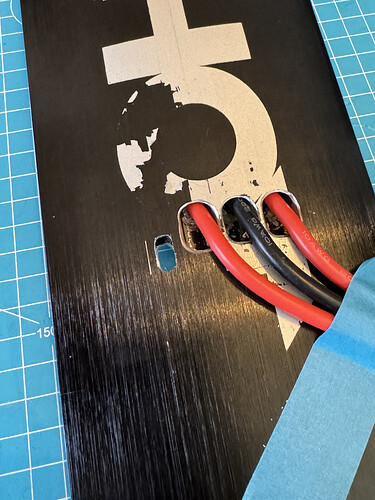
For the opening in the mast,I chose the last channel in my mast.
I also cast a seal for the clamping plate to provide decoupling. TPU works also
Assembly:
All files online ![]()
![]()
https://www.printables.com/de/model/985671-6374638463100-efoil-motorpod-slingshot-axis-gong-v
Excellent work! I wish I could print like that. I couldn’t get the threads of your connector to print well enough, so I remixed it, if that’s OK with you. I plan to pour a silicone gasket eventually, since the TPU doesn’t seem too watertight the way I printed it.
Not at the moment.
But that could be a winter project.
Nice remix. That’s ok for me.
Try a Silicon Mold. It’s definitely better as TPU.
I have never water on my gold contacts until now.
That would be perfect, thank you.

