I uploaded the STLs to my Printables.
@bobyhack : the heatsink link is at the printables description!
https://www.printables.com/de/model/627012-flycolor-flydragon-150a-mount-for-foil-assist-box
I uploaded the STLs to my Printables.
@bobyhack : the heatsink link is at the printables description!
https://www.printables.com/de/model/627012-flycolor-flydragon-150a-mount-for-foil-assist-box
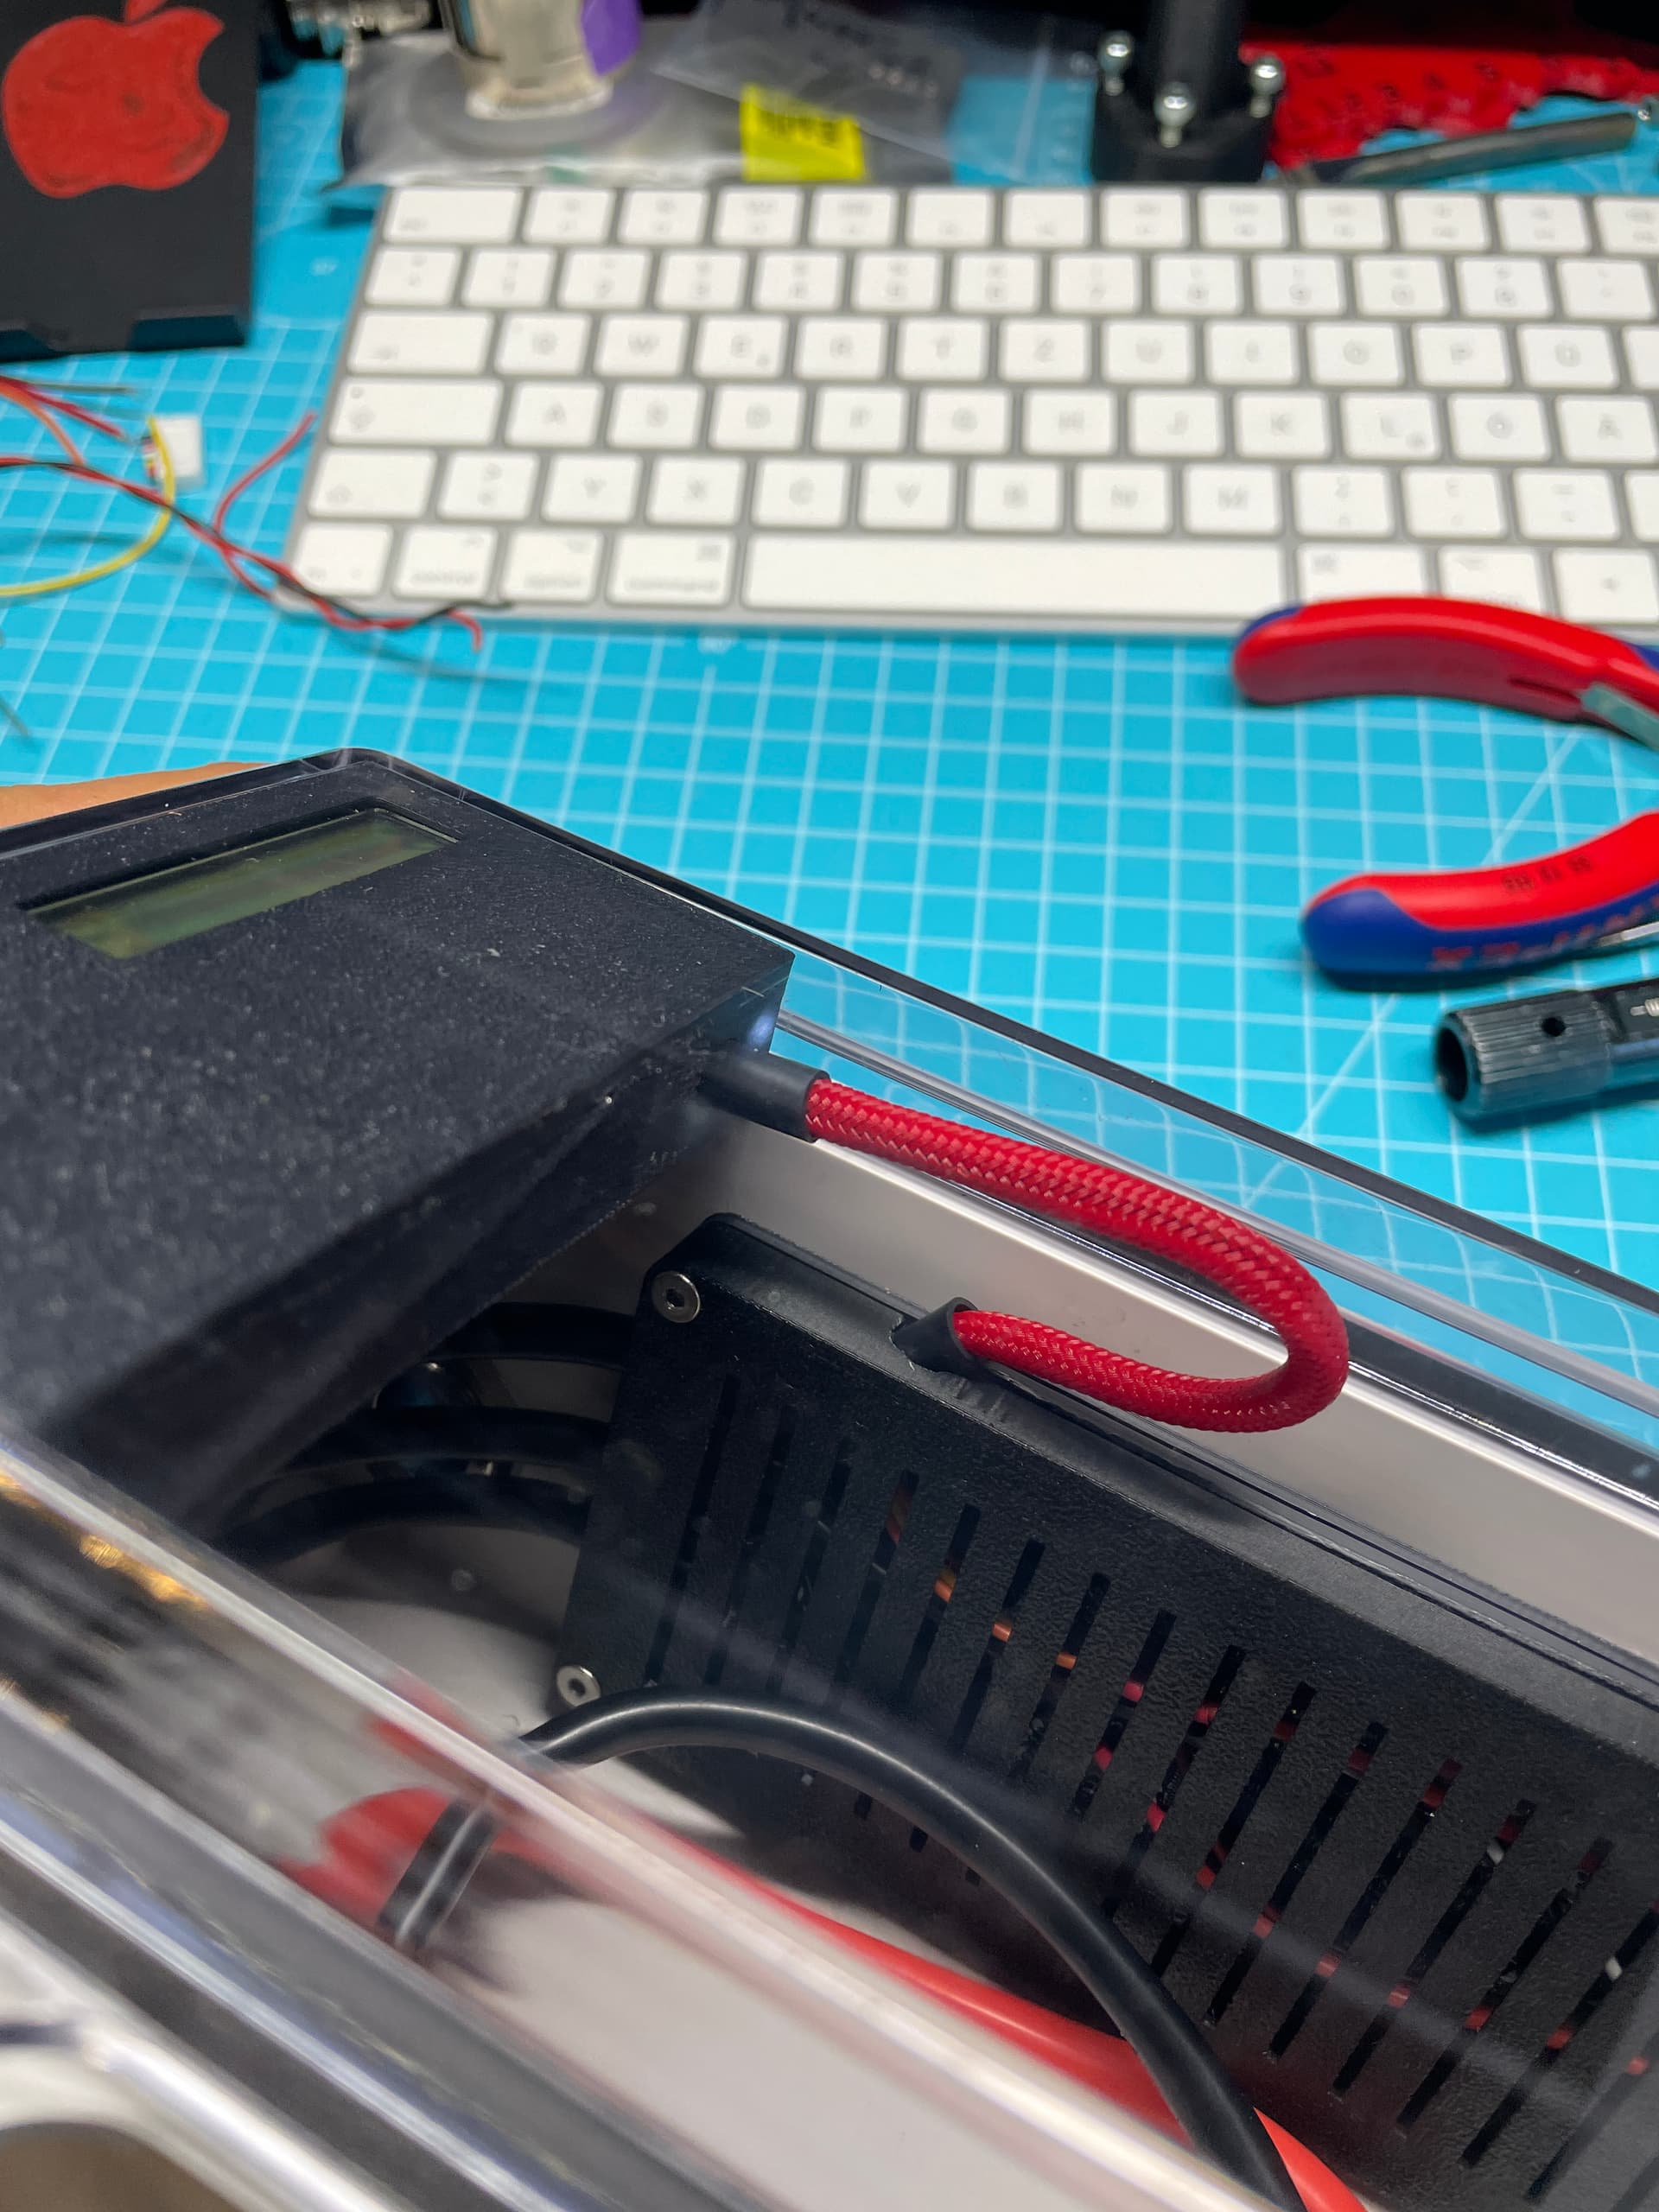
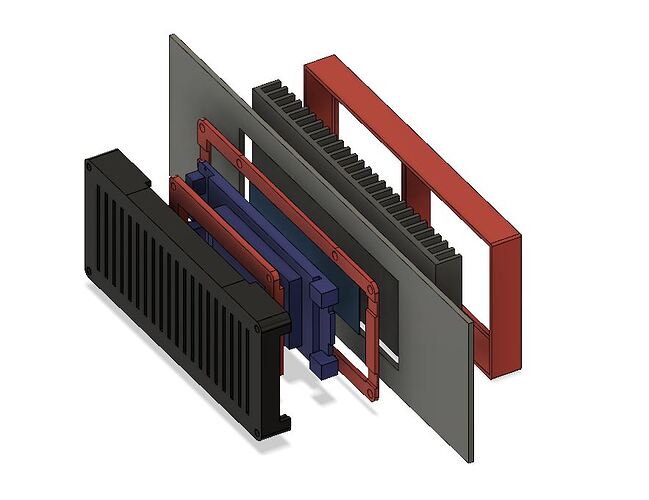
this is very very smart. having the controller offset on the side enables a bigger surface for cooling while keeping a super nice form factor. This is also super smart to enable a bigger 10S3P pack.
how are you going to exit the motor cables from the box?
kudos.
Grat news , thanks mate !
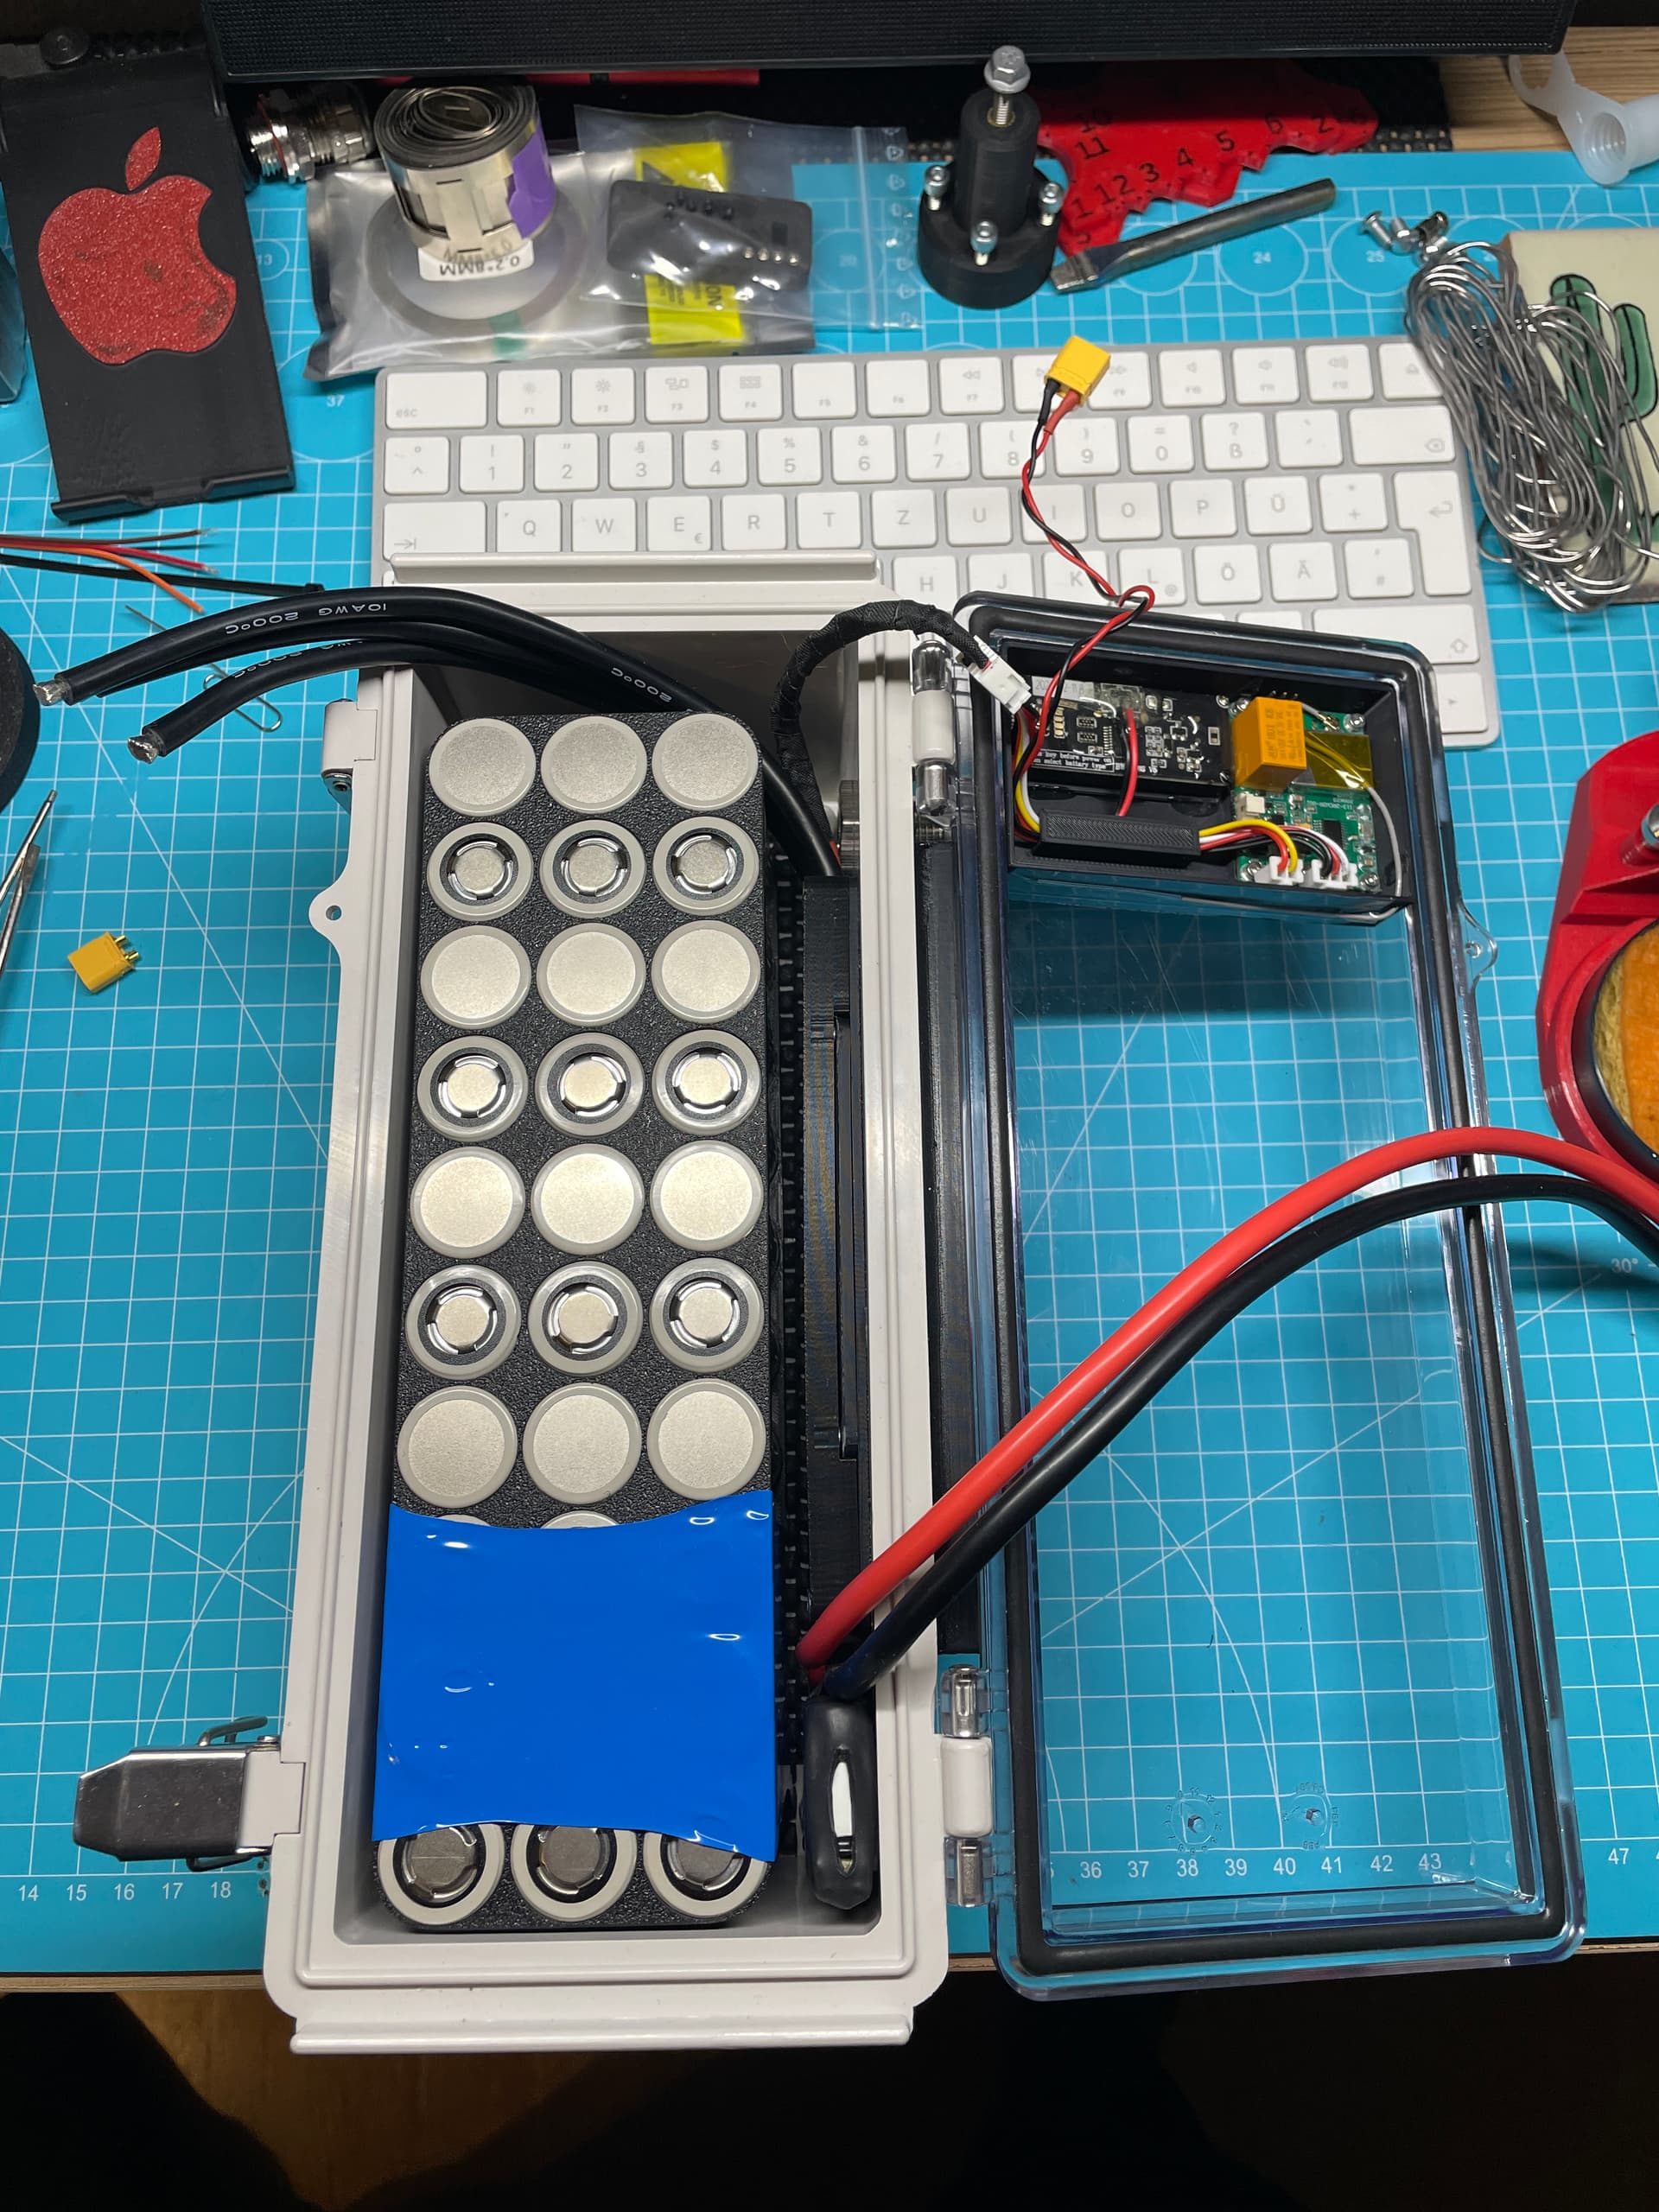
I’ll decide about the motor cables when the battery is ready. Everything is still very tight. Either sideways or backwards.
Since the Flydragon doesn’t have an integrated BEC, I thought about how best to supply the receiver with voltage.
I bought an additional BEC.
Since I use a 10S3P battery, everything is pretty tight in the case. So I thought it must also work without BEC.
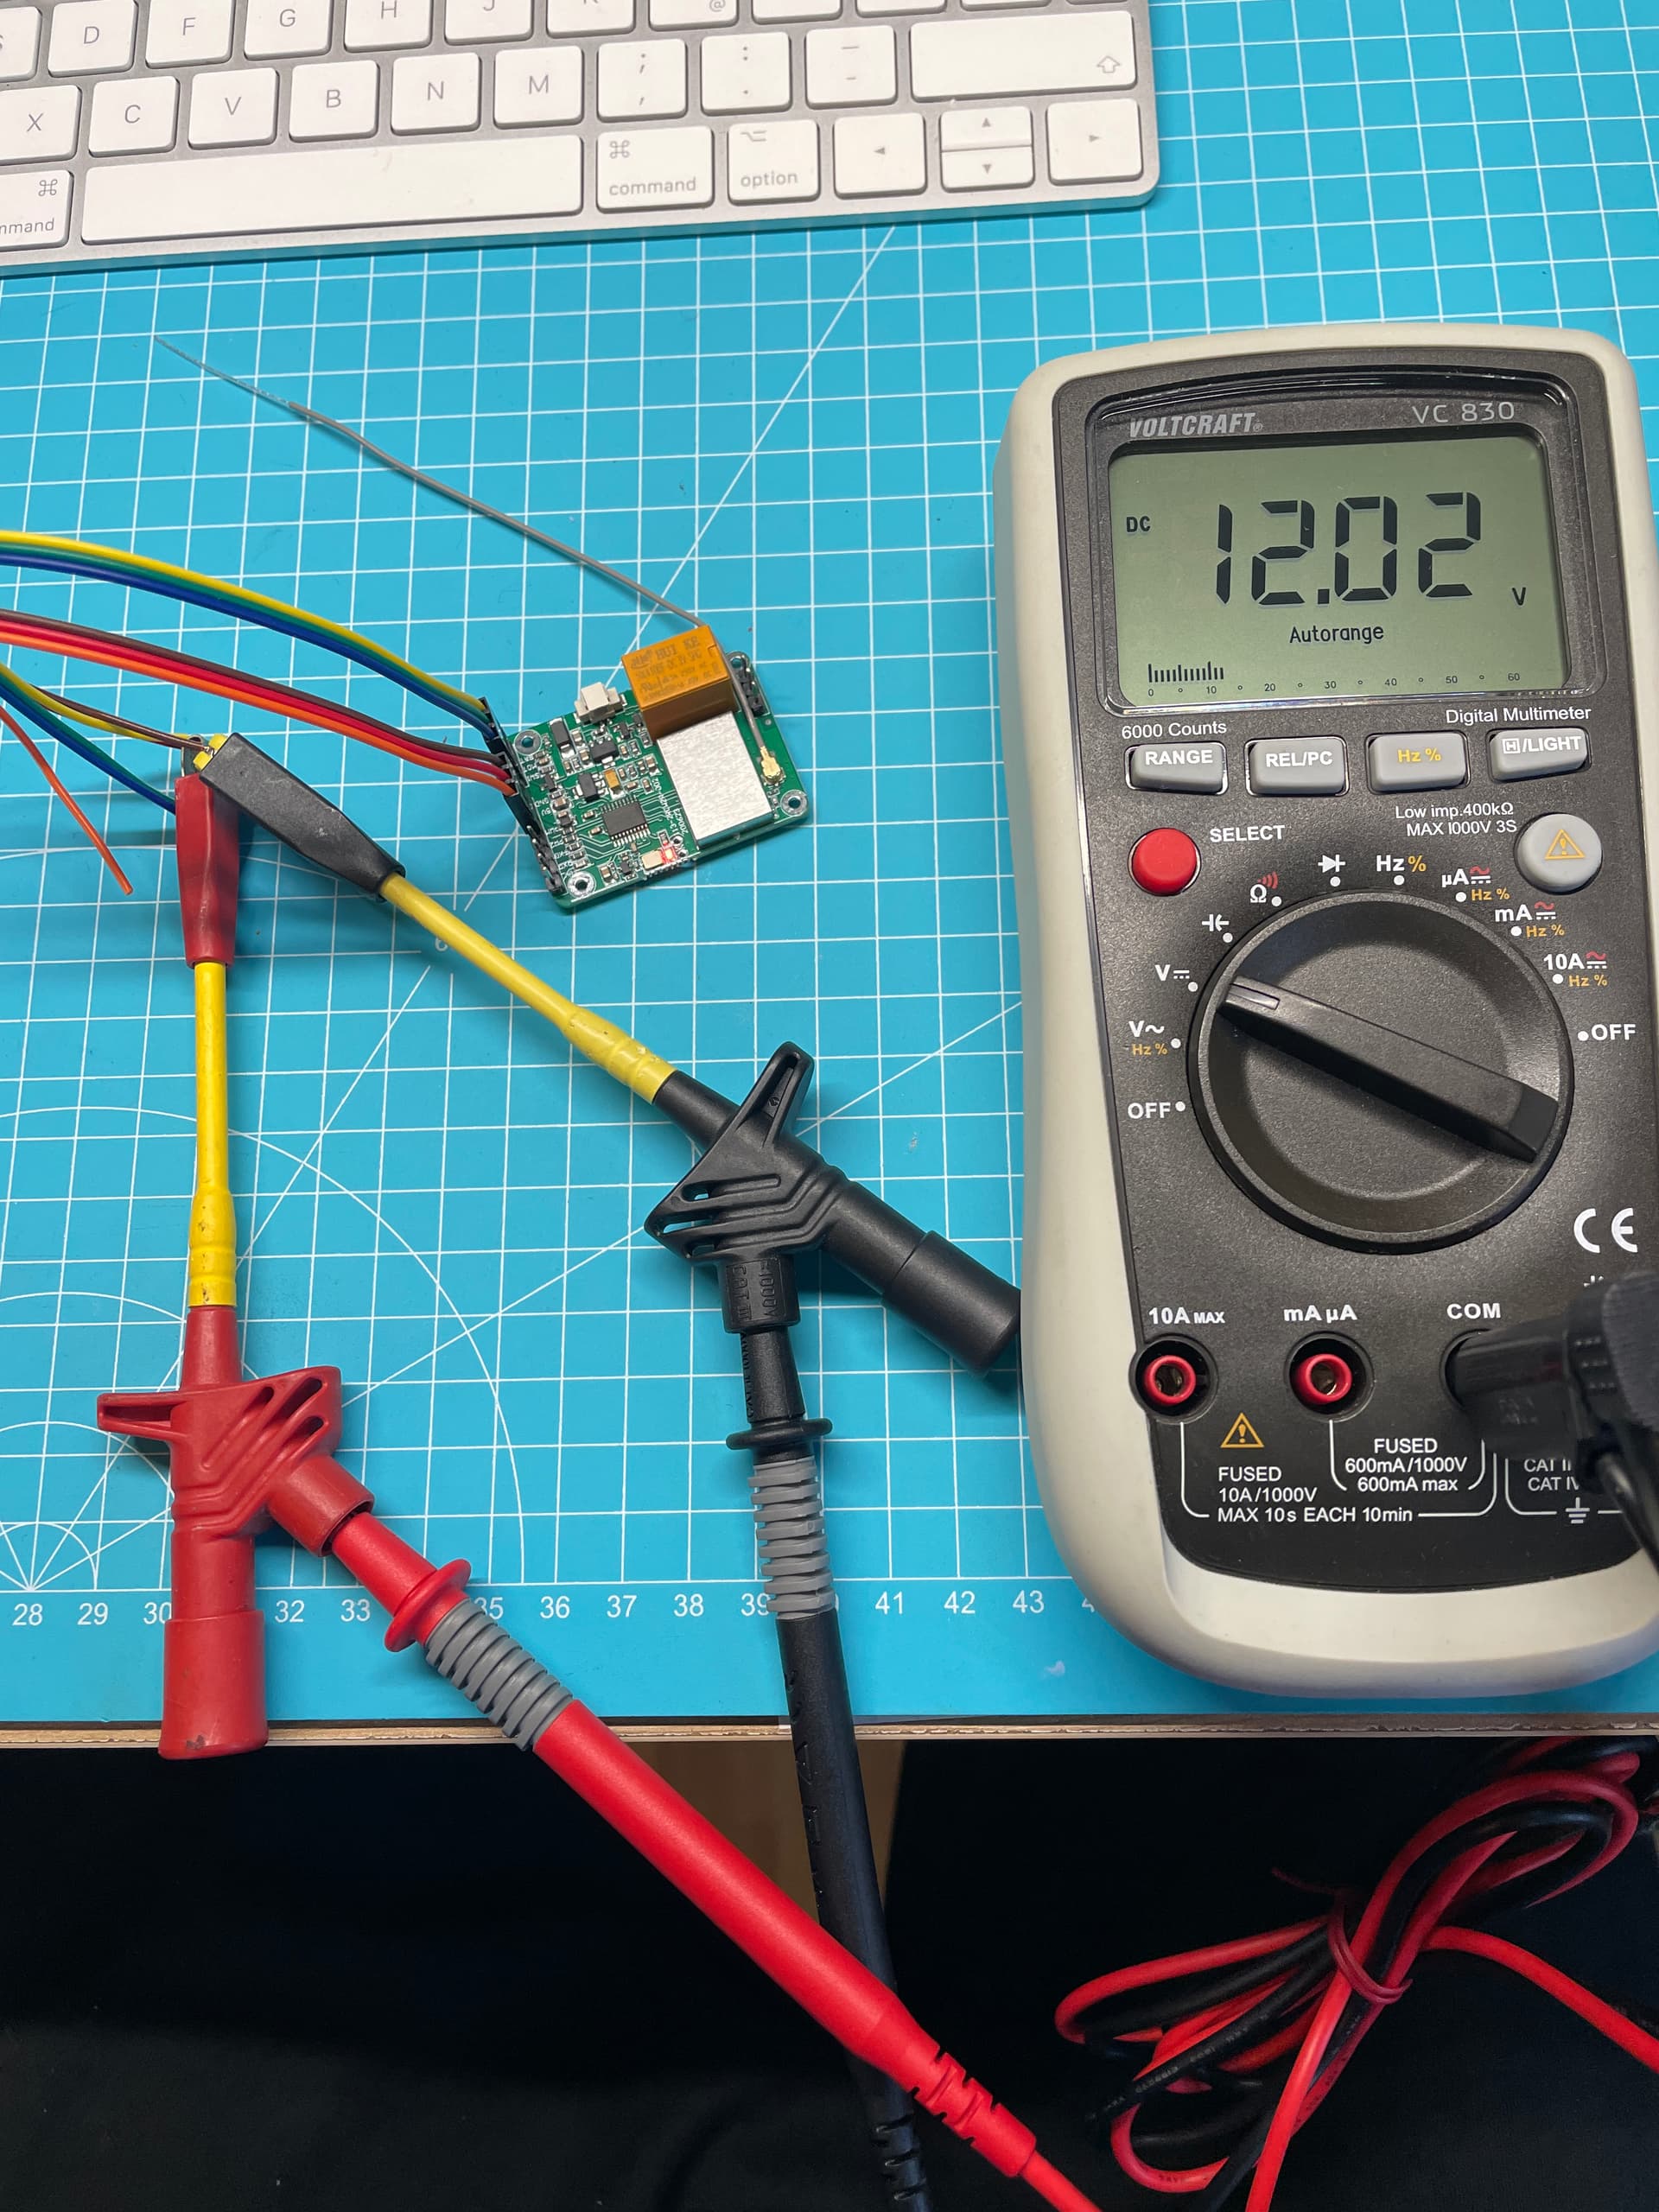
So I asked Maytech. And got 3.3V - 12V as an answer. They can be at the 5V input.
Perfect, I thought. I will also put a 2S plug out on my battery. This is where the receiver comes in.
The receiver has completed a 3-hour continuous test with 12V.
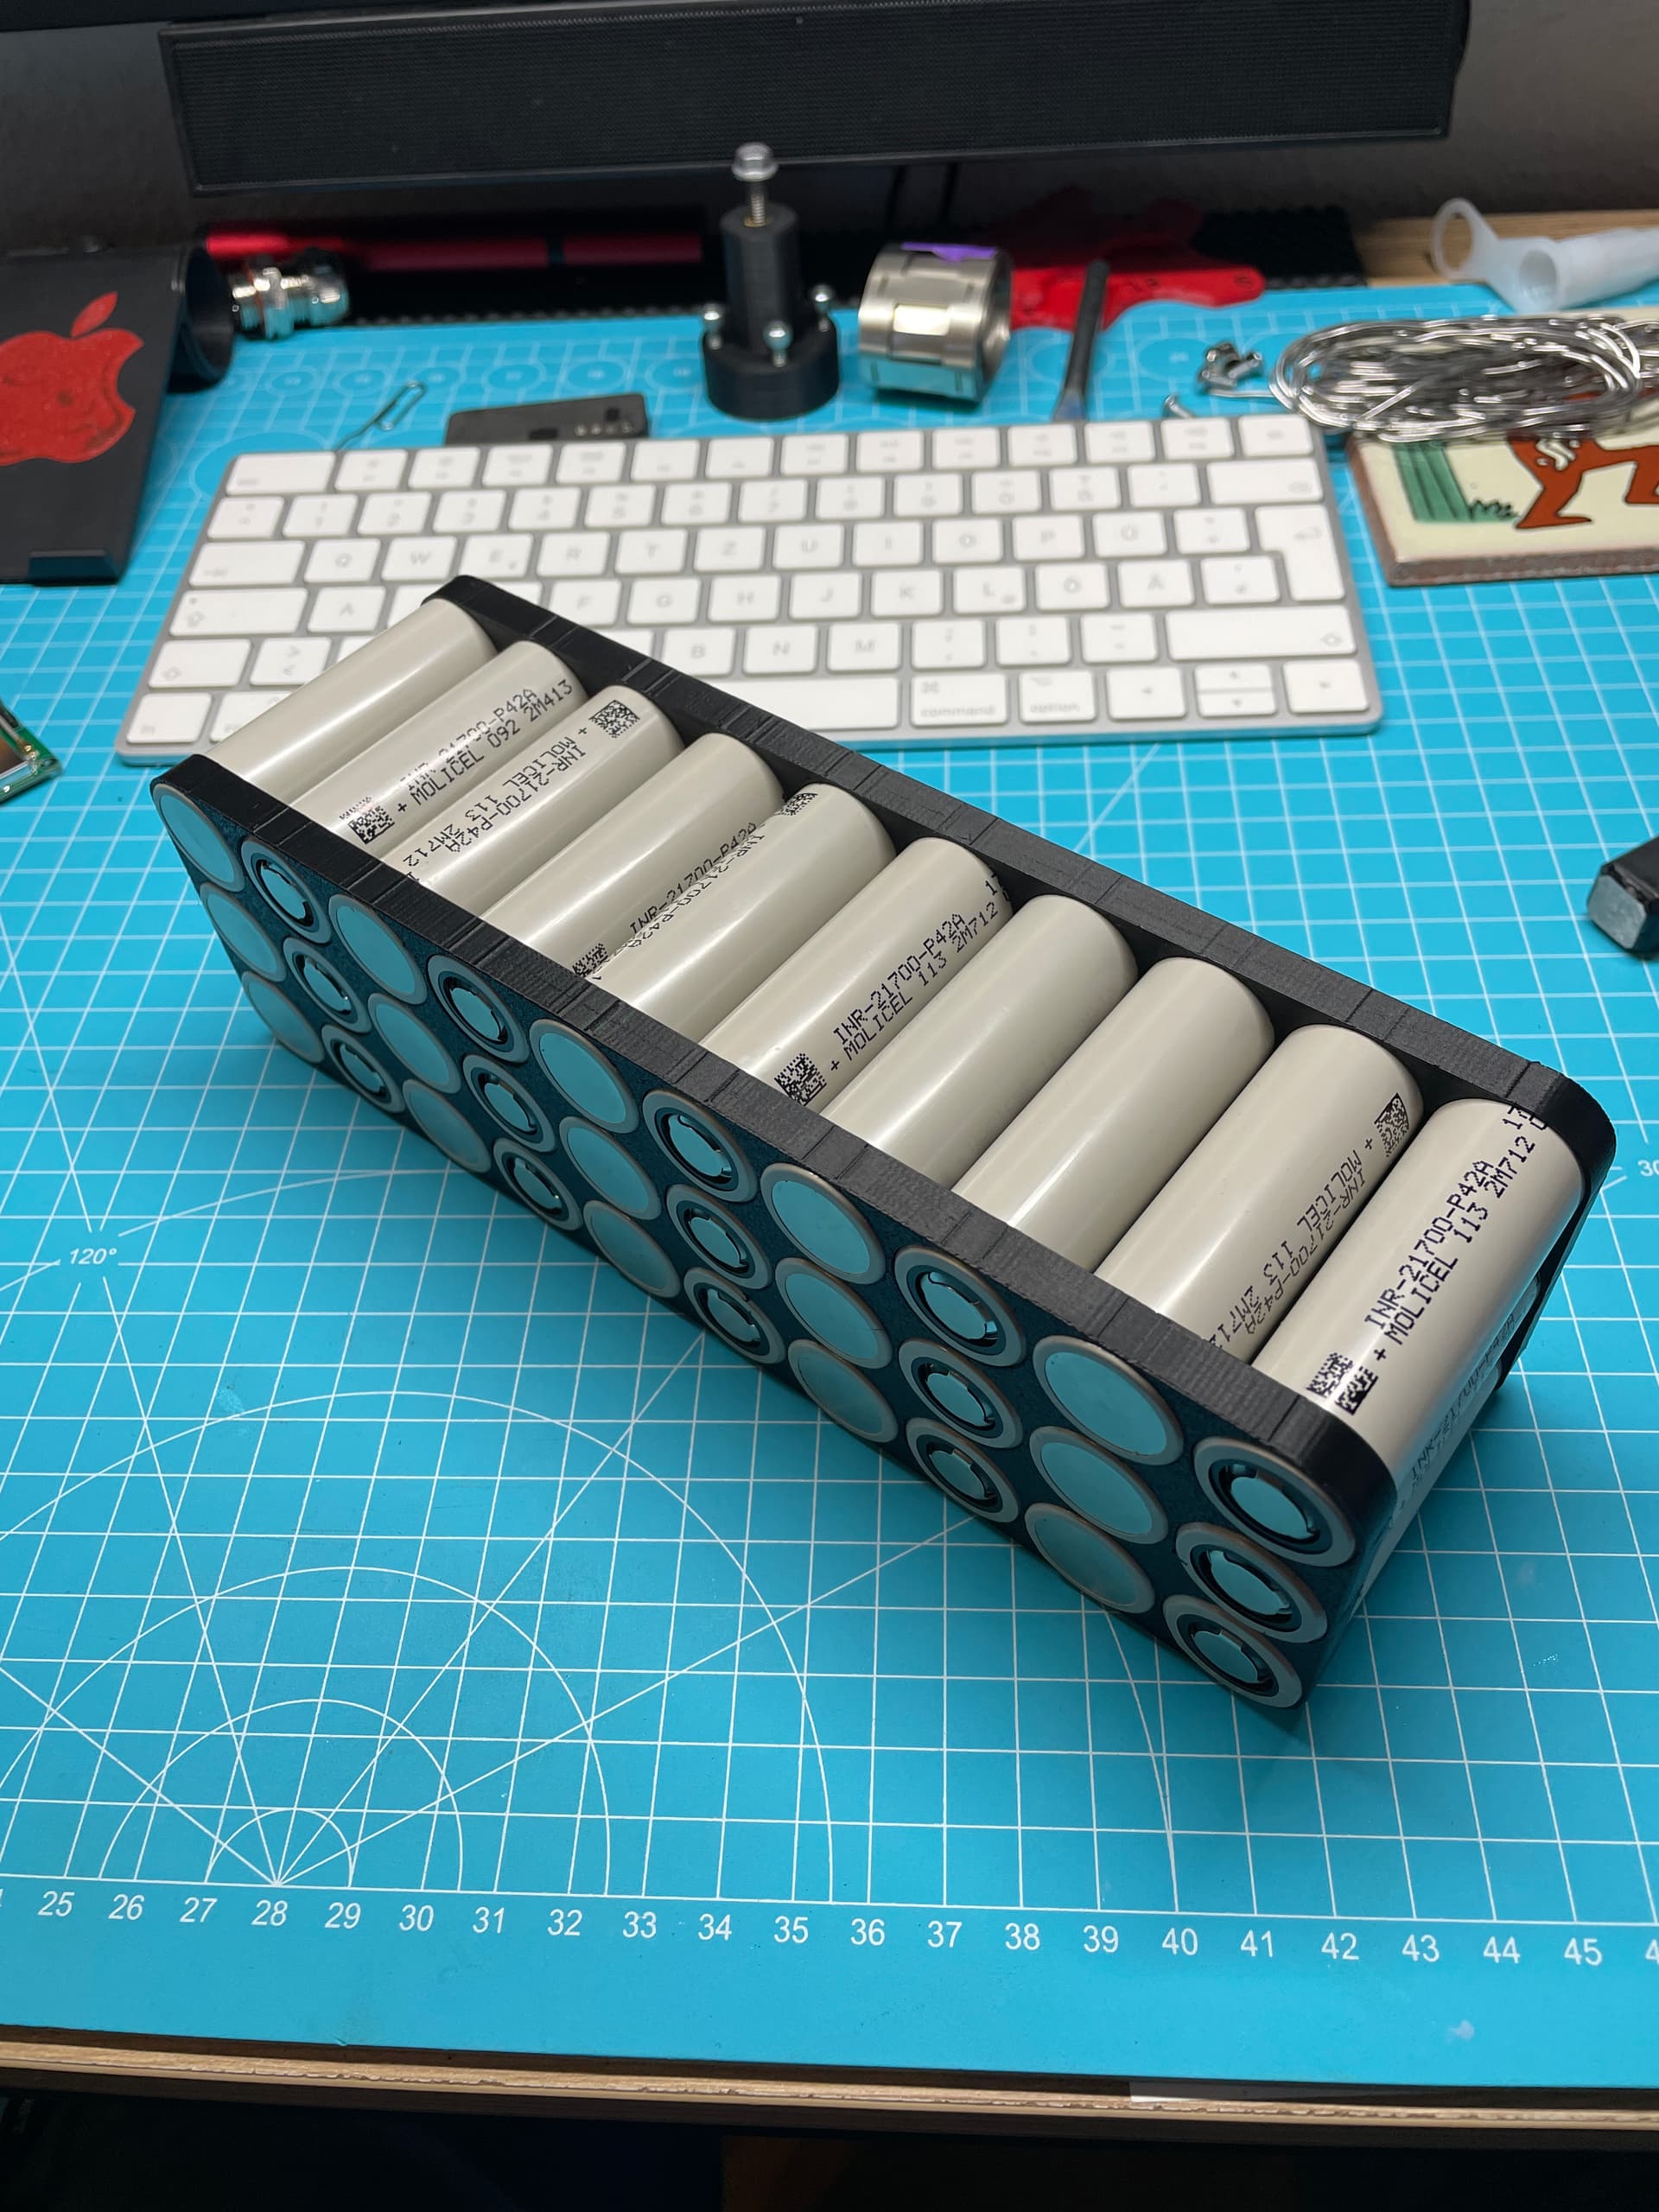
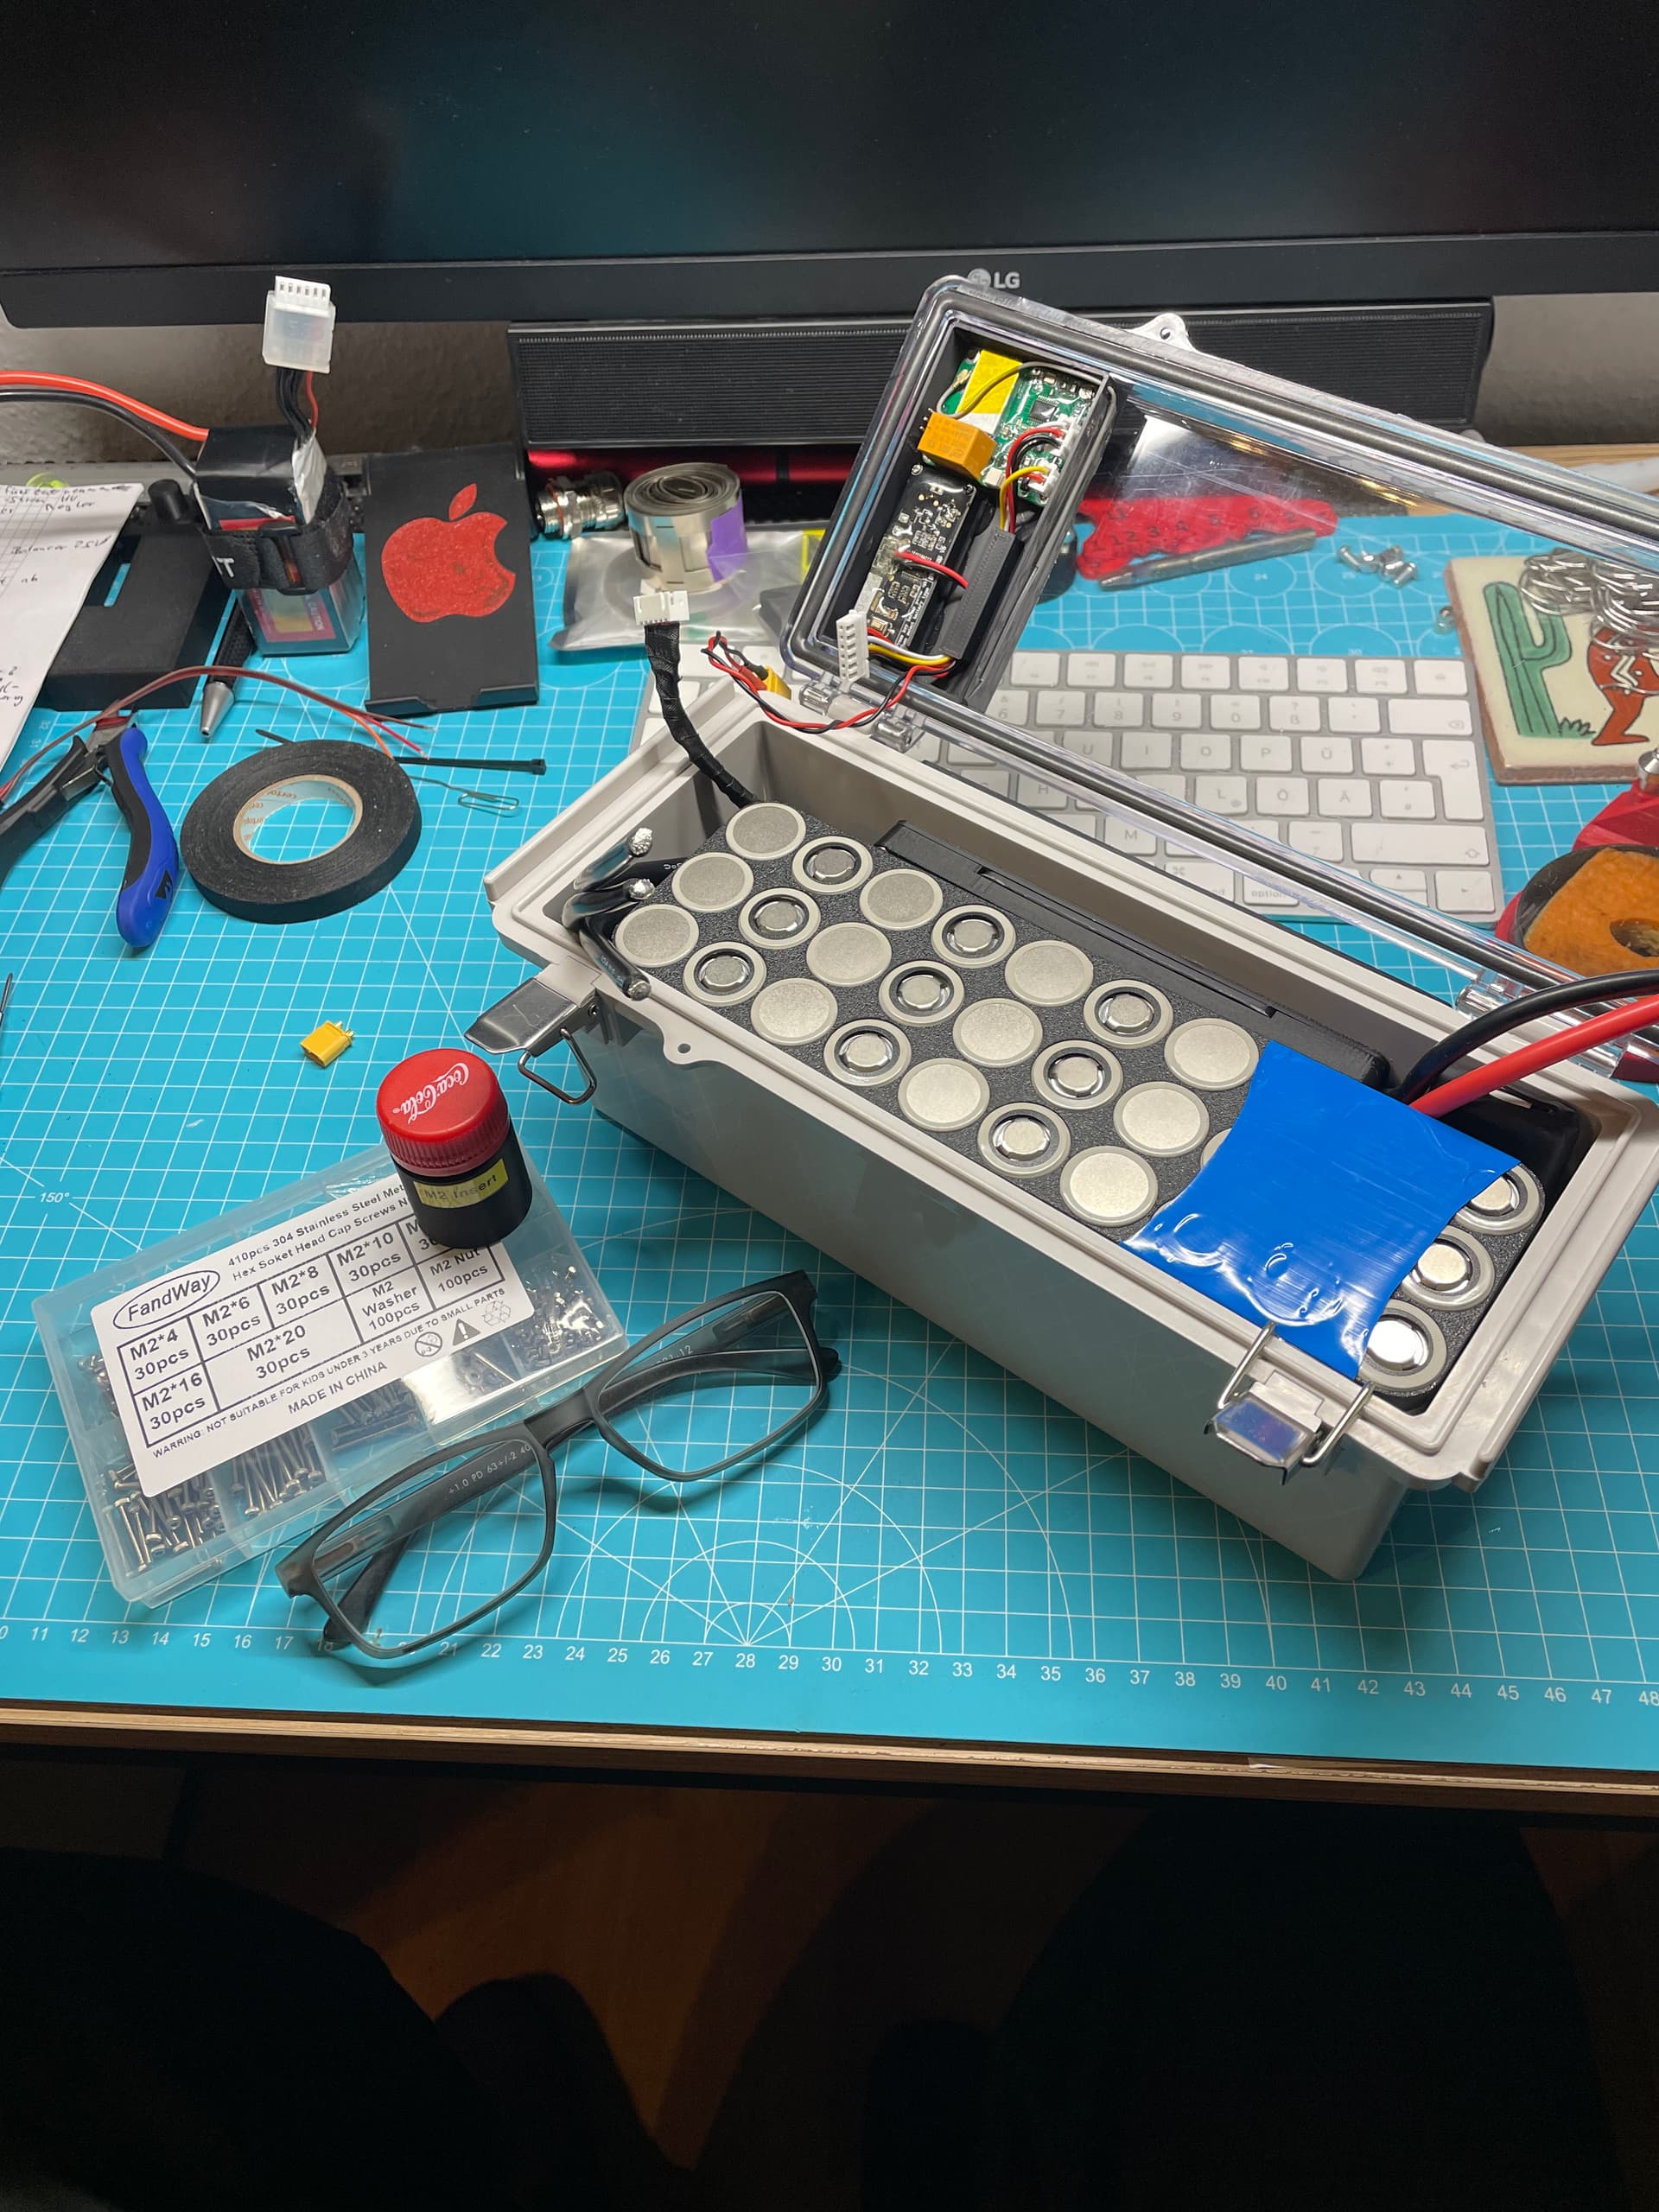
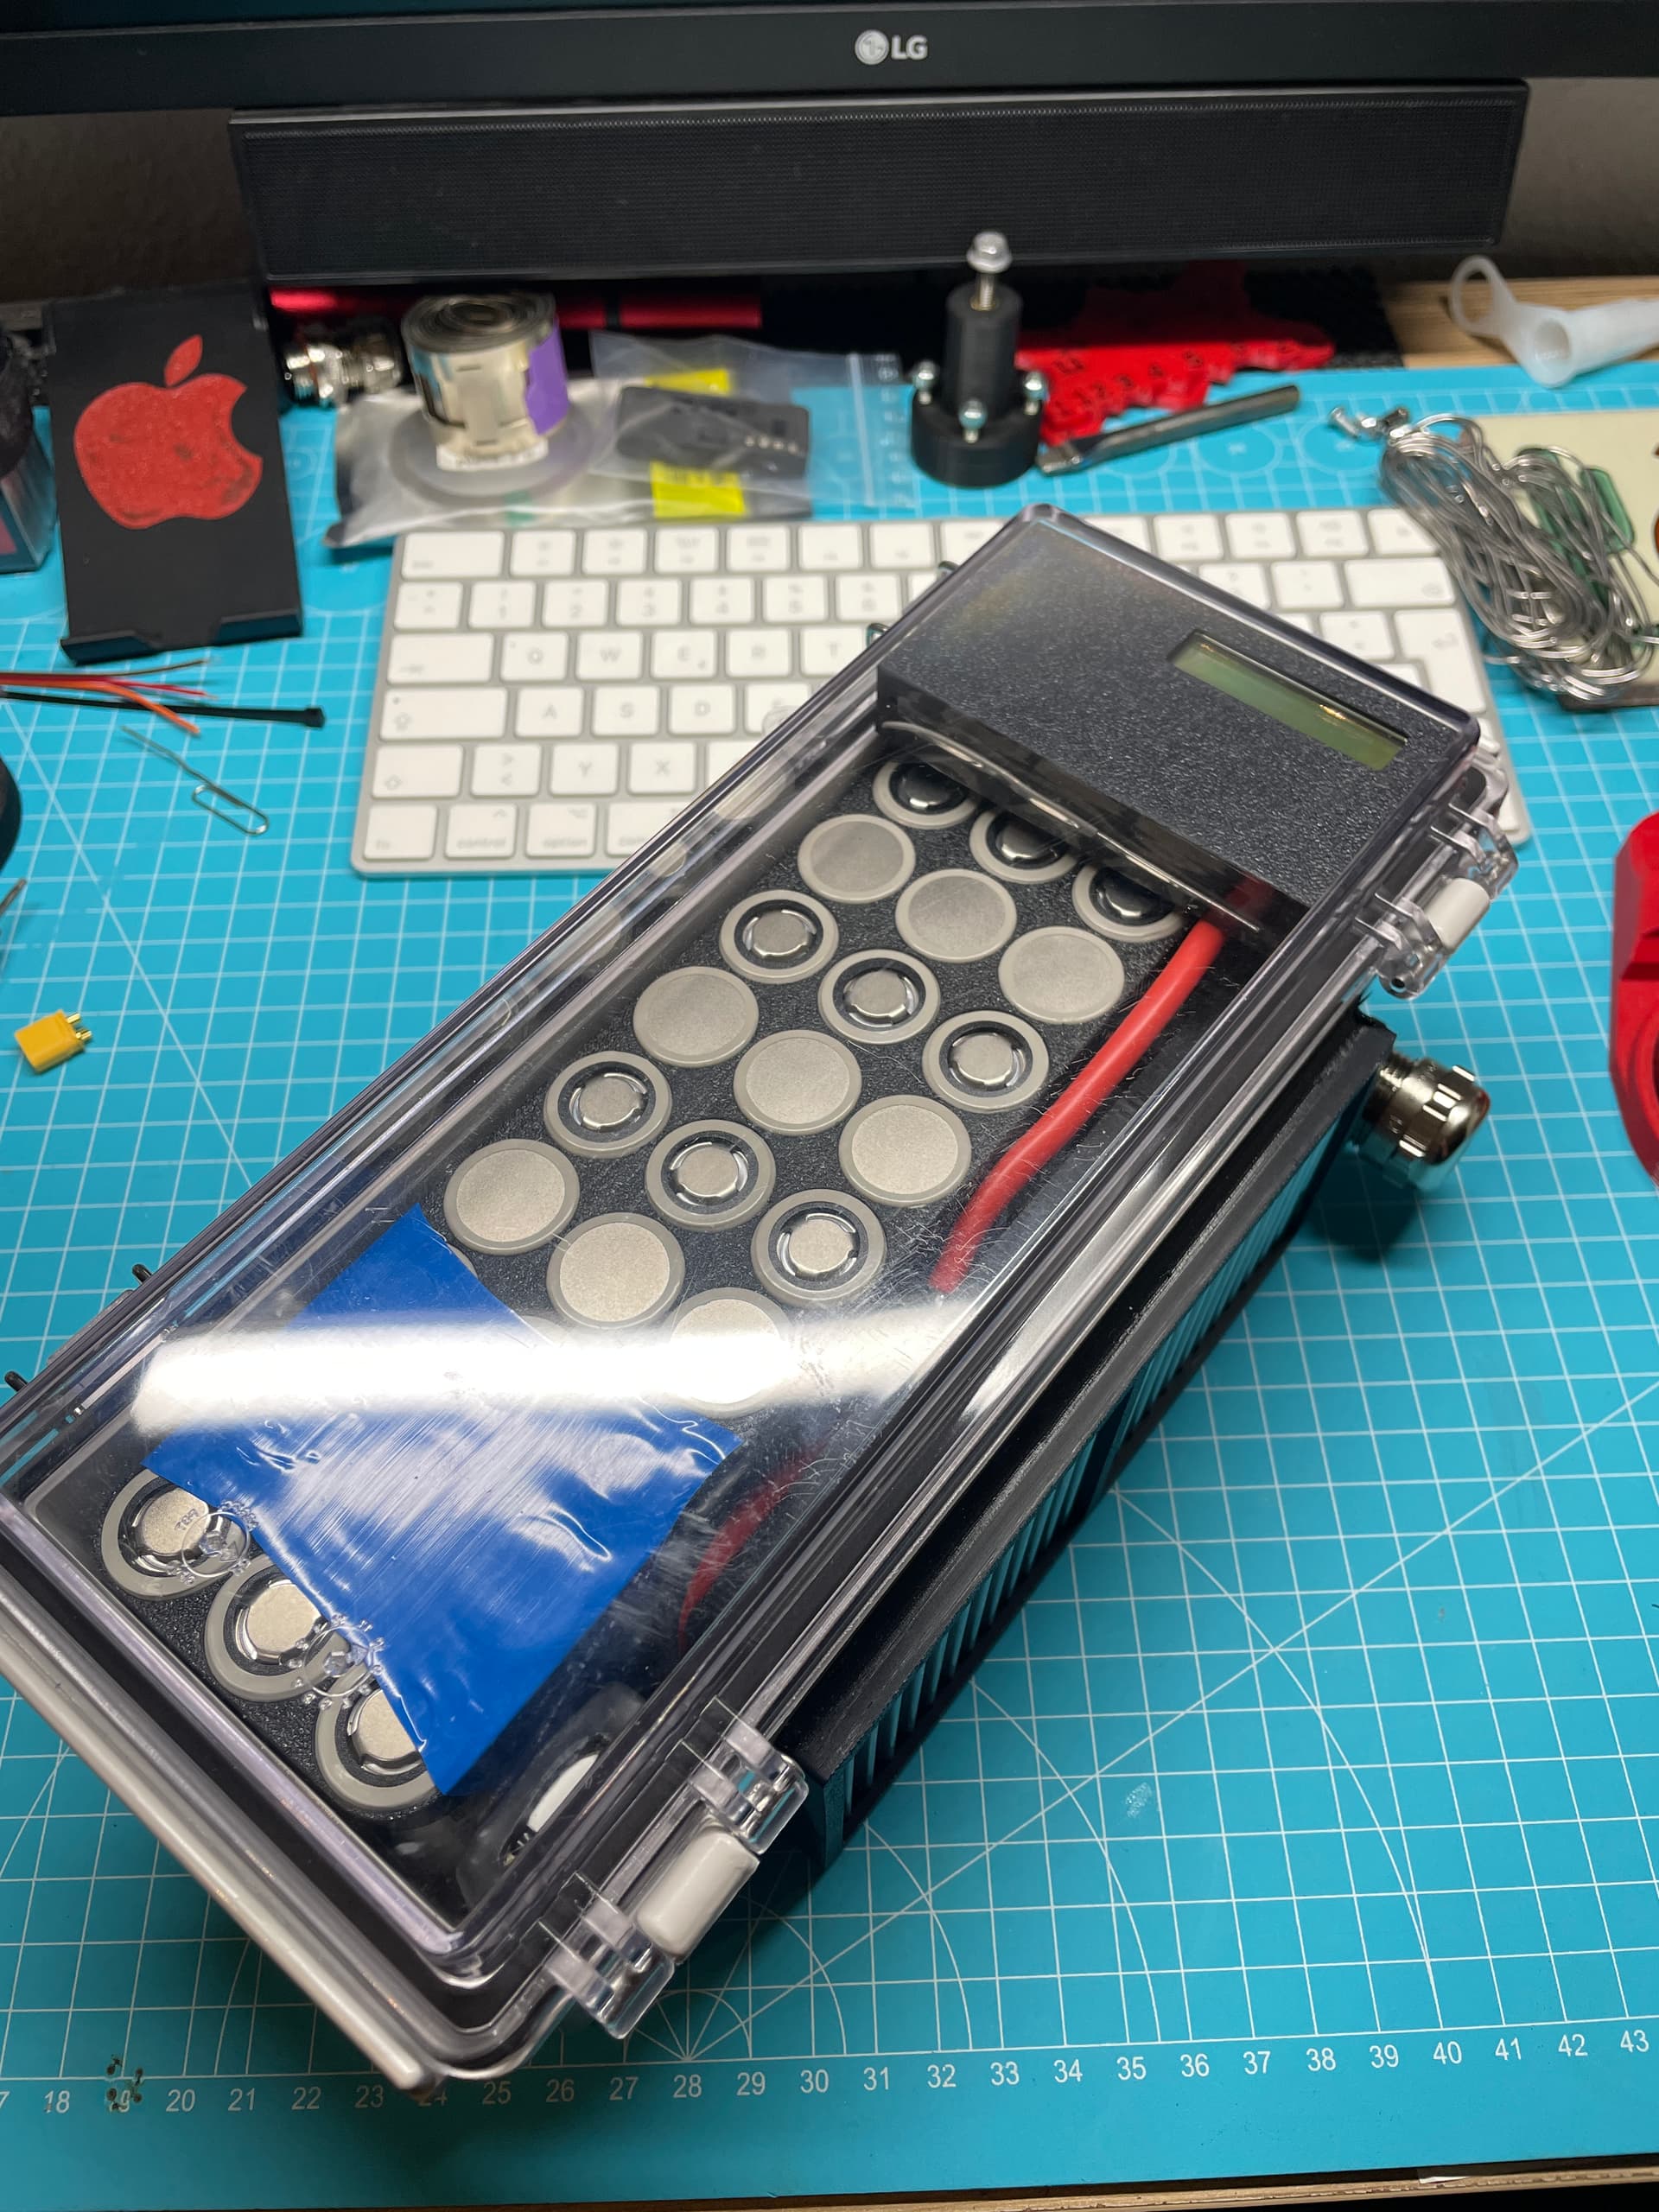
The 10S3P rack fits like a glove. The cells are all 0.6mm apart from each other.
So the maytech receiver doesnt actually need a BEC? I am about to start the wiring and trying to figure out how to connect everything, so this is super helpful. When you are done, can you please share a picture of your wiring with the ESC? I have the 80A flydragon so should work similarly.
I’m not sure I understood correctly - are you going to get the 2S for the receiver from the battery balancing wires?
Yes one Balancer Connector 10S and one 2S
It’s only up to 30 volts.
Updated with the correct one…
Hello Markus,
great project and thank you for taking so much time documenting it in such detail!
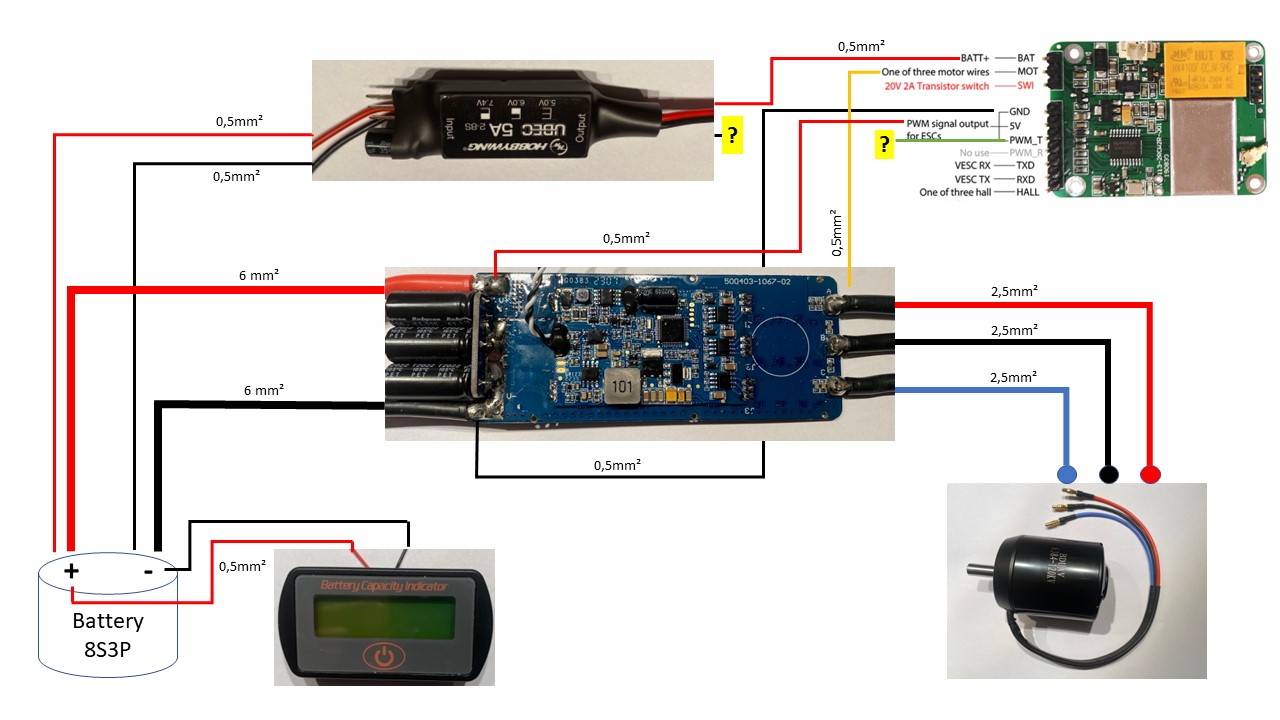
I’m trying to build my first Foil Drive Assist DIY as well and thanks to your inspiration I will modify my setup in a few parts. I love your idea of soldering the resistors in a row to save space. Can you tell me where to get a small circuit board like that for the resistors? Also, I’m not really getting anywhere with the wiring right now  . Here is my current wiring diagram, which unfortunately still contains two question marks and possibly one or two mistakes. I would be very grateful for technical help!
Thanks and greetings from from the Rhine area near Cologne.
You’re confusing resistors with capacitors, and you’re going to fry the receiver by applying 32 volts to it.
@rttn : yes you have right. There are a few errors in the circuit diagram from @Berse158
@Jezza : THX for the link with the small BEC. But I will continue without BEC ![]()
@Berse158 : I removed your mistakes and would do it like this!
You could even leave out the mass from the BEC to the receiver because the receiver gets its mass from the controller
Rademacher 711-5 Lötstreifenrasterplatine (25 Stk.) Hartpapier 160 x 100 mm, Rastermaß 5,08 mm, 20 Leiterbahnen, Kupfer Auflage einseitig 35 µm, Platine 1,6 mm stark, Gelb Amazon.de
@patfoil : This is what my circuit diagram looks like without BEC.
I will connect the ground from the 2S connector to the receiver. This means I can also operate the receiver without a controller for tests.
 Thank you rttn!
Thank you Markus for fixing my mistakes!
Here is the circuit diagram for the BEC-Version with the fixed mistakes from Markus including the soldering points on the ESC.
Thanks again to Markus and rttn for getting the wiring right!
Very nice diagram. Thanks
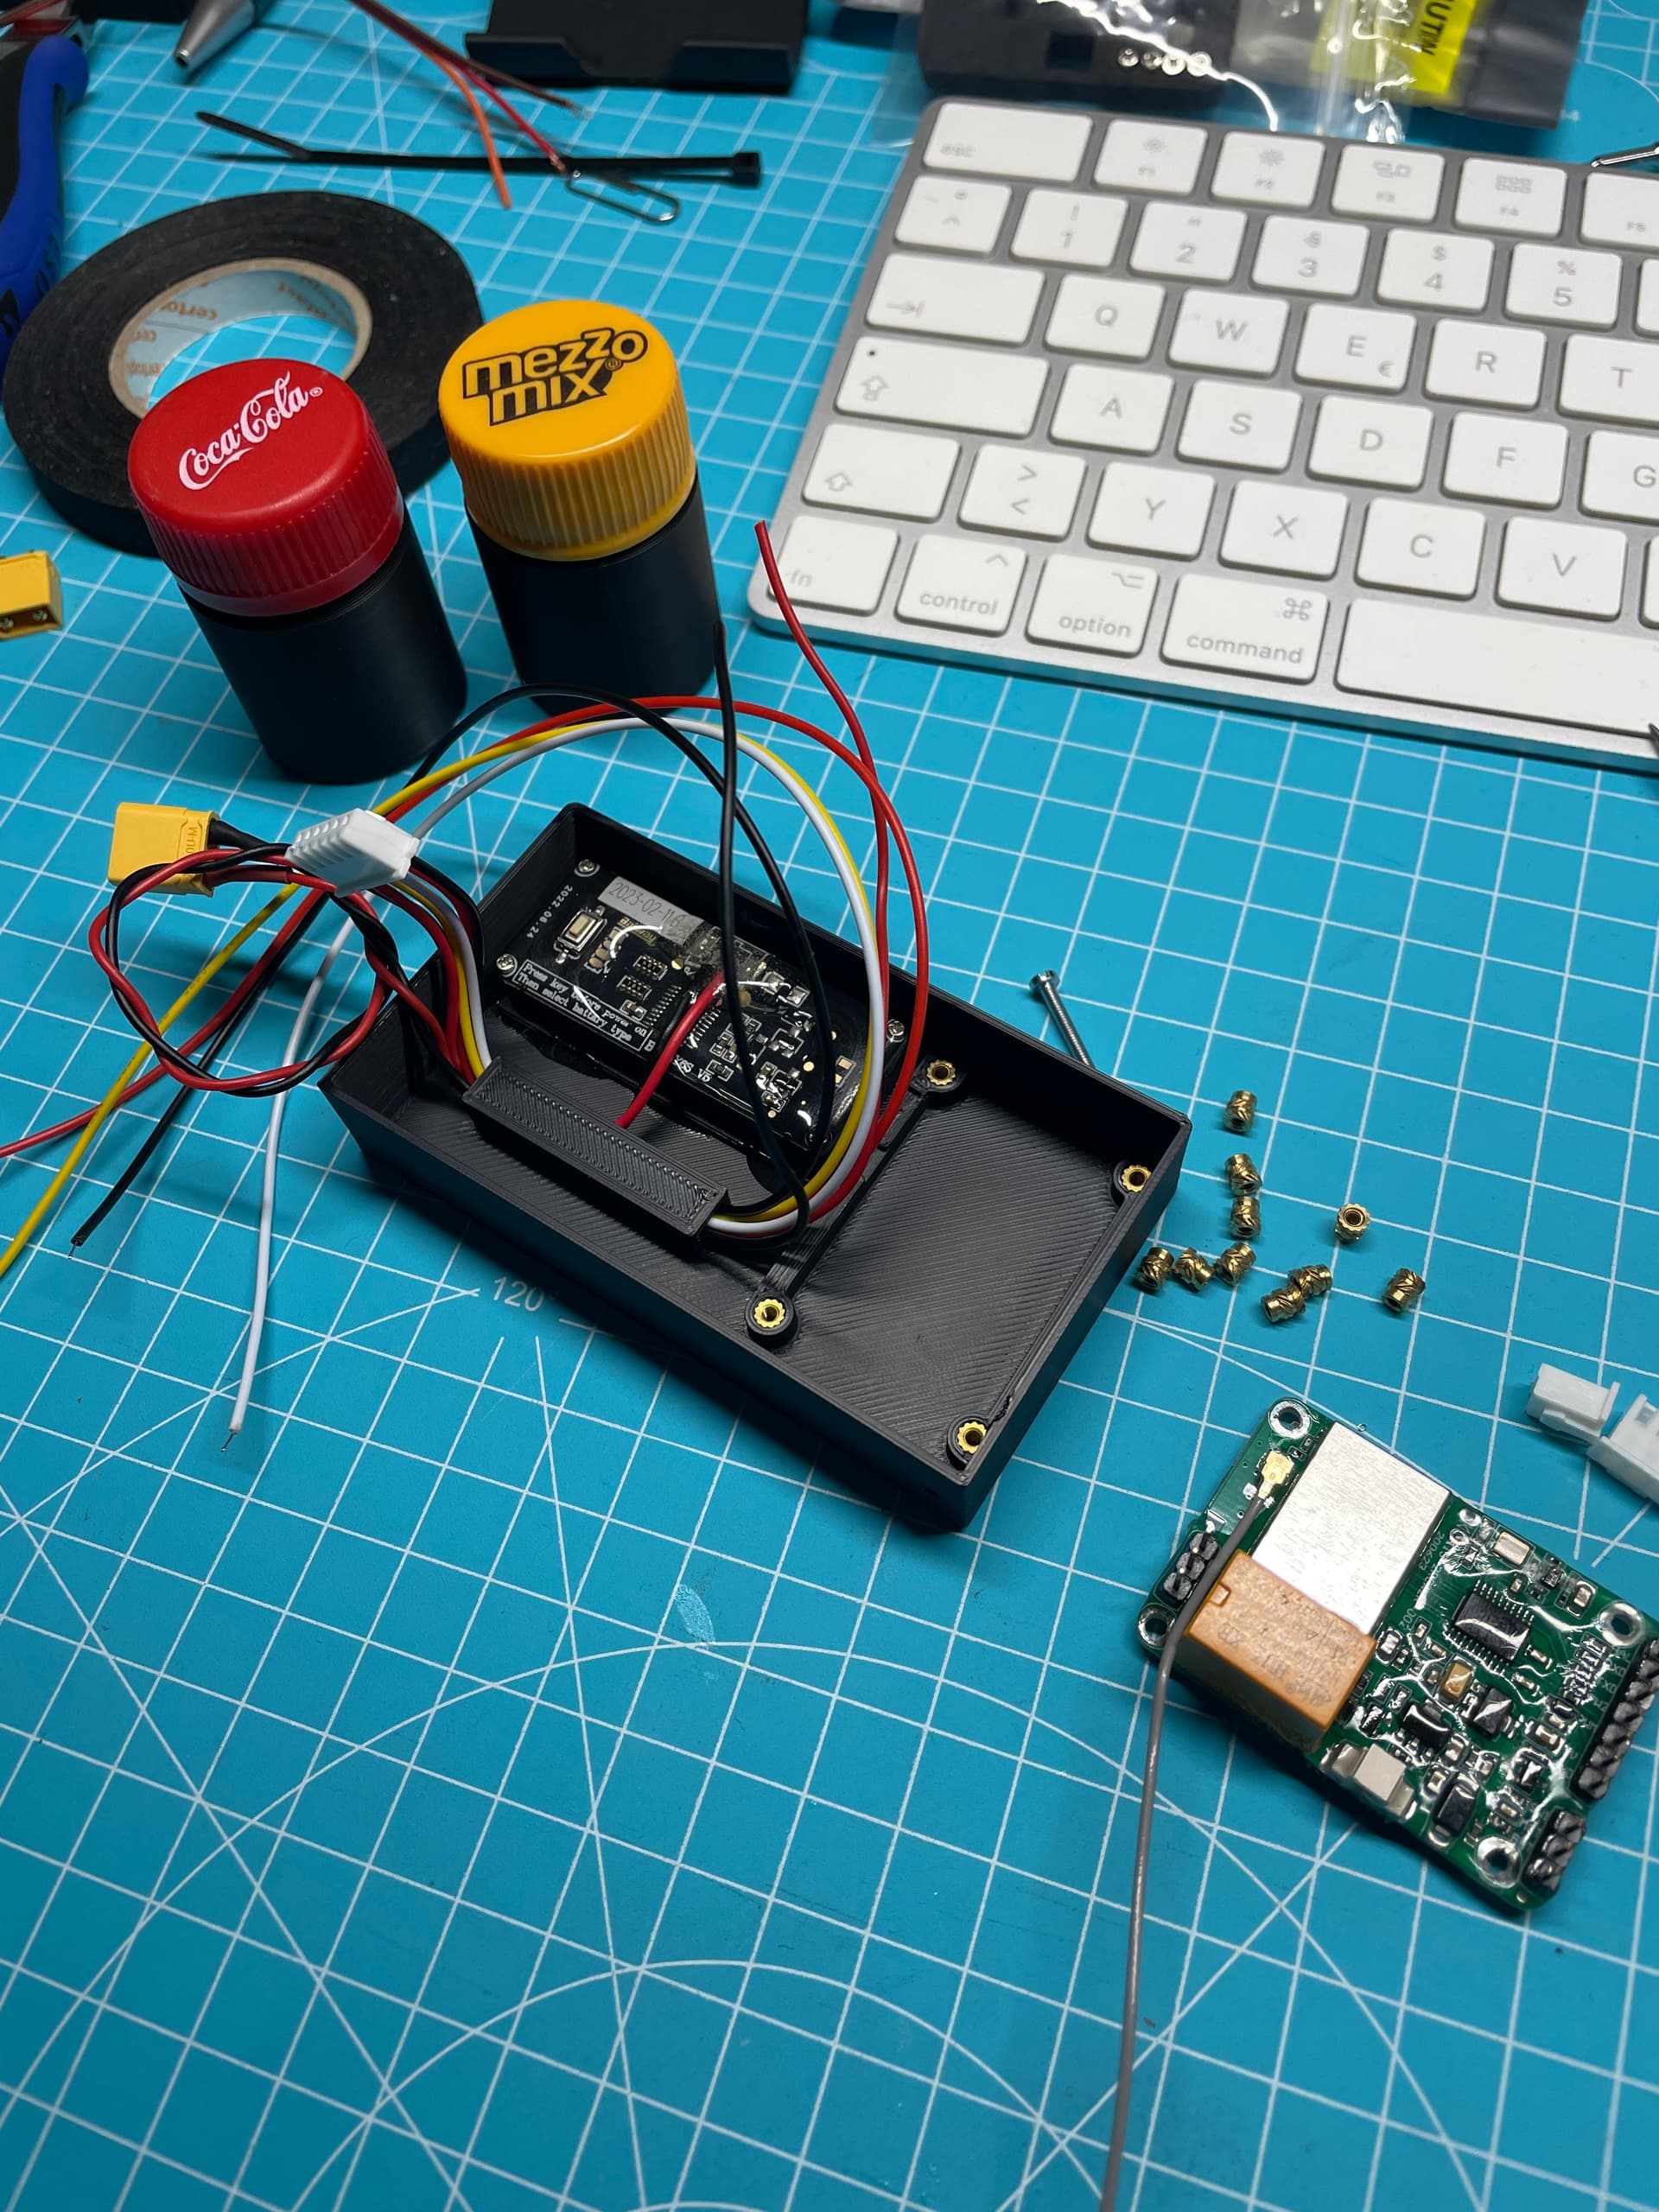
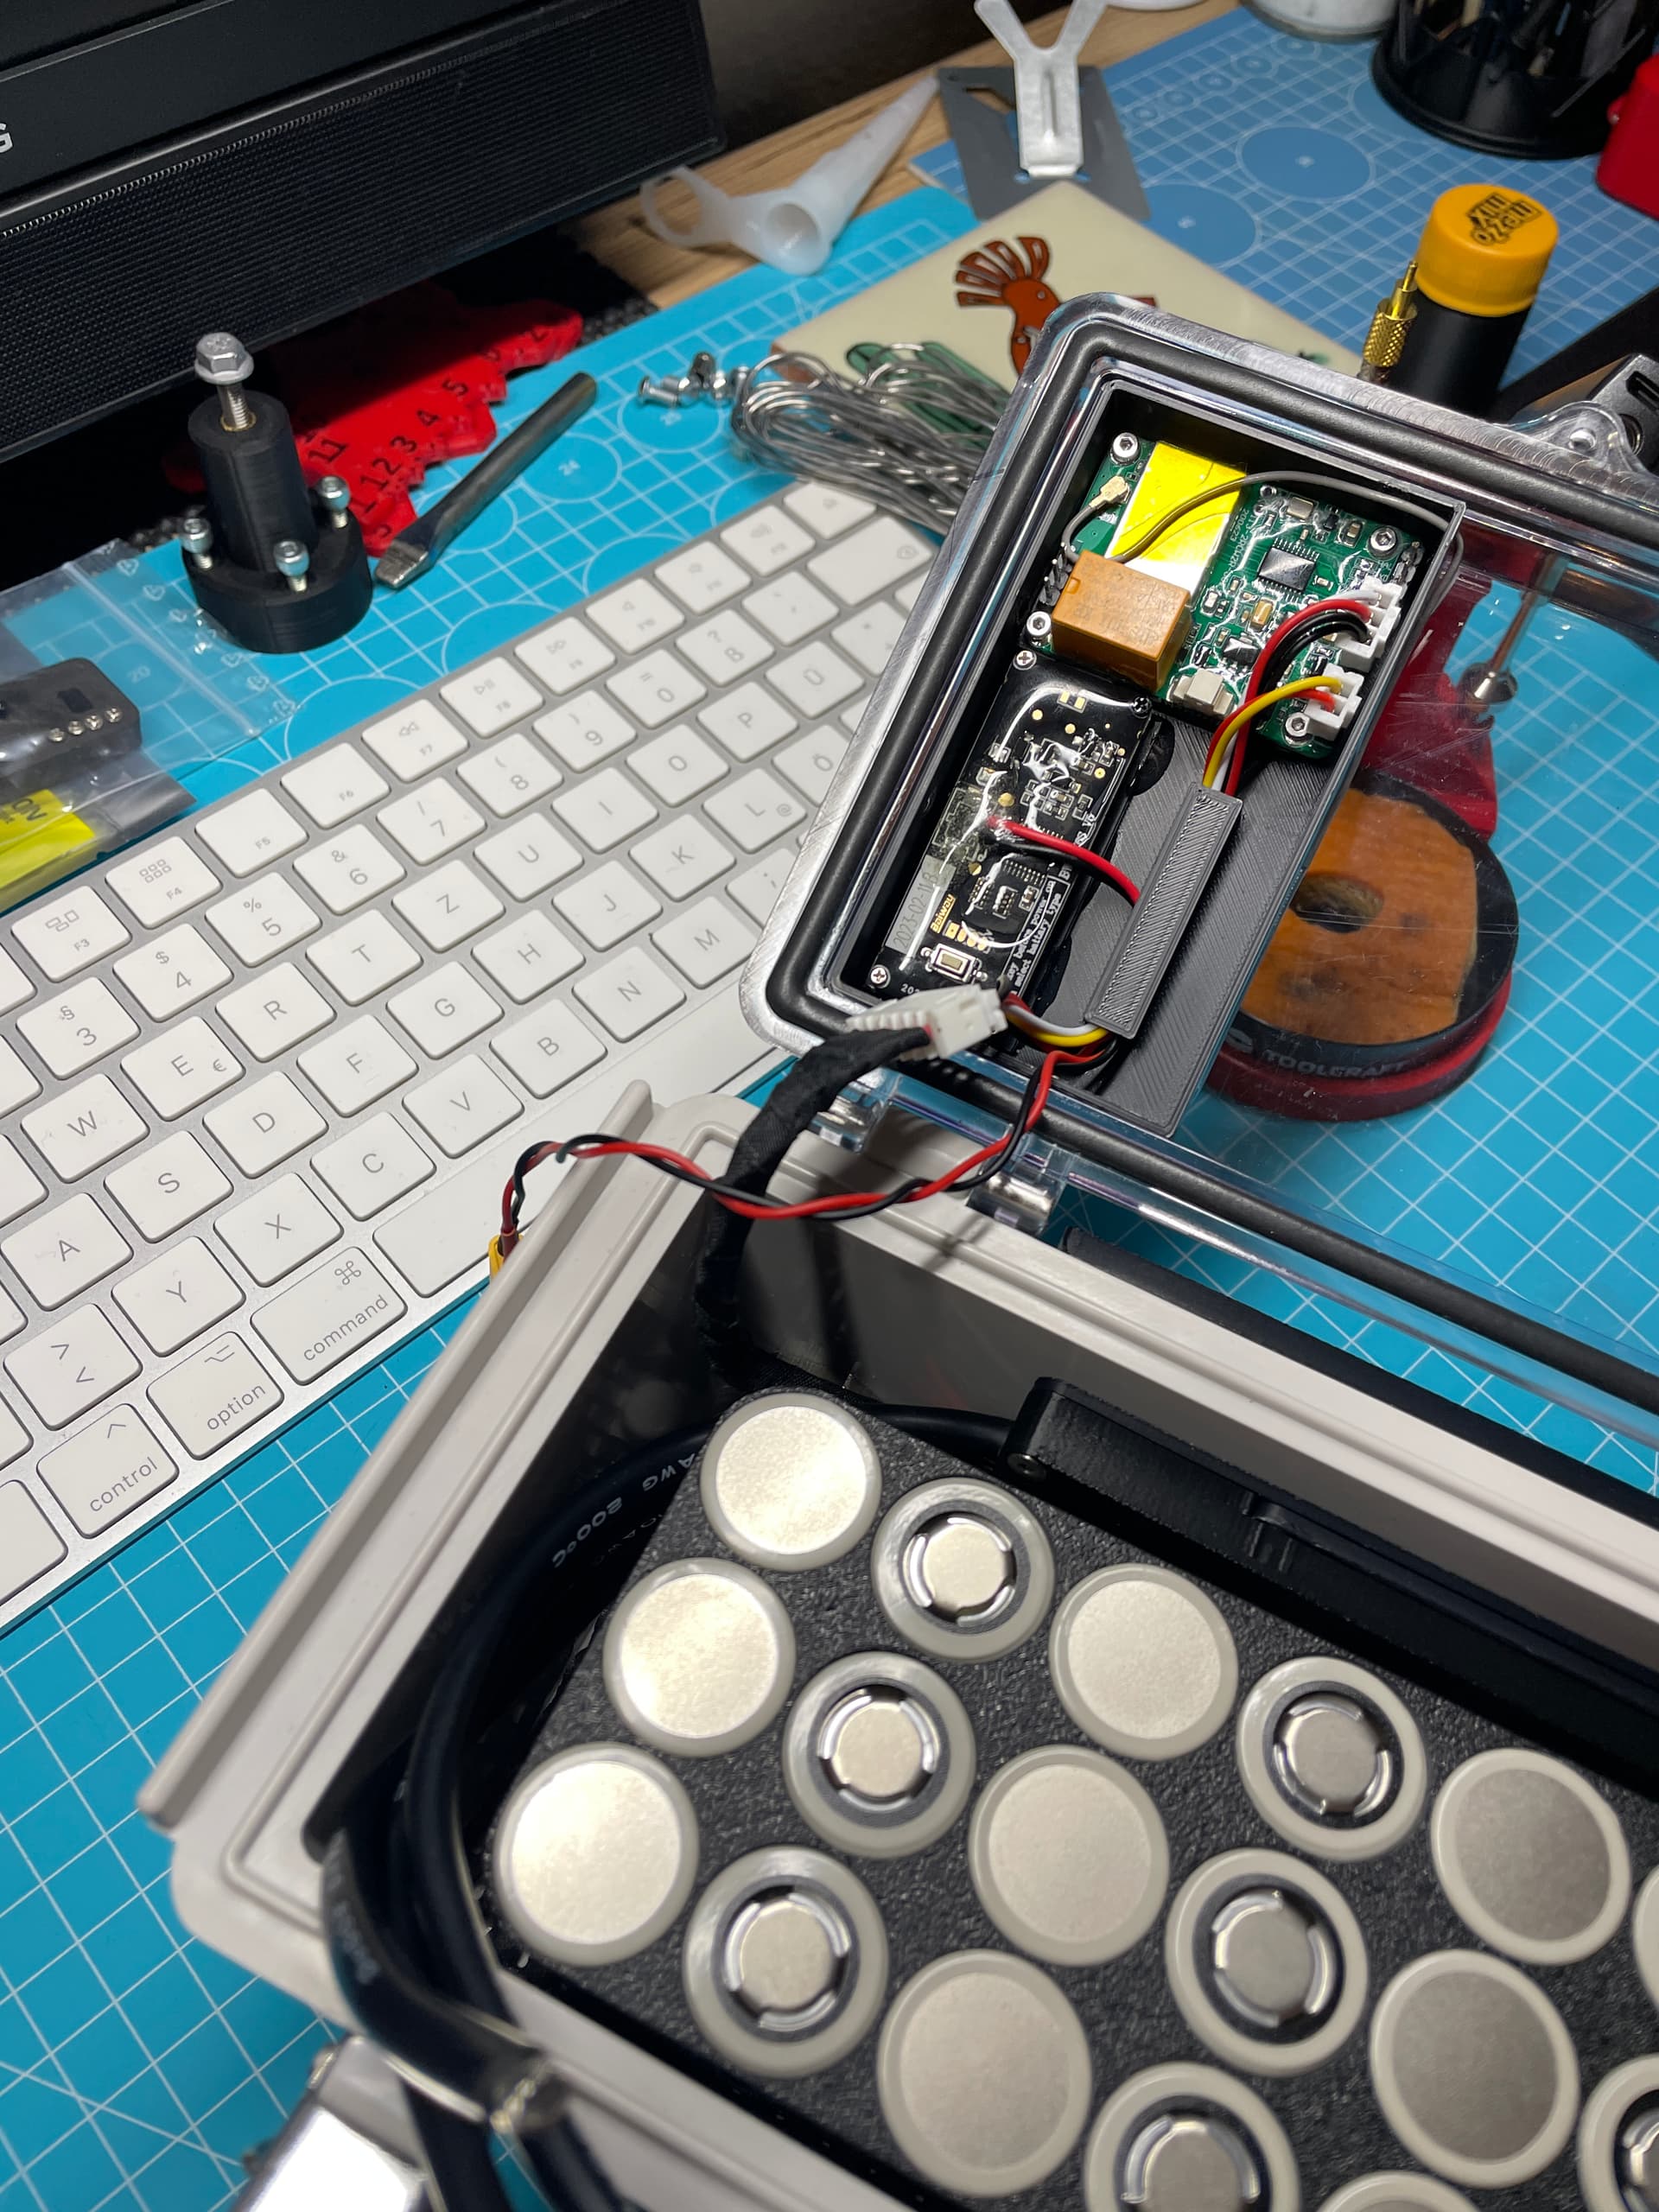
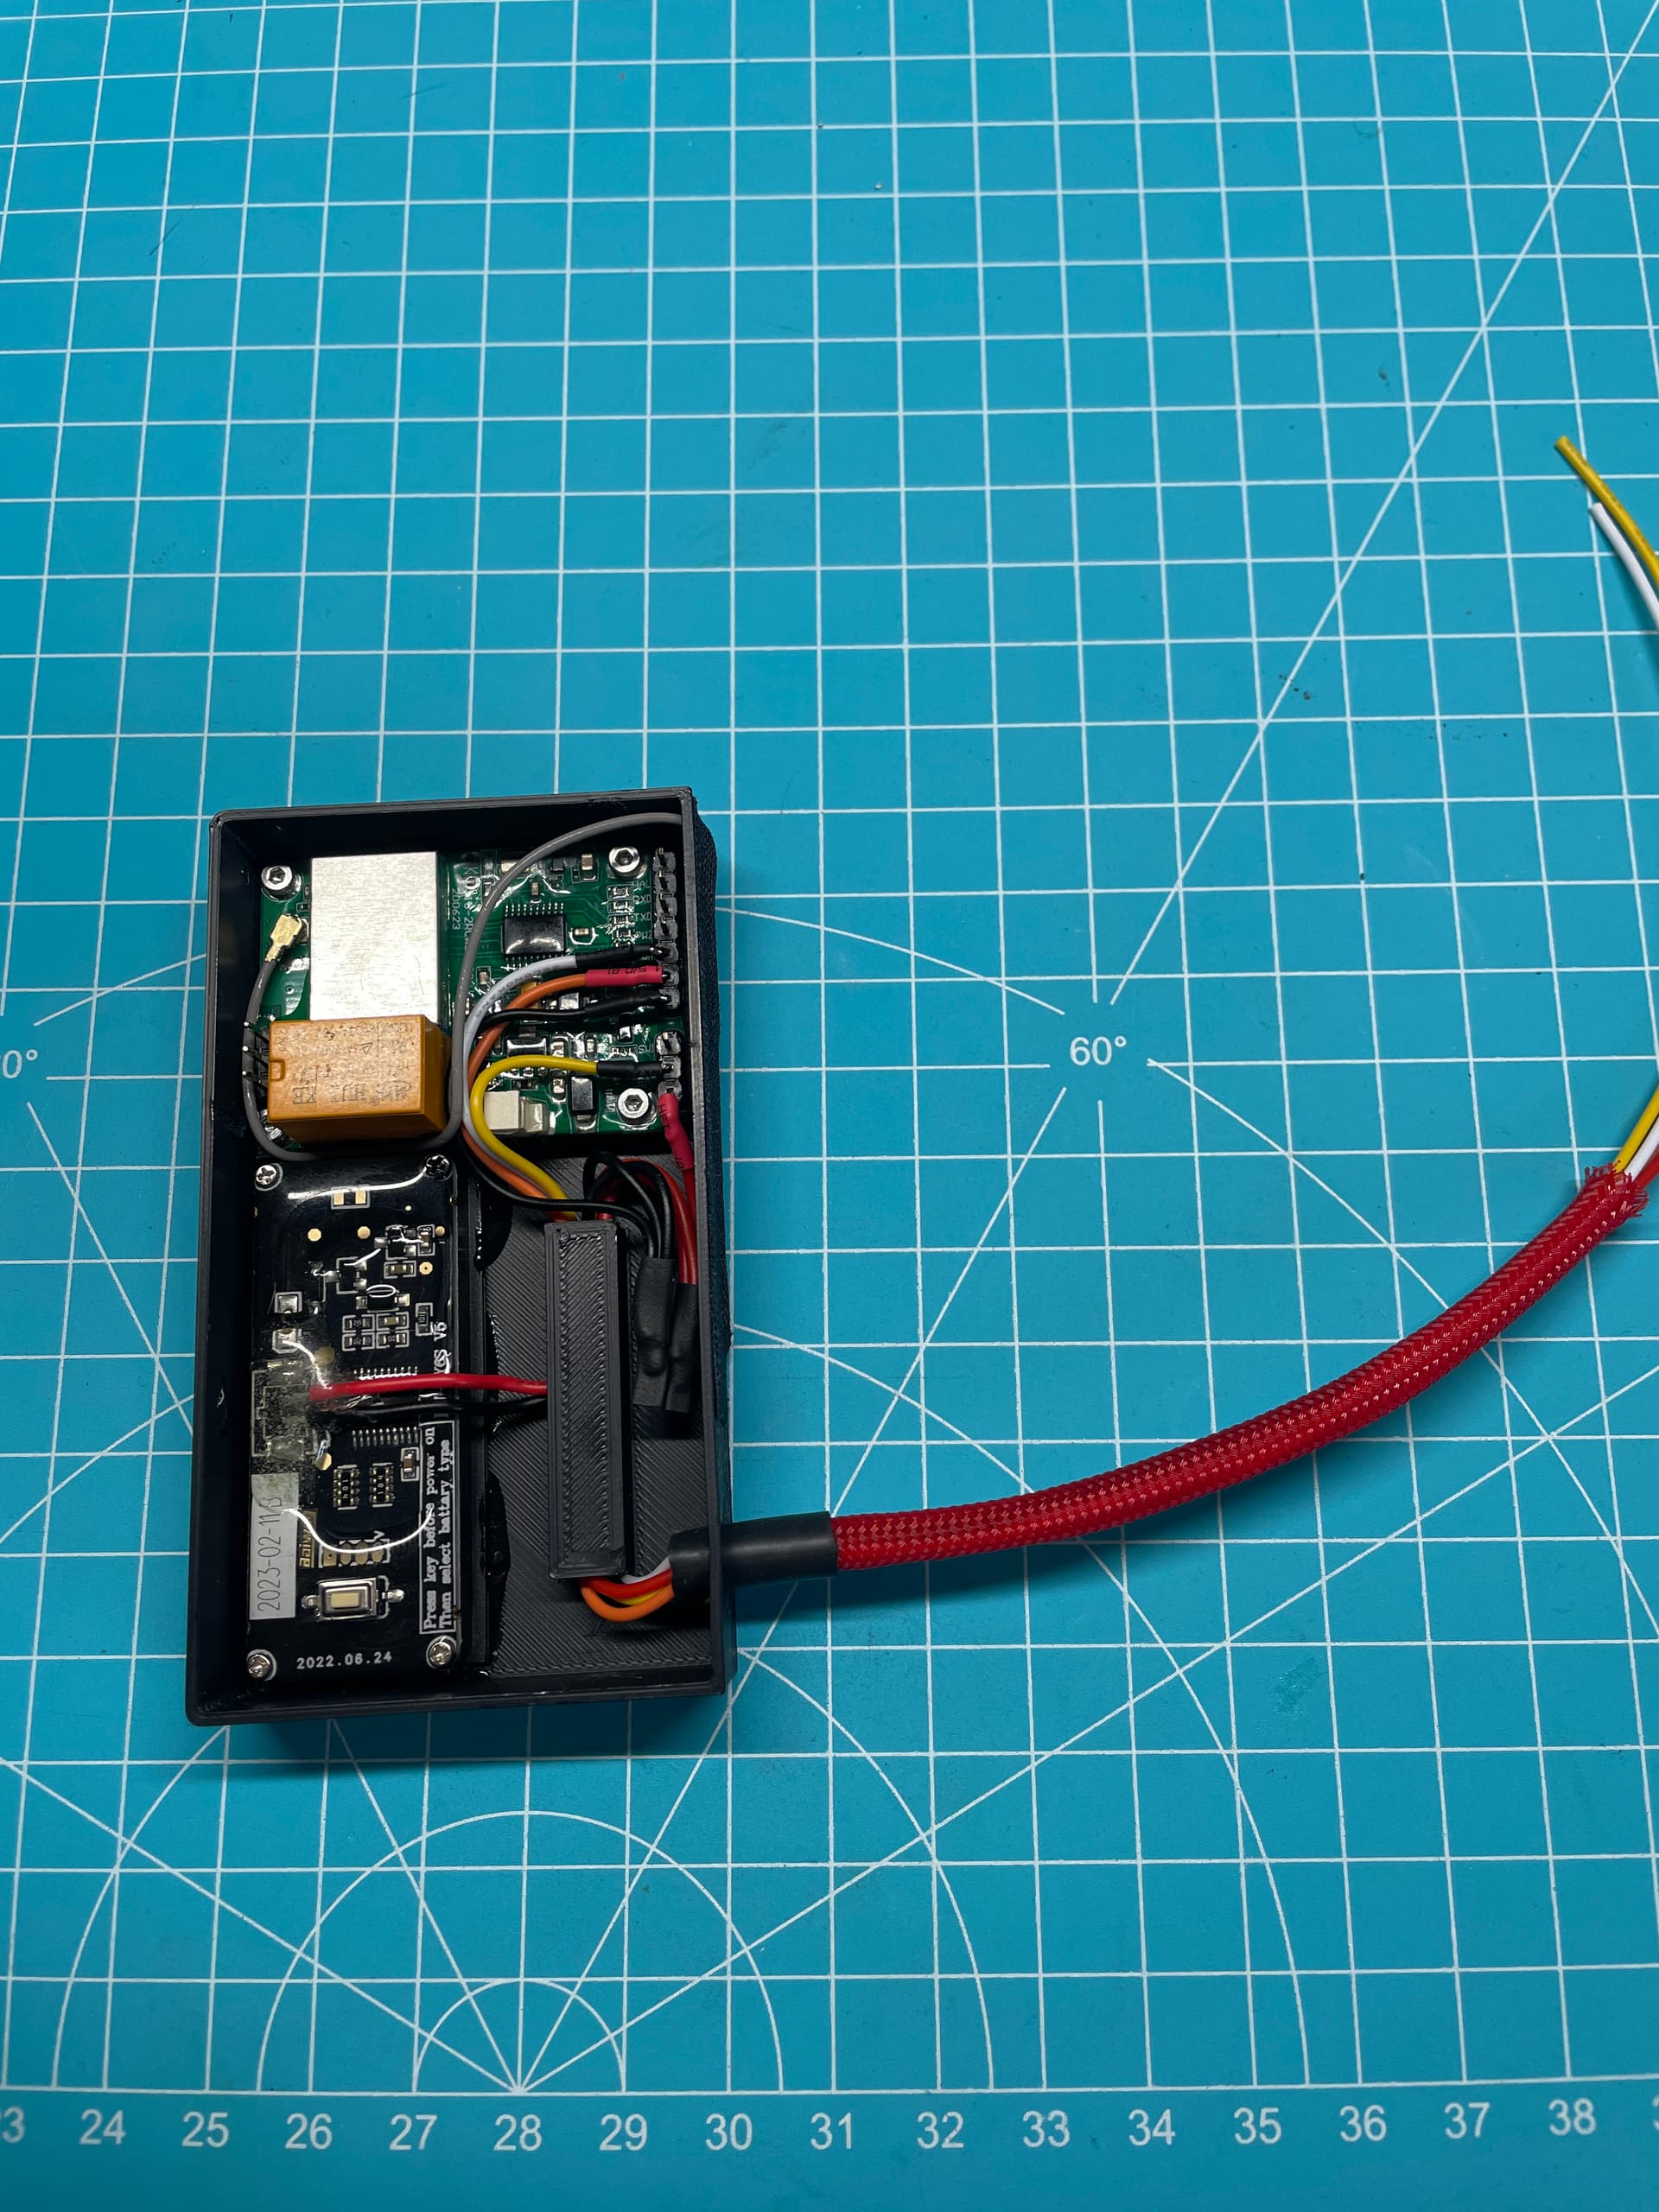
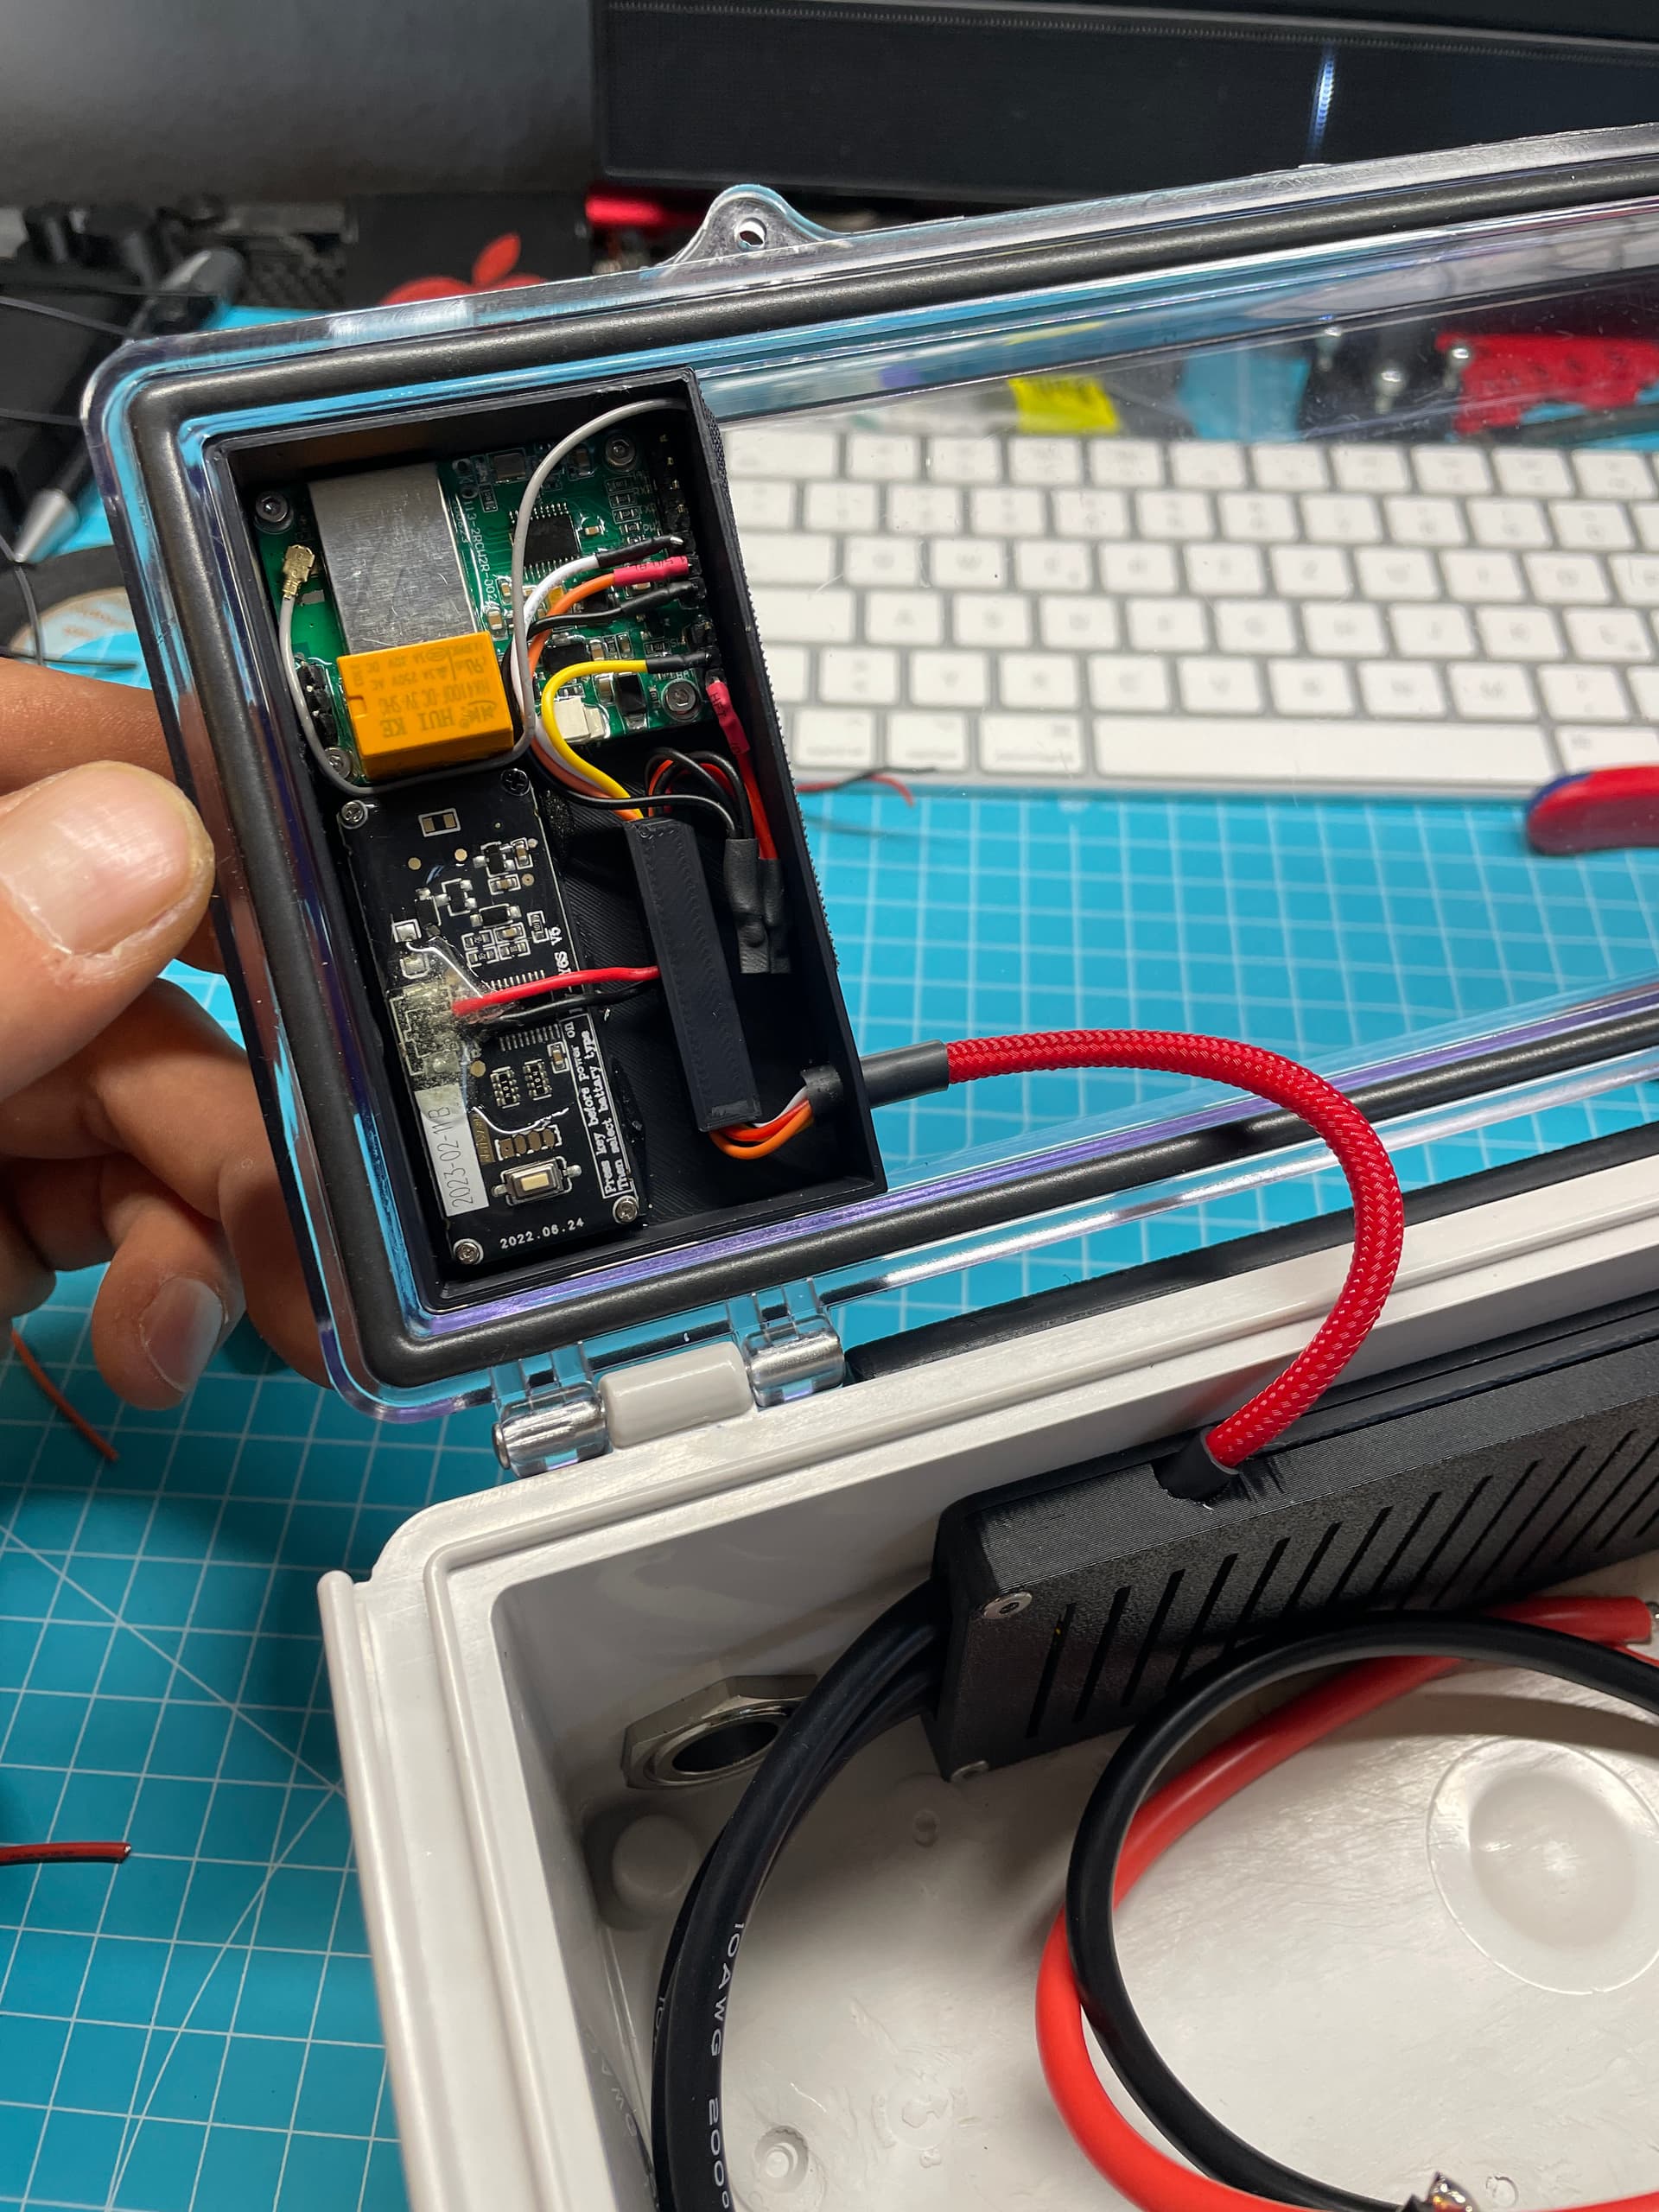
Small status:
I decided to do the electronics before the battery. I sealed the display and receiver with epoxy. Then I inserted the parts into my panel!
Batterie Kapazität Anzeige 12V -… https://www.amazon.de/dp/B08TMDT1CB?ref=ppx_pop_mob_ap_share