DIY - budget - high amp waterproof connectors

So I had an idea on making my own waterproof connectors based on a 5.5mm bullet connectors so able to handle the high amps (100a+) needed for efoil.
They are now complete and first field test will be at the weekend but the build is looking solid.

The connectors are based on standard ip68 cable glands.
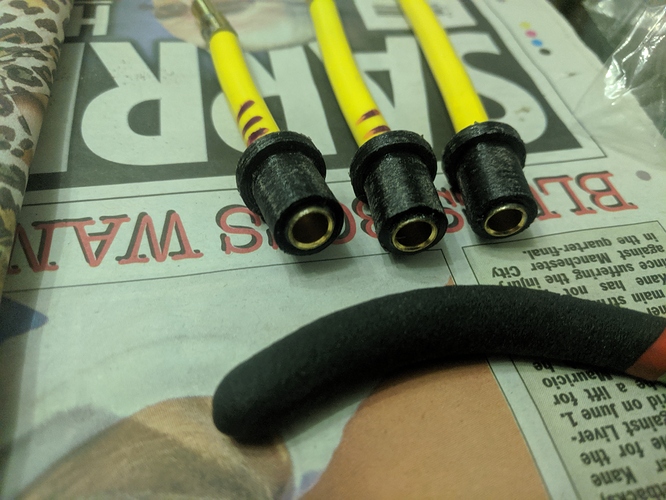
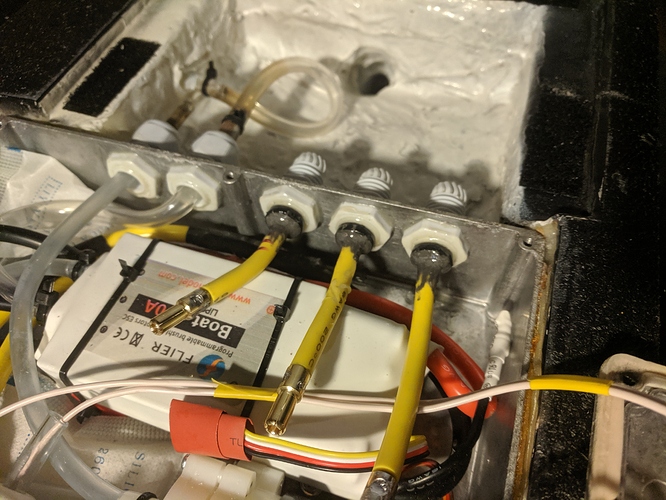
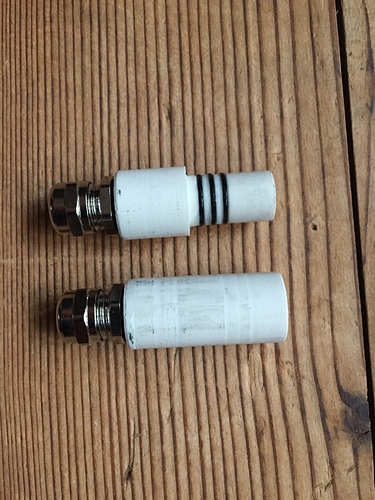
I 3D printed a plug which is epoxied into the “dry” part of the gland. And a cable with a 5.5mm bullet connector soldered on is epoxied through the centre of the plug. Step by step images below.

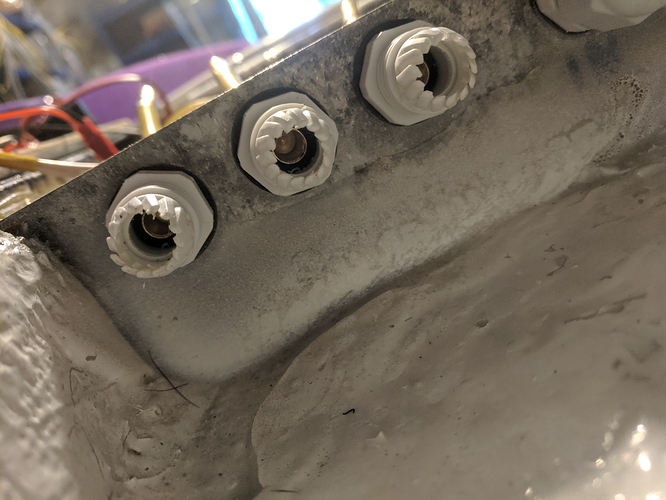
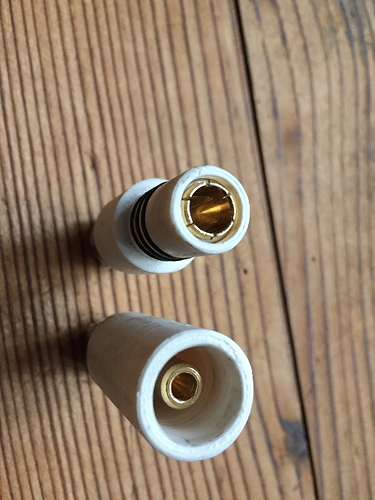
Basically the plug inside the gland with the bullet female connector allows a 5.5mm male to be inserted from the wet side of the gland (through the cap and rubber seal). Once inserted the gland it tightened for a fully waterproof connectors.

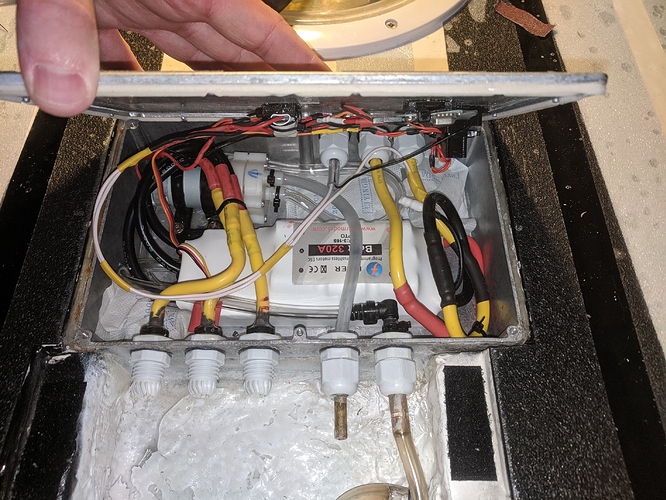
A side advantage is that once the plug is glued in the gland, it seals the gland completely. So even if there was a small leak from the gland seal, no water will reach inside. I use this on my electronic box so the mast and motor can be completely removed but I guess it can be used on batteries or anything else.

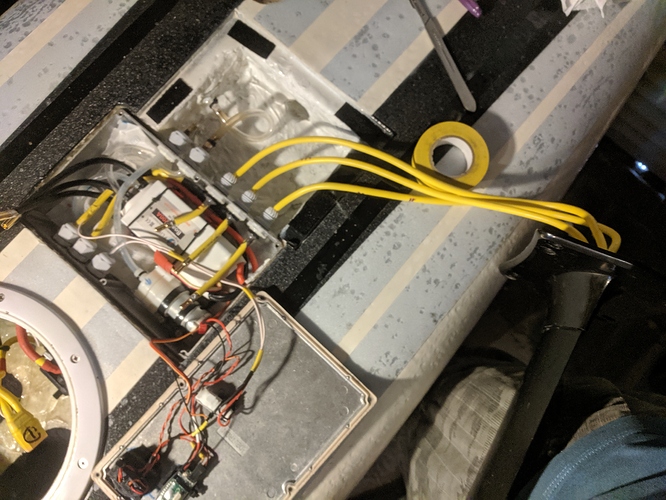
My board has a wet area just before the control box where the wires route from the mast. Check the build thread.

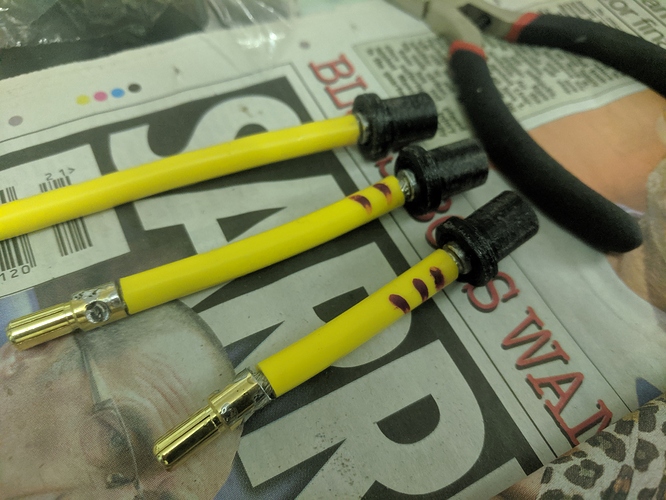
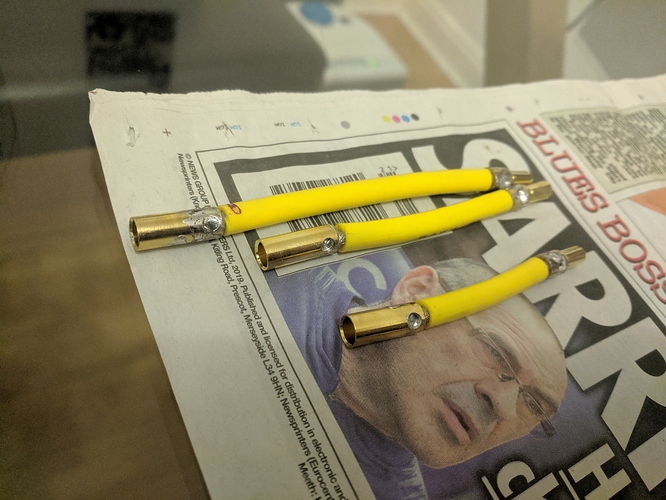
First up I made some patch cables with awg8 silicon cable and 5.5mm bullets.

Next, these were epoxied into the 3D printed gland plugs just proud of the 3D print. I’ll share the stl files tomorrow. I had to print scaled up a little but it’ll depend on your parts and printer. The aim is for the connectors to be a tight fit, so you can just about remove by hand, untill you glue them of course!

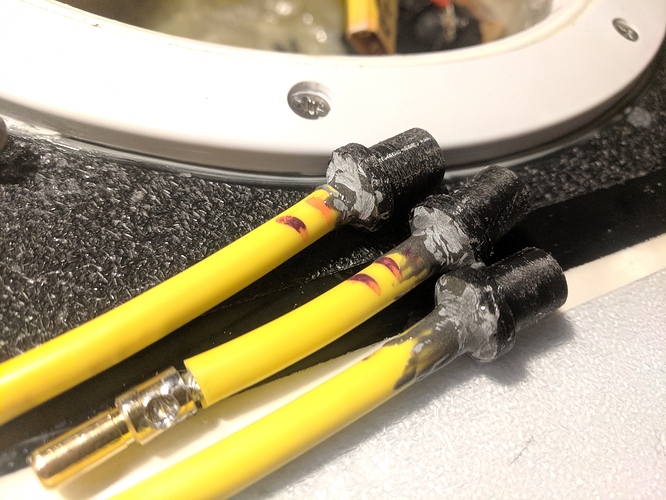
Glued in and sanded back to give a key for the next batch of glue

Next, glue these into the glands. Remember to be very careful not to get Epoxy into the plugs!
My glands are already glued into the electronics box but if you can do this before installing it would probably be easier


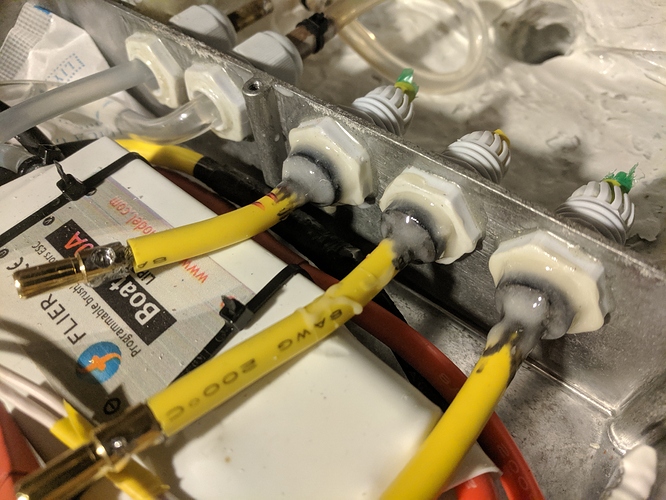
Then you pretty much done!. See the connectors inside the gland.

You can theb insert and remove the bullet connectors from the outside.
I don’t have the rubber seals and caps in place here but as long as you neat with your soldering on the bullet connectors it will slip through these too

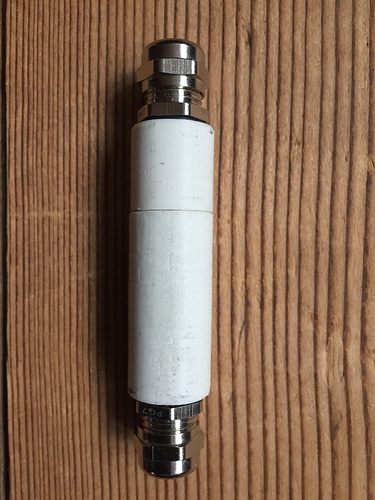
All done and ready for action!
Just insert cabled and tighten the glands.
3 Likes

Gland plug stl: Waterproof Gland plugs V4.stl - Google Drive

Gland plug SketchUp: Waterproof Gland plugs V4.skp - Google Drive

1 Like

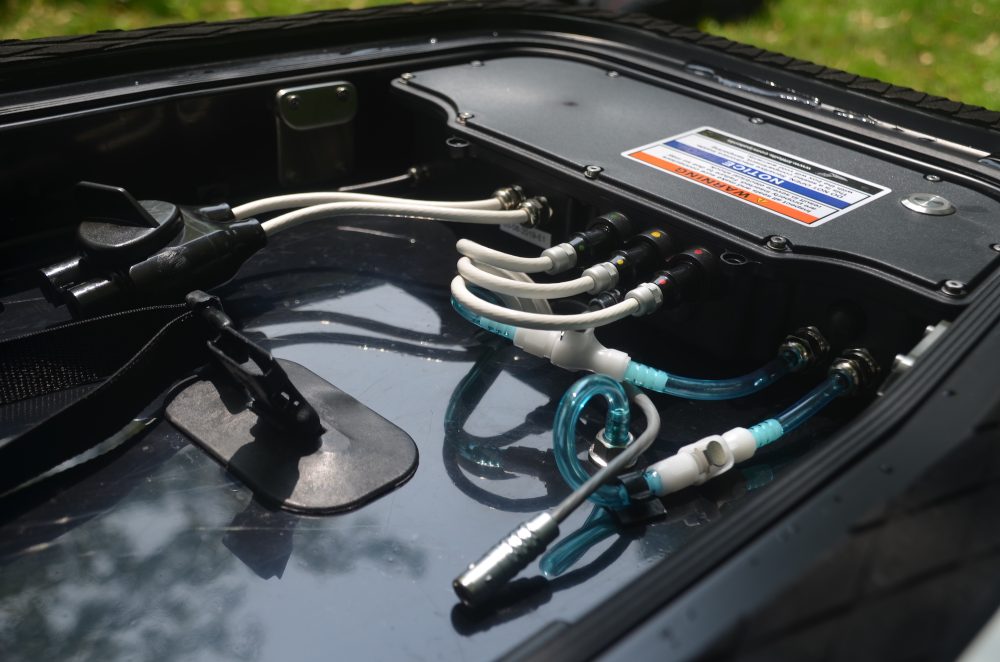
Nice piece of work. How is your battery ? Don’t you fear water leaks in the FLIER ESC compartment ?

LIFT use CPC no-spill quick (dis)connect also called quick-release couplings. For the pump, I think they made a separate box inside the ESC box.

The Battery is in its own glassed compartment with a breaker. It has a circular access hatch with compressed o-ring seal. No leaks on that part at all.

In the electronics compartment all the hoses are zip tied onto the barbs of the joints. Removing the hose from barbs alone is damn near impossible without destroying the hose so I’m not really concerned about them coming off. The feed in and out the

Its possible they could split I suppose but with such little movement in there I doubt it would any time soon. The hose is cheap though so it can be replaced over the winter if needed.

I do wish I had gone for a bigger electronics box . With the 320a esc I’m a bit tight on space! Originally with the 200a esc I could raise it of the bottom of the box a few cm in case any water got in.
Compartmentalising the water system is a nice idea, although the pipes will always need to go to the esc compartment at some point to cool it. But I just don’t have the space. Maybe version 2!

Thanks for sharing. Not that these would be hard to re-design, but since you shared I thought I’d mention that your google drive folder requires authorization to access.

Yes it’s a pretty simple plug.
Thanks for letting me know about the access. They should be open access to all now. Let me know if not.

FYI, these are working perfectly for me so far, and make life soo much easier!

Could you share real picture of the installation, I have some. Difficulties to catch how mount is all this stuff
Benj

More waterproof connectors: this is my approach to waterproof AS150:

![image|375x500

Printed in ASA-X, all threads printed.
Needs to be tested.

5 Likes

It’s not DIY but it’s a budget solution I’d like to share. Several models exist but this one is great. The 3 pins connector can be removed from inside to let space for XT150.

https://fr.aliexpress.com/item/33002197500.html?spm=a2g0s.9042311.0.0.5f6d6c37zWnvdz

5 Likes

Only 16A rated. Are you using them? Any issues?

Should be OK since you replace the 16A connector core by the XT150 :wink: Therefore you remove the 16A limitation. Applicable cables with XT150 must be in the 5-10mm range though. Super idea Matt, at 0.82€ per item, so simple and elegant.

1 Like

Thats what i currently use. I just slide these over xt150’s. works great.

2 Likes

Im sold so! Purchase made :slight_smile:

Clever and less effort.

Yes they’re working perfectly fine

Here is my approach

Printed part going to waterproof connectors
IMG-20200118-083438

Done for 20mm and 10mm connectors

3 Likes

Great idea.
Very simple.Perfect!

They work just great! I use 3 since 2018 and still perfect, with XT150 and awg8 cables. Takes a minute to plug and unplug and are a little bulky but they are reliable and cheap. Got 4 of them on amazon for less than 15Euro.

sat_be great work!

can you share the CAD data?

cheers