DIY eFoil Build – From a Block of Foam to a Flying Board

Hi everyone!

After spending countless hours reading build logs here, I finally decided it’s time to share my own project.

This is my first DIY eFoil, and instead of buying a complete kit, I wanted to build as much as possible myself. The goal wasn’t just to save money—it was to understand every single part of the system and learn along the way.

This thread will document the entire build from start to finish.

So far I’ve already completed (or nearly completed) most of the major components, and I’ll be posting the whole journey with lots of photos and technical details.

Here’s what you can expect:

  • :package: Choosing and buying all the components
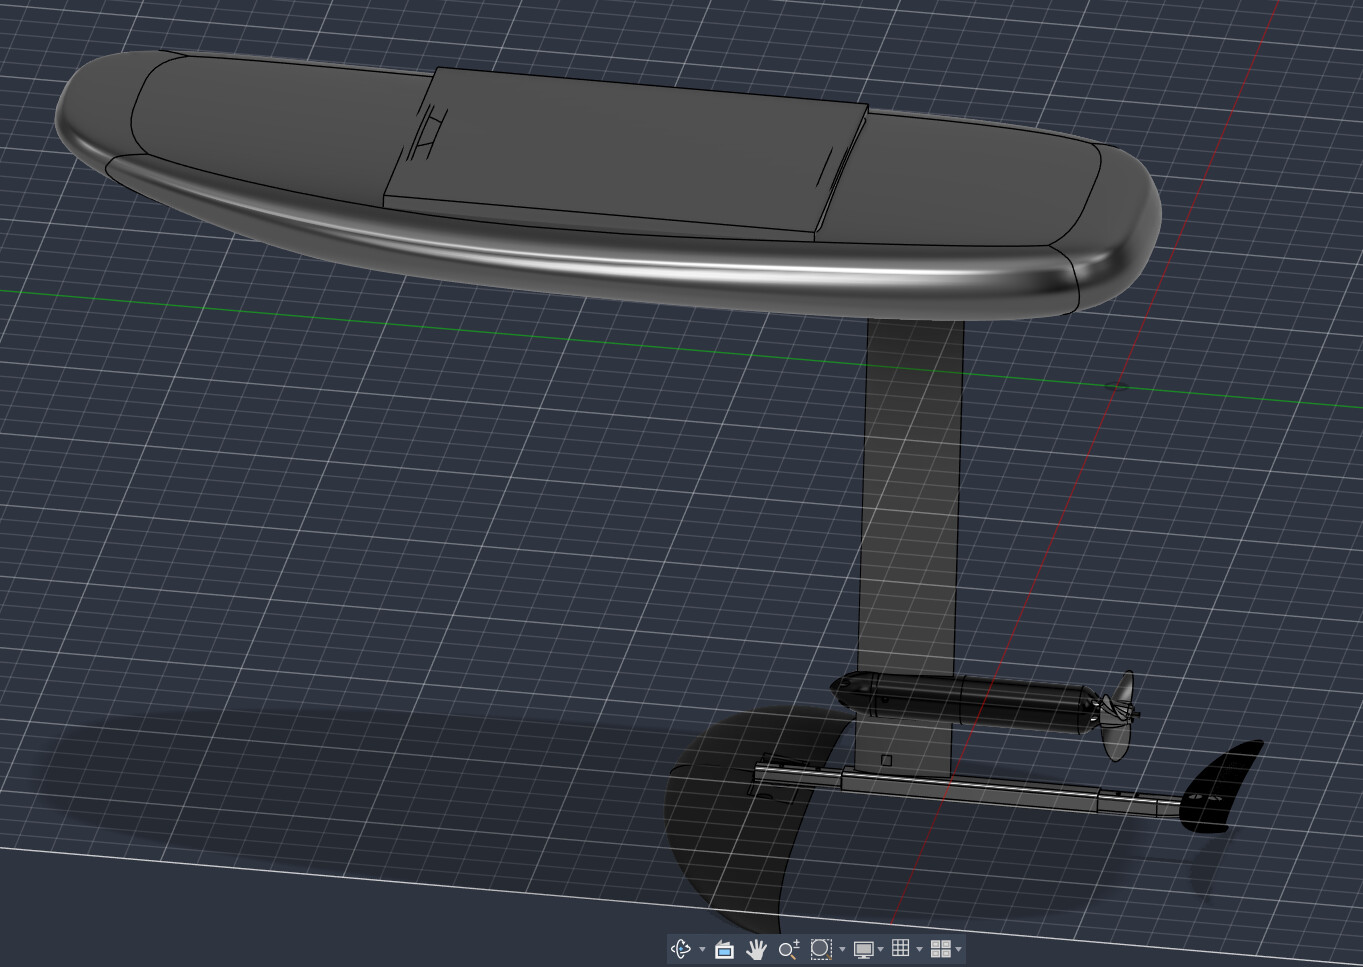
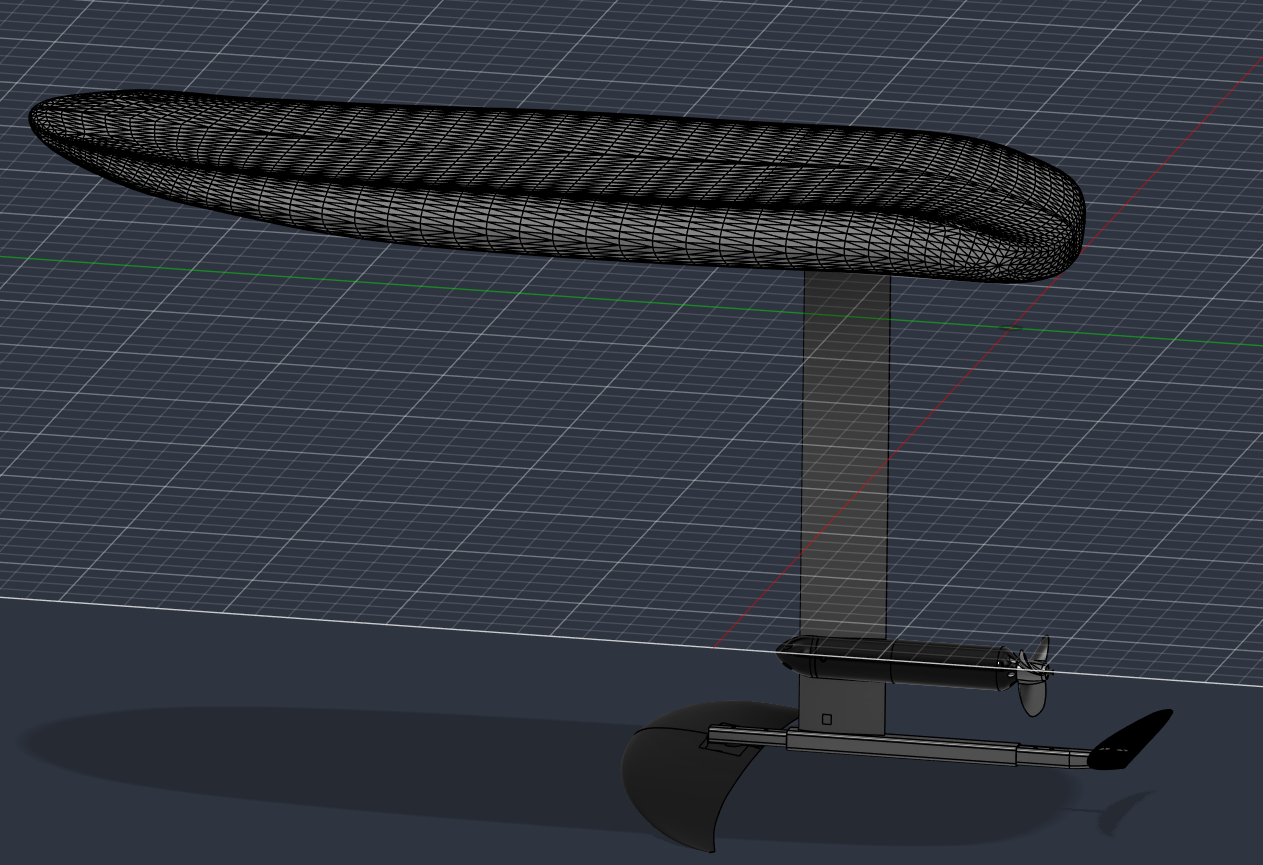
  • :computer: Designing the board in CAD
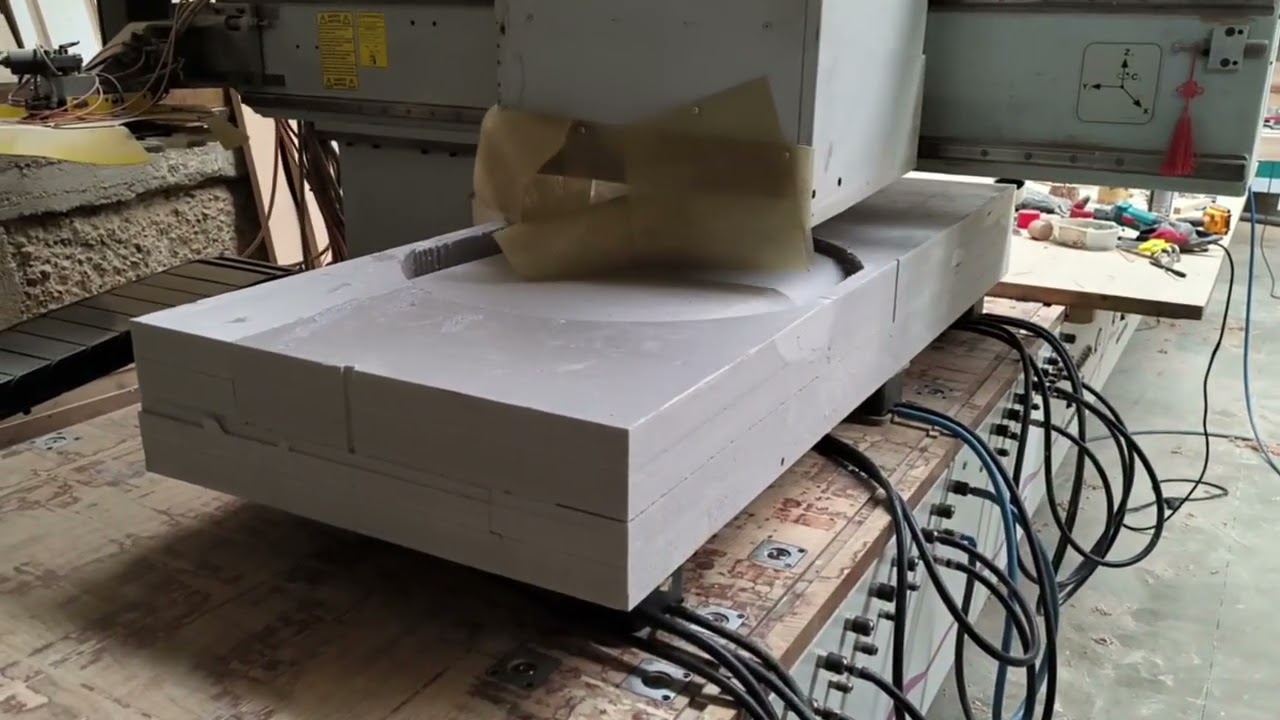
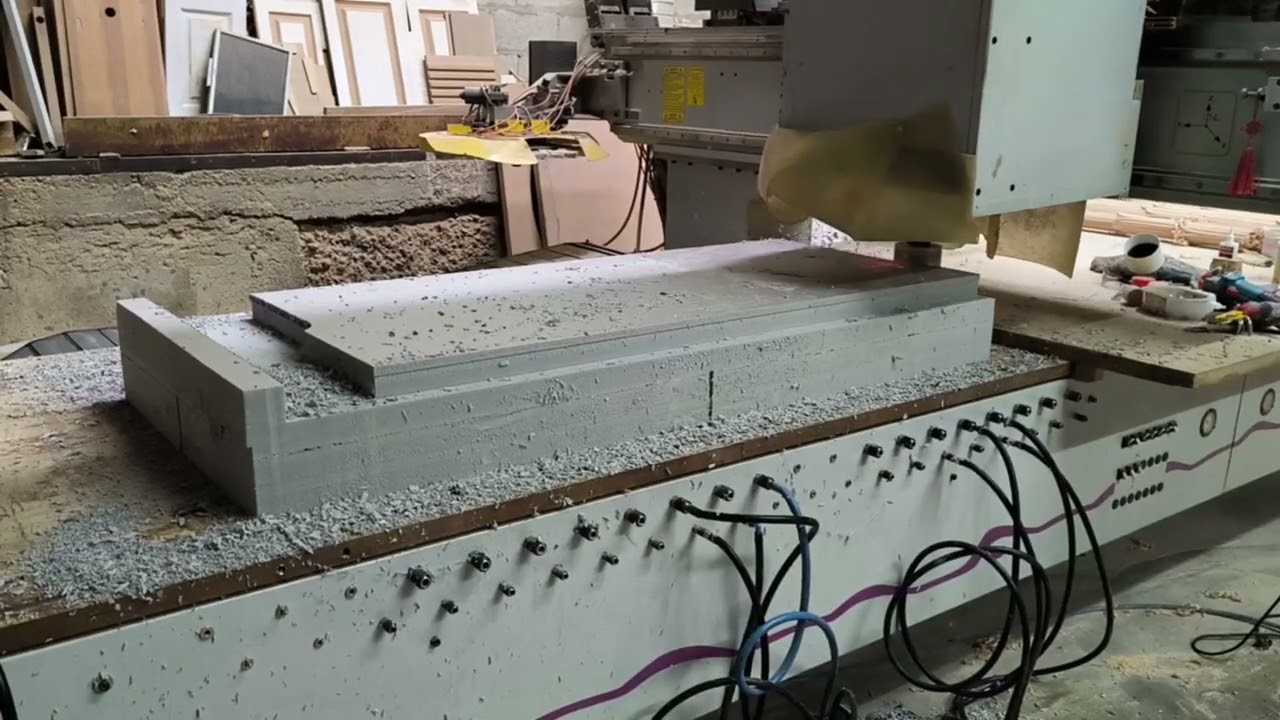
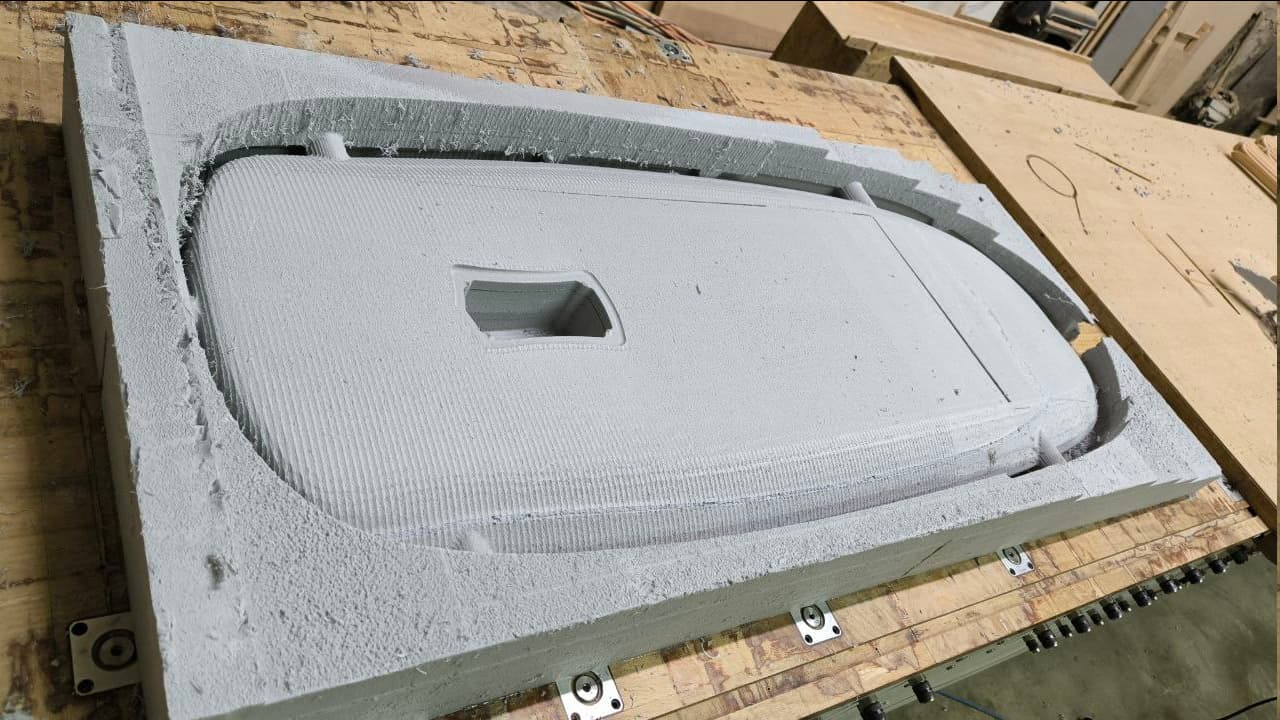
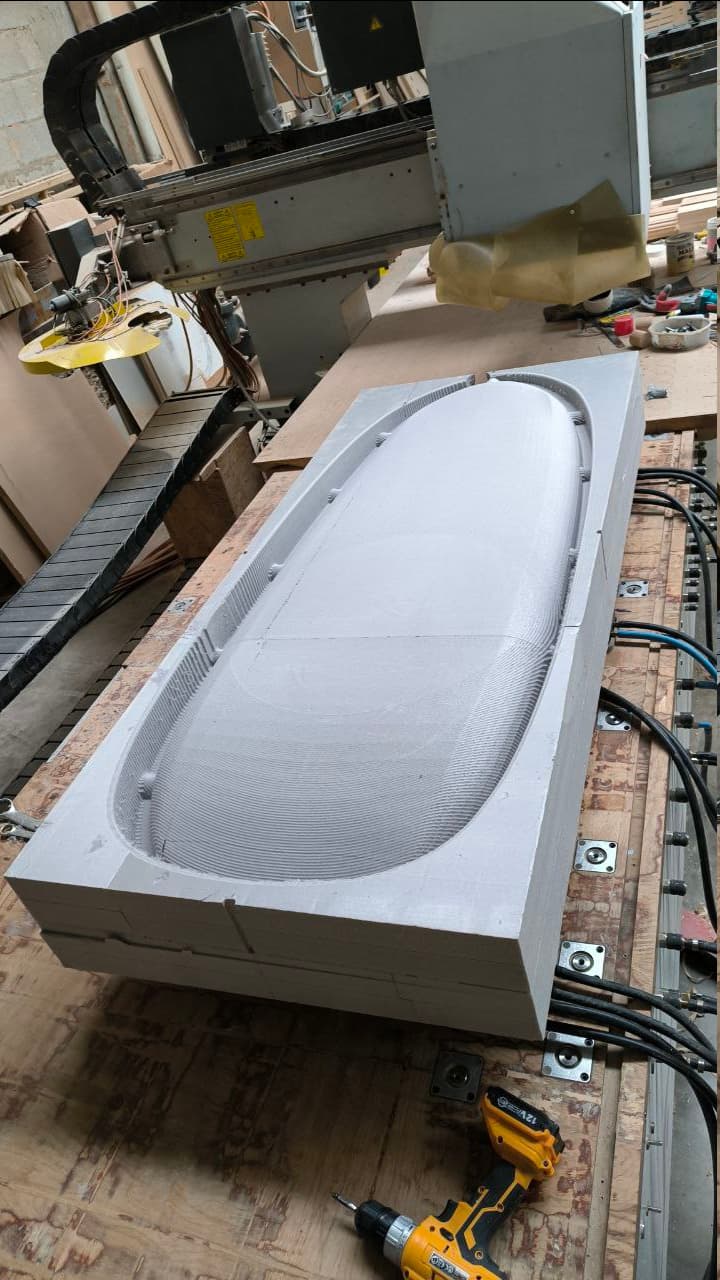
  • :carpentry_saw: CNC cutting the EPS foam core
  • :thread: Laminating multiple layers of fiberglass and carbon fiber
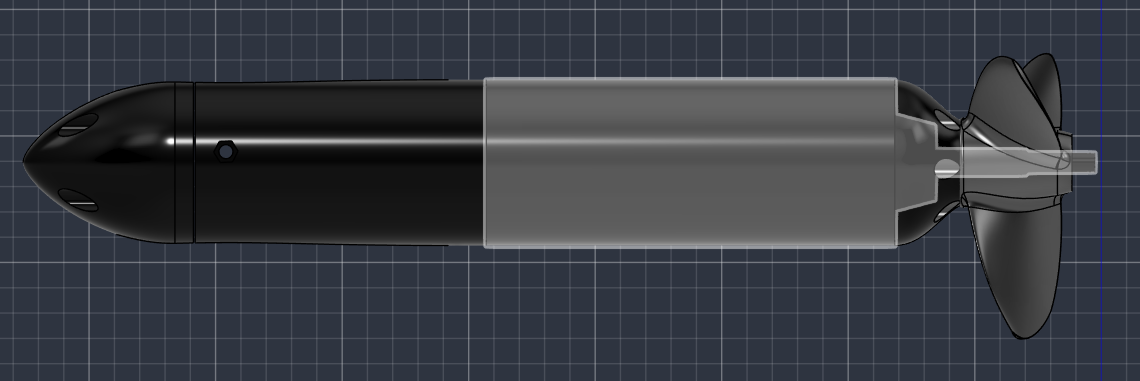
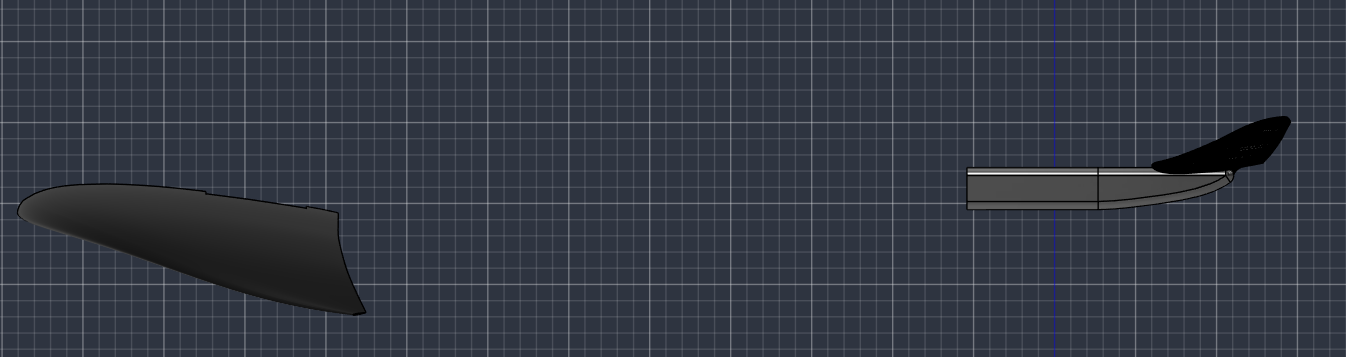
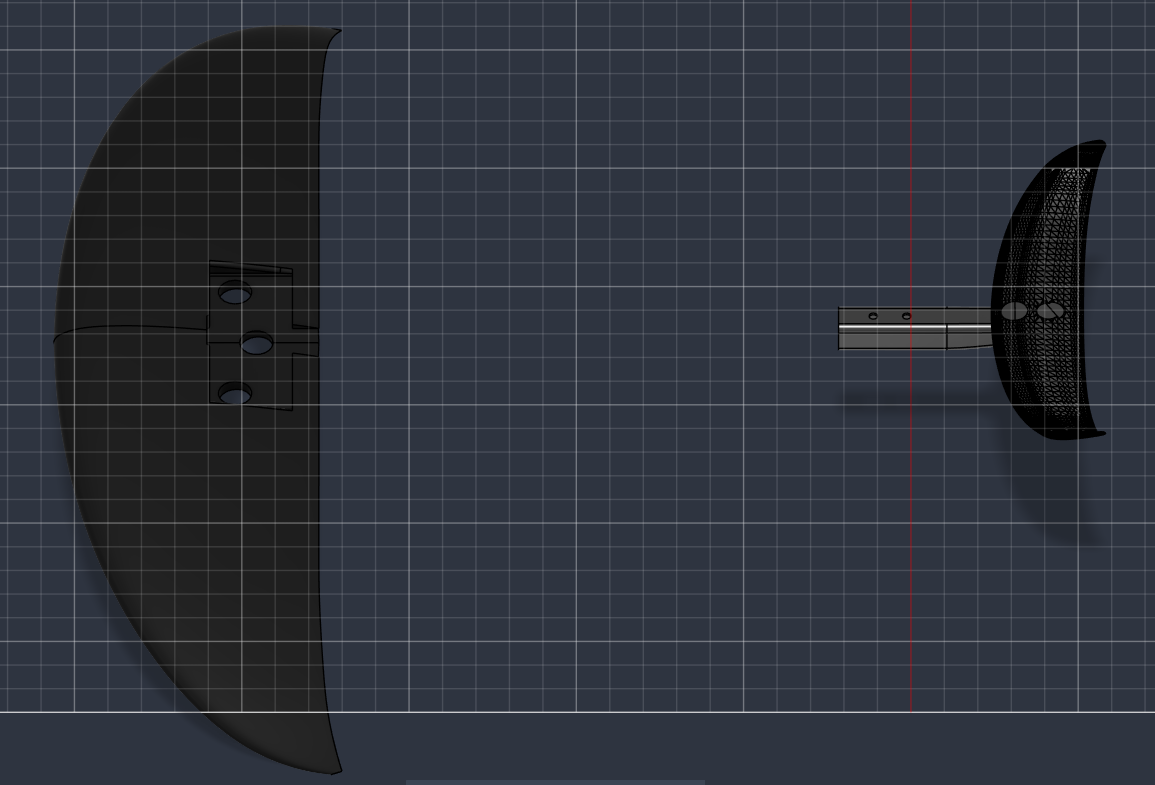
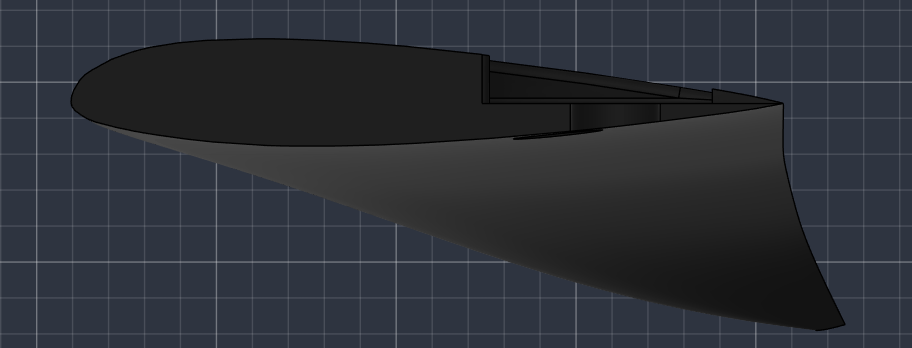
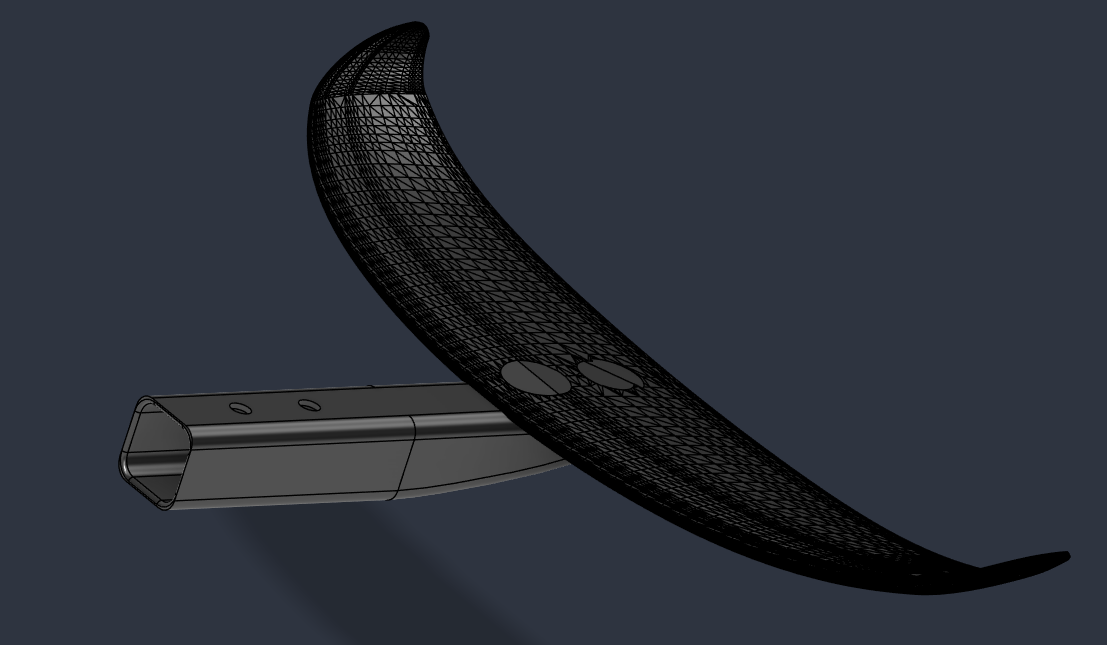
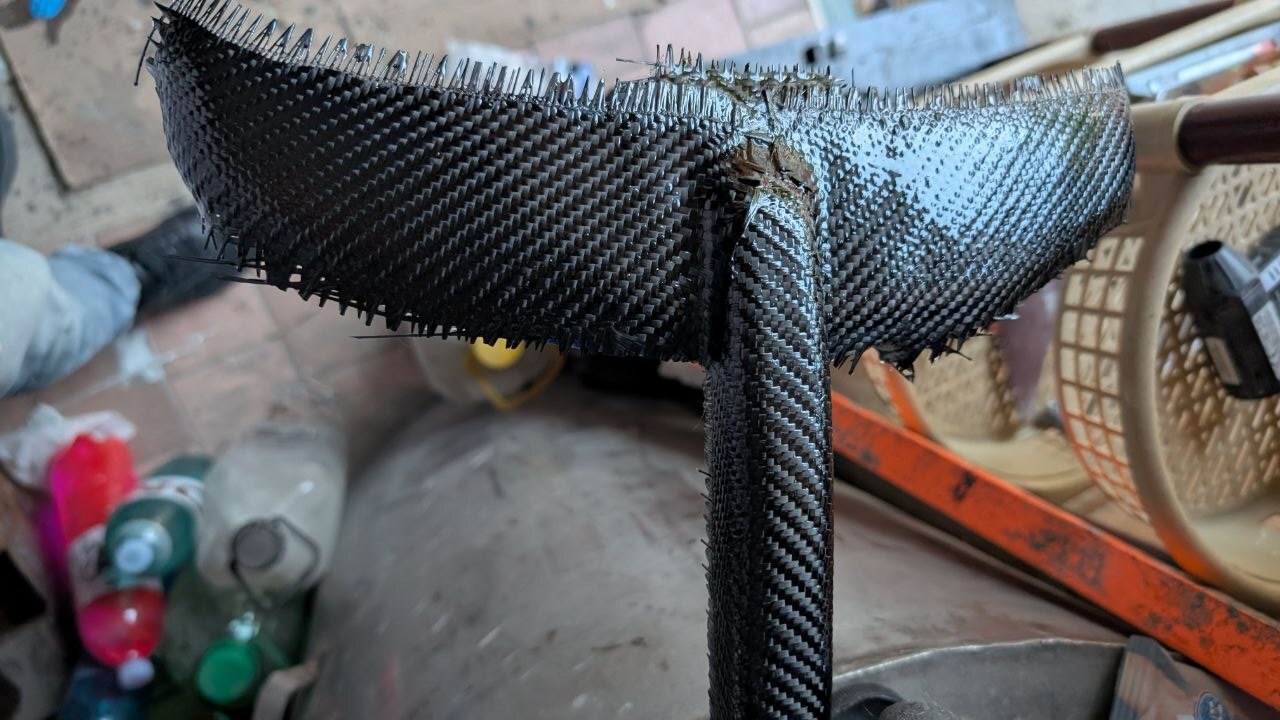
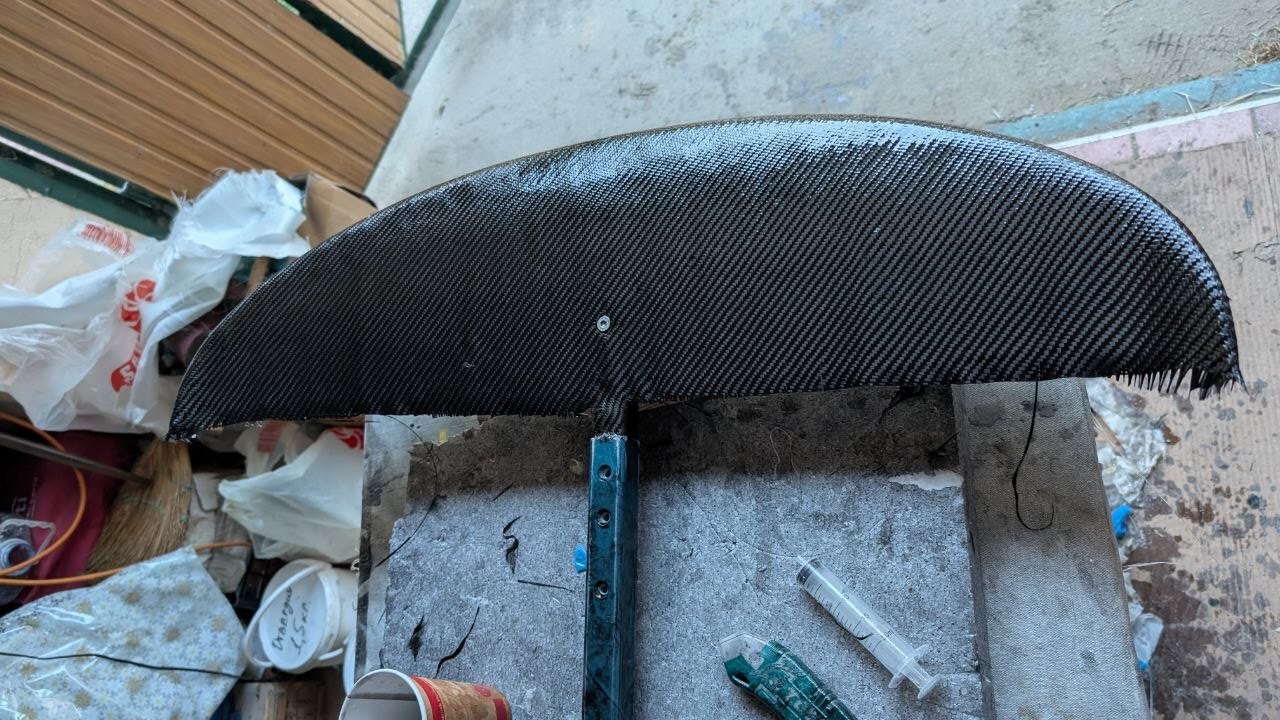
  • 🪽 Designing and building my own front wing
  • :battery: Building a custom 15S16P battery pack (BEAST!)
  • :zap: Installing the BMS and waterproof electrical system
  • :wrench: VESC configuration and tuning
  • :ocean: Bench testing the motor and battery before the first ride
  • (Hopefully…) successful water testing :smile:

Project Specs

Board

  • Custom CNC-cut EPS core
  • Carbon fiber + fiberglass composite construction
  • Approx. 168 cm × 60 cm
  • Custom designed from scratch

Battery

  • 15S16P
  • LG M50LT 21700 cells
  • Around 80 Ah capacity
  • JK Smart BMS with active balancing

Electronics

  • Flipsky FSESC 75200 Pro V2
  • Flipsky VX3 Pro remote
  • Flipsky 65161 120KV motor

Propulsion

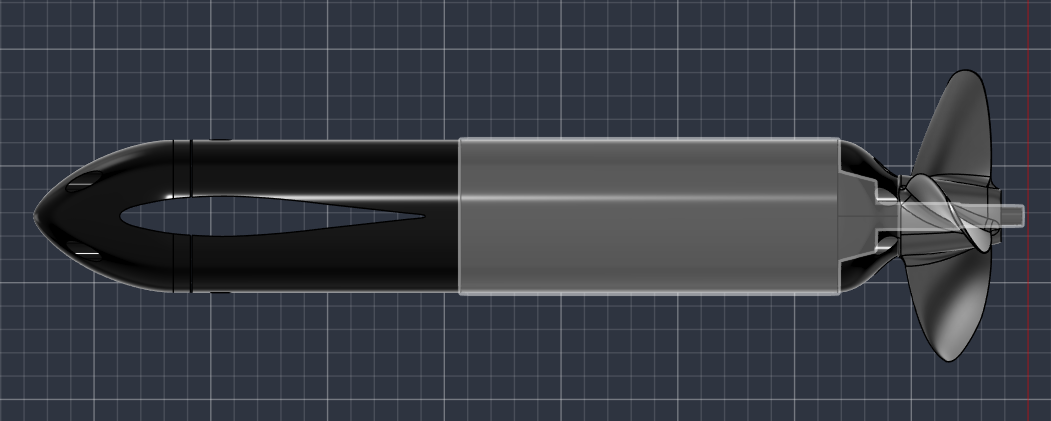
  • Folding propeller
  • Custom waterproof wiring and connectors

One thing I wanted from the beginning was reliability.

I know many DIY projects focus on making the lightest or cheapest possible board, but my priority has always been building something robust that I can trust on the water.

That meant spending a lot of time thinking about waterproofing, battery safety, connector reliability, cooling, and serviceability—not just performance.

I’m sure I’ve made mistakes already (and probably many more are coming :sweat_smile:), so I really appreciate any suggestions, criticism, or ideas from experienced builders.

I’ll keep updating this thread as I organize the photos from each stage of the build.

Next posts will cover:

  1. CAD design
  2. CNC machining
  3. Lamination process
  4. Wing manufacturing
  5. Battery build
  6. Electronics installation
  7. VESC setup
  8. Bench tests
  9. First ride

Hopefully this build log will also help someone else who’s thinking about building their own eFoil.

Thanks for reading, and let’s see if this thing actually flies! :call_me_hand:

Part 1 – CAD Design

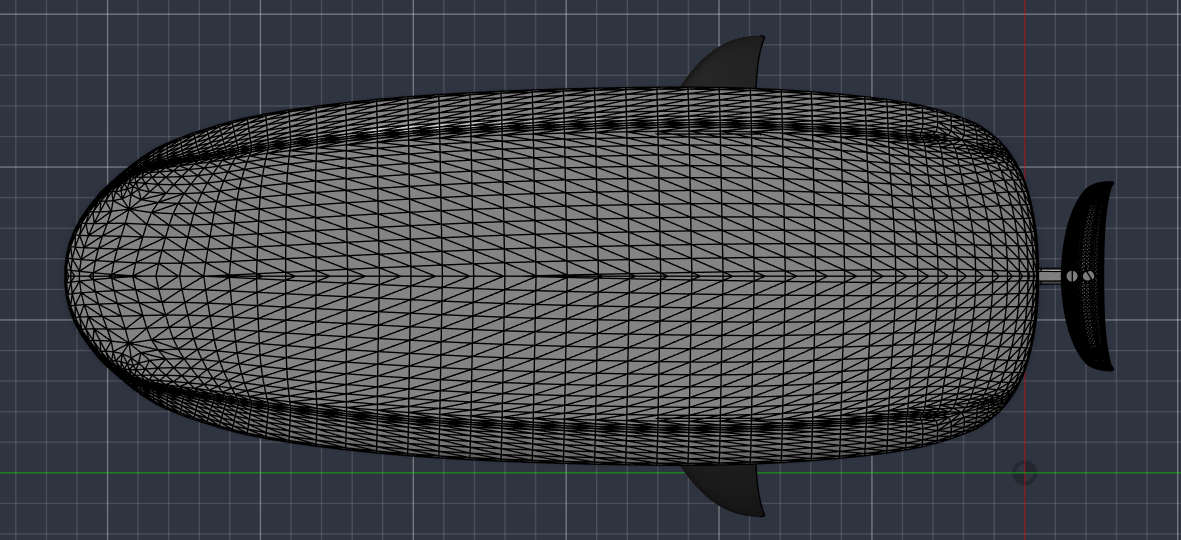
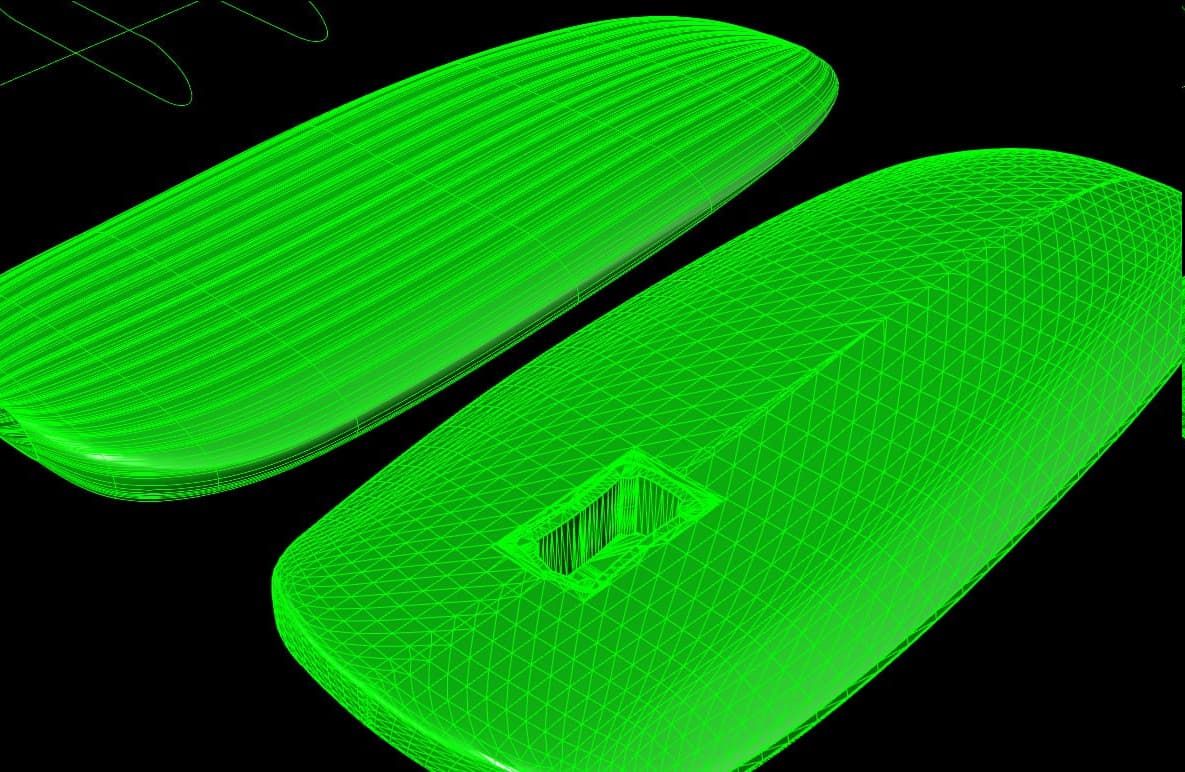
Before cutting any foam, I spent quite a bit of time designing the board in CAD.

Since this is my first eFoil, I wasn’t trying to build the smallest or lightest board. My priorities were stability, enough internal space for the battery and electronics, and a design that I could actually manufacture myself.

Final dimensions:

  • 1680 × 600 × 130 mm
  • ~71.7 L volume

After a lot of small adjustments, I finally had a model I was happy with.

Next step: turning the CAD model into a real board on the CNC machine.
V1 that was ugly and I refused to build it almost from the start:

V2 my actual board design:


Battery, controller, motor, wing, stabilizer …


Part 2 – CNC Cutting and 3D printing

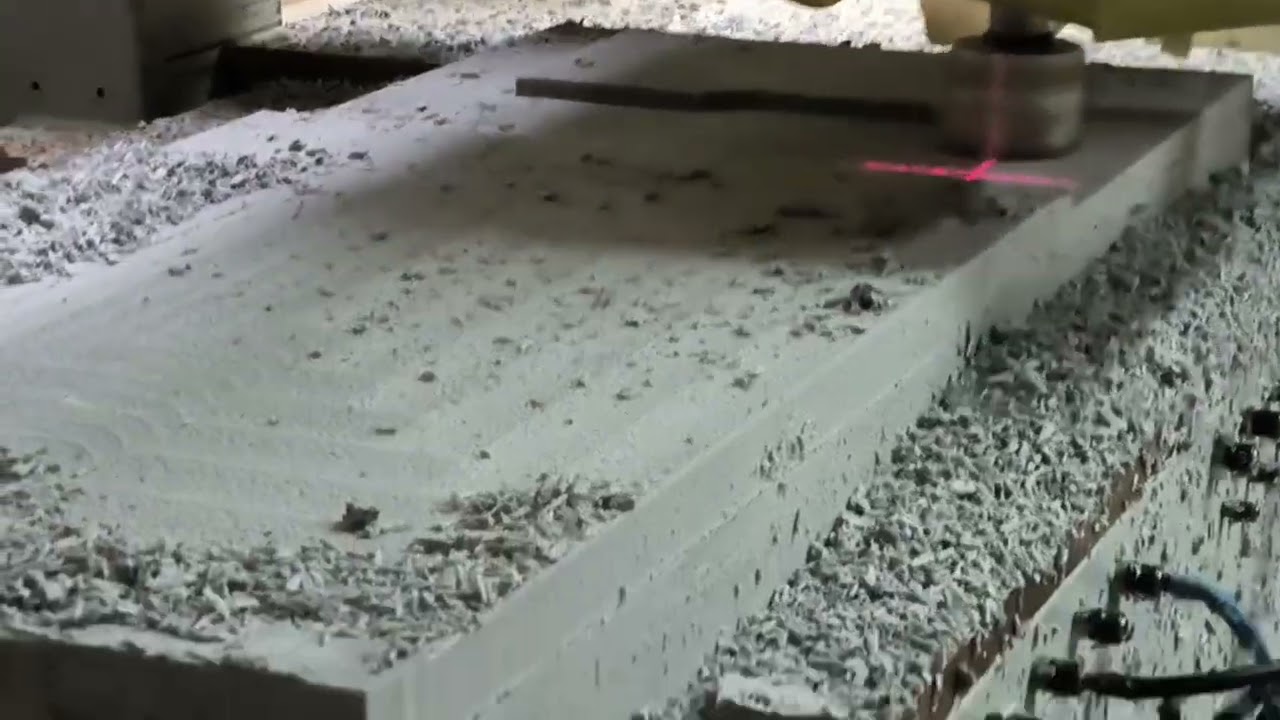
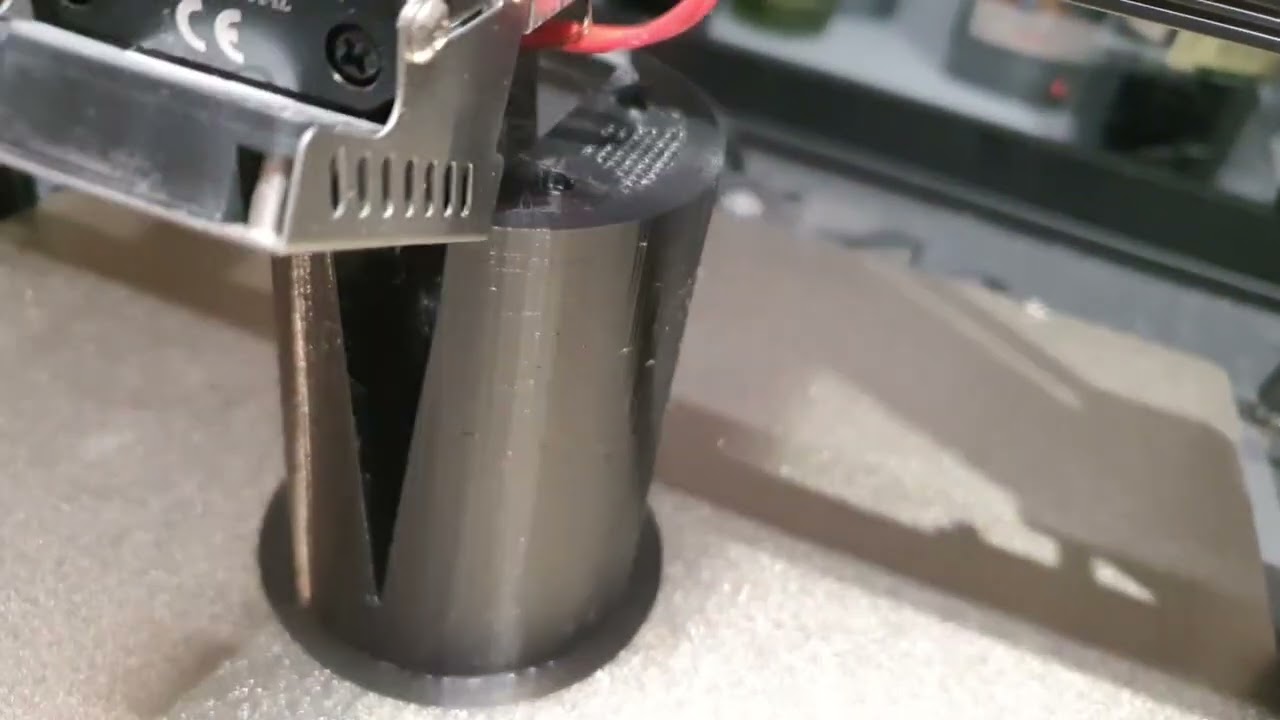
Time to make some filament foam dust. :smile:

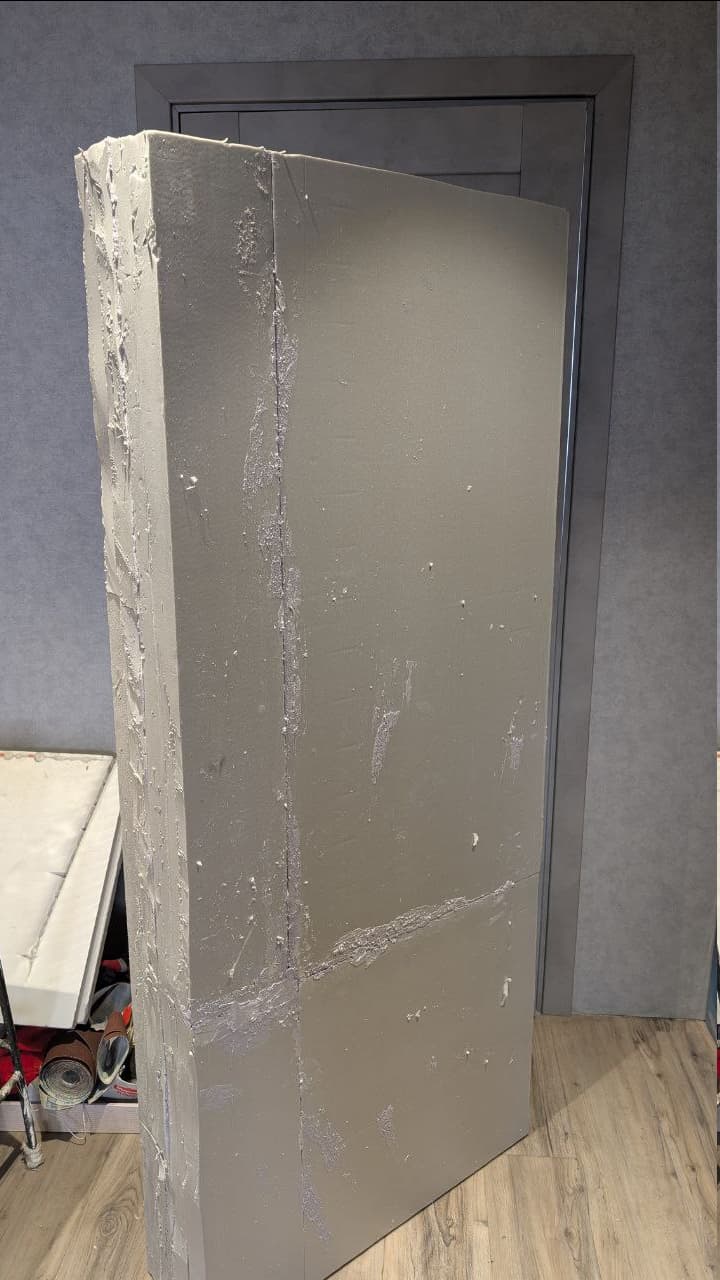
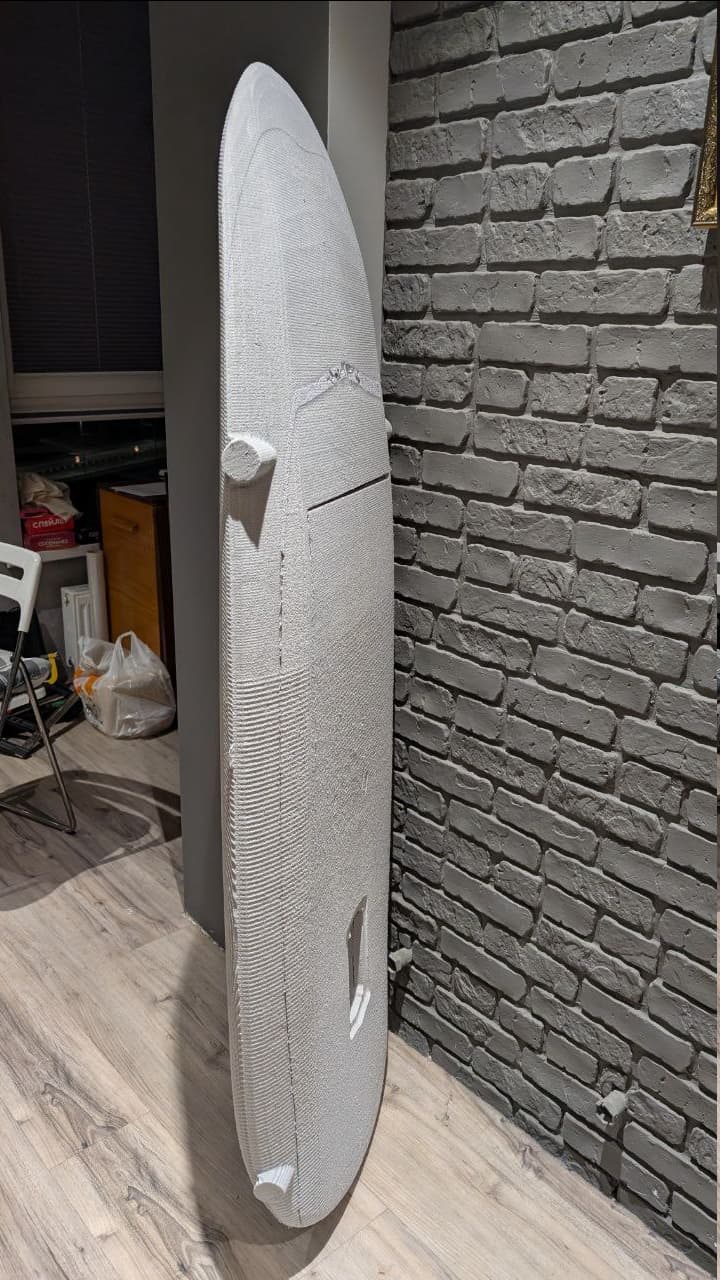
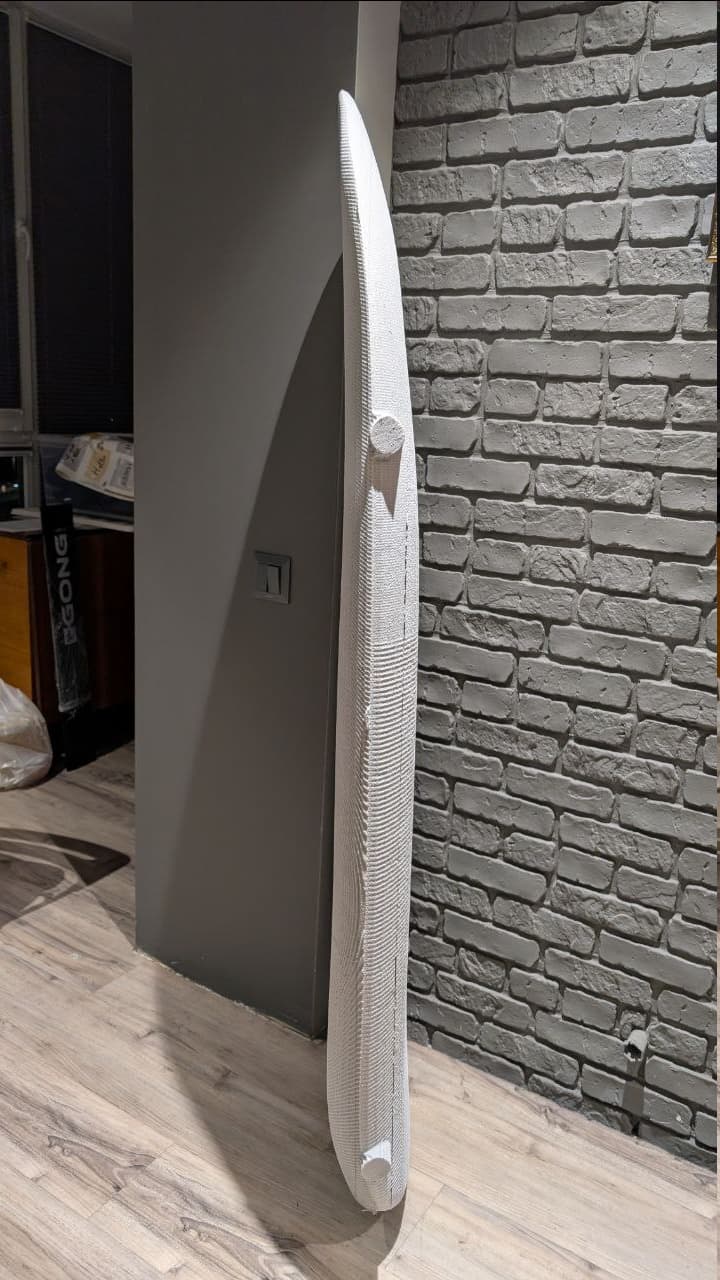
The board was cut from an EPS foam block on a CNC machine. Seeing the CAD model turn into a real board was definitely one of the most satisfying moments of the project.

The machining came out better than I expected, with only a little hand finishing needed before lamination:

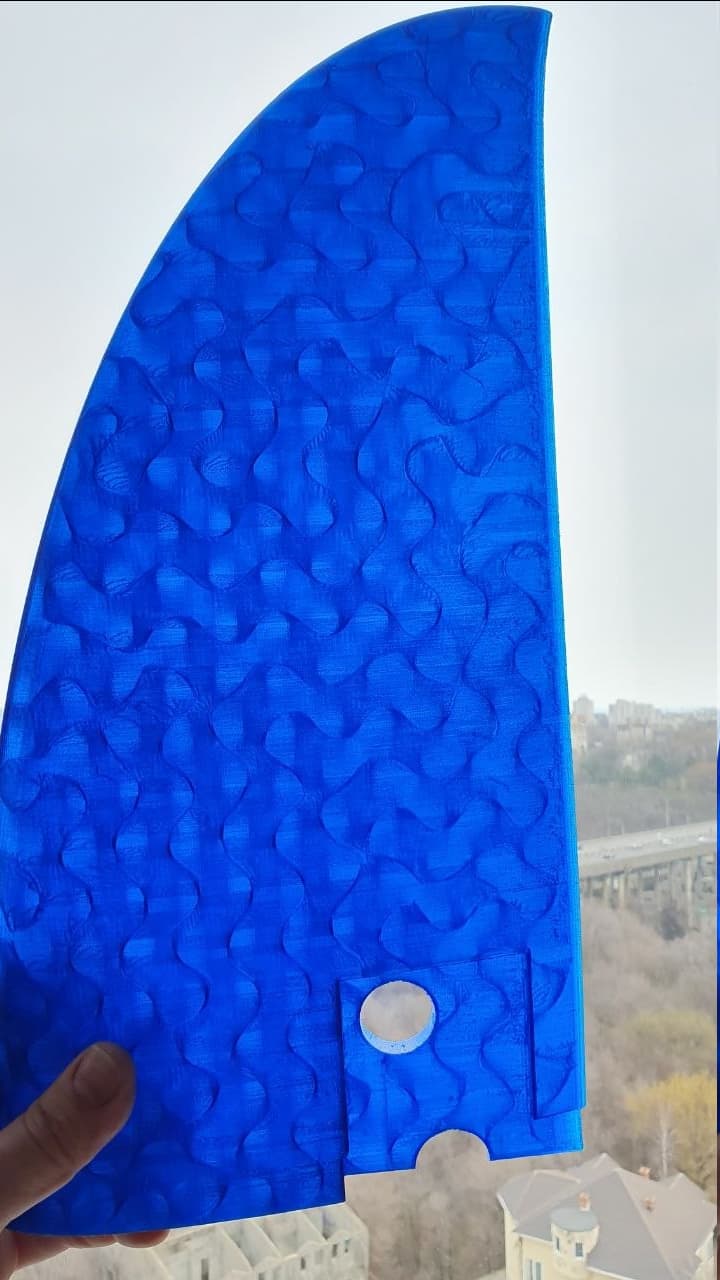
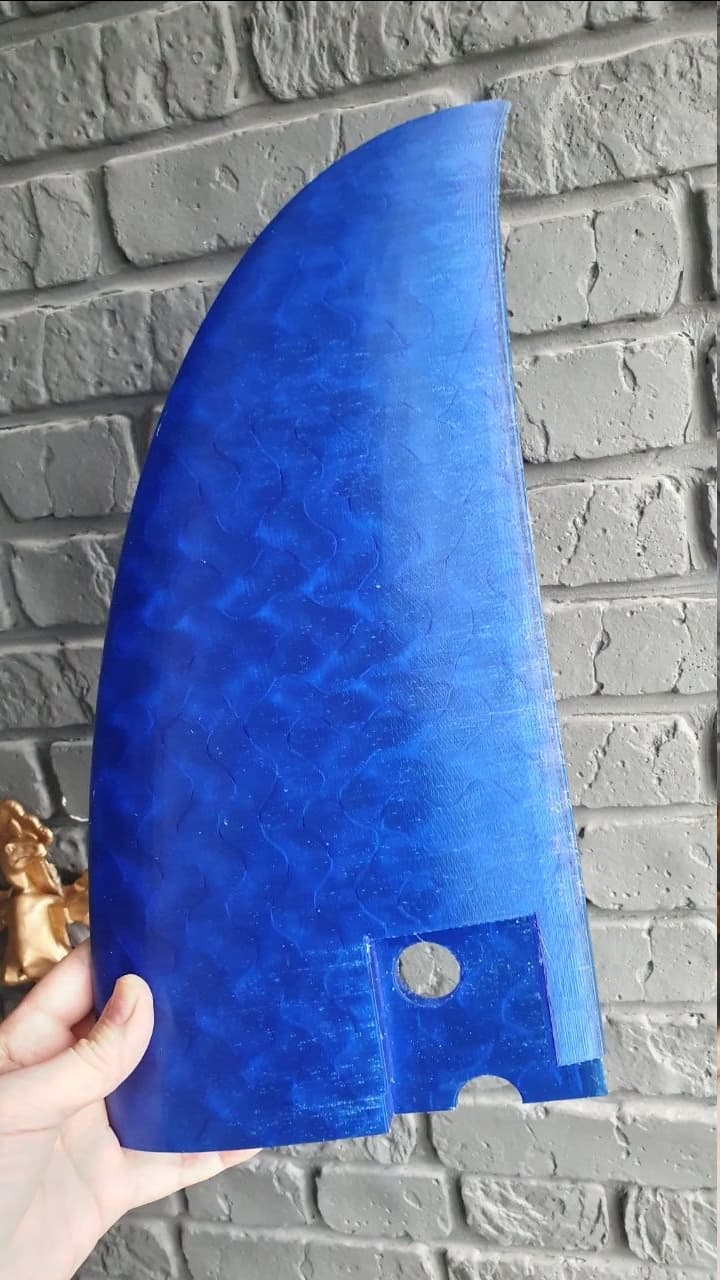
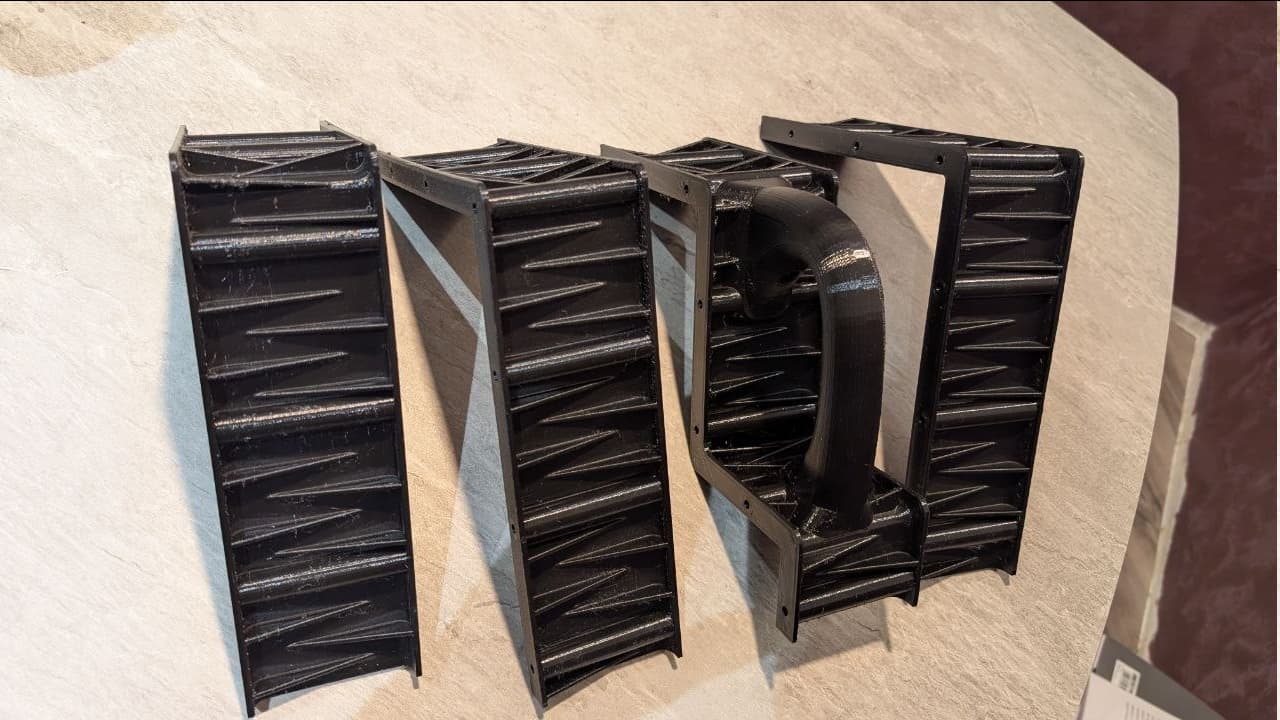
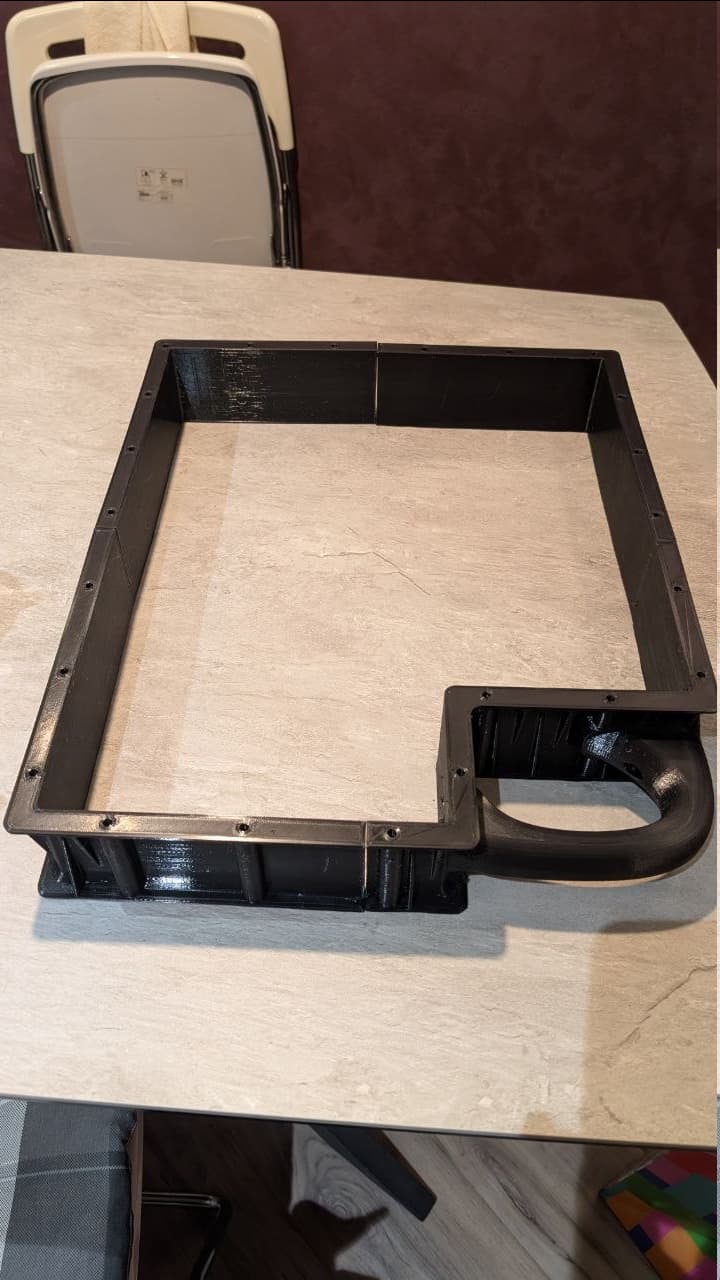
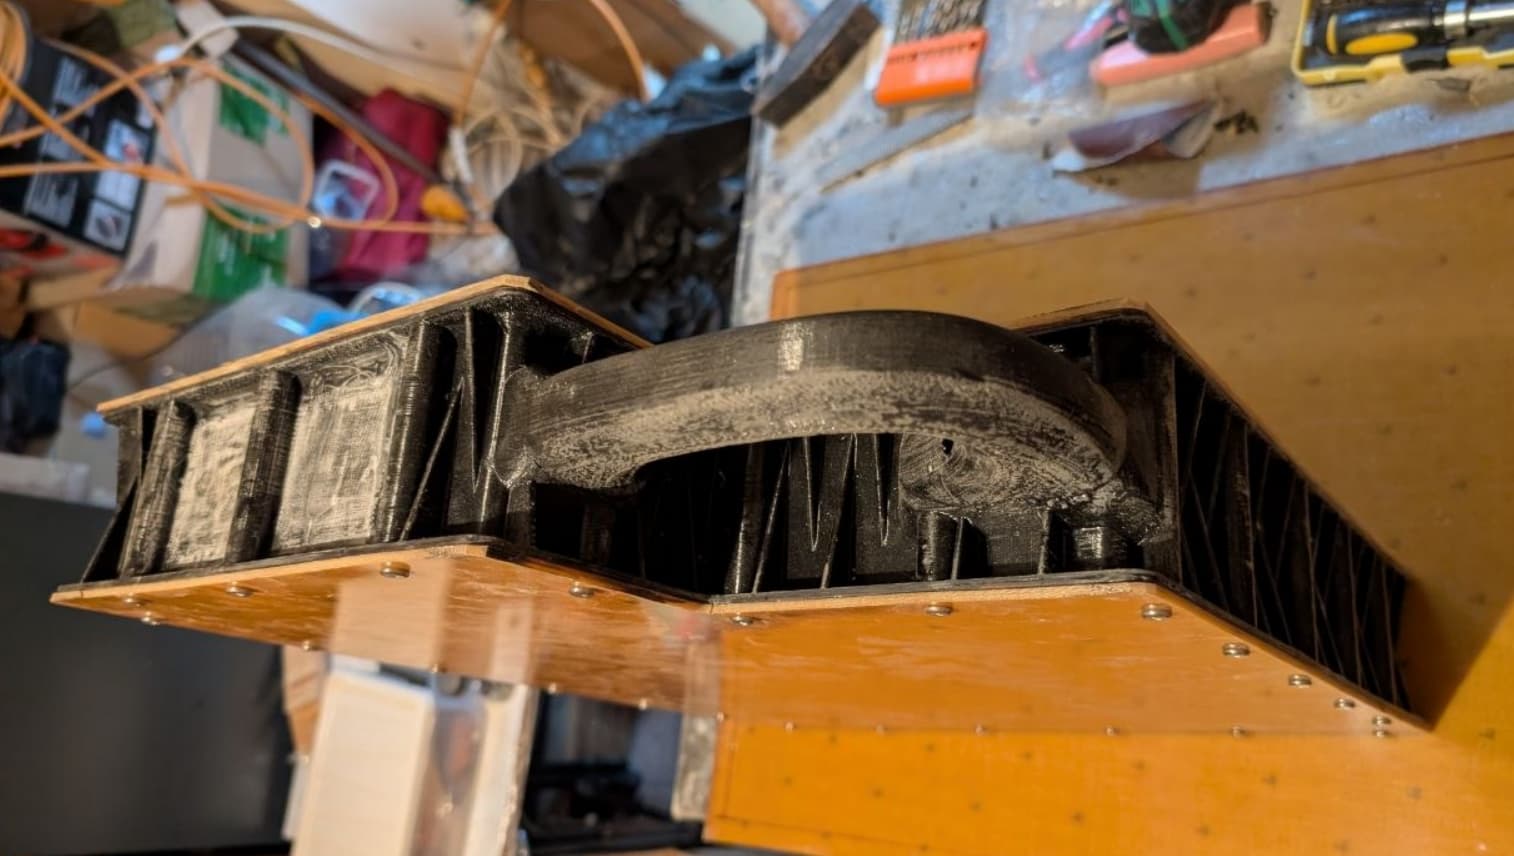
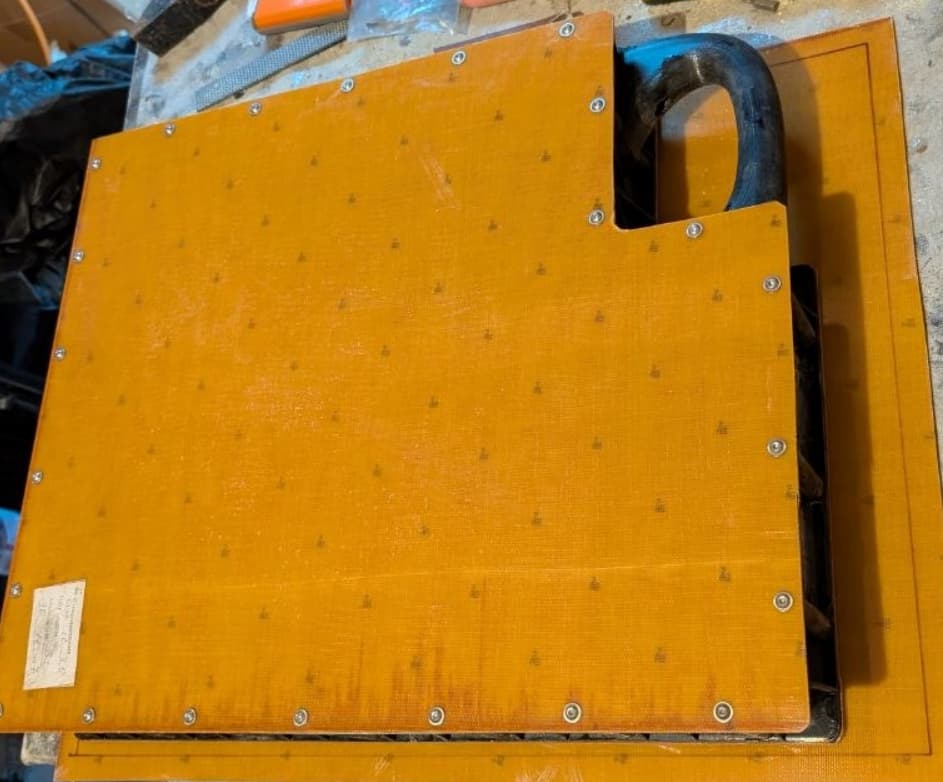
Wing, battery case and motor holder on 3D printer:

Nice!
Noticed you have an absolutely huge battery, whats the thinking behind it? i have 1/3 of yours and im satisfied with almost 1h run time.

A few things since you asked😉

Why a folding prop?
Why that size of battery? - larger than most.
I would suggest a VX5 remote - a bit more expensive than VX3 but proven reliable.
You don’t list what foil setup you are using.

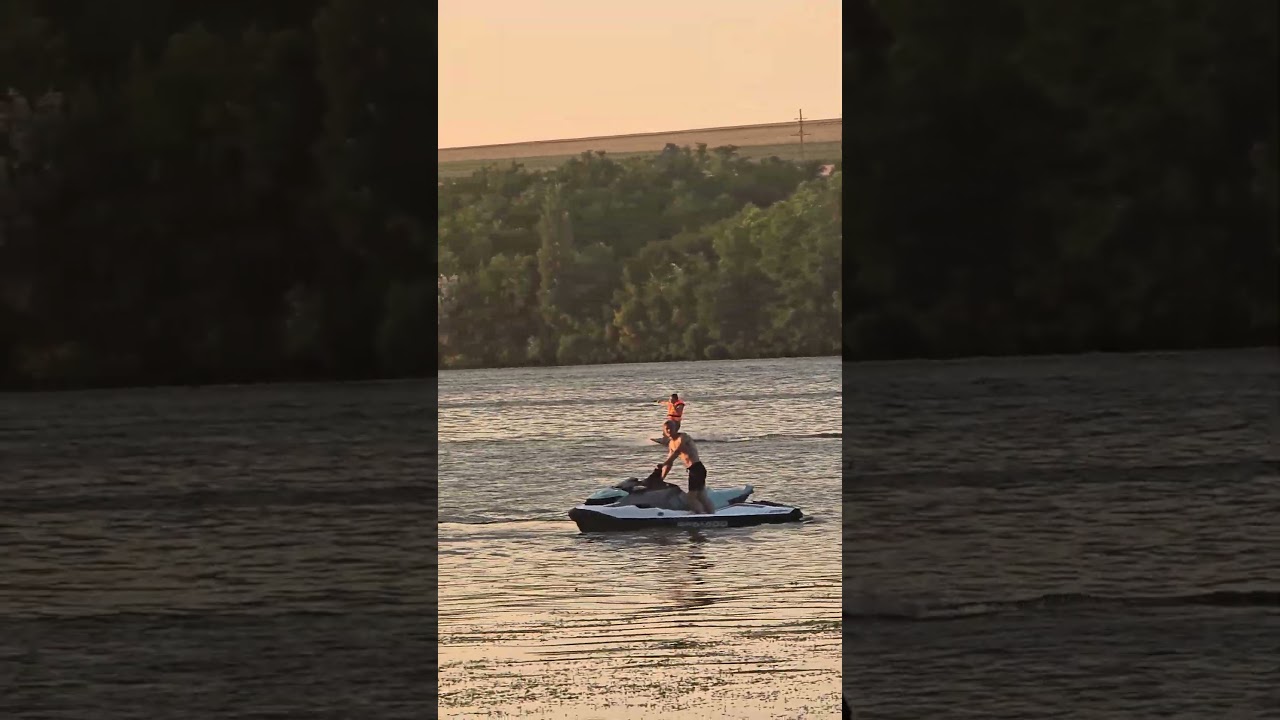
I made a first test, I tried to get up on this board for an hour, and I spent 15-20% of the battery :slight_smile:

  1. I bought few different props and I’ll test them all
  2. I knew that my board will be heavy, and I have a lot of friends that want to use it when we will go somwhere to swim. And I decided to make a battery for all of us and that’s mean that everyone can take his time and enjoy the ride for >20-30min
  3. I bought a kit where VX3 was already included 1 year ago, and VX5 appears just now. Be sure that on next season I’ll buy VX5 :wink:
1 Like

I would also advise to half the battery. 2x 15S8P instead of 1x 15S16P
Less weight on board → more sporty foiling.
If you build your smaller second board, you will have less space for the 15S16P.

1 Like

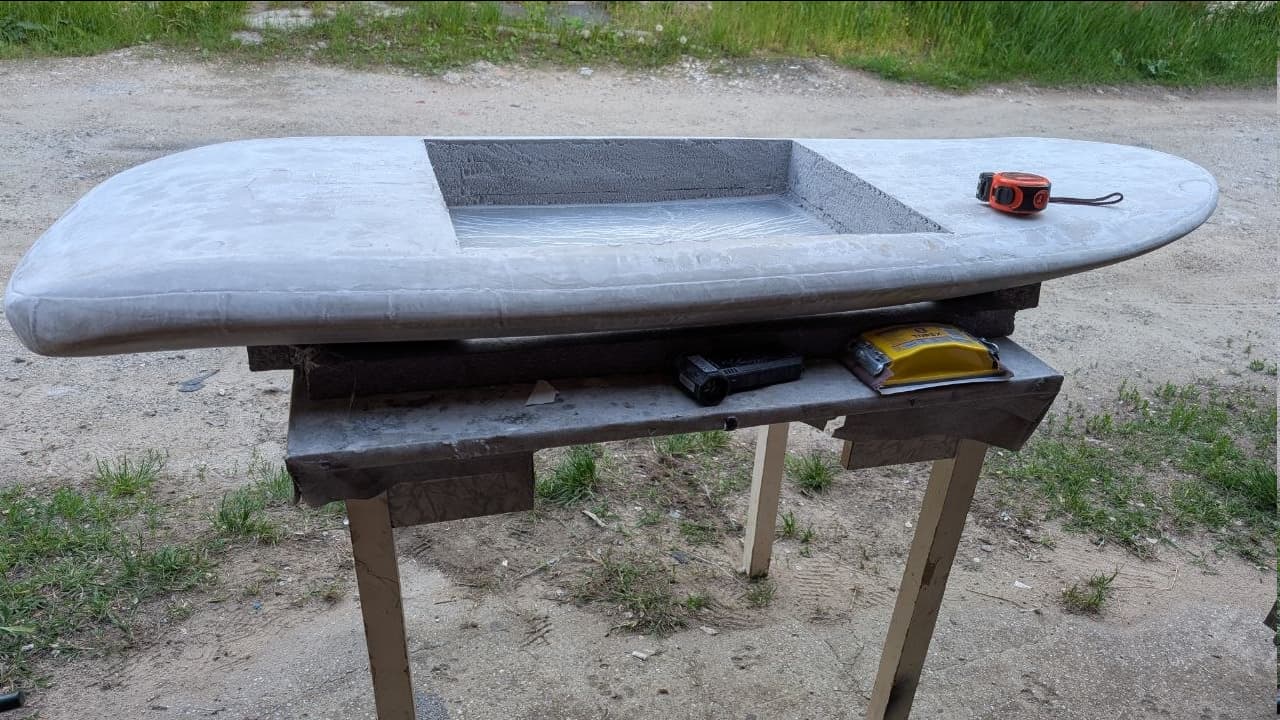
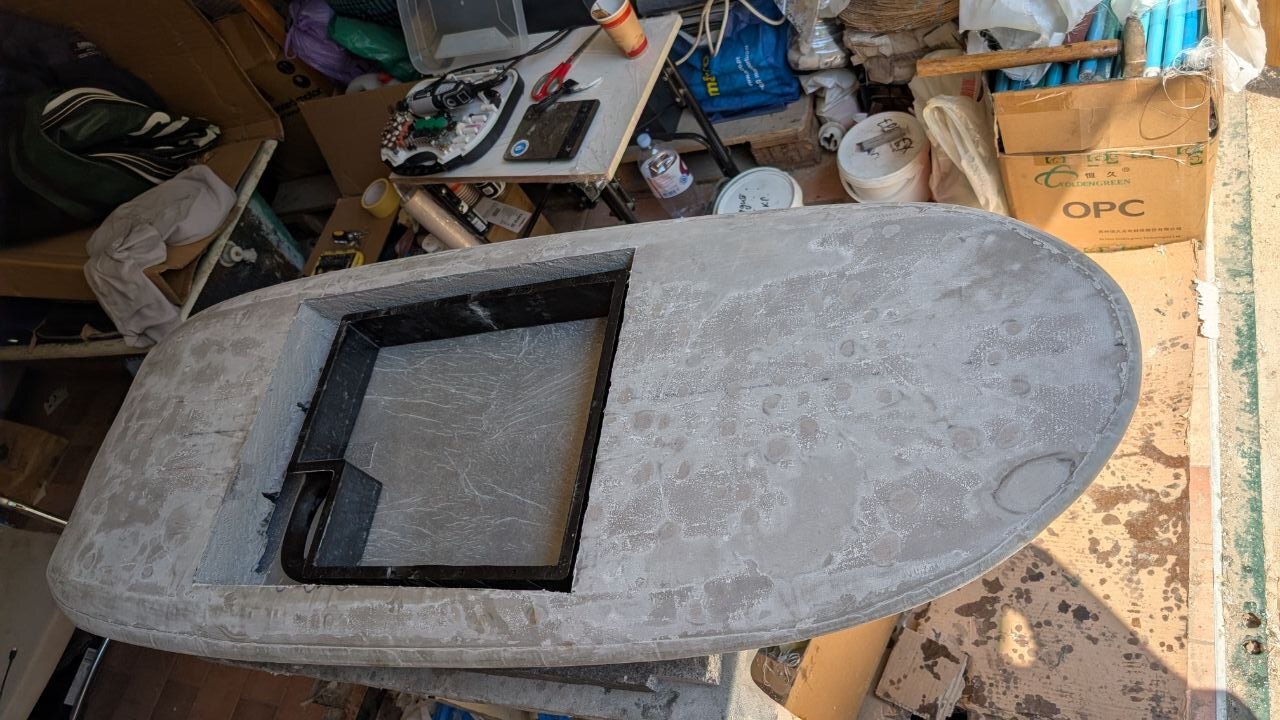
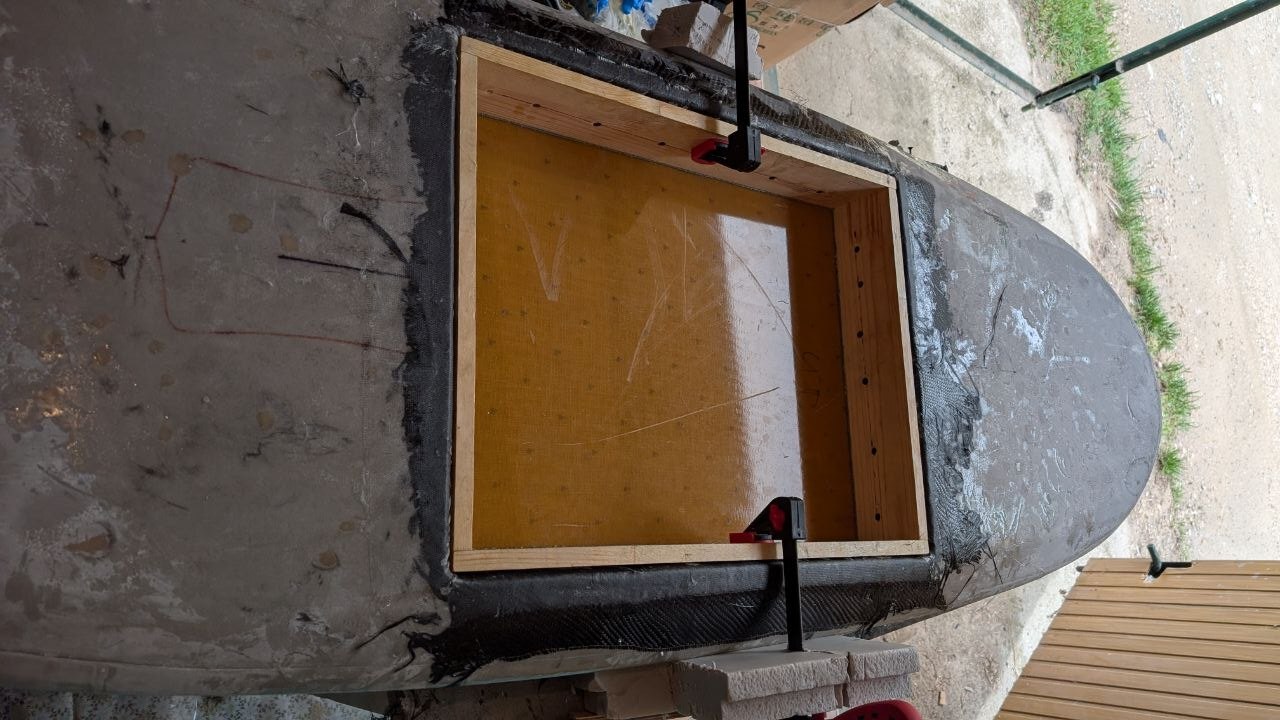
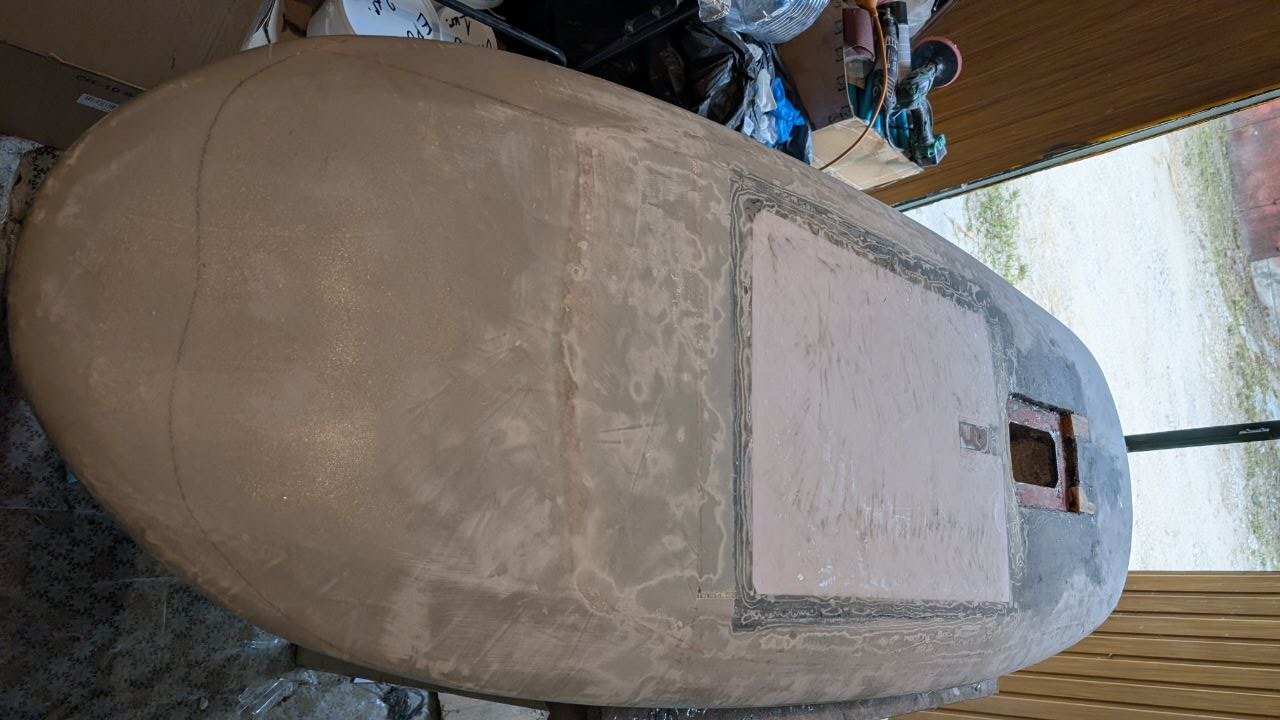
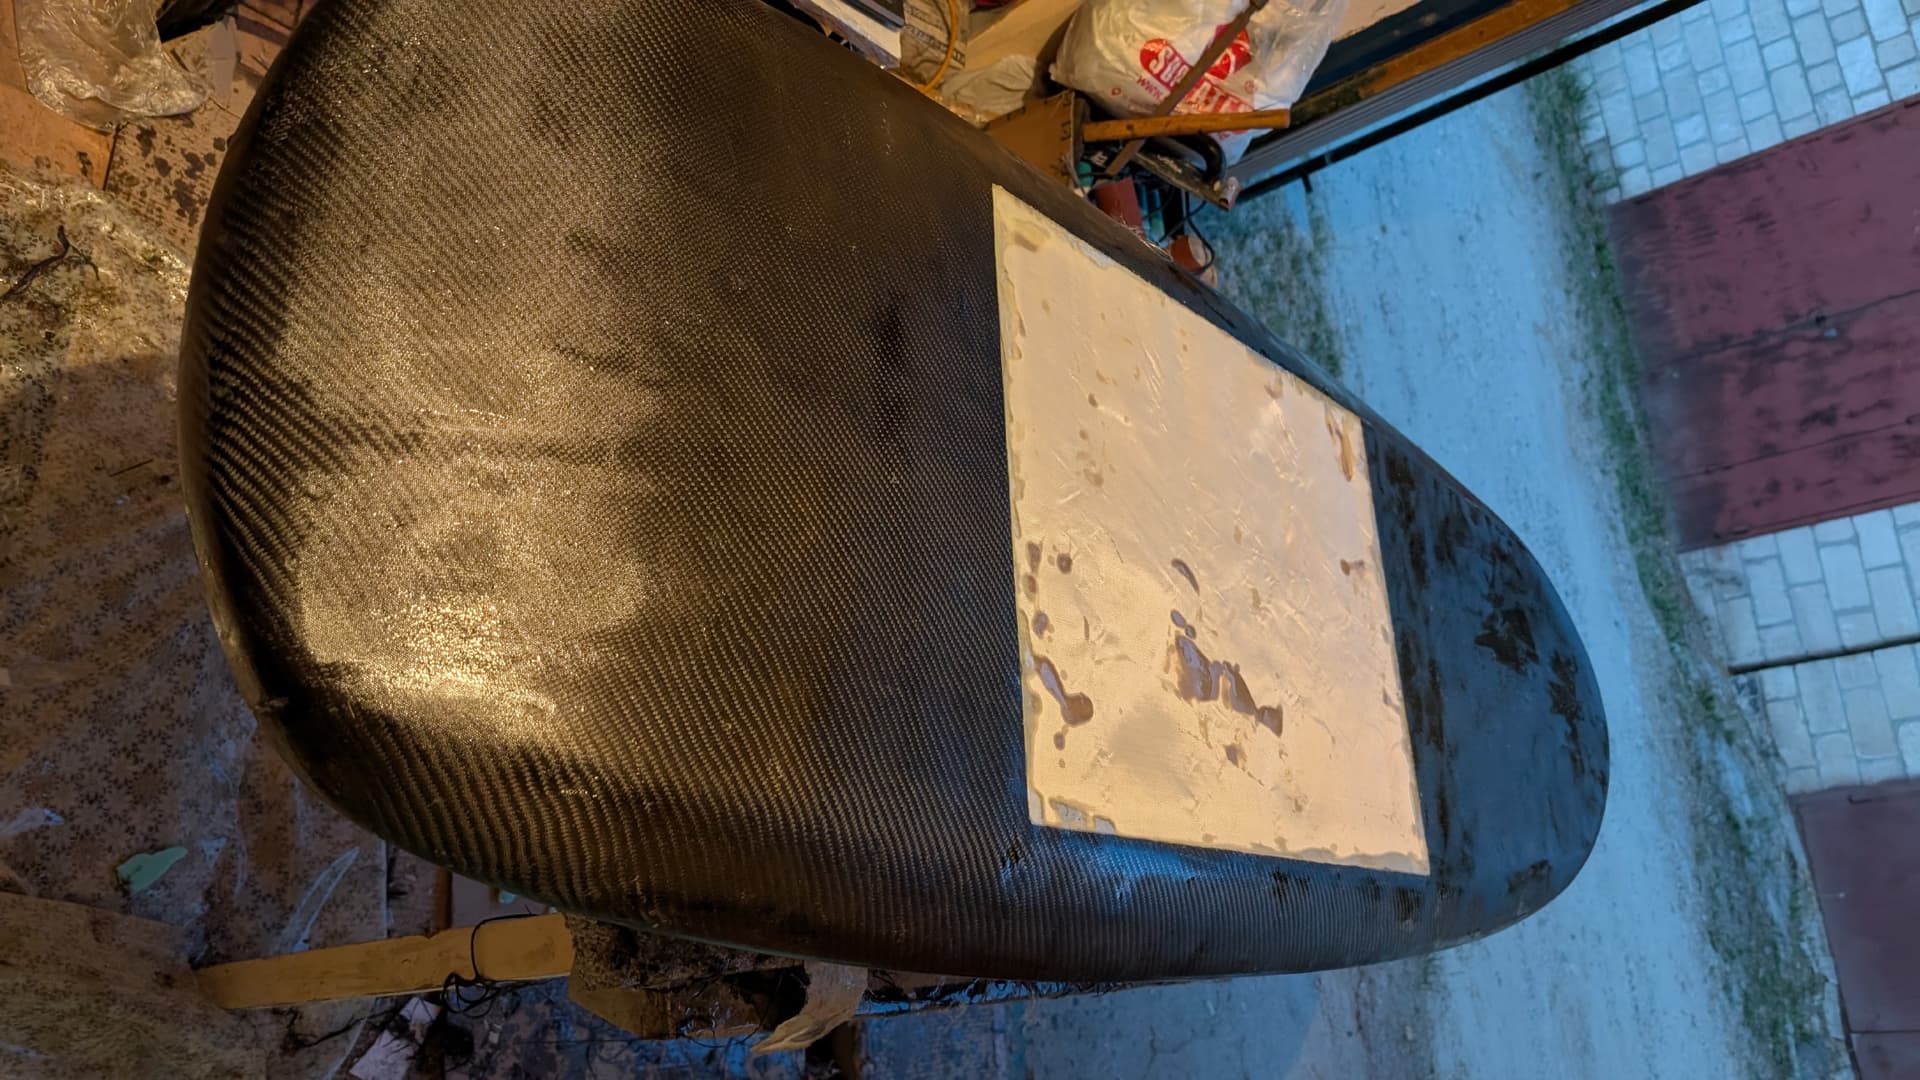
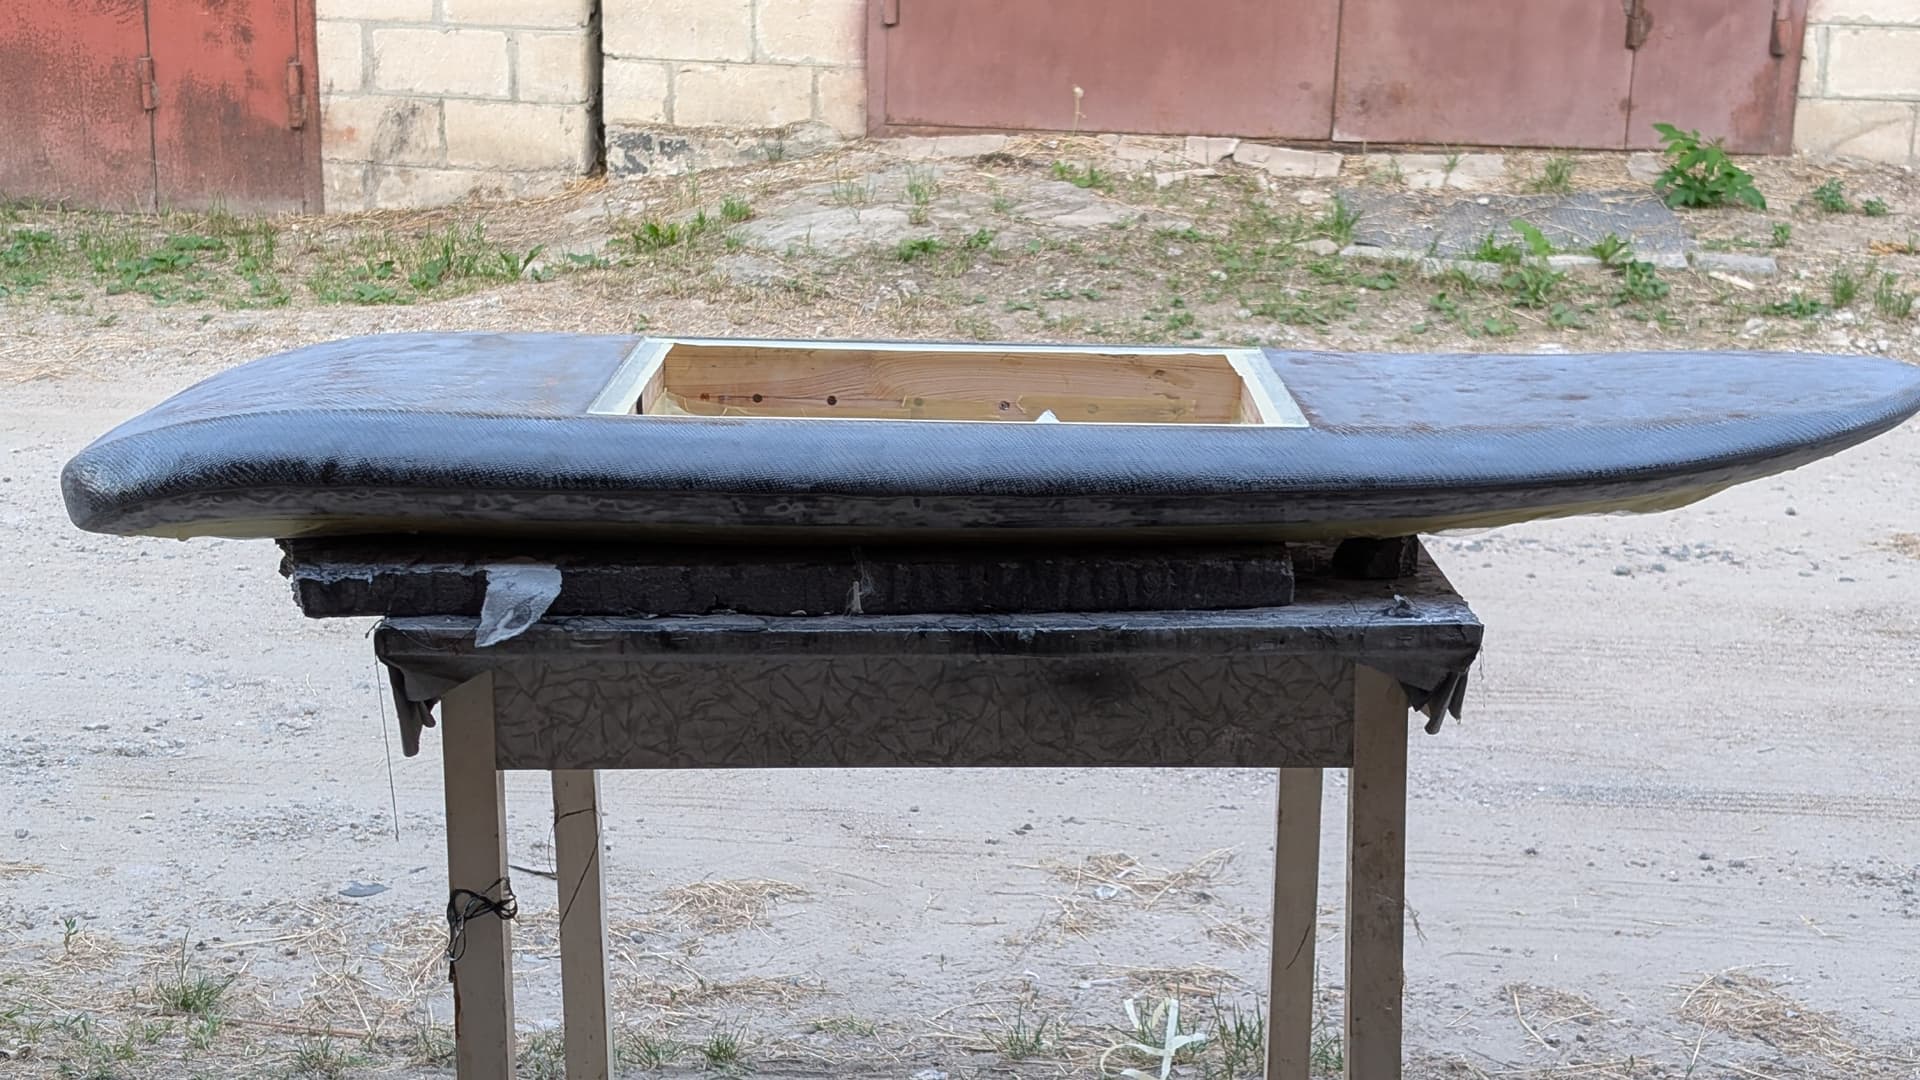
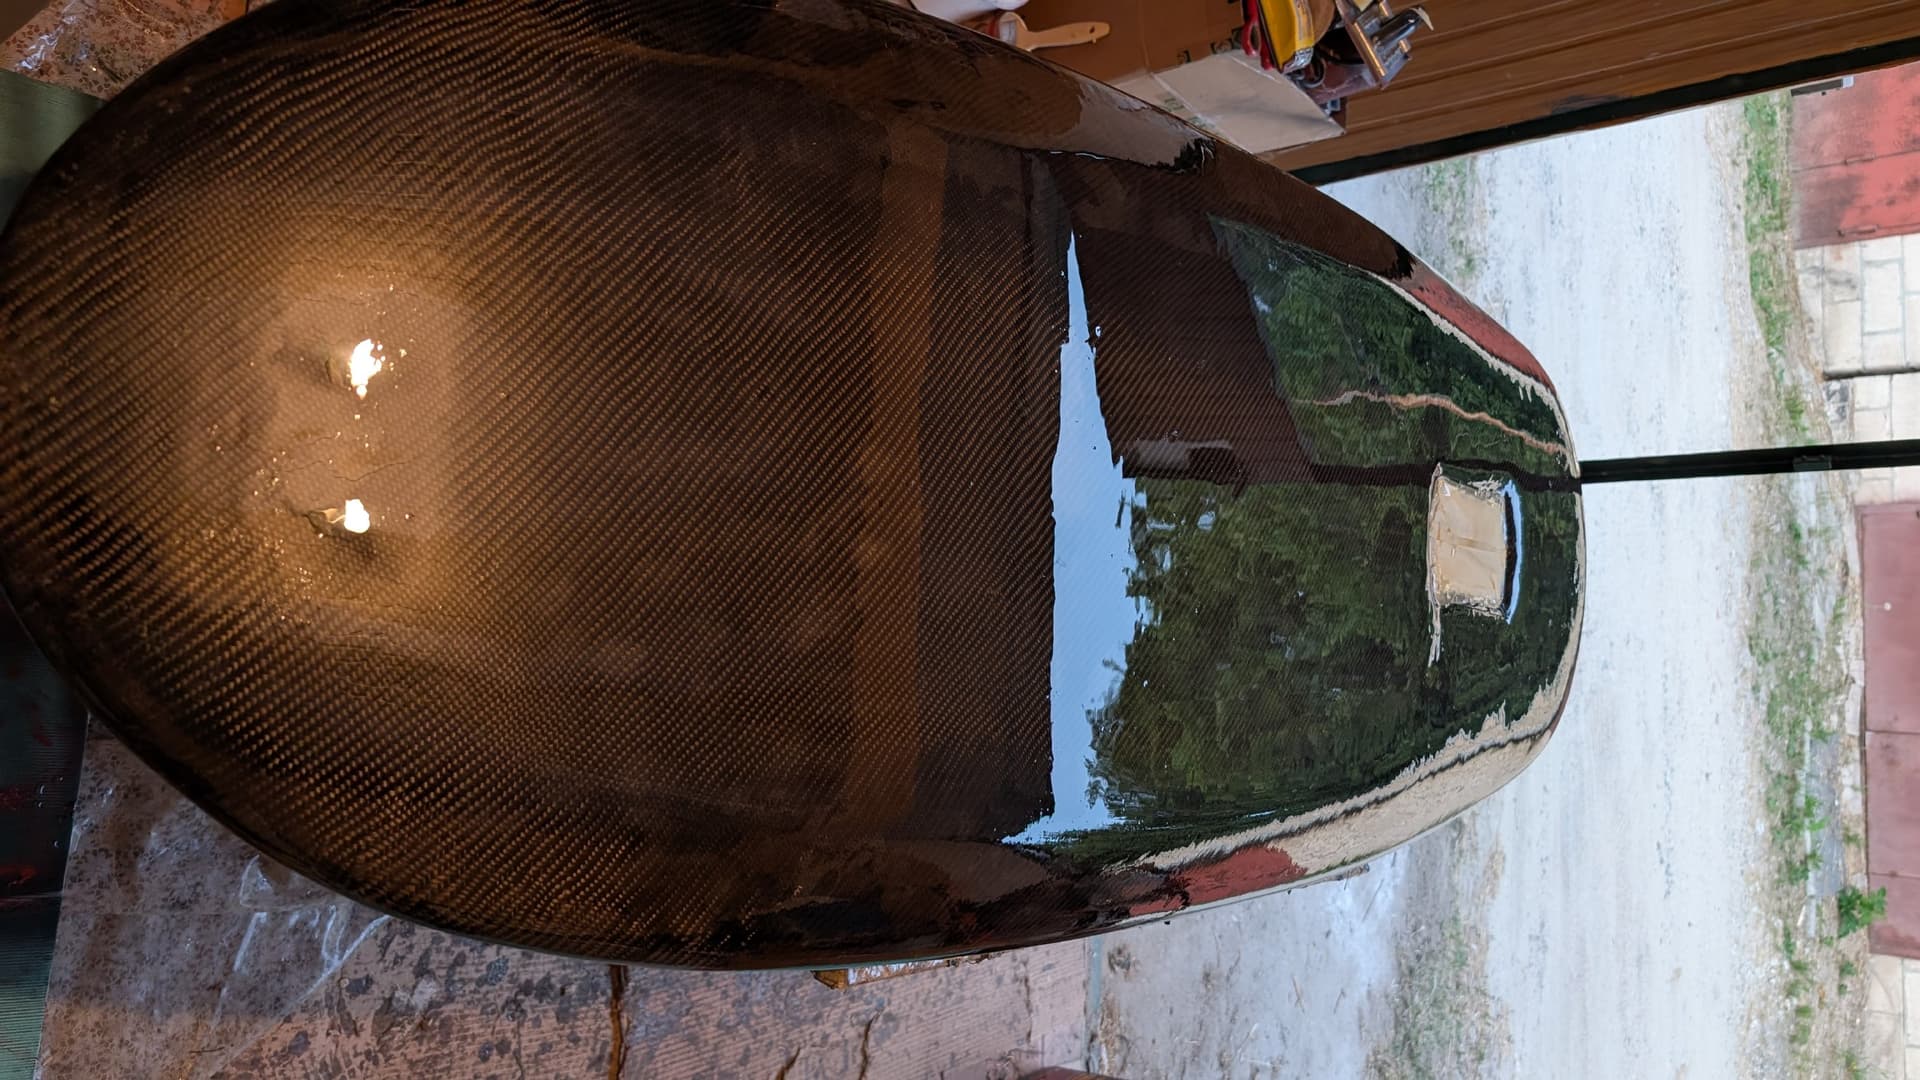
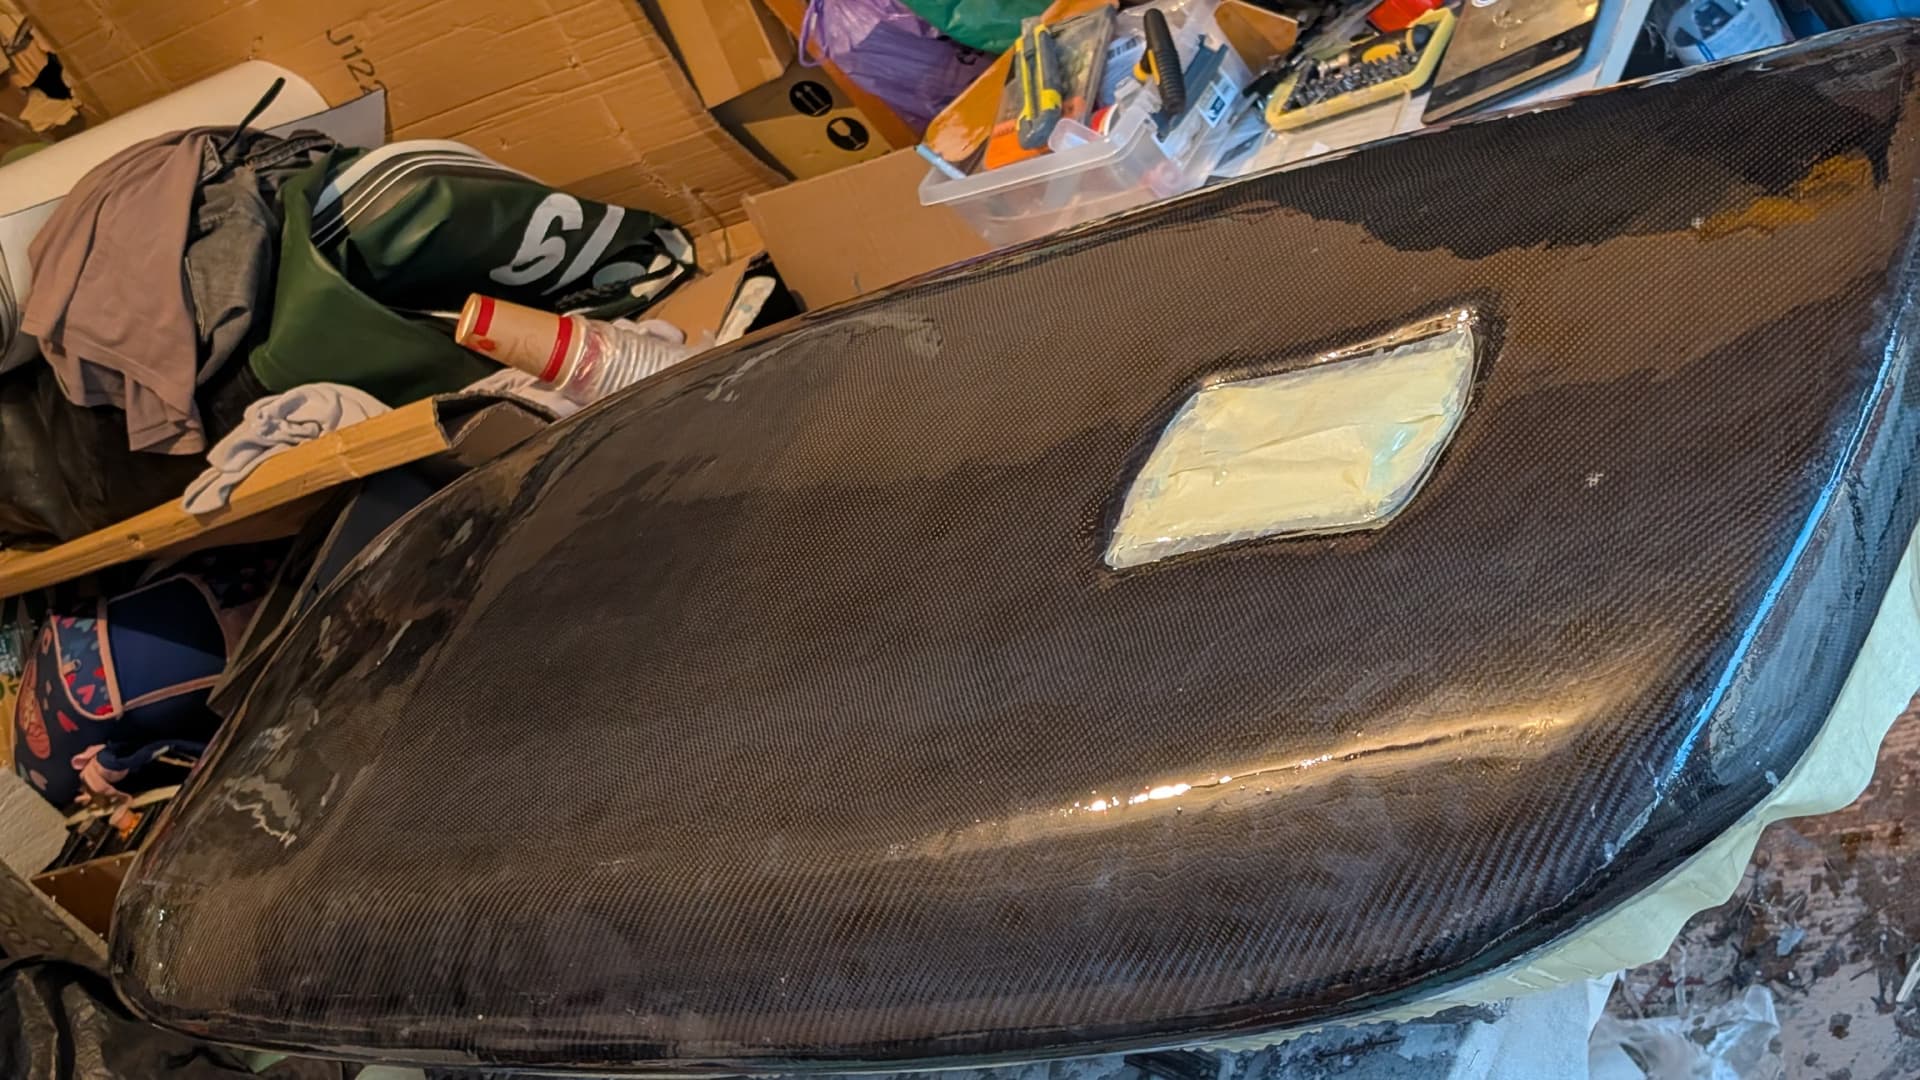
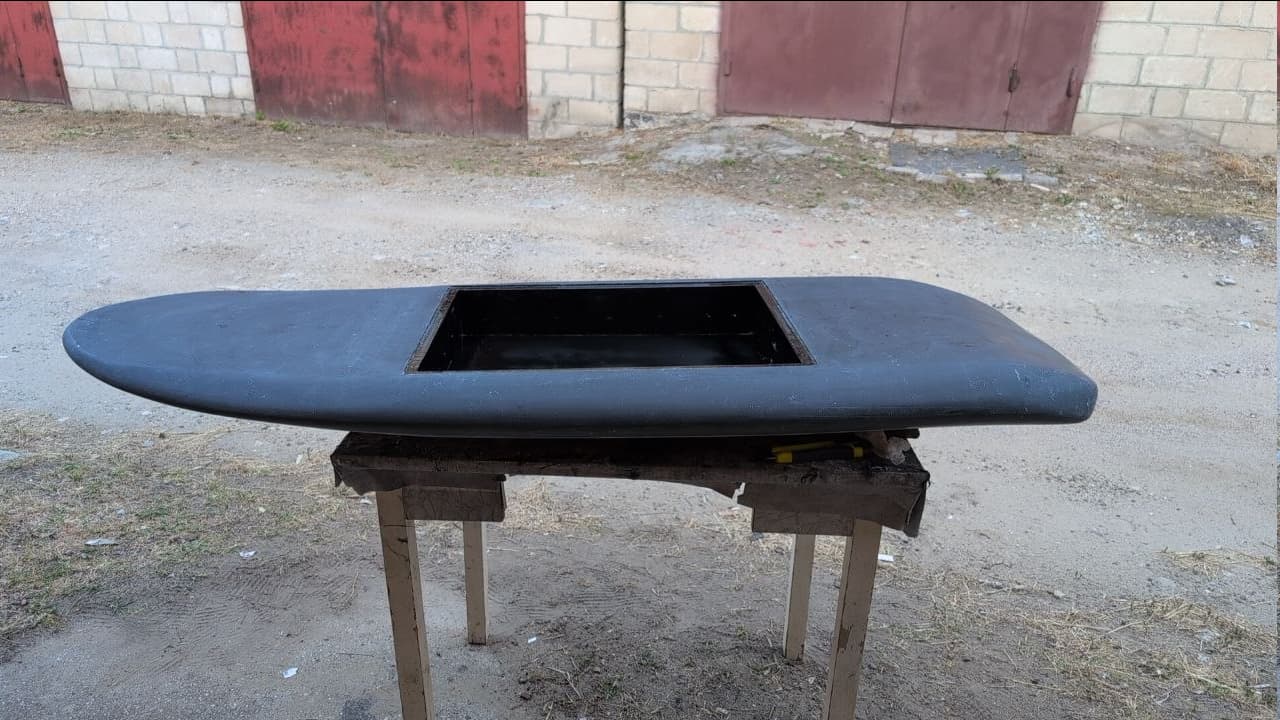
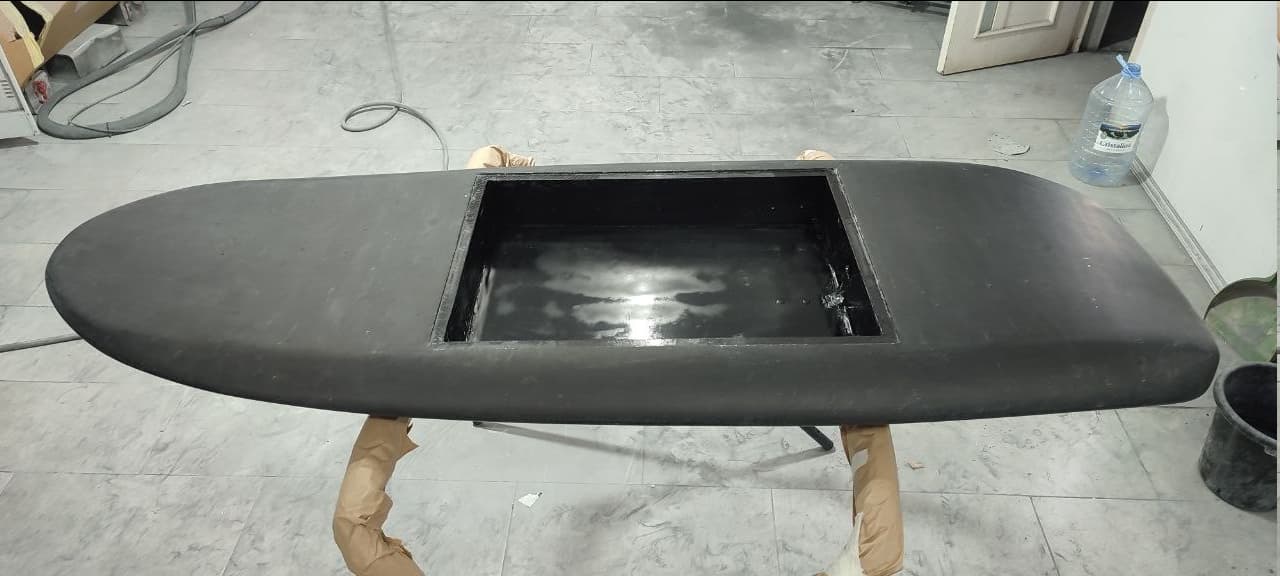
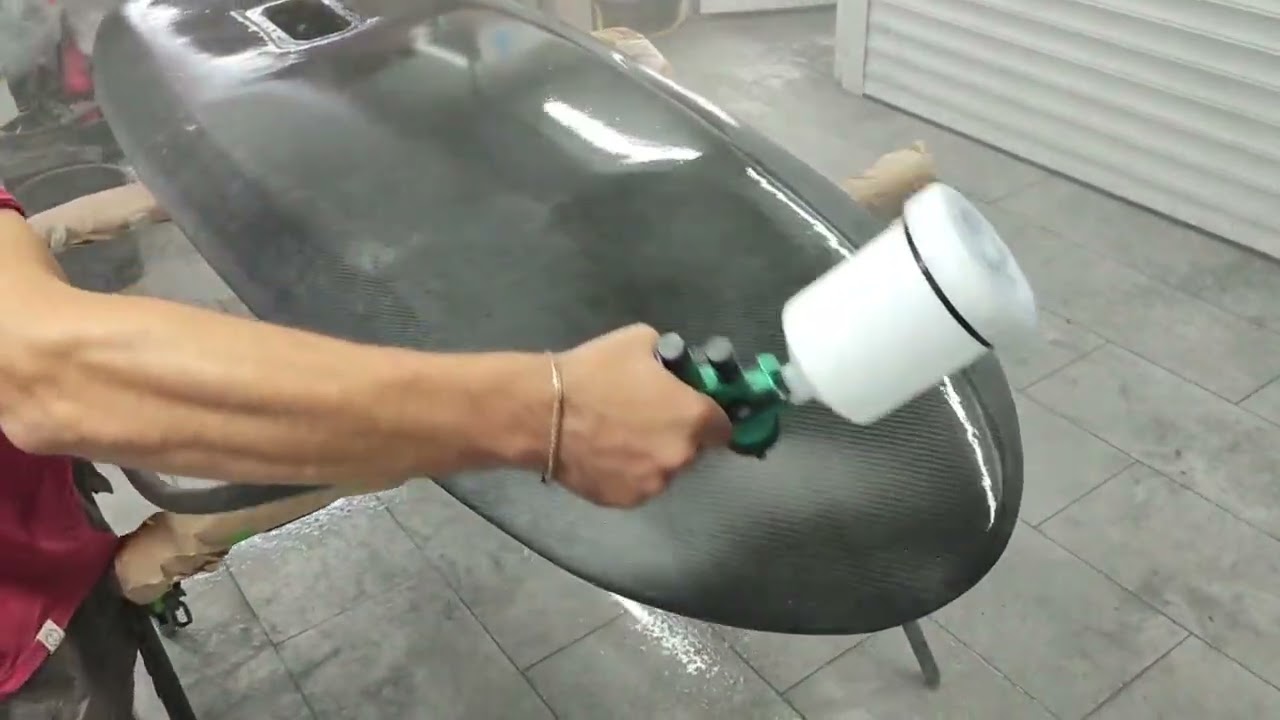
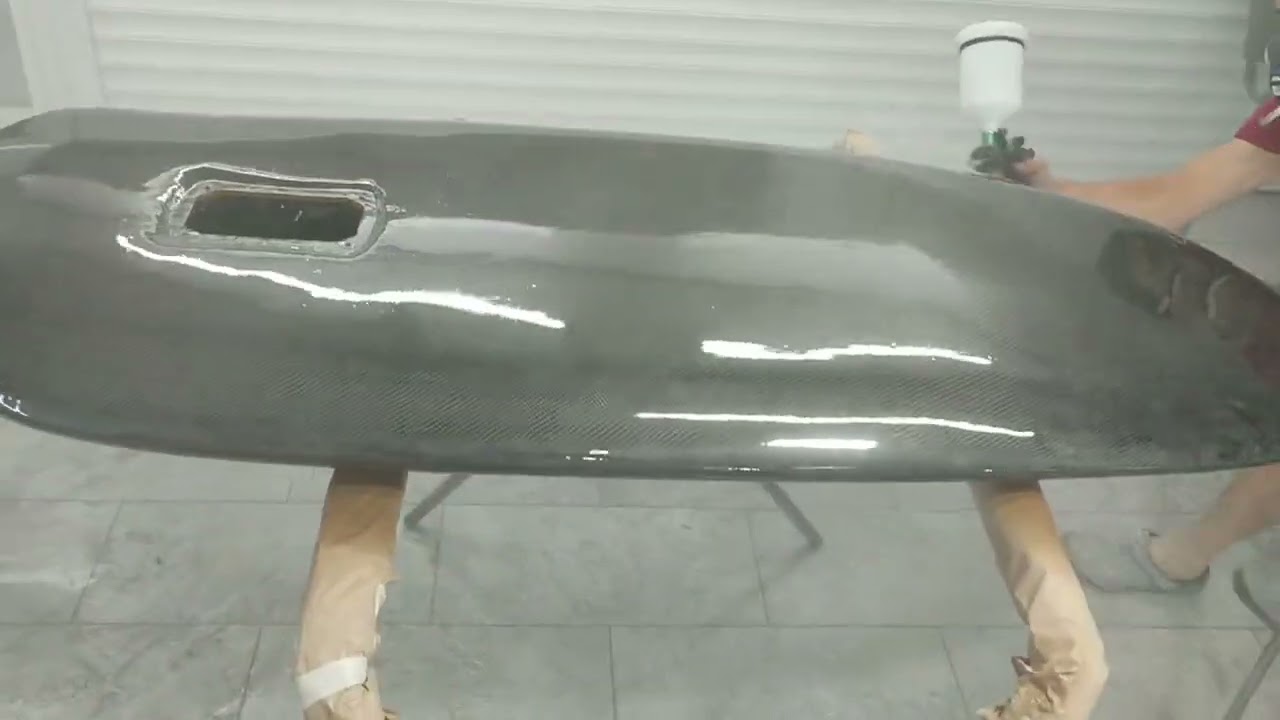
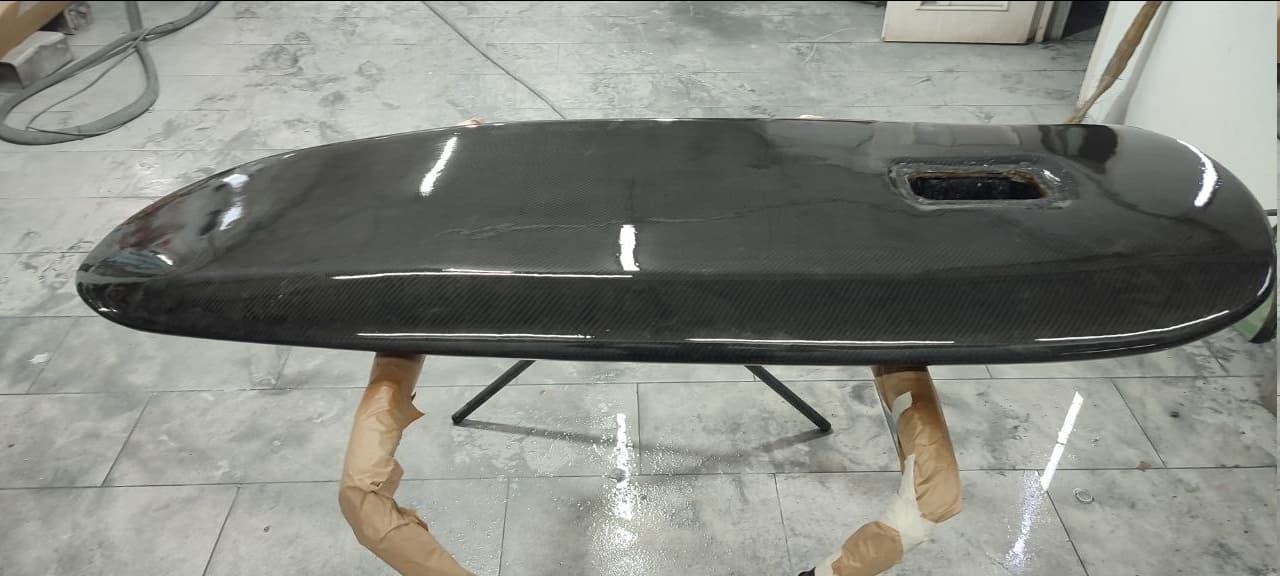
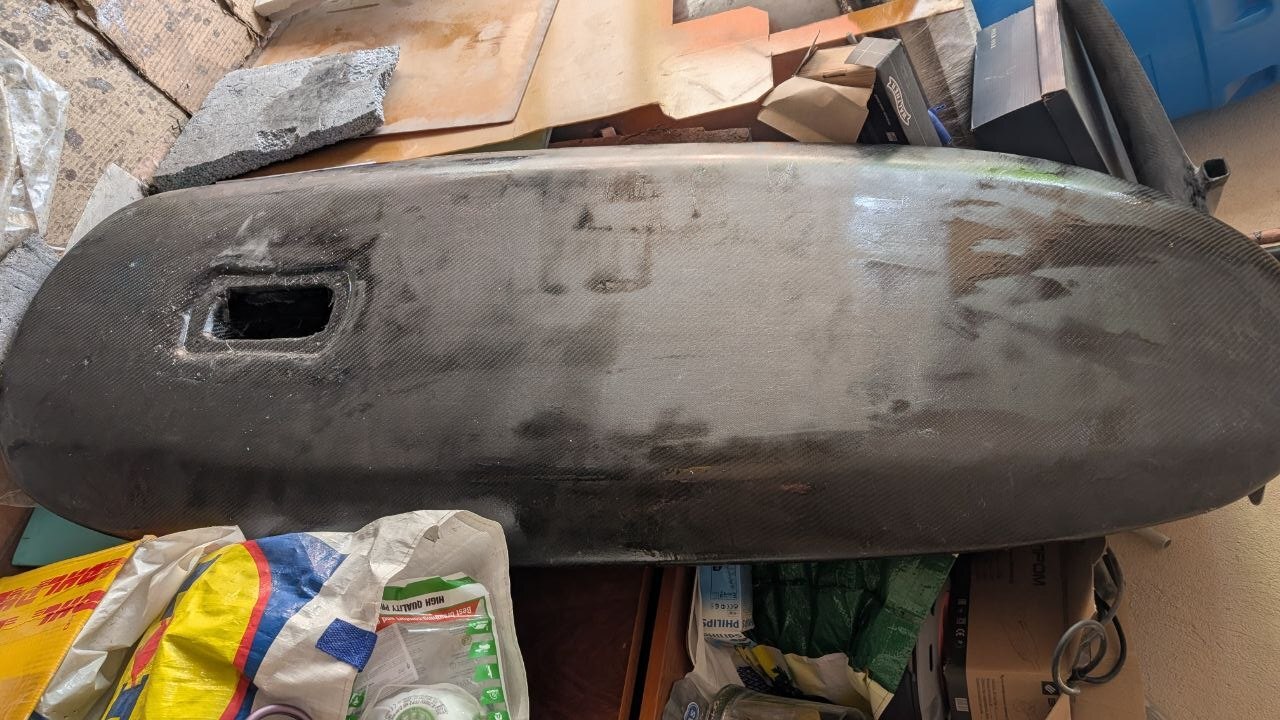
Part 3 – Fiberglass & Carbon Fiber Lamination

After CNC machining and final shaping, it was time to turn the foam core into a real composite board.

I used a combination of 2x fiberglass and 1x carbon fiber layers to reinforce the structure.

The main goals were:

  • Keep the board strong and stiff
  • Protect the foam core
  • Create a durable surface for everyday use

The lamination process was probably one of the most important and challenging parts of the build. A lot of preparation, sanding, and patience went into getting everything right.

Still learning with composites, so this was a big step for me.

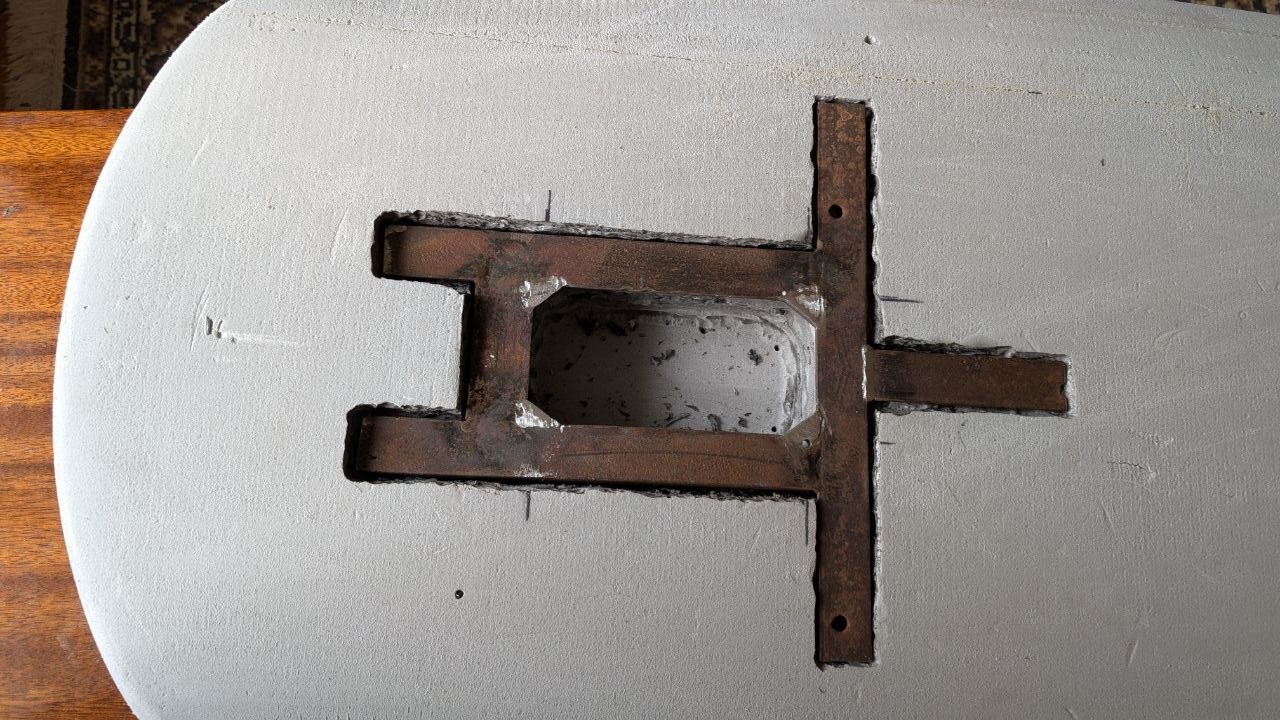
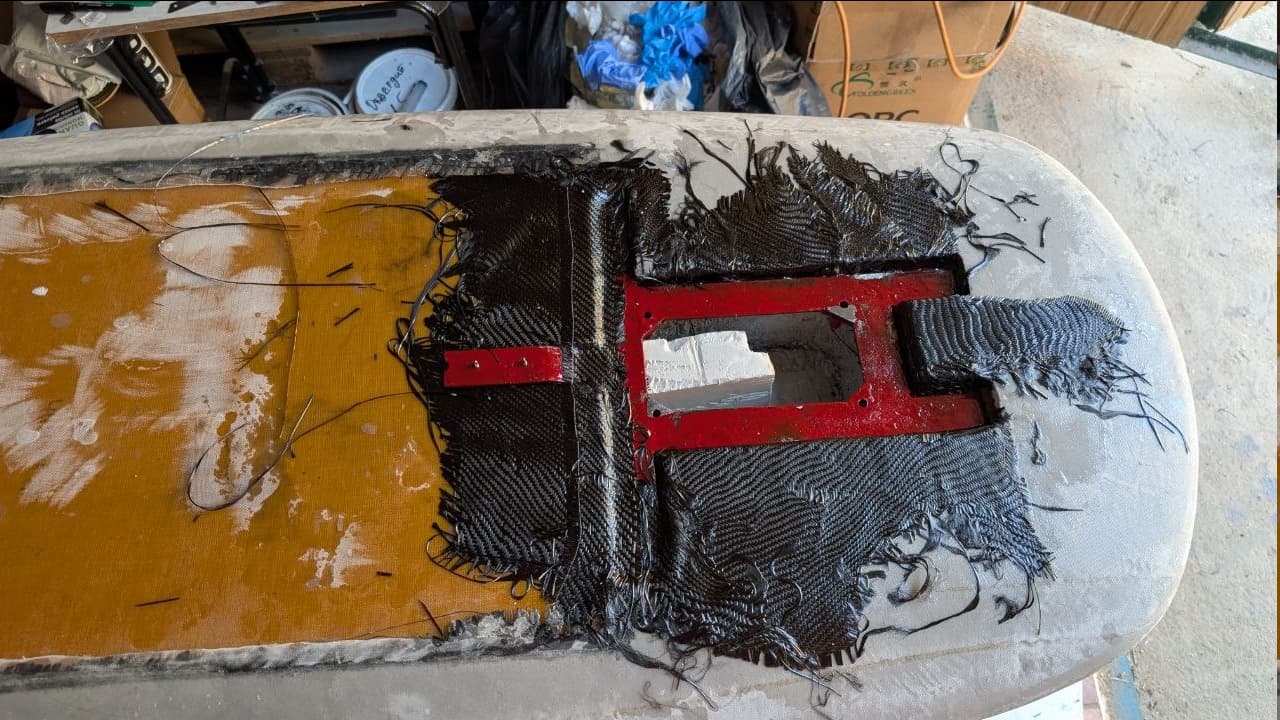
there you can see that I installed mast holder made of steel reinforced with carbon:


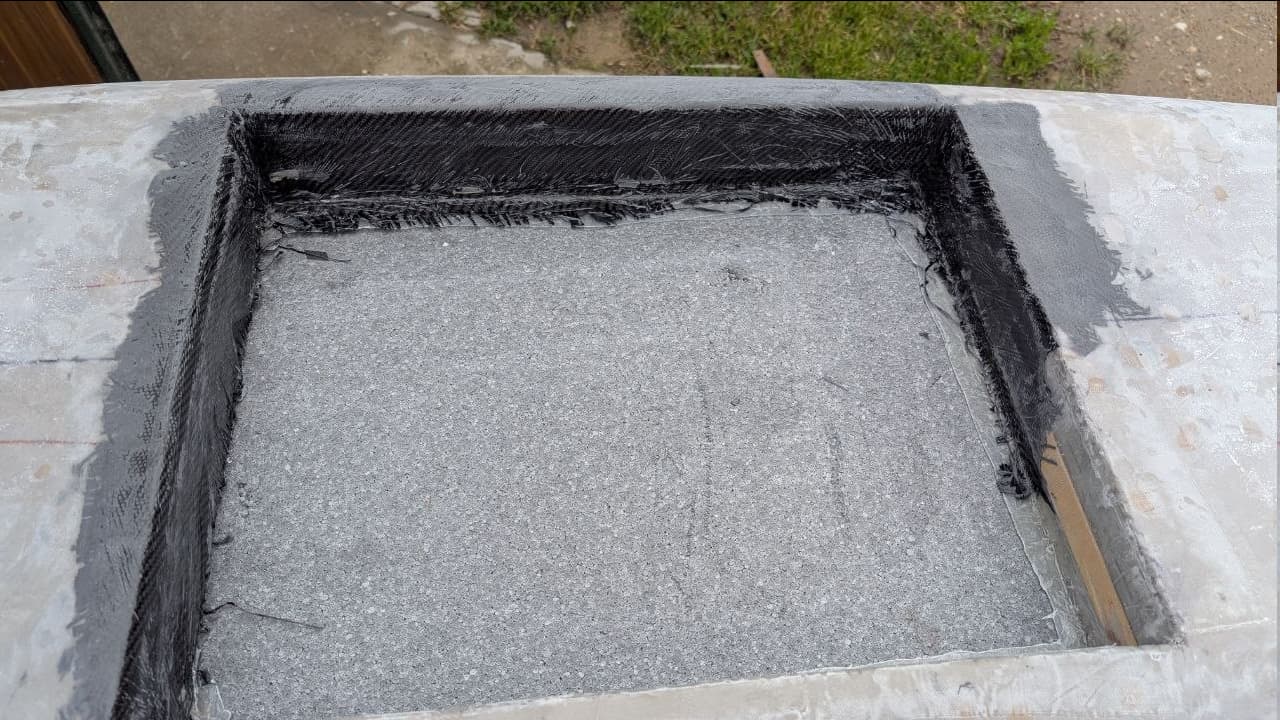
then the battery hole reinforced with carbon:


I think you are right, and I’ll made one smaller battery

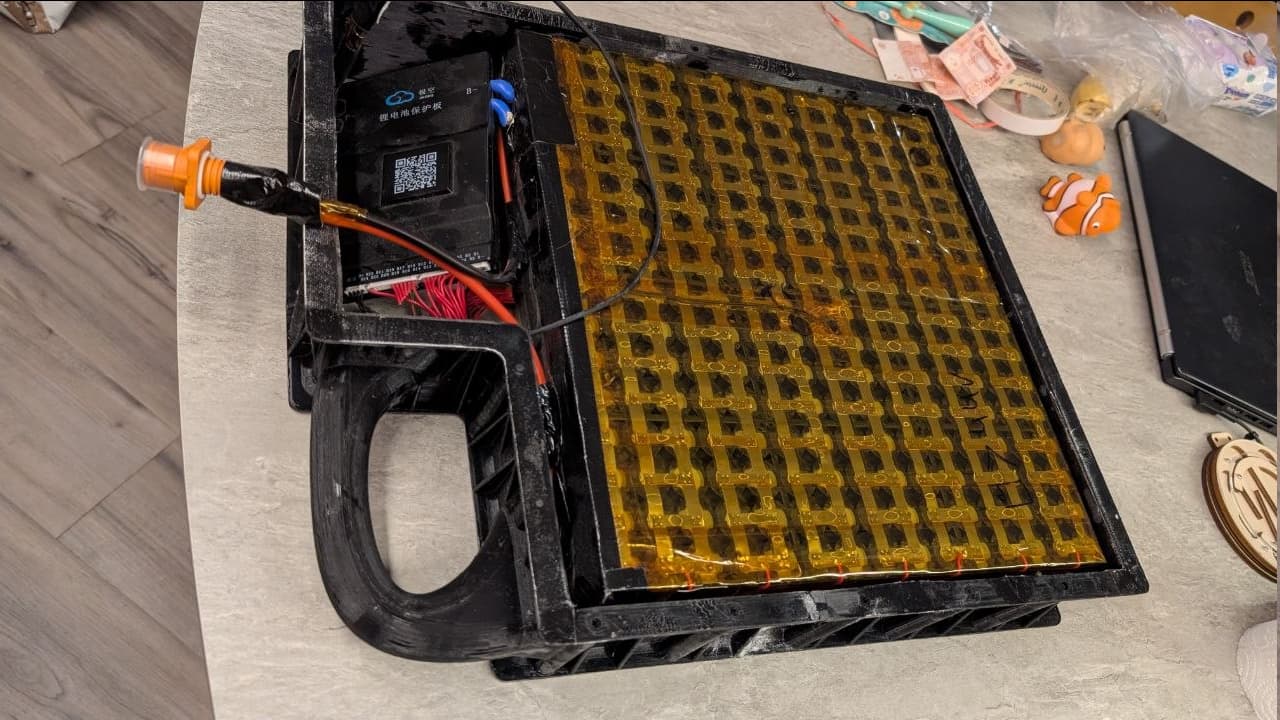
Part 4 – Battery Pack & First Motor Test :zap:

The heart of the project — the battery.

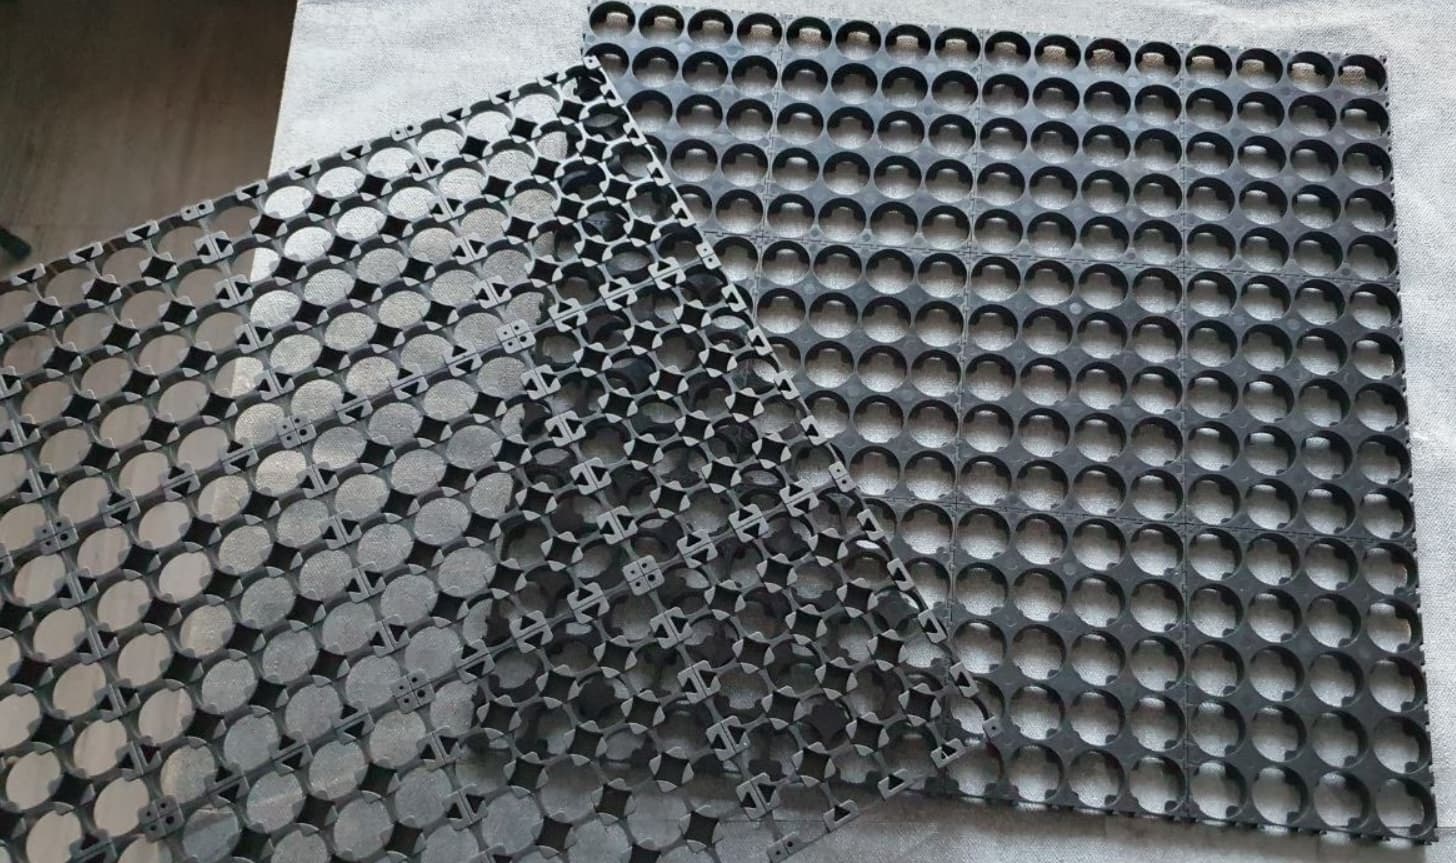
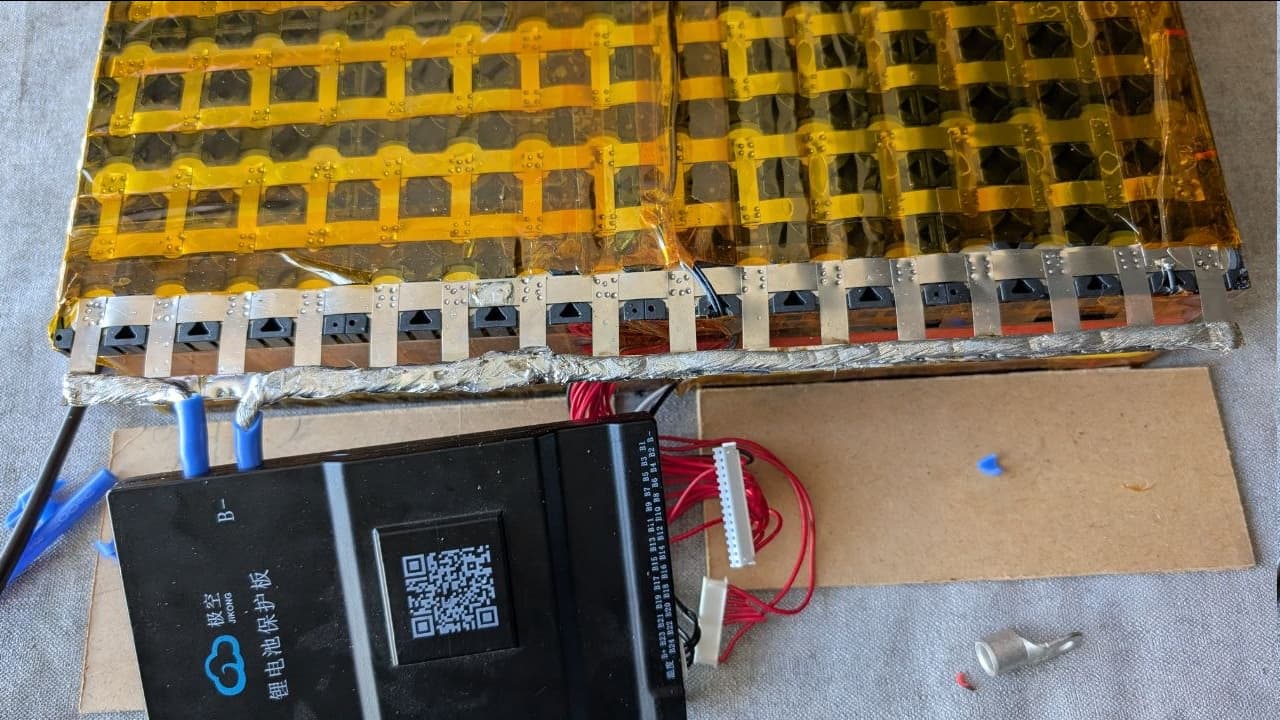
I built a custom 15S16P battery pack using LG INR21700-M50LT cells.

Battery specs:

  • 15S16P configuration
  • 80 Ah capacity
  • ~54V nominal voltage
  • JK Smart BMS with active balancing (JK-B2A20S20P-HC)
  • 40A charging capability
  • 22kg weight :smiling_face_with_tear: 22 KARL!((

For the ESC I chose:

  • Flipsky FSESC 75200 Pro V2

Motor:

  • Flipsky 65161 120KV

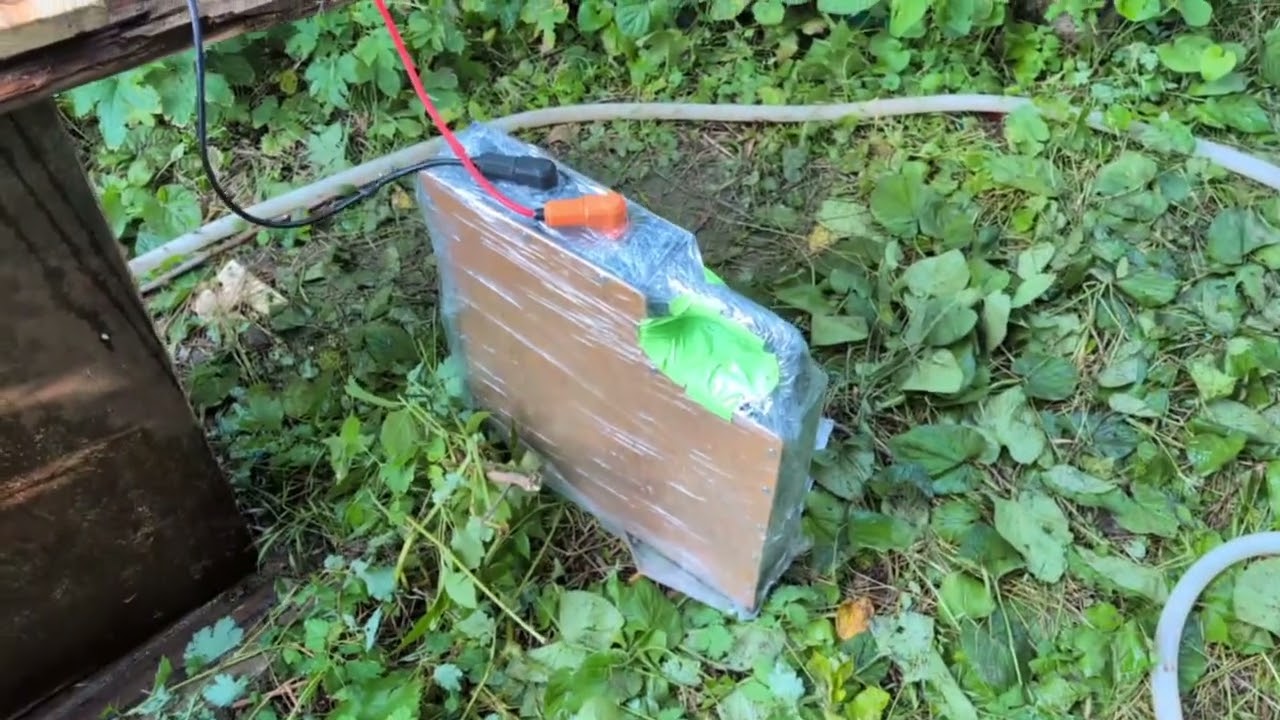
Before installing everything into the board, I wanted to make sure the battery, BMS, controller, and motor were working correctly.

First power-up test was successful — the motor started smoothly and the system responded as expected. :rocket:


Next step: waterproofing, final assembly, and preparing for the first water test. :call_me_hand:

2 Likes

Wow, nice work @crivenco! That board looks very nice and well done so far.

I do agree with other comments about the battery being big, over 4kwh is massive! I have the same LG cells is a 10S11P configuration. That is around 2kwh and less than half the number of cells you have. I already think that battery is too heavy and I cannot imagine trying to handle your battery.
It should be capable of flying, but the swing weight of the battery will affect the handling and the feel of the board on your feet. Turning may be difficult, if you lean to far it will tip right over if you don’t have sufficient speed/lift.

Very nice work! I agrree with others the battery unnecessarily big and heavy. I use a 10S 55 A/H and I have gotten 1.5 hours out of it but usually after an hour I have had enough. You battery could last like 3 hours but you will need superhuman strength for you legs to last that long efoiling.

And superhuman strength carrying this big battery to the water :smiley:

But it looks very nicely built!