Hi Foilzone!
Long time lurker, first time poster from Australia.
I’ve committed to building an efoil. I’ve long been fascinated by the sport, from the engineering details to the feeling of flight. I tried a lesson a few years and knew I had to pursue. The $ of the product boards are a no go, and I also have a lot of battery cells. More on that later.
I’ve done a massive round-trip in terms of scope creep. “I’ll just do a bolt on” all the way to “I need to build an integrated board”. The journey on that scope led me to feel really confident trying the bolt on, so I did just that, with the intention to learn a bit and get on to an integrated mast + board combo.
Components:
Human
- 180cm, 80kg, can surf (even a shortboard when I’m fit!)
Tooling
- Bambu Lab X1-Carbon 3D FDM Printer
- Modified Queenbee Workbee CNC Machine, cutting volume 3000x1500x150mm
- Brother who is building a boat and has surplus epoxy and fibreglass, 400gsm
- kweld + lead acid battery
- well-equipped family workshop
Analog Foil Components (all second hand, all good deals)
- ~60L wake/kite foilboard
- Axis 19mm aluminium mast 75cm
- Axis 19mm Base Plate
- Axis Fuselage 765mm
- Front wing high aspect: Axis PNG1150
- Front wing low aspect: Axis 750mm Carbon Front Wing
- Stab: Axis 440 90
Efoil components:
- Battery cells (infinity) 80% health, Samsung INR18650-29E 2900mAh (Blue) cells
- Motor: Flipsky 65161
- Propeller: 152mm 3-blade, plus prop guard (standard, came with the motor)
- ESC: FSESC 75200 84V (passive cooled version)
- Antispark switch: Flipsky Smart 300A V4.0
- Bluetooth module: nrf51_vesc
- Remote/receiver: VX5
- Misc battery building + electronic parts from aliexpress
The Battery
I have lots (hundreds, a whole chest!) of lime bike battery cells, removed from out of service lime bikes. These are Samsung INR18650-29E 2900mAh (Blue) cells. These will drive this project, until I reach a point that I feel range limited by them. I’m a long ways off that.
Another thing I’ve tried on the bolt on was cell-level fusing. Being safety conscious, and in a higher risk using older cells that aren’t perfectly balanced, I went to the effort of importing these cell fuses from Battery Hookup, in the USA.
The Bolt-On Test
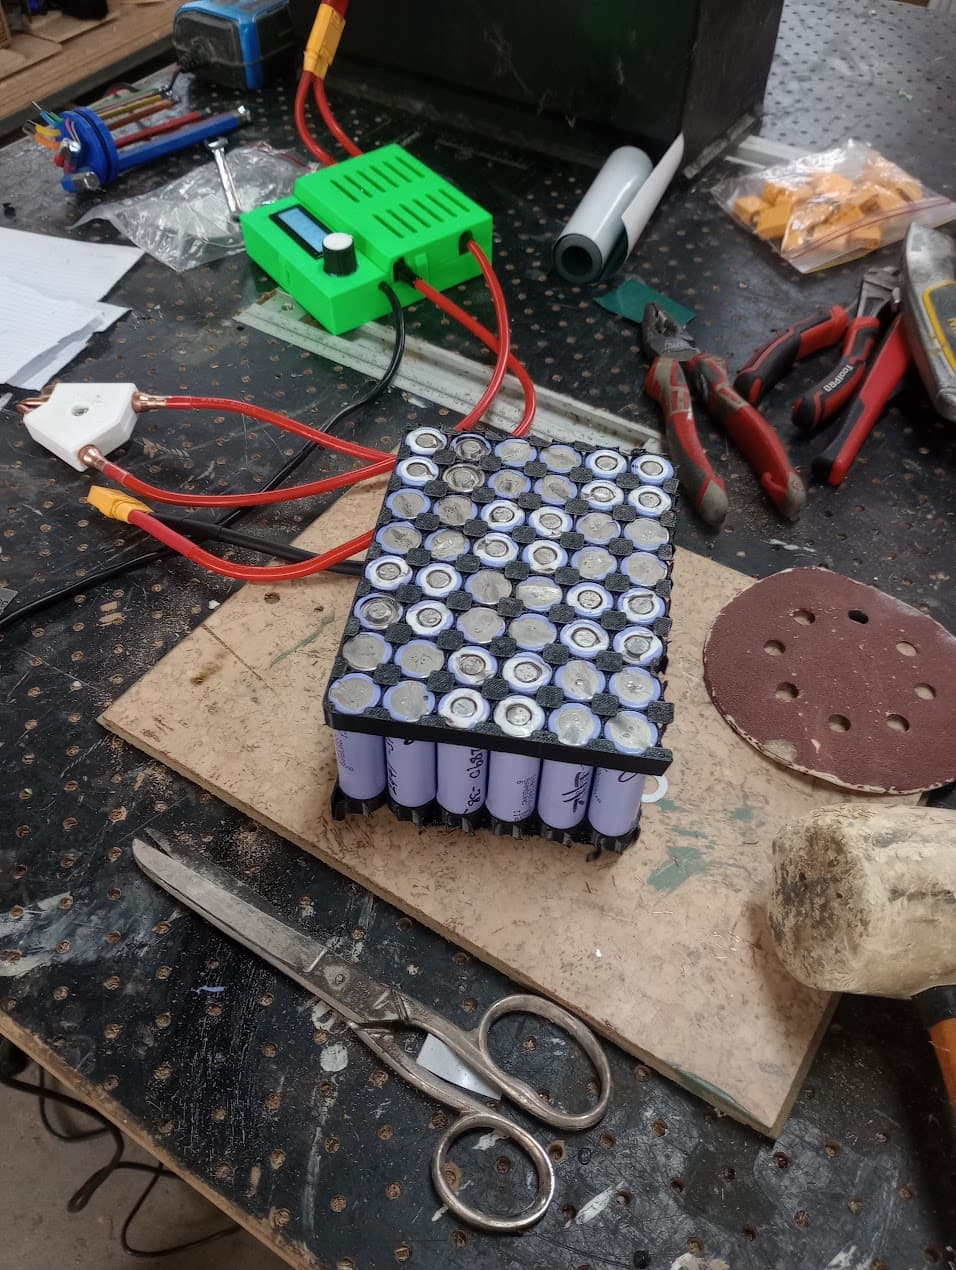
Building the 12S4P battery with the kweld was a breeze. Such a great piece of kit. I applied the fused nickel strips to one side only, 0.2mm full on the other. I used a JBD SP14S004 BMS. This worked great, the app was very easy to use.
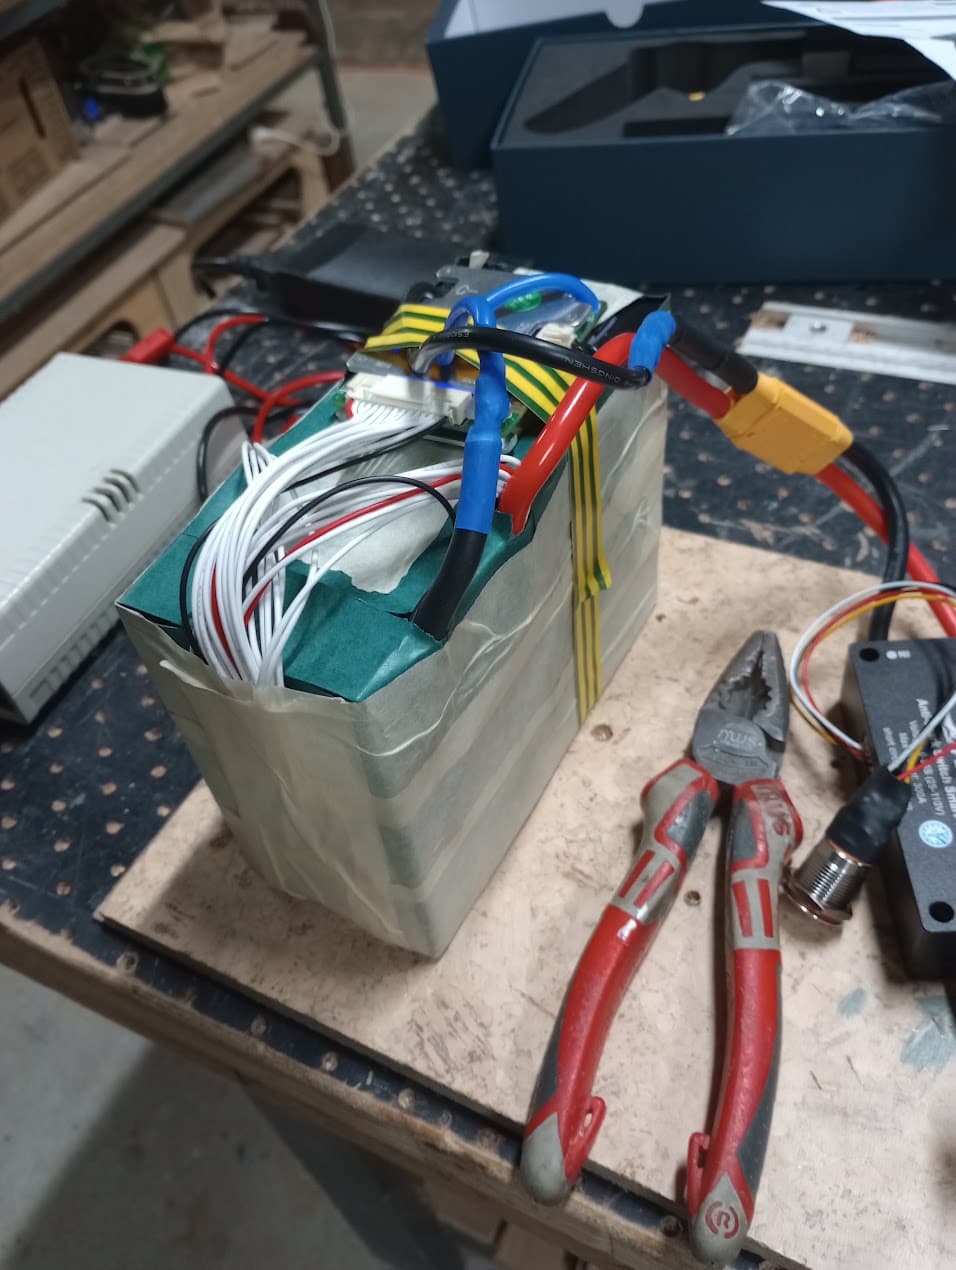
I sized the battery and electronics around the BOXCO 190mmx280mmx100mm Polycarbonate Clear Cover HINGED Lid IP67 ABS Waterproof Dustproof Junction Box, which appears to be the same box that My Simple bolt-on build on Maui used. It was a fun moment getting it all hooked up. I pressure tested the box with the holes (glands and VESC heat-sinks) at 15cm of water draft for over 8 hours, no leaks.
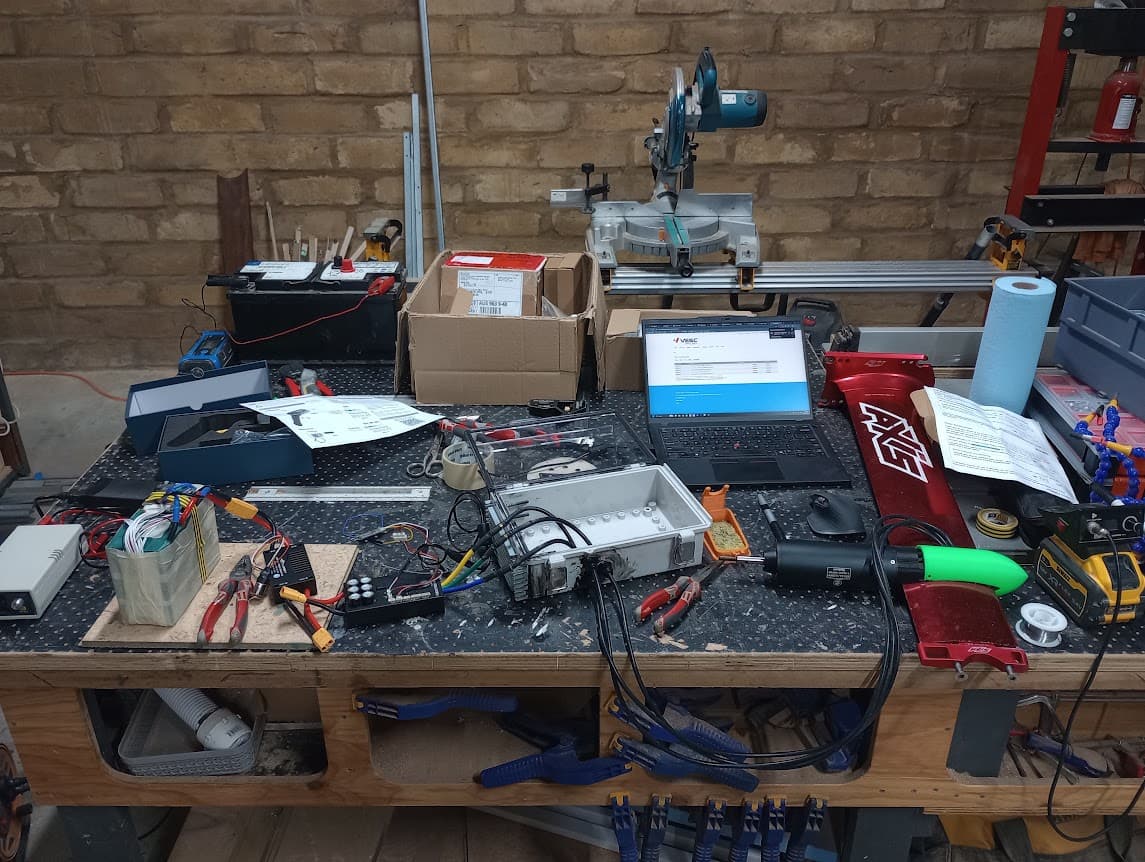
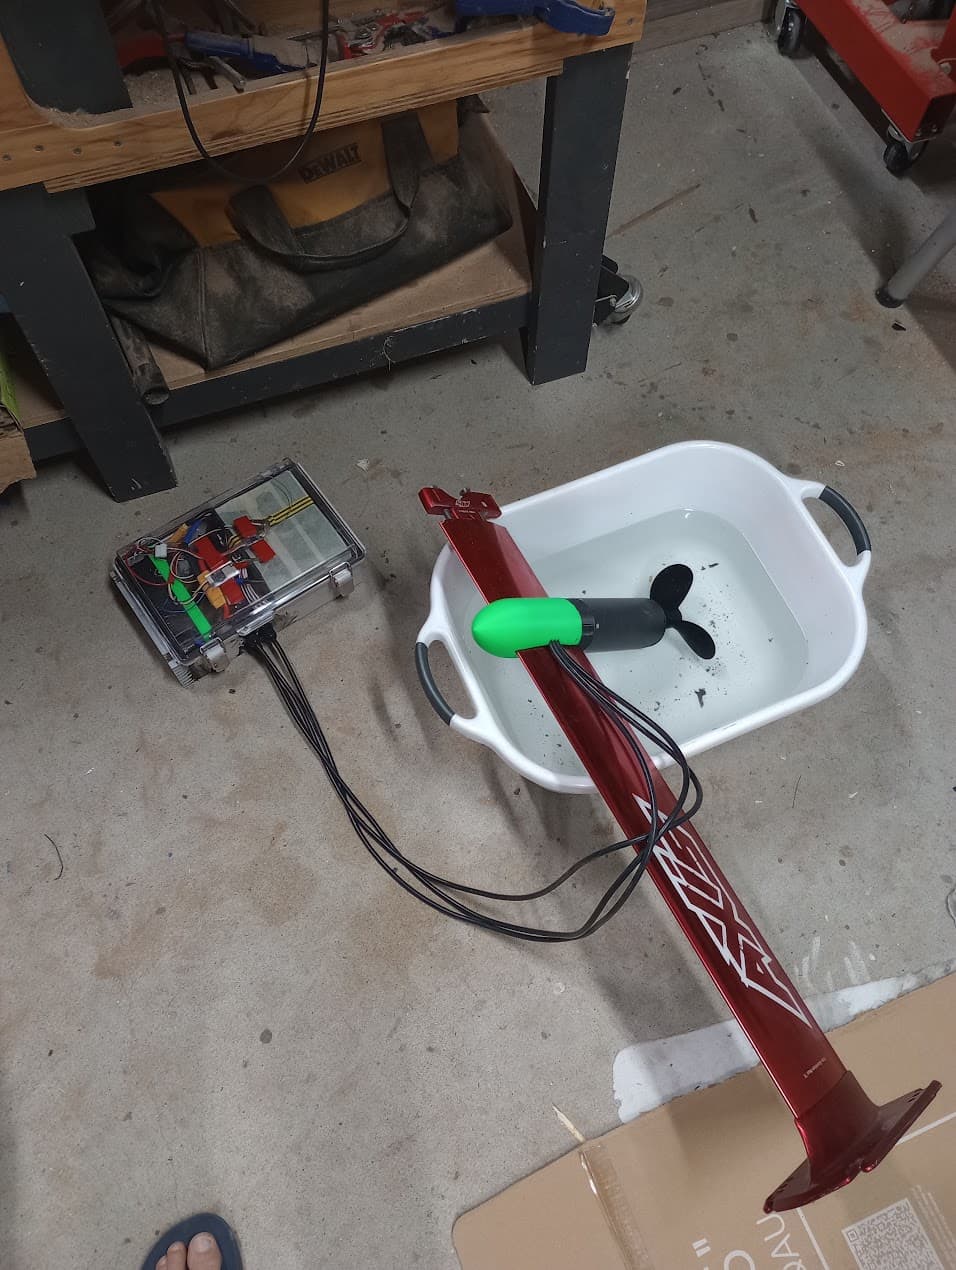
I then got to take it out a few days leter. Note I’ve mounted the motor using a slightly modified version of a clamp I found a long while ago on this forum, apologies, I can’t find it. I’ll share the files soon anyway.
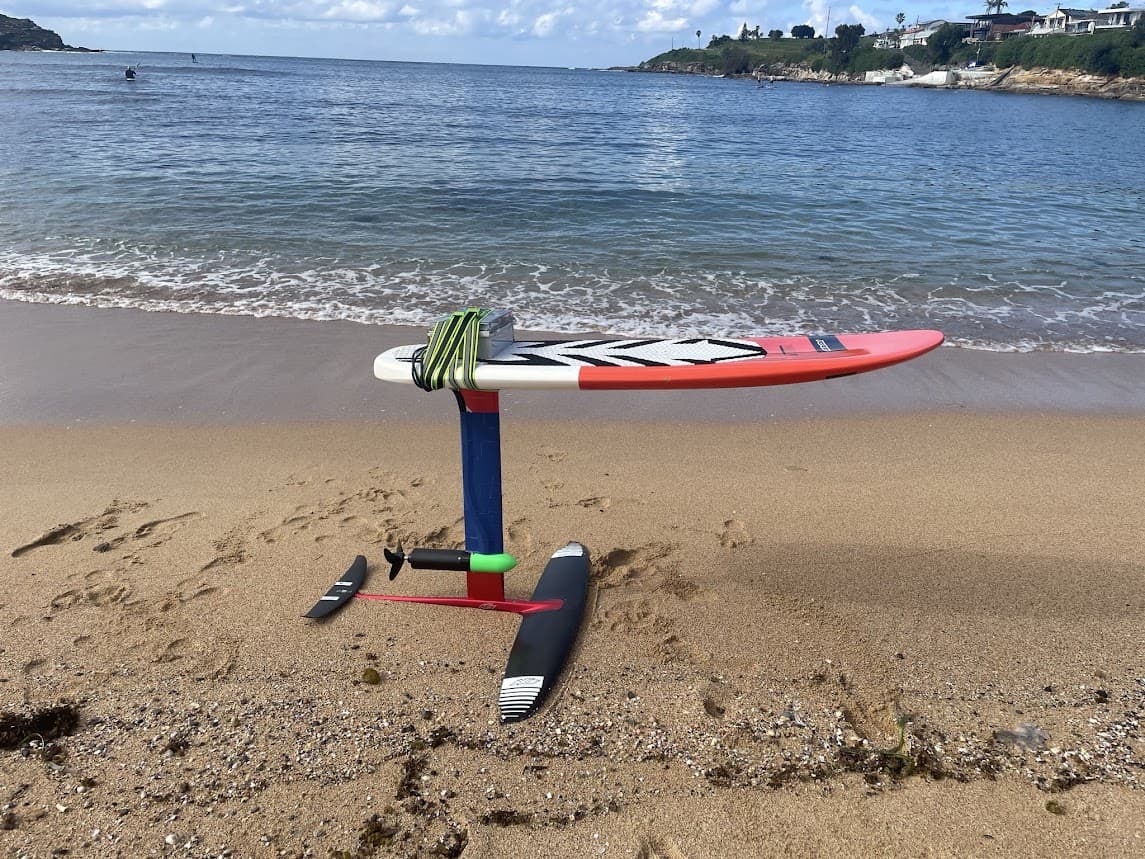
Unfortunately the continuous rating of 3A meant that my bolt on 12S4P pack, with a VESC amp limit of 12A, wasn’t enough to get me out of the water. I’m sure common sense and someone from this forum could have warned me of that, but oh well. It pushed me around a bit. Nothing leaked(!). I did scrape myself on the heat sink, now I’ve got guards for those.
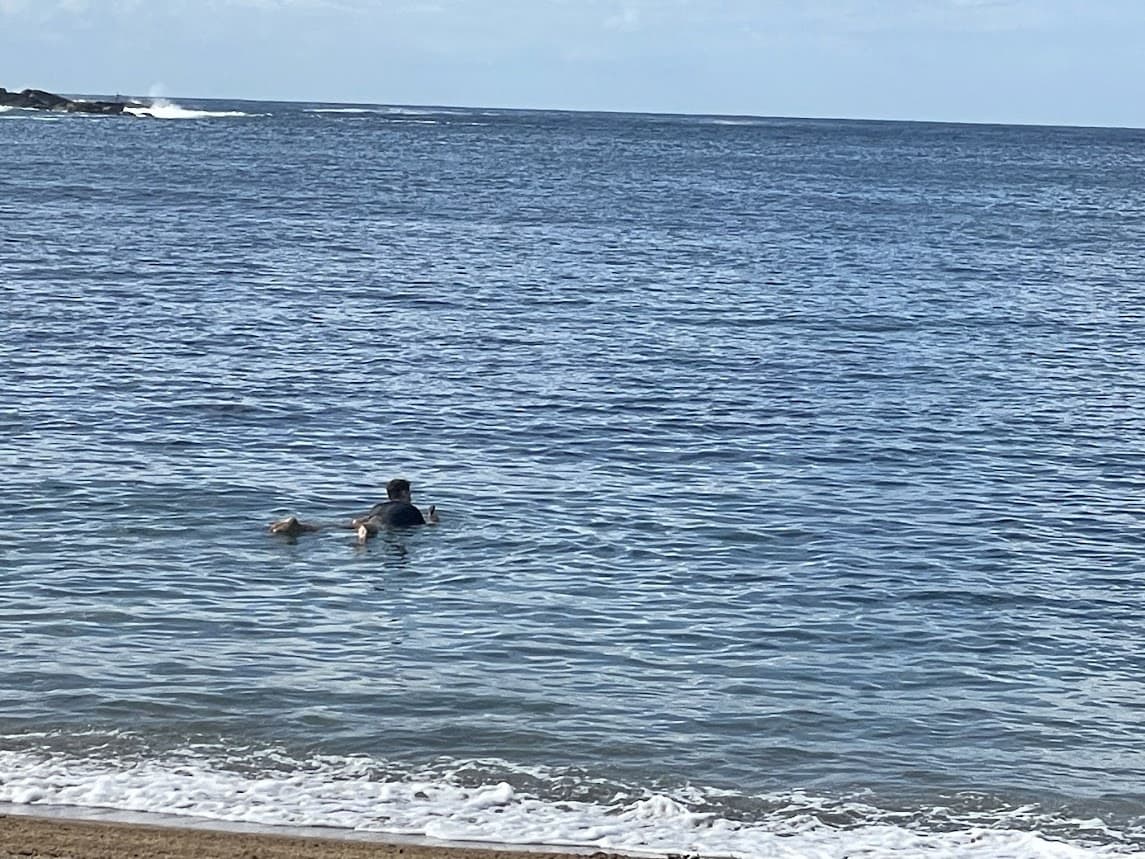
With that failed attempt out of the way, my plan is to get the bolt on working by doubling the layer of fused nickel strips, which should allow a 2x3x4=24A draw, which is close to the cells recommended discharge, but should be fine for a few goes. I’m clearly unconcerned with the longevity of the cells, I just want to avoid a fire.
I’ve also dived right in to the design of the eventual integrated efoil mast and board. Inspired by the work of crivenco in Block of Foam to a Flying Board, TheGremlin in New DIY Board Design, and countless others, I feel there is a path here to create a great board that I can share with the forum.
In particular, it seems that TheGremlin got pretty close with the integrated mast, and then vanished in August of 2025, leaving myself and others pining for a real test and for shared design files. I’m picking up where he left off!
My work can be found in this onshape file:
https://cad.onshape.com/documents/a3a5741edd9259d7d225b26a/w/15ec526ce18ac180d33ae468/e/a41aa6947e73b15db791b29f?renderMode=0&uiState=6a97dc9e472172adabb0b6ad
I’ve drafted a cohesive design for the board, the battery housing, the integrated mast, including the electronics components of course.
The Board
The board will be an XPS foam board made from 50mm layers, 150mm total. Current model is ~1500mm long, 570mm wide at the wide point. I want to use a stiff ply base as UppfinnarAXEL applied in Budget eFoil Builds from Sweden, this strikes me as a good idea. I’m thinking 12mm marine ply.
The mast is centered 450mm from the rear edge of the board.
The Battery Housing
The housing is left largely blank at this point, I’ll fill it with a modelled waterproof battery cell box soon. I plan on using a boat hatch, same as UppfinnarAXEL applied in Budget eFoil Builds from Sweden. This large boat hatch even looks like the same one, here in Australian Pesos.
Storage box
Not much to say . Small boat hatch, 3D printed container. Placed at the rear. Seems to me that removing big volumes in the front of the board isn’t a great idea.
The Integrated Mast
This one has been the main focus of the exercise in the past week. It’s a really interesting problem. I’ve drawn my inspiration for the details from TheGremlin, and Fliteboard’s publically available information. There’s many things being solved for here:
- Waterproof housing for the VESC
- VESC heat-sinked as best as possible to the mast
- Waterproof connections out to the battery
- A very stiff, strong, and waterproof connection from the mast baseplate to the board itself.
I think I’ve got a good handle on the aluminium layups necessary to get the motor cables, VESC, and Axis masts working well. As TheGremlin has done, extending the Ally Baseplate widthways from the Axis Baseplate seems like the right move. The 3D printed VESC housing has an acrylic top, sealed using 3mm inserts clamping a 120mm ID × 4mm CS metric O-ring along a path of 402.3mm, ~5% stretch.
What’s really befuddling me is the waterproof gasket AND the stiff, strong connection between the integrated mast and the board + Tuttlebox. Follow along and let me know if I’ve solved it or would commit a series of big mistakes here:
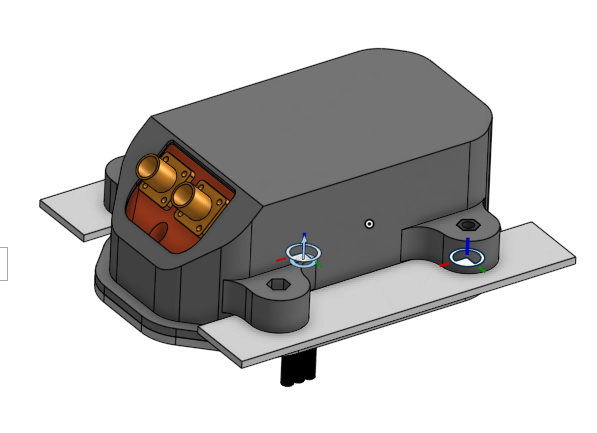
8mm bolts through the Integrated Mast, passing through en epoxy’d oversized hole (say 12mm dia) in the 12mm marine ply, and the Ally Sandwich Bearing Plate. The bolt will pass through and engage with an M8 Coupling (darkest grey, only one shown at the moment), held in place by the ‘hands’ of the tuttlebox. The Tuttlebox (dark grey), 12mm marine ply, and Ally Sandwich Bearing Plates will be epoxied together first. The clamping pressure on the gasket of the tuttlebox will be transferred, tight, through the ply to the sandwich plate. The Tuttlebox ‘hands’ are only preventing the M8 coupling from rotating, with clamping pressure achieved through the coupling to the bearing plate, fully engaging the 12mm marine ply. This is the reason the marine ply is shown in two parts - it needs to be machined, and brought in around the Tuttlebox.
The gasket is proposed to be a 210mm ID × 6mm CS metric O-ring. Gasket path is 687.6mm, ~1.3% stretch.
Then, the tuttlebox ‘hands’ are epoxied over somehow so that the XPS is not in contact with seawater (maybe a 3D printed cap on top). Then the Tuttlebox + Ally Sandwich Bearing Plates + 12mm Marine Ply is epoxied into the XPS foam board in one go.
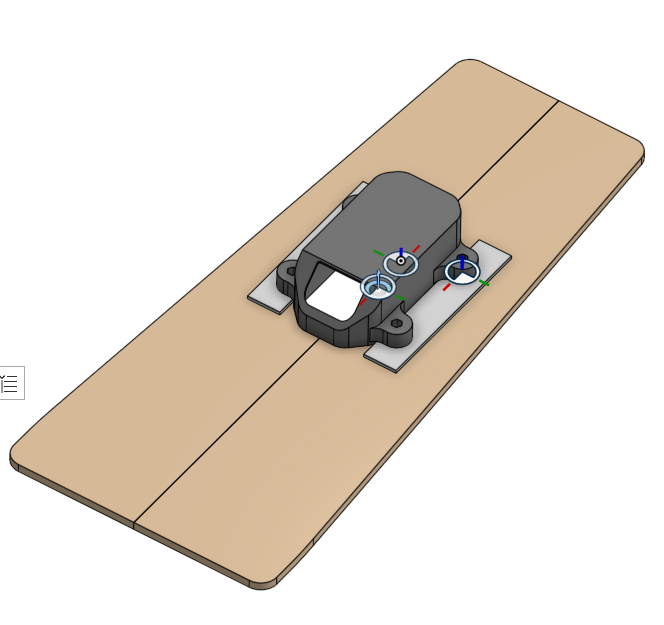
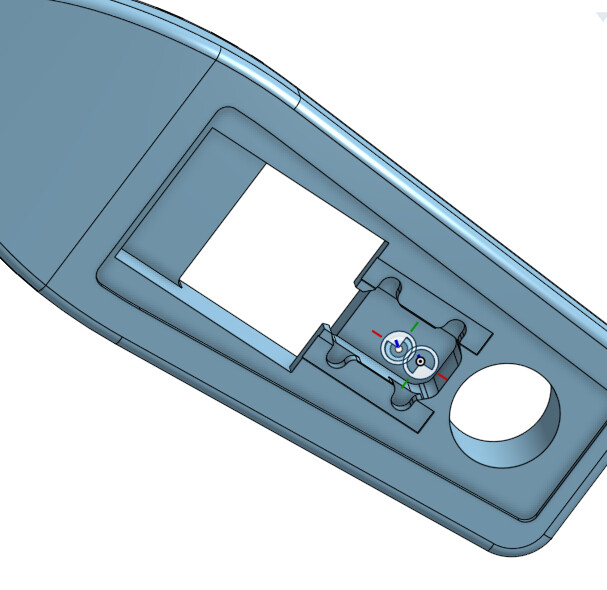
^space in the board for the Tuttlebox and marine ply base.
Part of me things this is a great idea, part of me thinks it can’t possibly work due to the order of the epoxy layering. Now is probably a good time to mention that I’ve never epoxied anything other than the odd woodworking project, so this is a bit of an unknown to me.
I would love to hear any and all feedback, thank you for reading!