Yes, I have one right angle with an adaptator , it’s propably that and also I didn’t remove the pump for the test
just stop it. So I need to test without the pump (even if there is no restriction with it on passthrough )and I will remove the right angle like you propose.
Wow, did you build the motor mount by your self , carbon ?
or print and cover ? can you send files
amazing…
Hi! This is a very correct decision! Very convenient to charge. If there is electricity on the shore, you can not take the Board out of the water!
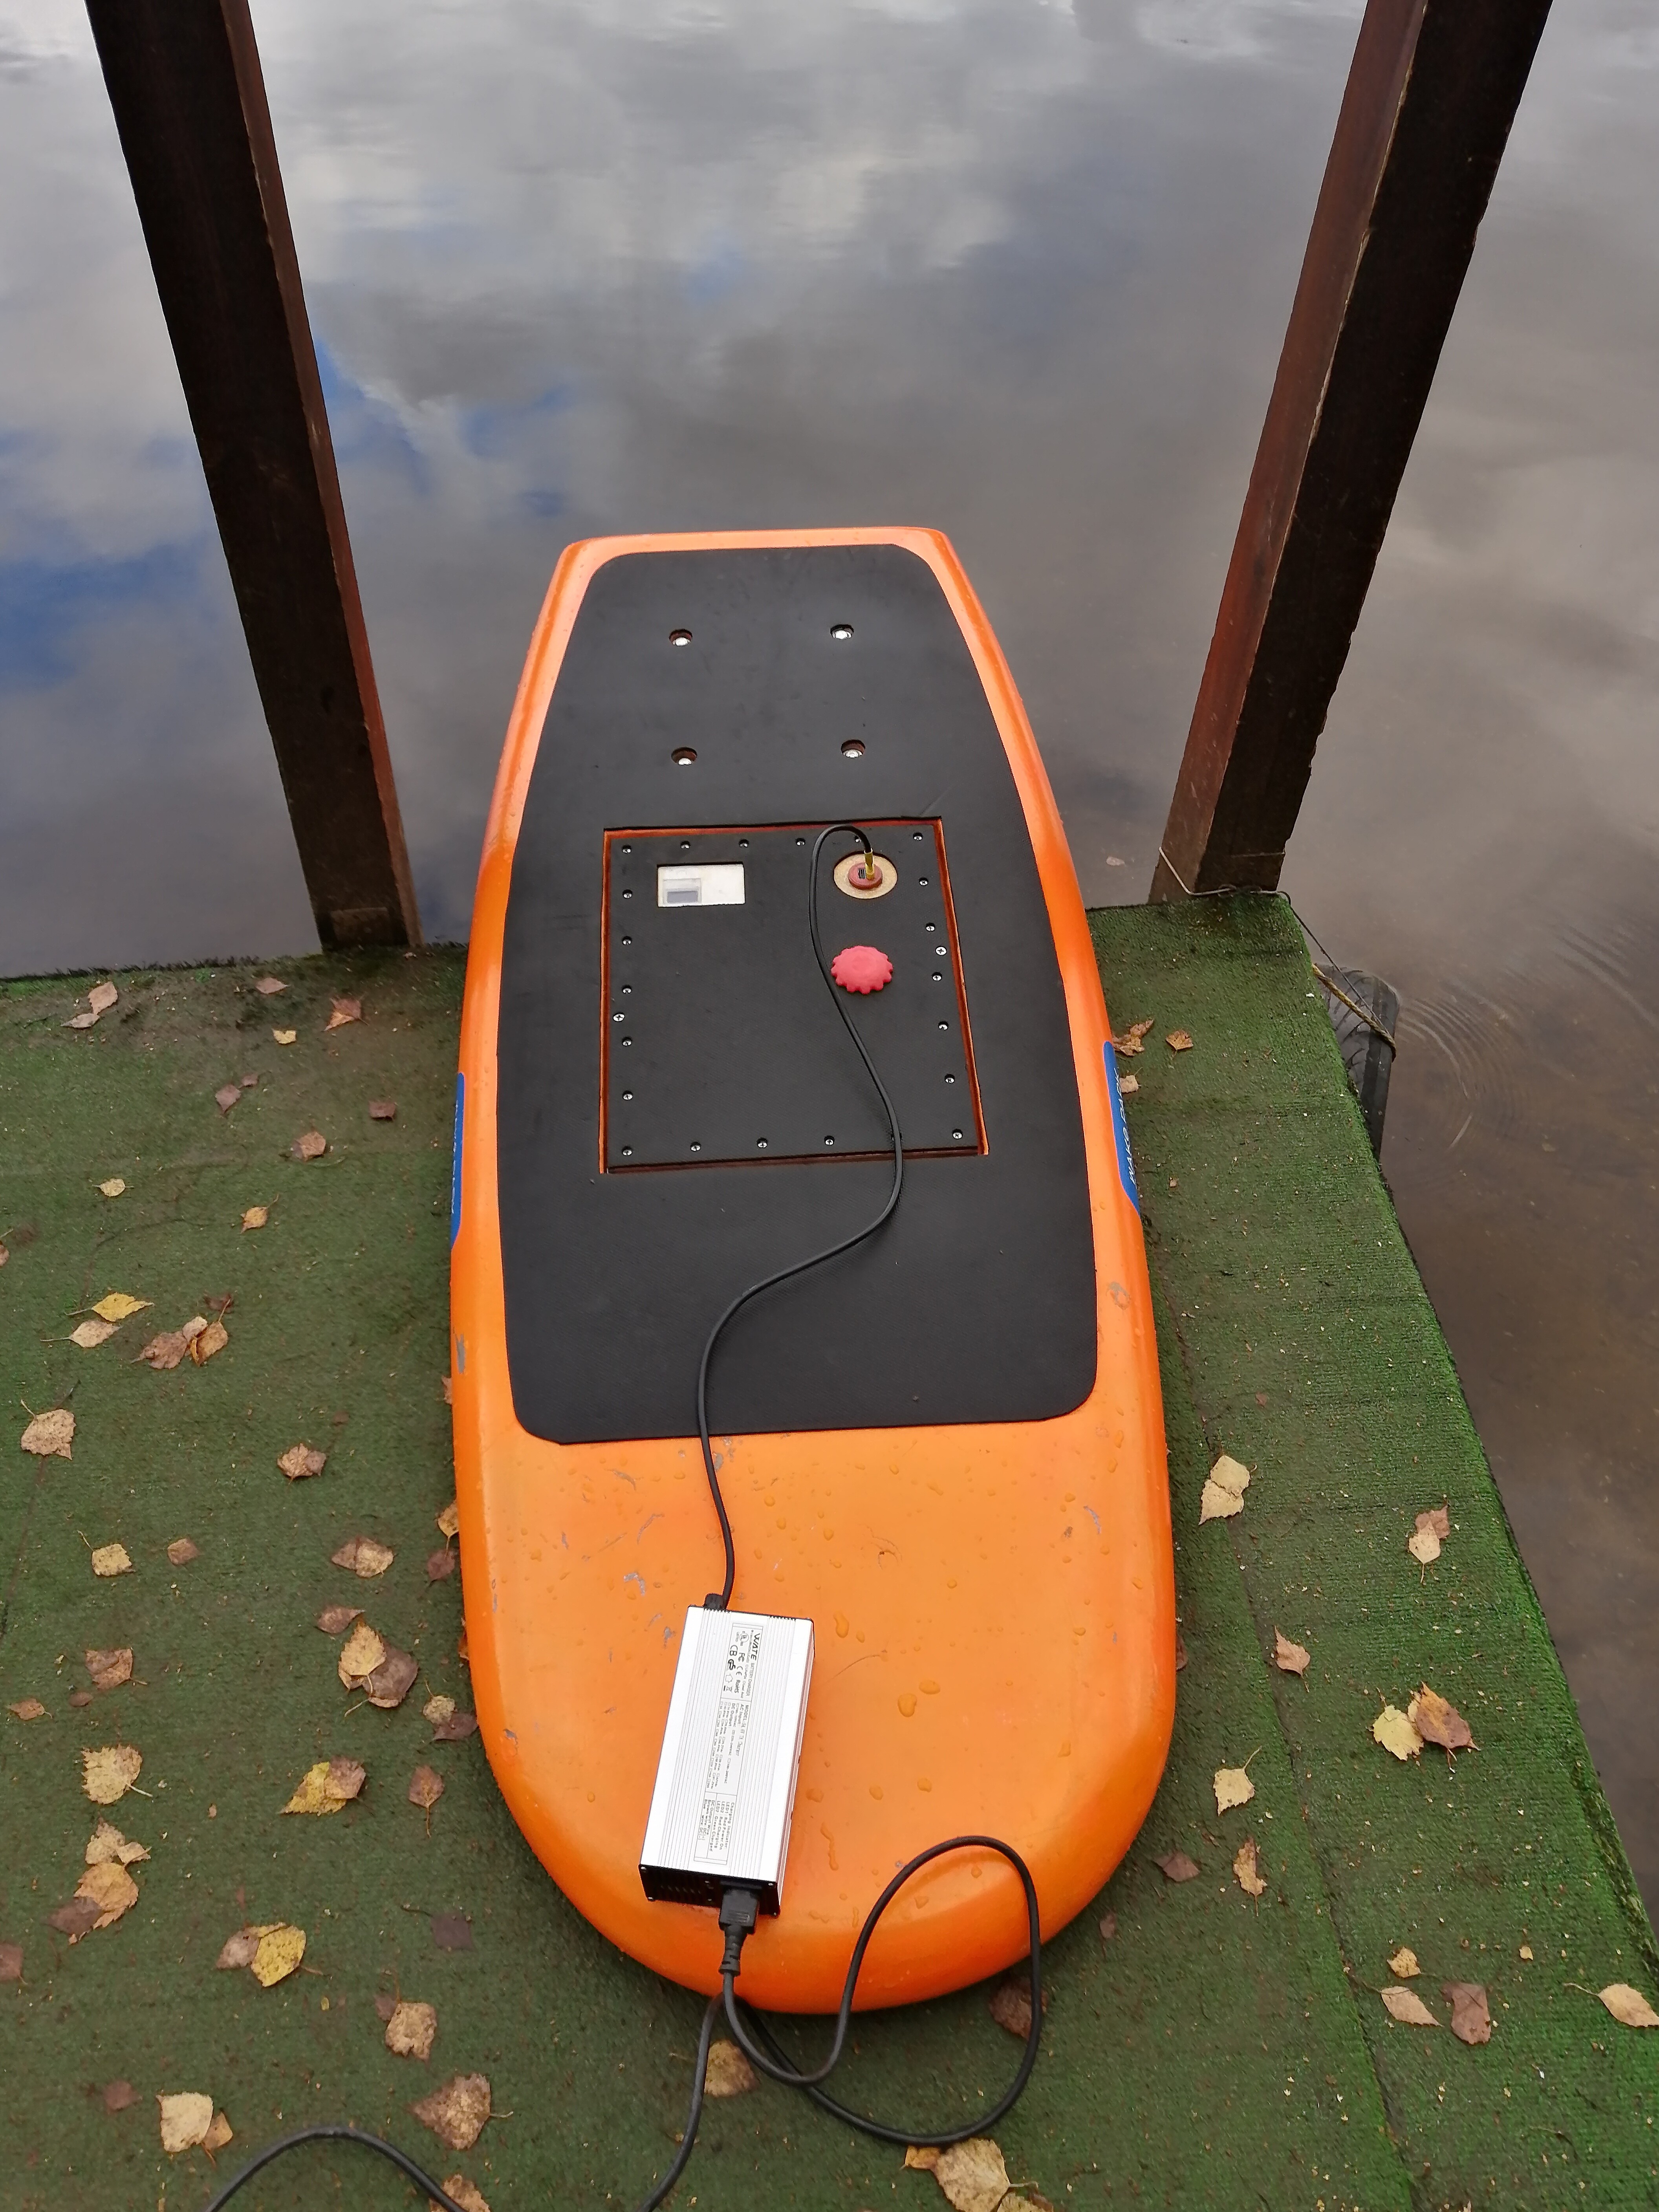
This is what i want to do.
I prefer a plate with screws for waterproofing
I saw too many leaks with the hatches
but it’s more painful to change a battery pack.
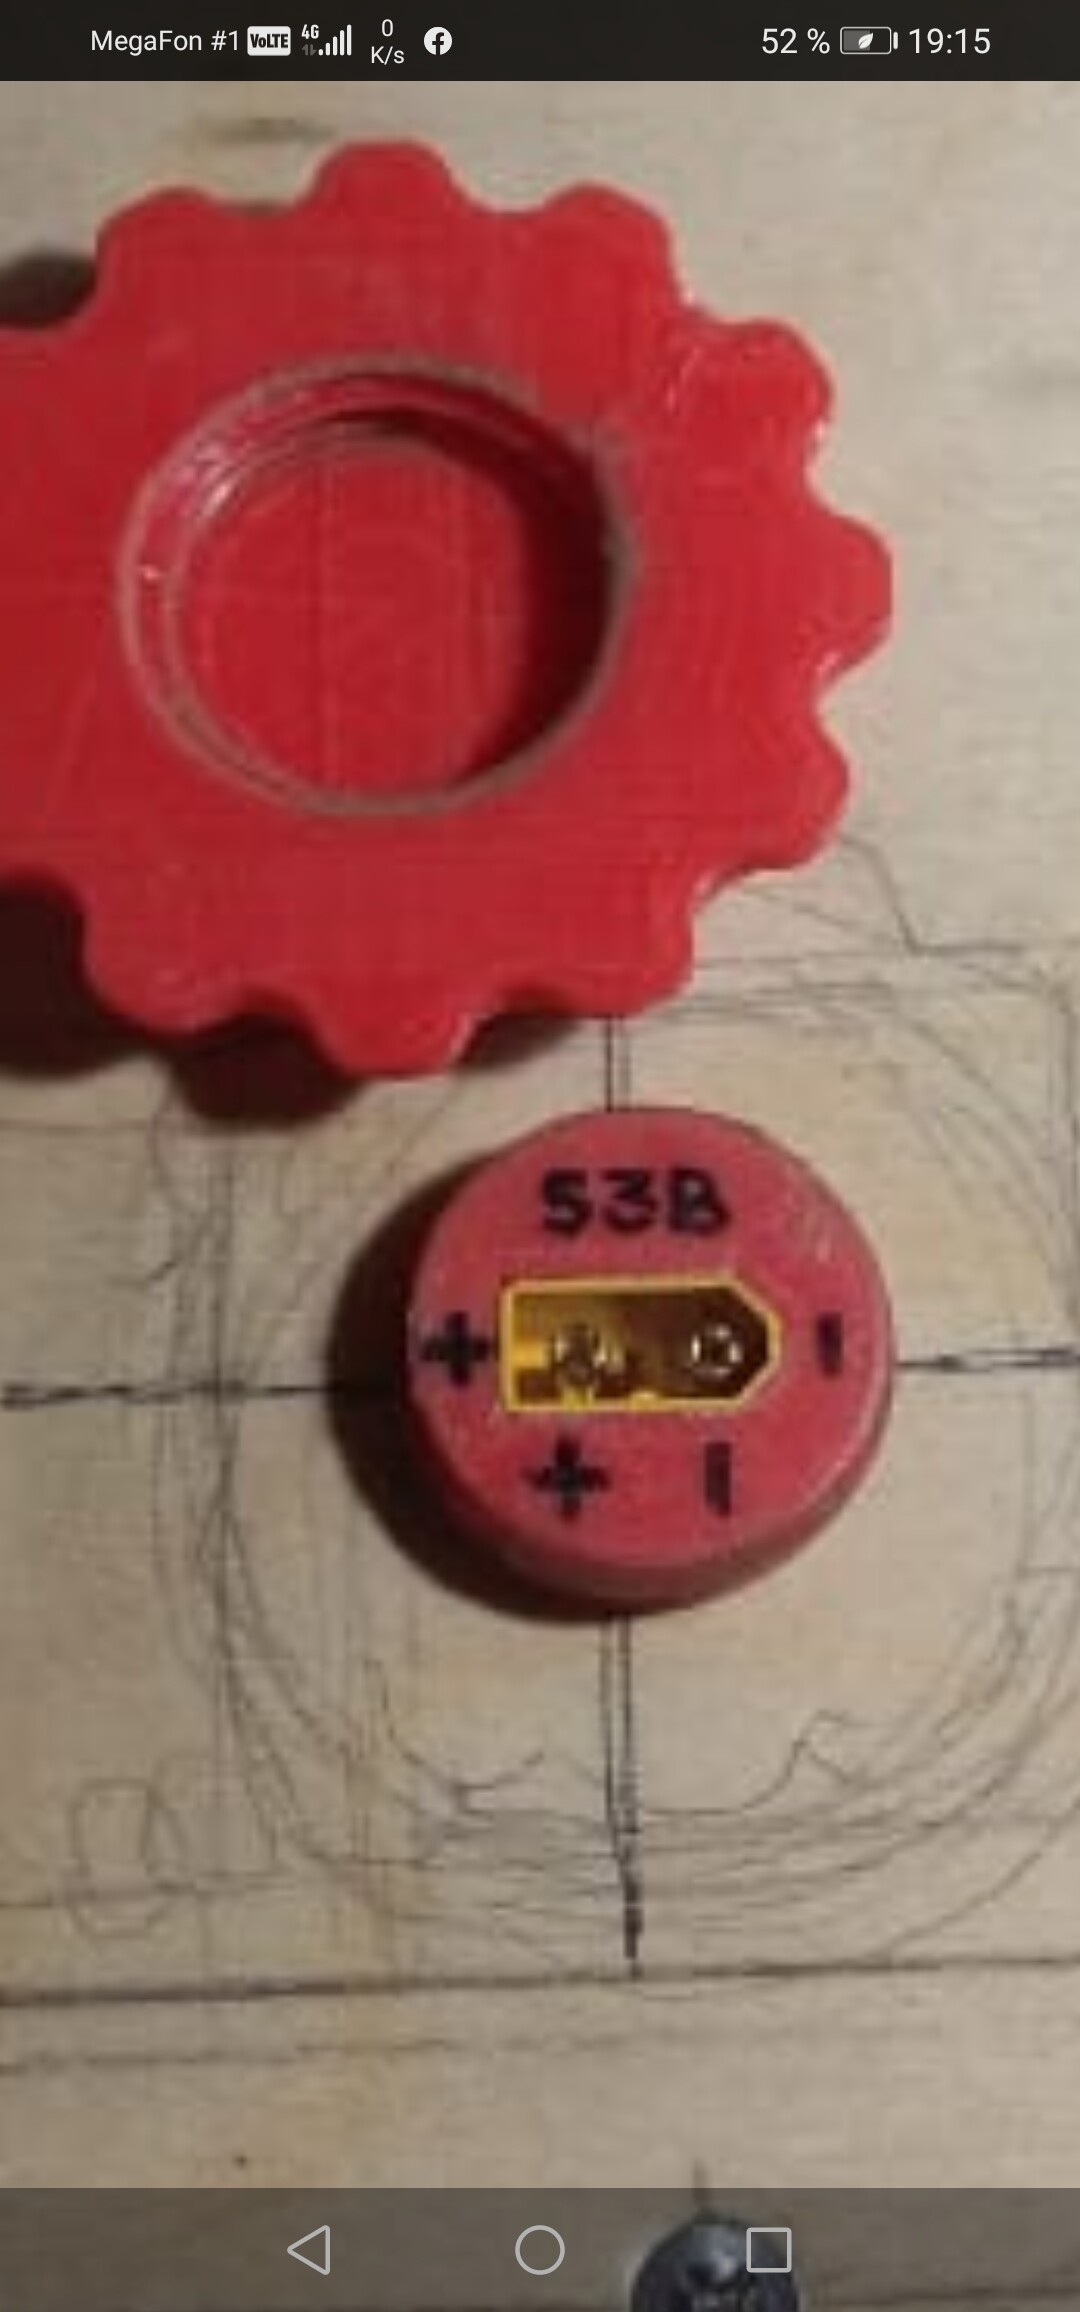
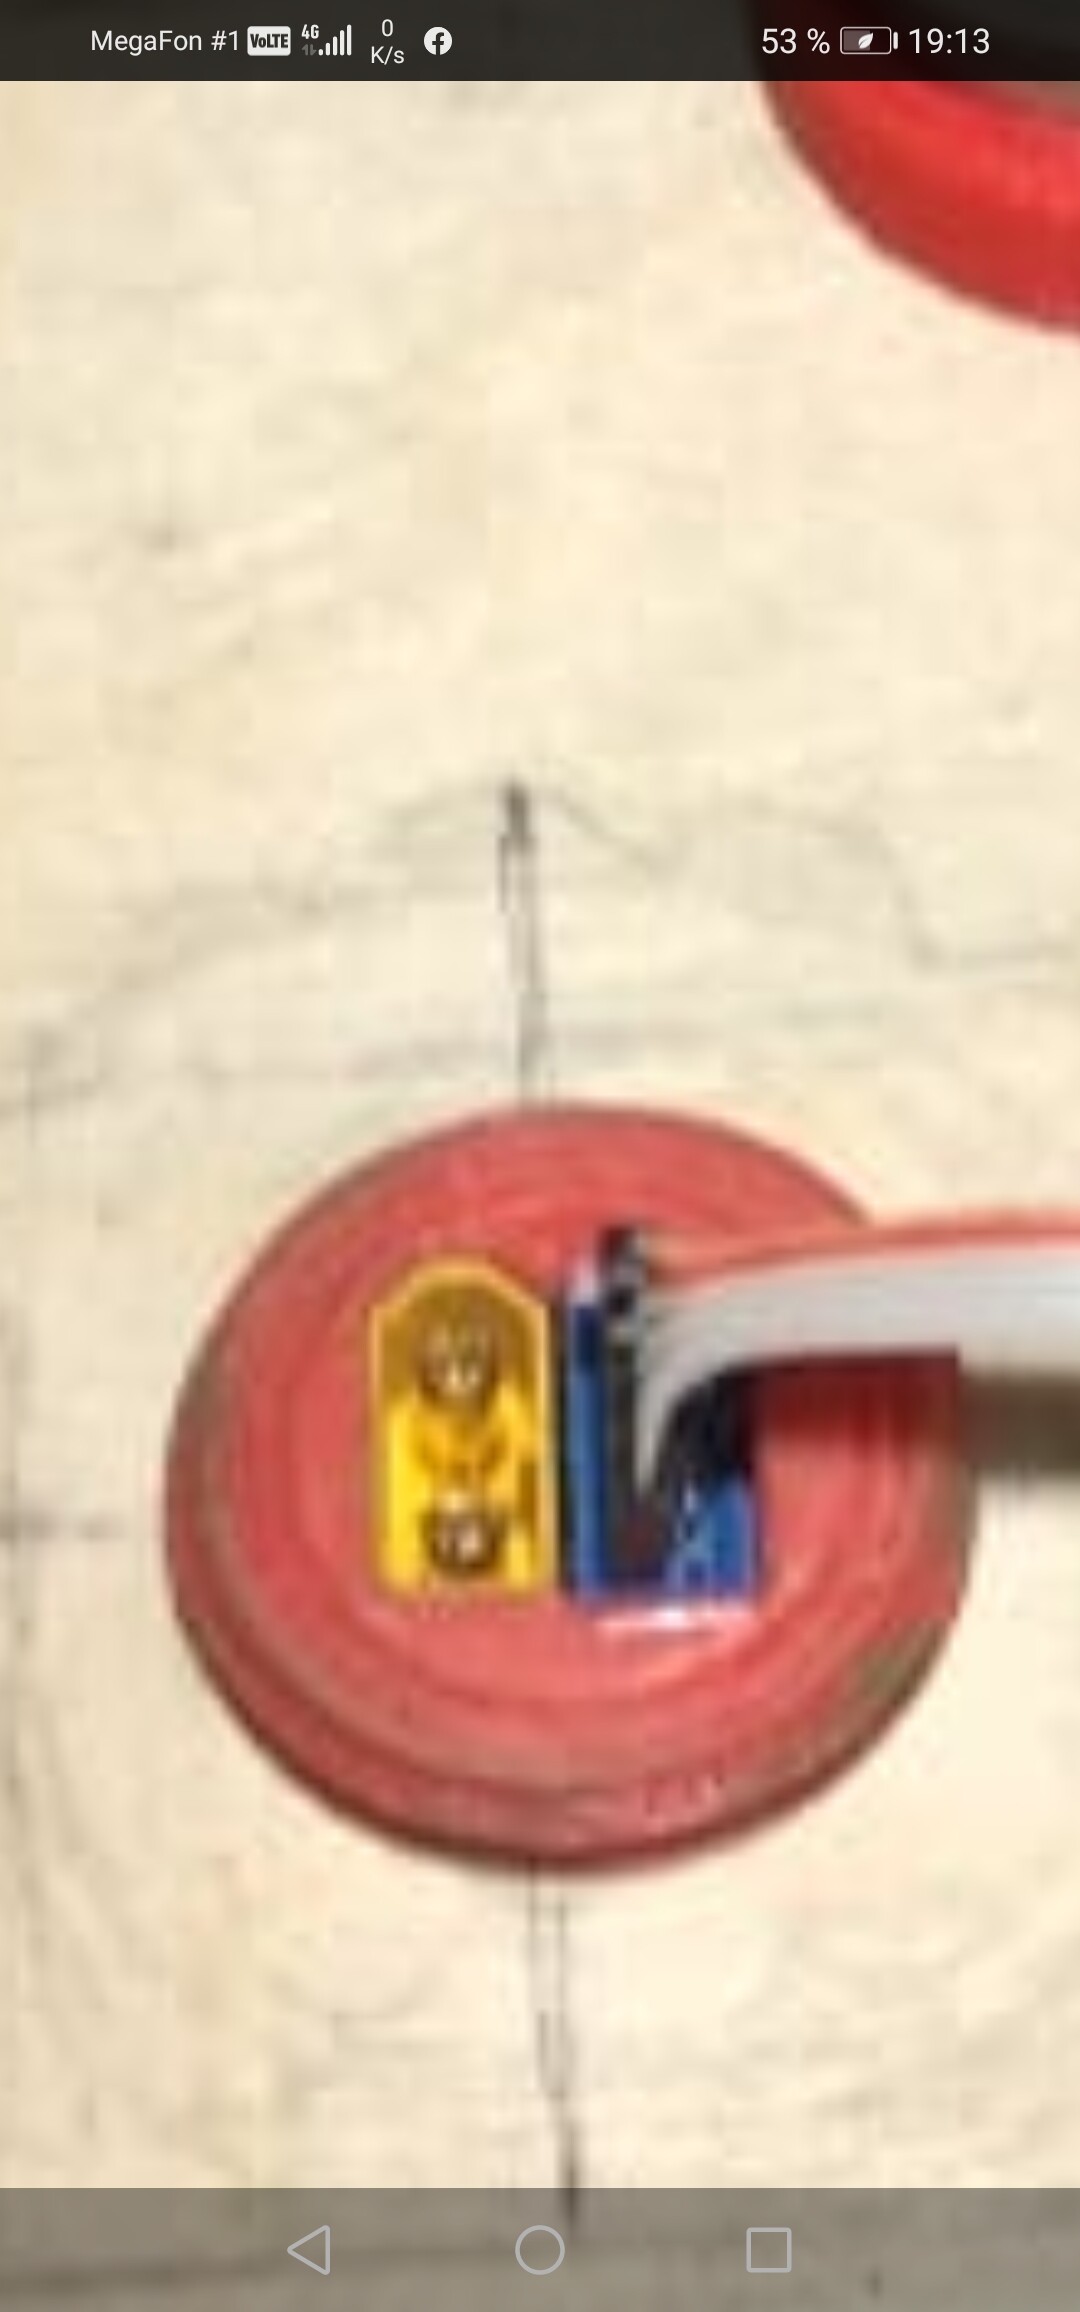
Do you have a close-up picture showing your charging connector ?
nice build.
Flybywire :
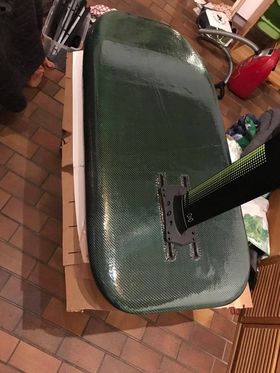
The Mast clamp is a Robert’s creation @nice2cu
I just modify the nozzle for the water tubbing
Here all the stl files
https://drive.google.com/drive/folders/1aCjulHFvo2-rUDIc0xqB1GRqtn8bkWcv?usp=sharing
The picture with carbon mast clamp show a print in carbon filament and covered with carbon sergé 200g
This is the first connector. Then they made another one. Second output for the programmer.
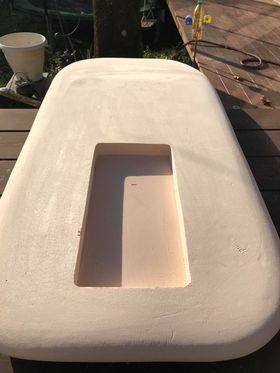
If you fix a big lid with screws and seal it with epdm, it is waterproof. I have good experience with a round screwable hatch inside the lid, 100% waterproof. If you split batteries in 2x6S10p they still fit through the hatch (if your board is not too thin). Like this it is still possible to open the board for wiring and other service, you can quickly change batteries without the risk of water ingress.
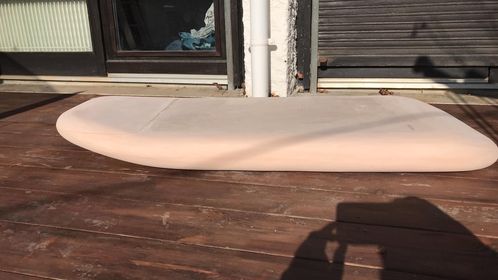
my next board is going to be 125 x 60 x 12. do you think you can fit everything into 10cm?
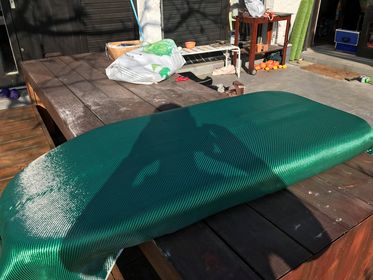
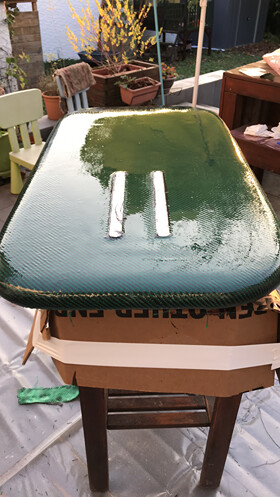
what’s the depth of the box? this one looks like you cut through the bottom of the board… 
@jeffM The shape result with your hot knife is really nice. Would you have a link ?
Q2 How many layers of fabrics of which weight ?
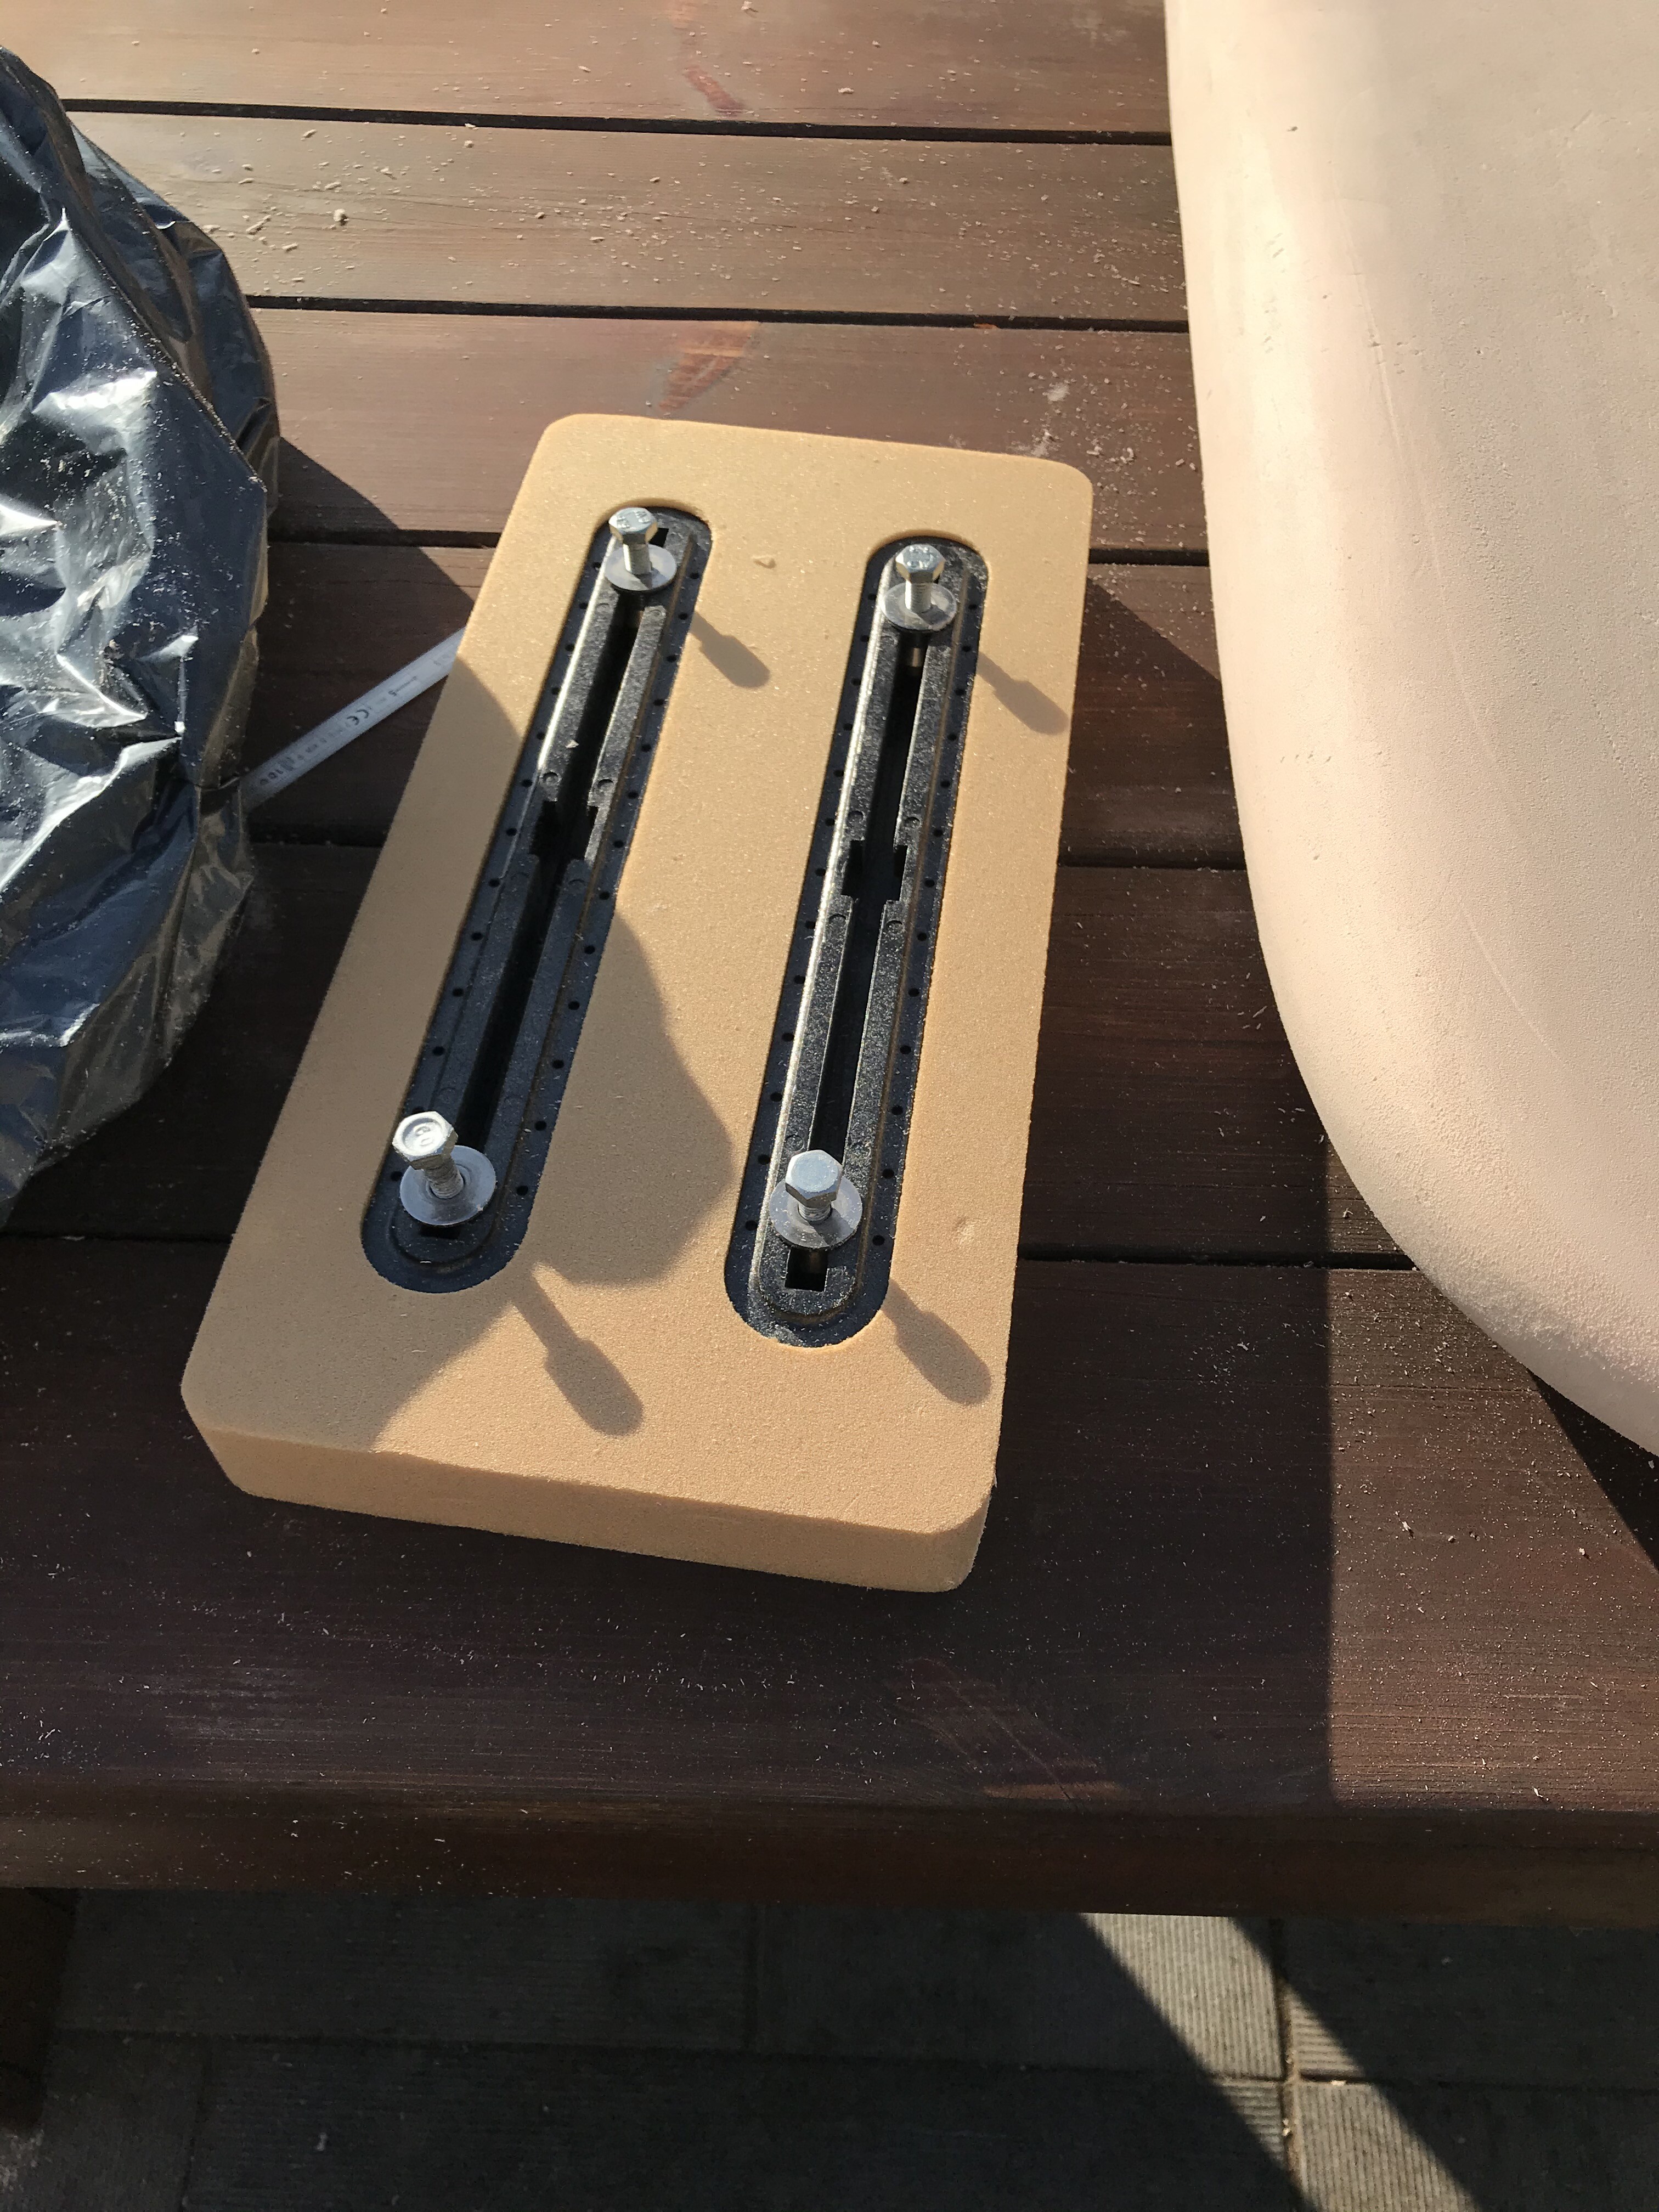
Q3 No hole between the US rails for the mast wires ?
Q4 Why do you prefer rails to 4x20mm wells between top and bottom skin filled with resin+micro spheres ?
maybe overengineering this, but you can perhaps use a Venturi style flowrate sensor?
it would be nice to see your battery setup. with 18650 the pack is at least 7cm high.
if you subtract the thickness of your lid (~1-2cm) you have a bottom thickness of 1cm left to work with.
i don’t think this could work.
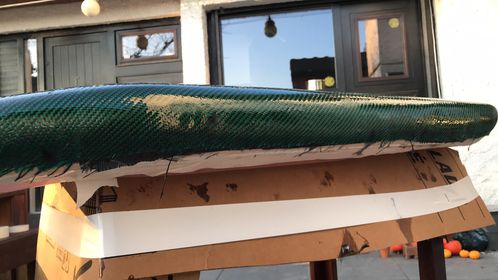
when looking at your mast rail block it looks like this is at least 2-3cm high. how did you fit all of that into a 10cm board? 
Not if cells are mounted sideways, or laying down, idk the word😏
look above it is the same configuration as my V3
it is also 10cm high with the same US box
only difference the board is shorter
In your circuit design you have the magnetic switch to trigger the 12v relay which then triggers the kilovac. Would it not be simpler to use the magnetic switch to trigger the kilovac directly? Why use the extra relay? I’m still learning so I’m not aware of the benefits. Thanks
because the magnetic switch is normally open (didn’t exist in normally closed or I didnt find yet )
so the small relay is an inverter
Oh ok. Thanks. About the pump… you have it connected to the relay on the maytech reciever. Is that relay operated from a switch on the remote? If so, does that mean you have to remember to turn on and off the pump? Do you recommend using a pump over no pump?