Figured so! I was lucky to get one of the plugs through  Thanks for the advice
1 Like

not understand
…
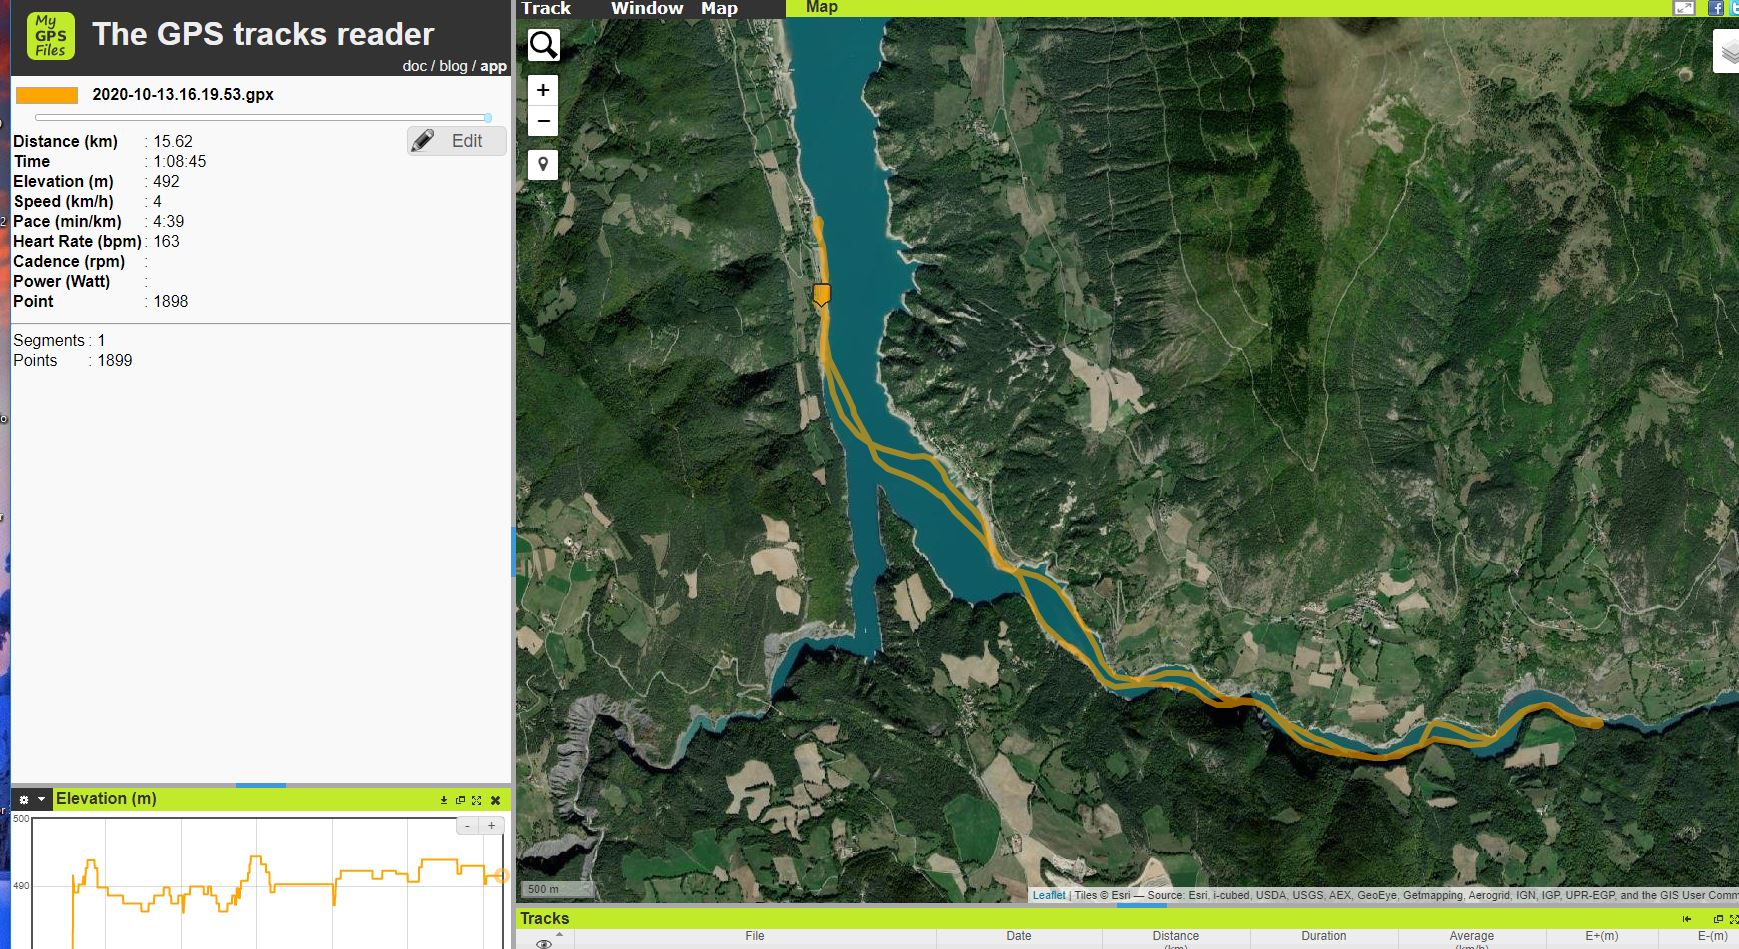
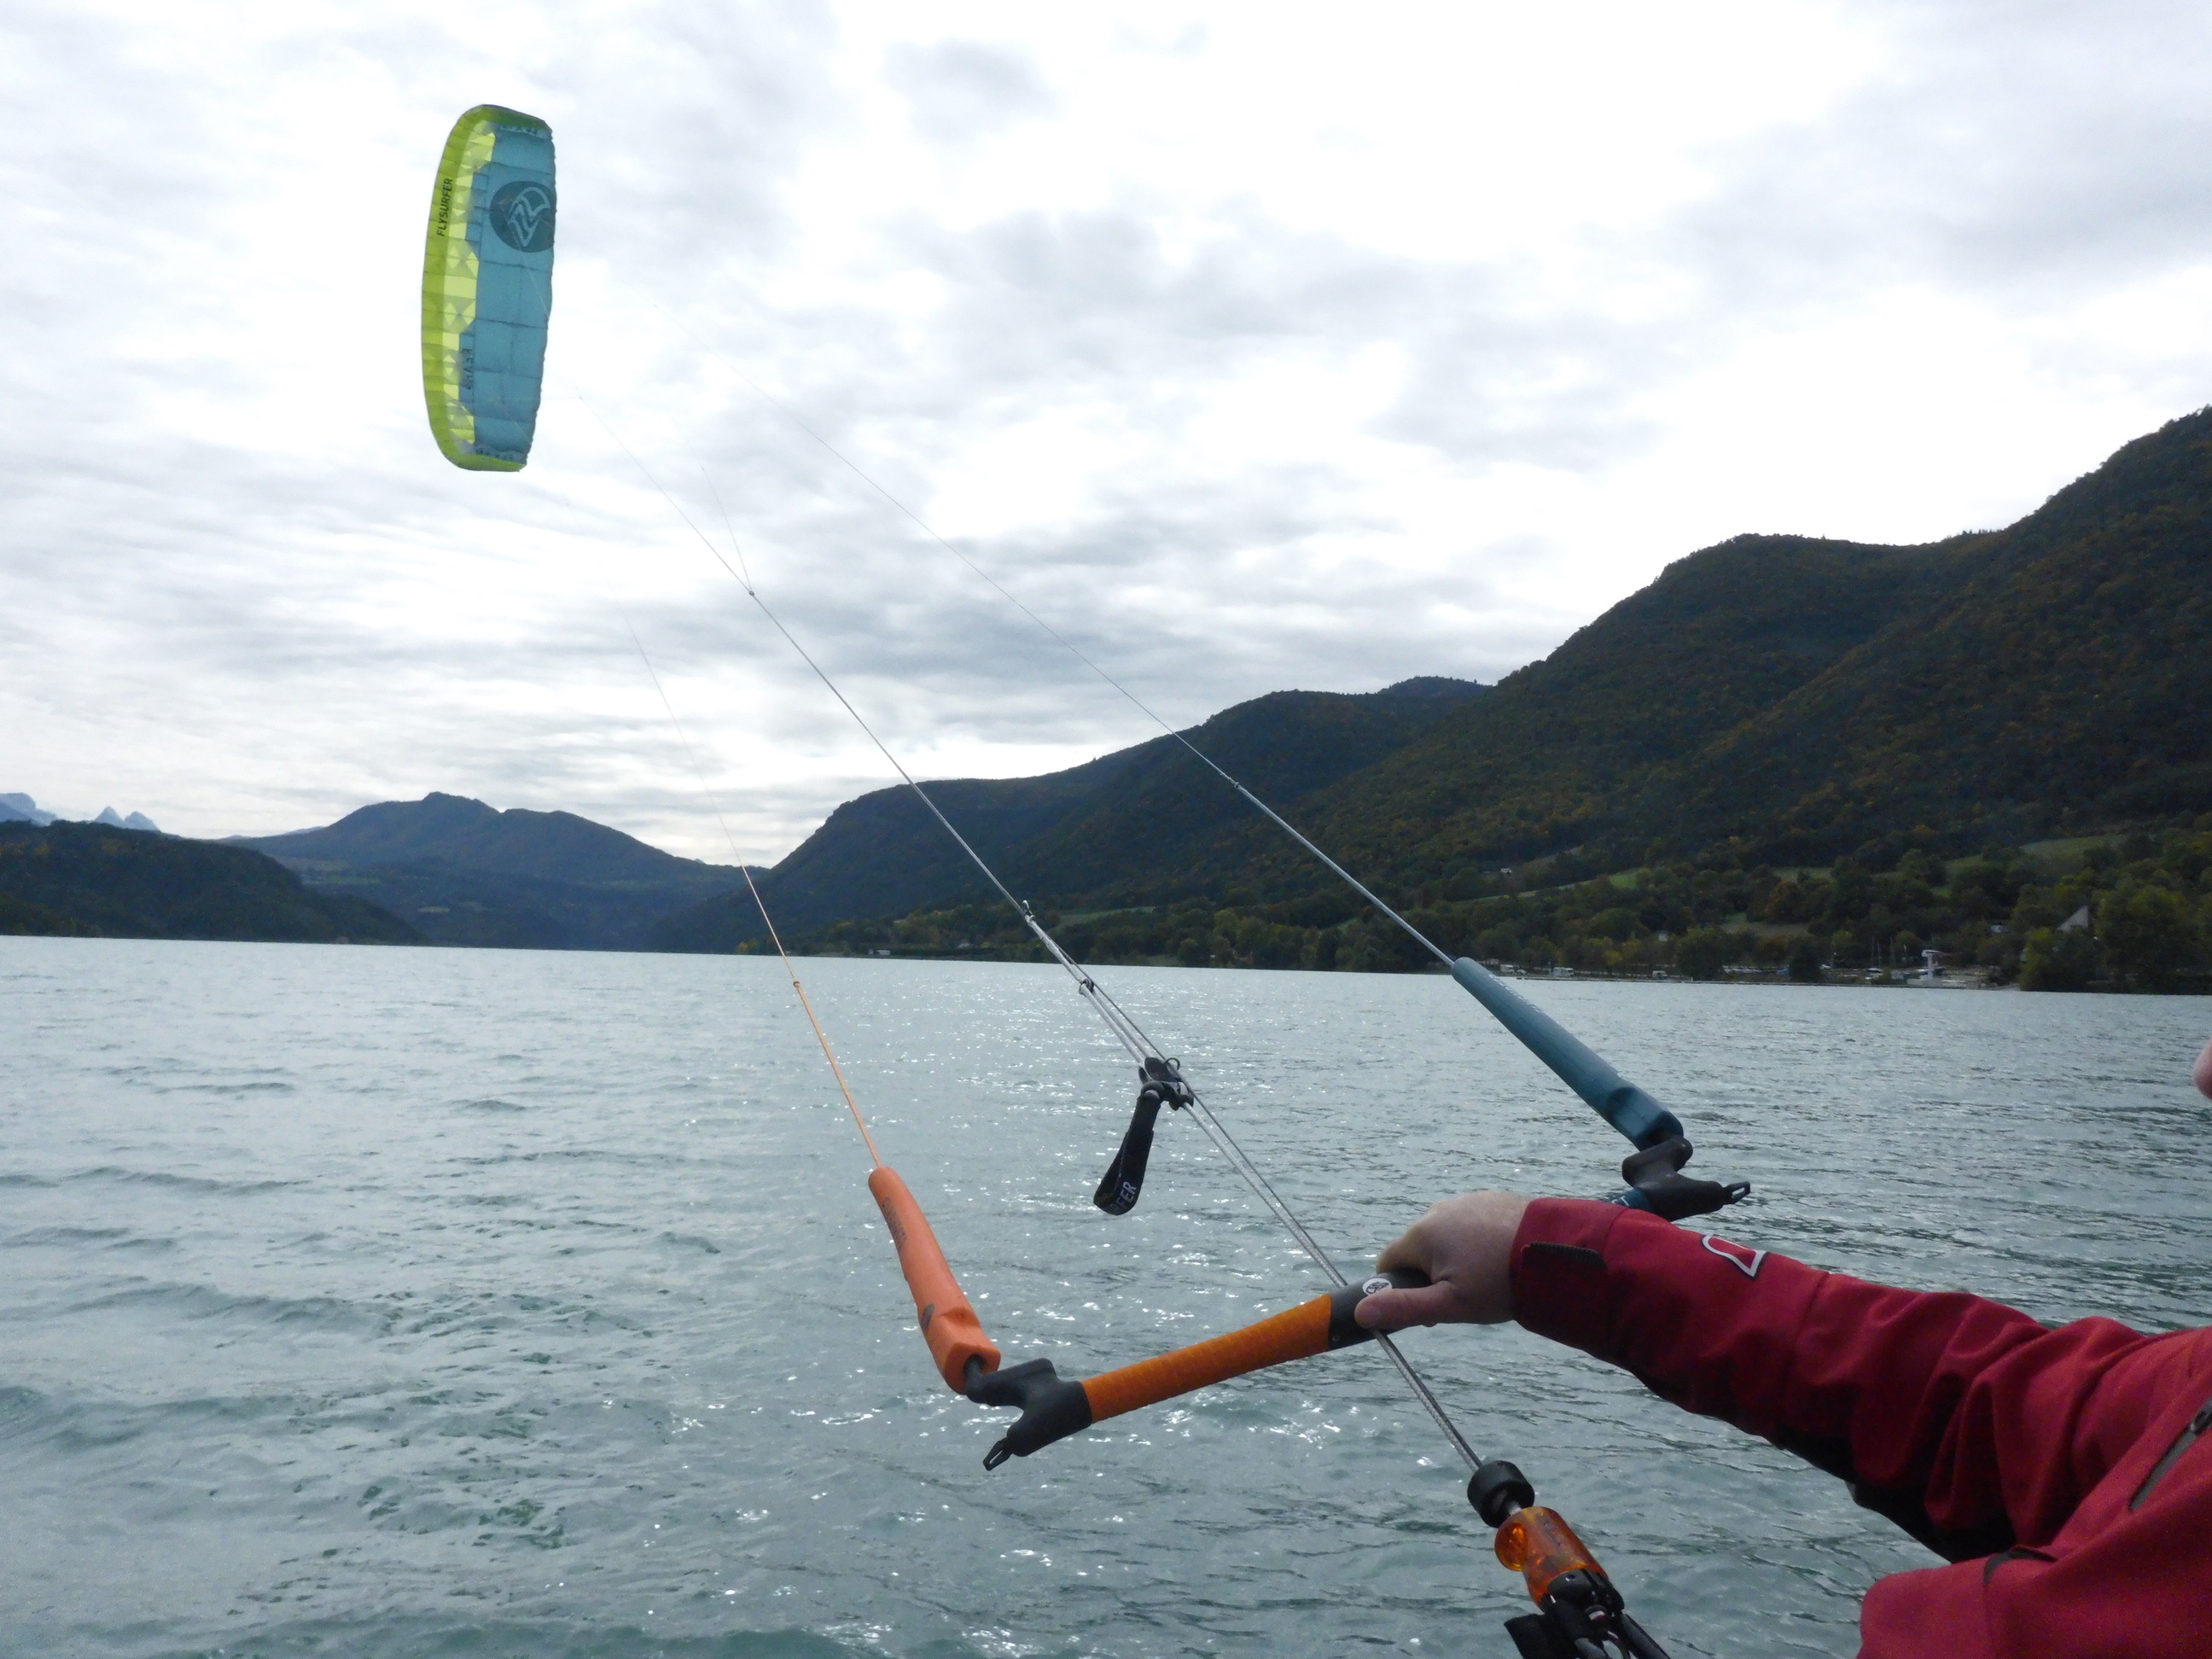
Today, with my new battery 1H10.
And there were still some.
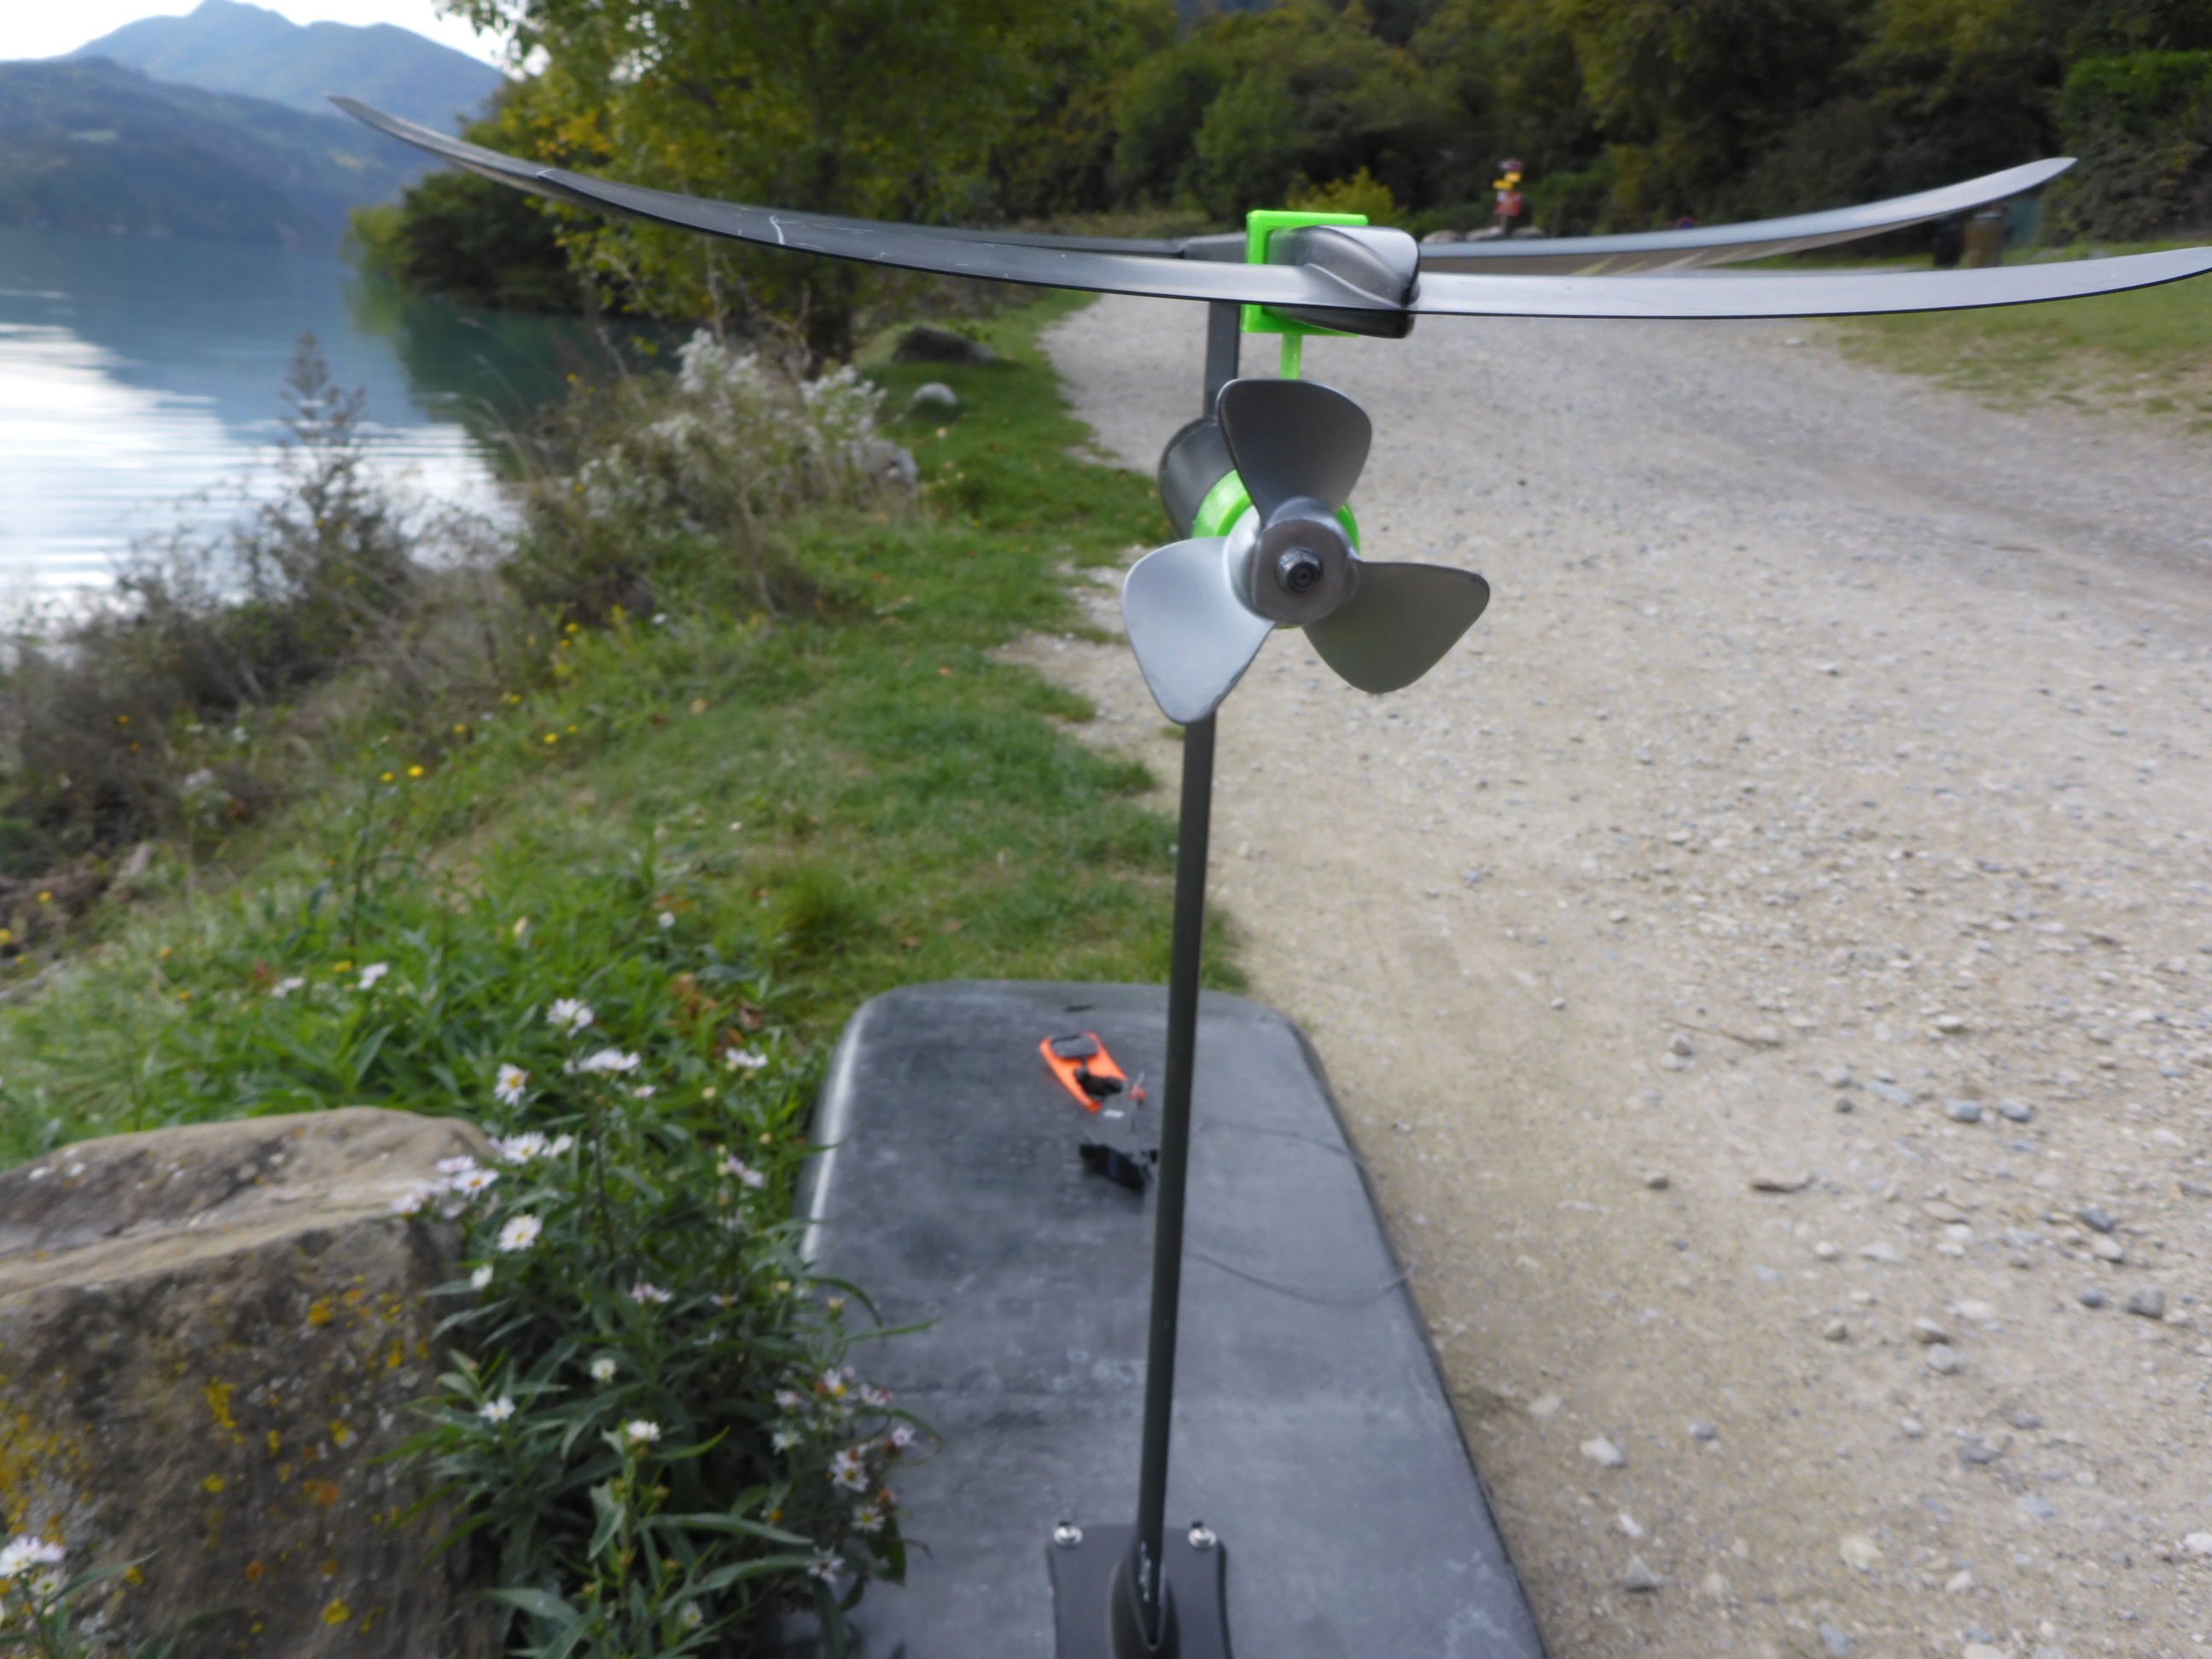


I tested the spinner, but failed (with an other prop, because I can’t install it on my alu prop)
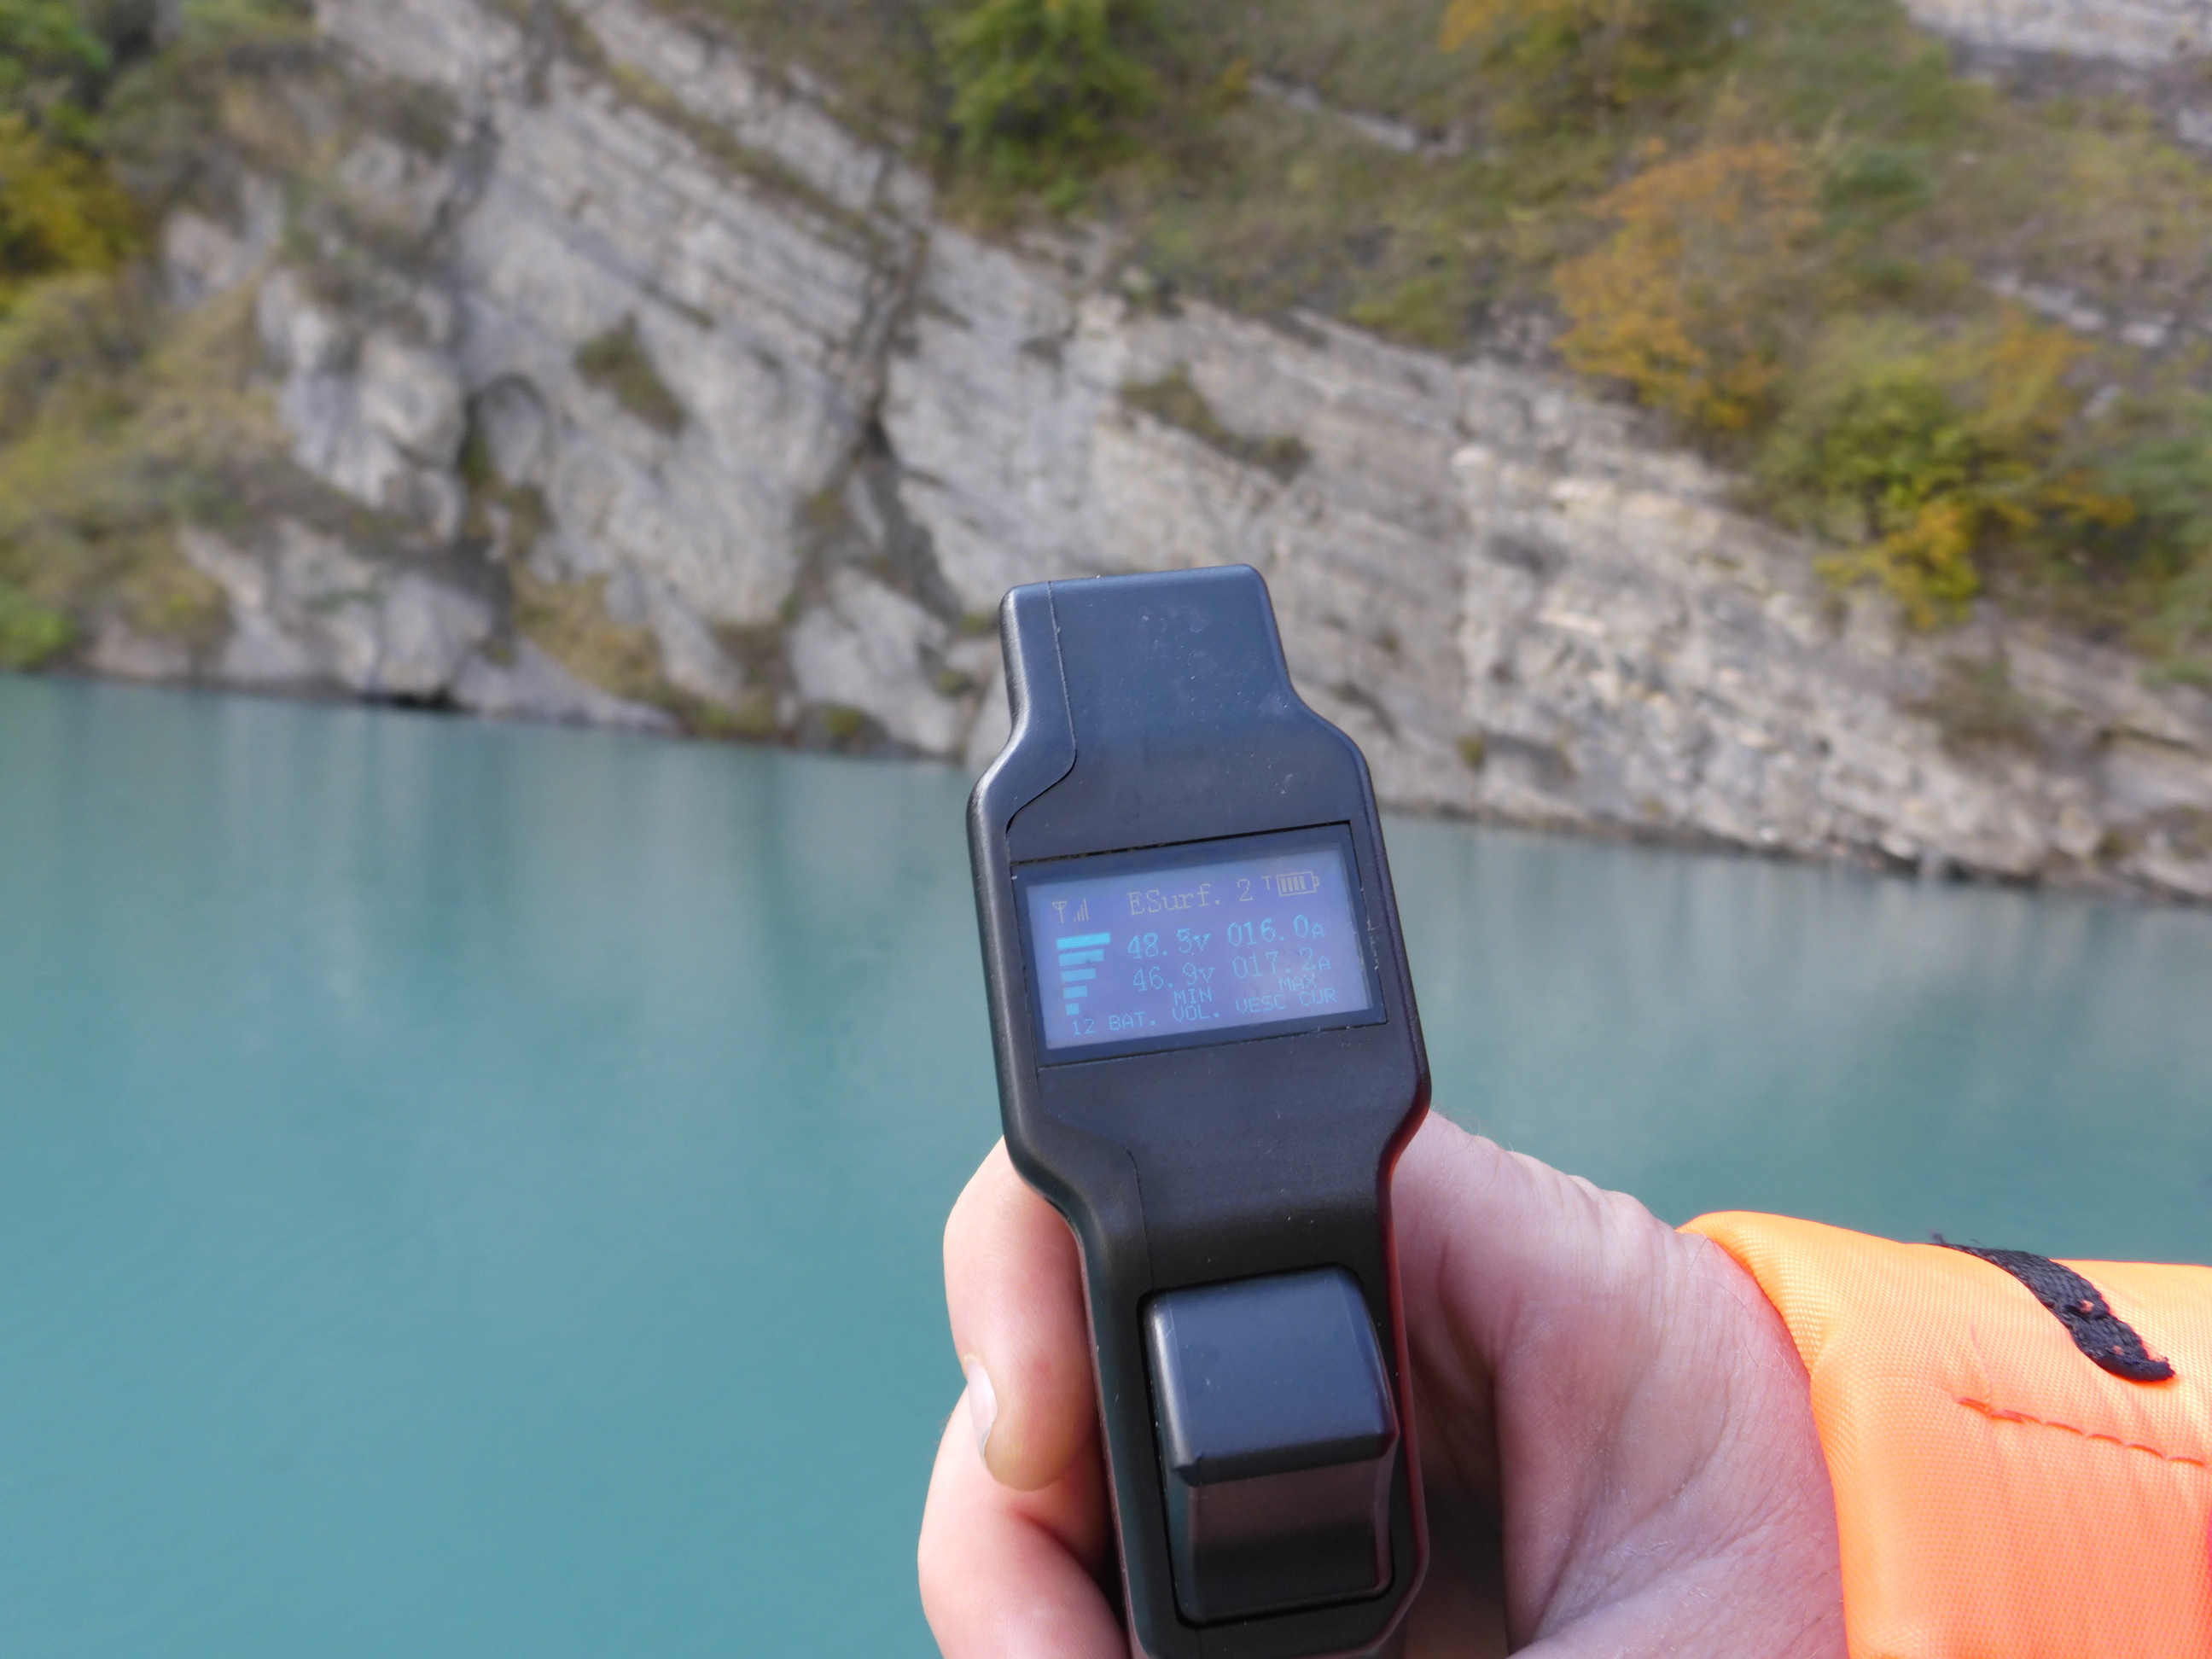
I need nore than 60A for the take off and 35/40 amp for ride
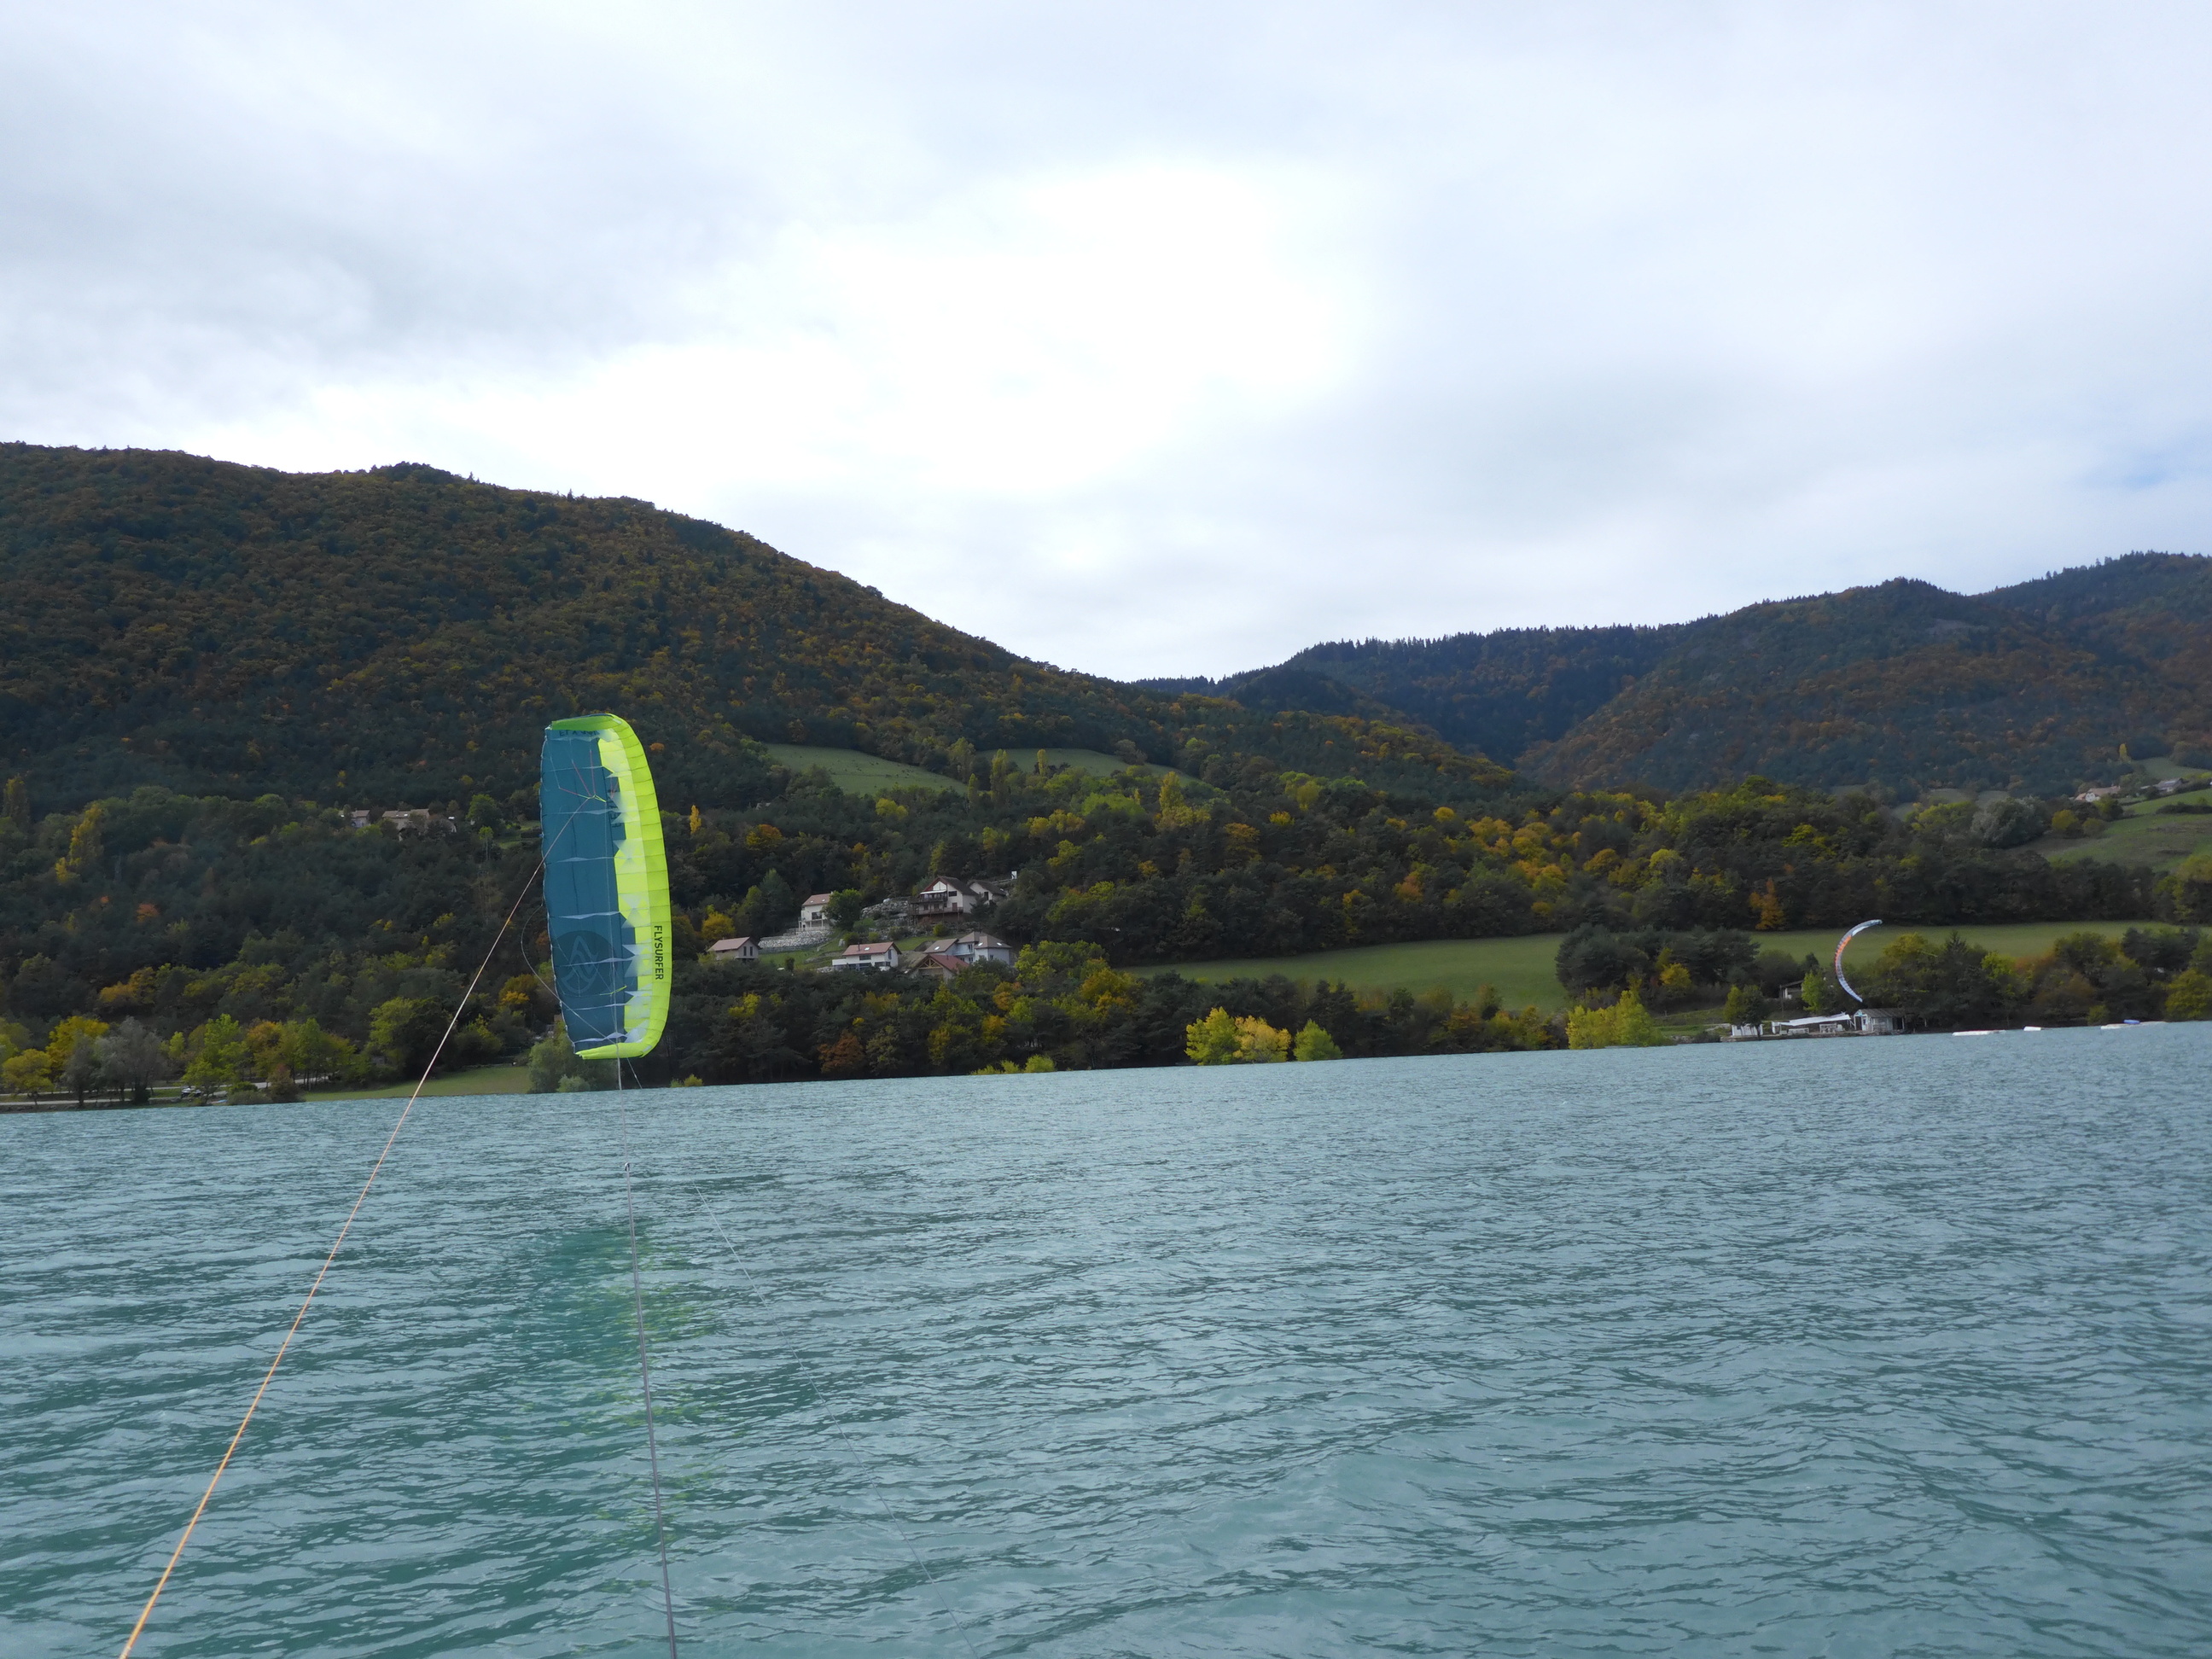
After this nice ride => kite foil for 2 hours
5 Likes
Robert, it was just to show the consumption at 16A during the session.
2 Likes
Looks like an excellent spot to efoil and kite! That is my perfect day, efoil until the wind comes up and hop on the kite!
2 Likes
To save a little space in my VESC box, I modify the cooling circuit
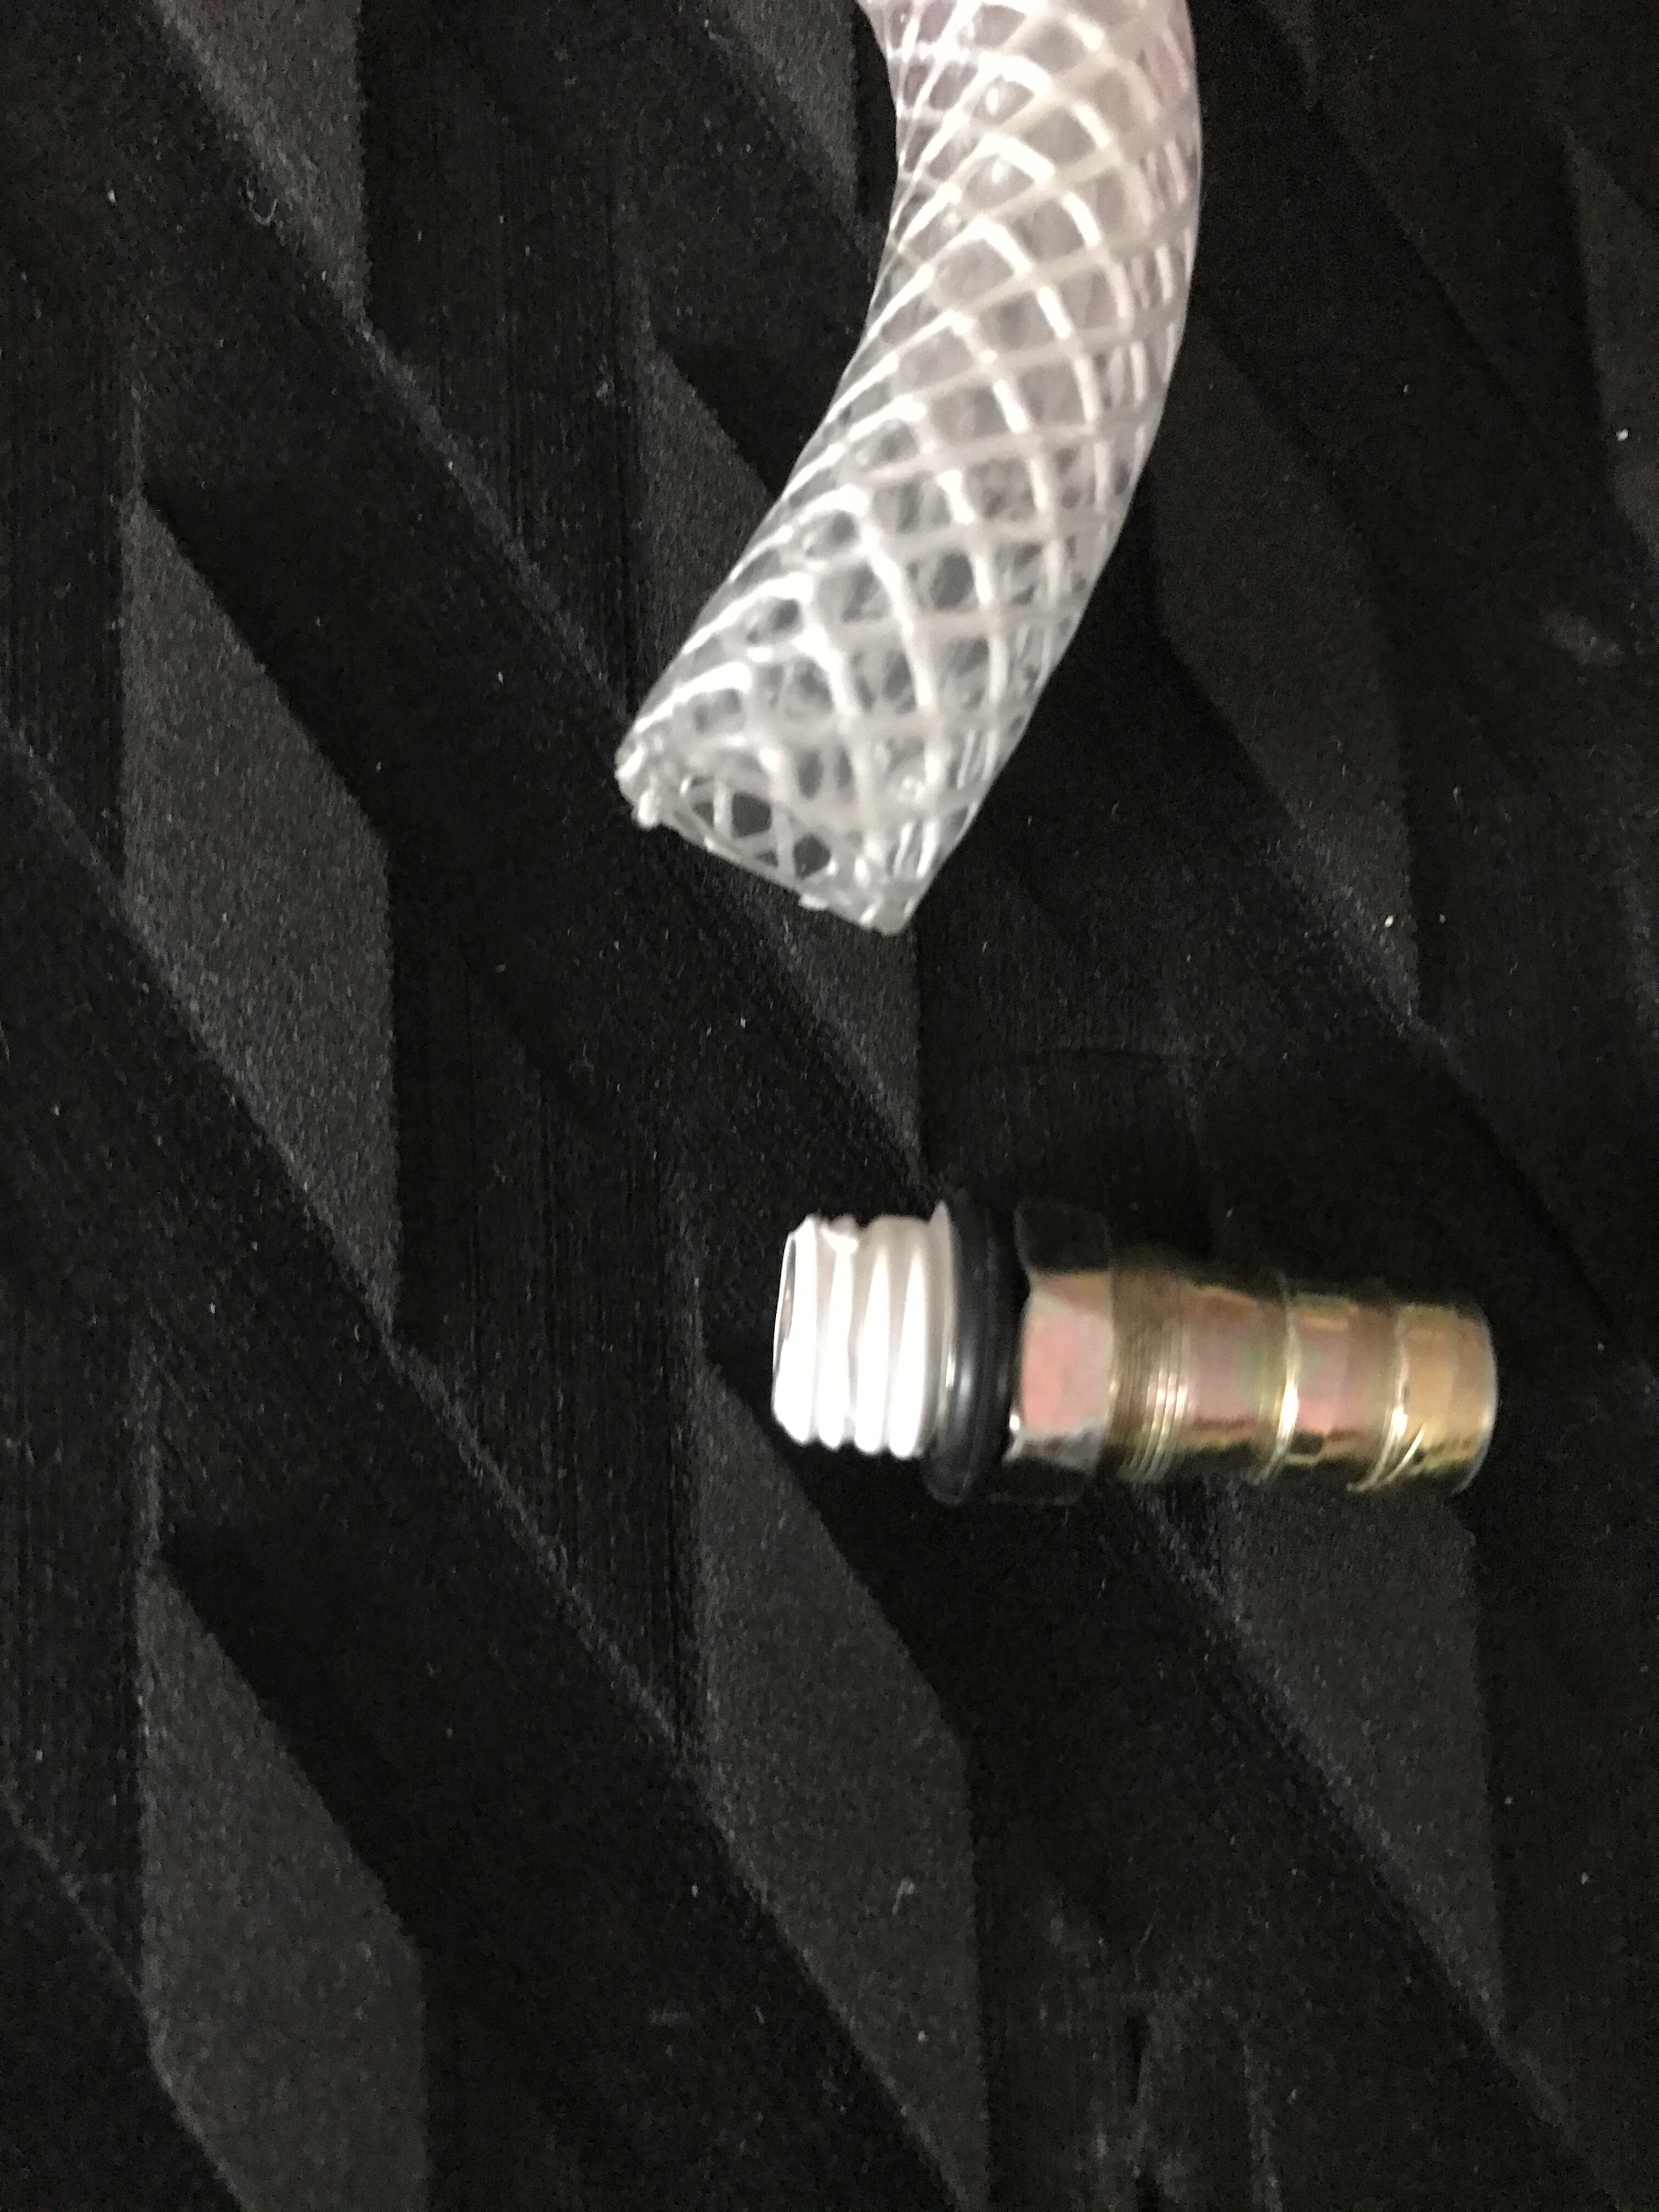
with a U on the inlets and I realized that one of the outlets was blocked by the sealing resin of the thread 
Therefore disassembly of the 4 connectors, cleaning the circuit, and reassembly with Teflon. Everything works fine now. So check your Vesc
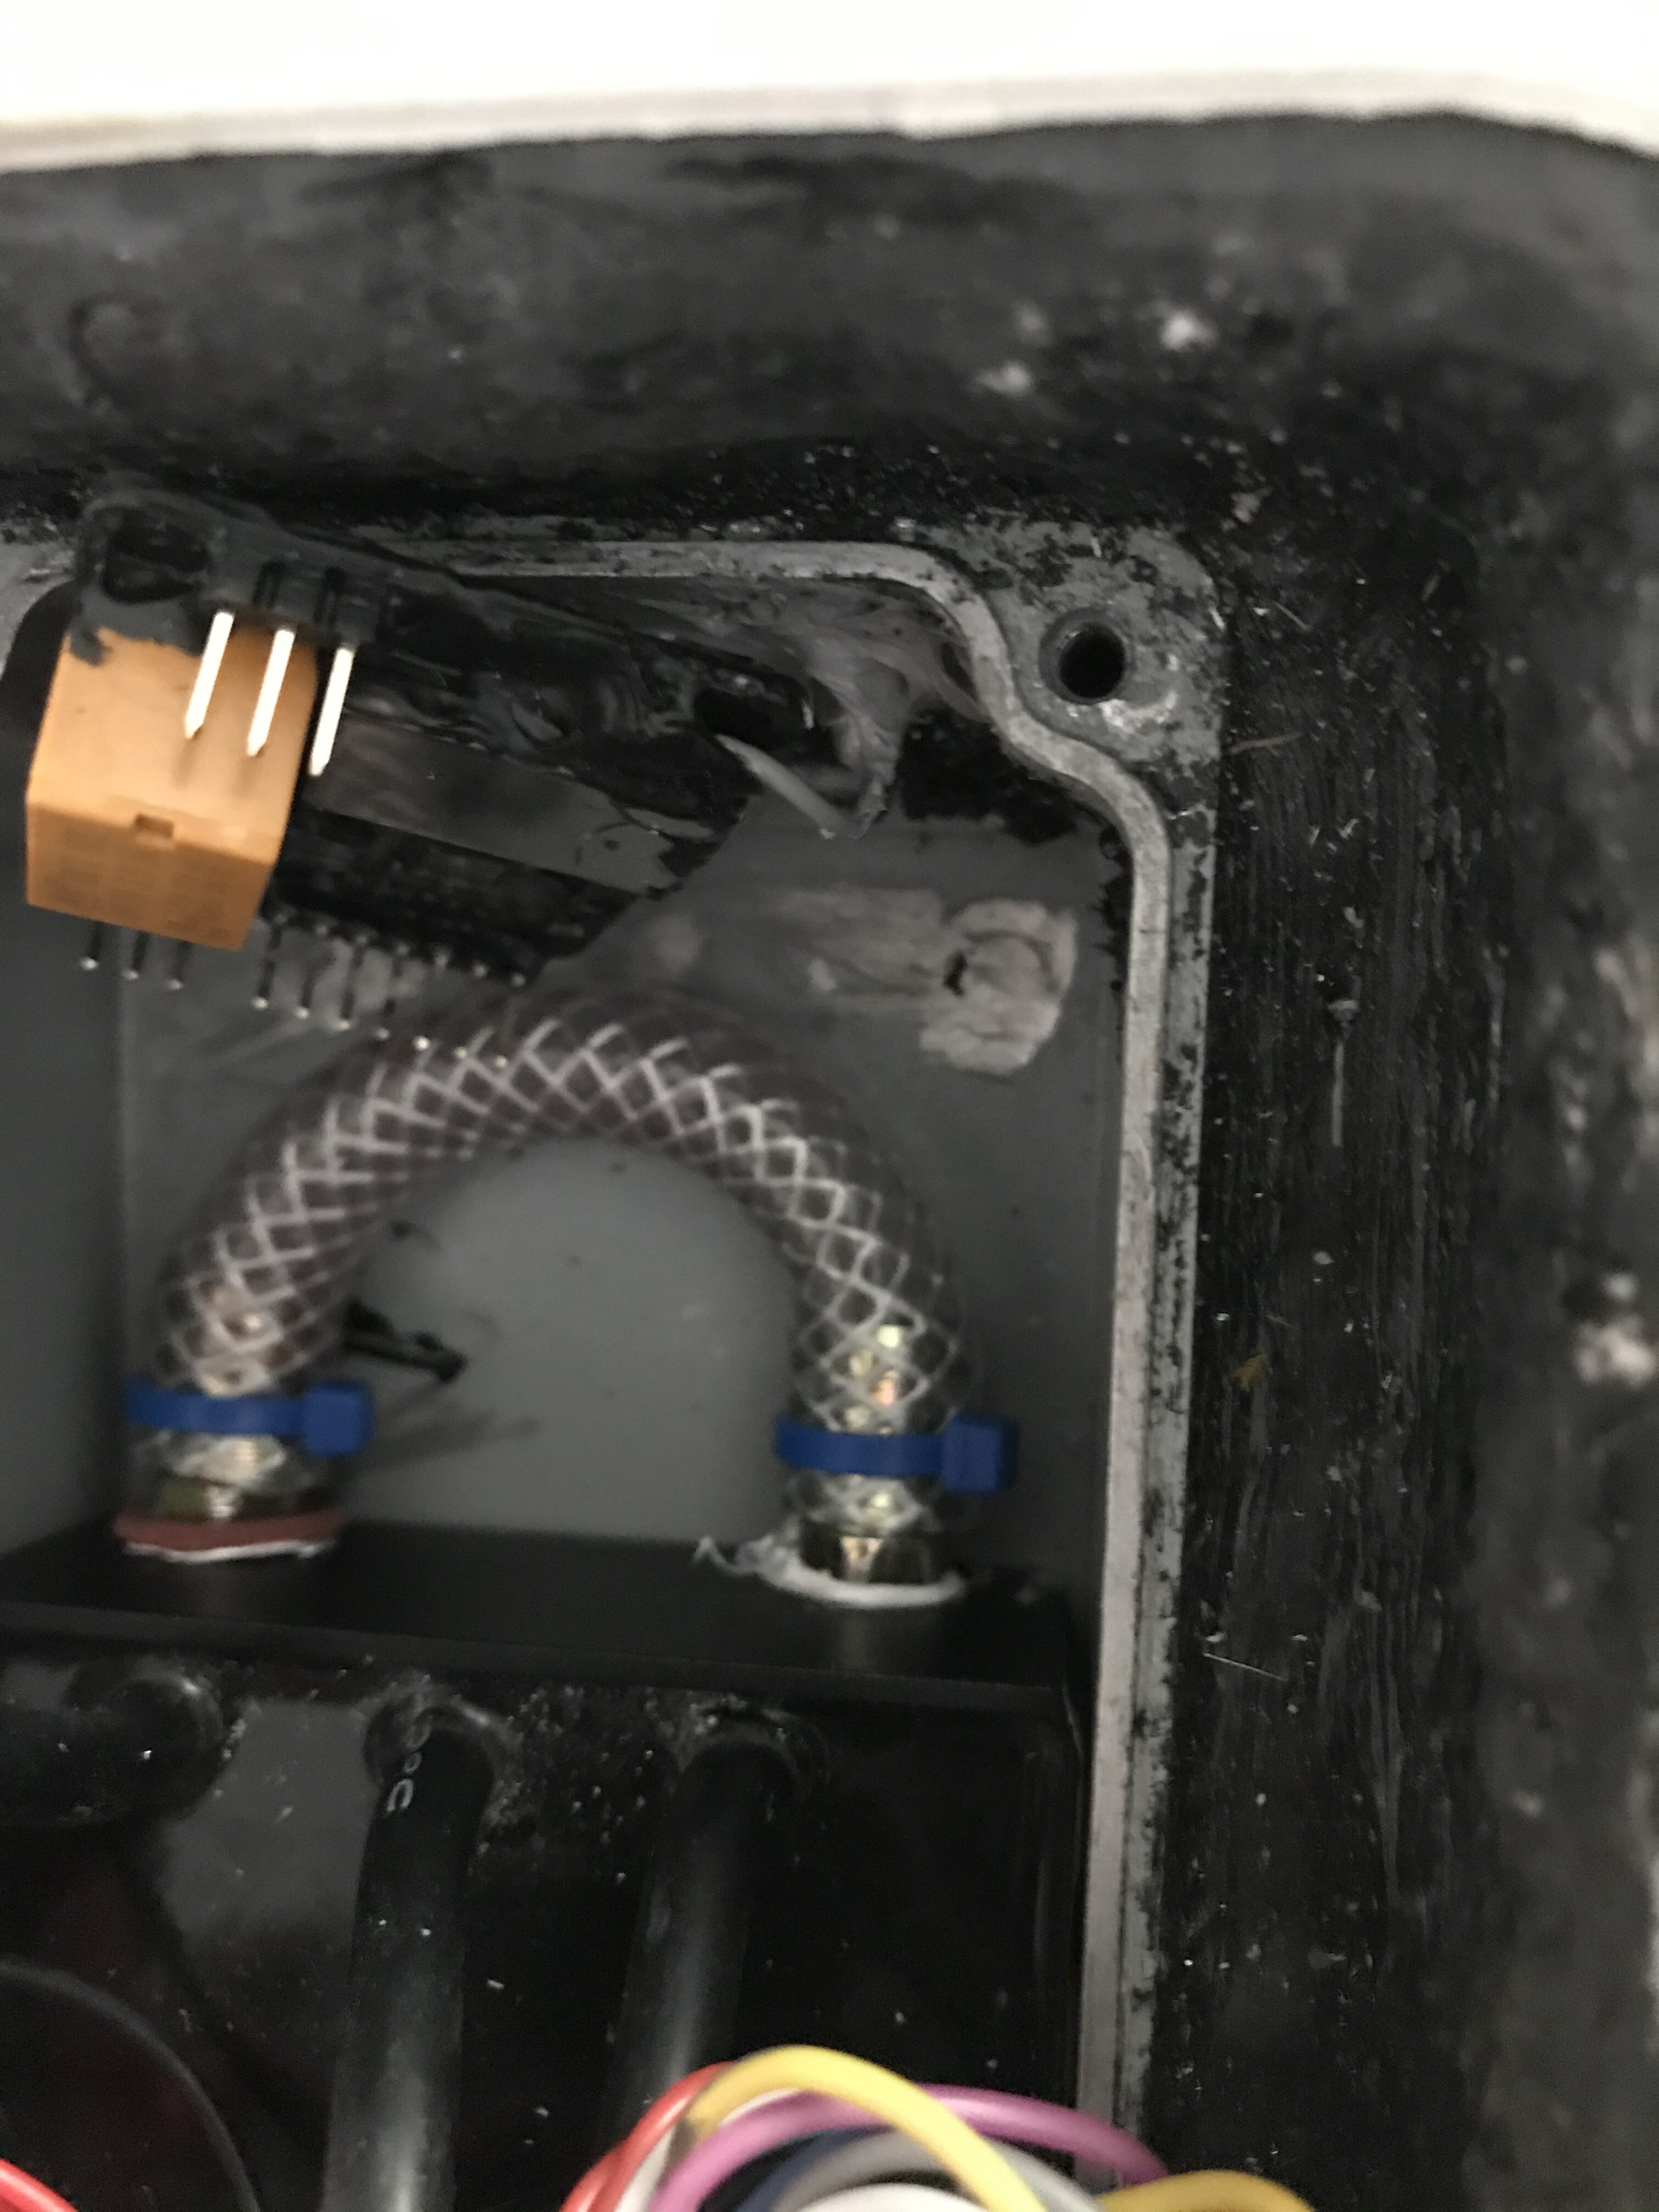
I also tested a session without the pump, but it doesn’t work, the pressure is not powerful enough to cool without the help of a pump, shame !!
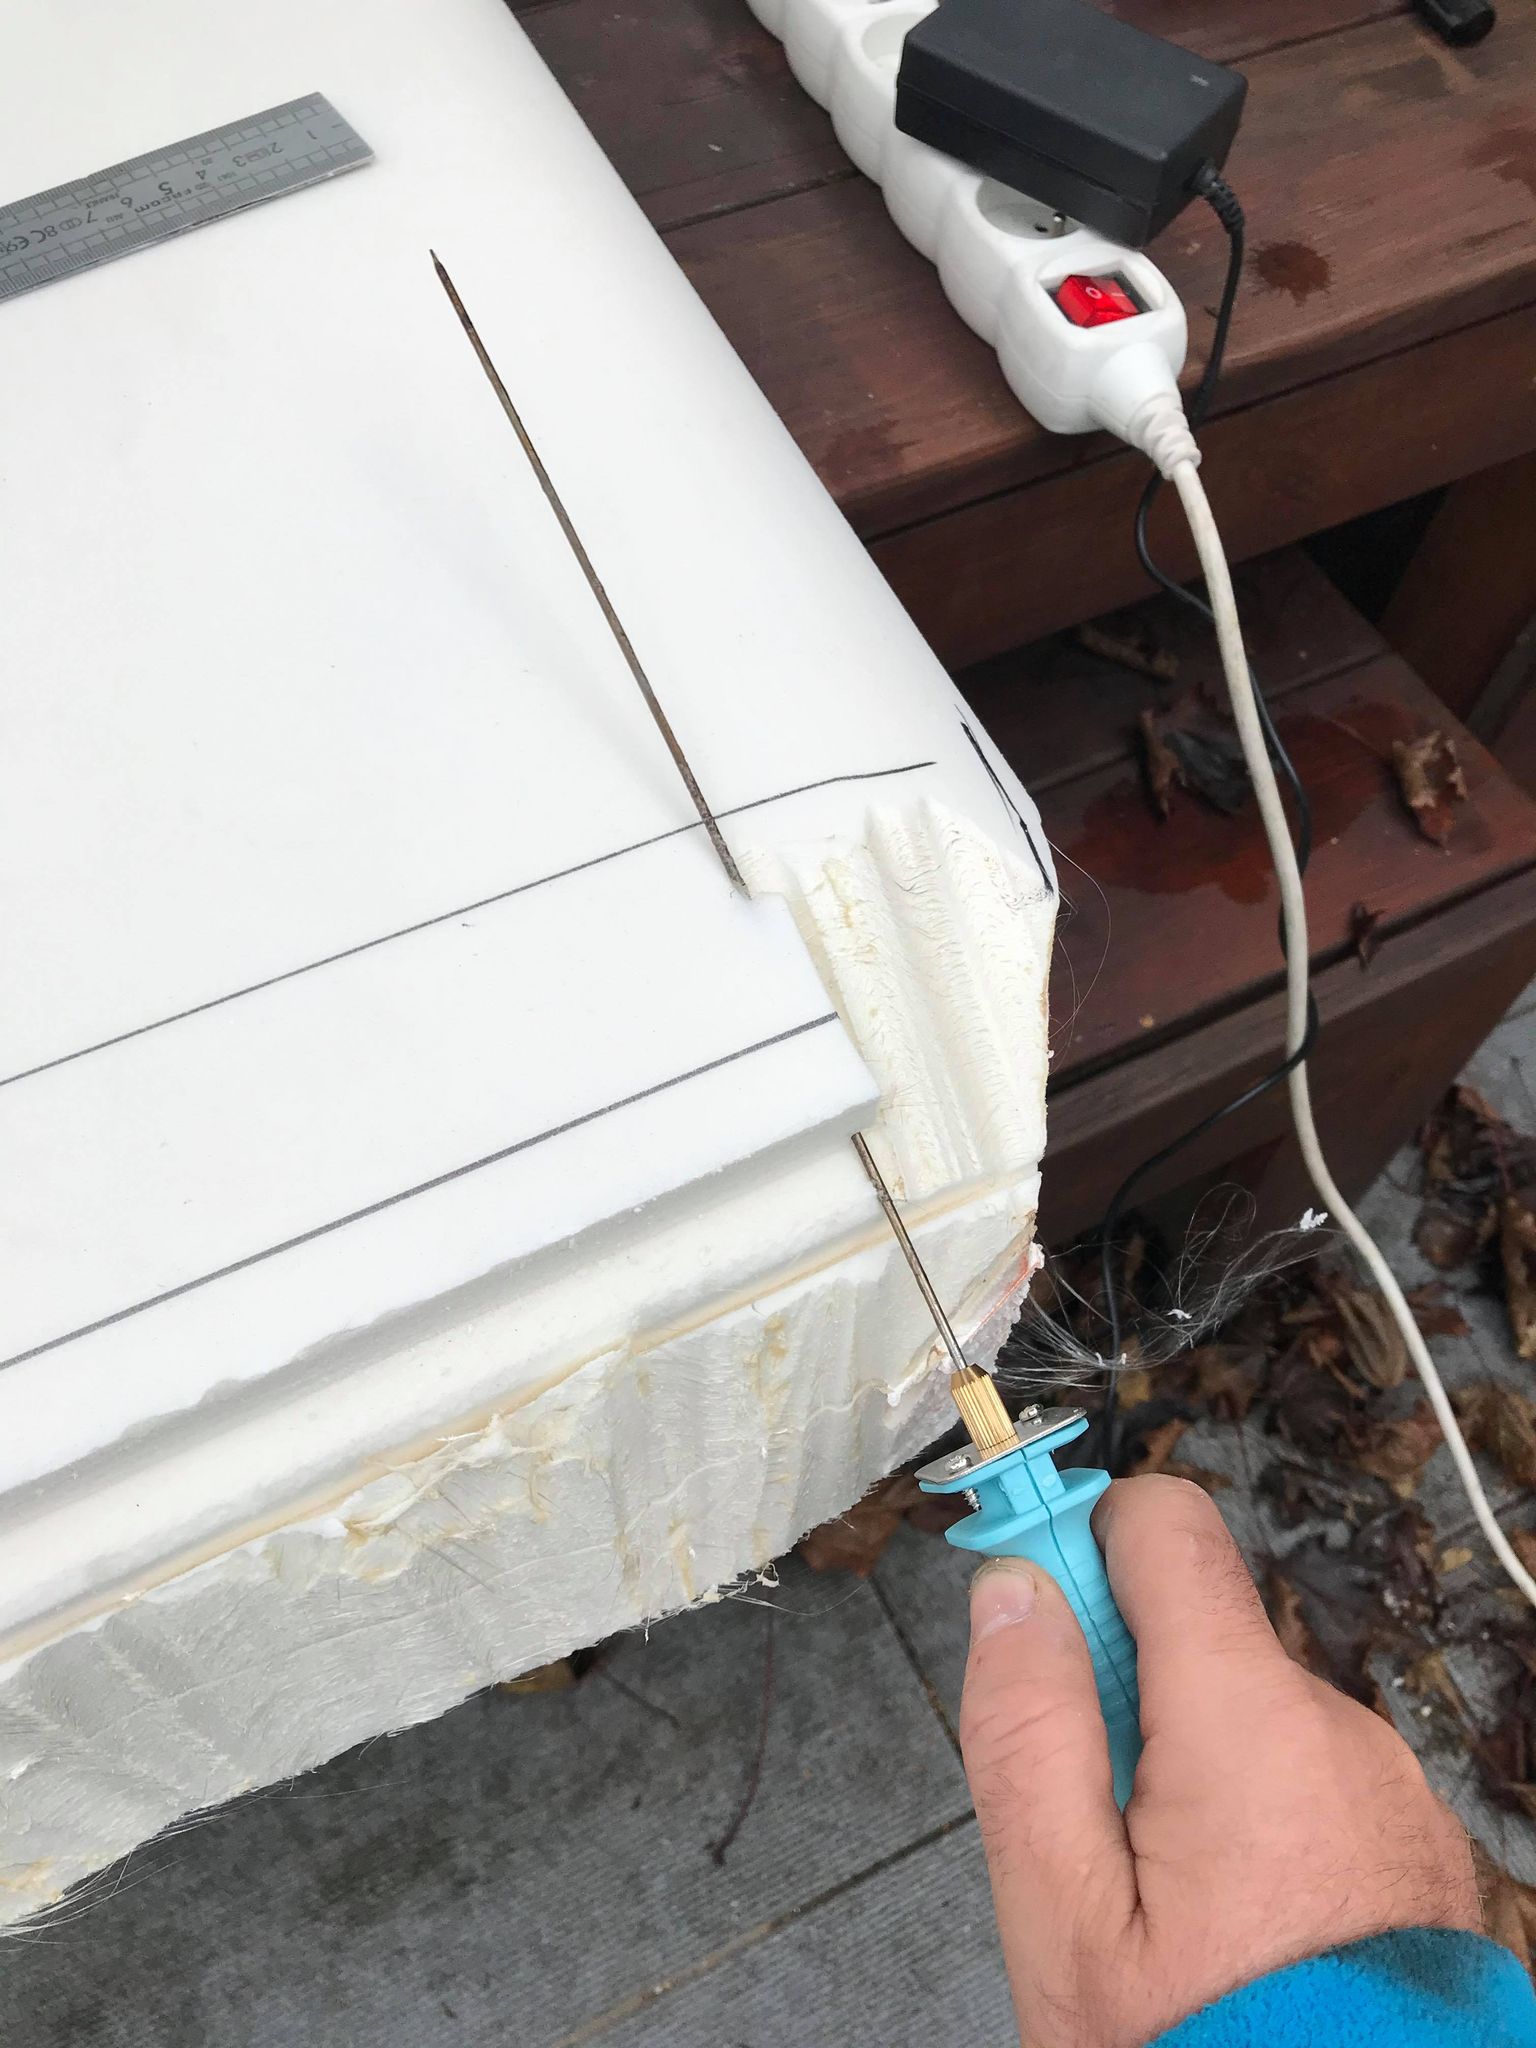
I am shaping a new board in 125 * 58 * 10, so that it fit in the pick up without having to disassemble anything 
3 Likes
Now that looks like a good hatch!
What brand is it? do you have a link to it?
Nice build by the way!.. and… is / was that a maytech receiver?
Too bad even if this solution is working for many DiYers.
Are you sure the nose inlet is clear of debris and that you don’t have a right angles in the hose between the pod and the ESC ? The pressure hates right angles or a pinched hose. I remember a guy without pump here who has the hose outlet under one of his feet to sense the warm water and detect if sthg is going wrong.
4 Likes
On my new board I will not install a hatch, I will stay with my aluminum plat, like my V1/V2
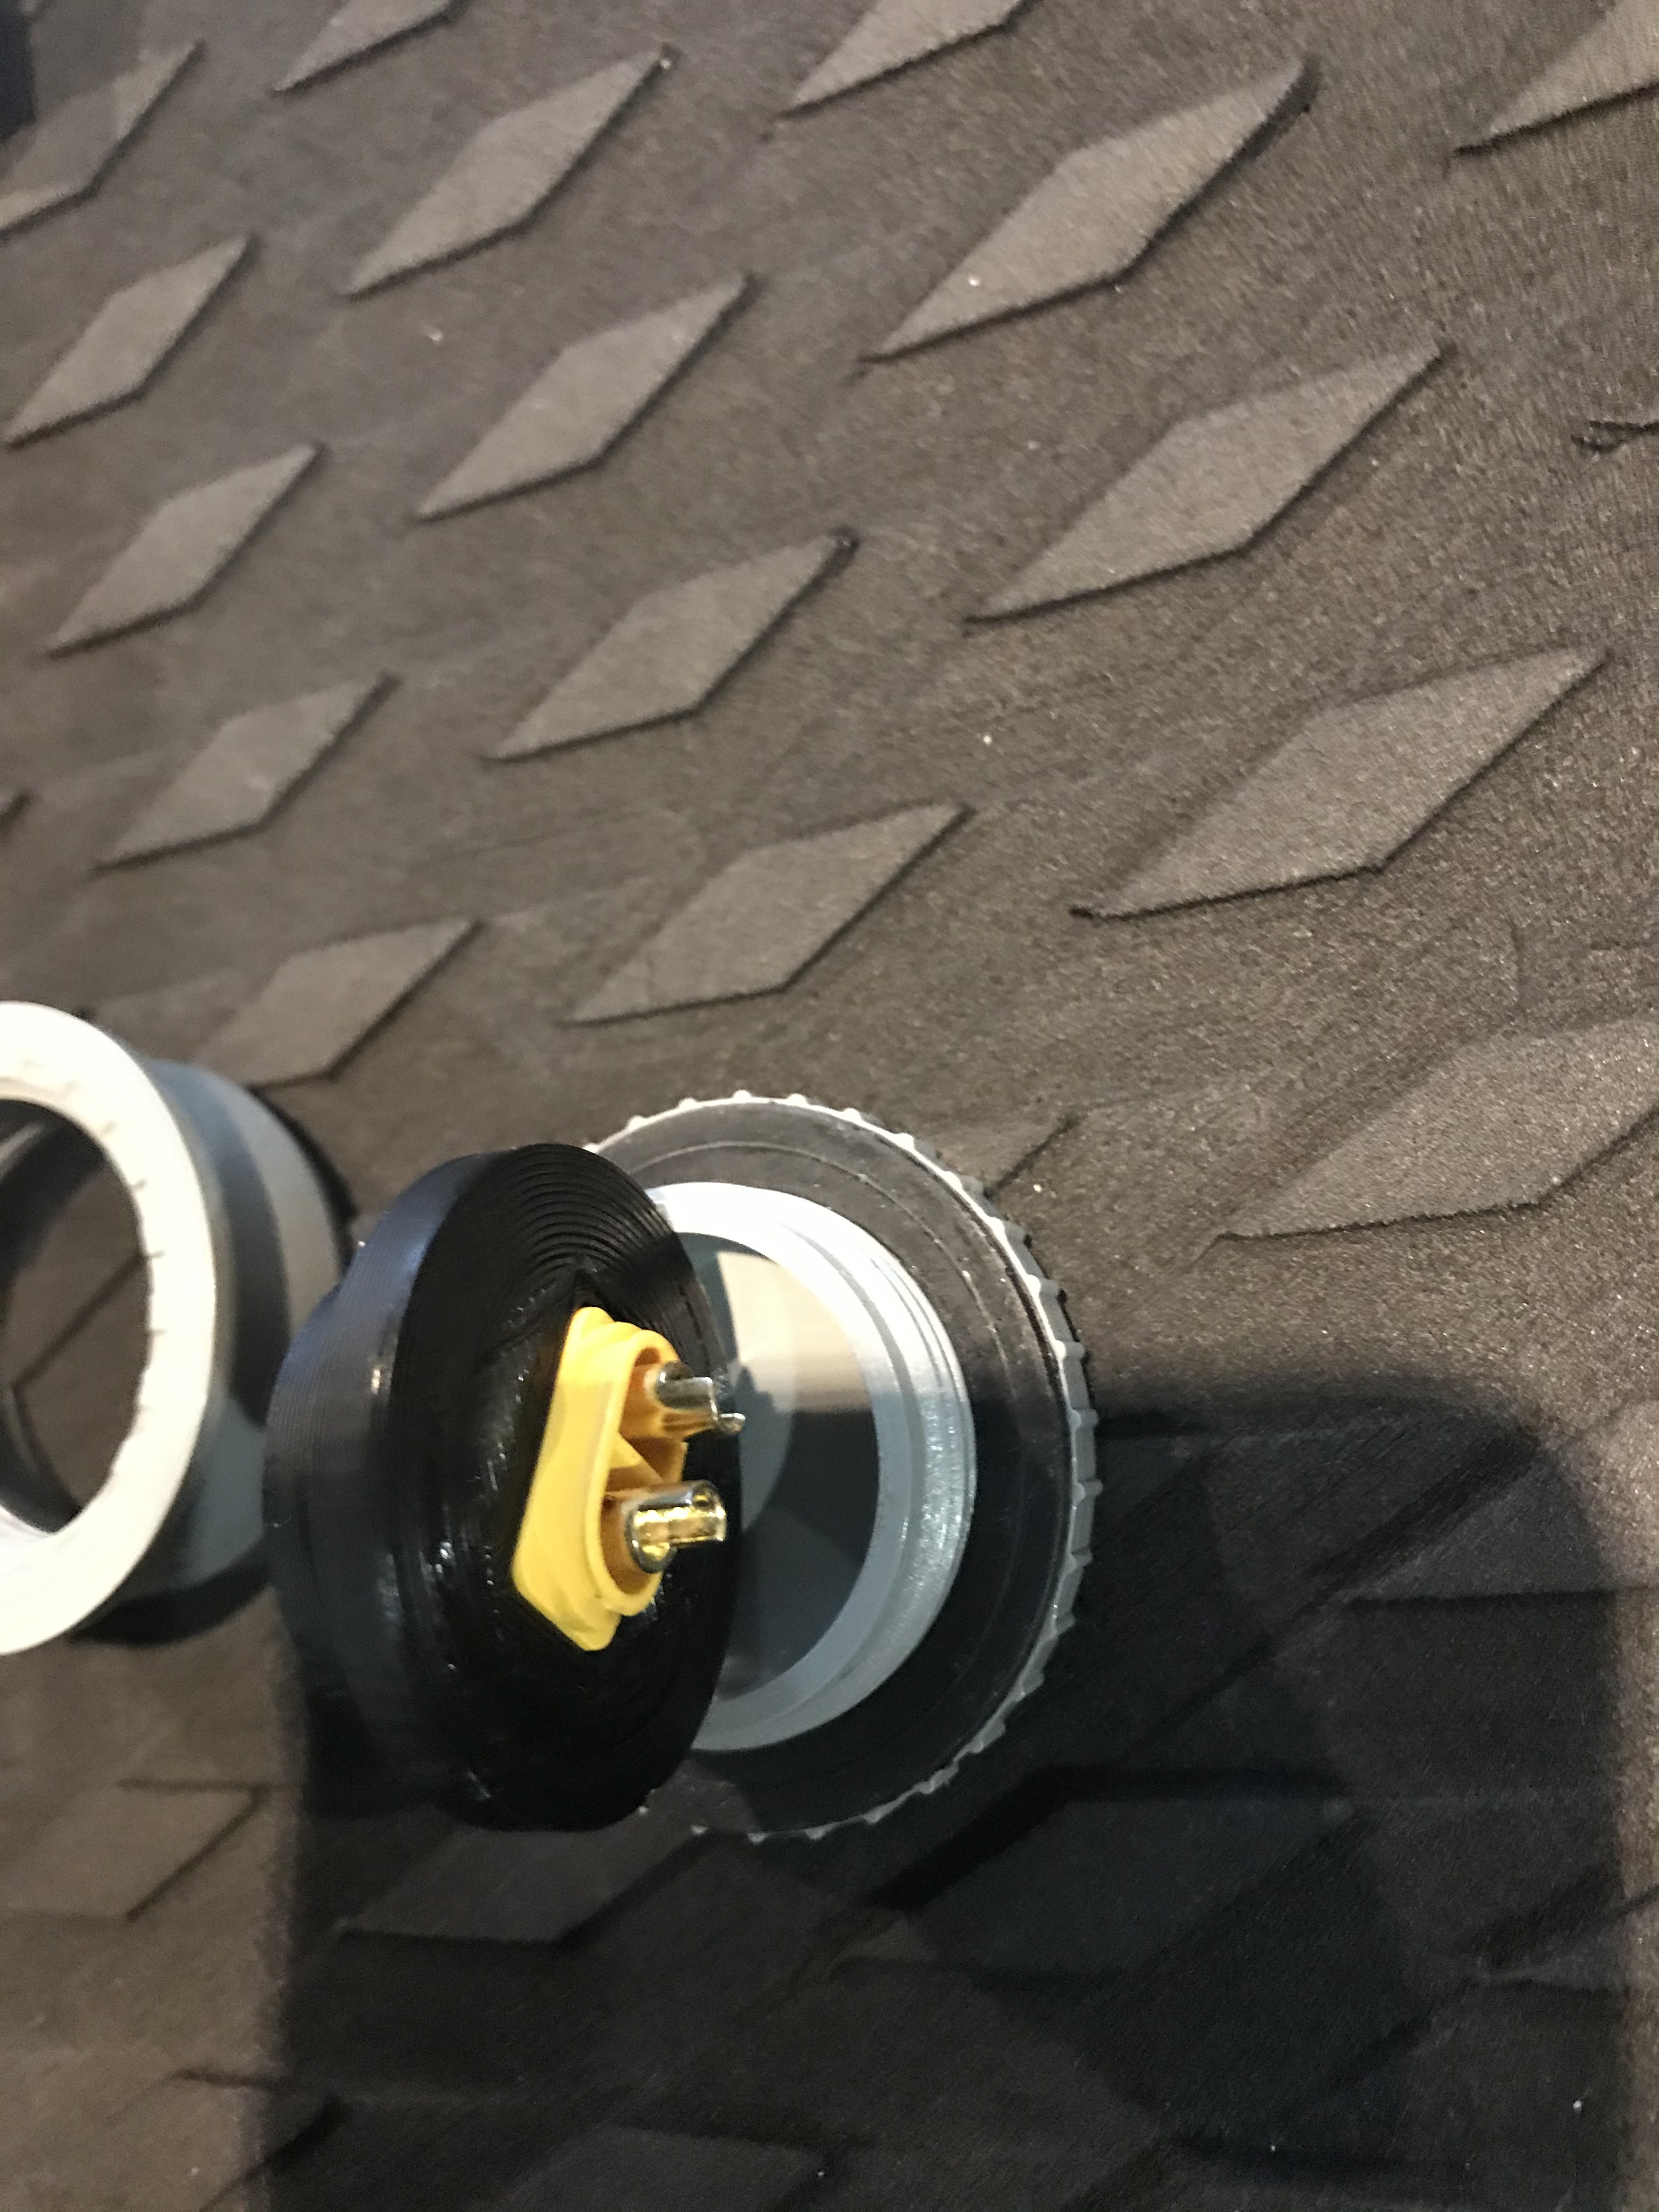
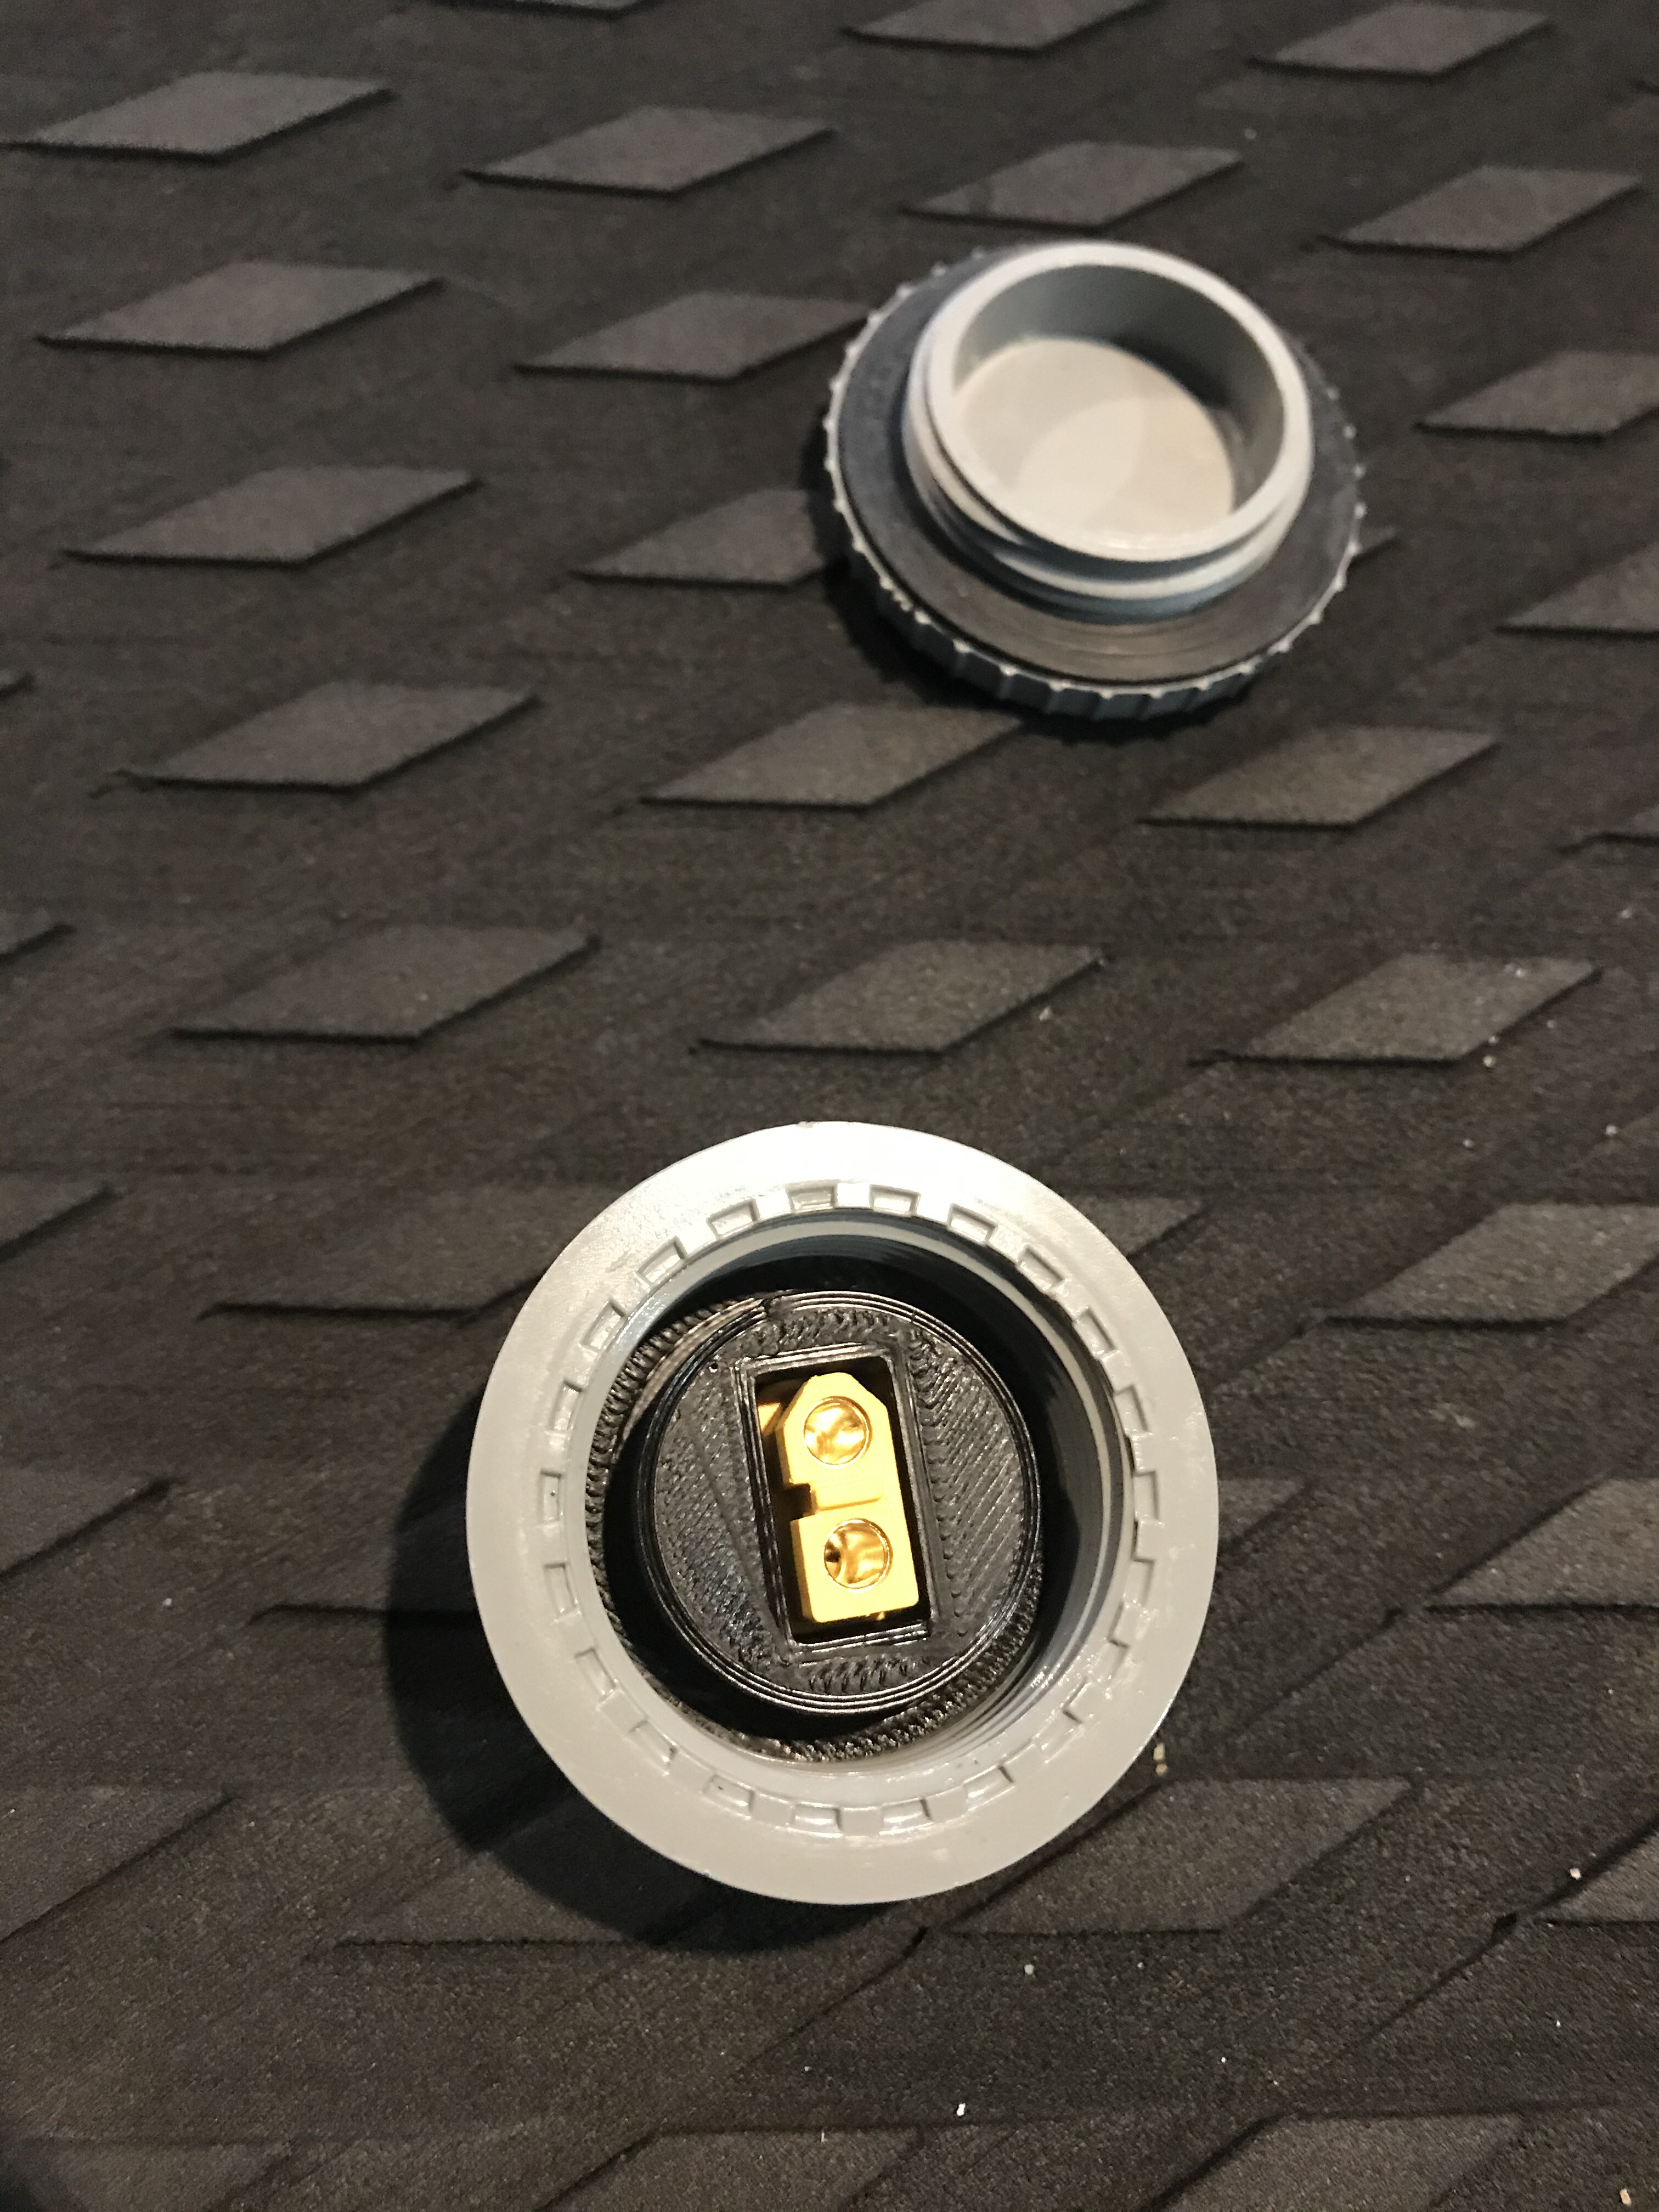
and add an external charging connector for the battery
like that no need to open
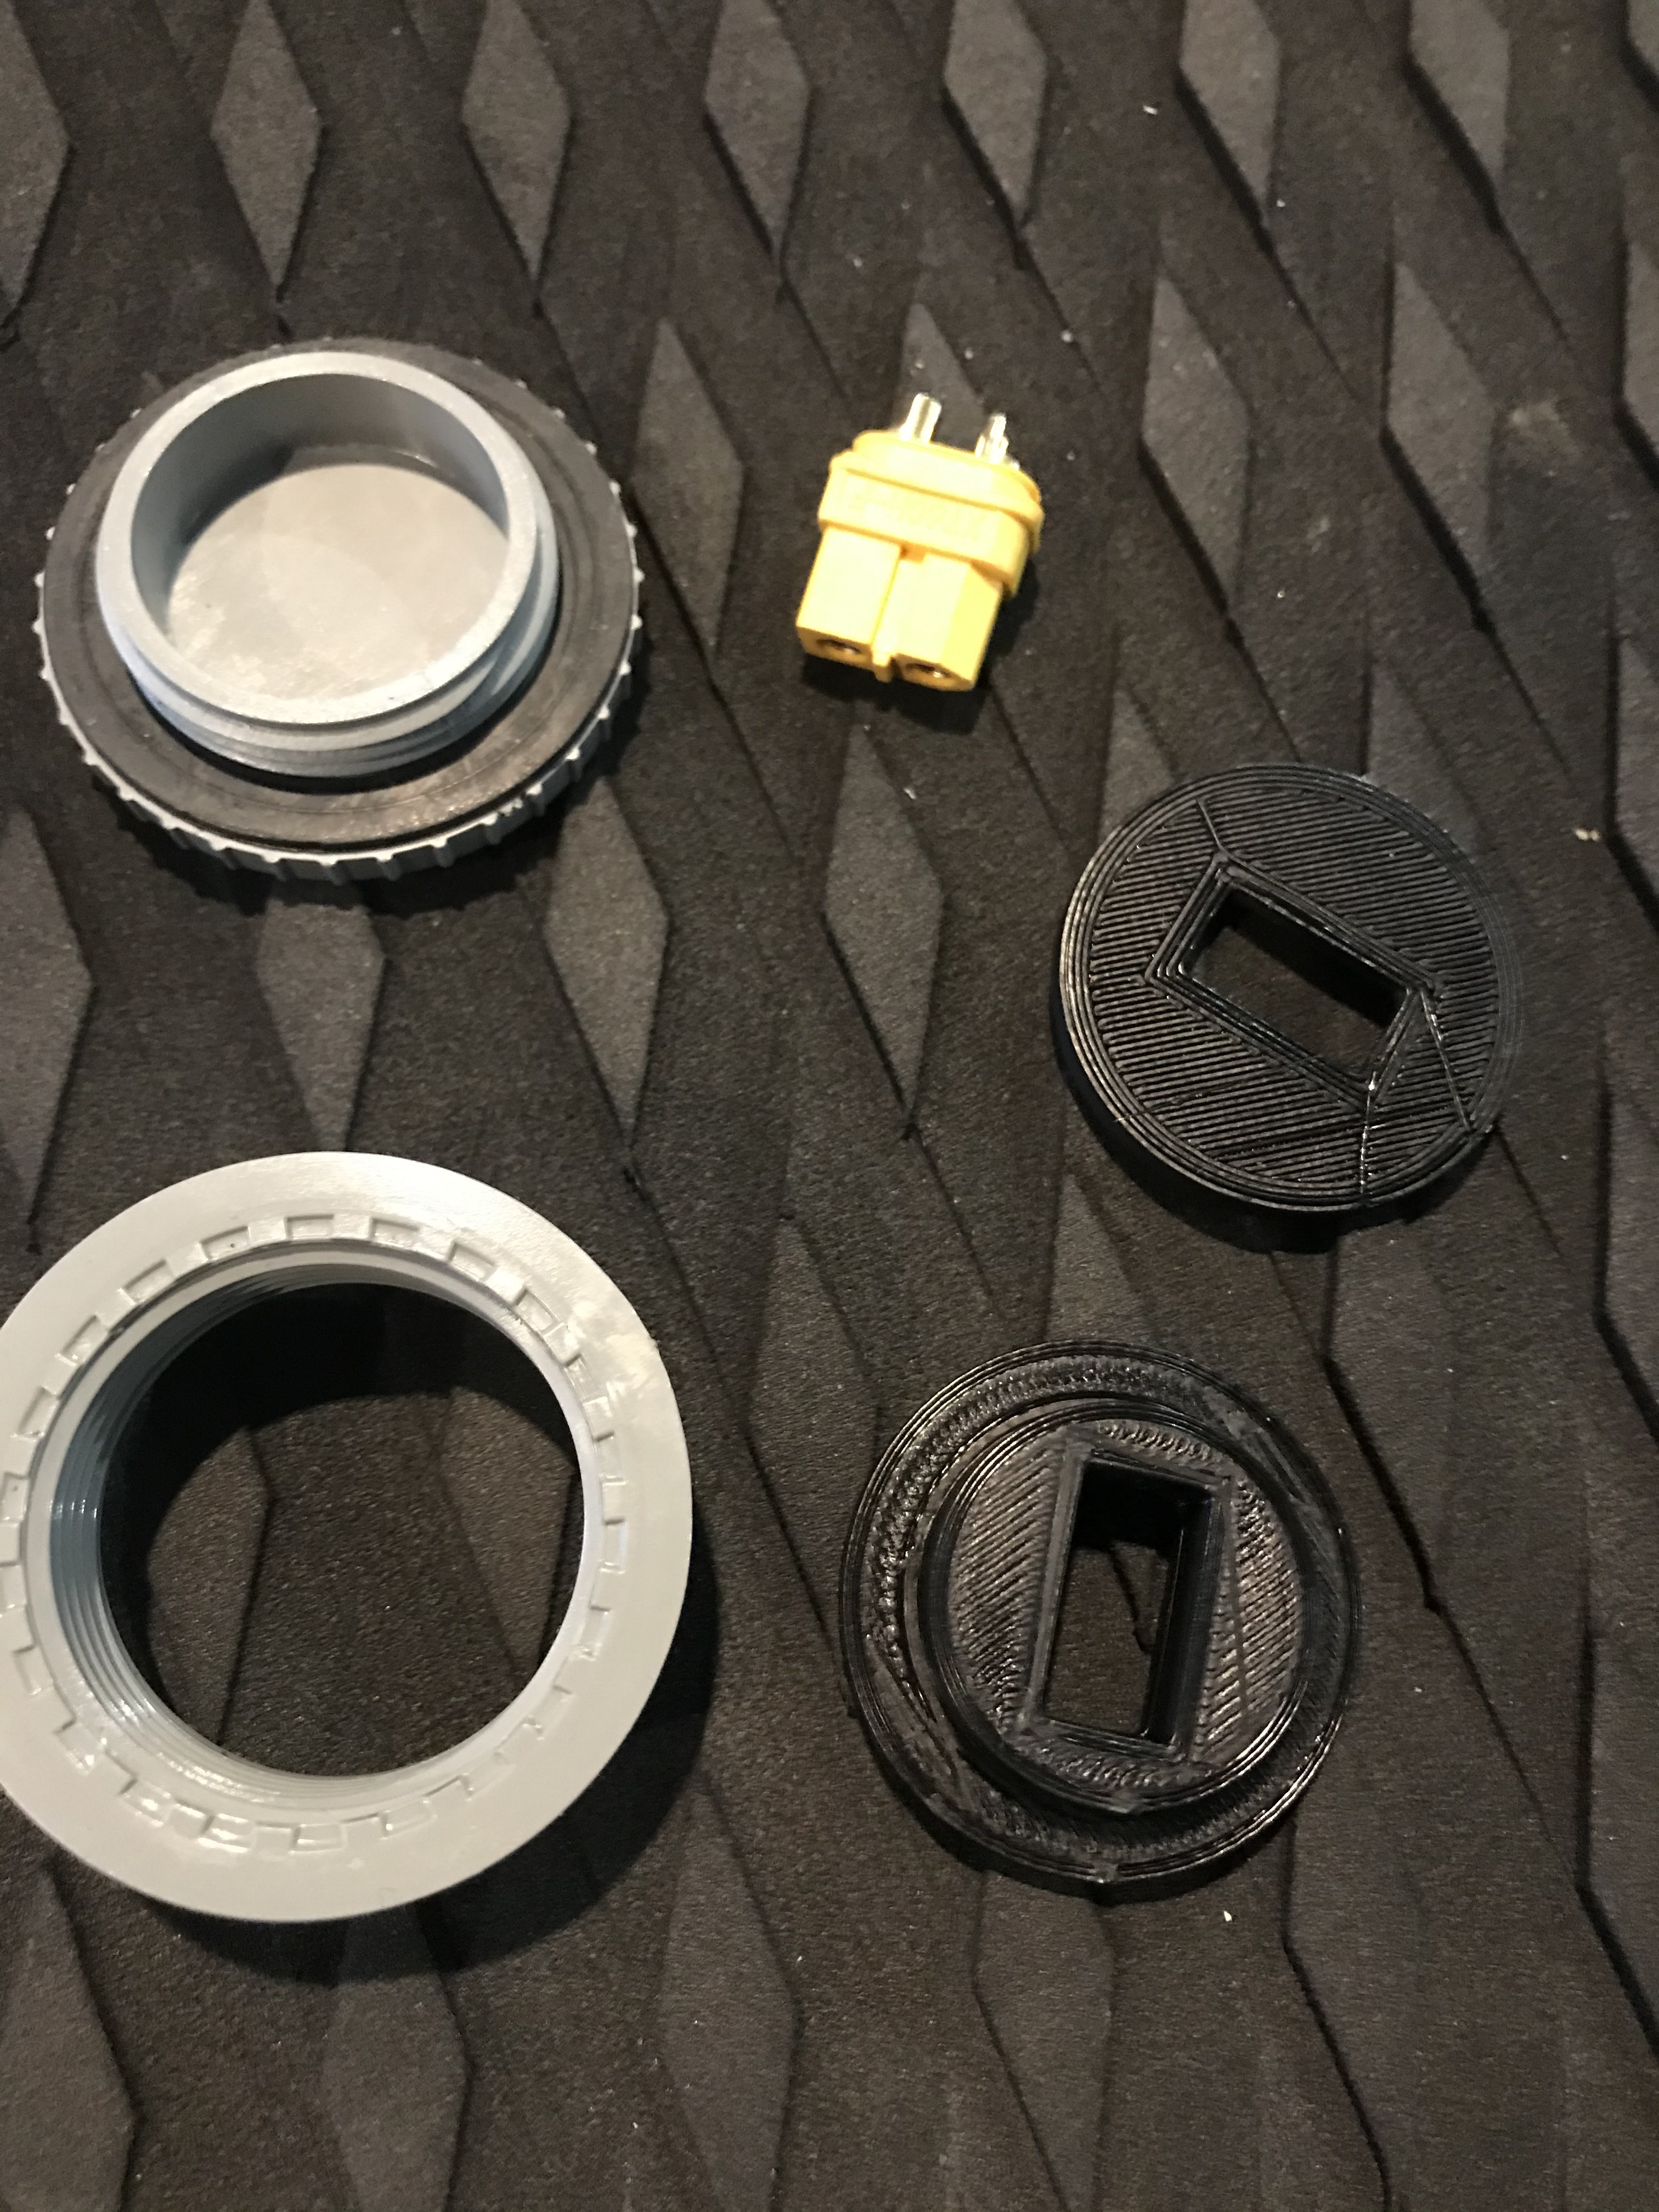
4 Likes
Yes, I have one right angle with an adaptator , it’s propably that and also I didn’t remove the pump for the test
just stop it. So I need to test without the pump (even if there is no restriction with it on passthrough )and I will remove the right angle like you propose.
Wow, did you build the motor mount by your self , carbon ?
or print and cover ? can you send files
amazing…
Hi! This is a very correct decision! Very convenient to charge. If there is electricity on the shore, you can not take the Board out of the water!
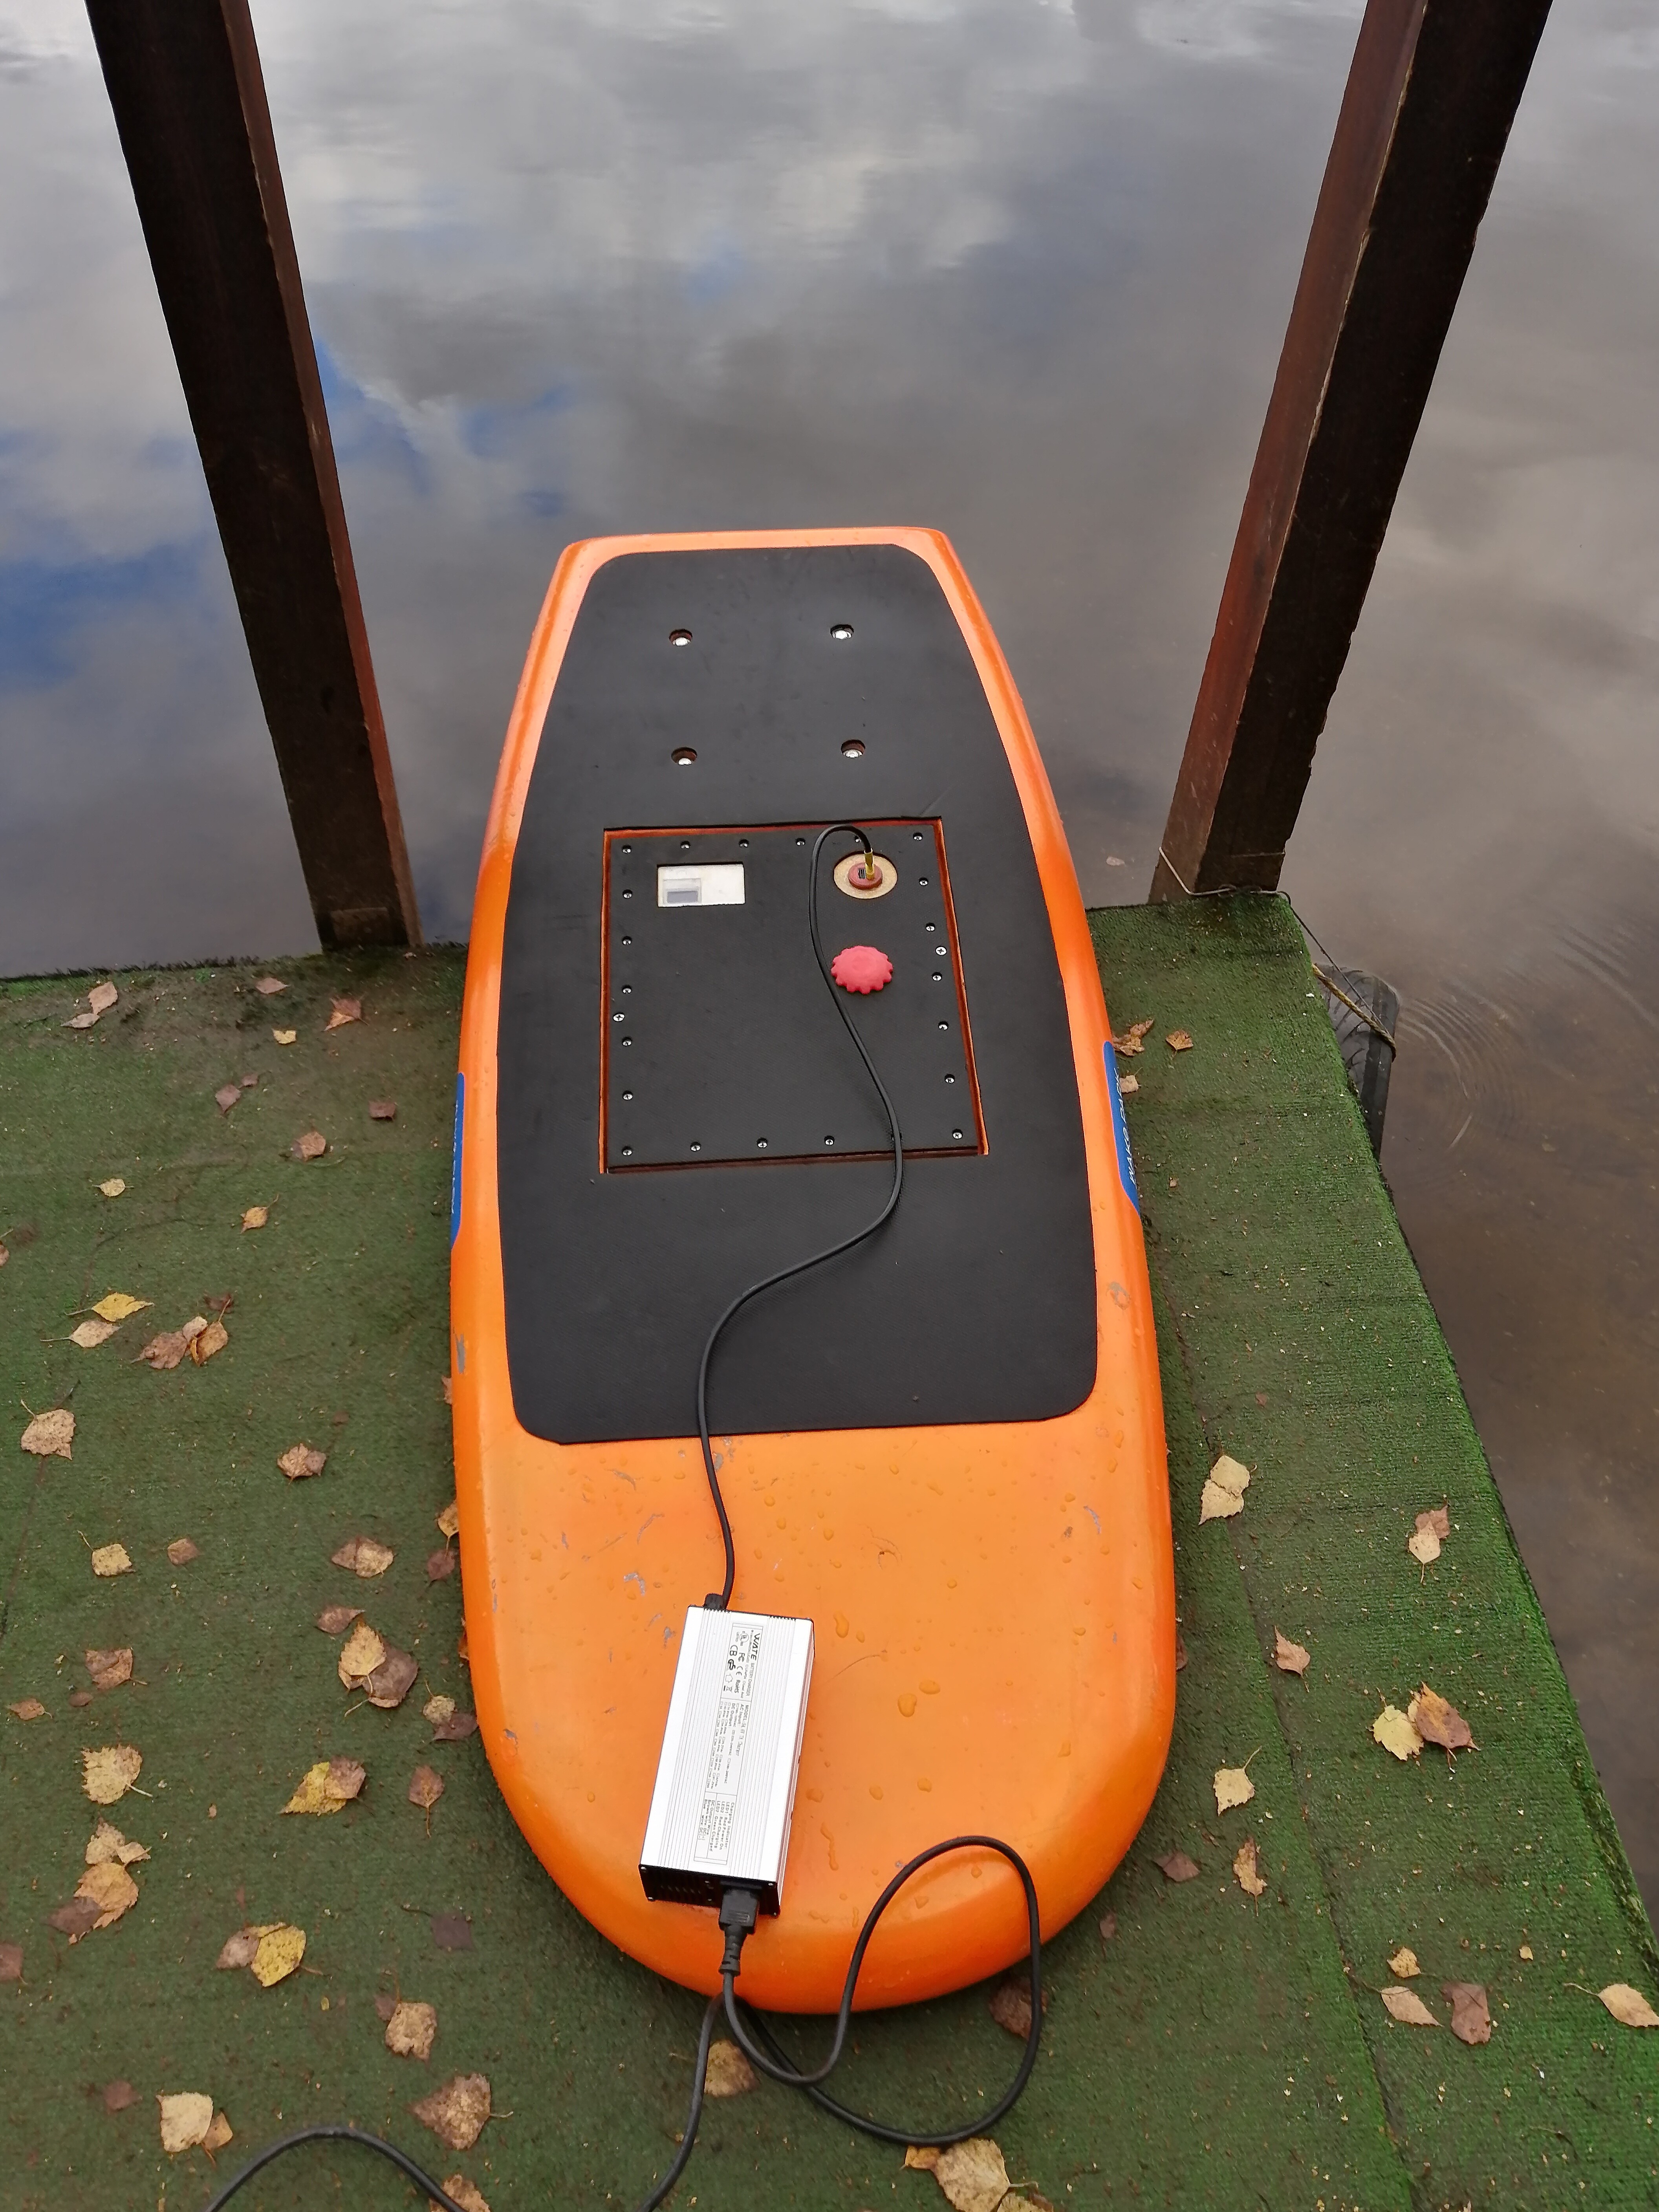
This is what i want to do.
I prefer a plate with screws for waterproofing
I saw too many leaks with the hatches
but it’s more painful to change a battery pack.
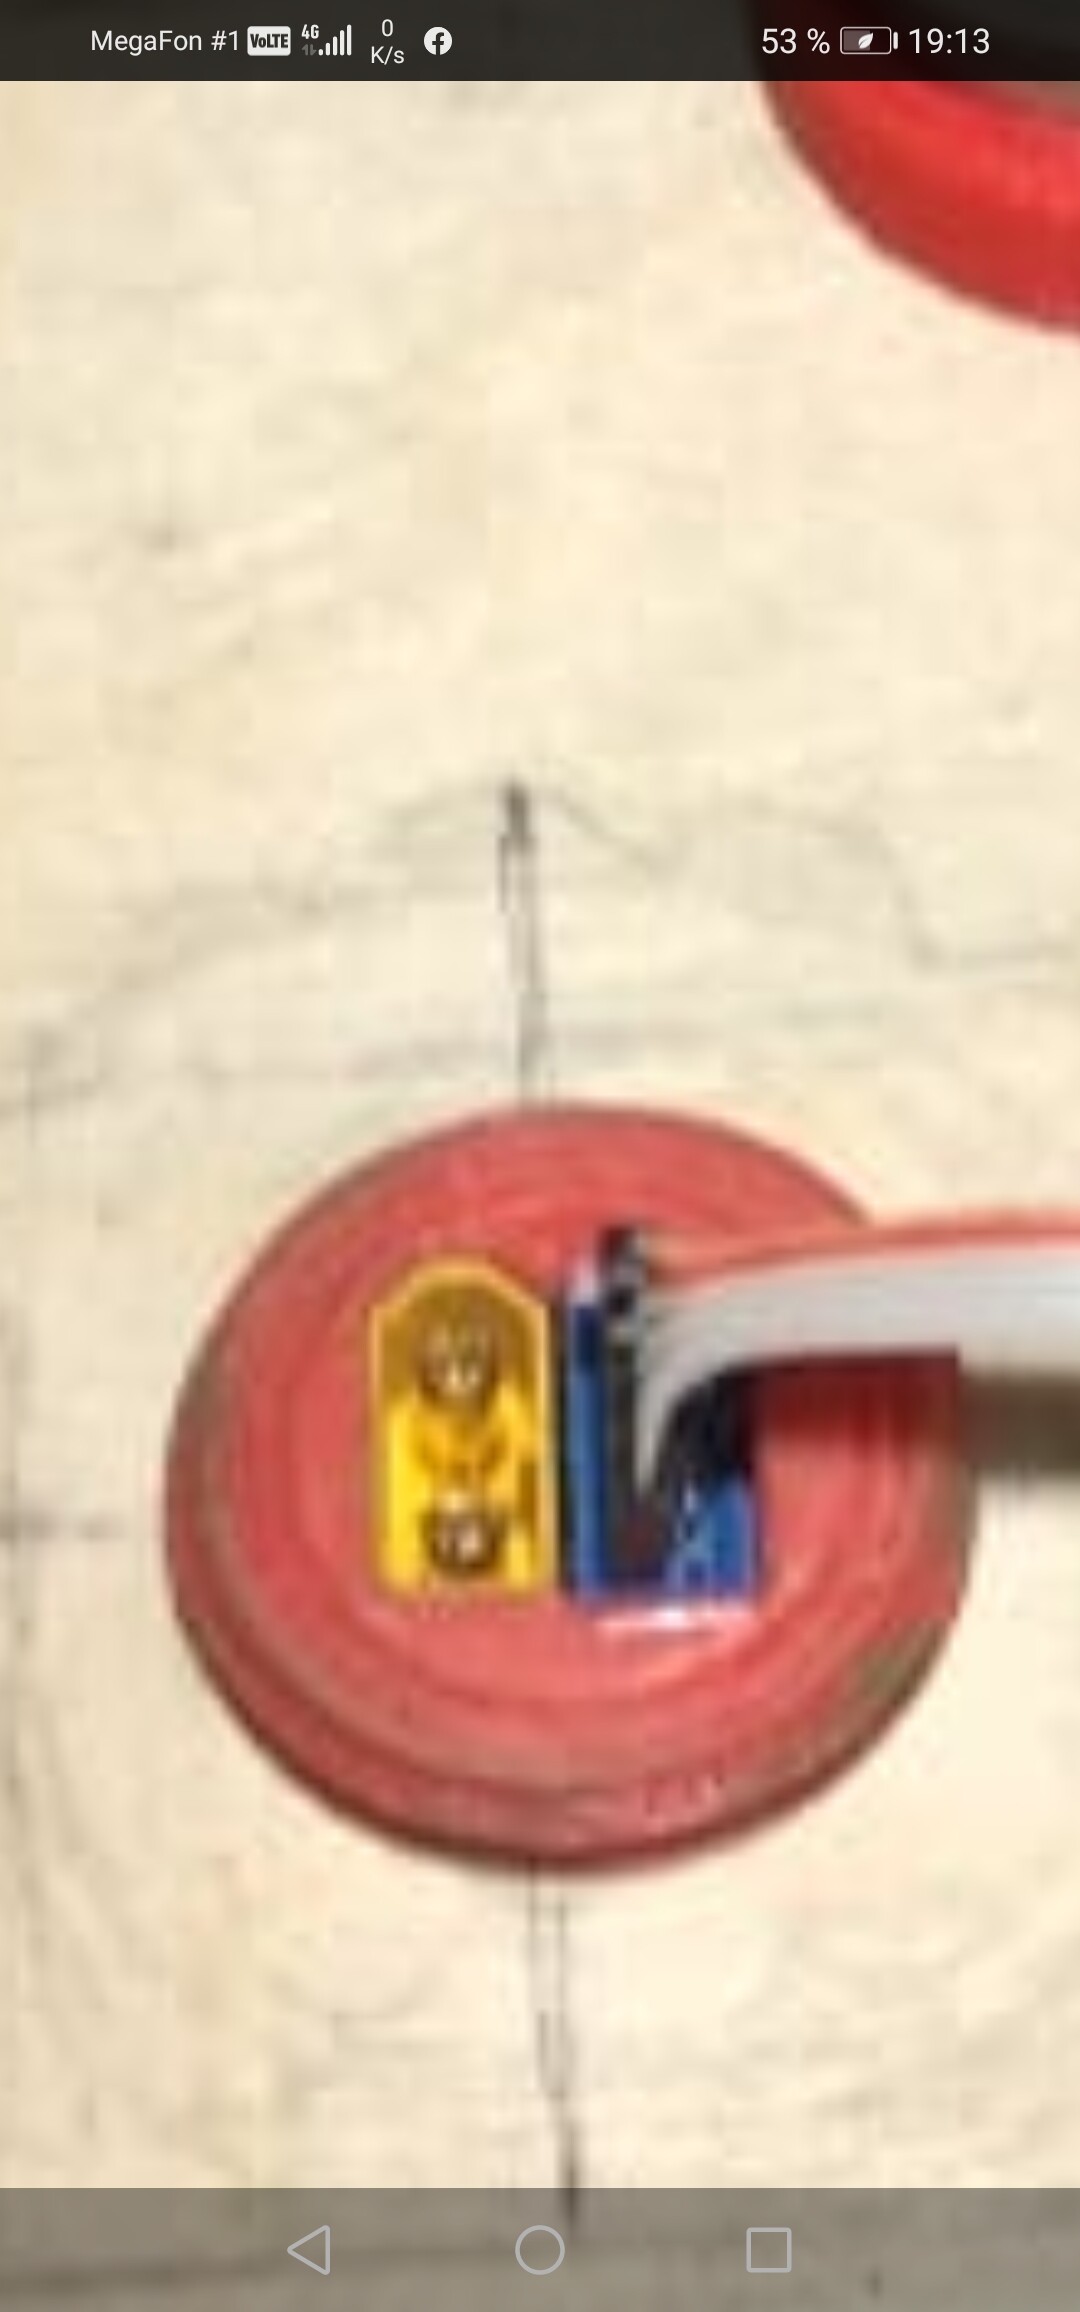
Do you have a close-up picture showing your charging connector ?
nice build.
Flybywire :
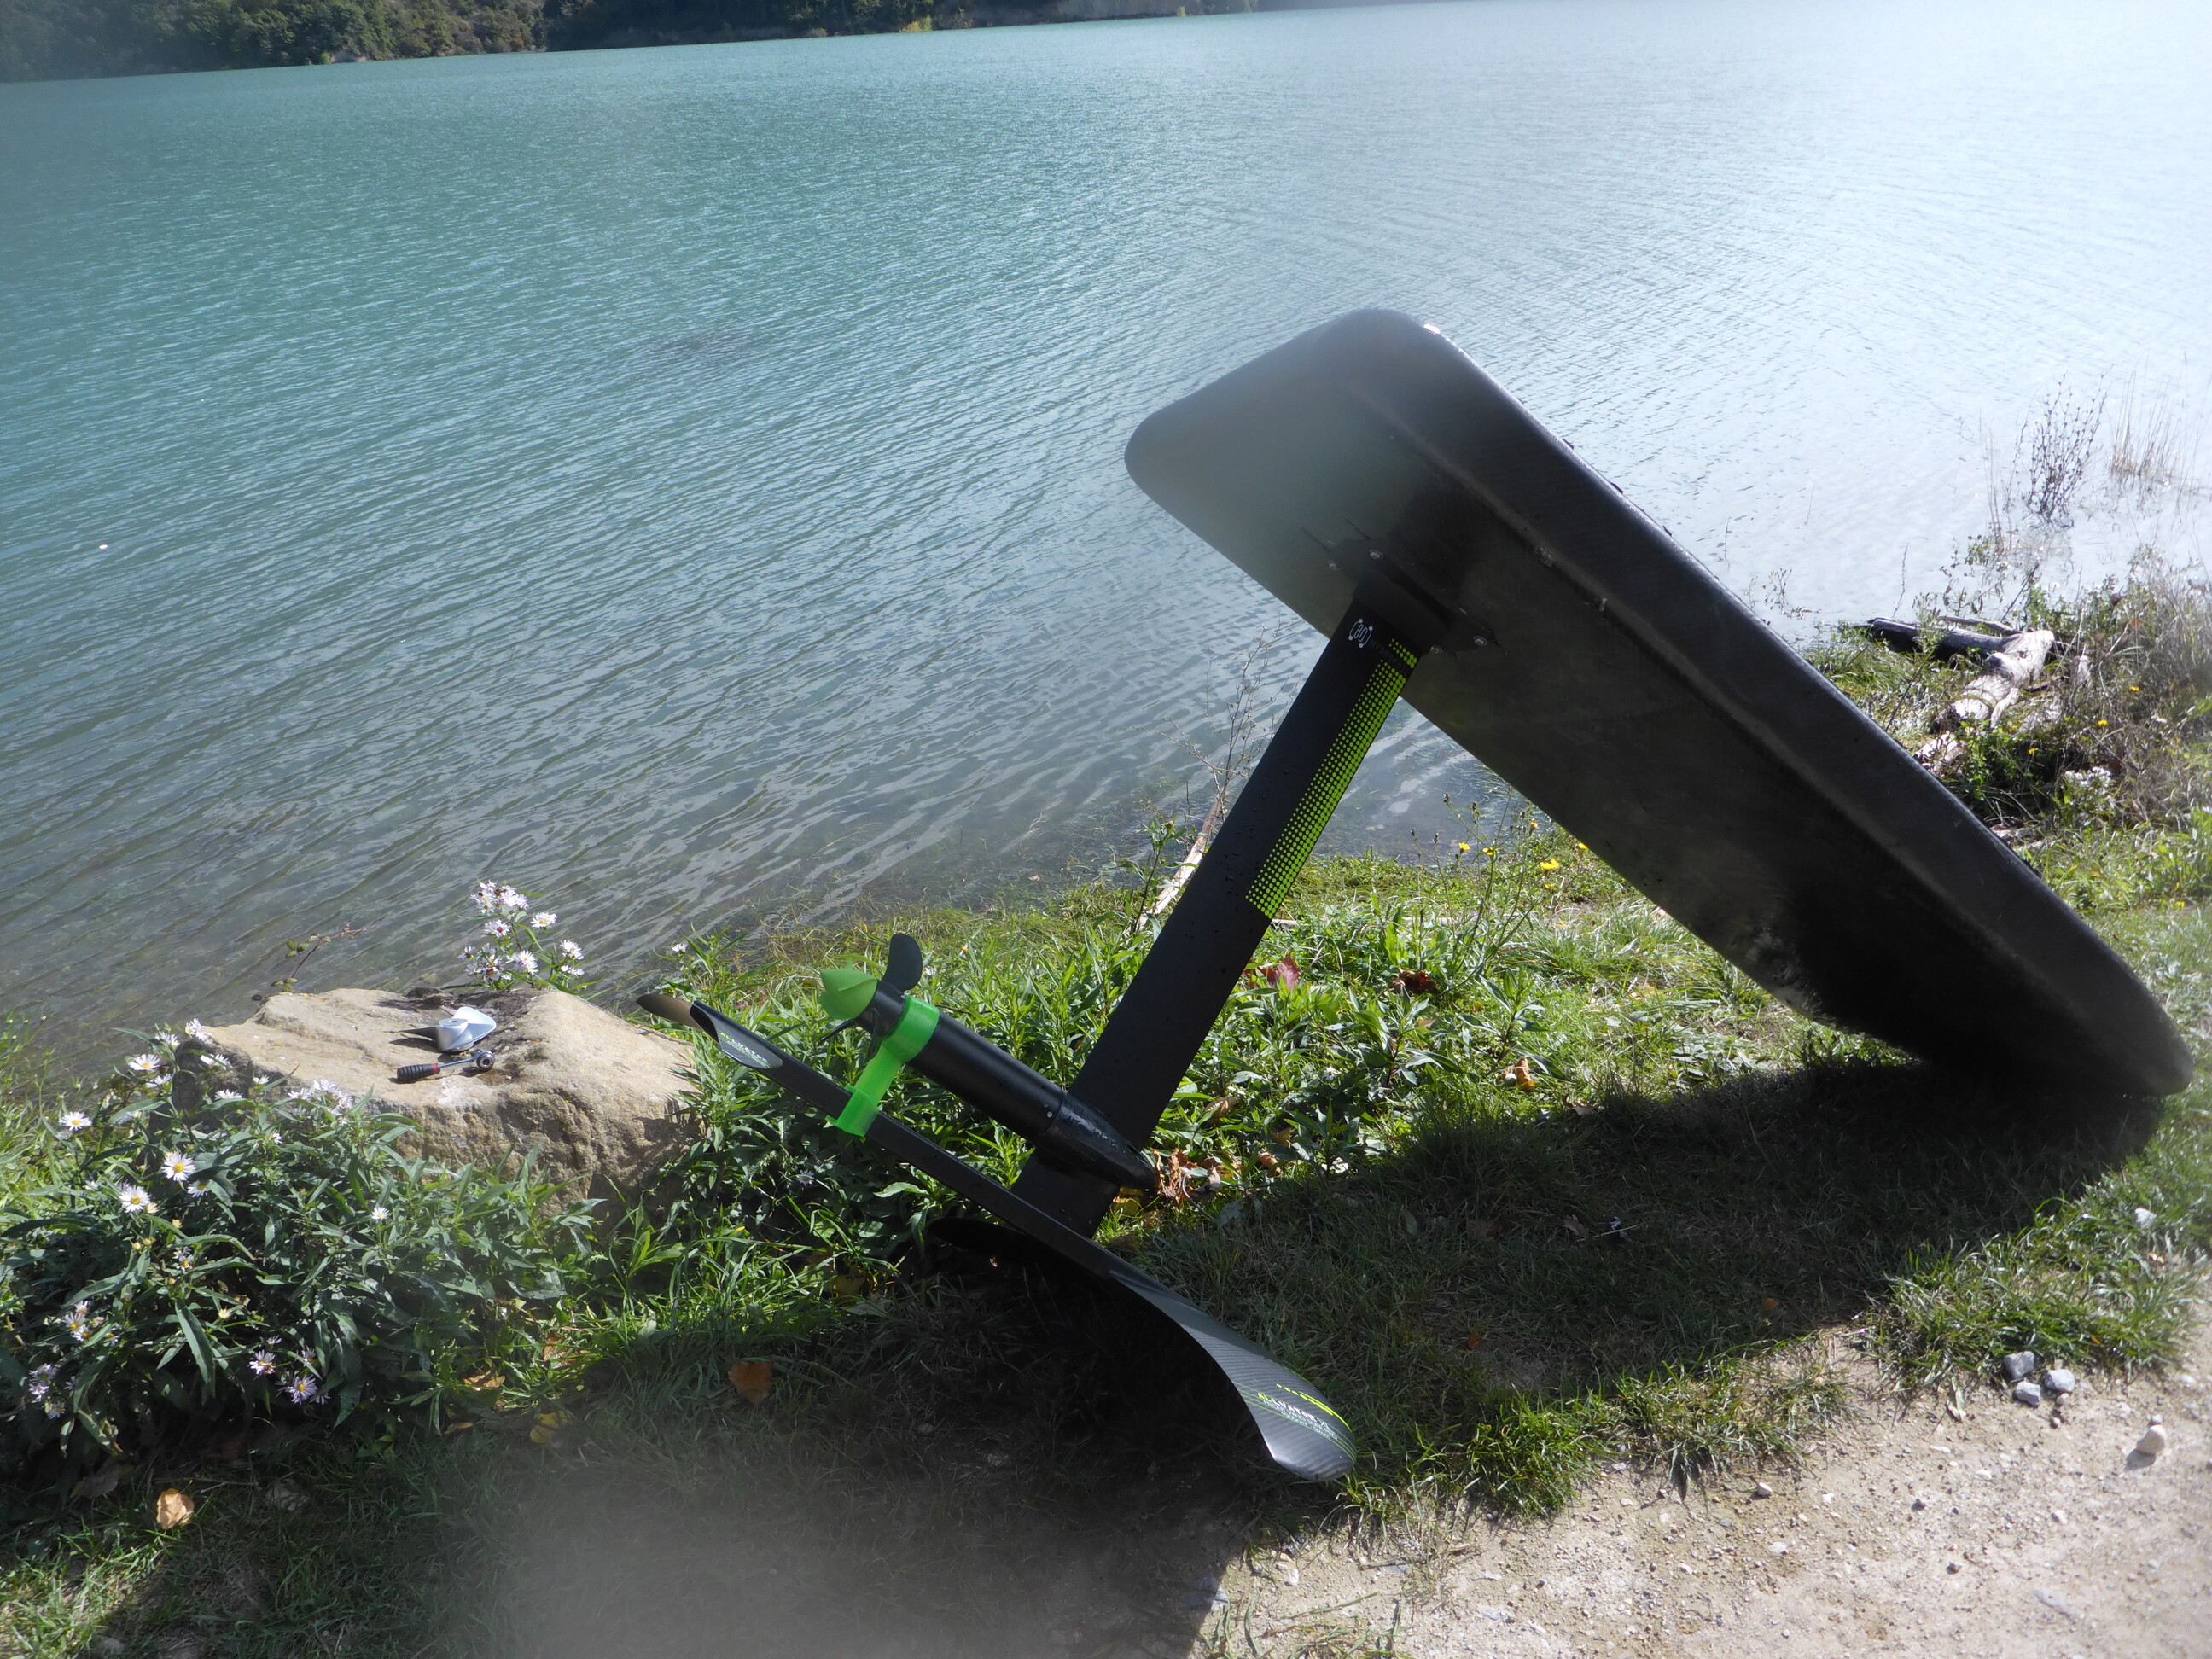
The Mast clamp is a Robert’s creation @nice2cu
I just modify the nozzle for the water tubbing
Here all the stl files
https://drive.google.com/drive/folders/1aCjulHFvo2-rUDIc0xqB1GRqtn8bkWcv?usp=sharing
The picture with carbon mast clamp show a print in carbon filament and covered with carbon sergé 200g
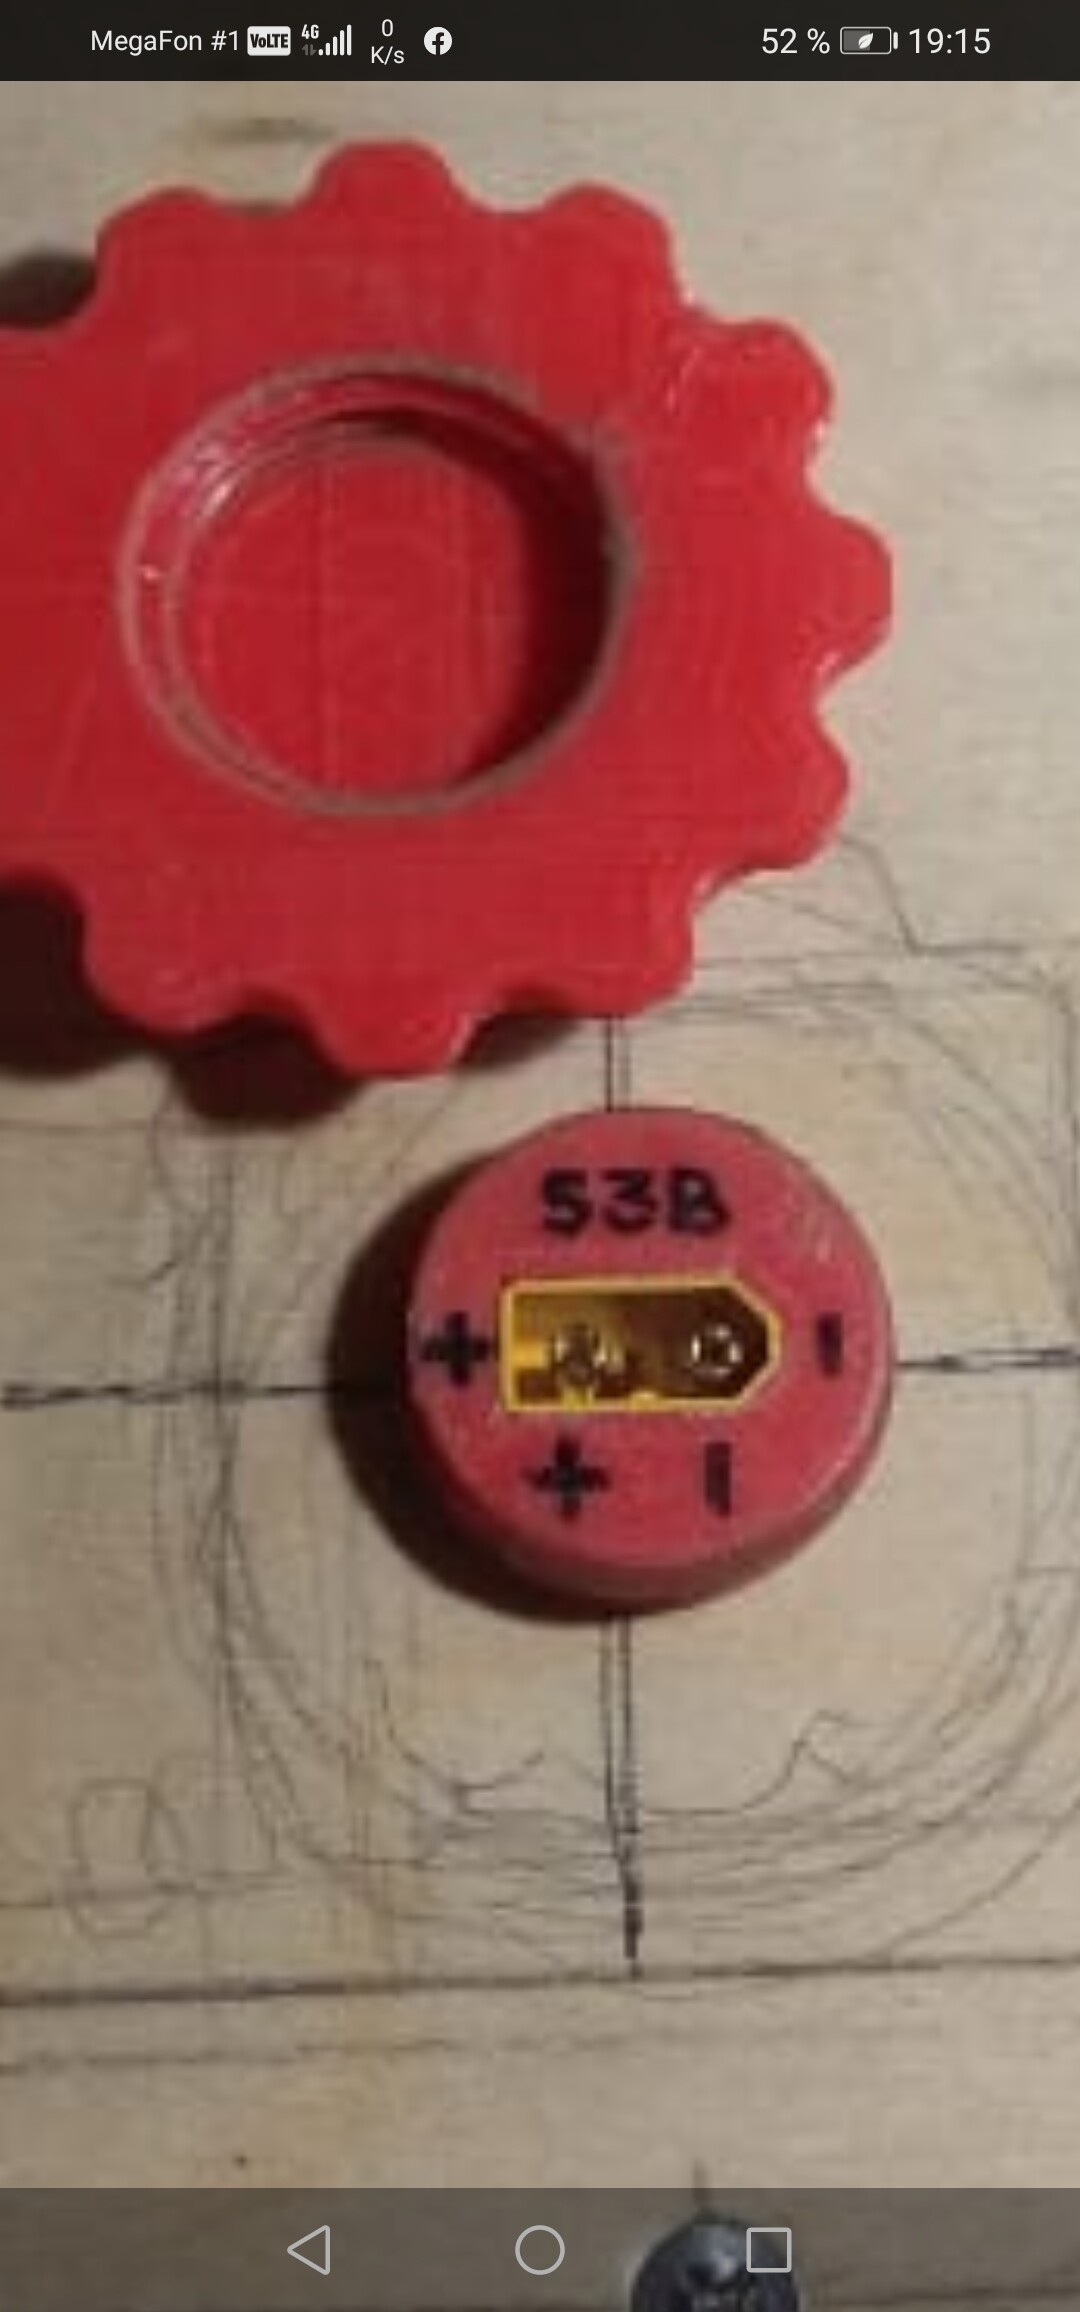
This is the first connector. Then they made another one. Second output for the programmer.
If you fix a big lid with screws and seal it with epdm, it is waterproof. I have good experience with a round screwable hatch inside the lid, 100% waterproof. If you split batteries in 2x6S10p they still fit through the hatch (if your board is not too thin). Like this it is still possible to open the board for wiring and other service, you can quickly change batteries without the risk of water ingress.