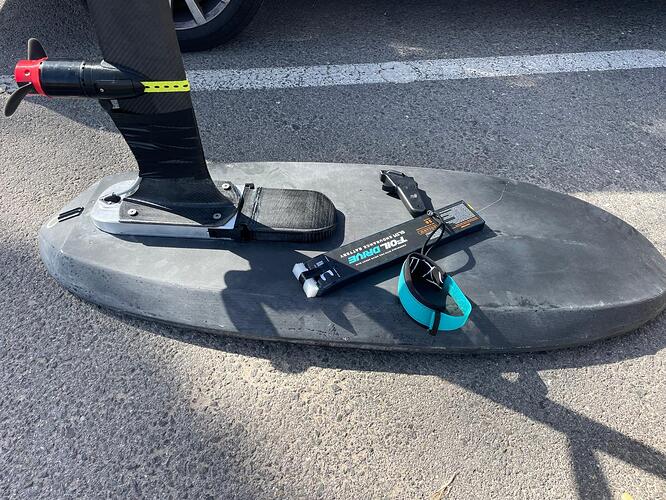
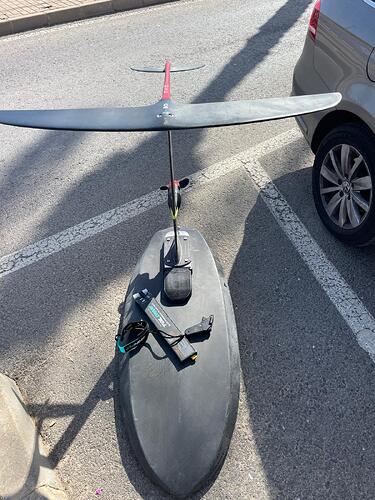
Nice! how do you plan to get signal out, lid material?
@Bzhwindtalker spot on your comments…What’s your current setup regarding the antenna?
First session in and was an absolute disaster ![]() … I didn’t do any plans for the signal to get out and I’ve not been able to foil in this first session.
… I didn’t do any plans for the signal to get out and I’ve not been able to foil in this first session.
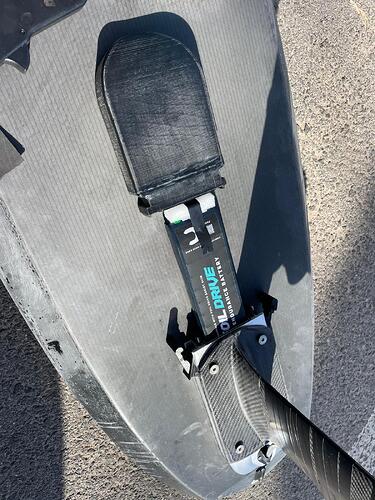
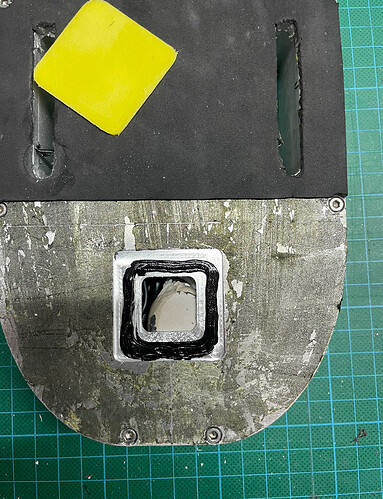
I’ve got a full carbon DIY board, which I’ve retro fitted some windows for the signal in between the tracks and on the nose.
I was hoping the signal could get through the board but no chance…I could start the motor either with the remote submerged touching the case, or with the remote touching the nose window but as soon as the remote lost the physicals connection signal was totally lost…
Good thing is that the setup looks great, I just need to make it work now.
Few options I’m considering:
- Upgrade to Maytech V3 (stronger signal) as currently on V2
- Create a window on the case so signal can get out
- Passive antenna to extend the connection to the nose of the board.
Will keep posted!
Jordi
Sorry it did not work. I went the easy way and use a external antenna, simple and works perfectly. I get signal underwater when I touch the v2 remote to the antenna.
Not intellectually satisfied, but you have to pick your fights ![]()
Very cool project. Would you be willing to share the CAD files? I want to build a FD Gen 2 clone but would like to try and 3d print the housing. I was thinking of embedding stainless steel spacers into the plastic for strength where the mast attaches, or risking it and trying to print the whole housing from a carbon reinforced filament. I think if the walls around where the oval mast bolt holes are thicker and solid between the outer wall it might be strong enough.
Am thinking along the same lines, but am thinking perhaps a forged carbon section of the box where the heaviest loads are at. One could 3d print the housing in PETG with some strategically placed hollow spaces for the forged carbon, then build a mould that would compress the carbon into the hollow spaces.
Awesome build @Jordi. You pumped that out super fast and at what looks like a high quality build. Congrats!
Interested in going this route too
Hi all! After a bit of sweet and sour feeling from the last session, I’m back to report SUCCESS on the second one!
First session left me scratching my brain, so went back to the workshop and got the whole unit on the CNC.
Lid and case was sealed so I didn’t want to open it and start cleaning the sika glue line.
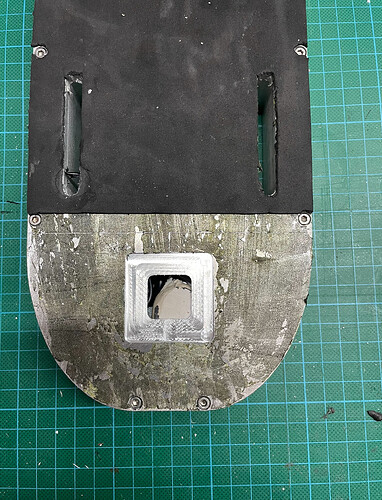
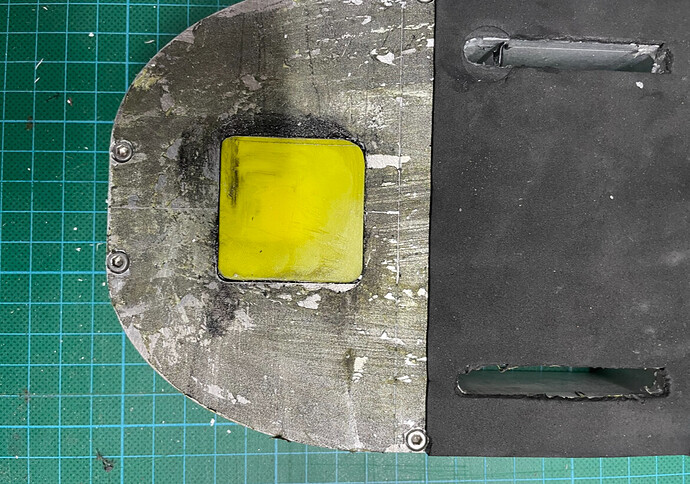
I milled a 20x20mm window with 10mm recess for glue line and bonded a 1mm plastic sheet. This window lines up with the window on the board in between tracks.
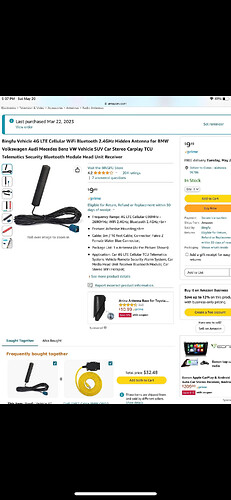
I also got a 2.4ghz antenna, chopped the connector and exposed 31.8mm out.
Went back out yesterday night and the session was a success! Started with the external antenna touching the window and routed to the front. Signal was perfect and very strong, not a single cut.
After a while, removed the antenna and relied only on the signal going through the nose window, to the tracks to the plastic on top of the case. Signal was still good but weaker, I had to make sure I pop up quickly but once foiling and out of water was great!!
Good job, any more details about your external antenna setup?
Sure!
I copied this setup from YouTube
And bought this antenna from Amazon
I guess the most important thing is to ensure there’s no water in between the two antennas as salt water attenuates the signal pretty quickly.
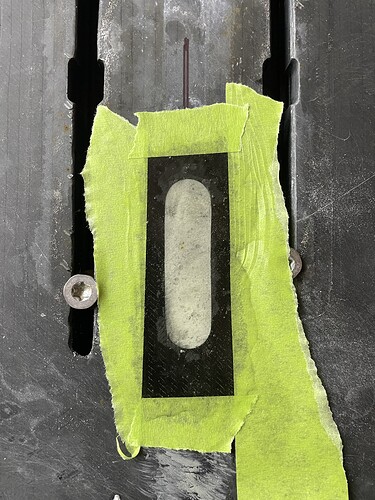
I used some sealing gum (used in composites) to avoid water in between.
And the mating fiberglass window on the board for the non antenna method
Hi guys,
Been out of reach for a bit, family commitments haven’t left me much time lately for the forum.
I’ve been out a few times with my FD copy in flat and waves and I’ve come to a few conclusions.
-Signal is pretty good without antenna for flat water days. On waves, everything gets more complex and you need a more robust connection. Signal dropping makes it quite difficult to wave ride.
-8s setup ( as already knowed from my regular FD style box) works for wings up to 1400cm or so. Going smaller is not possible for me on 40litres and 74kg.
-Corrosion on non anodized unit is quite bad with carbon. I need to disassemble everything and wash down after each use.
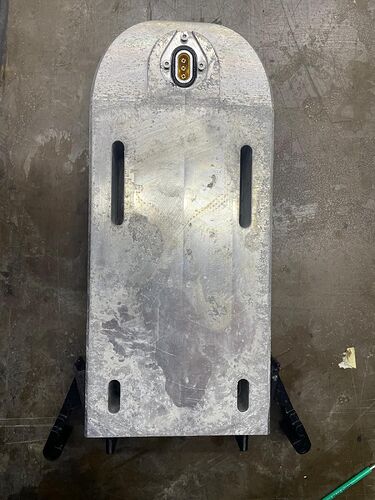
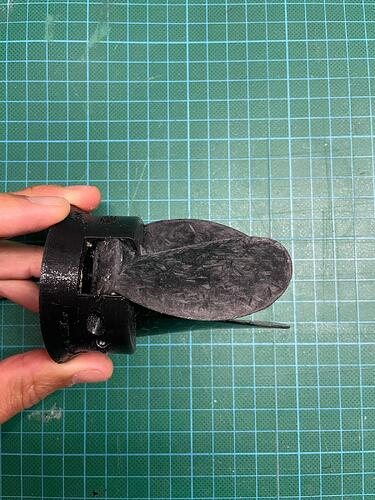
This is what the unit looks like:
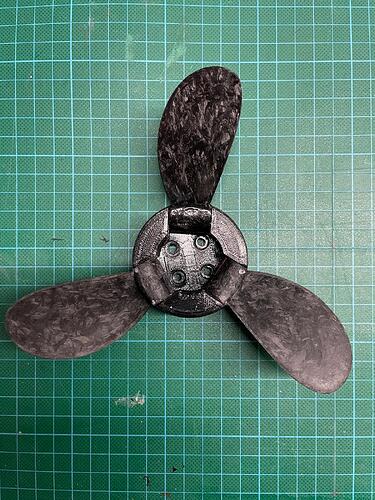
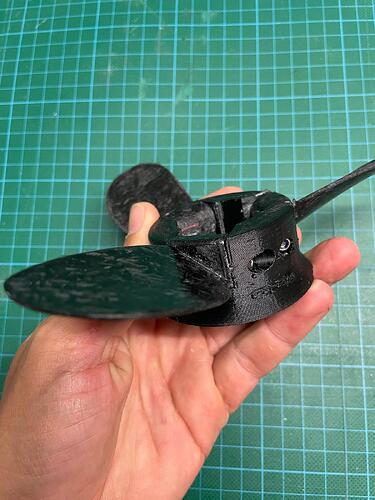
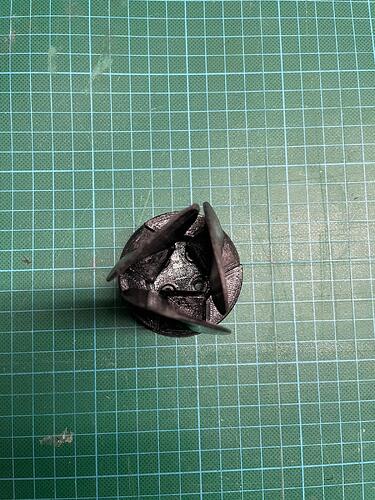
Posting some feedback on my compression moulded prop, performance is quite good, blades are nice and stiff, just need to redo the moulds to get a slightly thinner training edge. Thinking I could provide blades to people if there’s enough interest to machine some nice aluminum moulds where production can be controlled by heating them.
I also don’t have telemetry so testing is based solely on feeling.
Hub needs refining a bit and adding a nice cover on the top to make it nicer but so far quite pleased!
Give it a light sand and then use some self etching high heat epoxy spray. Thats exactly what FD spray their motors with when they refurbish things. I’ve done this for a DIY fuselages and its worked well.
Nice that you got the prop working. Is fold in/out working as you wish?
What is the blade weight?
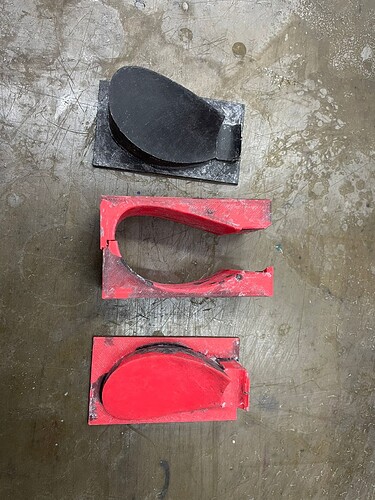
I do not remember seeing pictures of your mold, do you have pictures somewhere?
Lost my set of forged carbon blades on the second session due to failure in the hub.
Someone else with success would motivate me to try again ![]()
Hi Adam,
I was having similar problems with reliable opening of these blades. I think the basic problem is that their pitch is too low to overcome other forces that are keeping the blades closed. I have another set of blades with a higher pitch and they do not have the same problem when I test in my test tank. I notice with these blades in the test tank that if they all open at the same time then all is good, but if one or more open faster that the others then the others will get held closed by the slipstream created by the open blades.
My solution is to print a TPU prop opener that helps the prop to open. This seems to work reliably in my test tank. Too cold here to do real world testing.
prop opener | 3D CAD Model Library | GrabCAD
Note that this is for a different hub and prop root than yours, but you can probably adapt to suit yours.
3 blades propeller for Foil drive assist by RobyMaker - Thingiverse
Hope that helps
Chris
Good to know I’m not the only one.
My idea was that both pitch, blade weight and backsweep have an effect on this.
I was thinking about embedded magnets to achieve similar effect as you.
Thanks for the explanation!
Maybe the asymmetrical blades in my Flipsky prop cause it not to open, therefore caused it to vibrate till it fully opened.
'Flipsky 6374 vs 6384: Which one reigns supreme? - #32 by lishine
I am looking for a way to protect the motor outside, can you add please an example link to such spray? Because I find only etching polymer or simple heat resistant paint…
I used this on some motors: VHT Satin Black Epoxy All Weather Aerosol (312g) - Frost Auto Restoration Techniques
Thanks Jezza, will look into this and definetly add a coat of paint will make it look much better!
@Bzhwindtalker I’m quite pleased with the opening, there’s a bit of friction in between the 3d print and the blades but definetly my fault for not adding enough clerance.
Blades are circa 11 grams each and there’s like 0.2 grams difference in between them. I didnt bother balancing them wahtsoever and they were felt very good. I used chopped carbon from R&G composites wich is very siminar to the easycomposites carbon linked somewhere on your thread.
Mould is a three part compromising top, bottom and a perimeter. This last one is a single piece and had to reprint for doing 3 blades, a split perimeter making a total of 4 moulds will be the way to go in order to reuse them. There’s a 3mm pin I insert for getting the screw hole.
I also have had good luck with the VHT paint.
