Just starting a gen2 faux drive with my son for a school project. Pretty experienced in foiling and building boards of all types for many years. 1st efoil type build so second guessing everything. As others have done I plan to update this post with progress.
We’re both over 6’/2m and 210lbs/99kg so going for get us on foil power.
Started with the battery as many posts suggest. Below is the BOM and plan. Suggestions and questions are welcome.
BOM:
Battery 12S3P
a. (36) Molicel 21700 P42A 4200mAh 45A Battery
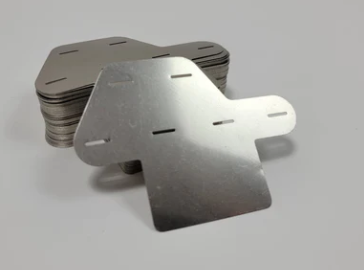
b. Nickel 0.15x8mm
c. 10-17S Smart BMS
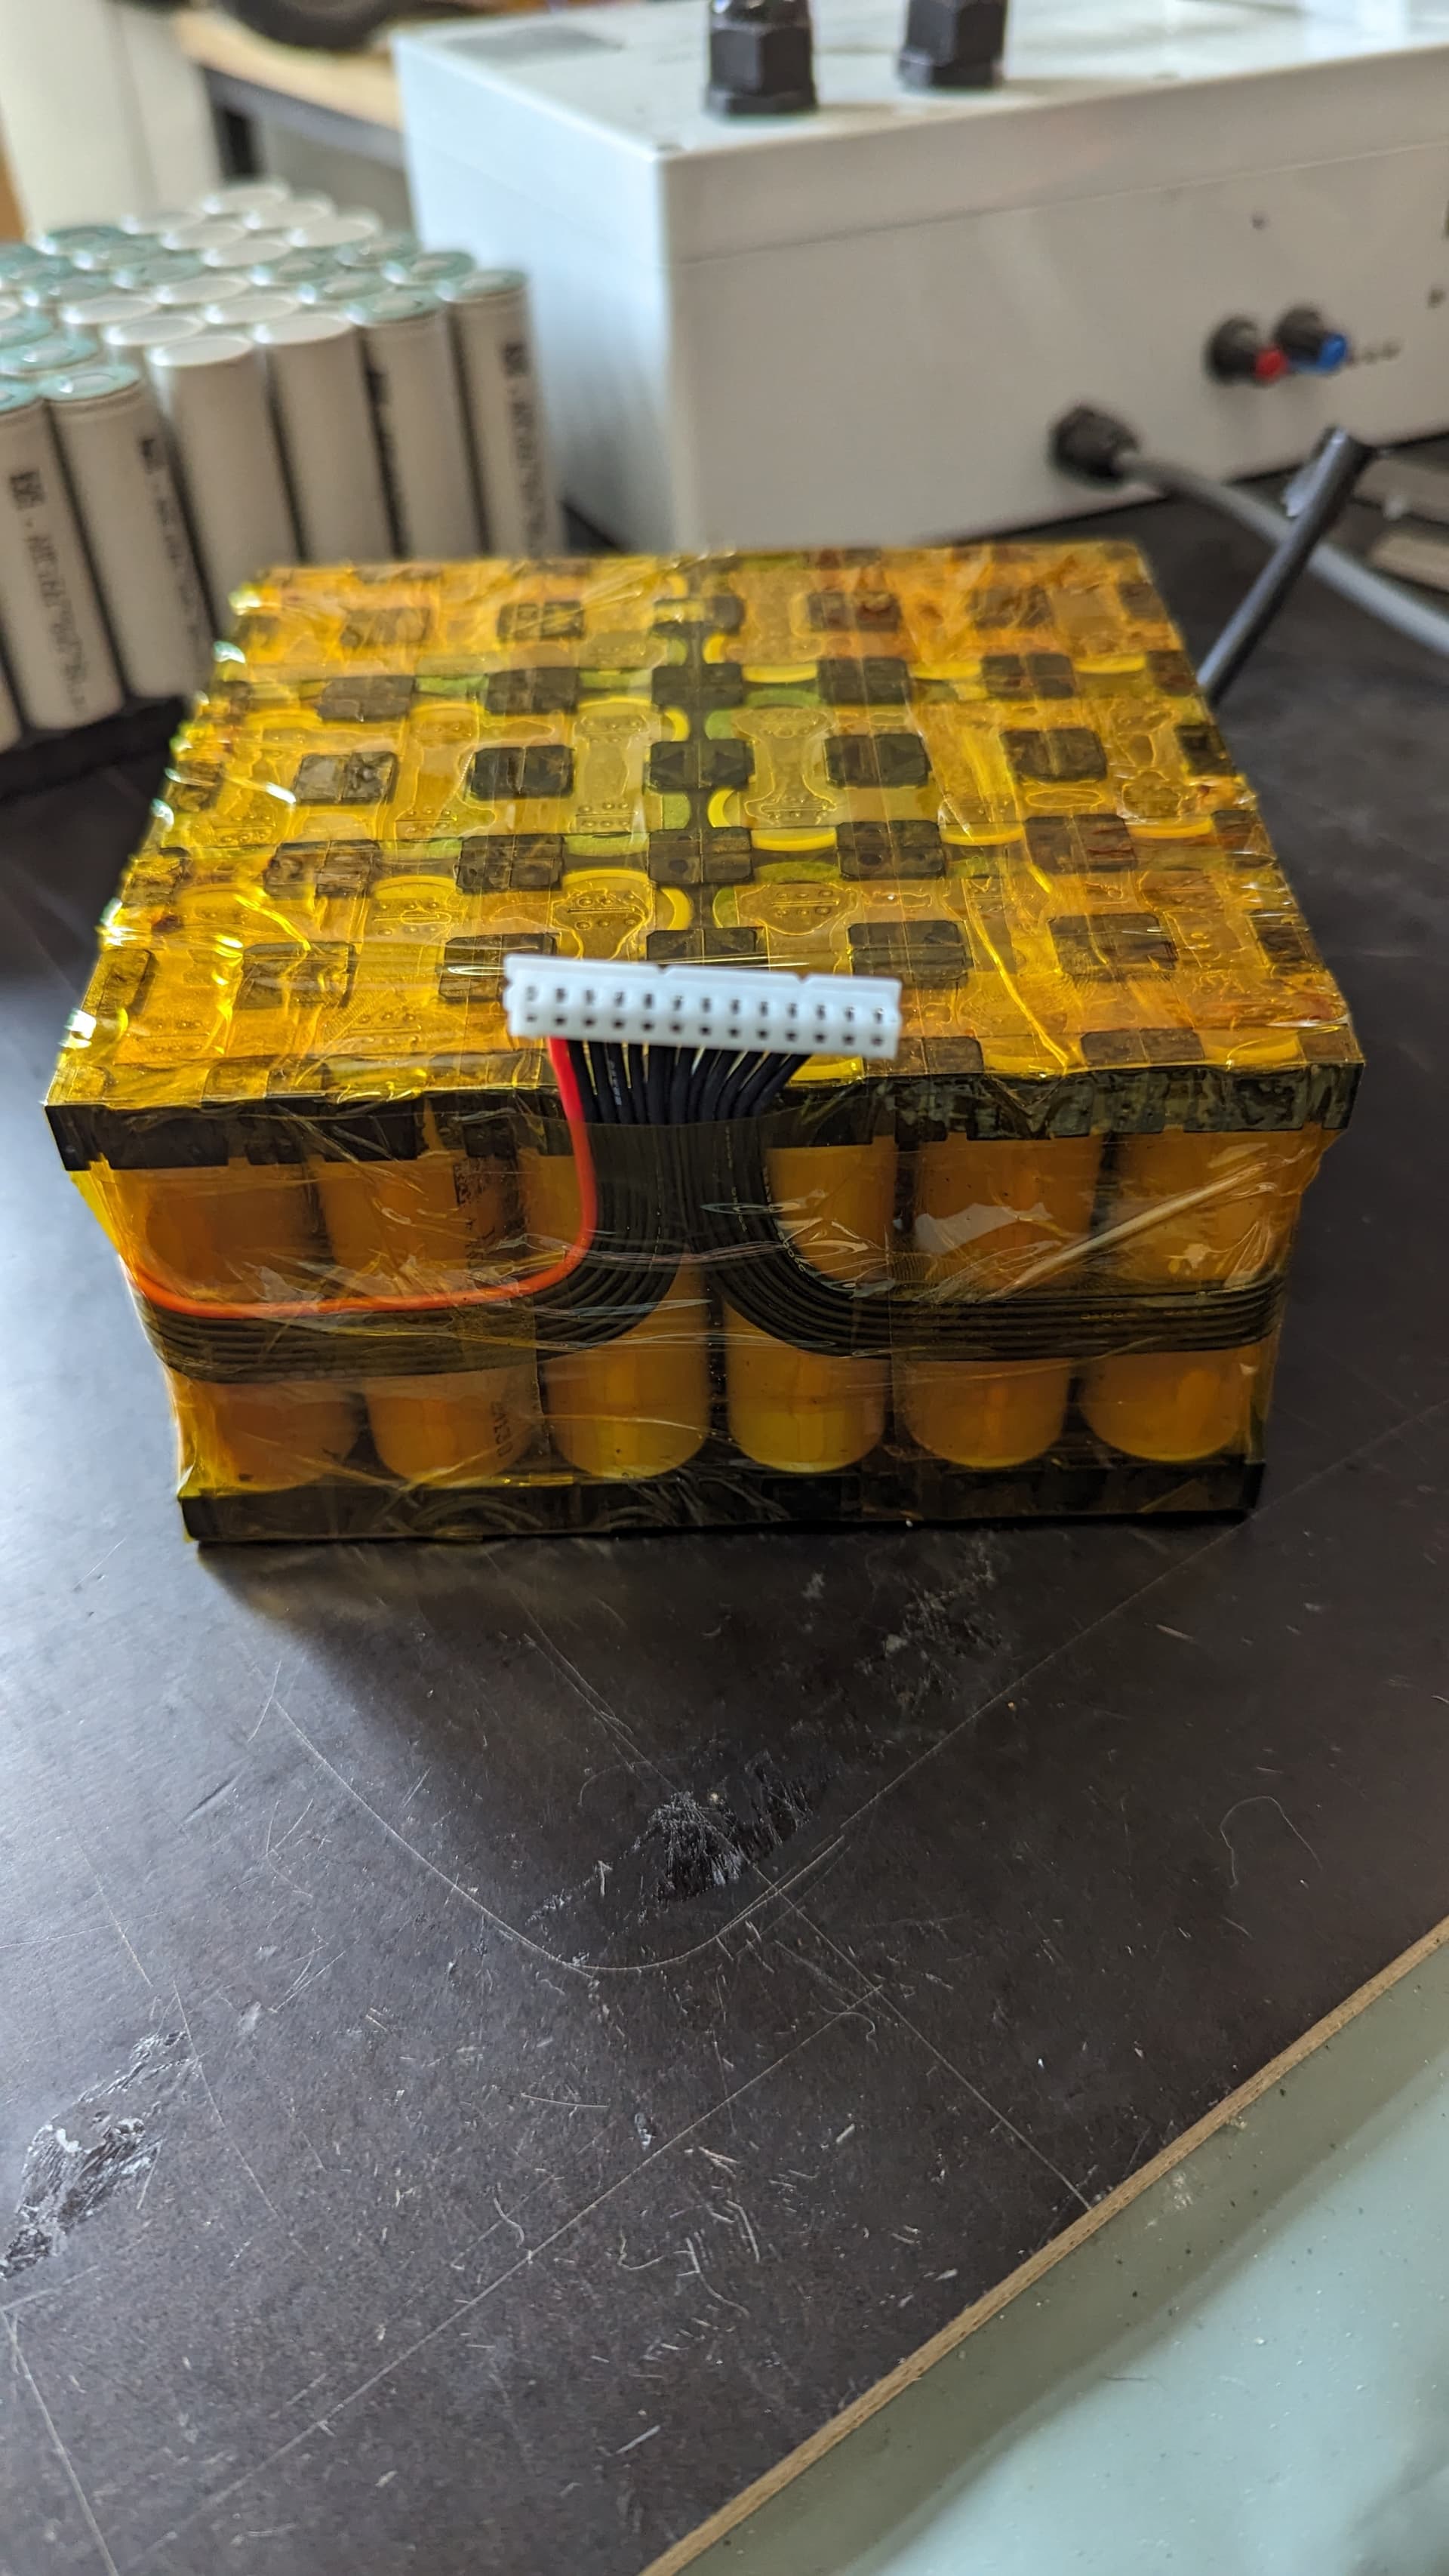
Get the battery built.
a. Layout: The cells will be 2cm high at a 45 degree offset and held in place with a 3D printed cage on both sides. (Dims and .stl to come)
b. Spot weld nickel as described in this video ( 3P + layout will cause some interesting choices, input welcome)
Wire up all the electronics and confirm it all works (Sounds simple)
a. Configure the remote
Waterproof and retest (Motor, ESC, Battery pack, , Remote (read screen can be an issue)
Base Mount:
a. Design given waterproofed size of components
b. Build base out of carbon or have machined (tbd)
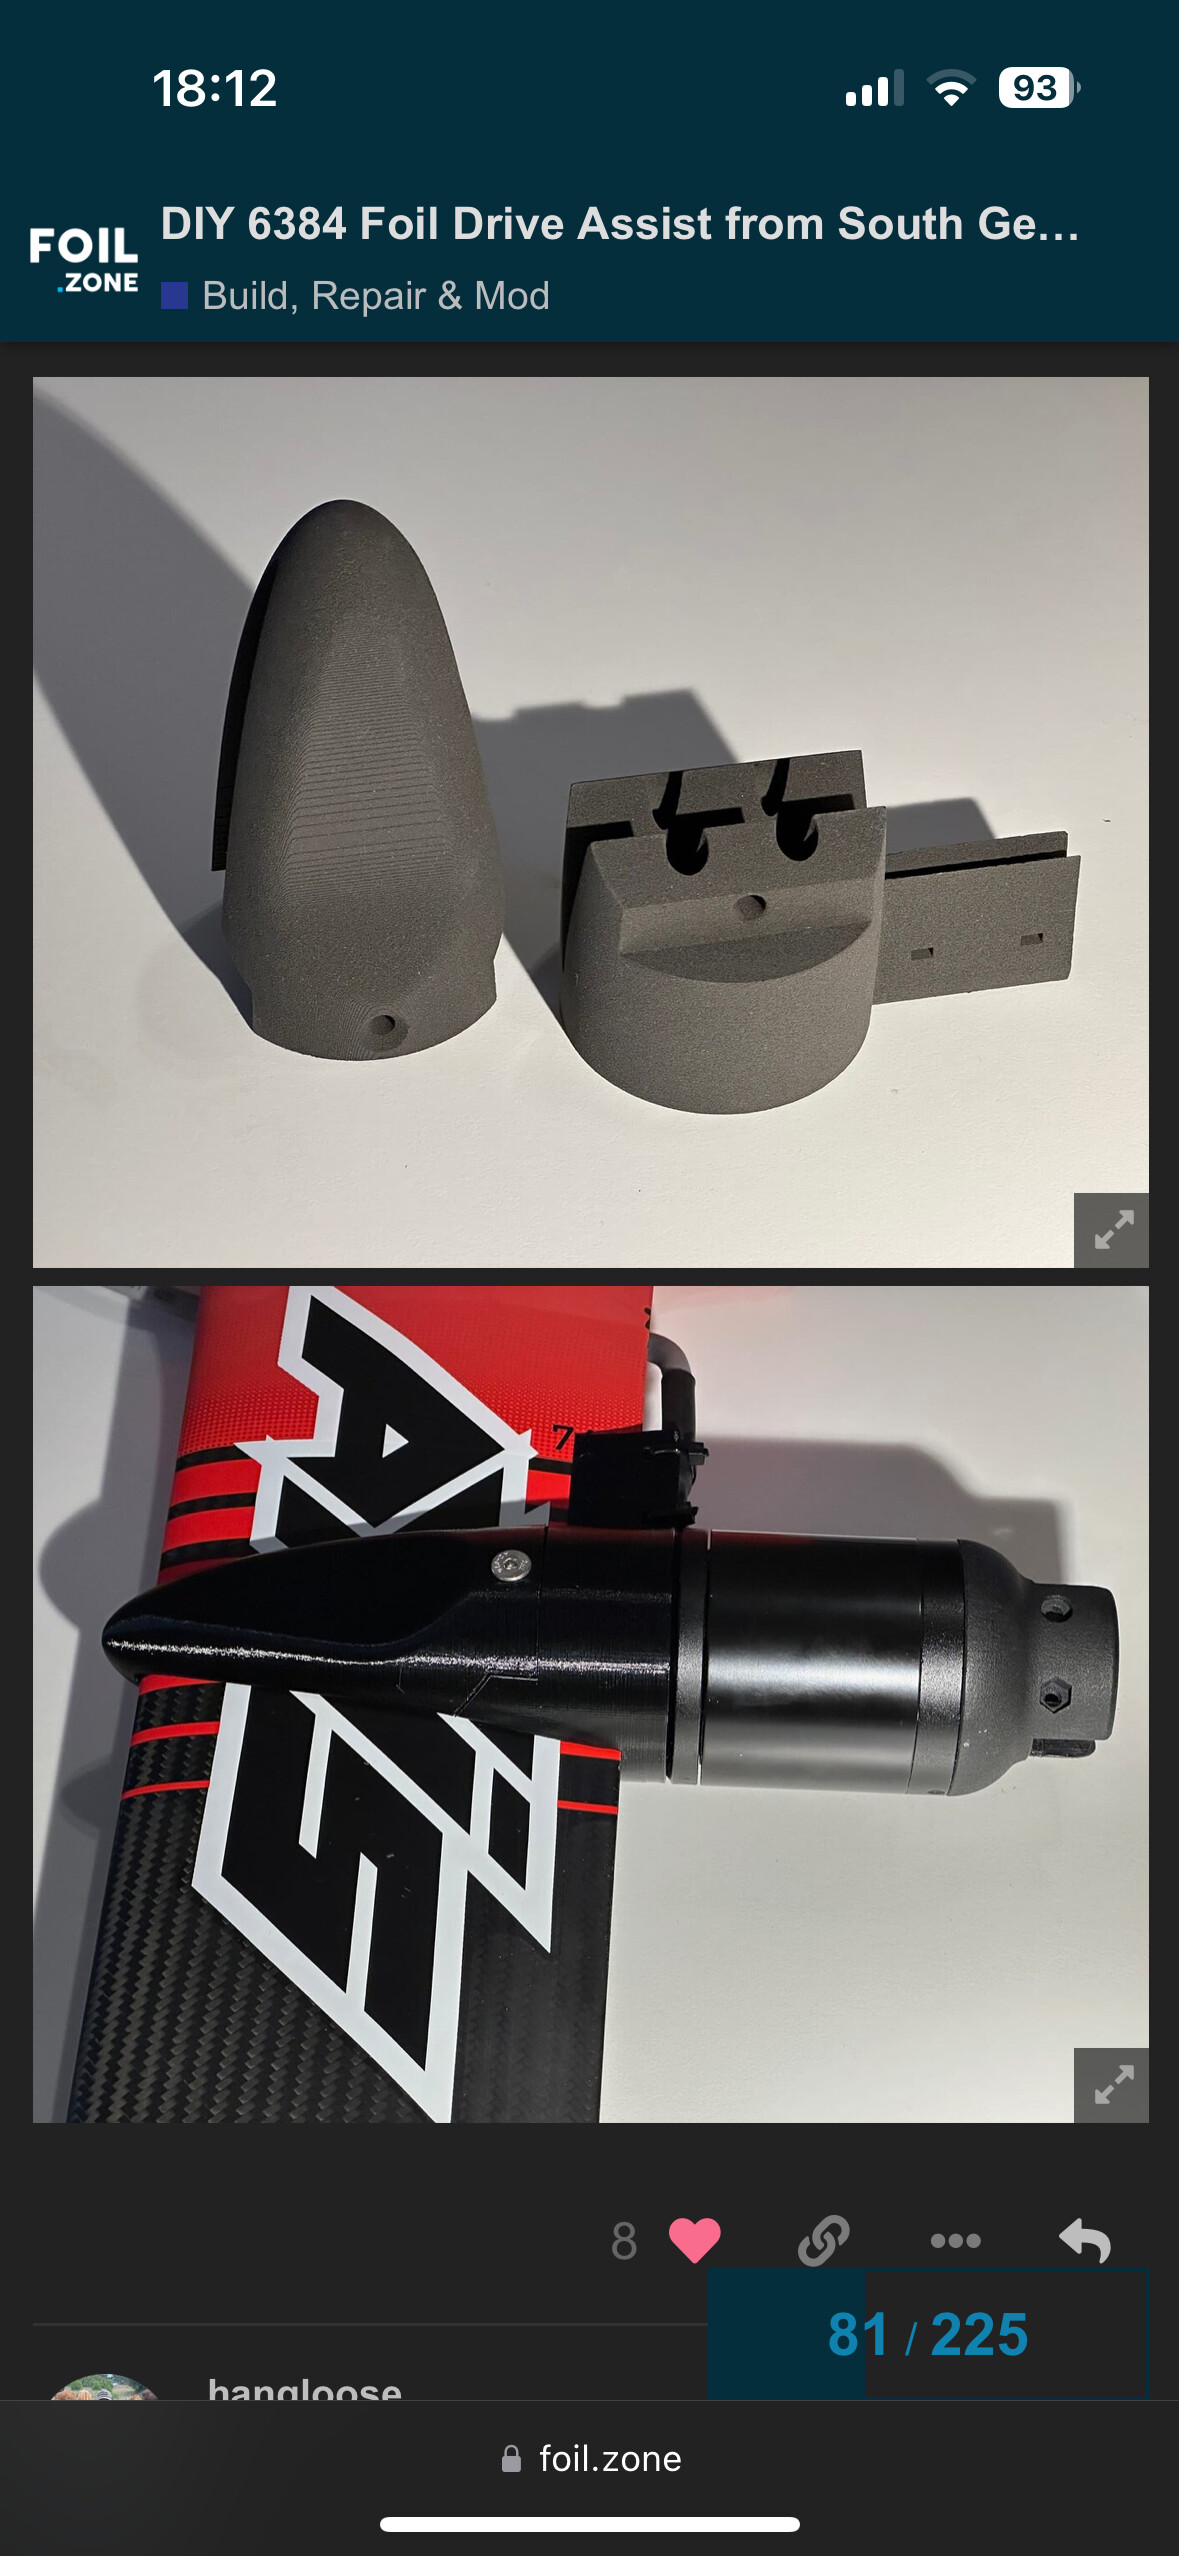
Motor Mount:
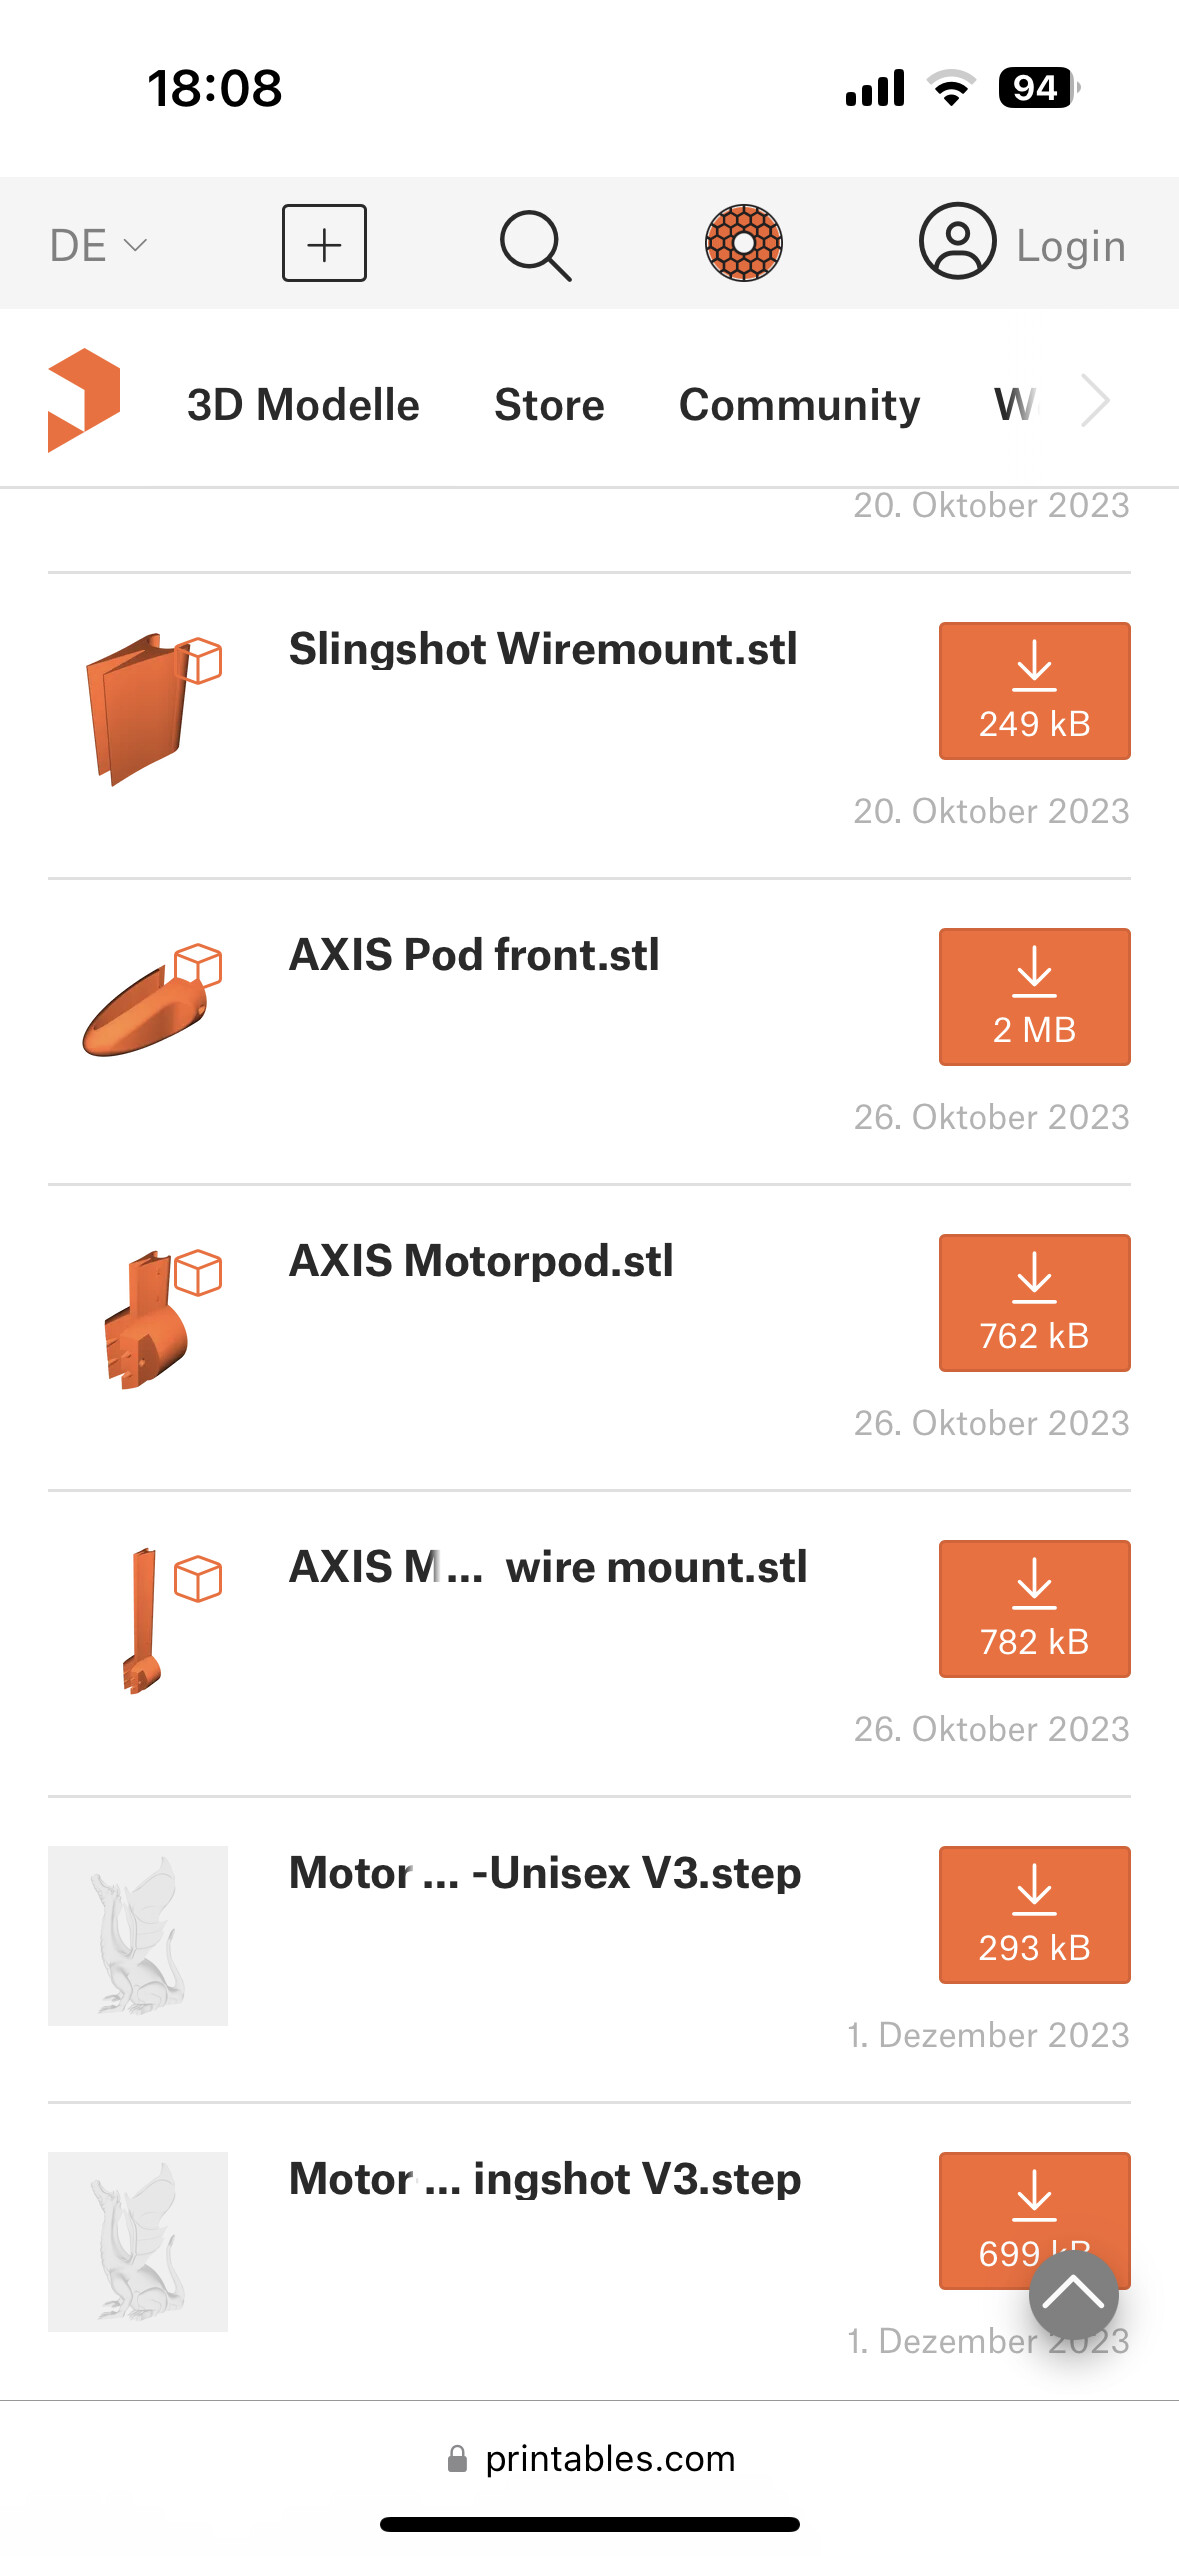
a. Plan to print (need to find stl for Axis 19mm)
Prop:
a. Plan to print ideally a 3 blade folding
b. Vacuum carbon overlay on blades, because I heard that helps
You should get the XT90s with the green strip where s stands for (anti) spark.
Many like the AS150 connectors, antispark as well.
What will be your cable section between battery and motor ? 3x4mm2 ?
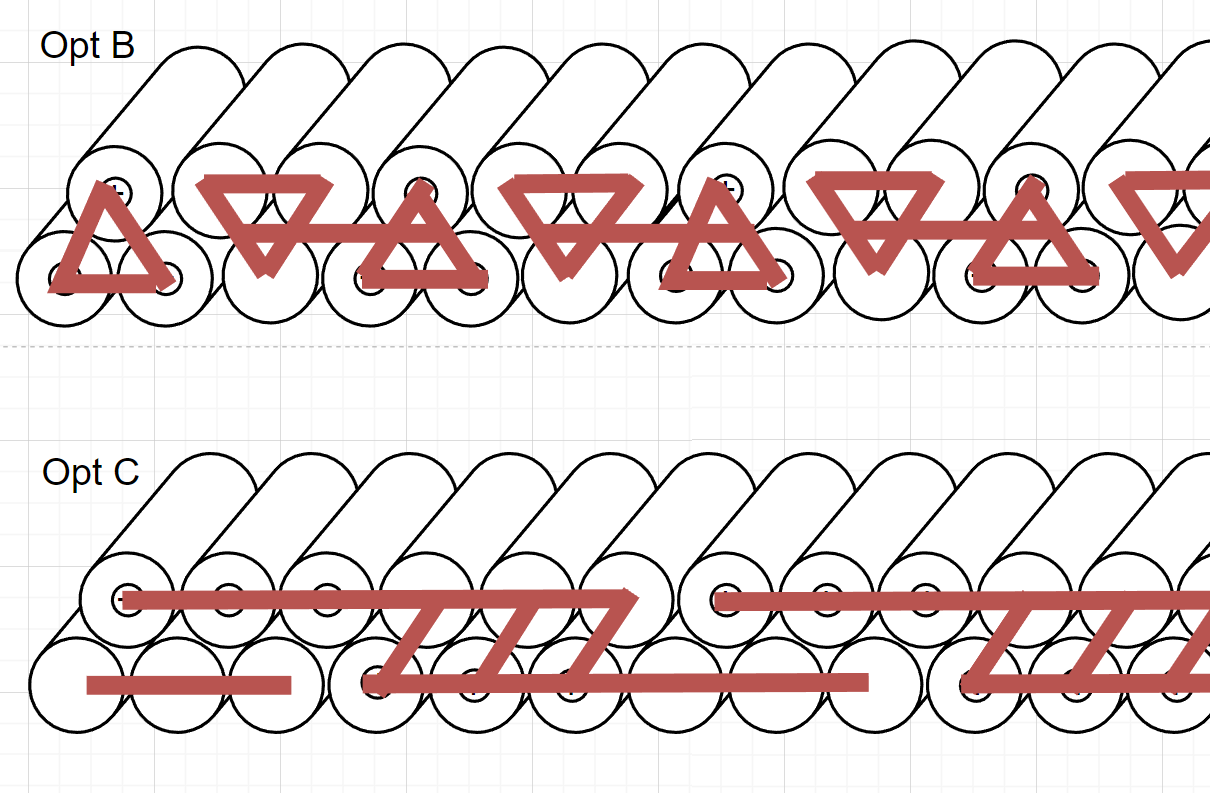
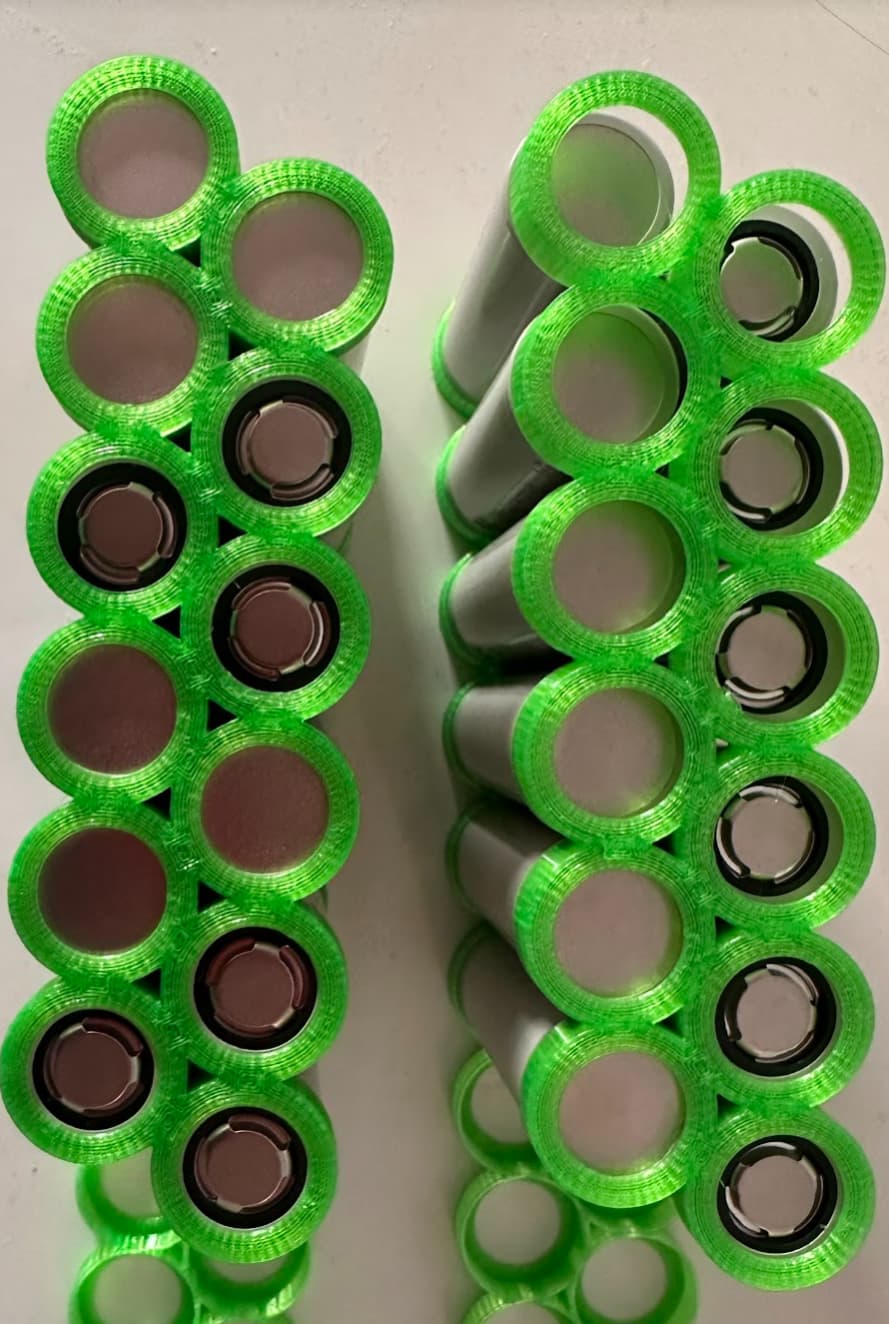
Thank you for the input everyone! Have the cage for the battery layout of the 12s3p where height is minimized and going back and forth on the two obvious approaches for laying out the nickel strips and connecting the packs. Most everything we find on line is symmetrical. Will these options cause to much heat build up? Is there a better option that’s not being considered. I drew up the options and included a shot of some 21700 cells in the cage frame.
Thanks for the input I’ve updated the diagram
What spot welder do you have? I would go with option b but would do copper nickel sandwich. You can cut 0.1mm copper from a roll or sheet to the size you want. This will bring the resitance down and keep it even between the parallel packs.
Does this work for Axis? When I saw your file before, I thought it was designed for a slingshot mast. Or is the slingshot profile the same as the 19mm axis profile? I ride Axis so was excited to see this as your mount looks great but wanted to check. Thanks.
If you look through the specific stl files included on the page @hangloose linked you should see that there are a few versions of the mount including one for Axis. The page may come up in German and you can switch to English in the upper left corner if that helps
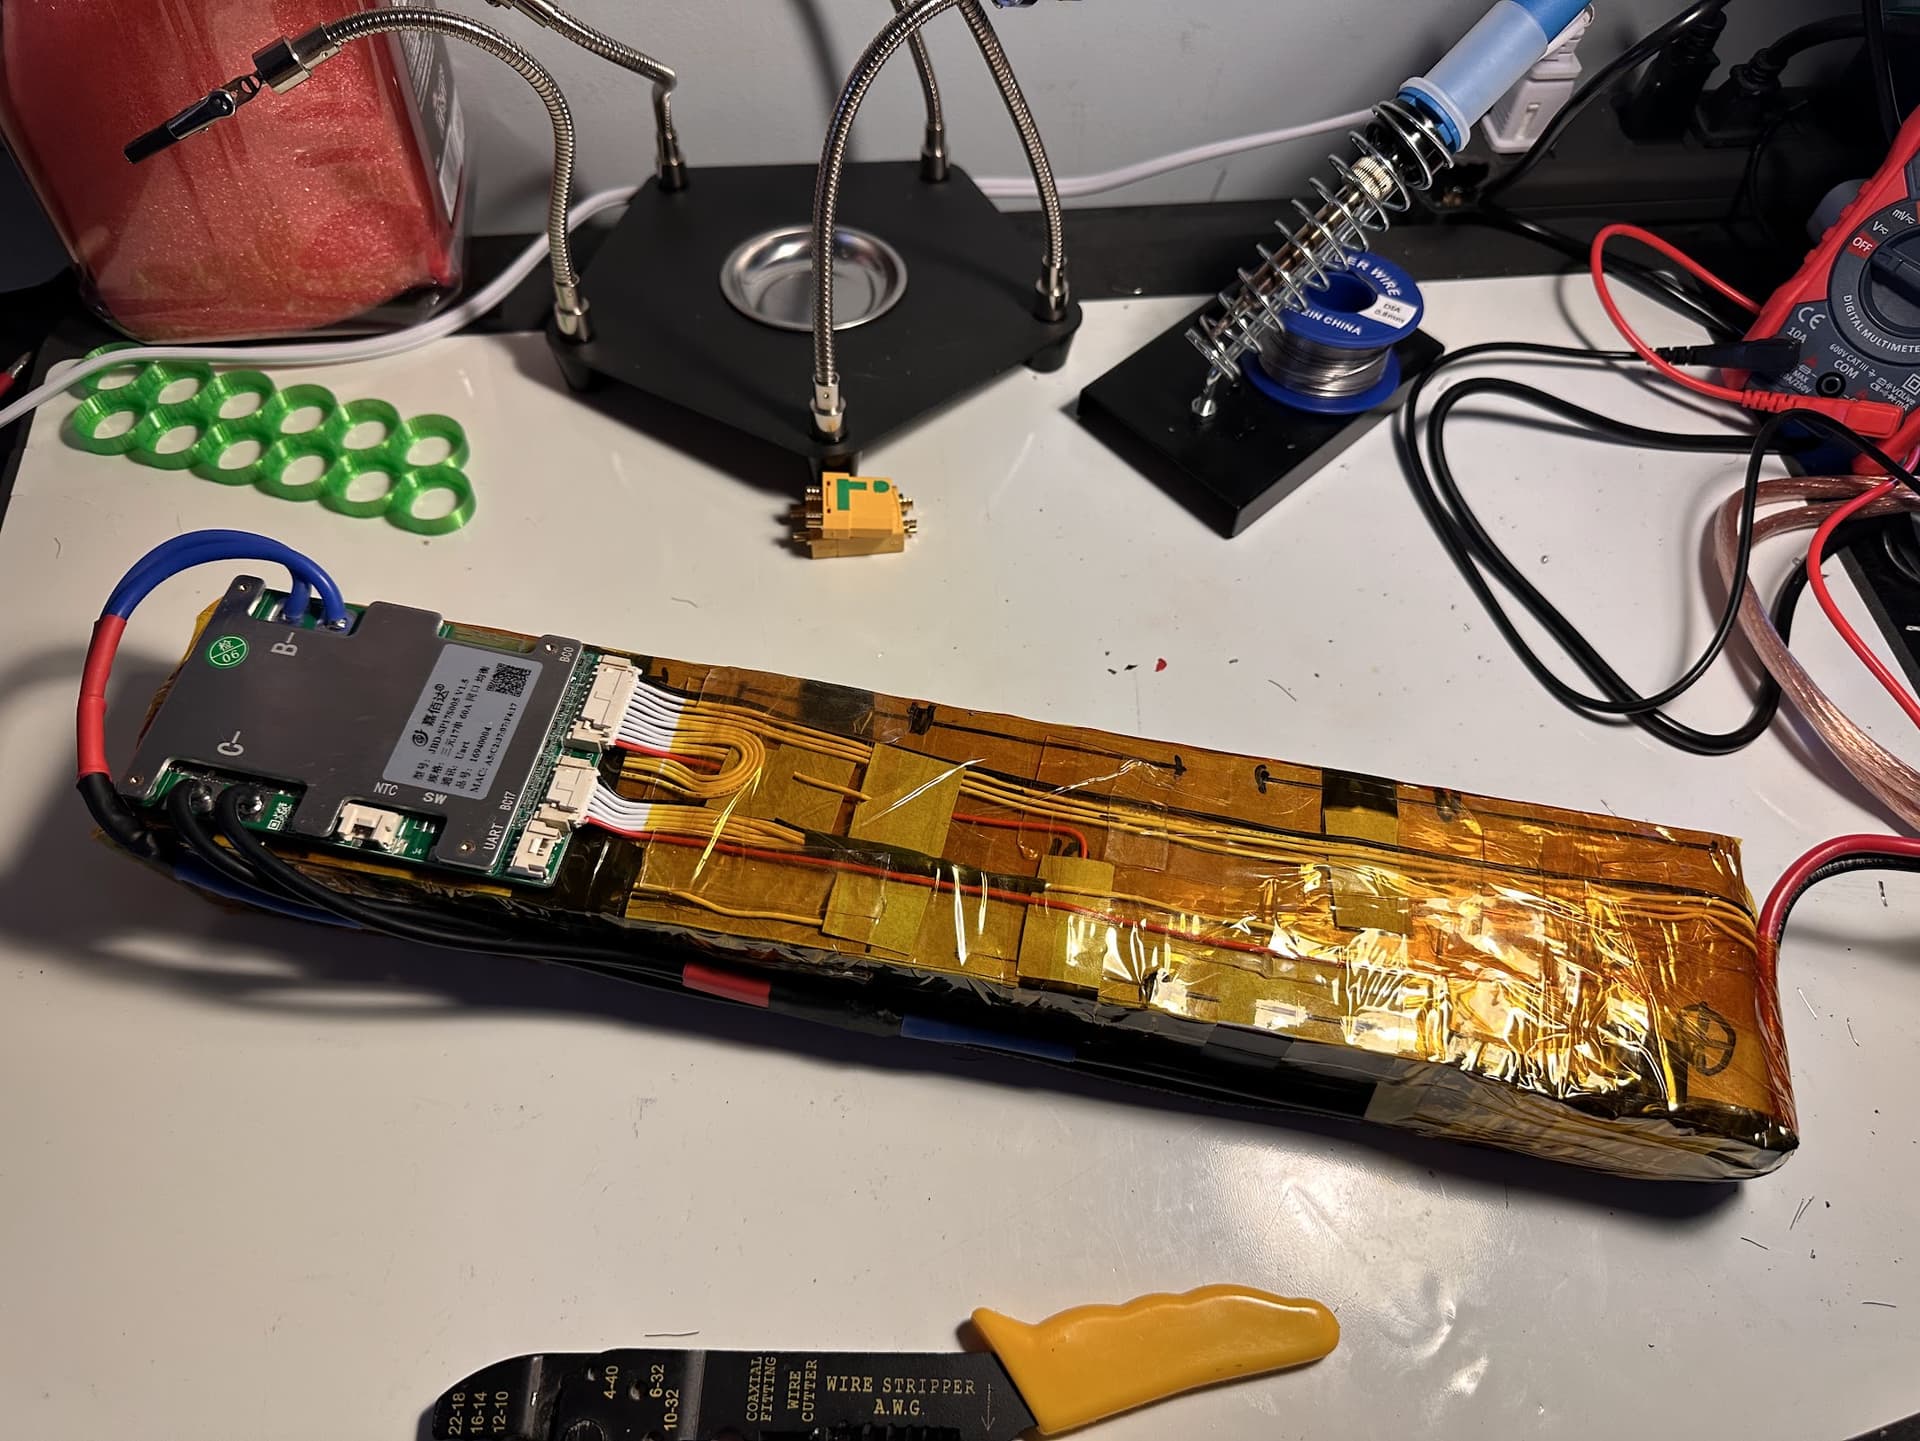
Looking for a BMS recommendation. Built the 12s3p battery, wired up the BMS and nothing… Voltage reads correct on all the pins etc…
Paying a bit of 1st timer tax with finding out what I didn’t know to was important and buying wrong stuff (Oh well).
Went with the common port smart BMS which is big when all I think I really want is a BMS for charging. Now for taking the 1st BMS off the pack and thinking about how to do it better the 2nd time.
Great battery build!
My personal OCD loves clean cables. So you did a good job there.
Regarding the BMS, I totally see your point why you would want to install one.
Here’s my 2 cents:
Companies like Foil Drive have to include BMS in their batteries cause their systems need to be idiot proof.
In our DIY builds you’re actually better off not using a BMS but using a balance charger when charging your pack. You’re gonna take good care of your battery anyway.
The advantage is that you don’t have to include a huge bulky BMS in such a small battery as yours.
I’ve build several huge efoil batteries where I have included a 200A smart BMS just to have peace of mind.
The BMS is oversized but I have enough space in the battery box.
For my Faux drive (12S2P/ 12S3P & 12S6P) I’m not using a BMS.
TY! Appreciate the insight from experience. Trying to catch on here and under the assumption that if the have to have the (12-13) pack wires connectable via some sort of waterproof membrane/connector to charge correct? Not sure I’ve seen one of these yet I wonder if I’m thinking about this the right way ? idiot proof idea was as you said to have a small BMS for charging… no BMS does sound good… as long as I can get the pack charged, balanced, etc…
In case you’re planning to build a housing for your system that is harder to service, and/or you plan to leave your battery in the housing to charge it, a simple solution would be to use a waterproof balancer port.
Use the search function and you will find many successful battery builds like this one by @Flightjunkie
For waterproof battery I planned to use 24 pin weipu s29 waterproof connector
I will charge 12s with 6s+6s charger
7+7 pins for 6sX2 balancing
x2 5A pins in parallel X 4 = 8 pins for charging at 10A
Then for discharging can be used:
Weipu S29/2 pins 50A per pin
S29/10 pins 25A per pin , 5 pins paralleled => 125A possible