I have been thinking about this for some time now, but would a kneeboard as platform not be more suitable for a tow boogie?
I got a knee board to test initially, hull would work well, good size, but they are usually made from rotational molded plastic and very heavy.
1 Like
…so that’s the thing I like most with the boogie boards: the tight turns. It works so well for slingshotting into swell.
1 Like
My neighbor gave me another soft top short board to use, but I will definitely revisit the boogie board.
1 Like
Regarding printers… just an FYI to those with a budget printer… I’m using an Ender 3 V2 and getting superb results on PLA, PETG and PETG-CF - up to about 0.2 layer height- my preference is 0.15 as it give more strength, better finish and a good balance on speed vs quality. Yes they are much slower than Bambulabs printers but still capable. Check my build topic (2nd or 3rd post) where I document settings.
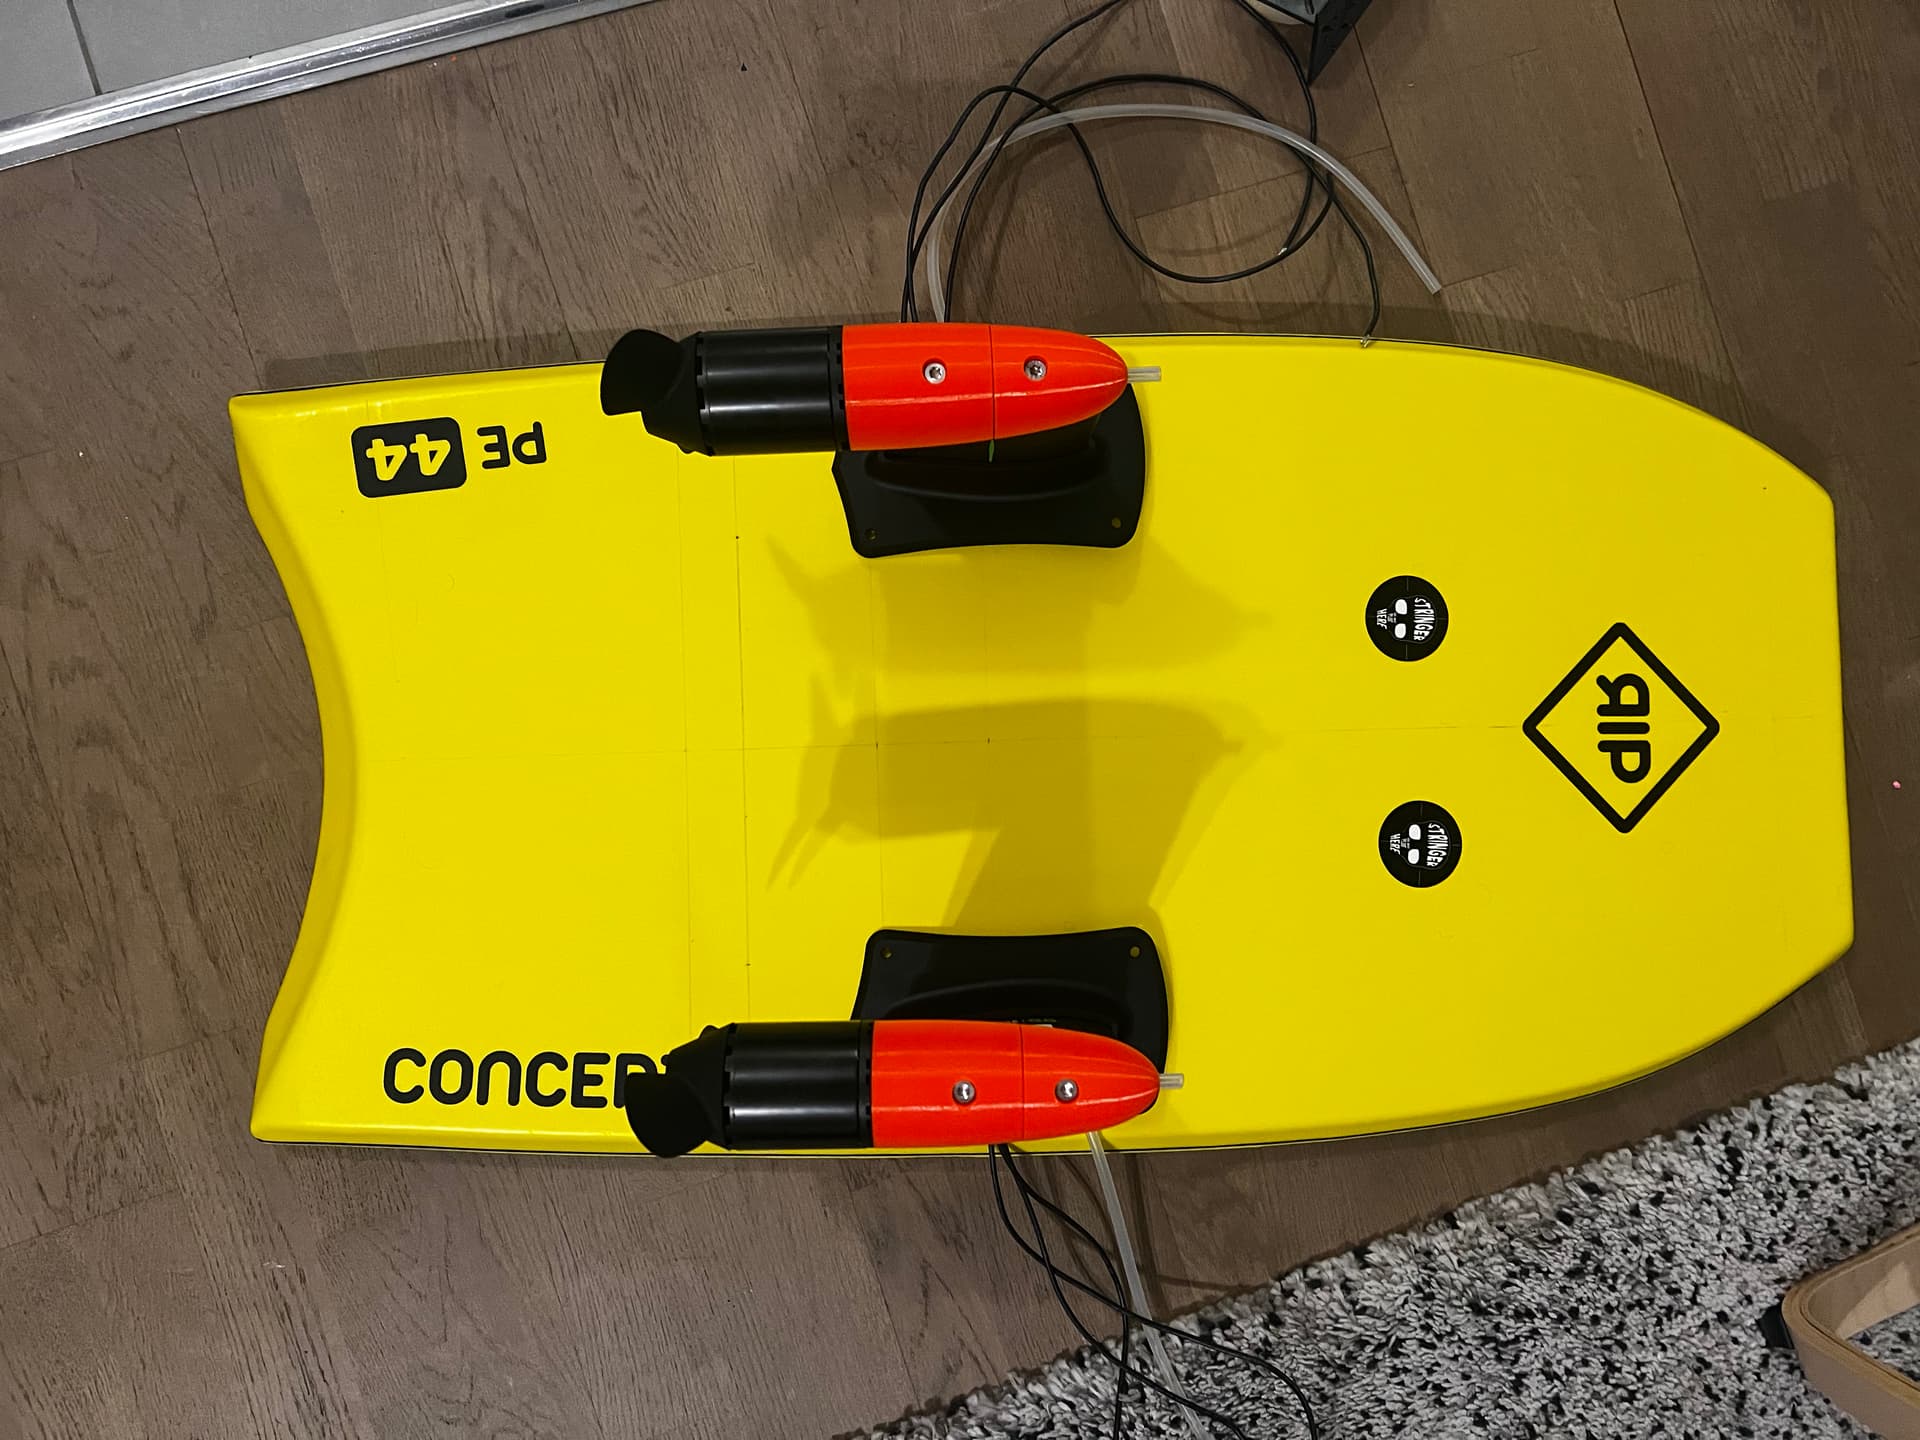
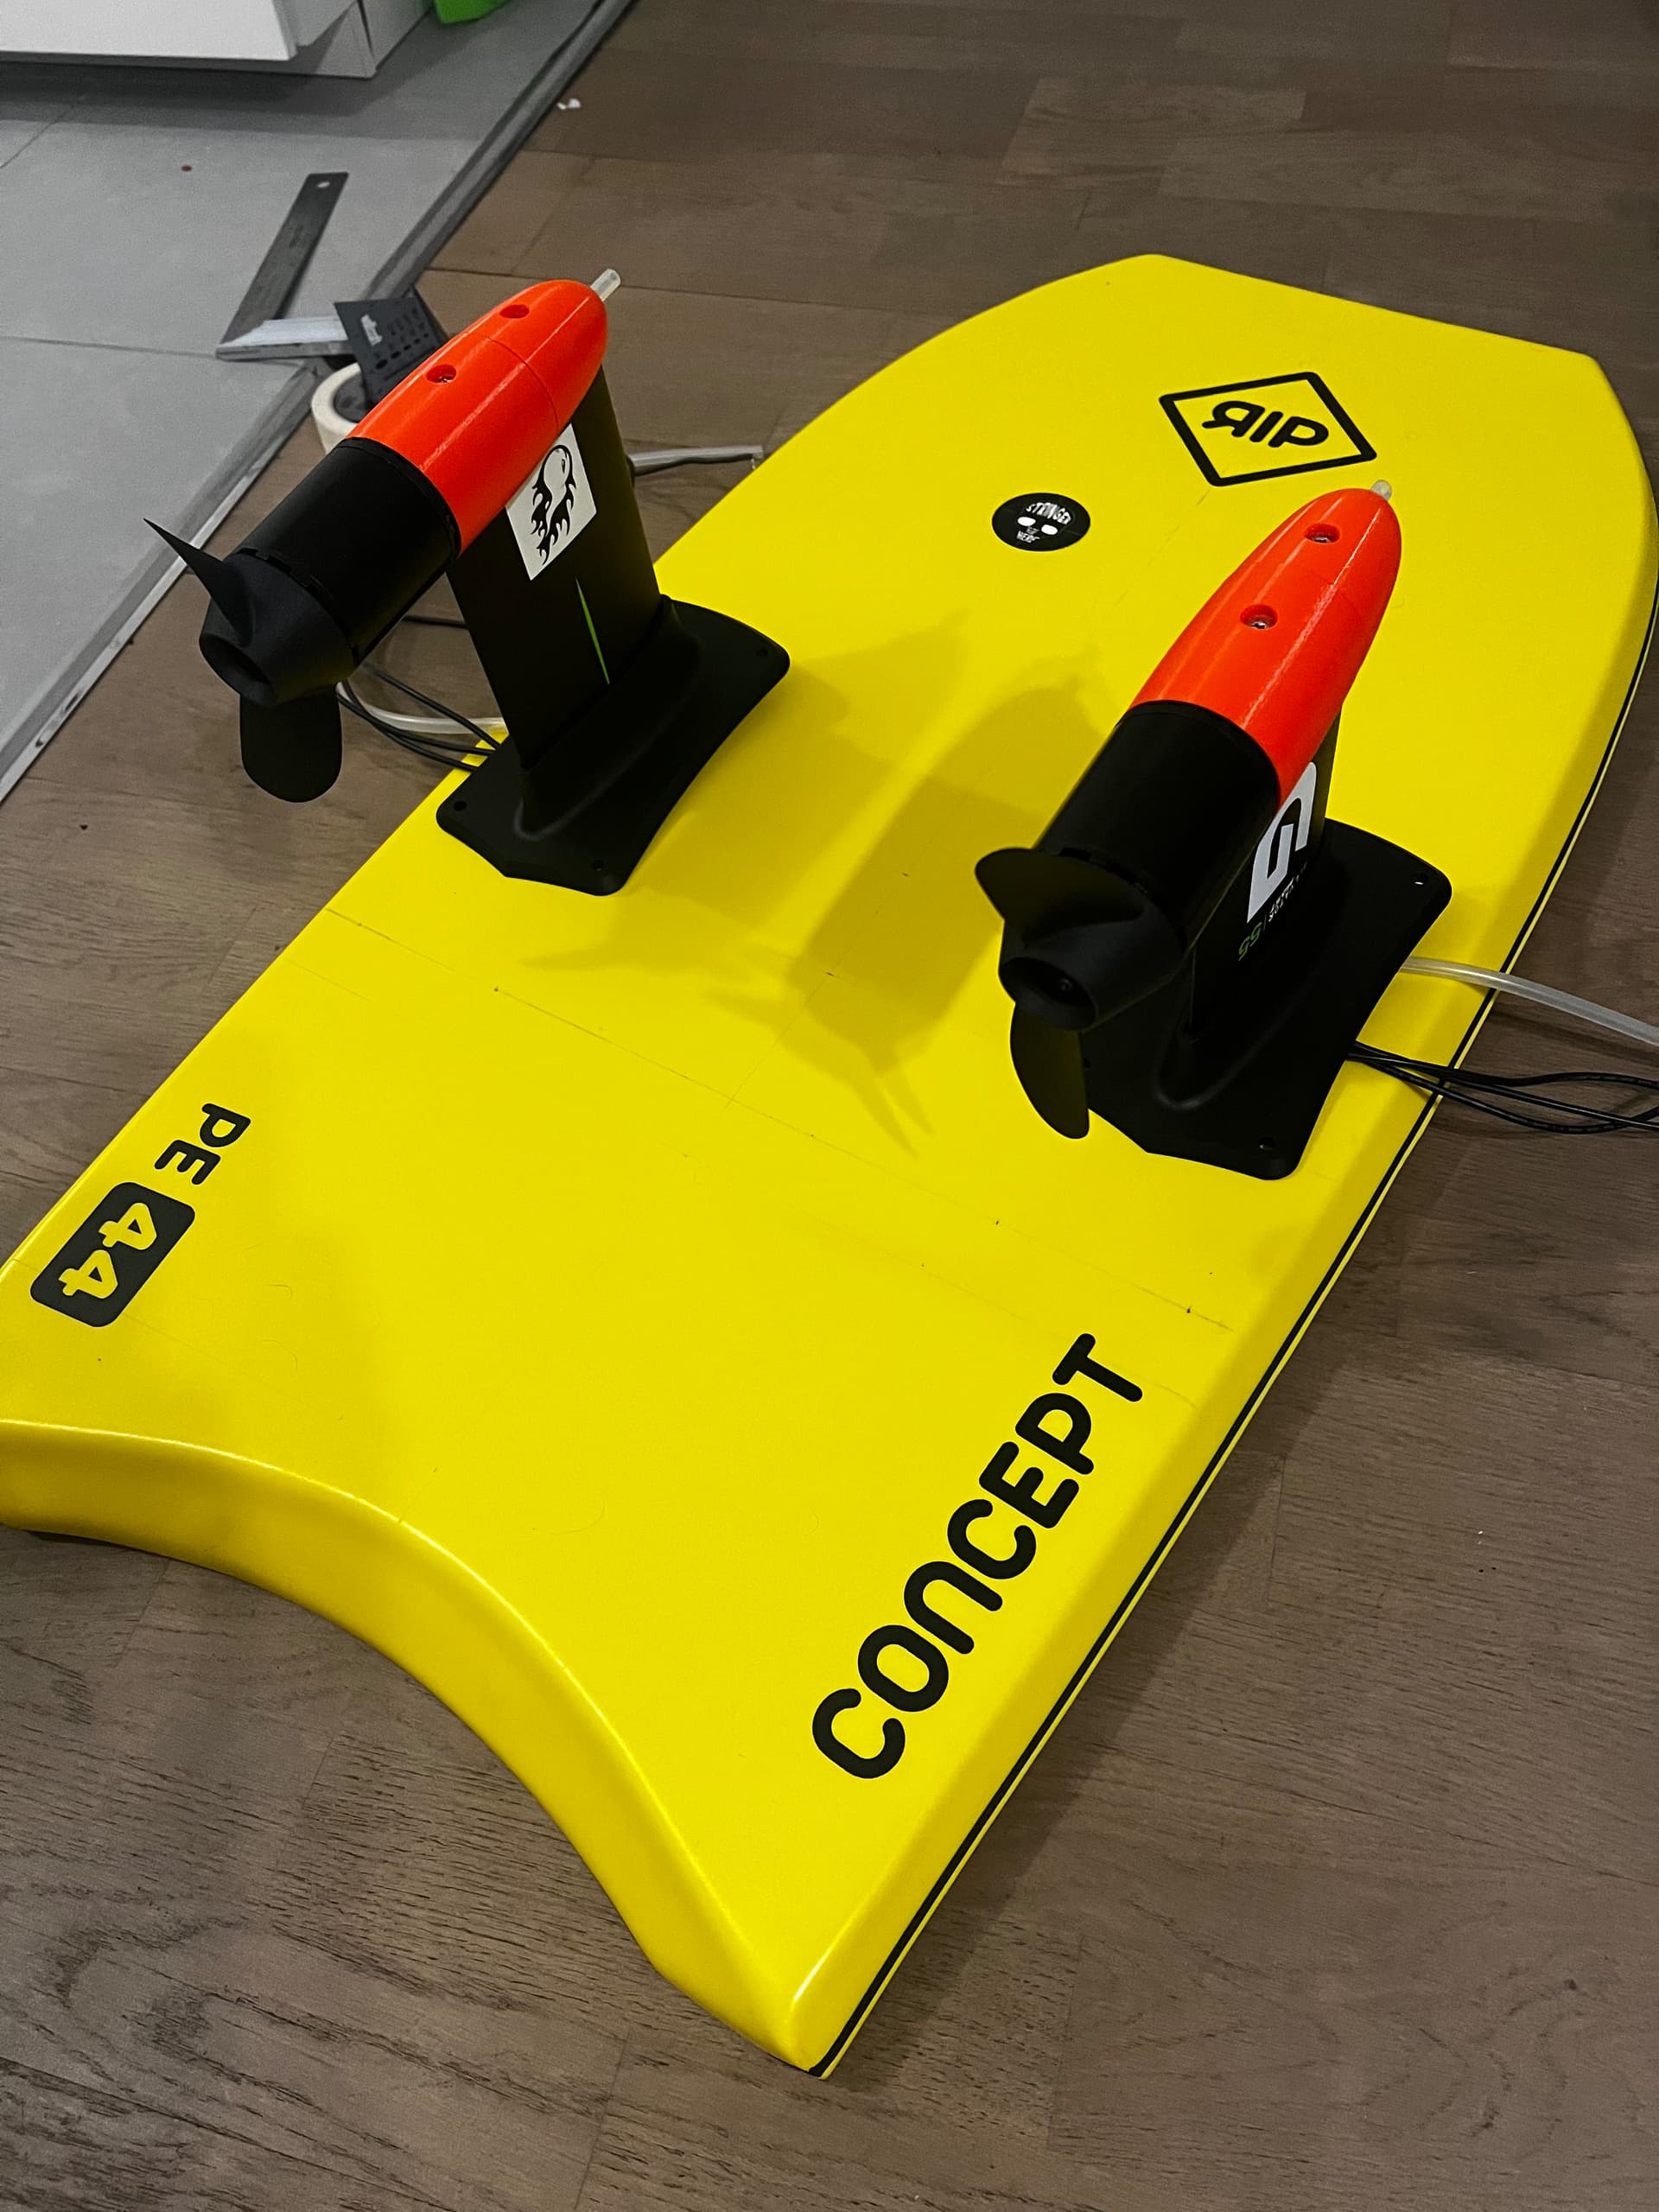
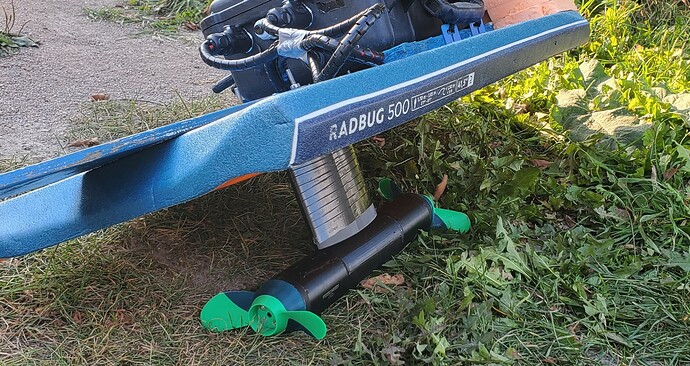
Hey, I’m revisiting my old eTOW thanks to @Etiennebzh and went for a boogie board.
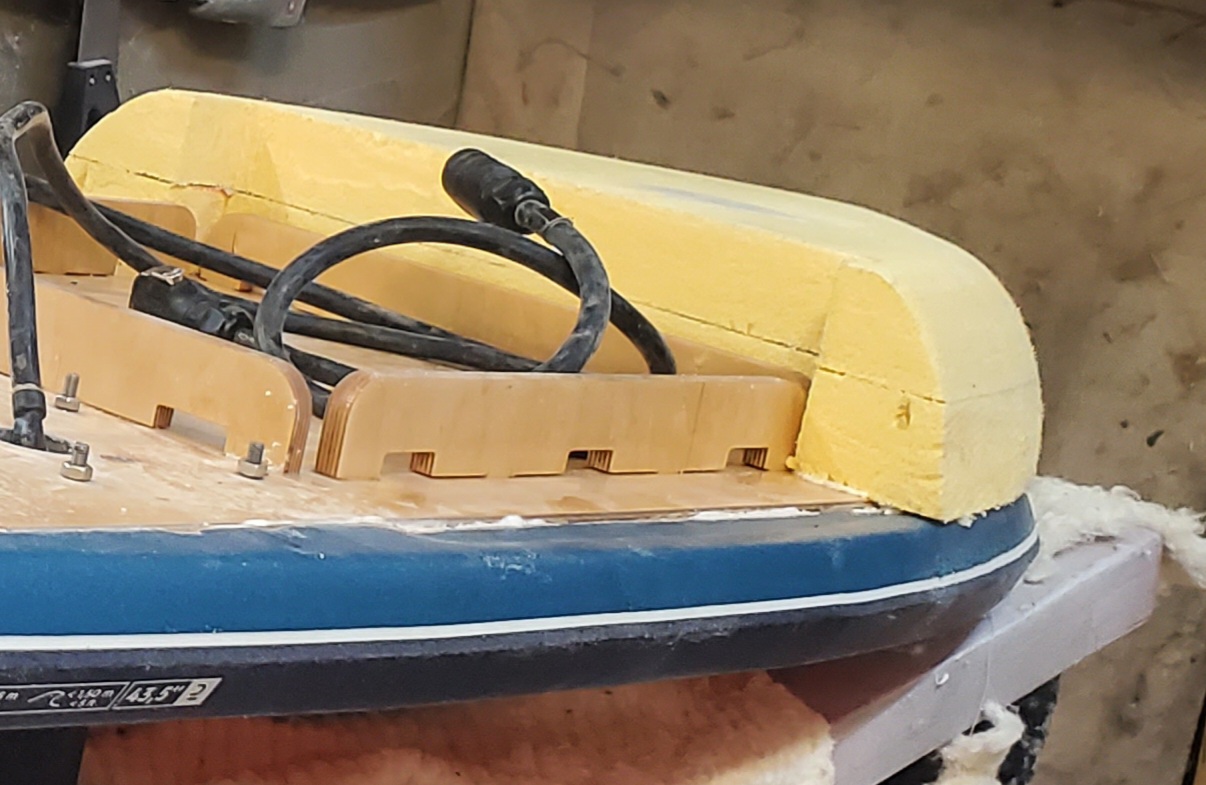
I’m not going to setup the pods on the board. By reading your adventure @Jesserosco … I had the rear of the propeller 21cm from the tail of the deck. I’ve now moved it more forward.
I’ve also put them pretty close to each side of the board for more stability
any guidance before I drill the boogie? I’m going to use 5mm carbon panels on the top to fix the two baseplates


2 Likes
For safety I would mount the props toward the center more.
Quite often while sitting on the foil board and driving the Boogie back to you it can come quite close, and you could easily get a prop strike to the leg if the blades are out side of hull.
The only benefit of having them so wide is that it looks cool, and you get more turning authority. But you don’t need to turn on a dime otherwise you will catch the rope!
5 Likes
well noted brother. I’ll move them 2cm/3cm more towards the center.
I actually found the motors being farther apart made my boards unstable. I tried putting them all the way to the edge and it was real squirrelly. I moved them inward and it’s much more stable. I would put the motors about 1/2 way up. You still might need an extension for the rope off the back of the board to keep the nose down. I was not successful with the first boogie board, but I am definitely gonna try it again.
Edit: It also depends on the board you ride and your size. I’m 190lbs and ride a 27L board, so these things need to be really forward heavy to not breach the motors. If you are riding a bigger board then everything can be pretty neutral. If you try and ride my setup on a 60+ liter board then it will submarine a lot.
1 Like
thanks! got it. rear line of propellers at 1/3 of the board would cover these requirements
1 Like
What about mounting a foil section with negative lift not on the nose of the boogie (difficult to turn) but 1/3 aft of the nose ?
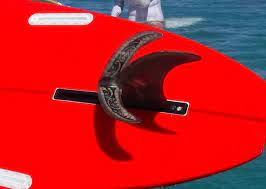
A tunnel fin ?
Why not put them in line, and make one a pull and one the push motor (you will need to get a “pull” prop.
This way when they counter rotate, you will not have the torque problem as one prop torque will counter out the other prop torque .
Are you talking about this?
3 Likes
if those were slightly offset I wonder if could you get both the torque benefit and also differential steering benefit
Linking in @jenz Reference here too, for the single motor version. Jenz's Tow Boogie build from Sweden - #68 by jenz
I just uploaded the motor pods to printables here:
https://www.printables.com/model/845521-6384-outrunner-motor-pod
I am waiting on some permissions to upload the other parts.
8 Likes
Thanks a lot. That is going to be so useful. ![]()
1 Like
Here is the modified version of @hangloose LMT-6 connector. Thank you again for letting me modify and share this. Be sure to water test the connector after they are installed before you put any electronics or battery in your waterproof box.
https://www.printables.com/model/845513-hangloose-modified-lmt-6-connector
7 Likes
Thanks @Jesserosco for sharing this. My locally sourced connectors are too long, so I’ll need to get the ones you’ve designed for. Is this link correct? If not, would you mind sharing an Amazon or AliEx link? https://www.amazon.com/FLY-RC-Battery-Banana-Connector/dp/B07CZG48N4 The 6mm option?
Many thanks.