Which controller are you using? looks like a nice and compact one!
I was noticing that too. There is a small printed image of an efoil that looked familiar like an EasyFoil board. Seems they have added two new ESCs to their shop including the one @rttn has above:
Yes, that’s it. I also ordered a cheaper and more compact controller.
1 Like
How is the cooling managed there? Do you have some pictures?
Only 3 mosfets, it can be x4 hotter than the Xcross kinds.
How is the 3d printed aluminum prop , did you smoothed it?
No, straight from 3D printing. Has 25 sessions on it for now incl salt water, works well and no big corrosion.
1 Like
But it is manufactured not smooth, right? Not like CNC? Or they do some smooth finish? If not smooth, it can affect efficiency …
Has a sand blast style of finish. much better than 3D printed layer lines, but not as smooth as it could be with cnc and proper machining parameters.
For my use it works well, a lot of trust and good hook for in/out of water use in choppy water.
1 Like
I received it the day before yesterday, opened it and realized that I was in a hurry with the purchase. I use it in some other device, for example in a cable cam.
1 Like
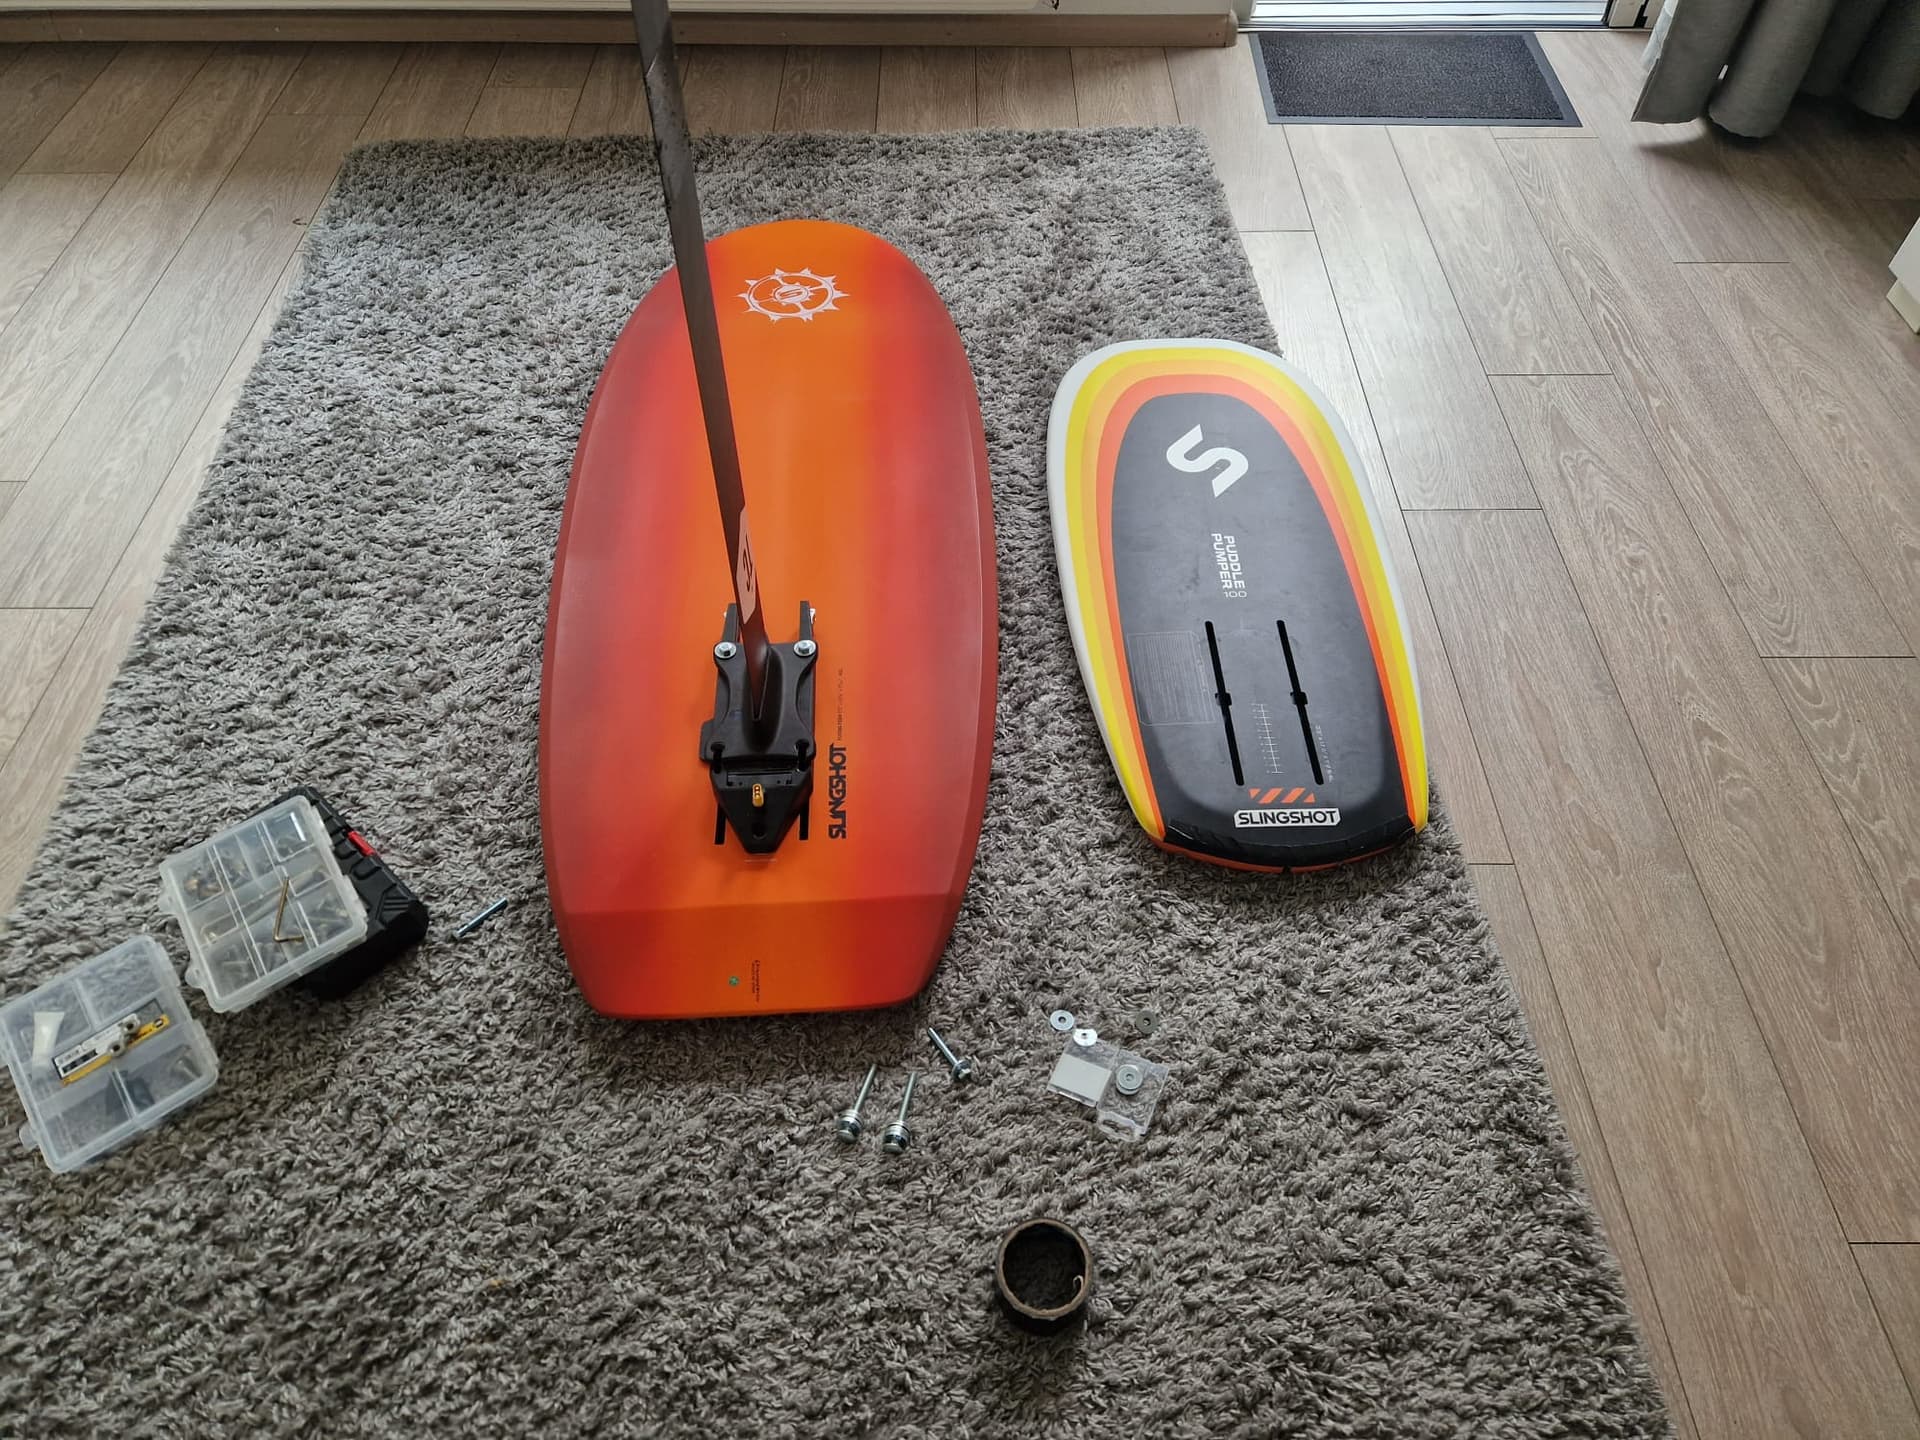
First pump session with new foils, out with the faxis (full set for sale 600€+Ship), now on indiana ![]()
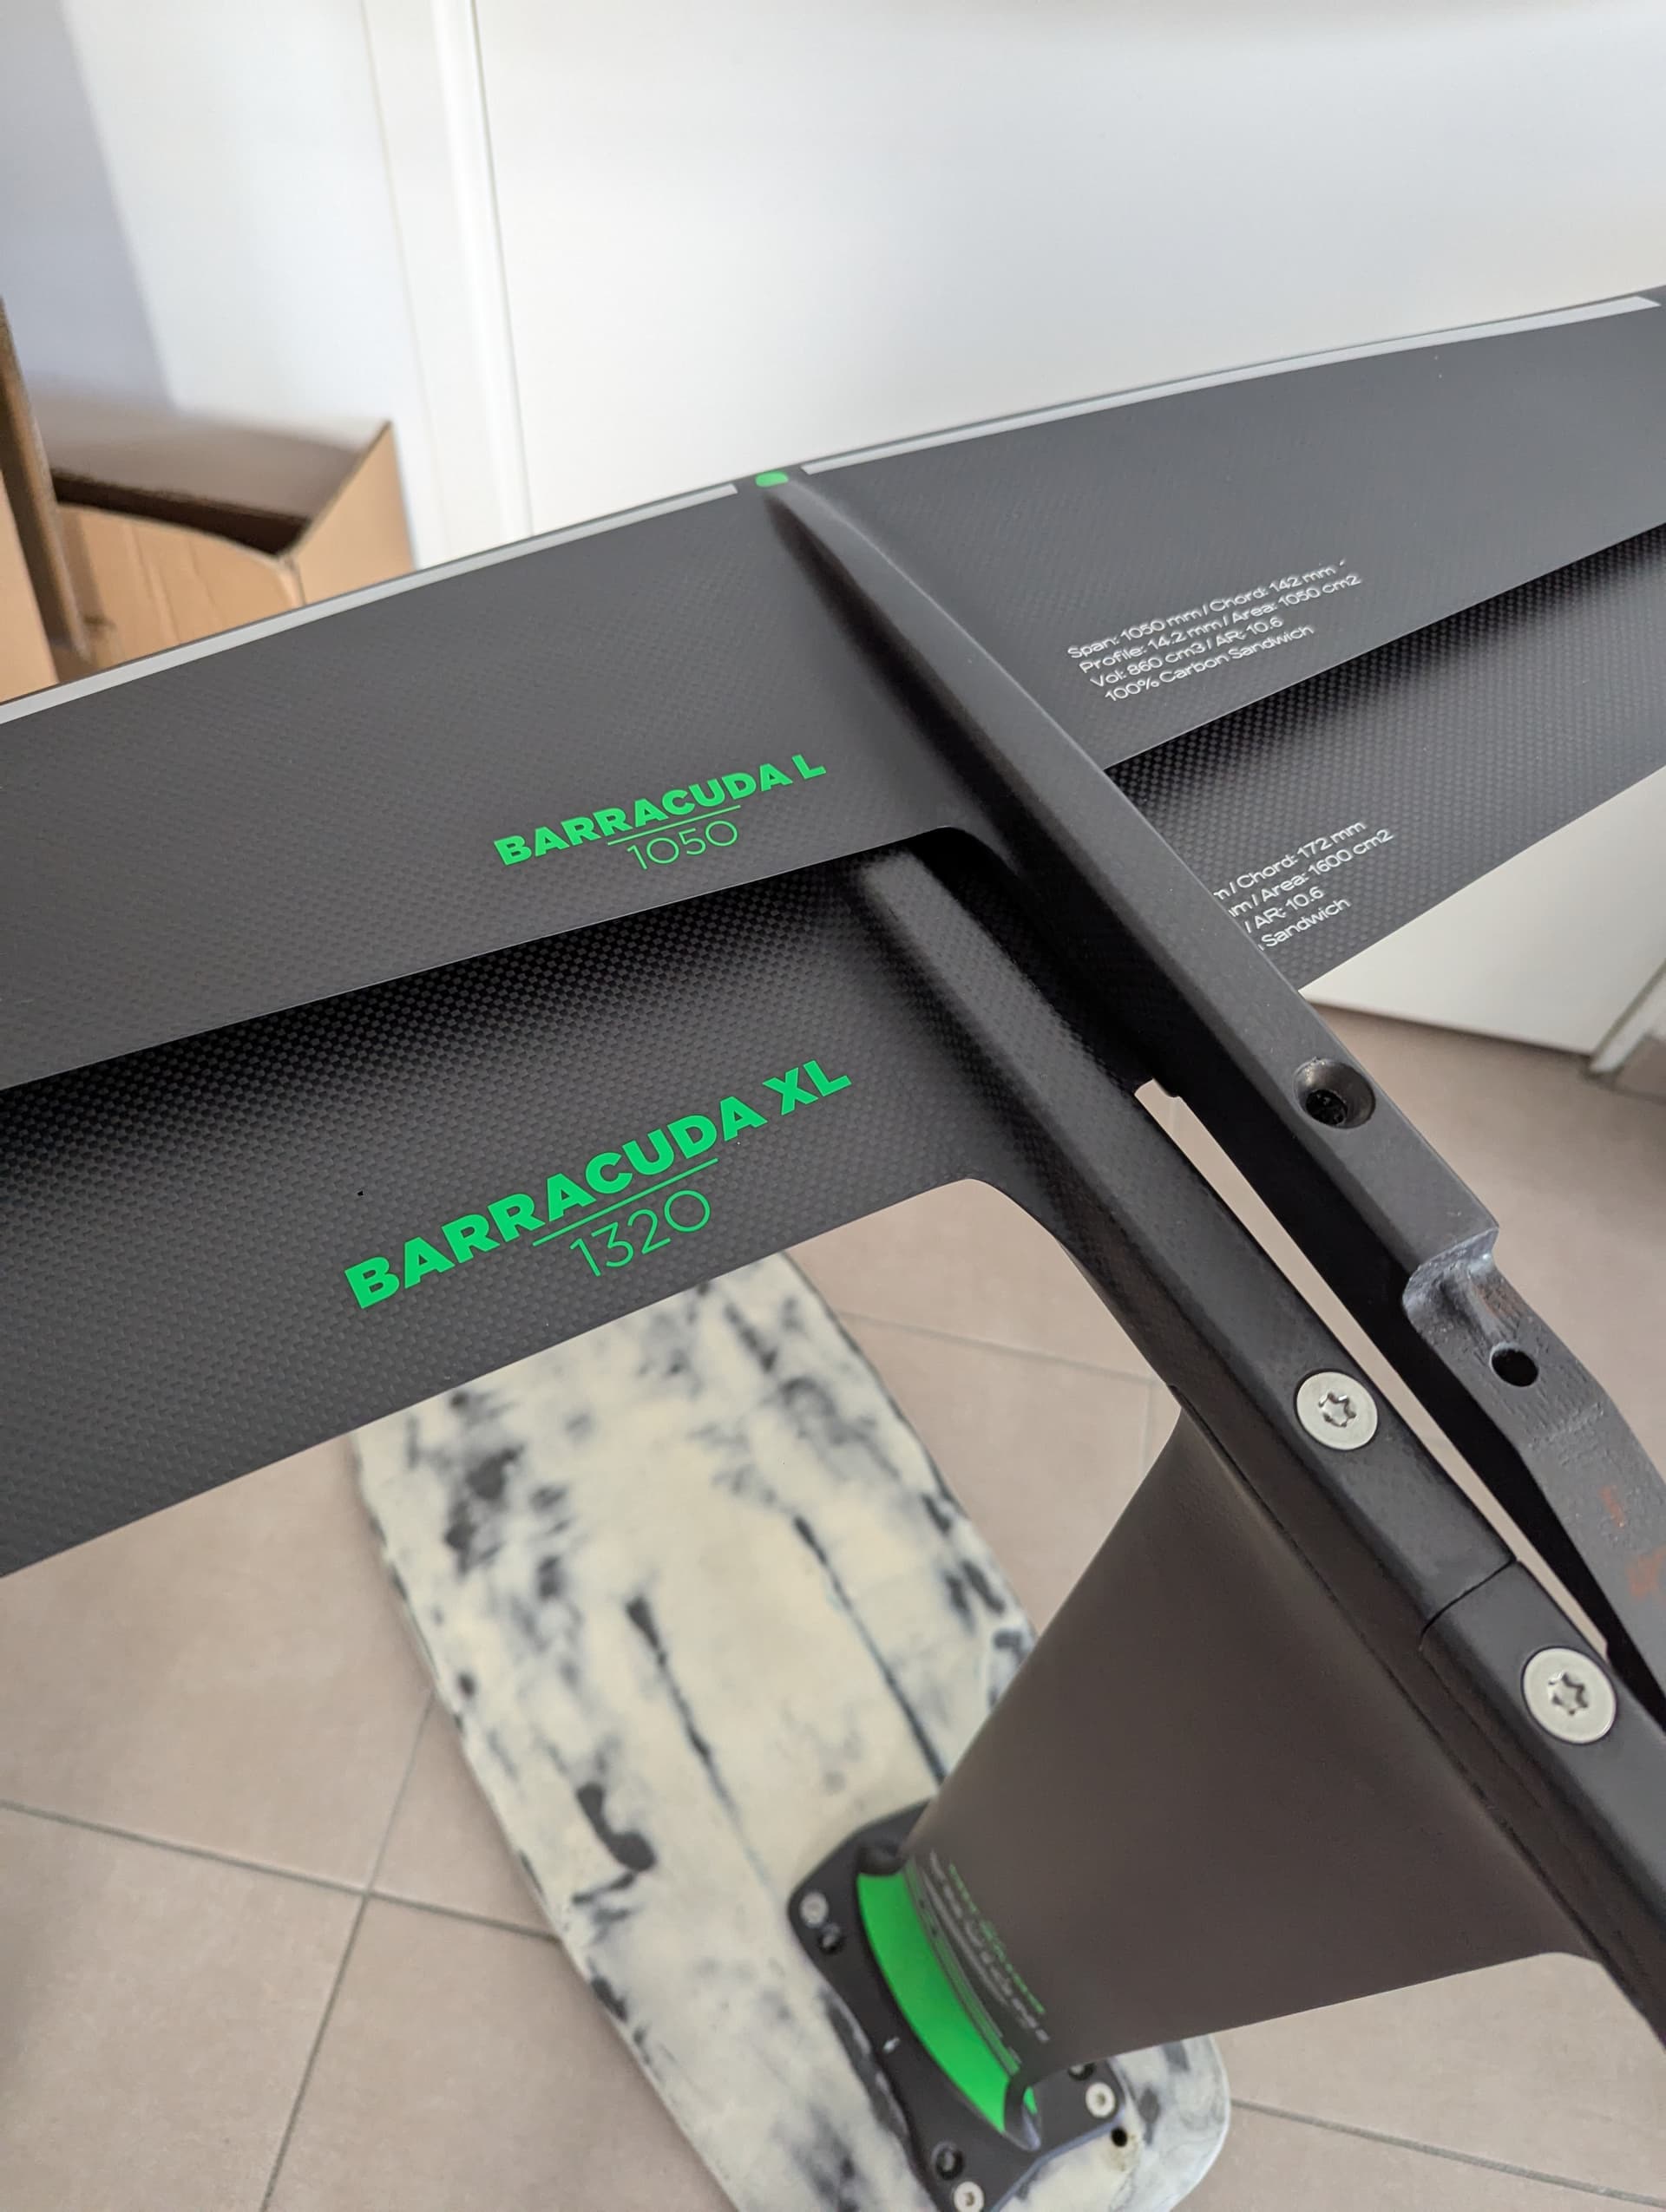
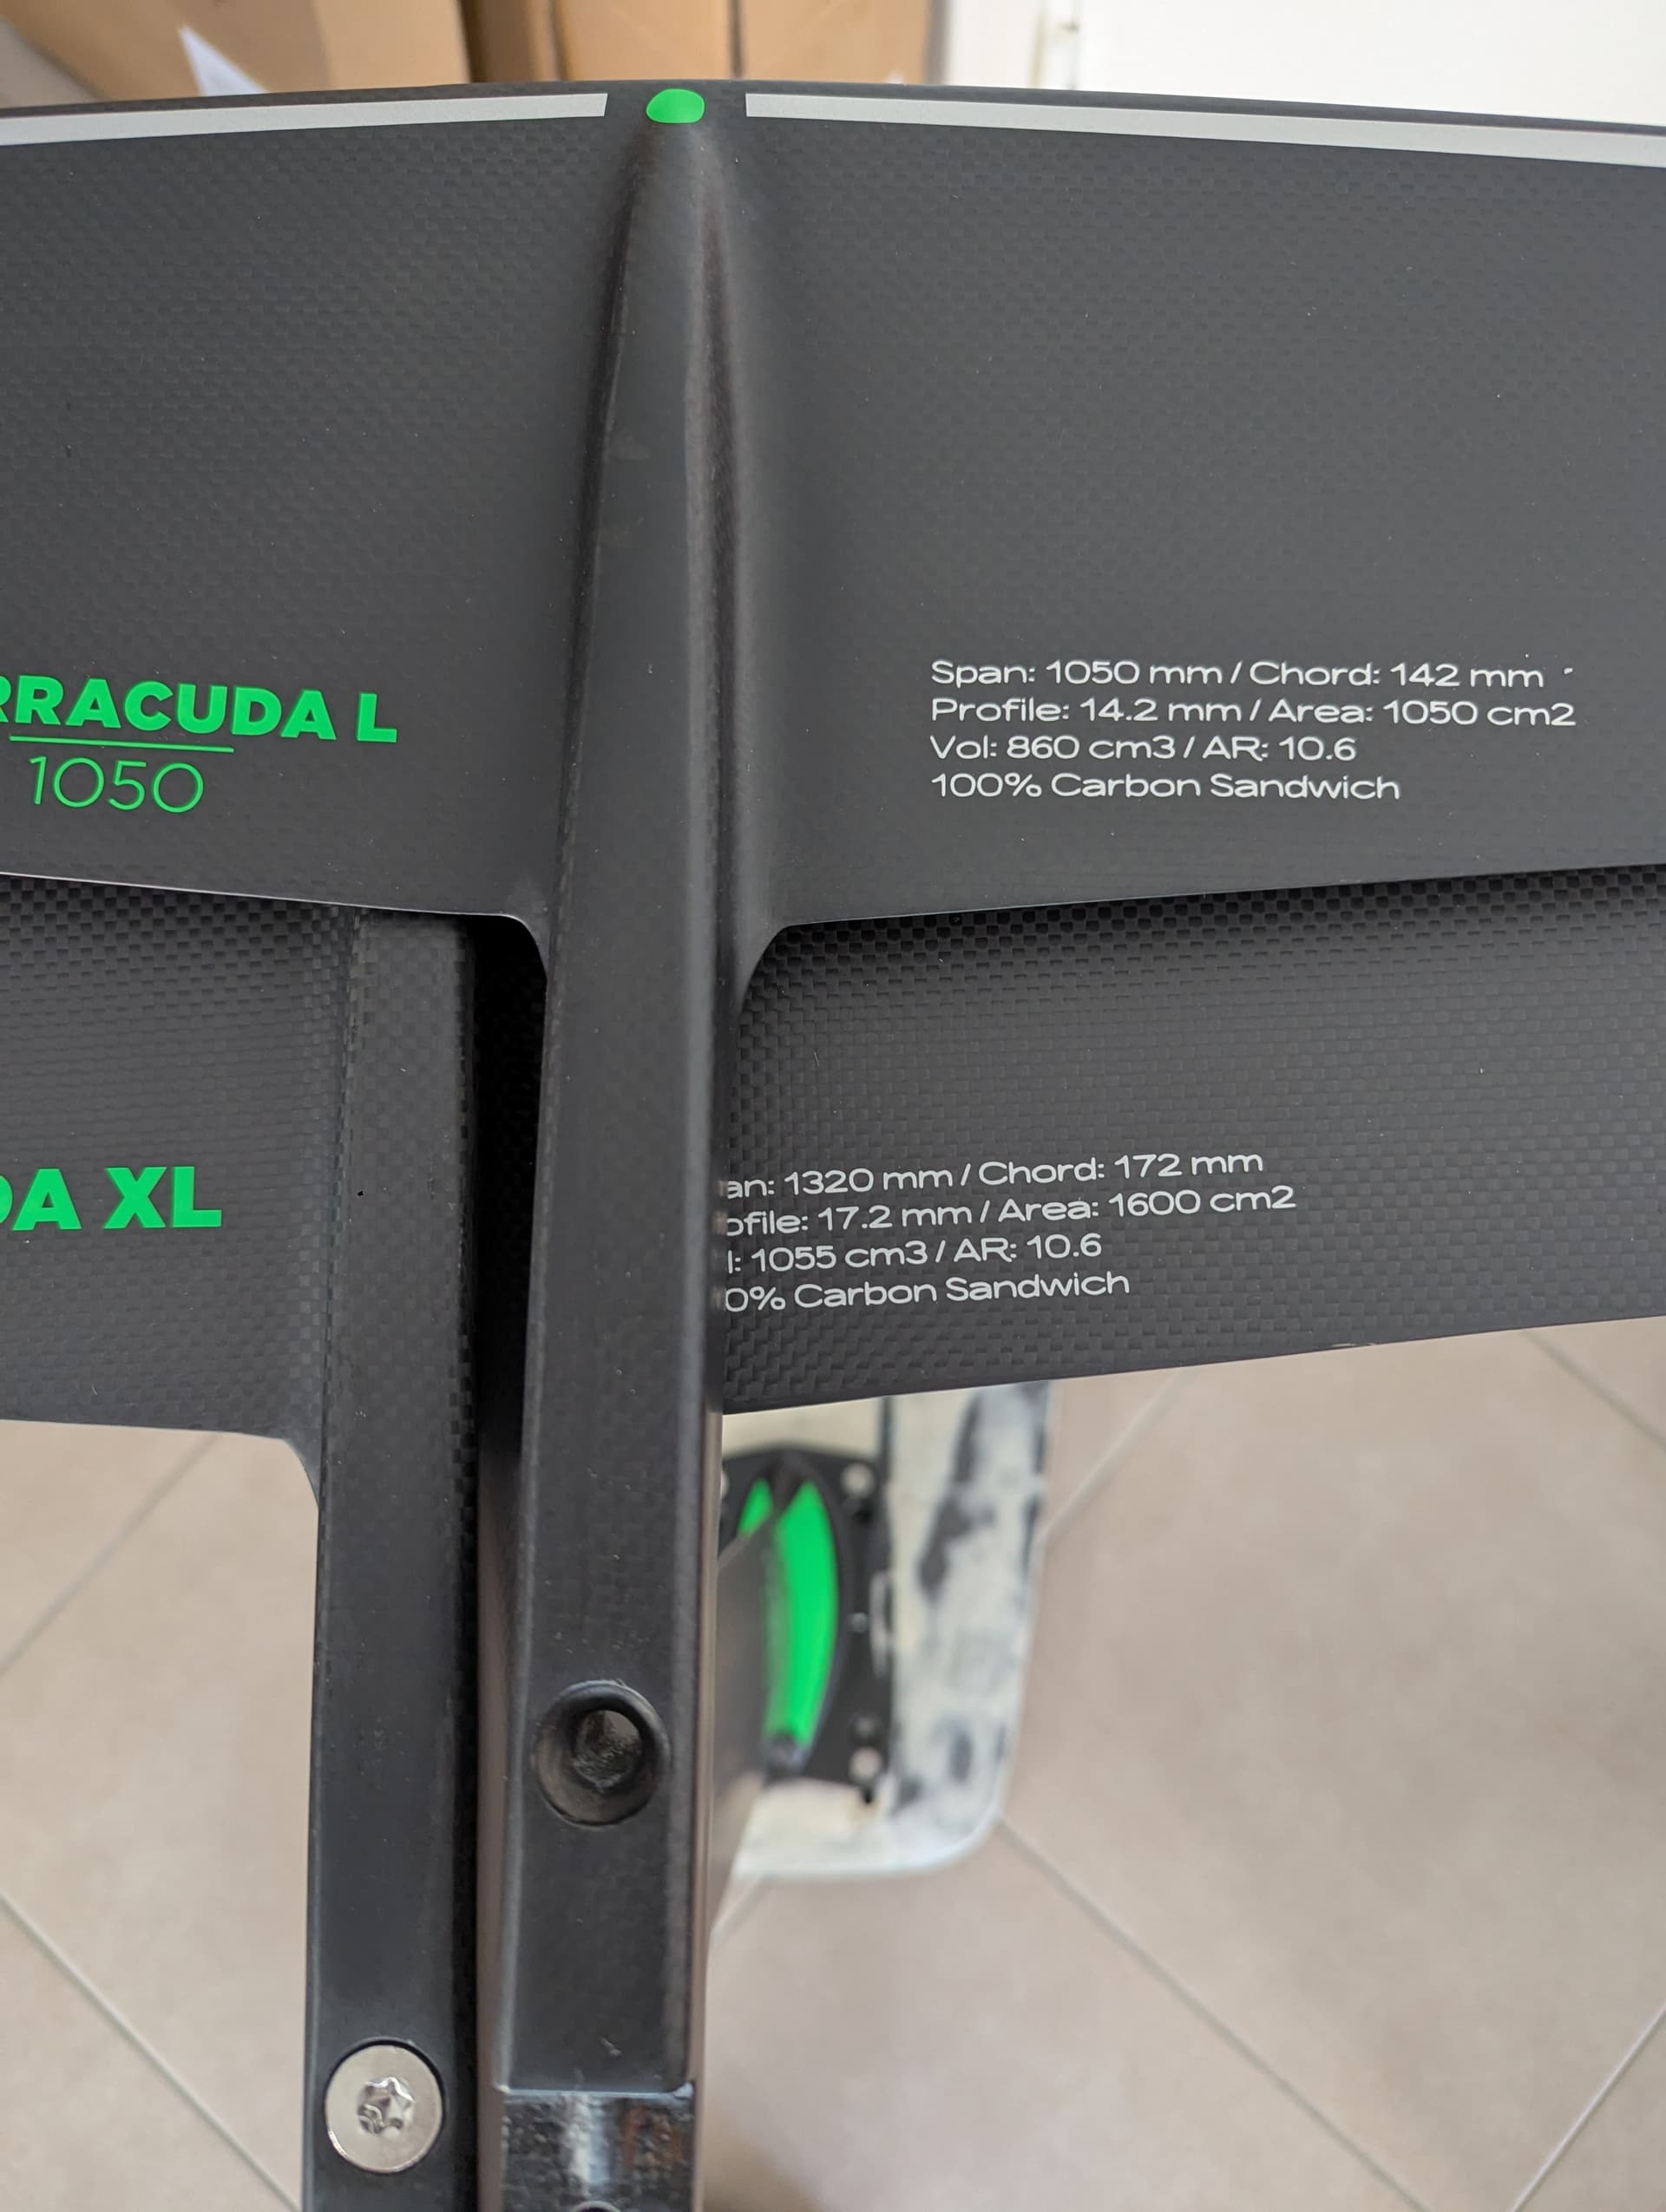
The rigidity and glide with the HM mast and monobloc construction is something else. Did not record my first run on it but it was around 1,45’ already better or same than my best with the 1401.
I can dock start the small one too, it will be used for downwind in bigger conditions and surf tow/assist. Our dock is 4m long and I need all of it to get speed.
3 Likes
This is awesome, I would love to replicate this.
Could you share more details on how this is connected and waterproofed? I’d like to do something similar

@Bzhwindtalker I started printing with cc3d PBT and it really feels great! Great layer adhesion and toughness. Despite me trying to twist small part with two walls, it doesn’t break. Flexible only a bit.
230c, 0 fan, 15s layer time, bed temperature need to be less than 60 because it stick too much to the textured pei.
1 Like
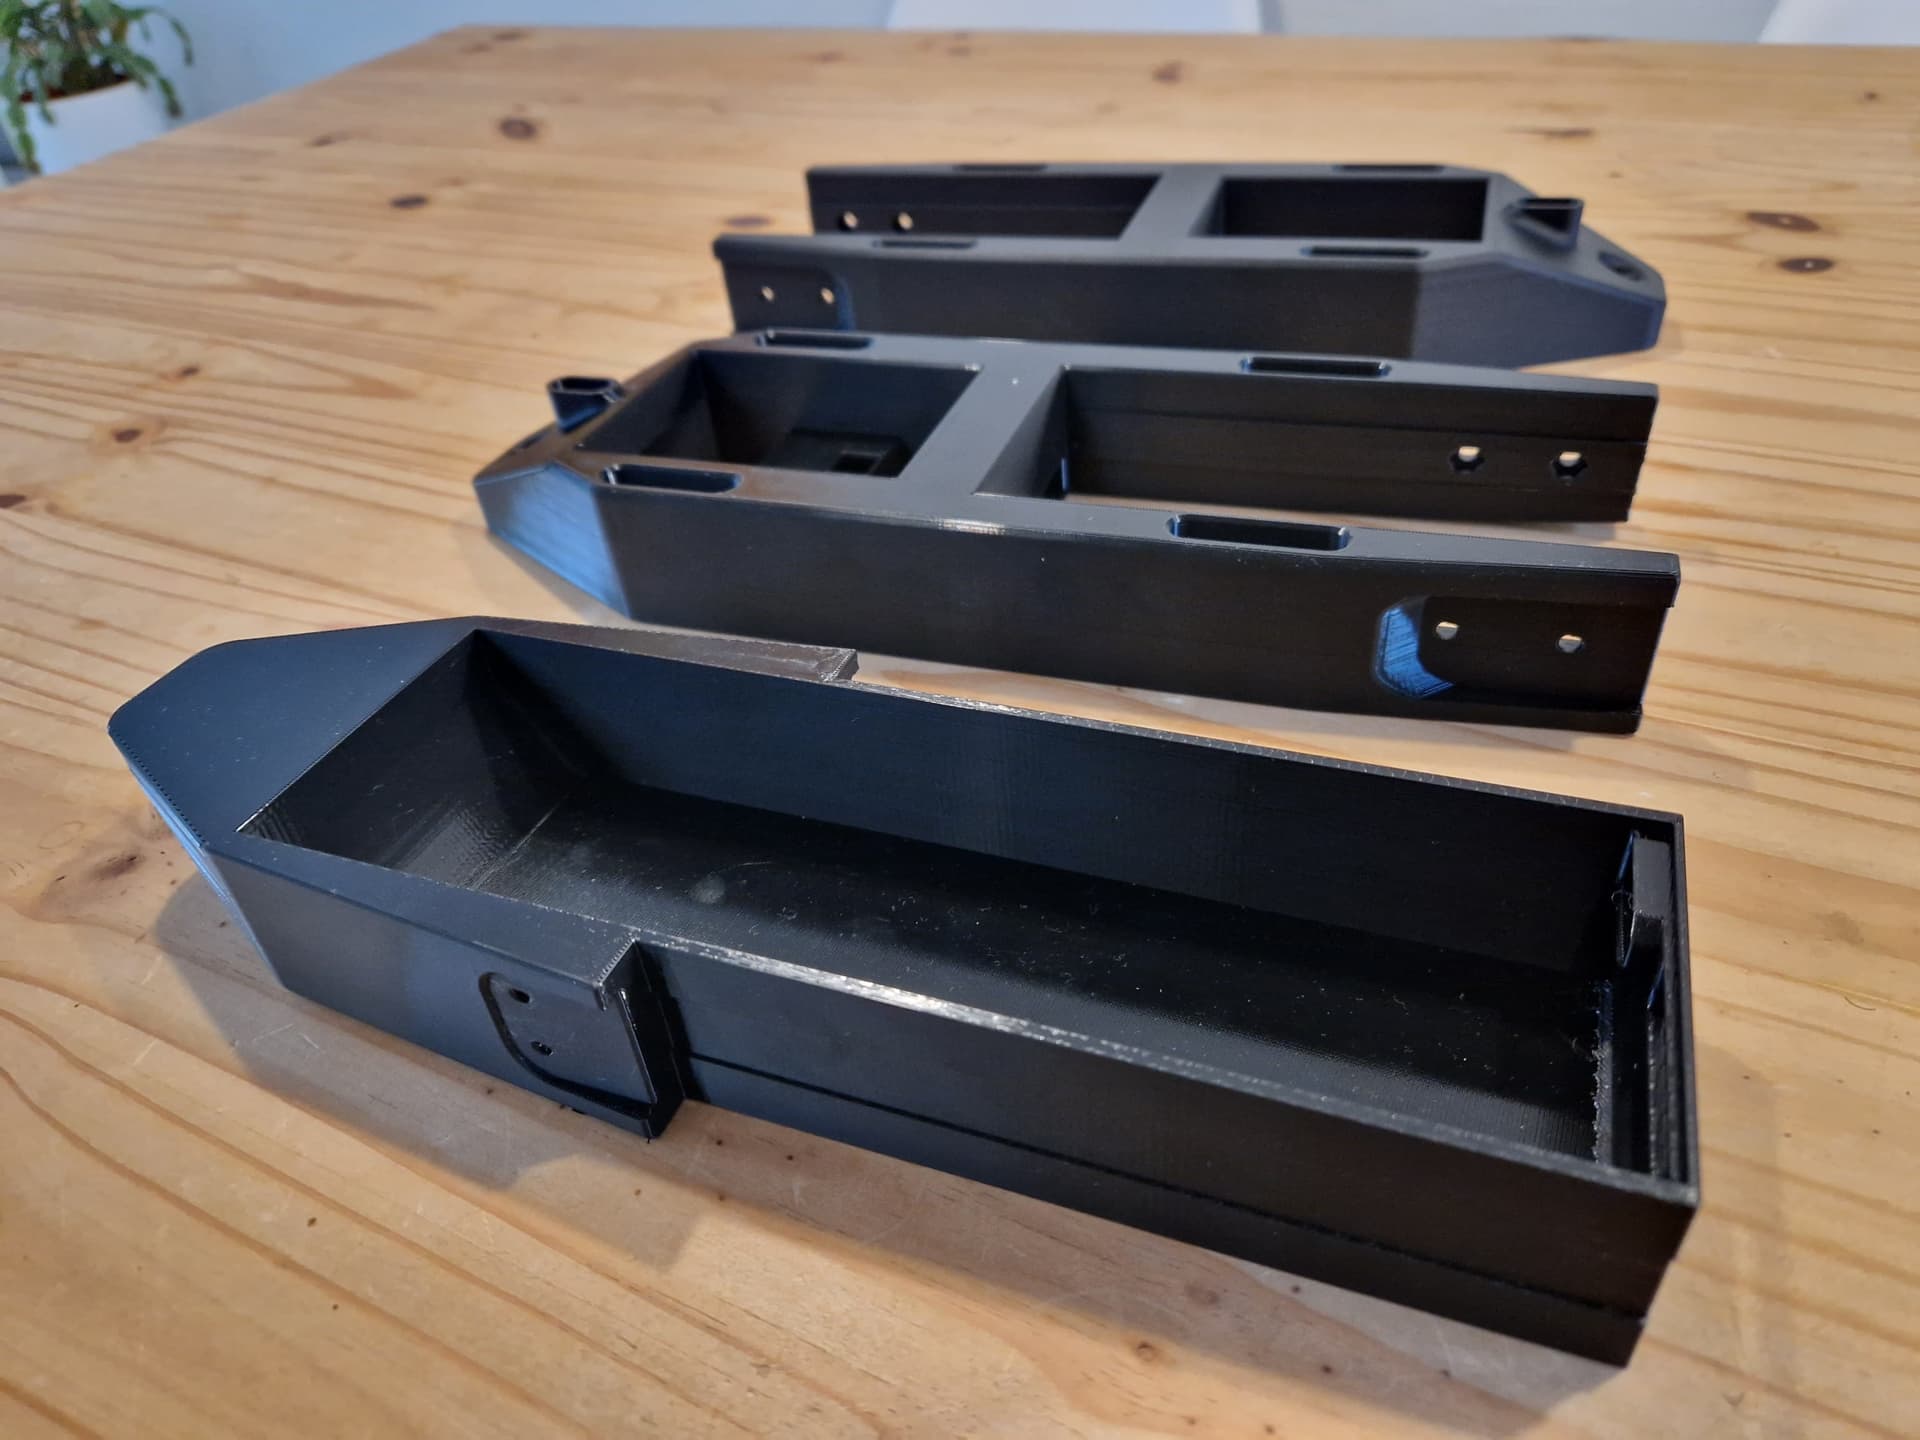
Two guys have now sent me pictures of work in progress/almost finished builds ![]()
Hope they can share their experience about it
Thank you for sharing your project and helping me through the build! I documented my build so that @Bzhwindtalker doesn’t have to keep answering the same questions I already asked him. All credit goes to him for the original design and support.
Electronics & Electrical Components
| Item | Link | Notes |
|---|---|---|
| VESC | AliExpress | Electronic Speed Controller |
| Motor | AliExpress | |
| Battery (Samsung 30Q) | NKON | But I’m told the VTC6 cells should be much better |
| Remote | AliExpress | |
| Different Antenna | AliExpress | For the receiver |
| Antenna Extension Wire | AliExpress | Choose the right length for your board |
| Antenna Extension Wire Flypsky | AliExpress | I haven’t used this yet, but I came across it later and it looked like a good alternative. |
 Connectors
| Item | Link | Notes |
|---|---|---|
| MR60 Motor Connector | AliExpress | |
| Waterproof XT90 Connector | AliExpress | |
| Pogo Connectors | AliExpress | Get prewired ones to avoid soldering cables |
 Hardware
 Materials (Build & Adhesives)
| Item | Link | Notes |
|---|---|---|
| Epoxy | Amazon FR | |
| Silicone | AliExpress | Not required, but helpful for covering battery balance leads |
 Filament
| Item | Link | Notes |
|---|---|---|
| Support Filament | Bambu Lab EU | For support structures |
| PETG-CF Filament | Bambu Lab EU | PETG Carbon Fiber |
I started by printing the parts on my BambuLab HD2. After testing several materials, I found that I really liked PETG-CF for its strength and finish, so I used it for the final prints.
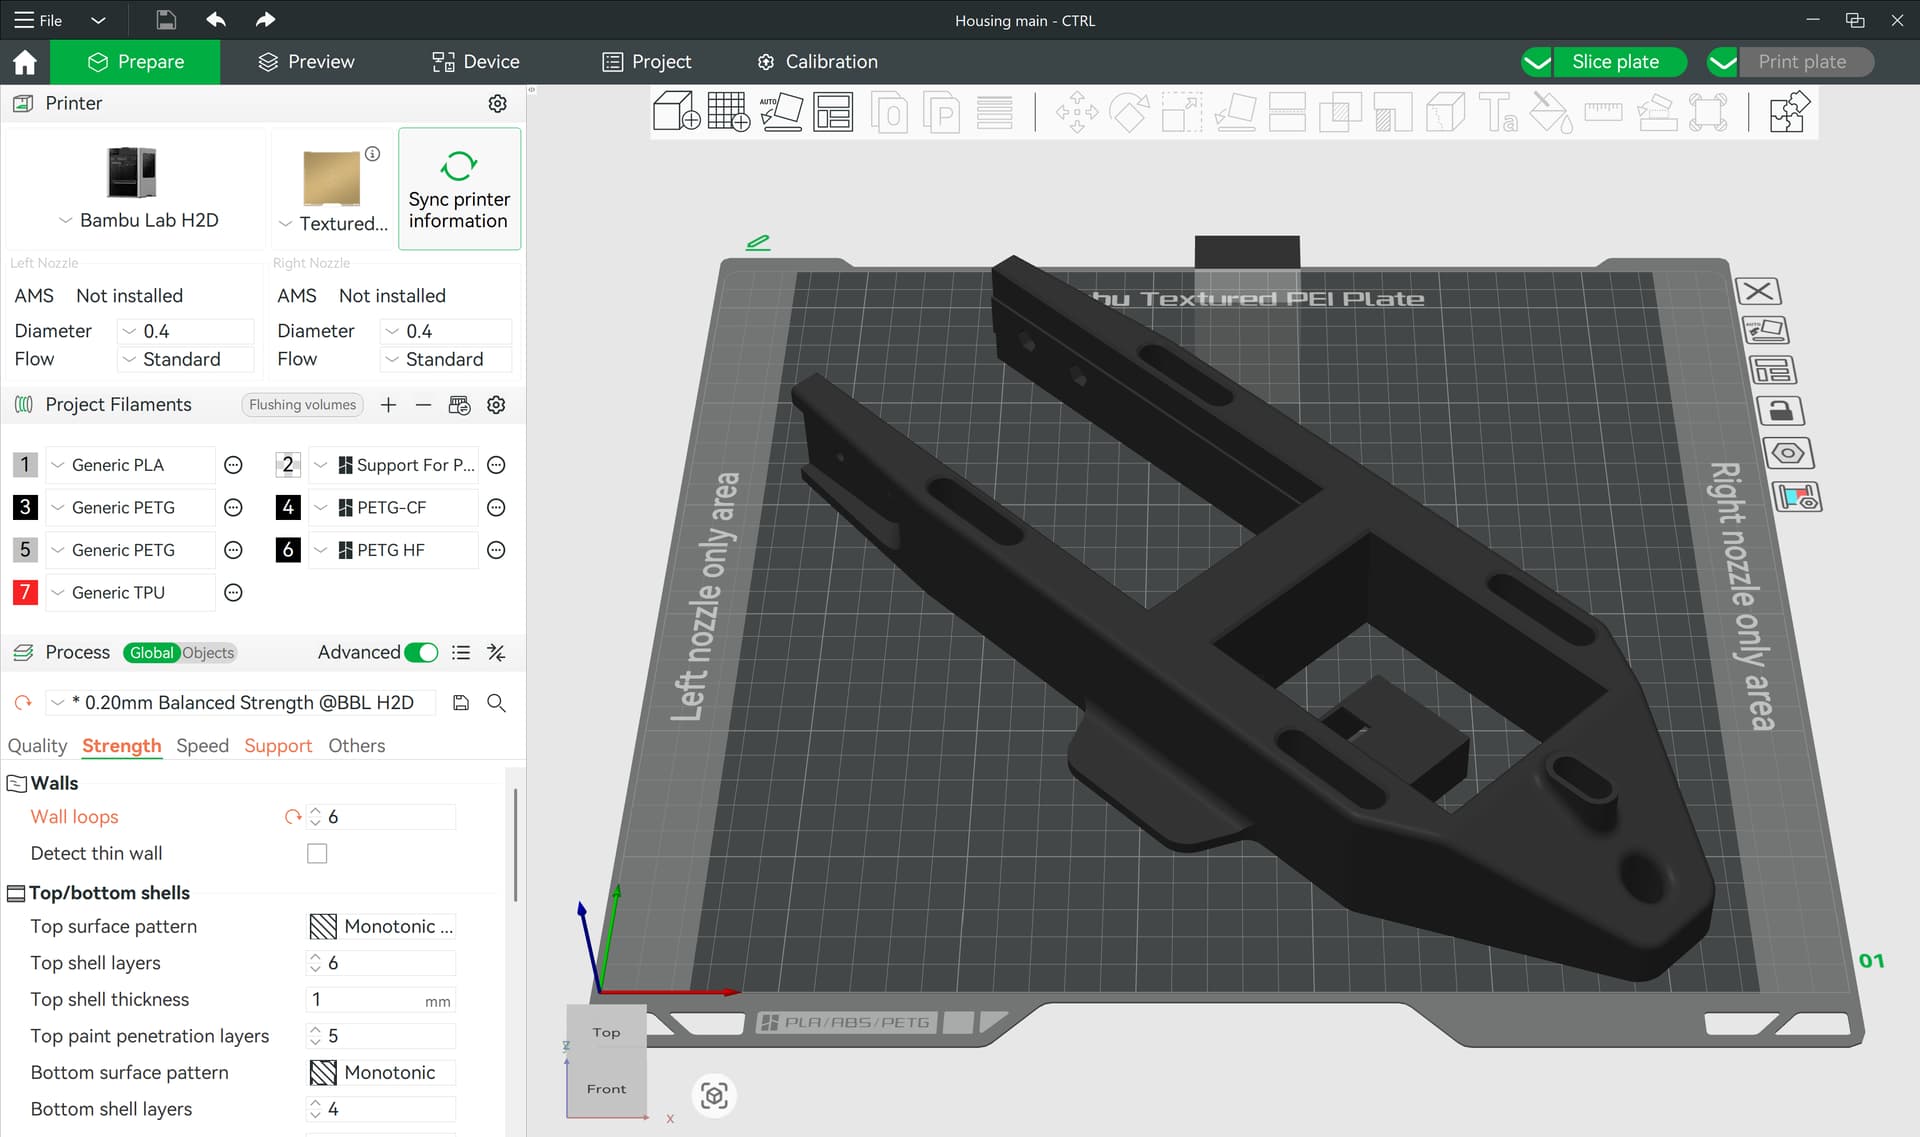

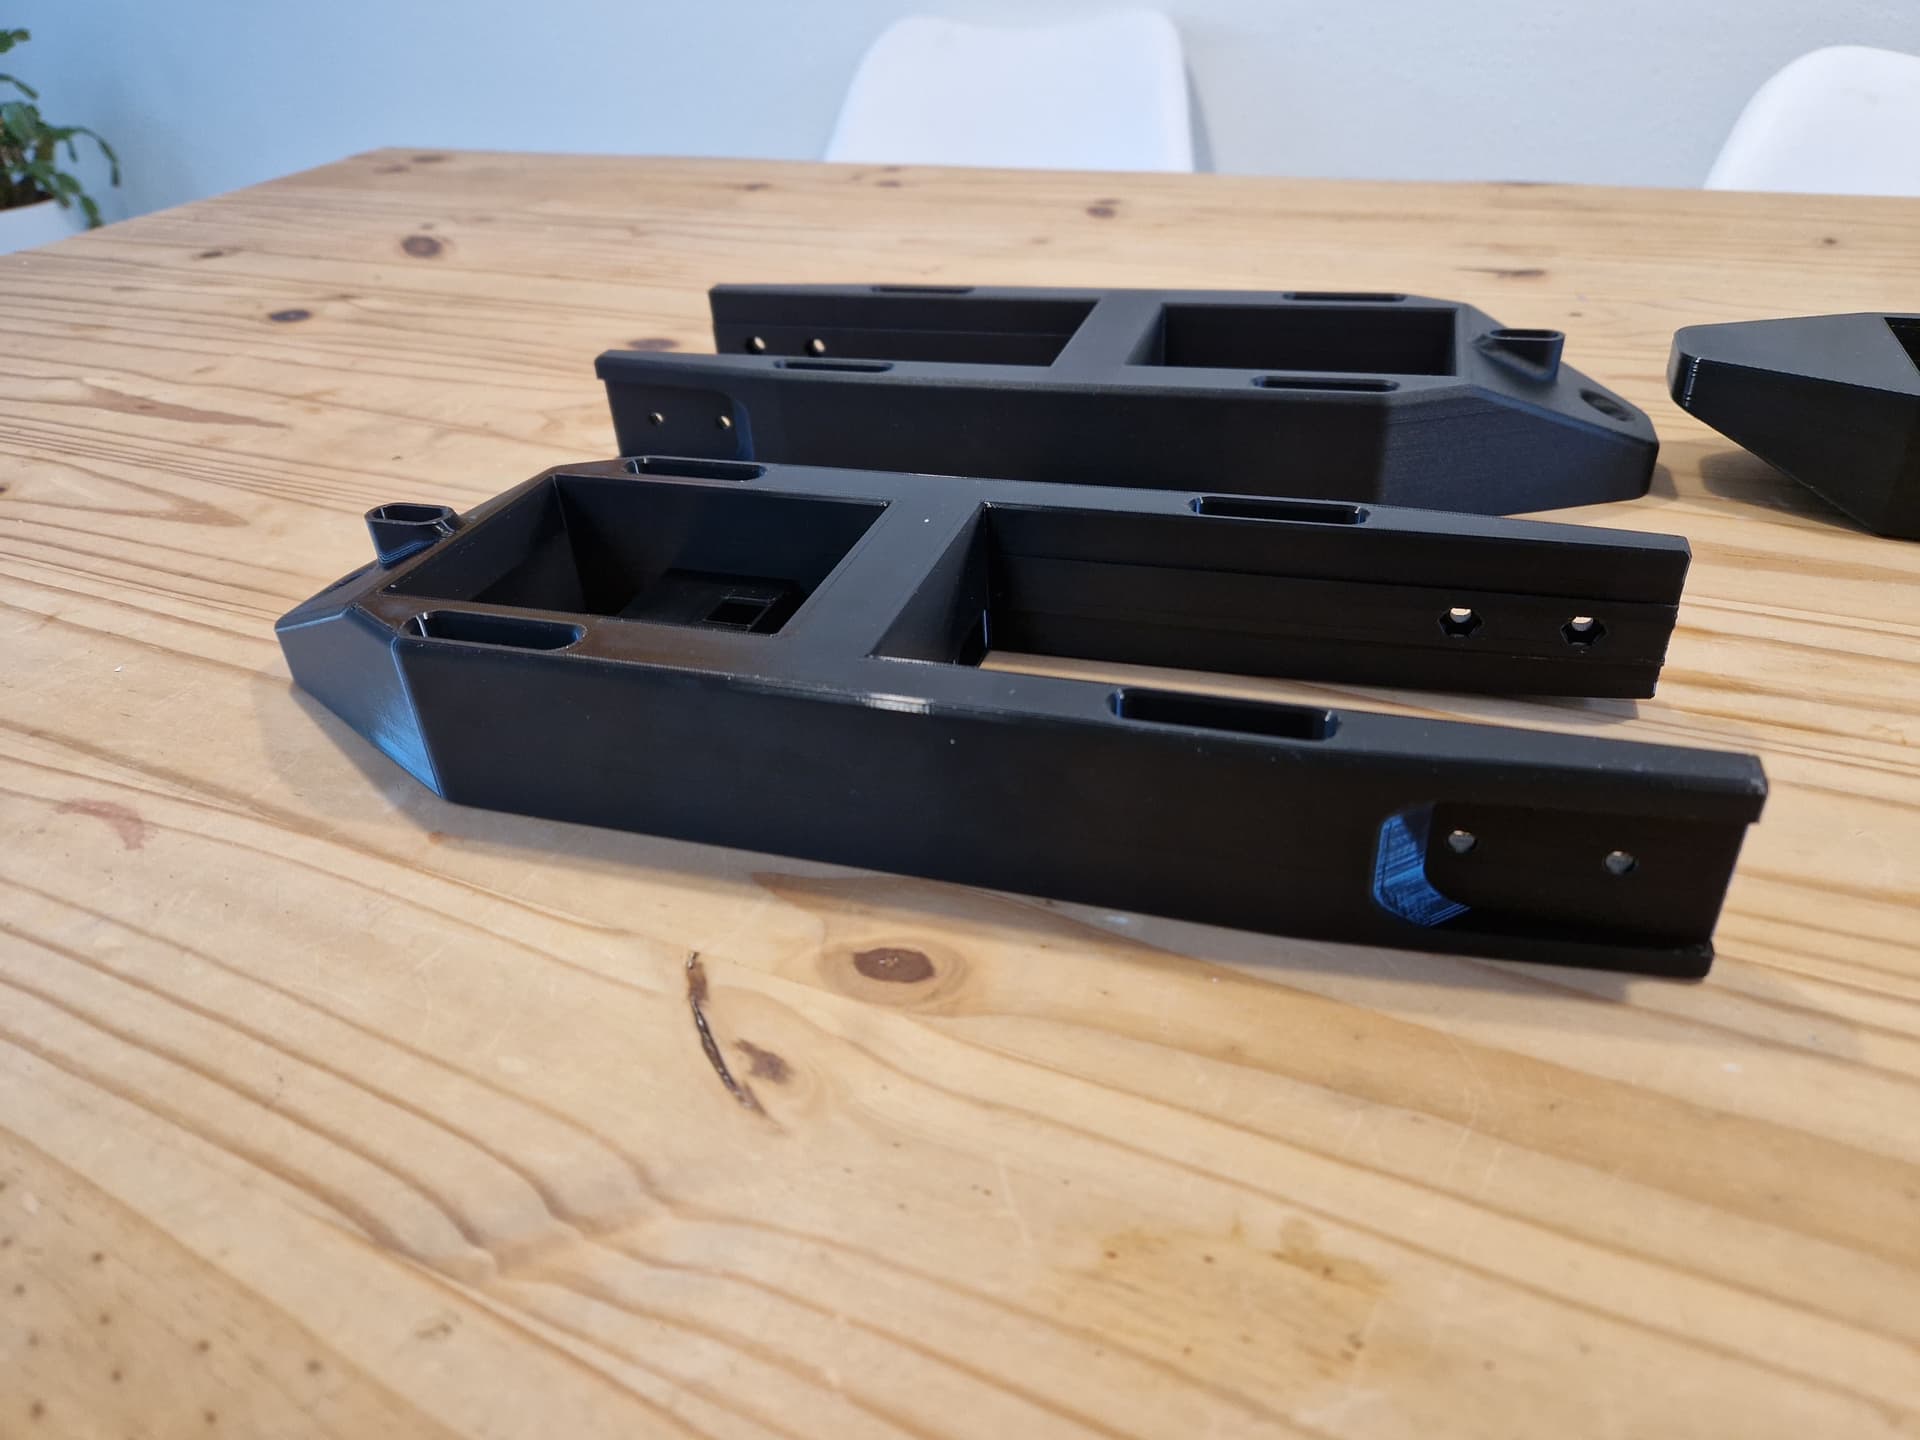
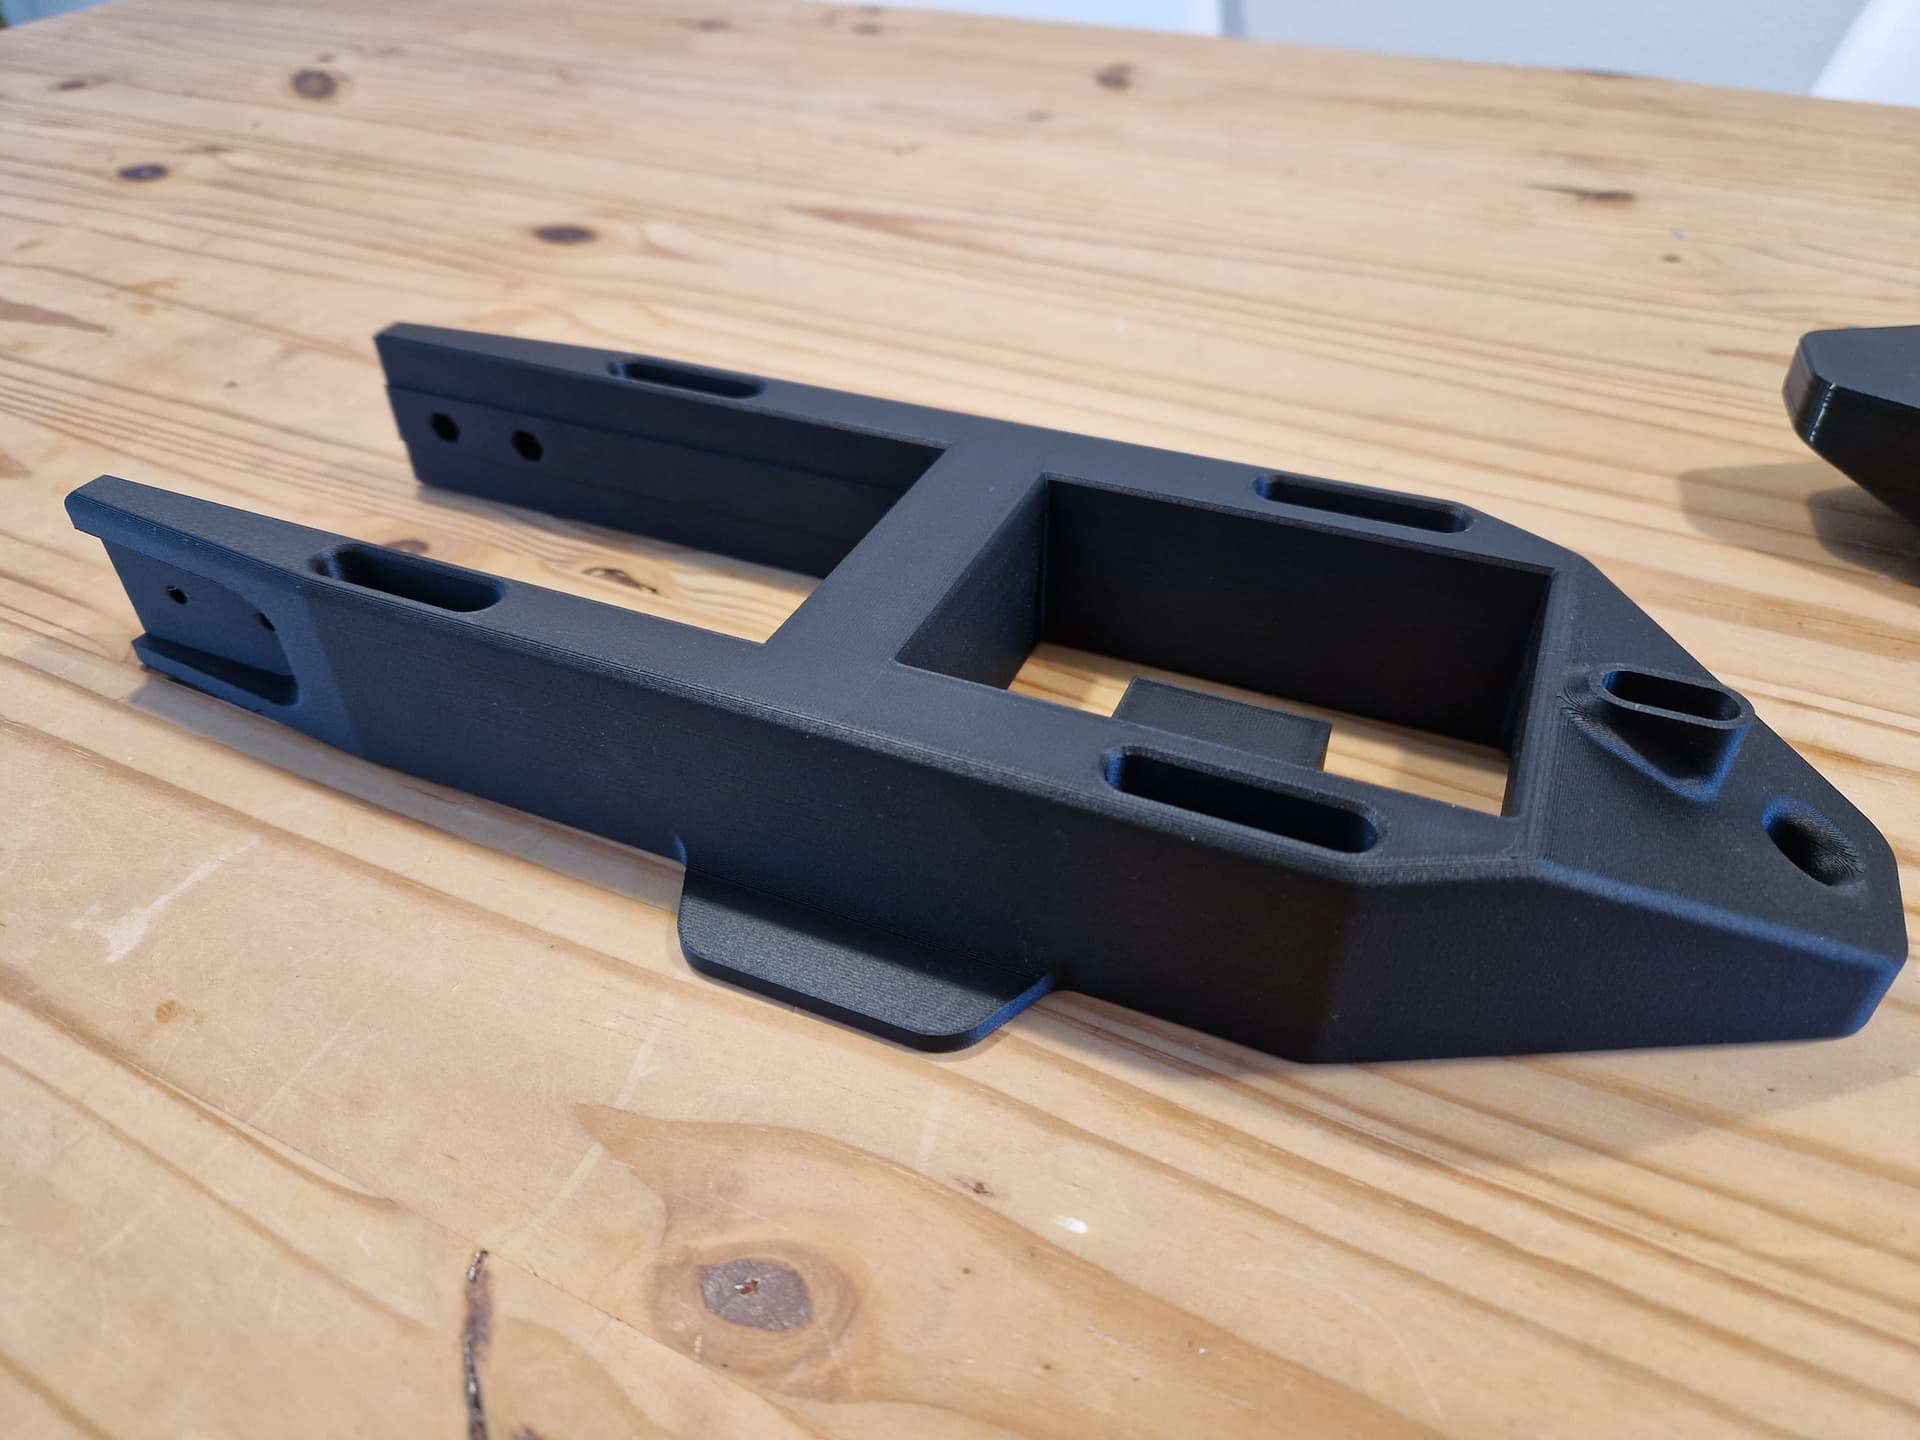
0.20mm Balanced Strength @BBL H2D
6 Wall loops
30% Grid infill
Electronics & Wiring
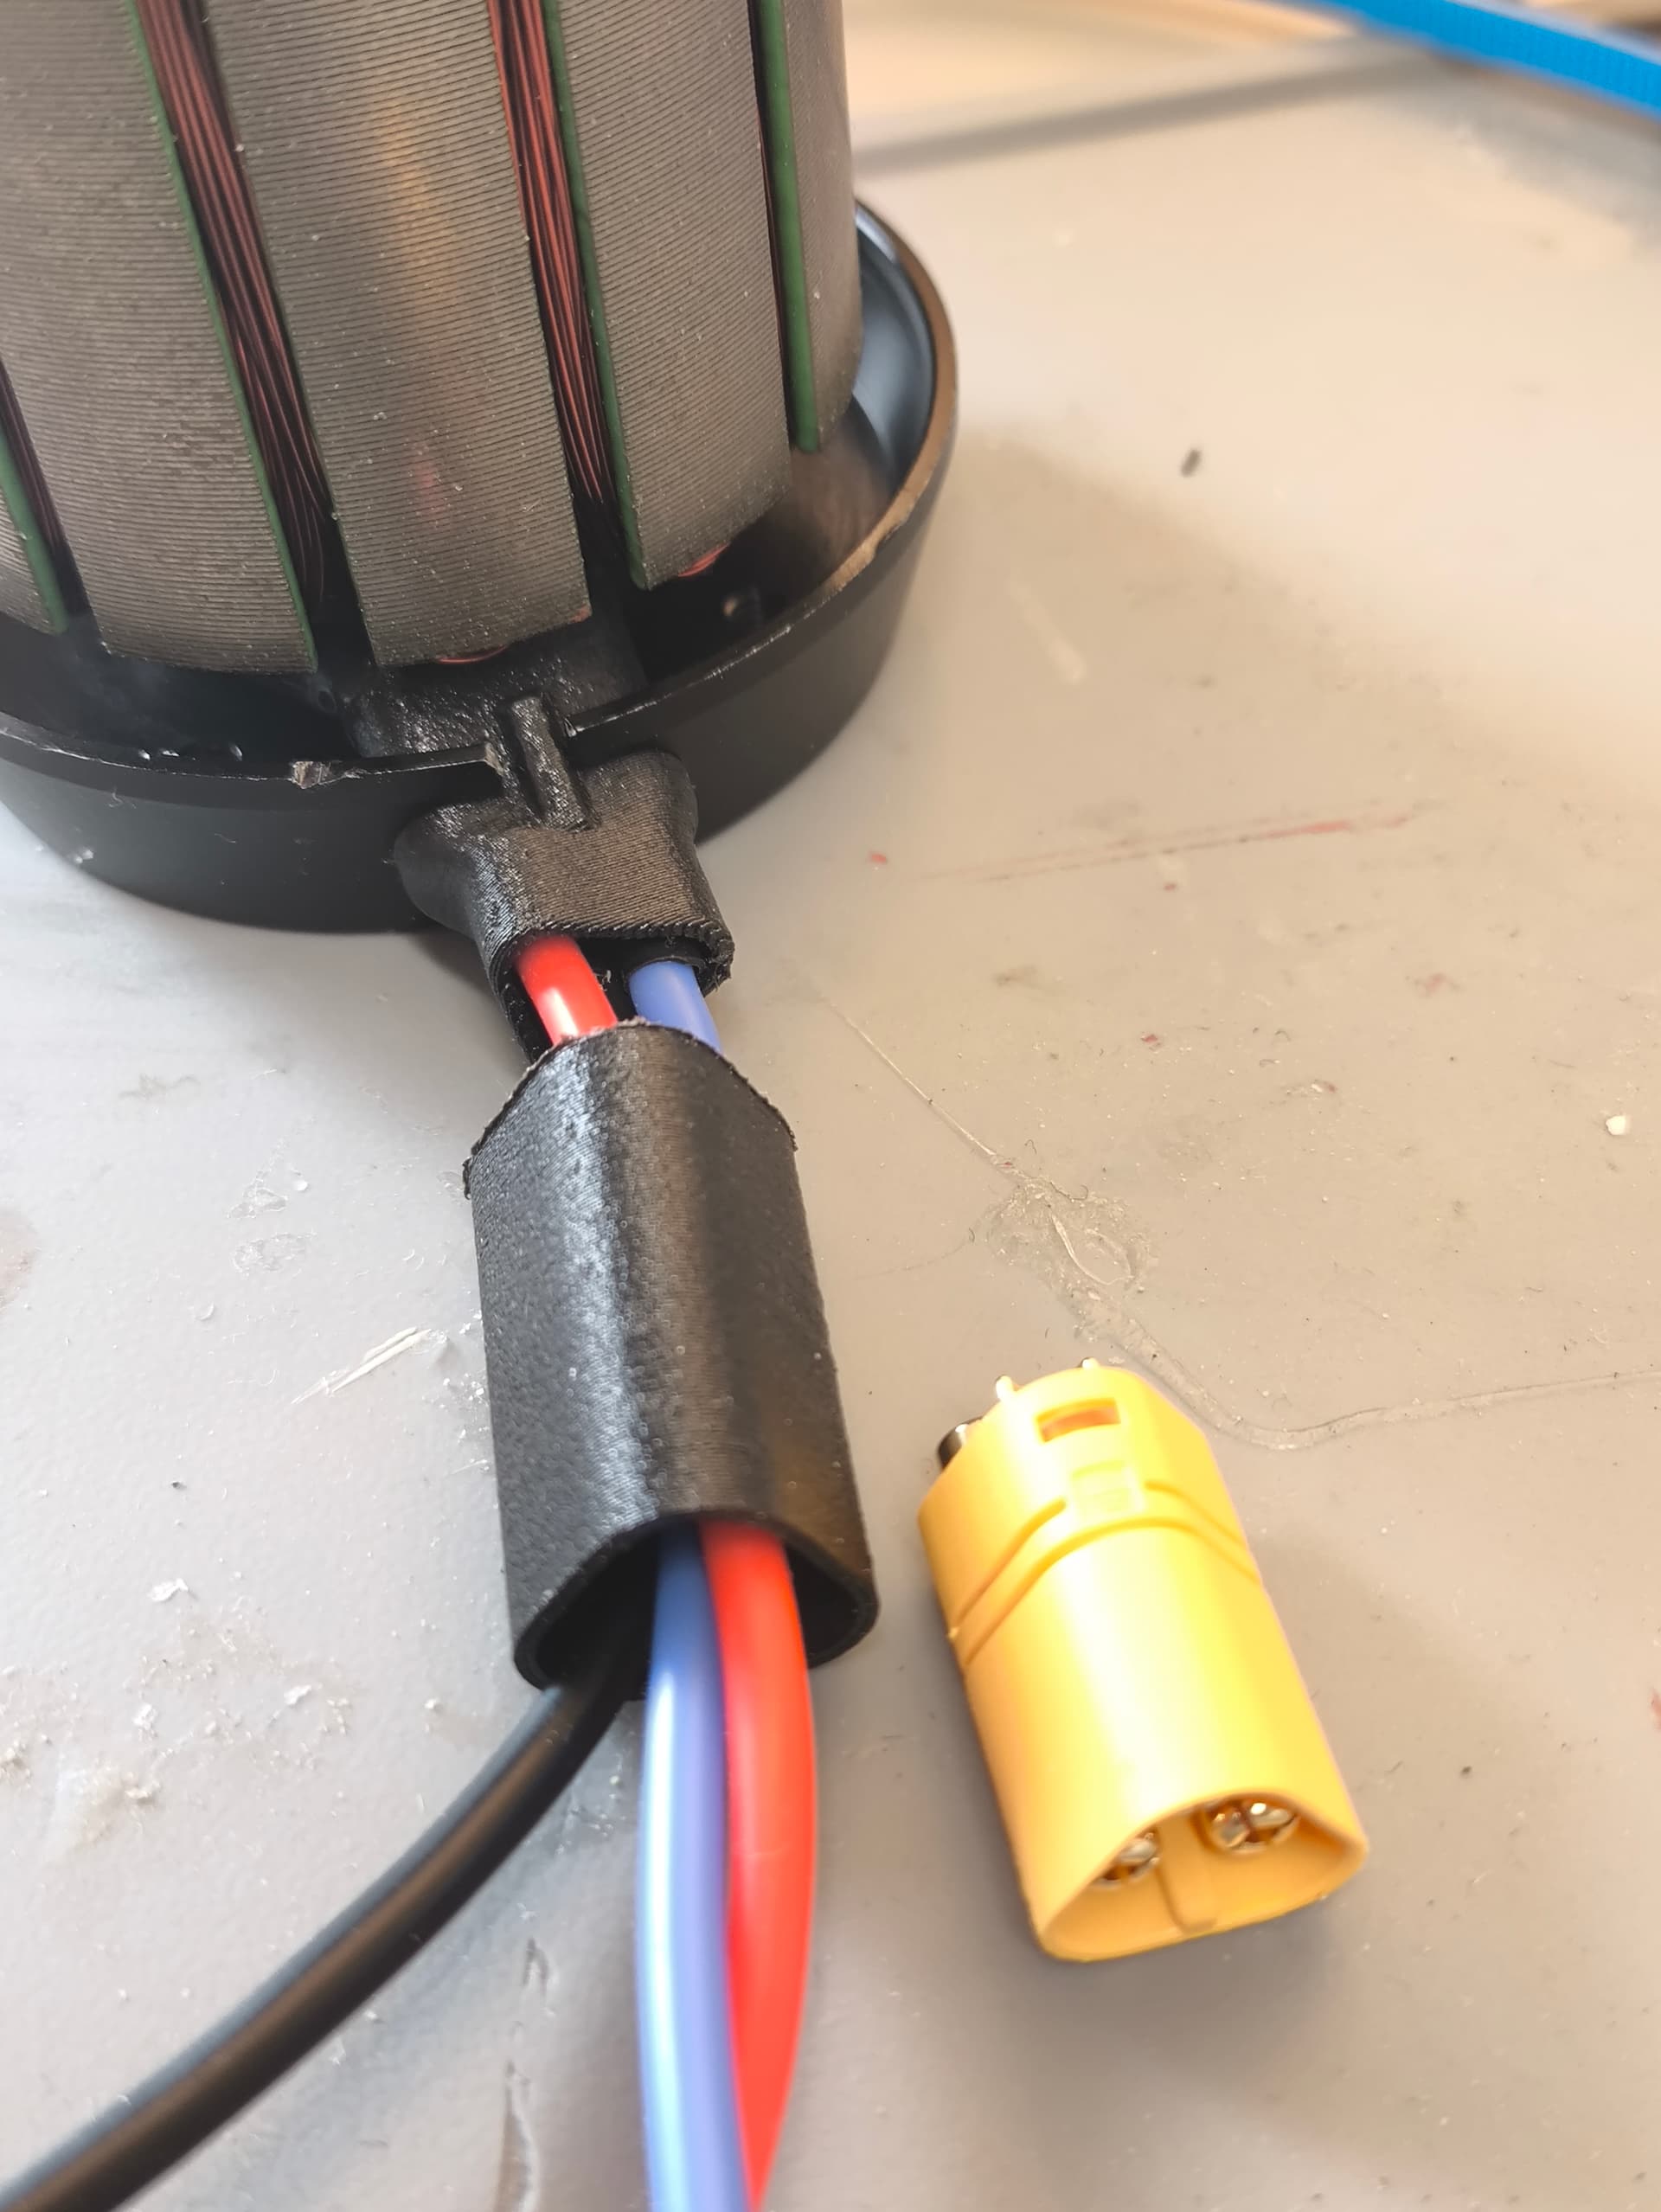
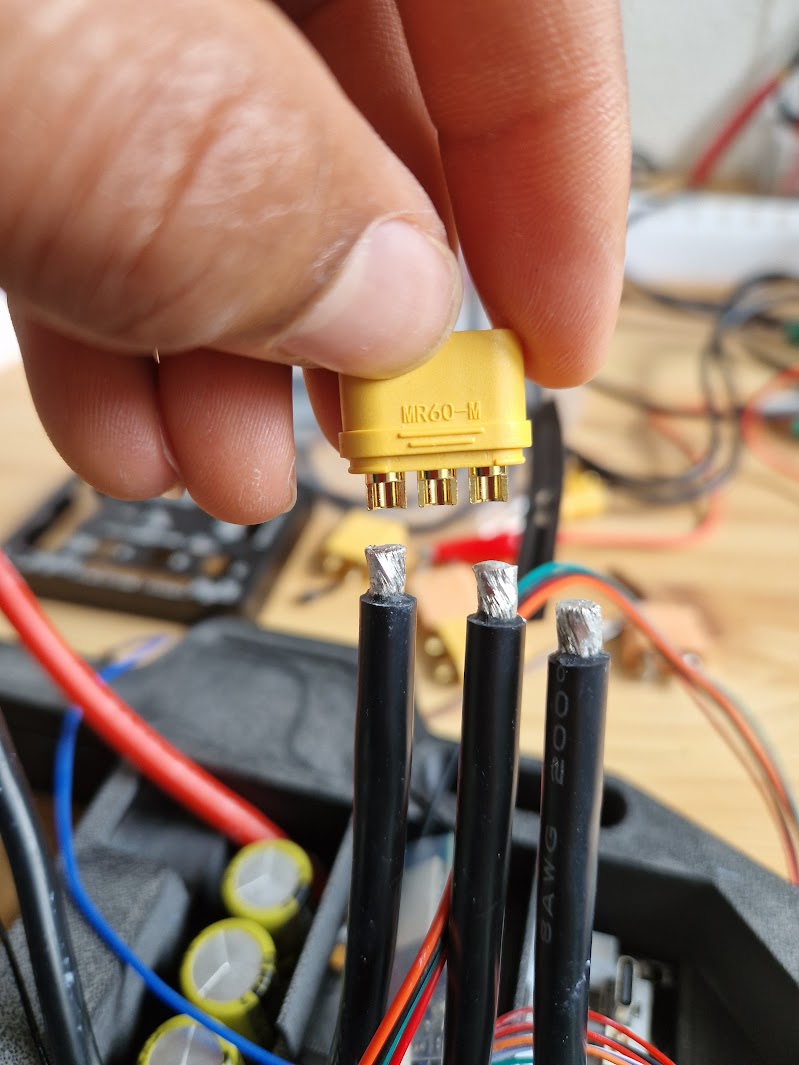
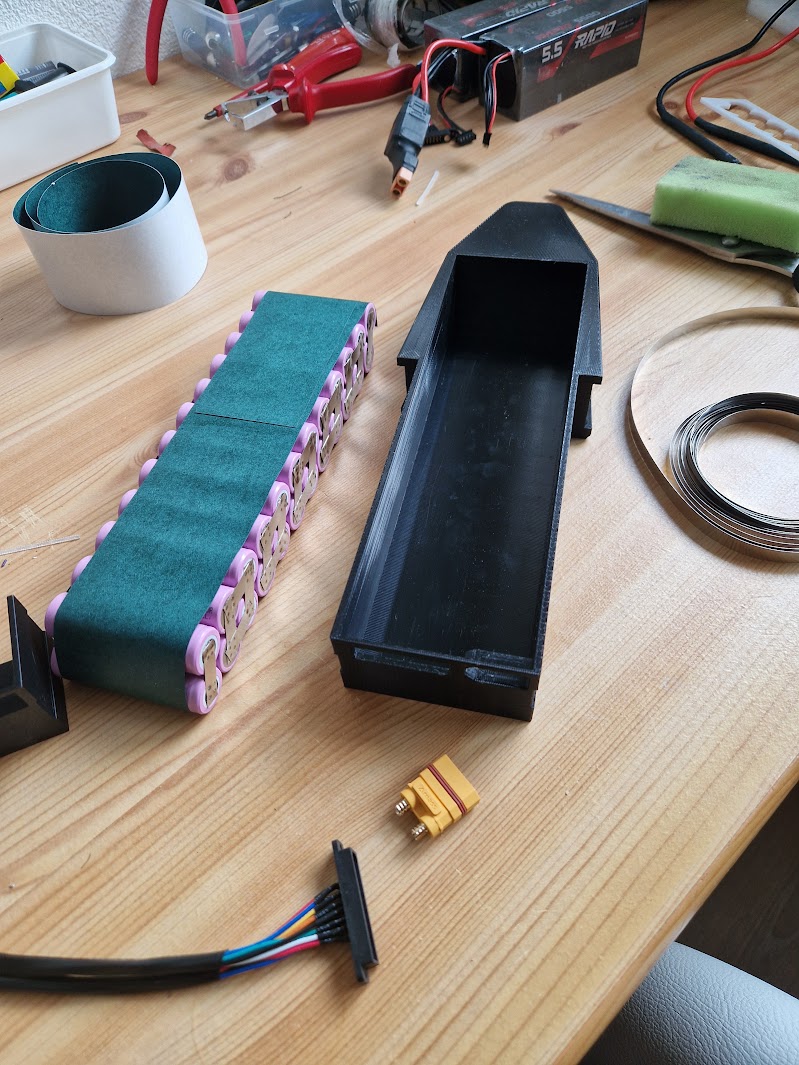
First, I removed the cap from the VESC and soldered on the XT90 power connector and the MR60 motor connector. Soldering the thick 8 AWG VESC wires to the tiny MR60 terminals was definitely not fun—I ended up buying a larger soldering iron just to get it done properly.
Next, I glued the XT90 connector into place so I could test the battery alignment later on.
Battery
This is only the second battery I’ve ever built, so maybe don’t take this as a perfect example ![]()
I followed the original layout and used nickel strips to save vertical space. You could also use multiple copper wires around 1.5 mm².
I also strongly recommend getting a pre-wired pogo pin connector.
Initially, I had wrapped the cells with insulation tape, but due to the limited height, I ended up removing it. Instead, I glued the wires down to keep them flush and prevent them from sticking out during the potting process.
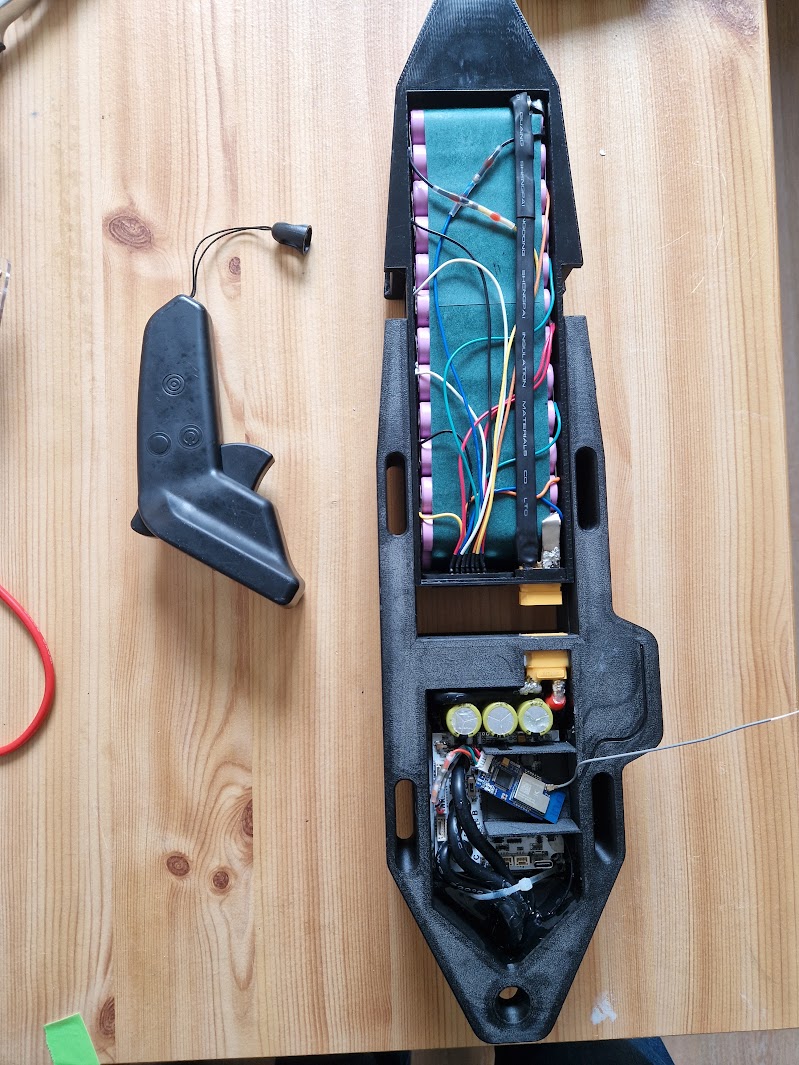
Battery Box & Alignment
To align the waterproof XT90 connector, I printed the connector portion of the battery box as a jig. I used that to hold the connector in position. When te battery was done I placed it into the box, connected it to the main housing, and then glued the connector before potting—hoping to ensure proper alignment.
That said, I think I may have still messed it up slightly. It works fine, but connecting and disconnecting the battery requires quite a bit of force. I suspect there’s a slight misalignment, but I’m not 100% sure because I don’t see it.
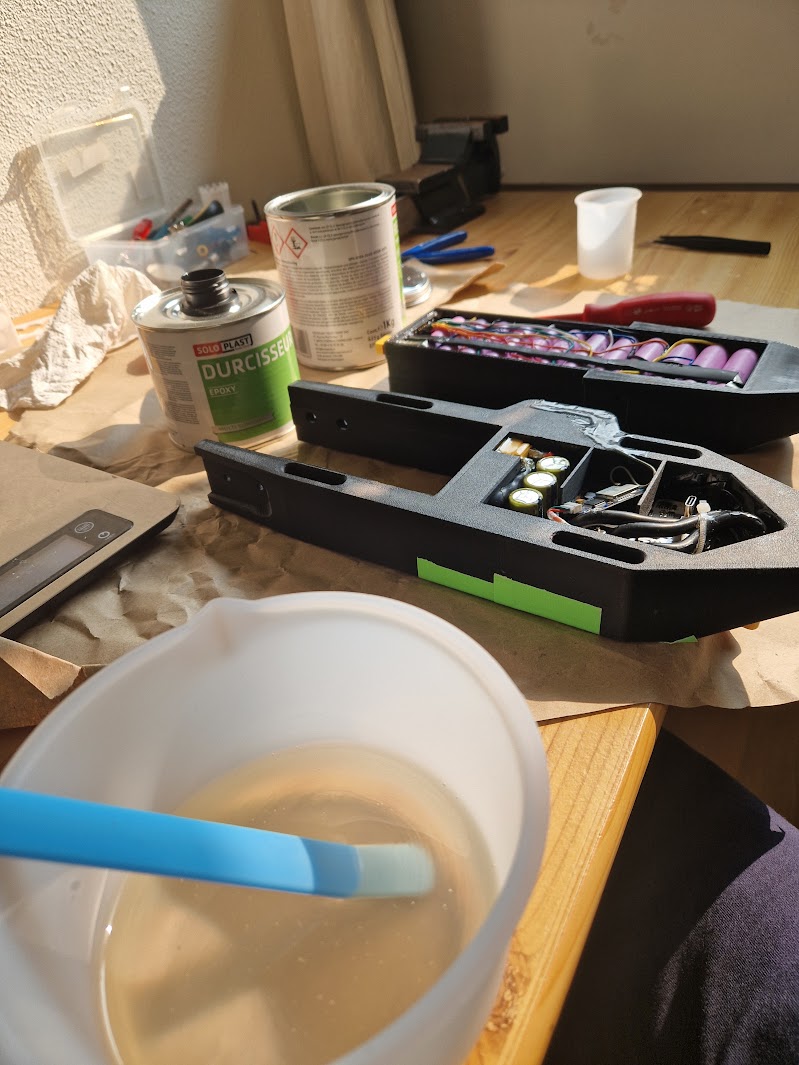
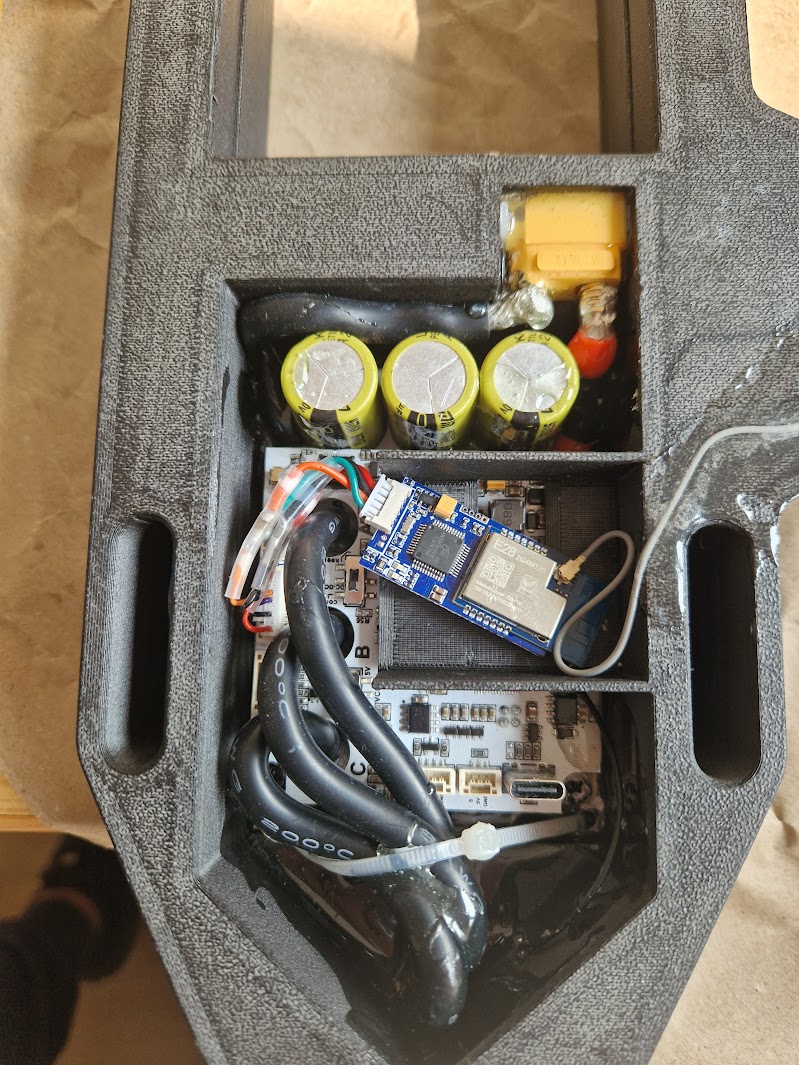
Be sure to seal all seams and holes with tape or hot glue before potting to prevent epoxy from leaking out.
I also secured the receiver antenna in place with super glue before potting to ensure it stayed properly positioned.
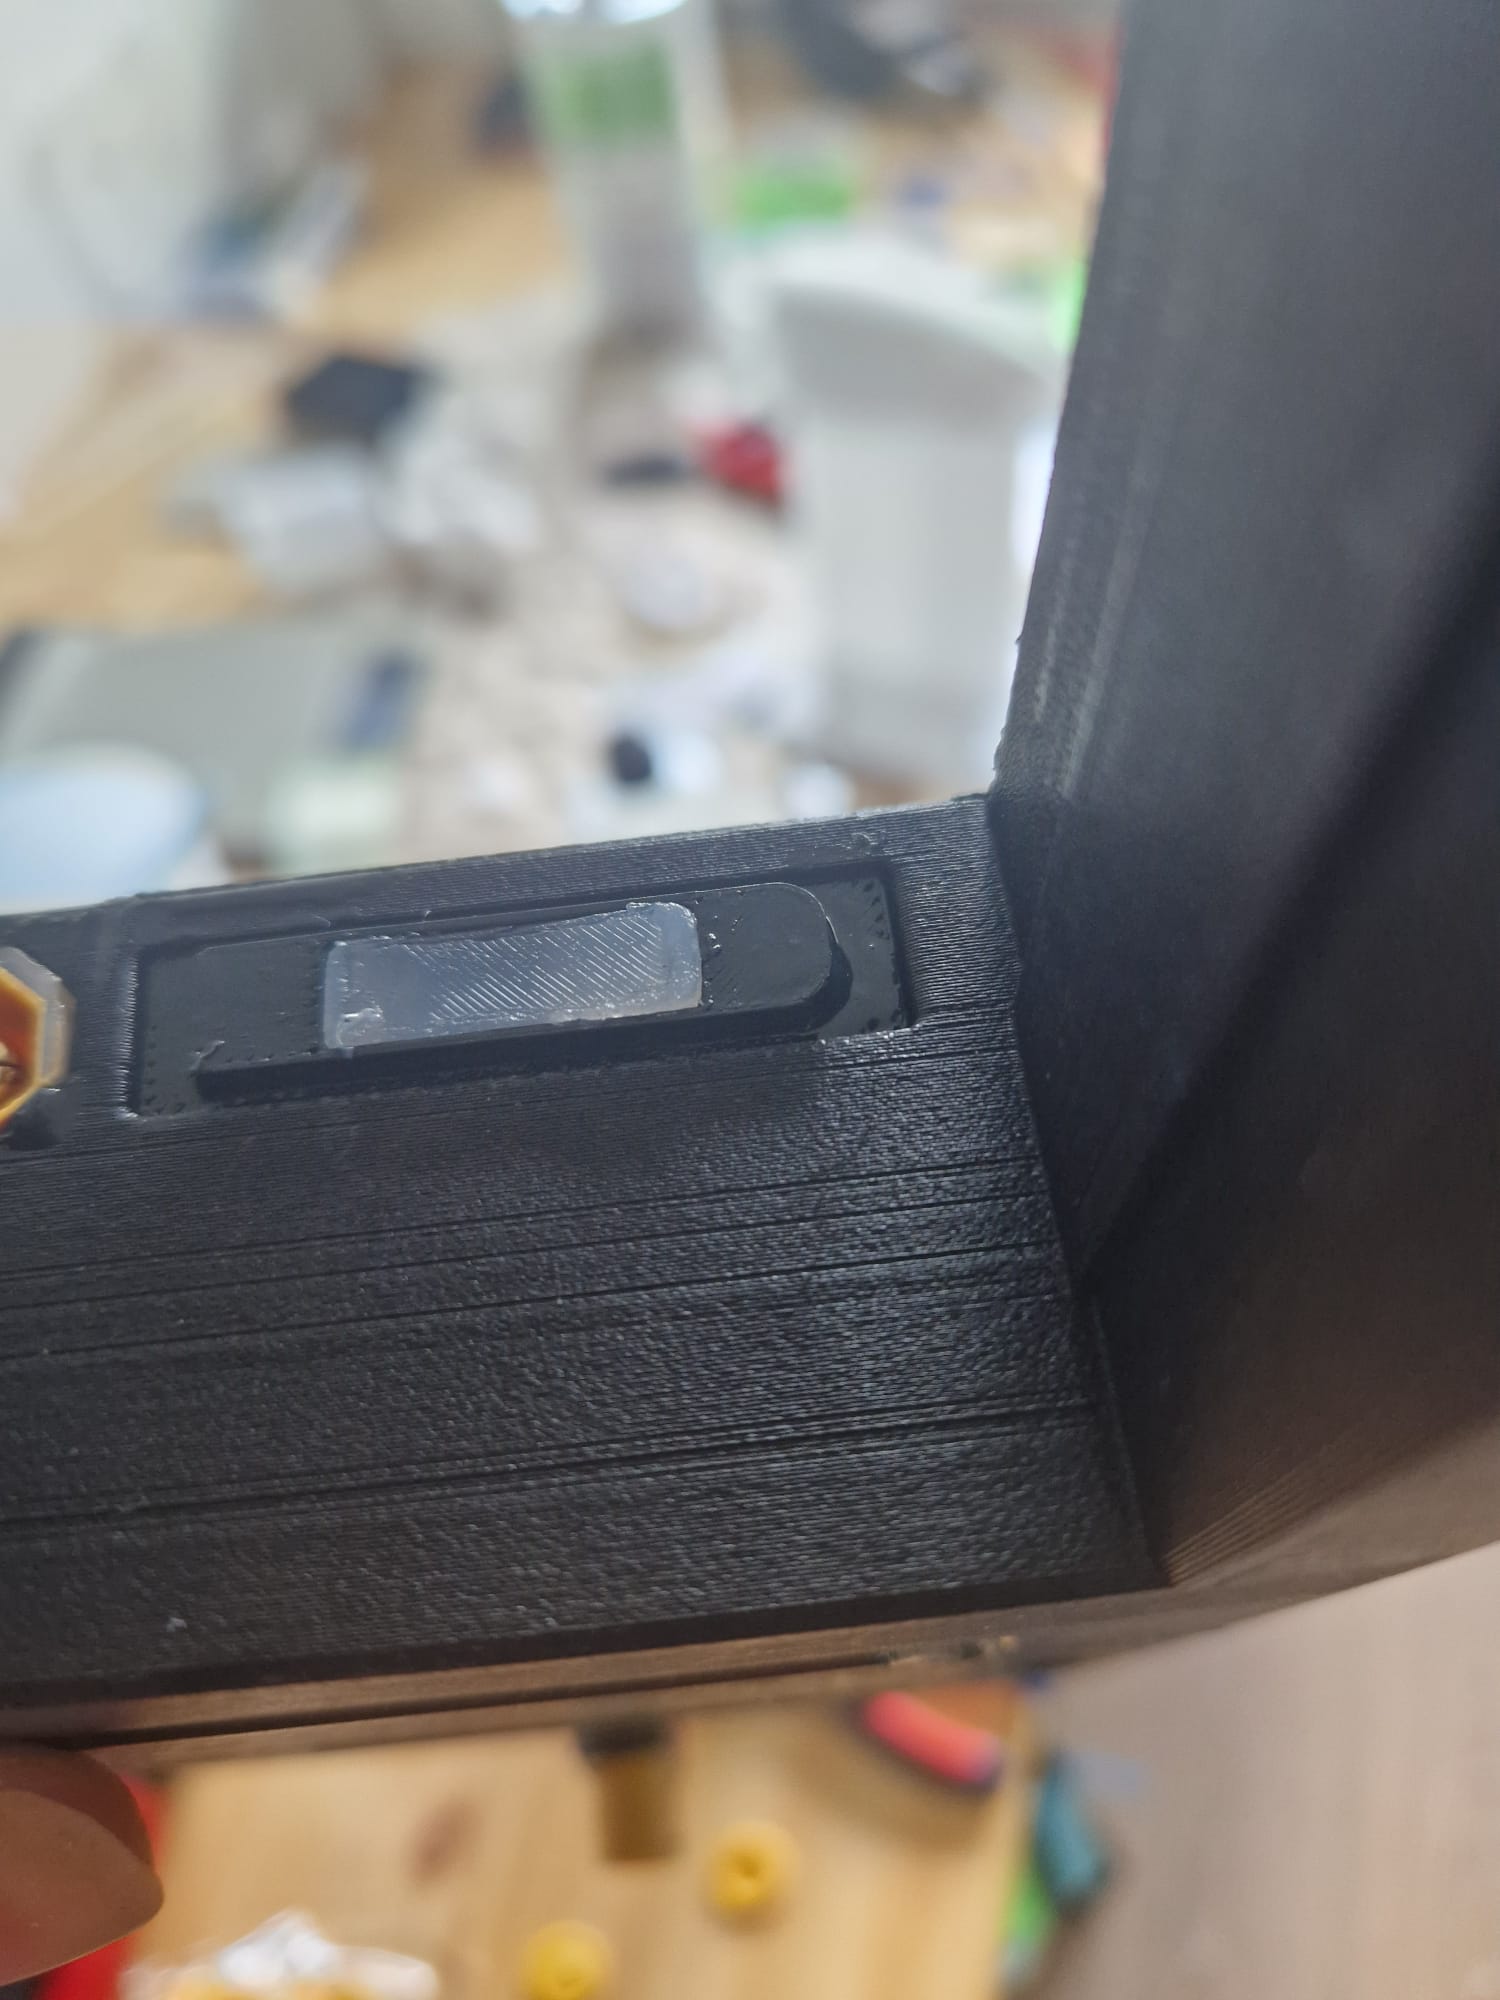
Next, I made a cap for the balance connector that fits well and filled it with silicone. It works, but it feels a bit flimsy—similar to the seal on the waterproof XT90 connector.
In the original build, there’s an NBR foam layer installed in the recess of the main housing, along with dielectric grease for added protection. I think that’s a more durable solution if you have access to NBR foam.
Make sure it gets compressed properly when assembled.

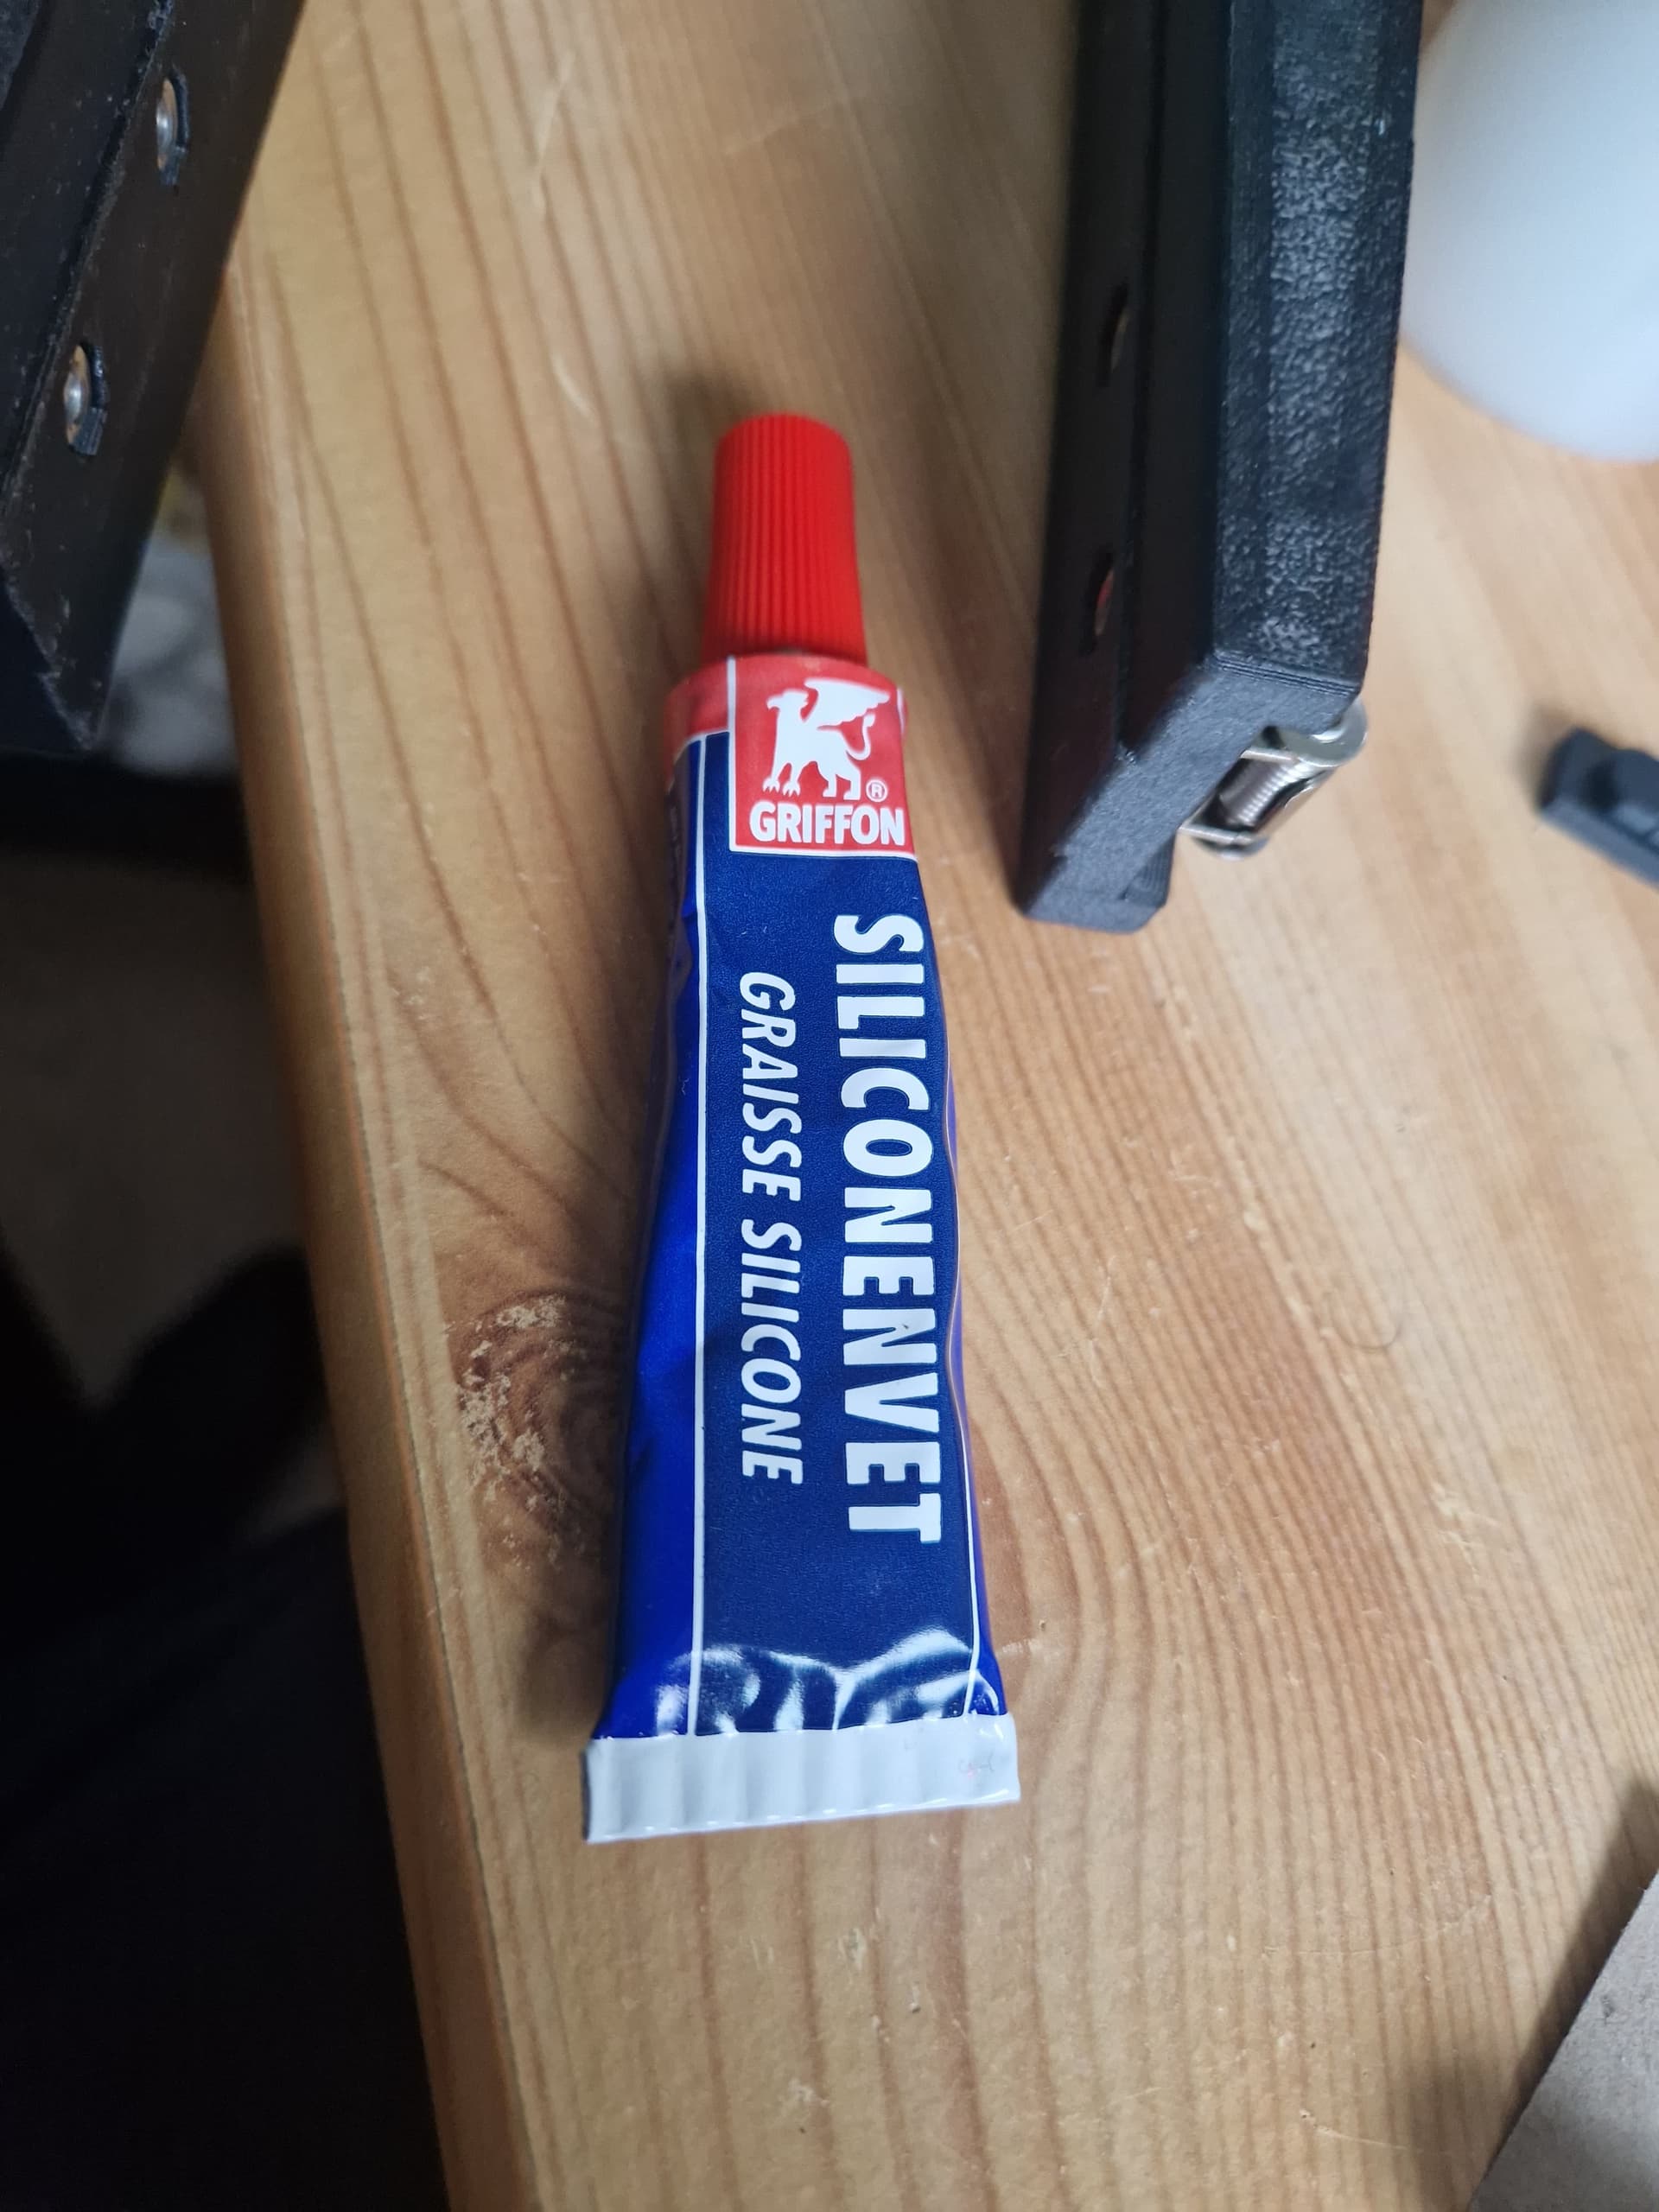
Finally I added a bit of dielectric grease to all connectors for extra safety.
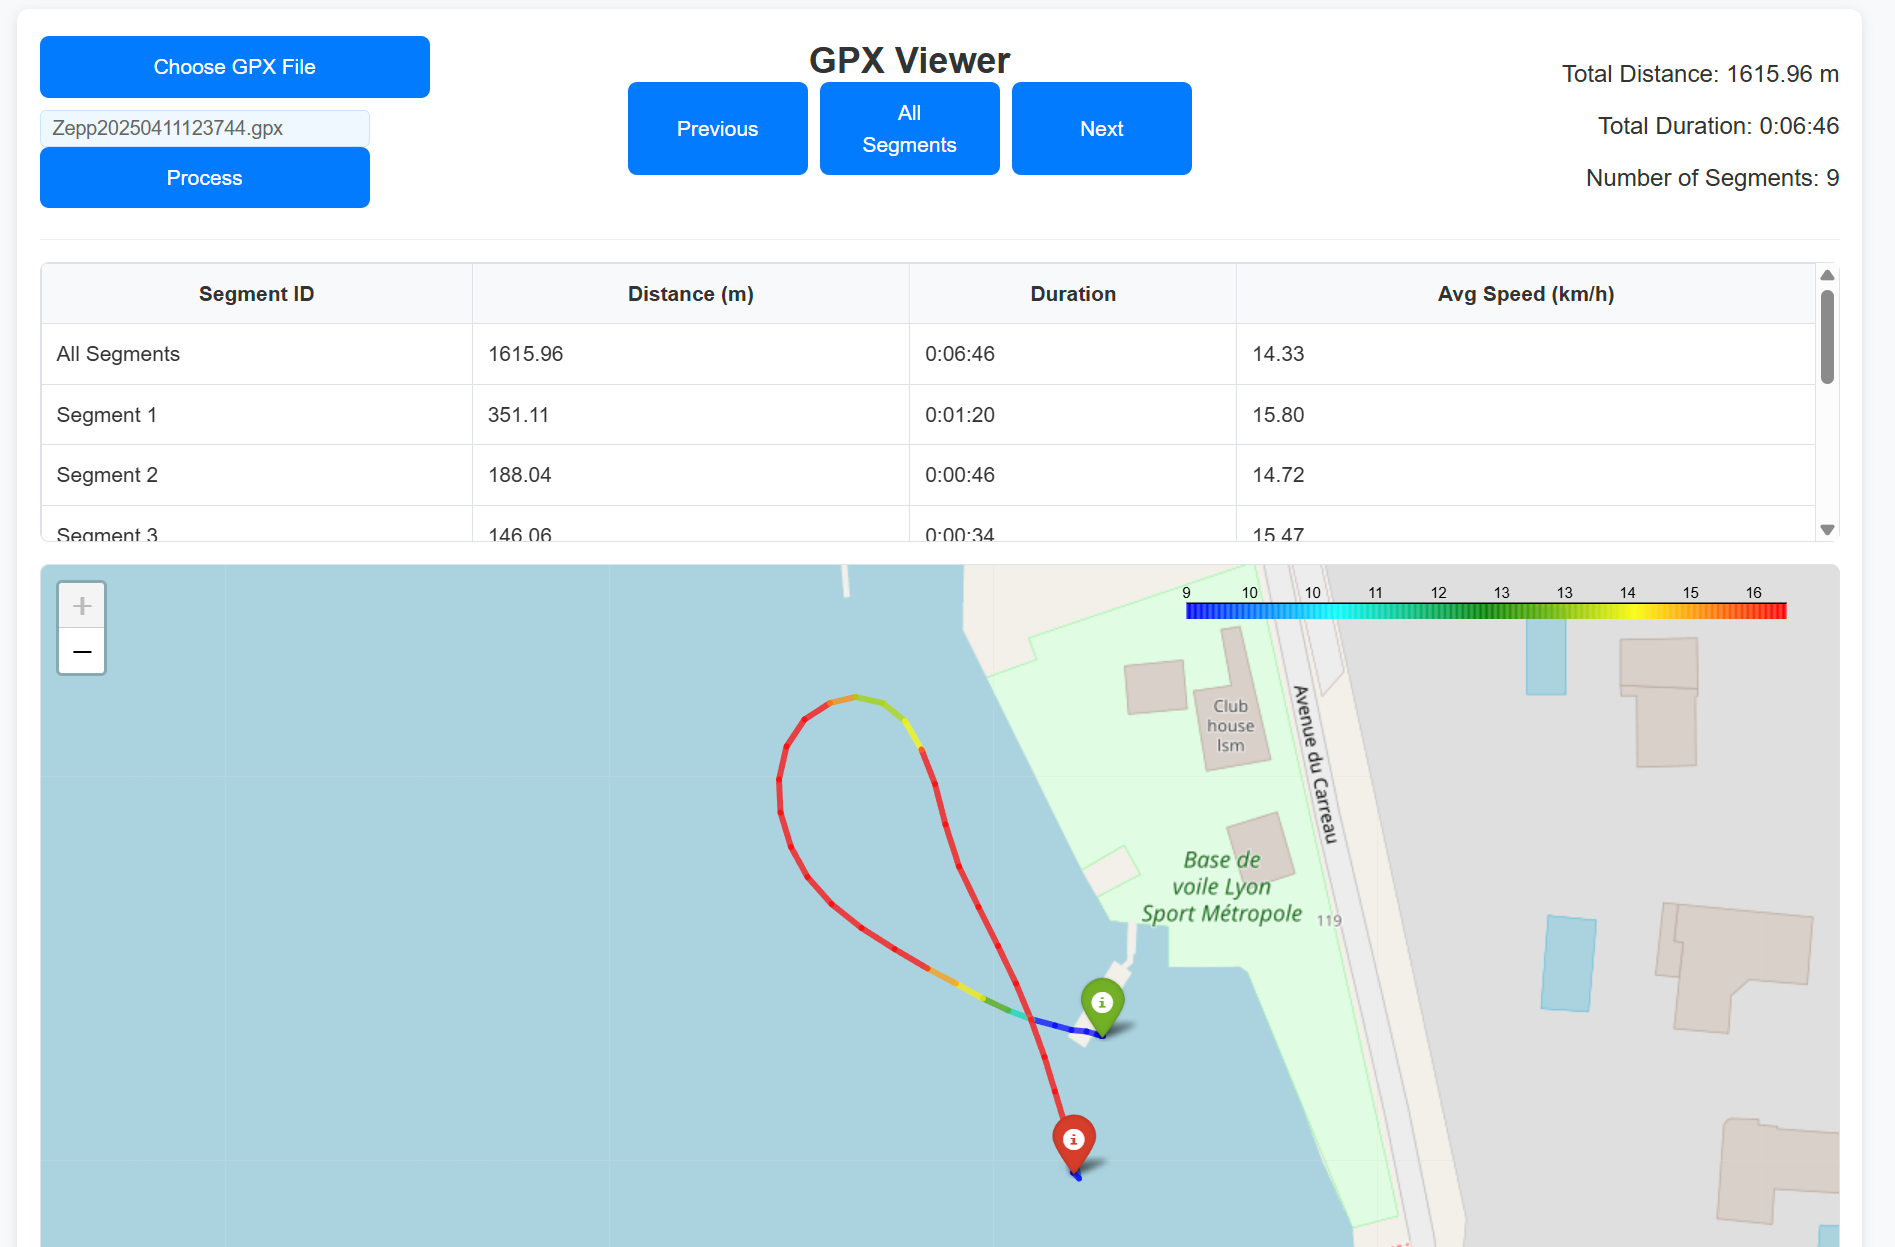
I had an initial test session, and everything worked ![]() !
!
The signal reception wasn’t great yet because I didn’t have the antenna extension cable installed because I’m still waiting for it to arrive.
Next I need to get a proper foldable propeller for the waterproof Flipsky 6384 motor, which ones are you guys using?
7 Likes
Nice that is a very good documentation ![]()
![]()
1 Like
Preparing two new batteries for the summer trip in UK waves, regarding the cells I will probably go for P28A molicell I have in stock or sony VTC6 if I find a good deal.
The 35E are a little limiting for power, even if I have free stock of salvage cells and they are a very stable cell. Maybe I should get more runs with the pack I already built, and figure out if it is worth the time, epoxy and connectors to do more packs with those cells/.
3 packs should be a good number for this summer ![]()
Where in the UK are you heading to?