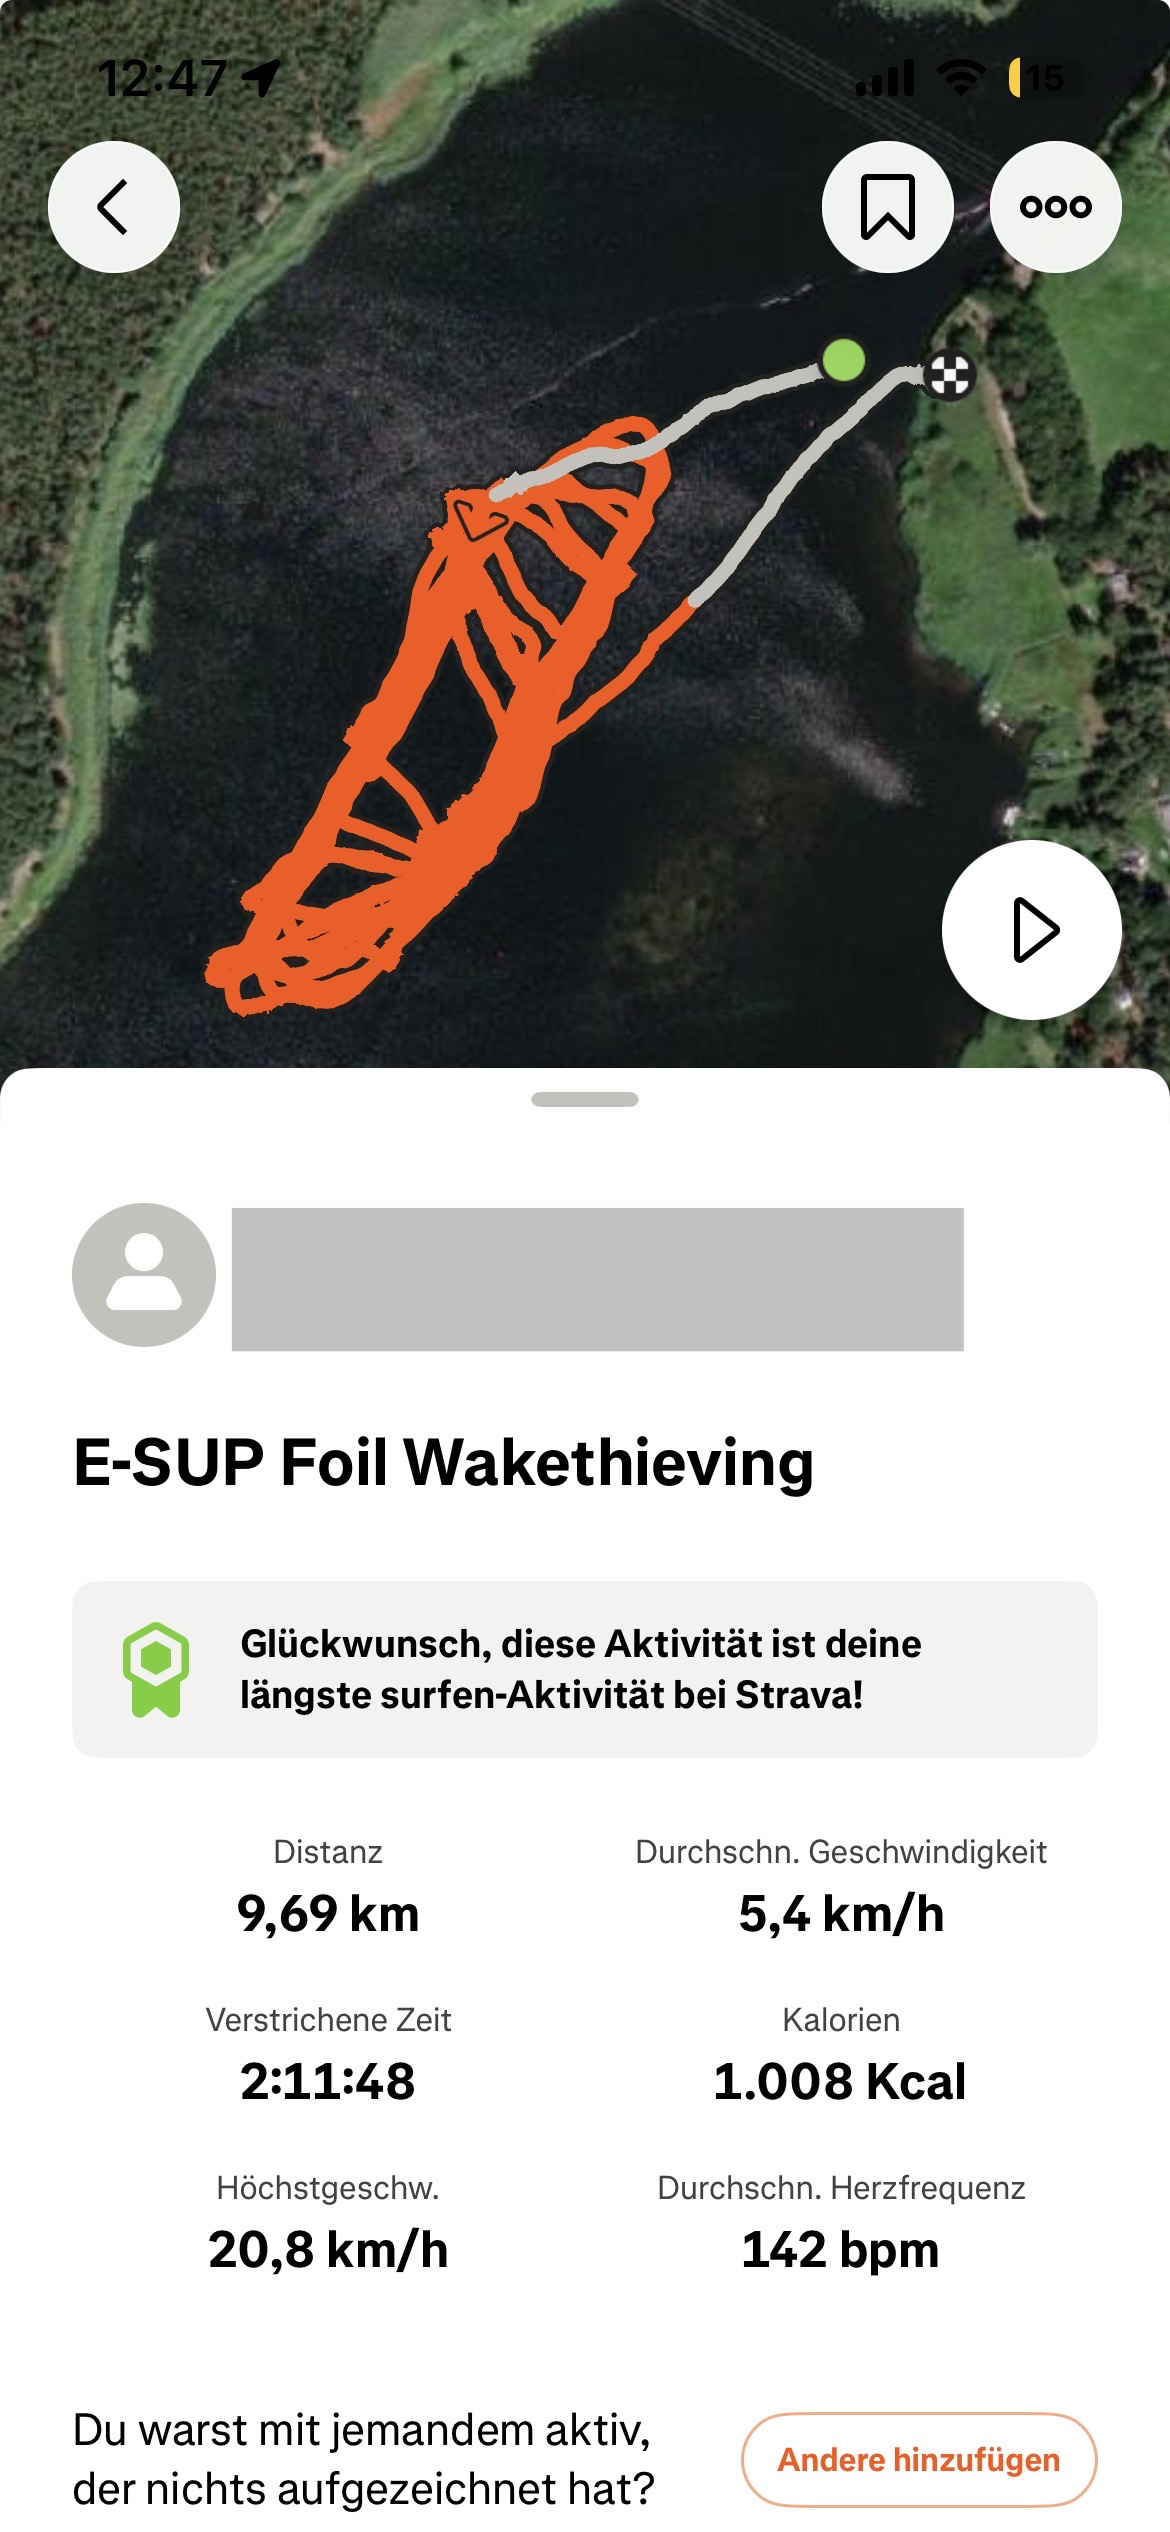
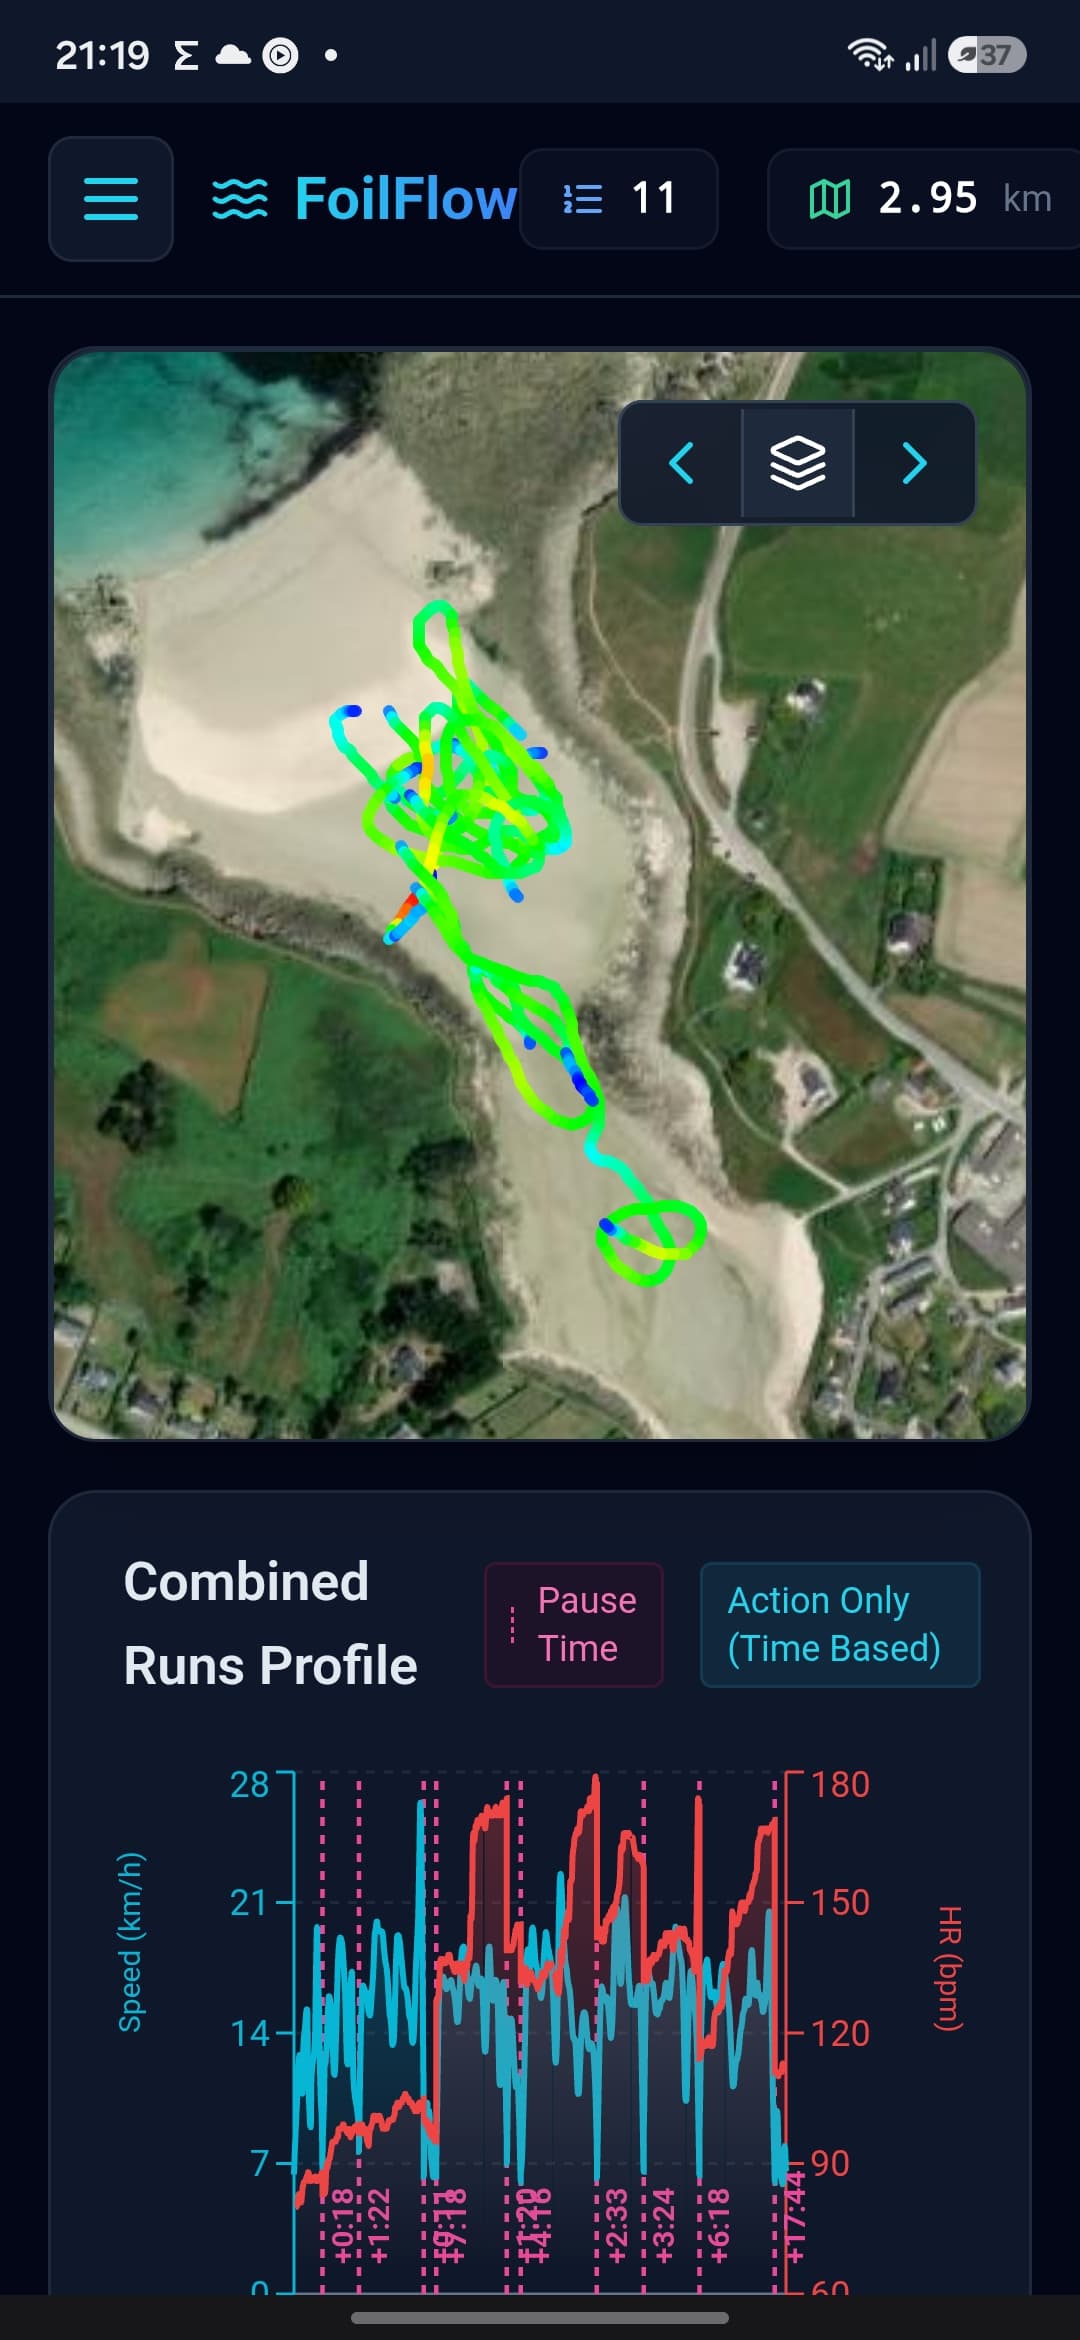
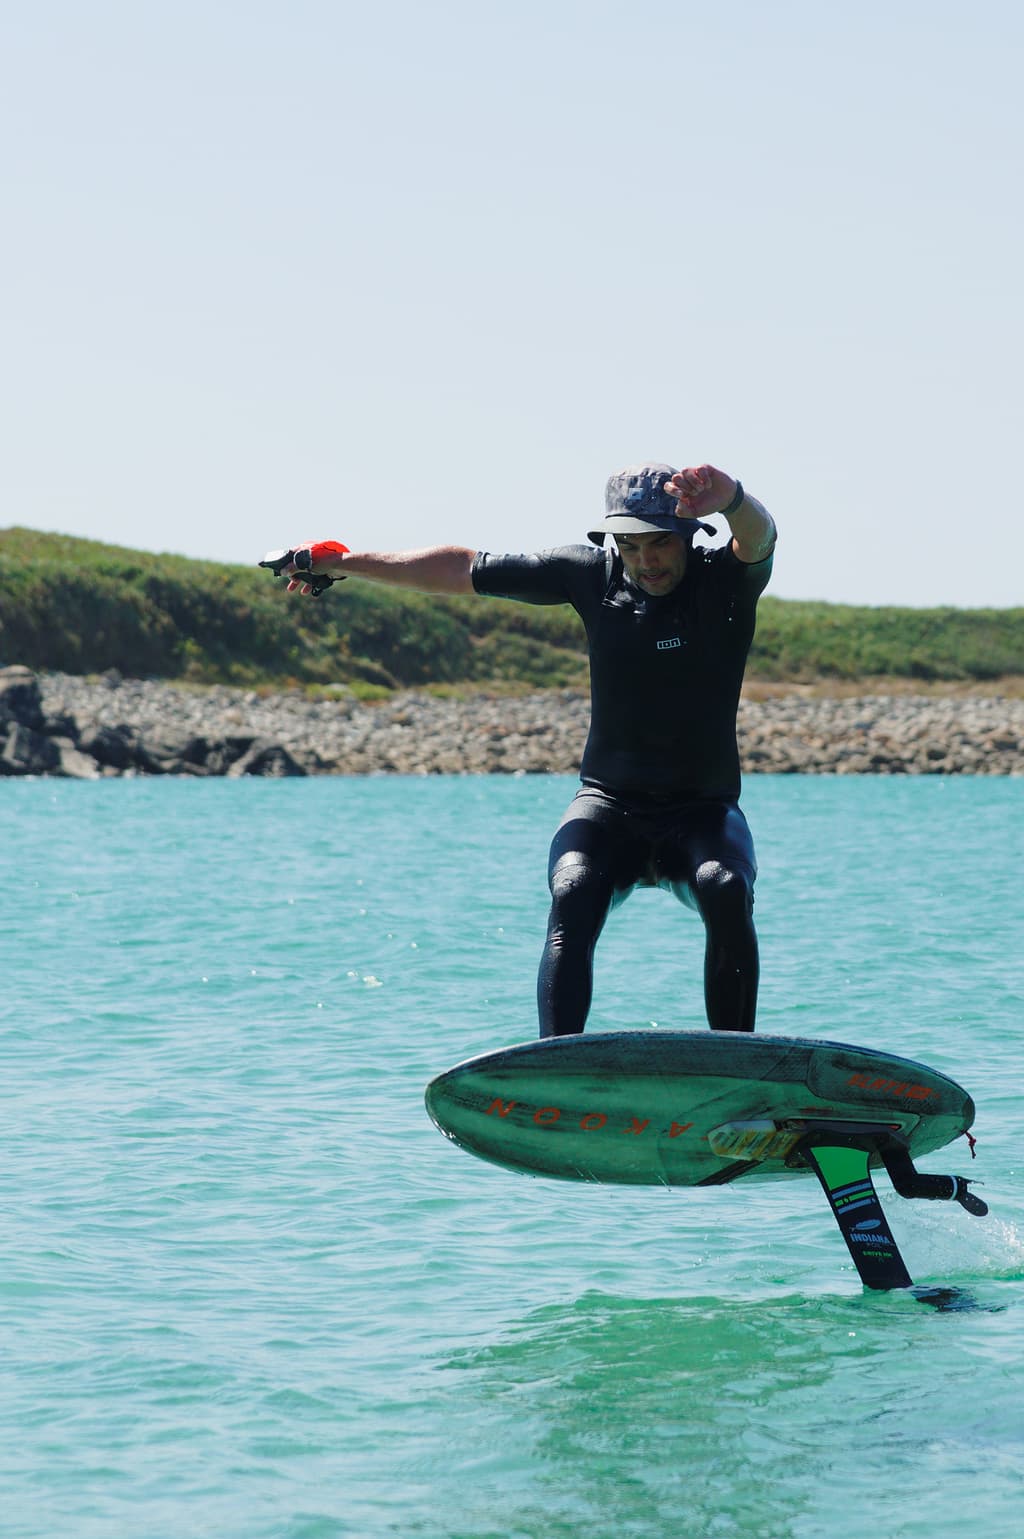
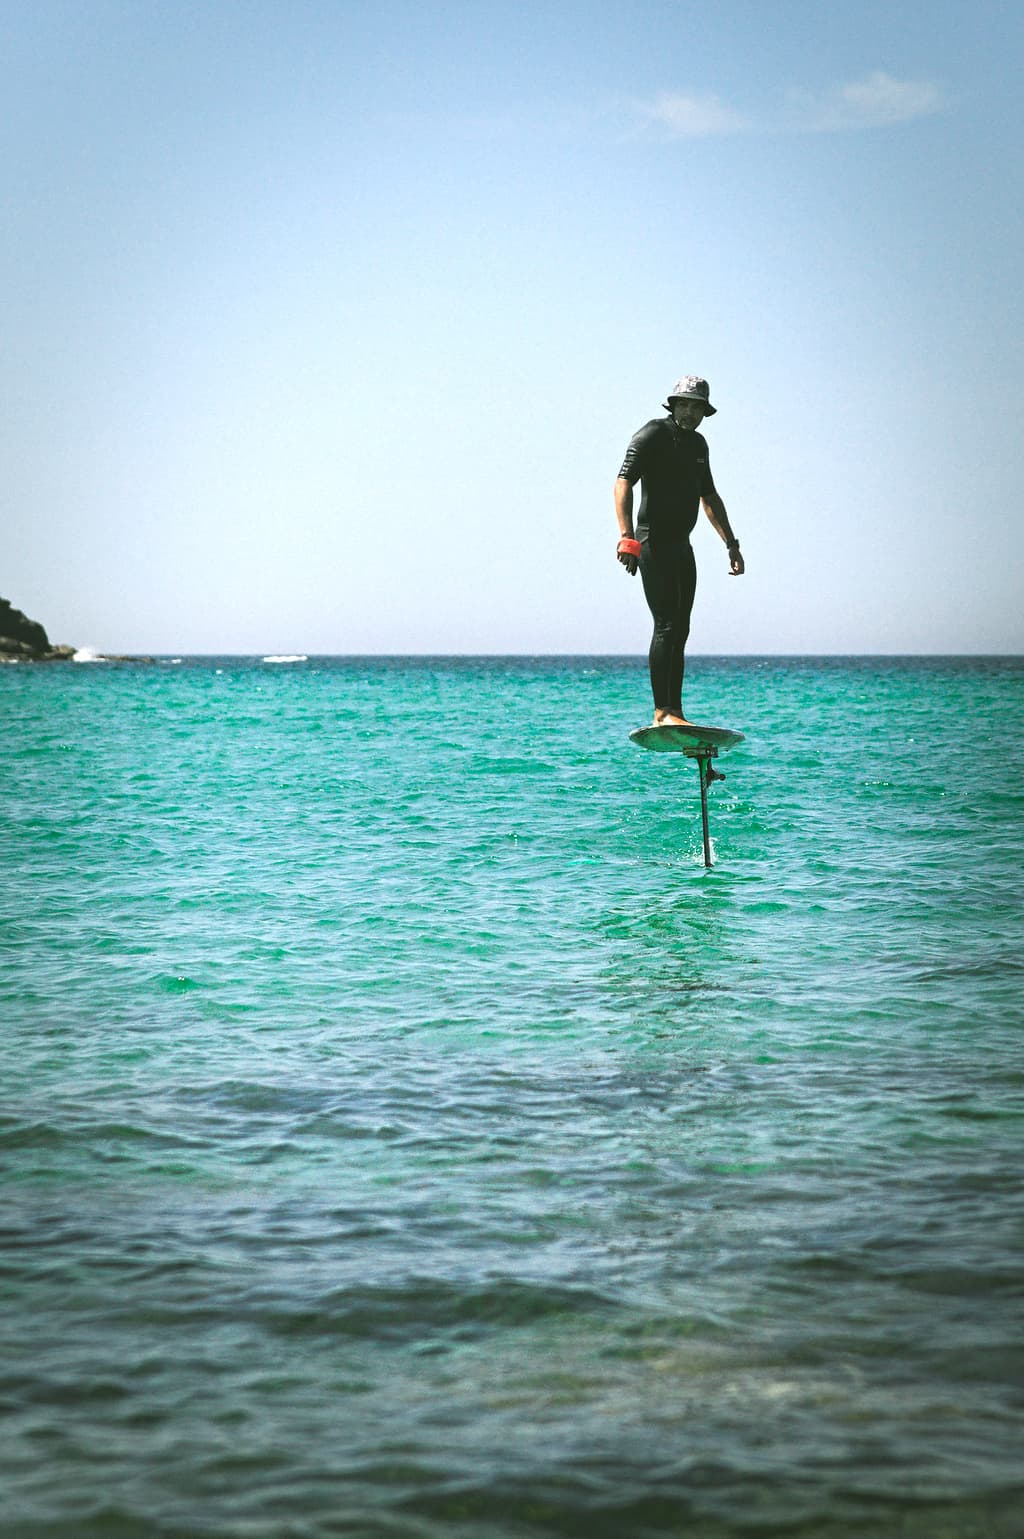
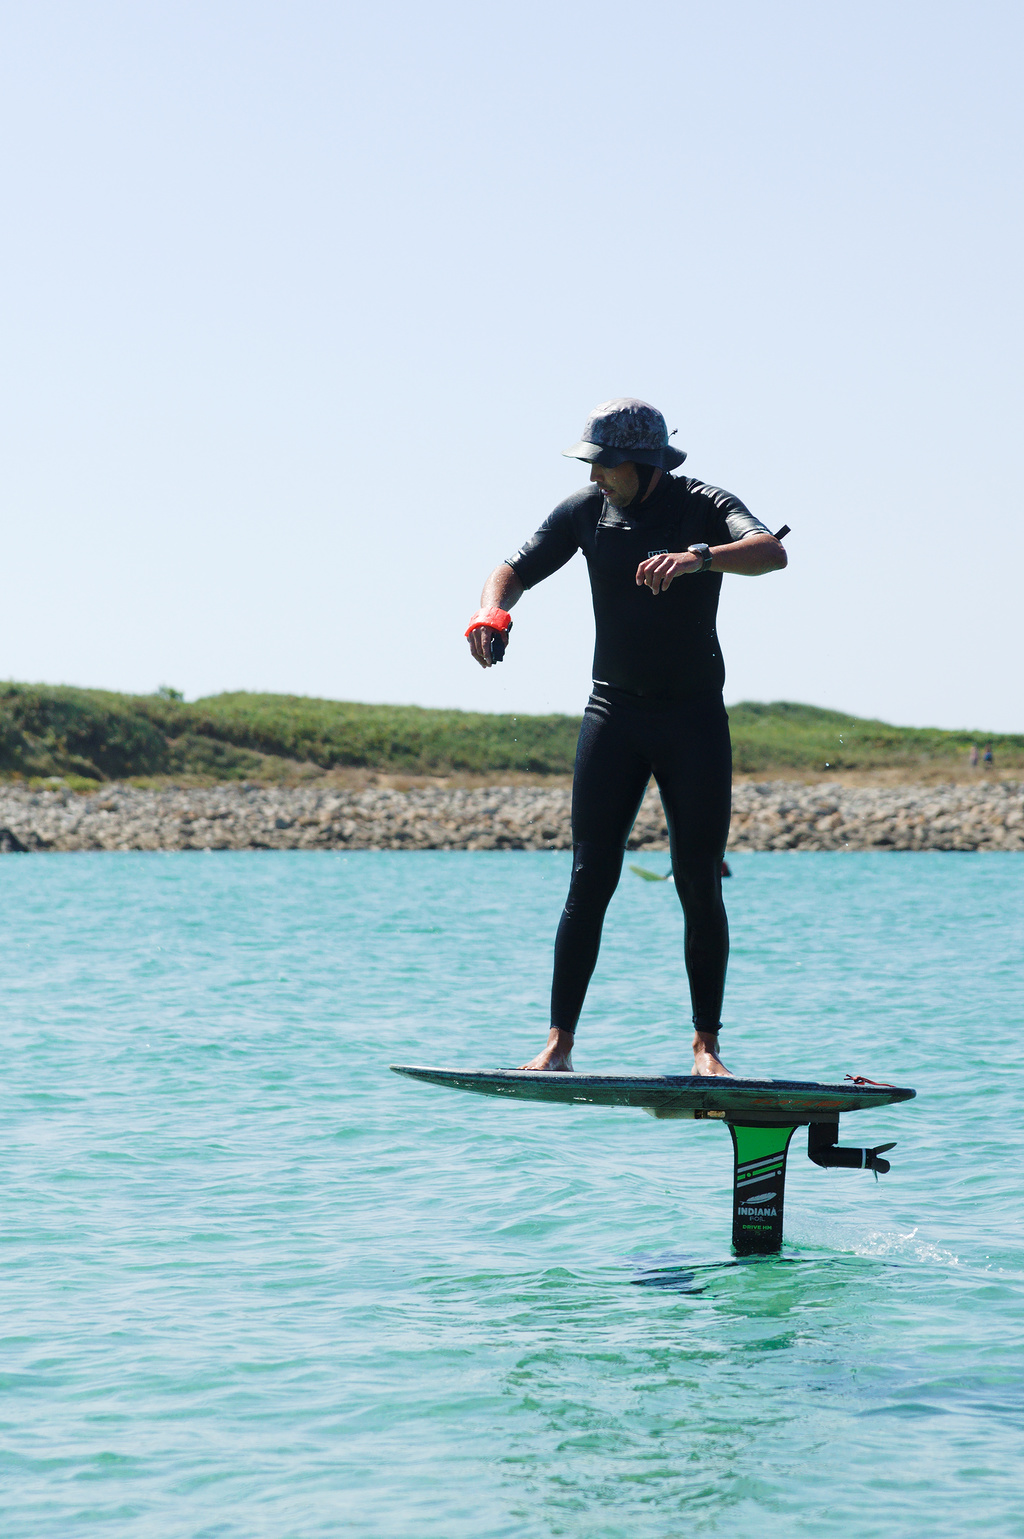
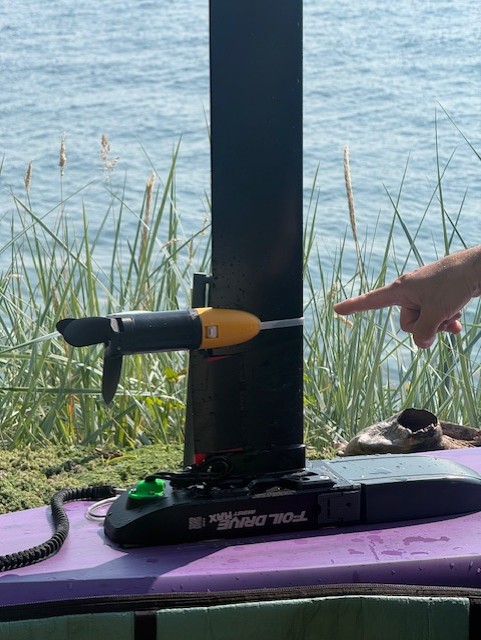
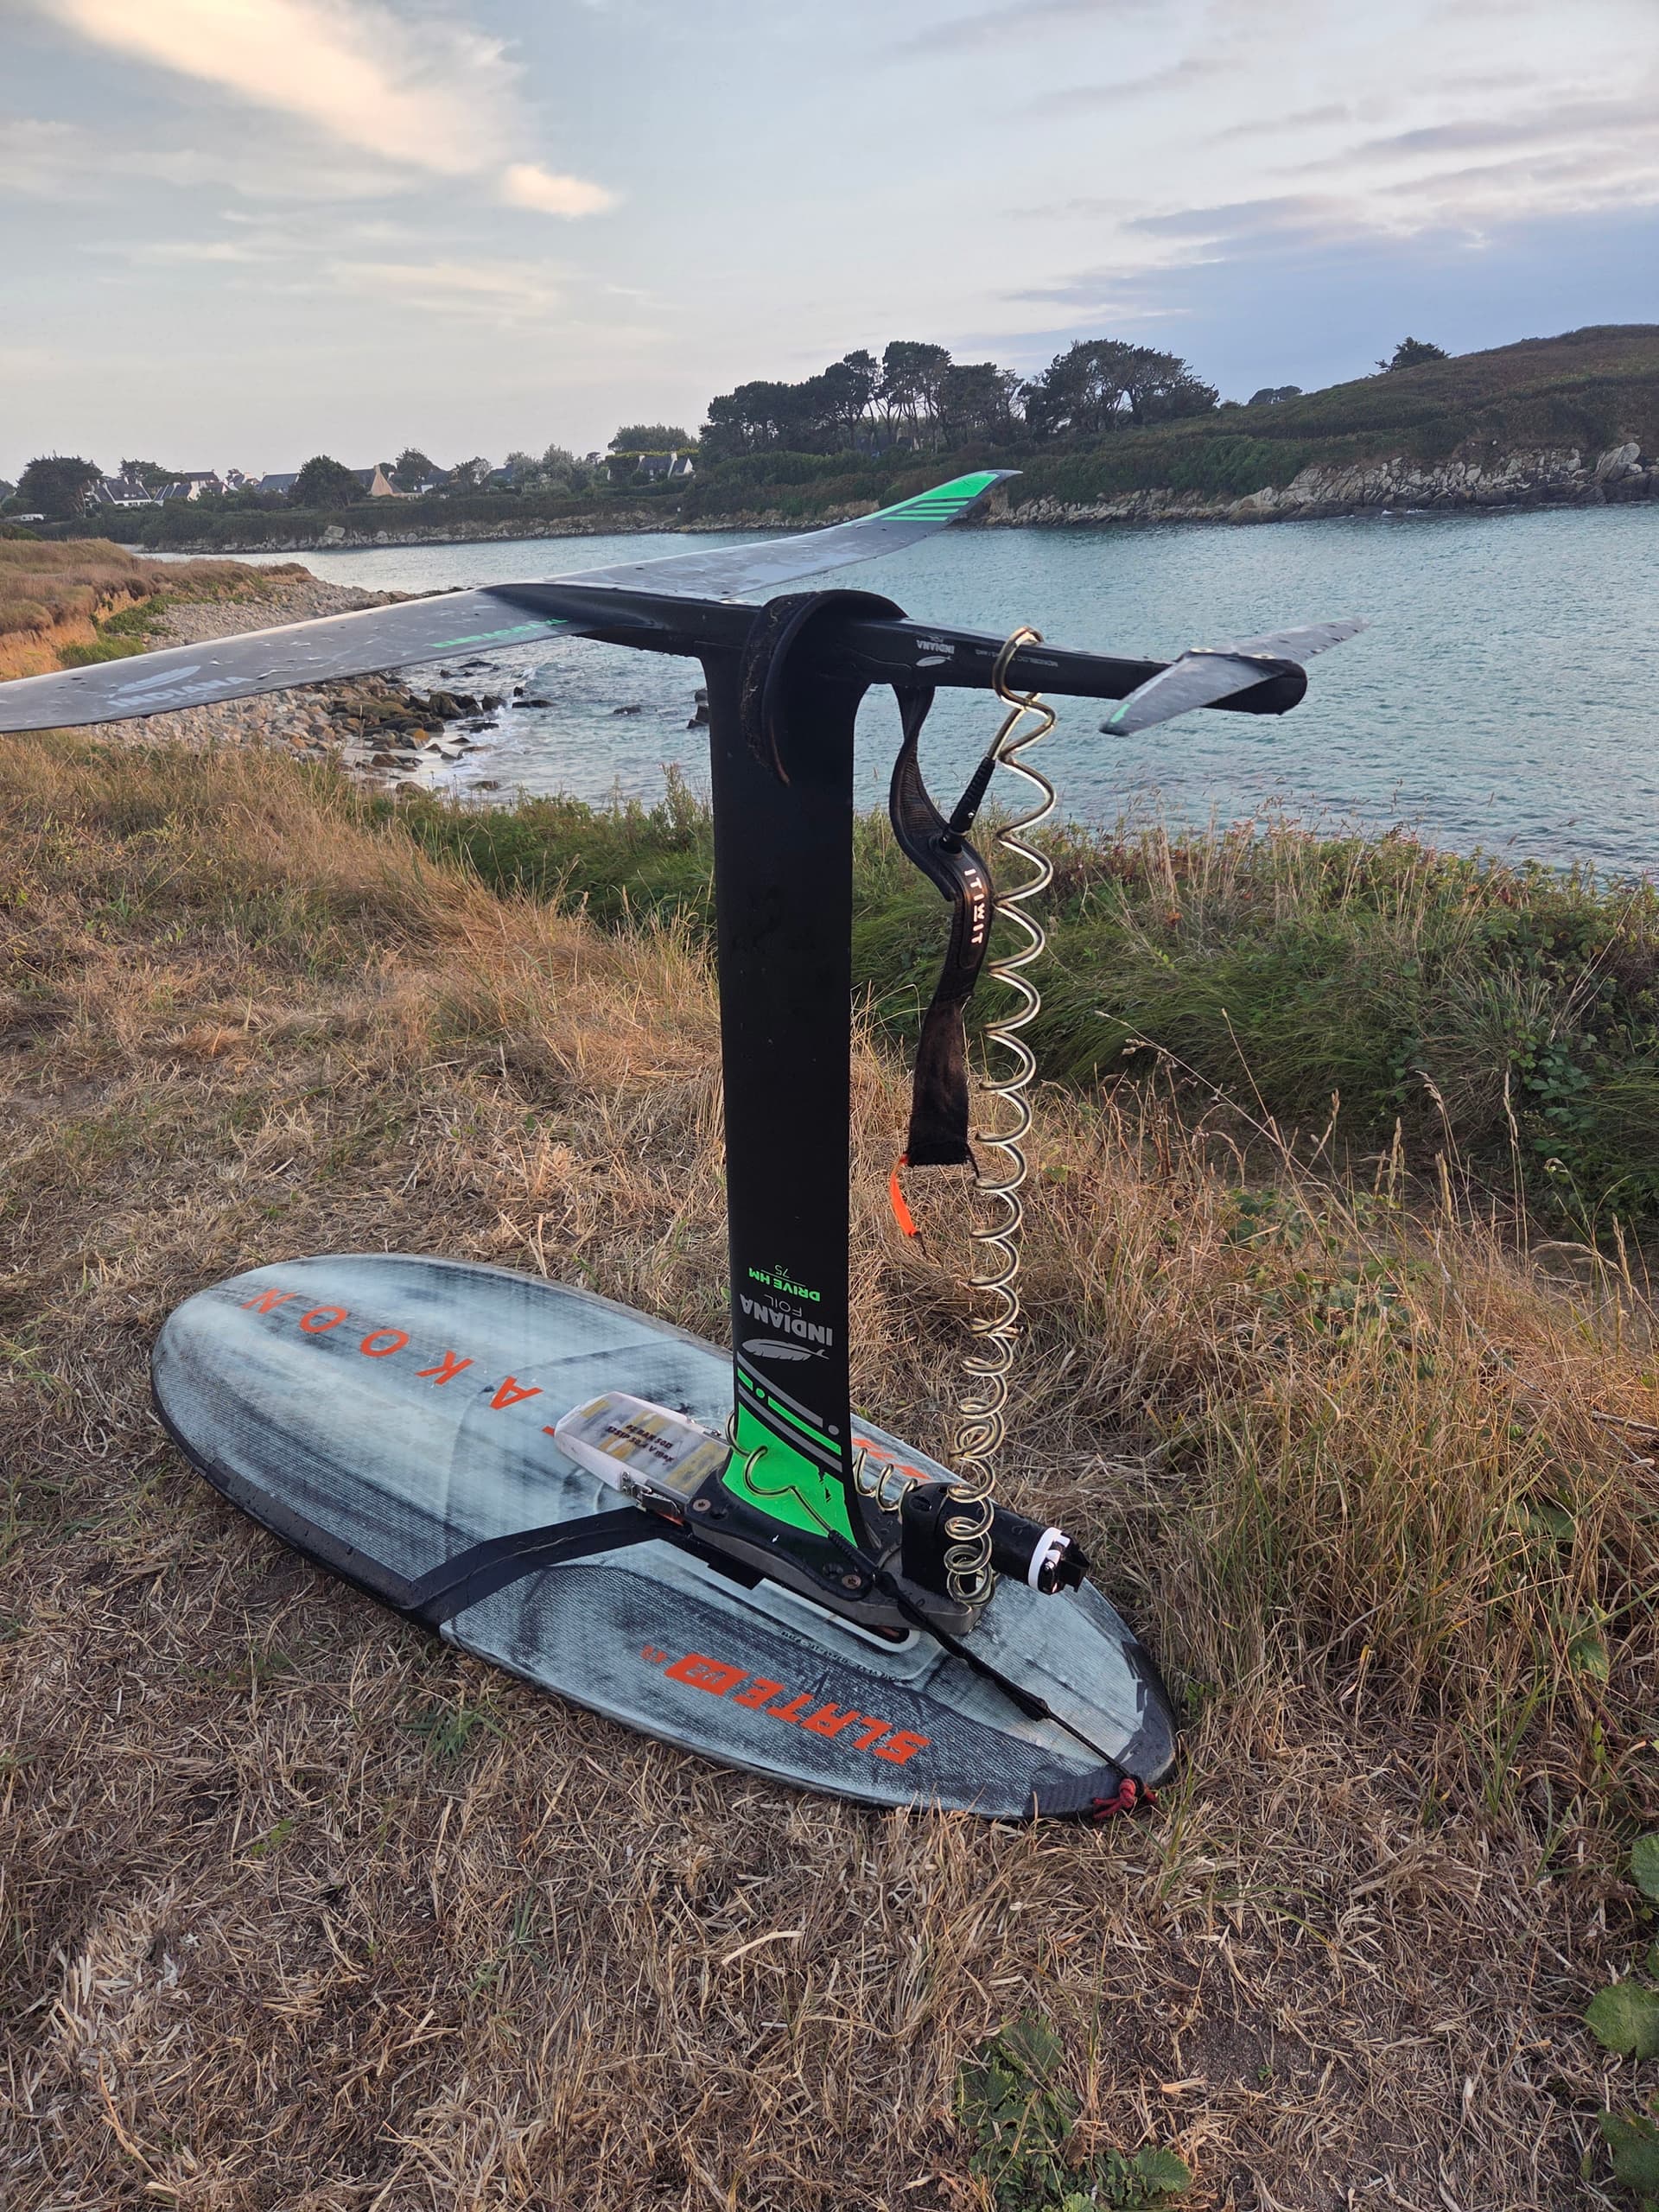
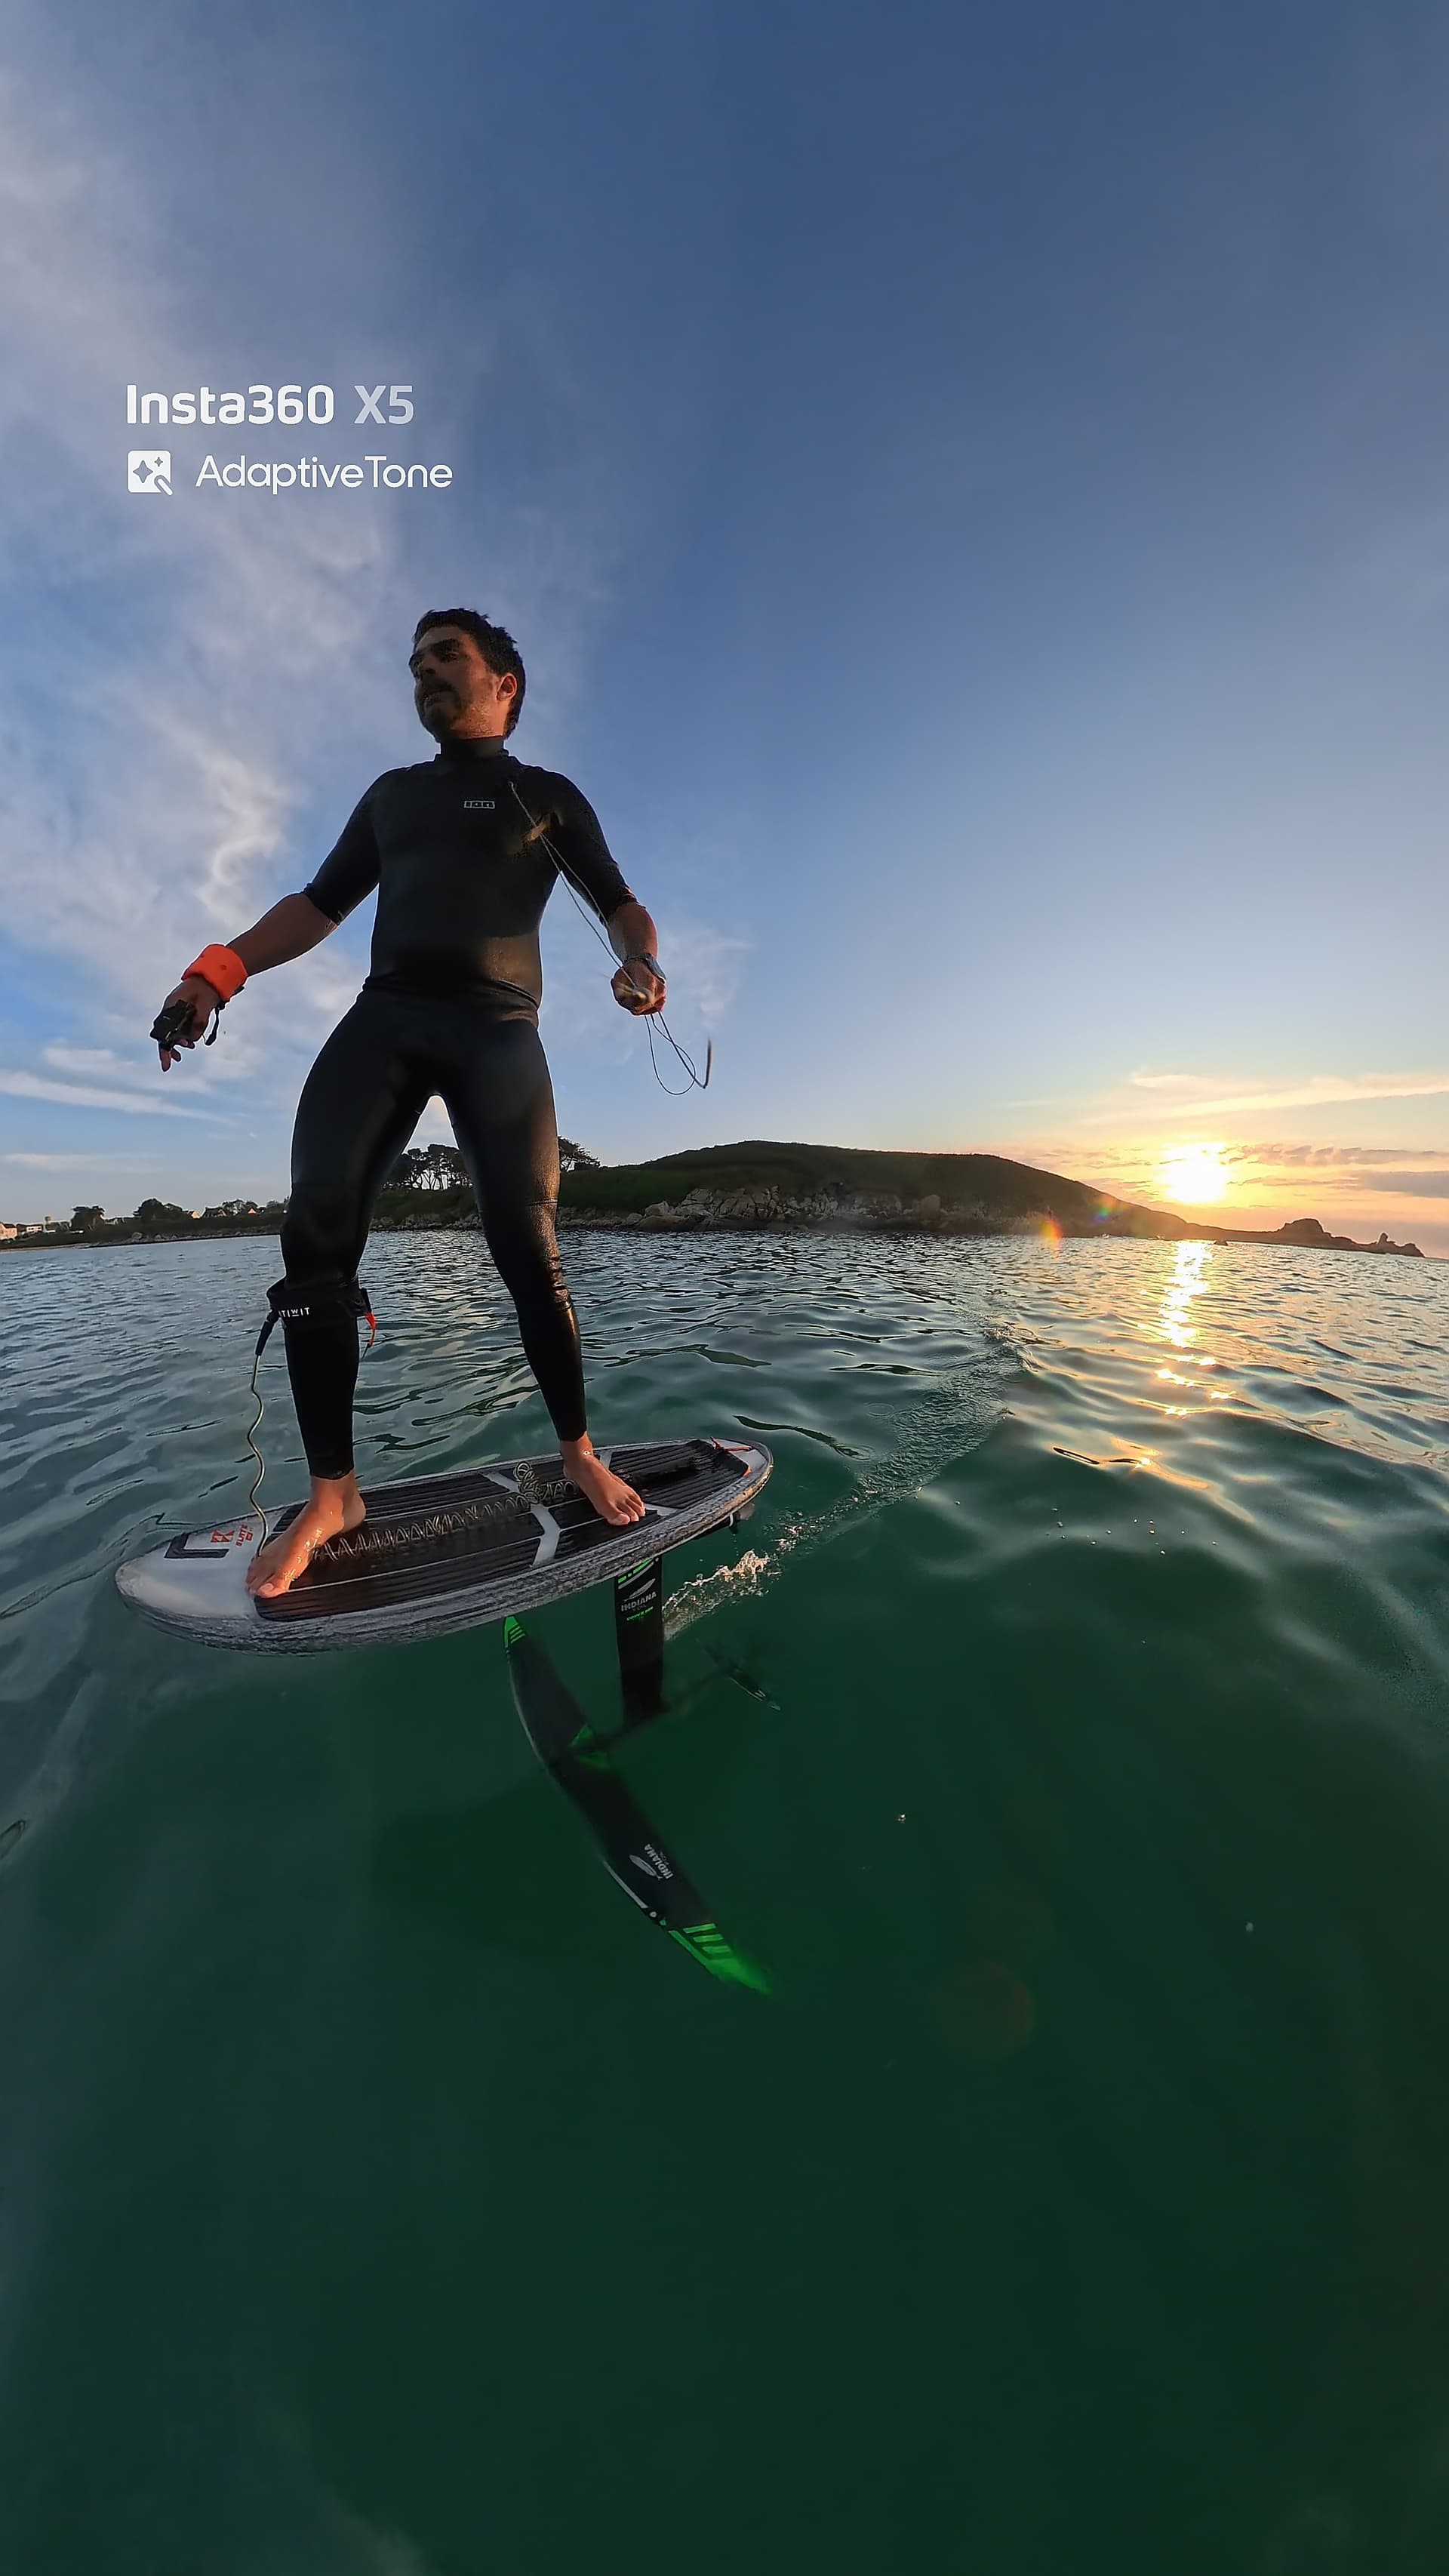
Some contrast data regarding session length with a DW Board. I was wakethieving a boat wave made by a local guy for long board surfers. He allowed me to wakethief if I keep distance to the surfers.
Distance: 9,69km
Session length: 2:11h
I have missed some waves, but I got about 30+ waves. There was a friend with Foil Drive Slim and also a DW board. He managed the same session length.
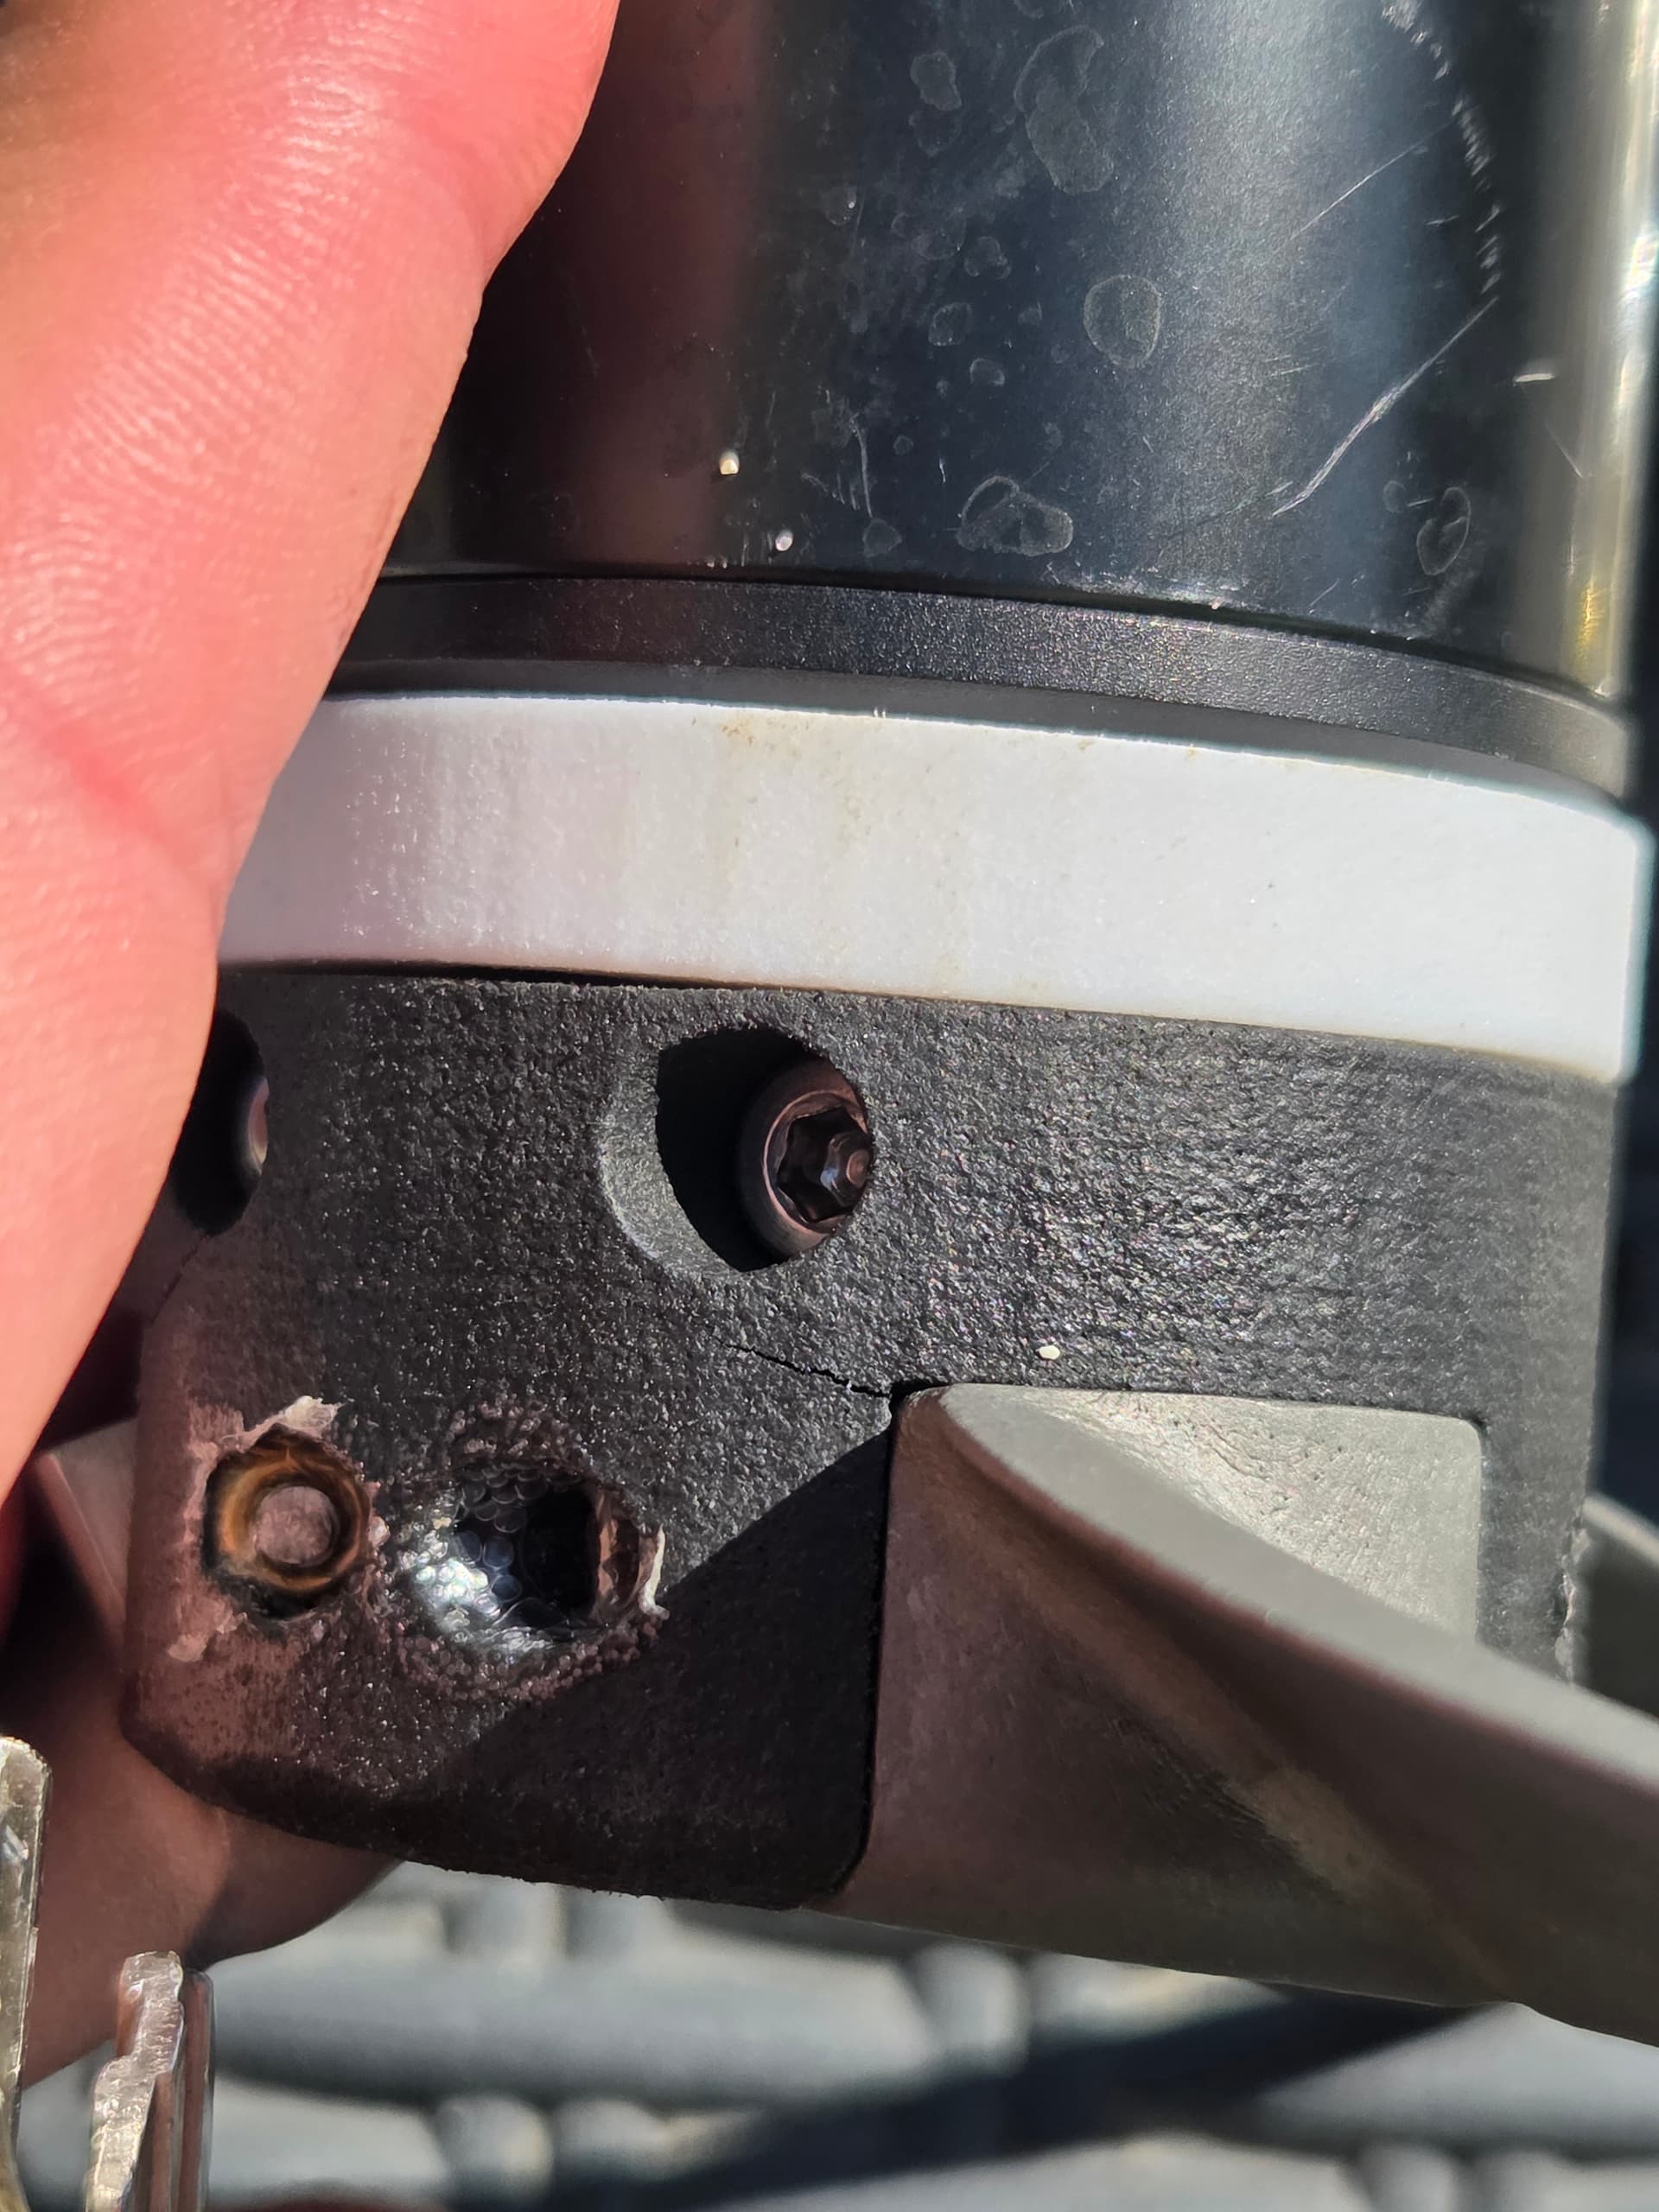
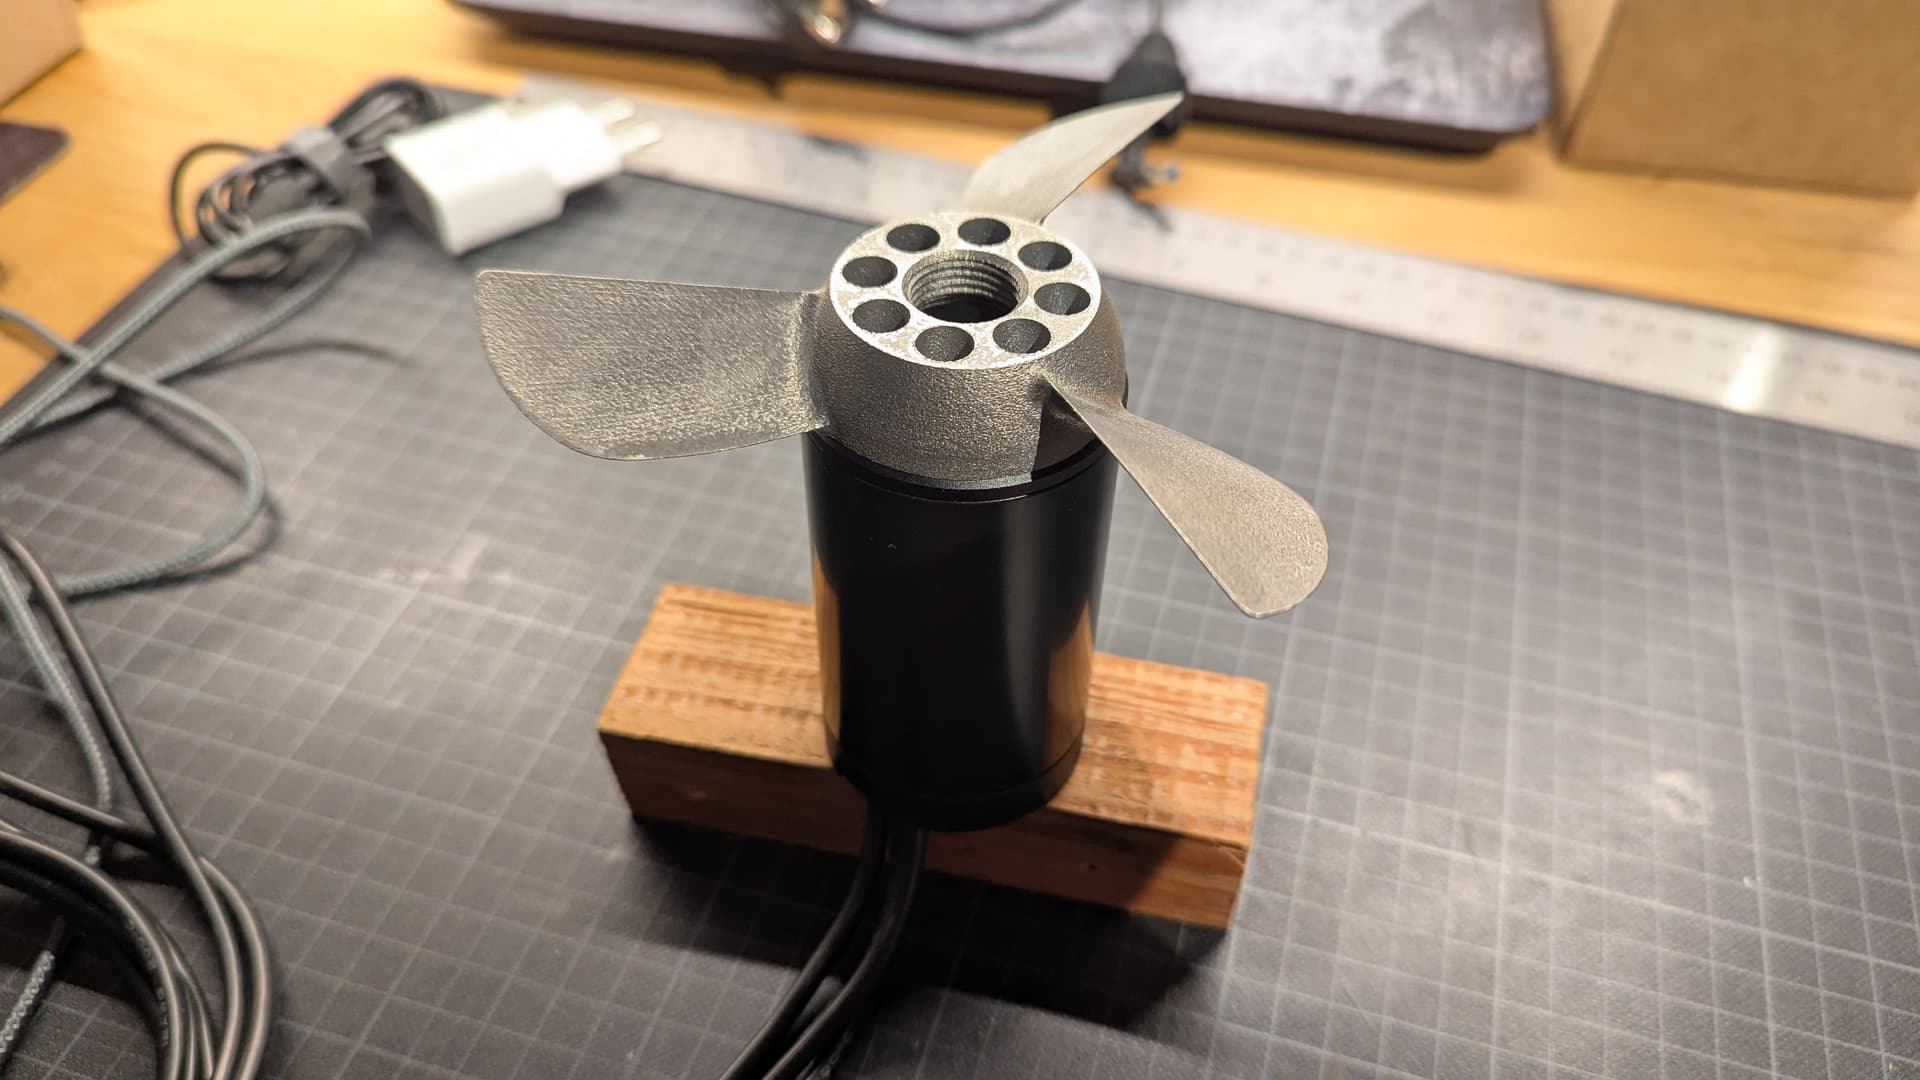
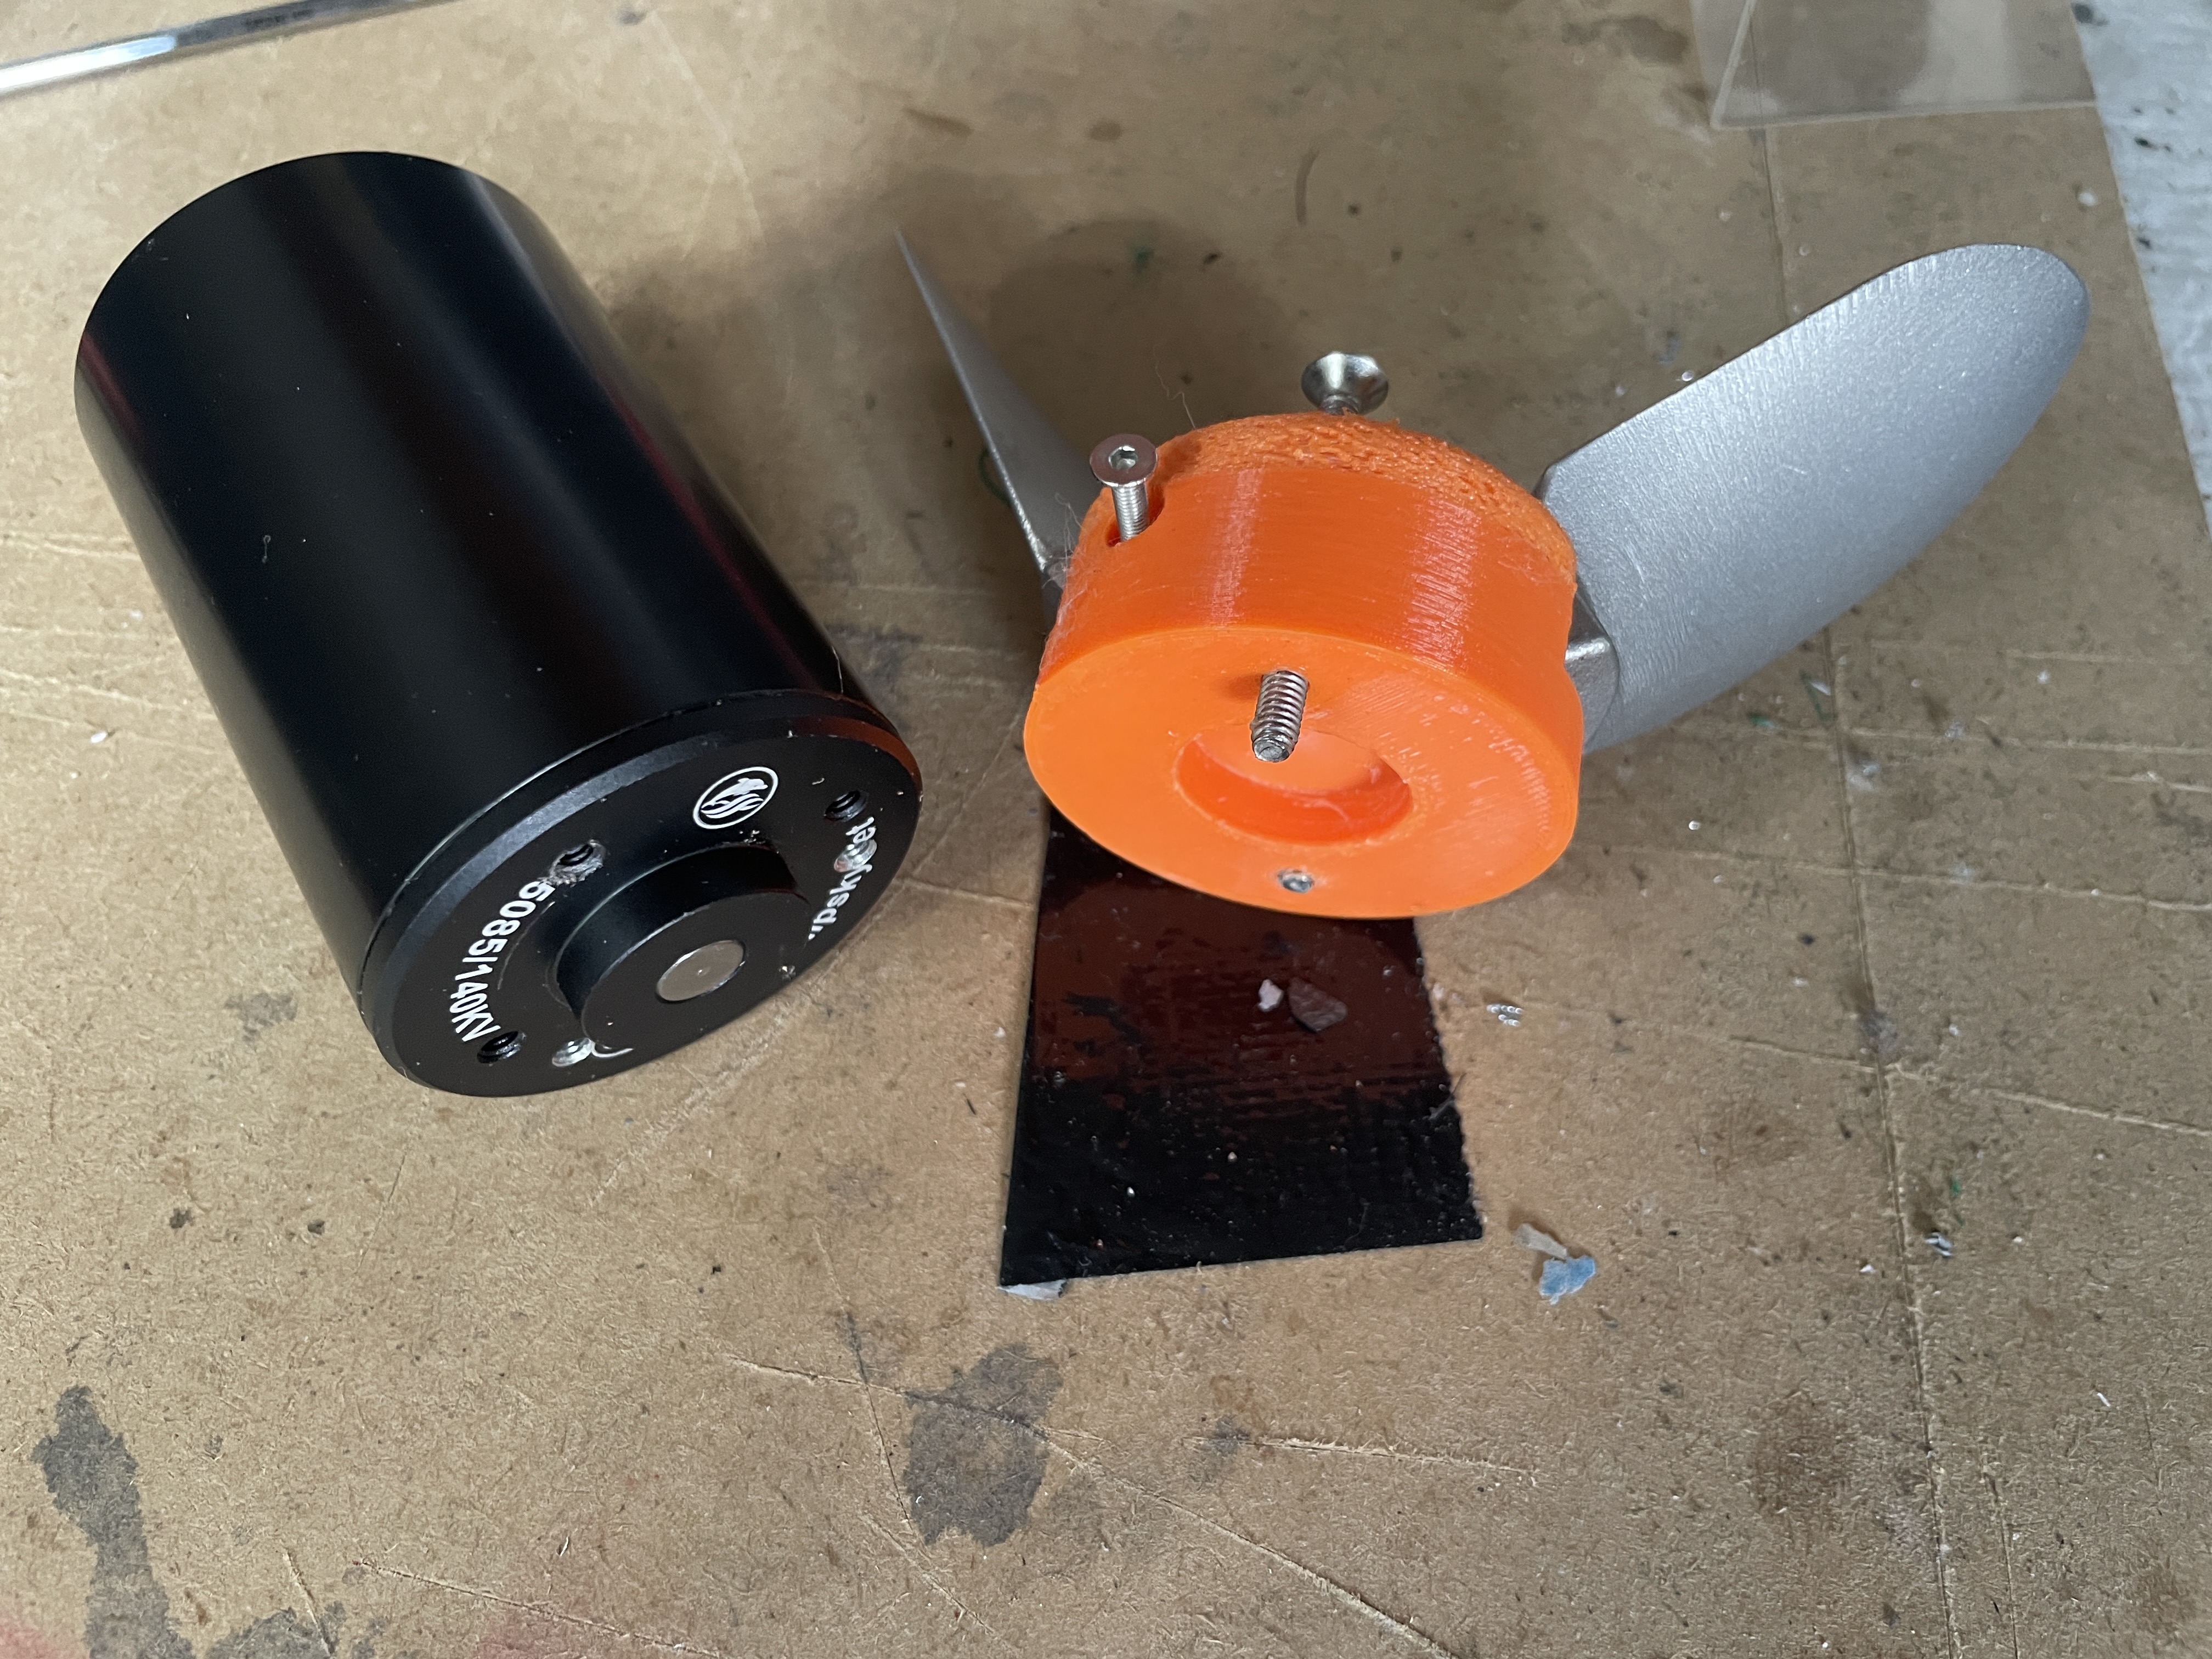
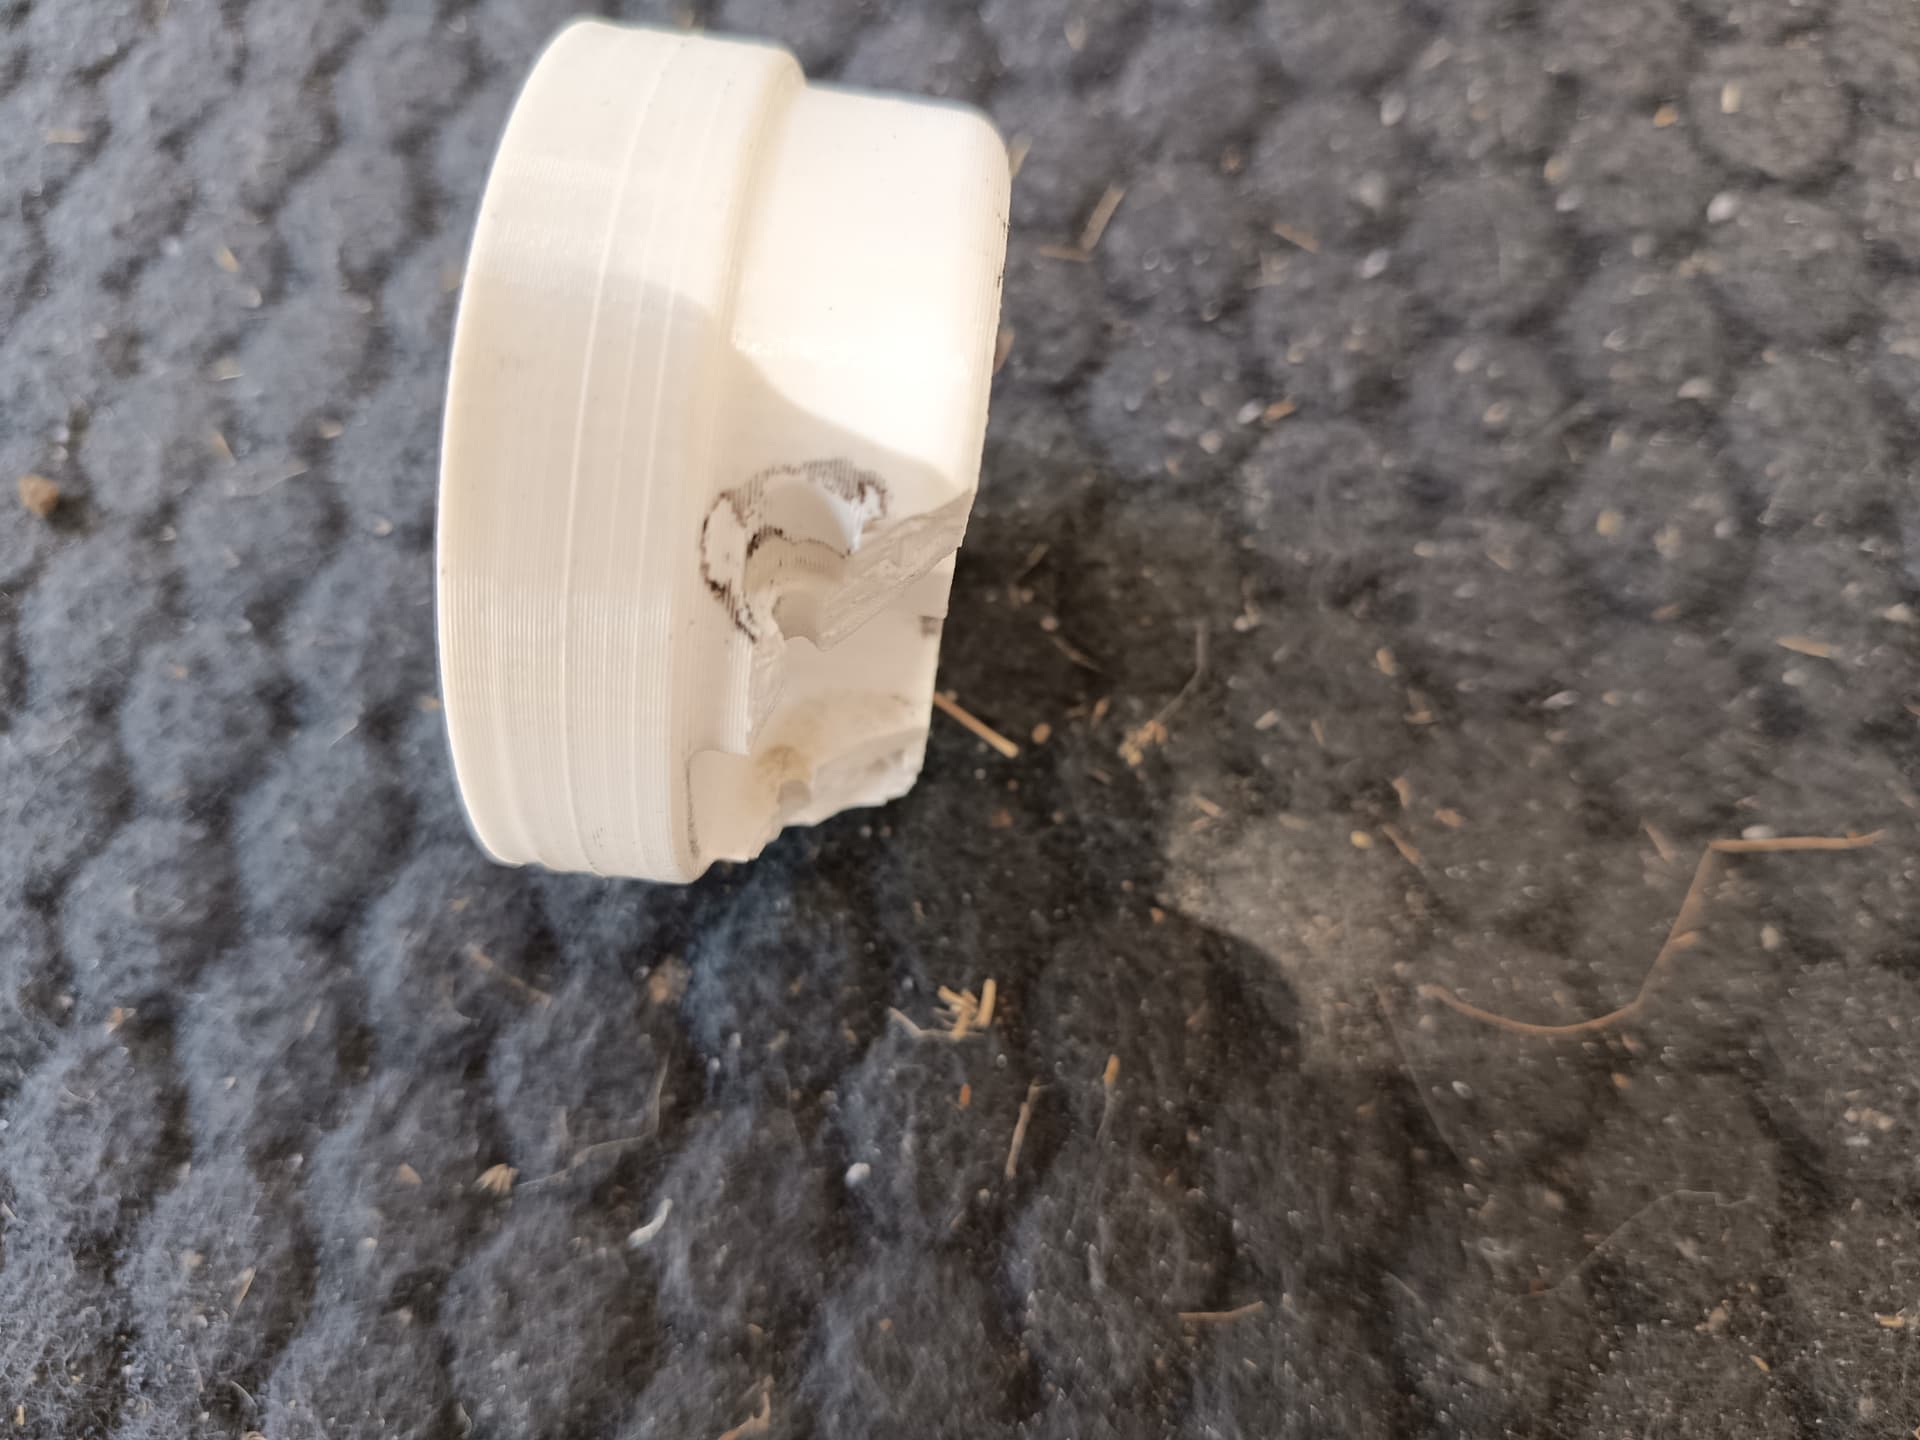
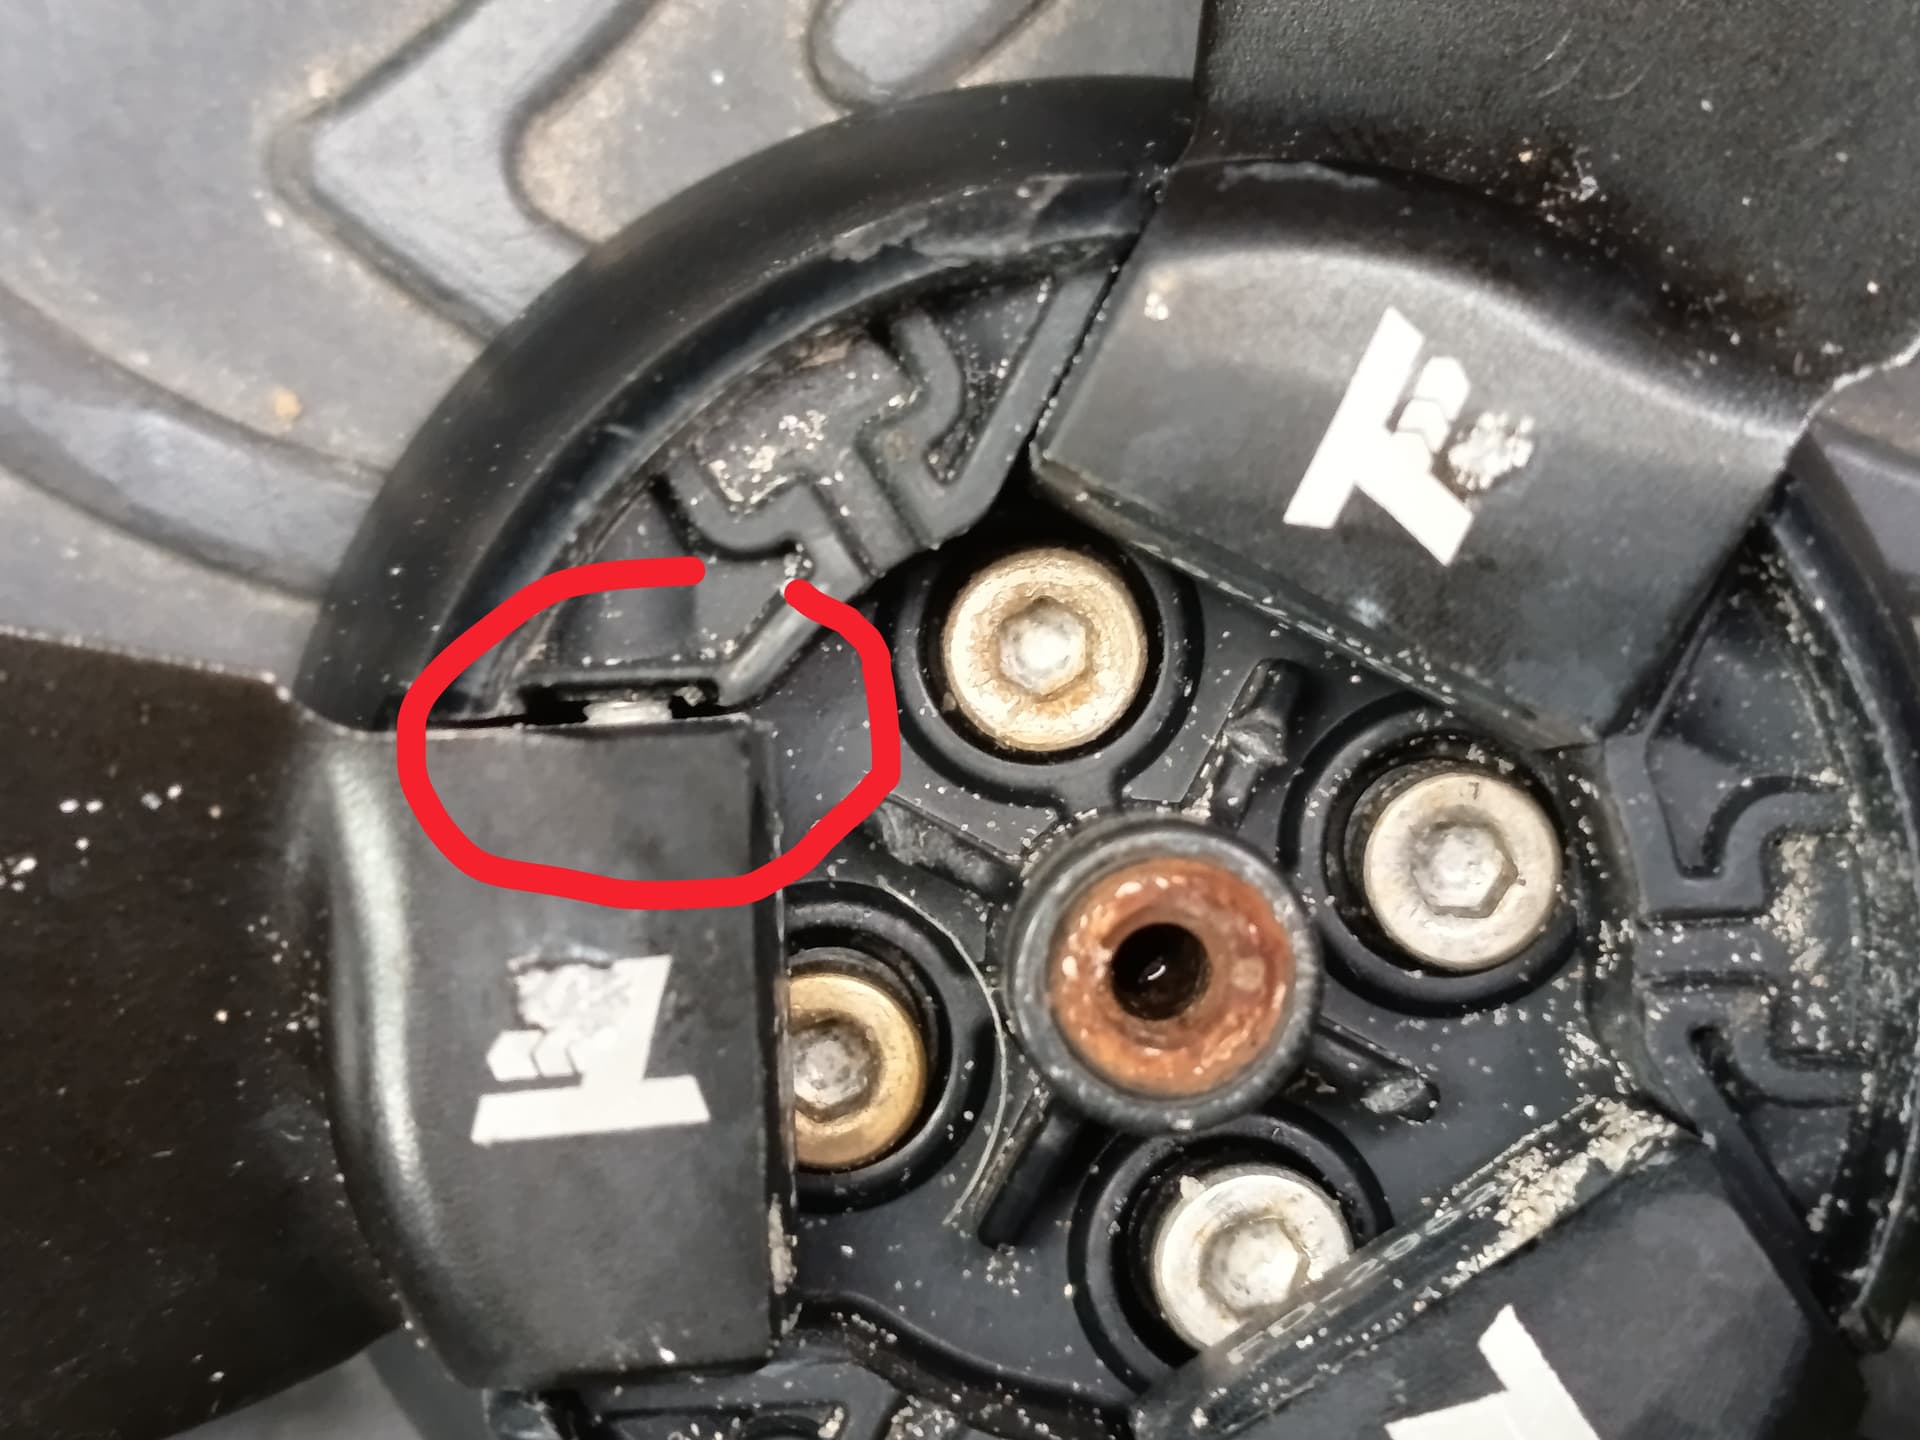
Hard to see in the picture, but if it is a 5085 outrunner there is no commercial hub.
I used cc3d PBT pro with fiberglass for a 6384 hub. It also cracked after some time.
Now I printed one in PC-ABS. Not tested yet.
Yes 5085 hub, there is much less material to hold the forces, and with the heavier ti blades the snap open torque is pretty big I guess. I superglued the edges of hub, added rubber pads under hard stop of the blade.
I think next step is to order a AL or ti hub and adapter, need to get the system very reliable, not the case so far
I increased the system power a little bit = 130->150A phase, 50->55A battery, lowered lvc to 2.5v per cell under load, and 10% more erpm.
Yesterday with 1050cm2 foil I was underpowered as soon as the battery dropped a little bit, and could only start in waves.
@Bzhwindtalker
Made this Titanium prop for the 5085 a while ago and was not able to test it. I thought just ignoring the drag from the not folding prop in favour of a lighter assembly and less rattle.
So the motor does survives 150A Phase? That sounds high for this motor. Maybe the propeller blades are too big for this motor, especially for a 3 blade propeller. Smaller blades would need less torque (but run at higher rpm, so maybe a bit less efficient), less torque = less A.
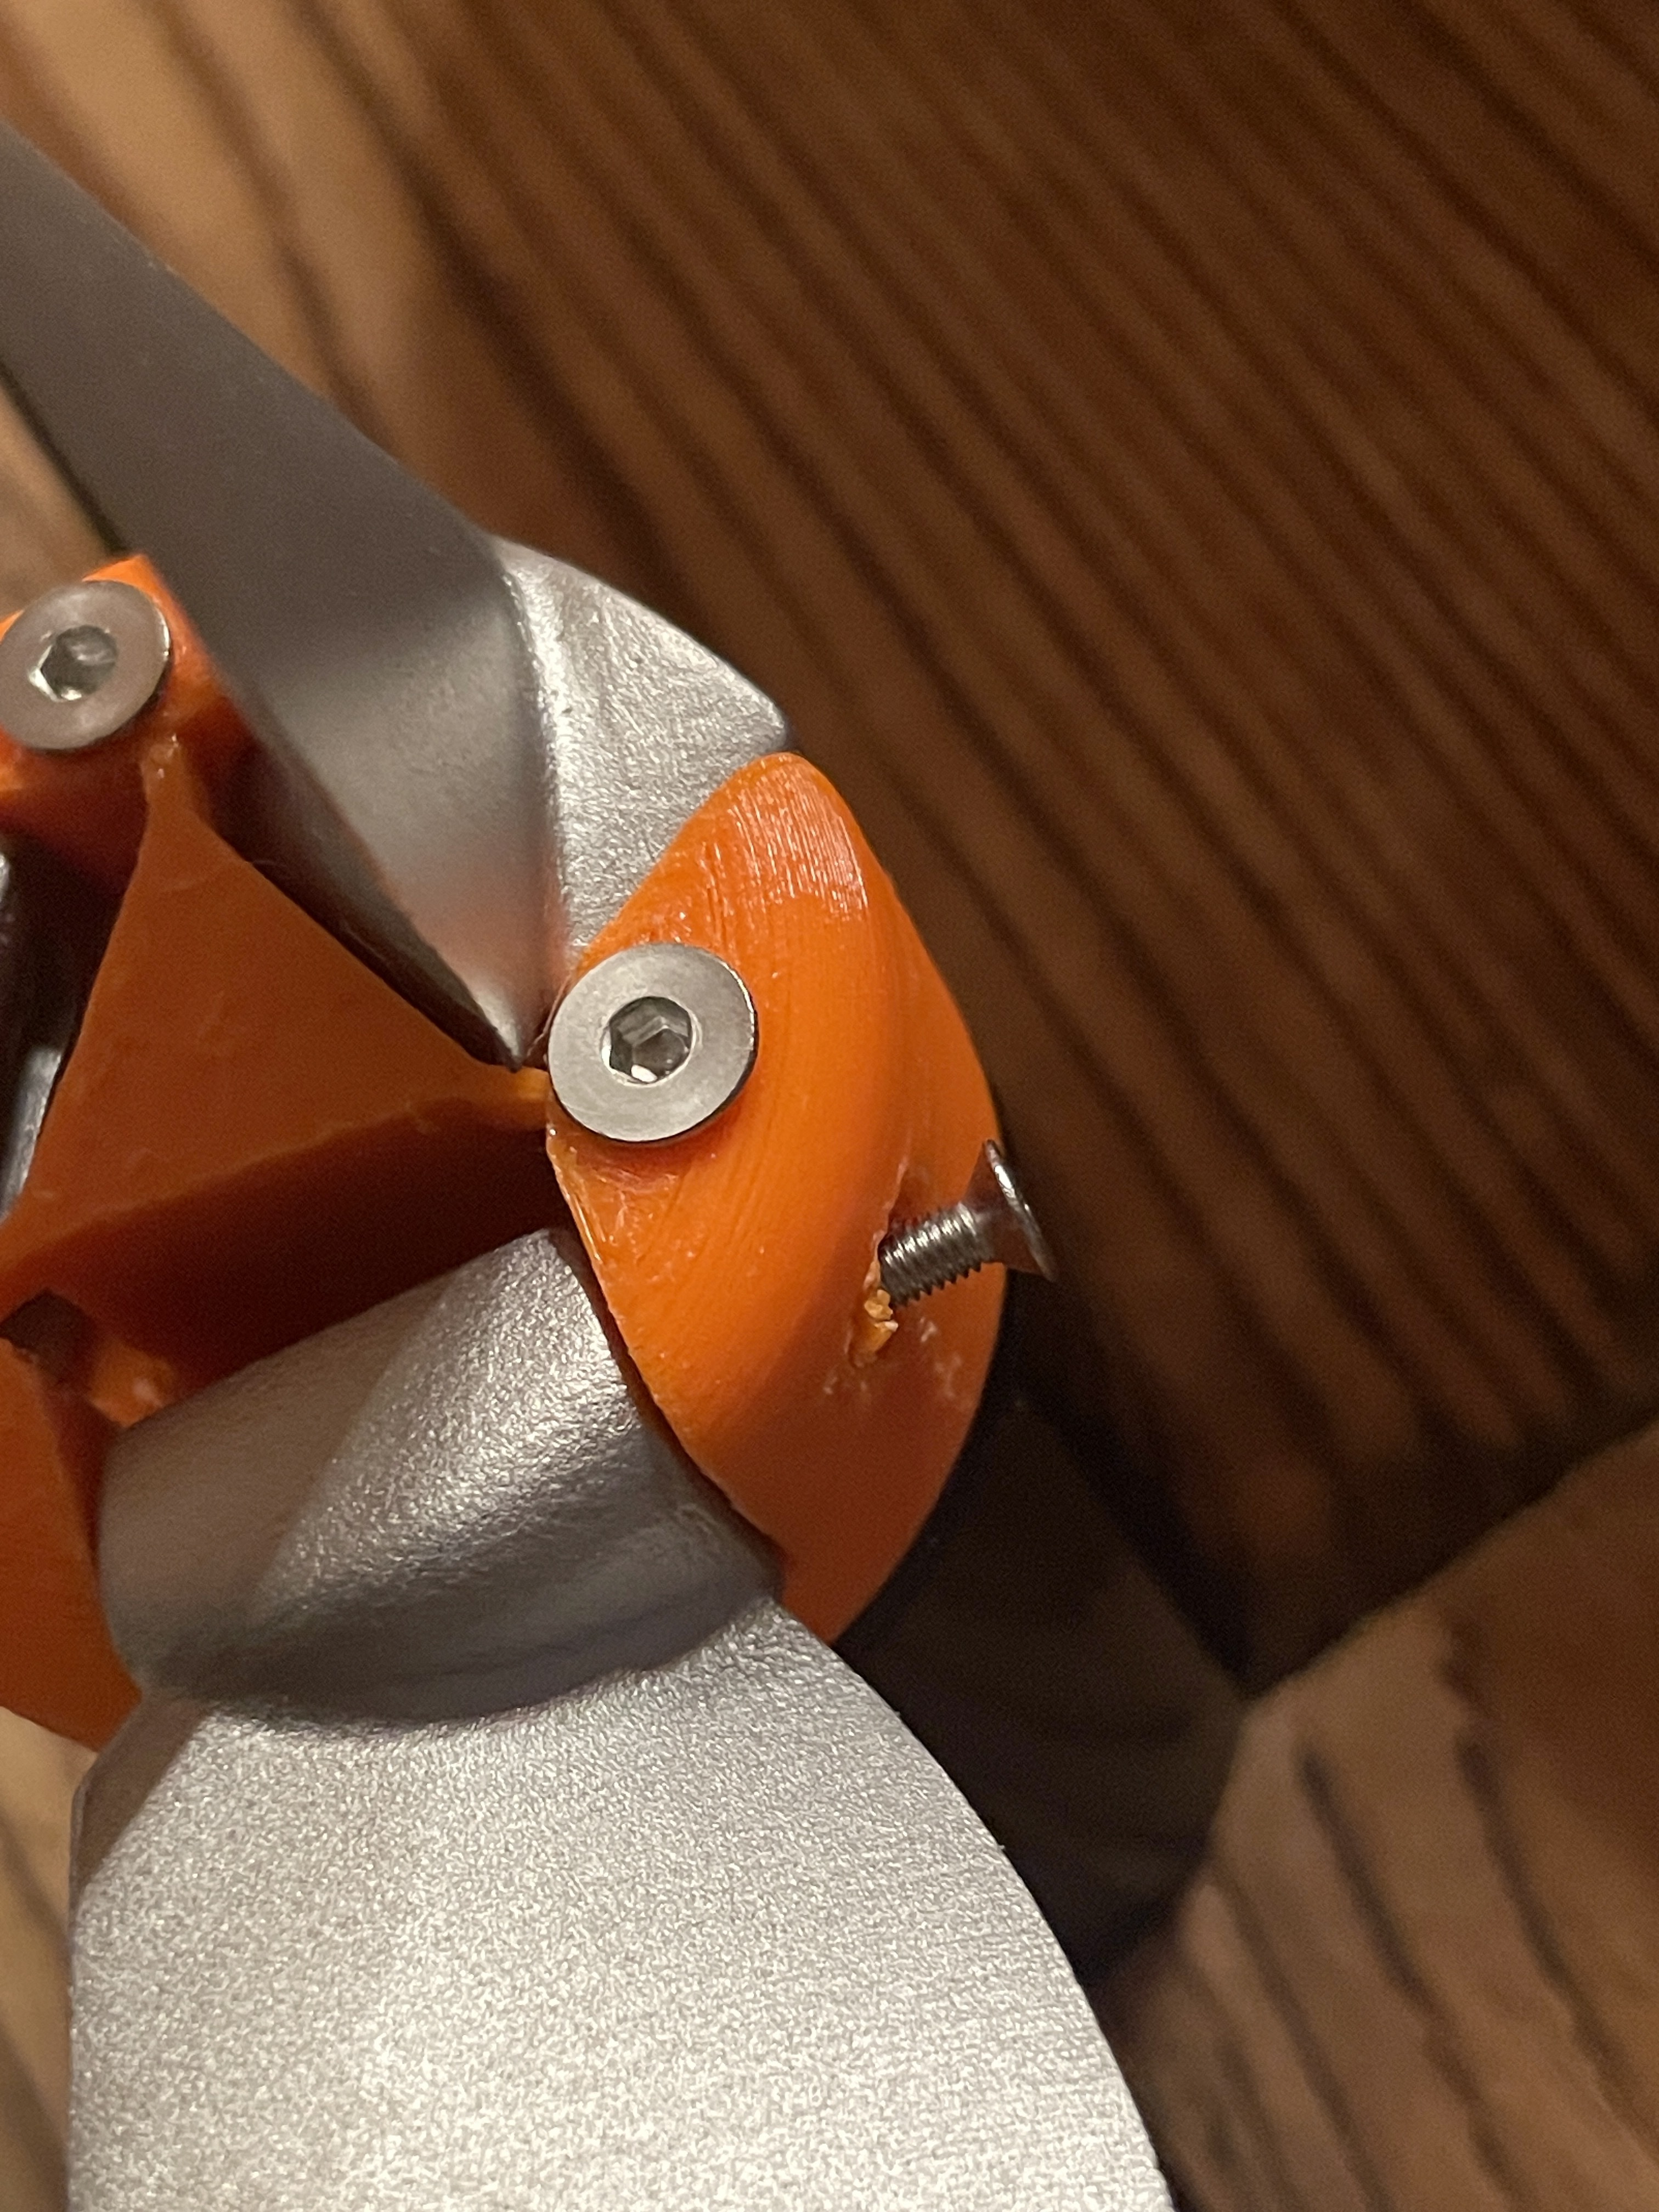
For the hub I did a design with 3 screws going directly through the hub into the motor. Requires to drill and tap 2 holes. Might help, same concept as the broken carbon rods.This is more of a mockup, I have not tested it yet, for the blades I will use shoulder screws and heat inserts.
So for me it is not a layer adhesion issue anymore.
If you read the notes FD adds to their hubs and how much effort they make to add those special screws, it’s obviously non trivial.
From the FD notes the issue probably occurs when the blades are not completely operating freely on the screws. I feel my alu printed blades seem to accumulate some oxidation over time and add resistance to opening after a while.
Not like they are stuck, but also not zero resistance.
I think it’s a good idea to get the surface of the hubs get perfectly smooth on the sides where the blades attach.
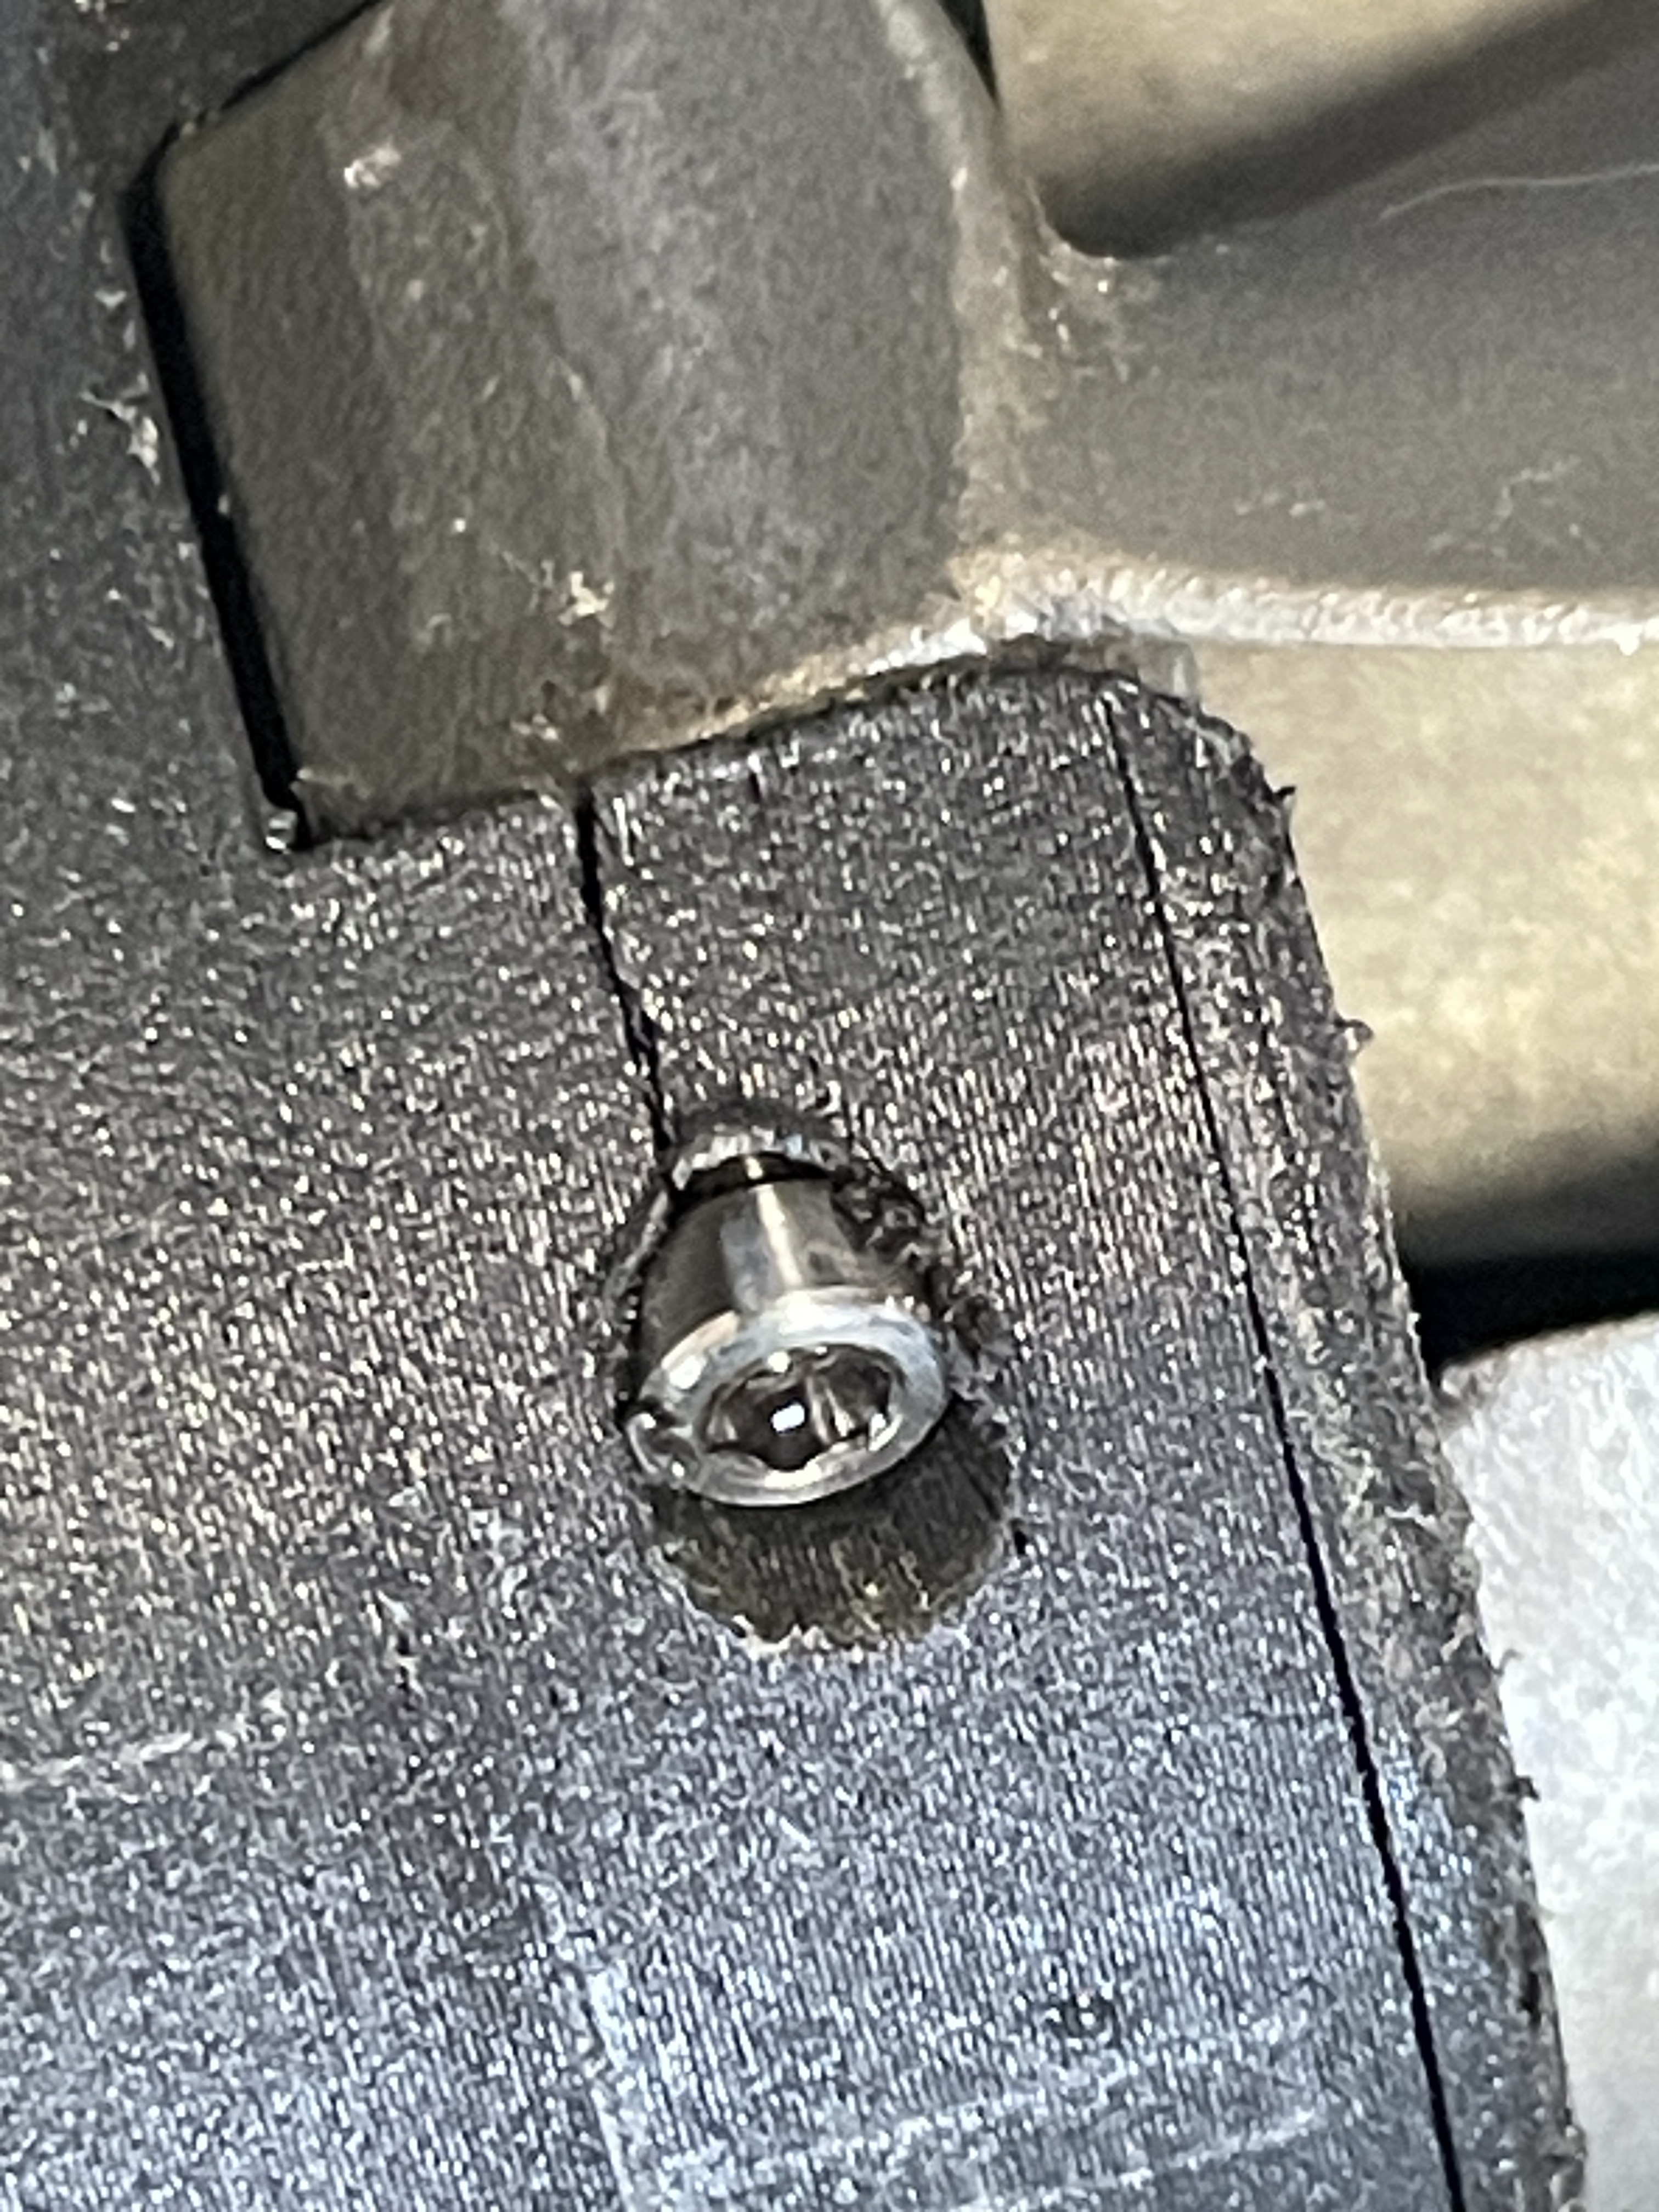
After the session, I noticed the hub was already showing small cracks in same areas as before swapping hub. Signal is still very bad, hard to get a clean start without loosing signal.
Bremote uses 868MHz which helps for better reception in the water. The receiver is a bit big but Ludwig is considering to build a smaler receiver with reduced functionality. This could solve your reception problems.
Came up with the idea last week, so nothing to show yet.
Give me 2-3 weeks
Until then you can check out the BREmote V2 Nano with the regular Rx of course
I have a v2 bremote on my boat/tow but unfortunately the ergonomics does not really work with me for small board takeoff/pop up.
I never had such issues with the small board, but my antenna got chopped a little short and the signal area is a little far from my ideal right hand position. I also noticed some corrosion around the antenna area, I really need to work on that properly, assist side and board side.
Here is a remix of the 5085 hub originally posted here, 3 bolts through the base, heat inserts for the prop screws, printed in SUNLU Easy PA, two sessions, no cracks so far. Also, here is a simple single beefy zip-tie pod for the 5085 motor I am using on my onelock carbon mast. Using FD black prop blades.
I think that is exactly to counter the issue.
If sand or dirt gets between the blade and hub, it needs a clear way to get out again, without blocking the blade.
Printing the remix hub in pla+ now, as my second hub broke and lost the ti blades 5min into a epic sunset session. Will install with cf blades to finish holidays.
On a side and more positive note, I reworked the antenna setup, lengthened the extension by soldering another piece of coax, waterproofed antenna ends, and now signal is back to fully usable and working. Main thing was probably assist and board antenna not lining up perfectly, the ideal solution would be to epbeed the antenna inside the tpu pad between the board and the assist system.
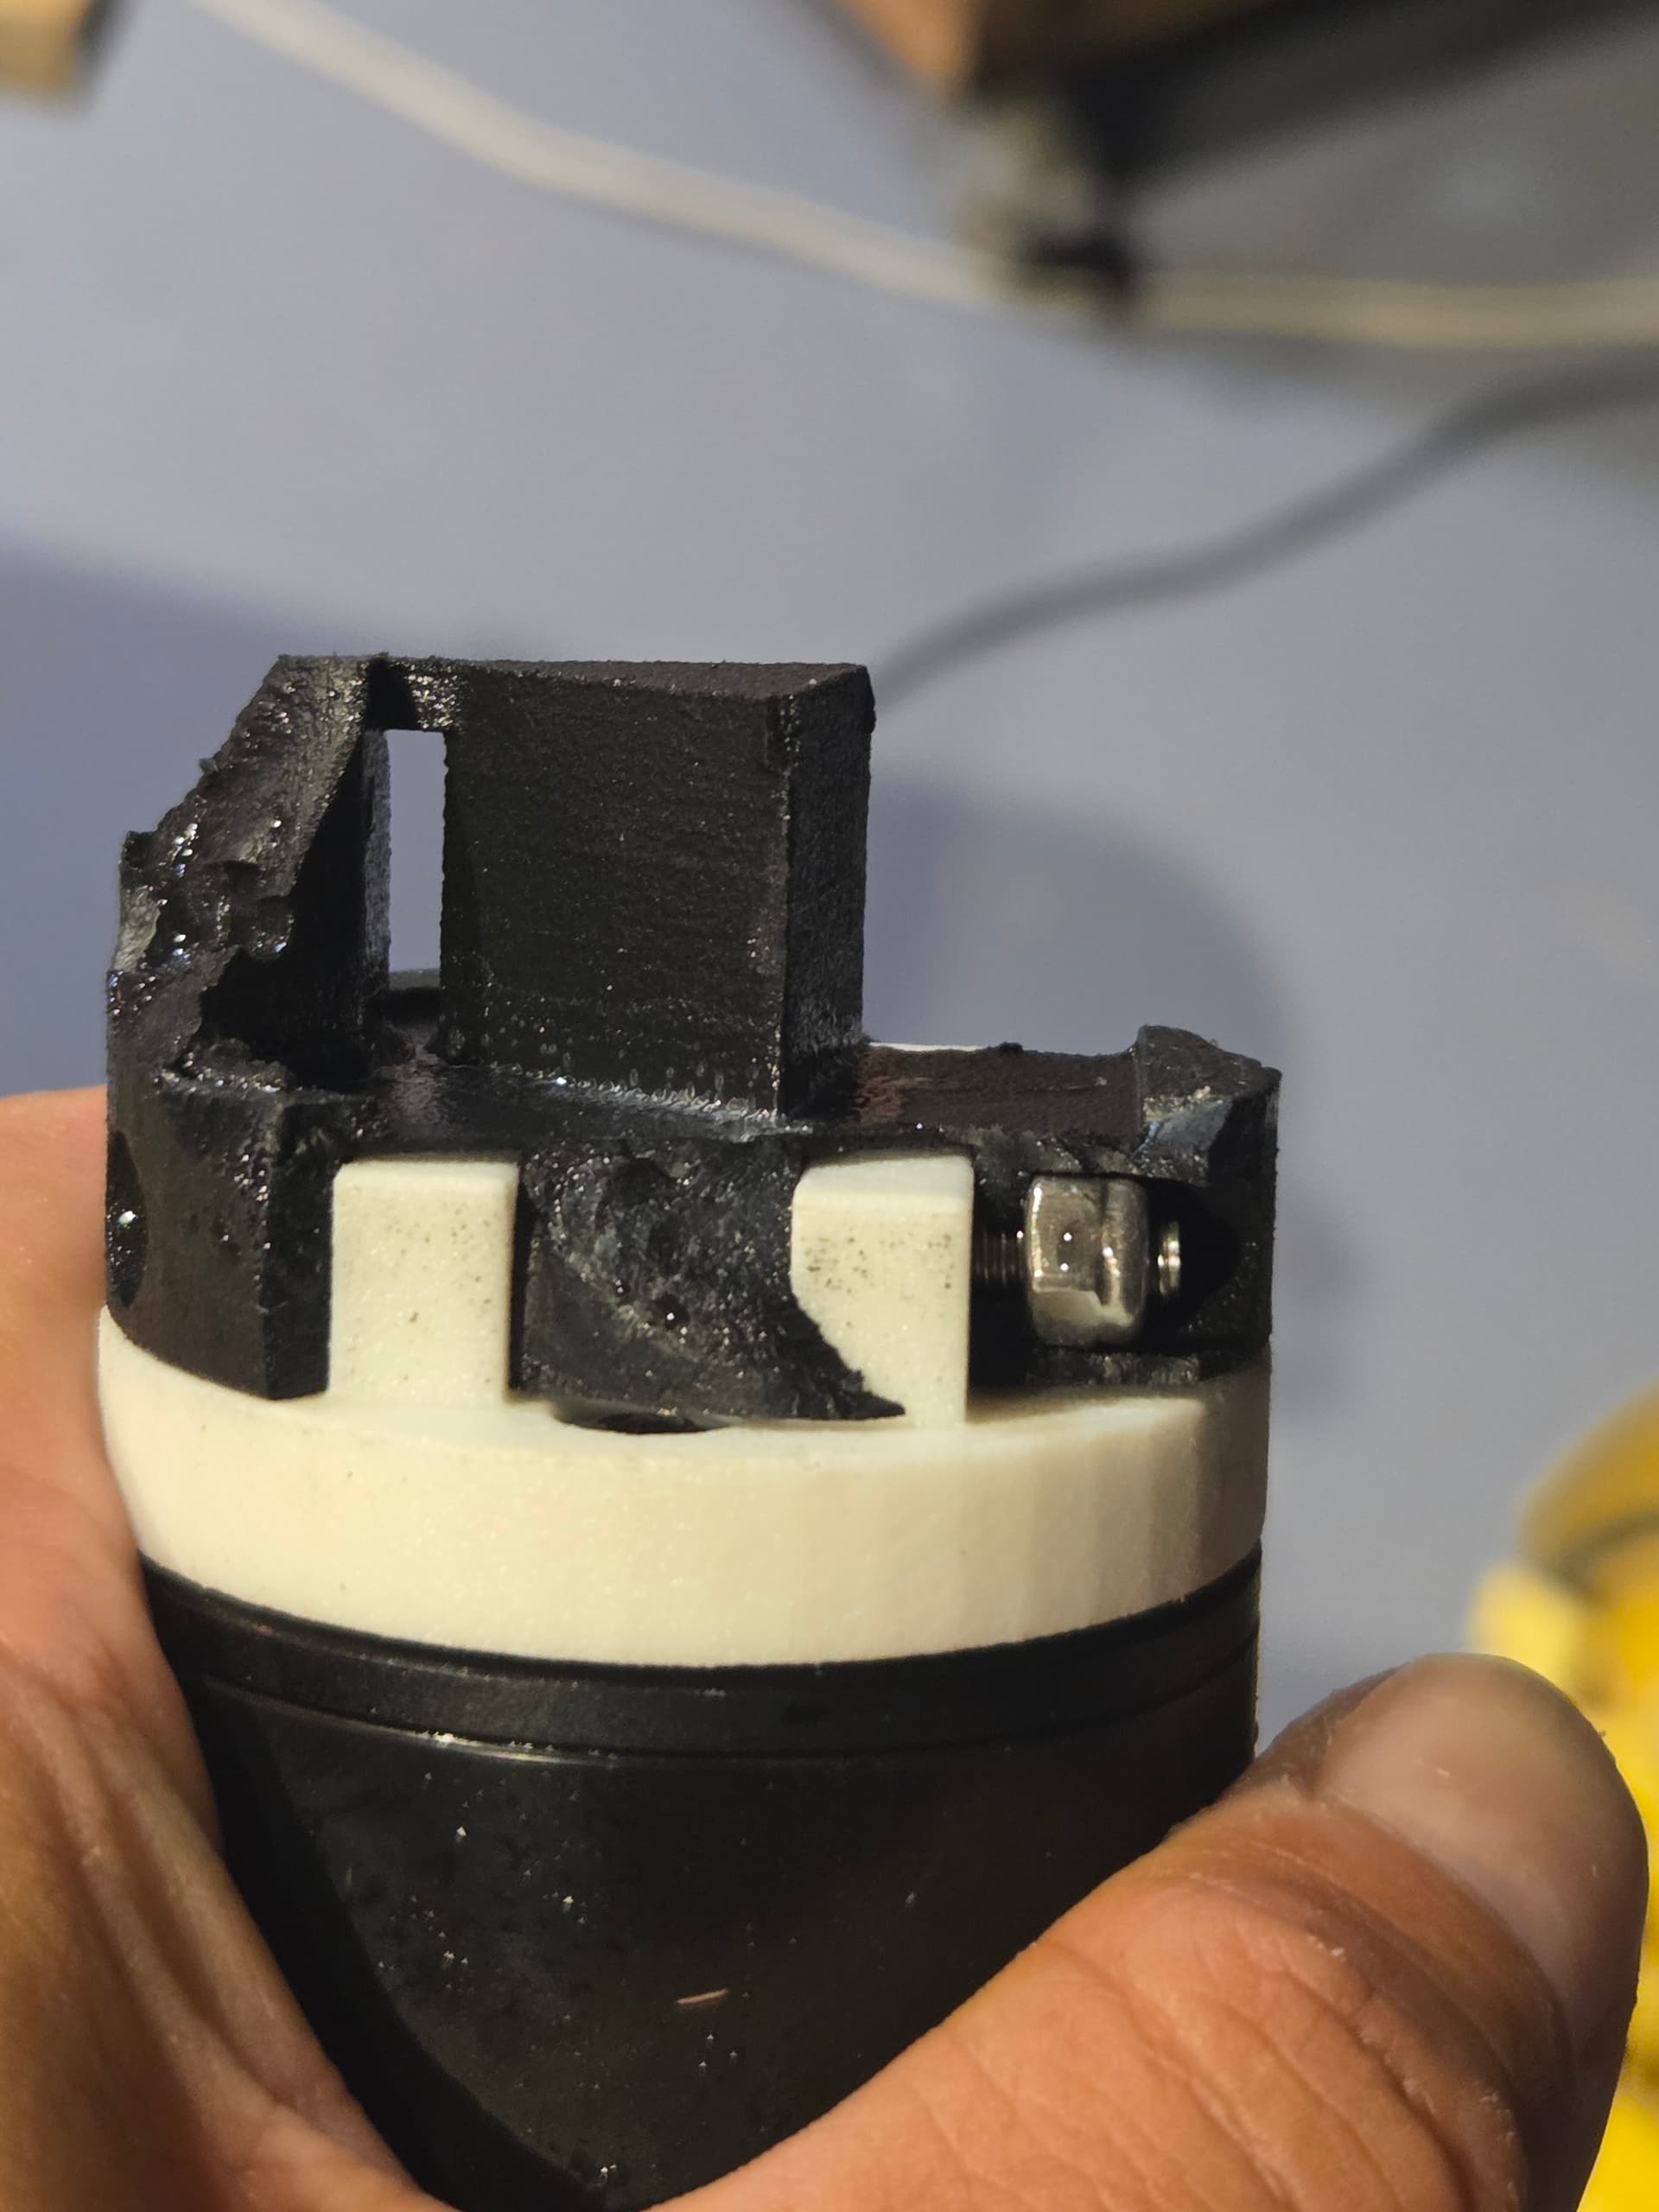
Here are some thoughts on printing the hub. I tried PETG, PETG-CF and EasyPA. After that I put them in a vice at 90 degrees and try to break one of the prop towers with a hammer. PETG broke but it held up better than PETG-CF that shattered on the second blow. EasyPA never broke just ended up with marks and deformations. I also have PA6-CF but have not been able to get it to stick to the bed while printing without lift up on the perimeter - this is likely user error on my qidi Q2. Looking at the pictures of breakages, seems like better z-axis adhesion would help. Also, perhaps tilting the print at 45 degrees might be better for the Z-axis adhesion. I have not tried the latter, inspecting my EasyPA hub before and after every session… Final thought, maybe a print with 8-10 walls with 5% gyroid infill and then epoxy fill might also work.
I’ve just started using ppa-cf on the 3 blade hub used on the 6384 motor. Holding up well so far and prints fine on an xc1 Bambu lab printer. Amazon was selling the siraTech Fibreheart ppa-cf at a good price.
Why not buy a small desktop mill that you can then cut your own props and hubs with from alloy?
Or alternatively use a small injection molding machine for improved quality?