okp
February 21, 2023, 5:25pm
36
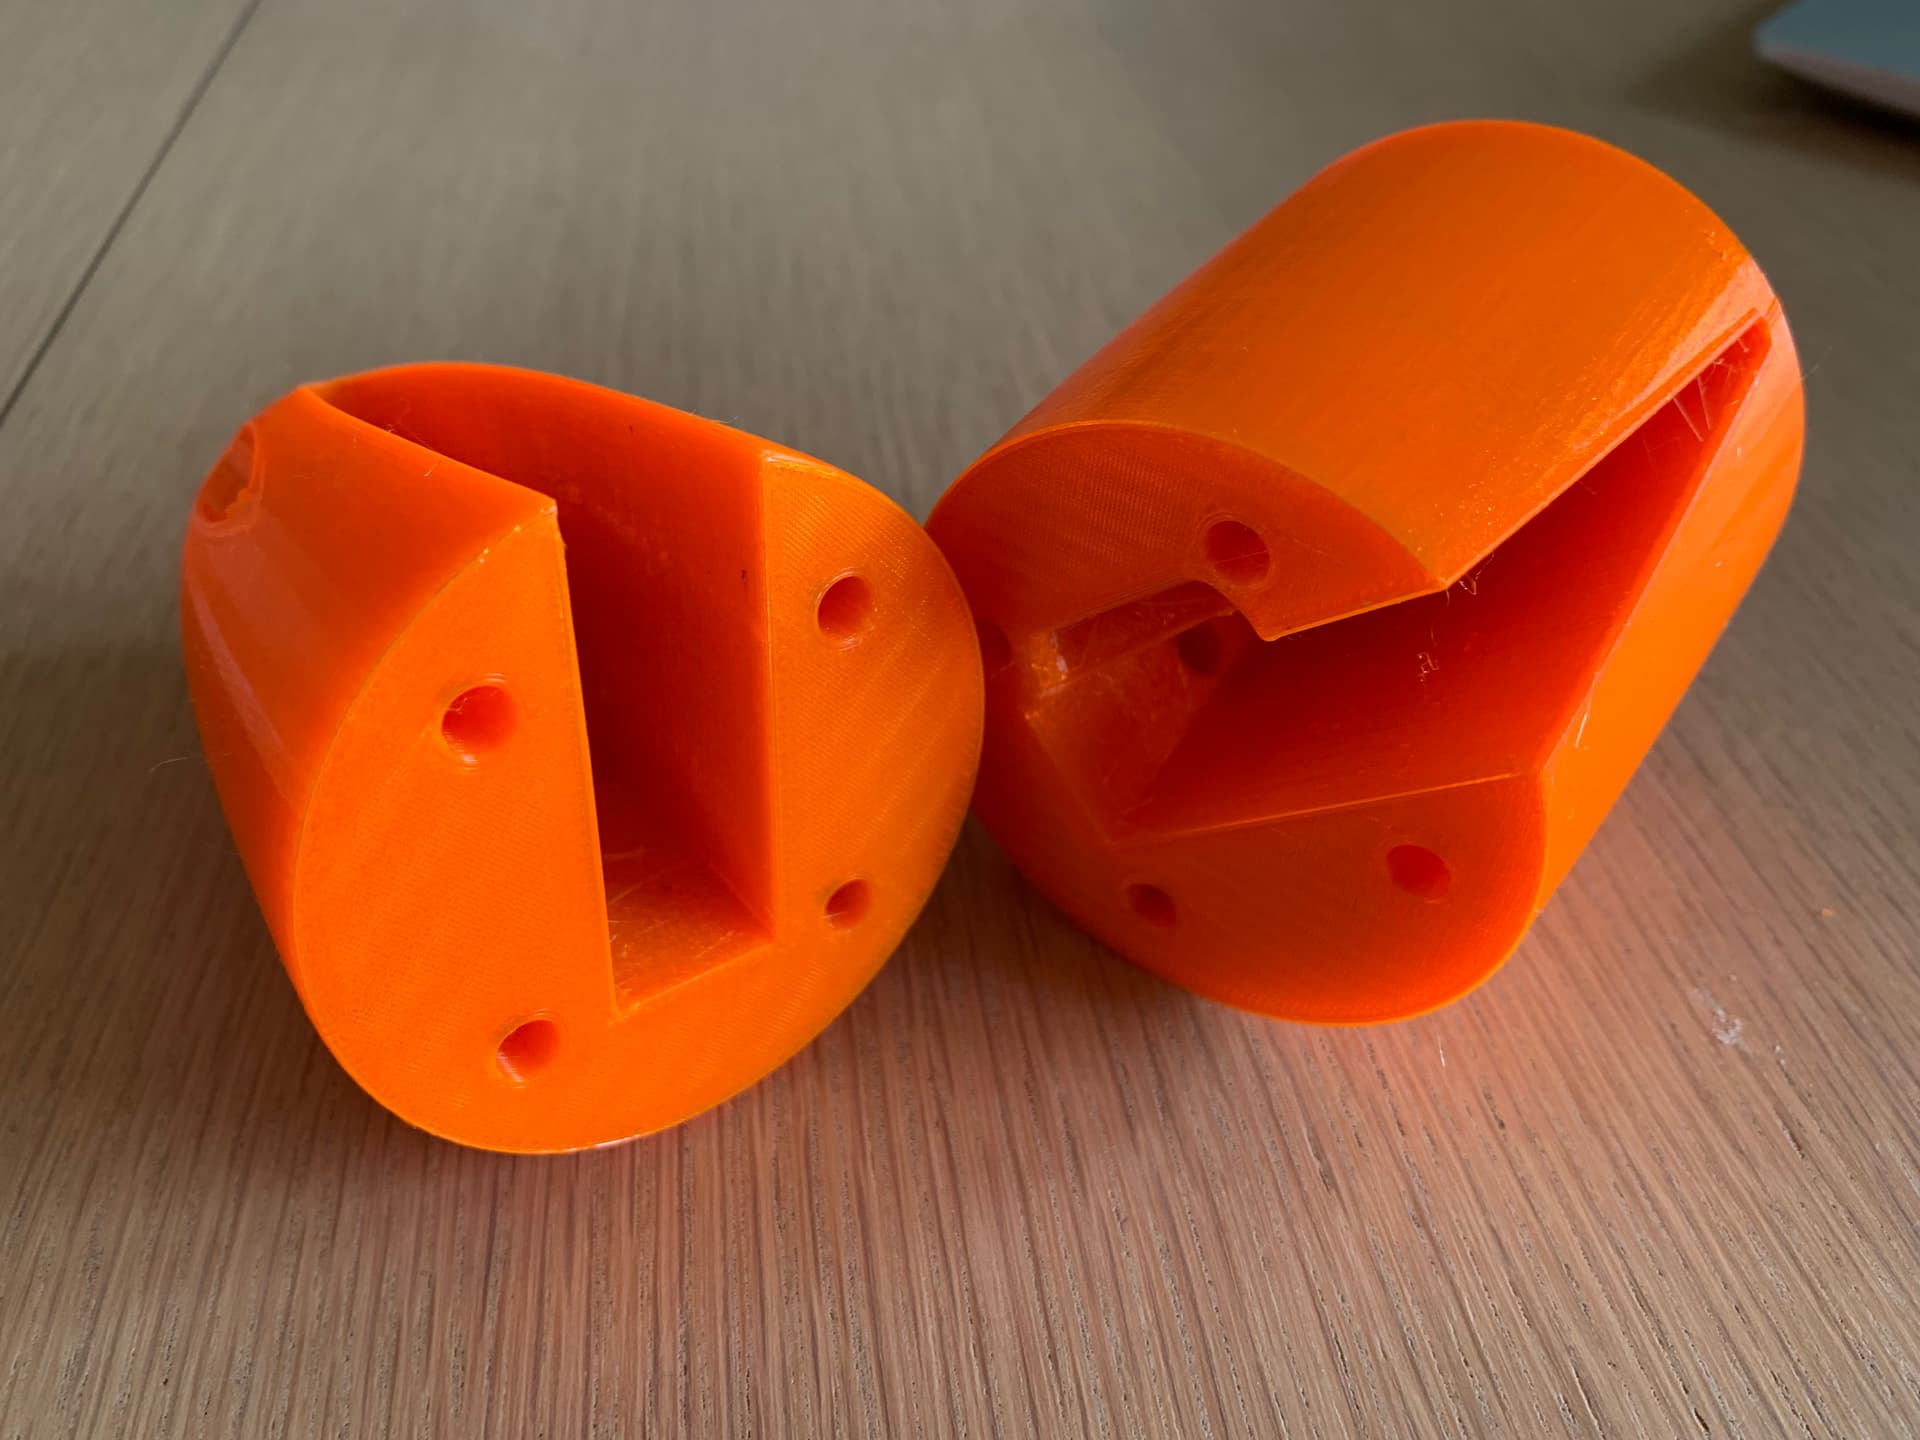
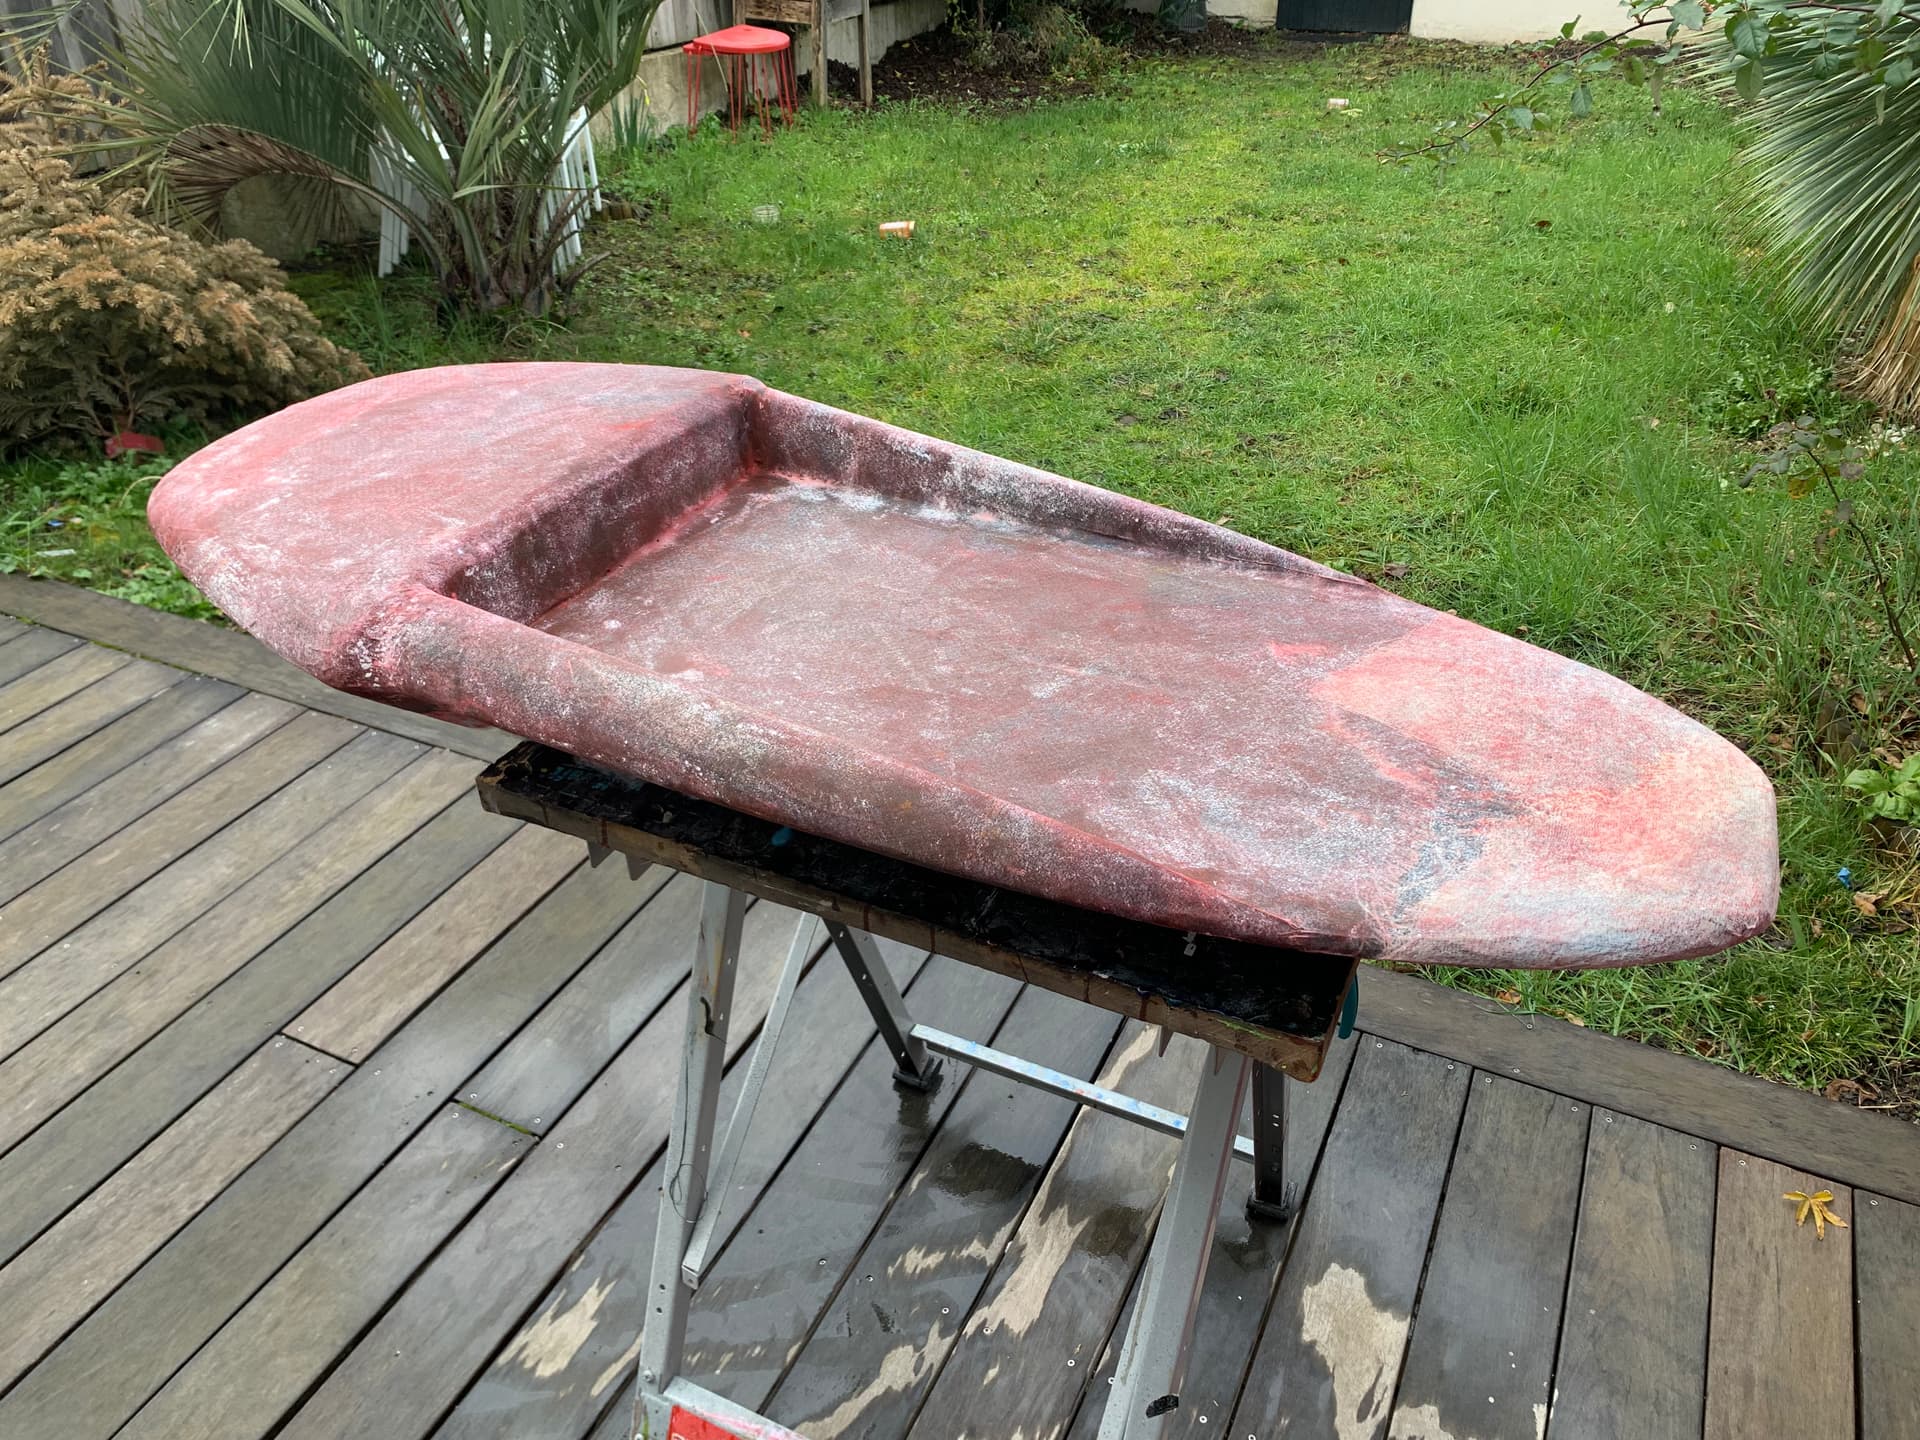
moving on with the prints.
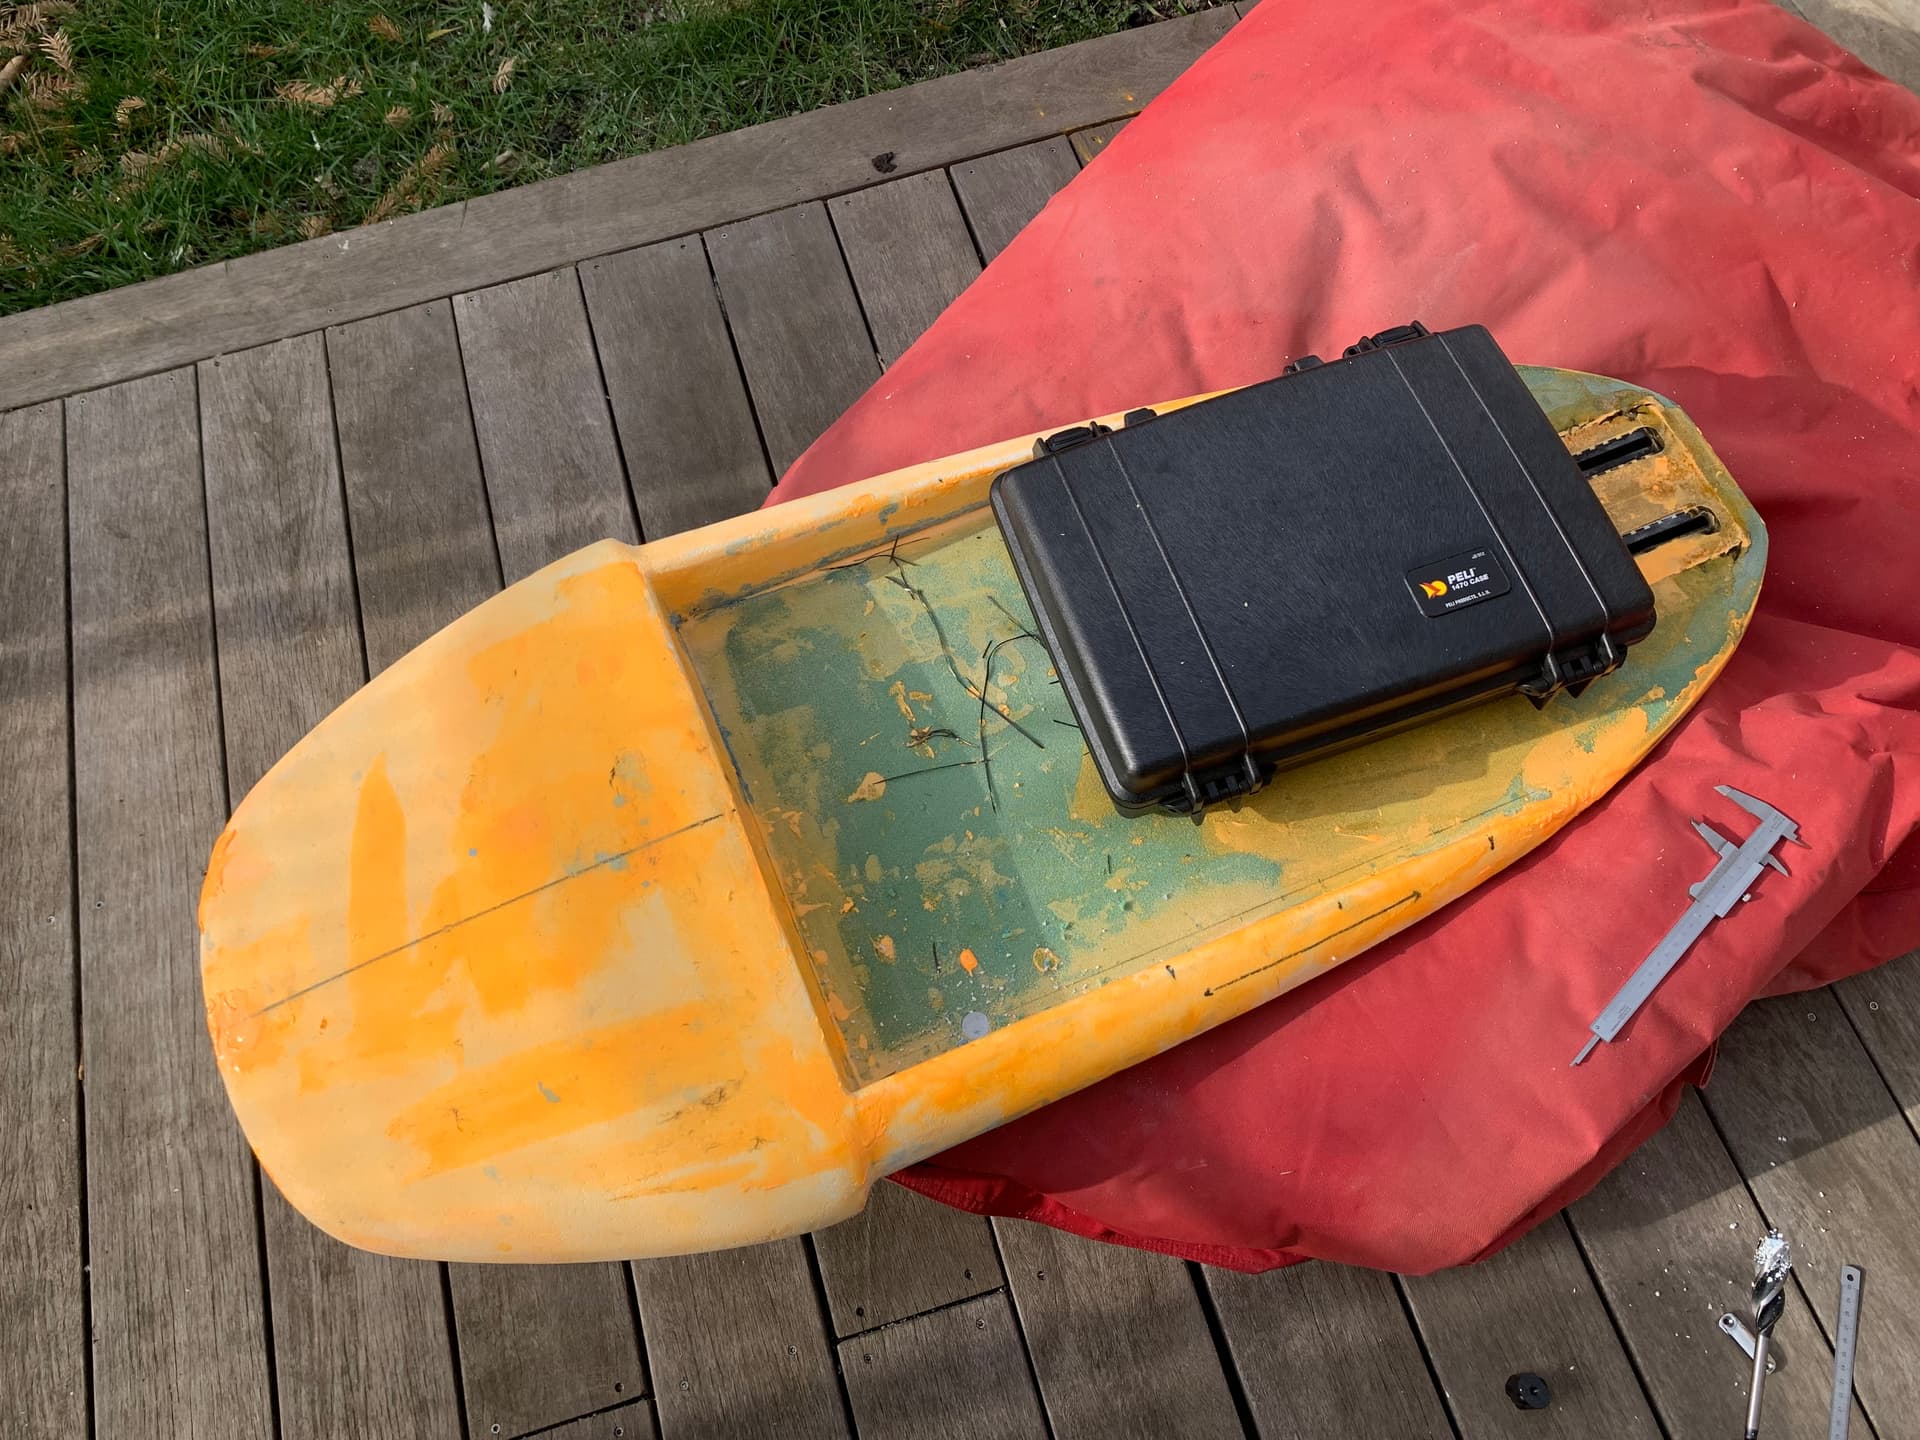
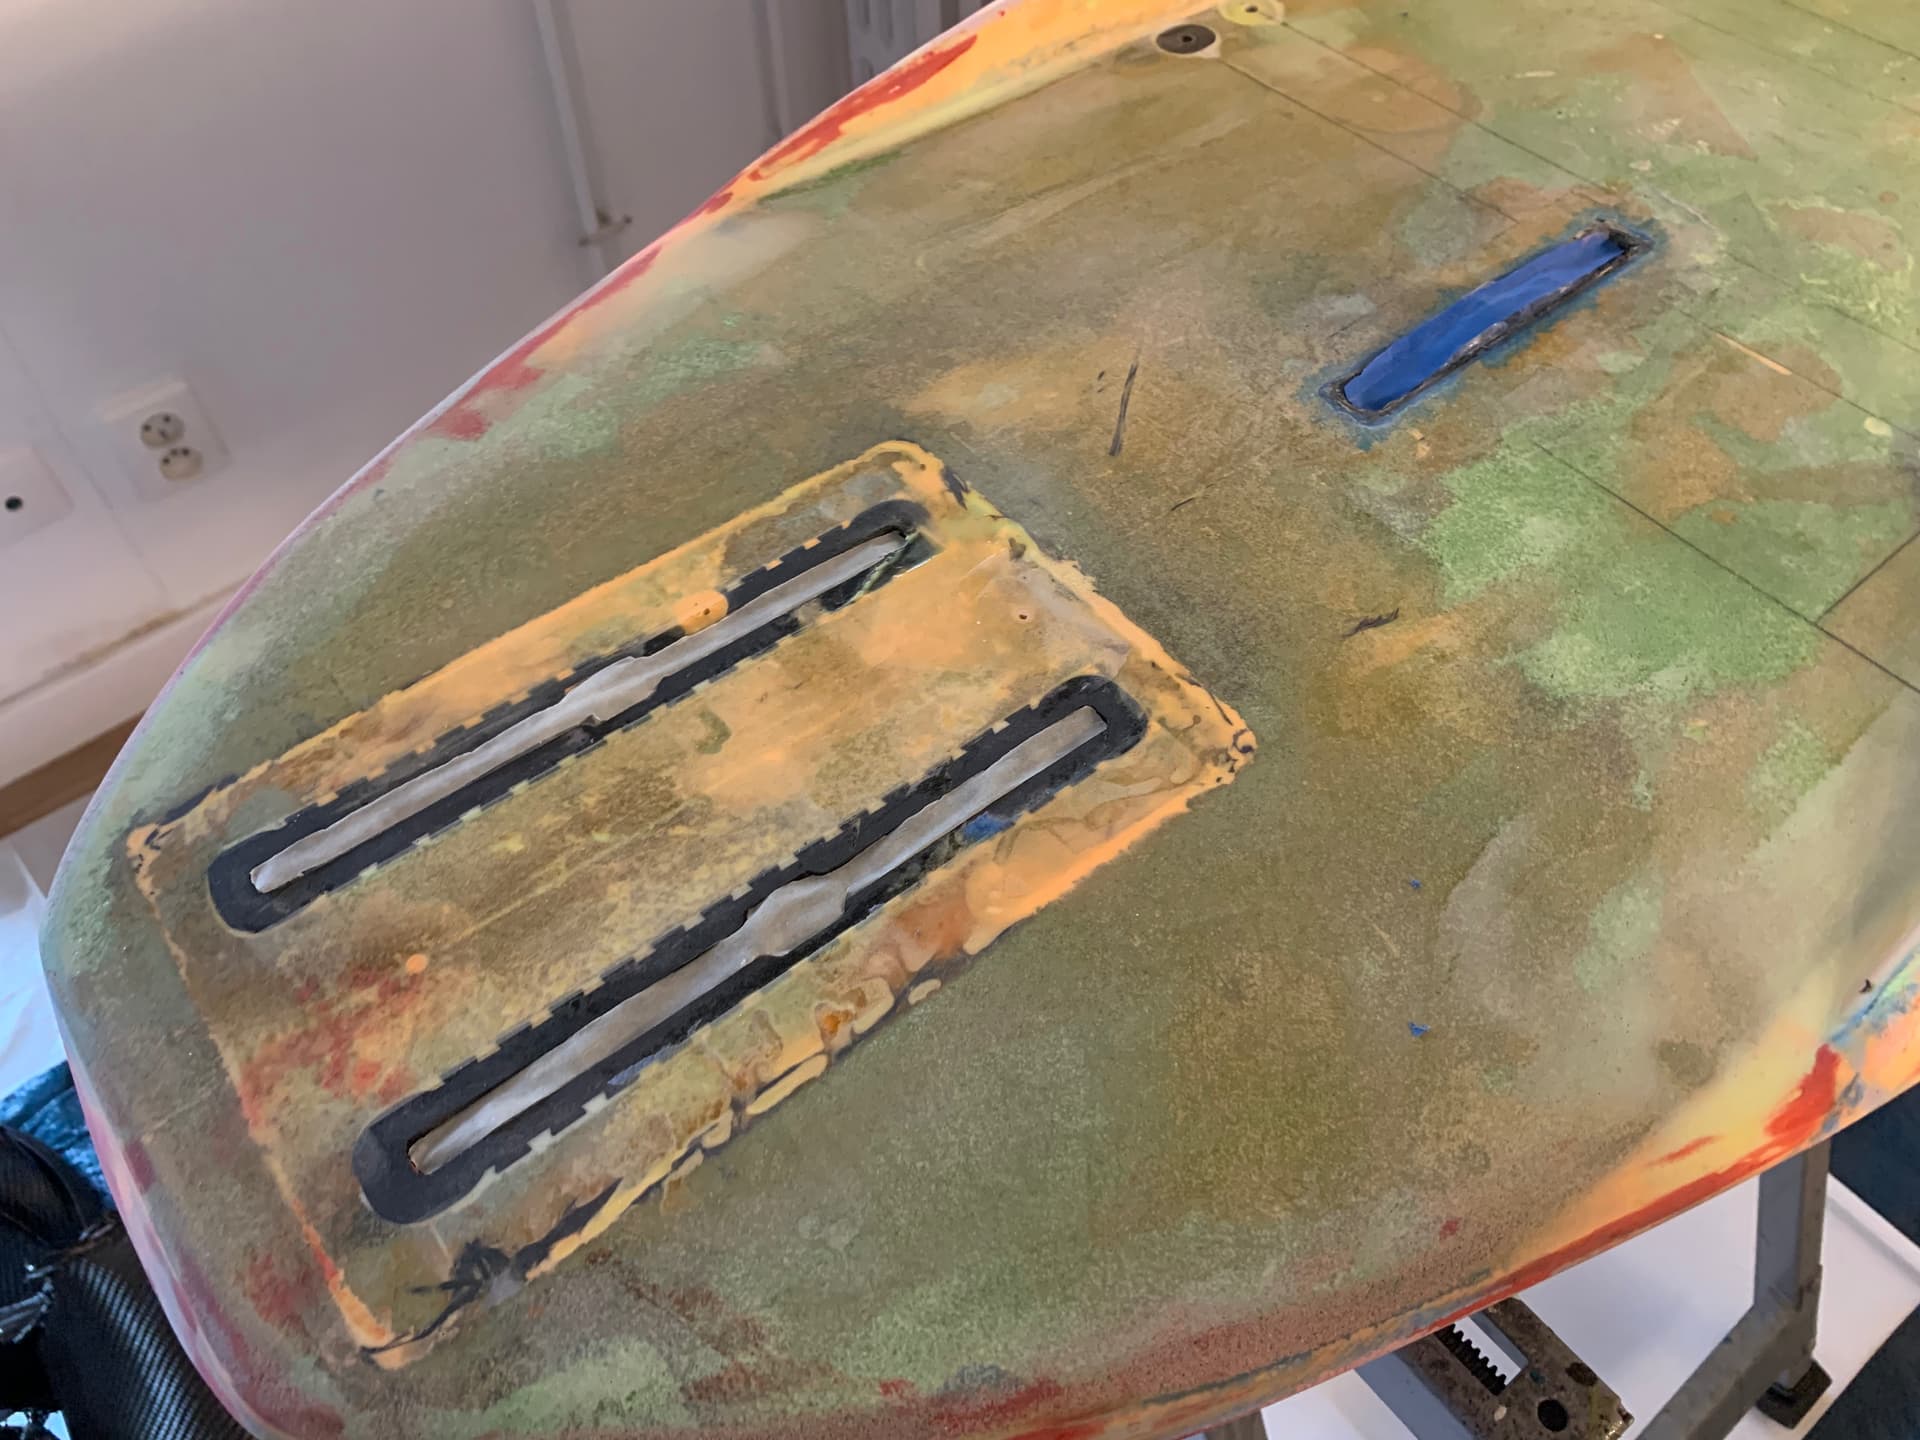
I’ve also added the inserts to attach pelican case
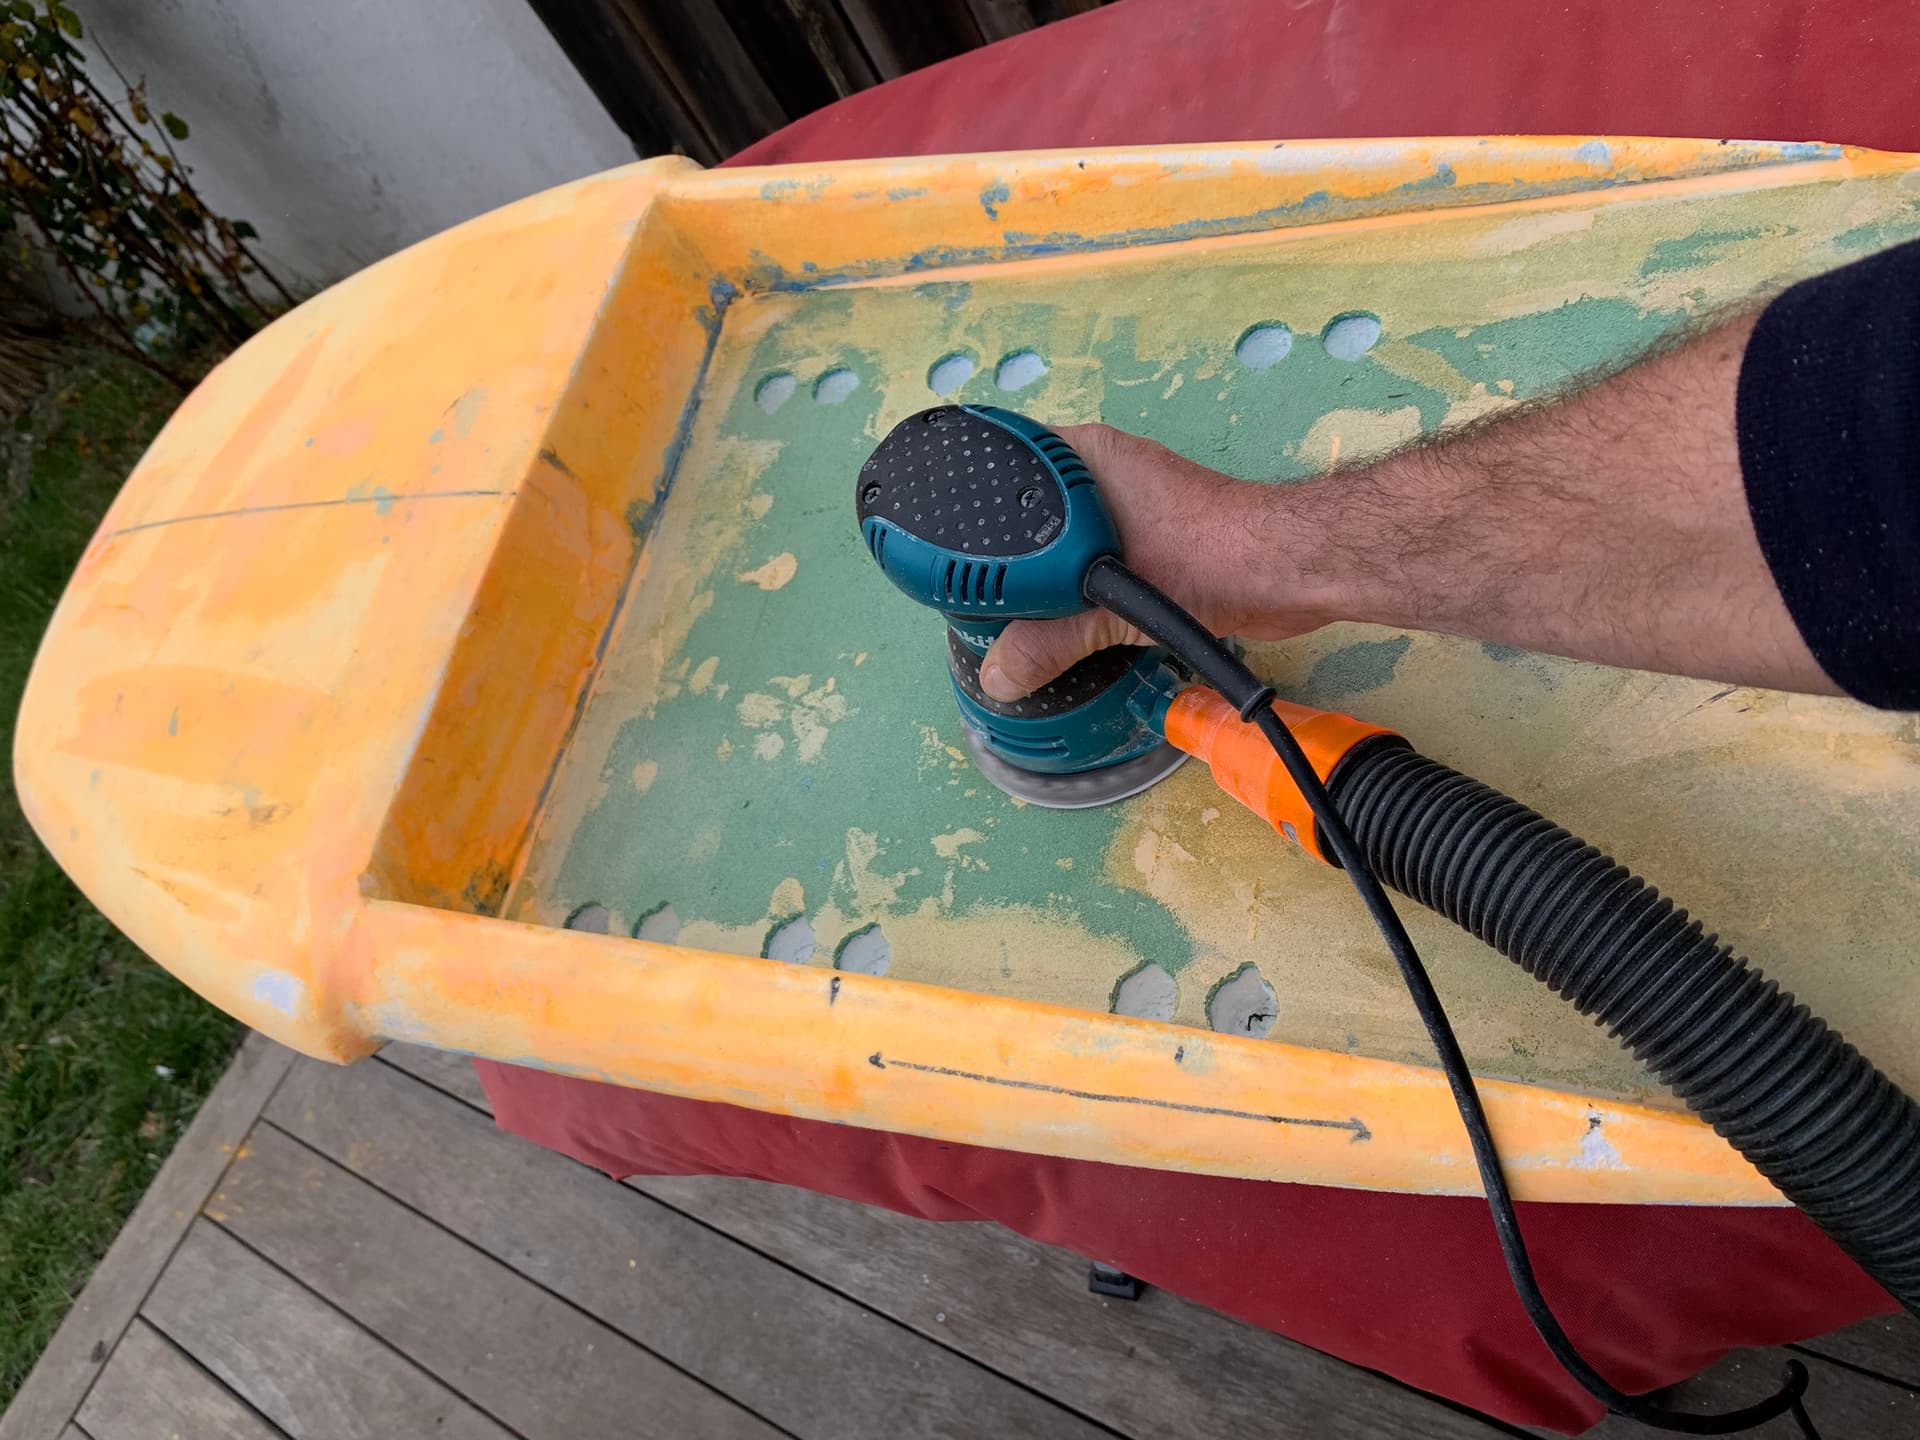
and did a bit of sanding
as you’re reading this, the inserts have been put in place with microballons & epoxy… and the remaining epoxy has been used with additional microsillons to soften and perfect the surface.
1 Like
okp
February 22, 2023, 5:46pm
37
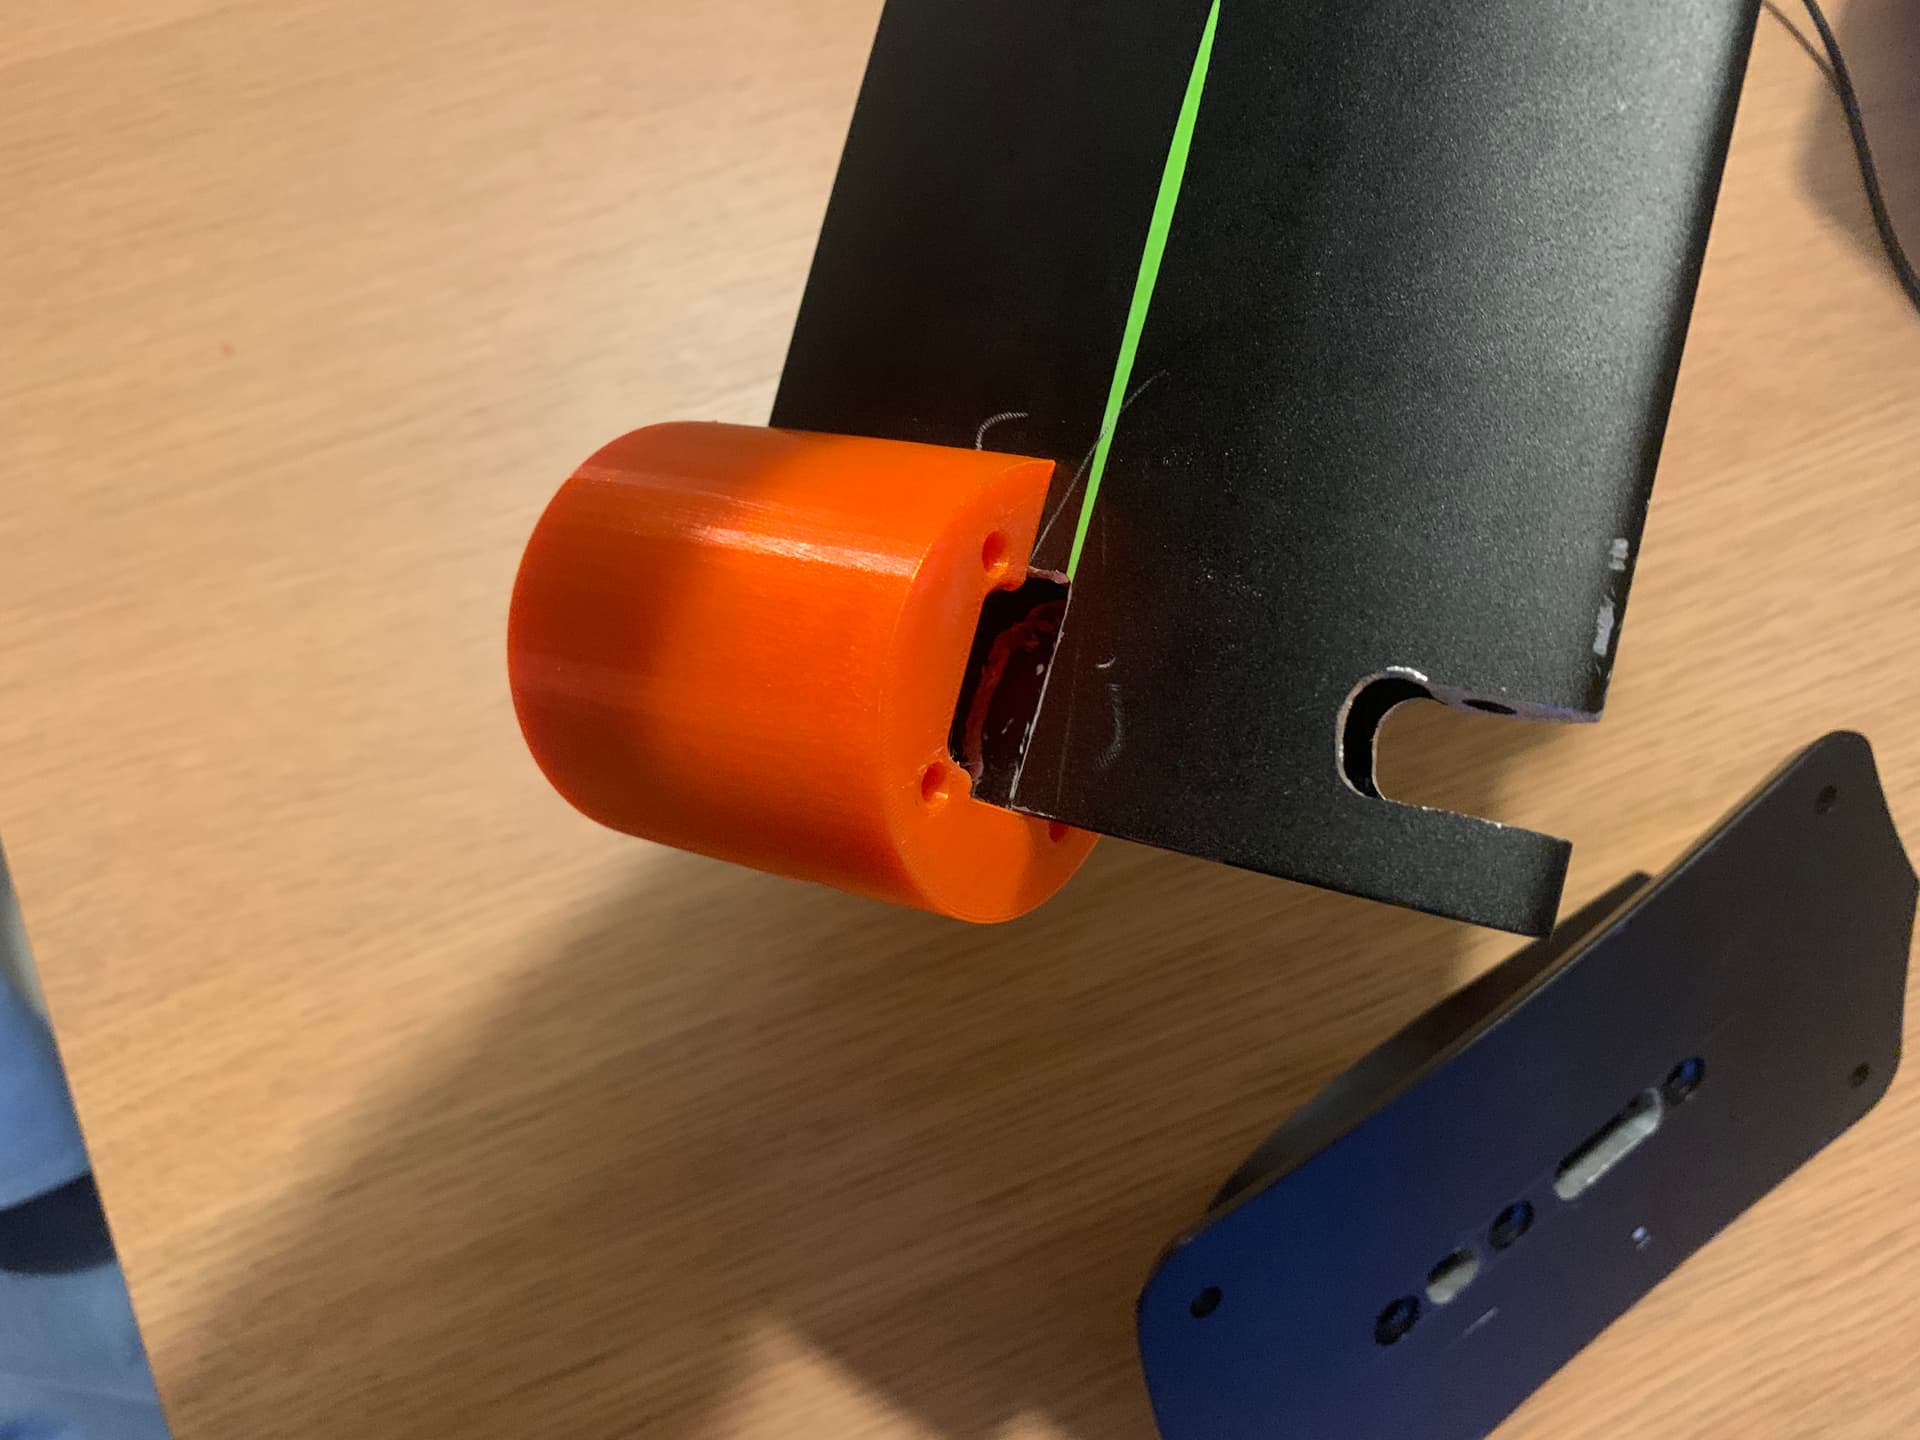
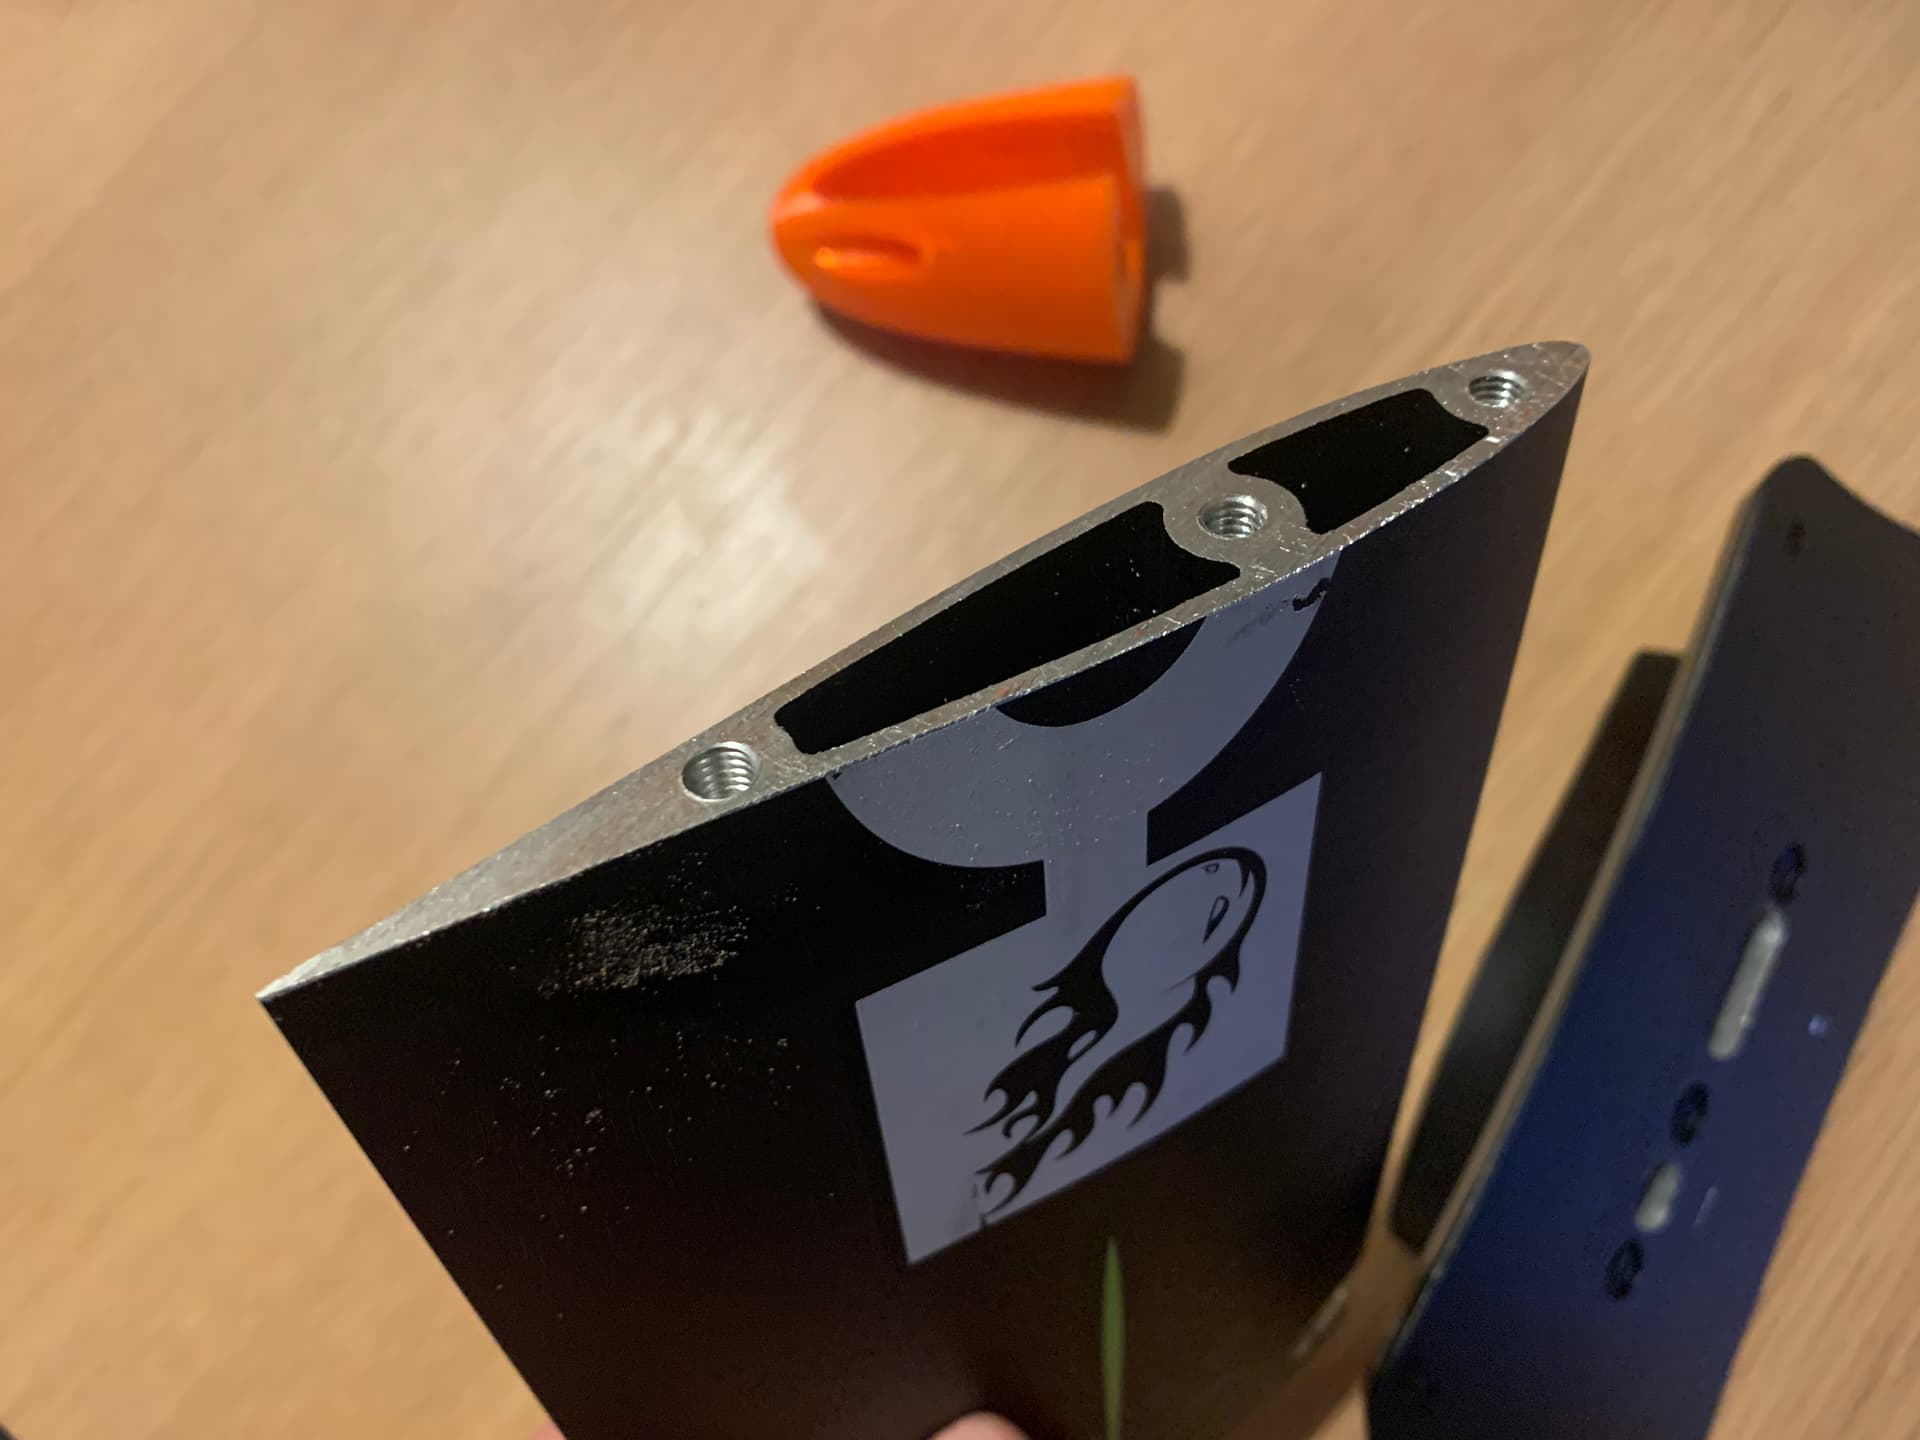
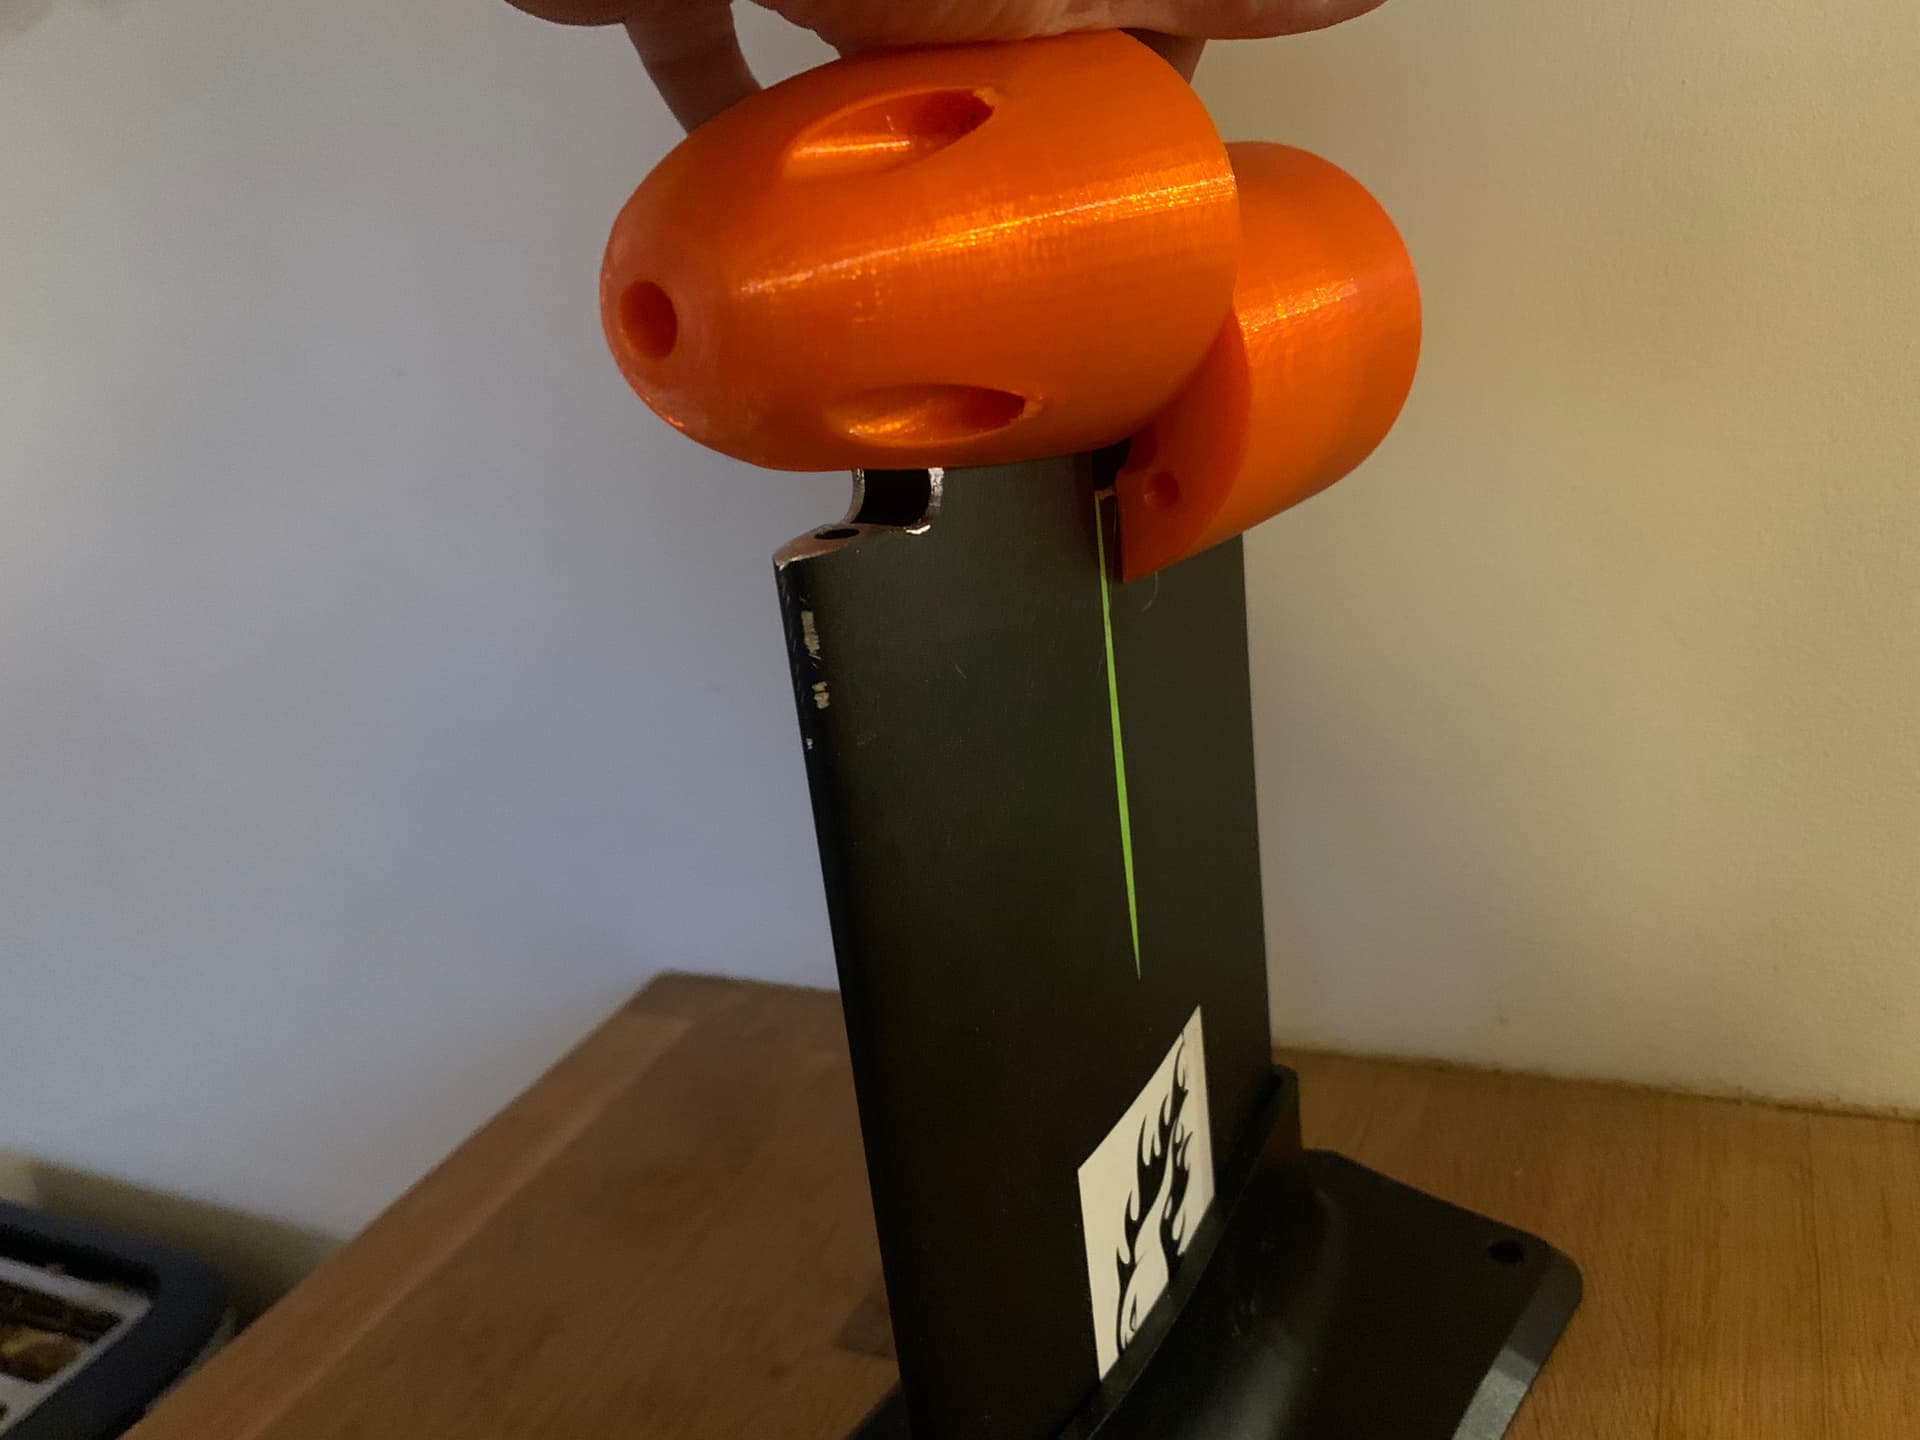
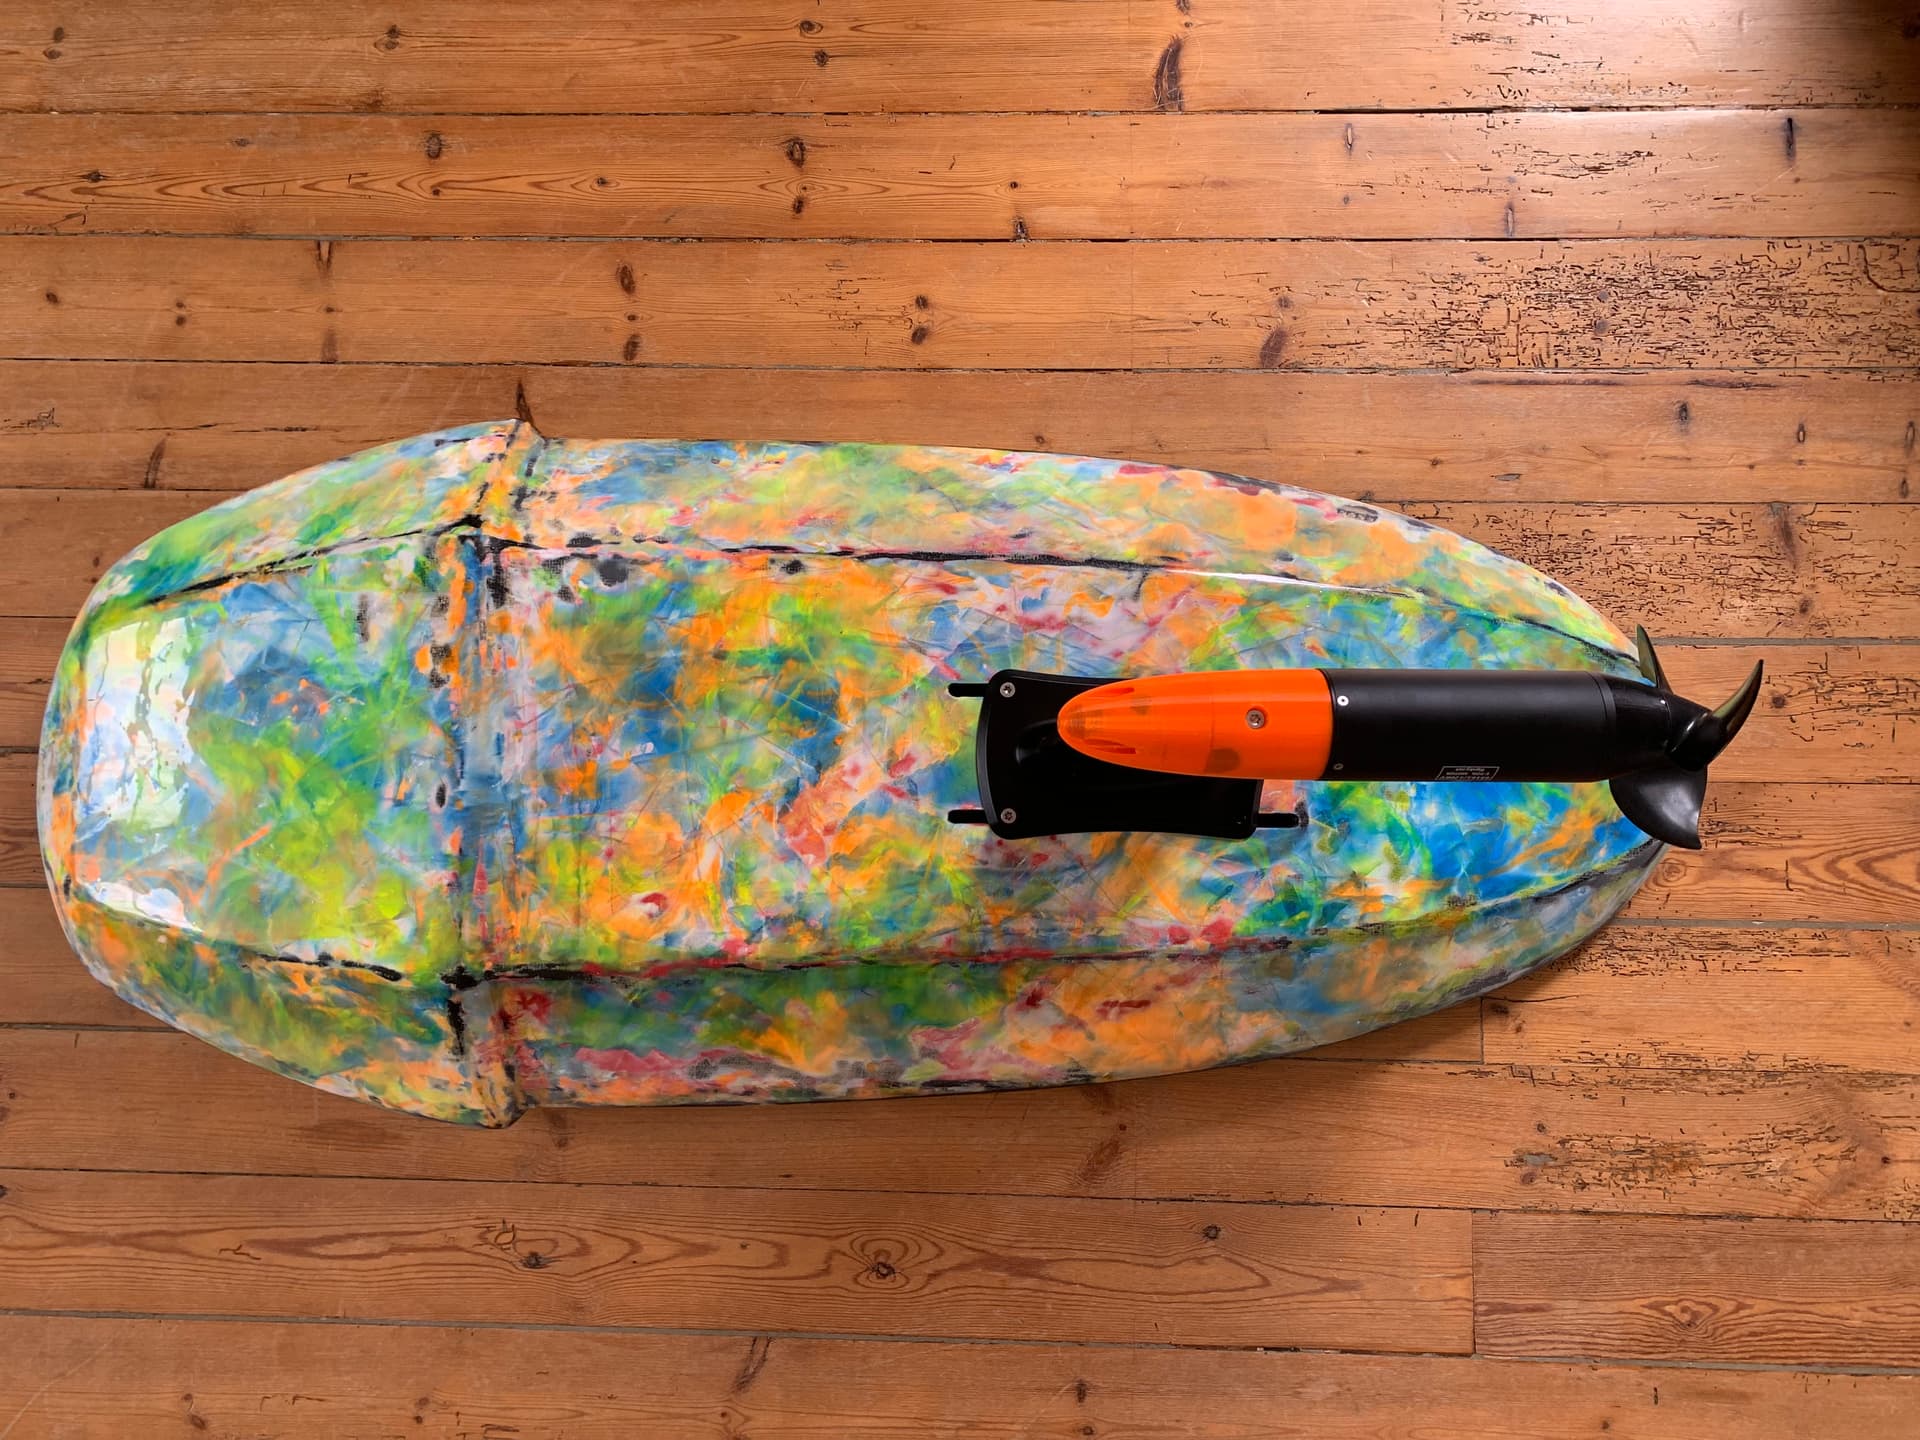
mast pod is almost done. I’m waiting for the screws to attach the motor and take this opportunity to add some silicon here a there.
any idea on how to avoid rust on the mast which is aluminium but has no more coat on it? black paint?
1 Like
okp
February 23, 2023, 3:25pm
38
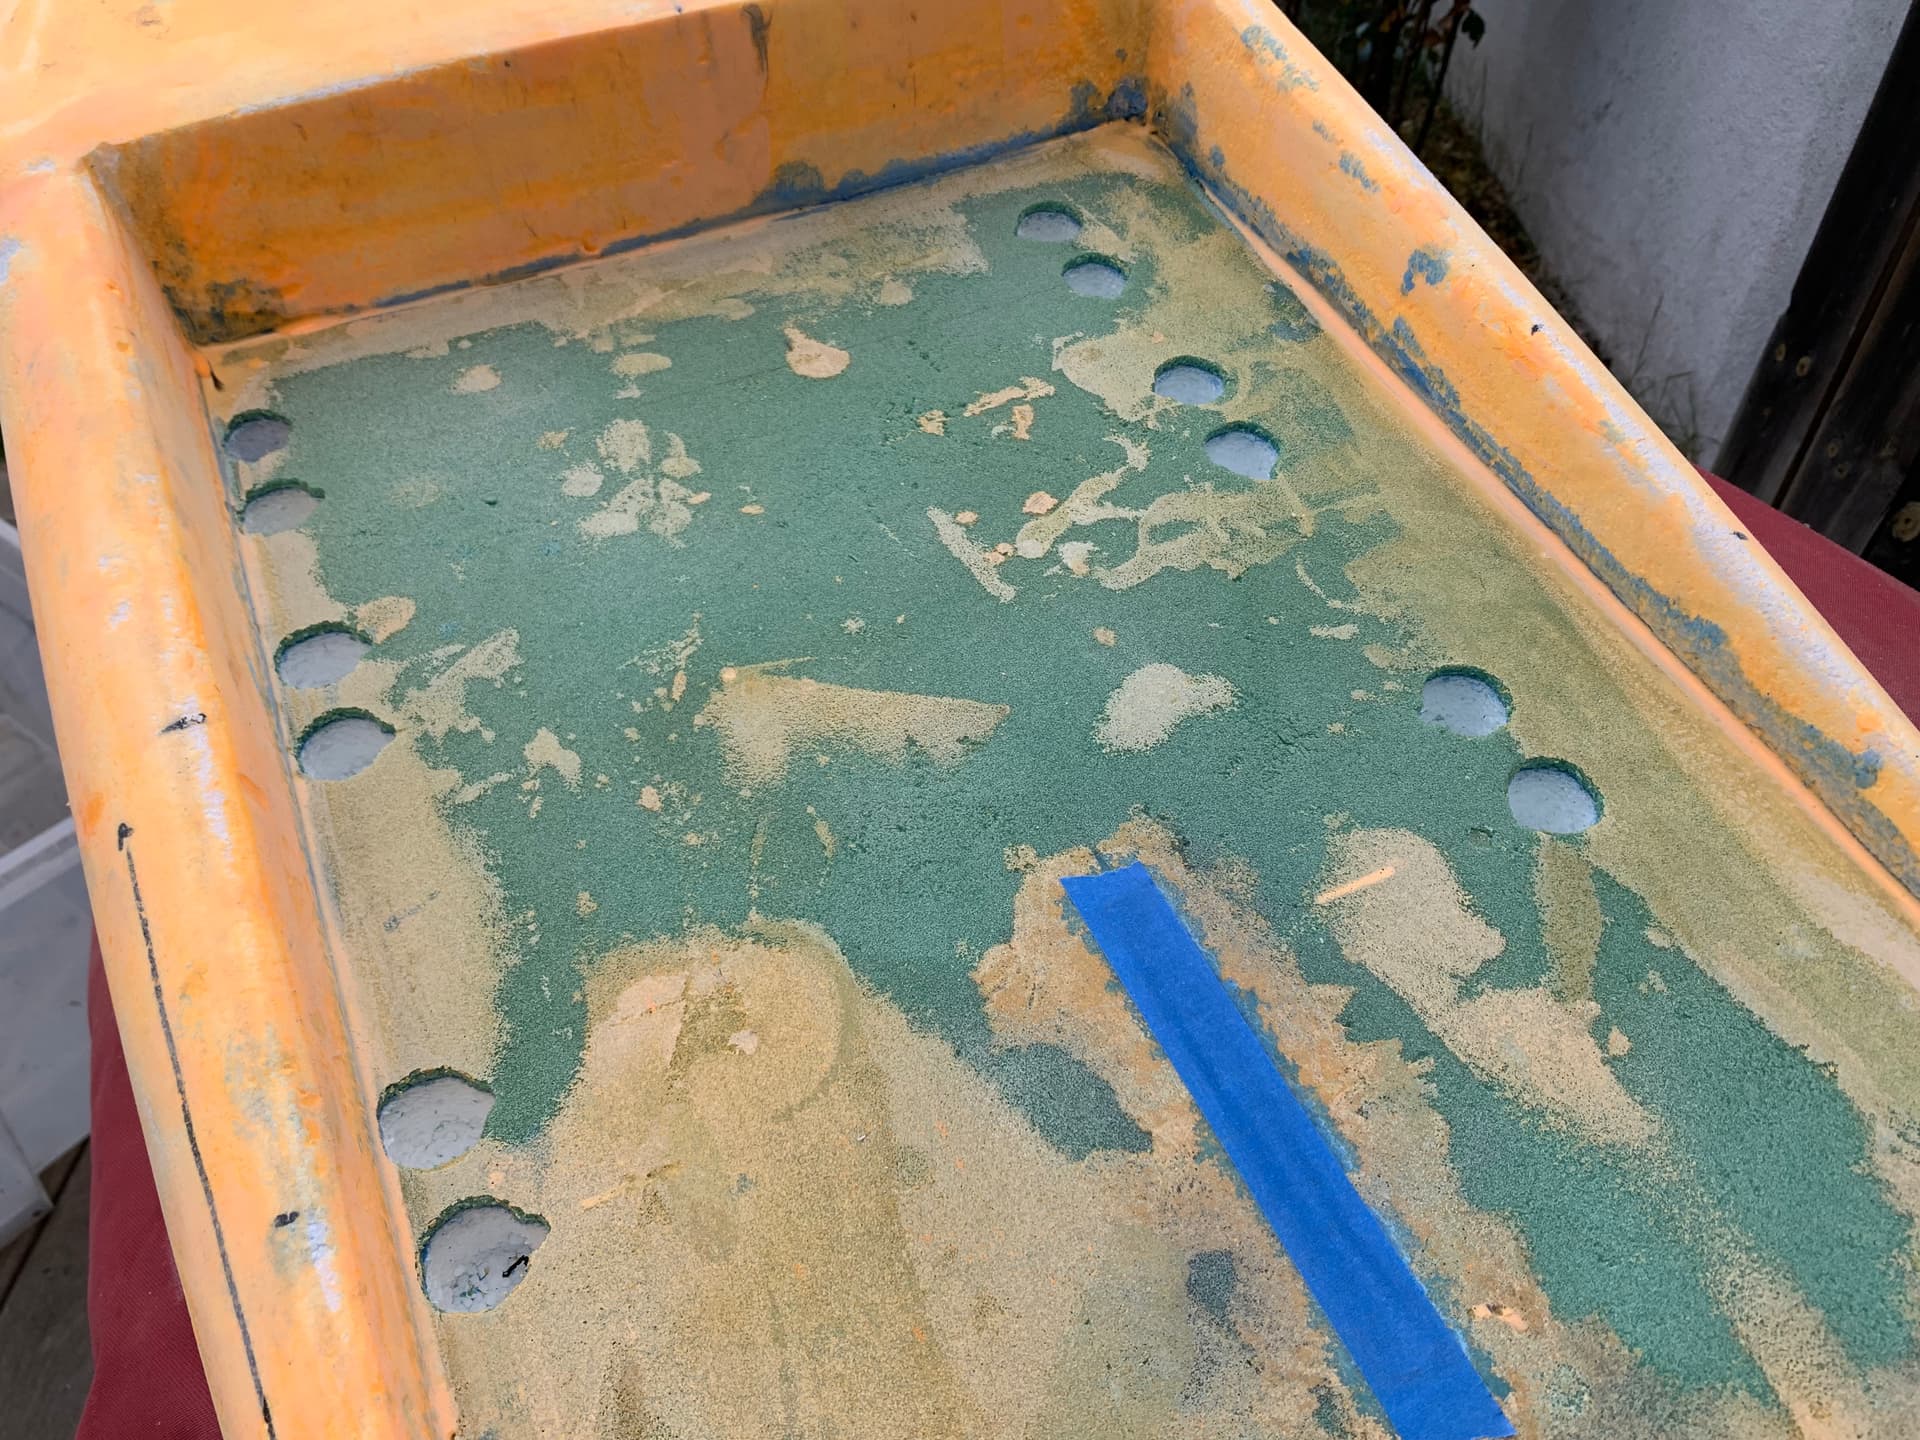
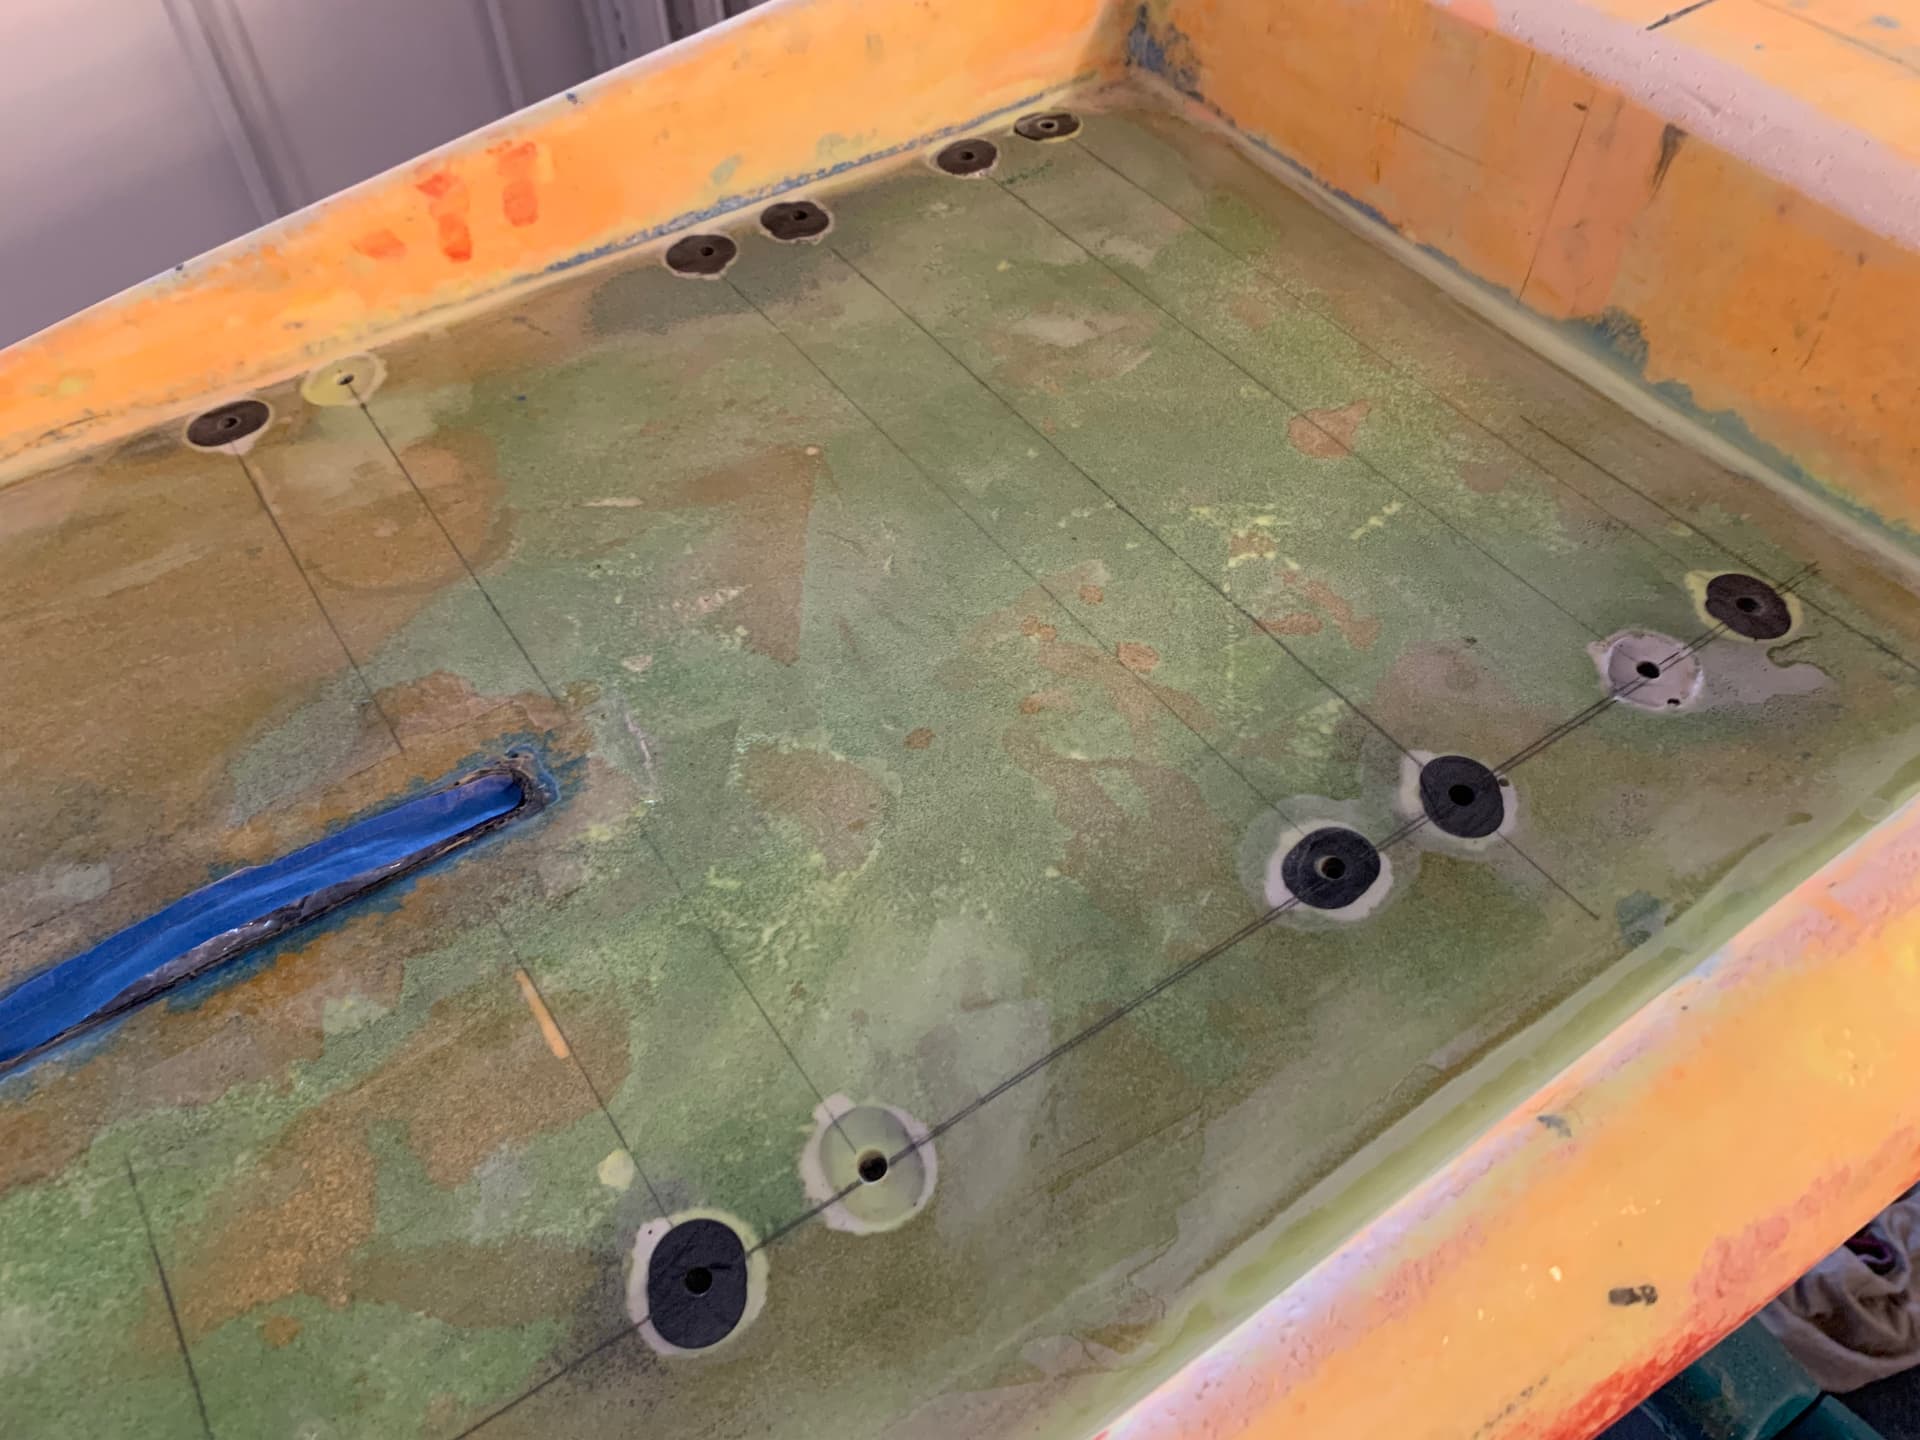
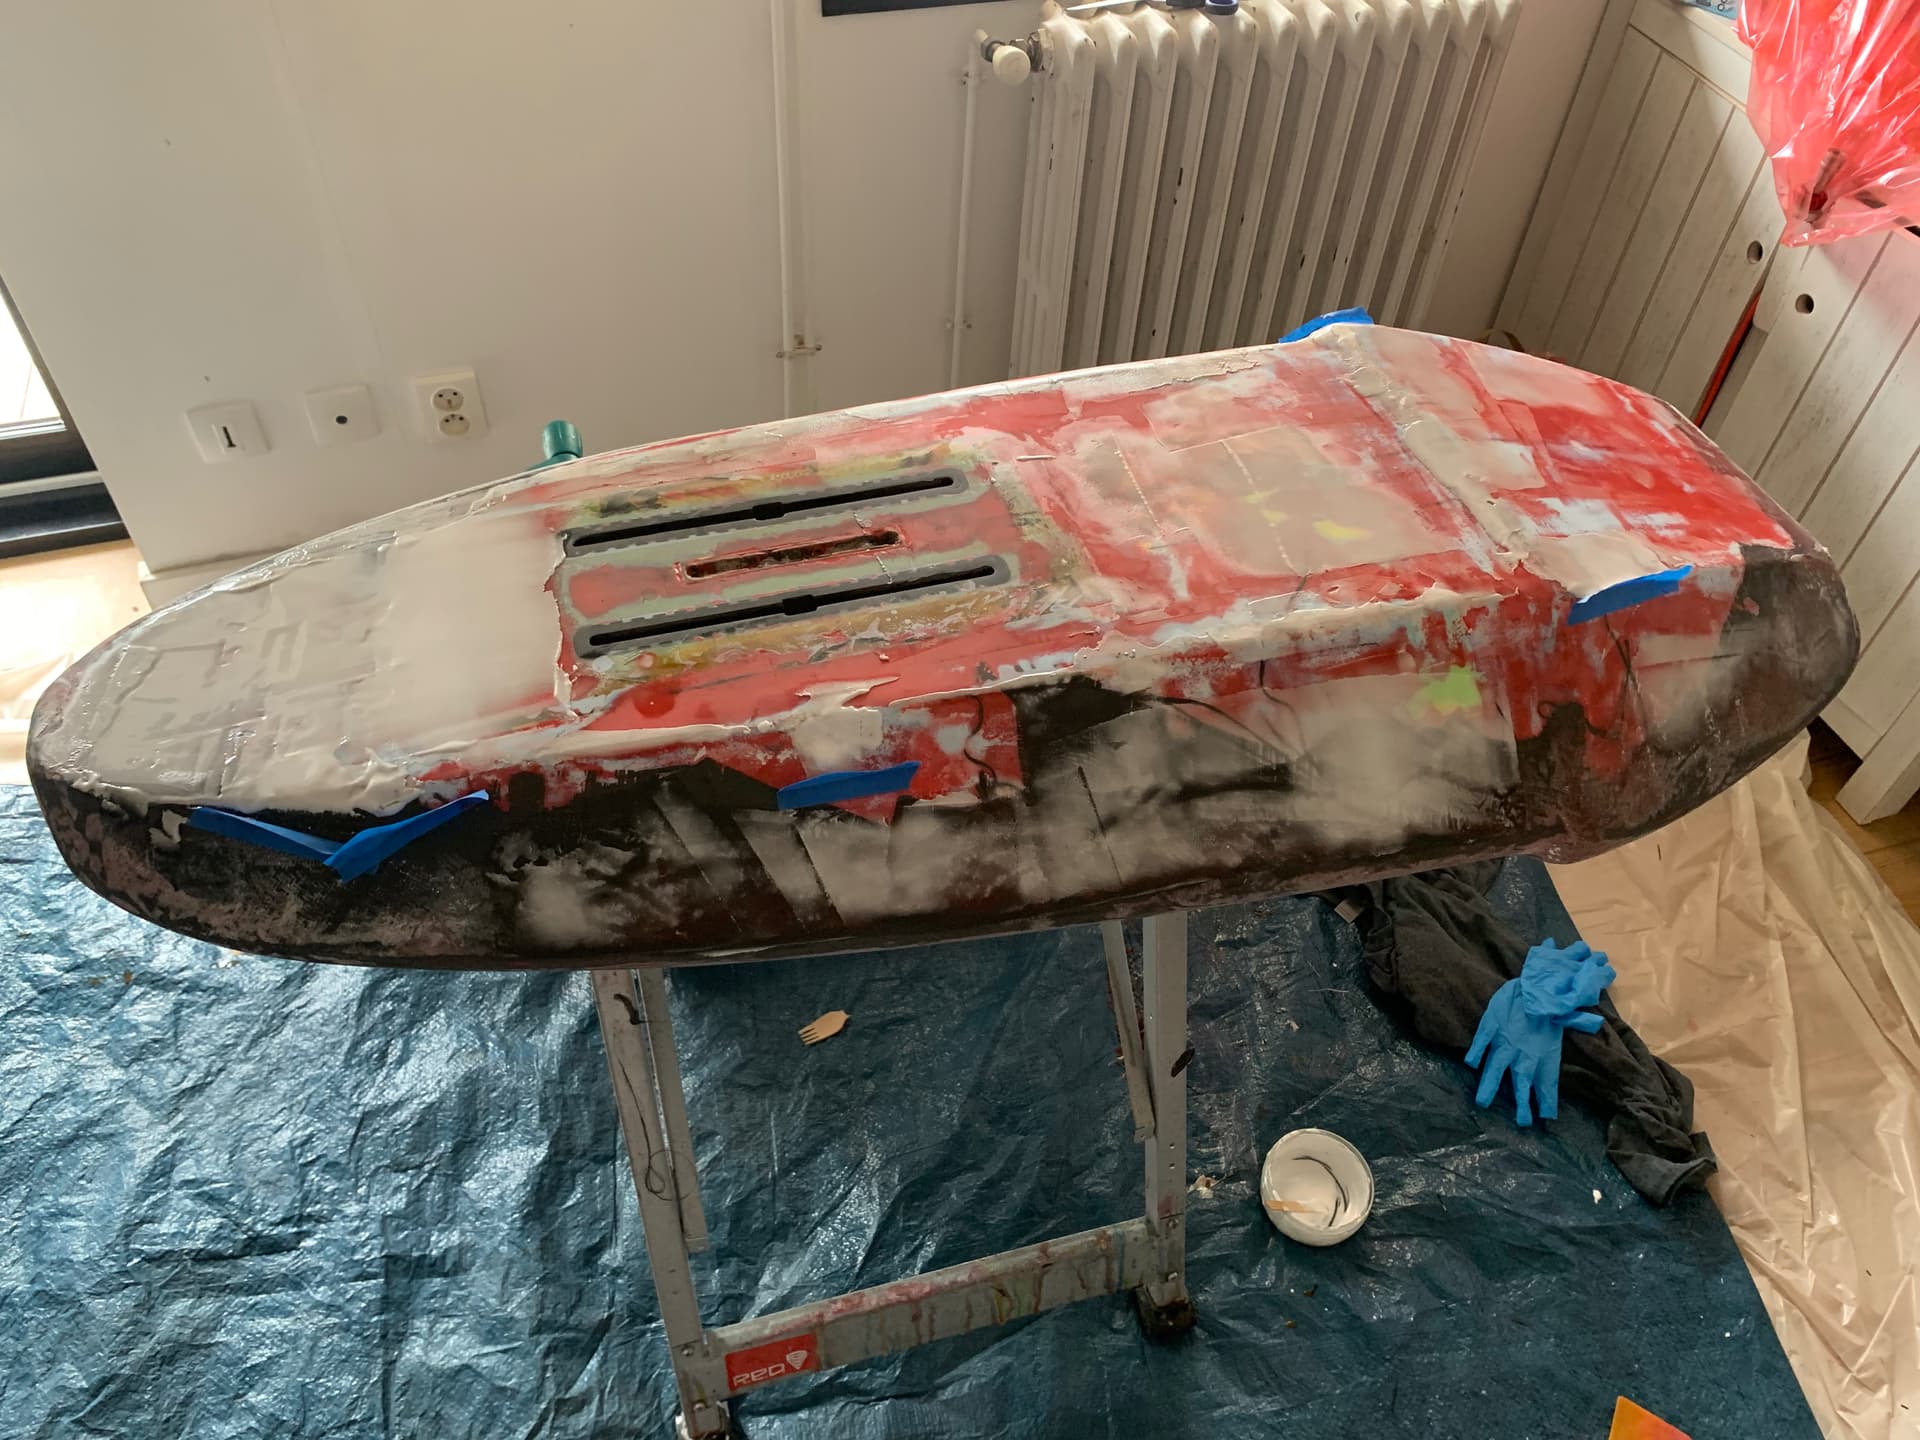
Fine tuning the other side of the board and closing micro holes, gaps.
1 Like
okp
March 1, 2023, 8:57pm
39
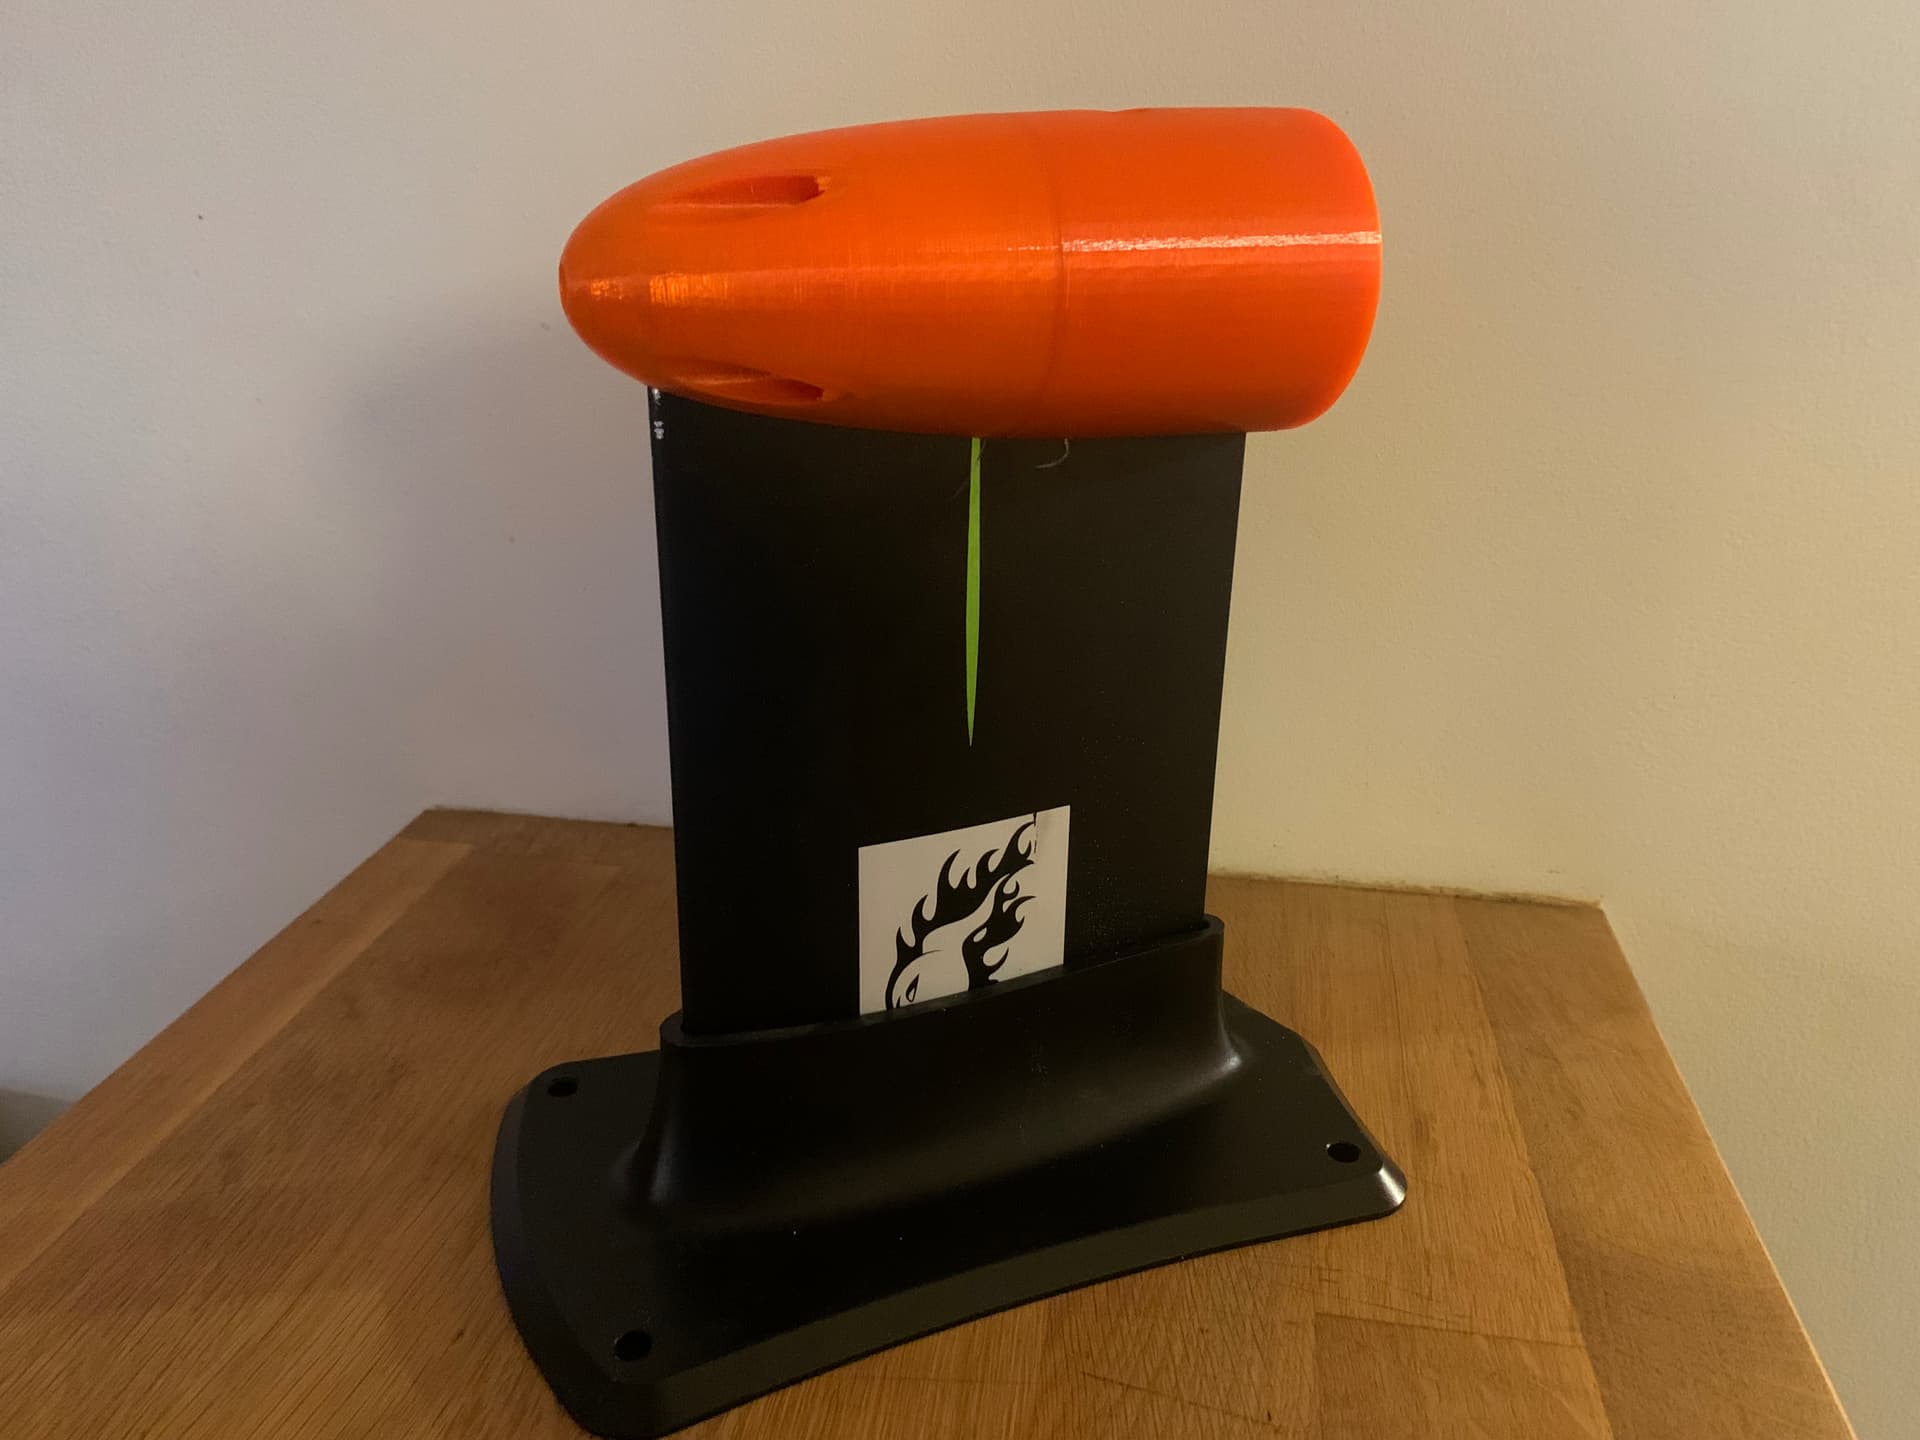
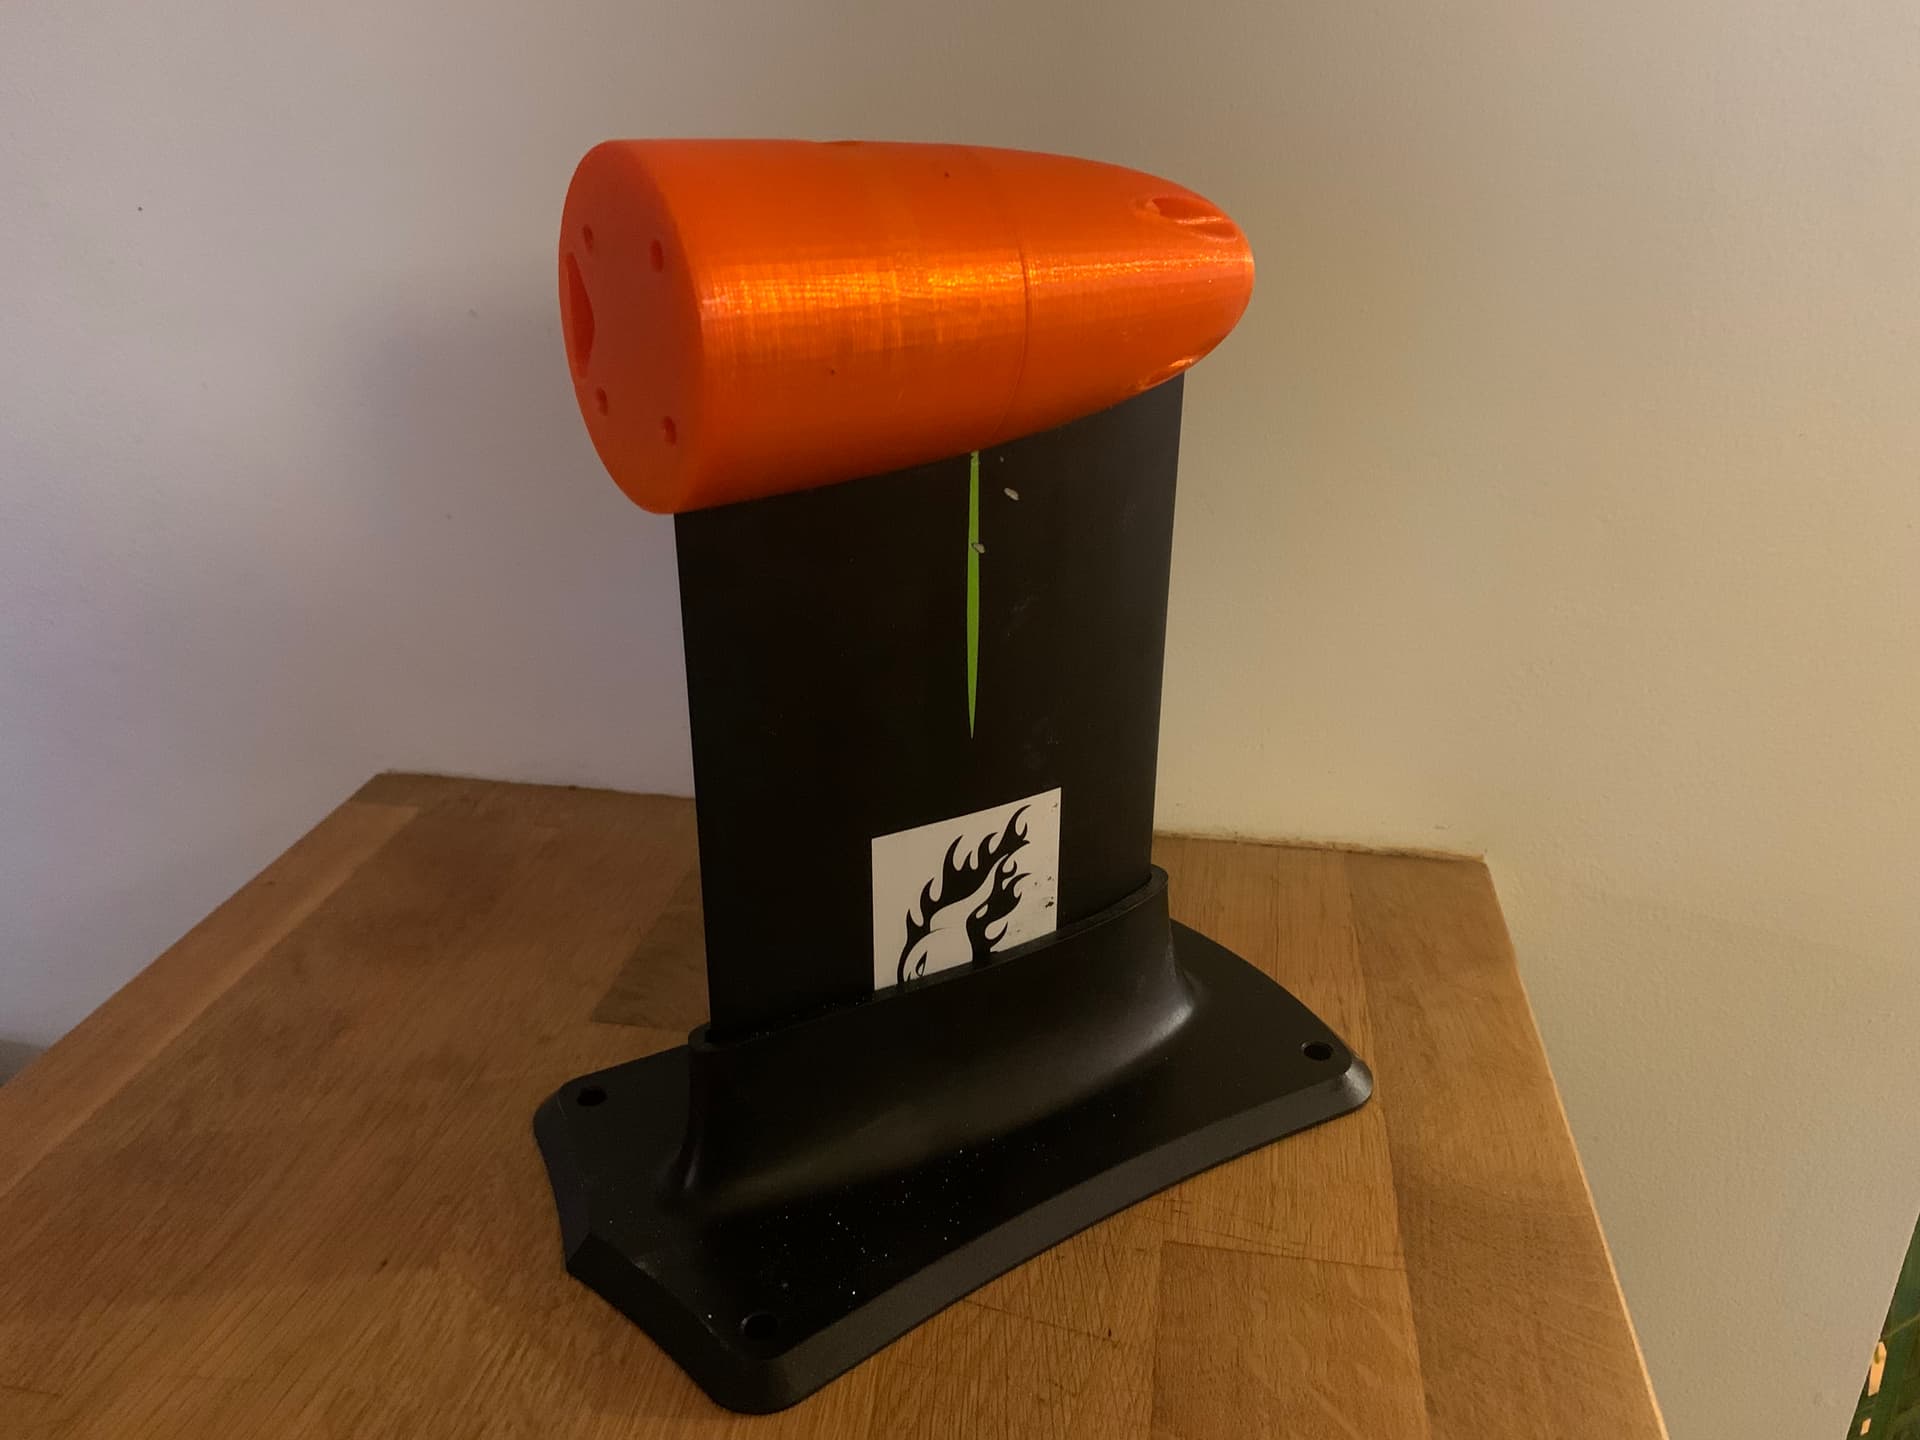
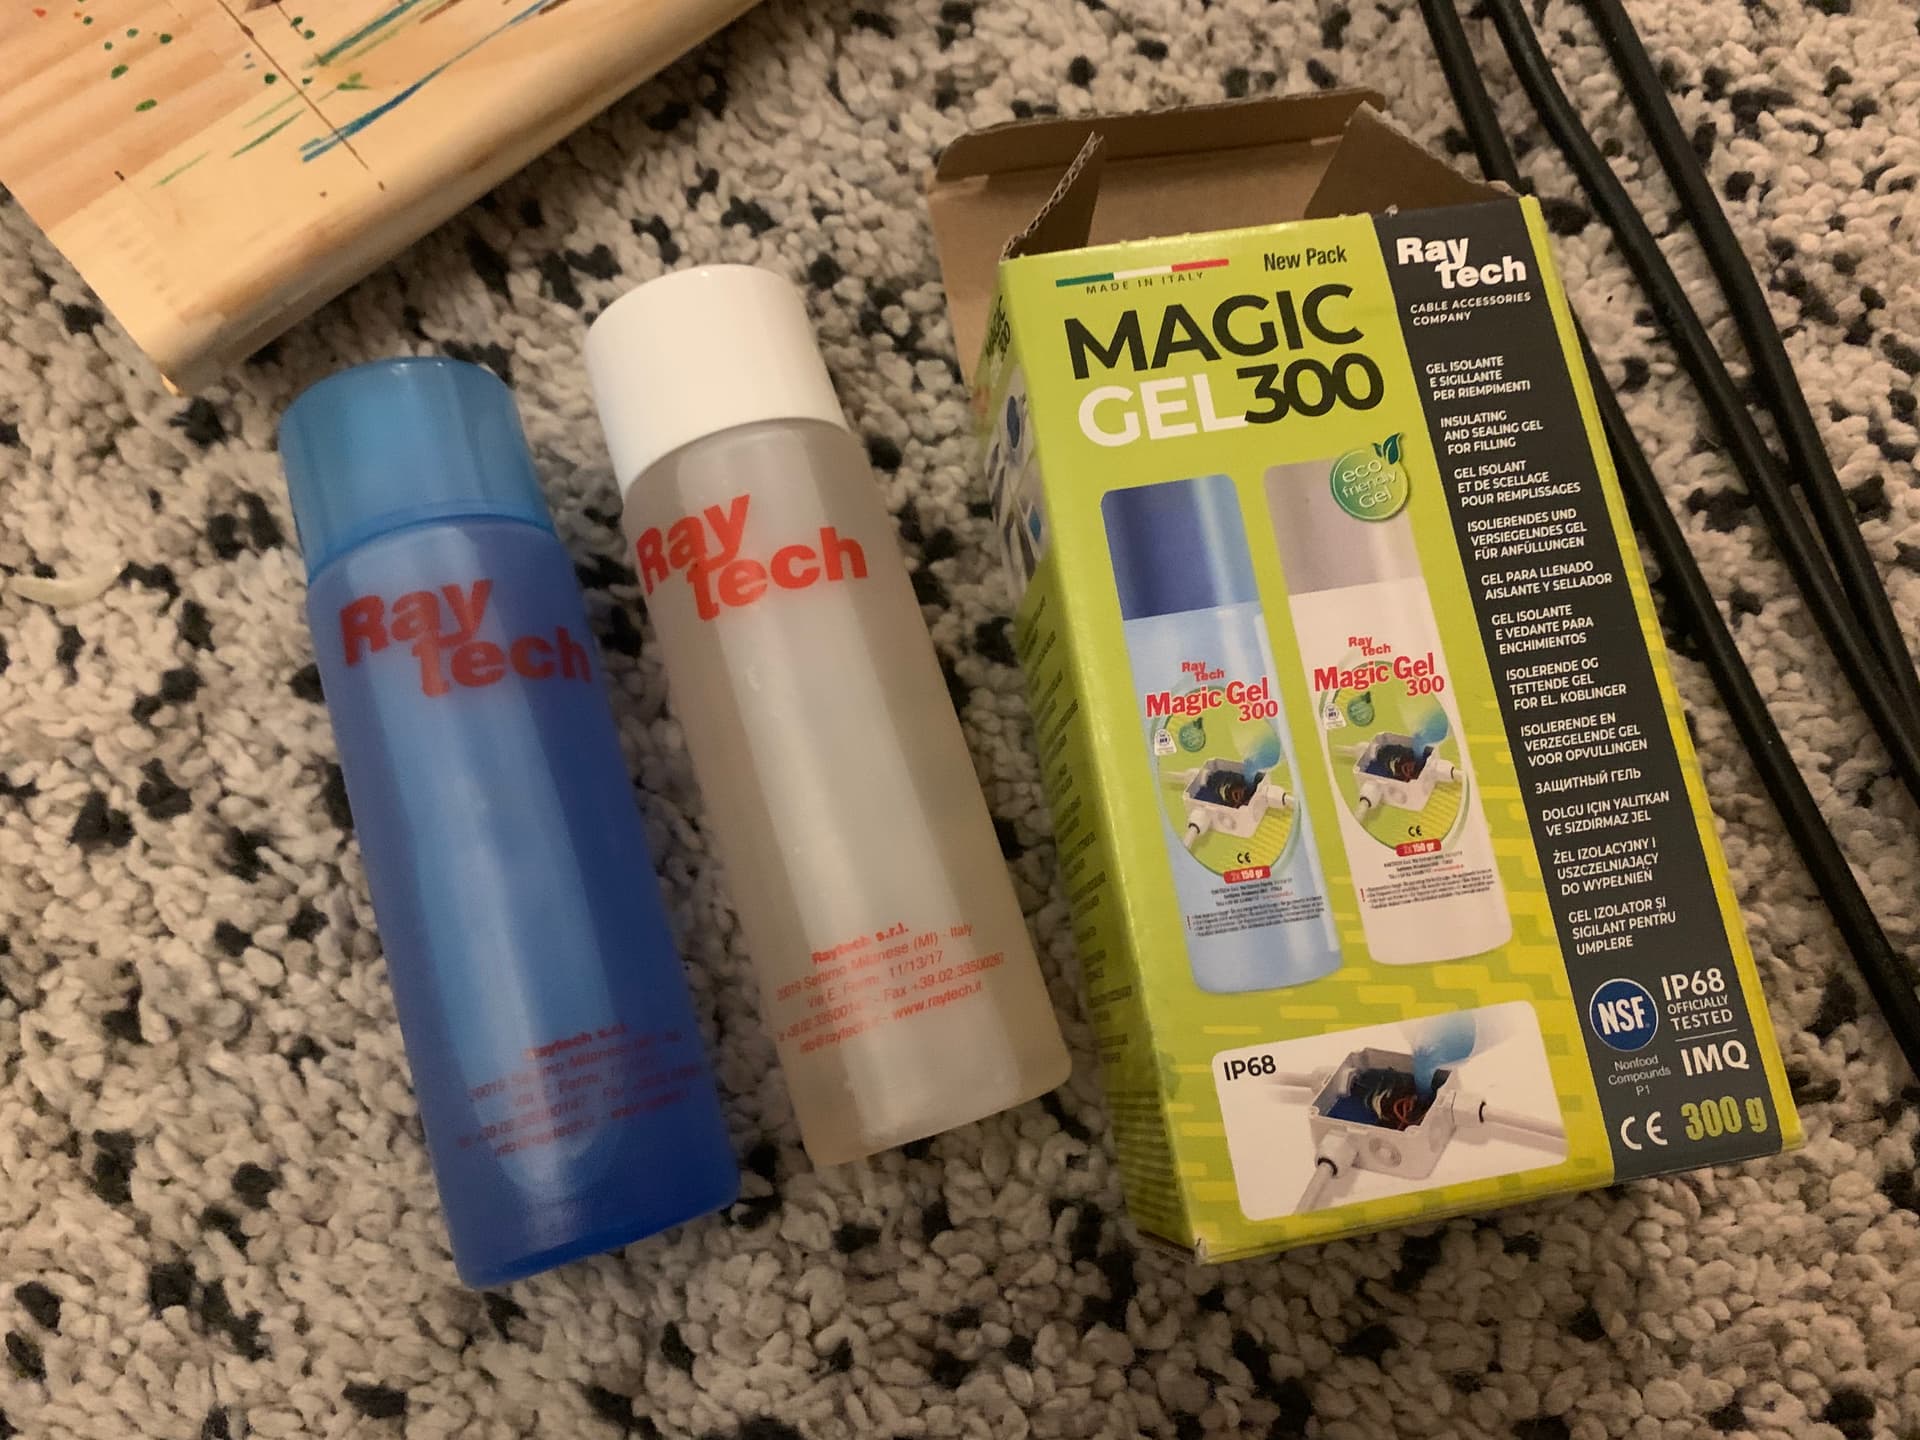
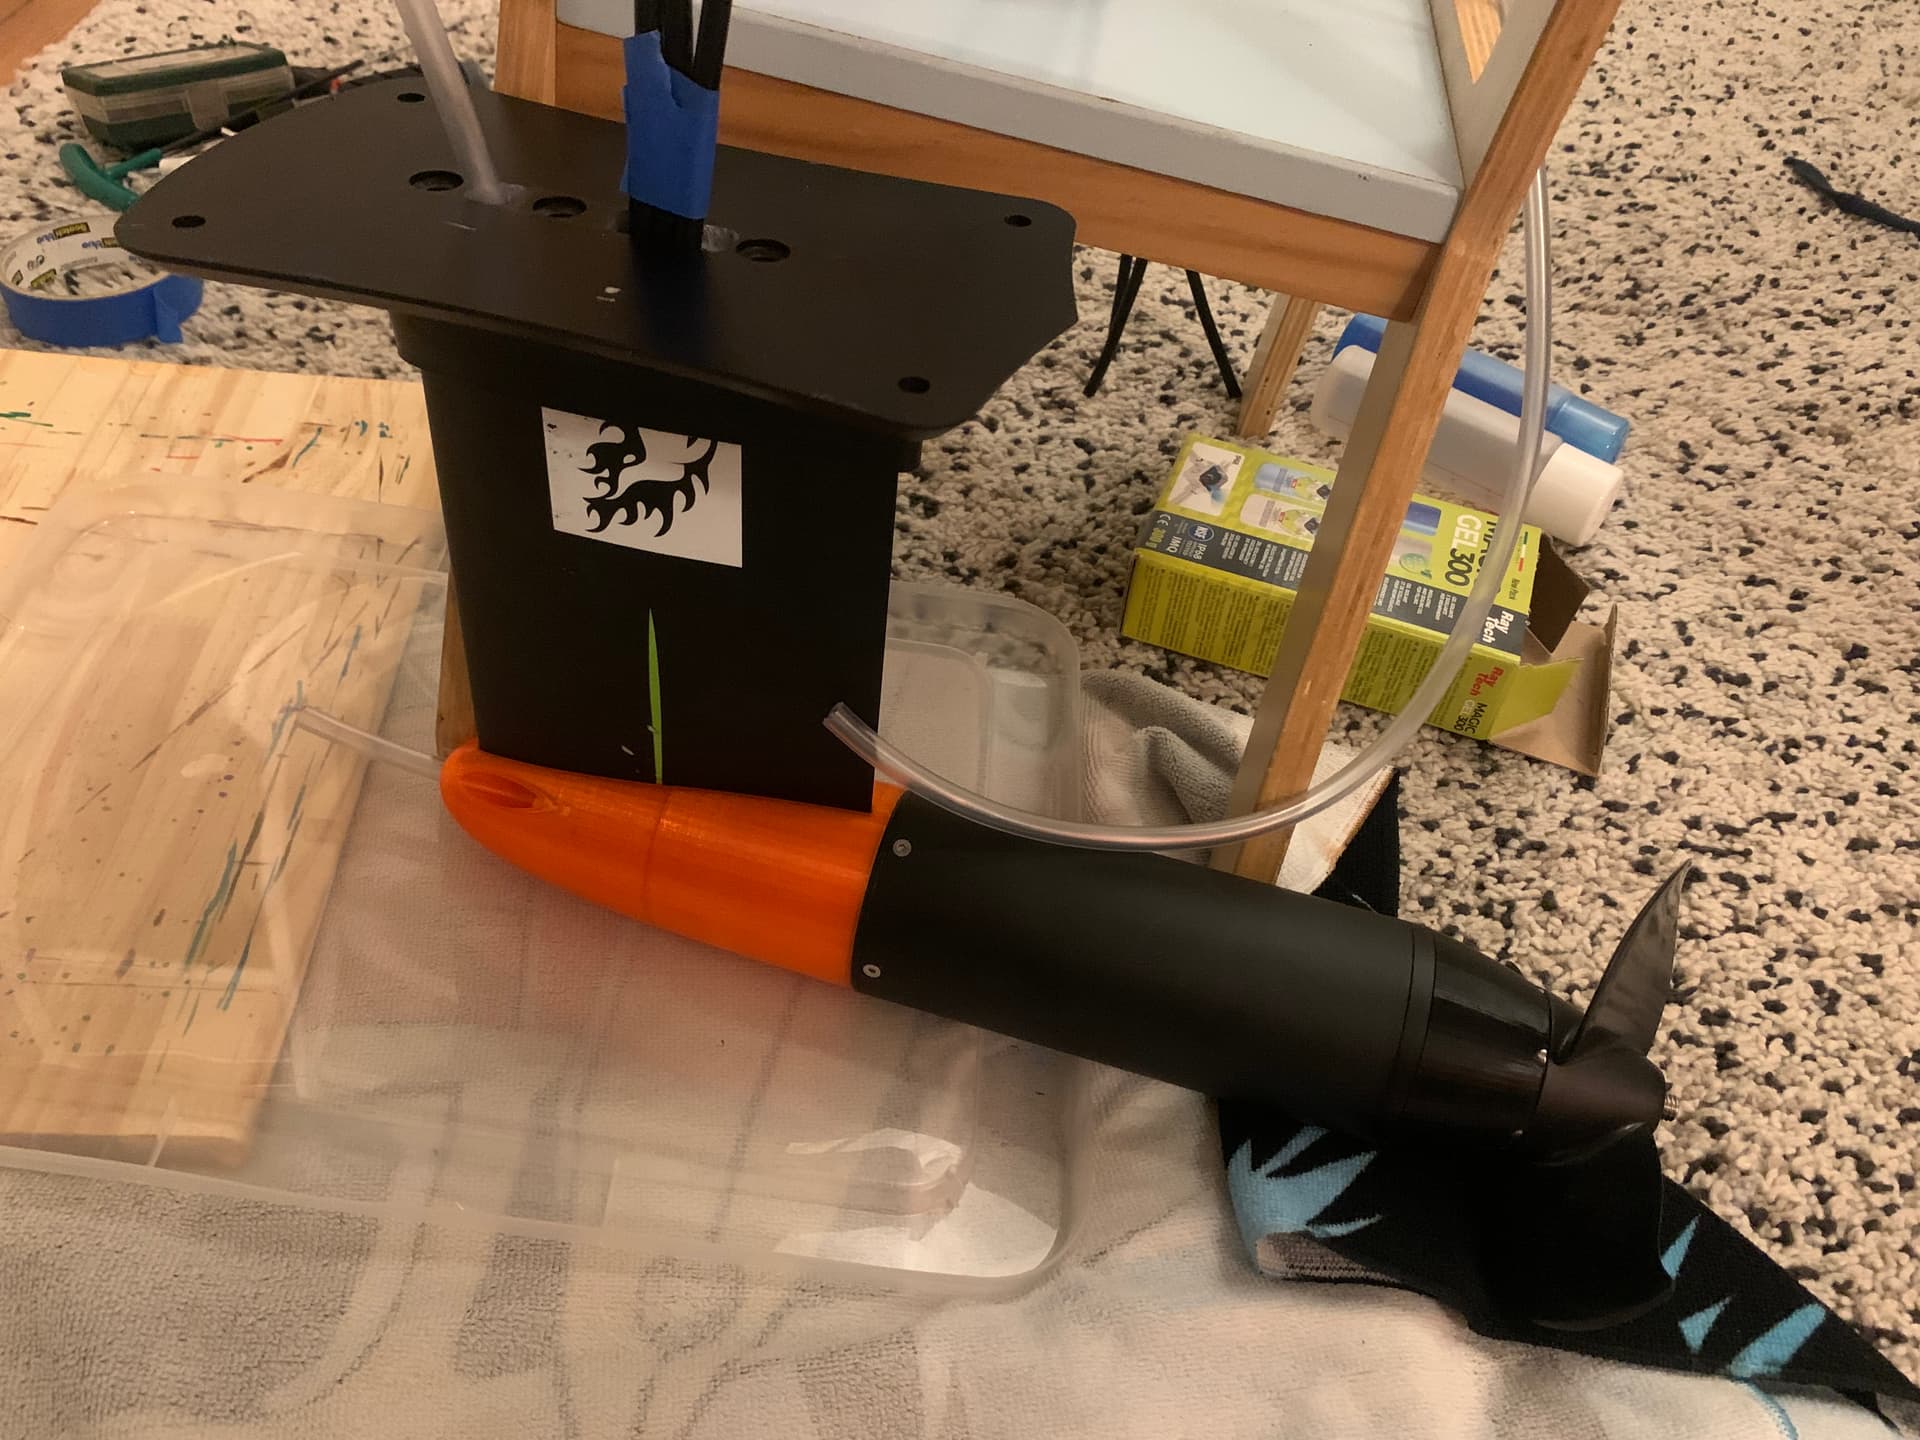
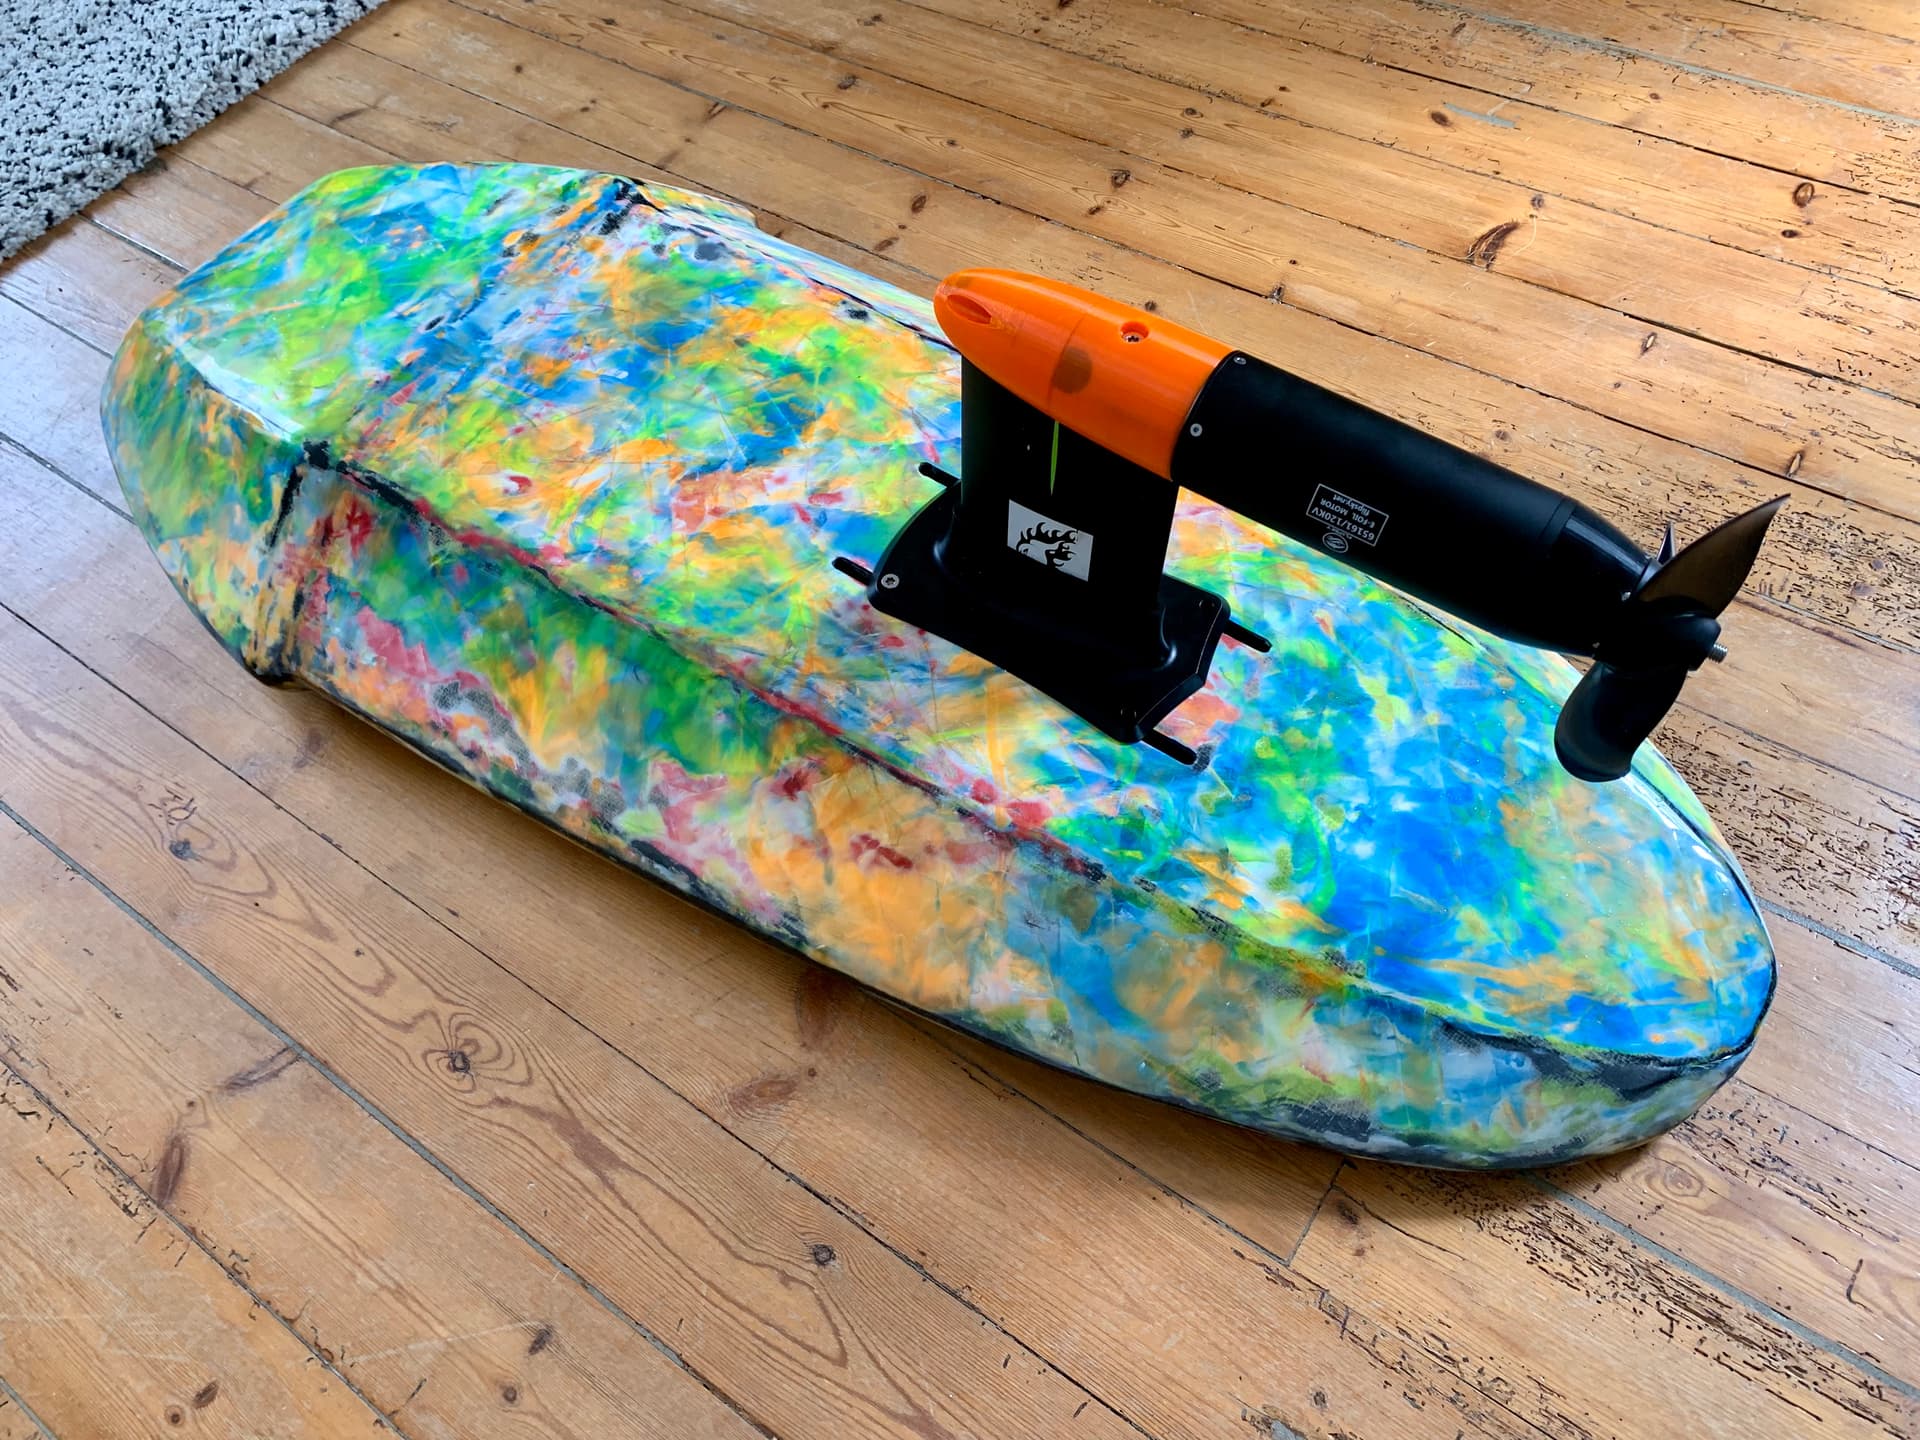
some orders have arrived. The mast & motor pod is now almost complete. I’ve added water sealant to keep the inside isolated and clean.
okp
March 2, 2023, 8:03pm
40
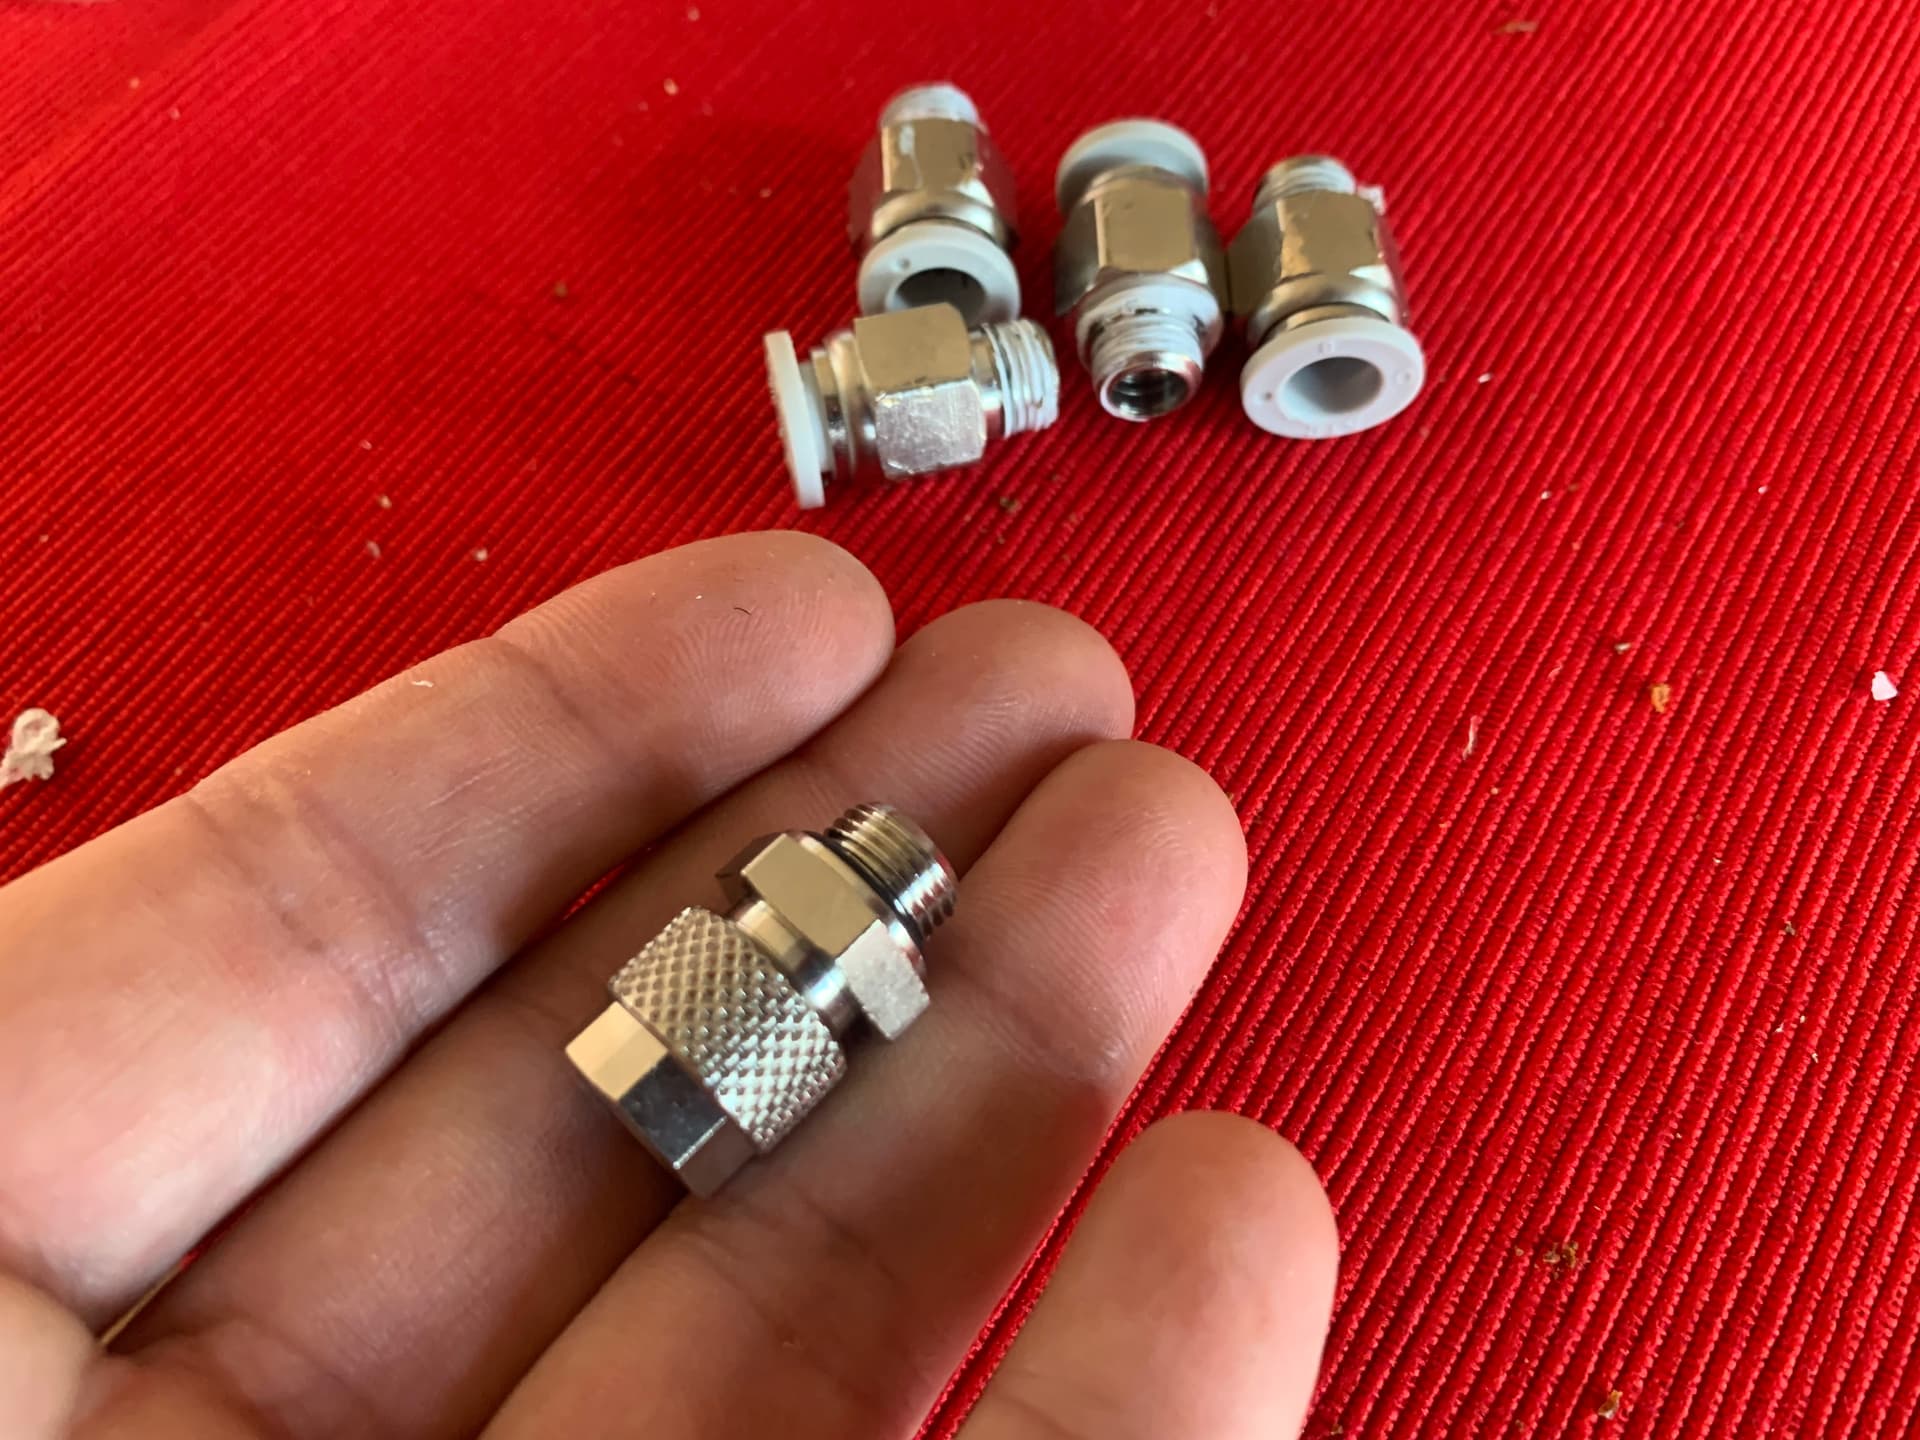
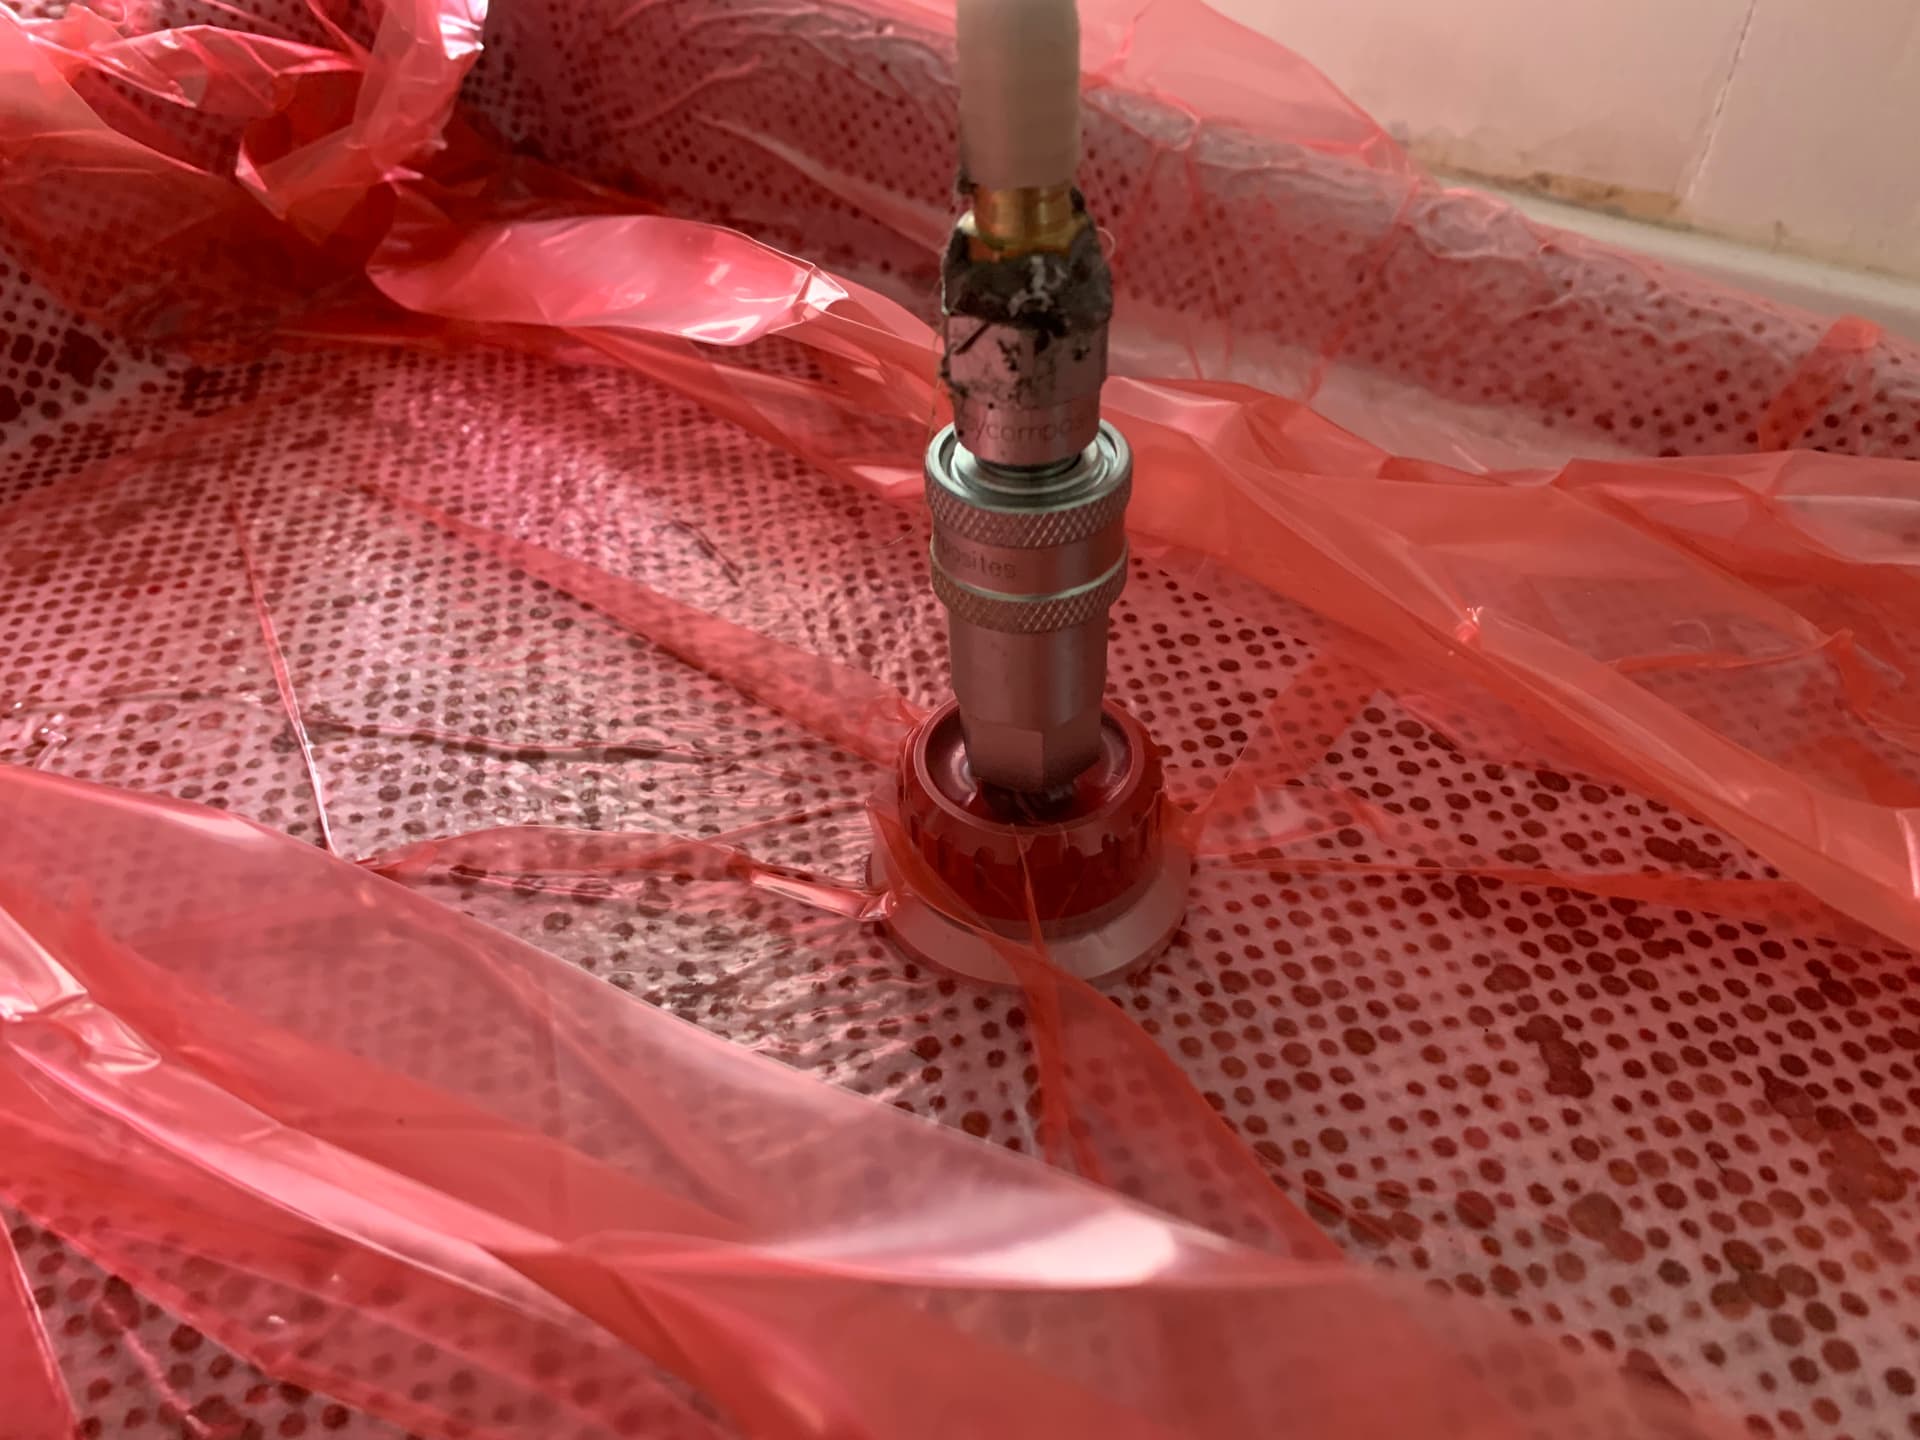
I also took care of the 75200 FESC with more appropriate water inlet/outlets. I’ll secure them with teflon tape.
@Foilguy FYI
1 Like
@okp
Thanks for showing the 75200 upgraded fittings. I just started a thread on this issue.
I am going to use these little adapters I made 3d printed. [water]
Check the 3D print fittings from @windego . The return would take less room than the bent tube version
Can you provide source / info for the fittings and the tubing you are now using.
3 Likes
@okp
Well done it looks much better than original.
Curious about how the fitting works. Appears to be some sort of compression fitting?
okp
March 3, 2023, 6:19pm
44
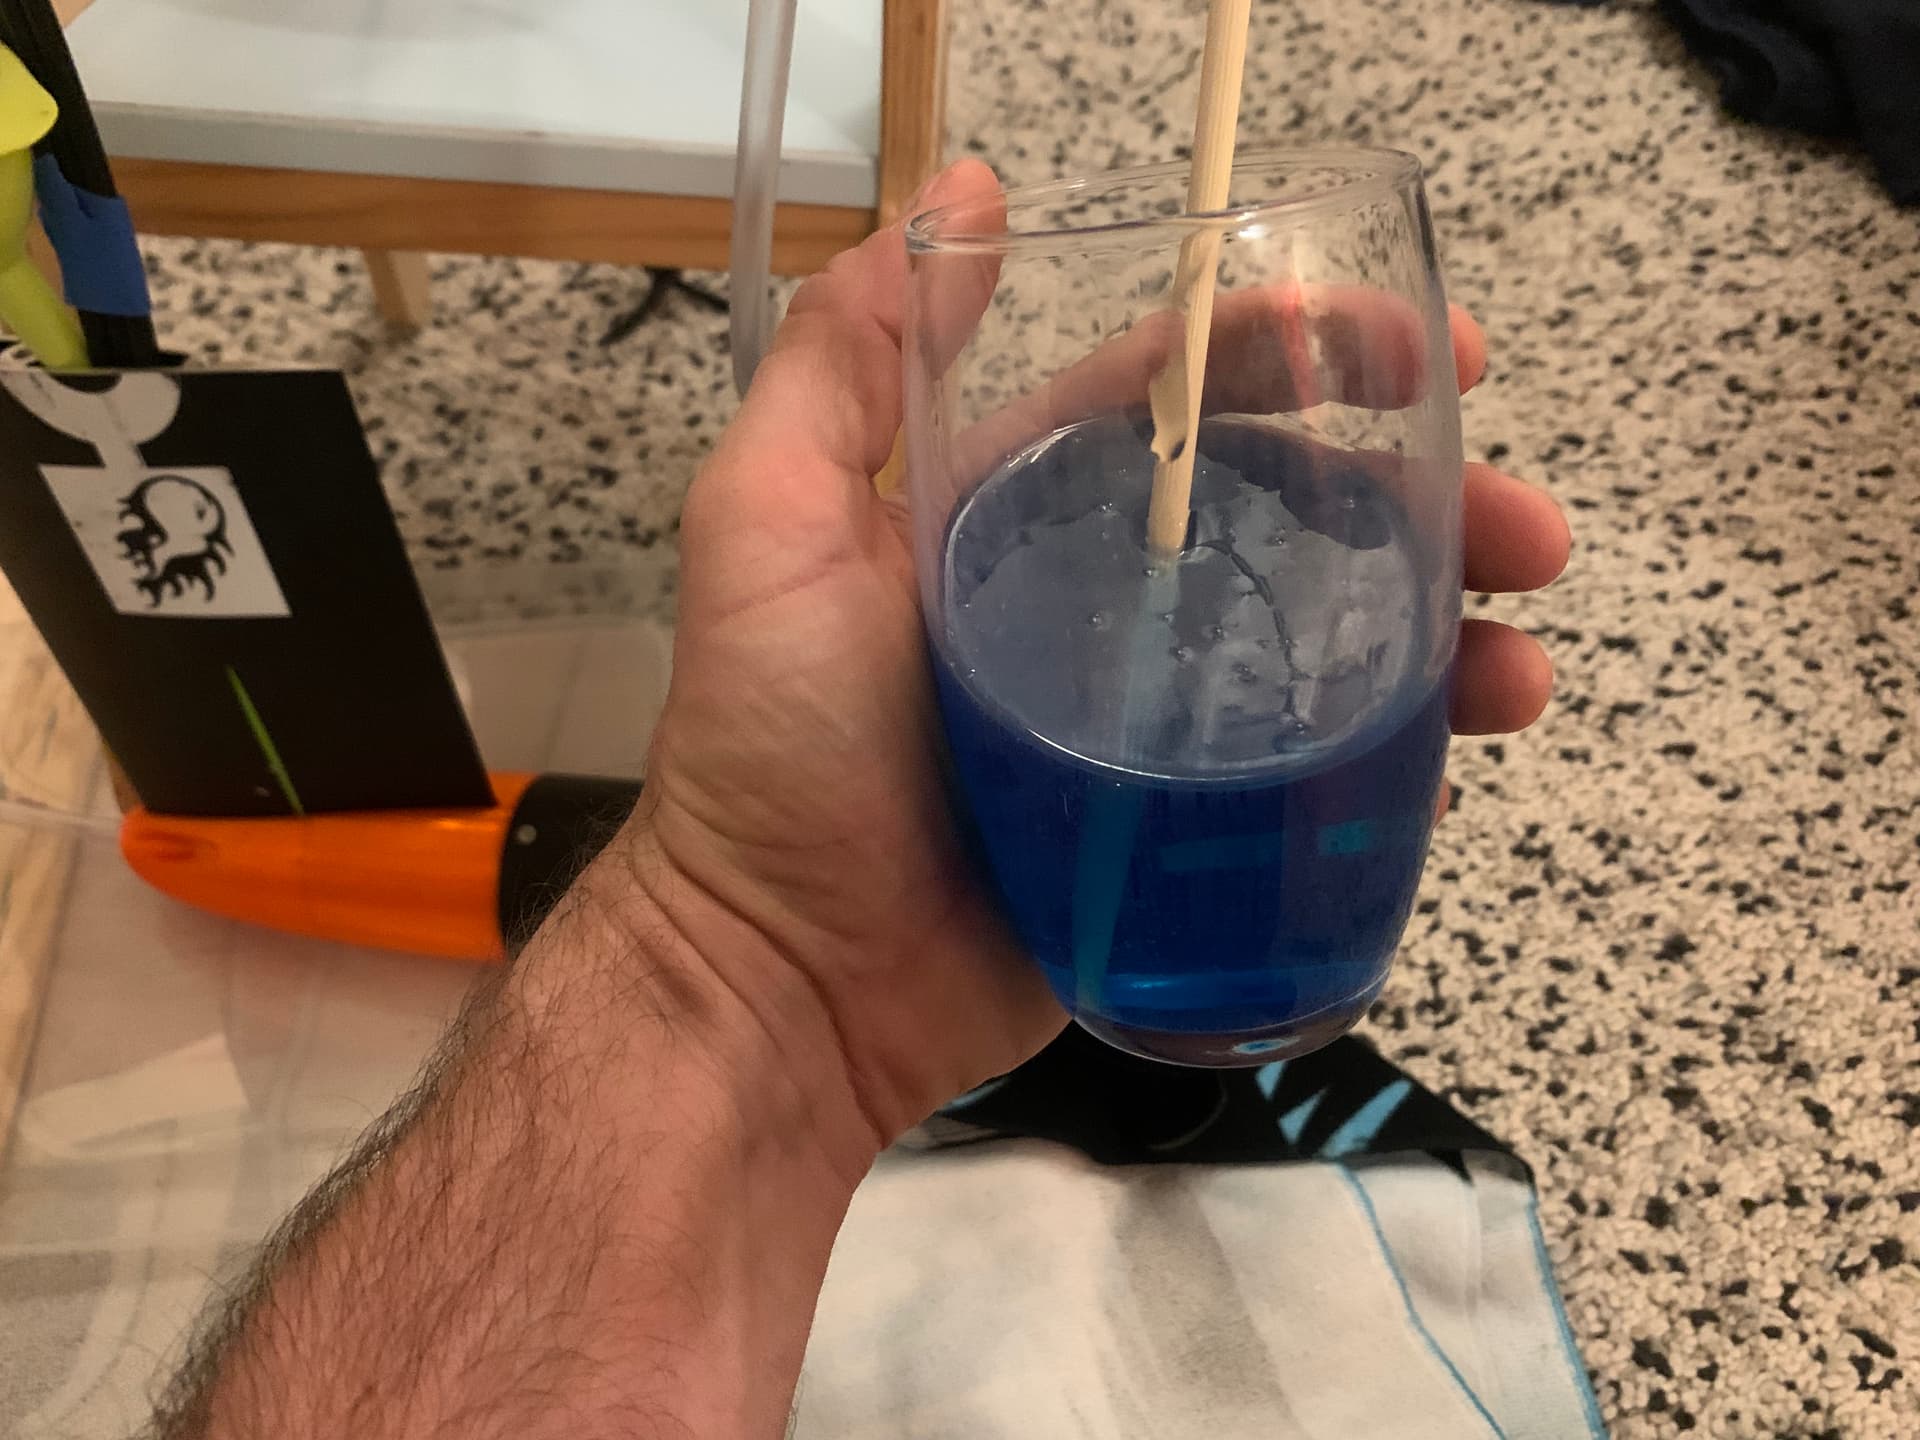
I’ve added teflon tape and yes, compression fitting; bulletproof!
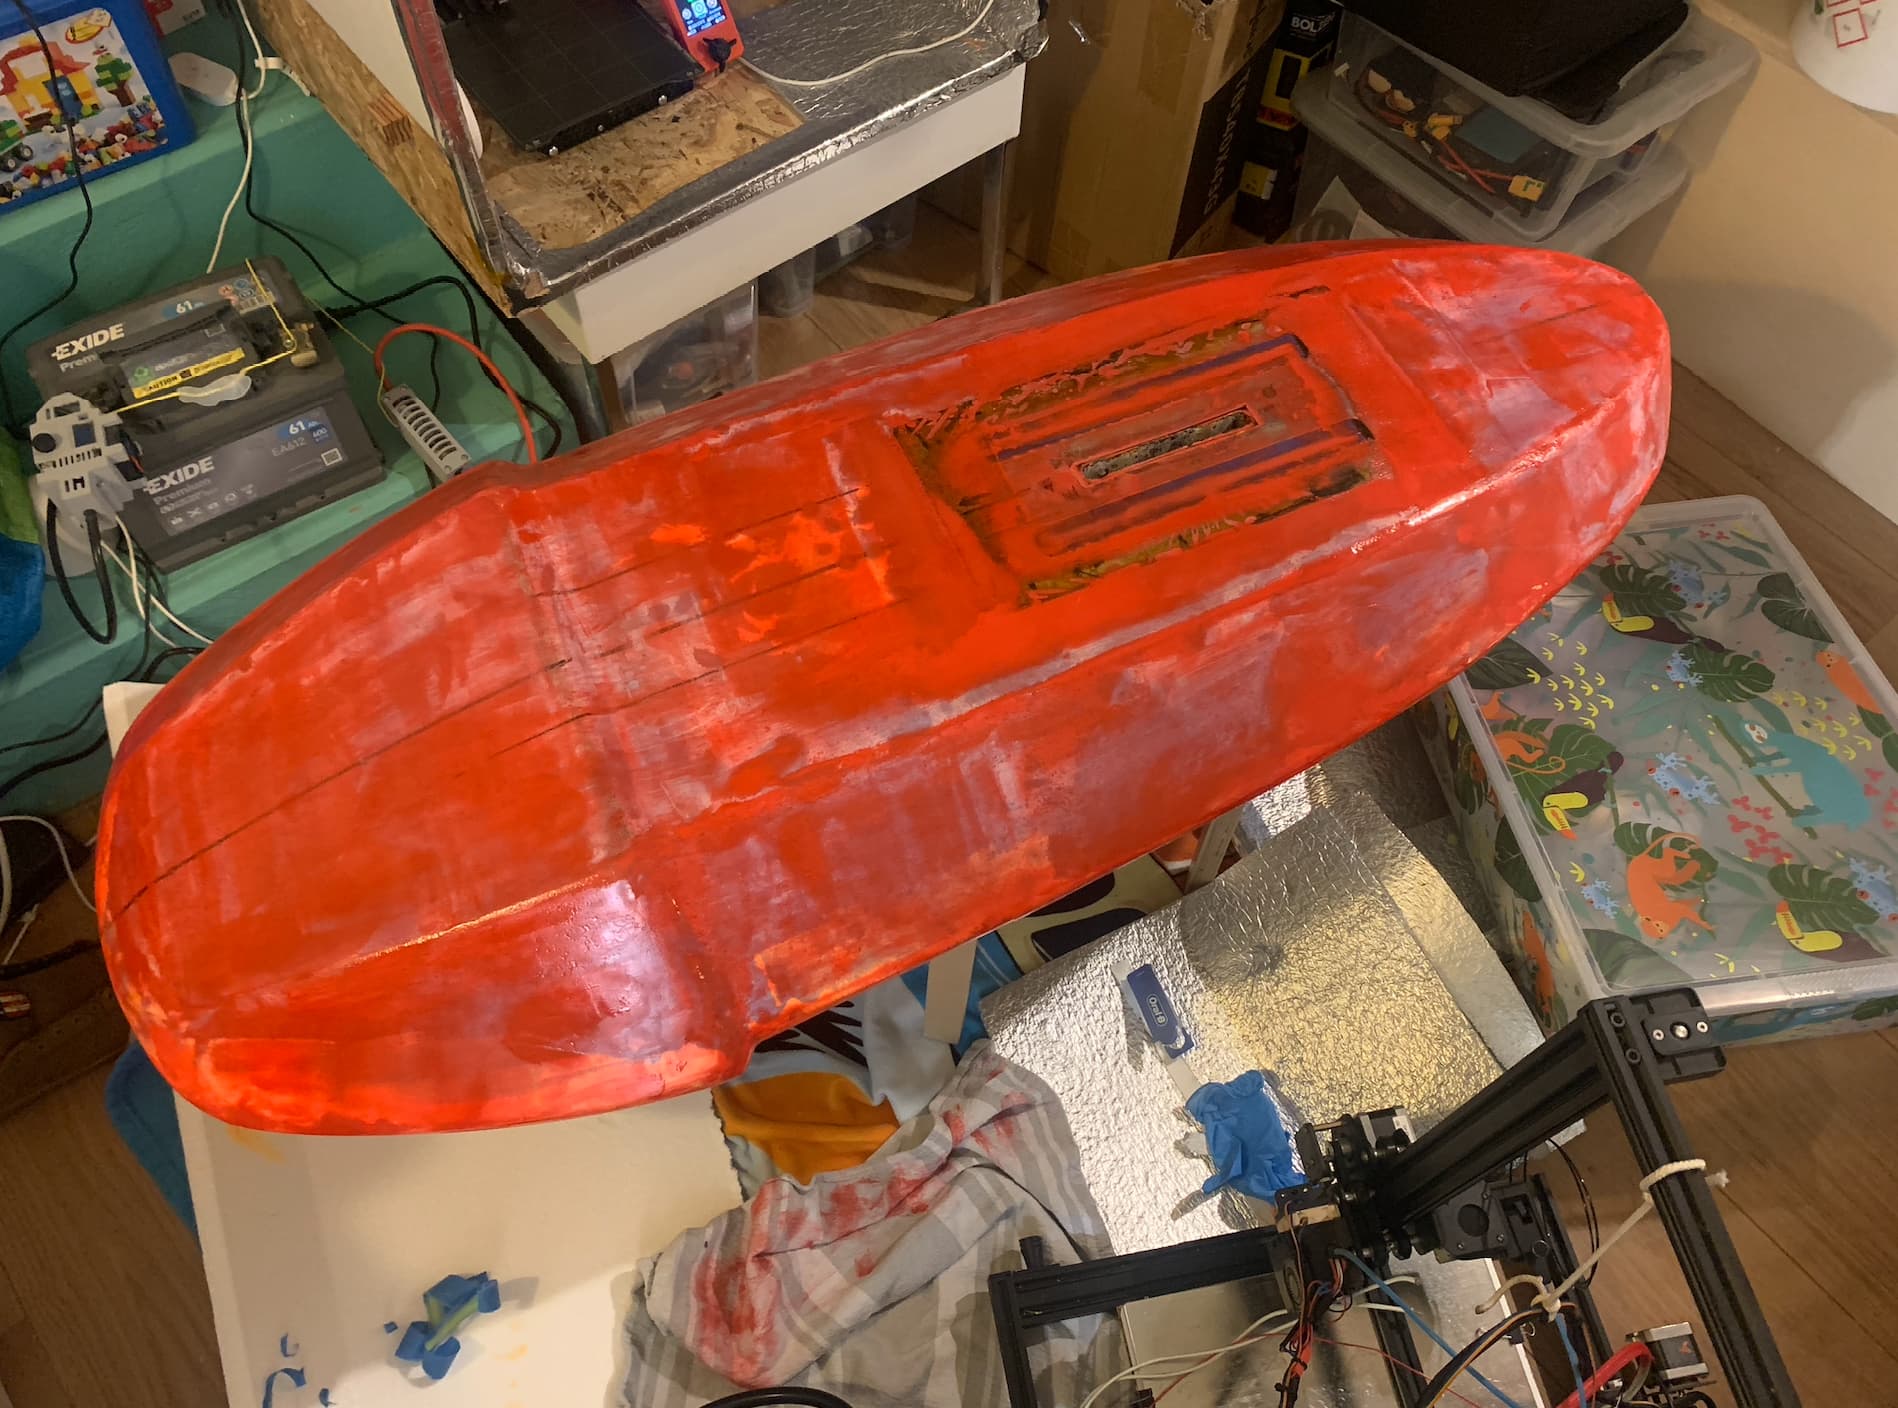
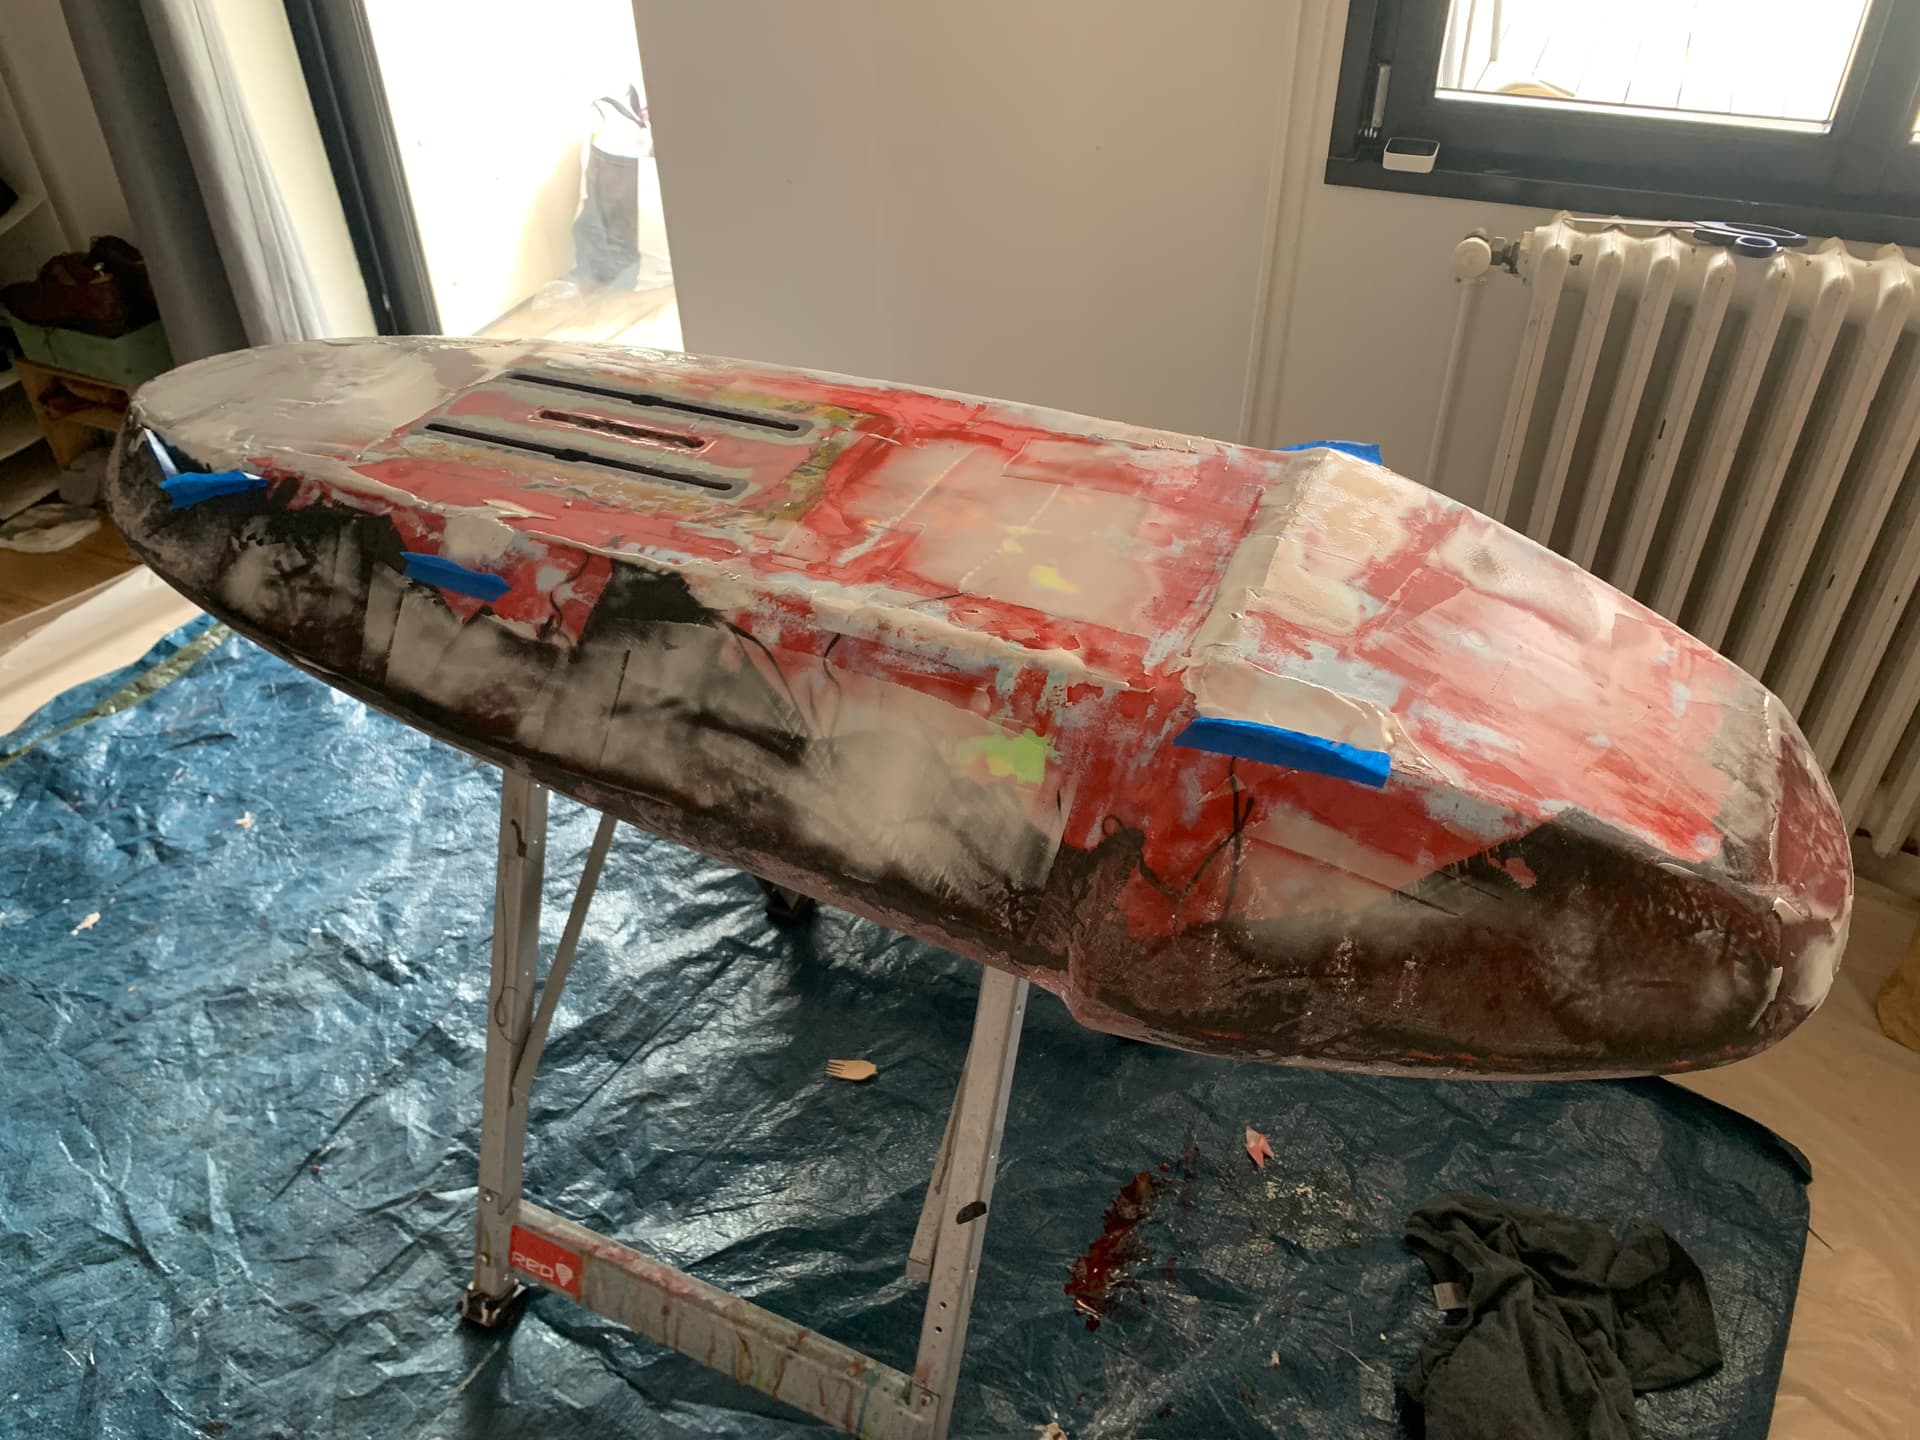
Some progress on the board, next step will be the vacuum & composites part !
3 Likes
okp
March 7, 2023, 12:54pm
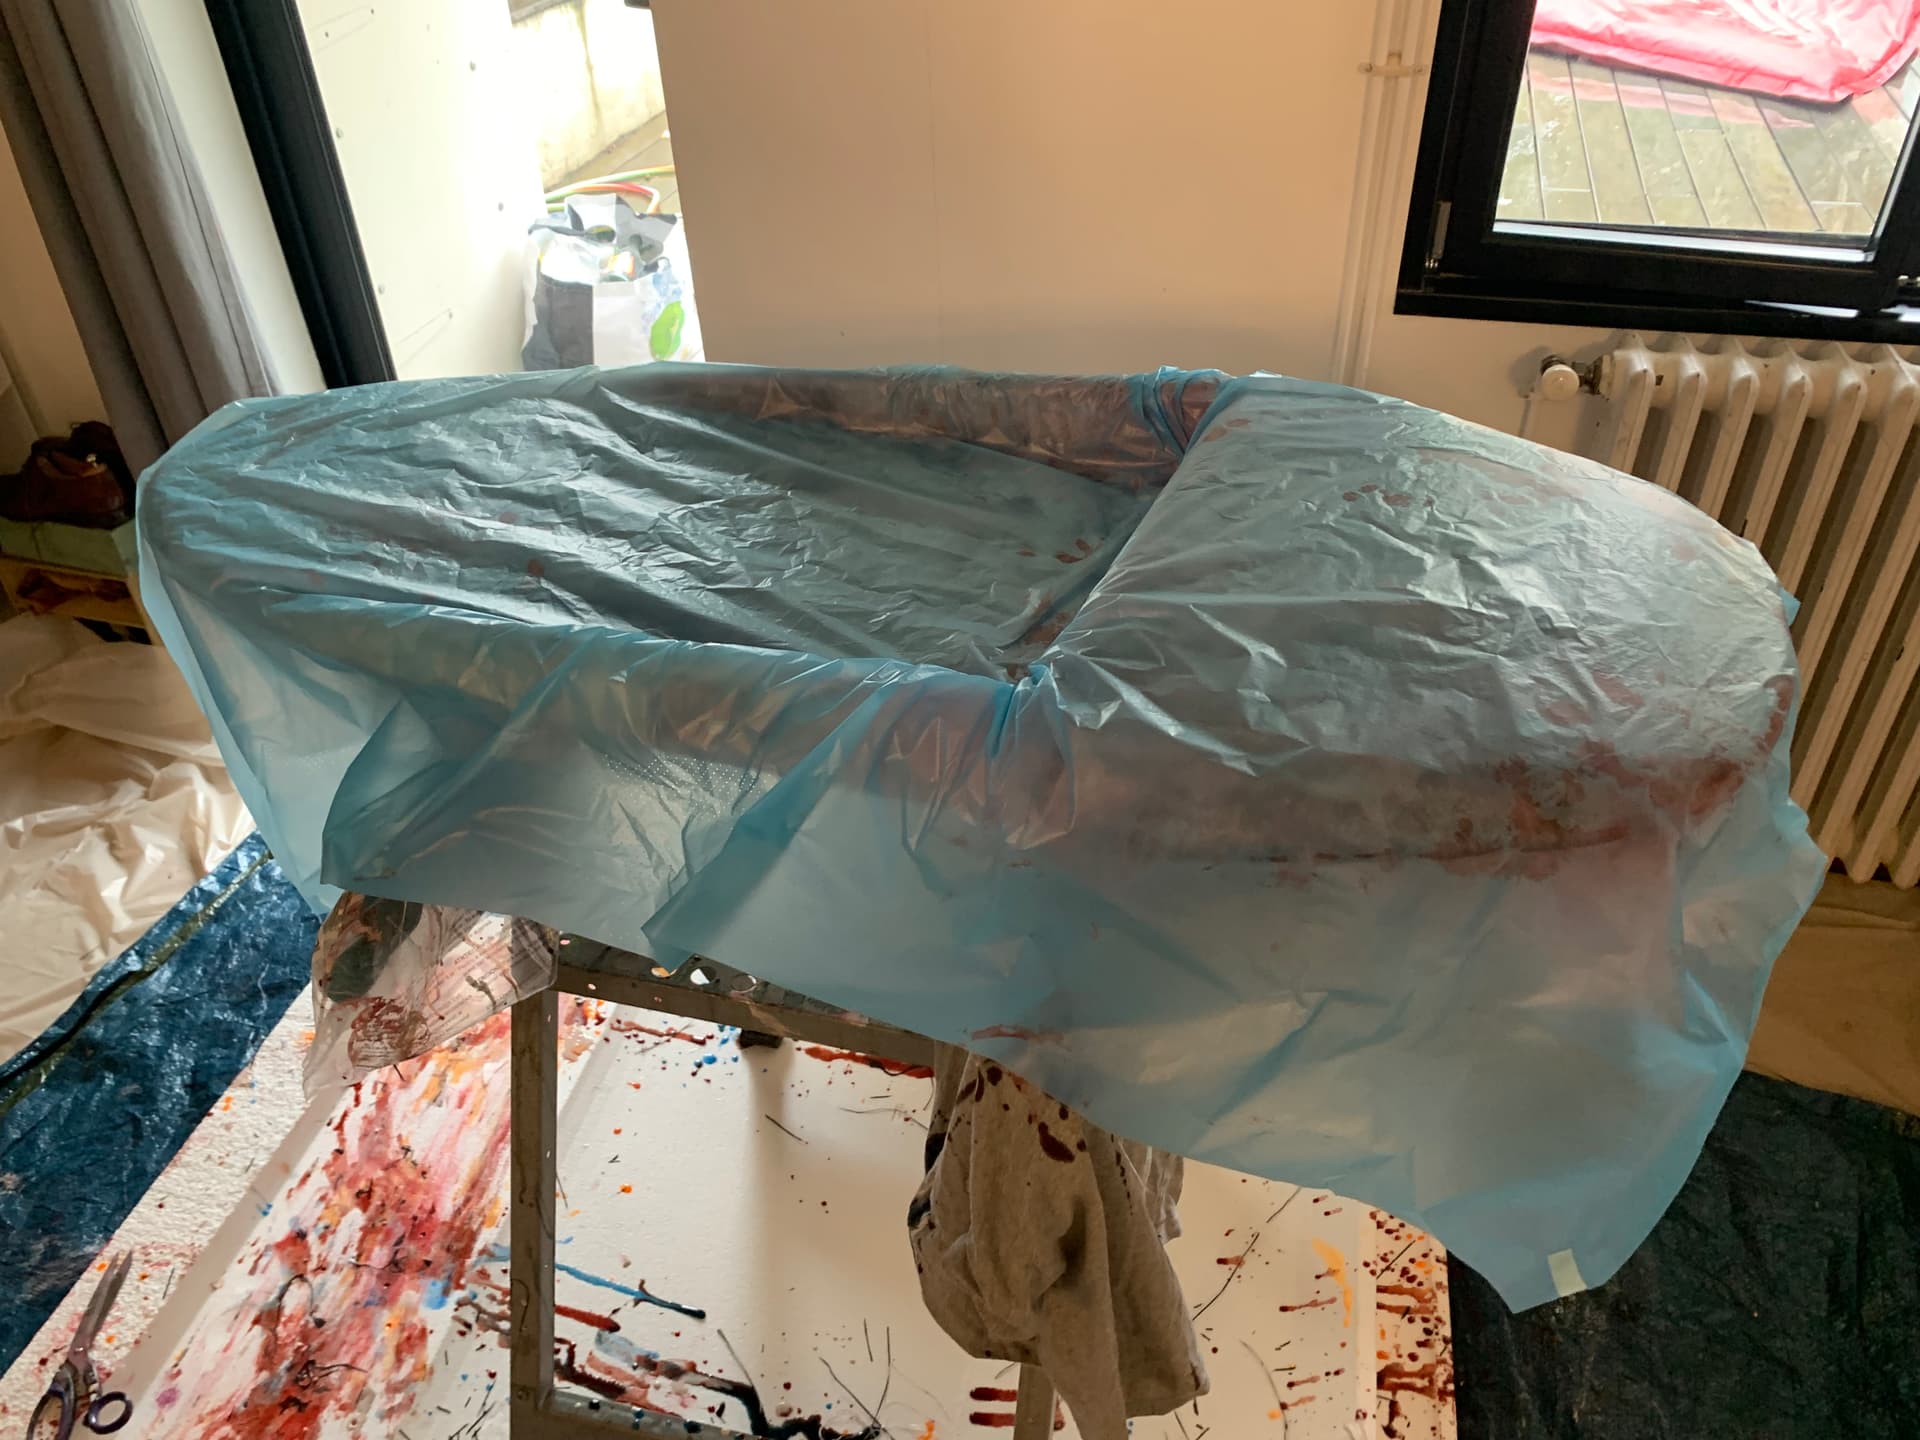
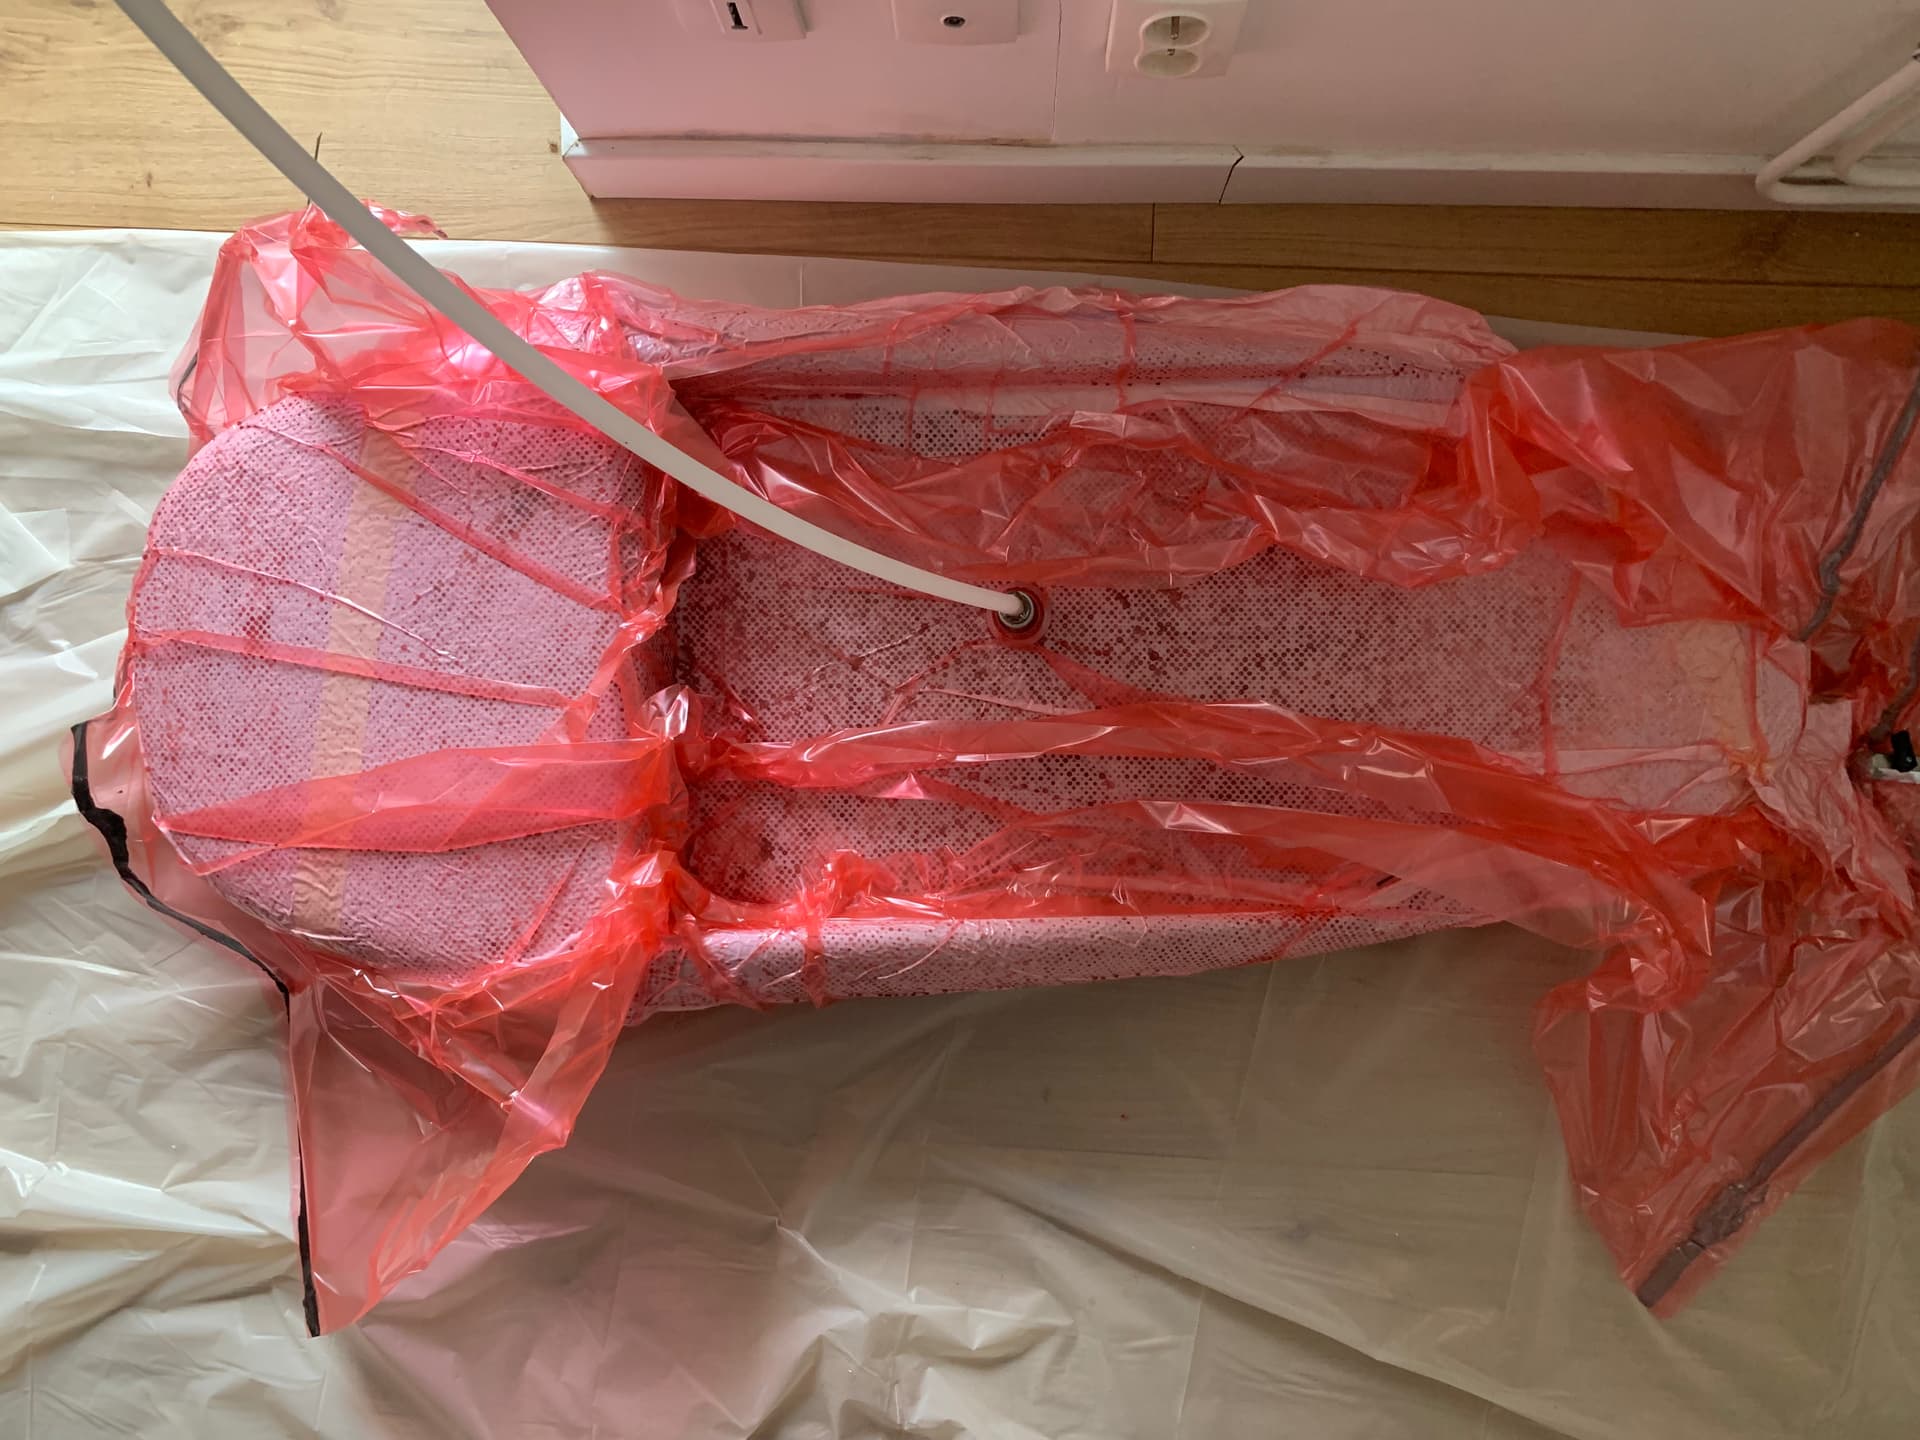
45
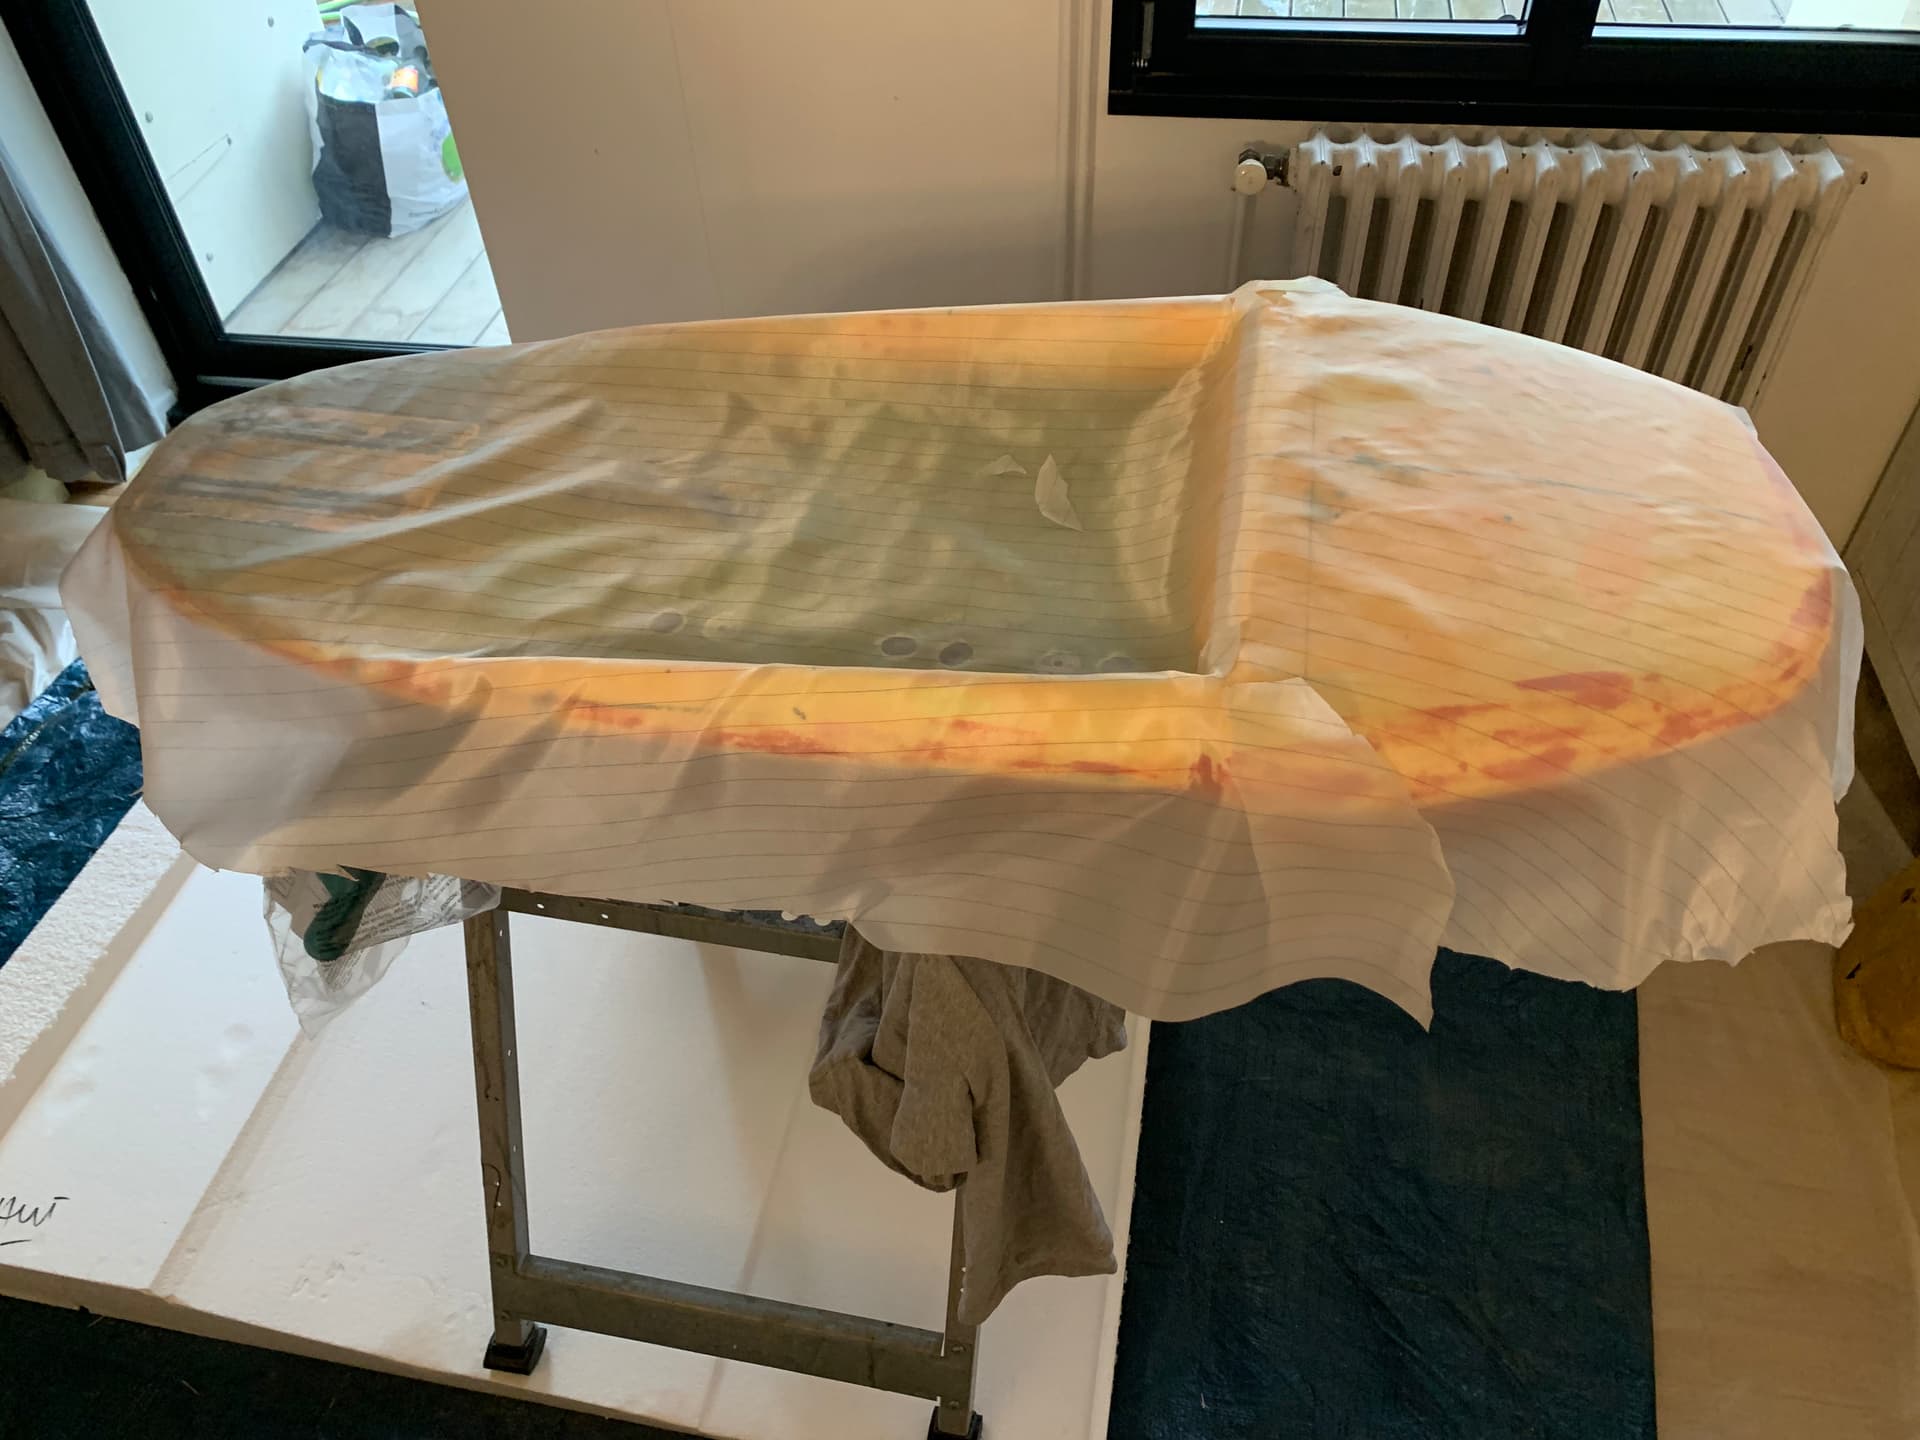
day of the vacuum. All safety measures have been taken into account.
I’ve also adjusted the 3M scotchtape to different areas
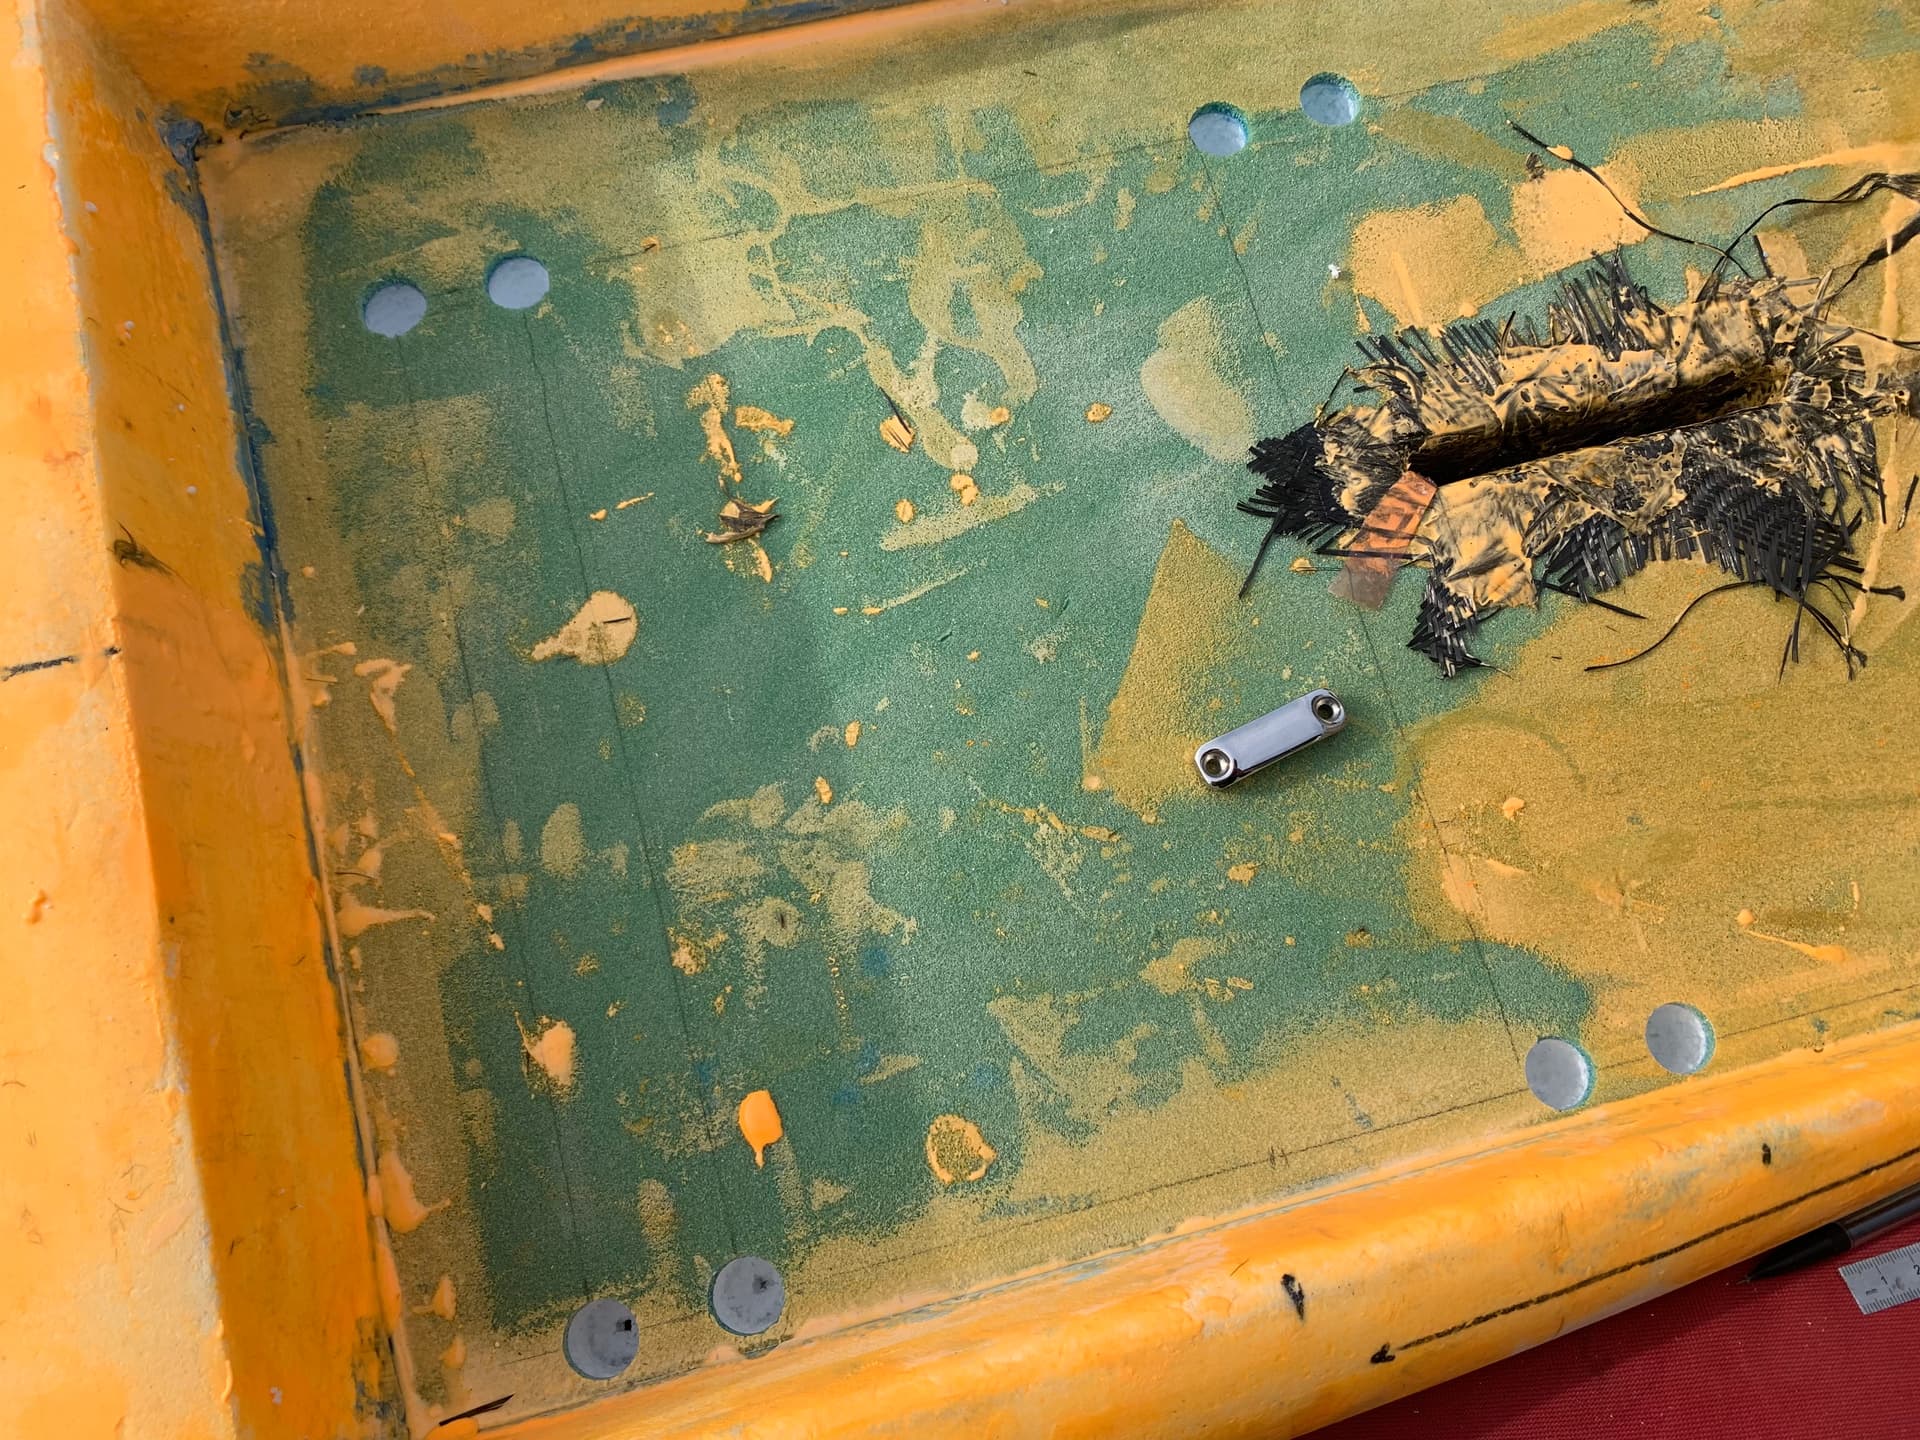
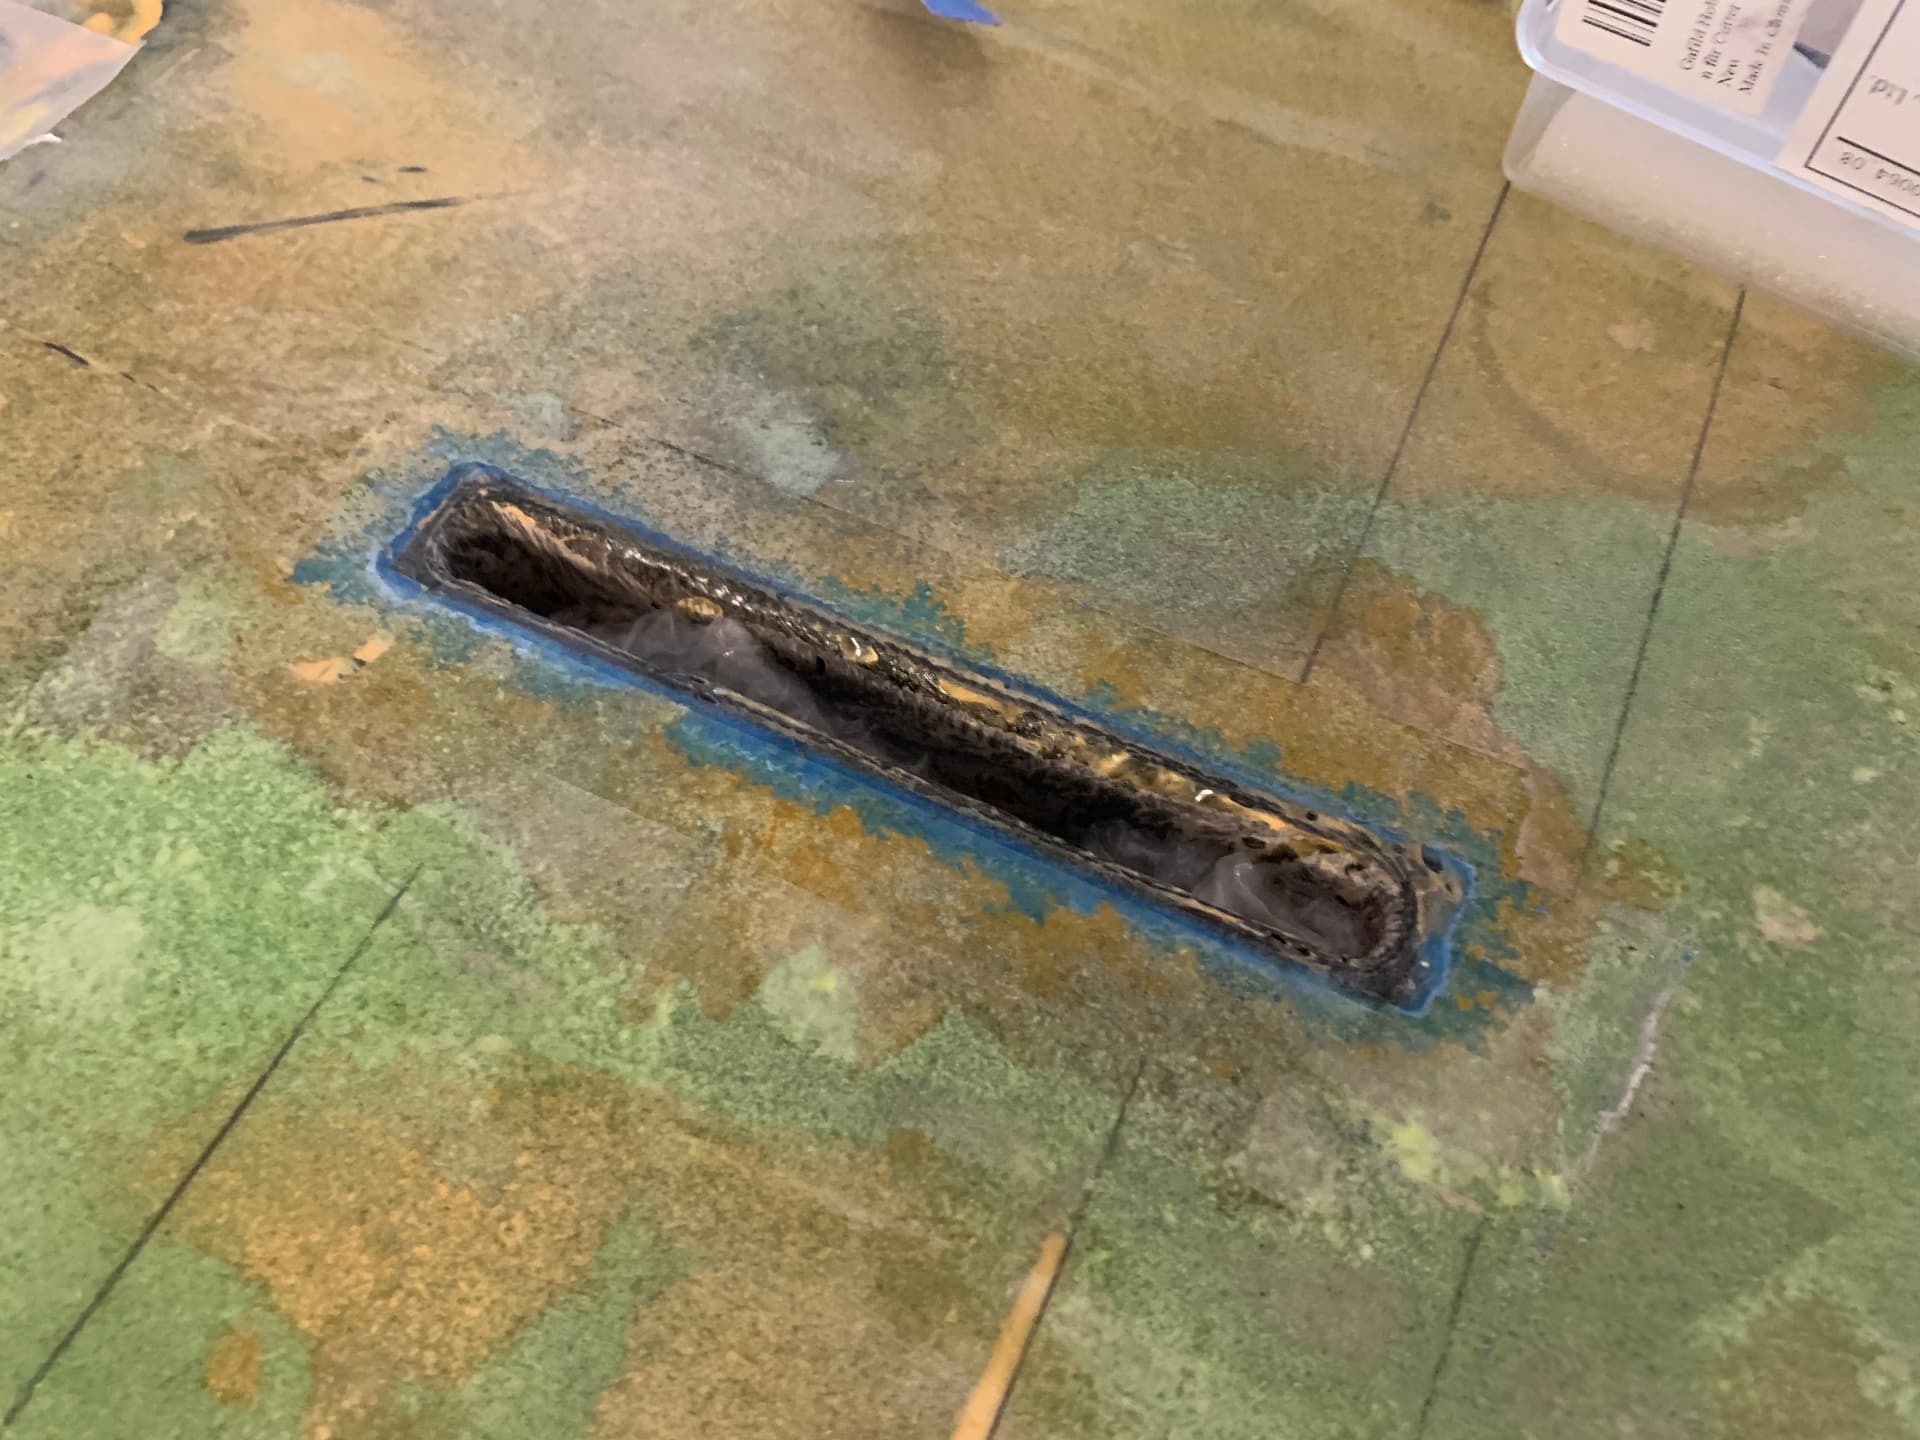
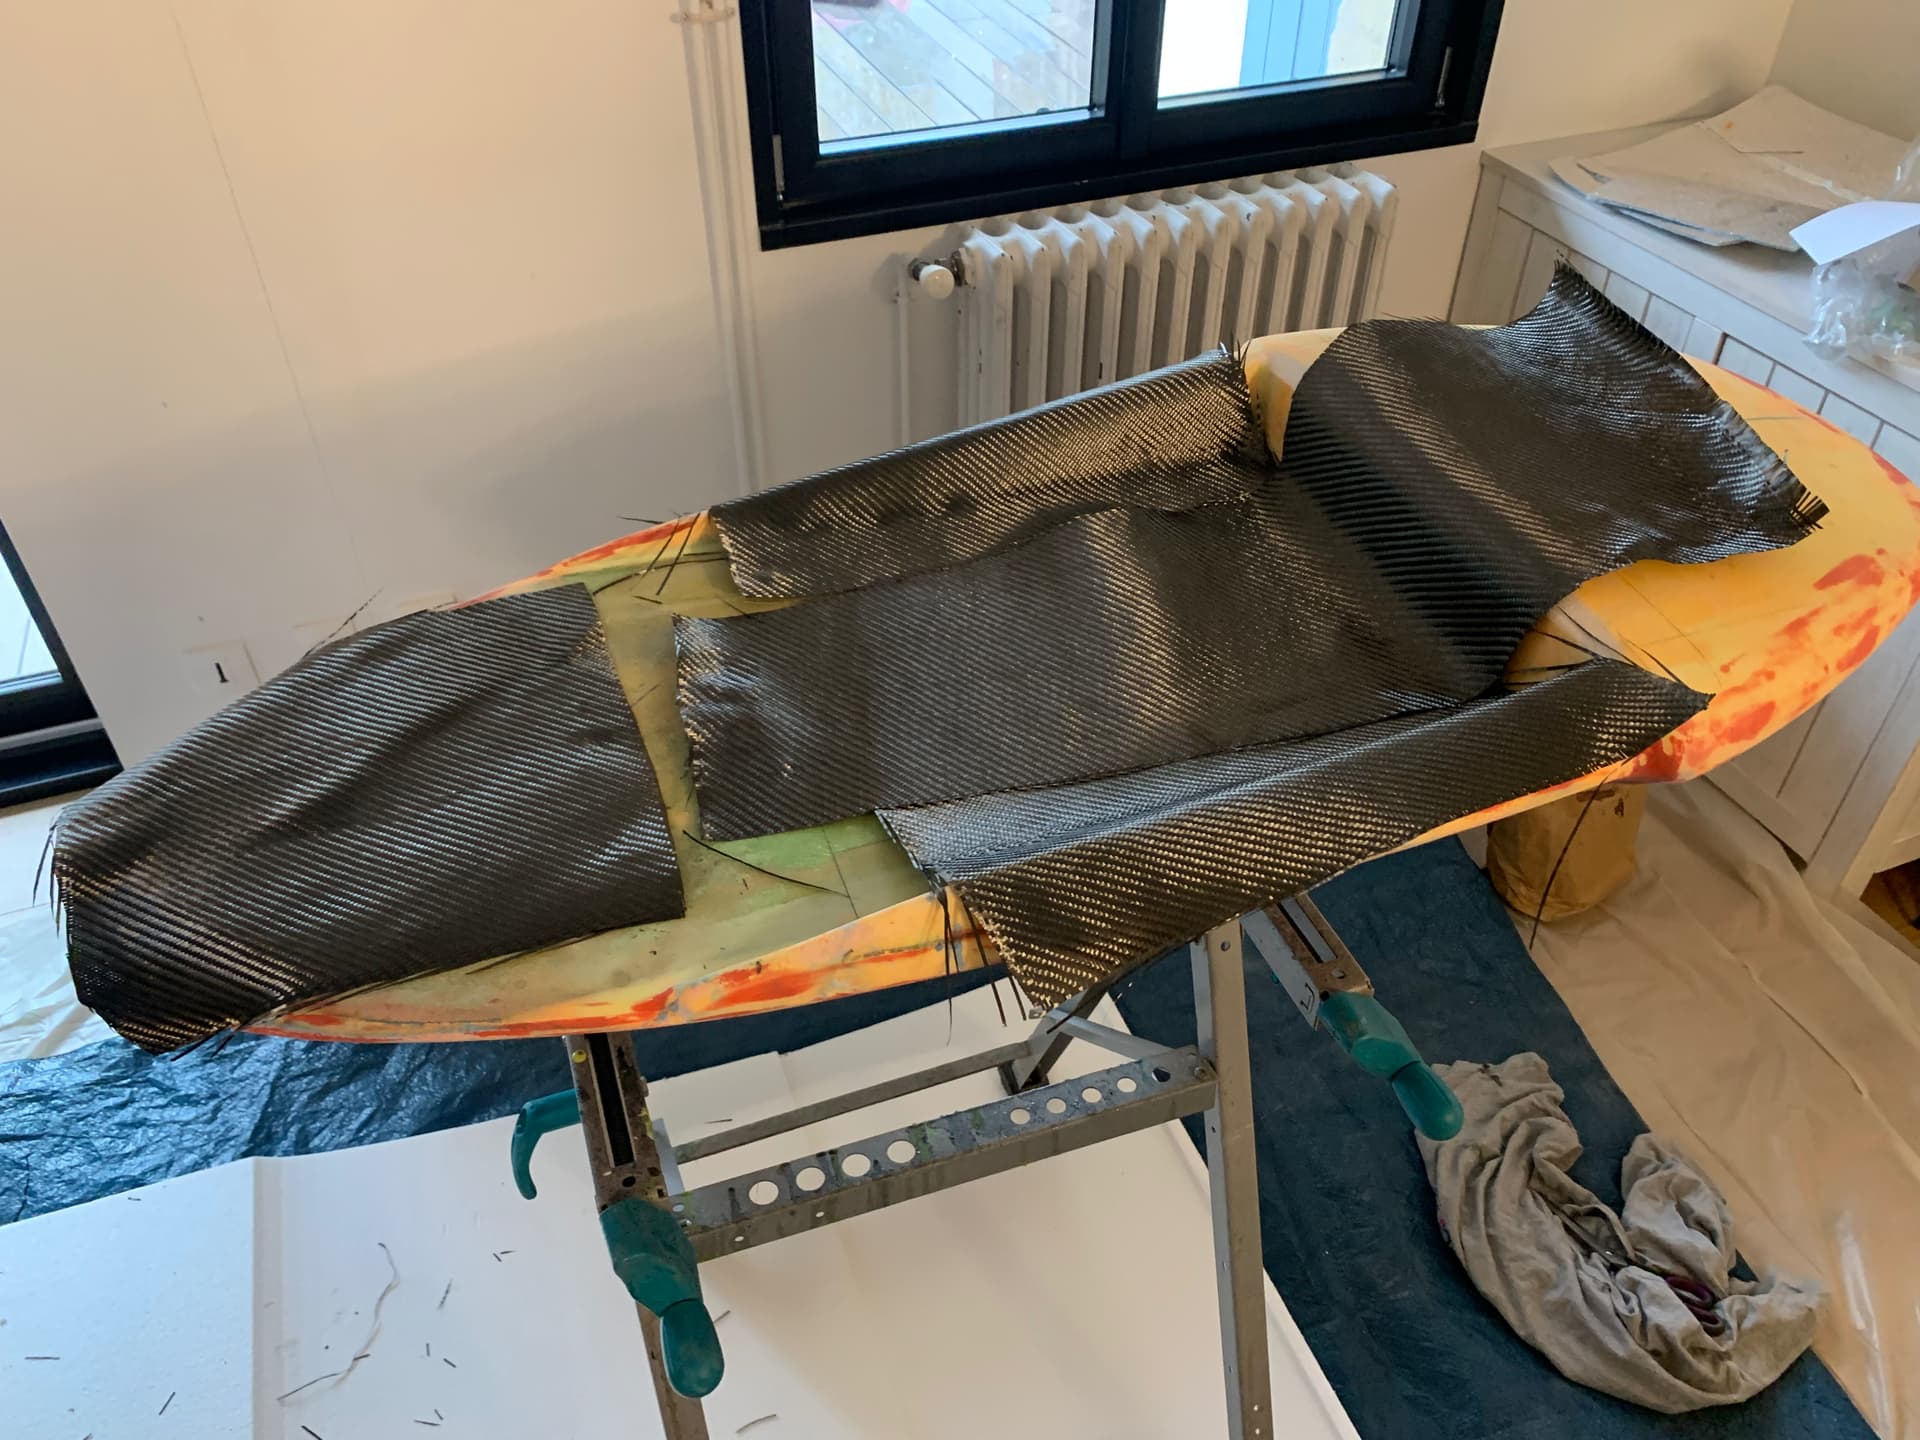
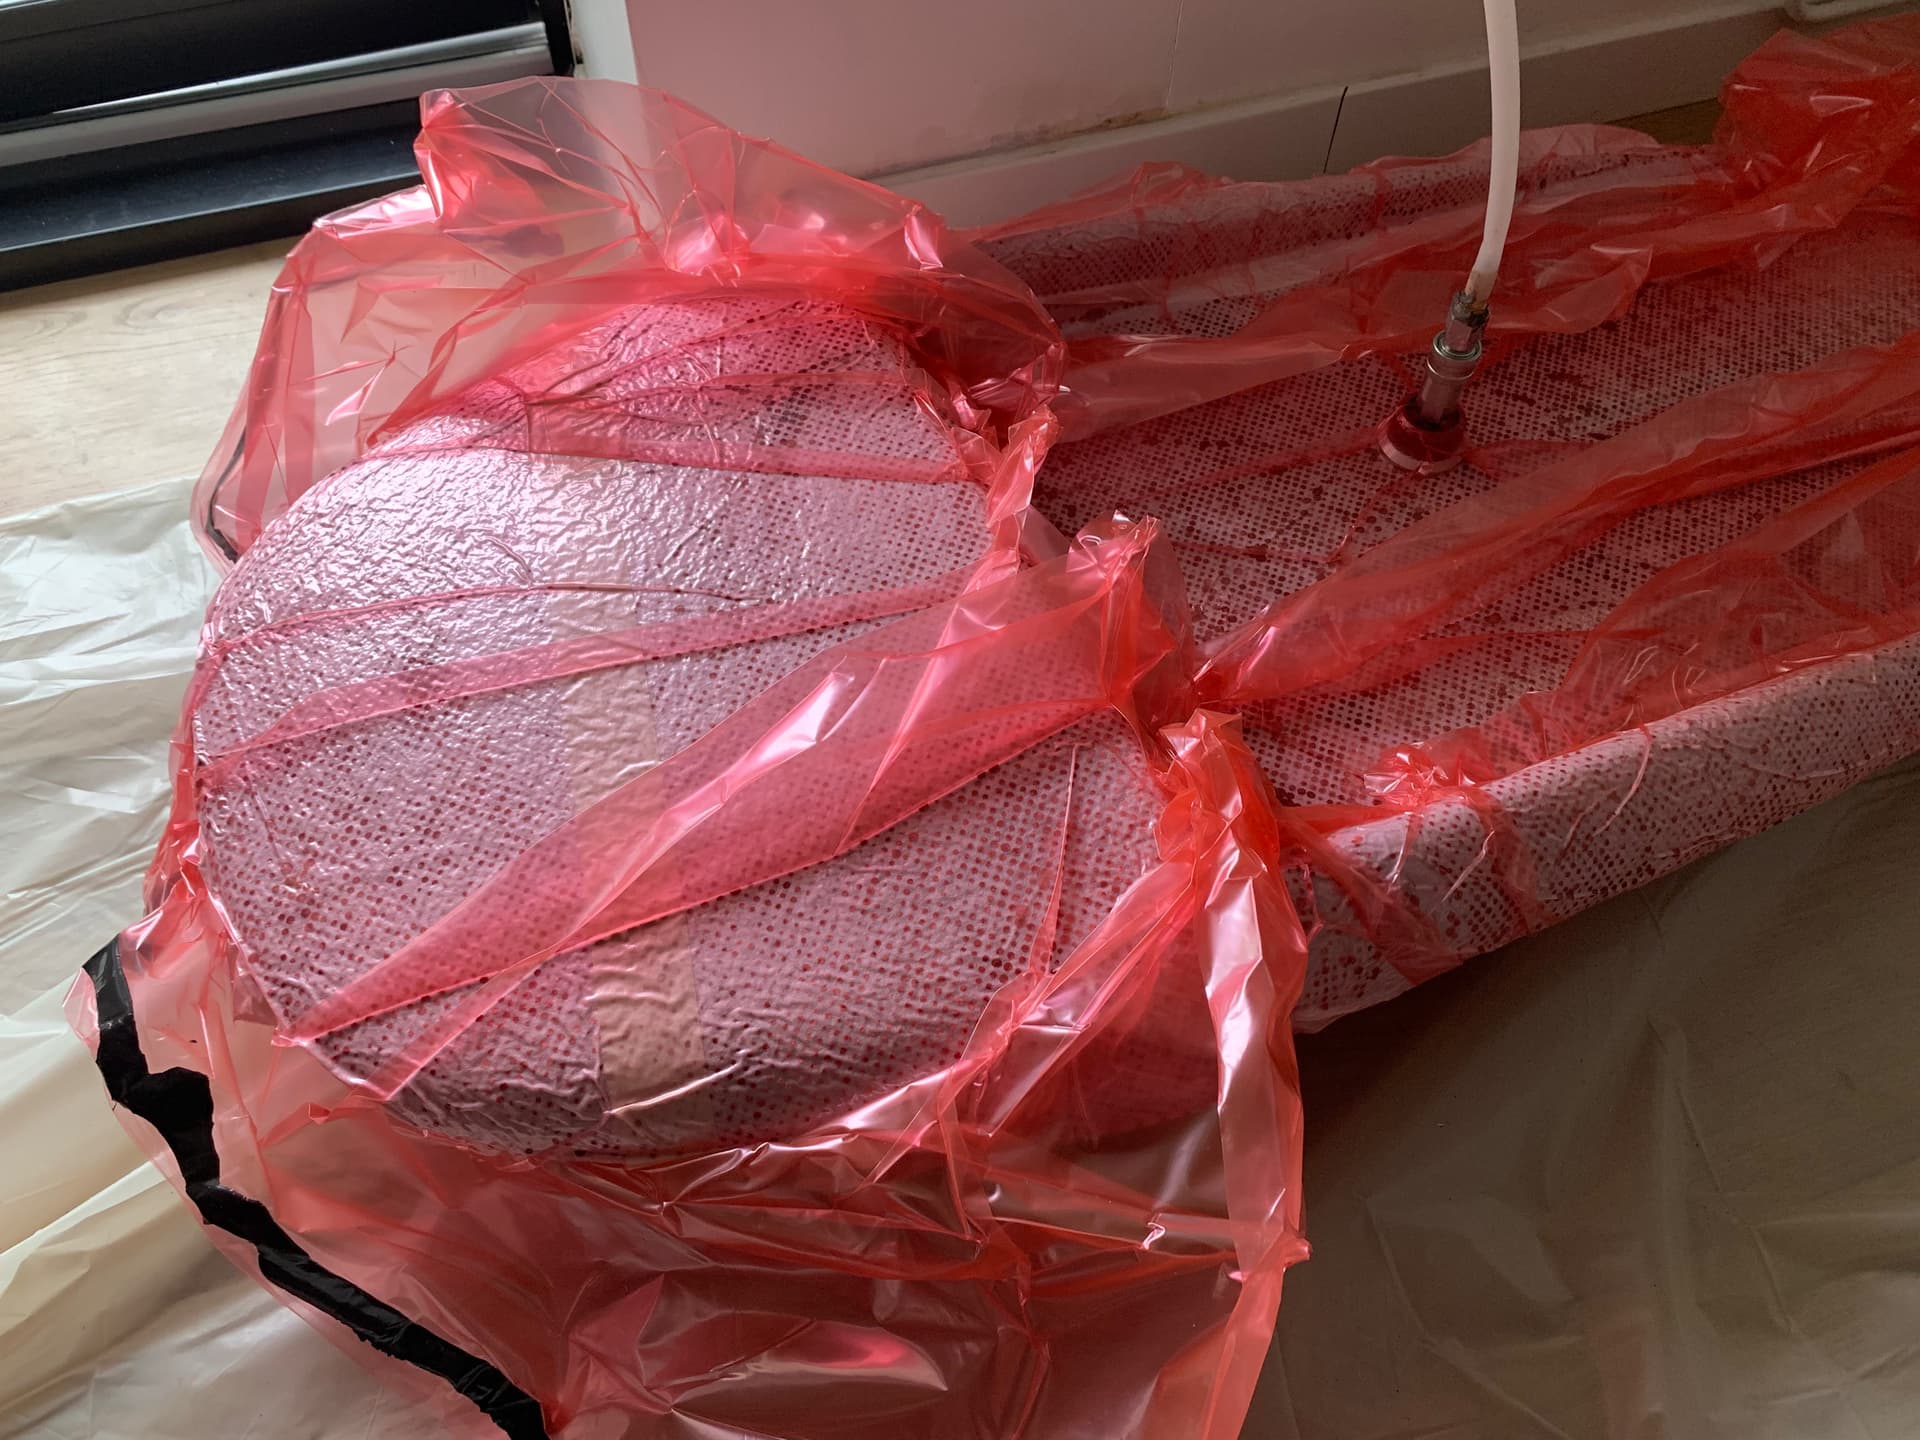
and time for some composites. This is going to be harder than steel ! I’ve added a lot of left carbon as reinforcement on key areas. then 3 overlapping carbon tissus and also some fiberglass. Definitely overkill.
20°C curing !
2 Likes
okp
March 8, 2023, 11:55am
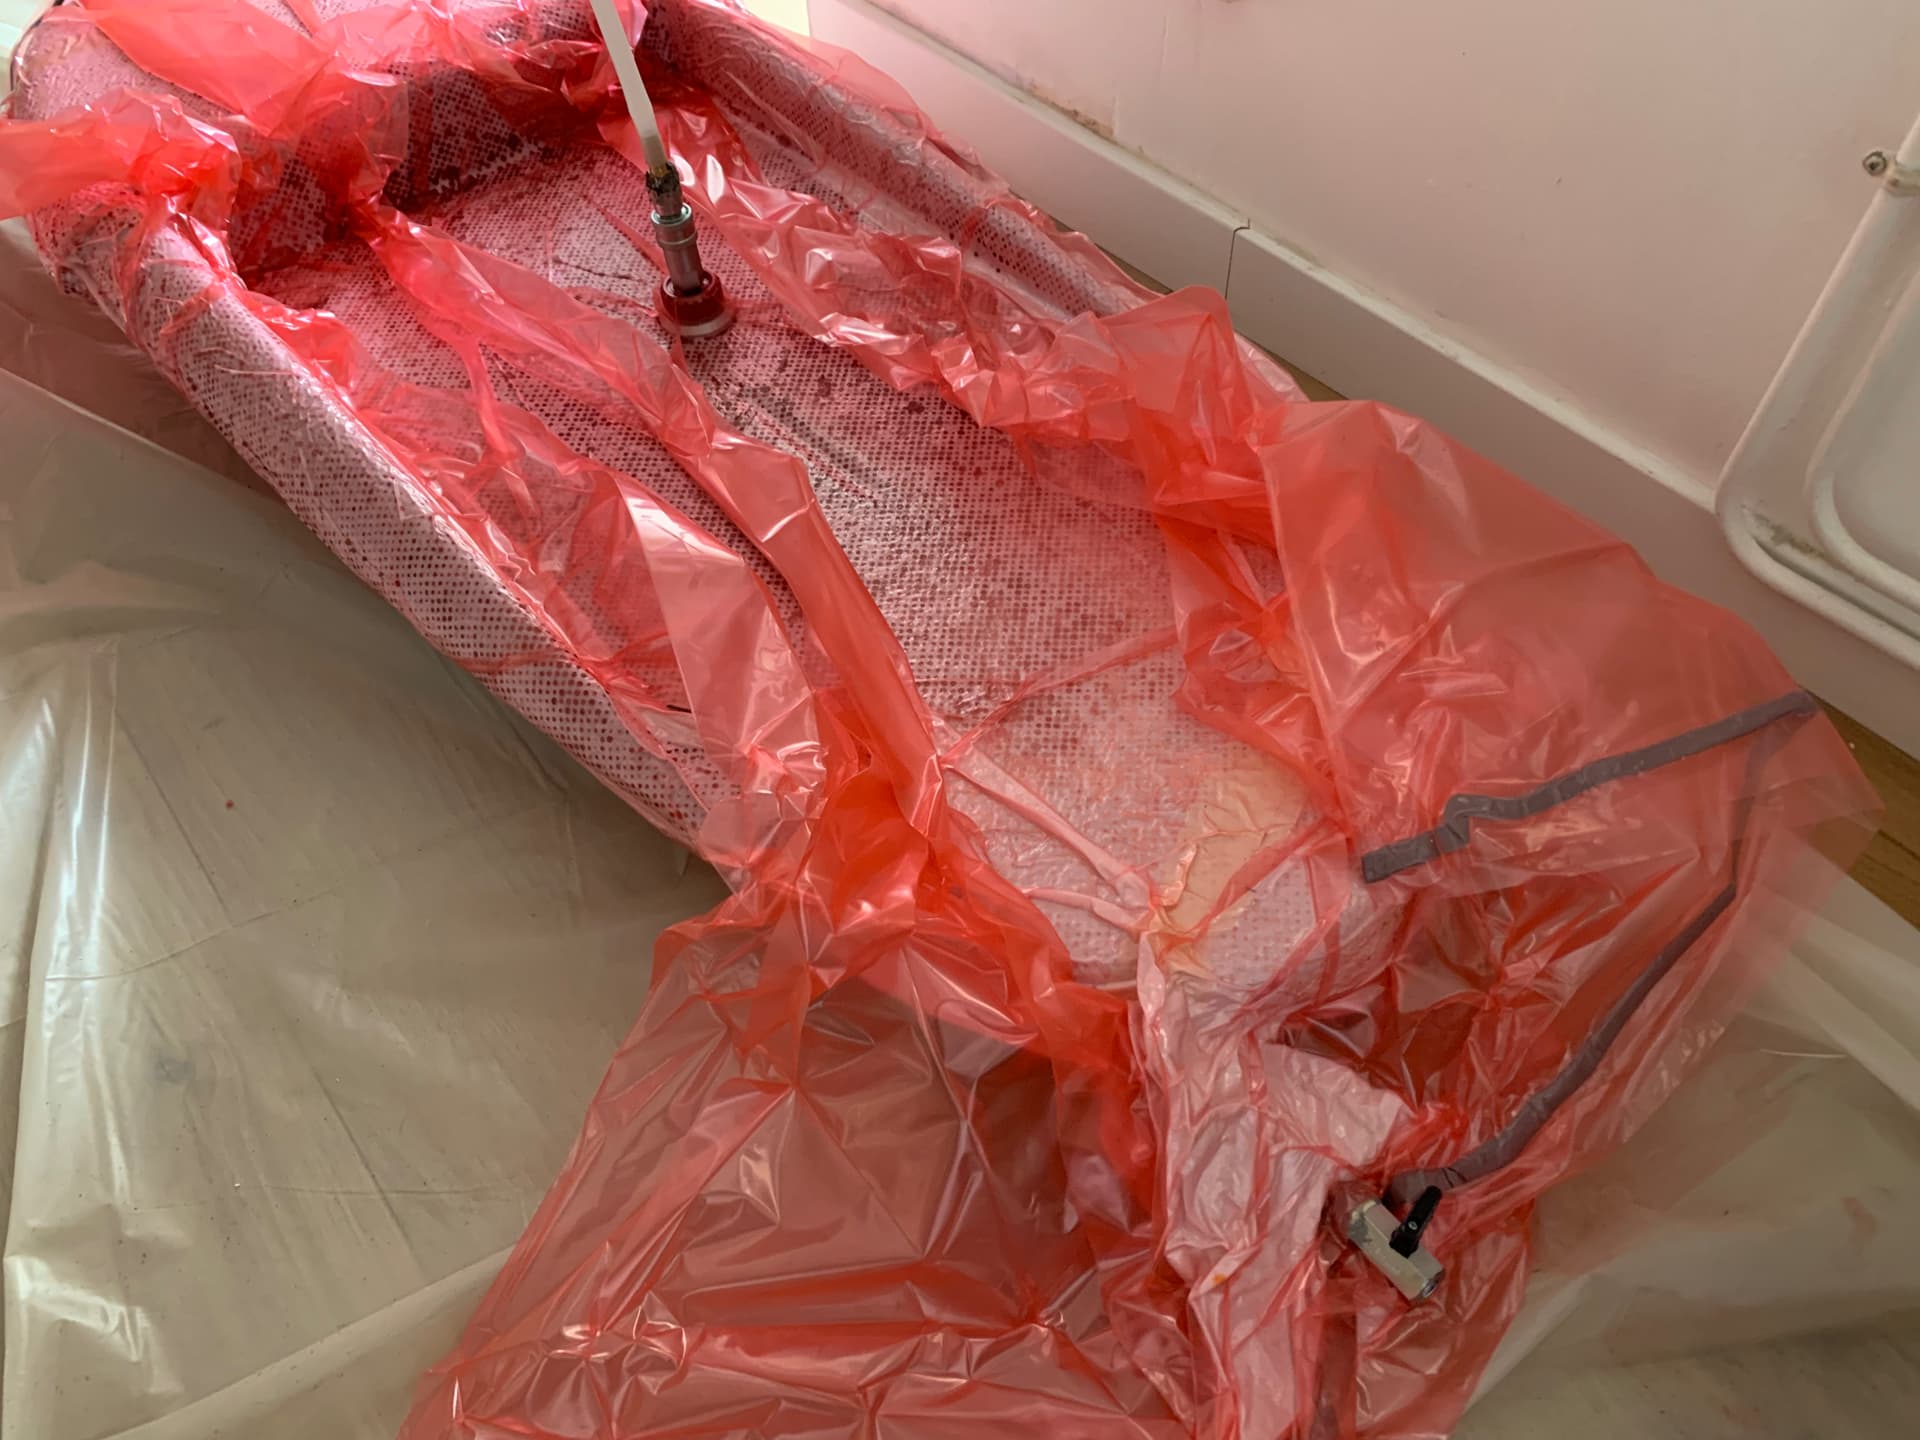
46
it went pretty well !
I’ve fixed remaining holes with qcells and epoxy on the bottom of the deck
Curing !
4 Likes
okp
March 8, 2023, 9:59pm
47
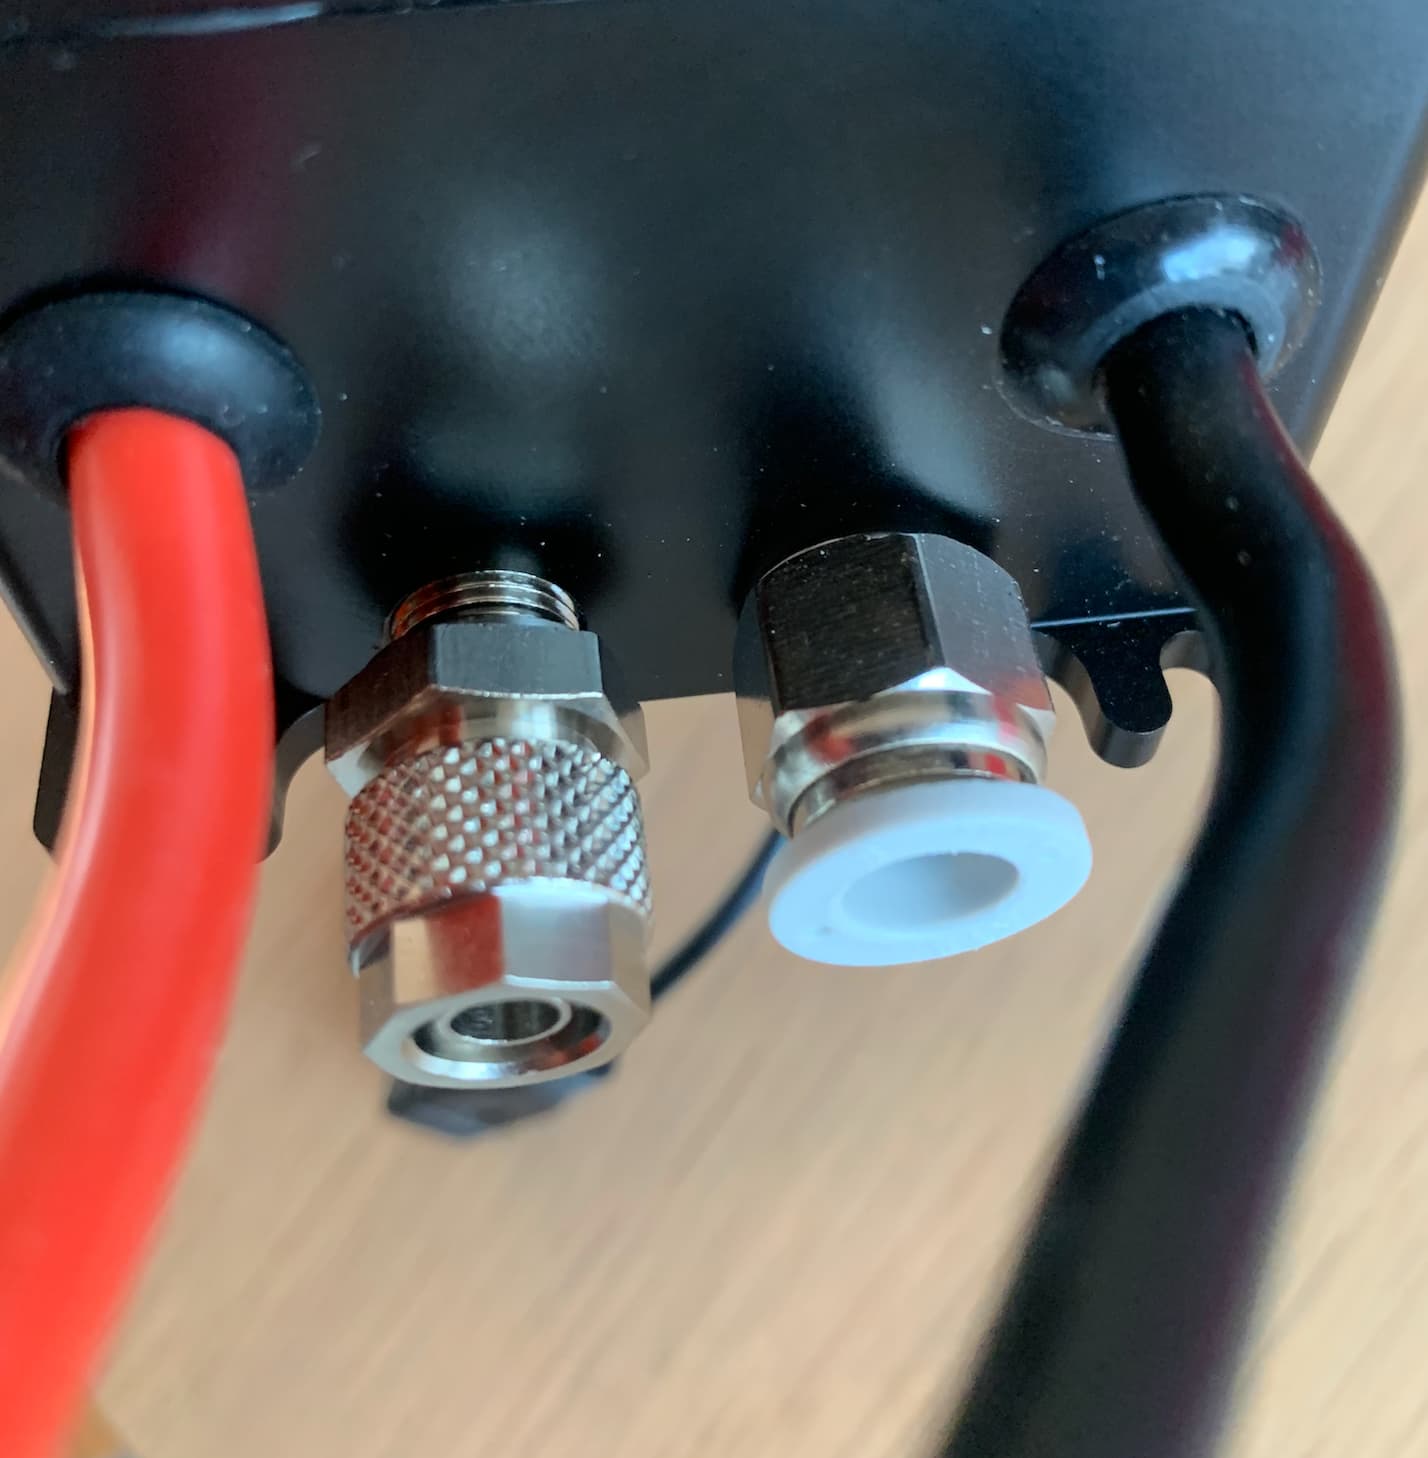
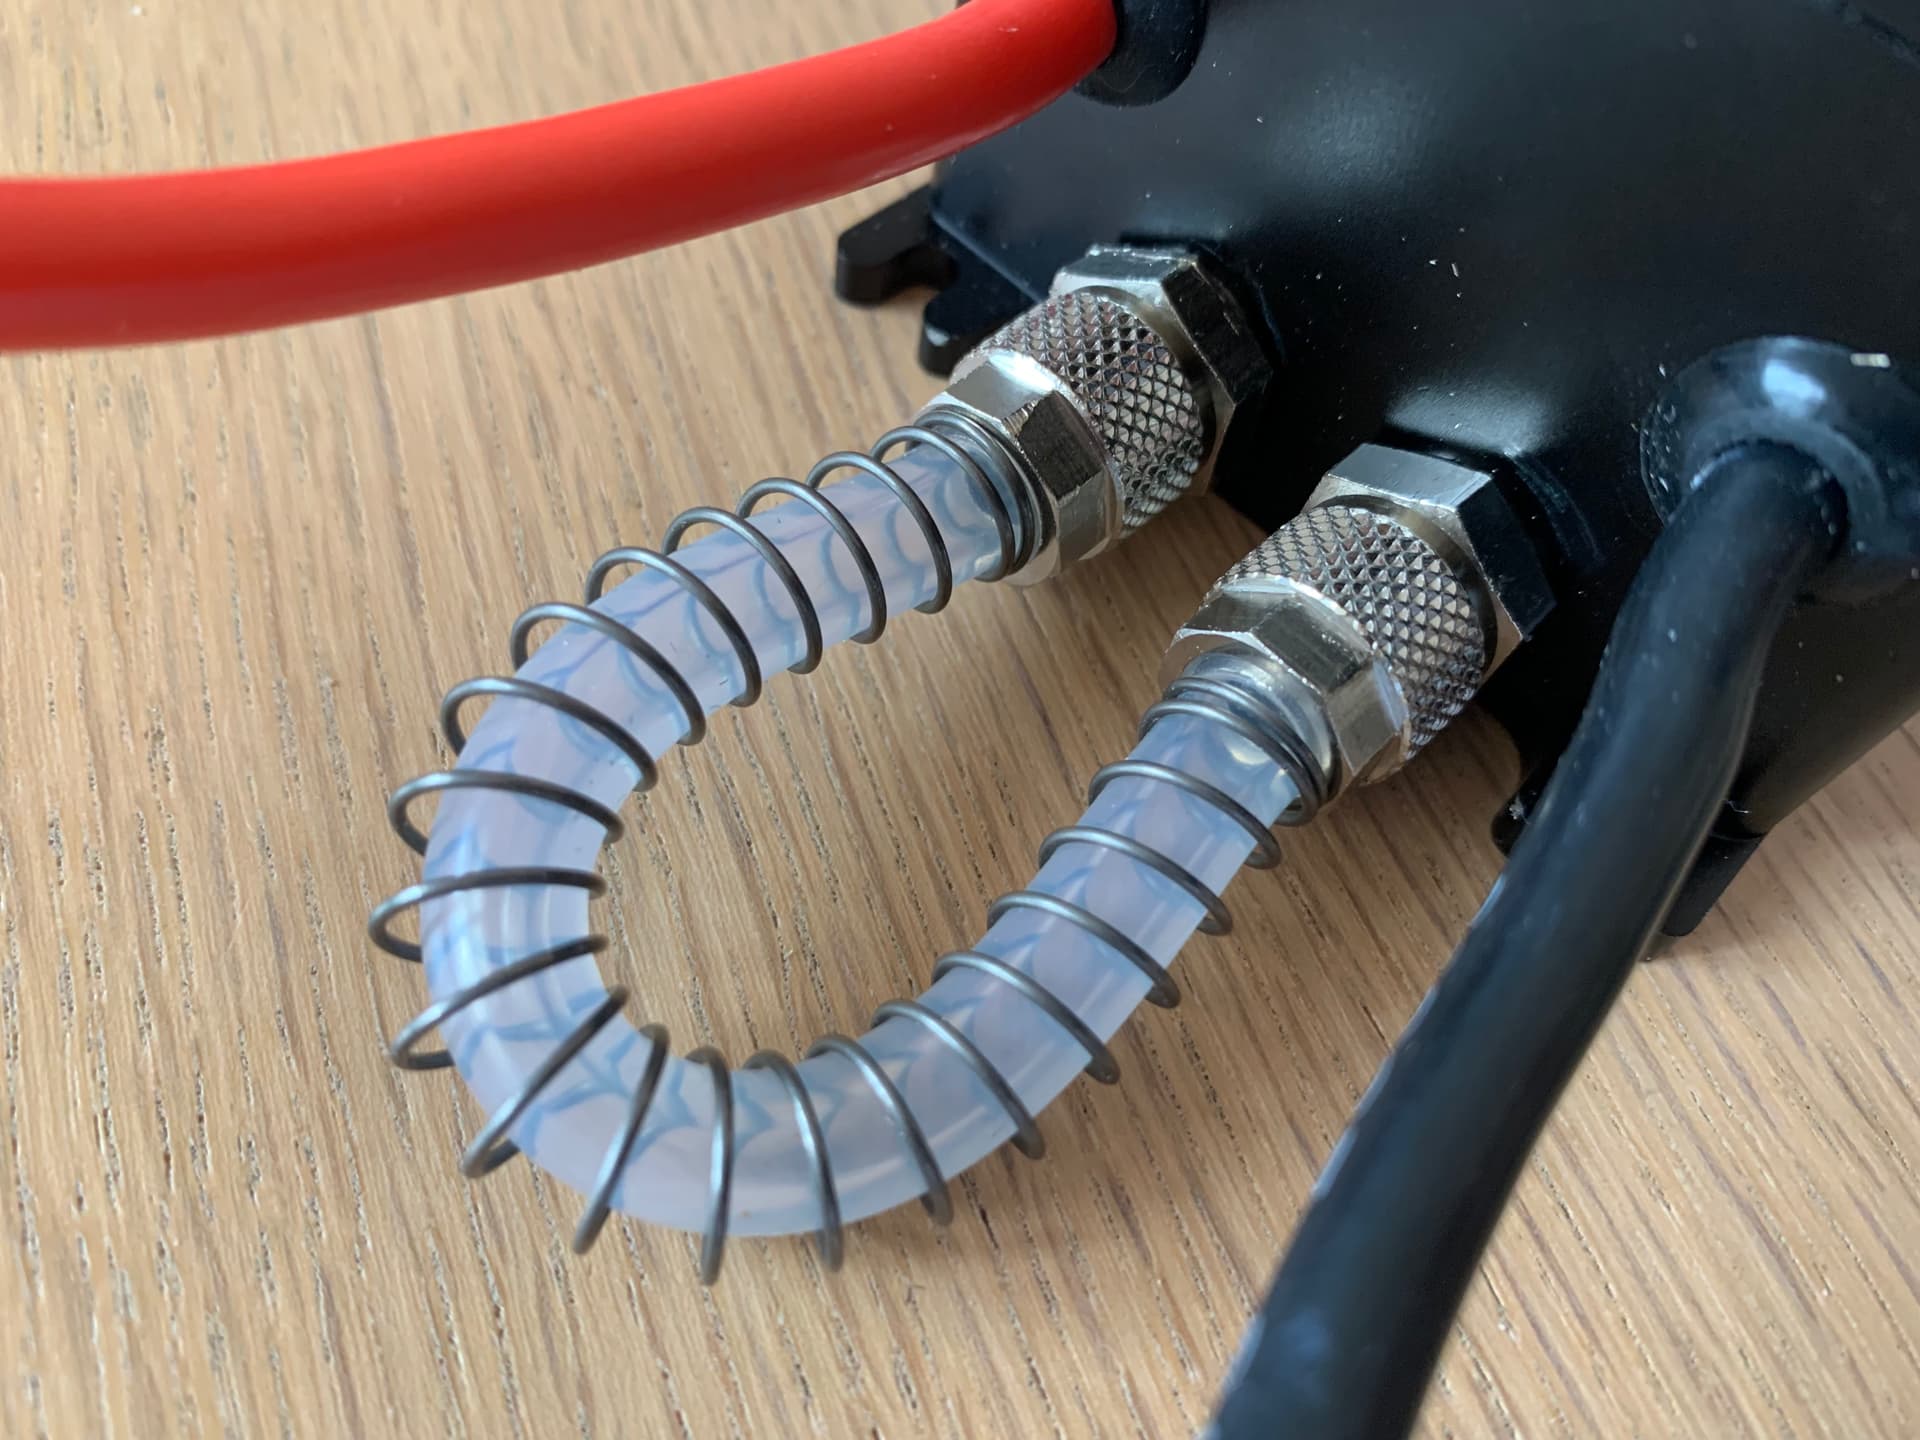
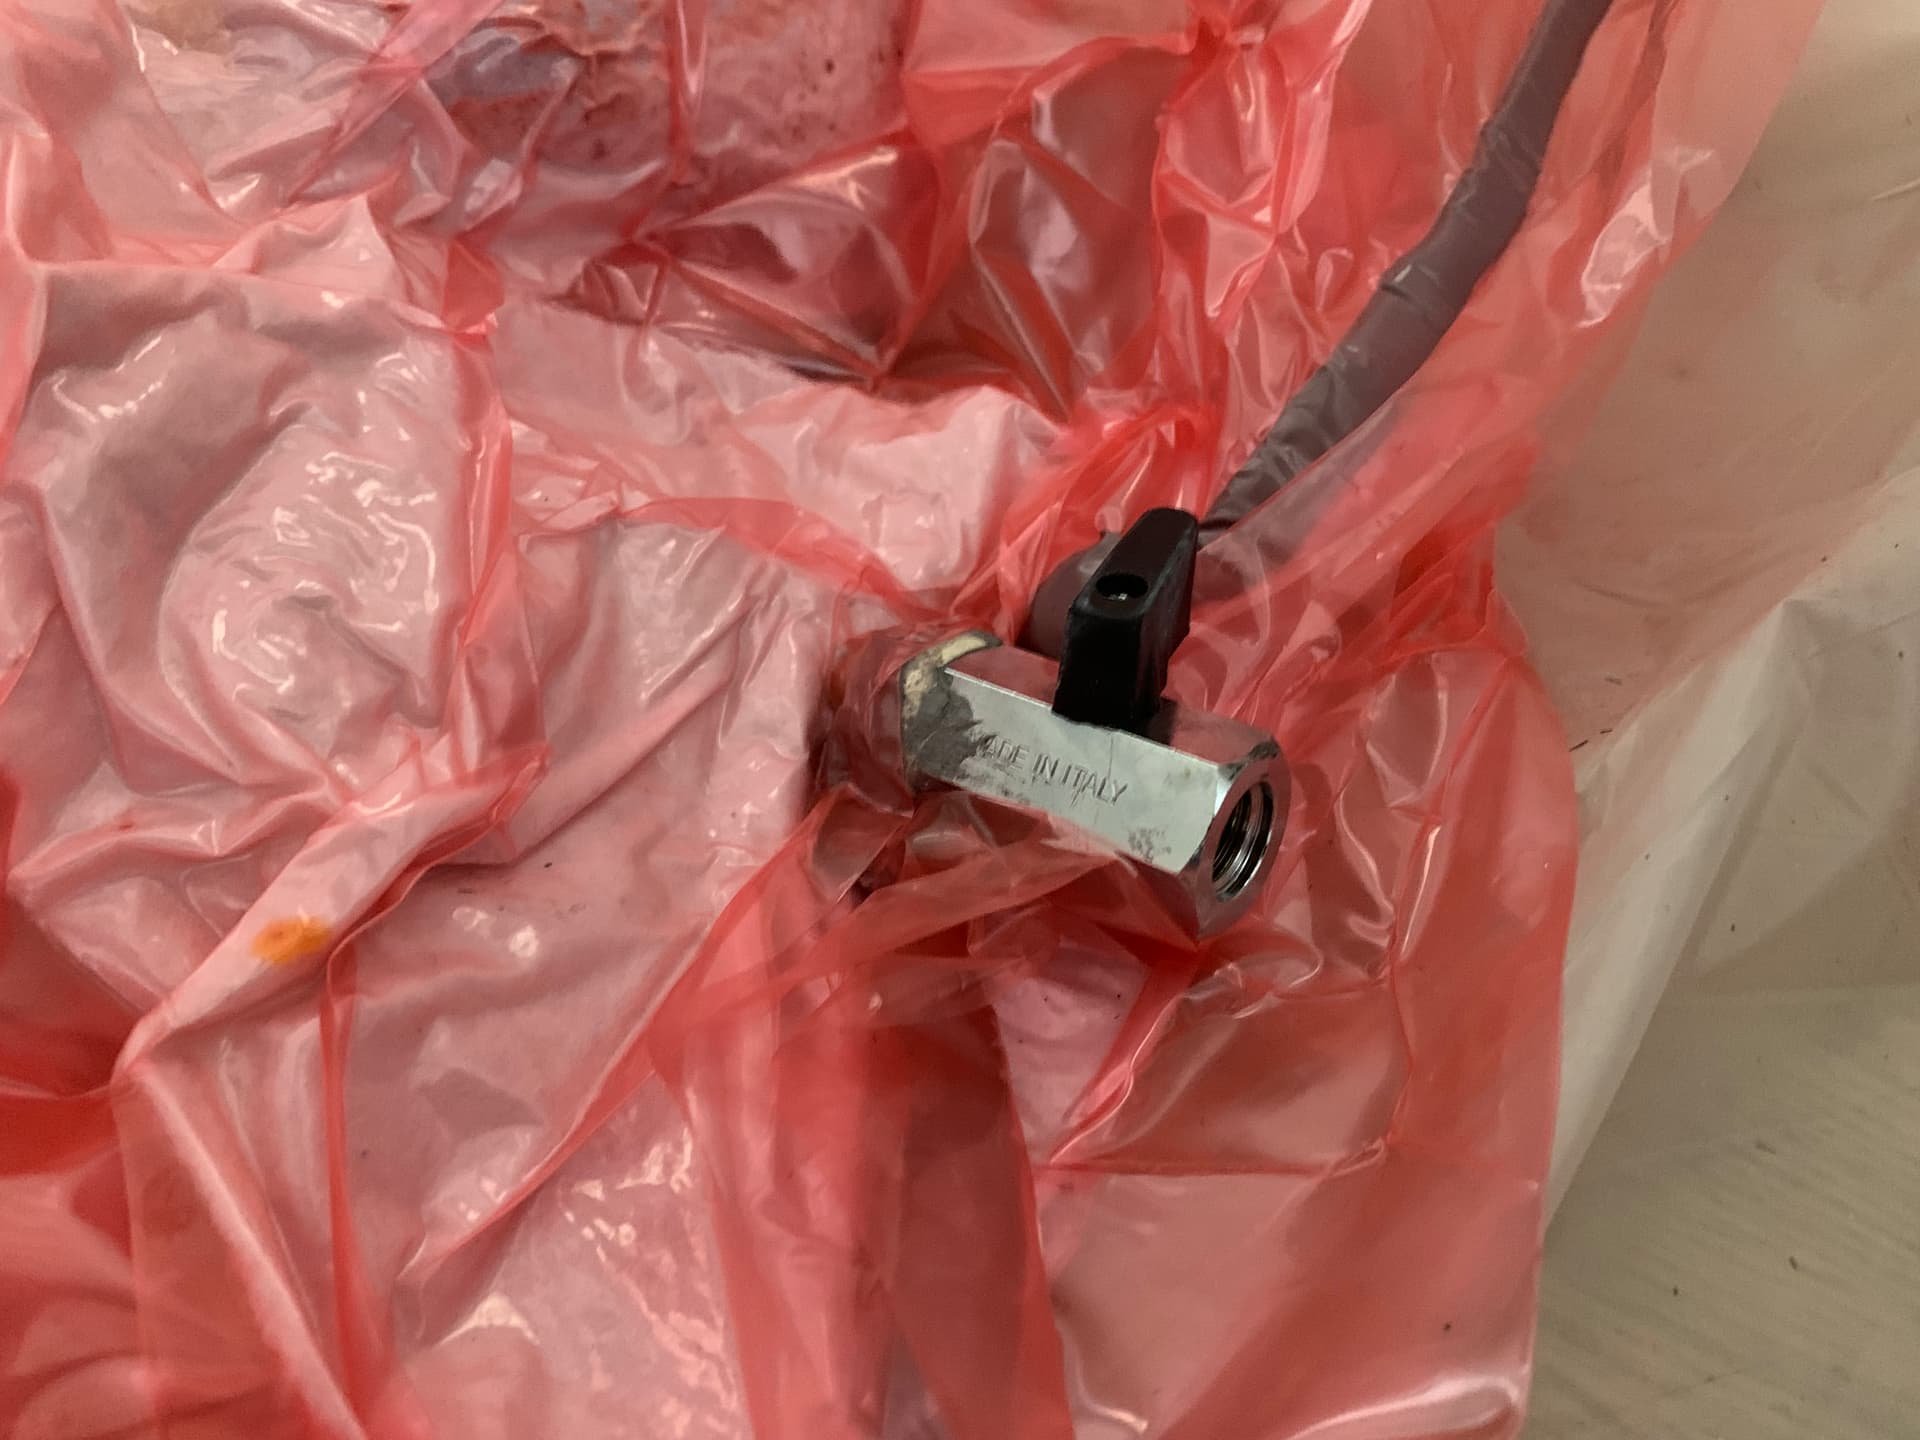
some of you asked for it, so here we go. That’s the upgrade I did to the pretty poor water intakes on the Flipsky controller
1 Like
okp
March 9, 2023, 12:40pm
48
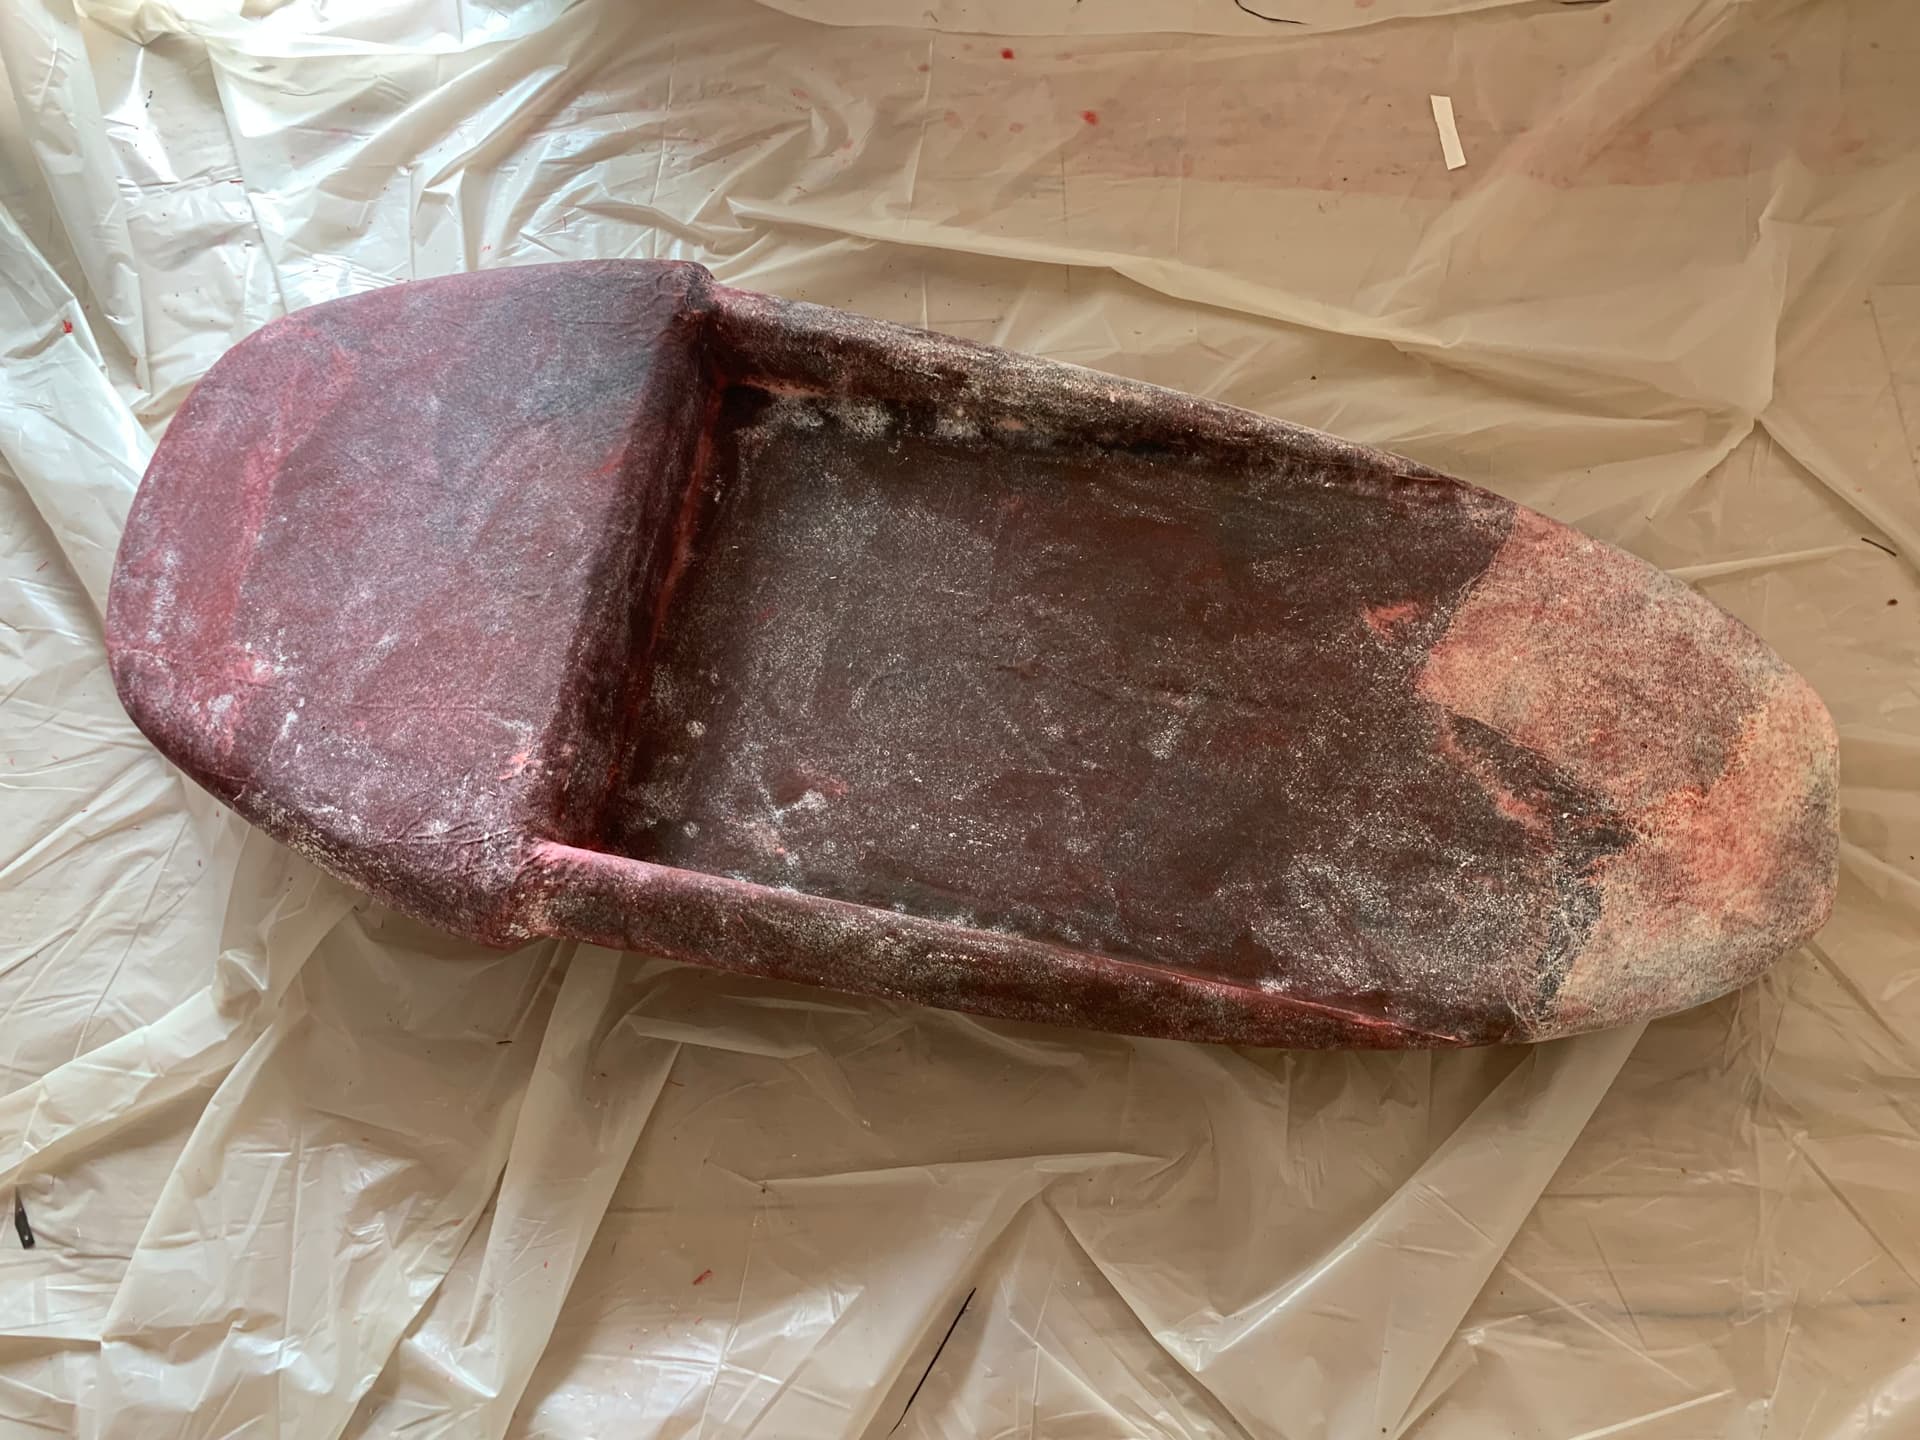
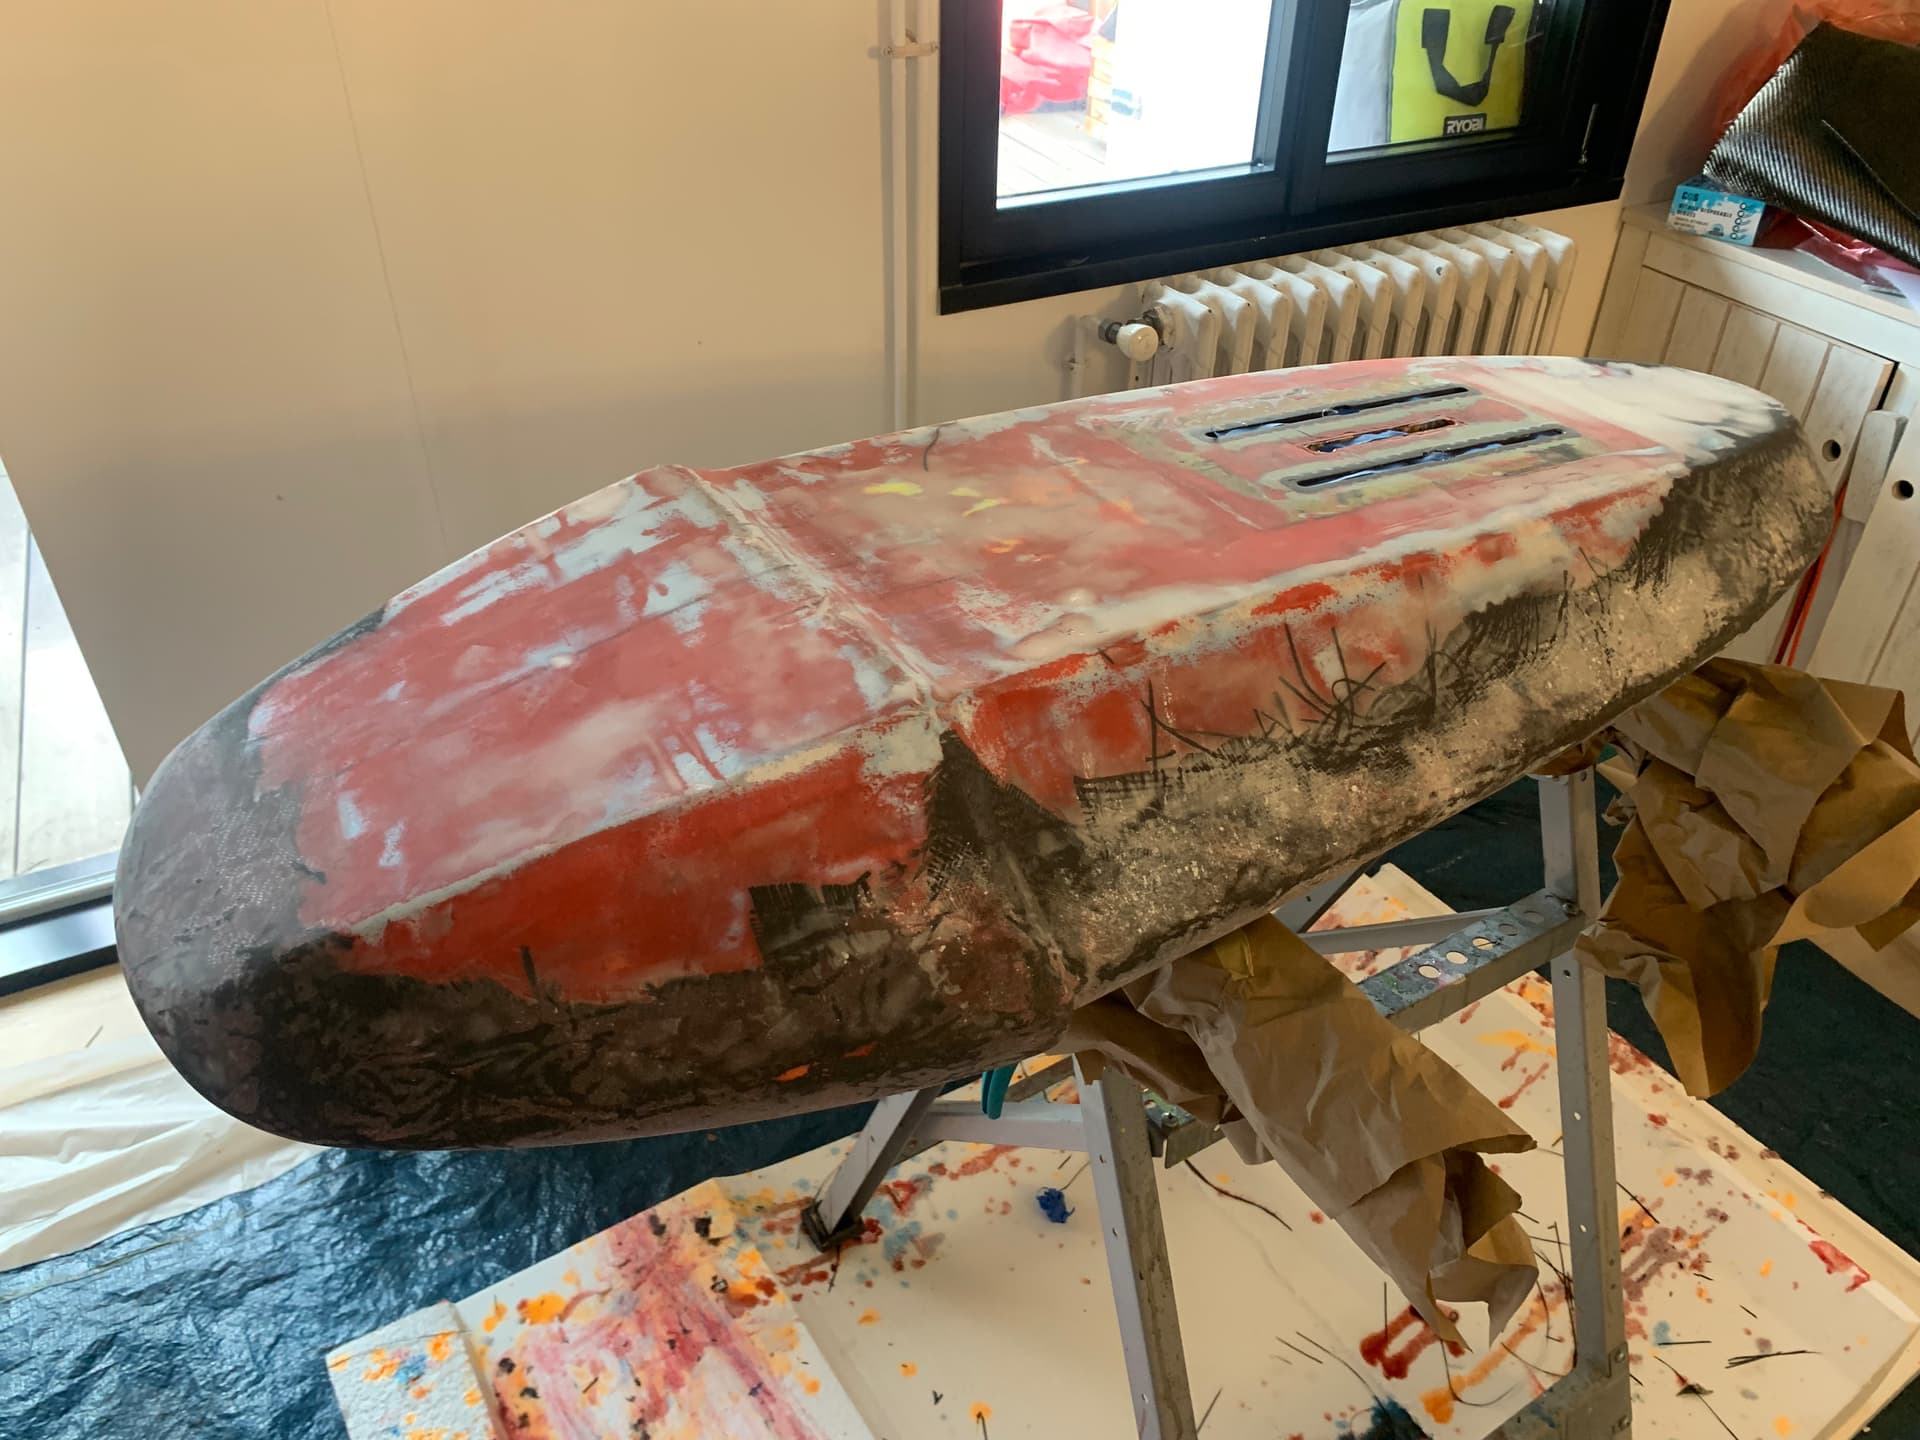
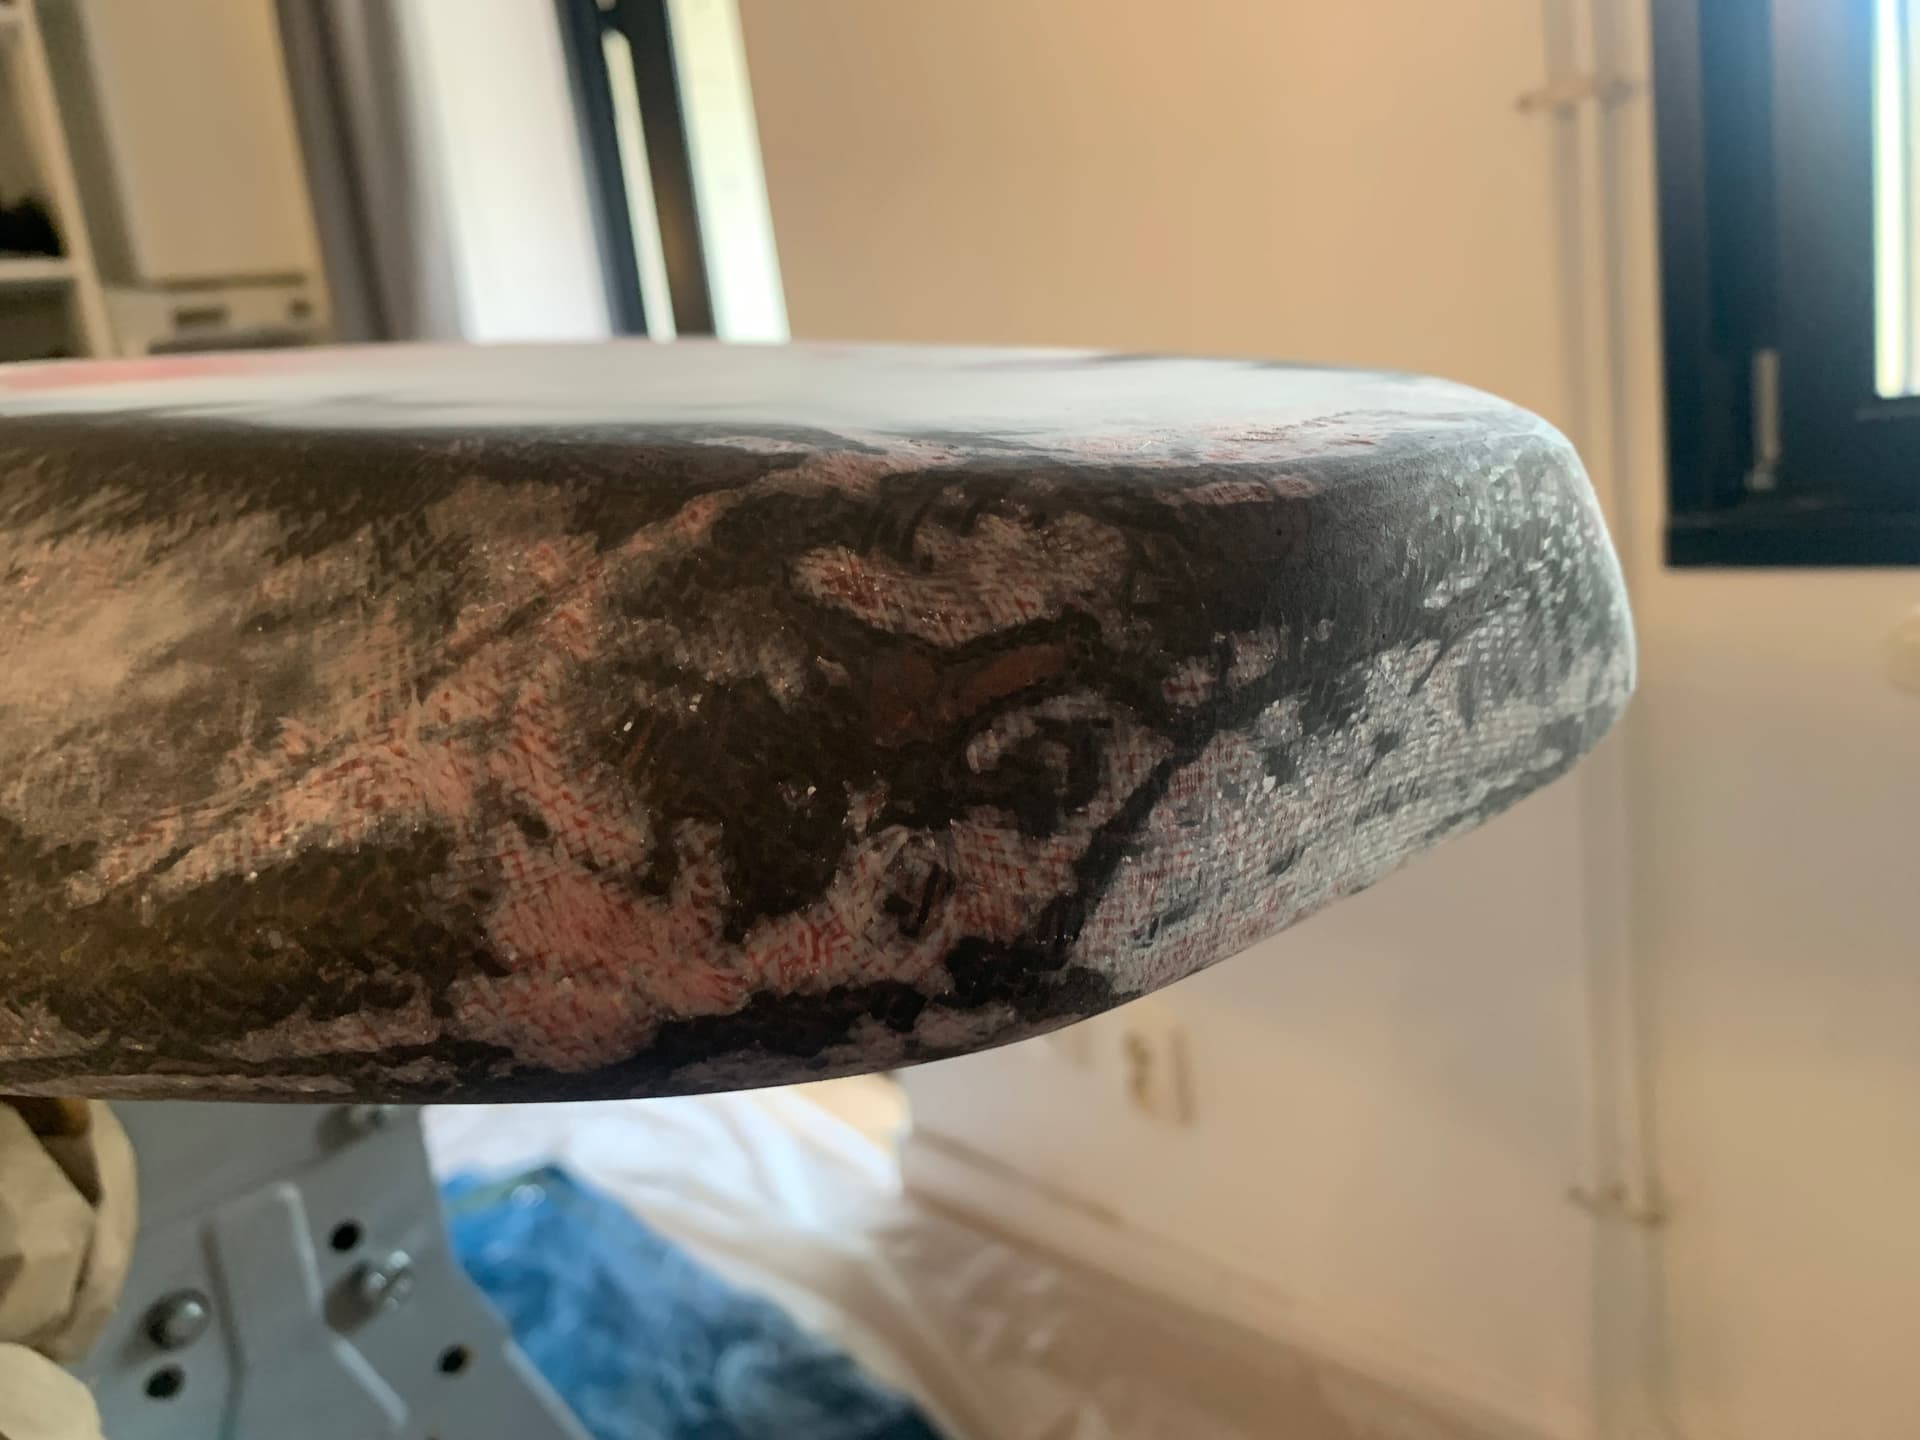
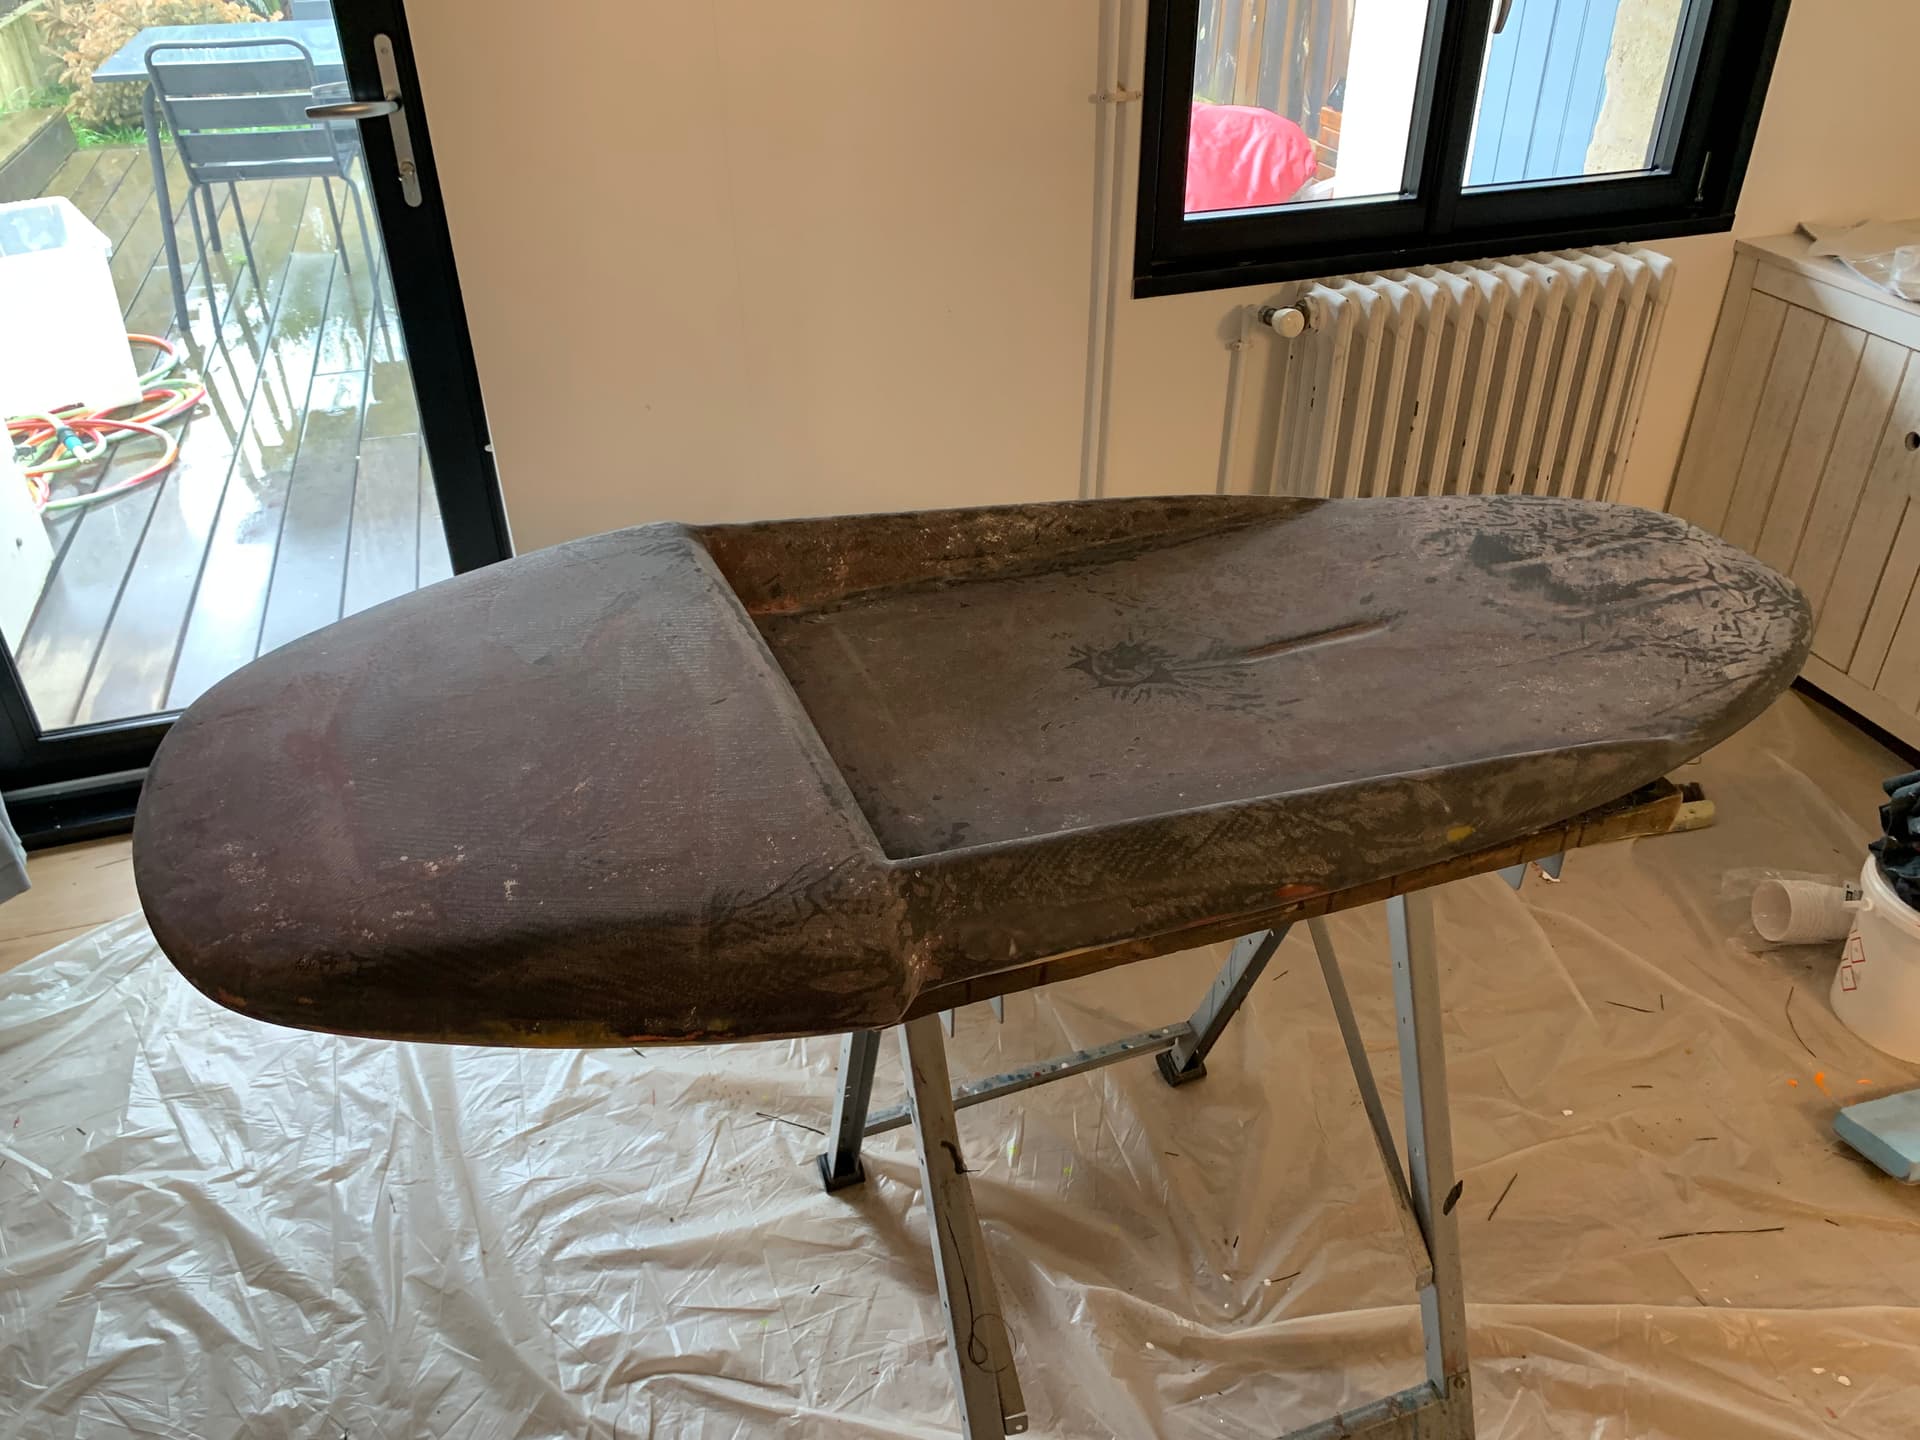
this morning I’ve sanded the other side of the “board” and added the fibers. Under vacuum.
Before
After
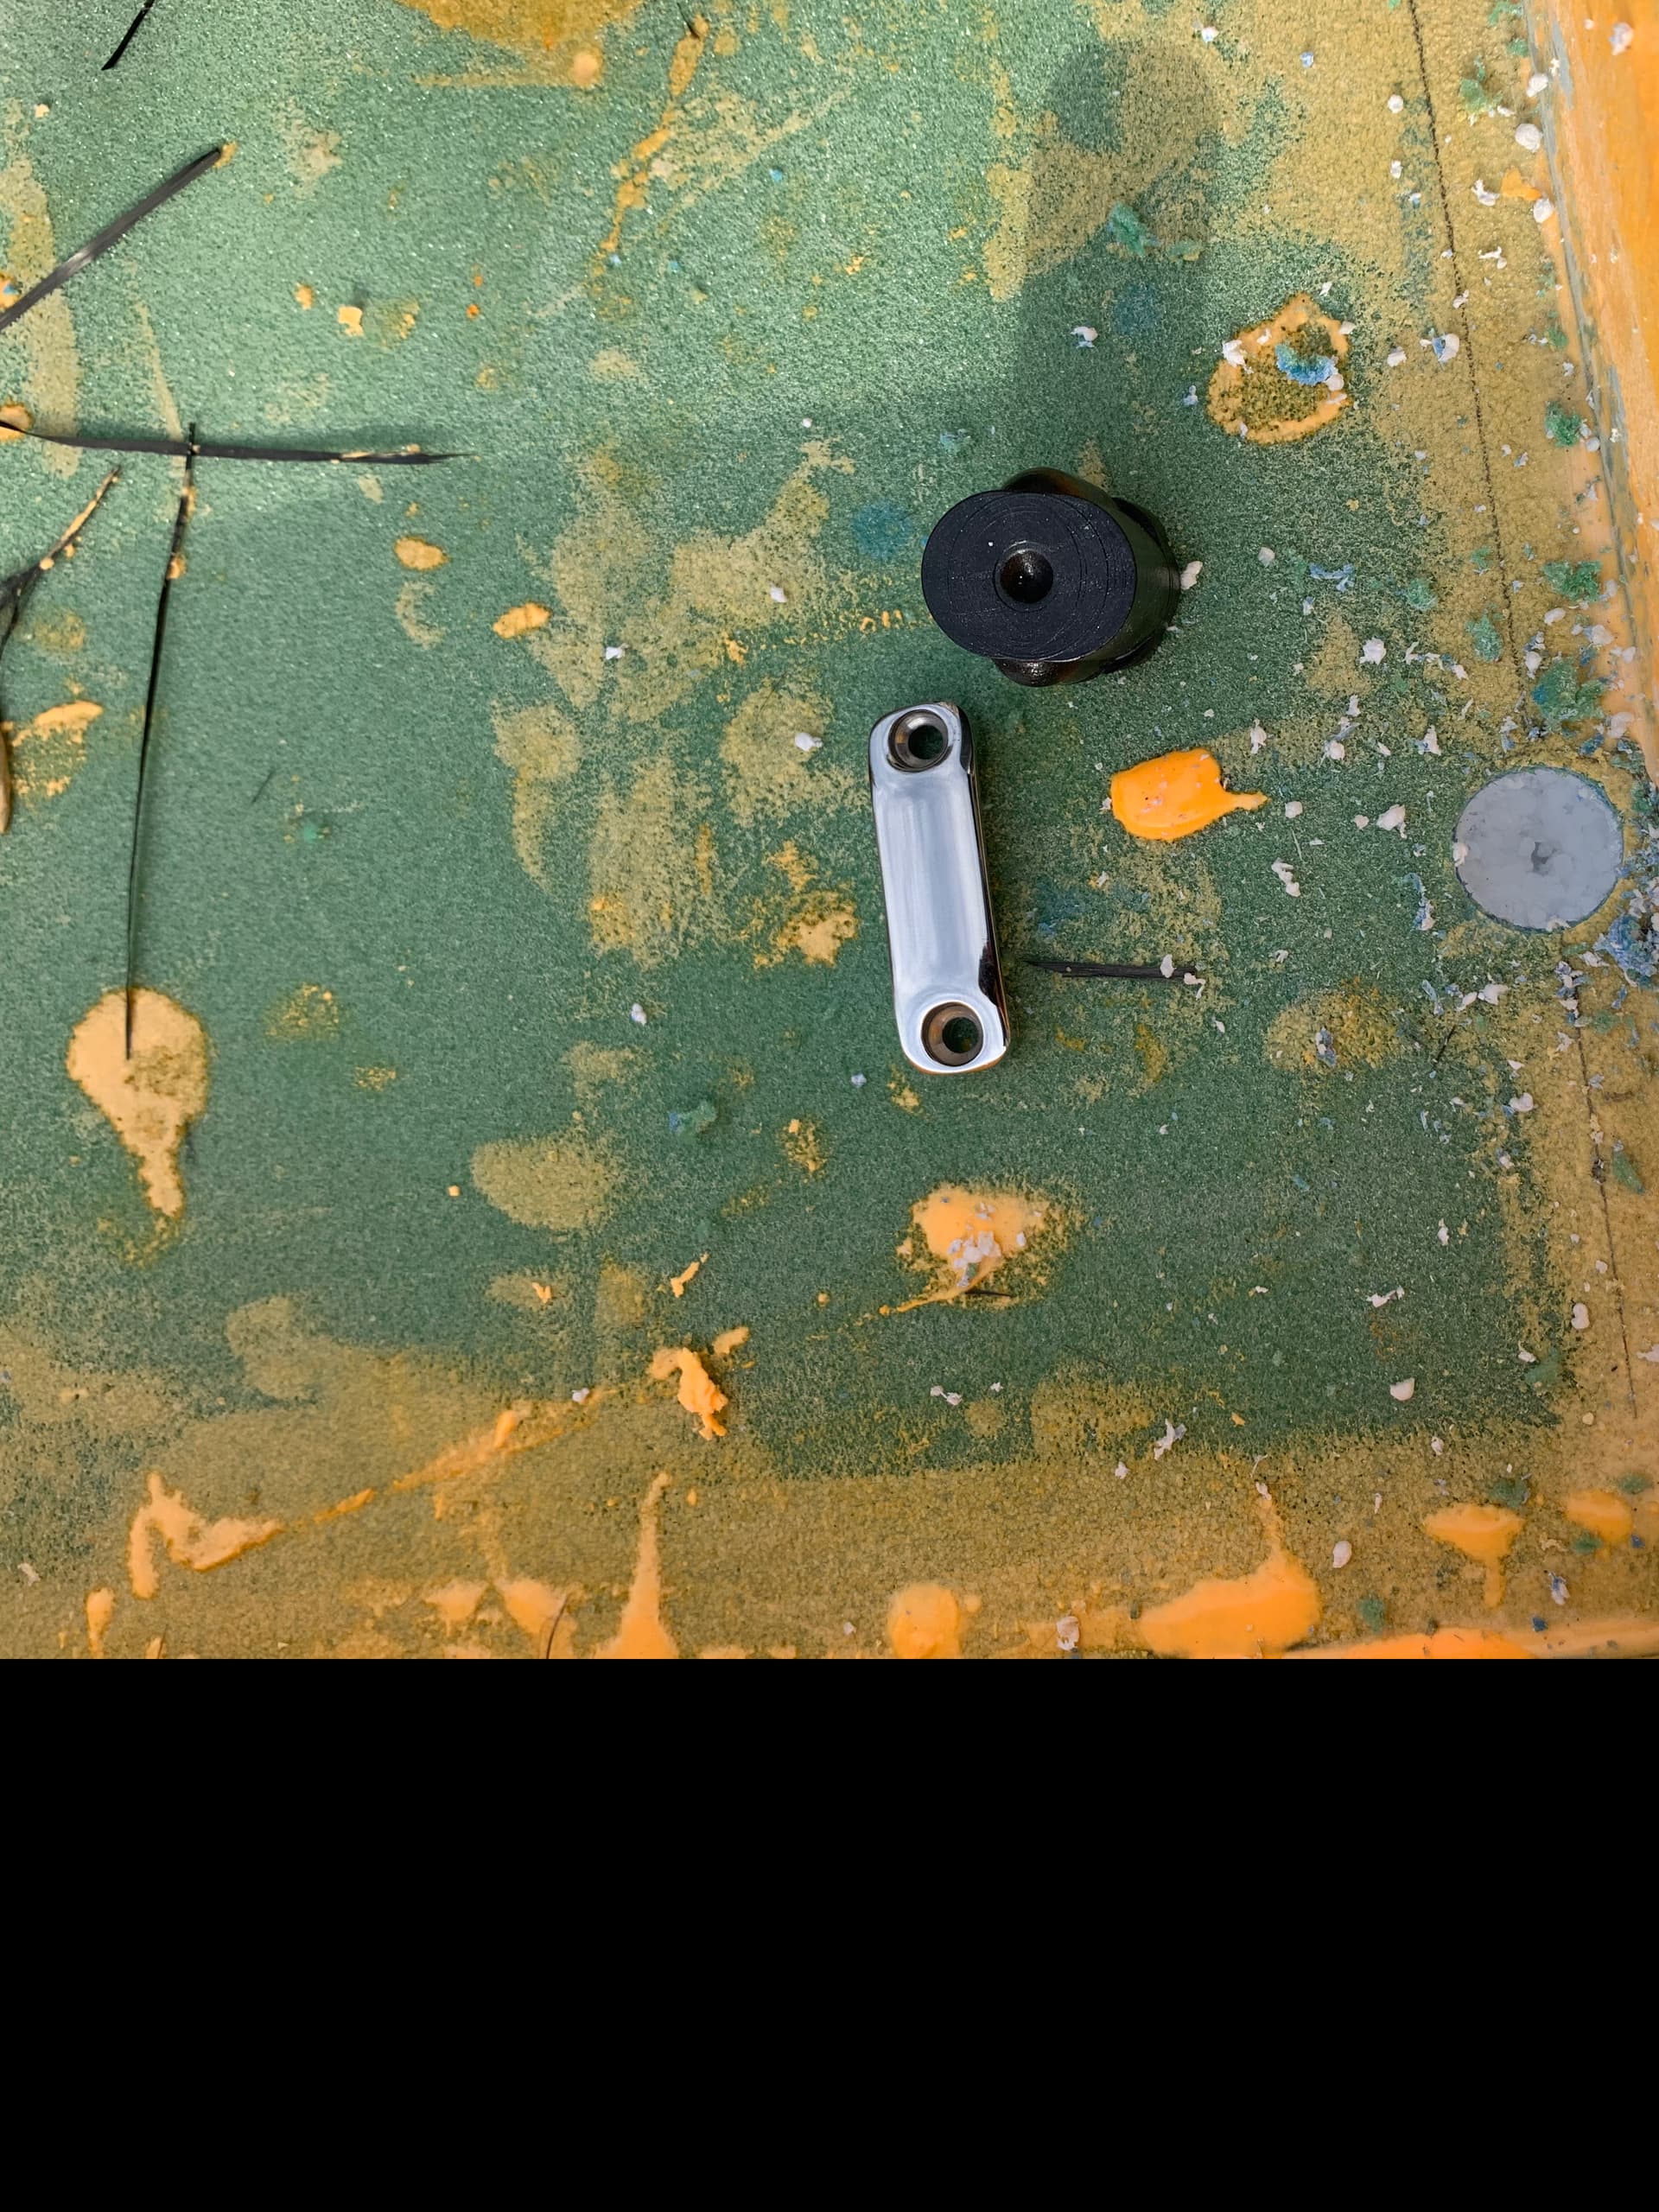
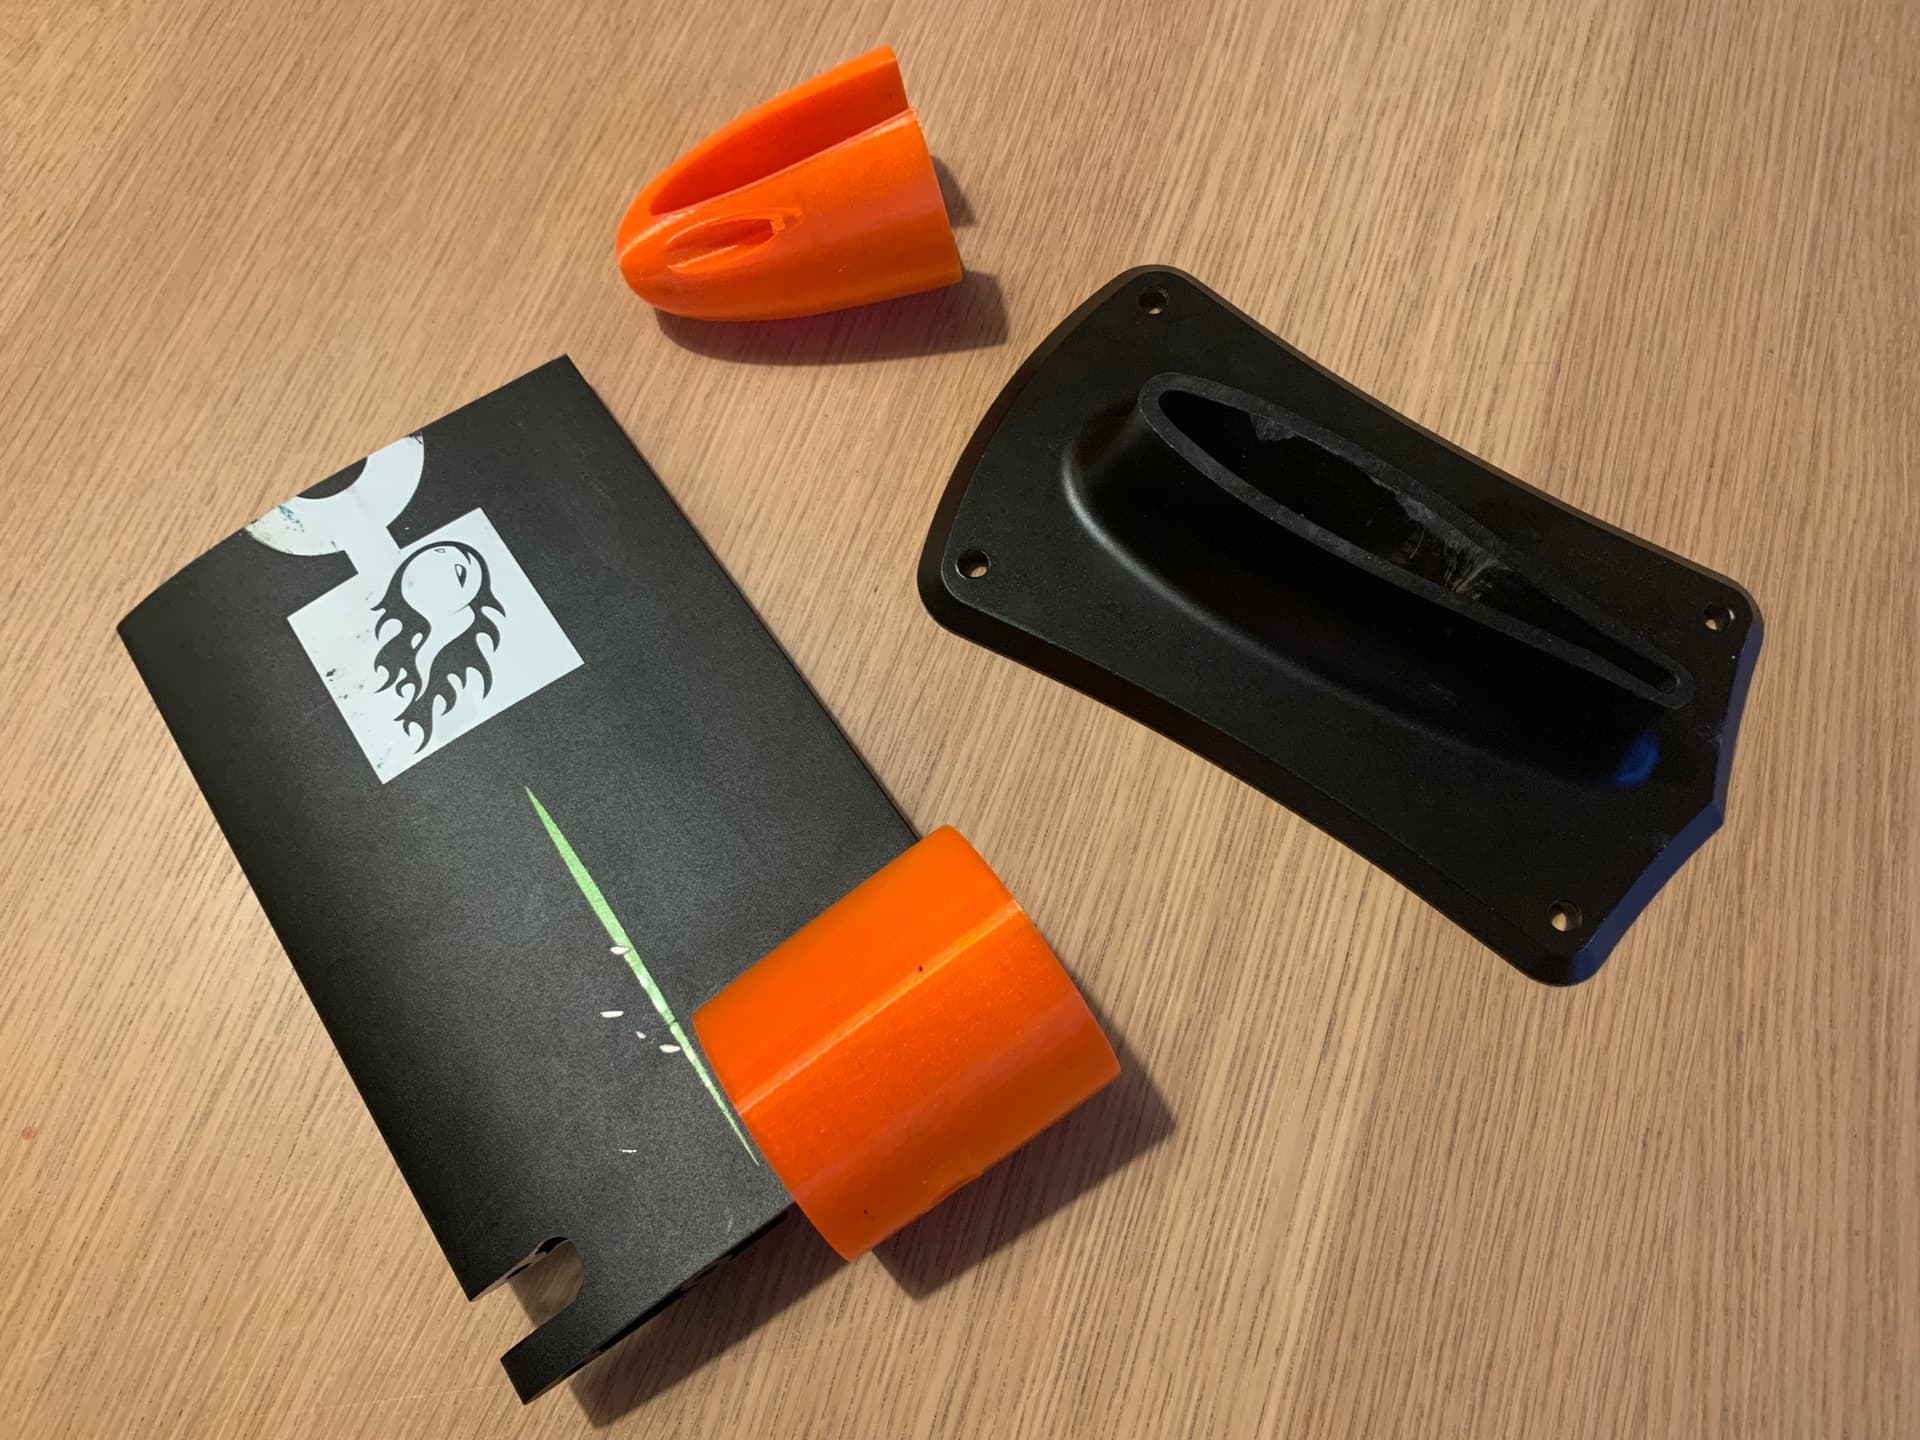
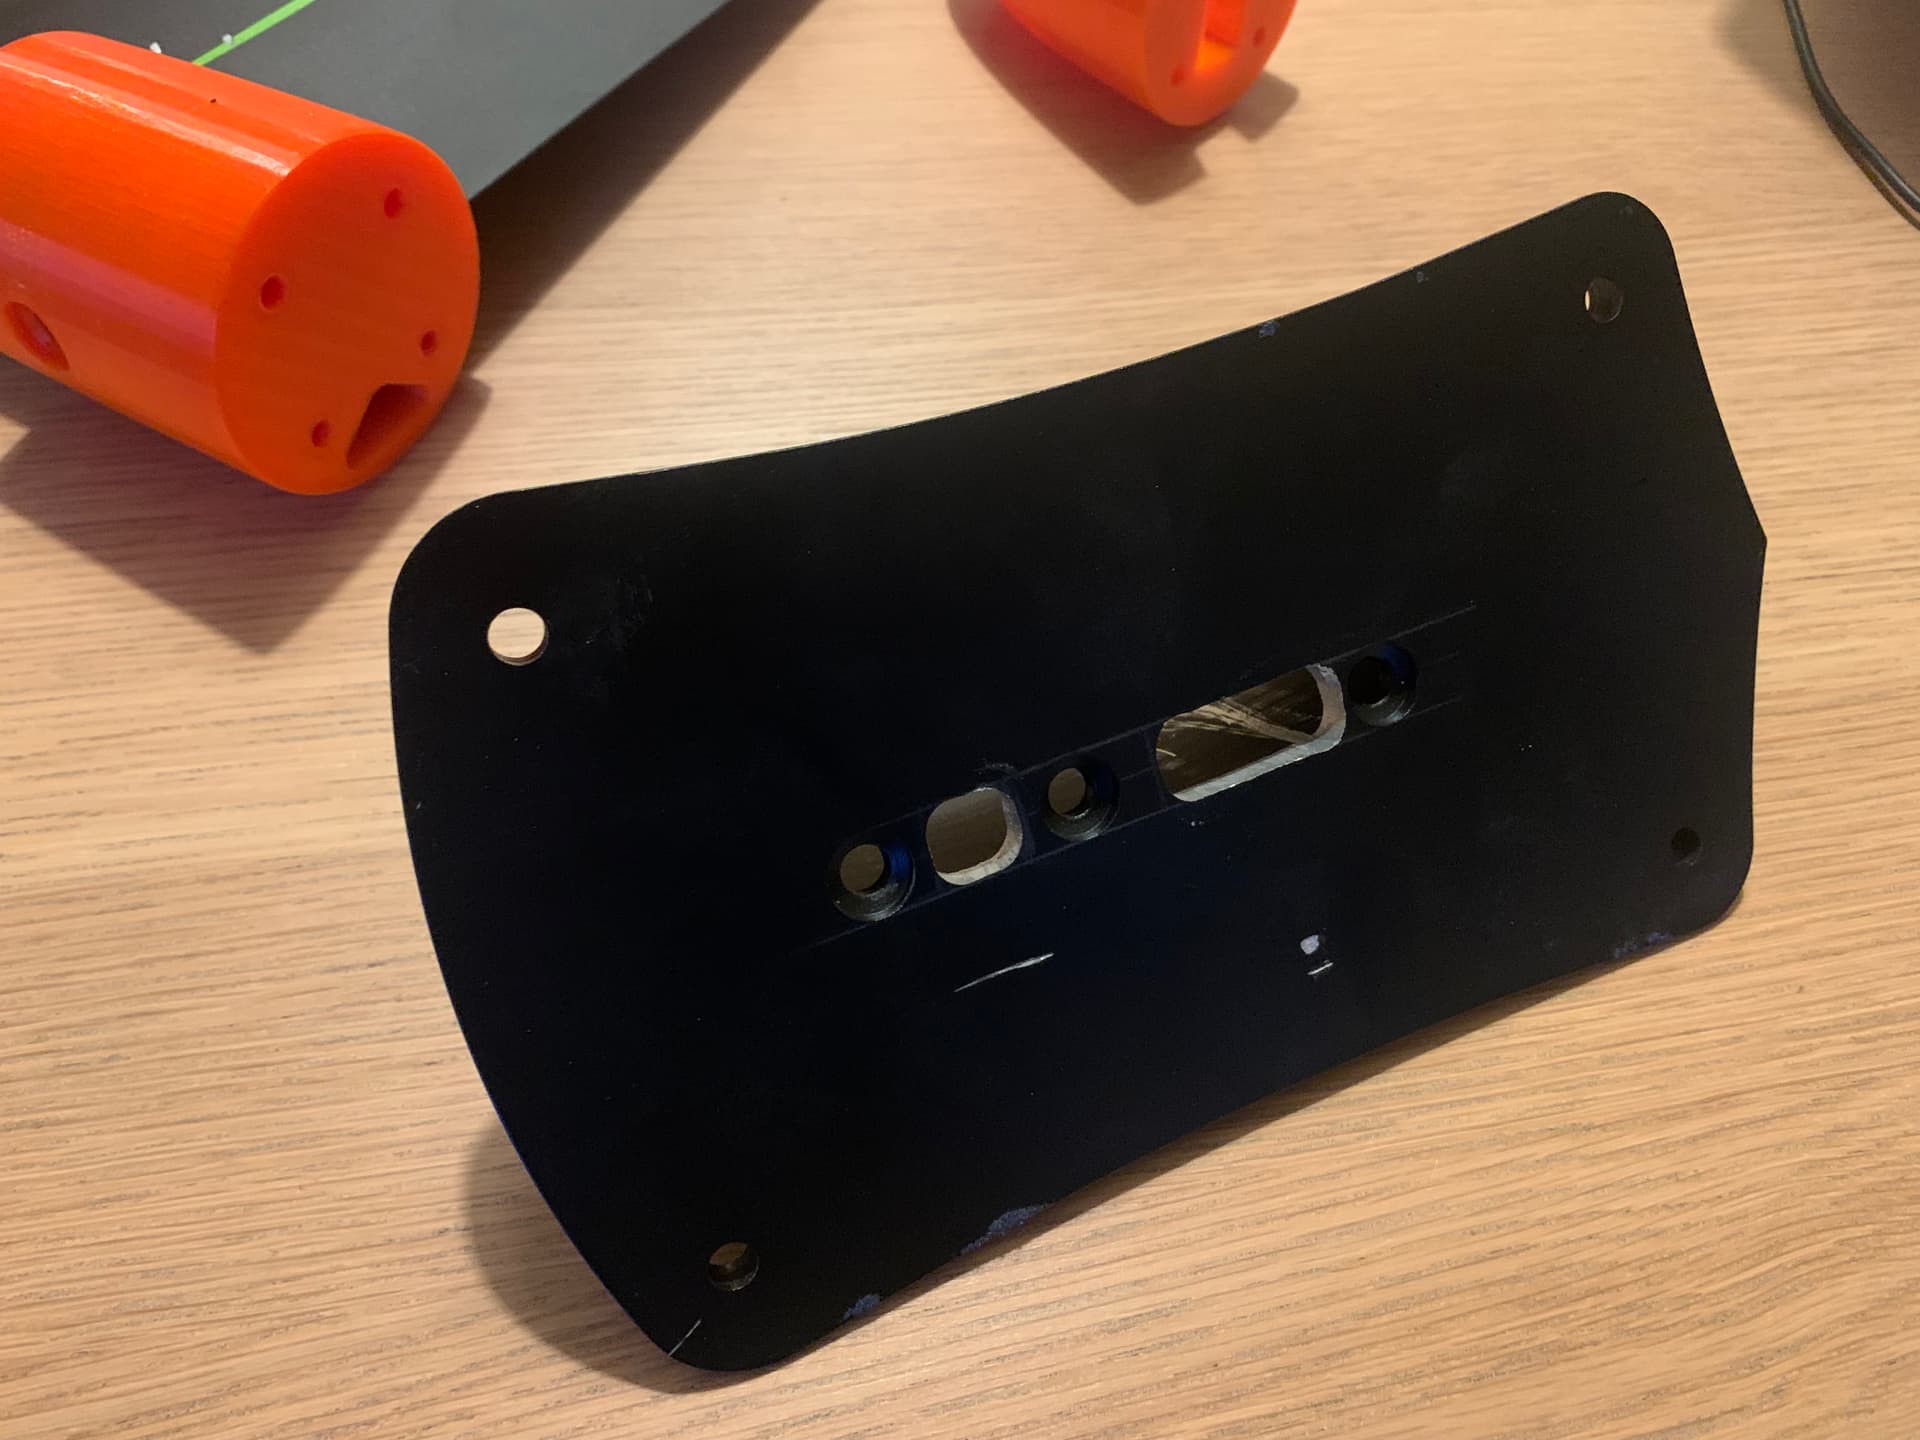
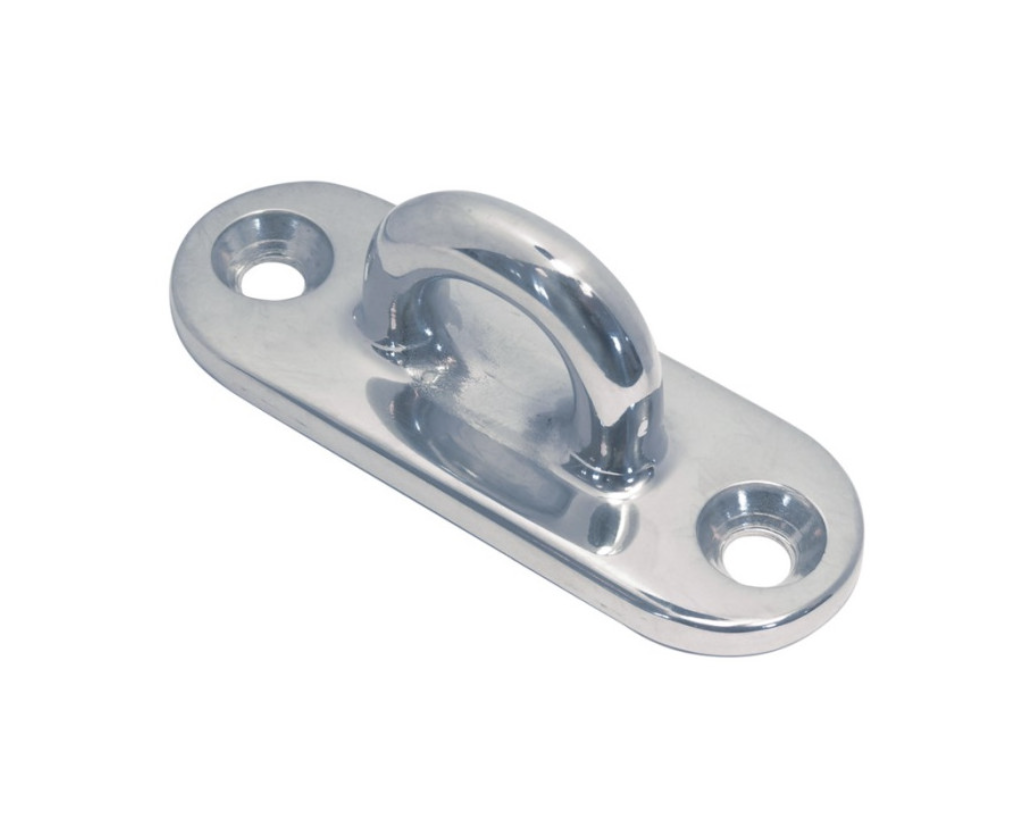
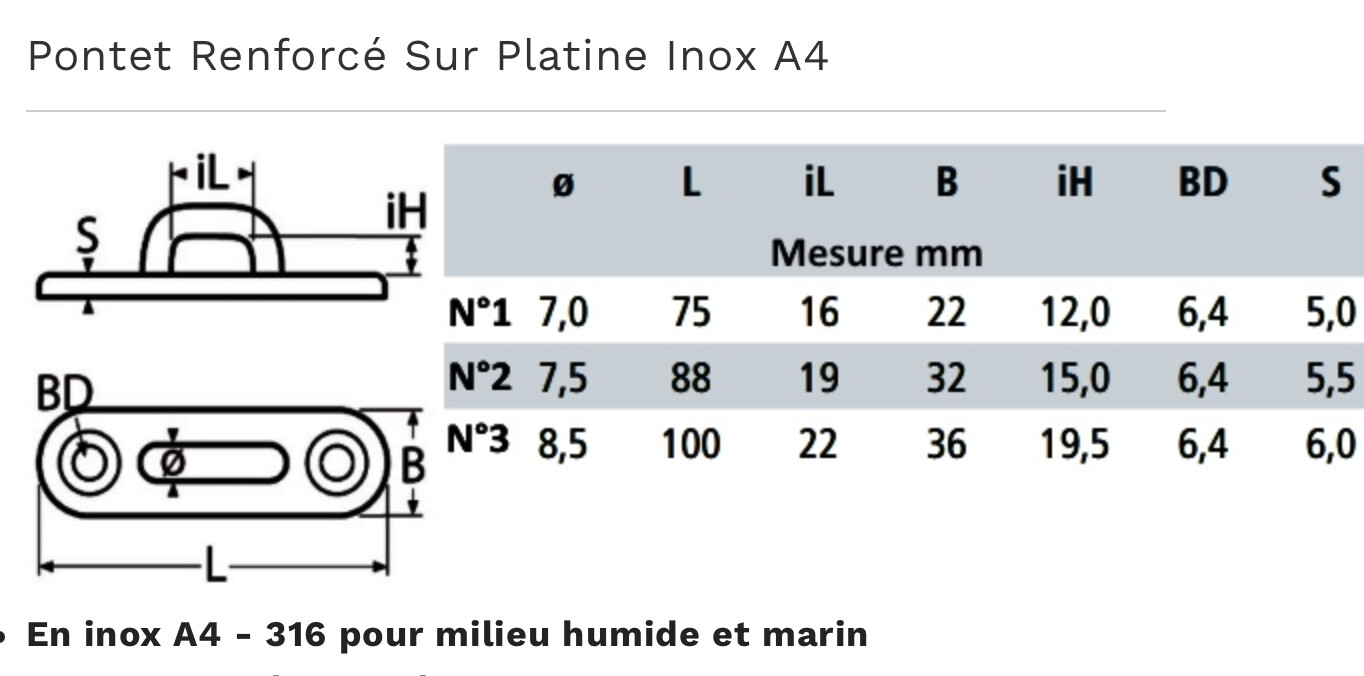
I’ve also bought two of these to attach the boogie rope. one per USBOX. I expect them to be rock solid according to the specs. Probably overkill.
1 Like
okp
March 10, 2023, 4:13pm
49
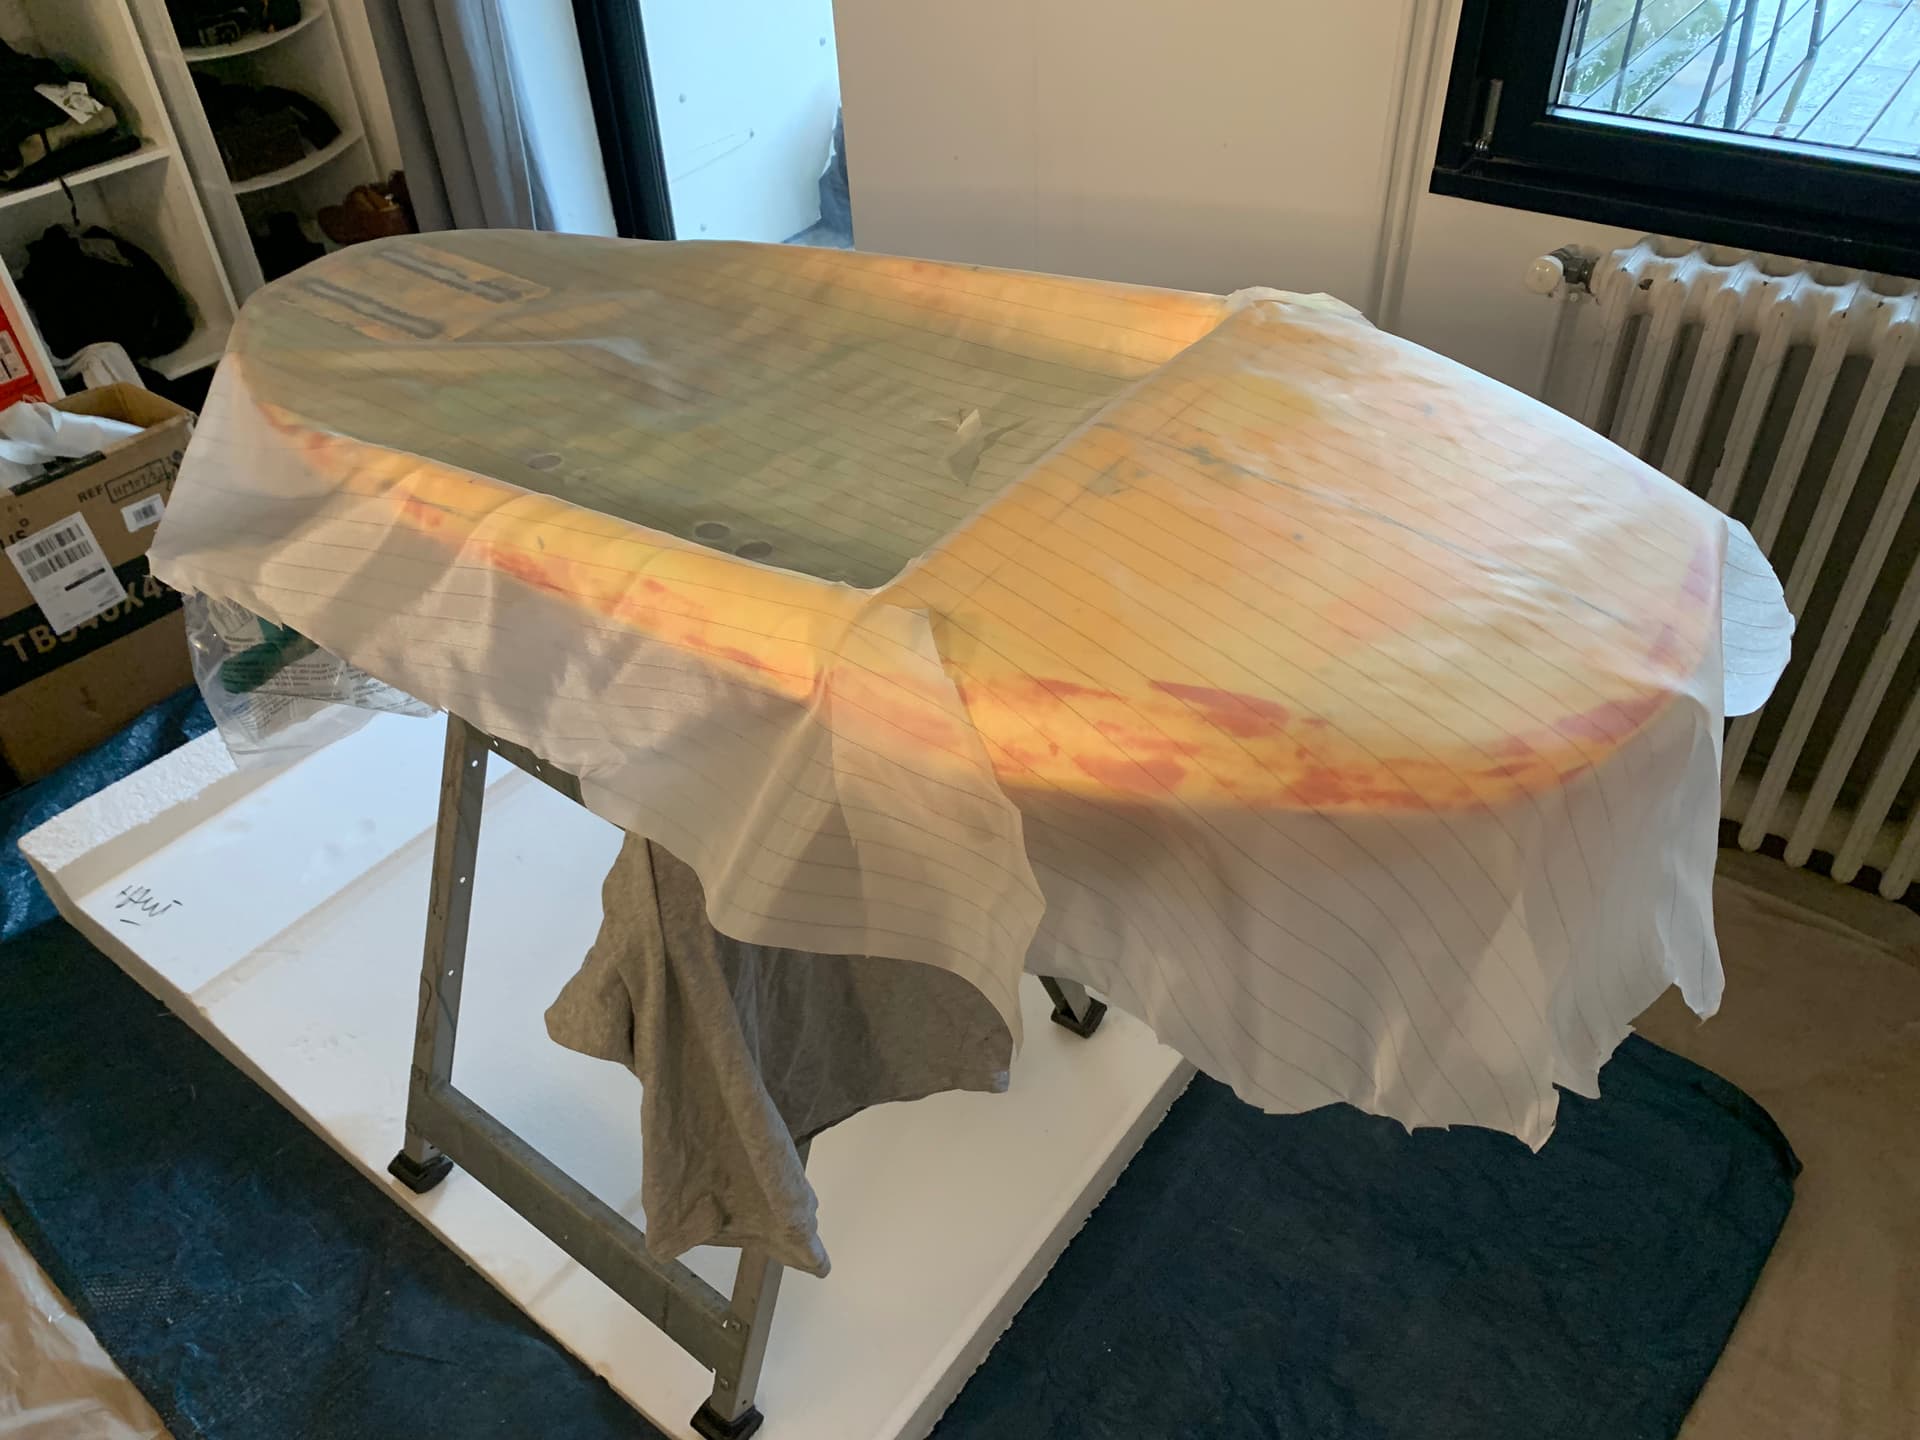
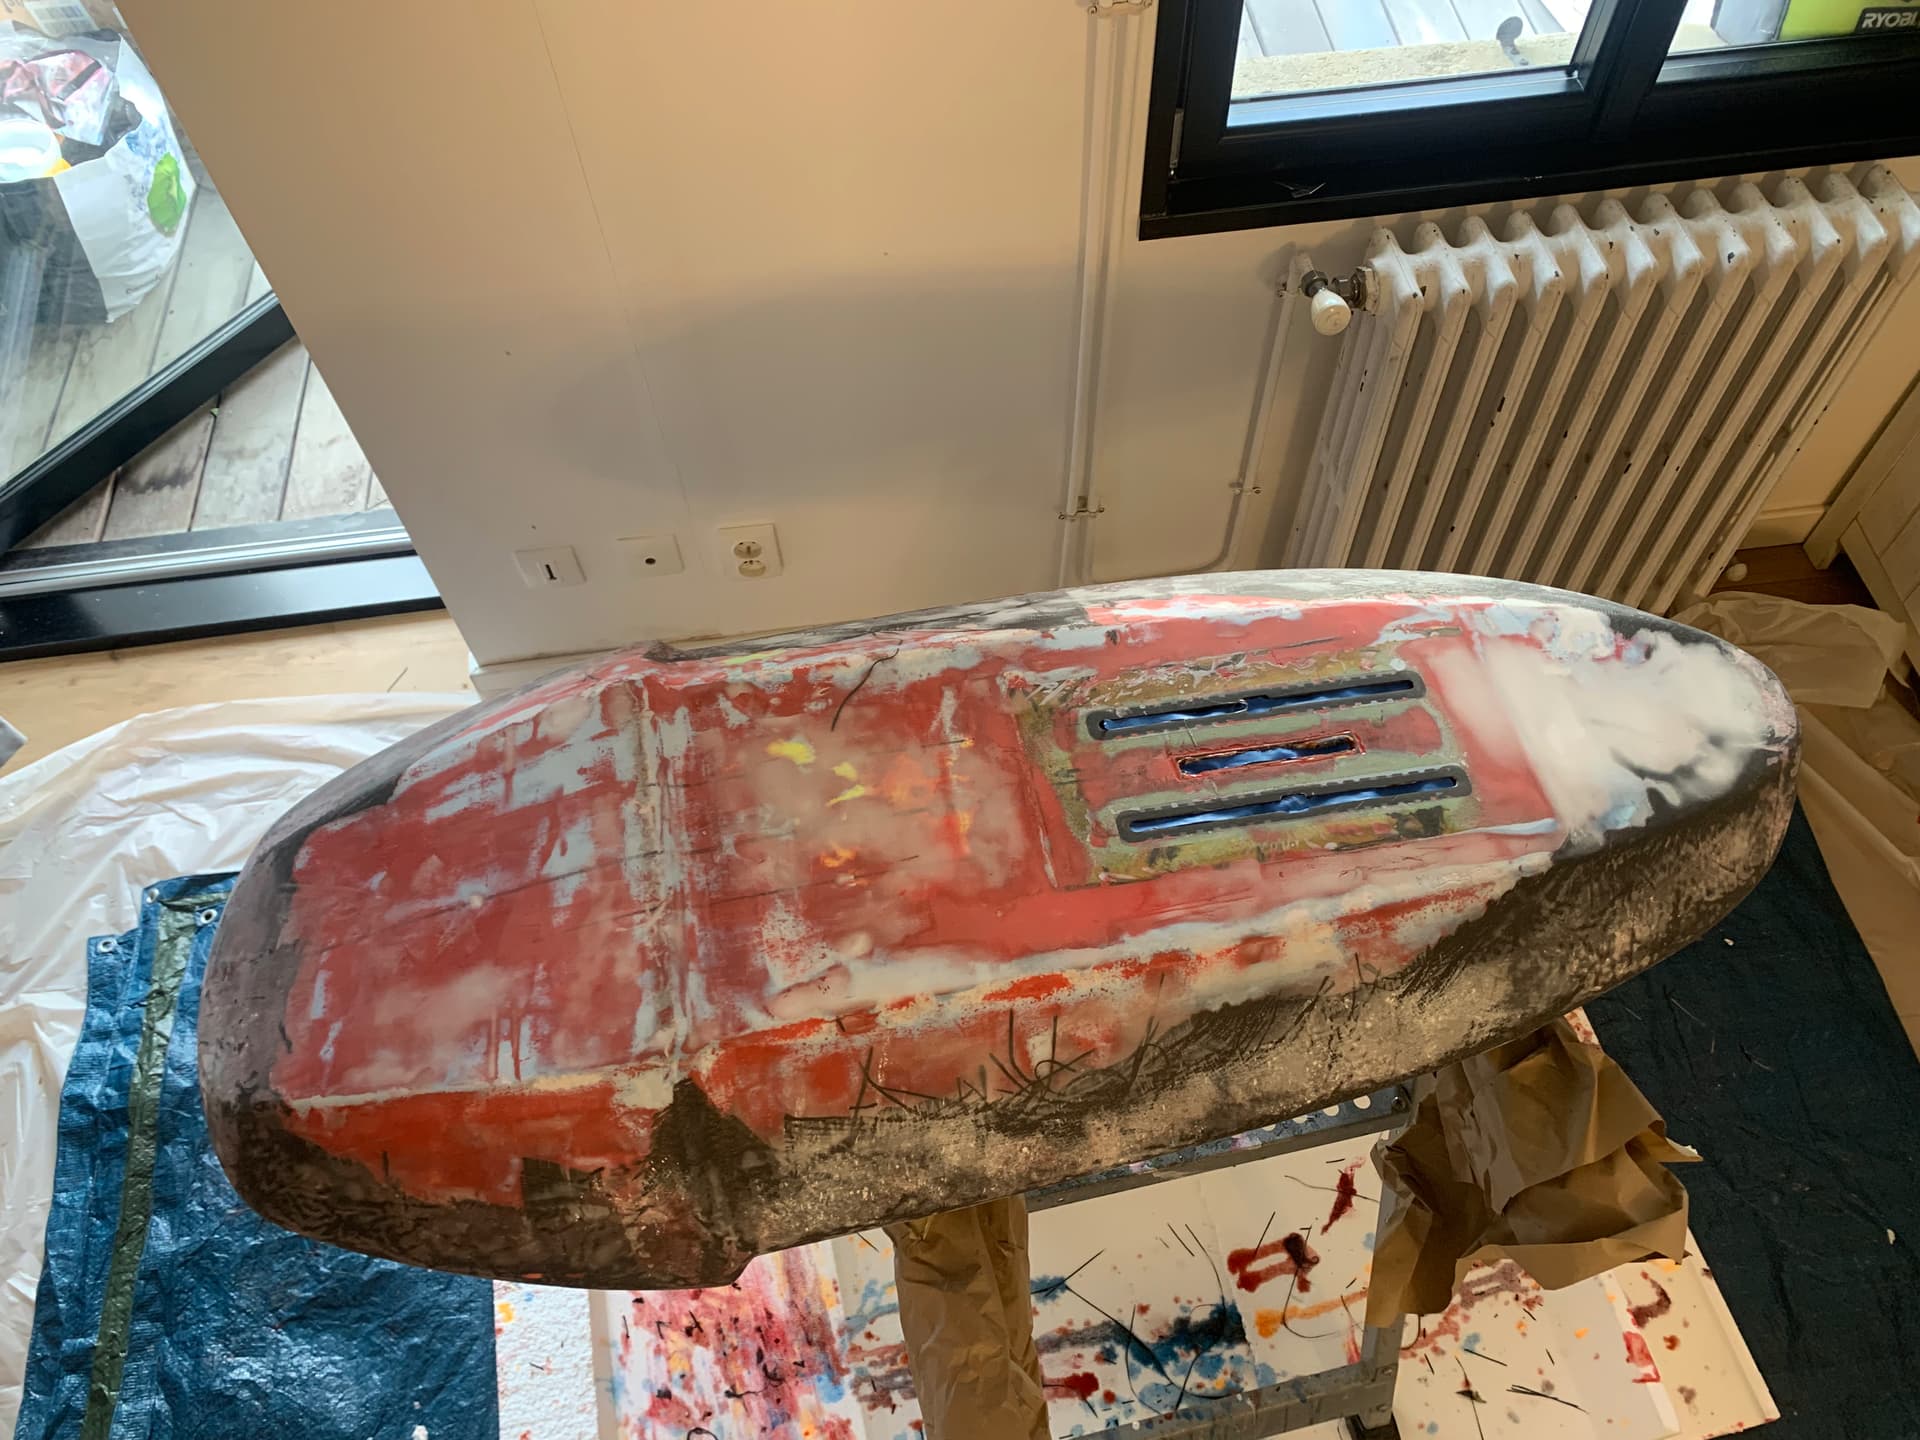
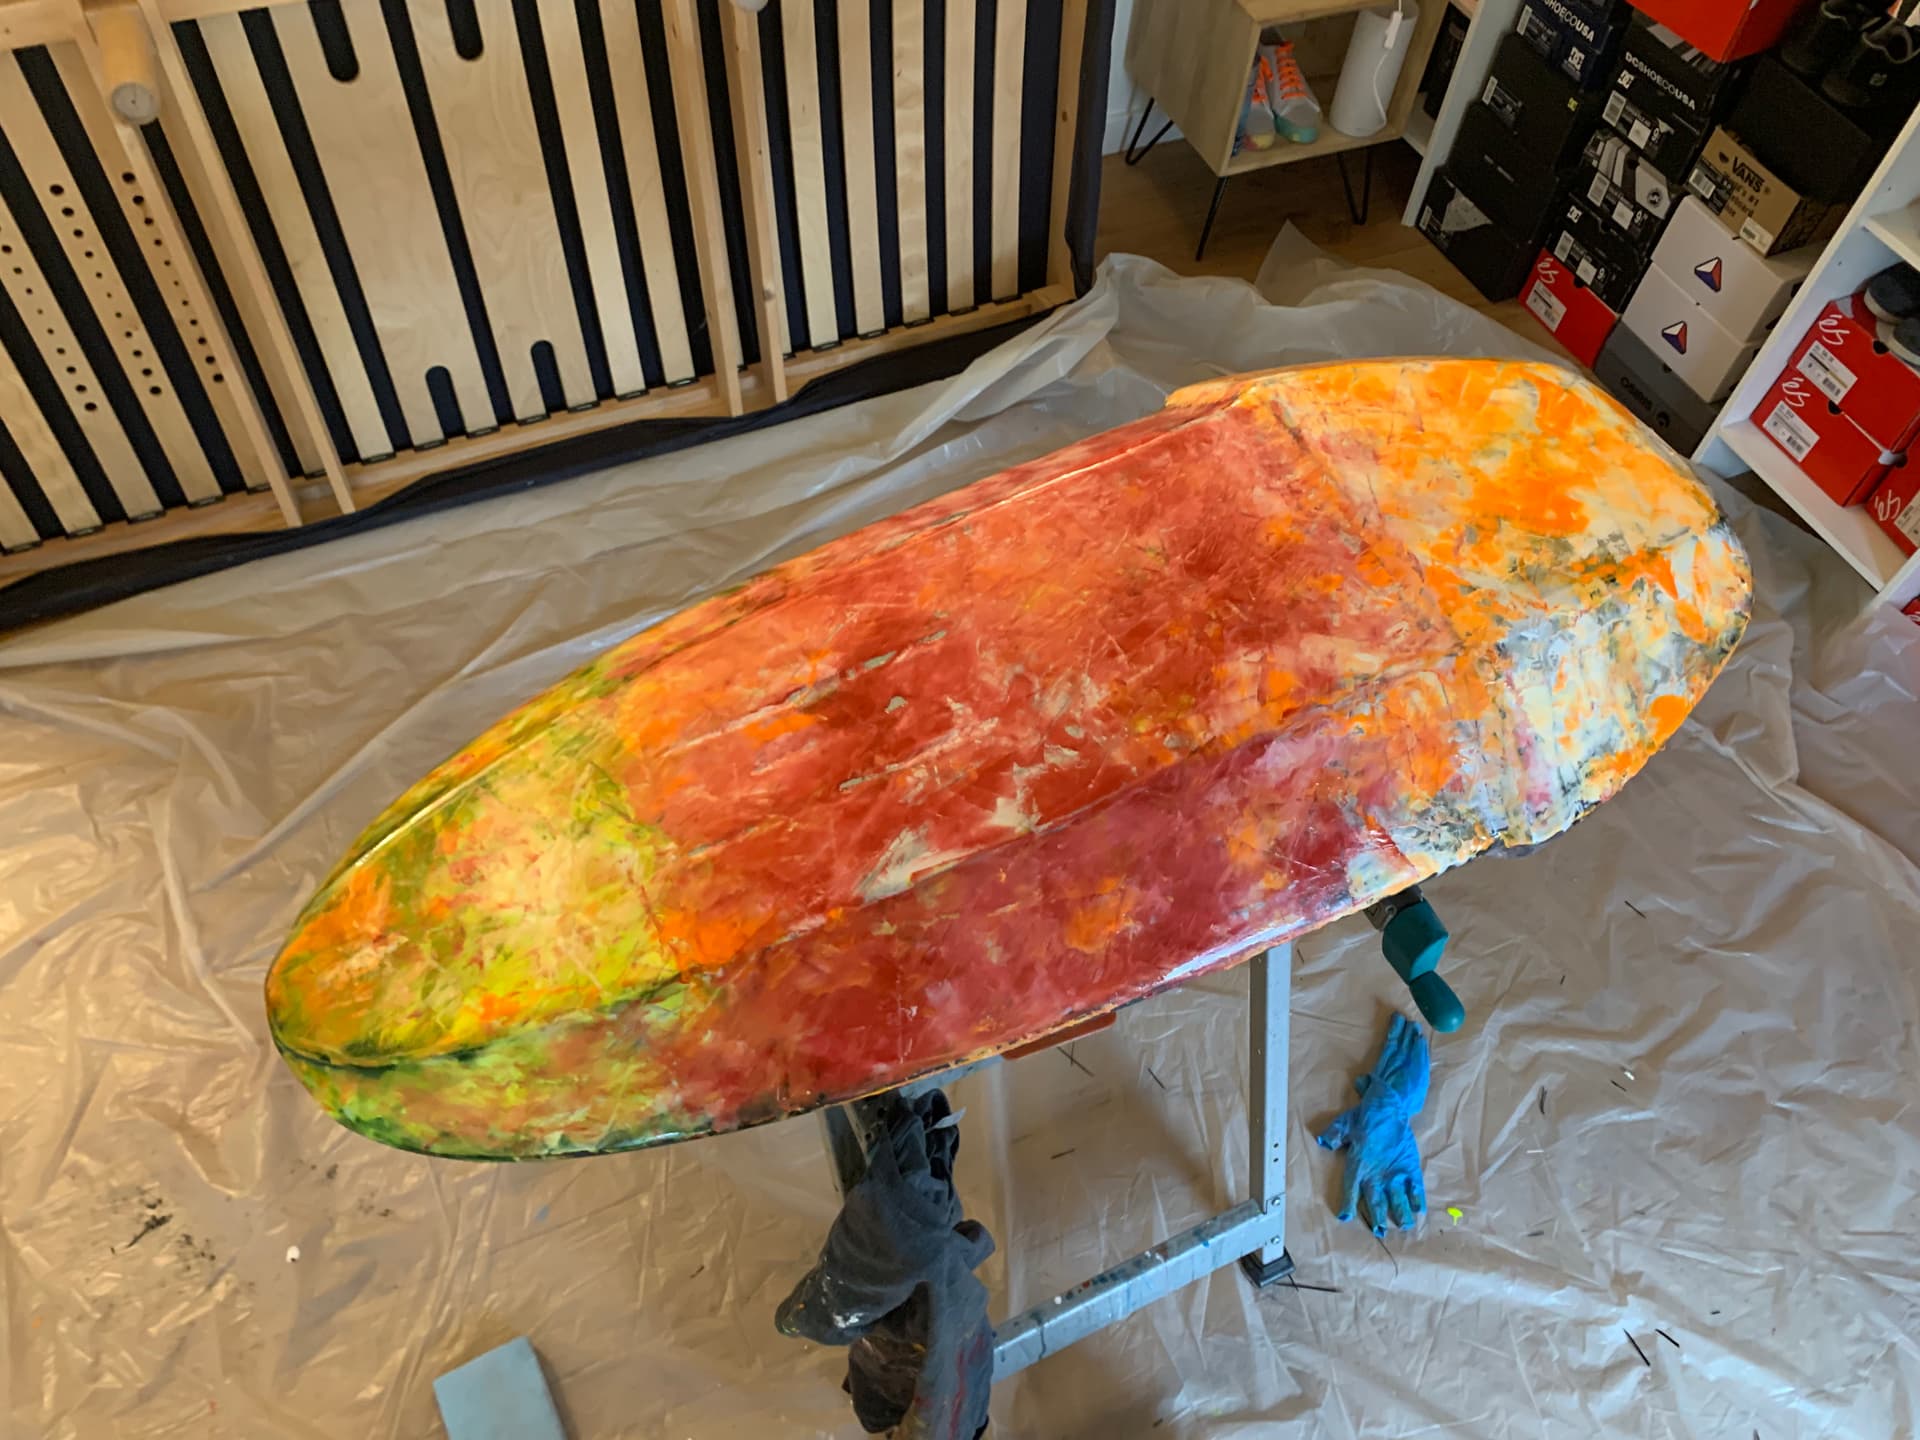
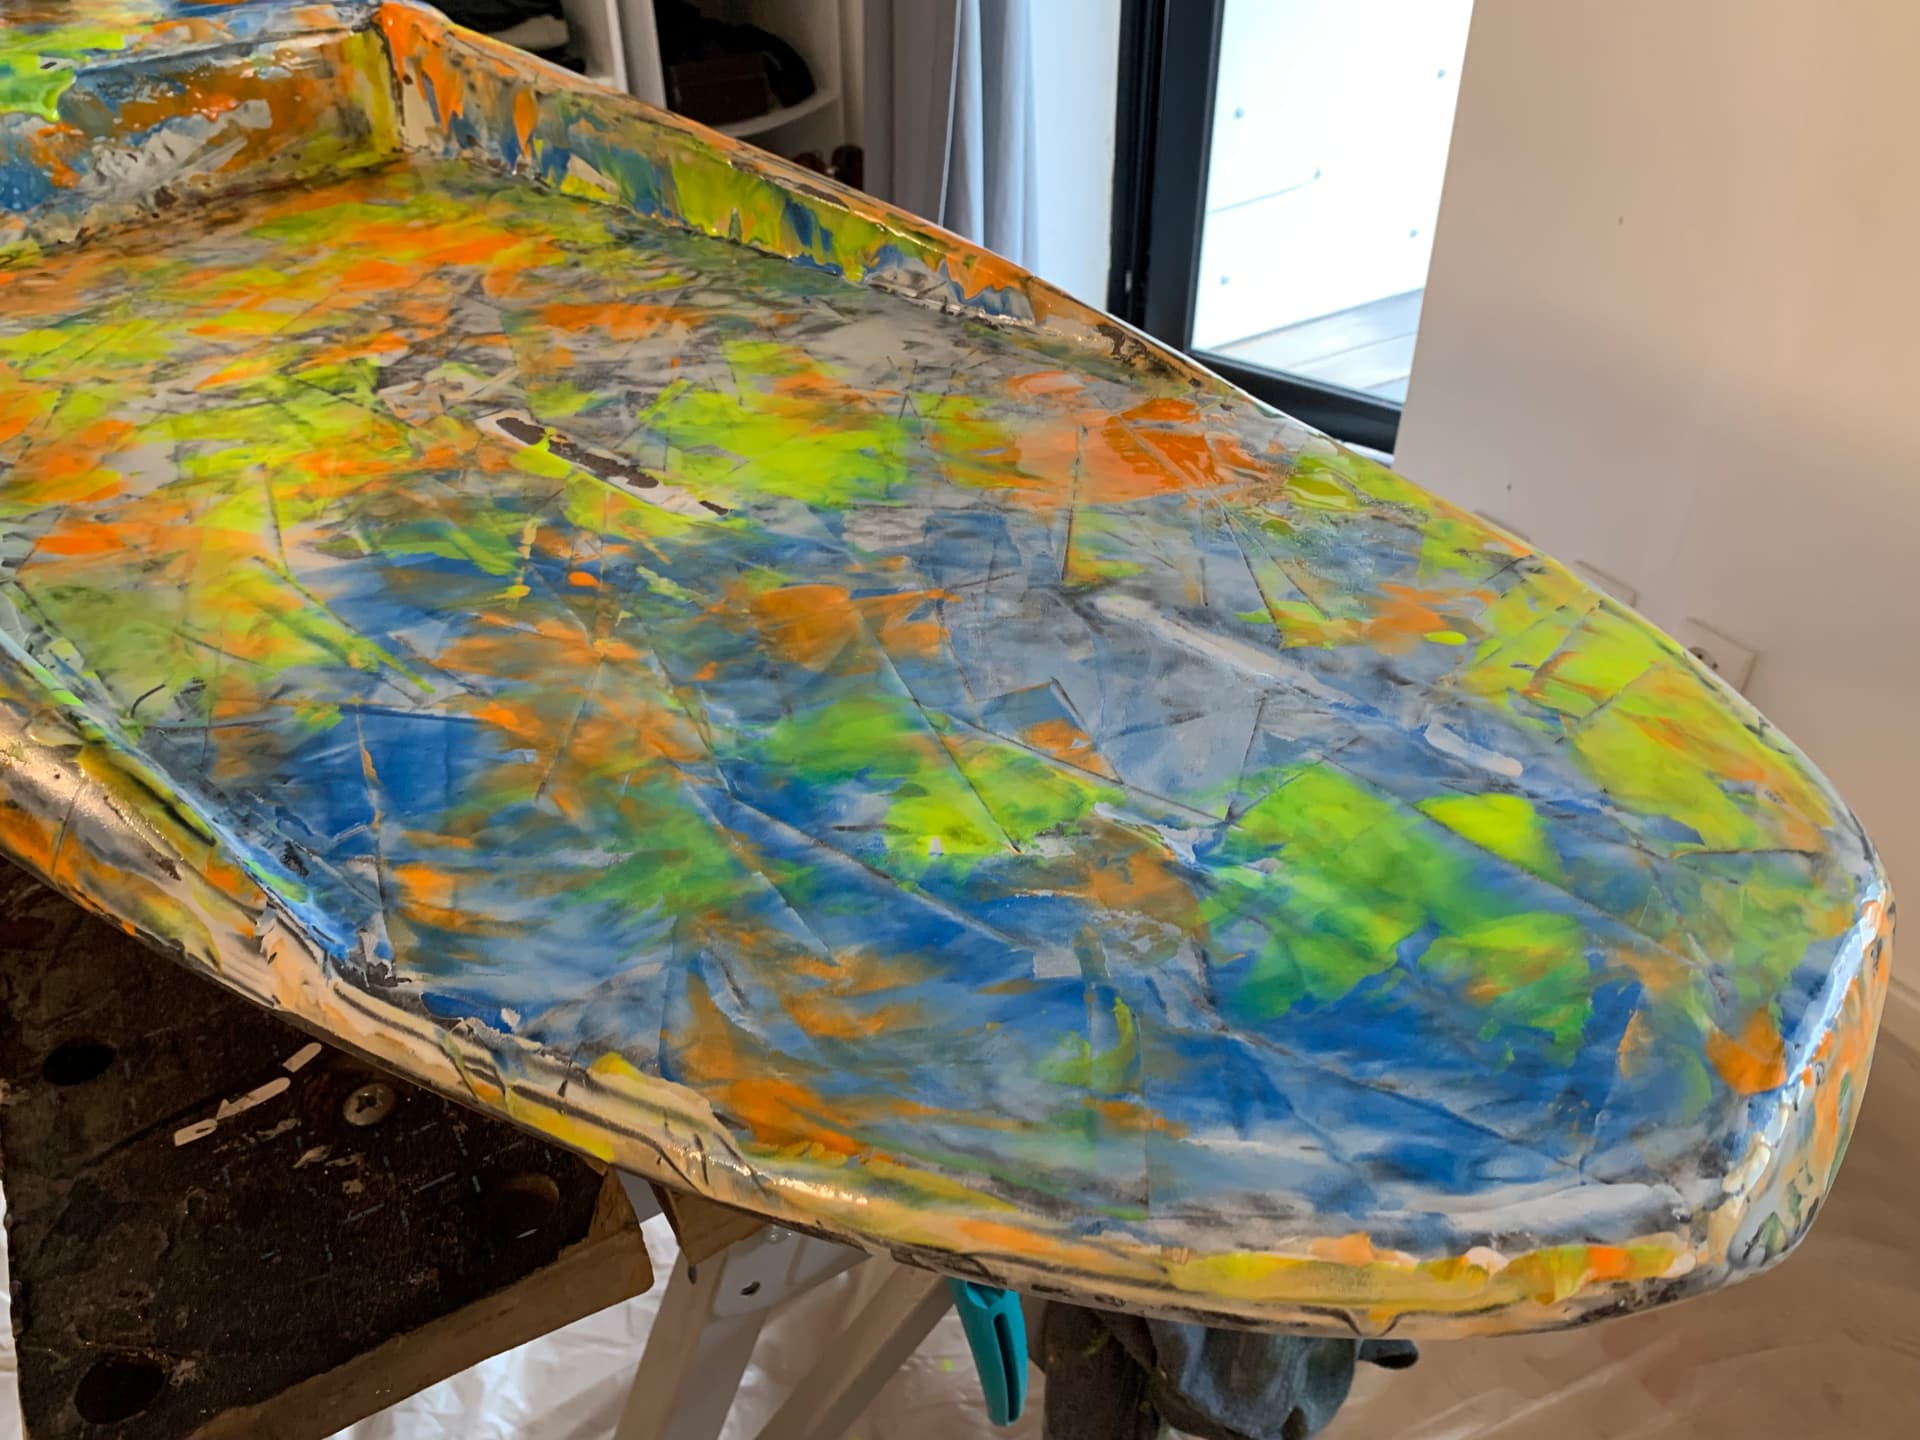
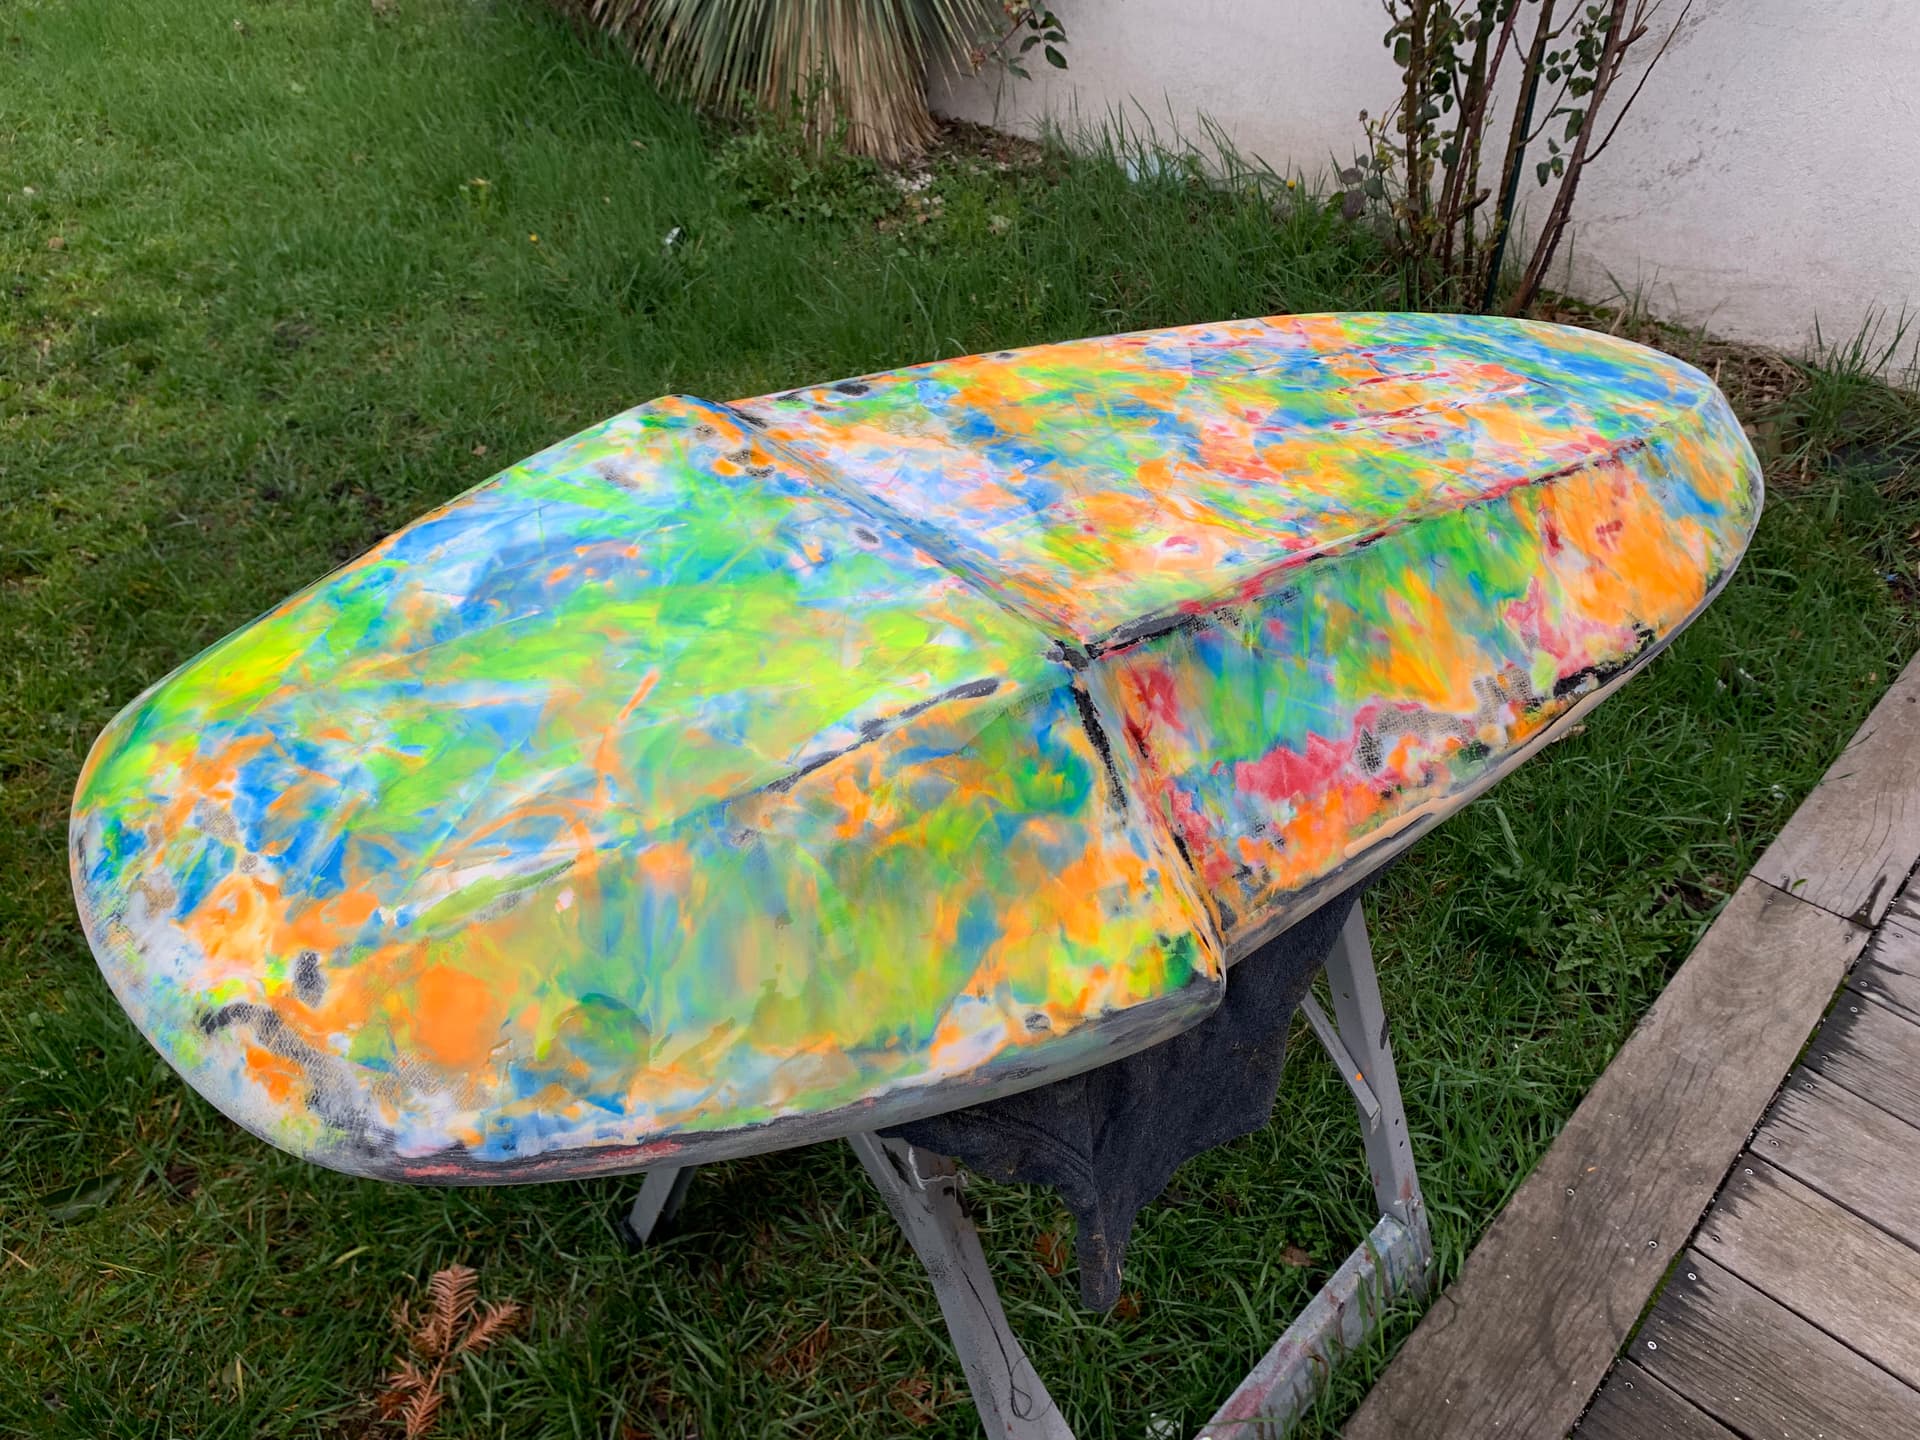
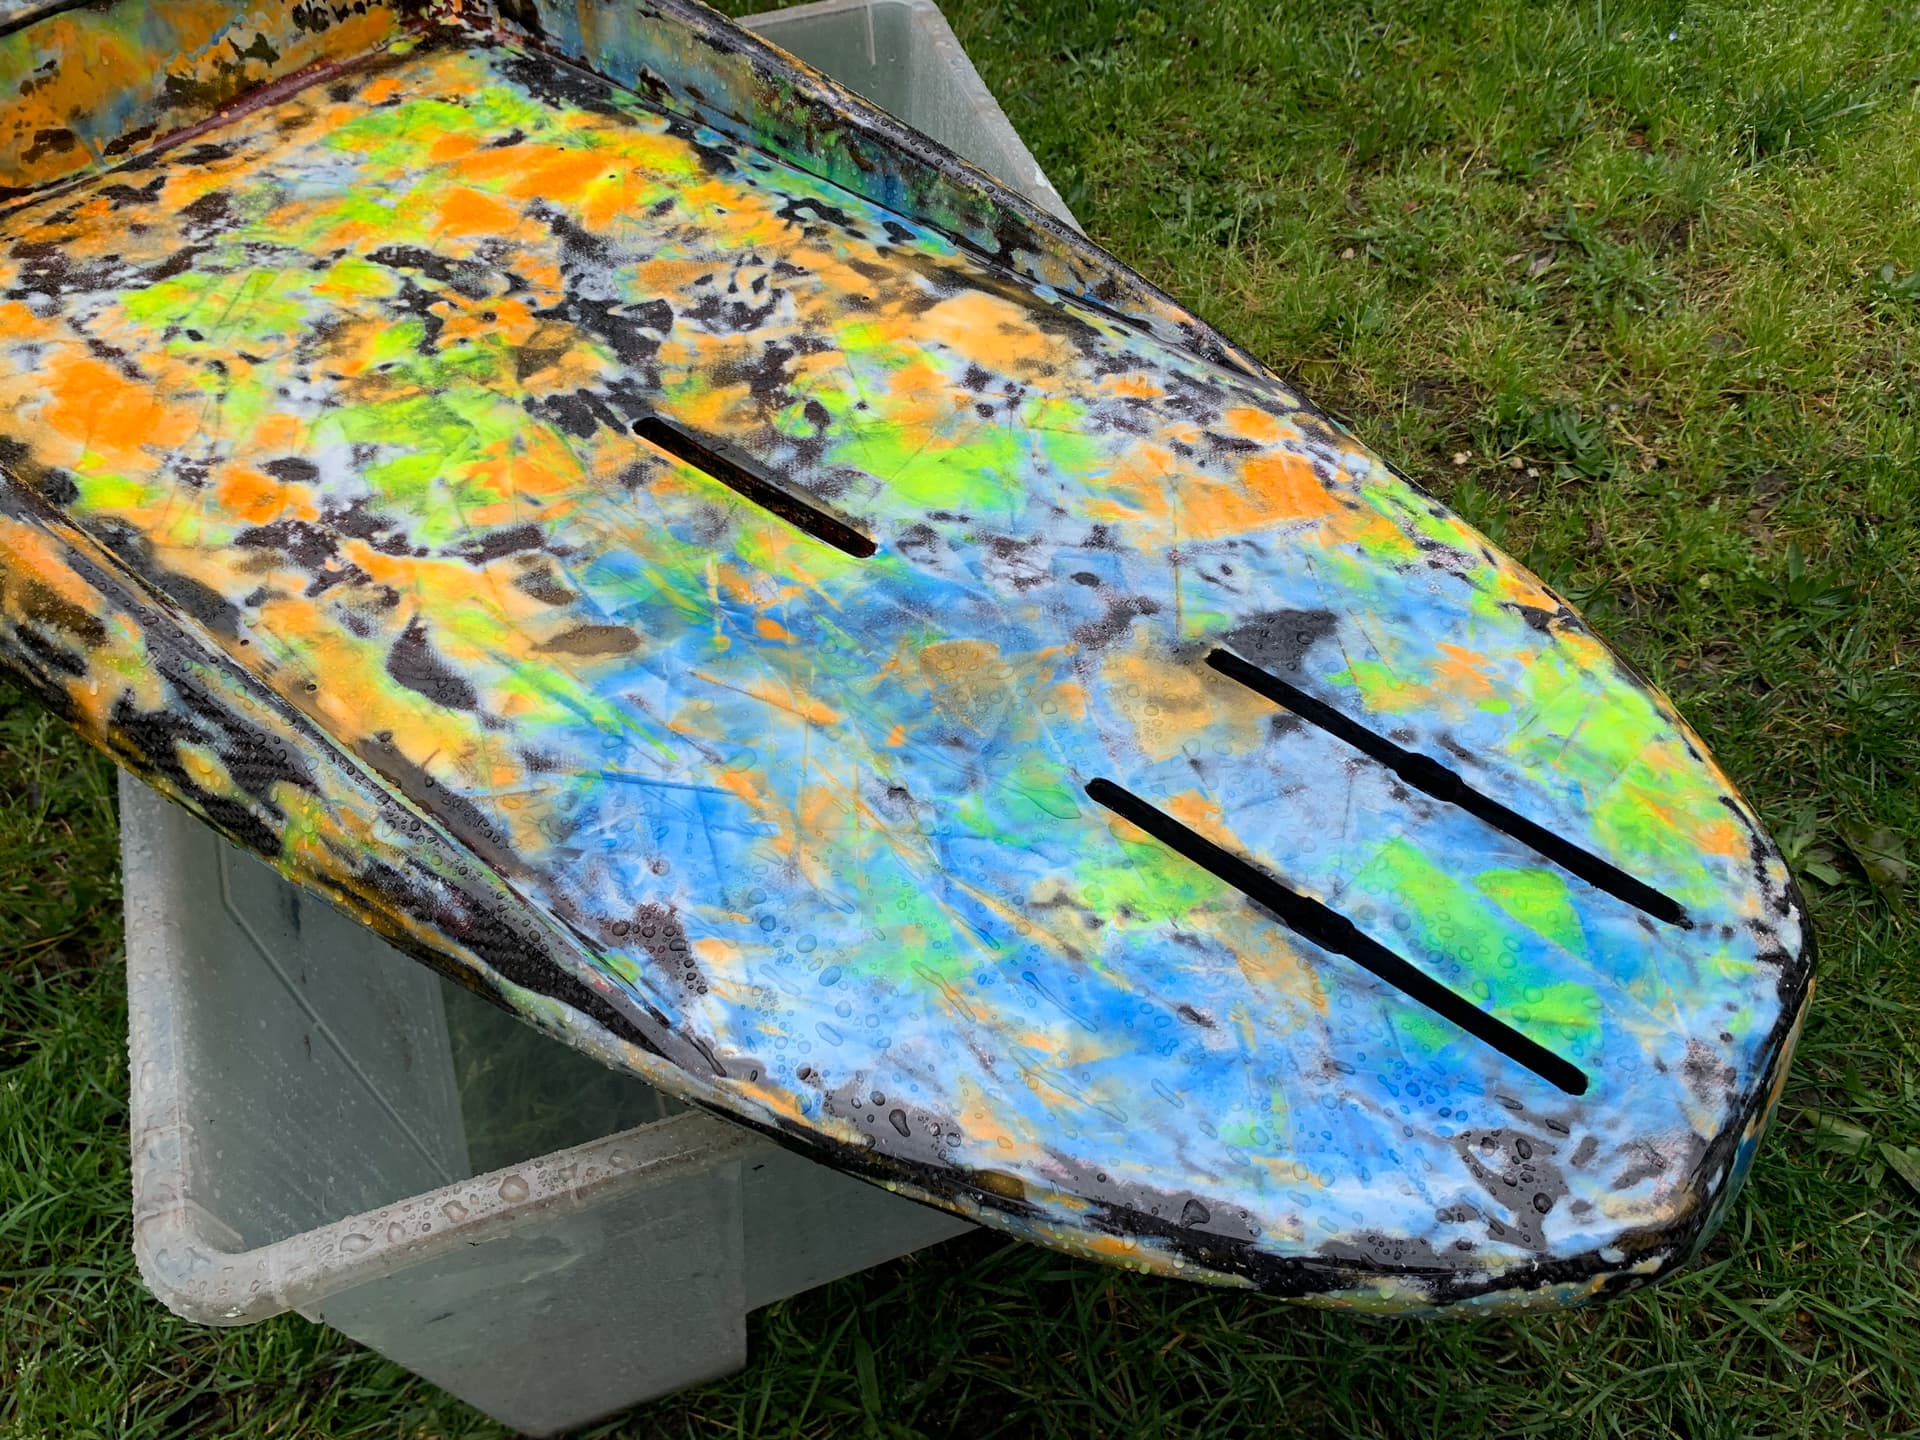
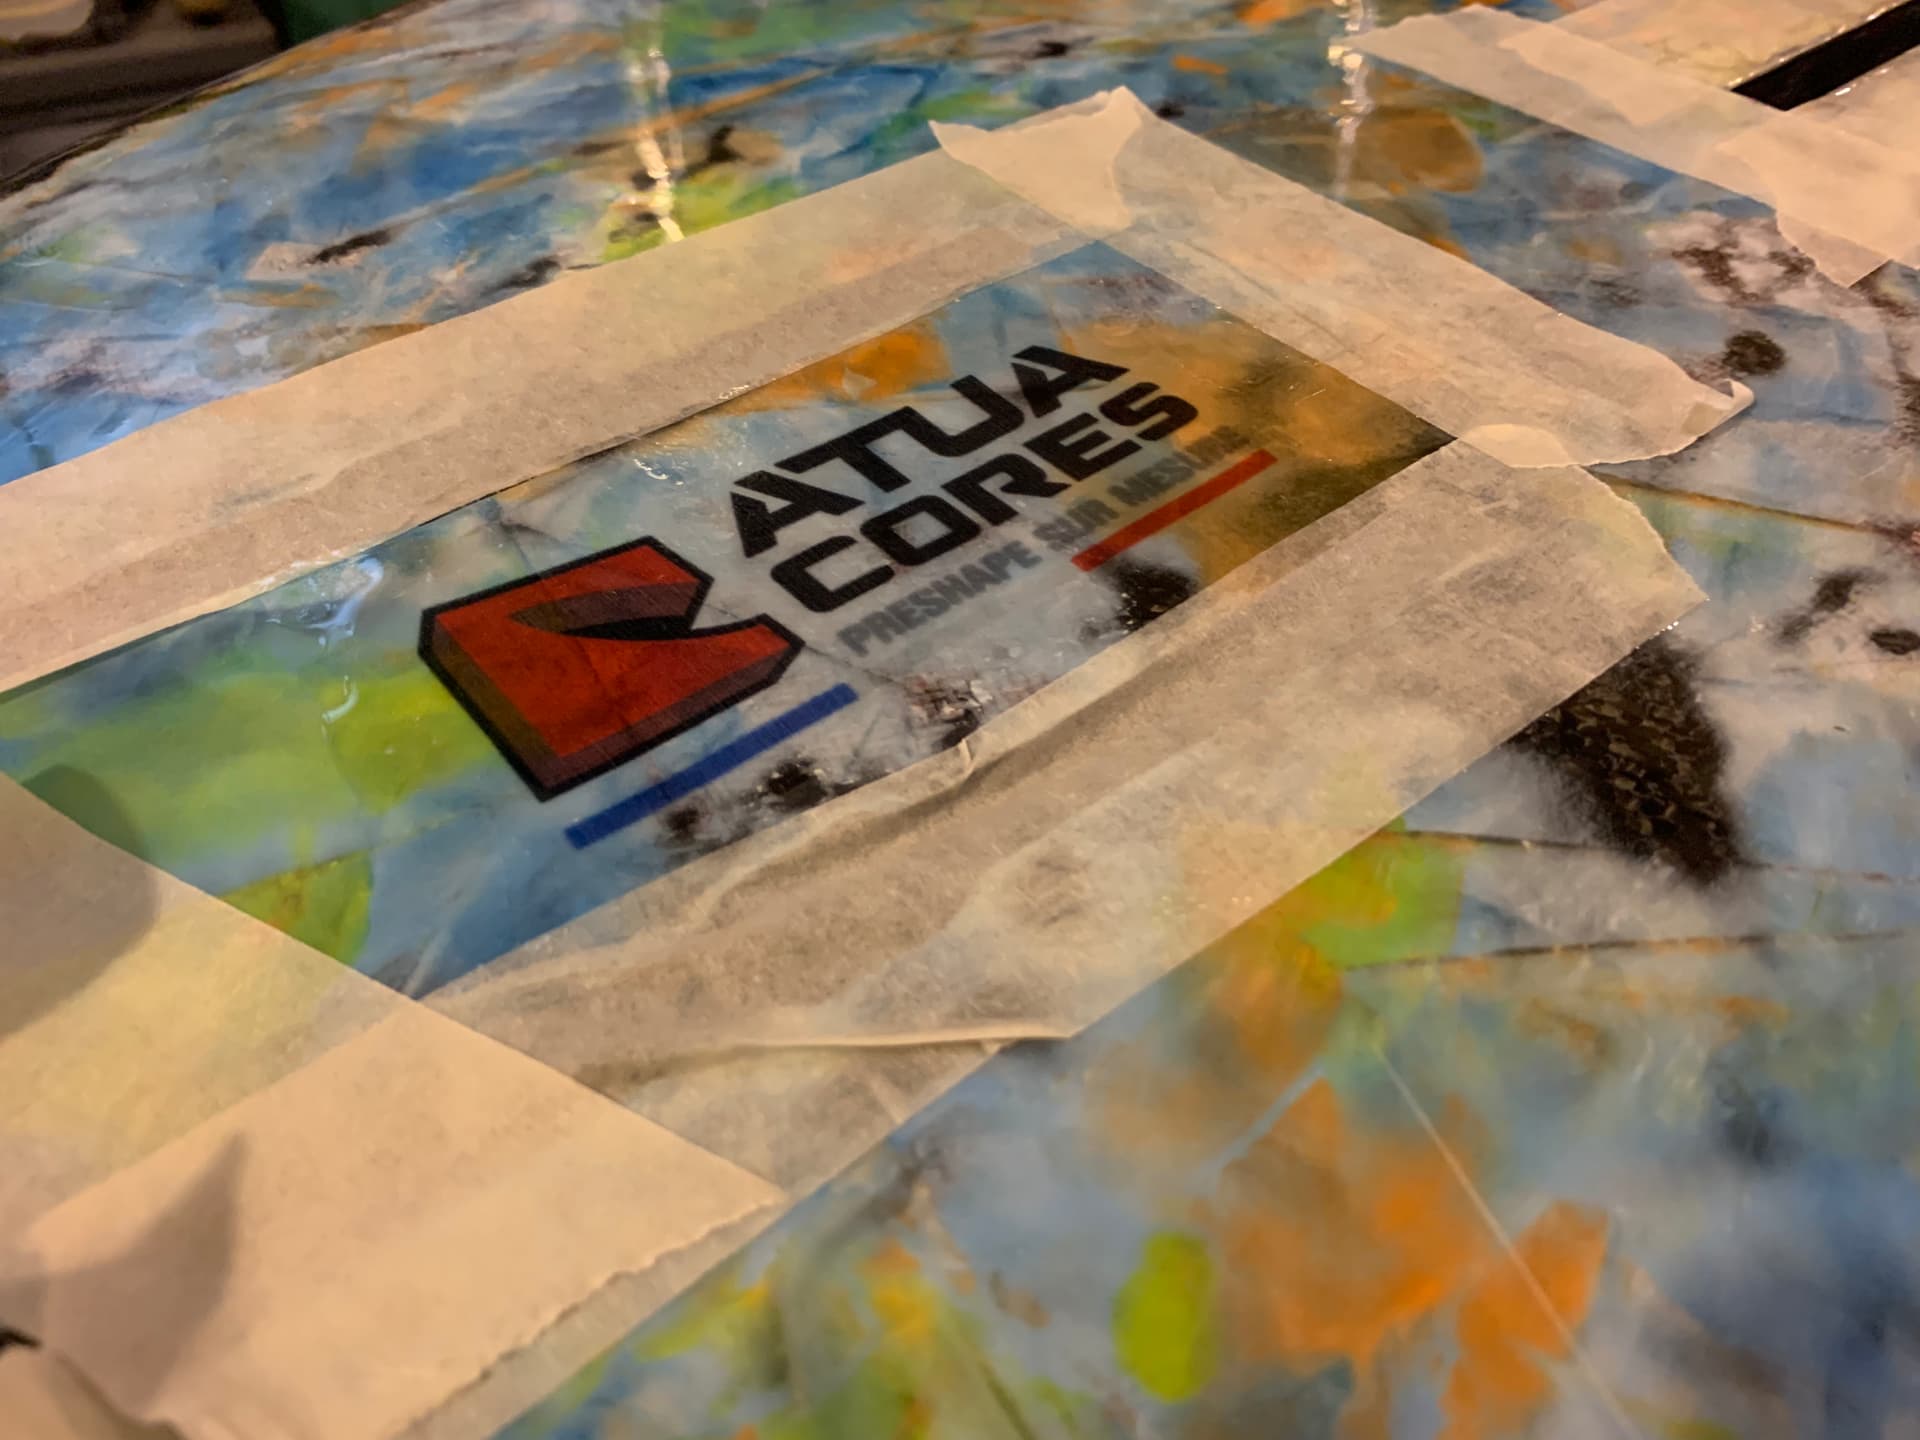
let’s now move to the artistic part and go wild.
2 Likes
okp
March 11, 2023, 12:17pm
50
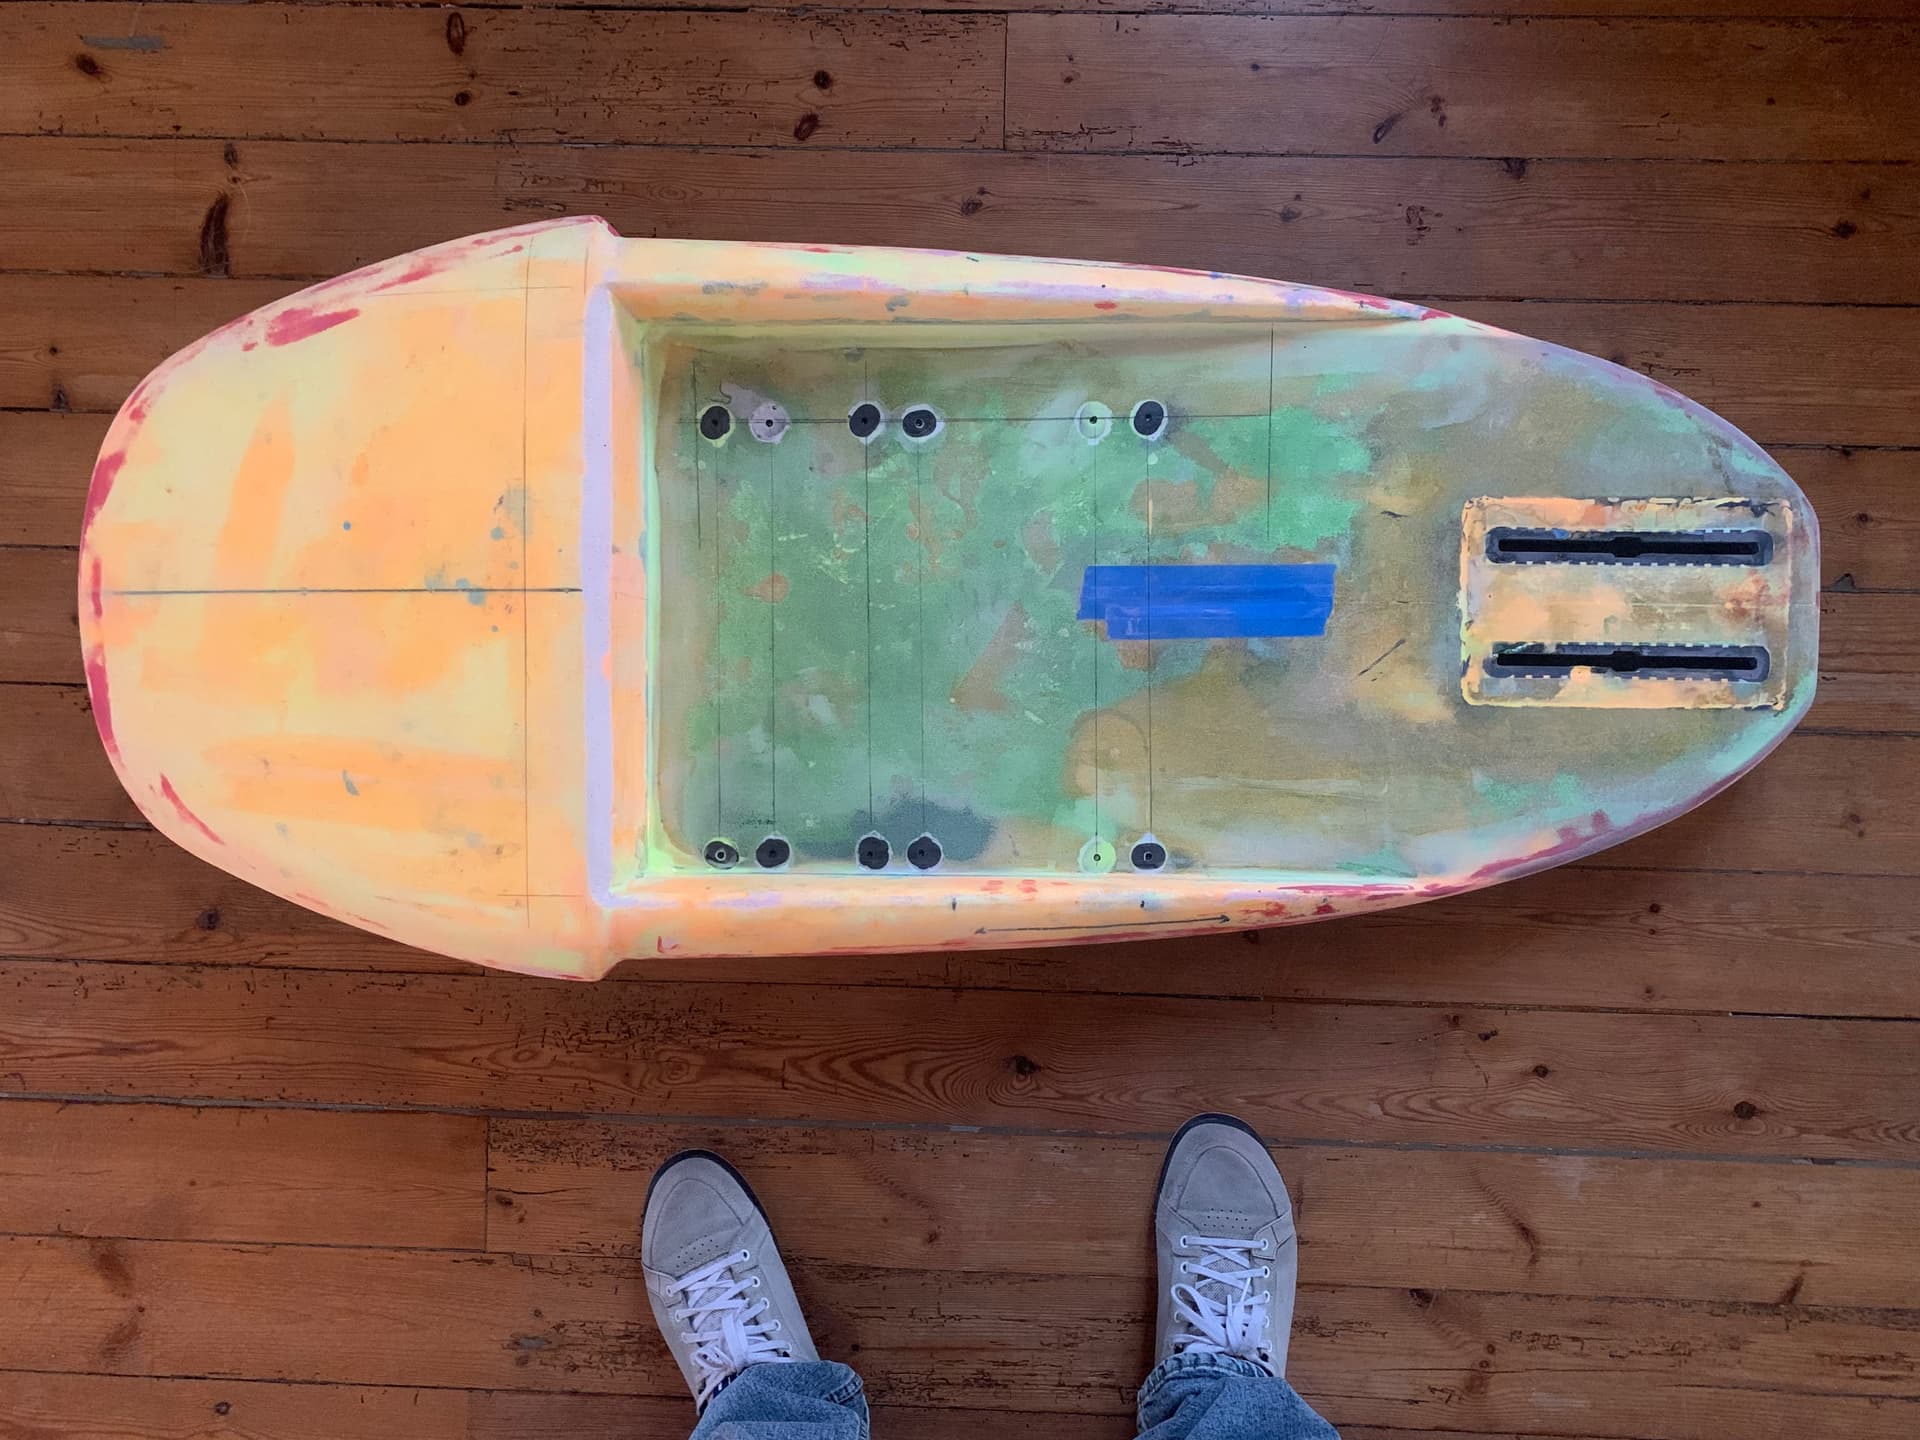
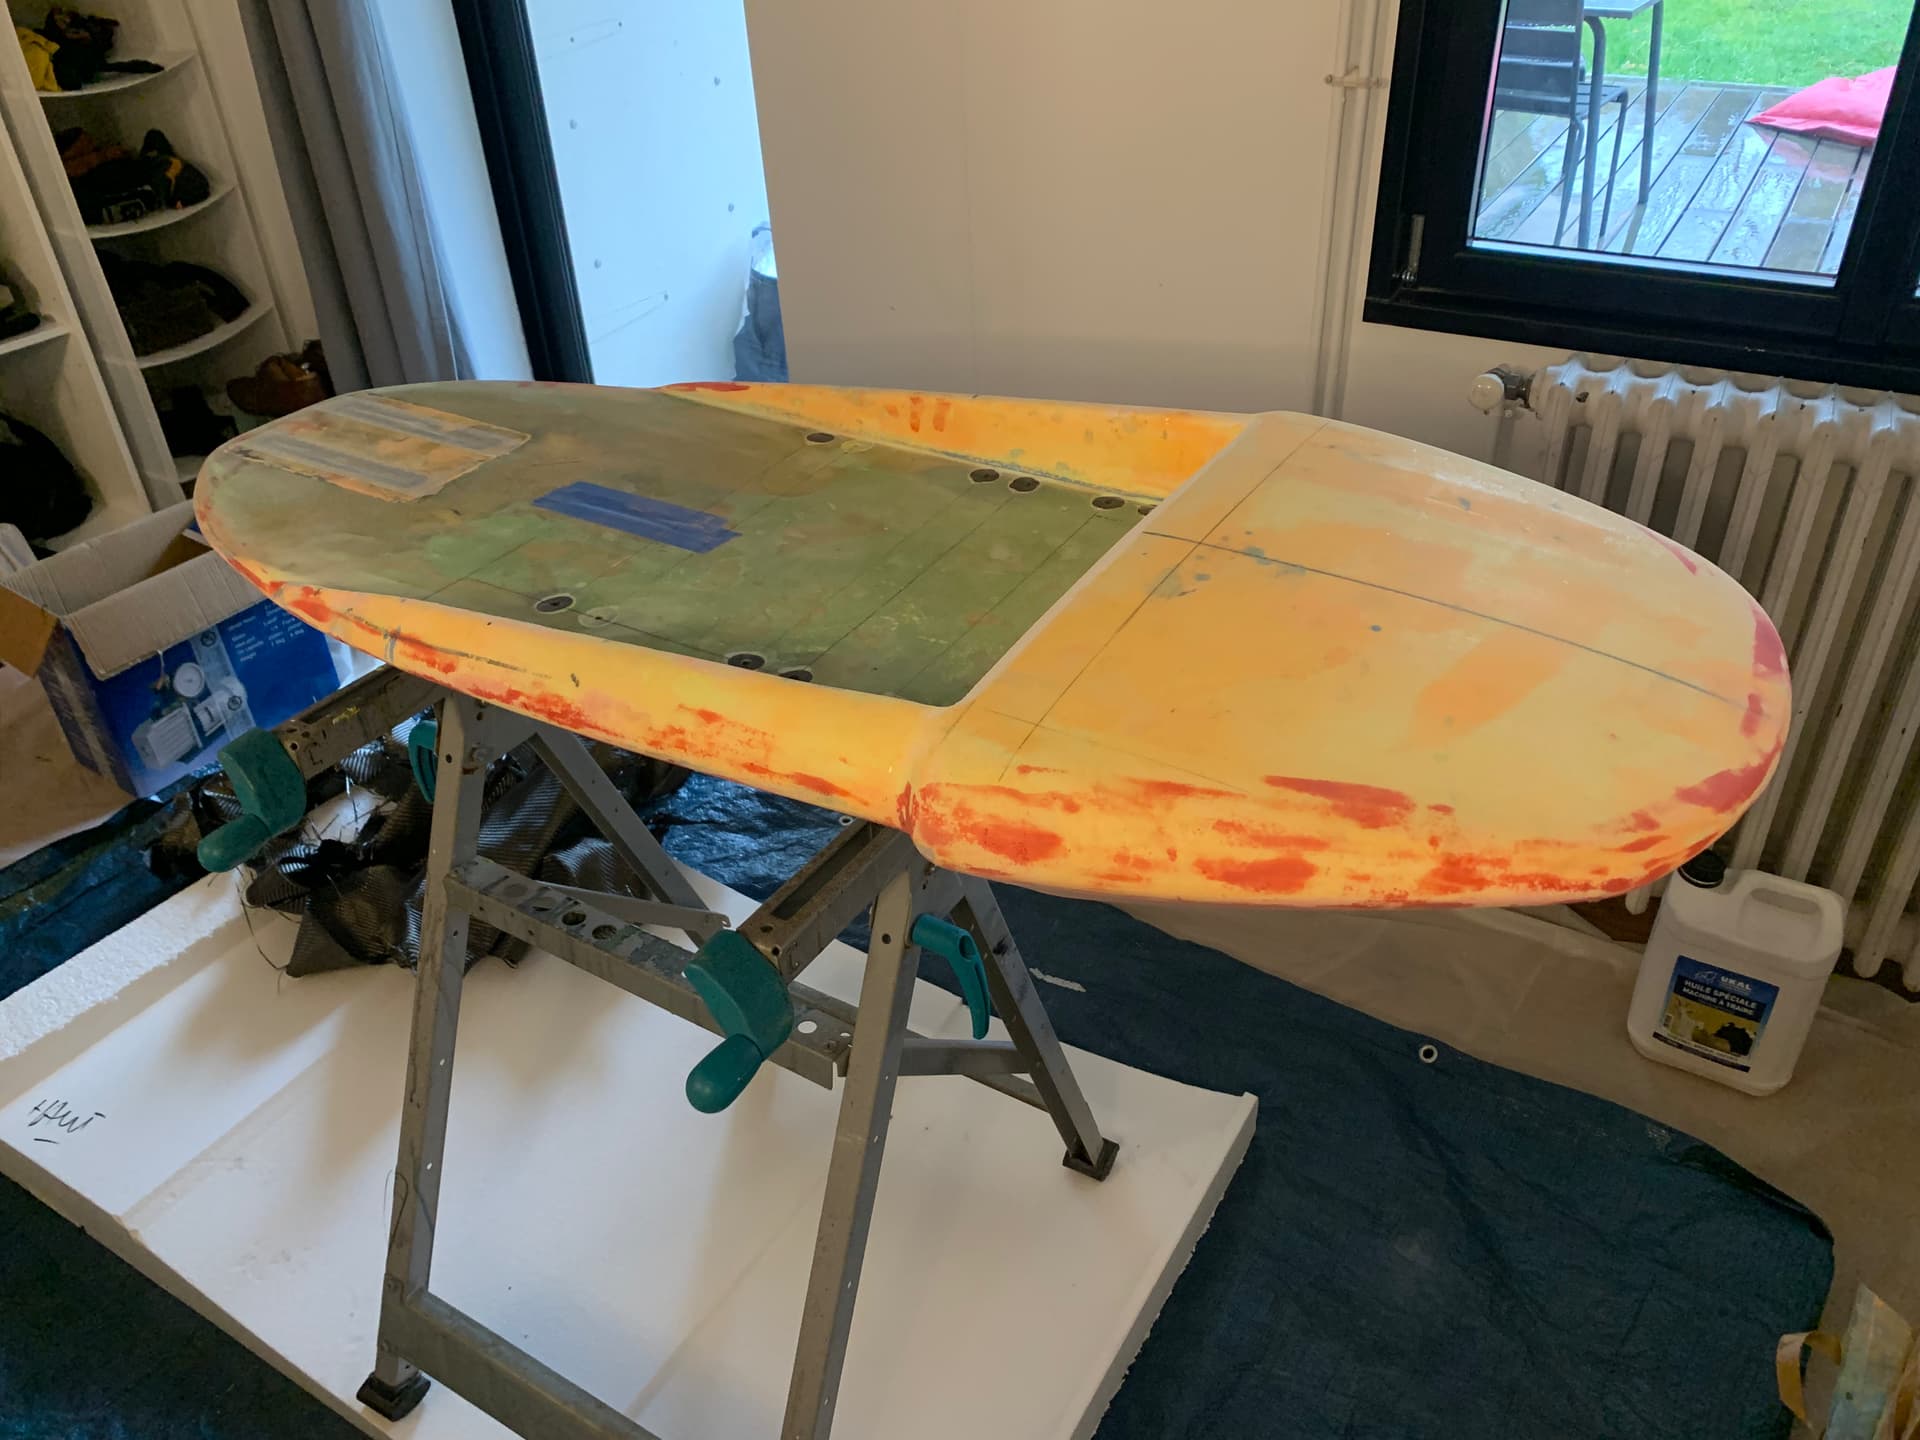
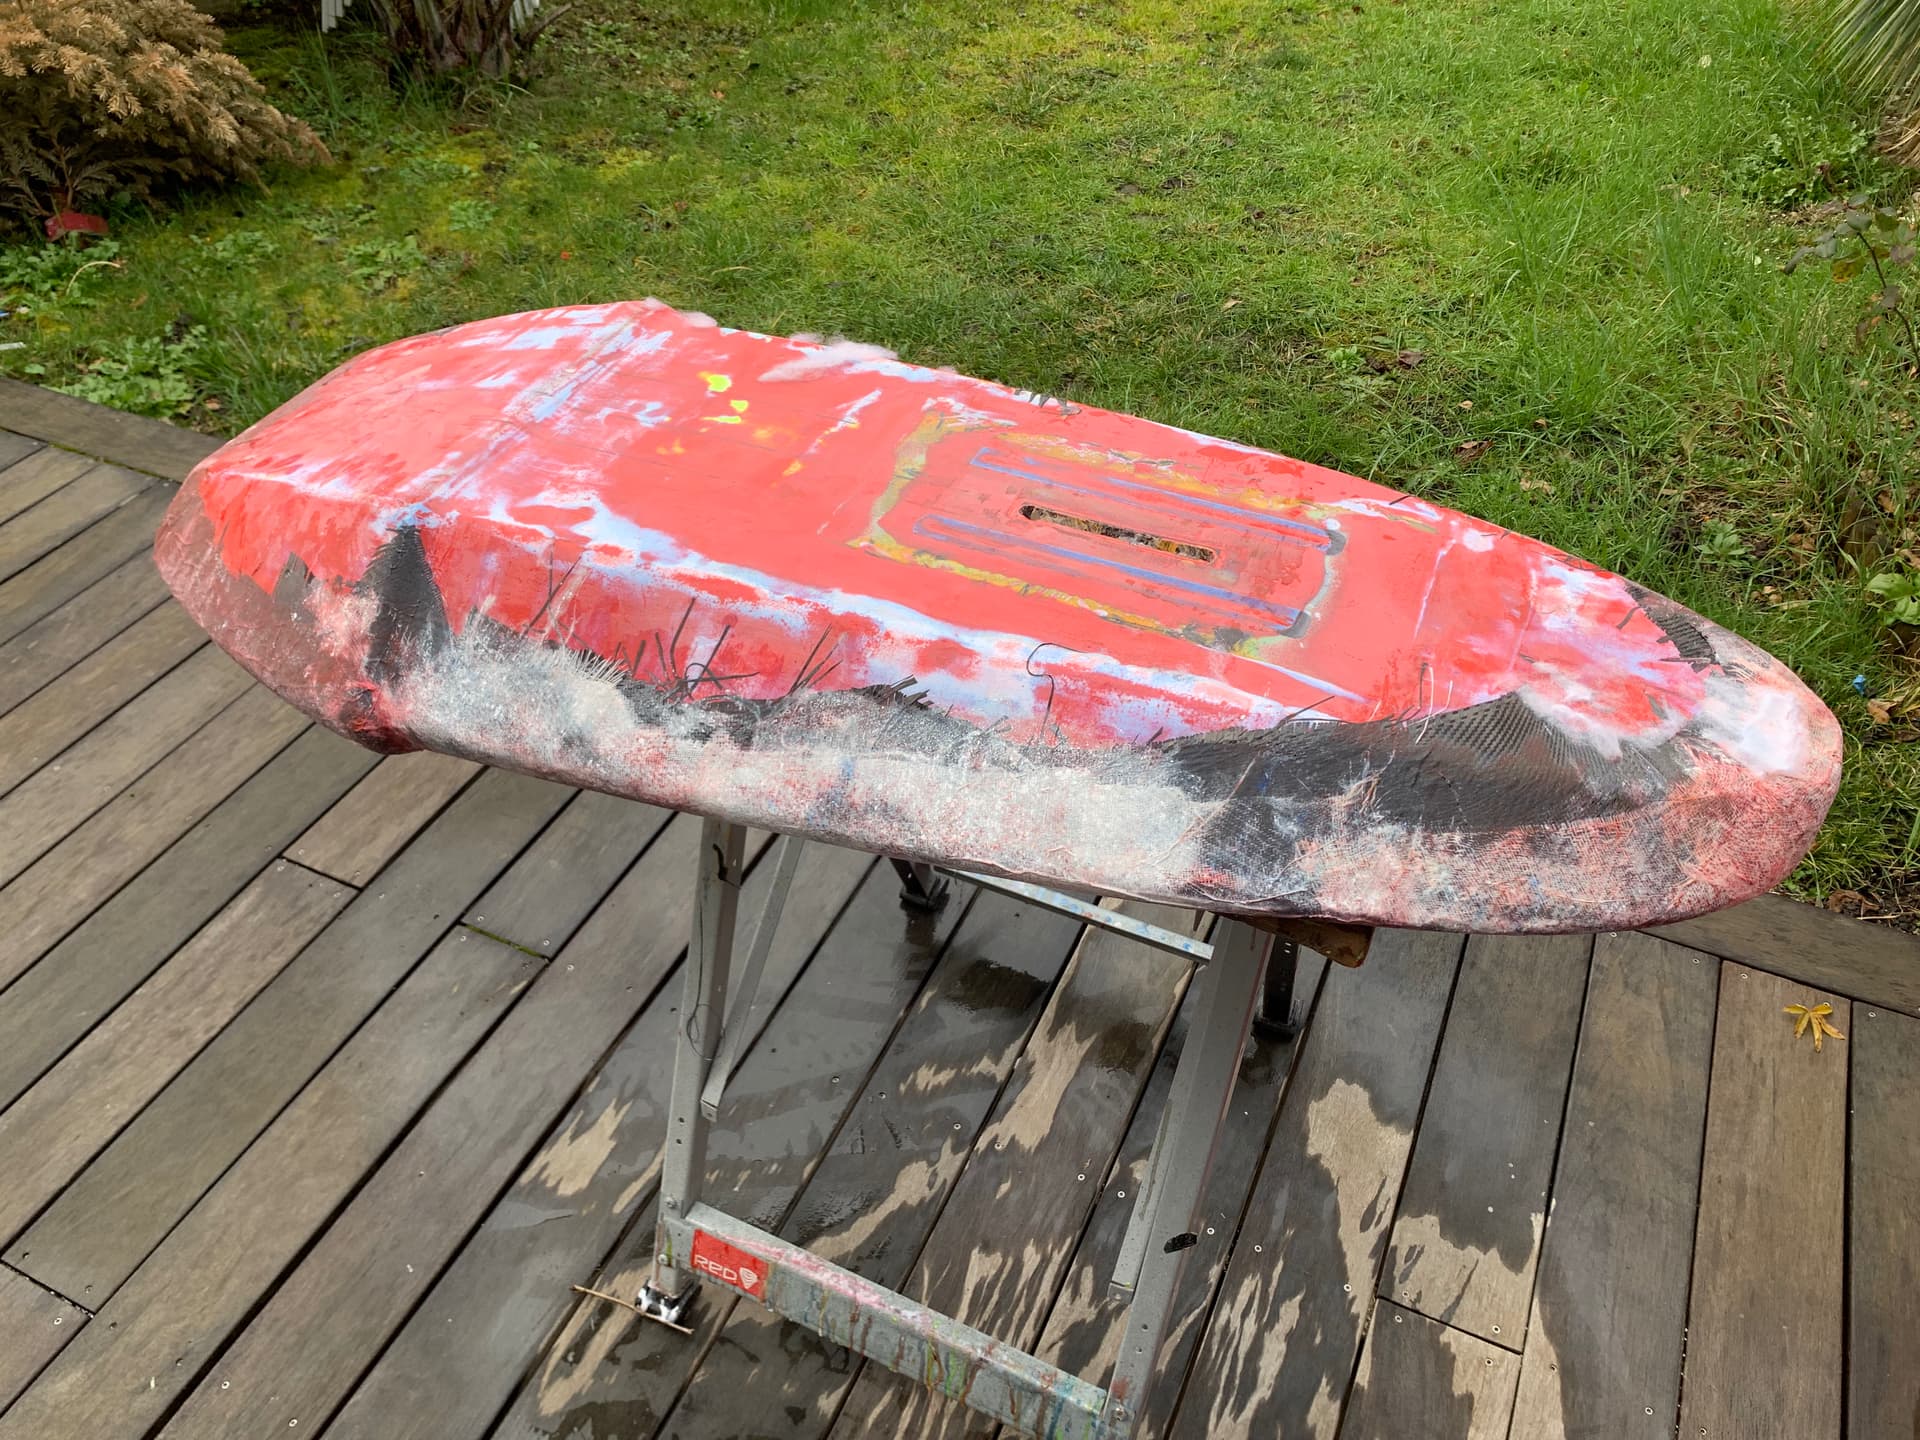
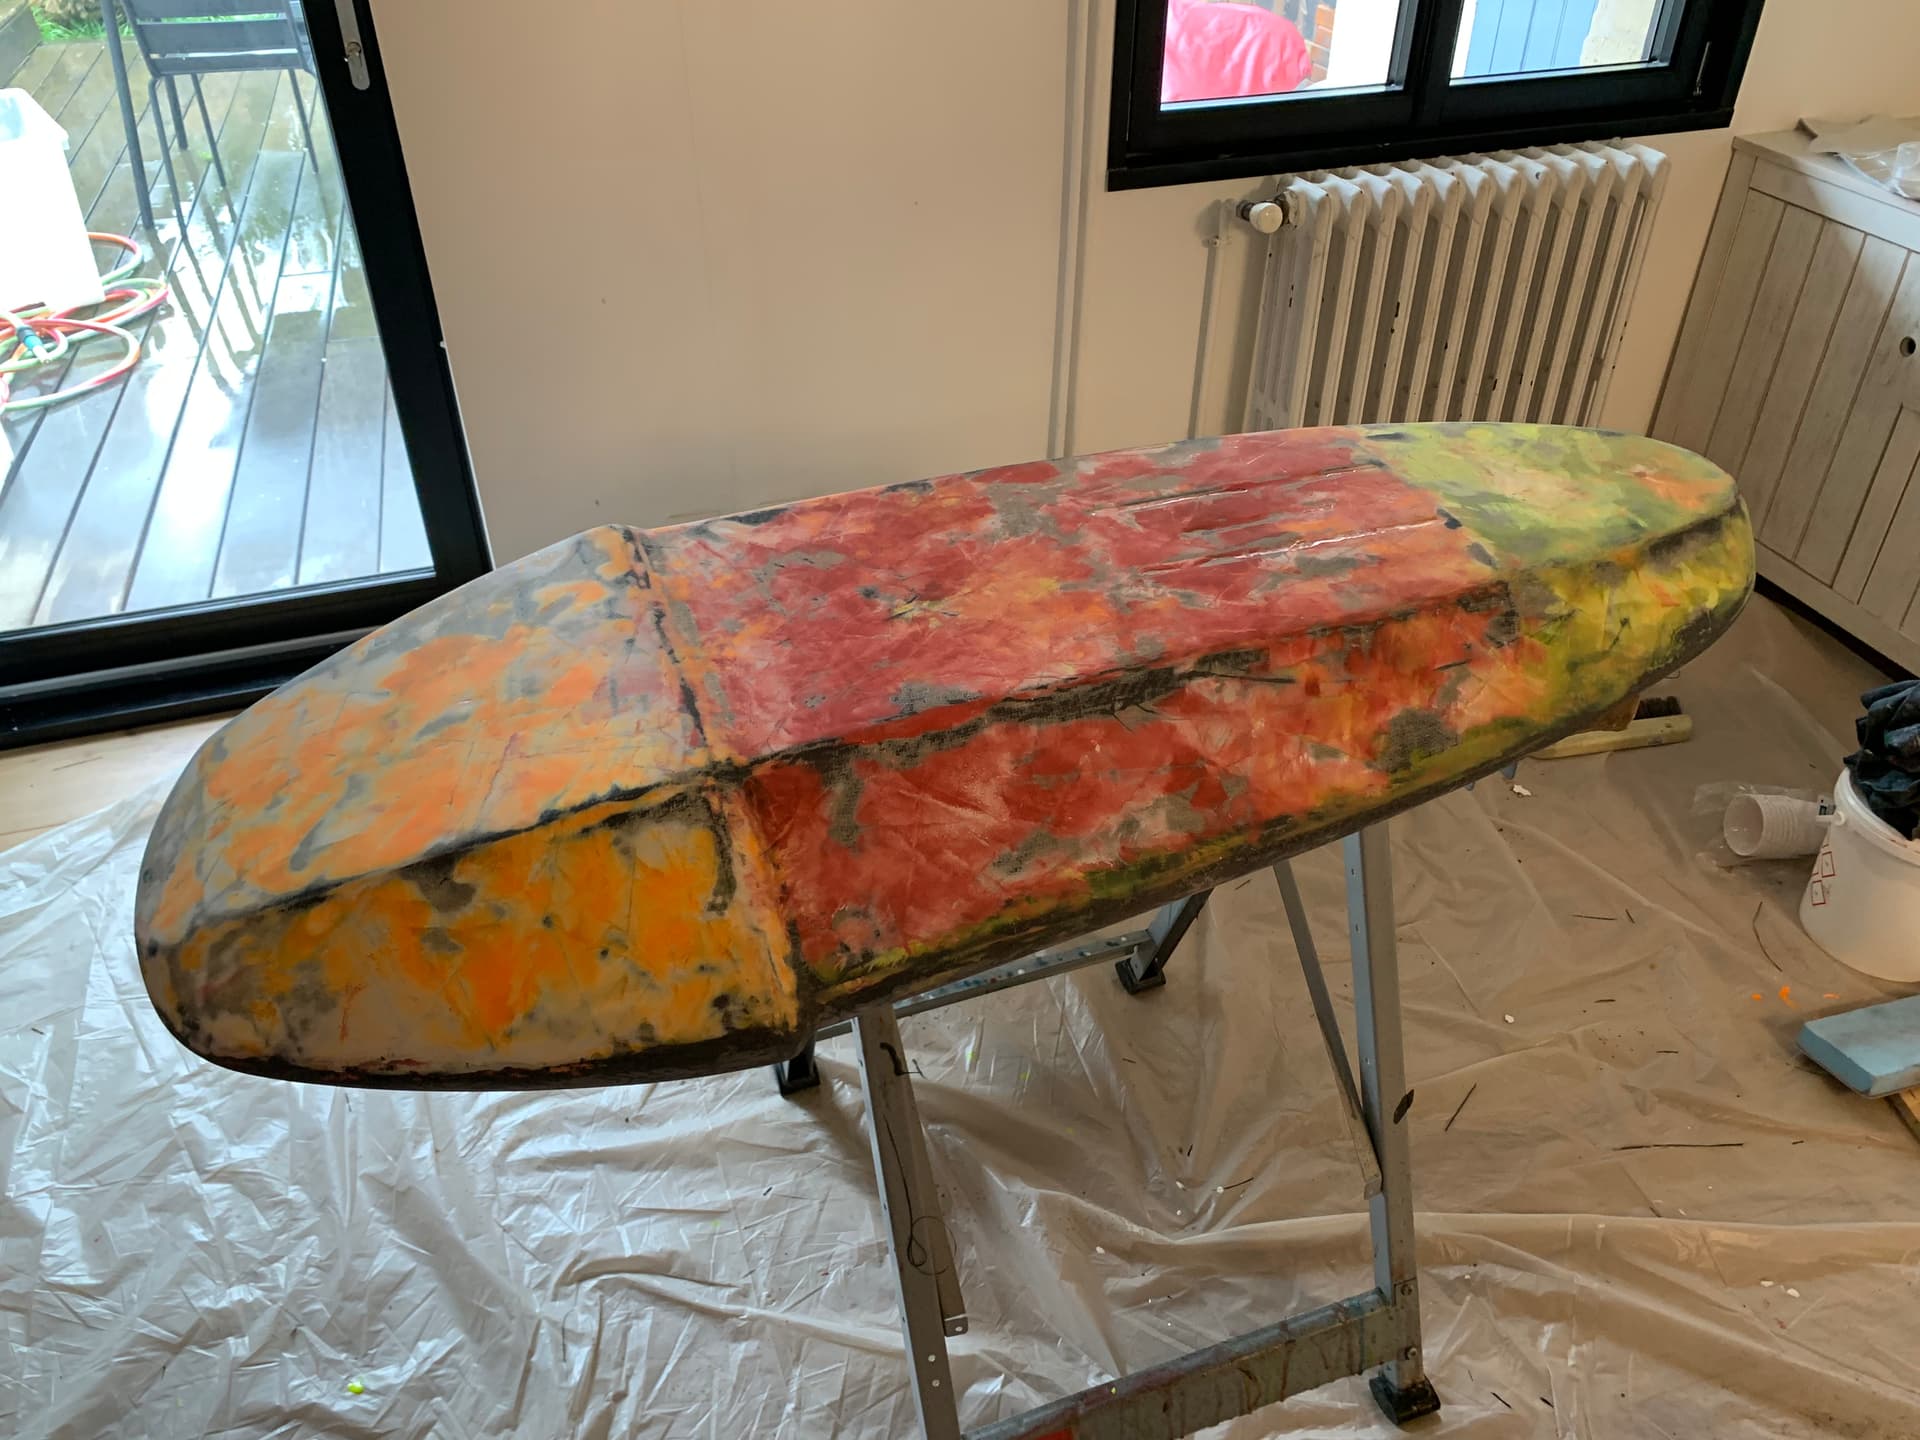
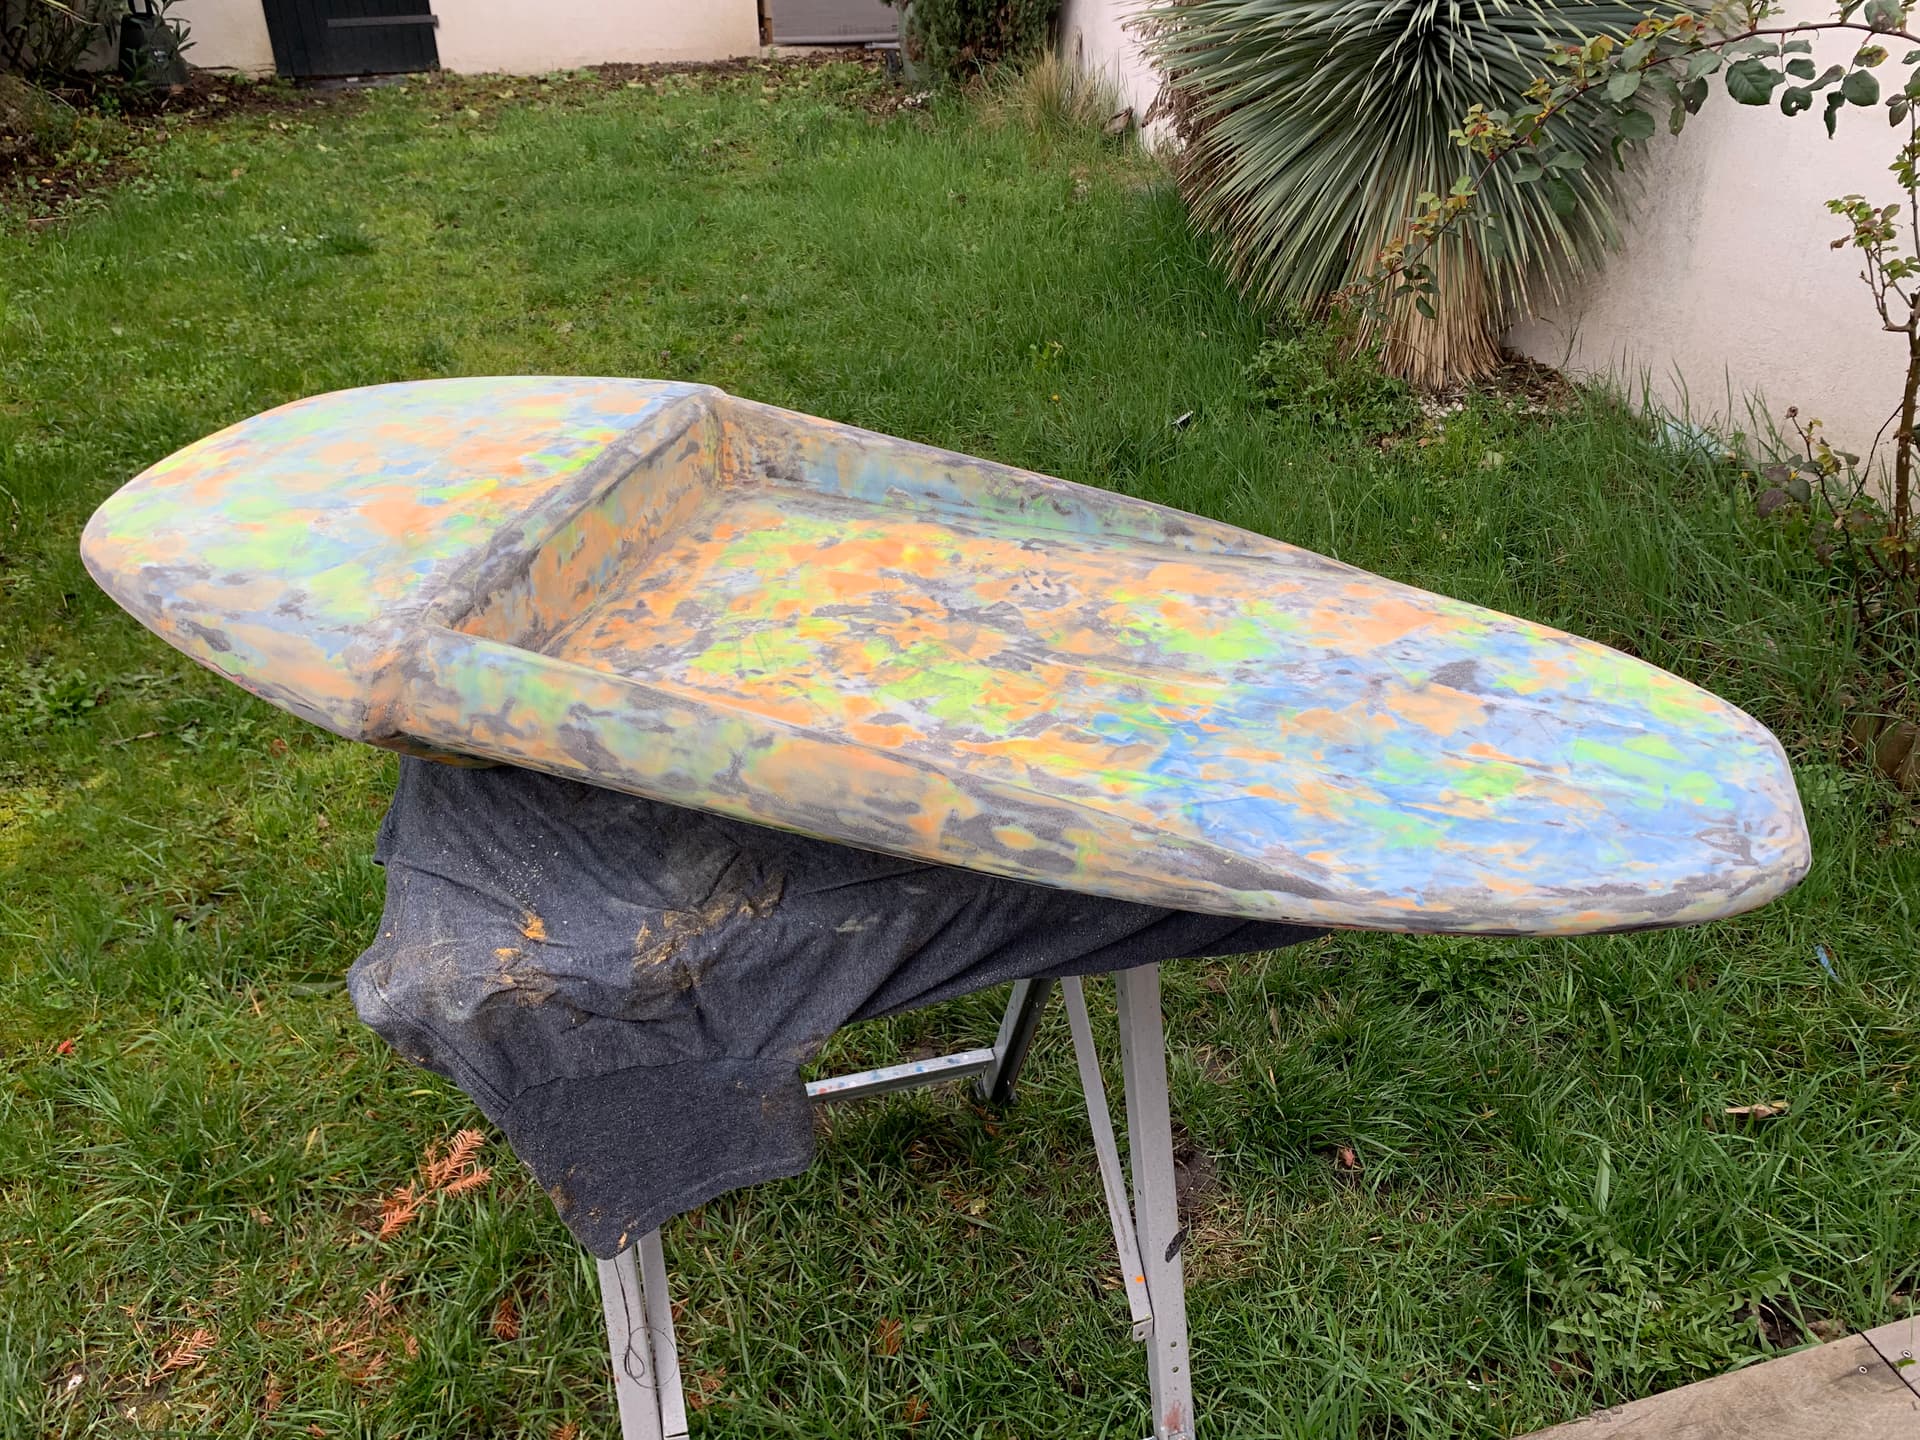
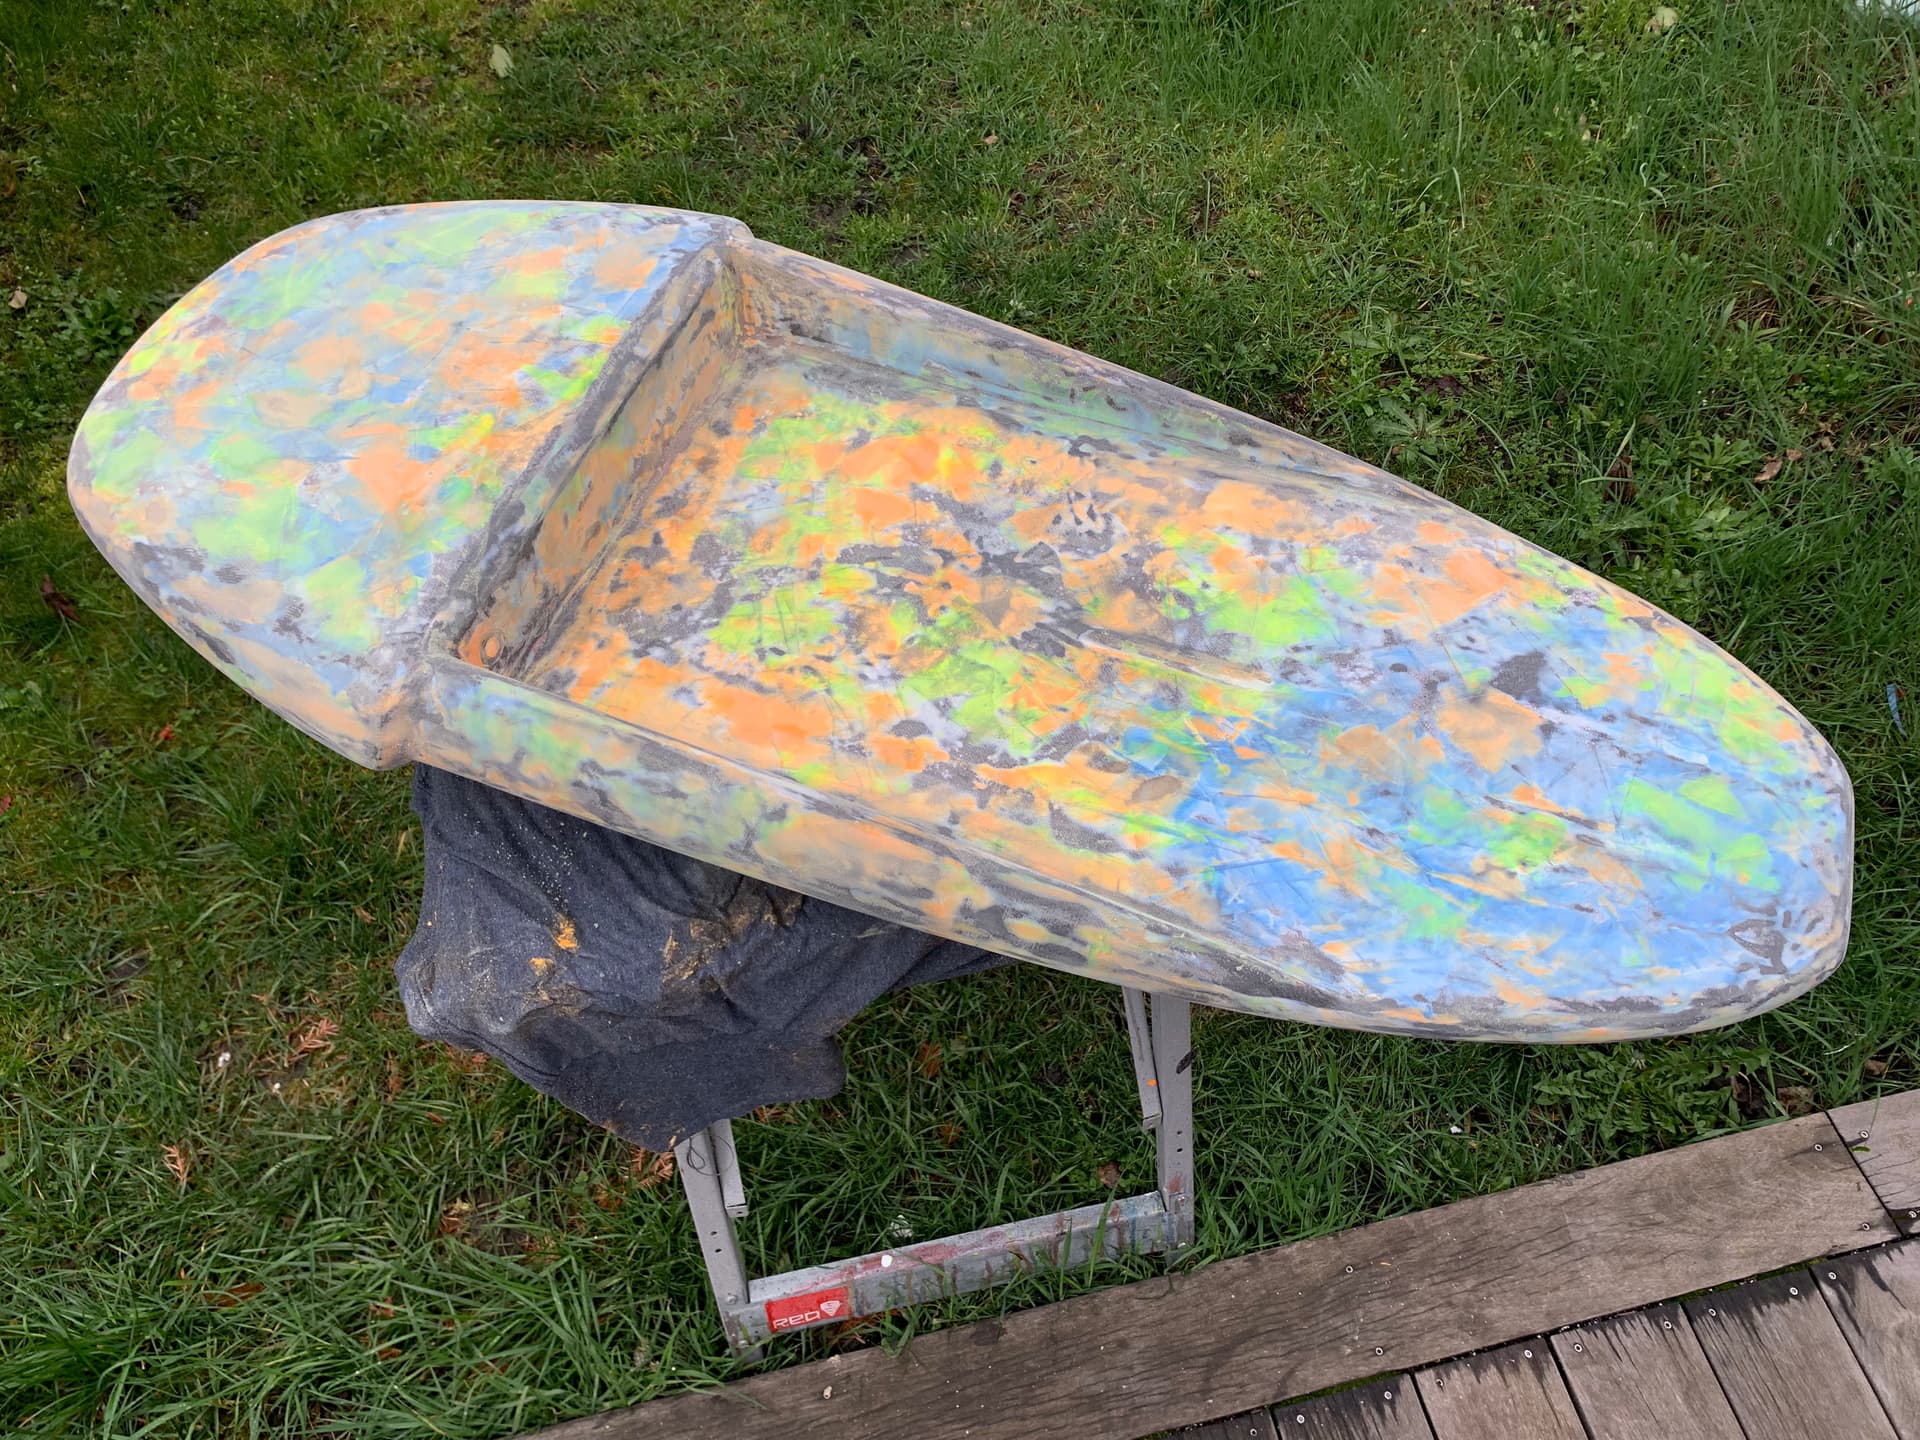
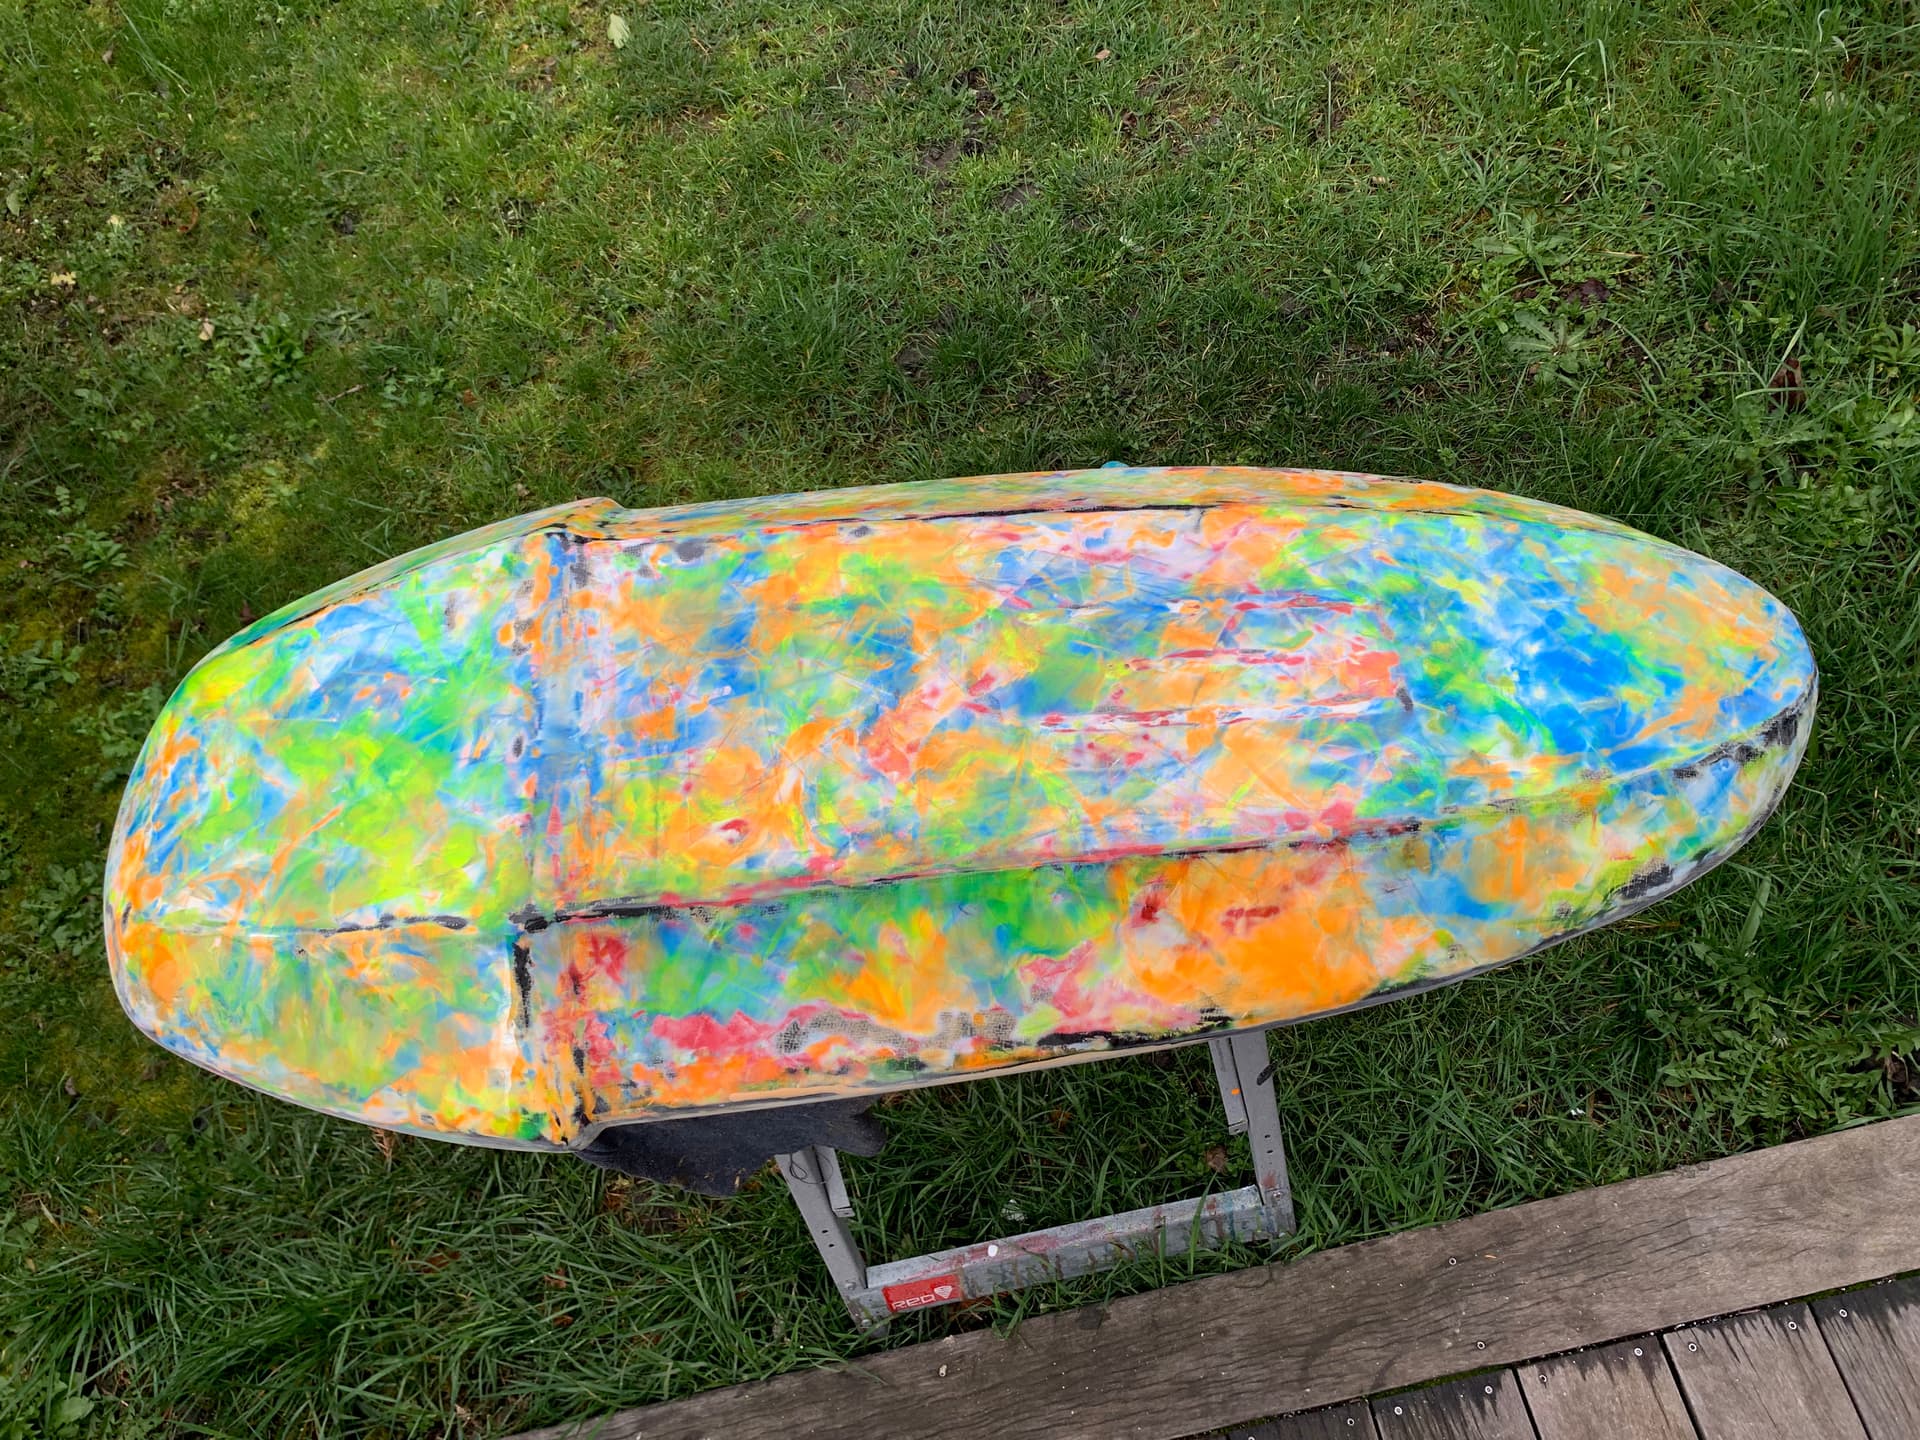
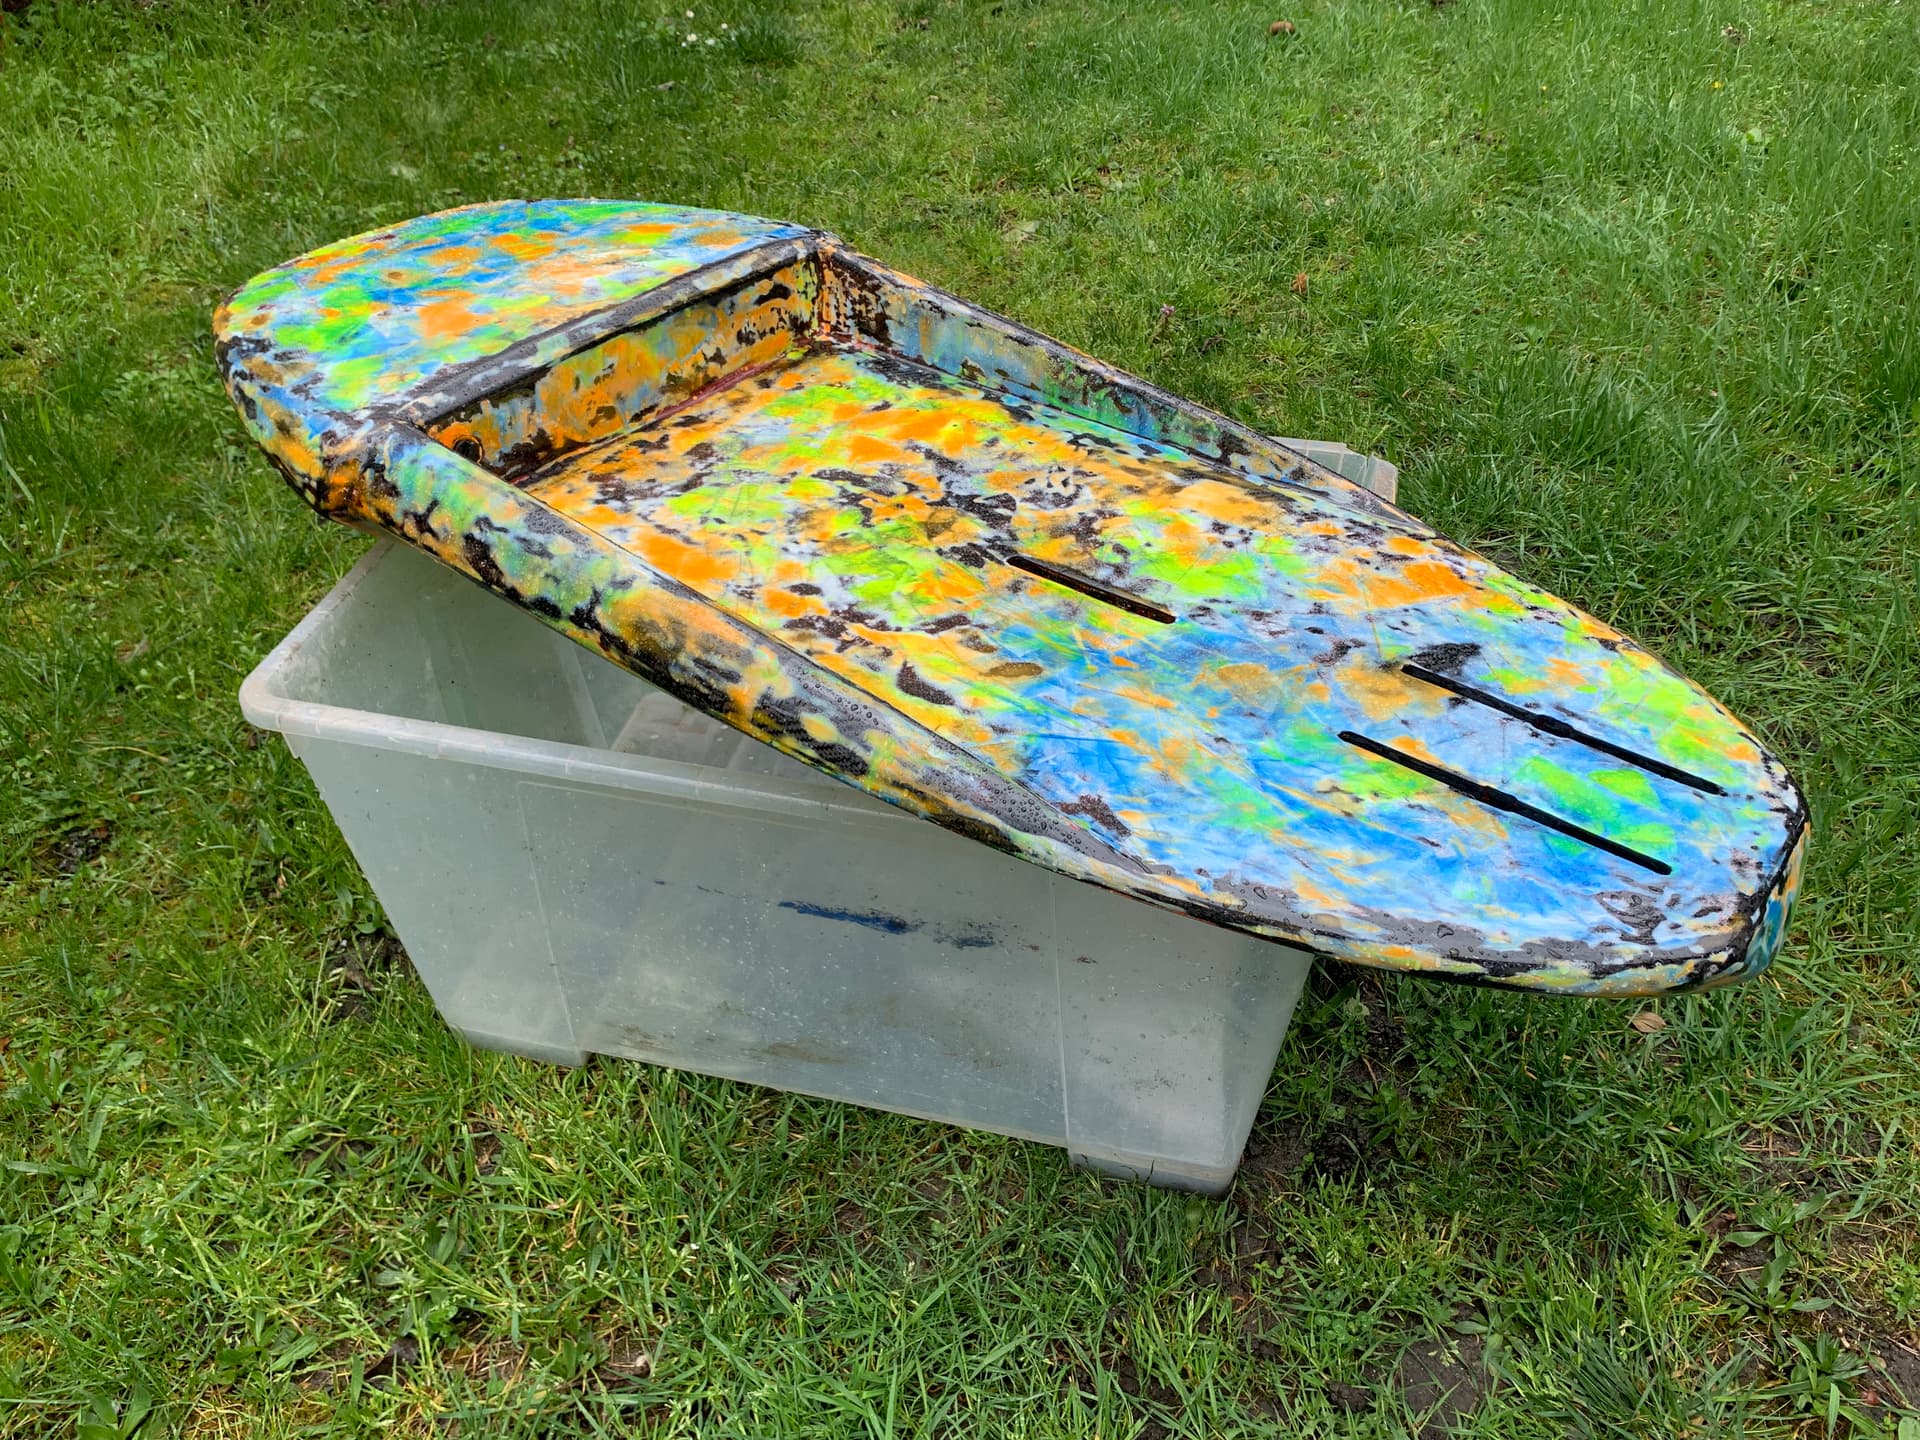
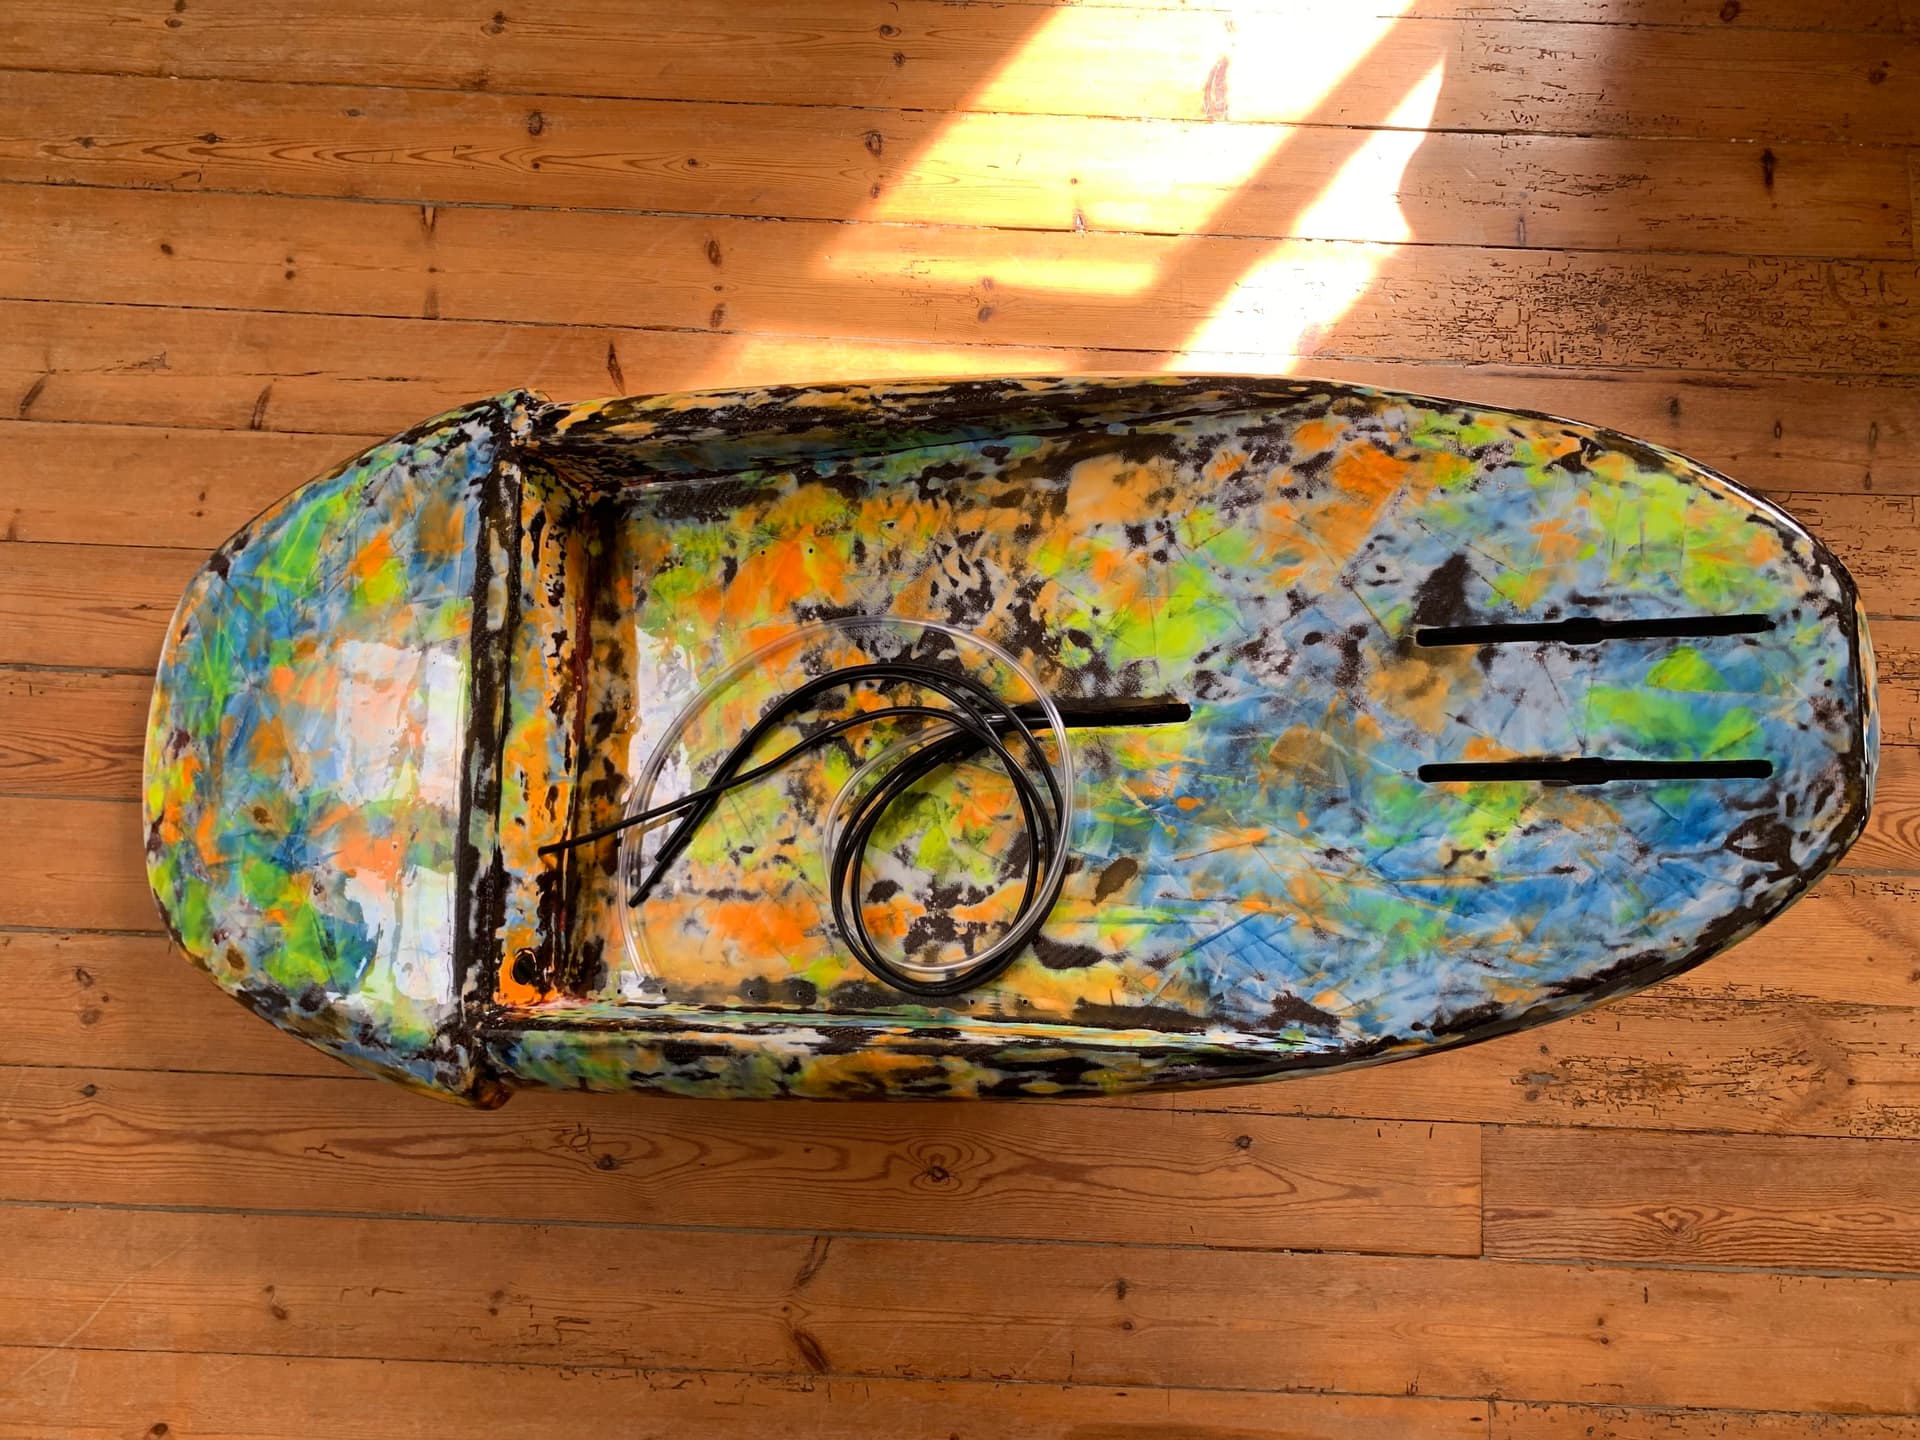
this morning, I sanded the bottom and will come back to it with more colors later on. I’ll make it more funky in the future with less separation on colors.
I also took care of the top.
3 Likes
okp
March 12, 2023, 4:22pm
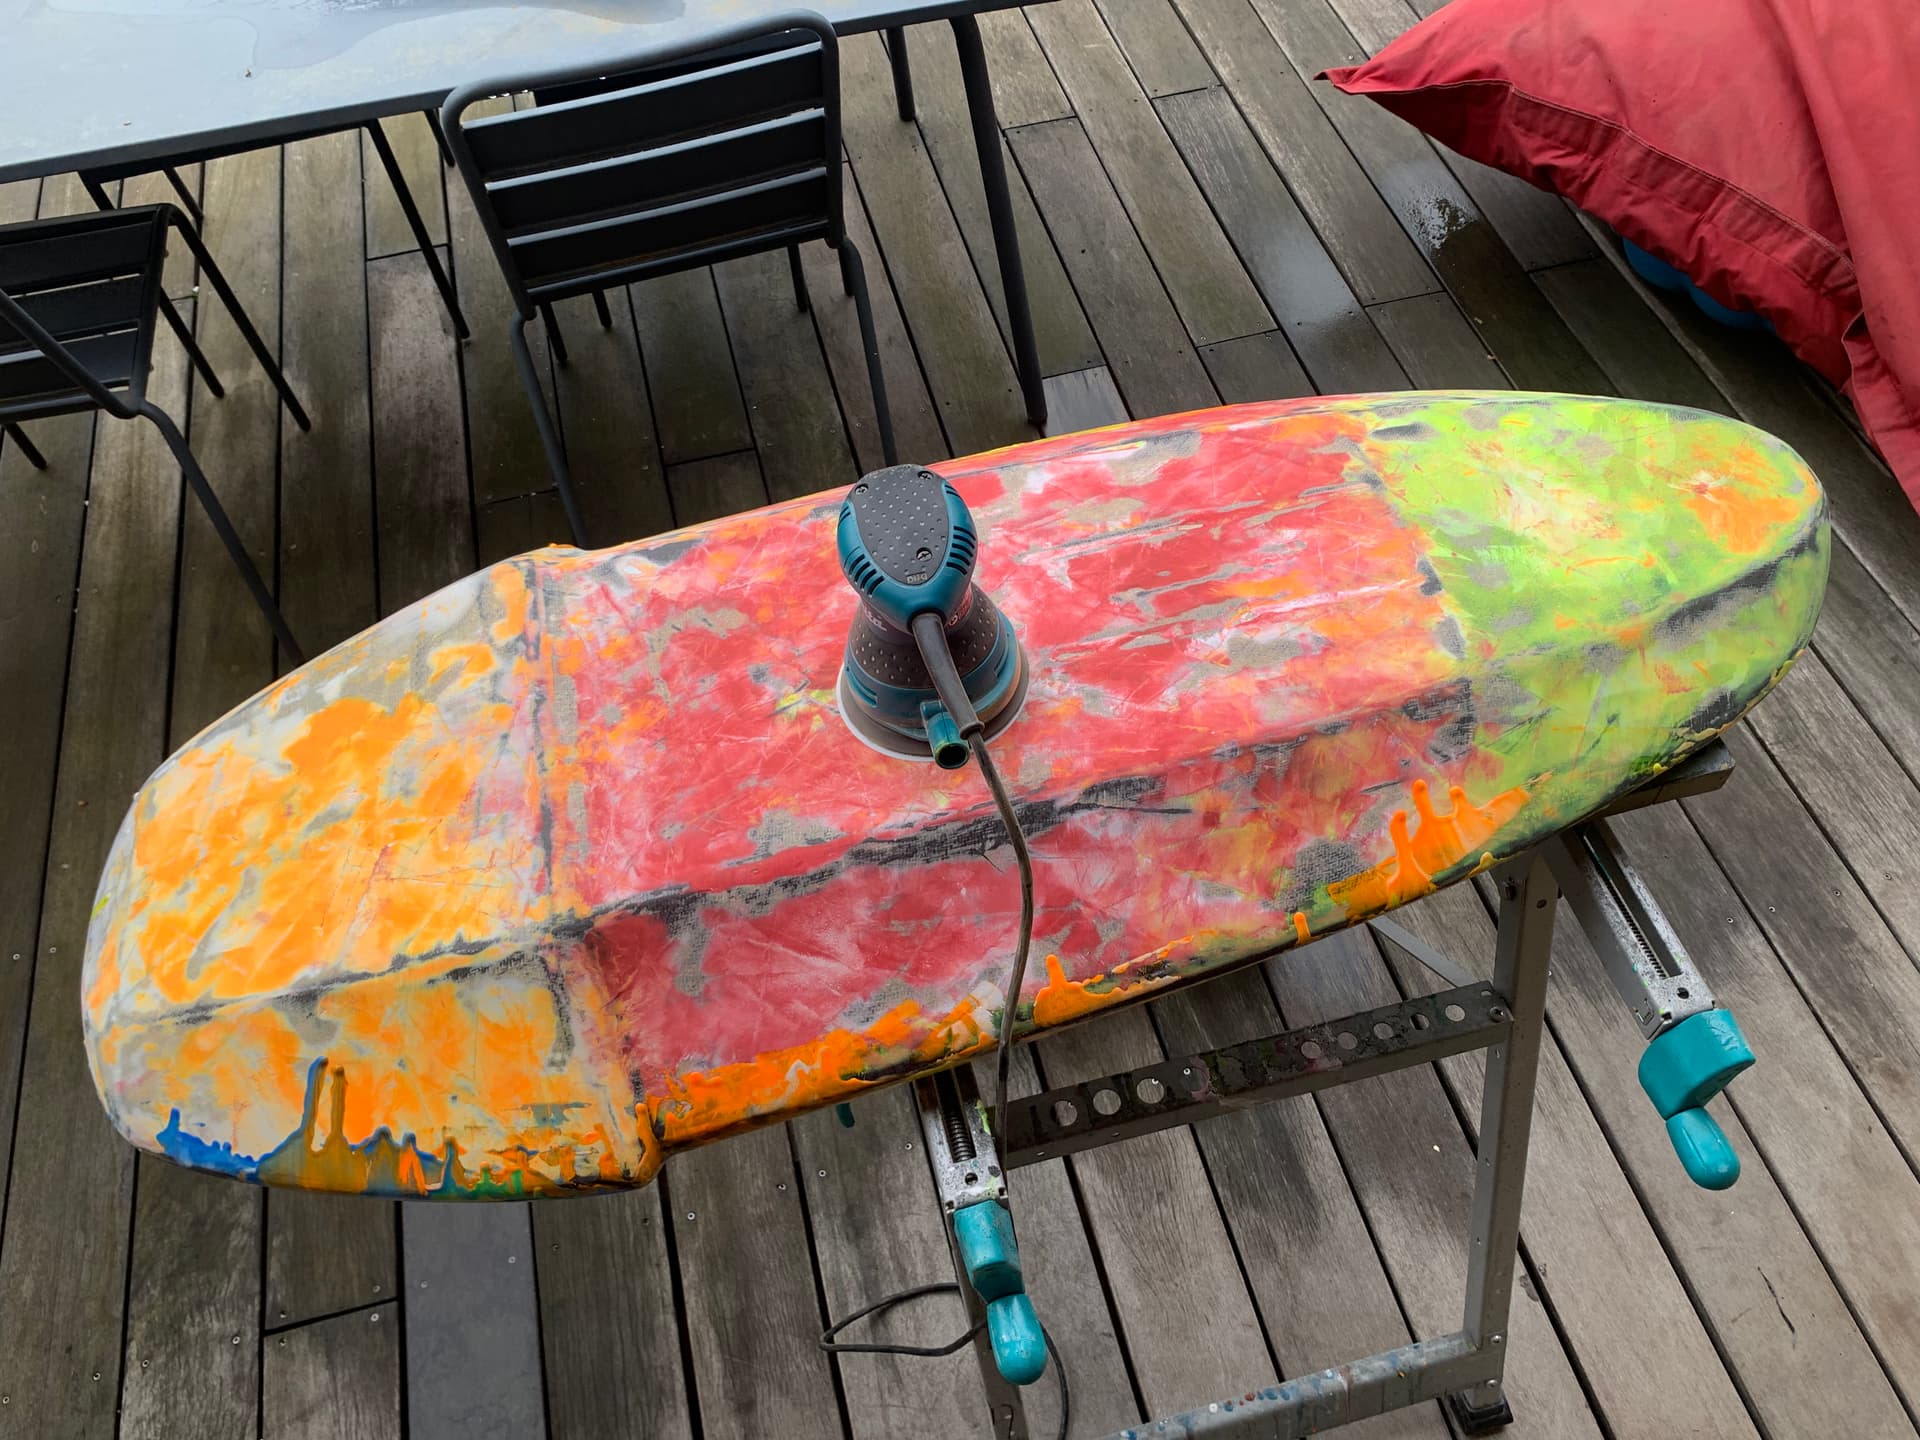
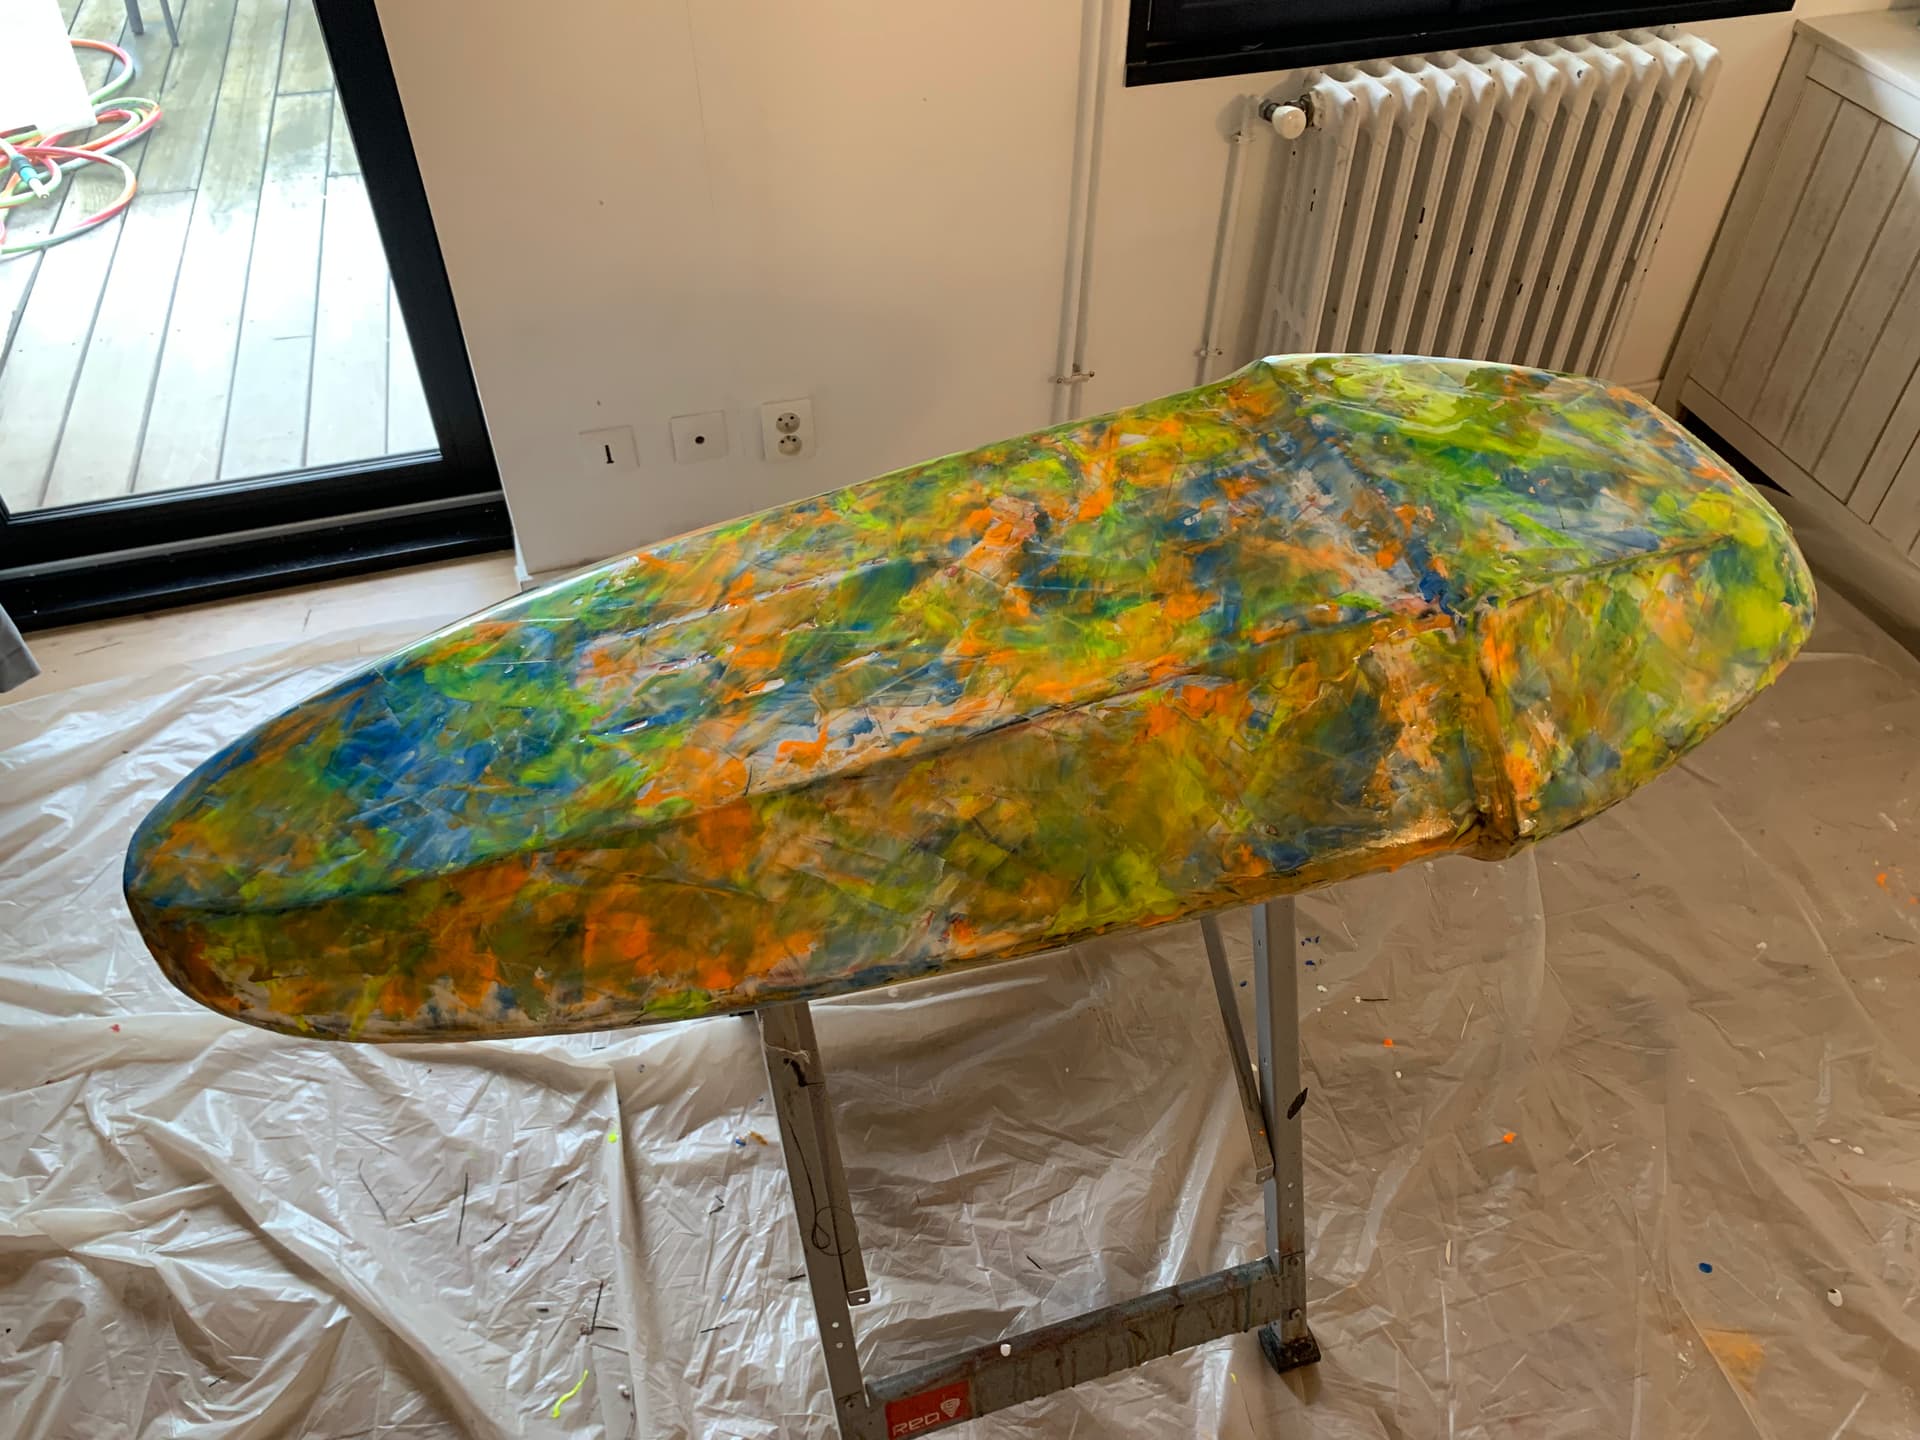
51
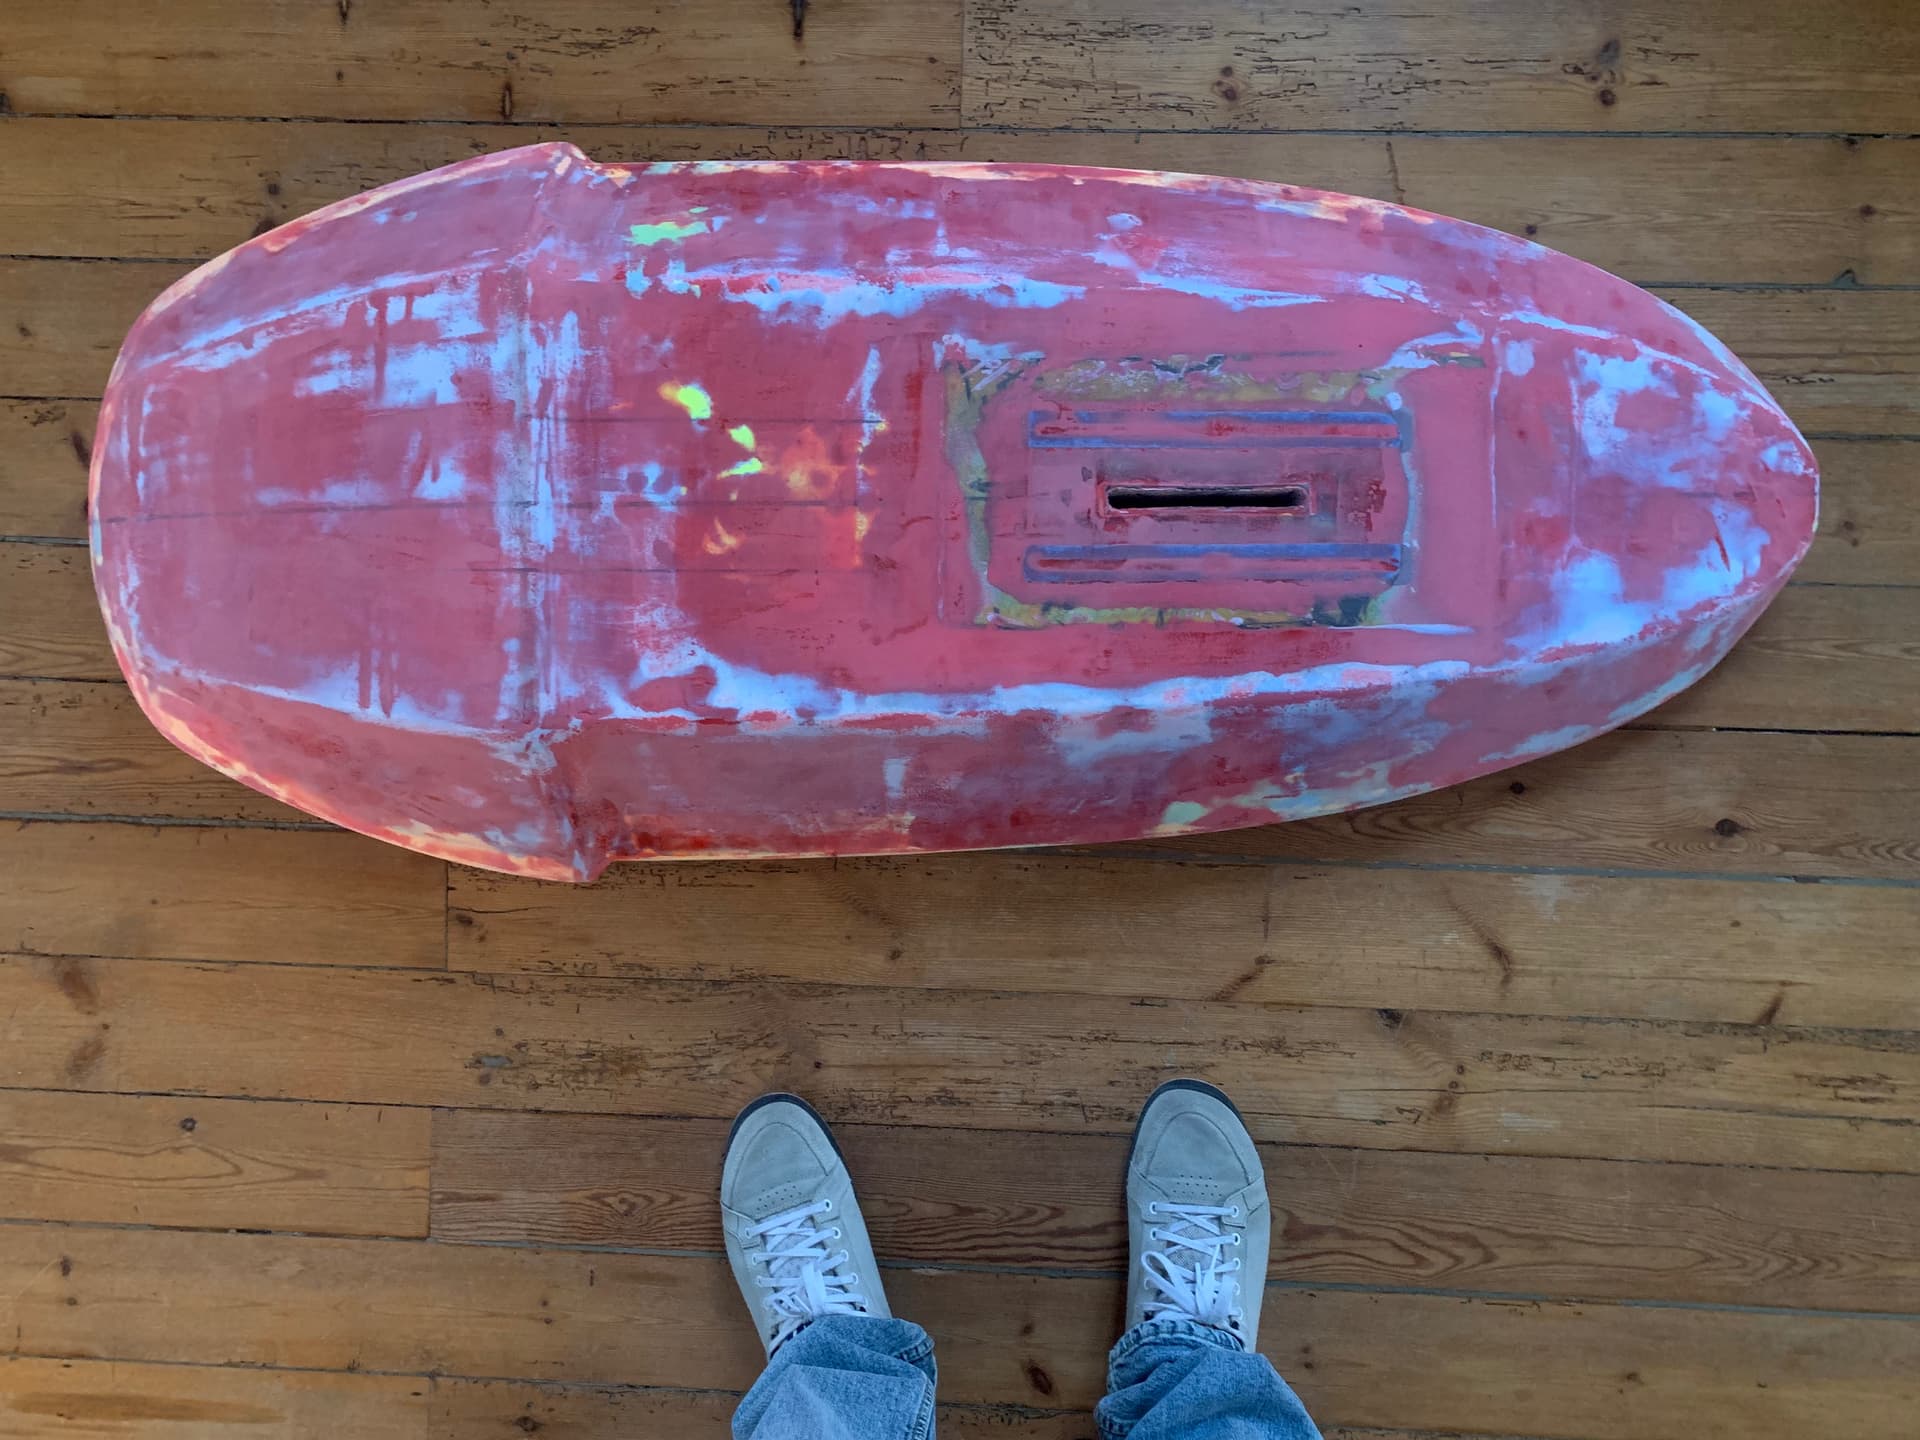
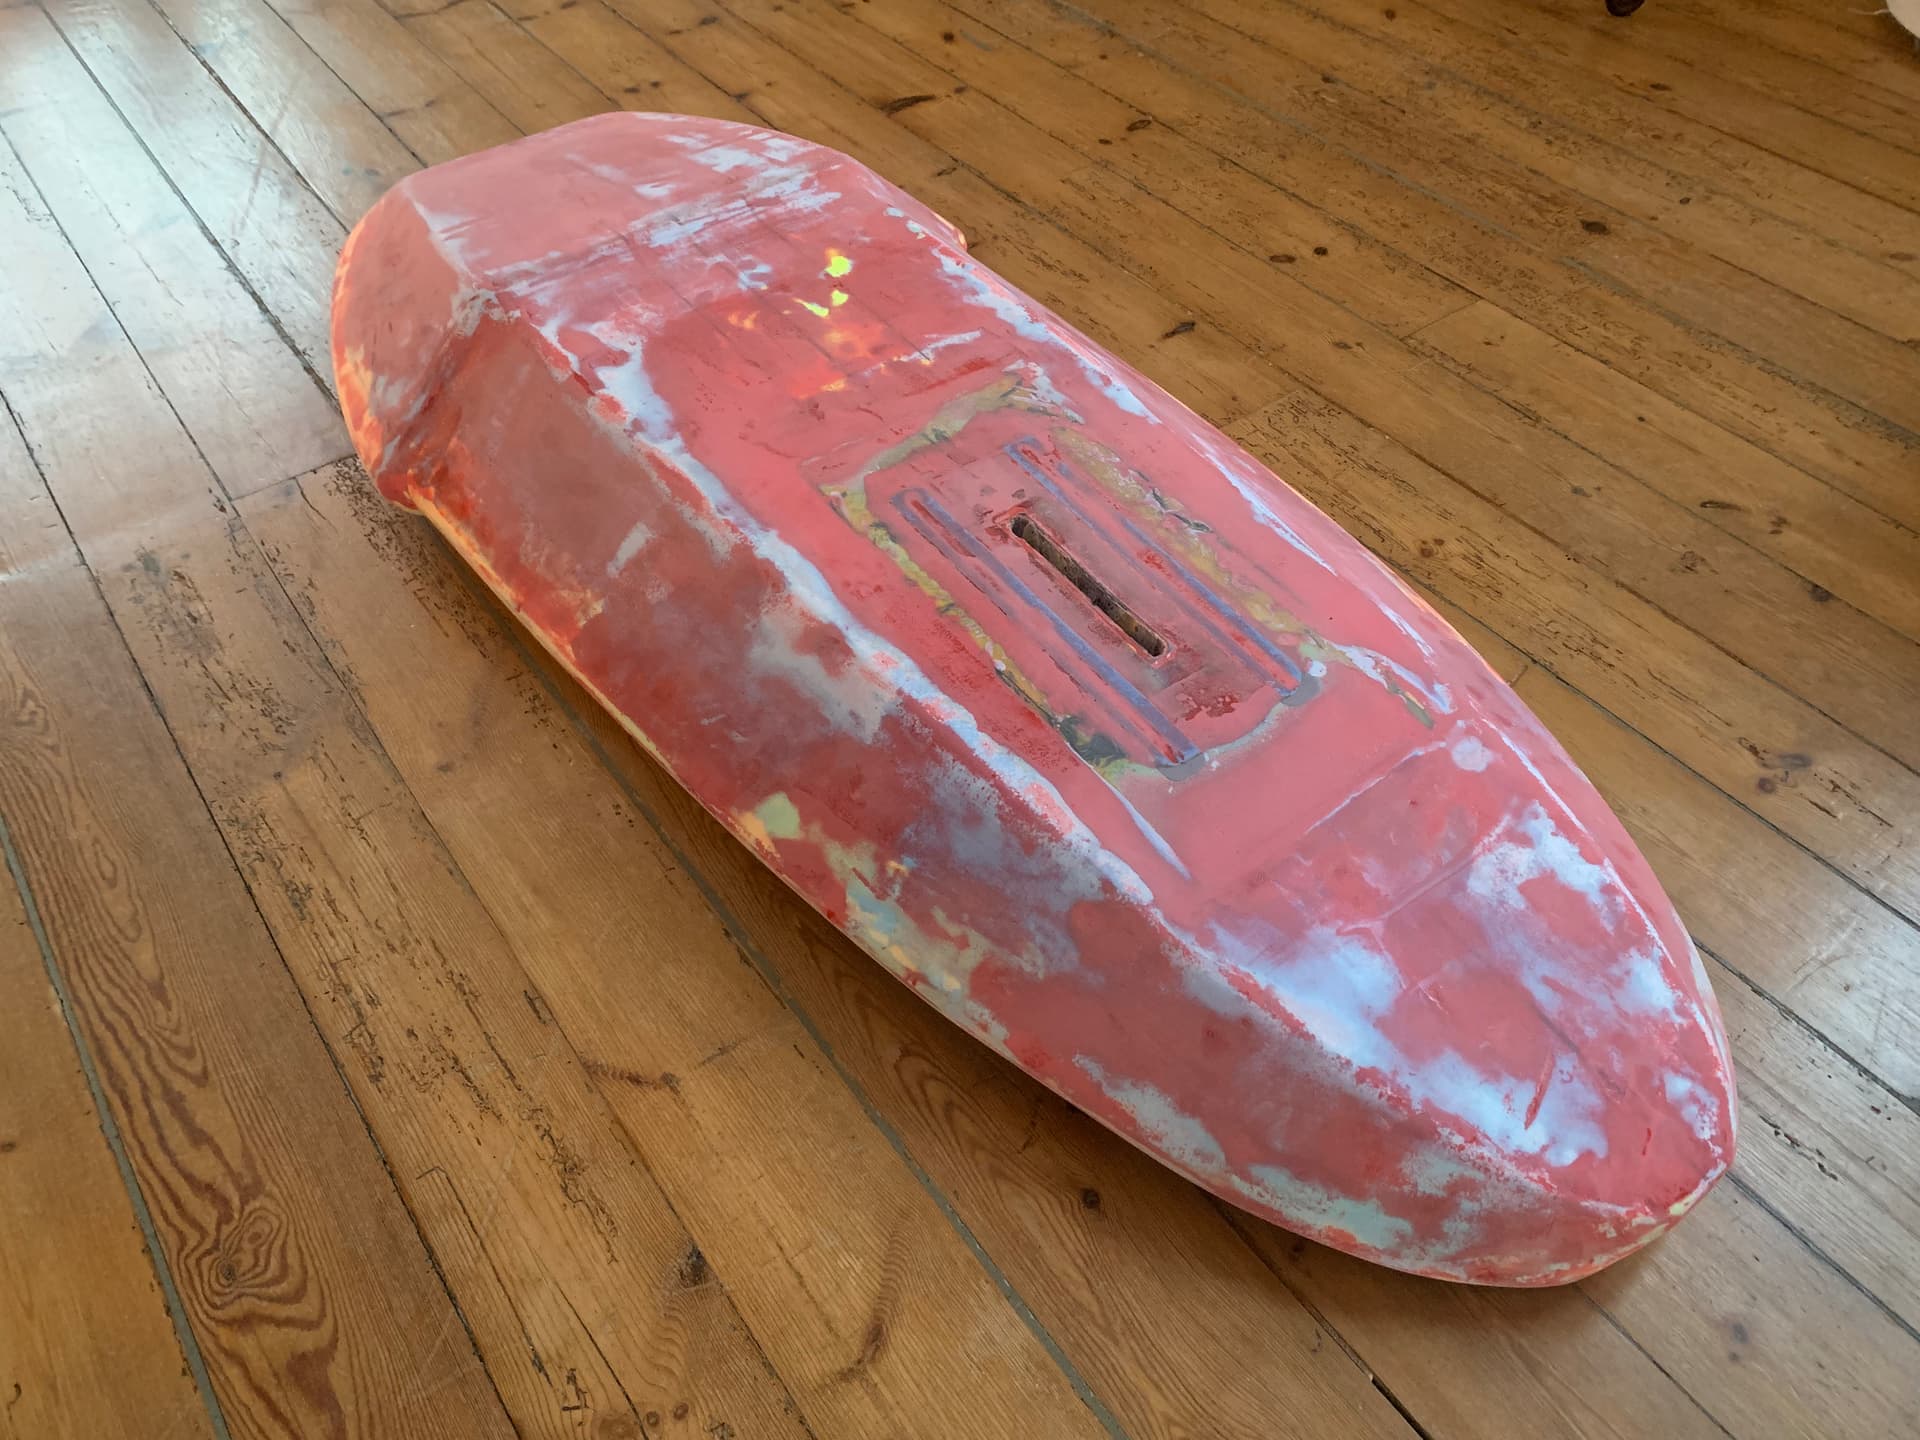
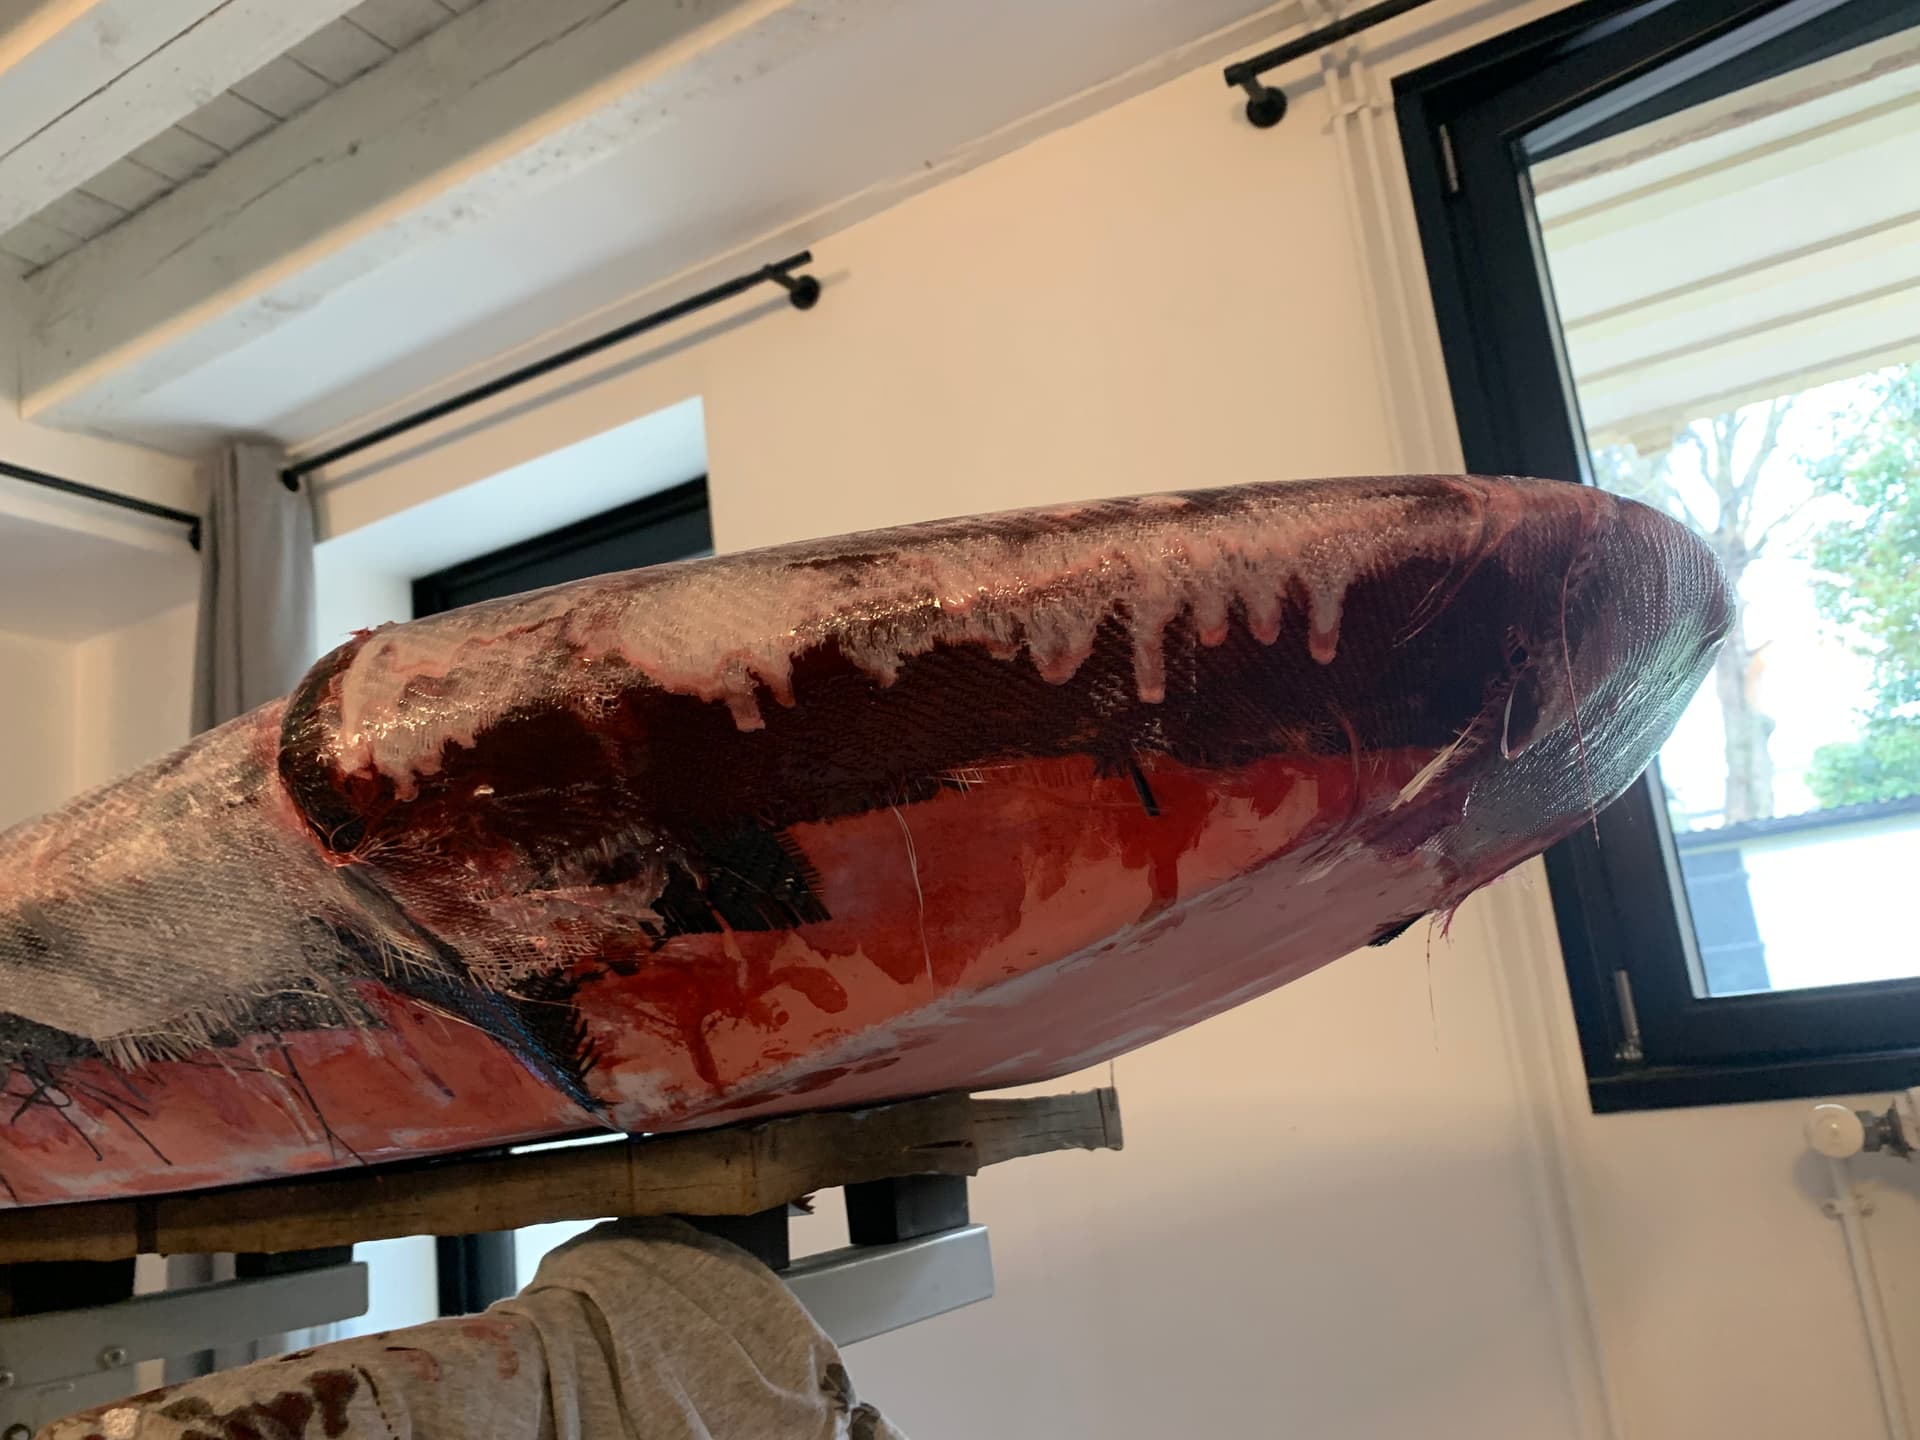
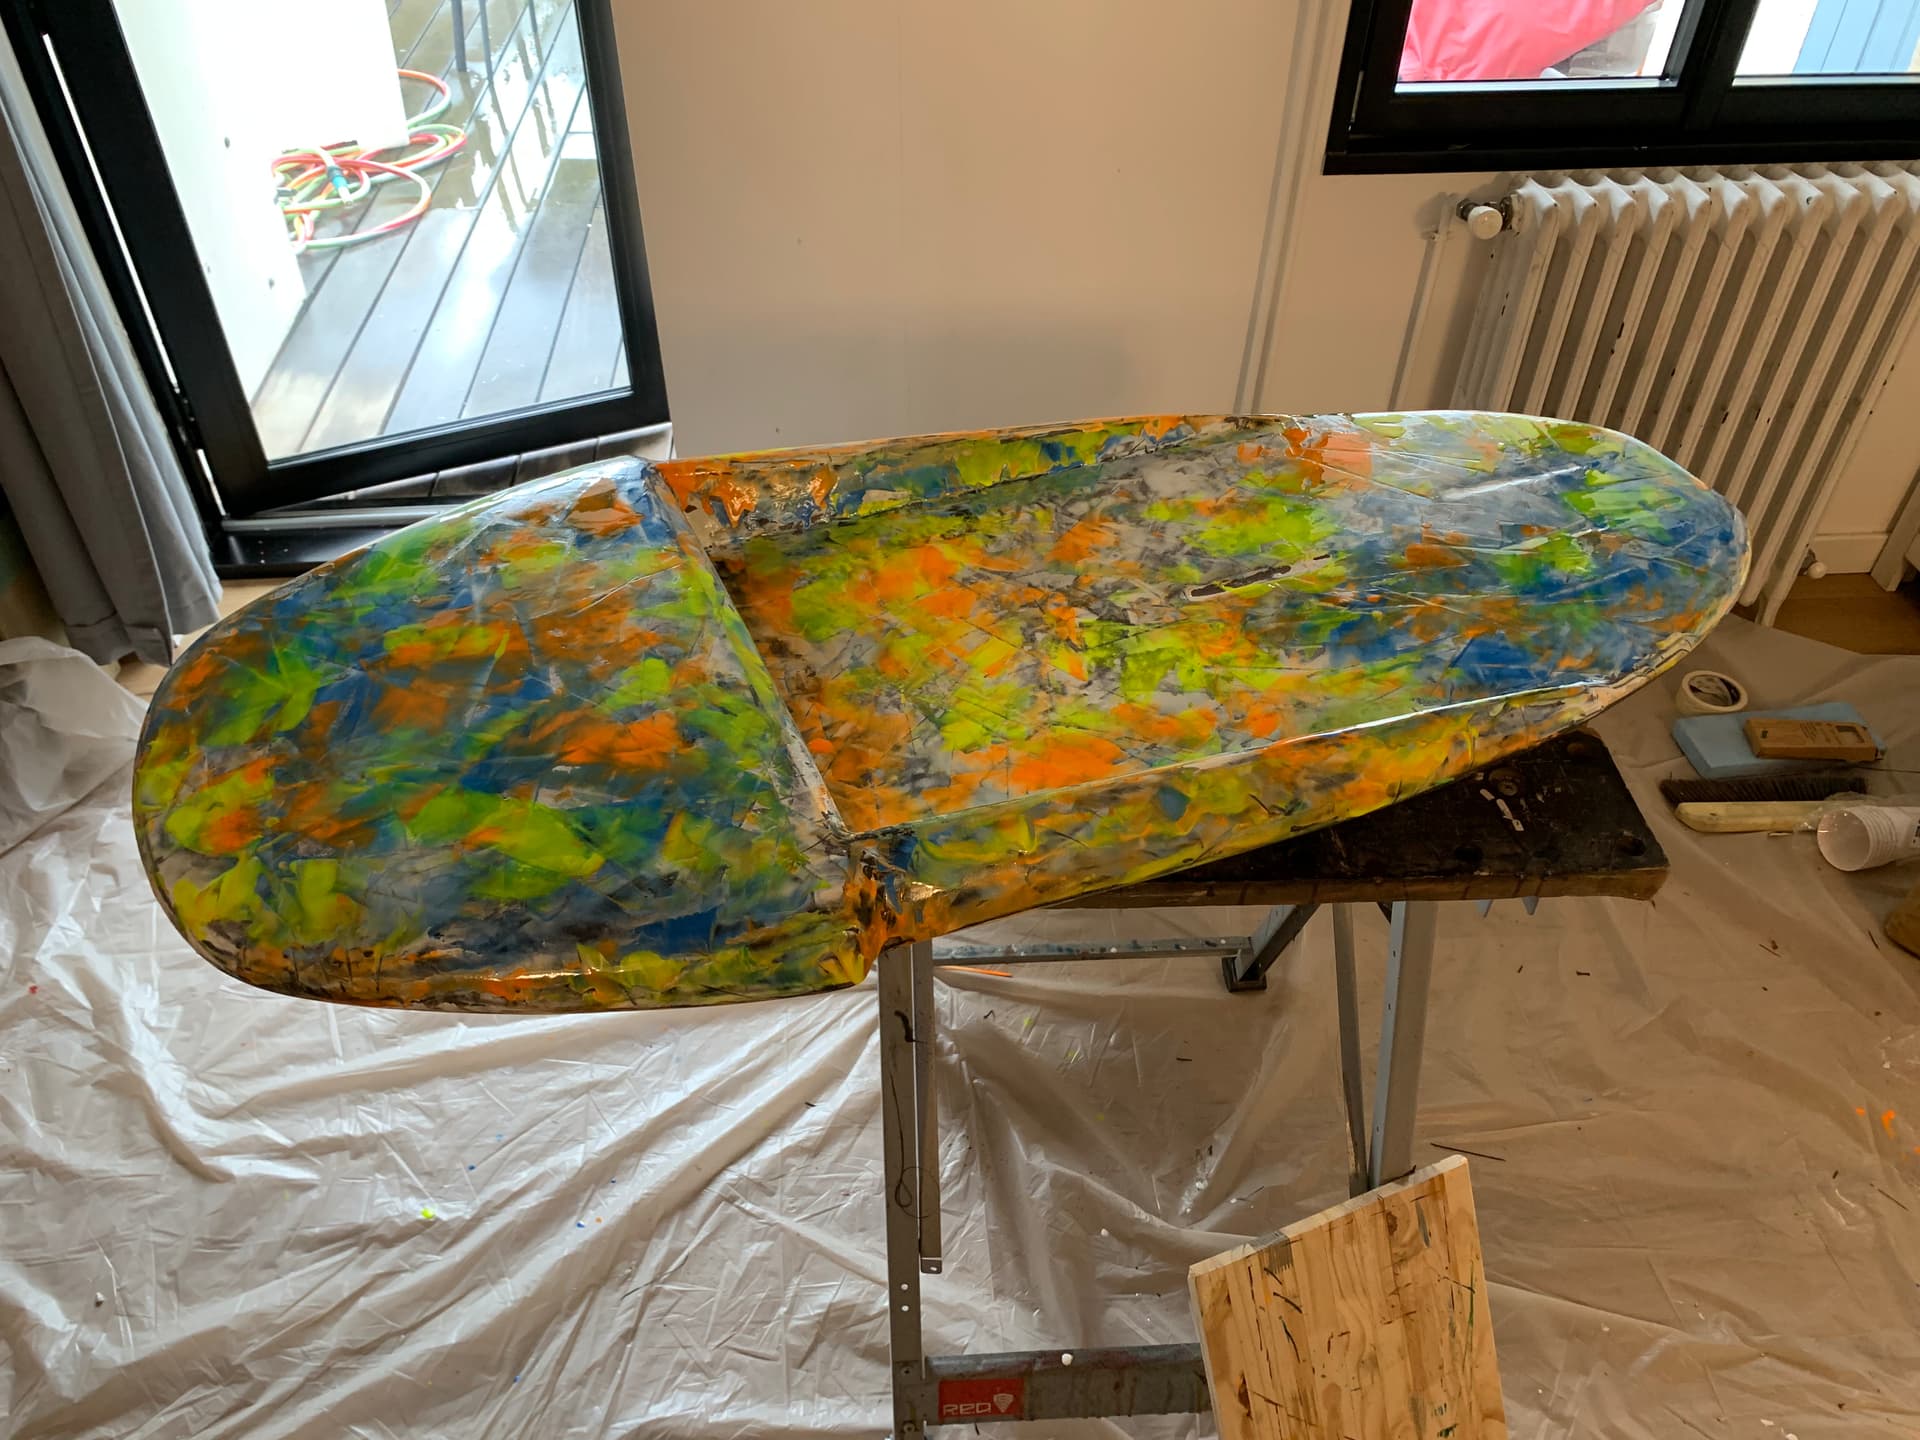
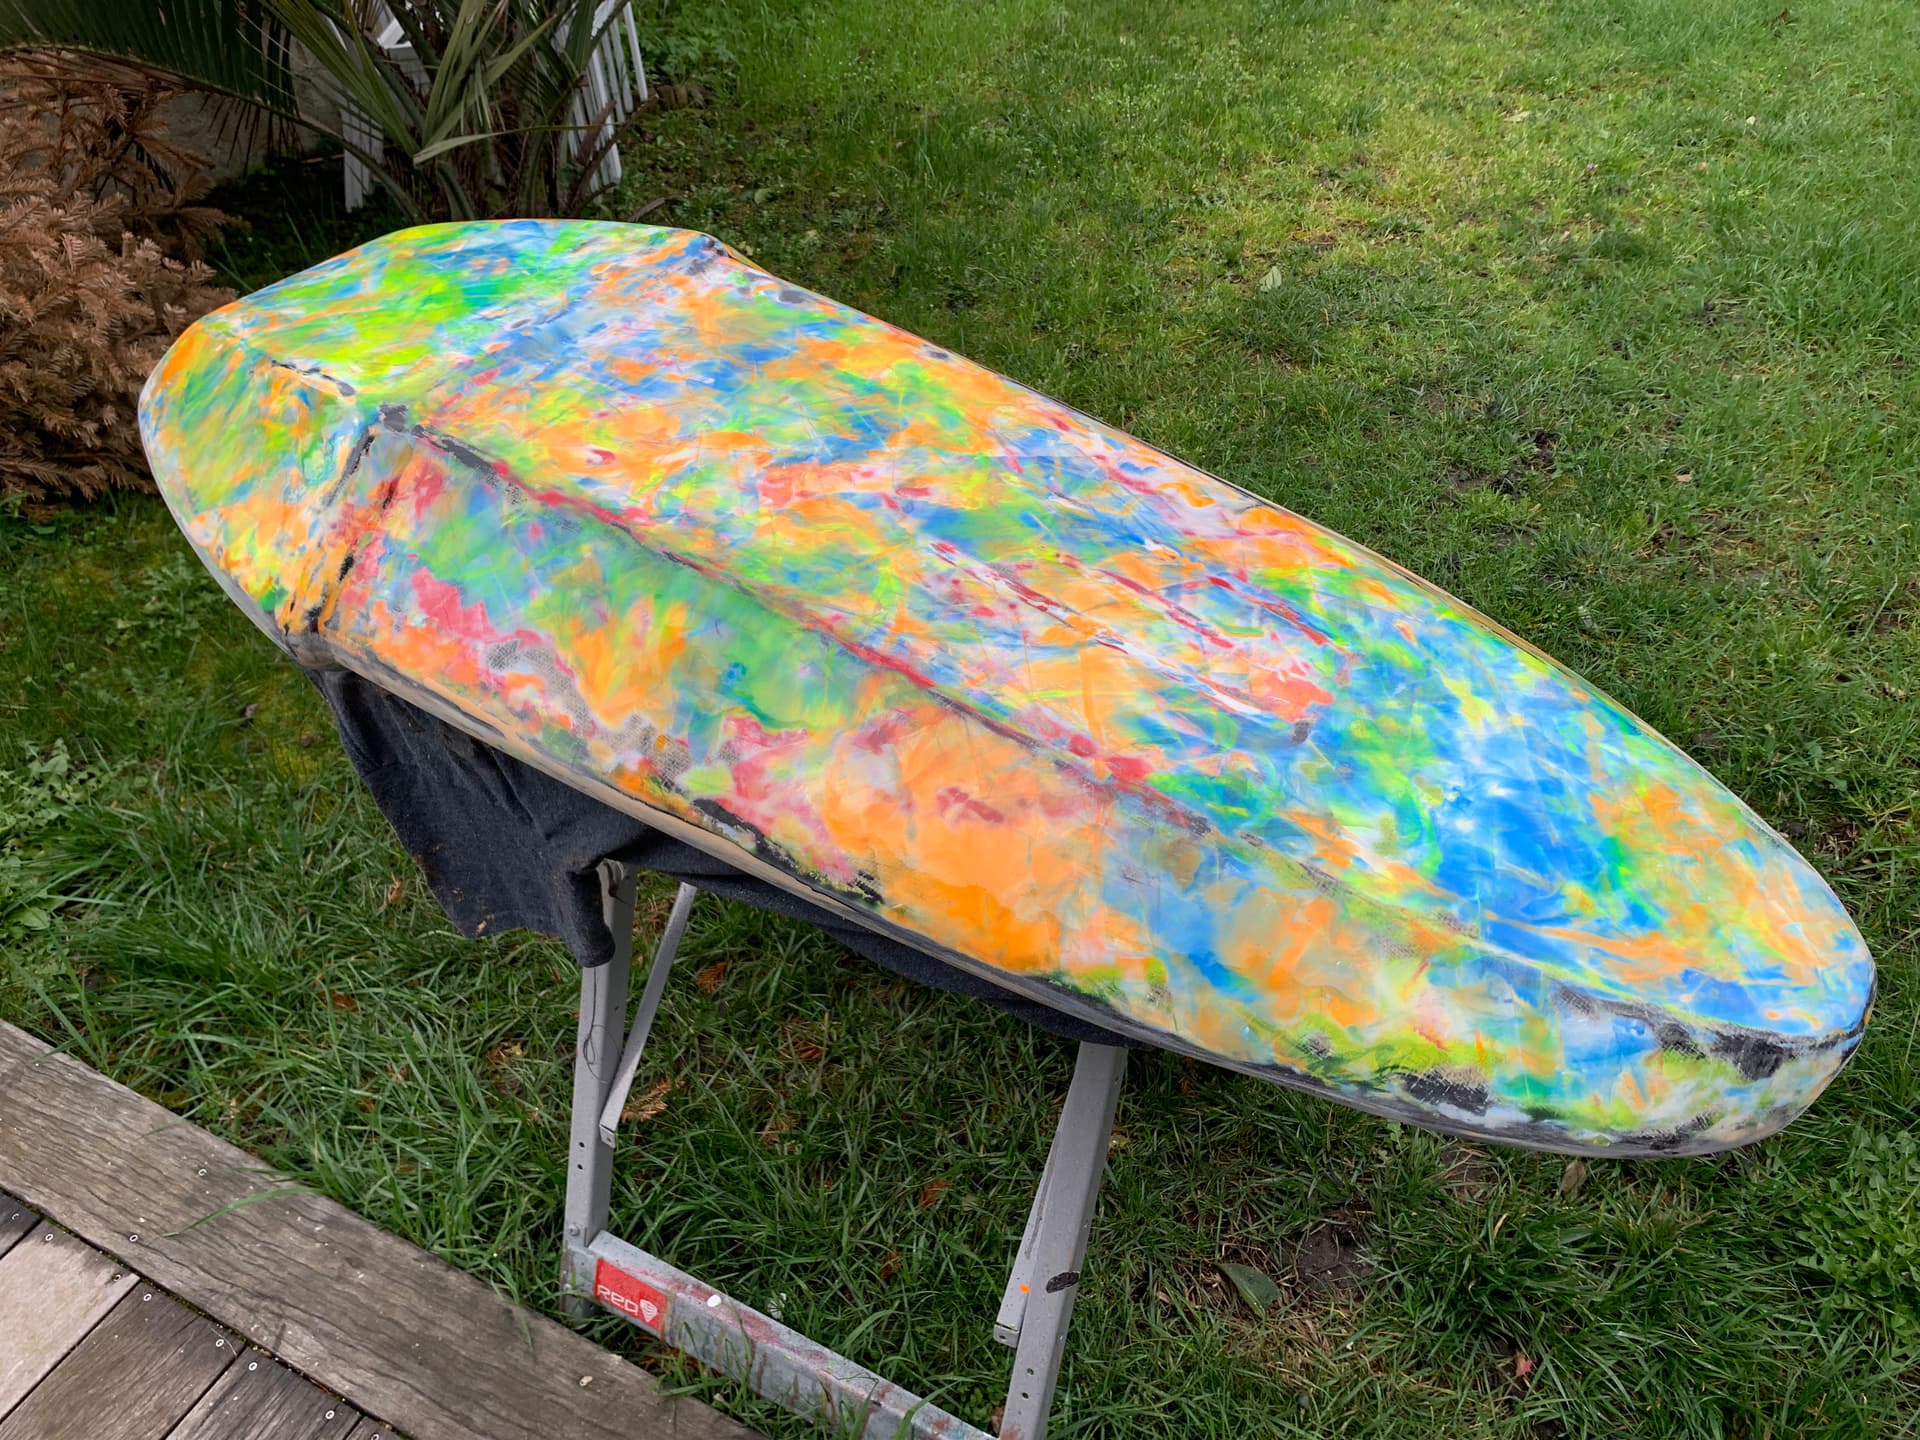
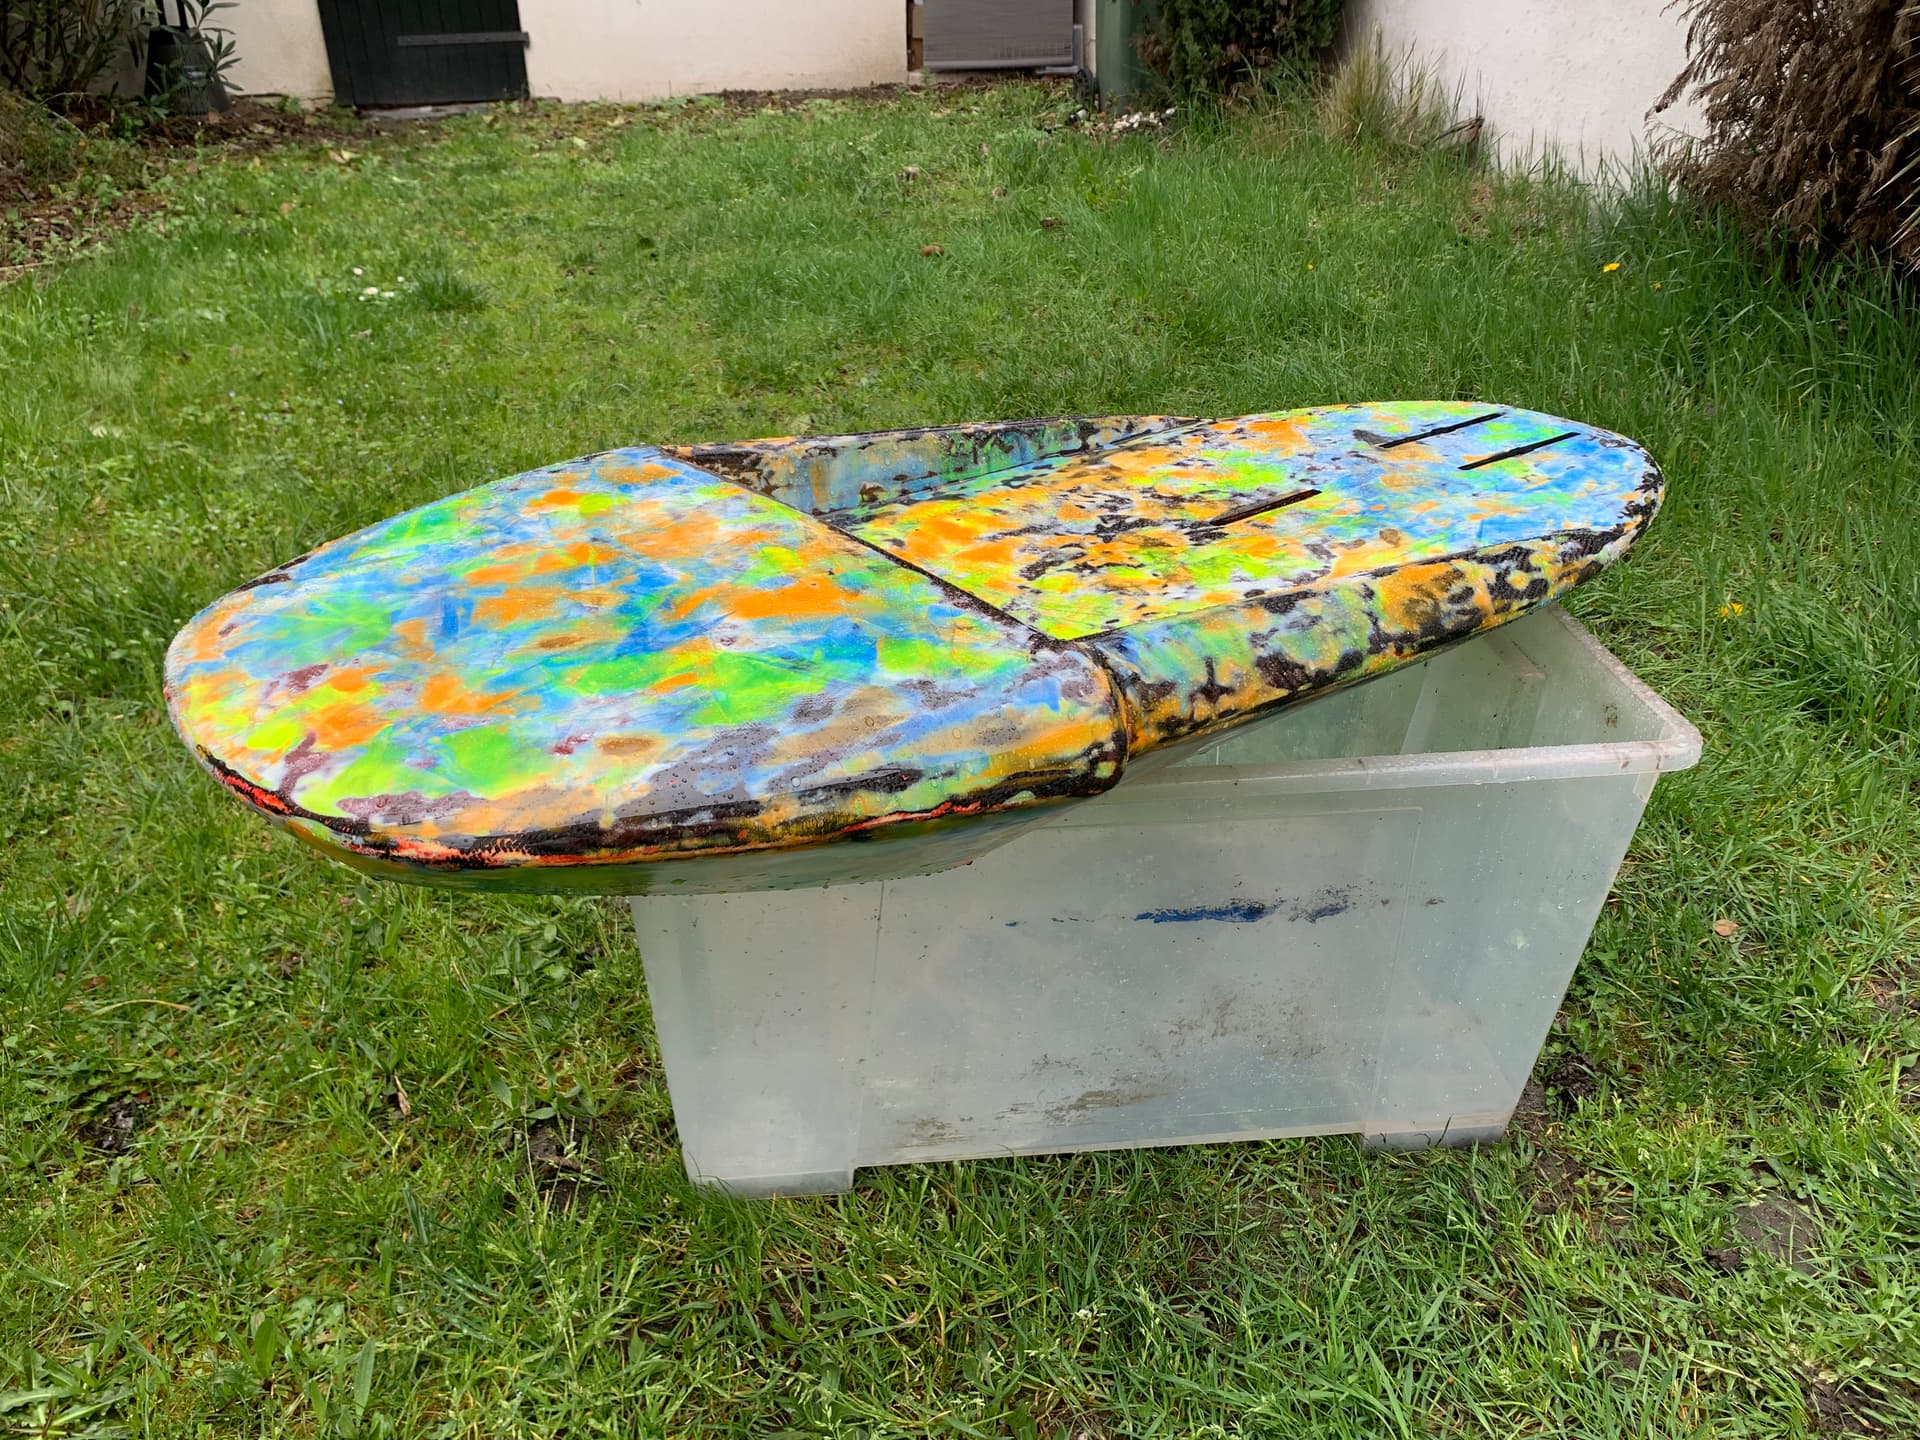
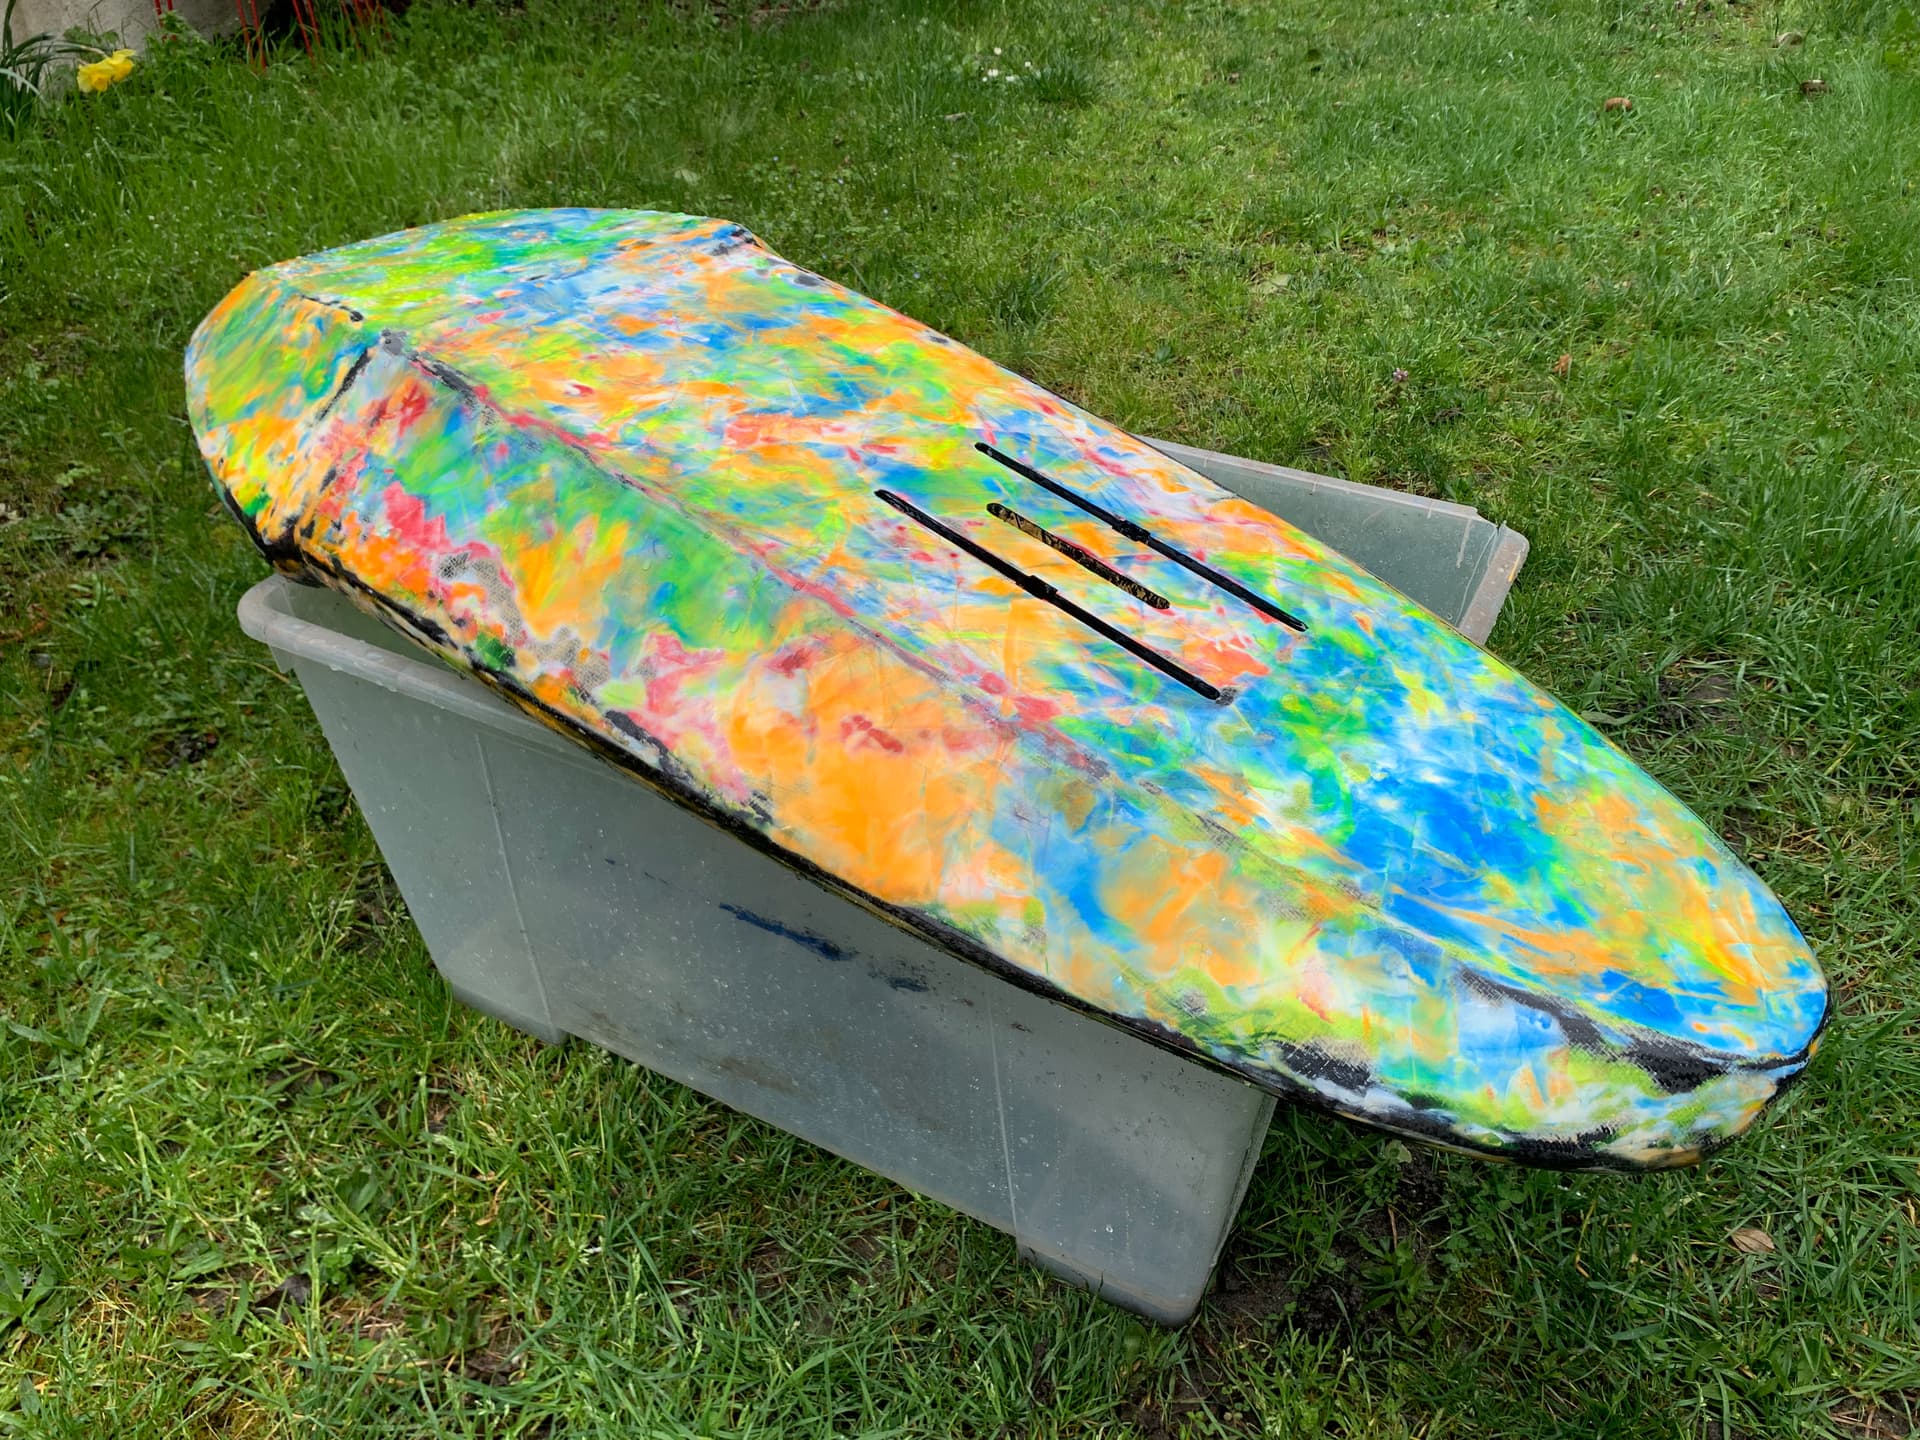
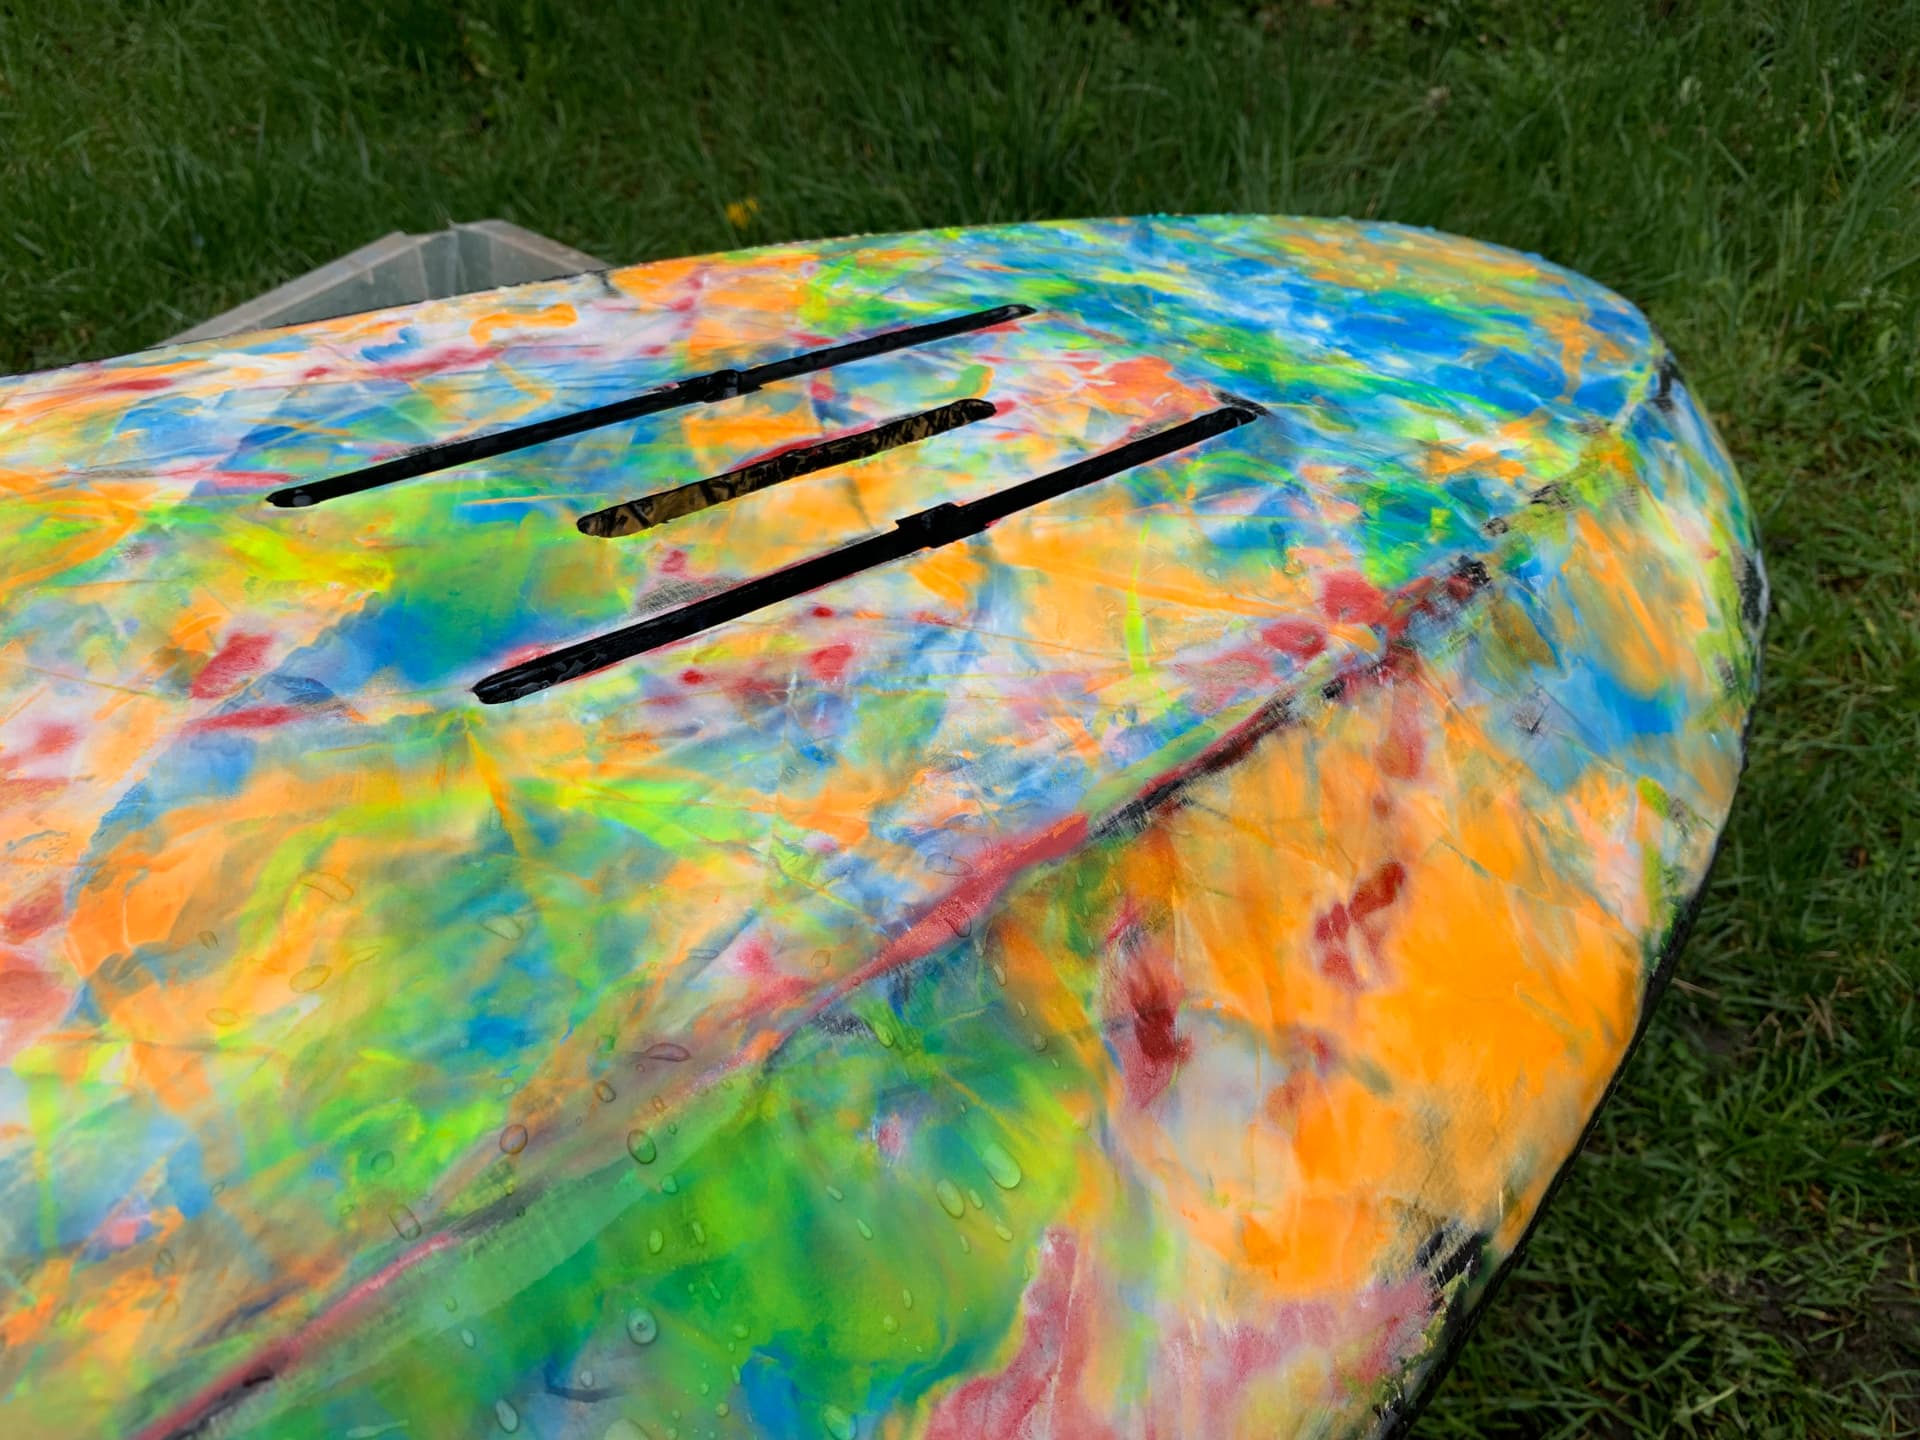
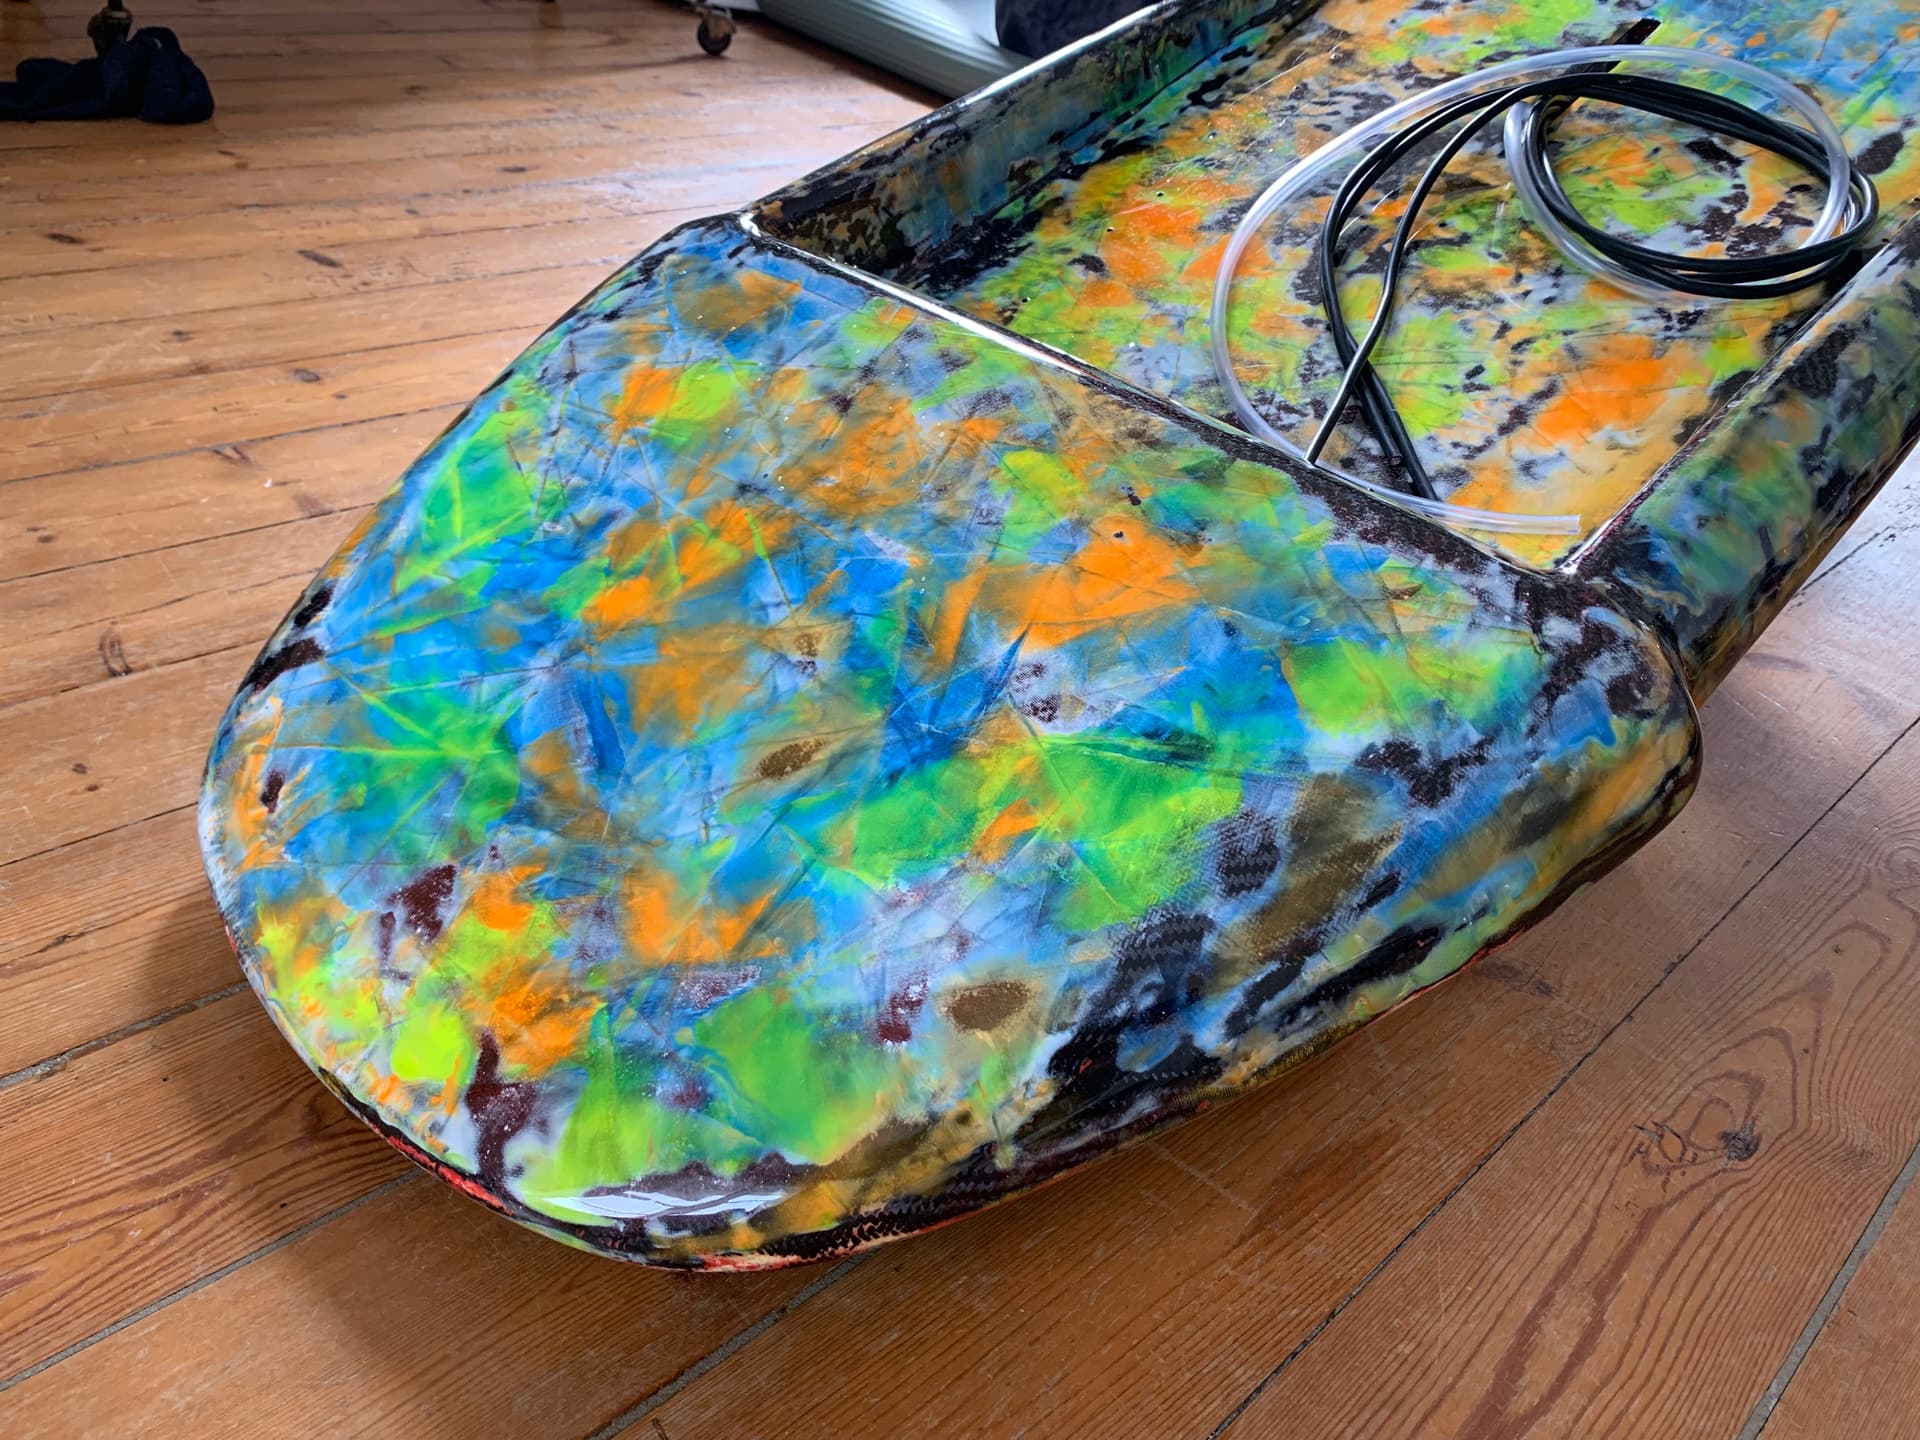
I’ve added a bit of color on the bottom to make it more funky aligned with the top
1 Like
okp
March 18, 2023, 9:05am
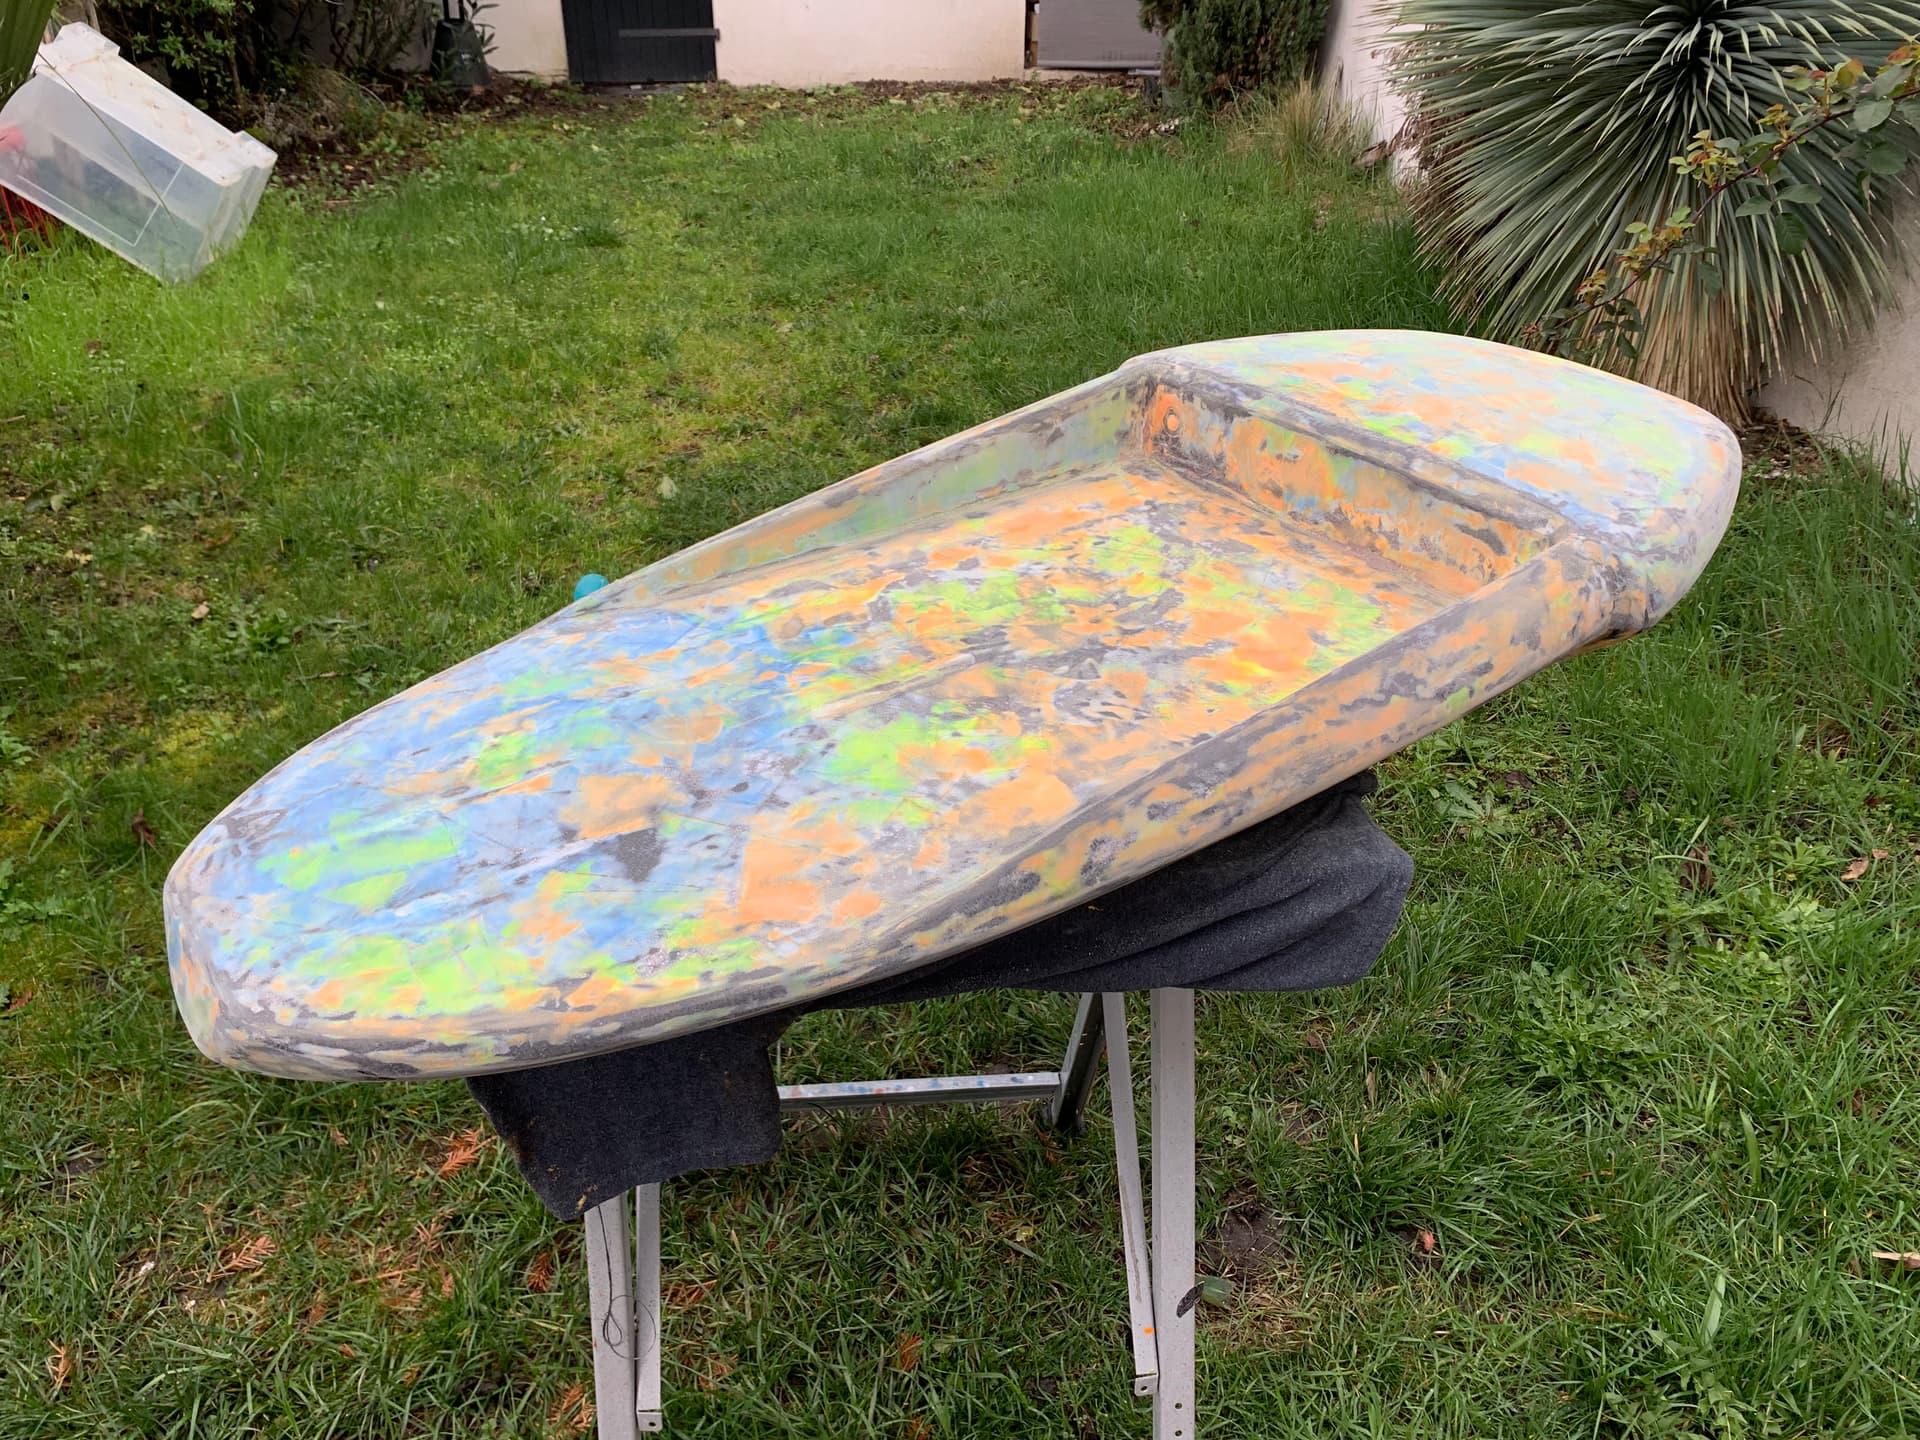
52
good day folks !
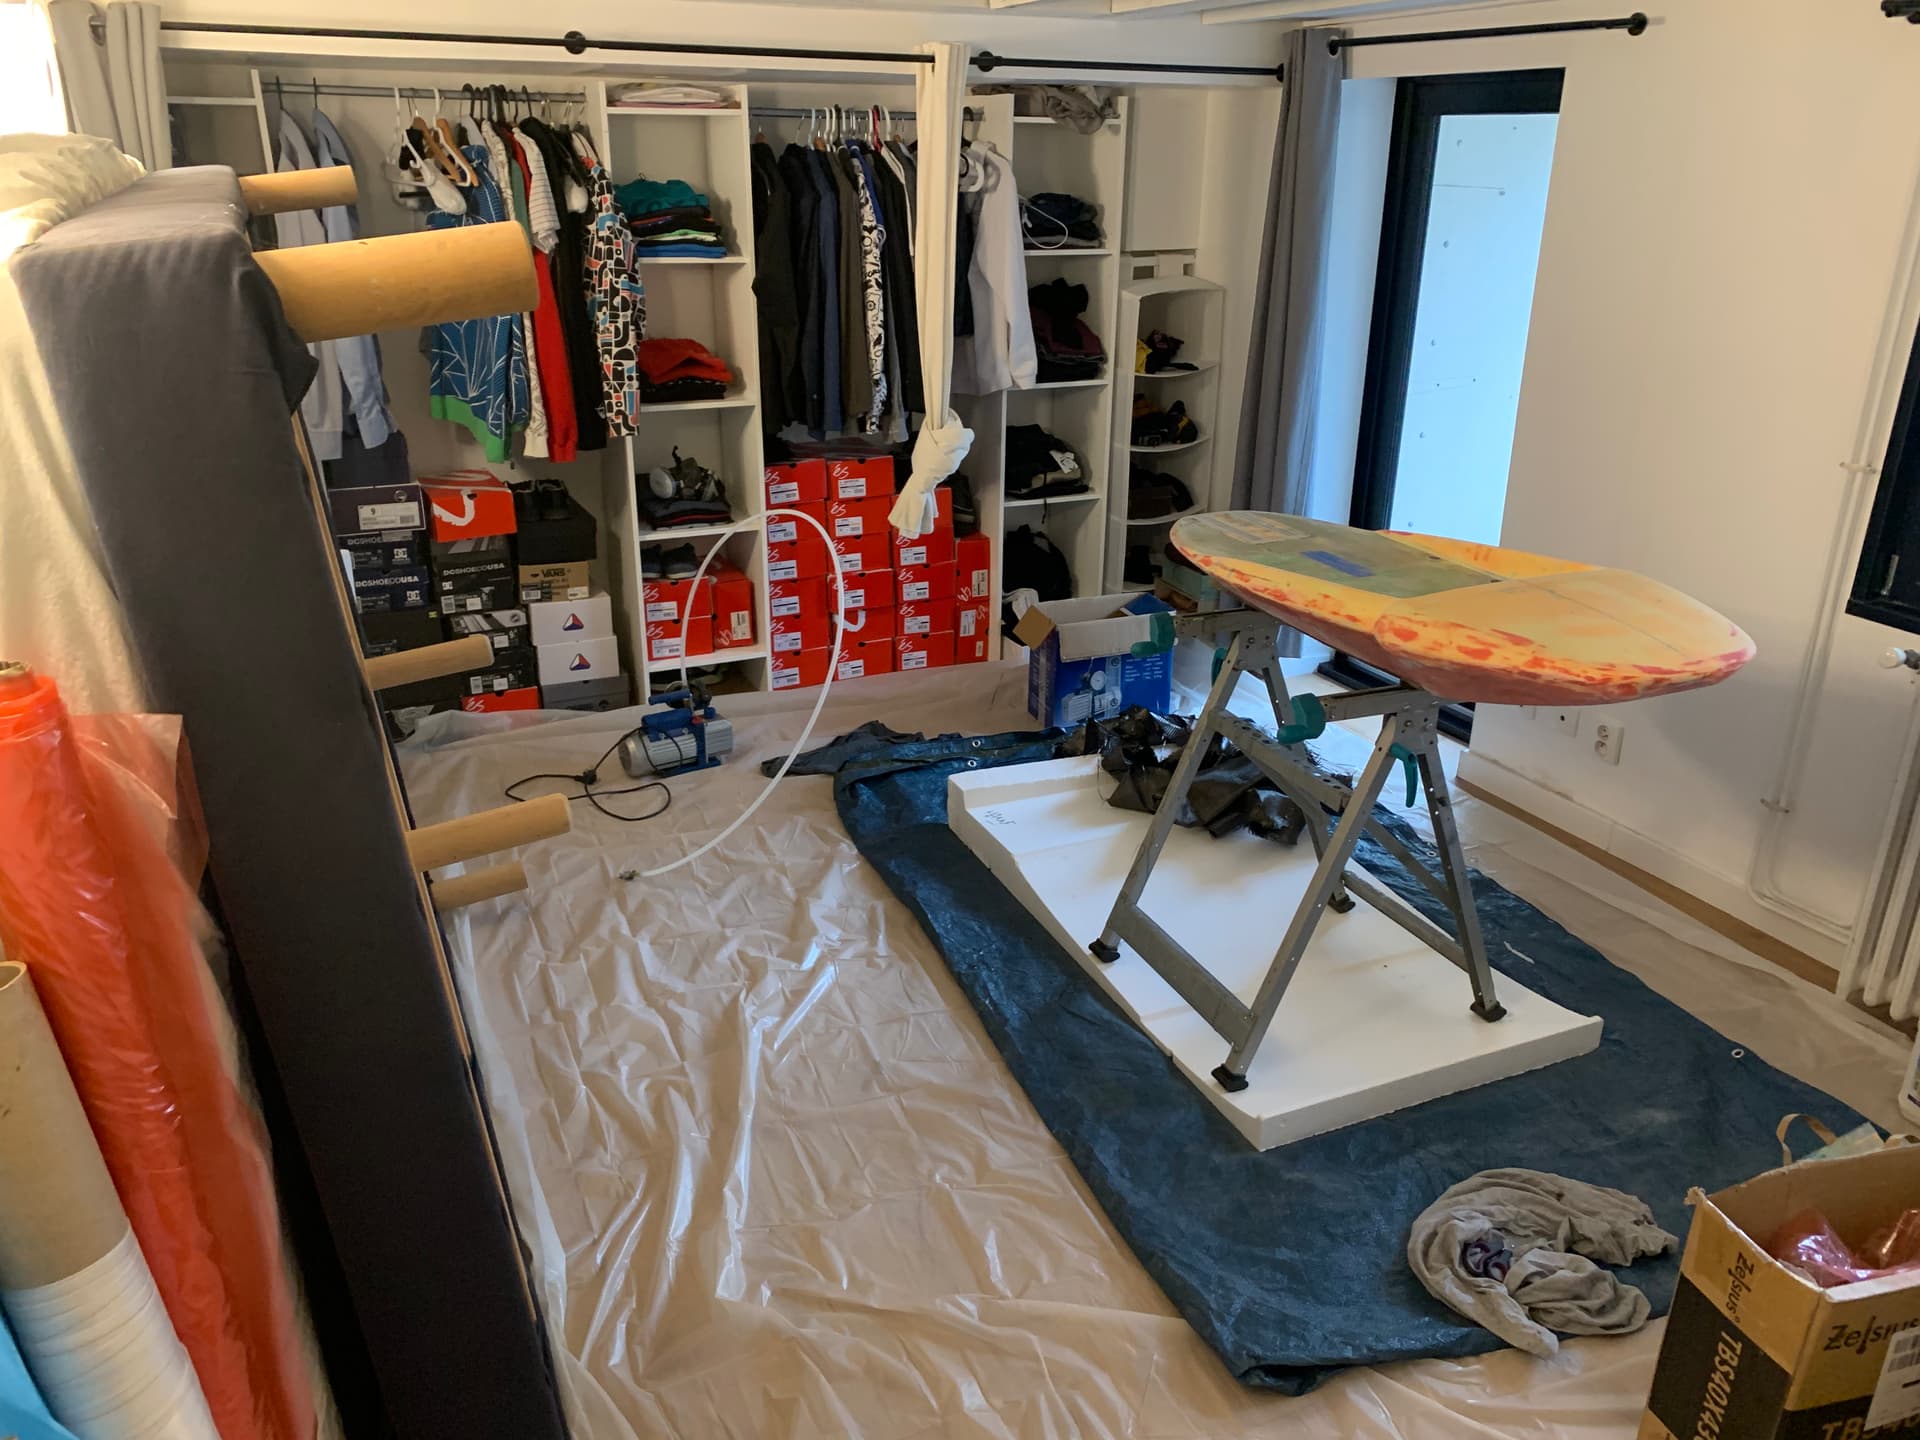
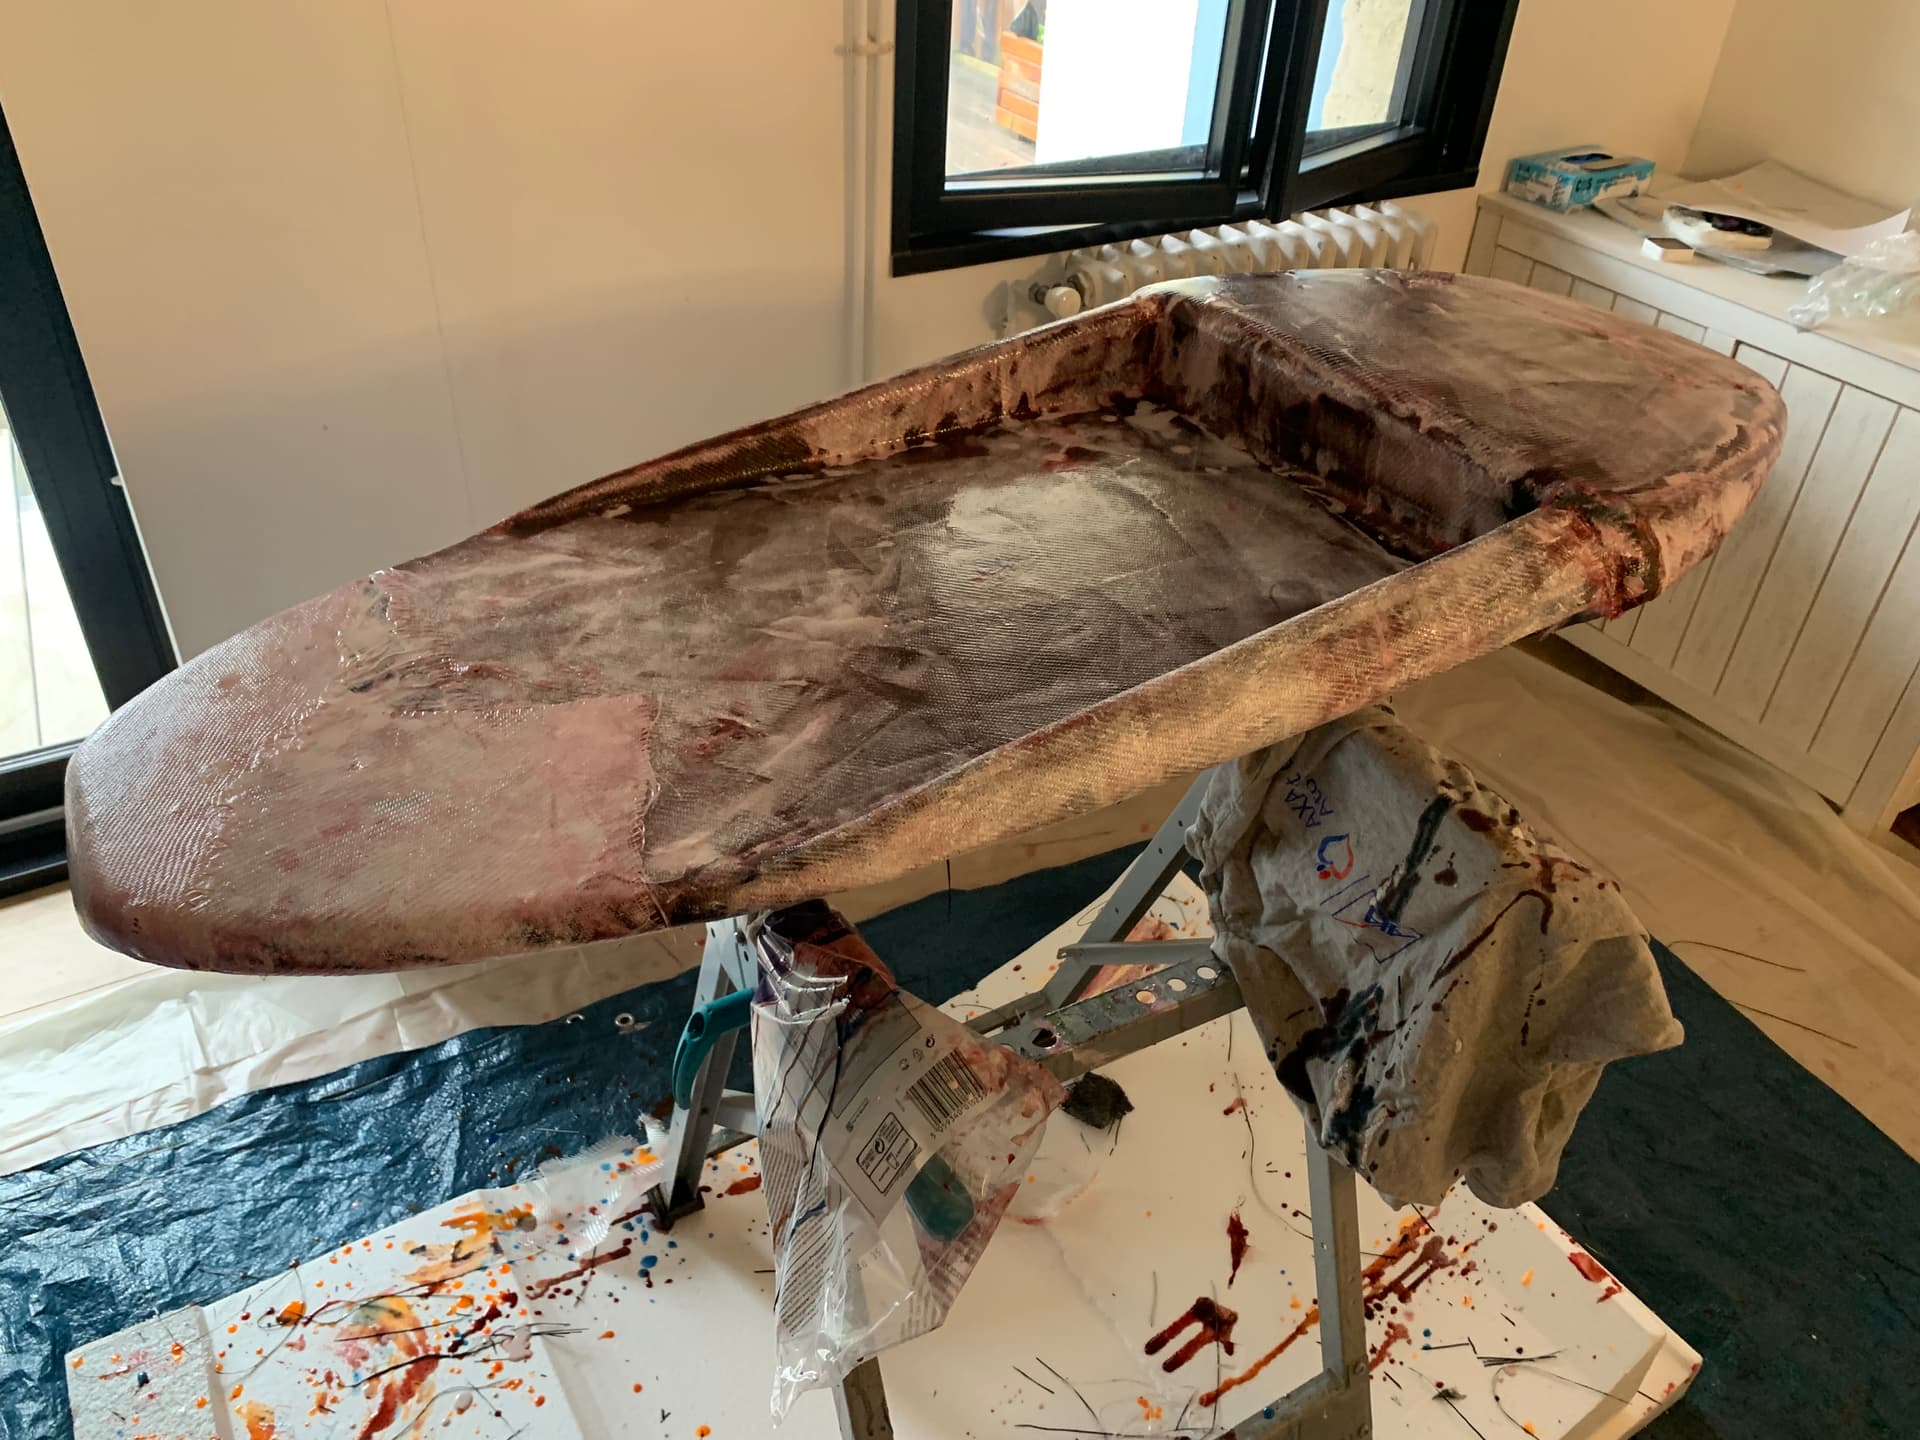
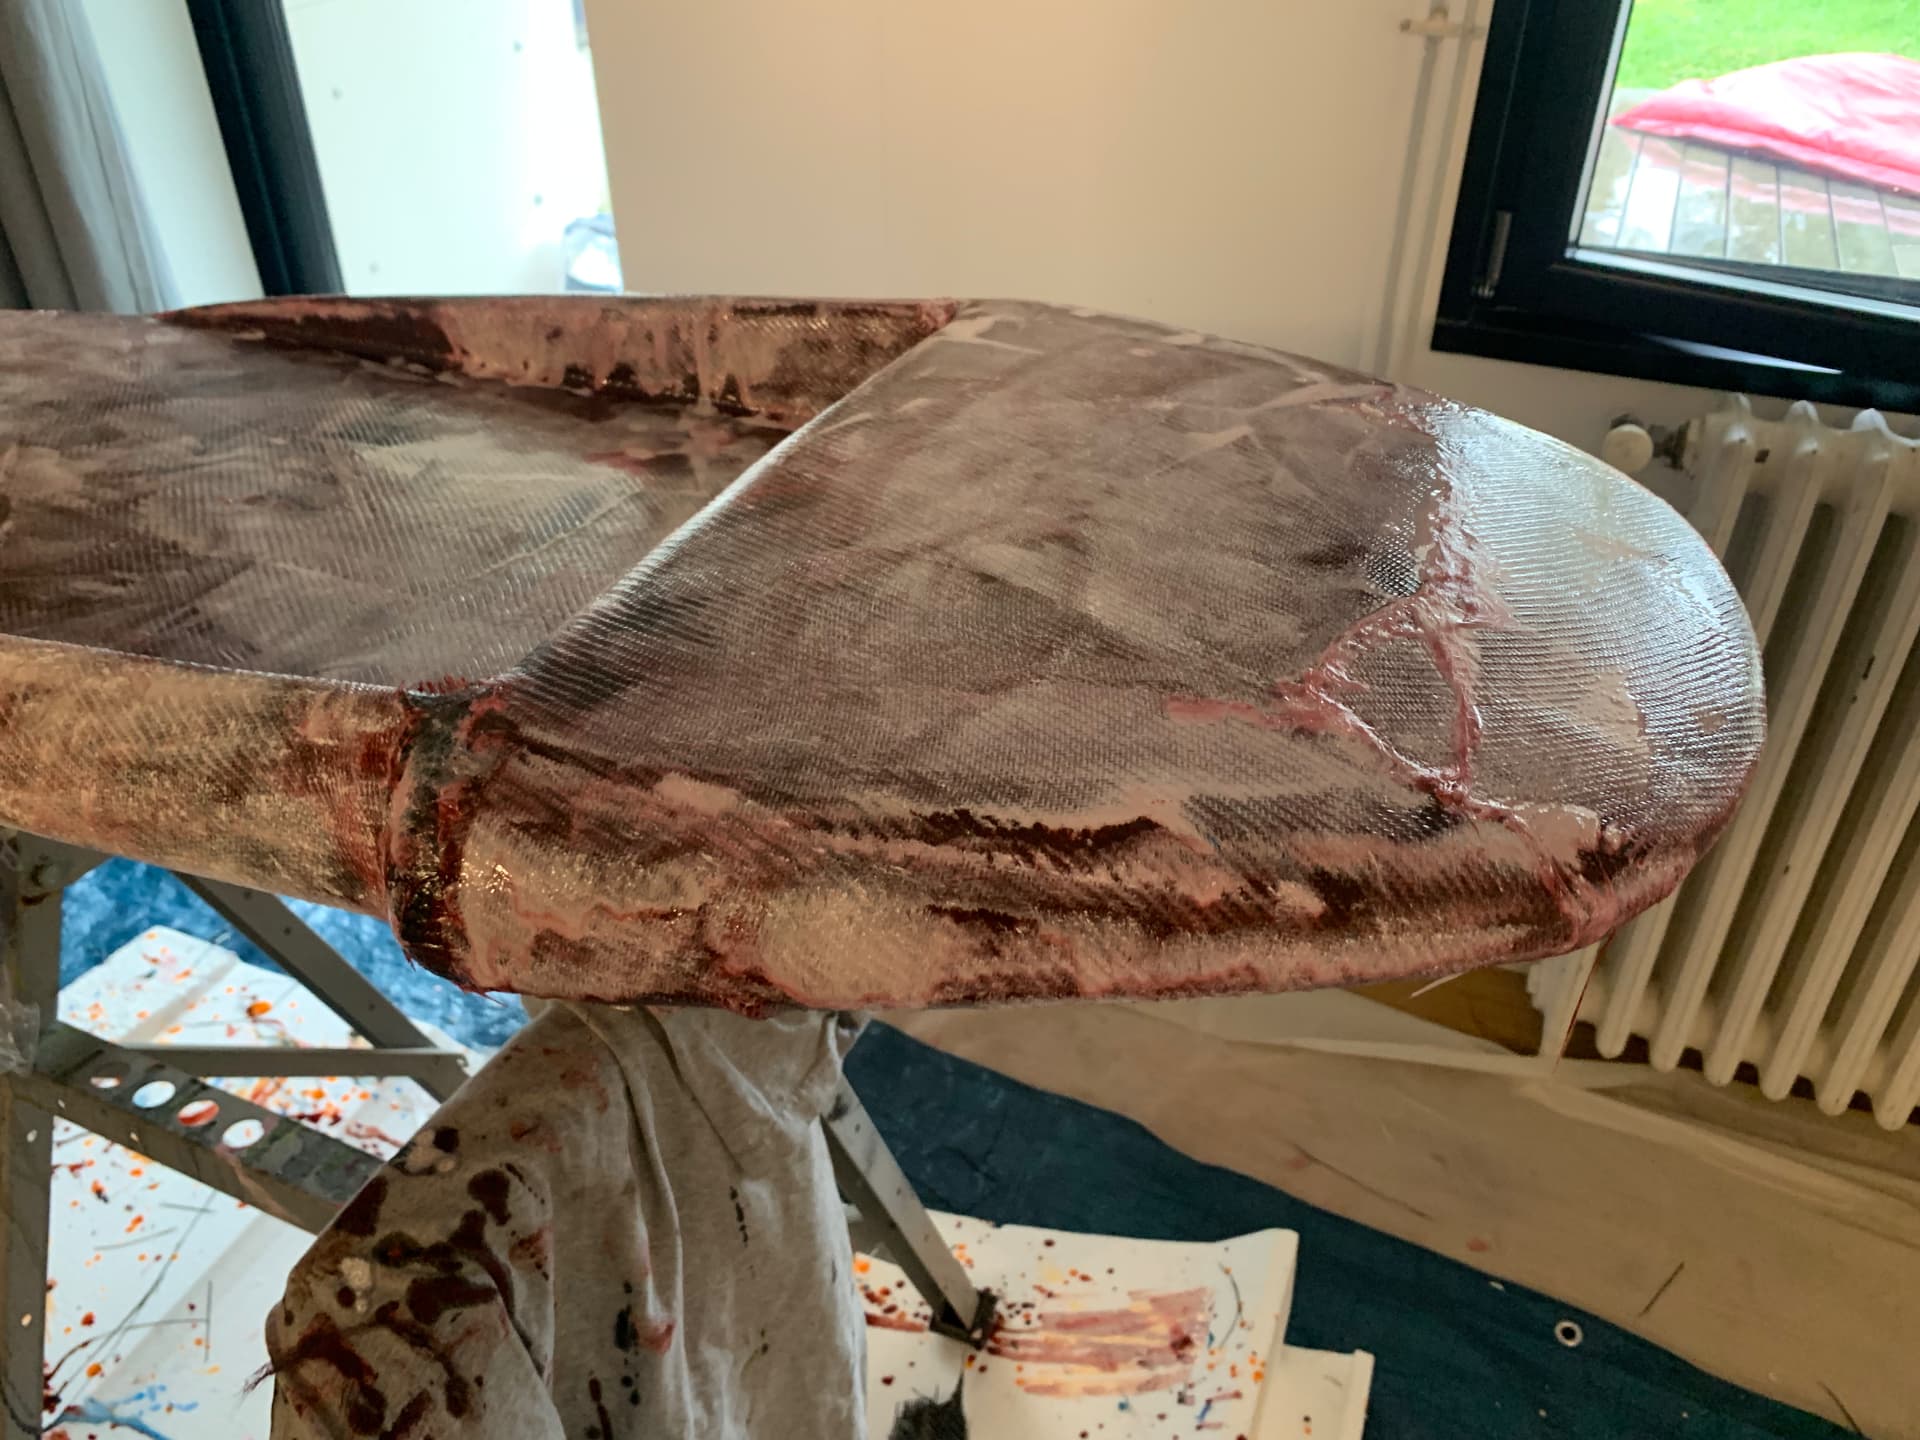
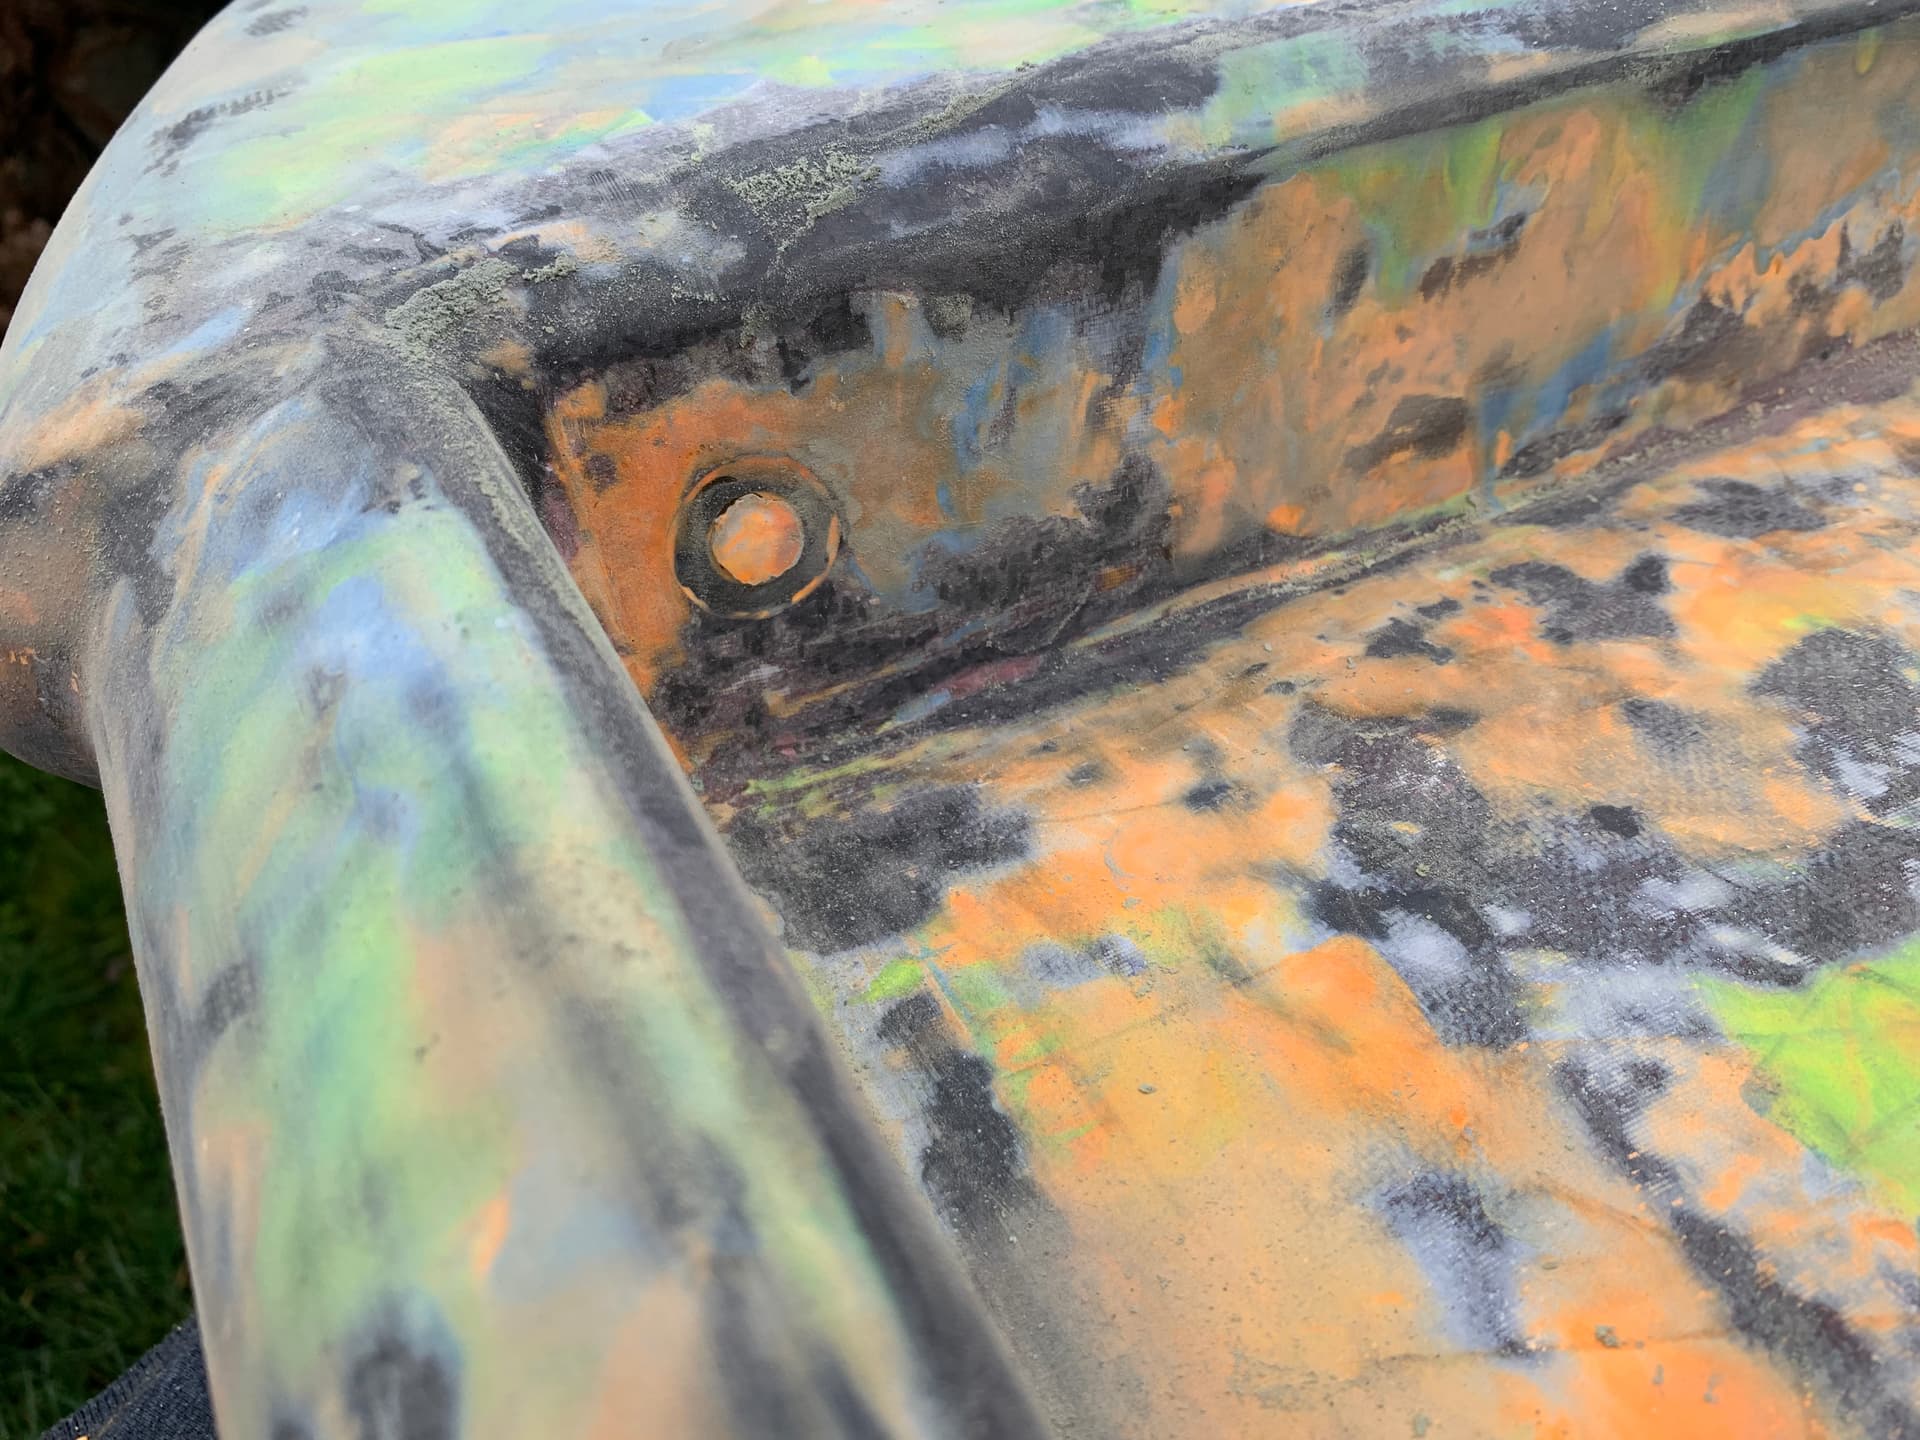
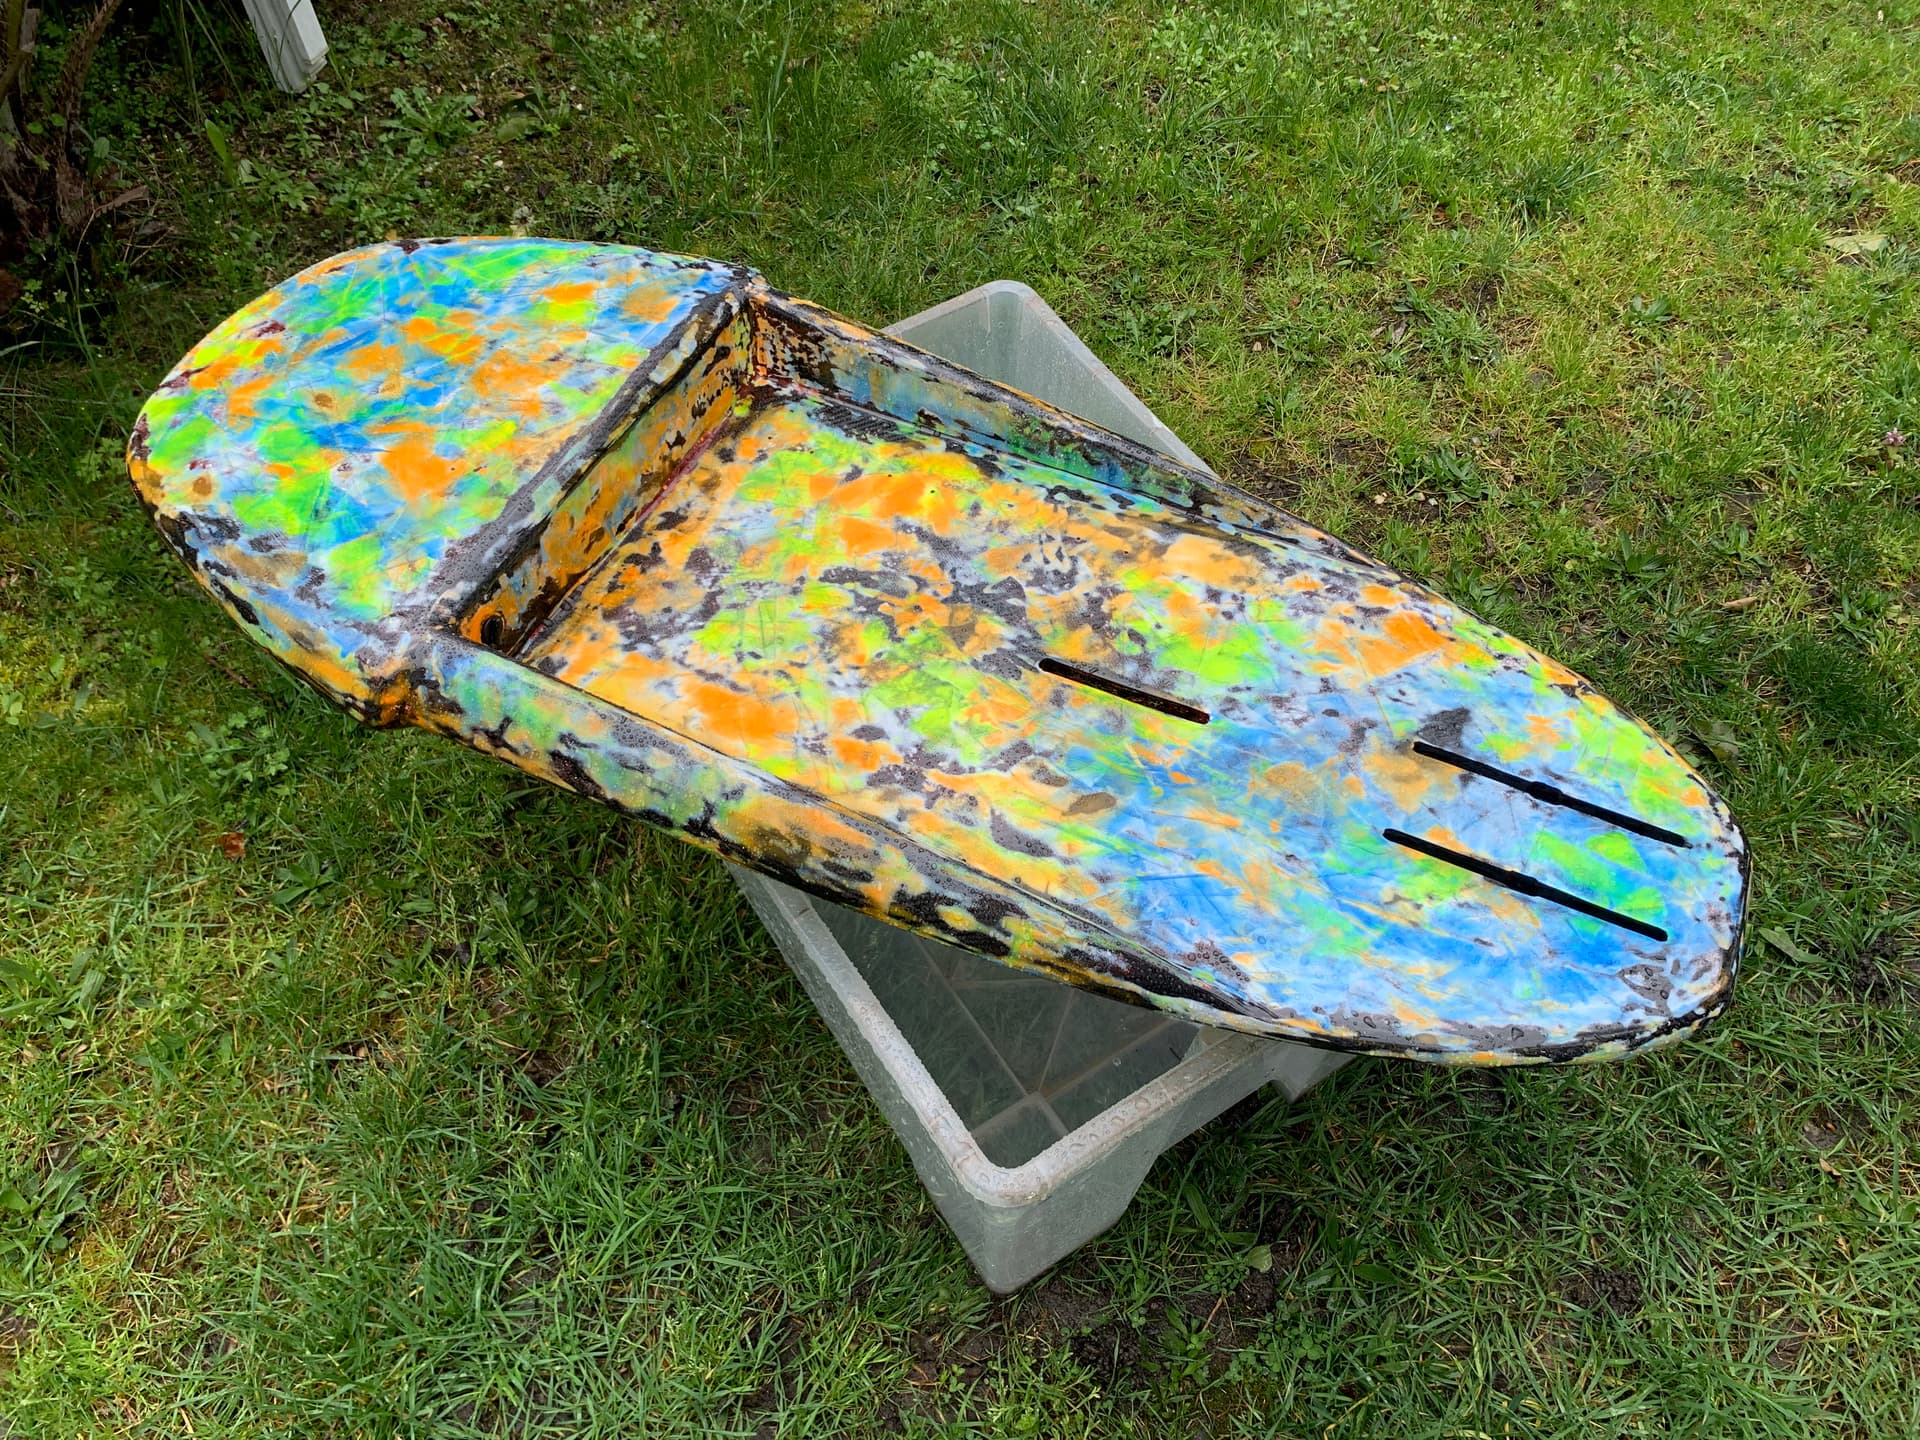
I added a pressure plug this week and also sanded the top/bottom before the next step : glassing.
3 Likes
jenz
March 18, 2023, 6:08pm
53
I love the colors and effort you put into this! I’m just started building a tow boogie but being the lazy person I am, I just bolt all the stuff to a body board. Will be super interesting to see how this turns out!
okp
March 19, 2023, 4:00pm
54
thanks brother ! I just wanna have fun !
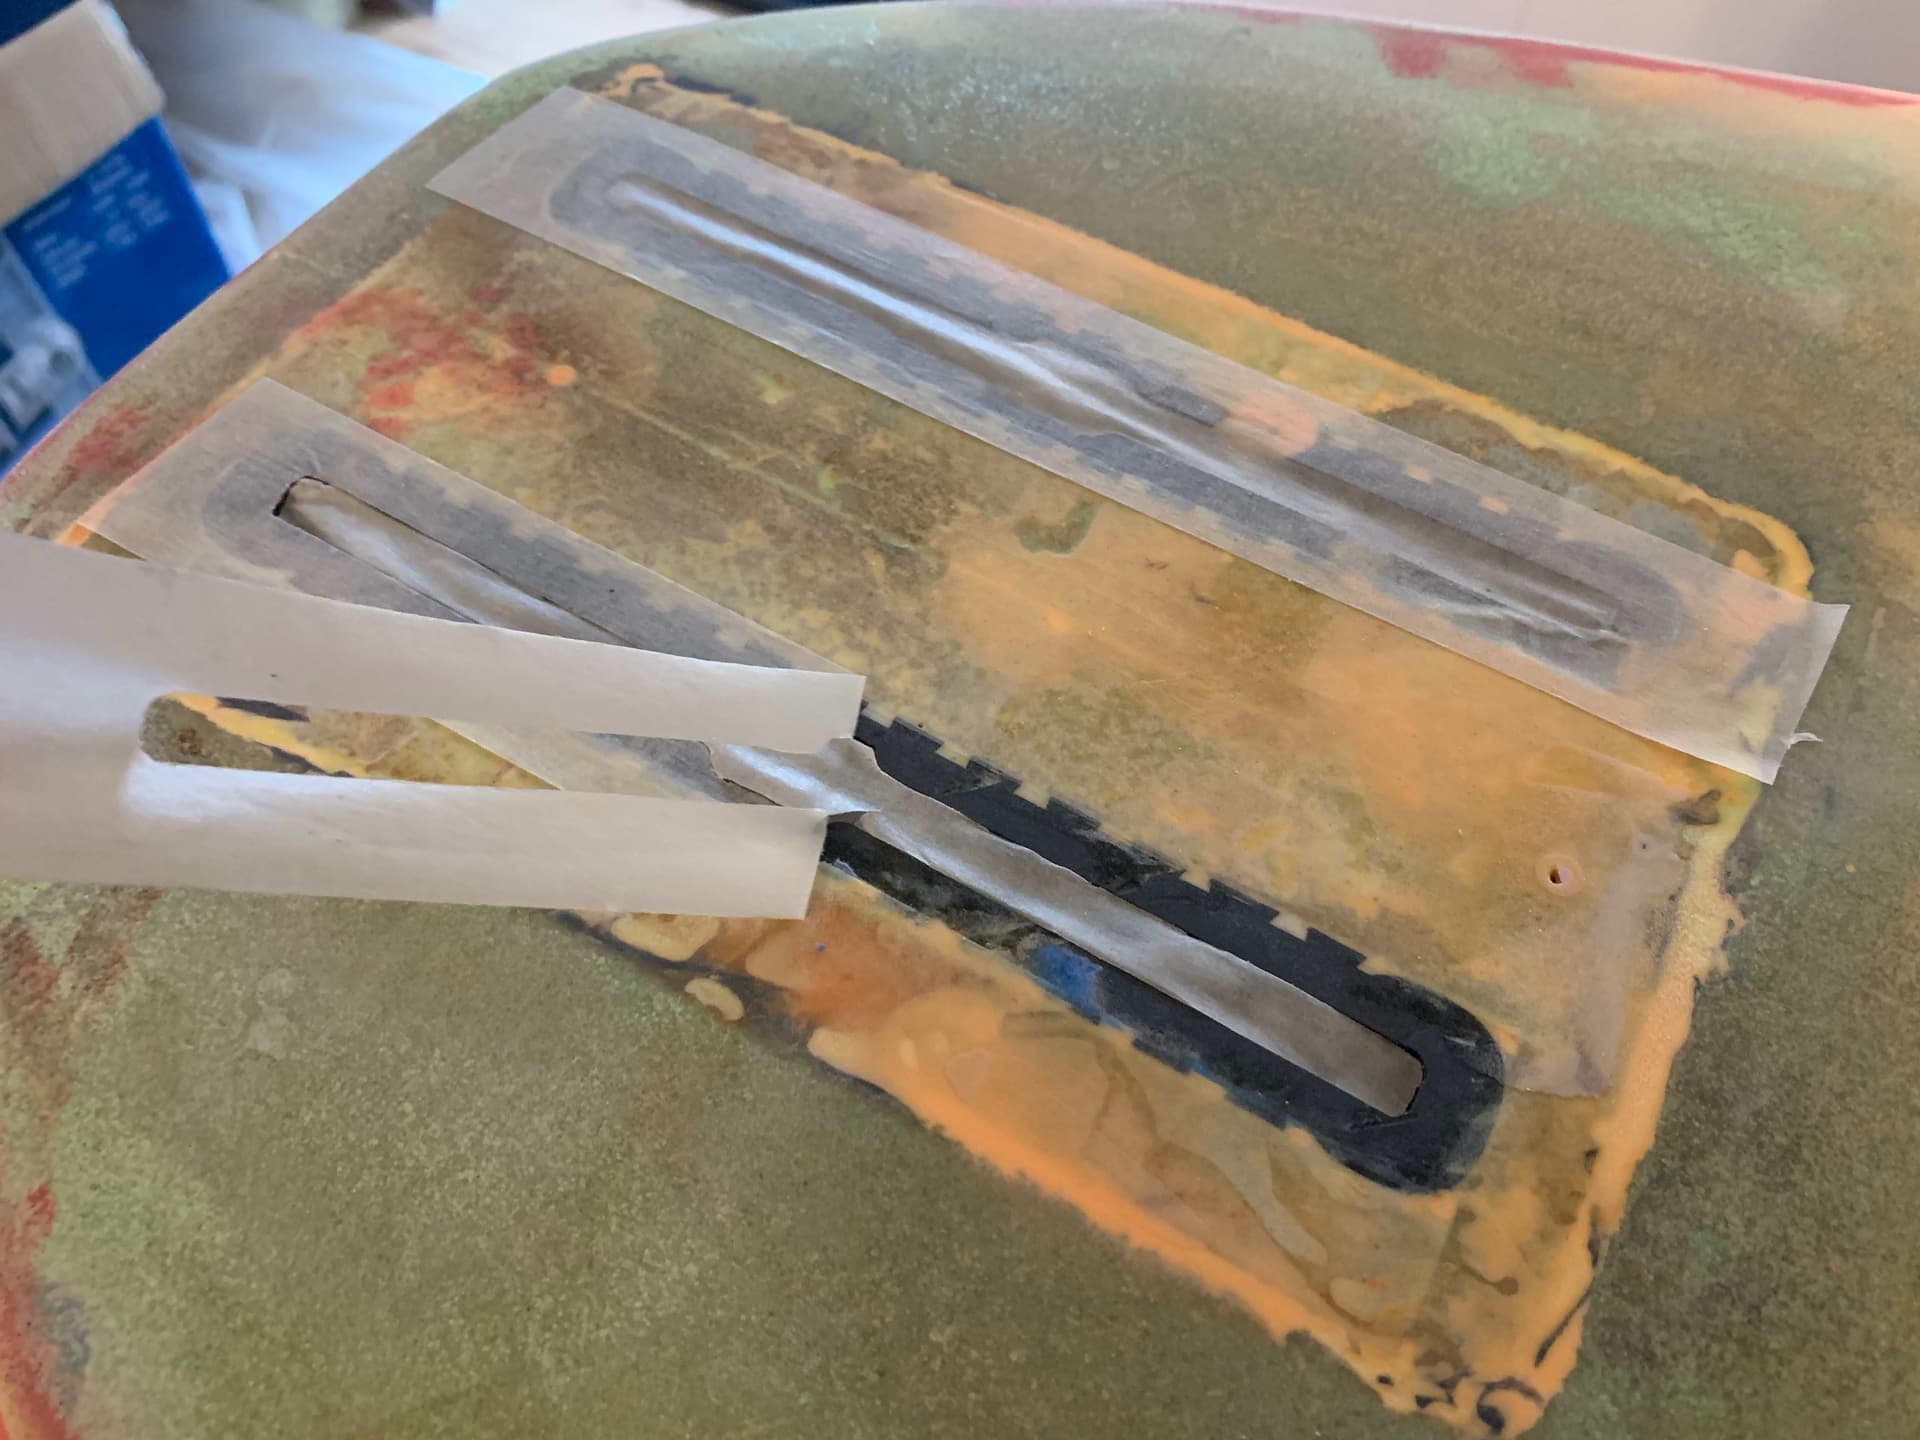
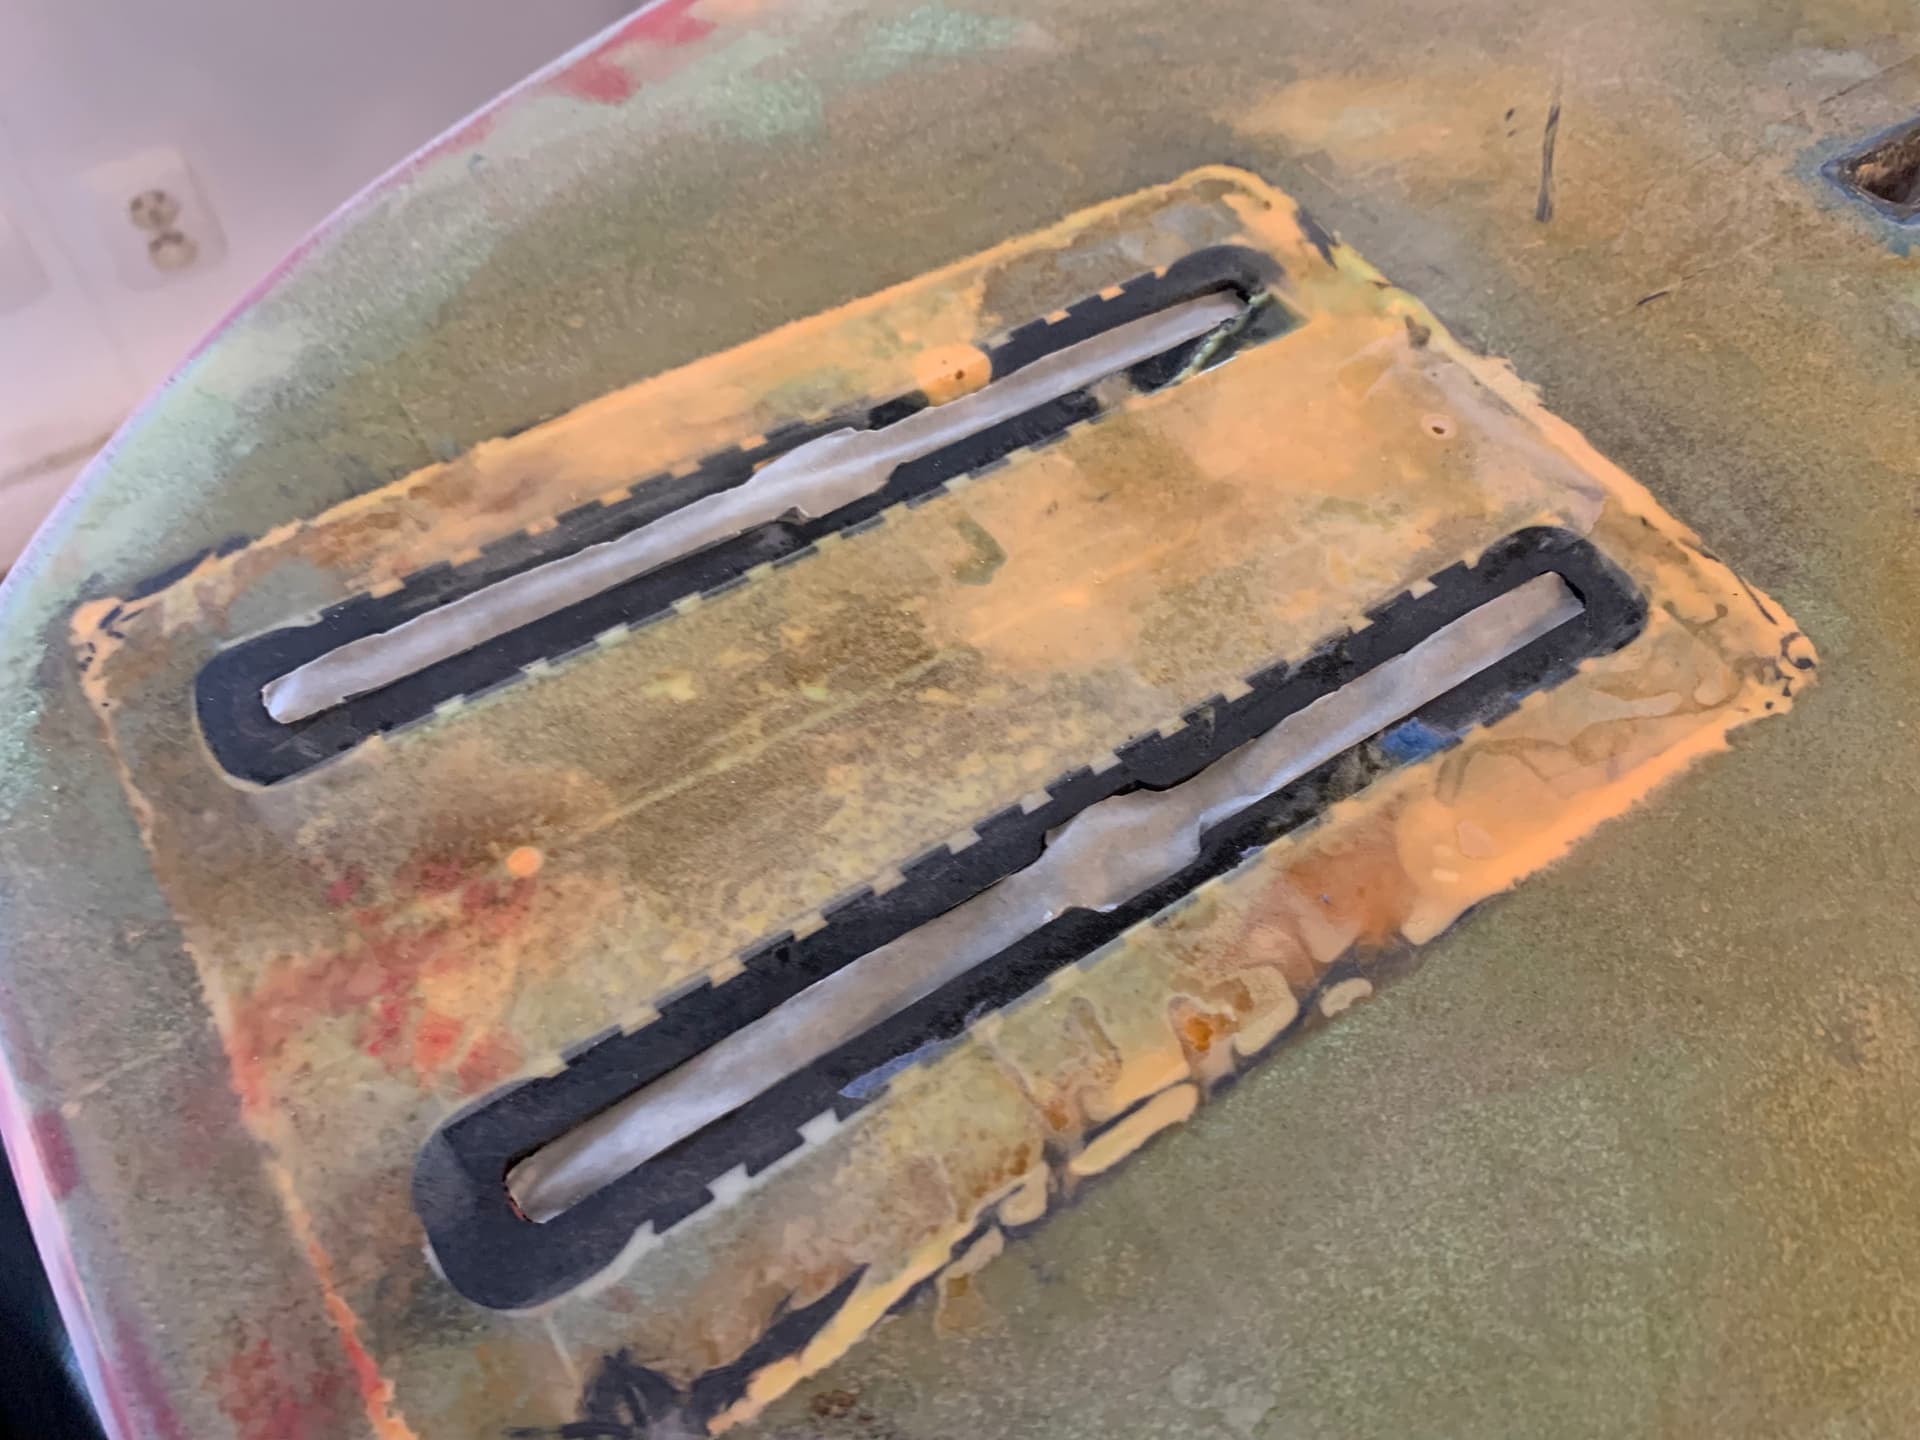
did some clearance on the foil USBOXes
4 Likes
This is looking great. Keep sharing your pictures of the build.