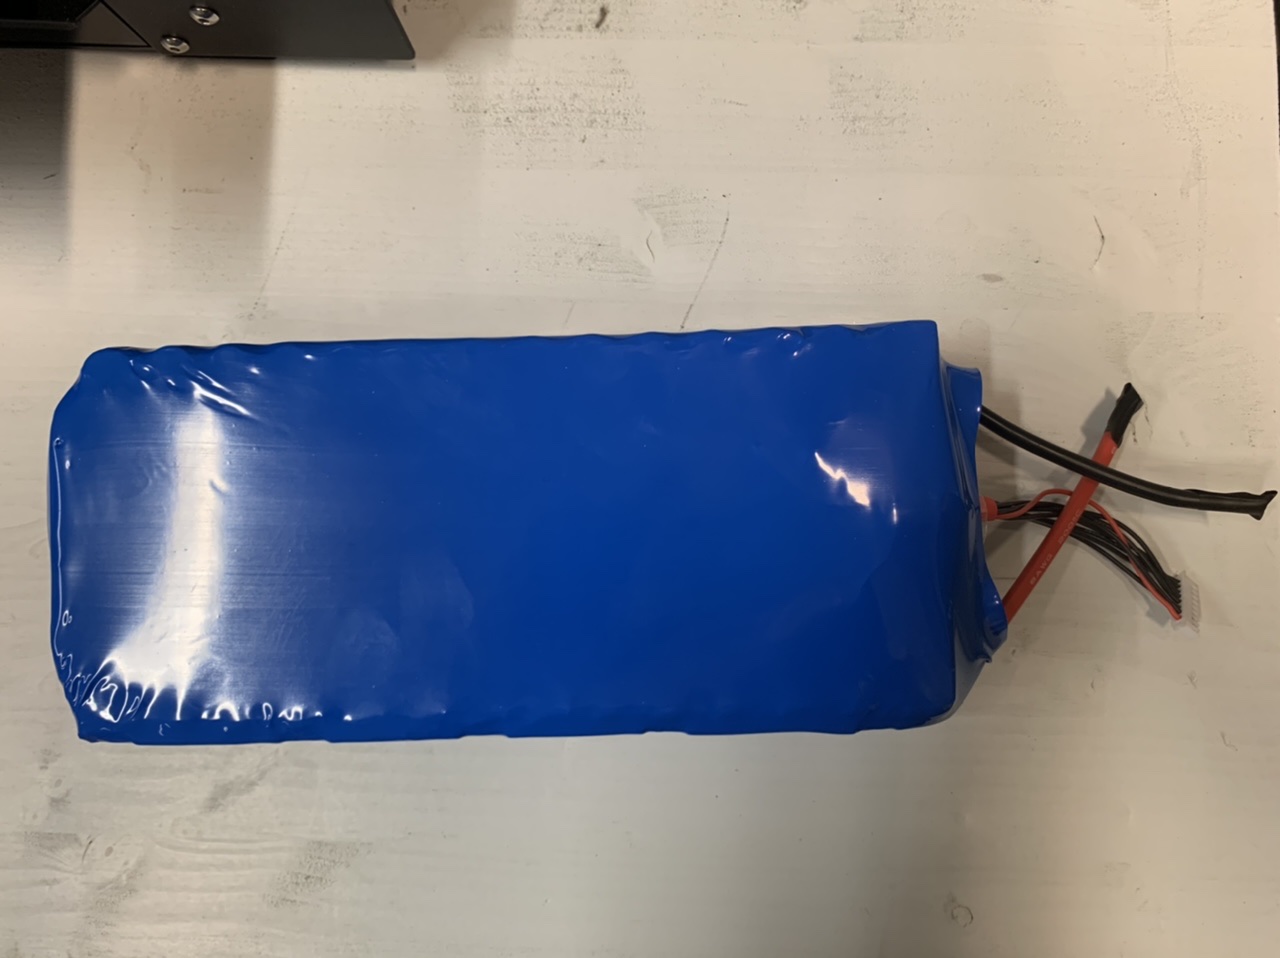
finished Akkupack one from two.

5 Likes
I think There is no any space between all the cells for rest in fresh states … of course if you can have better ampli without more hot temperature with 14s 14p 
For sure you win place in your box😉
Replying too late for suggestions, but from looking at the best built esk8 packs. It is good practice to isolate the S rows just in case the outside of the battery can (whole can is negative) from one row scuffs over time to another battery row, which would short out the whole row of batteries and maybe start a fire. Same with the balance wires, it is good to route them over their own S row or isolate them if they go over another row.
Not trying to knock your pack though, it looks sweet! Trying to look ahead to the one I’m working on. It has a 3dprinted holder that is suppose to isolate the rows a bit (also isolated P rows which is not needed). Haven’t yet welded it up yet… that is on the todo list

6 Likes
Thanks for taking the time to write those precious comments down but I’m not familiar with some terms, for example, what is a “S” row (if “P” stands for positive) ?
Would you have a link (esk8 forum page, video ?) showing pictures / explaining the steps you mention ? After a battery fire, I also remember a @Jezza post focussing on the importance of the negative [.?.] to improve safety. Jezz could you re-explain this point ?
S and P rows are series and parallel rows. In a series row you have a negative connected to a positive of the next cell. With 90% of the outside of the cells being the negative terminal, if the thin plastic insulation were to melt you would then end up with a direct short between cells. Hence a lot of people add an extra spacer to prevent this
On a P-row this doesn’t matter because the negatives are all connected anyway.
I always run the nickel folds and balance wires from the negative terminals so that if any insulation ever melted, then it wouldn’t matter as there would be no short.
2 Likes
I had learned a lot on long thread here: The battery builders club - How-Tos & Esk8 mechanics - esk8.news: DIY Electric Skateboard Forums Most of those guys like to build really clean batteries.
I haven’t seen a written up guide or anything, but you can read through there and even post your battery build.
So not to fill up nice2cu’s thread. As far as efoil packs, I’ll make a new topic here, Efoil Battery Builders Club
2 Likes
I am happy about that discussion in my thread.
When I posted my work, ideas to make it better are welcome
1 Like
What I have learned from building battery packs is that the balance wires must be positioned on the sides of the battery and not on top or underneath in order to avoid wire friction - breakage - and short circuiting…
2 Likes
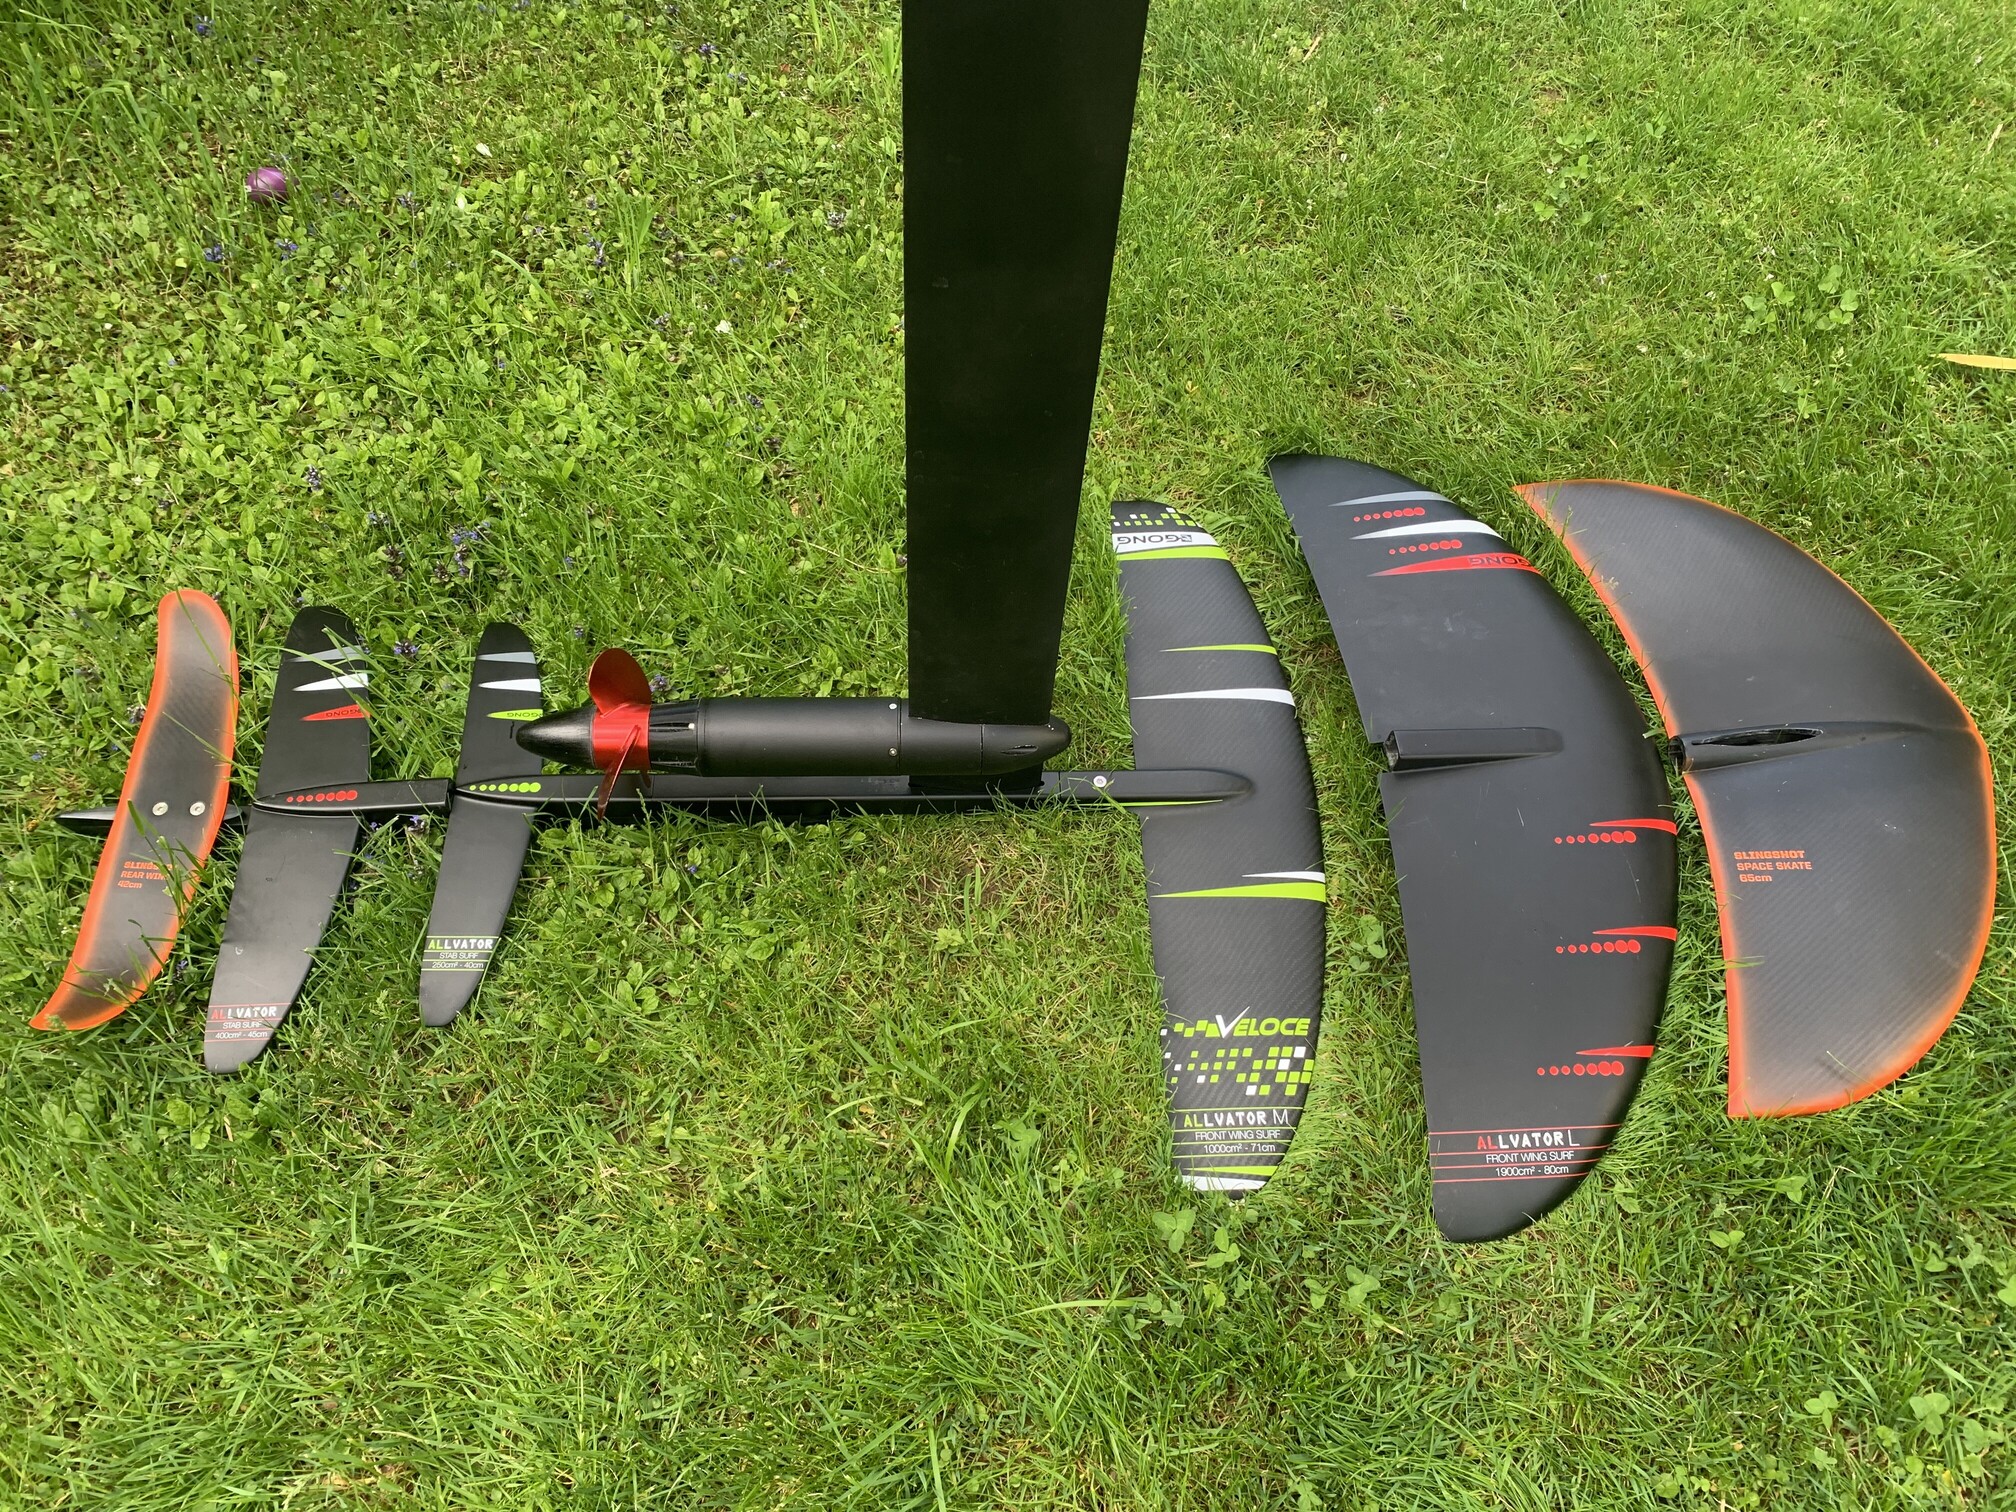
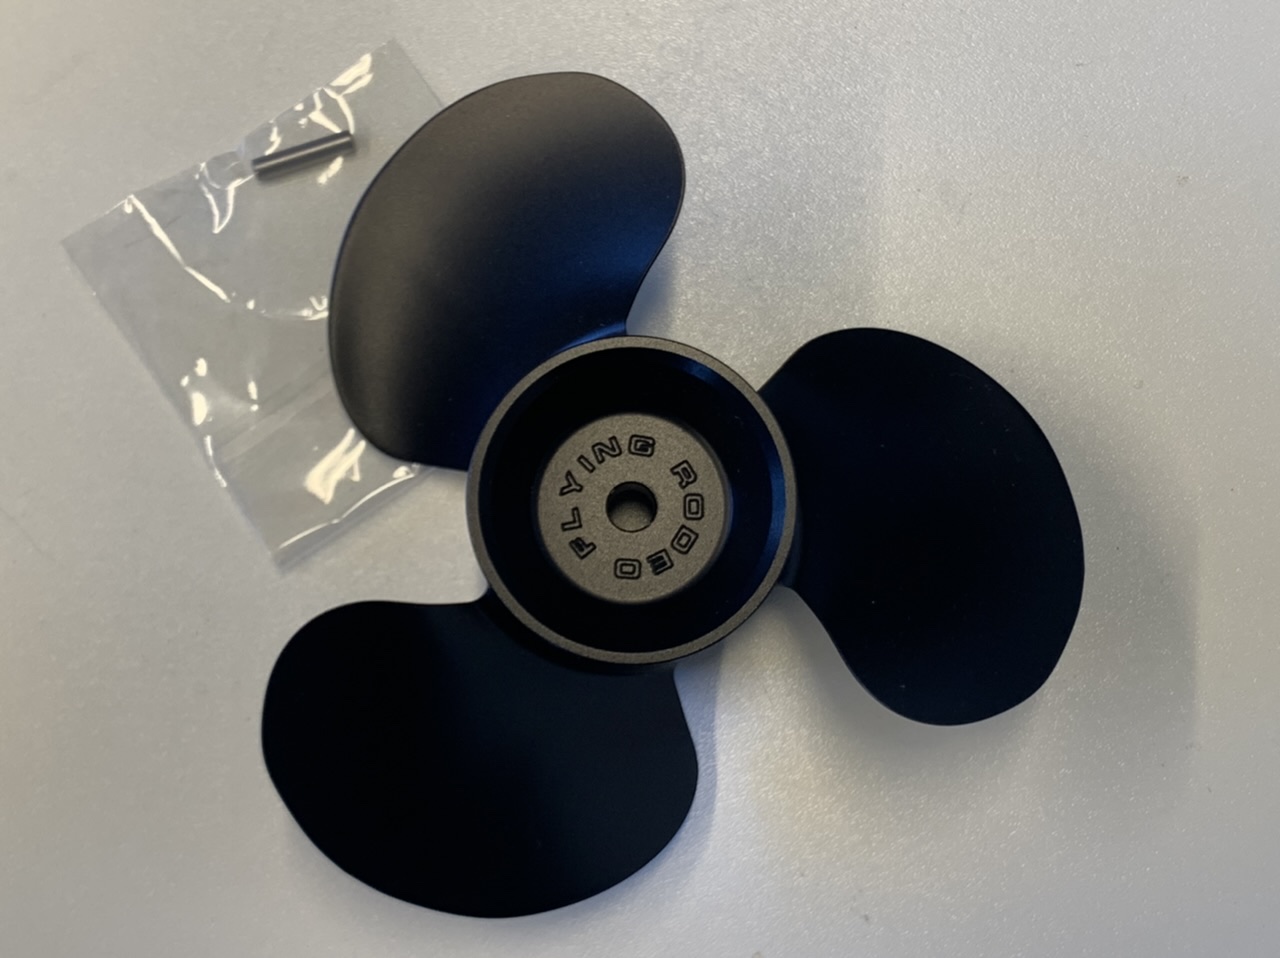
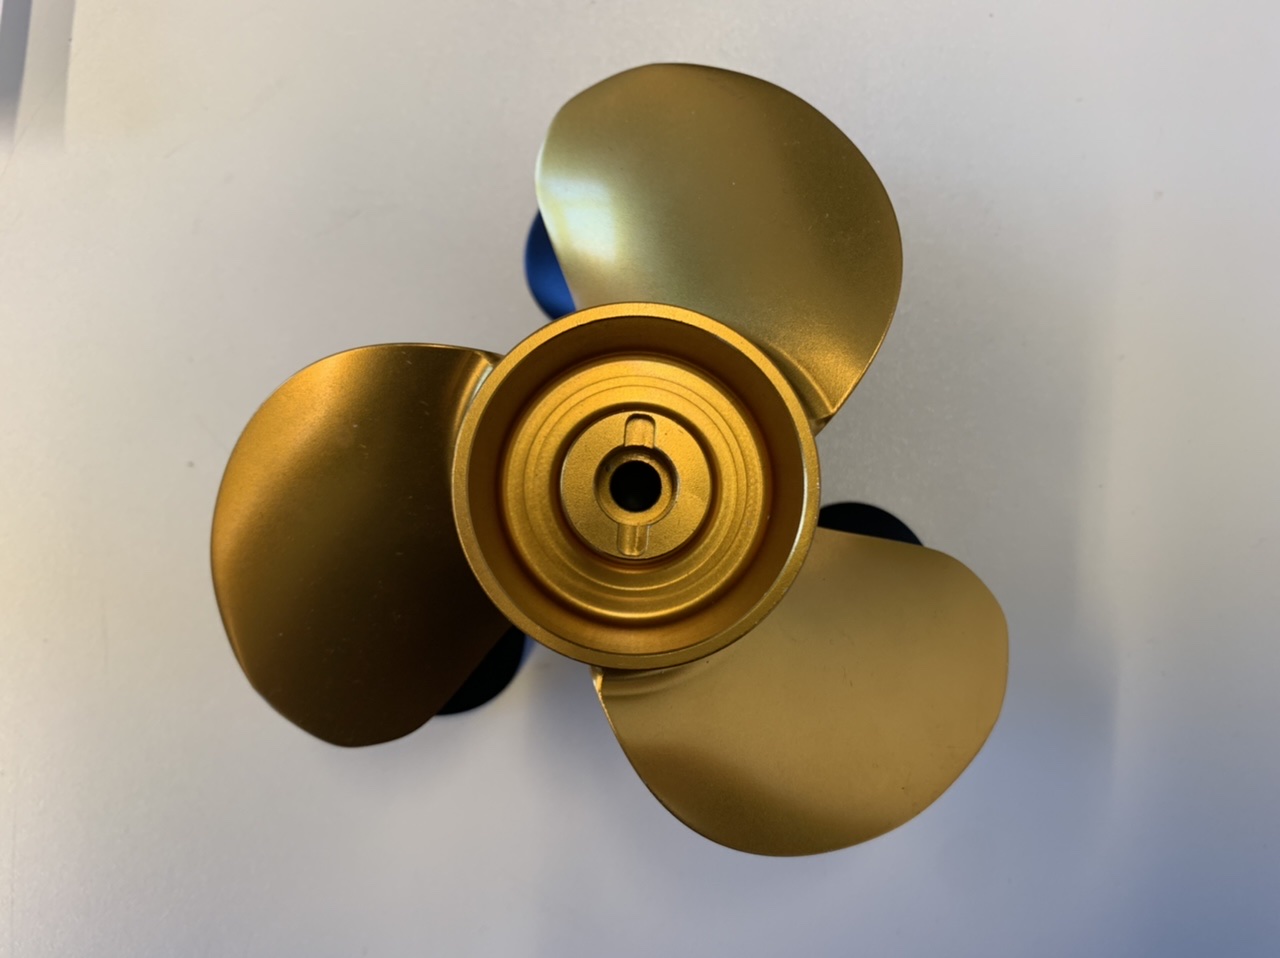
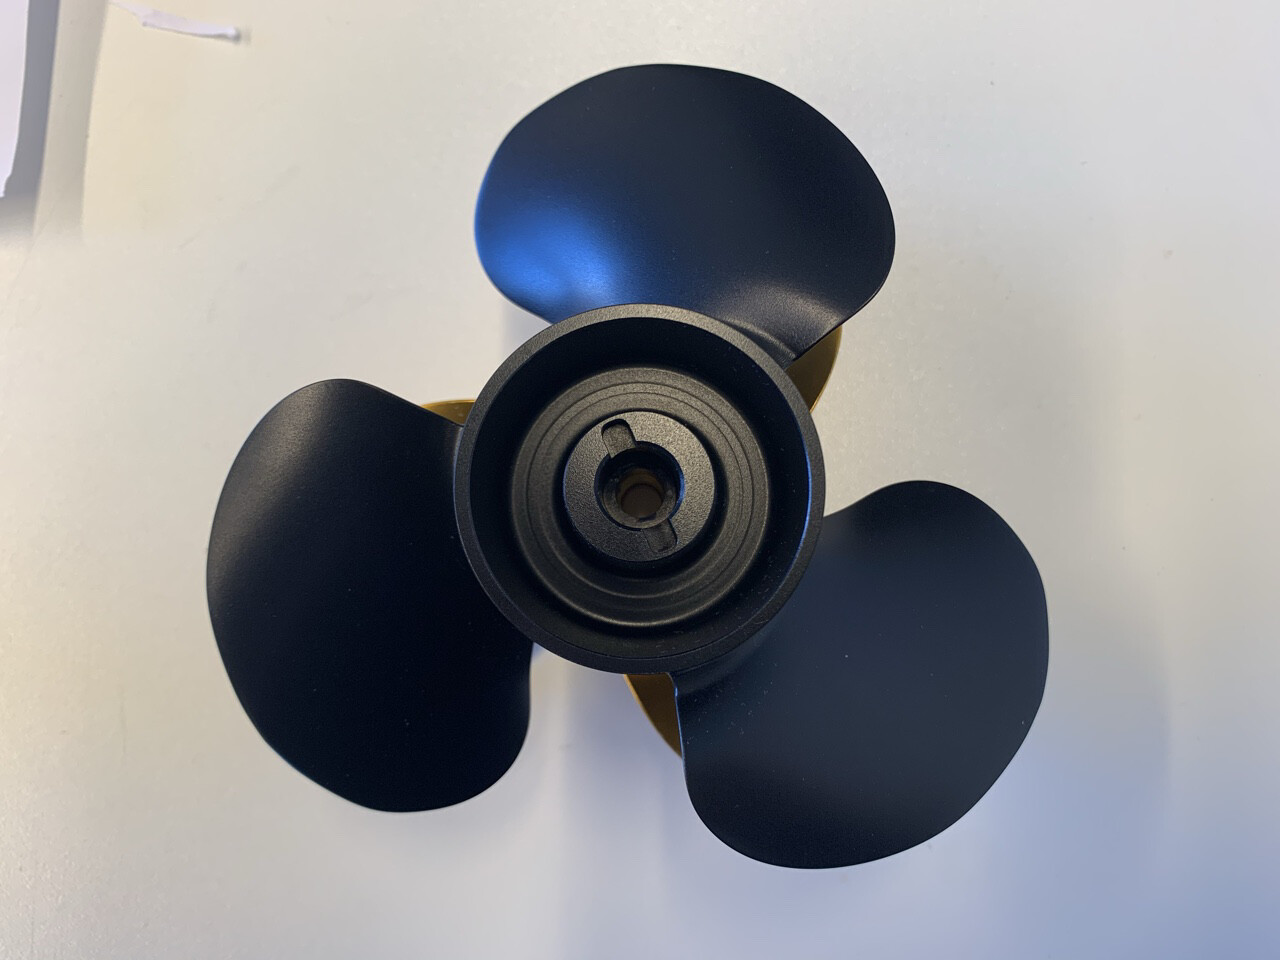
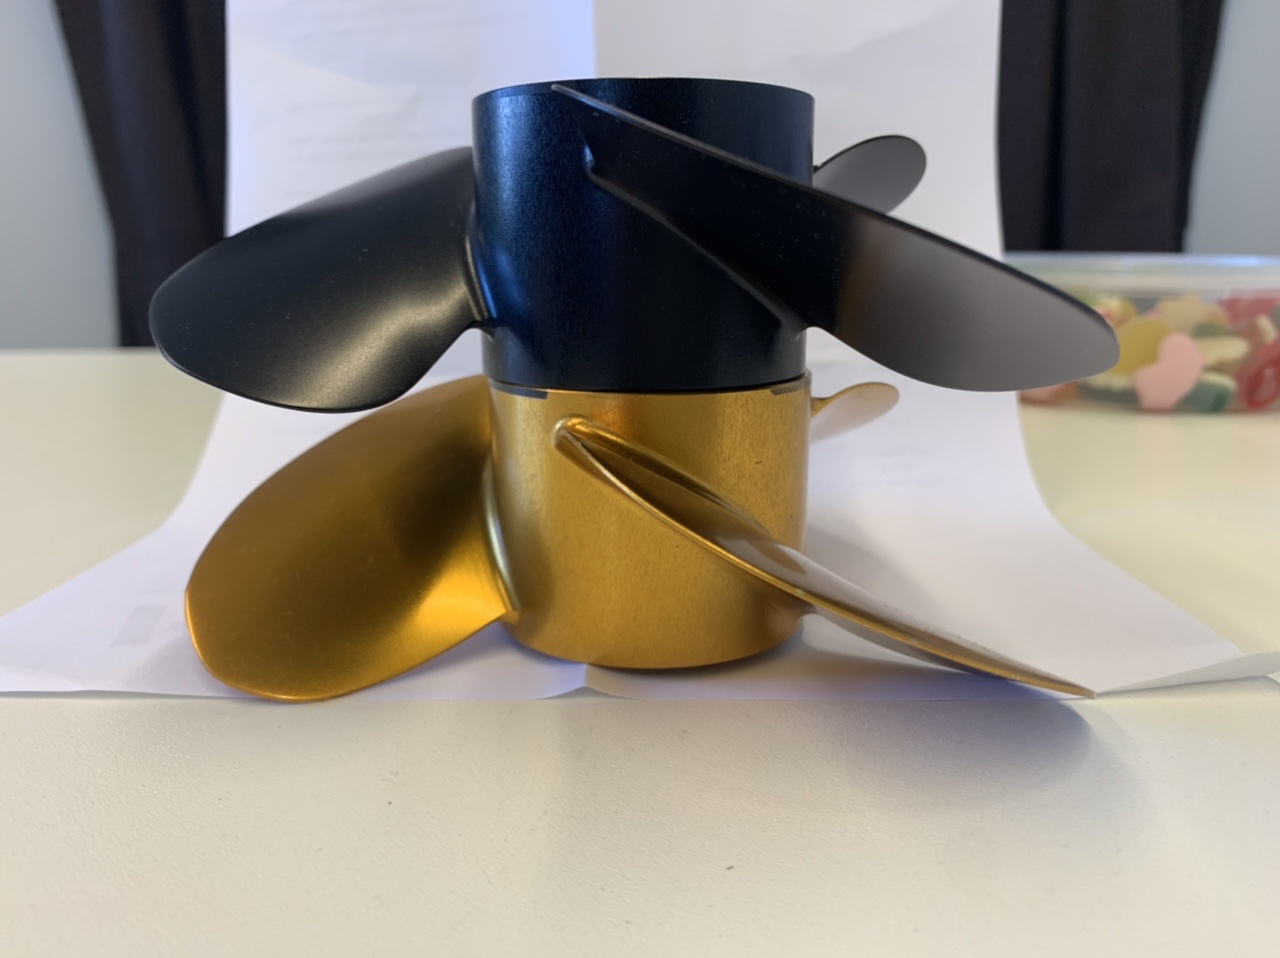
Today I got my 7” pitch FR Propeller.
So, some steps to finish my new efoil and the season can start ( when the water temperatures comes over 10 degrees )
1 Like
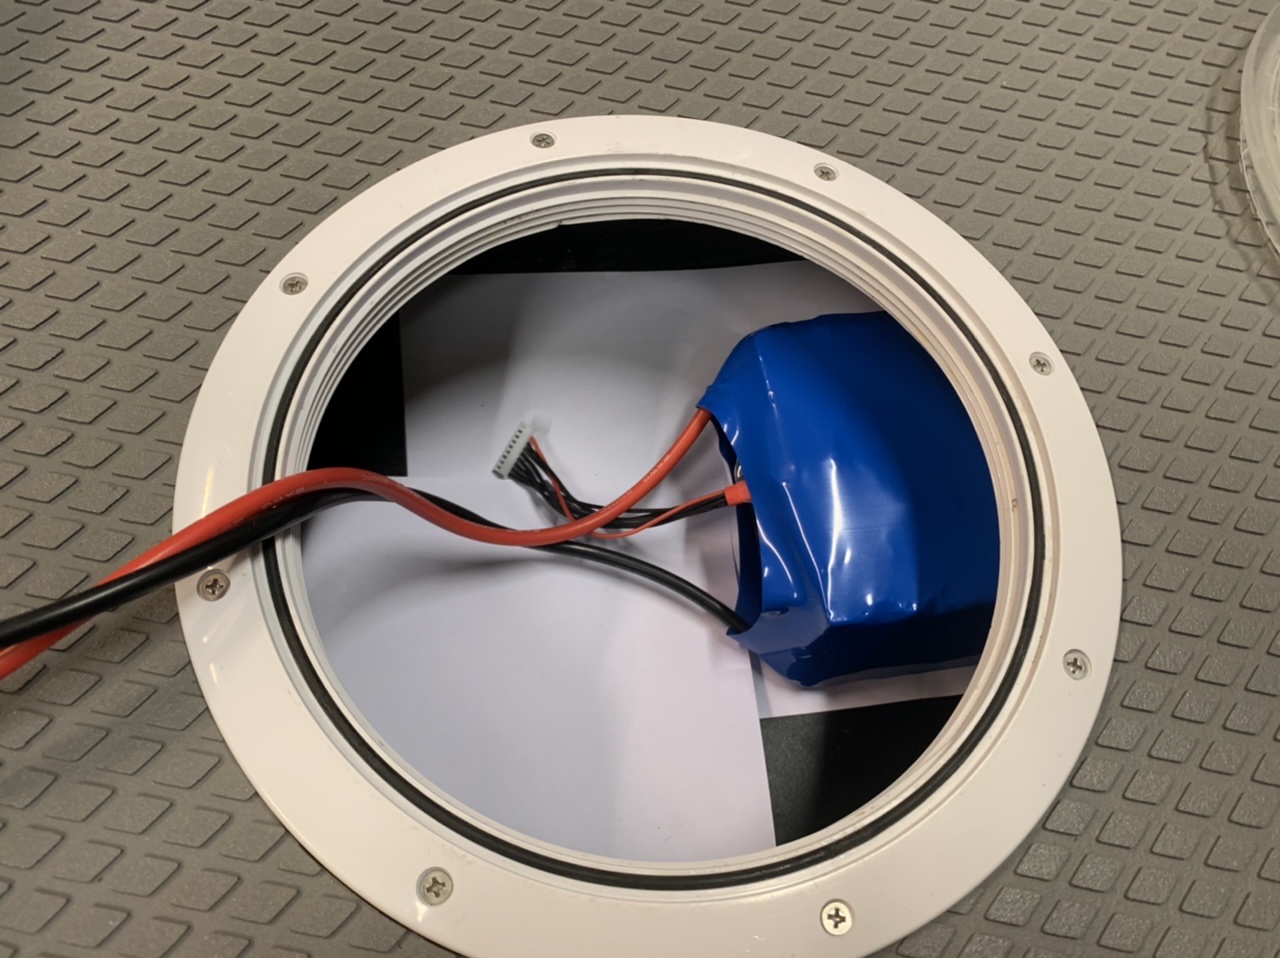
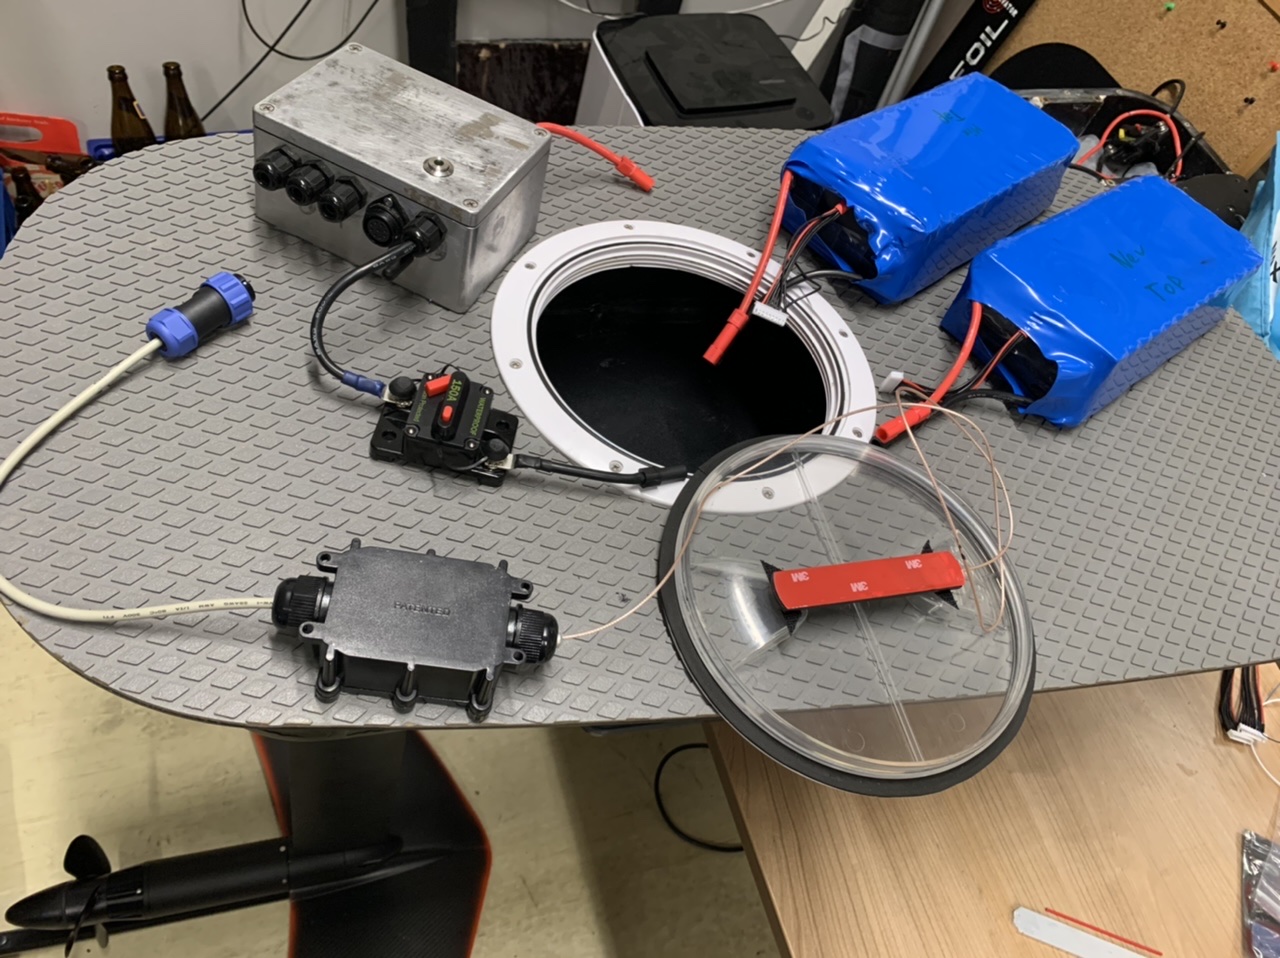
after finished the Akkupacks, I connect for the first test all parts. All seems to me working good.

1 Like
I finished now all modules. They are ready to assemble.
Need now some improvements to waterproof the Screws and the part where the motor wires coming inside. After theme and better weather ( we get snow again ), I am ready for the first test.
2 Likes
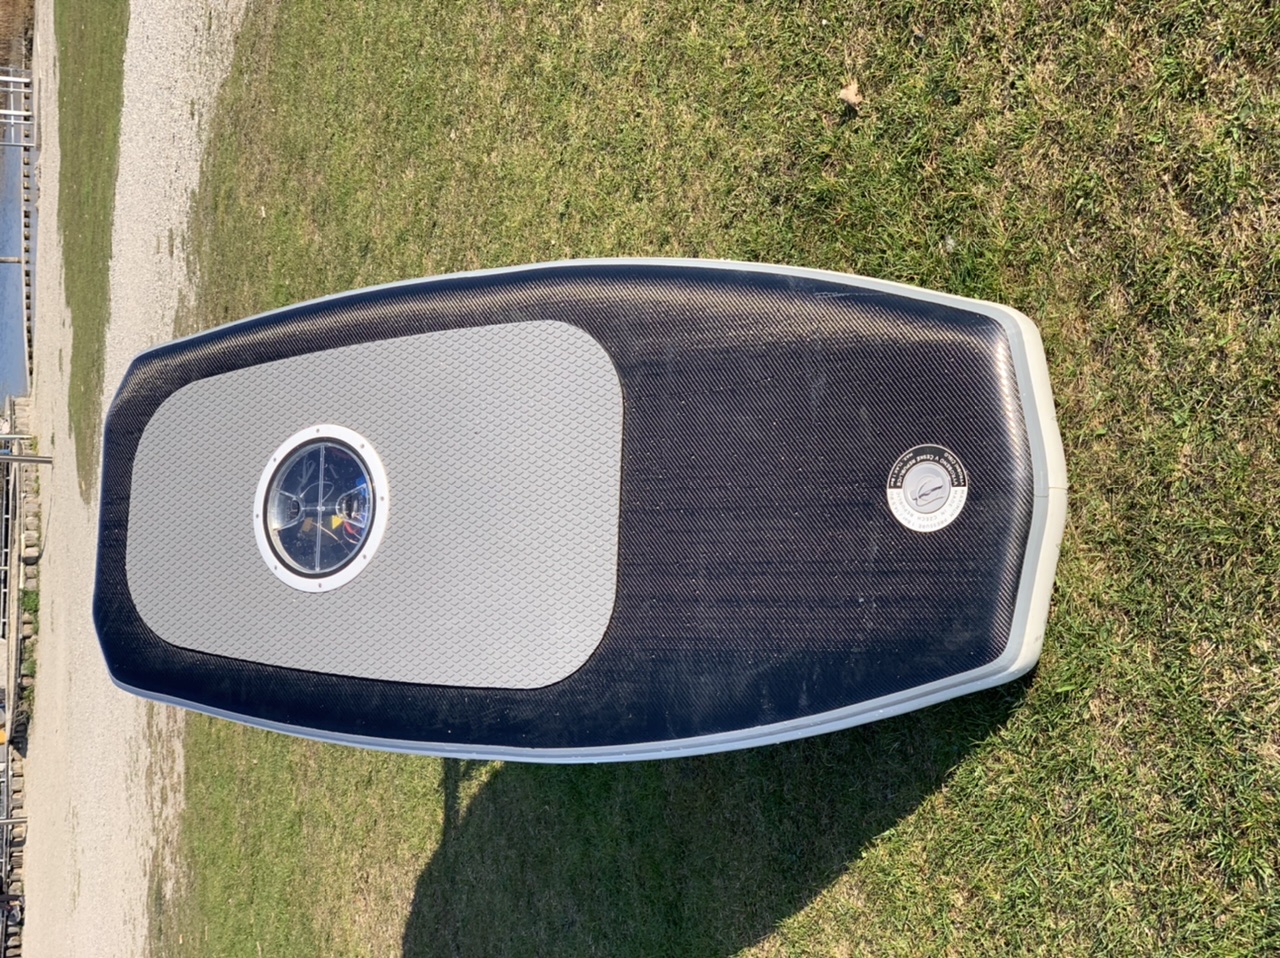
V2 is finished
On the next weekend I want test the box in the lake ( without electronic and batteries) if no water comes inside the box. When the test is successfully, I am ready for the new season. But I need to wait for better weather. It is strong snowing outside ![]()

6 Likes
Water sensor 
Such great update!
3 Likes
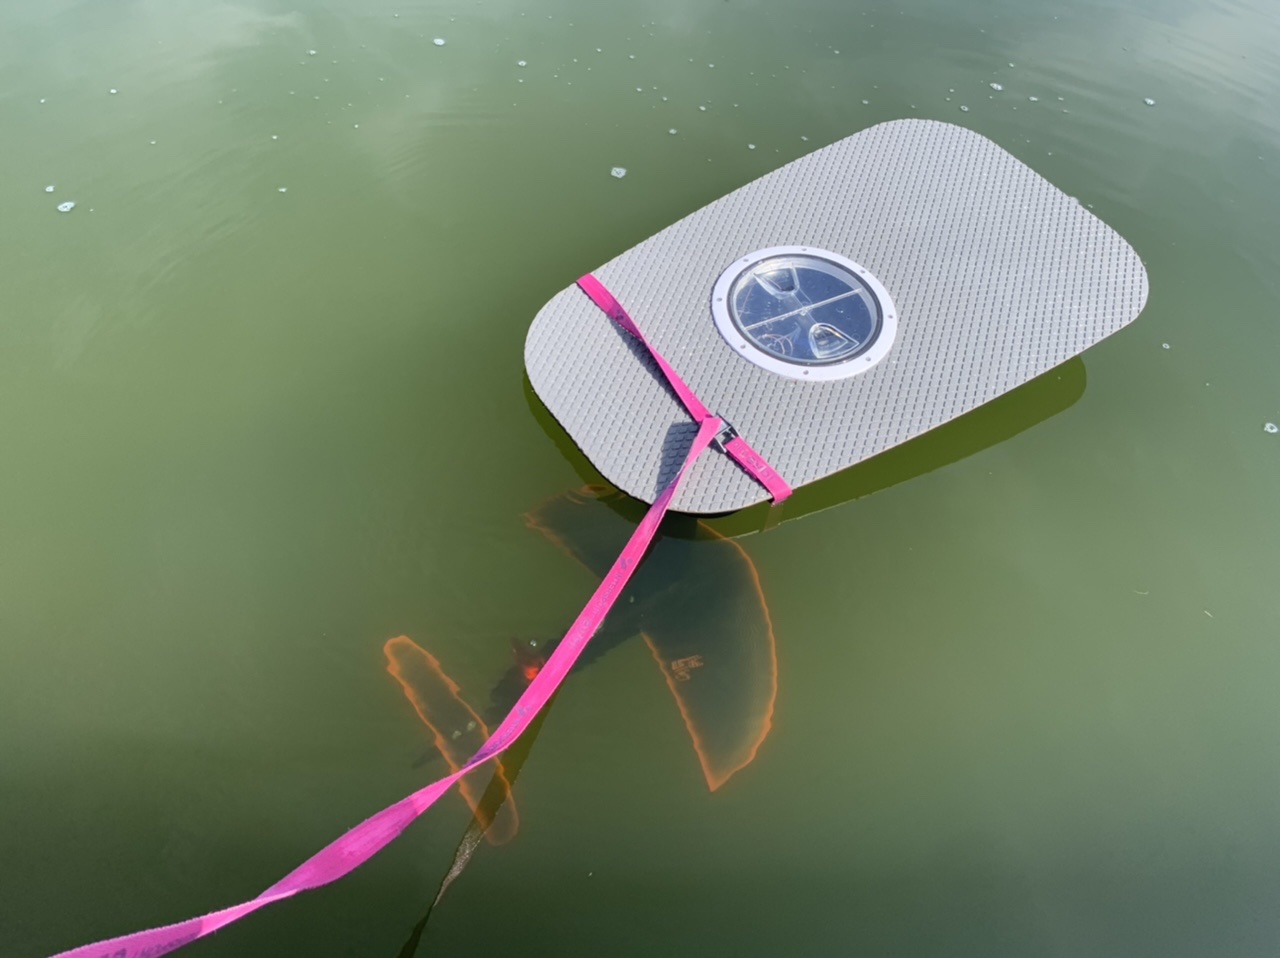
First test in the water.
I push the box some minutes half meter under water.
After this test, I check the inside of the box.
But some water drops find a way to pass my seals 
So, I improve some parts an make a second test tomorrow.
8 Likes
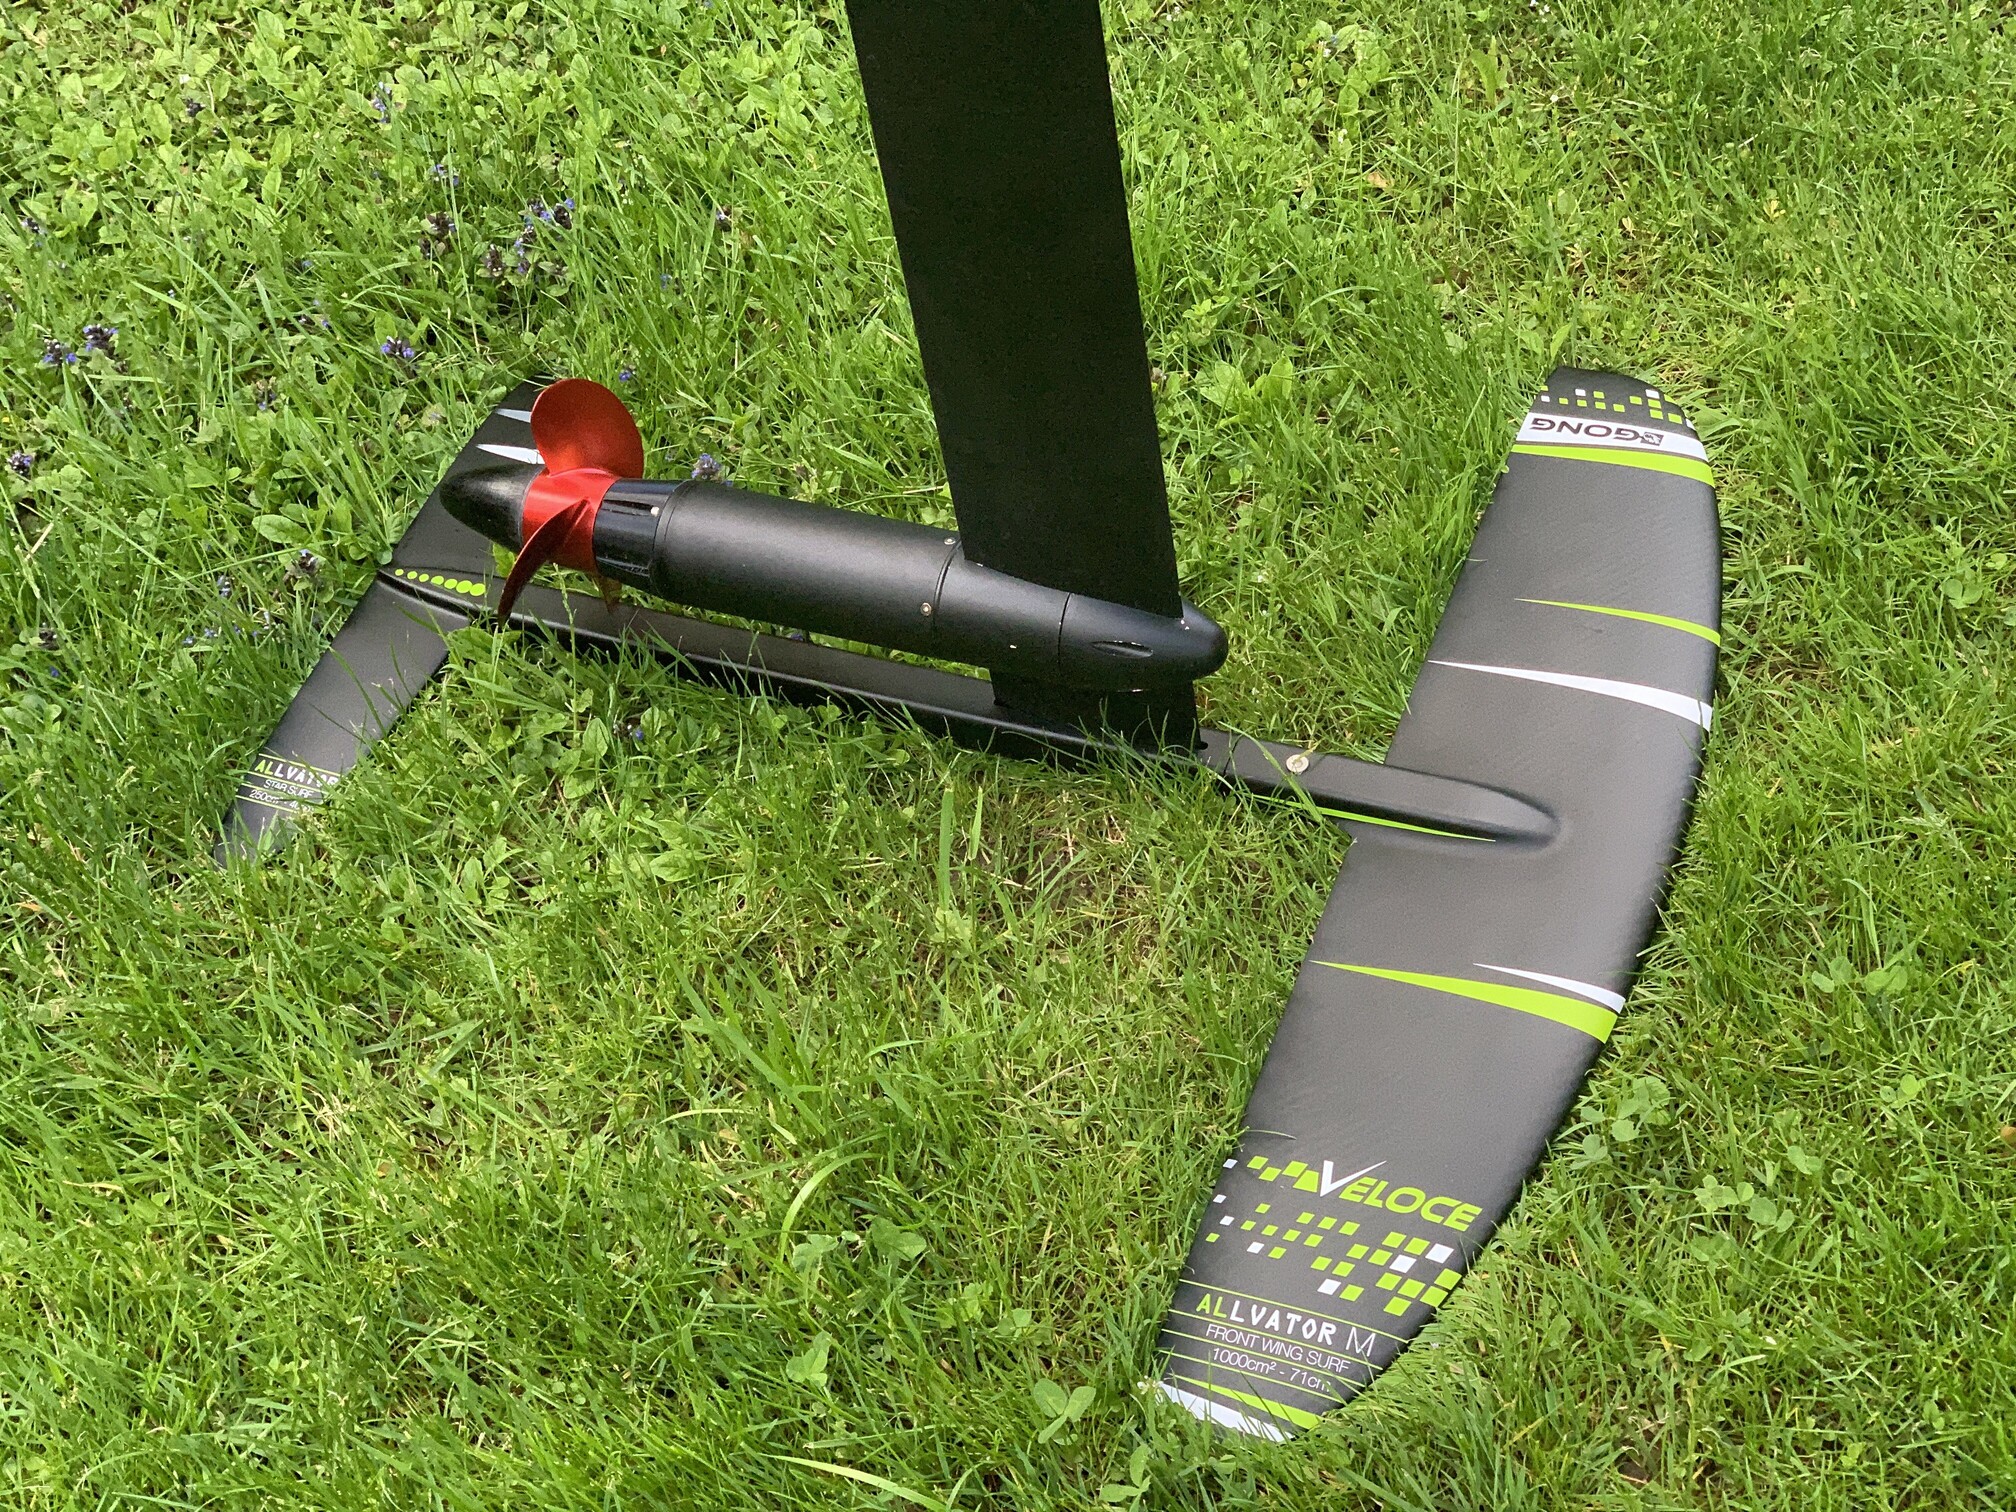
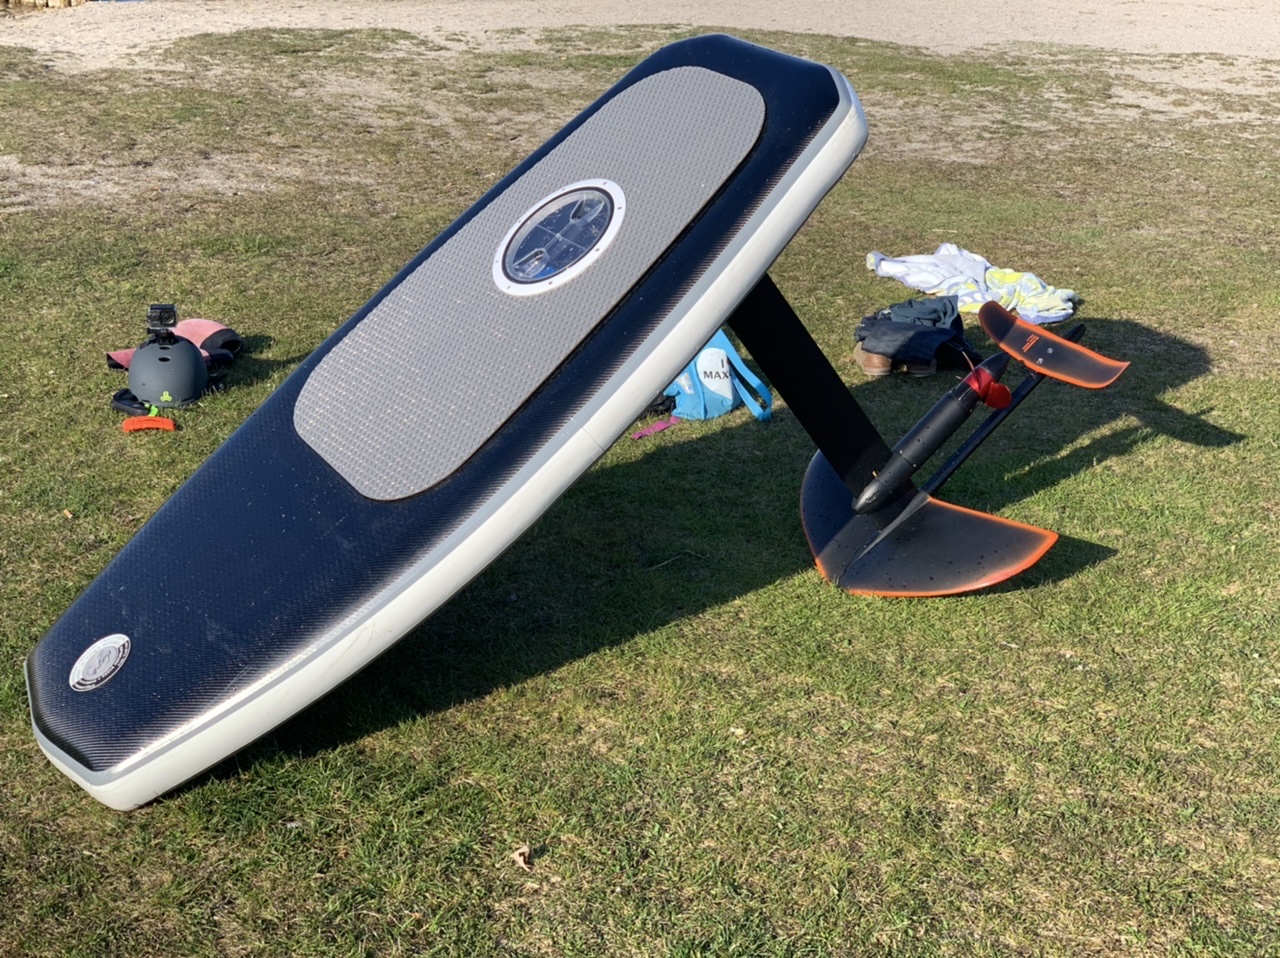
Today after the successfully water resistant test, I decide for the afternoon a first test ride.
And yes, I was foiling. But the very small wing and the longer mast is a very sensitive combination. I made some nice splashes 
But I have one technical problem.
After a while, I was foiling around 30 km/h, the motor stopped from one moment to the other.
I must swim to the beach, opened the hatch and switch my Trampa 75/300 with the build in Switch off and again on and after theme my remote worked again. ( Flipsky VX3 )
I also recognize that I lost the metr connection.
Last year I never was able to got metr data because the connection to my Trampa always was lost.
I made some firmware updates for metr and Trampa and on the first tests it seems to me I fixed the problem.
But now, when the problem still exists, I will be have big problems with my VX3 that works in UART mode
Did someone have some ideas?
4 Likes
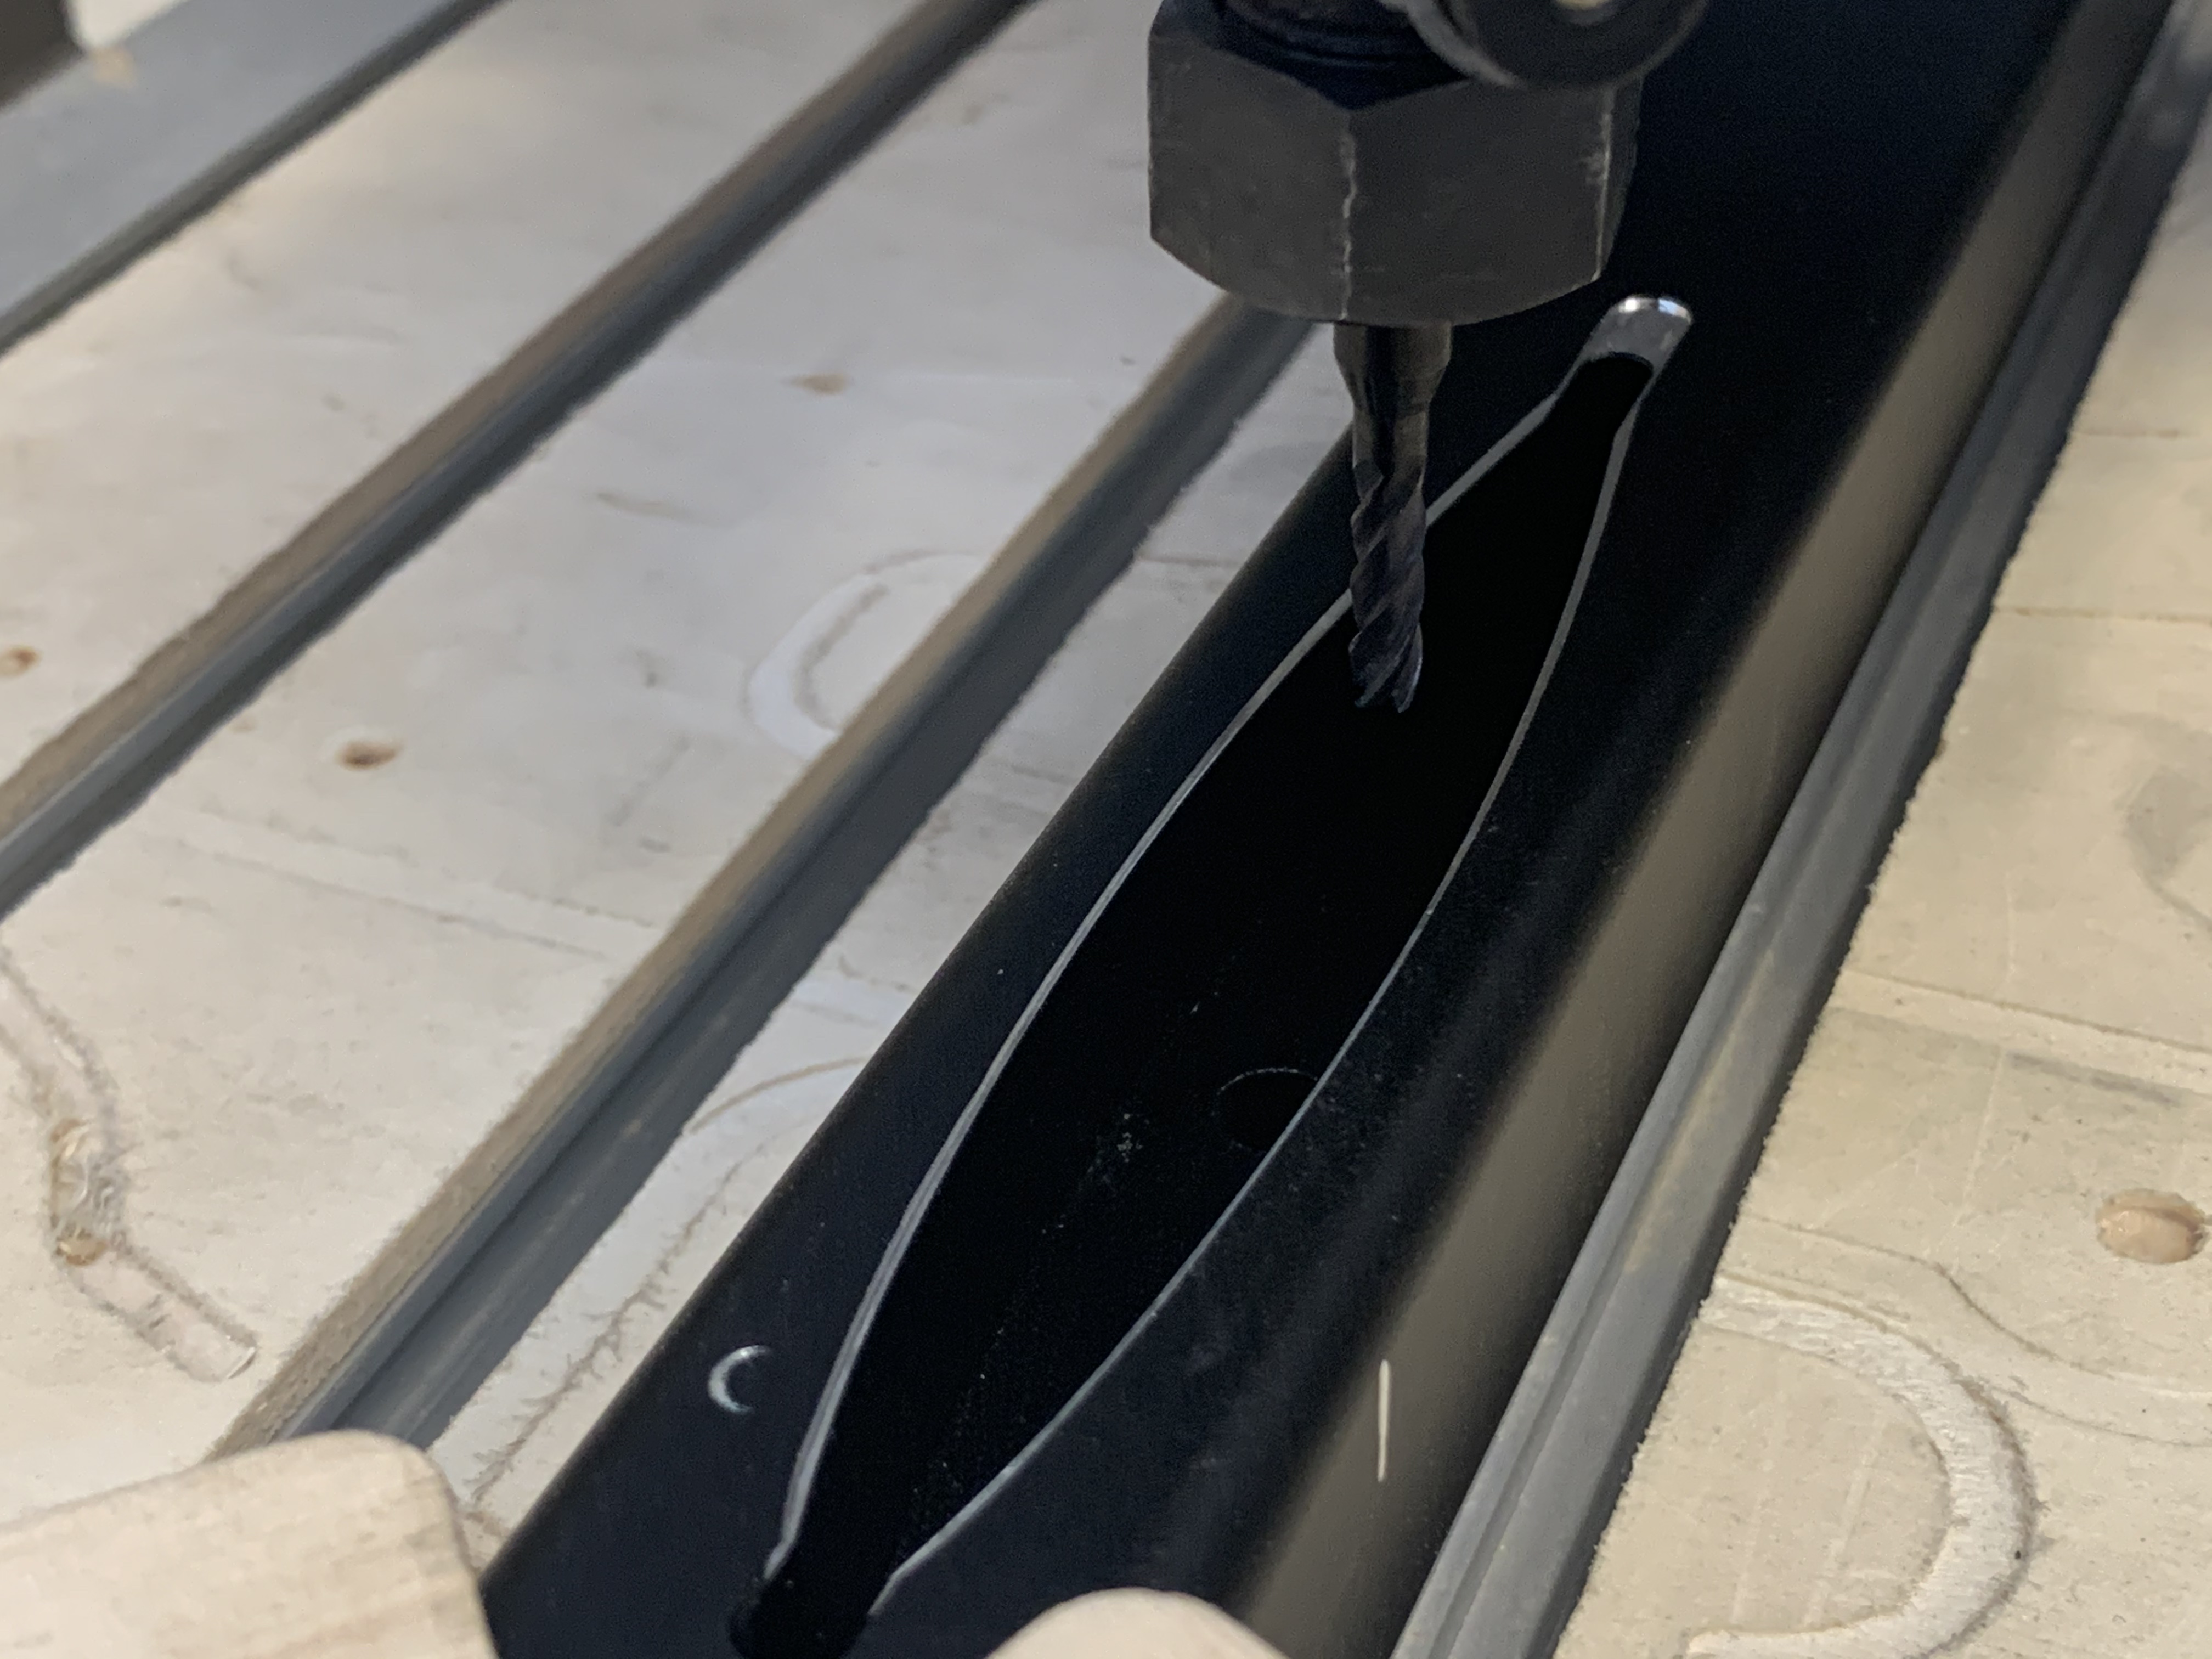
For my second efoil, I am using a Zeeko mast that is still not compatible with my Gong System.
So I bought a second Gong Fuselage and want to mill the Zeeko Mast into the Gong Fuselage. Here the first test in wood. Soon I test if it fits.

2 Likes
Nice! I had to turn one hole on my Liquid force mast into a slot to get it to work on my slingshot mast. On yours looks like the mast comes into fuselage a bit which probably makes for a stronger connection.
I’m not sure how rigid your CNC is, but you might want to try some 2d adaptive cuts? Some of those look pretty aggressive if you are doing it in aluminum.
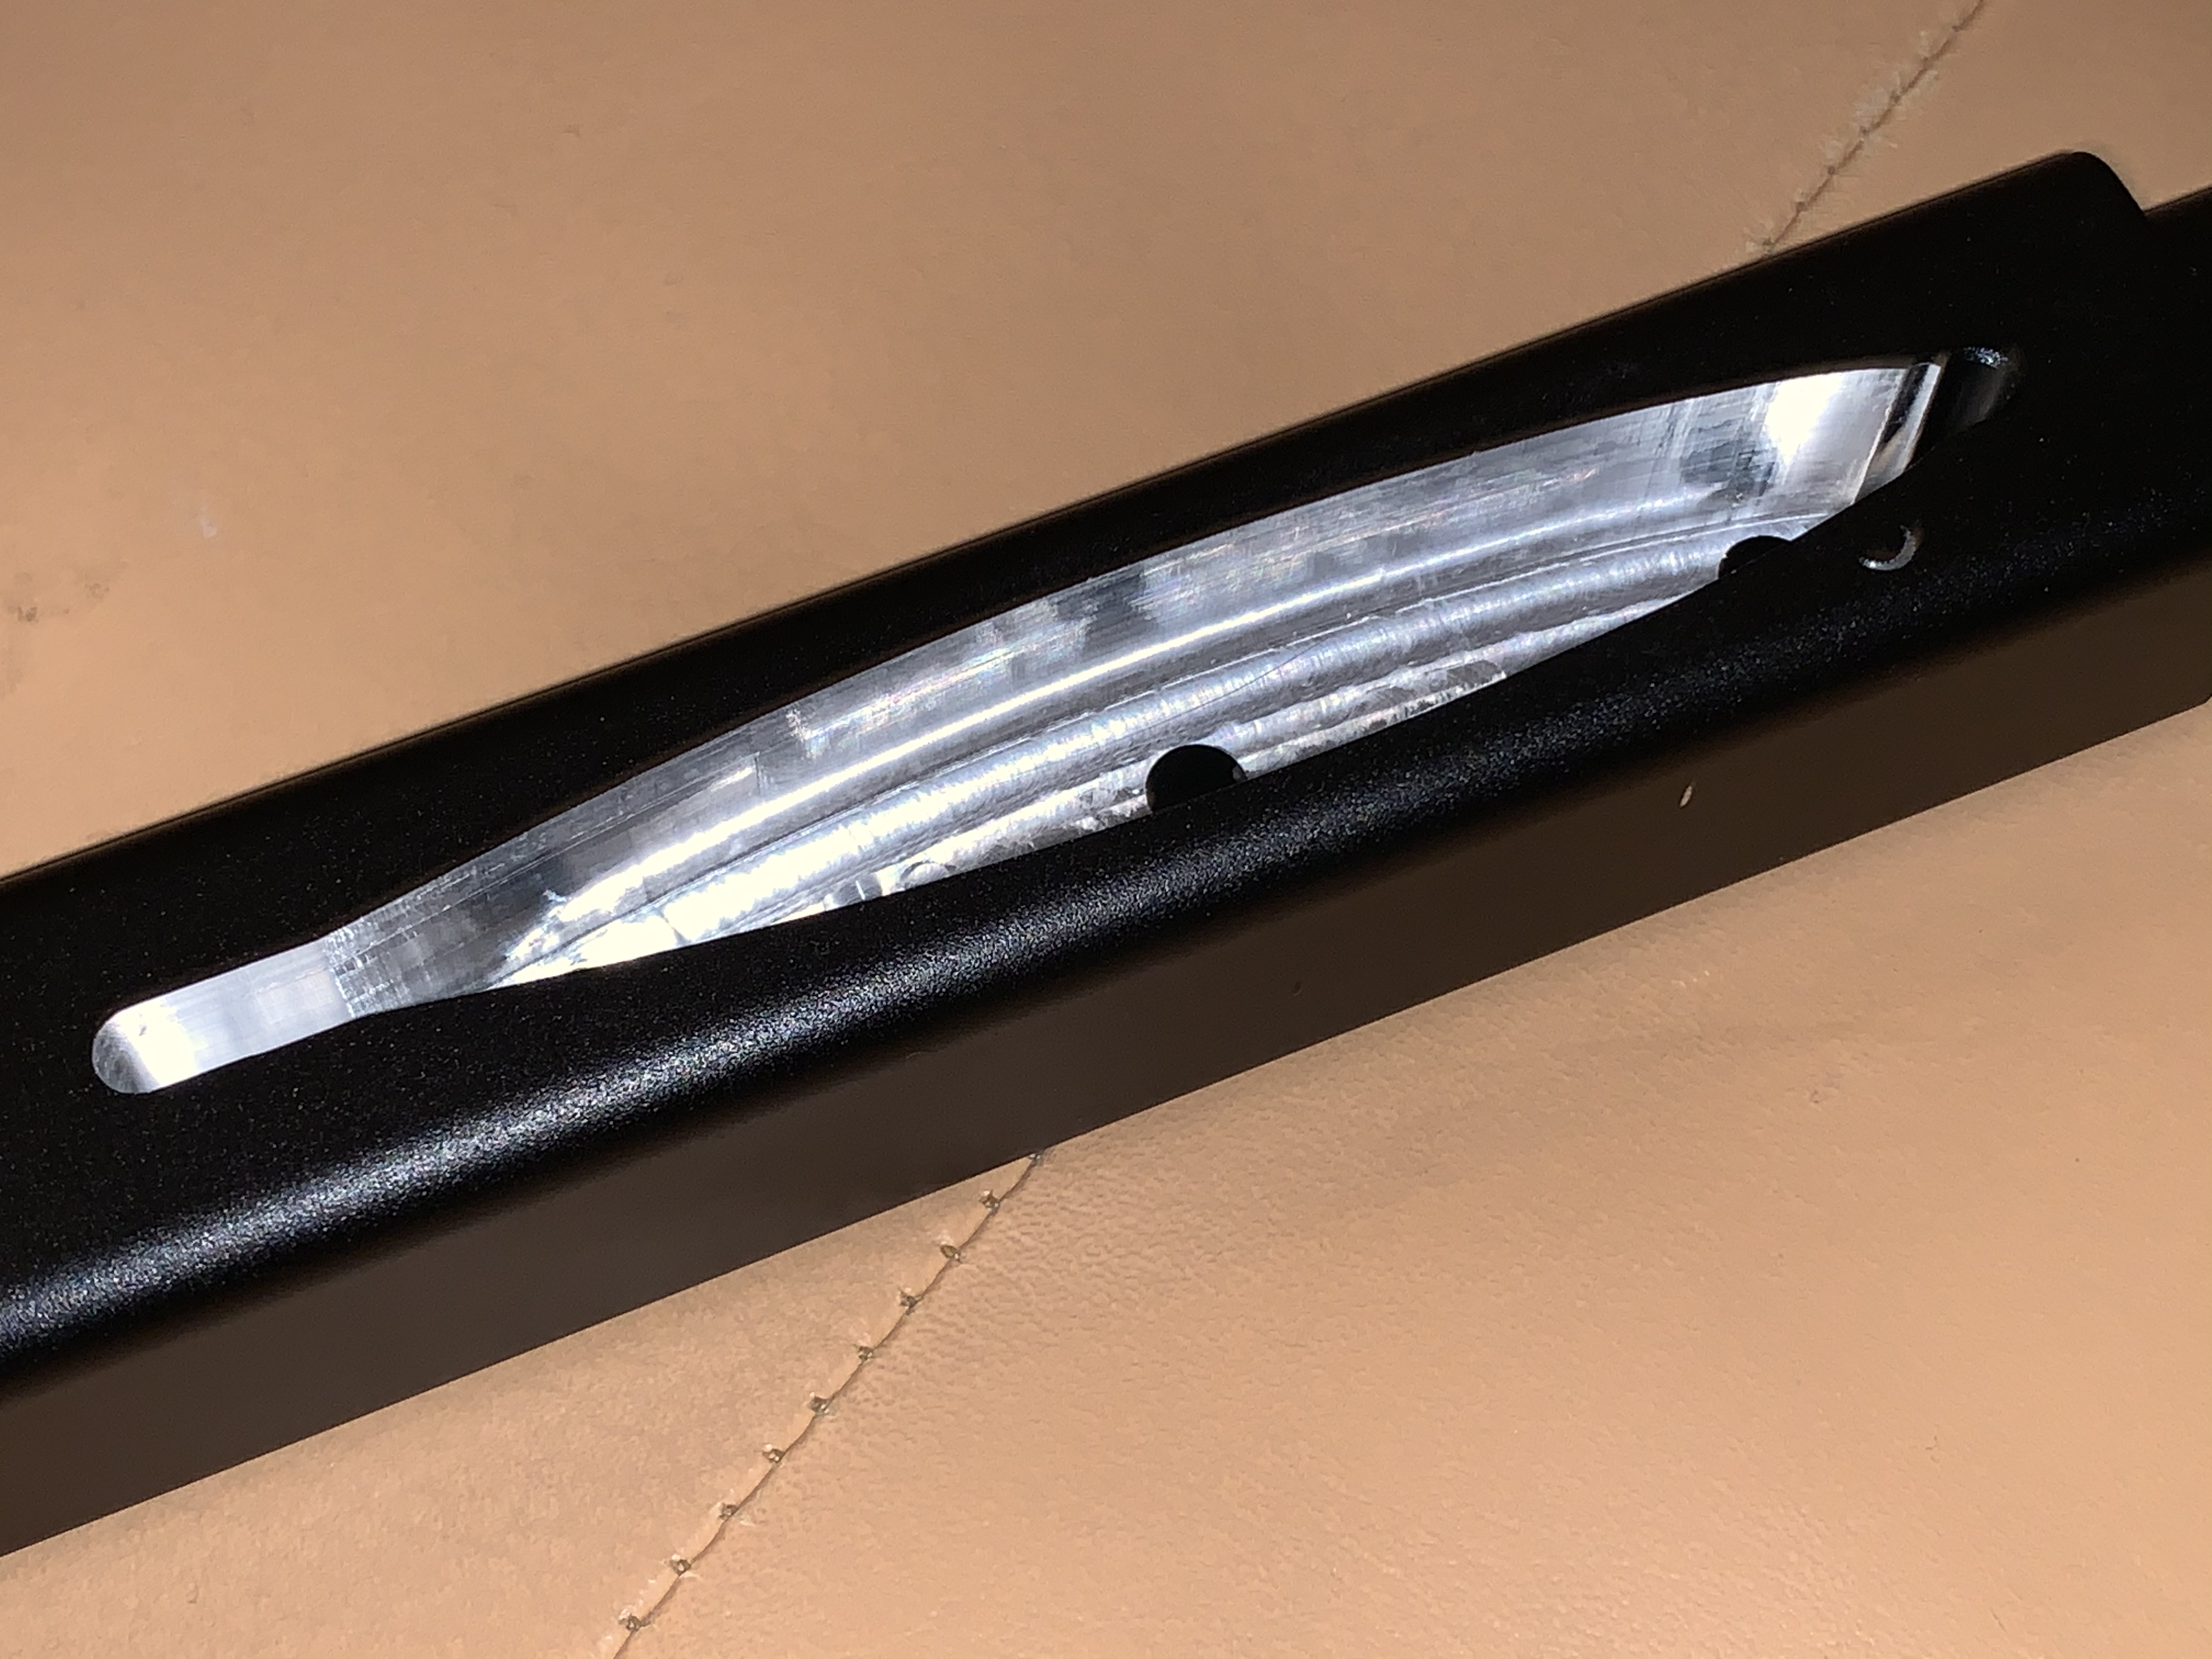
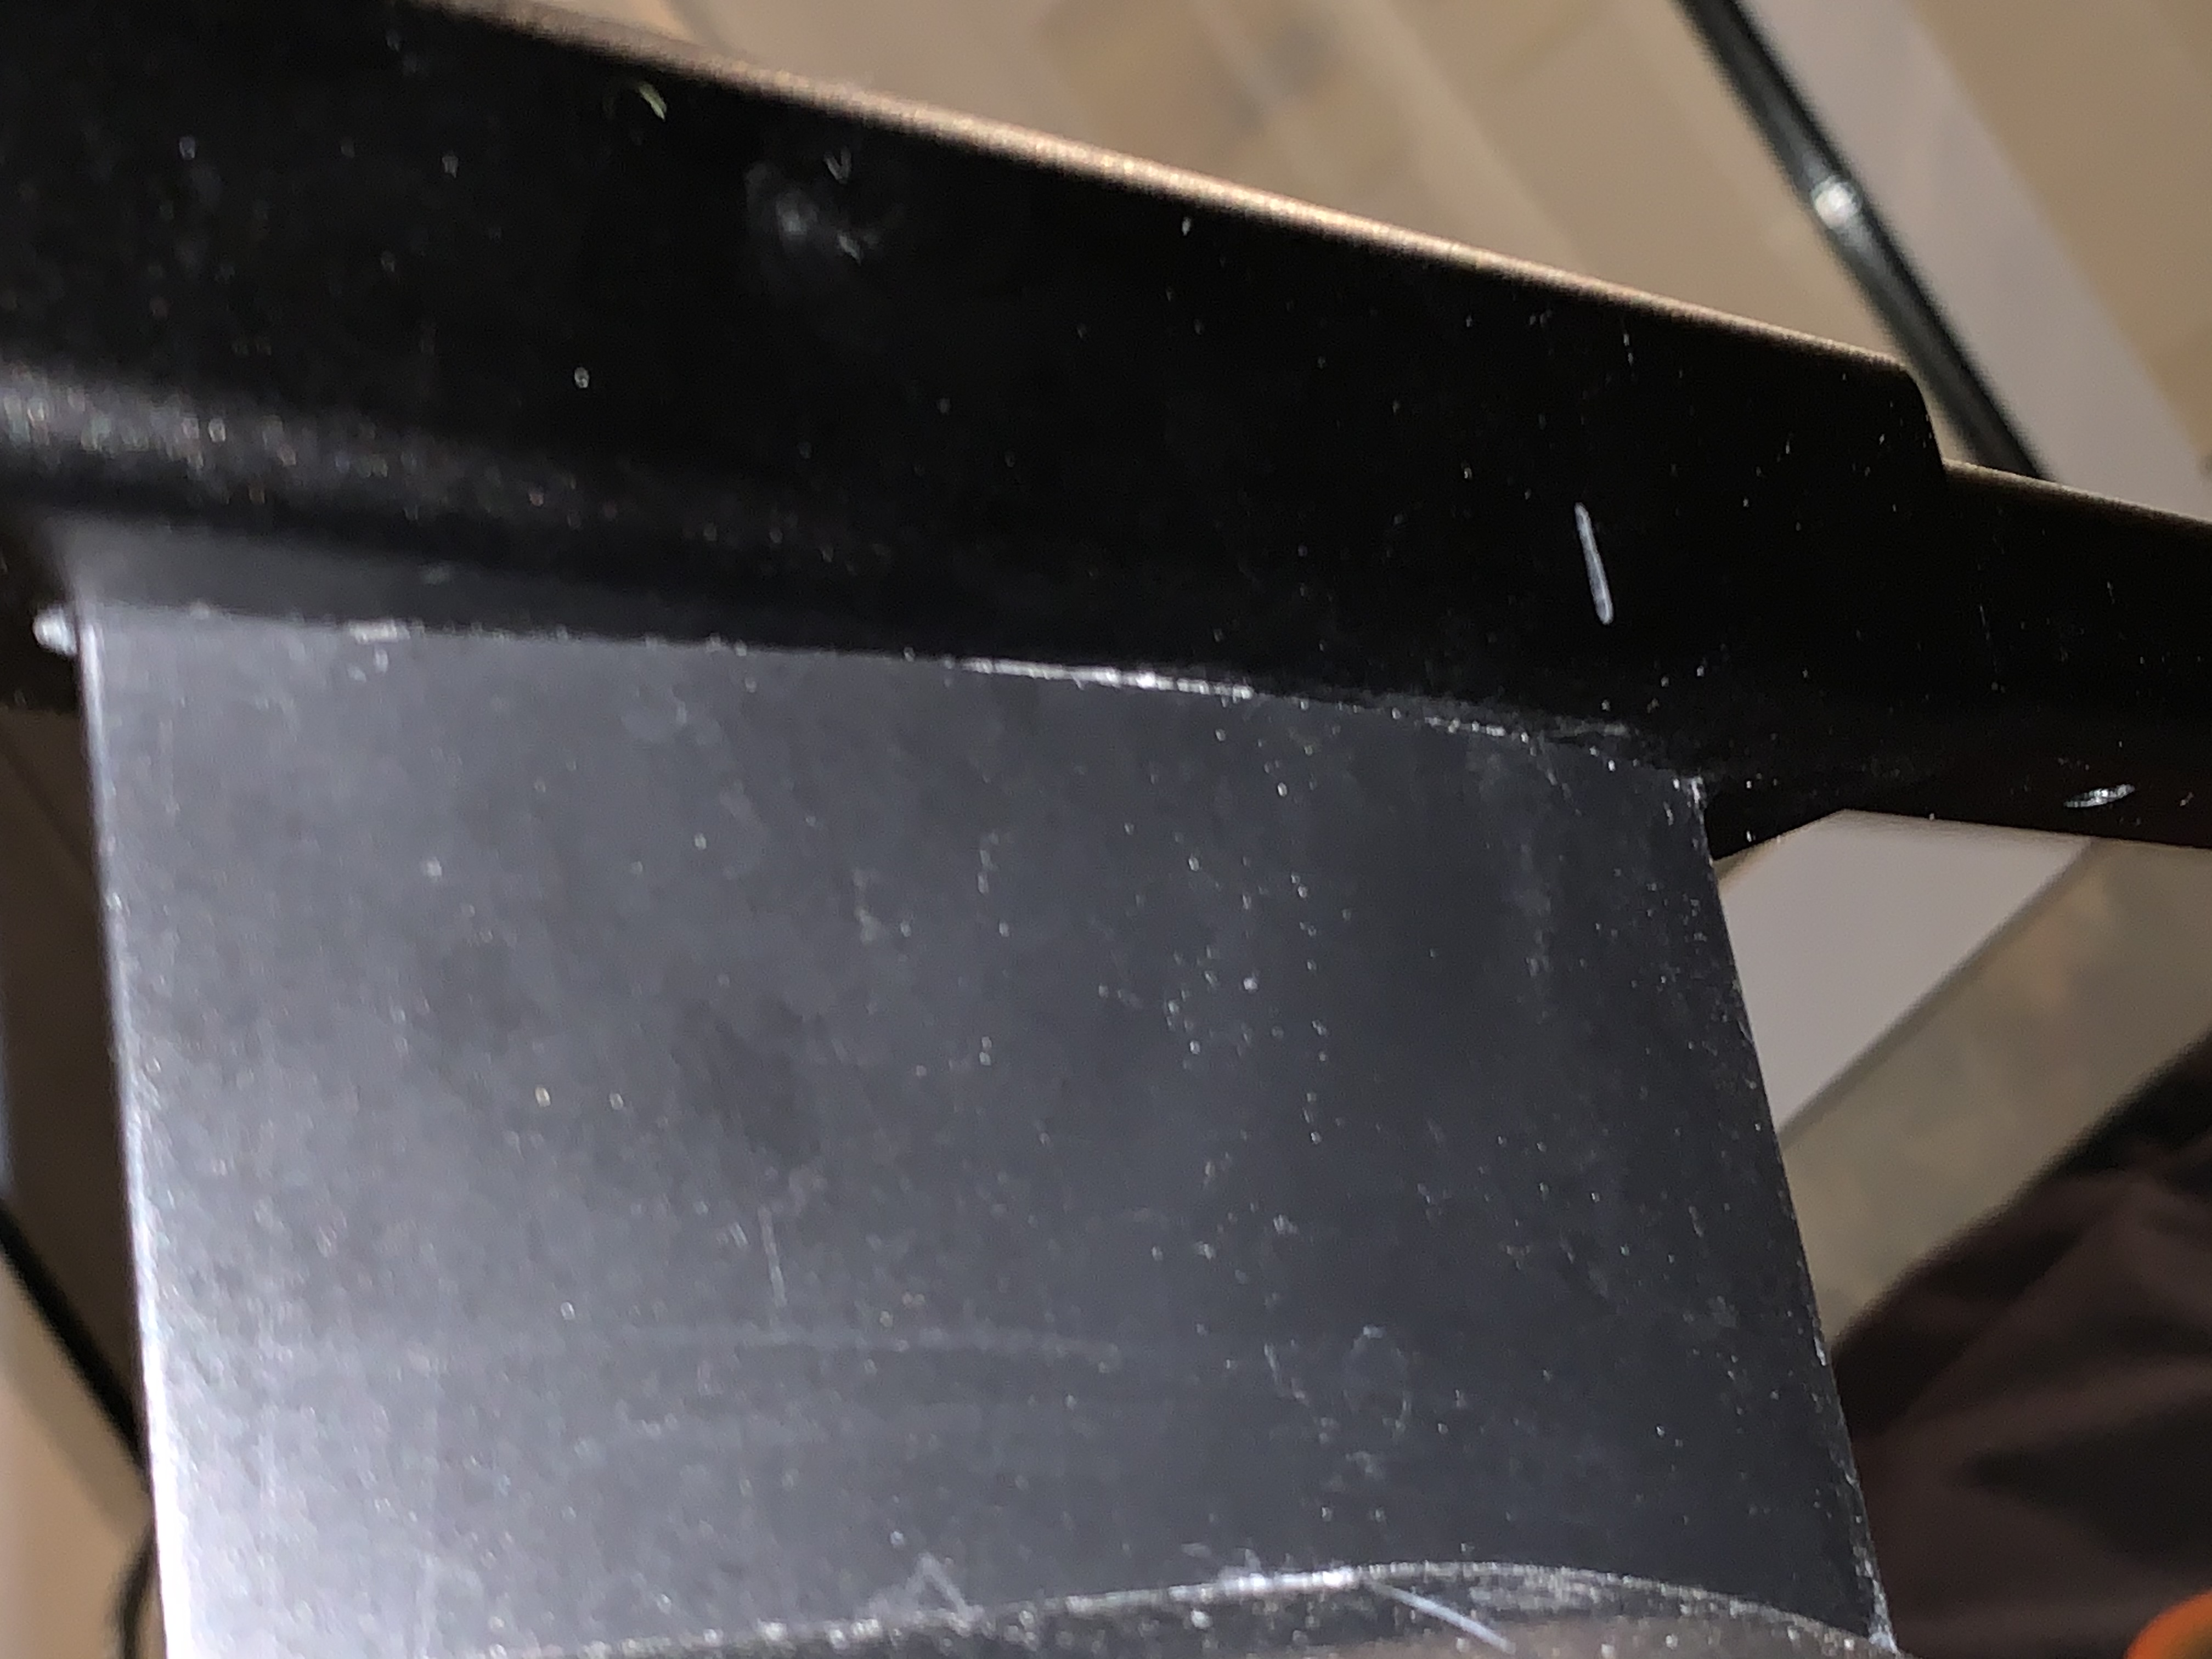
My CNC is able to machining aluminum.
I will Programm it with slower speed.
That was only a test if my border fits
1 Like