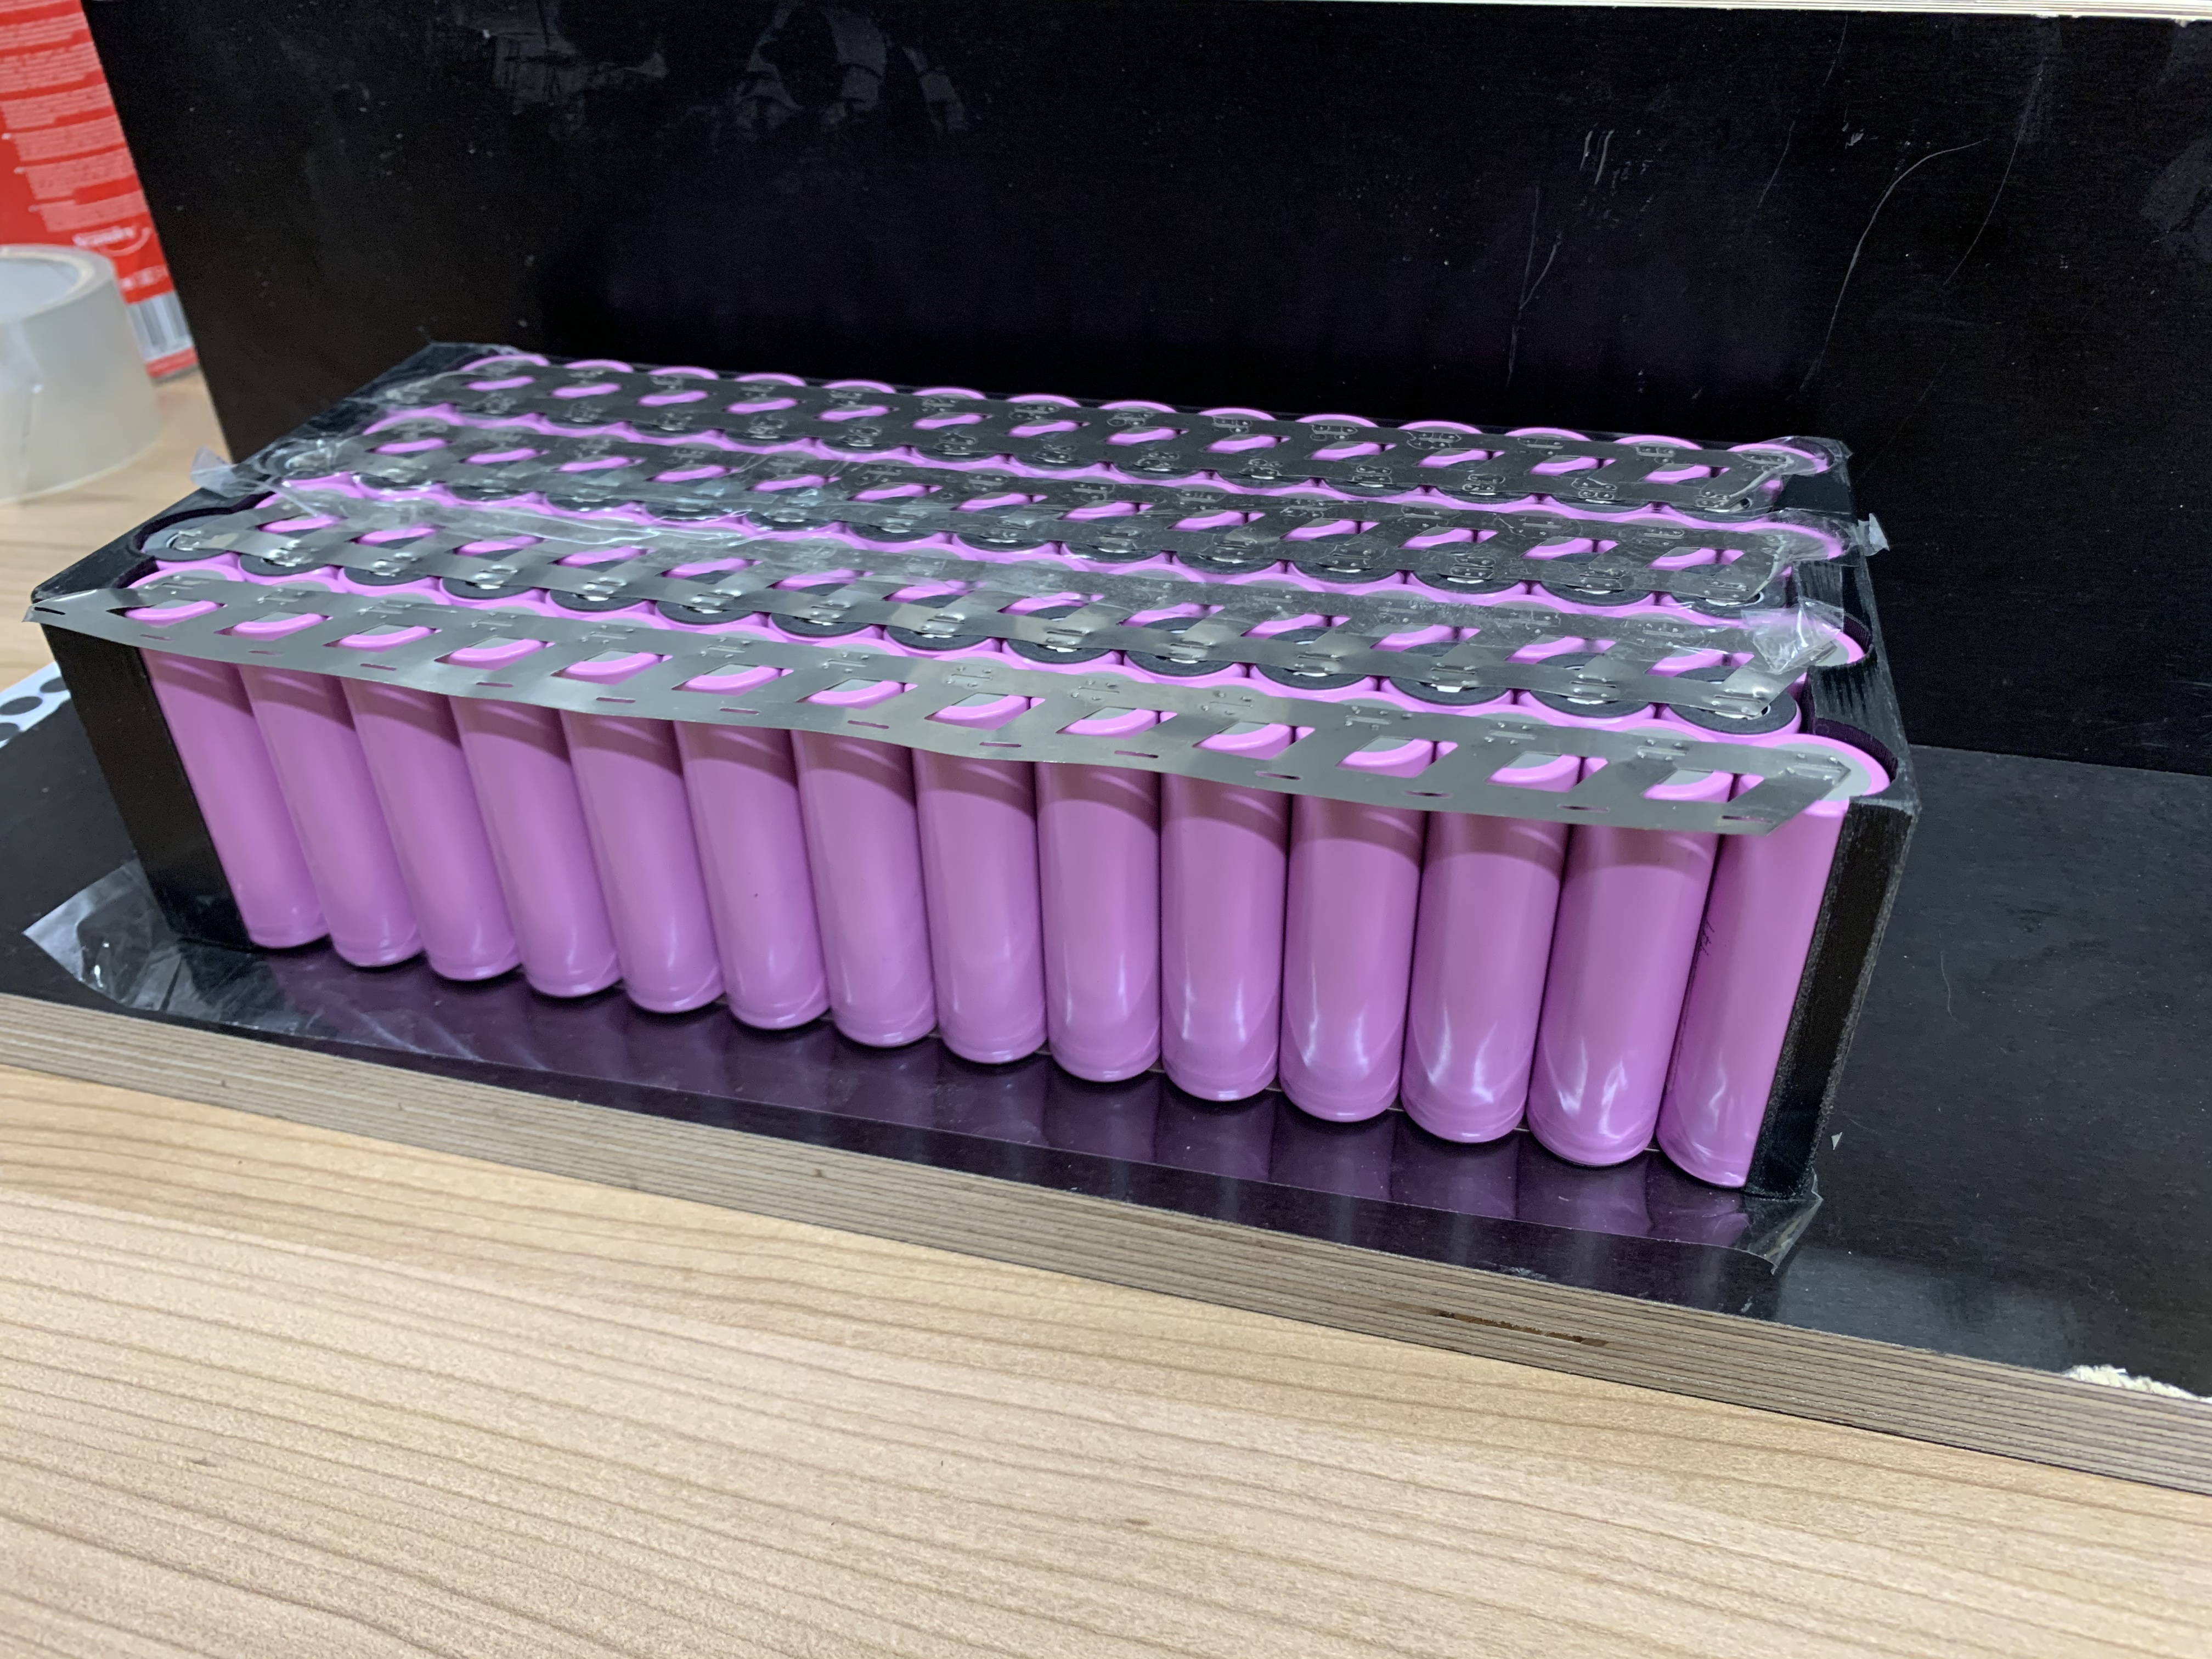
… ready for the Spotwelder
4 Likes
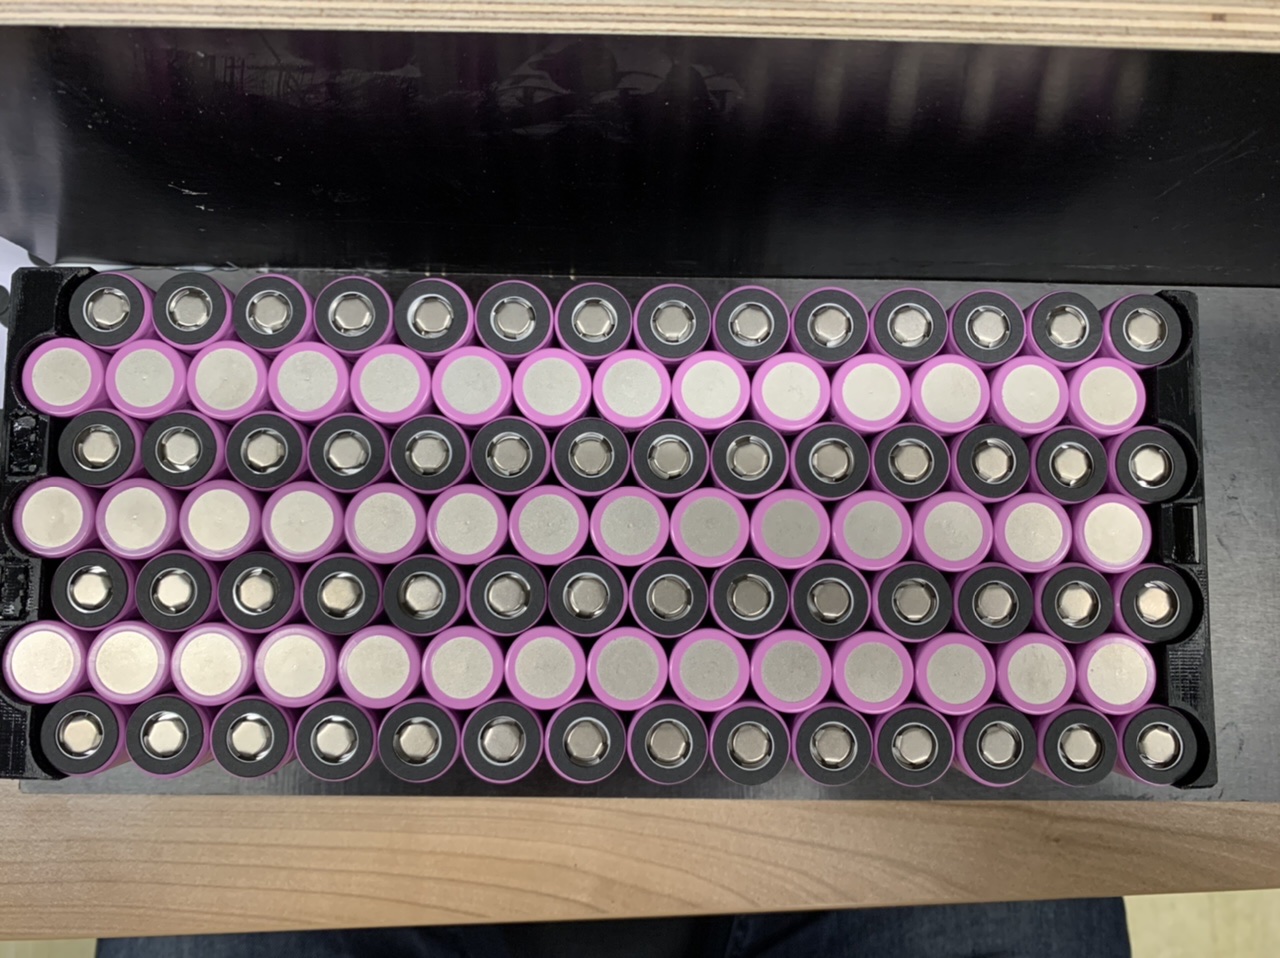
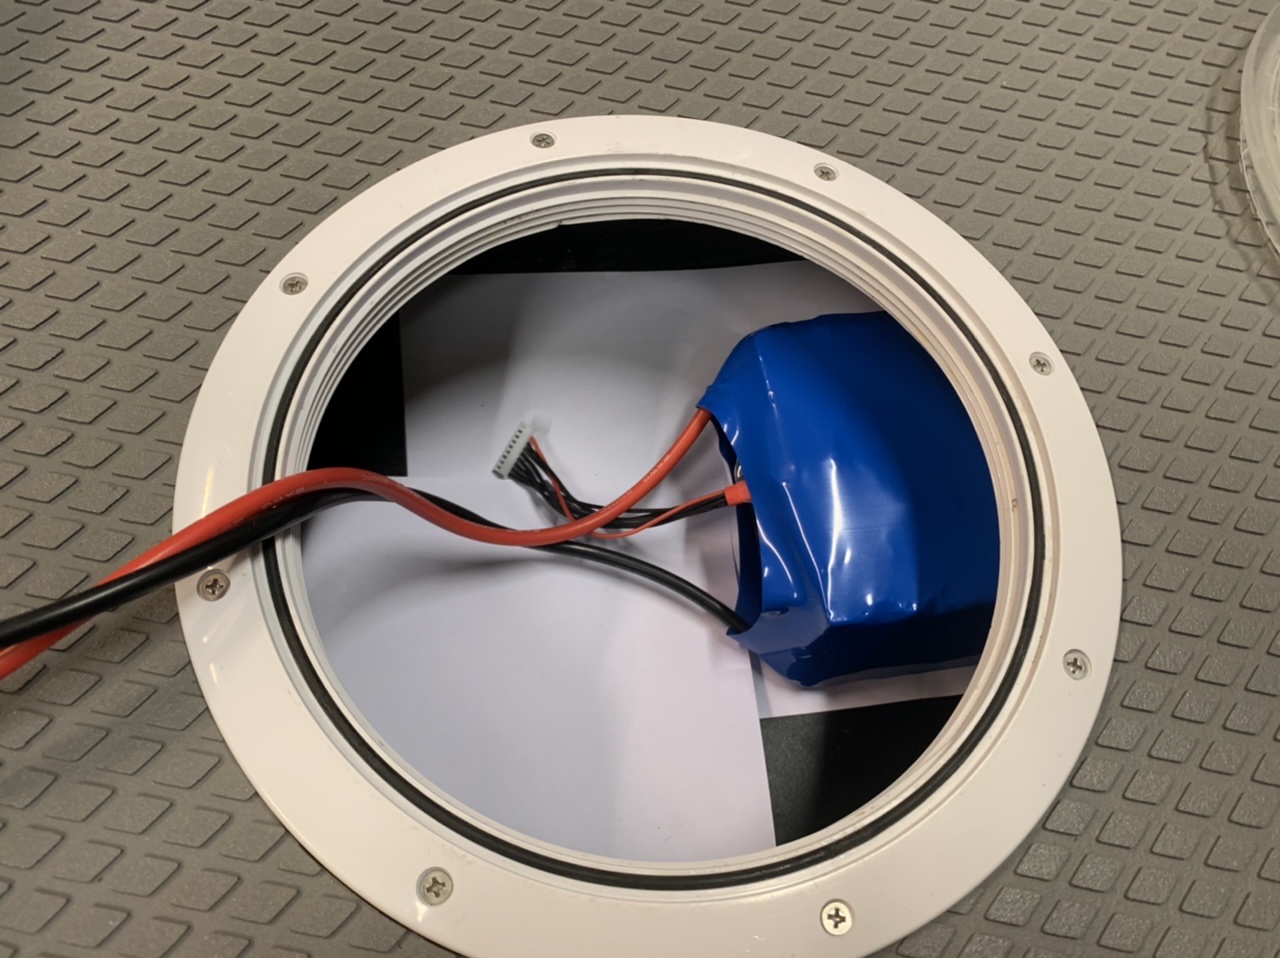
Do you have a picture from the other side of the battery also? 
1 Like

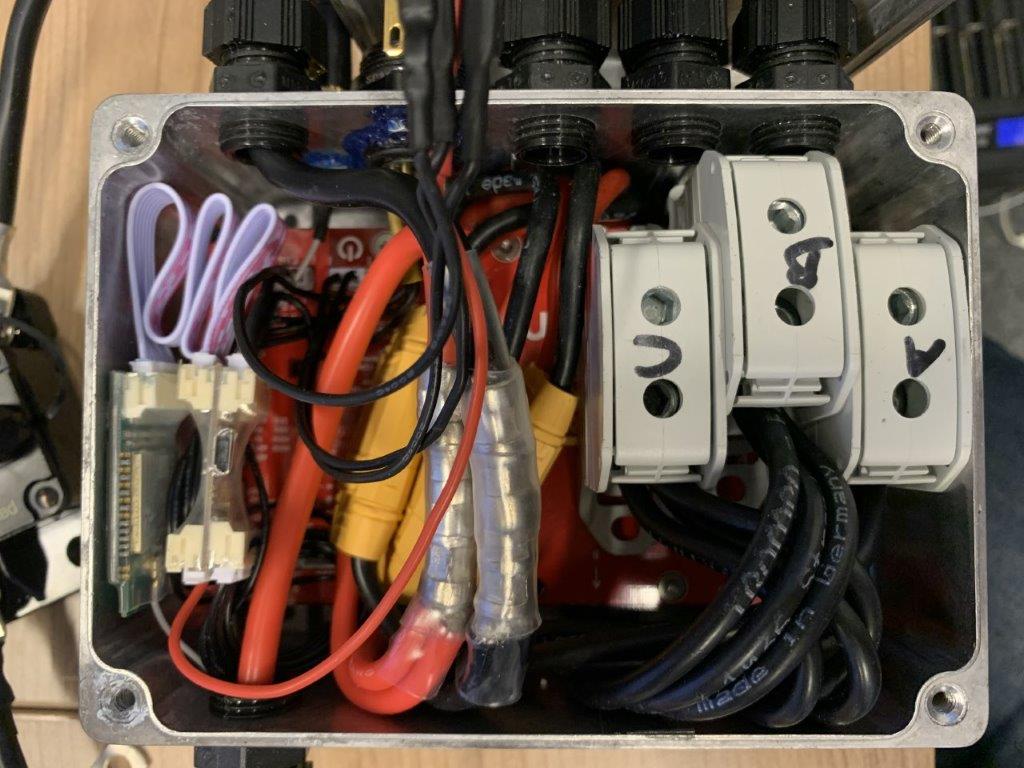
Robert. Looking good. What is the connector that you used for the 3 to 2 battery wires ? It looks like a cable swage fitting like on a boat lifeline. Then you covered with clear tubing? Is it shrink tubing?
I was wondering the same thing. It does look like Stainless Steel?
For the spot welding process, I put transparent duct tape on the contacts that I not spot welding to make not a Short circuit.
I am not a professional in that, so I want to be save 
Robert, I think we are talking about the connection of the VESC positive and negative wires in this picture.
1 Like
And what’s your question? 
@Kiteman54 asked about the picture above. What is the connector that you used for the 3 to 2 battery wires ? It looks like a cable swage fitting like on a boat lifeline. Then you covered with clear tubing? Is it shrink tubing
1 Like
I crimped it and after a put 2 layers of shrink tubing around
1 Like

I think There is no any space between all the cells for rest in fresh states … of course if you can have better ampli without more hot temperature with 14s 14p 
For sure you win place in your box😉
Replying too late for suggestions, but from looking at the best built esk8 packs. It is good practice to isolate the S rows just in case the outside of the battery can (whole can is negative) from one row scuffs over time to another battery row, which would short out the whole row of batteries and maybe start a fire. Same with the balance wires, it is good to route them over their own S row or isolate them if they go over another row.
Not trying to knock your pack though, it looks sweet! Trying to look ahead to the one I’m working on. It has a 3dprinted holder that is suppose to isolate the rows a bit (also isolated P rows which is not needed). Haven’t yet welded it up yet… that is on the todo list

6 Likes
Thanks for taking the time to write those precious comments down but I’m not familiar with some terms, for example, what is a “S” row (if “P” stands for positive) ?
Would you have a link (esk8 forum page, video ?) showing pictures / explaining the steps you mention ? After a battery fire, I also remember a @Jezza post focussing on the importance of the negative [.?.] to improve safety. Jezz could you re-explain this point ?
S and P rows are series and parallel rows. In a series row you have a negative connected to a positive of the next cell. With 90% of the outside of the cells being the negative terminal, if the thin plastic insulation were to melt you would then end up with a direct short between cells. Hence a lot of people add an extra spacer to prevent this
On a P-row this doesn’t matter because the negatives are all connected anyway.
I always run the nickel folds and balance wires from the negative terminals so that if any insulation ever melted, then it wouldn’t matter as there would be no short.
2 Likes
I had learned a lot on long thread here: The battery builders club - How-Tos & Esk8 mechanics - esk8.news: DIY Electric Skateboard Forums Most of those guys like to build really clean batteries.
I haven’t seen a written up guide or anything, but you can read through there and even post your battery build.
So not to fill up nice2cu’s thread. As far as efoil packs, I’ll make a new topic here, Efoil Battery Builders Club
2 Likes
I am happy about that discussion in my thread.
When I posted my work, ideas to make it better are welcome
1 Like
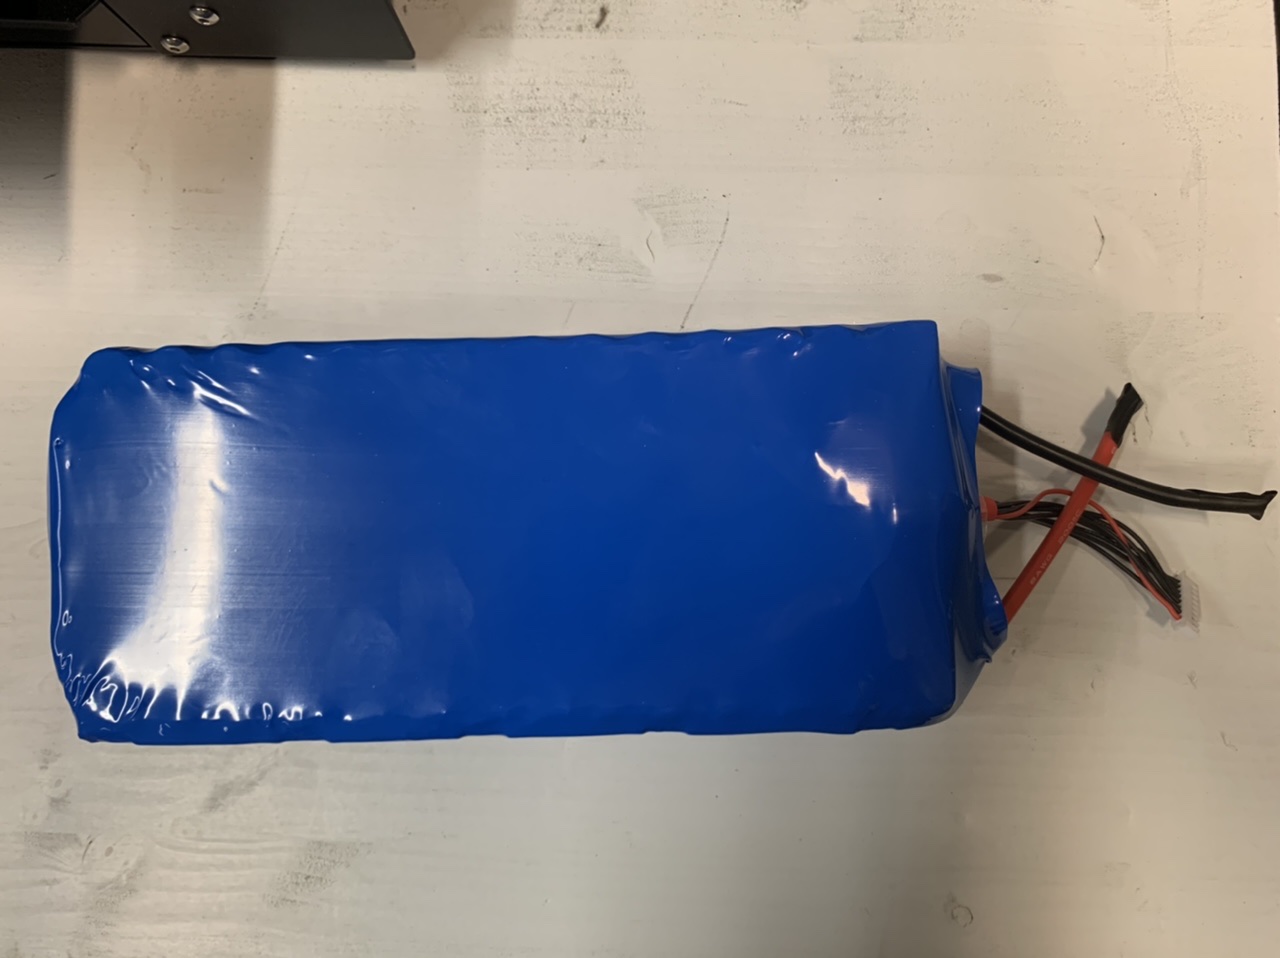
What I have learned from building battery packs is that the balance wires must be positioned on the sides of the battery and not on top or underneath in order to avoid wire friction - breakage - and short circuiting…
2 Likes
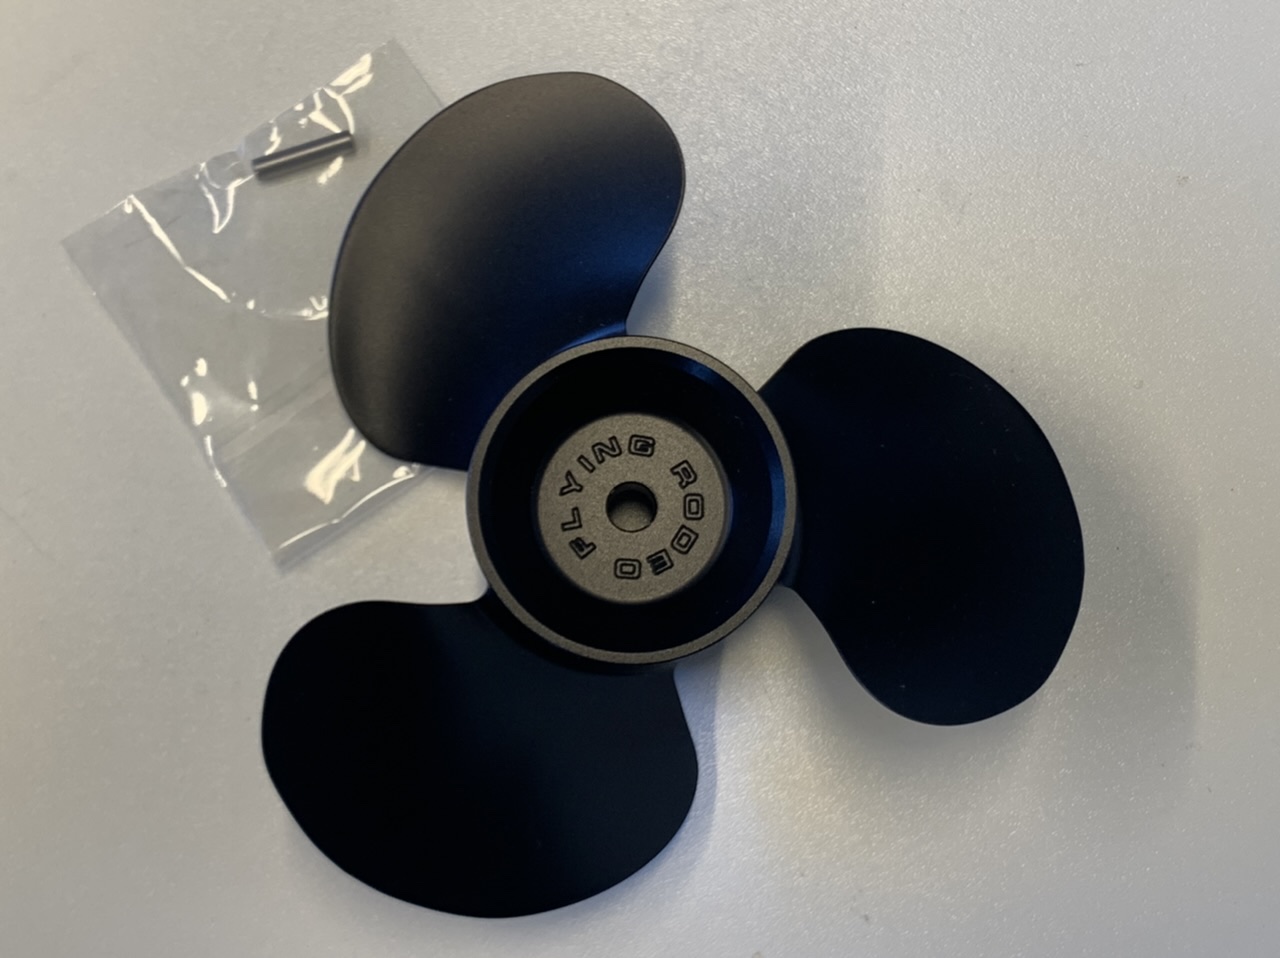
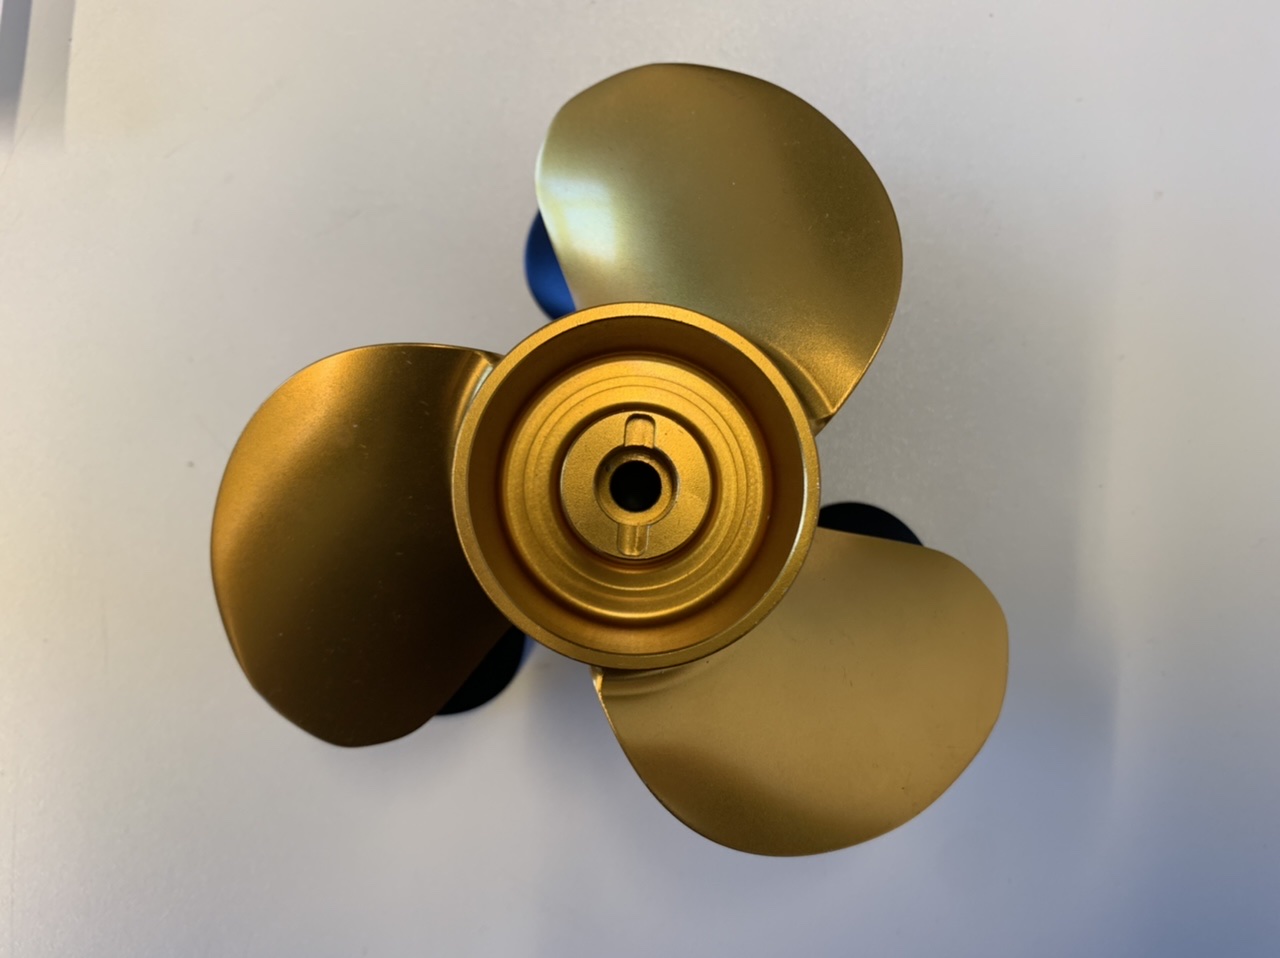
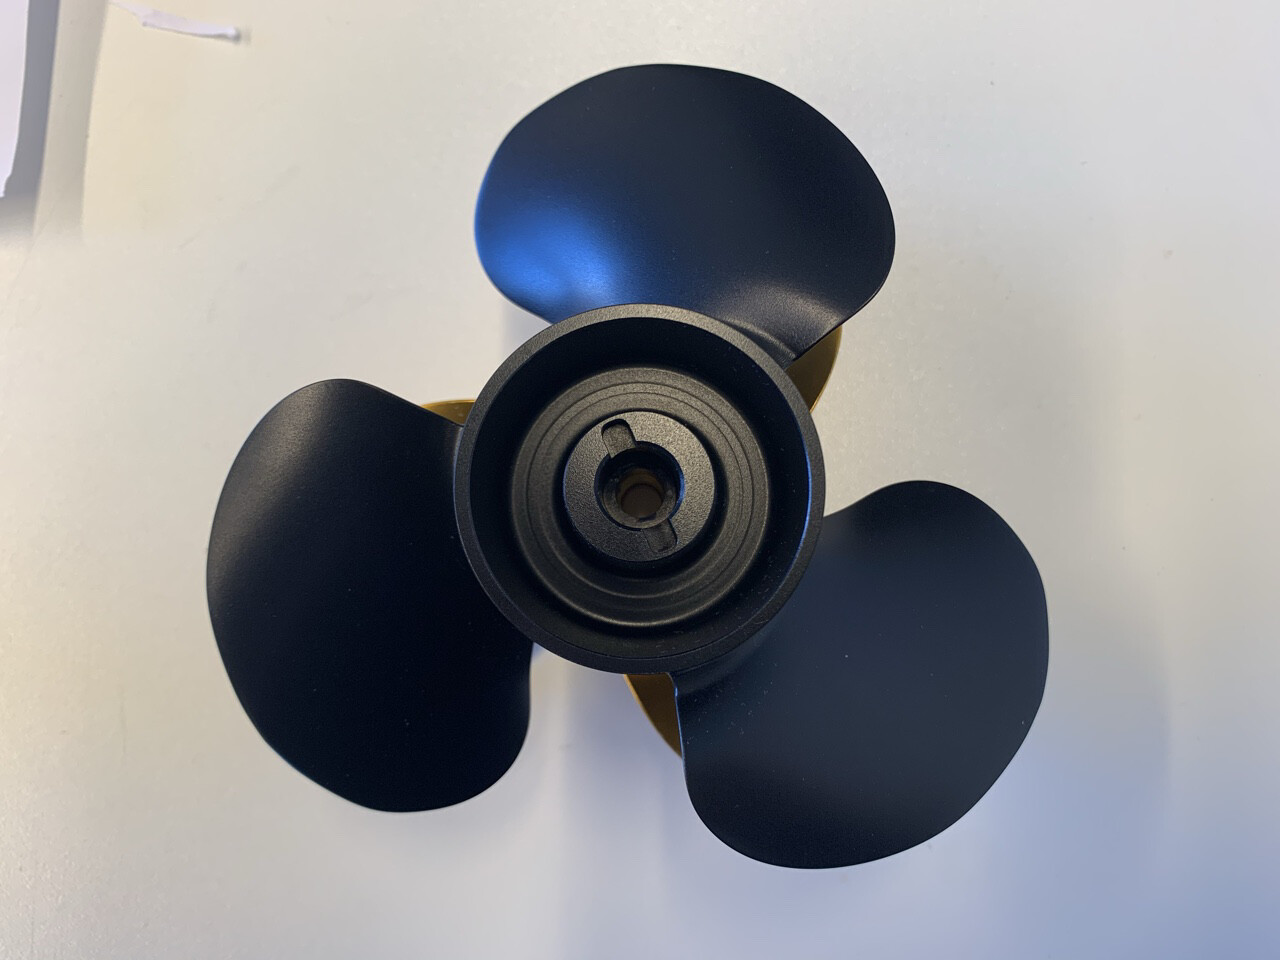
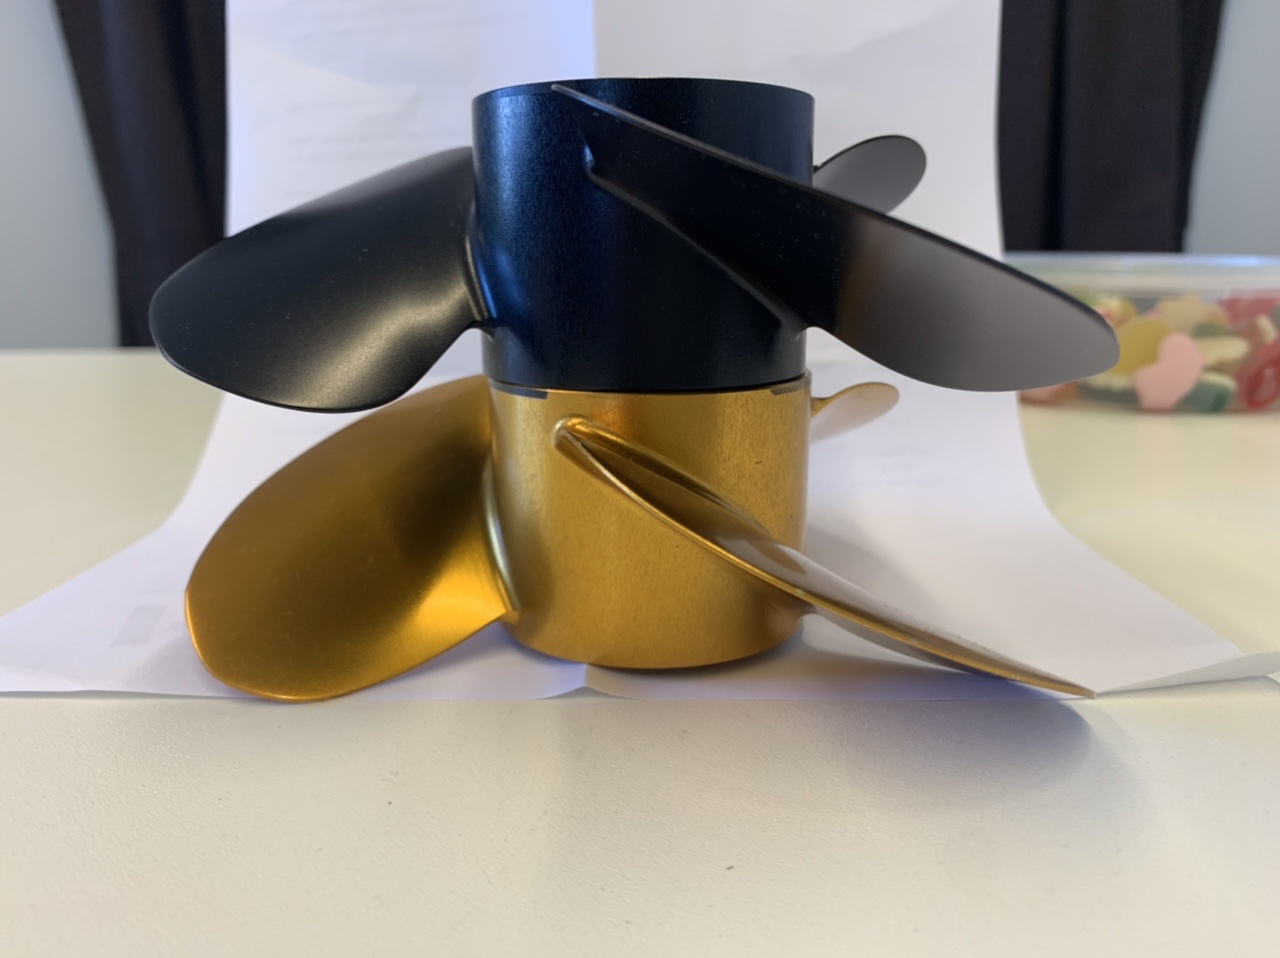
Today I got my 7” pitch FR Propeller.
So, some steps to finish my new efoil and the season can start ( when the water temperatures comes over 10 degrees )
1 Like
after finished the Akkupacks, I connect for the first test all parts. All seems to me working good.

1 Like