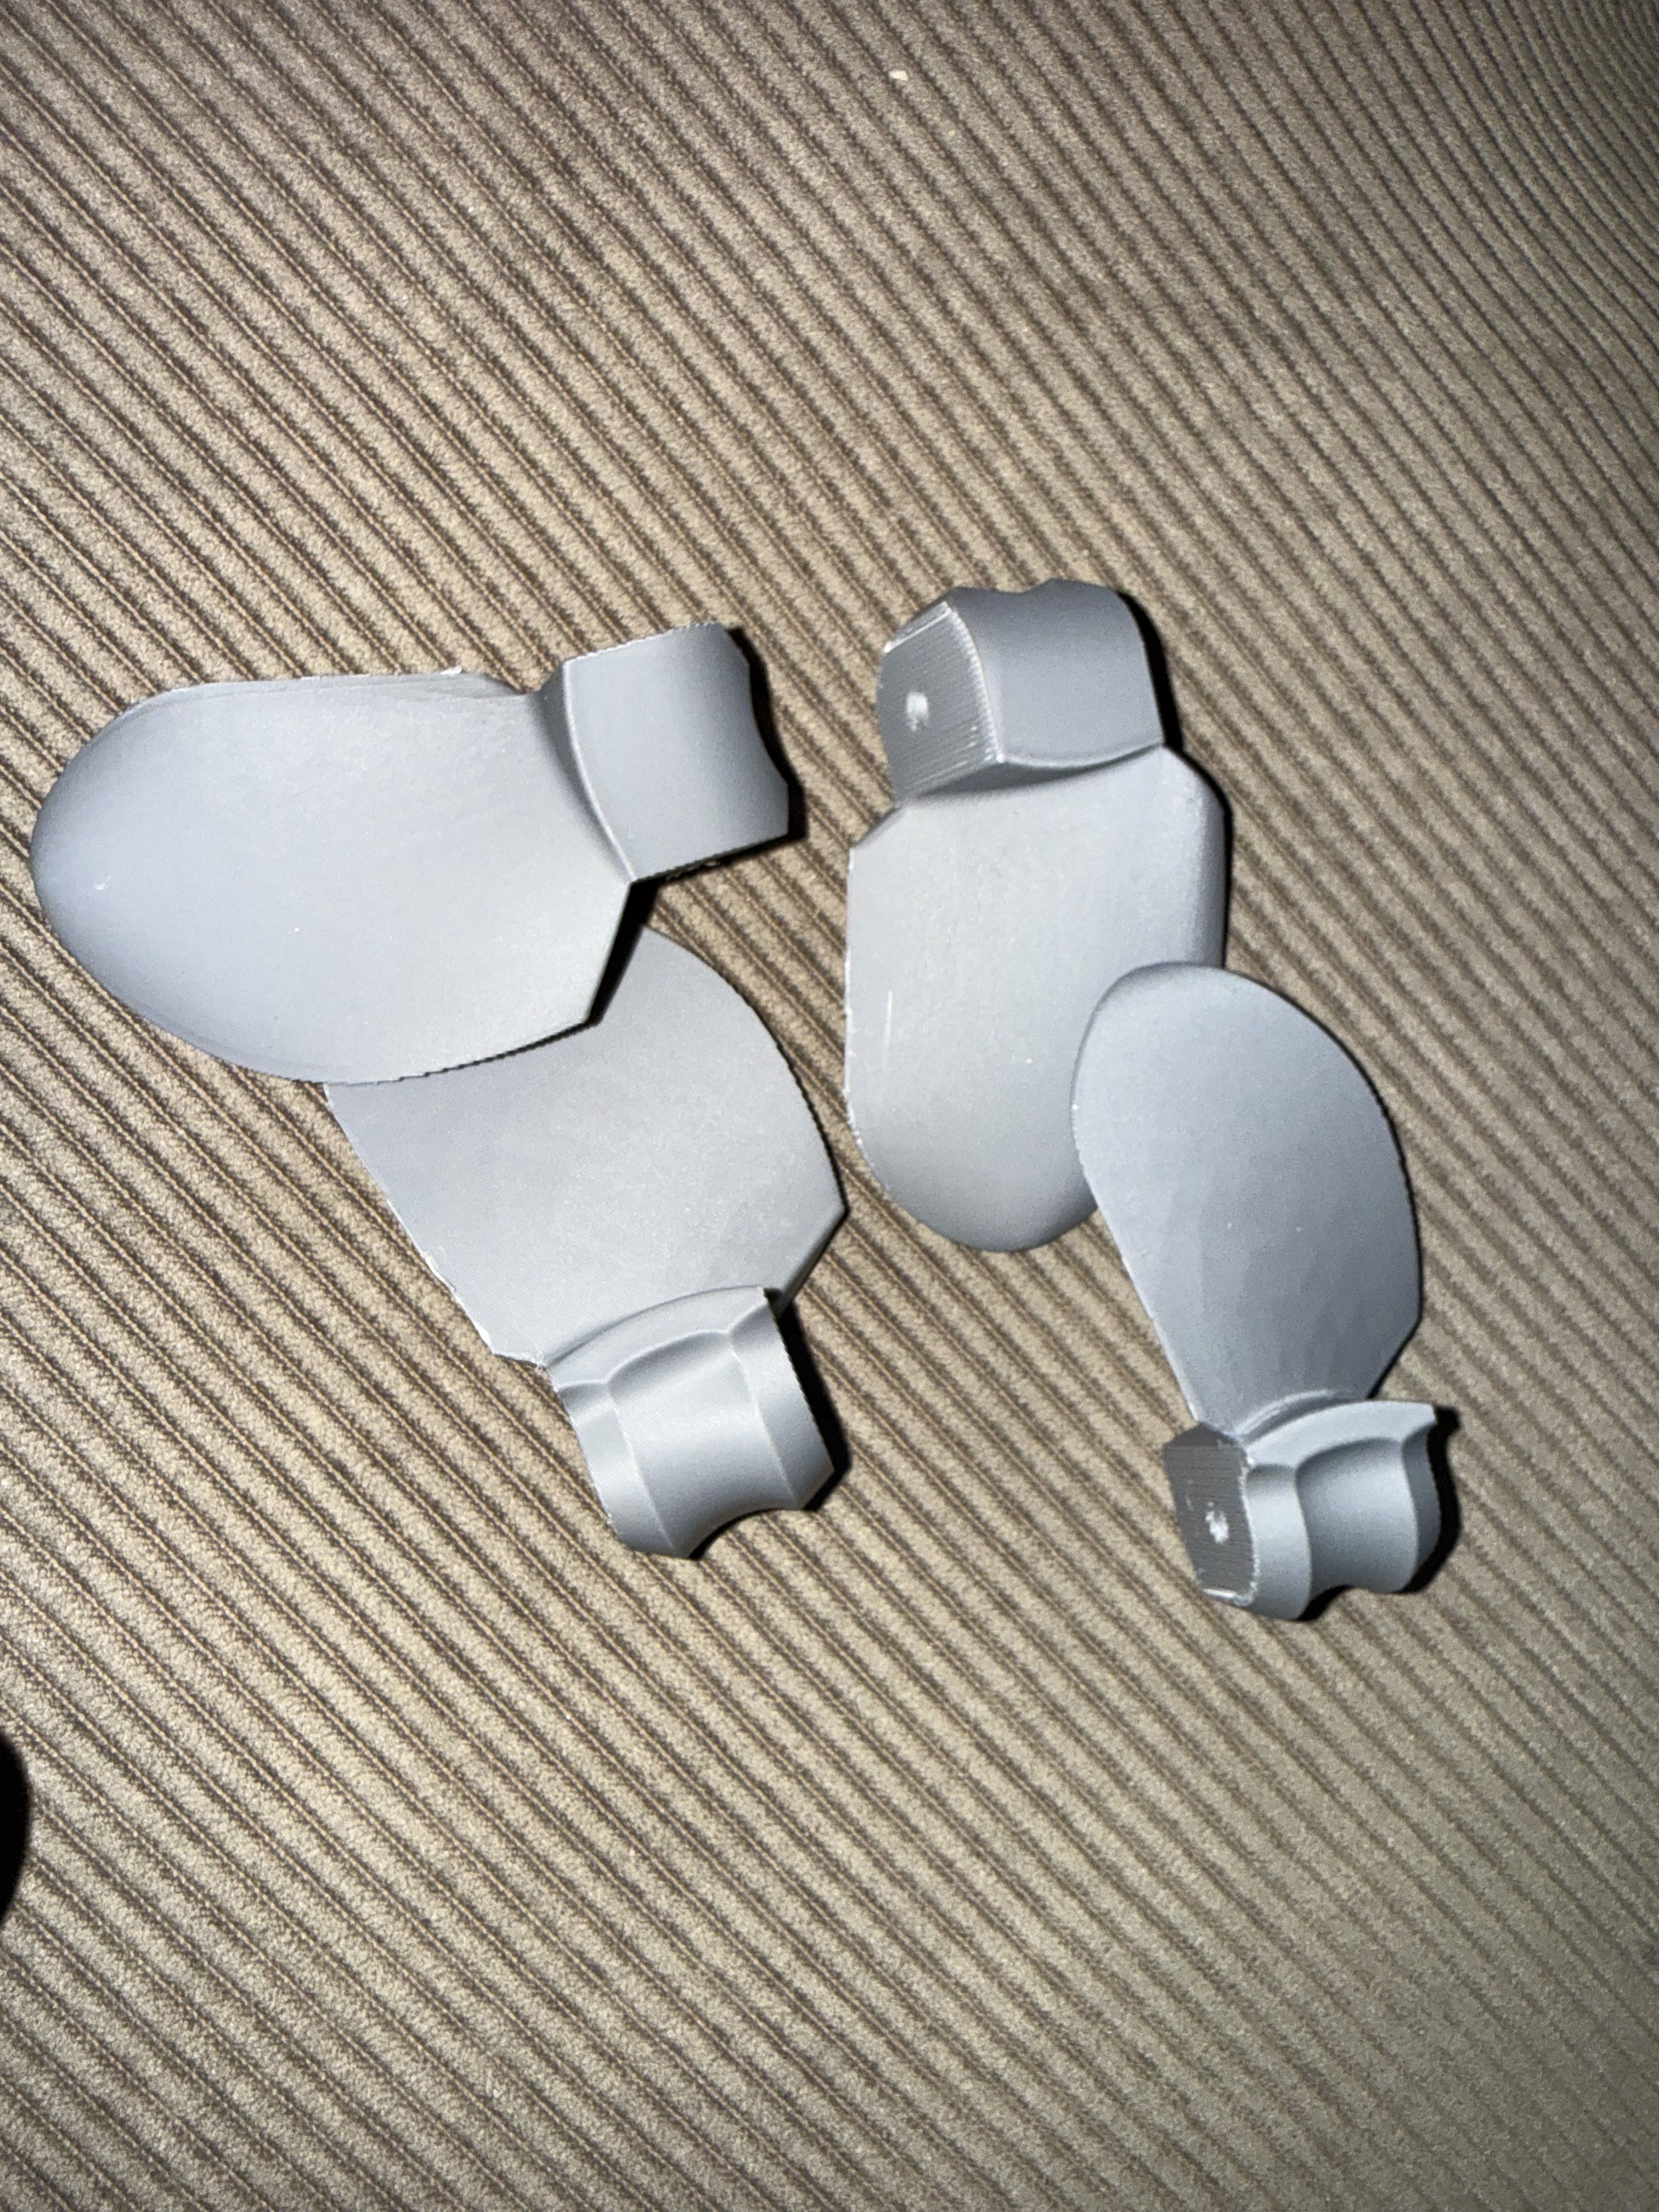
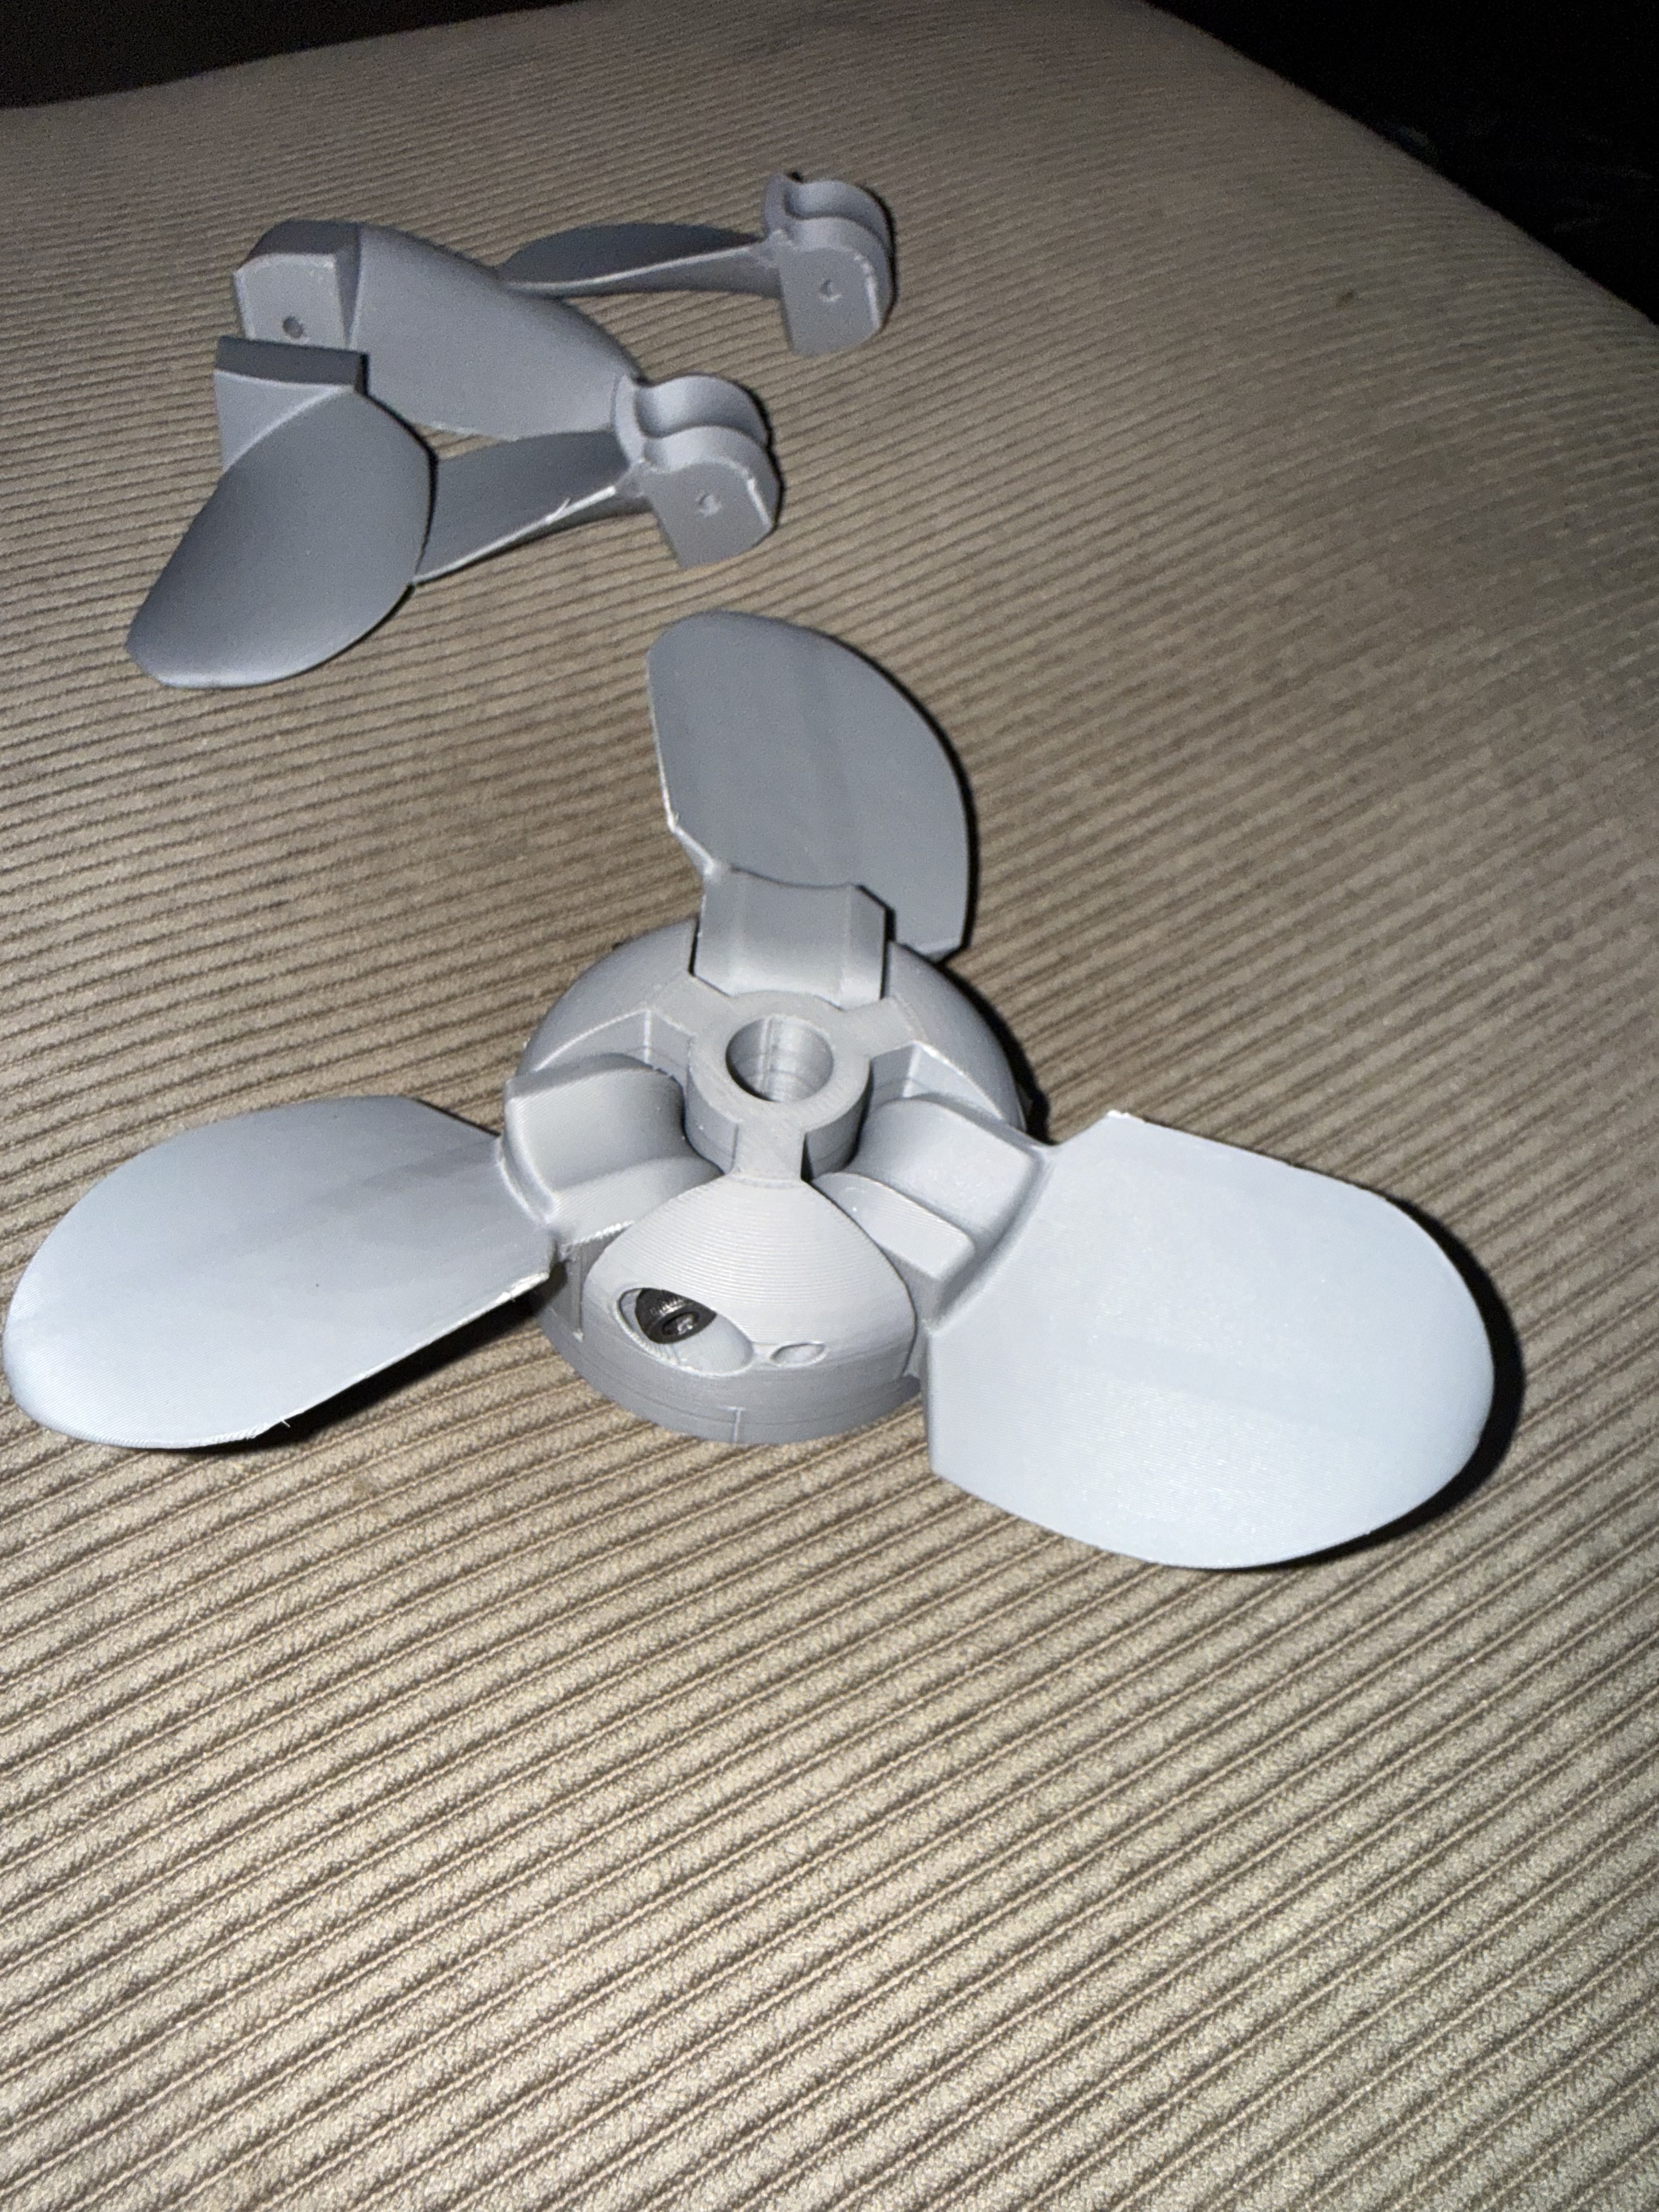
One thing I’ve noticed on Foil Zone is that there doesn’t seem to be much experimentation with home-built three-bladed folding props, especially 3D printed ones.
So I decided to have a go at making one.
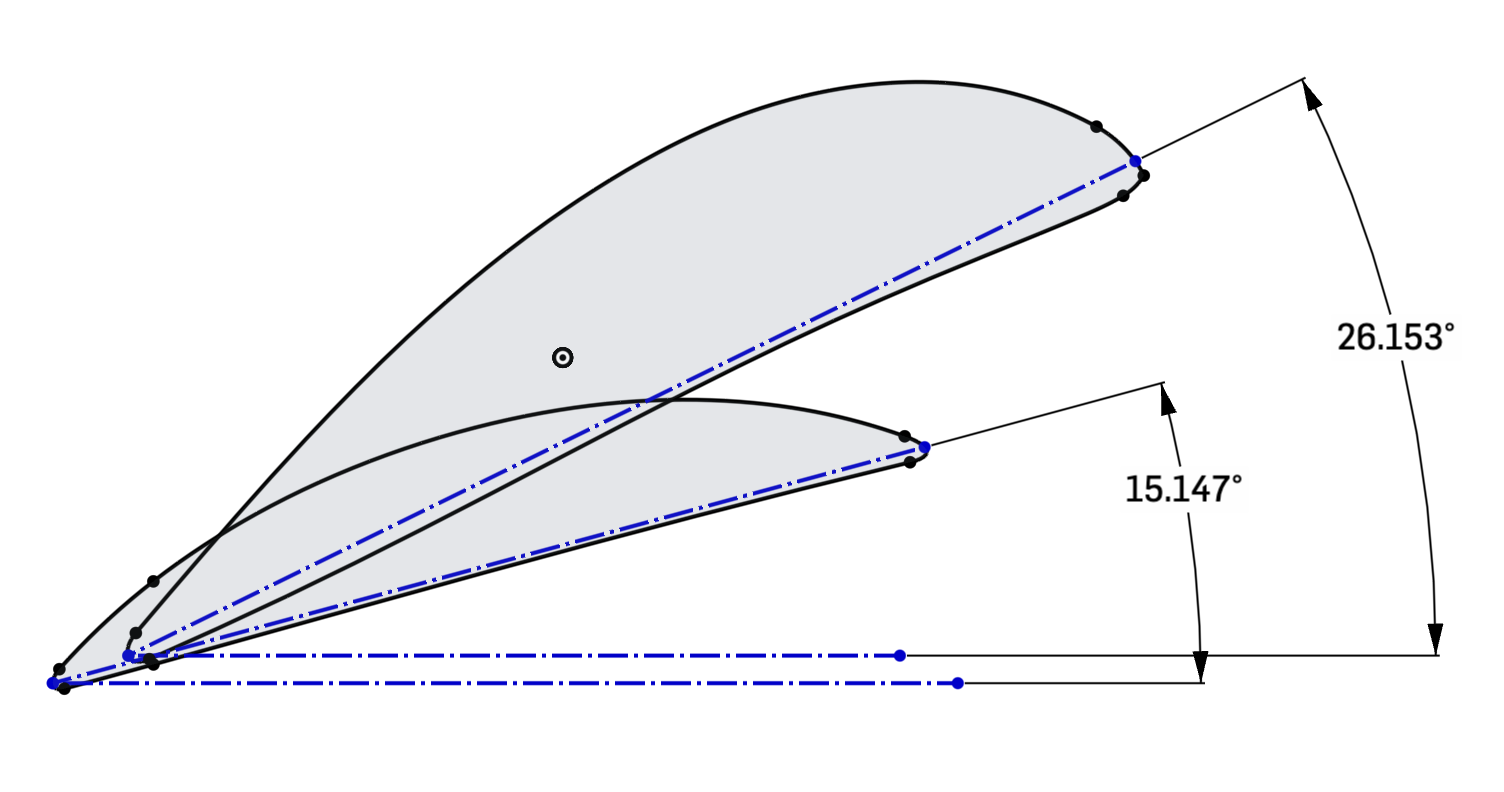
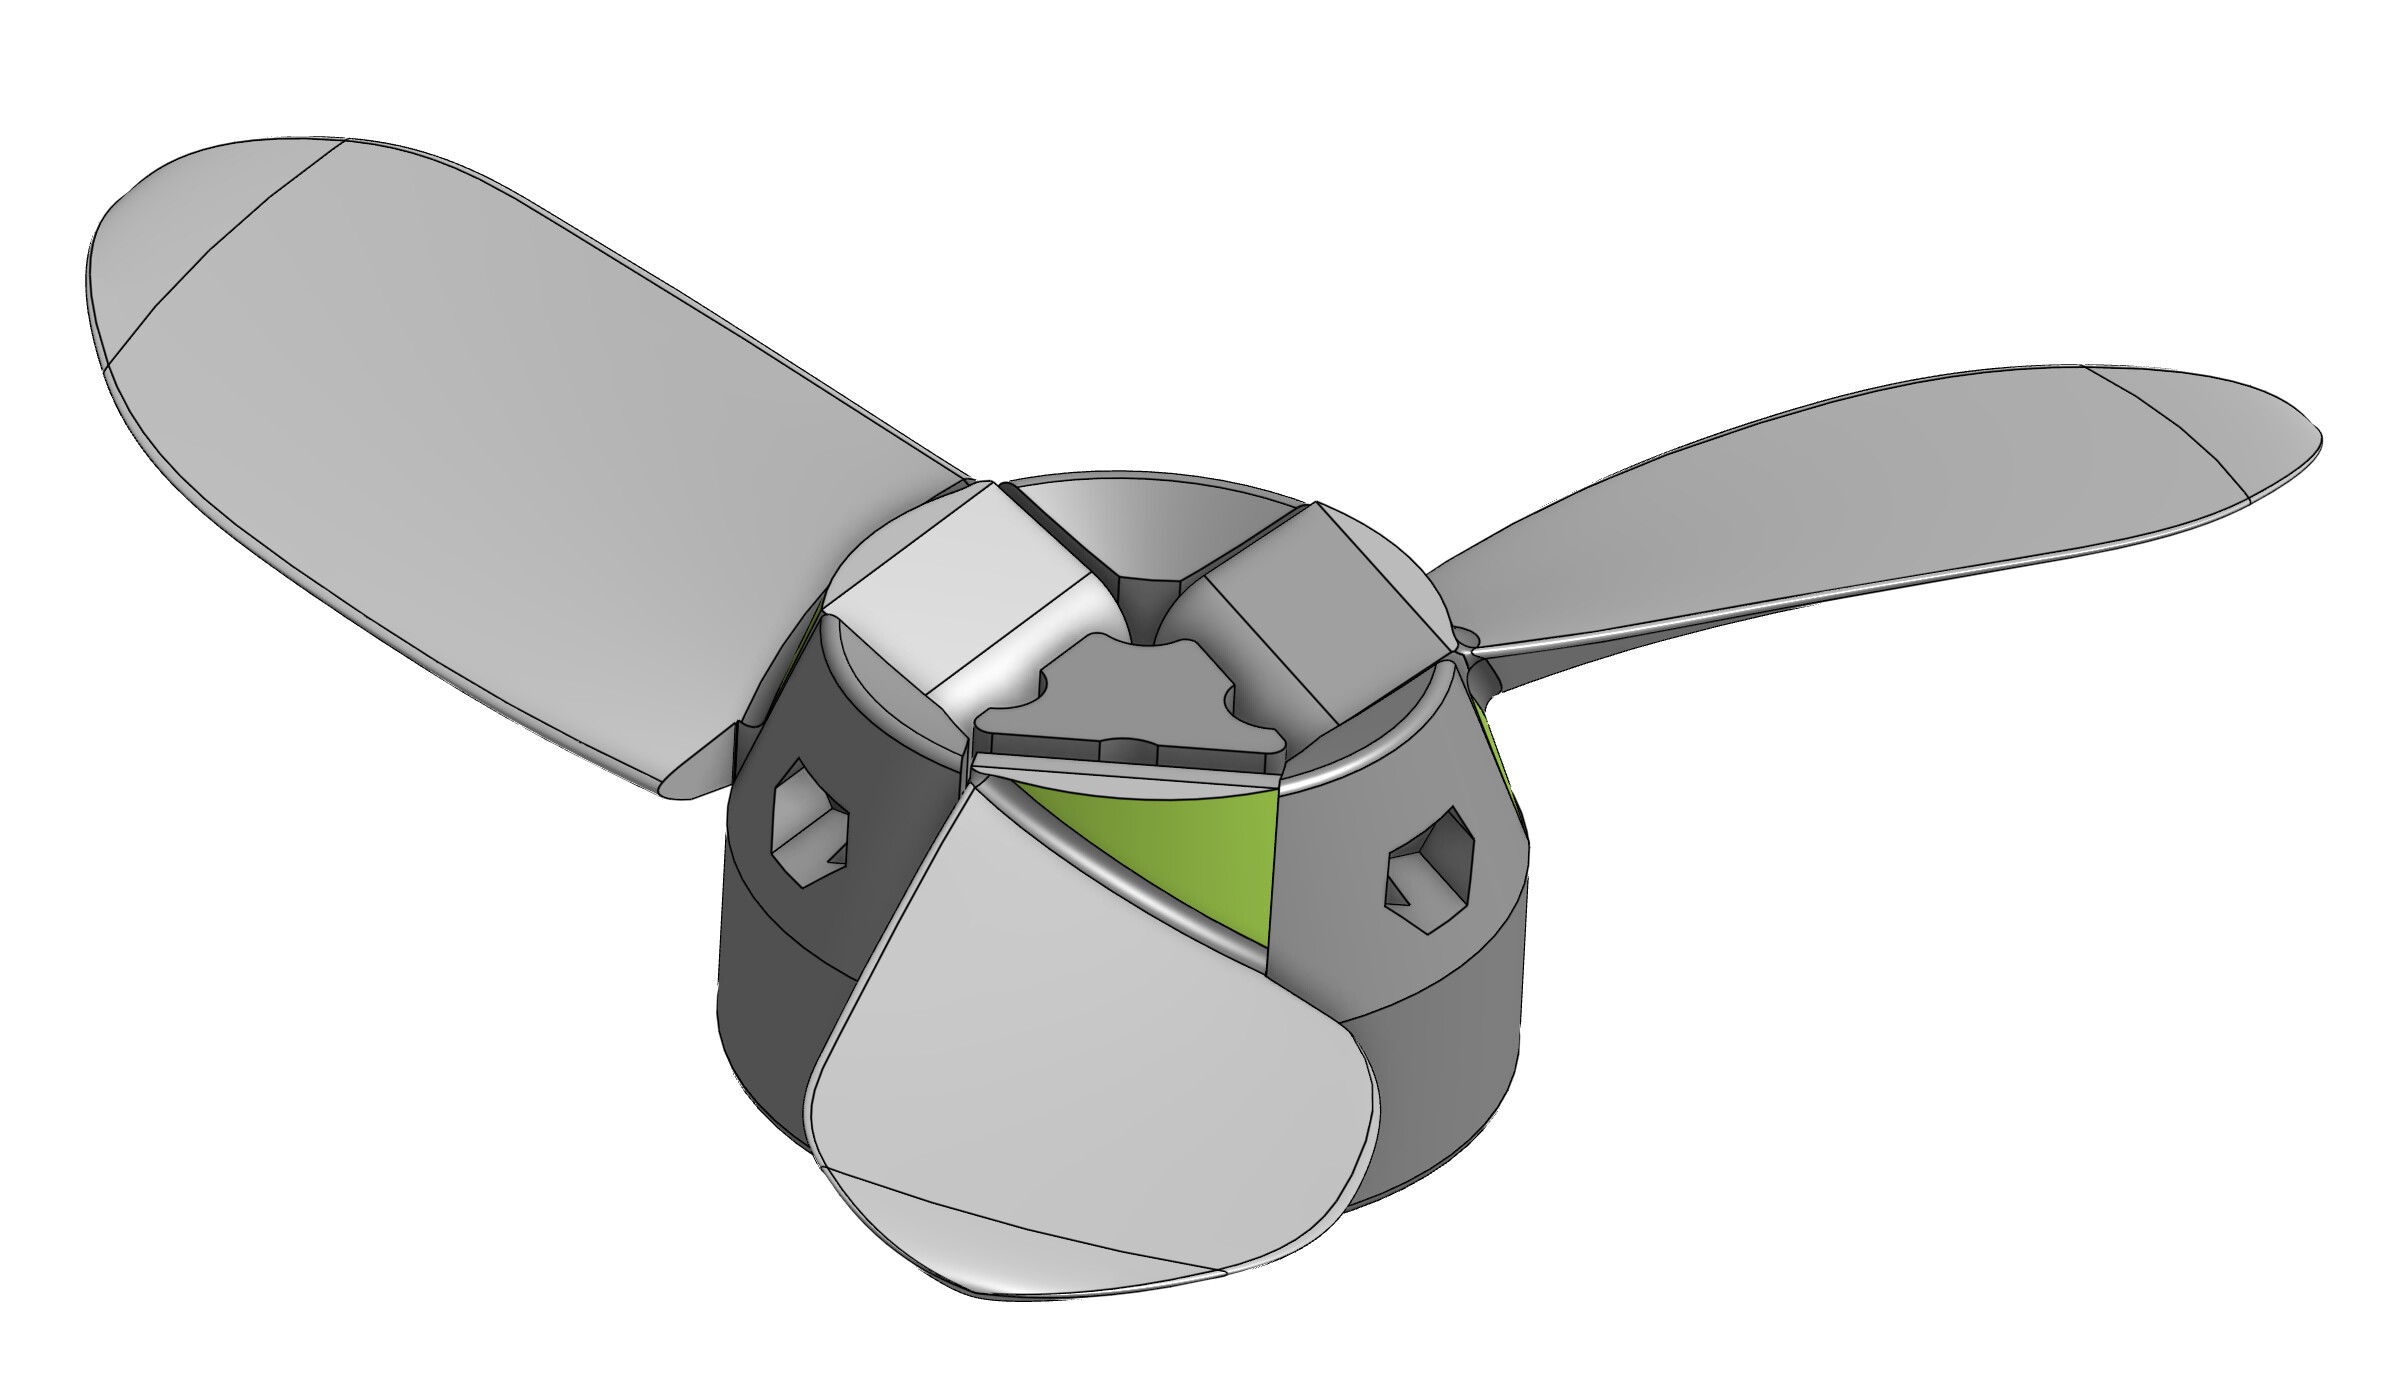
I started with blade geometry based around the Wageningen propeller tools, then designed a folding three-blade hub around it.
The folding requirement changes the blade design quite a bit. With three blades, they need to be narrow enough to nest together cleanly when folded, but I also wanted the roots to be very substantial because that is where most of the mechanical load is going to end up.
The blade roots have generous fillets and quite a lot of material around the pivot area. The deployed load is also intended to transfer through the root/stop area rather than relying entirely on the pivot pin.
The photos here are only PLA development prints. They’re just for checking geometry, clearances and the folding mechanism.
The real version will be printed much more heavily in PET-CF, with plenty of wall thickness and a very dense root and pivot section.
The nice thing about getting the folding hub sorted first is that I can then experiment fairly easily with:
diameter
pitch
blade area
blade profile
root shape
possibly different materials and print orientations
The three blades now fold together quite neatly, which was the part I thought might become awkward.
There’s still some work to do before I’d trust it at several thousand RPM in the water, but so far this has been a really fun little side project.
Thanks Jan! I appreciate the feedback, but I think you might be thinking of standard, flexible PETG, or perhaps standard PLA-CF where the chopped fibers can sometimes hurt Z-layer adhesion.
Pure engineering-grade PET-CF is a completely different class of material. Because this folding prop will face heavy hydrodynamic loading and high centripetal forces right at the pivot pins and deployment stops, PLA is highly susceptible to mechanical creep and fatigue. Under sustained high torque, PLA permanently deforms and stretches over time, which causes blades to lose their pitch or fail at the root.
When printed properly—especially inside an actively heated chamber which maximizes interlayer bonding and crystallization kinetics—PET-CF handles these stresses significantly better:
Stiffness (Flexural Modulus): PET-CF sits around ~5,300 MPa compared to PLA’s ~2,500 MPa, preventing the blades from flexing and losing efficiency under load.
Ultimate Strength: It features an ultimate tensile strength of ~74 MPa and a flexural strength of ~131 MPa, giving it the structural integrity needed for a high-RPM hub.
Environmental Stability: Unlike PLA, which absorbs water and suffers from hydrolytic degradation over time under dynamic marine stress, PET-CF has a saturated water absorption rate of under 0.4%, maintaining its strength underwater.
The PLA prints are purely a quick, cheap way for me to validate the nesting geometry, clearances, and deployment stops before committing the expensive carbon composite filament to the final version!
Thanks for the summary.
I have done my number of printed props and used them on the water. They all fail sooner or later along the layer lines. But it’s your choice.
If we want to share AI stories, this is mine.
If you mean Z-direction / inter-layer strength, PLA is actually a strong baseline.
A useful rule of thumb is:
PETG (plain) > PLA ≈ PETG-CF > PET-CF for pure layer bonding, although the exact order can change a lot with brand and print temperature.
*The key point is that carbon fiber usually hurts inter-layer adhesion somewhat. The fibers greatly increase stiffness in the XY plane, but they don’t bridge layers effectively, and the filled polymer has less ability to diffuse across the layer boundary. Prusa explicitly notes that its PETG-CF has lower toughness than normal PETG. *
So compared with normal PLA:
PLA: generally very good layer fusion when printed hot enough, but the resulting part is relatively brittle.
PETG-CF: can have good layer adhesion and usually tolerates deformation better than PLA, but CF reduces bonding versus unfilled PETG.
PET-CF: much stiffer and stronger in-plane than PLA, but Z-strength is often the weak point. It benefits significantly from higher nozzle temperature, low cooling, slow outer walls, and very dry filament.
This is why something like PET-CF can have dramatically higher XY bending strength and stiffness than PLA—Bambu lists roughly 131 MPa vs 76 MPa bending strength and 5.32 vs 2.75 GPa bending modulus—without necessarily being stronger when you try to split the print along the layer lines.
Nice looking props! Keep the community posted on your developments. I for one am keen to see an alternative 3 blade set up.
I’ve been using ppa-cf for my 3 blade hub after having issues with lots of other materials. They are holding up well without issue so far (3 months of regular use).
So PPA-CF is about 60% stronger and nearly twice as stiff in the main print direction.
The interesting question though is whether PET-CF is already good enough.
PET-CF still has very good moisture stability and barely changes after conditioning, which is obviously useful for something that will spend time in water. It is also much easier to print.
PPA-CF gives a much bigger safety margin, particularly in stiffness, which should help the blades hold their designed pitch under load.
Given how little filament the prop actually uses, the cost difference is probably irrelevant, so I’m leaning toward PPA-CF for the final blades.
I may still print a PET-CF version first, simply because I already have it and it would be interesting to see whether it is actually enough.
That’s probably the more useful experiment anyway.
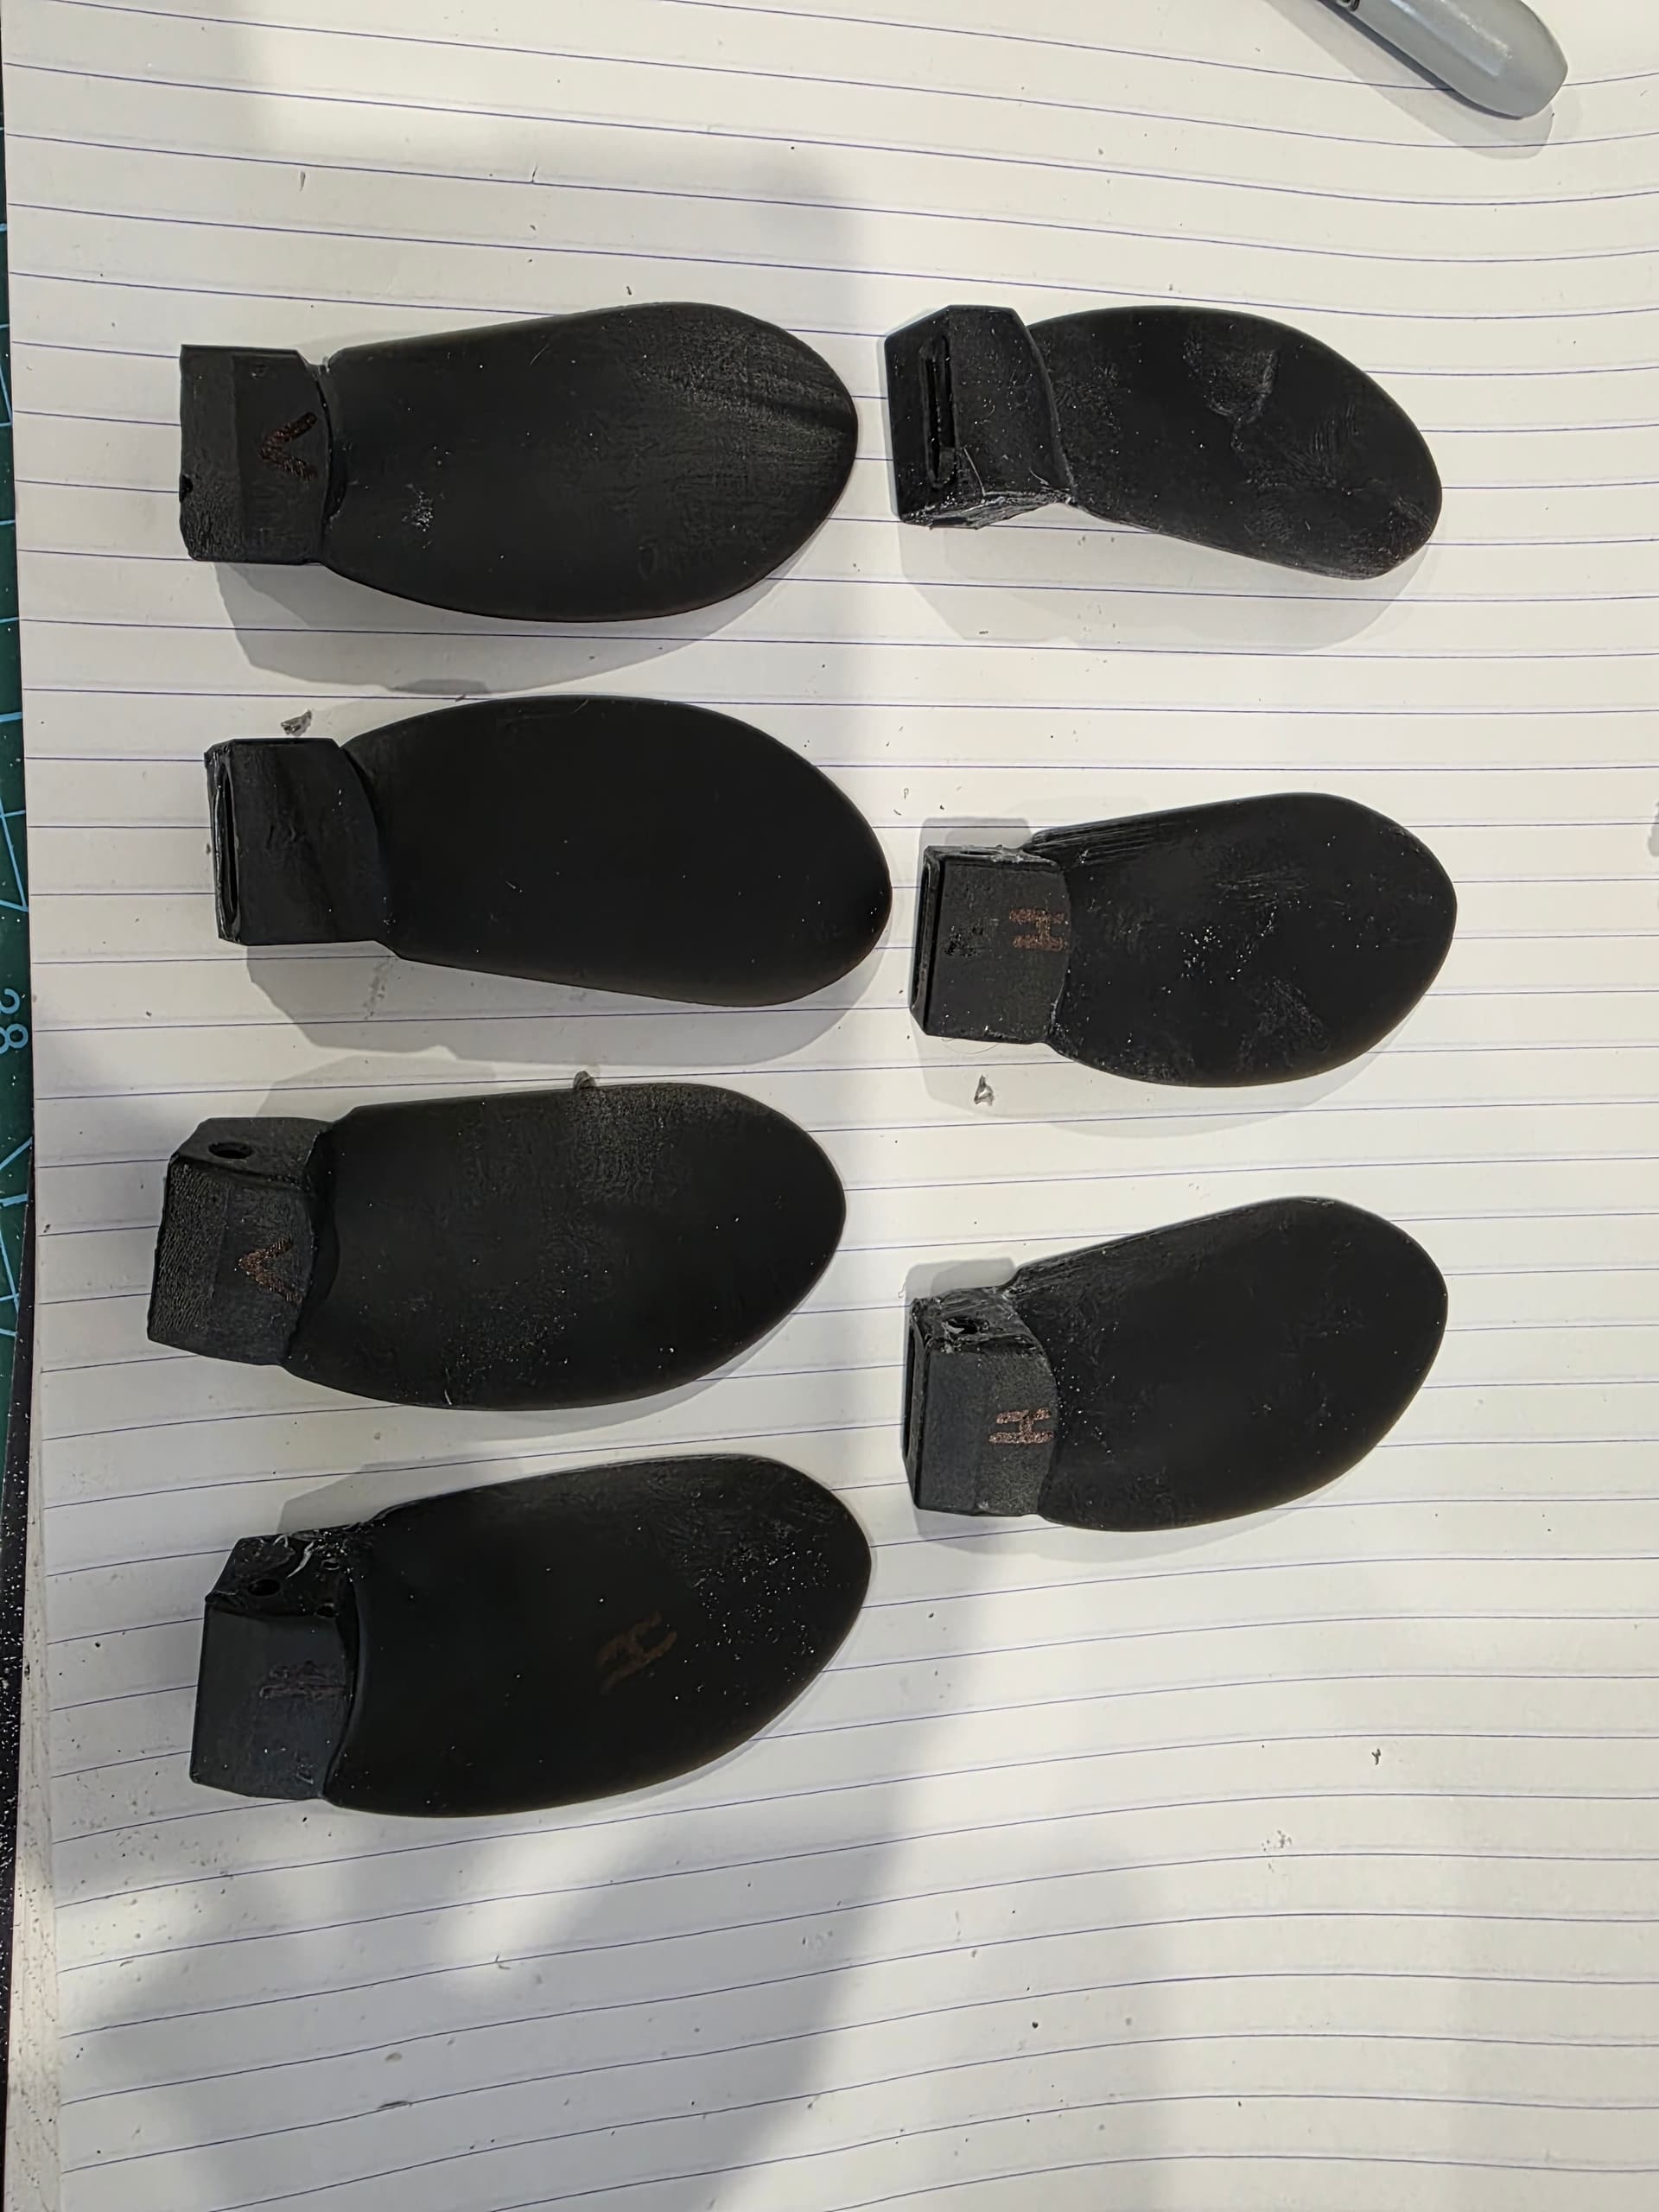
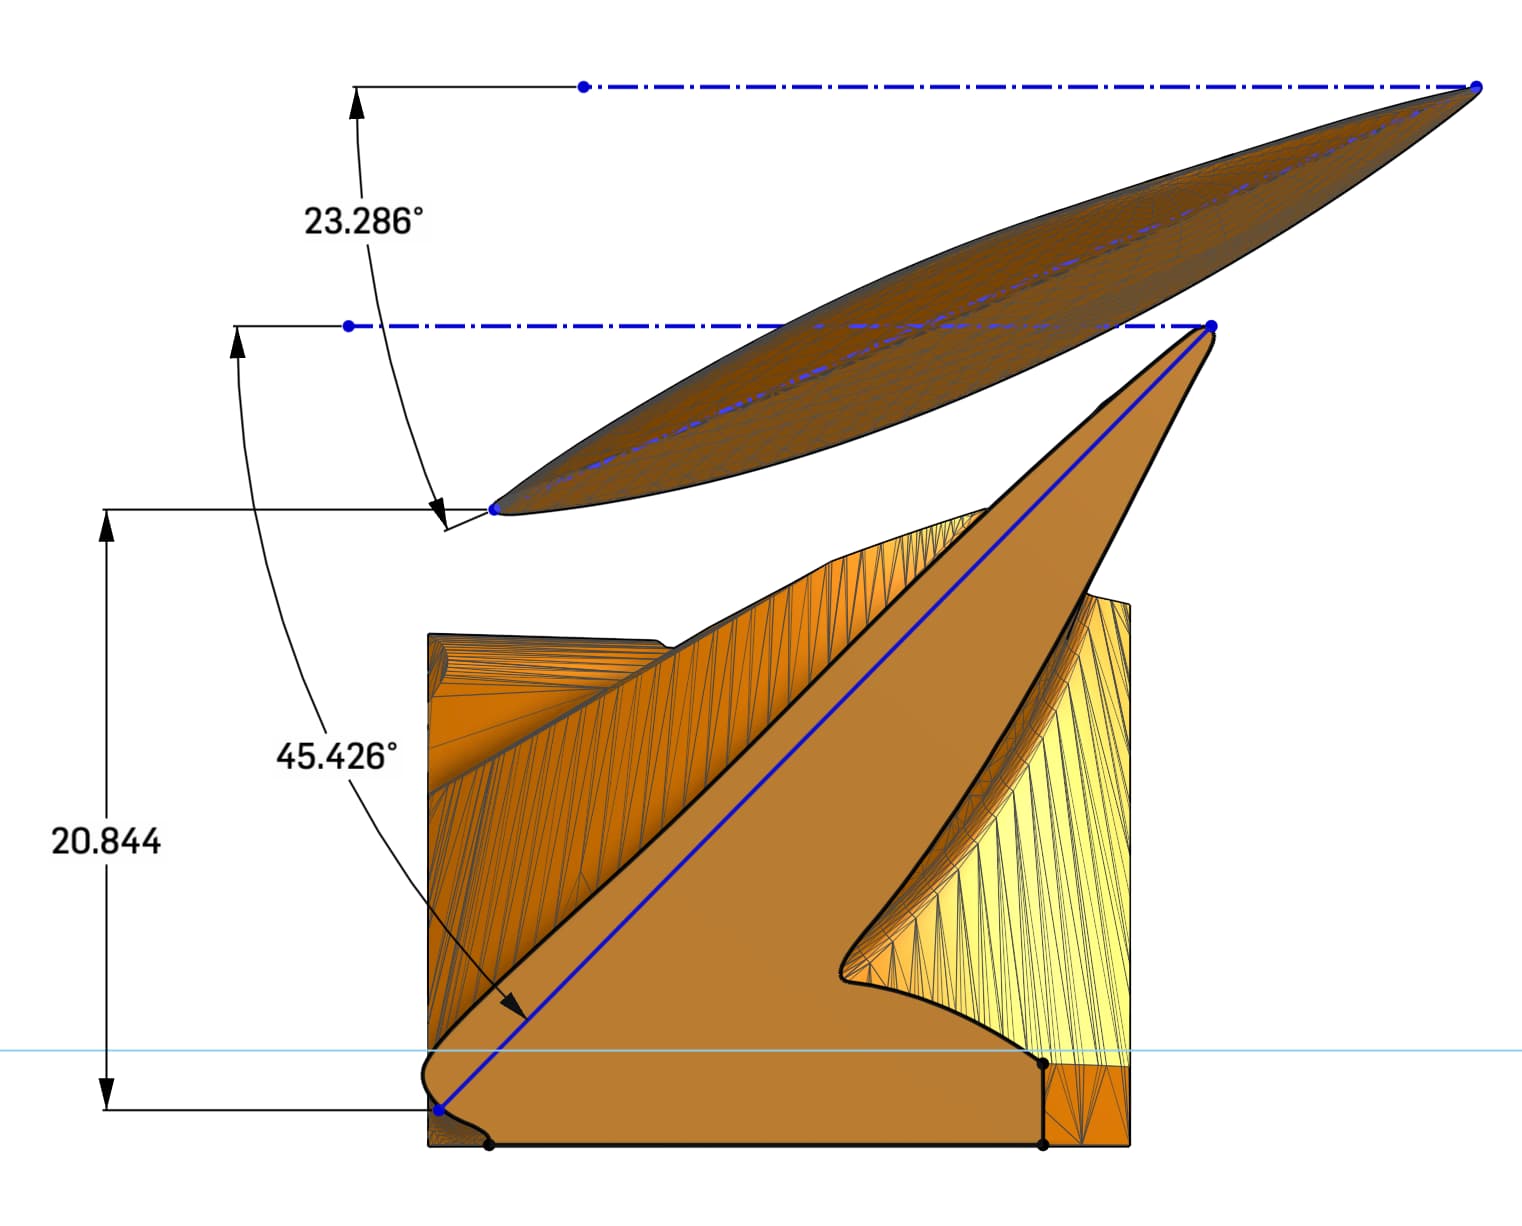
I found the asa support impacted the surface finish, waiting on the dedicated support material to become available. The folding design allows the blade to be oriented better, I have the trailing edge on the bed and some support under the hub of the blade
I have tried various filaments and agree that PETG-CF has been the best using regular FDM printer. Not saying others havent worked or are not better… just thatbis what worked best in my experimenting with FDM prints…however…
I have had way better results using an SLA (UV resin), printer… initially with a very old, cheap, first gen Anycubic Photon. I initially tried regular resin the the newer tough resin… none strong enough… until i discovered the Siraya Tech range… wow. Look up the tech specs. In particular the Blu Lava Black.
With these printers the finish is so good you need no post procesing of the surface to get it smooth as it comes off the printer perfect. It does require a clean (5 mins) and post cure (10mins) in a curing station - quick and easy.
As my CAD skills are lacking was using a design from this forum… Propeller for E-foil / ASSIST - Share Project - PCBWay
I would love to know how to design a prop from scratch as i agree this is where the most gains are to be had WRT performance, runtime, ESC load and drag.
I found this prop actually too powerful as it hammered my battery packs and overload the ESC (my new FSESC v6.8 would shut down within seconds). My old 80A Dragonfly ESC handled it perfectly… untili i drowned it.
There were a few times i snapped blades (at the root) but i found if i eased the throttle instead of slamming it down, then i never broke one.
However… as my little ESC couldnt handle it and i heard great performance from the FD props i just bought a set… and wow that worked a treat. so much quieter, didnt overload the ESC and increased my runtime by 30-40%!! These are aluminium. I tried printing a copy of these thin blades but they snapped and also tried 20% thicker which lasted a few seconds longer. So for home printed blades…they need to be thicker, like the model above.
Another option is get a company to print or CNC them for you… PA12 or aluminium or titanium (which i suspect is too heavy).
I have since bought a new larger SLA printer… so if there is anyone in south east queensland that wants the old Photon printer they are welcome to it (free).
Another option is use the SLA printer for making a mould (as its finish is amazing) then make CF blades.
Not sure what RPM. I have a 140kv 6384 motor and use 12S battery packs. How do you determine desired RPM?
Another thought is to cast aluminium. Could use the ‘lost wax casting’ technique.- using a wax plug (model of the desired object) which is set in plaster then the wax plug melted out, leaving a perfect plaster mould … but instead of wax use somethint like dissolvable FDM filament for the plug (prop blade) But would need to finish the print and cast alloy.
I believe its possible to create a highly efficient and printable blade design… its just that due to a slightly thicker blade (est 20% more than FD alloy blades) and bigger root fillet, you could not achieve the same high efficiency of the FD blades. That would be a huge result for the community over paying around $500 vs a $6 print cost.
Also, i havent tried PA12 on a FDM I should really try it. Also i should design a 2 blade hub for those overpowered 3 blade props. I suspect that would have major gains… 33% less mass/drag and thrust .
i havent yet tried blends… blends of resin in the SLA. My next trial will be 15% Siraya Tech Tenacious with Blu Lava. It should add some give/flex and should make the blades more durable.
Not sure how you guys can print PPA. We tried multipke times at work, and I tried a few times on my X1C at home. Almost destroyed my extruder. We have industrial ovens drying the crap out of it for 12 hours before printing and it still either clogs or breaks in the tube. Not worth the hassle for me.
Has ayone tried just standard ABS with vapor smoothing?
For the PPA printing we use a H2D with 0.4 nozzles.
Tried 0.2 nozzle, but unfortunately this does not work.
Printing our prop (including supports) takes about 5 hours.
If I assume your 140KV motor is expected to run at about 4500 RPM under load and the desired speed is about 20km/h, with losses a 105mm pitch might work.
I took this design and lowered the pitch tas above, gave it a nice chunky rook section for manufacturing from plactic, aluminium you could reduce this. This is the same 200mm diameter. It may work better at a lower diameter and slightly higher pitch
Printing like that makes that area super fragile.
(Complete area with just one layer thickness)
Worked for me in water, but hit it with anything on land and it breaks.