Hello Marc,
if you give me your email, I can send you the file. But this fits only the APS 63100 with the Endbell with lots of cooling slots.
1 Like
One important detail, the inner diameter of my adapter is 30mm, as I only had 30 or 60mm aluminium rods and I was too lazy to turn the larger one down from 60 to 32mm. With 30mm OD on the shaft piece, you only have 0.5mm wall thickness for the centering flange. It works but if you have the choice, go for 32mm (gives you 1.5mm wall thickness). Then you would need the original piece, @Toto44 has both versions.
1 Like
Thanks all clear. I am going to try it a bit different, by replacing the original 10mm shaft with a longer version protruding the bell and directly secure the prop to it. So in this case the hole of 30mm should be more than plenty, probably needs an modification to be screwed to the bell instead.
1 Like
Marc, I have sent the adapter by email. I changed it to 10mm bore for you.
1 Like
Incredible. What kind of weight will the inflated board keep afloat? I would like to have my board carry me in the water while stationary, butat the moment I’ve gotta get up to speed before it will support my entire weight.
It has around 110l of volume, it floats with me (75kg) on it but you need to launch lying in the back of it, accelerate to plane and then get on your feet. You can’t stand on it like on a SUP, when it stands still. I think it’s no problem to learn to efoil with this board, even if you weight more.
I would not go bigger.
1 Like
Awesome, good to know. thanks for the fast reply!
New Update
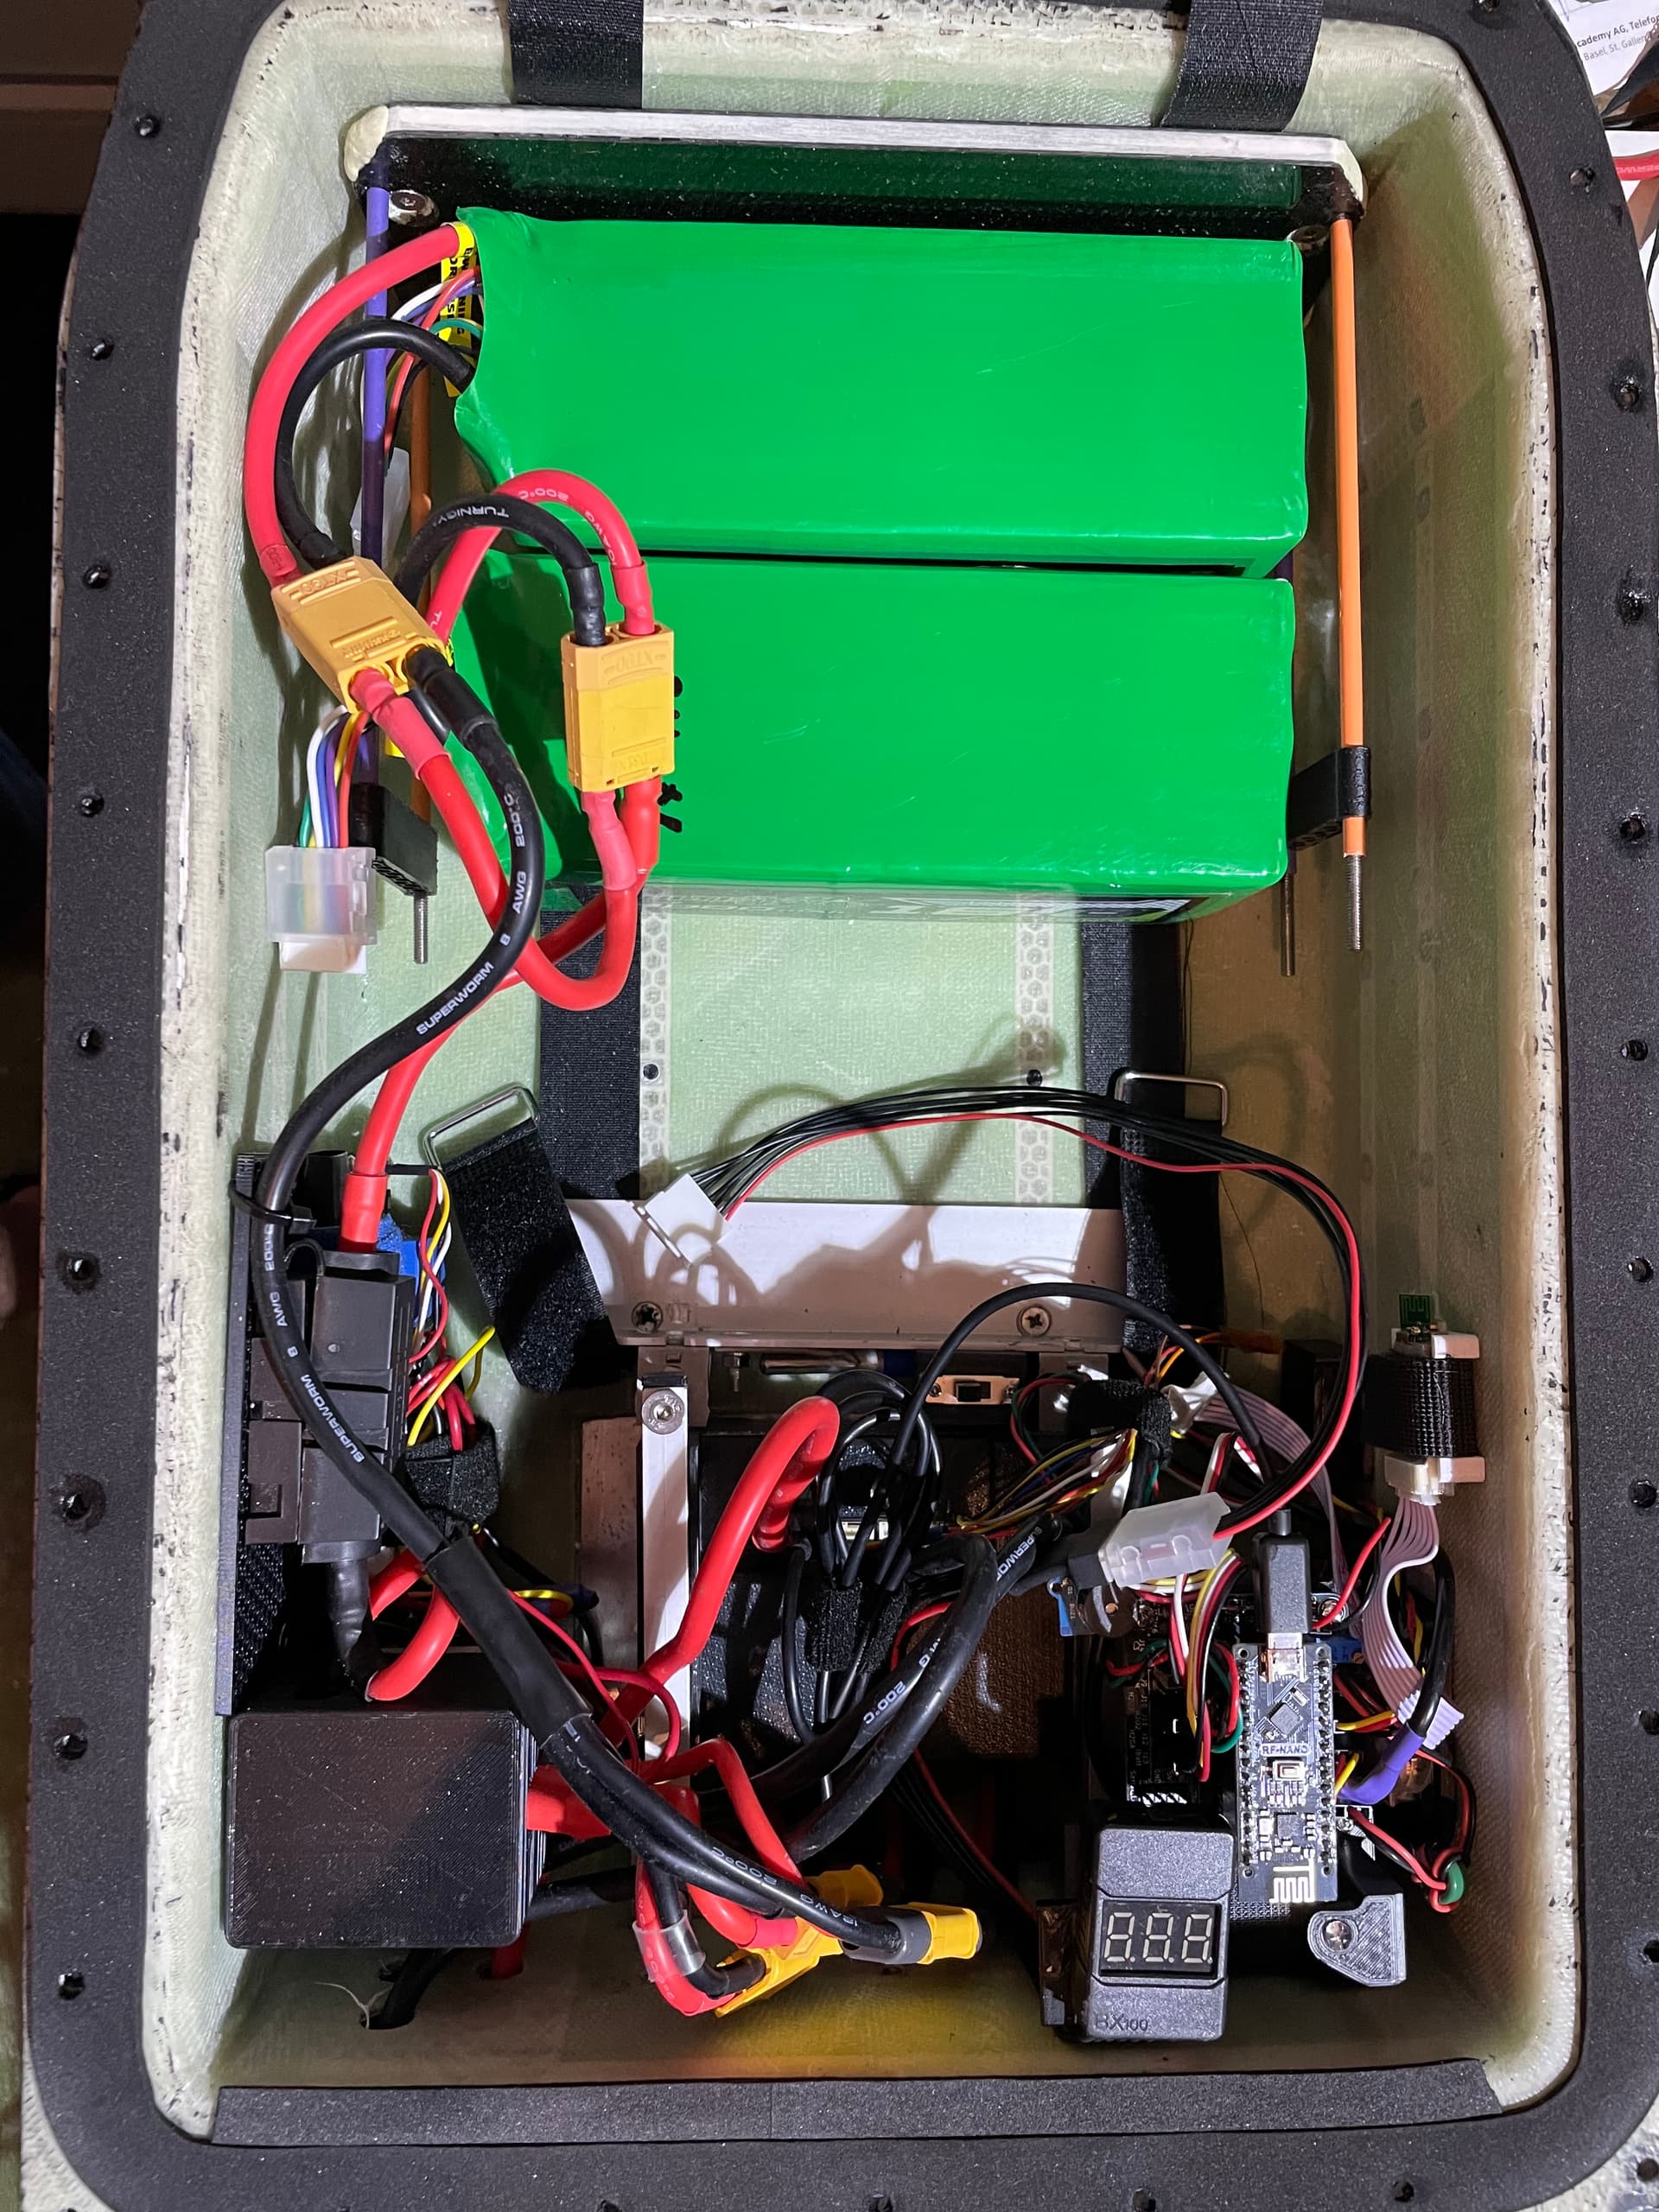
After water ingress (again) in the ESC box, I changed the concept and moved the VESC inside the dry battery box. As I don’t like water inside my box, the VESC is passively cooled through a heat sink laminated into the box. It is a tight fit with the additional VESC inside but it works quite well.
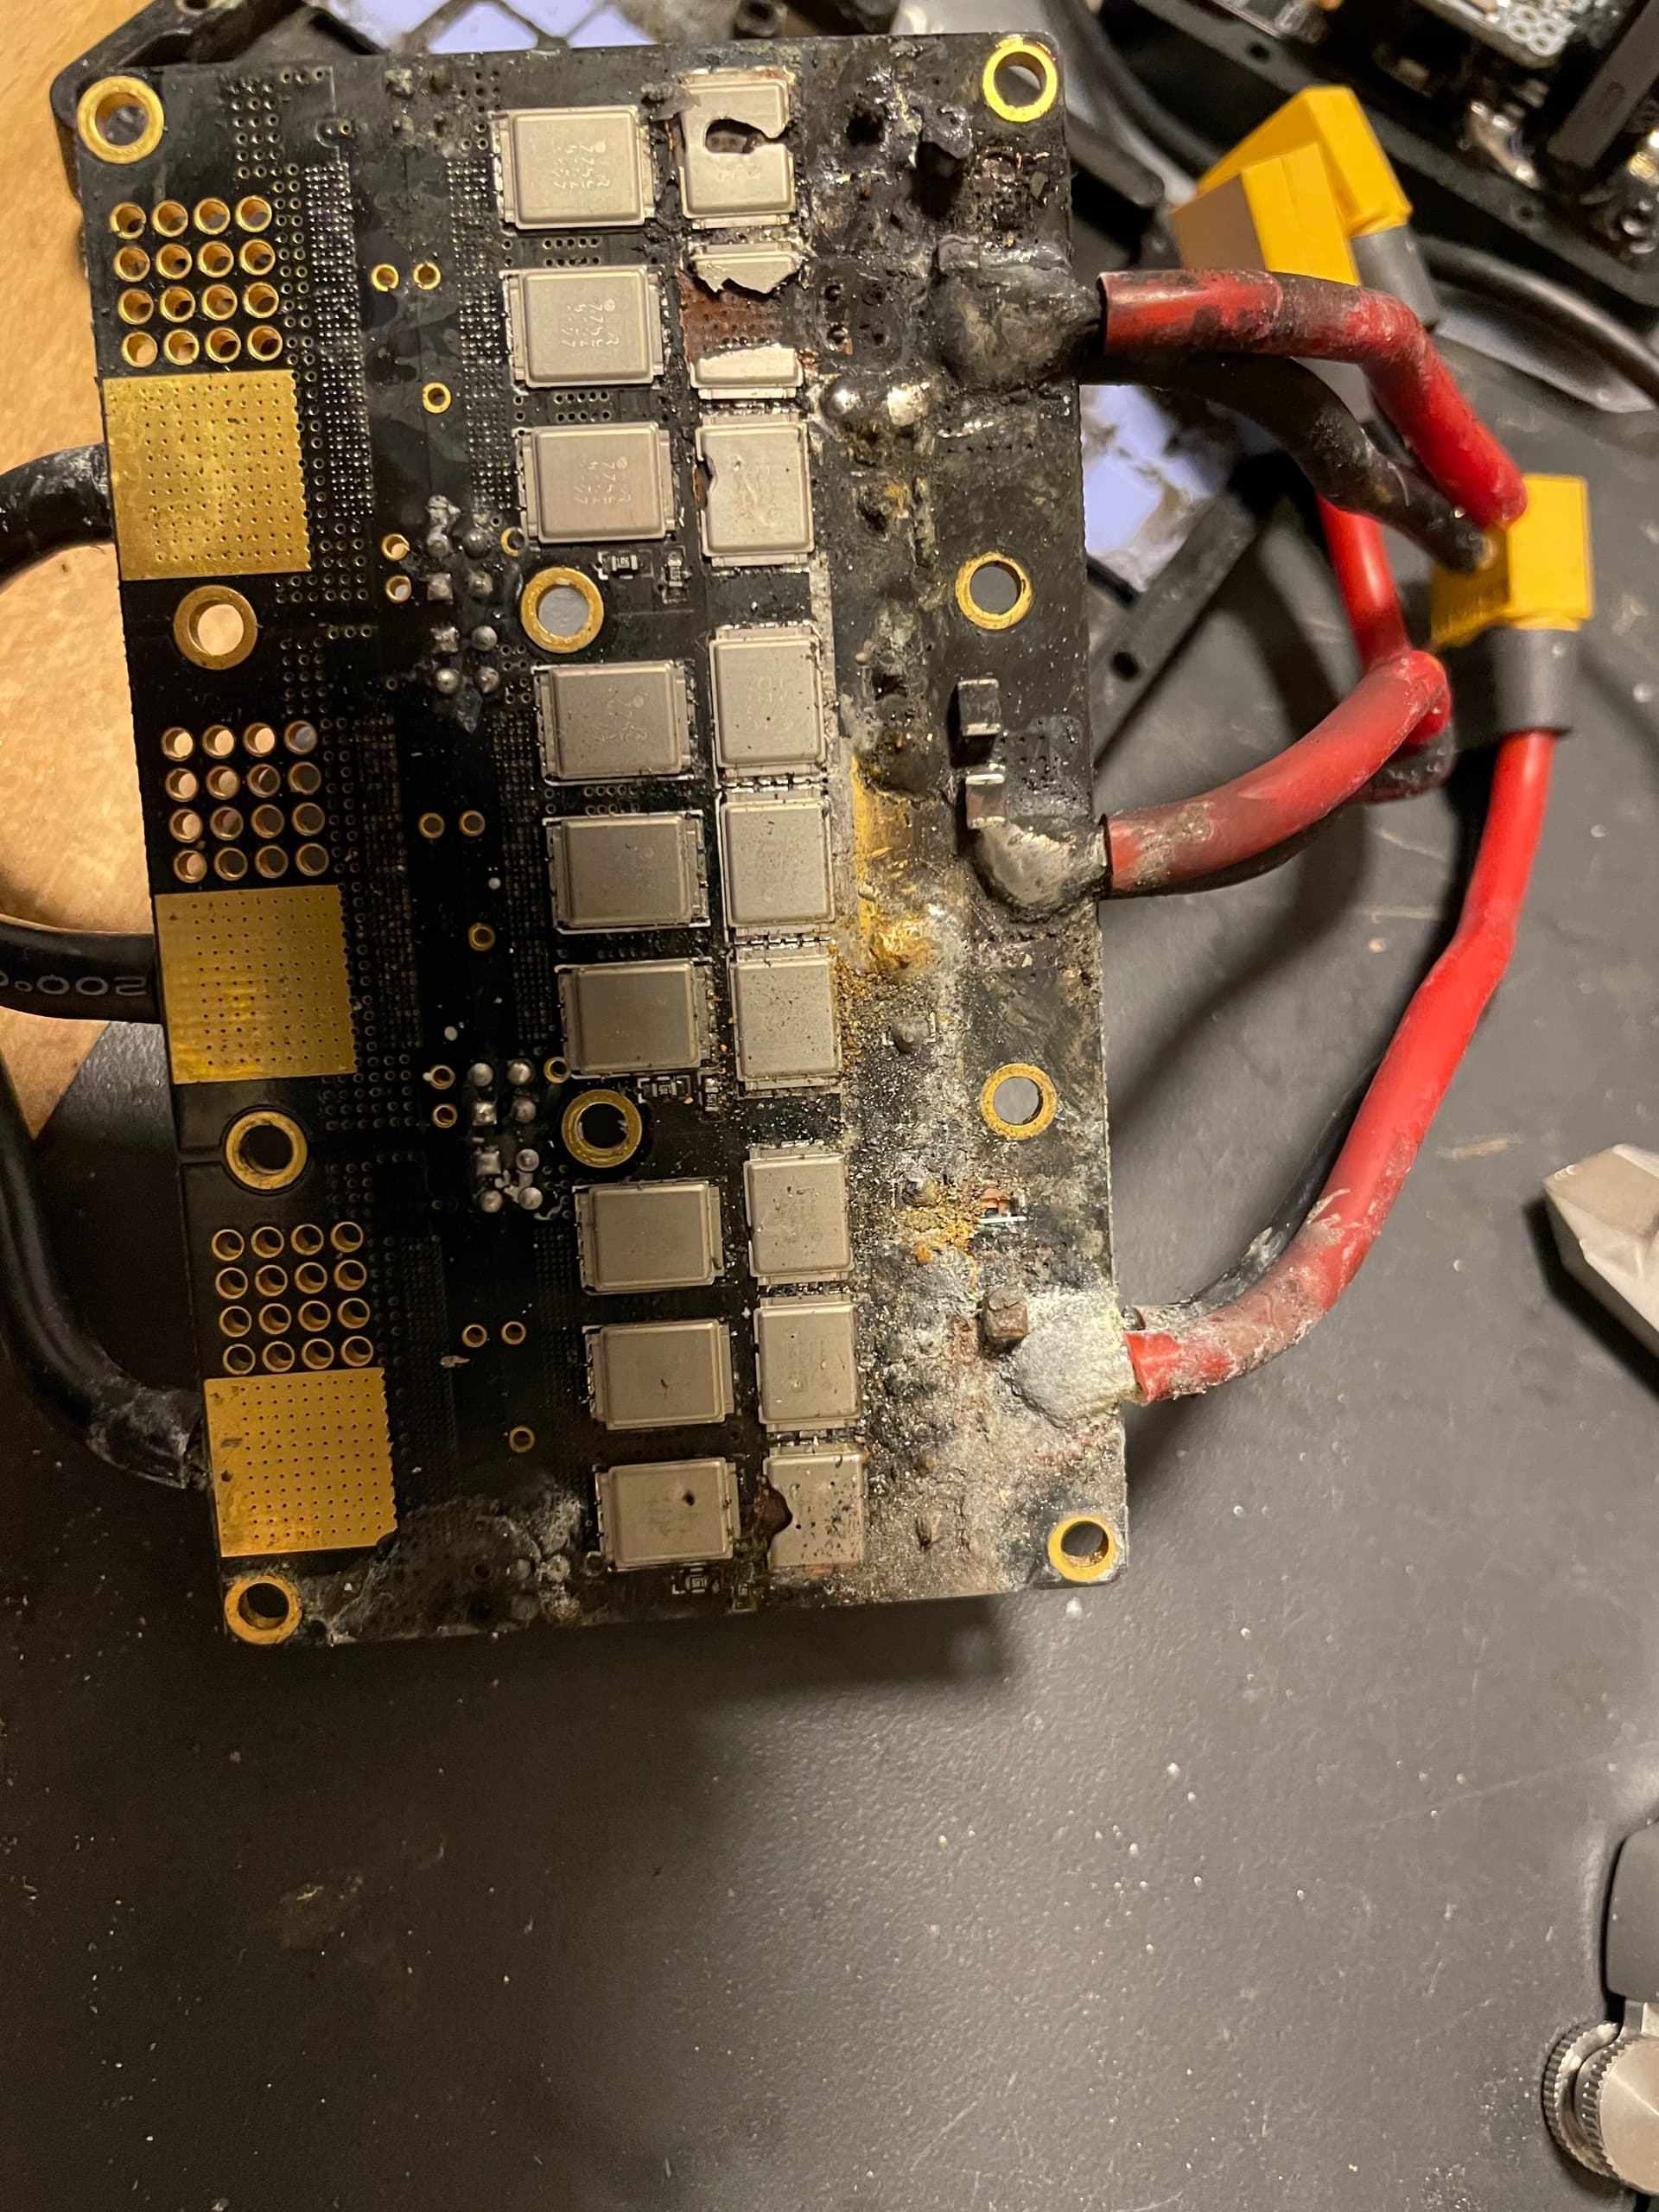
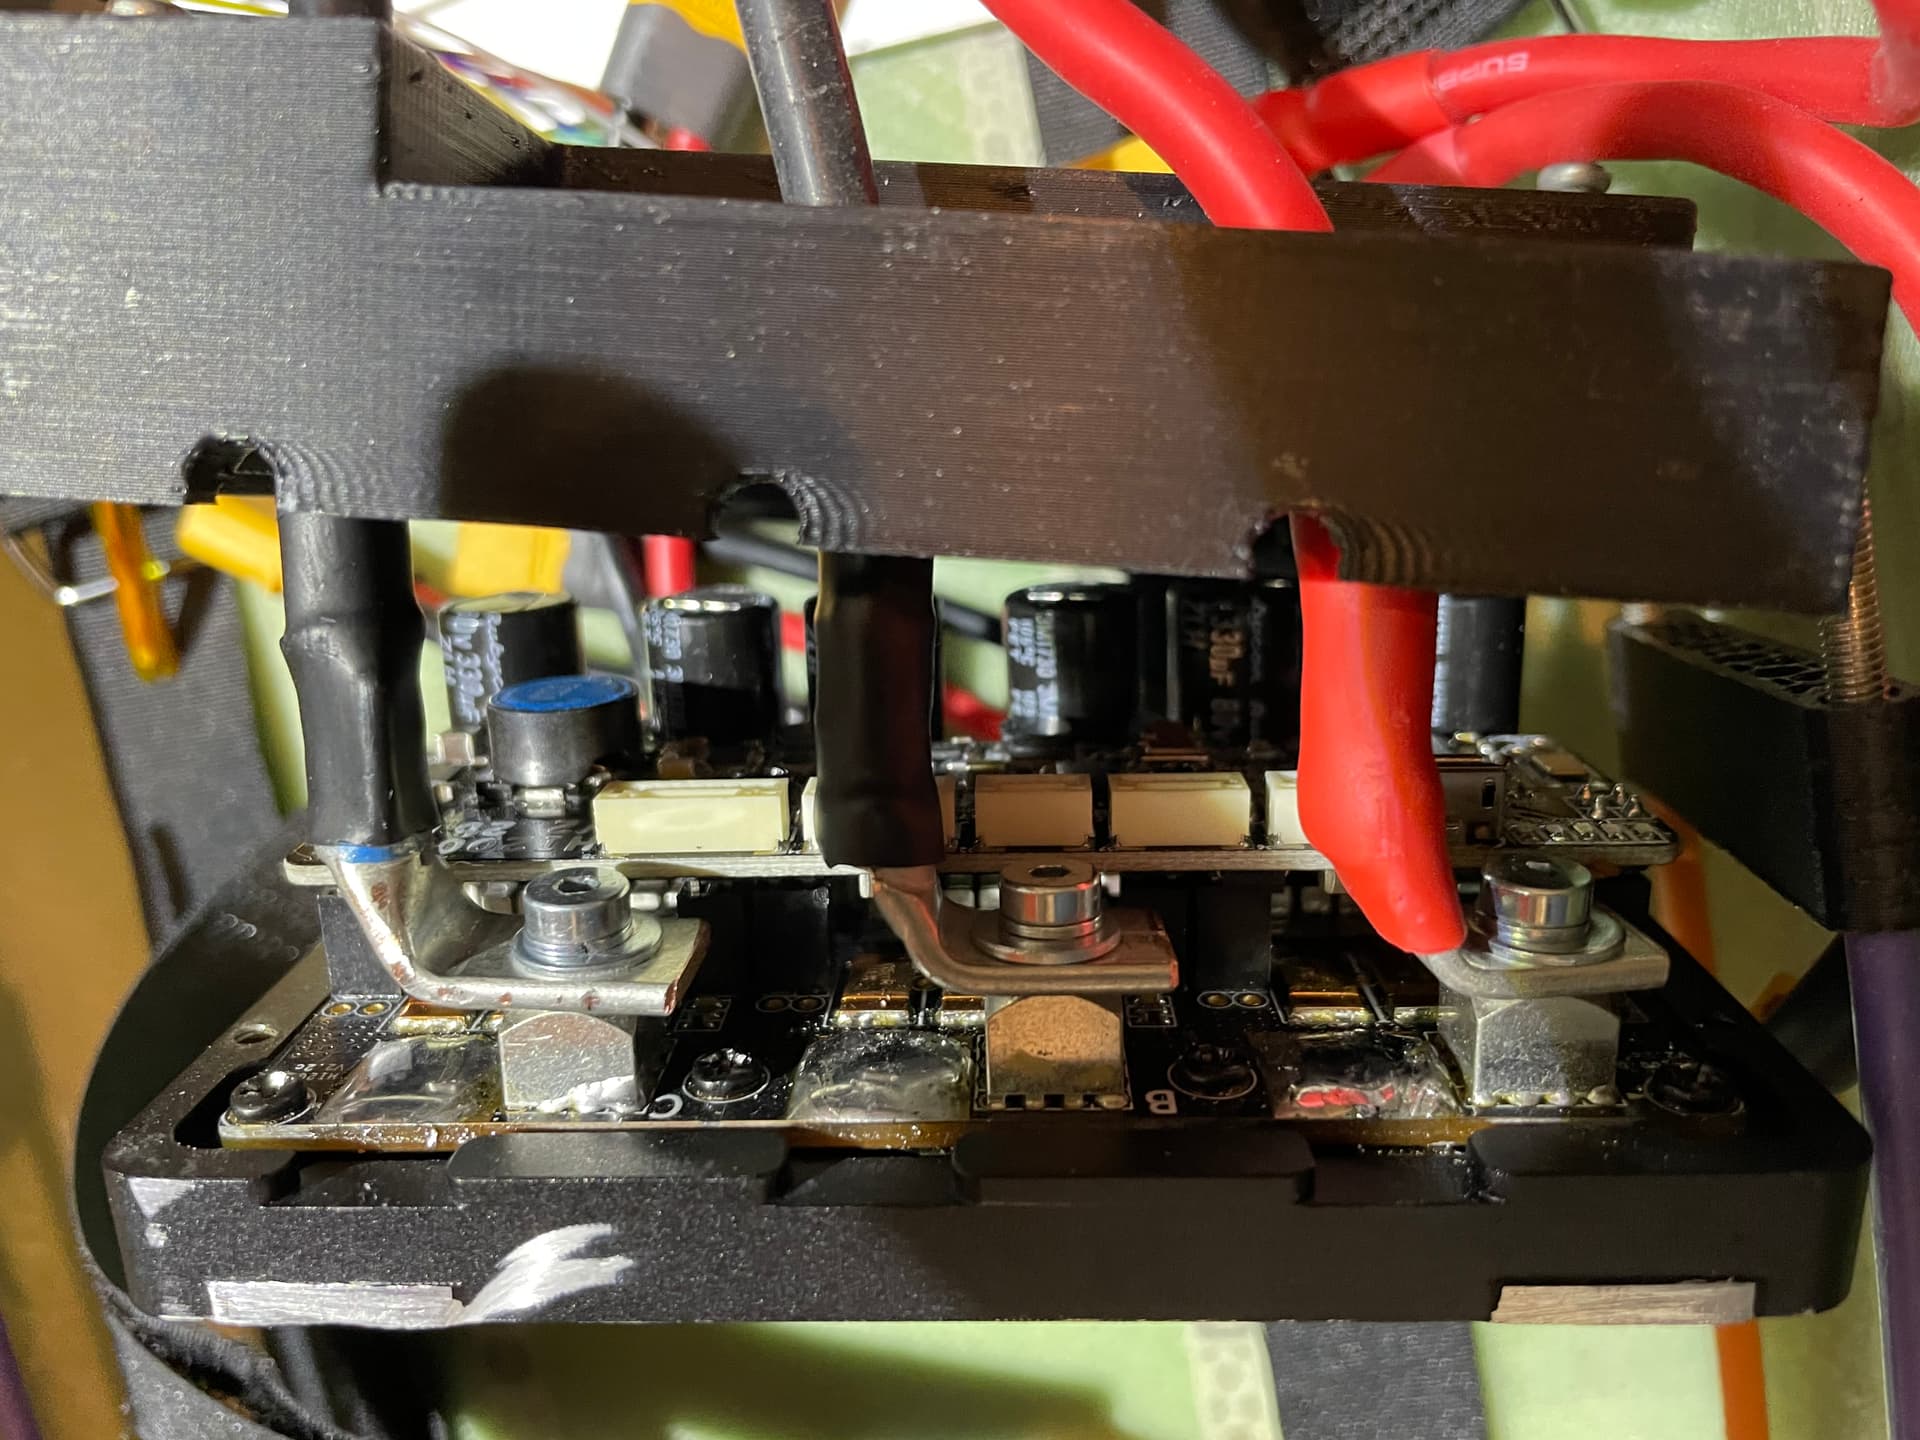
VESC 75200 after it got some drops of salt water
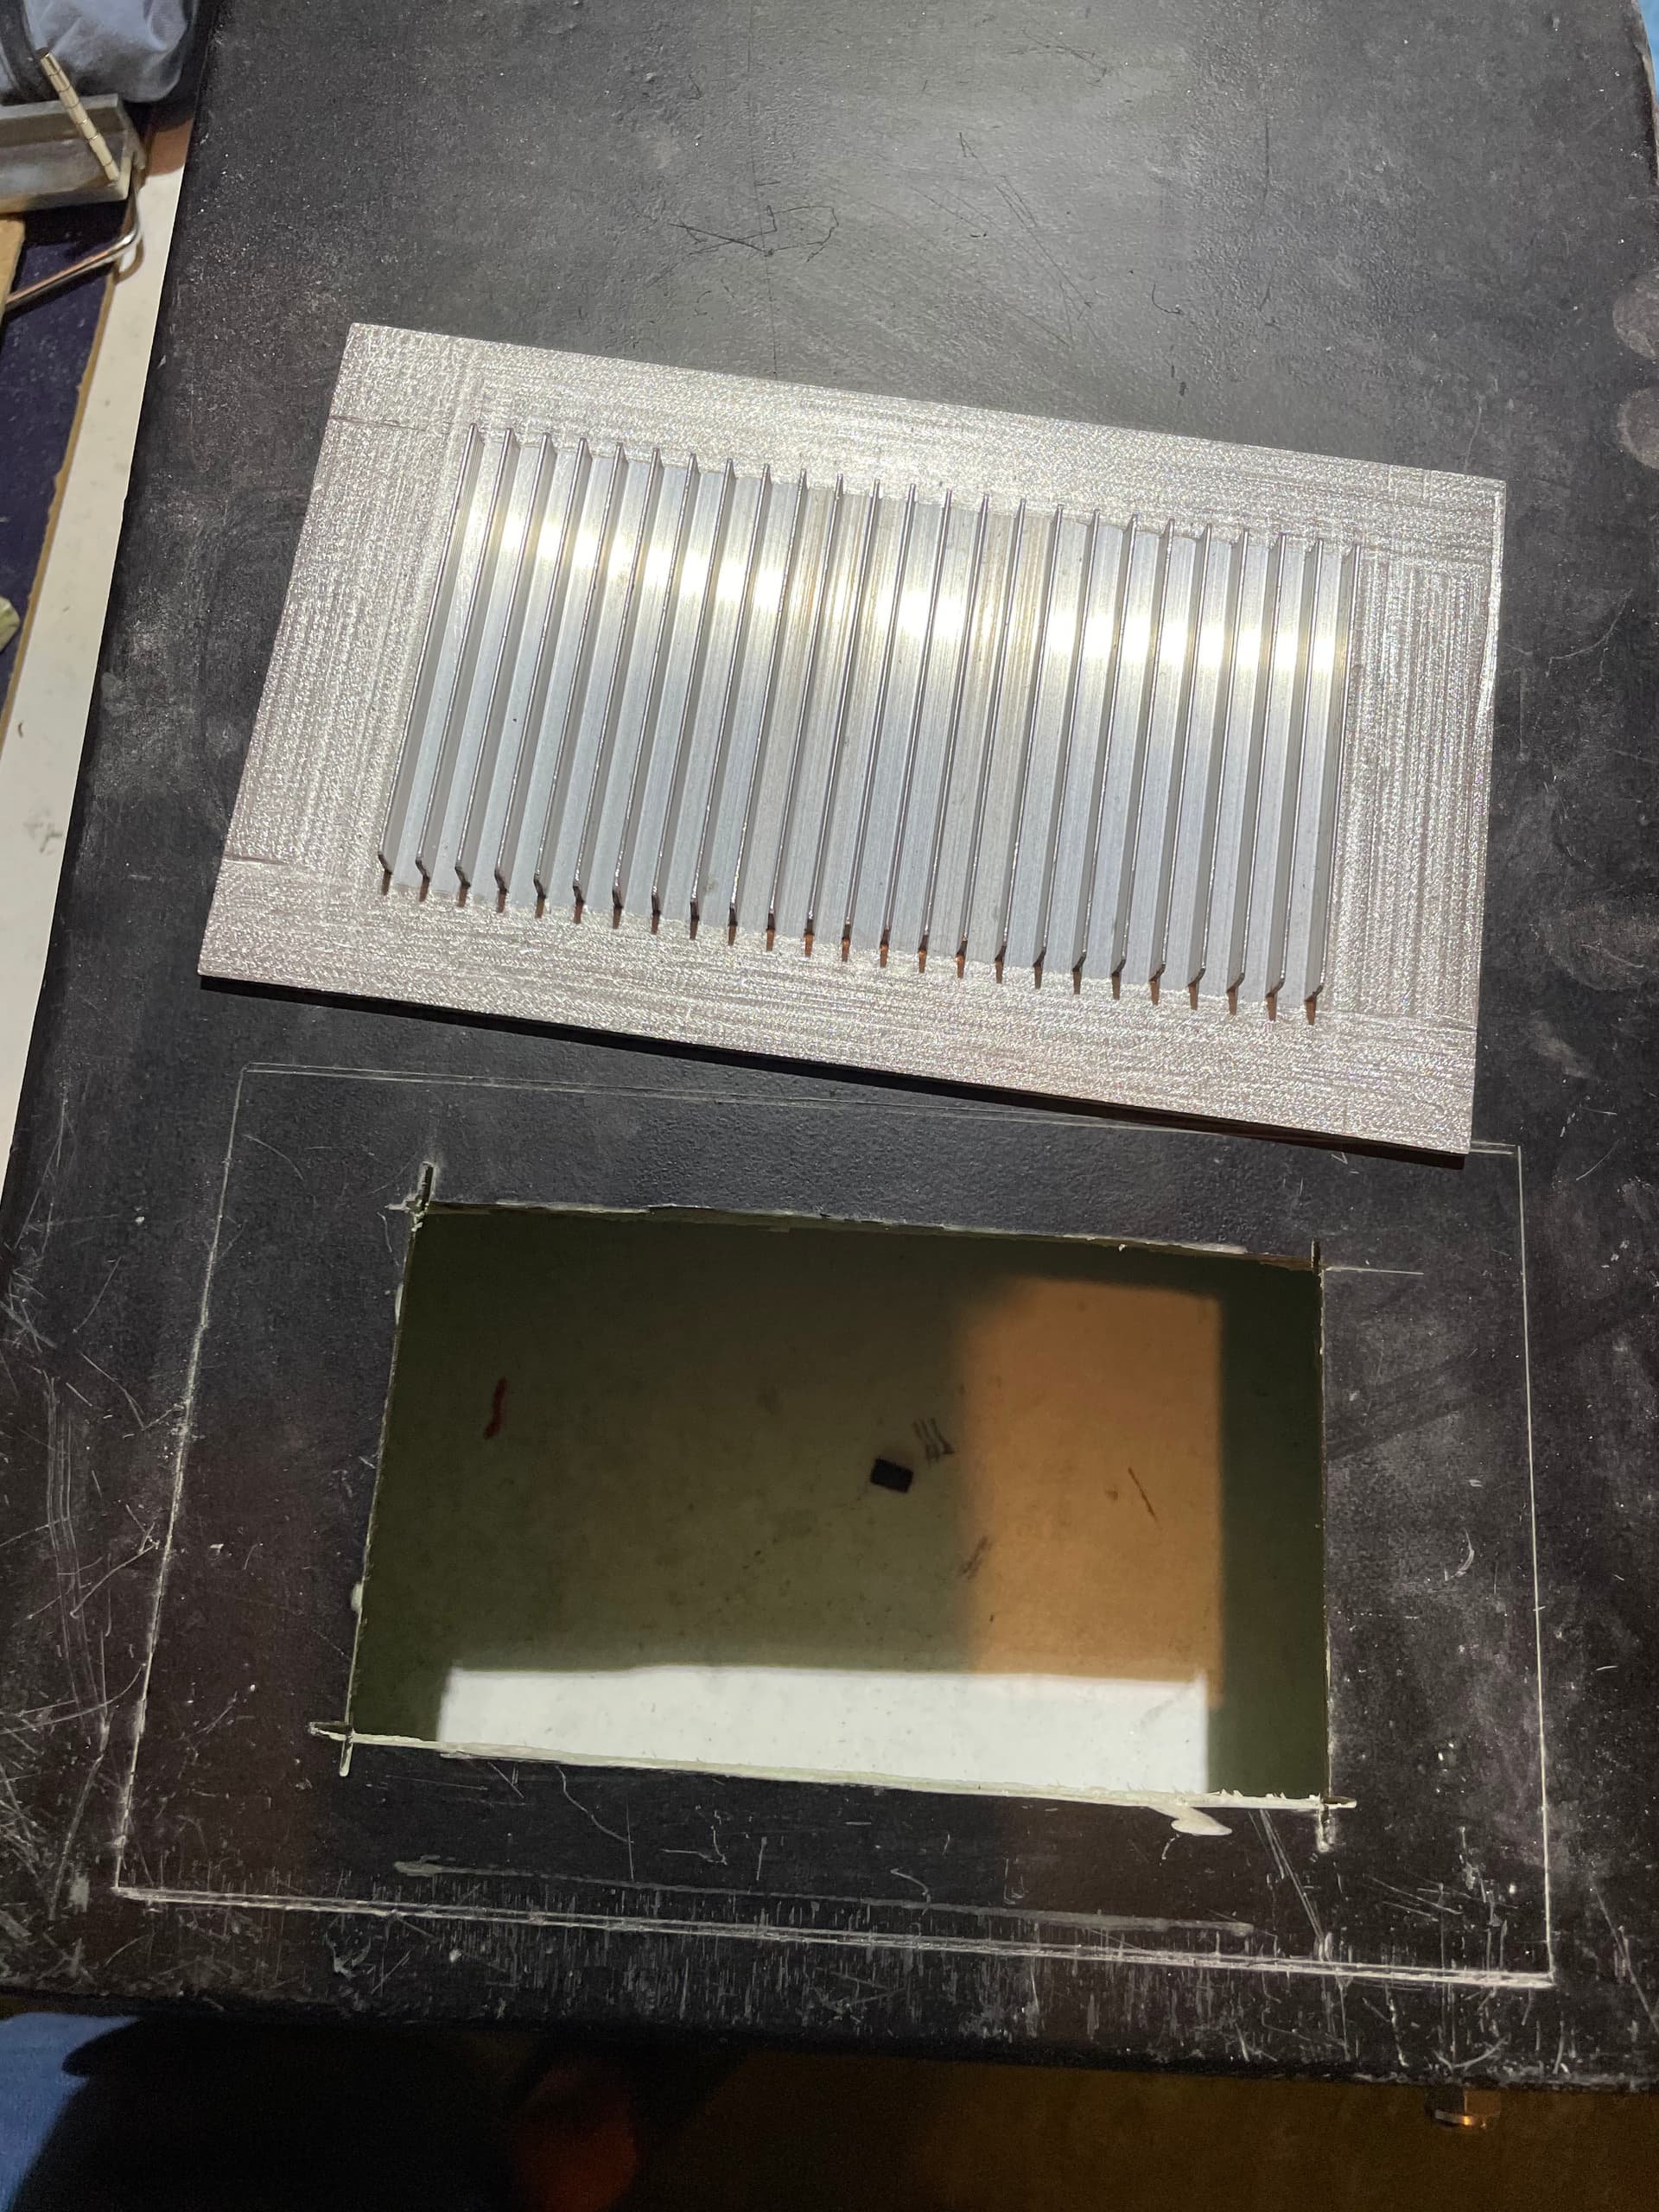

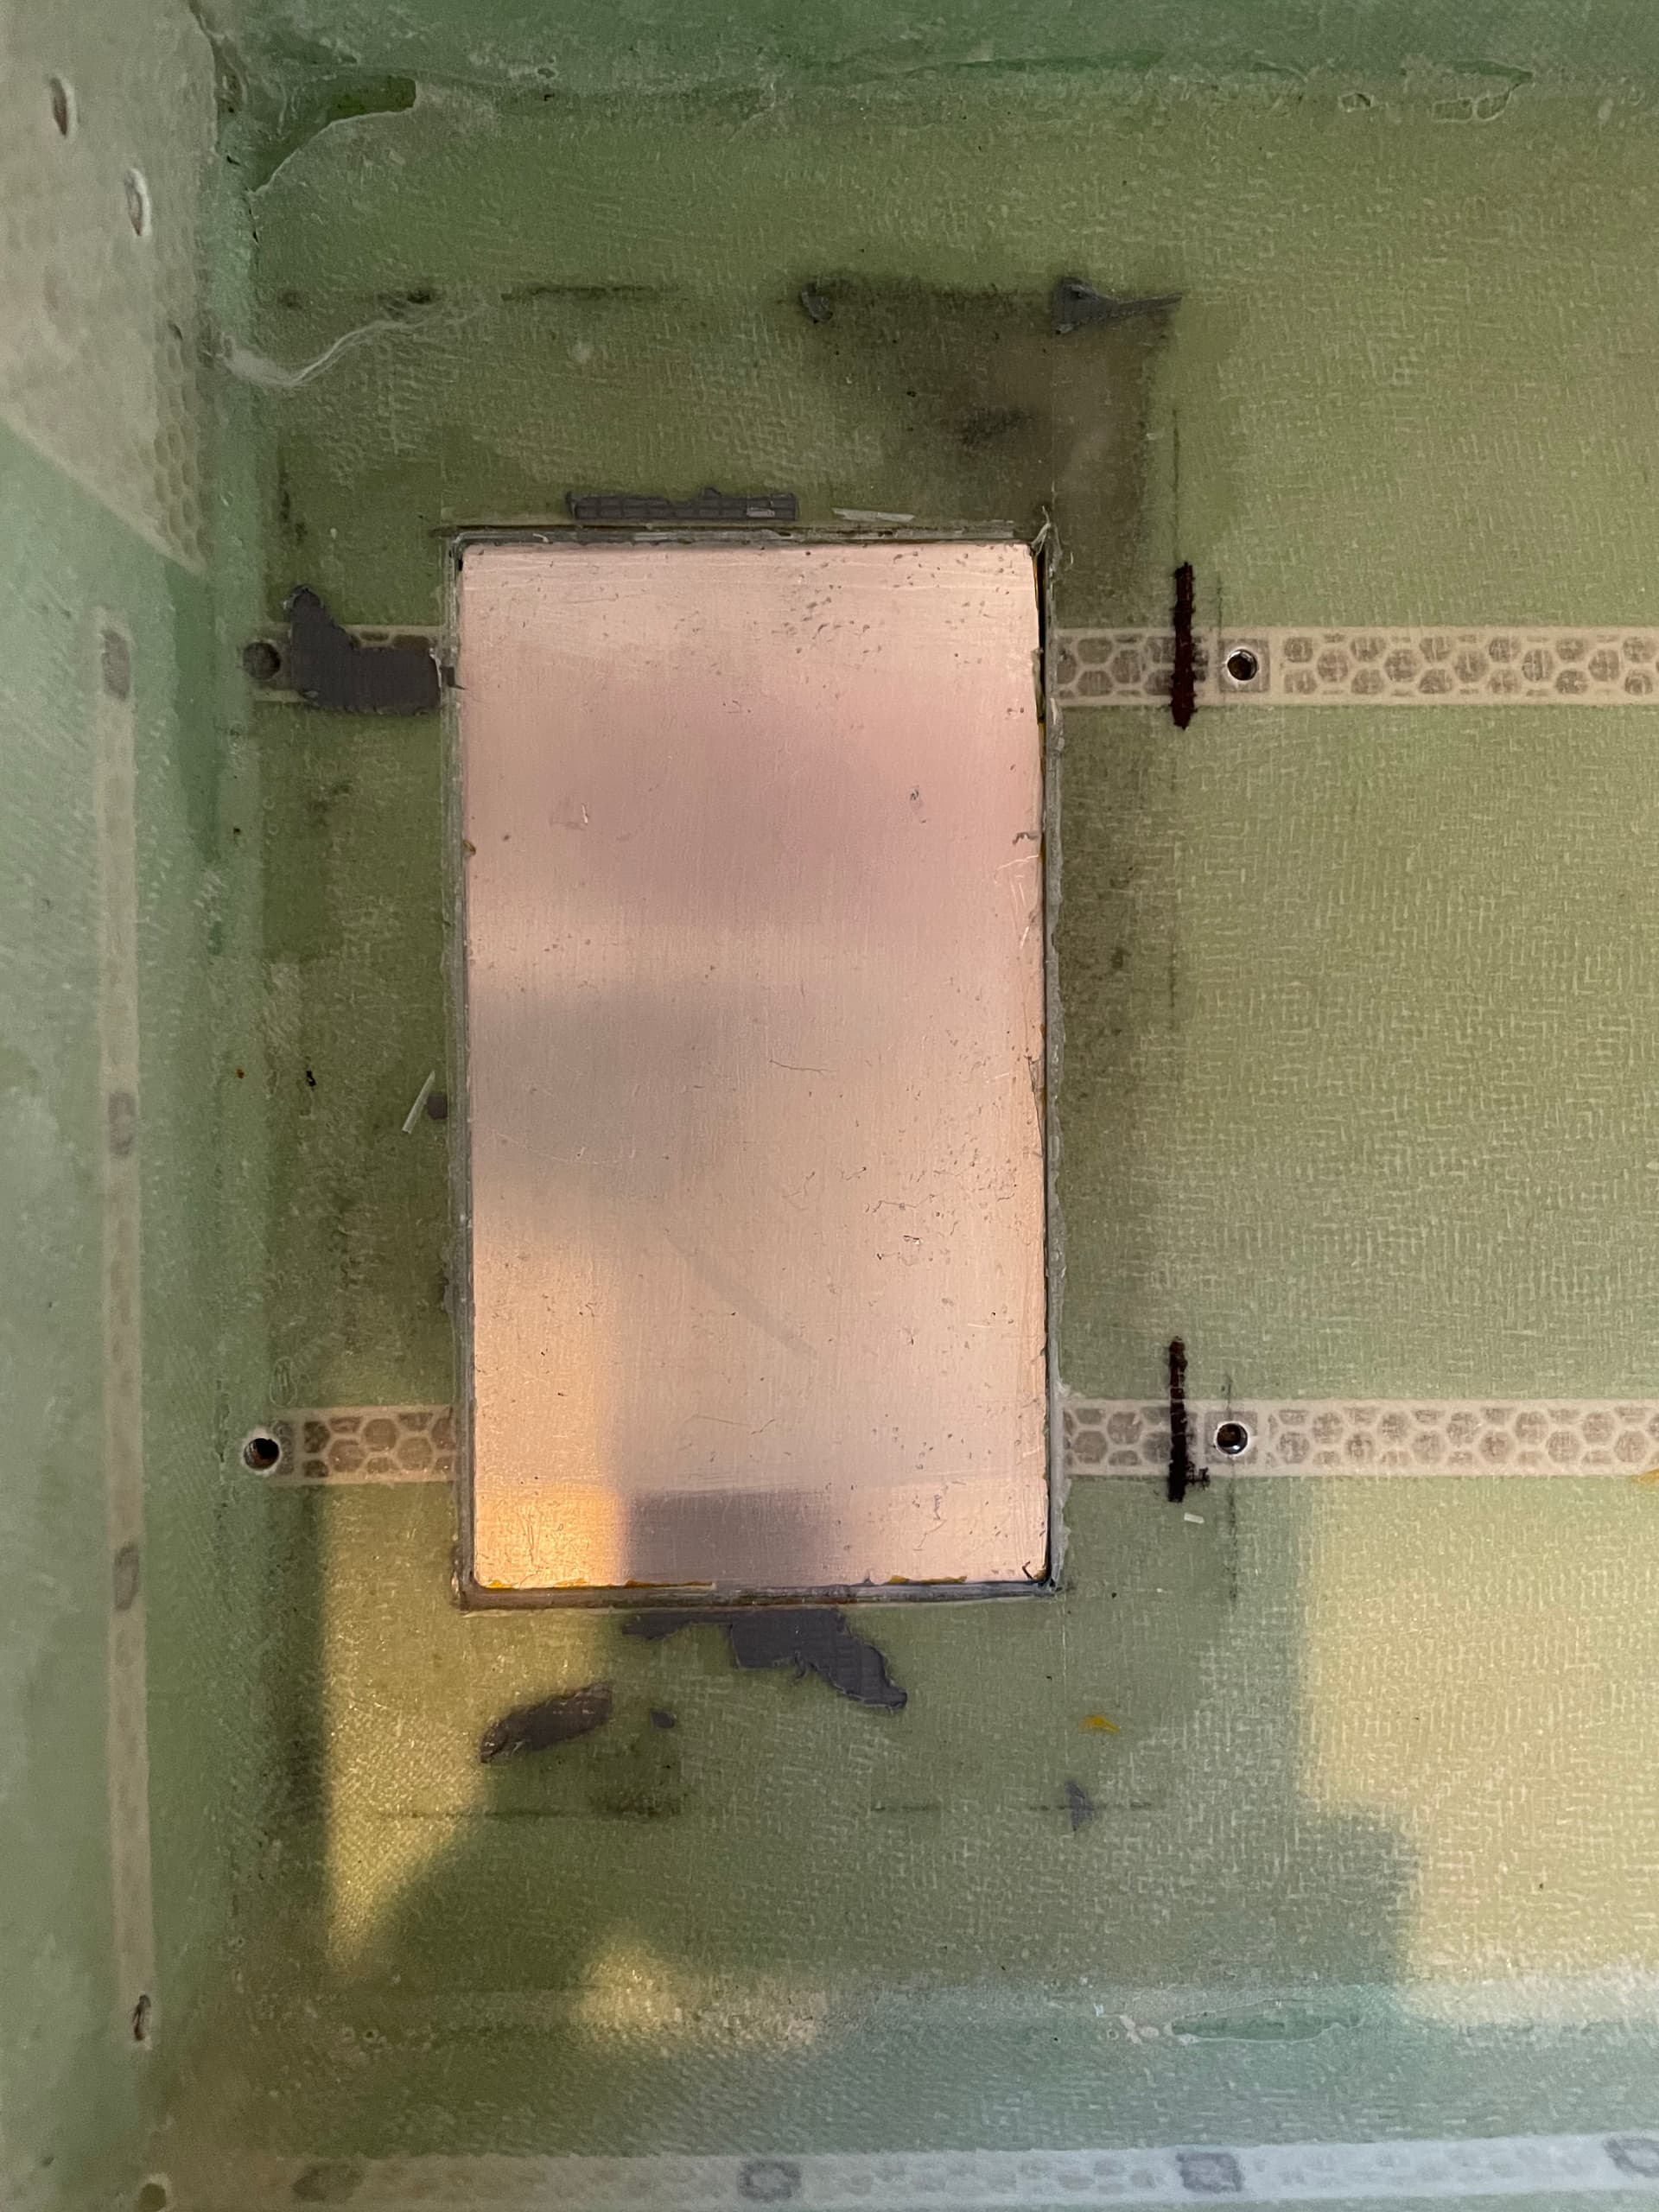
Cut the box with a dremel and fit a modified heat sink into the sandwich core. Made some 2mm holes for better bonding.
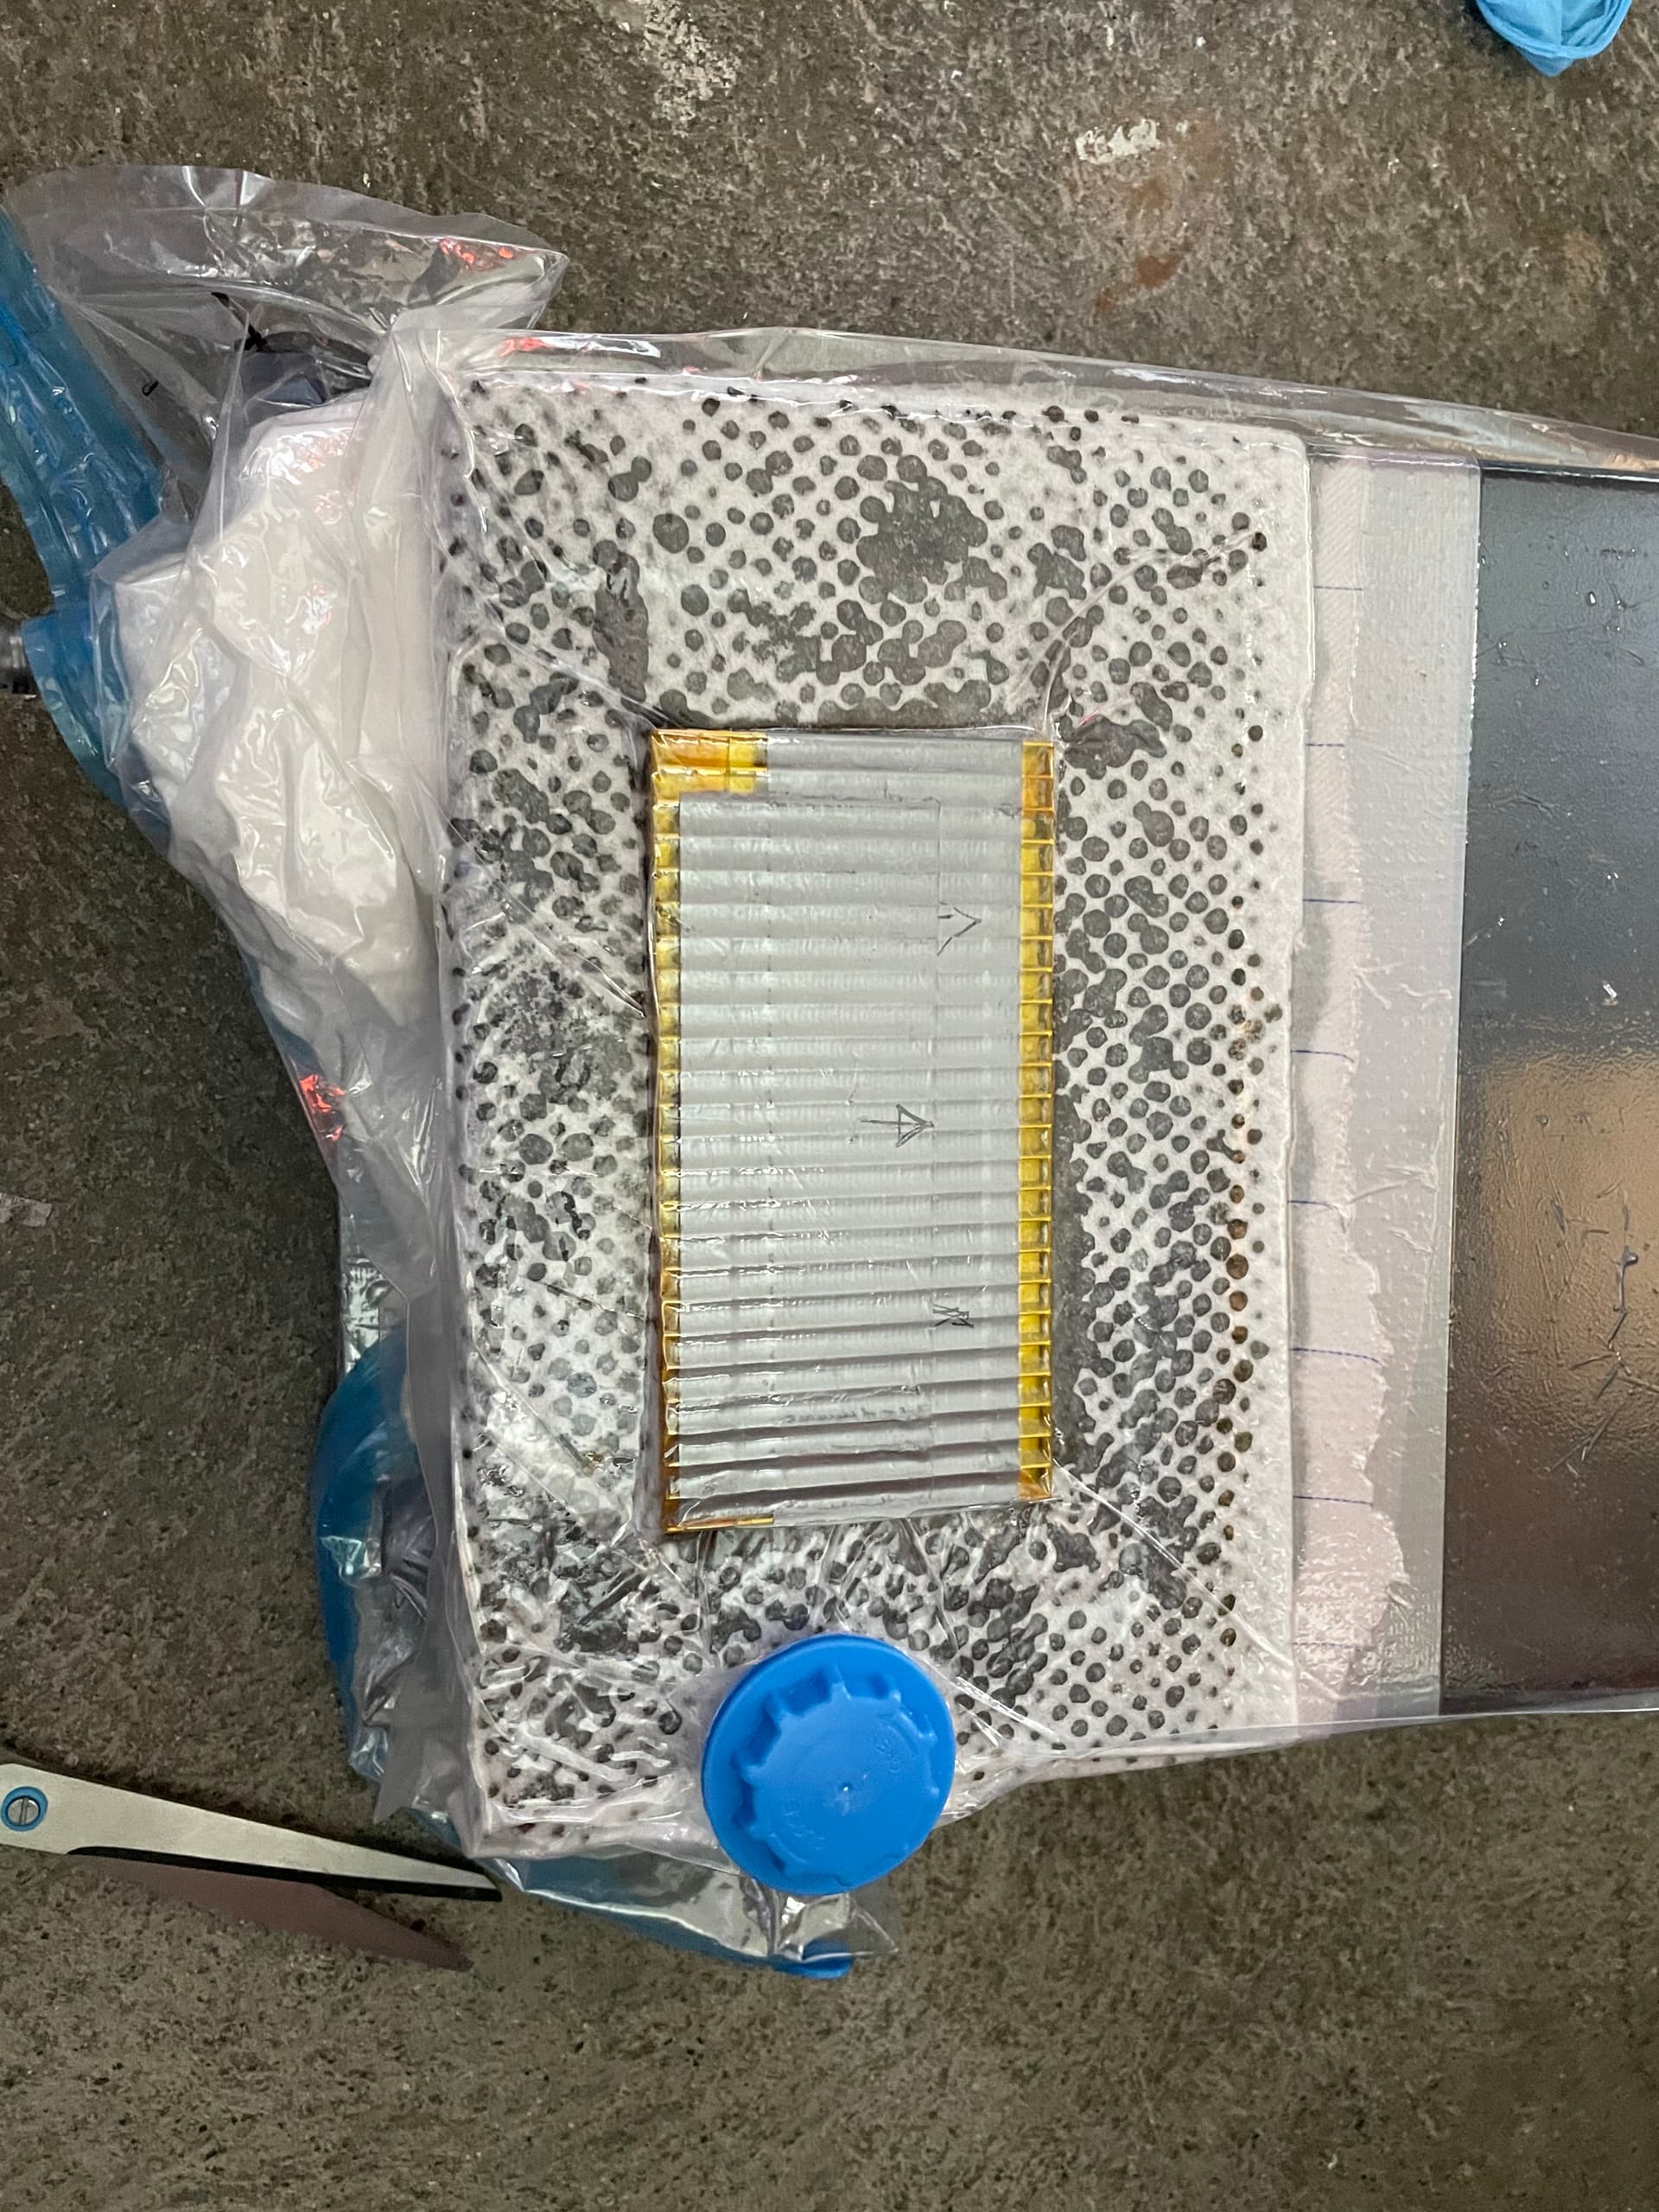

Laminated it in with 2 layers of carbon and one layer of glass and put it in a vacuum bag. Then coated with pigmented 2k polyurethane. For a good bond, the aluminum should be sanded just before laminating (<10min) as the oxide builds up fast.
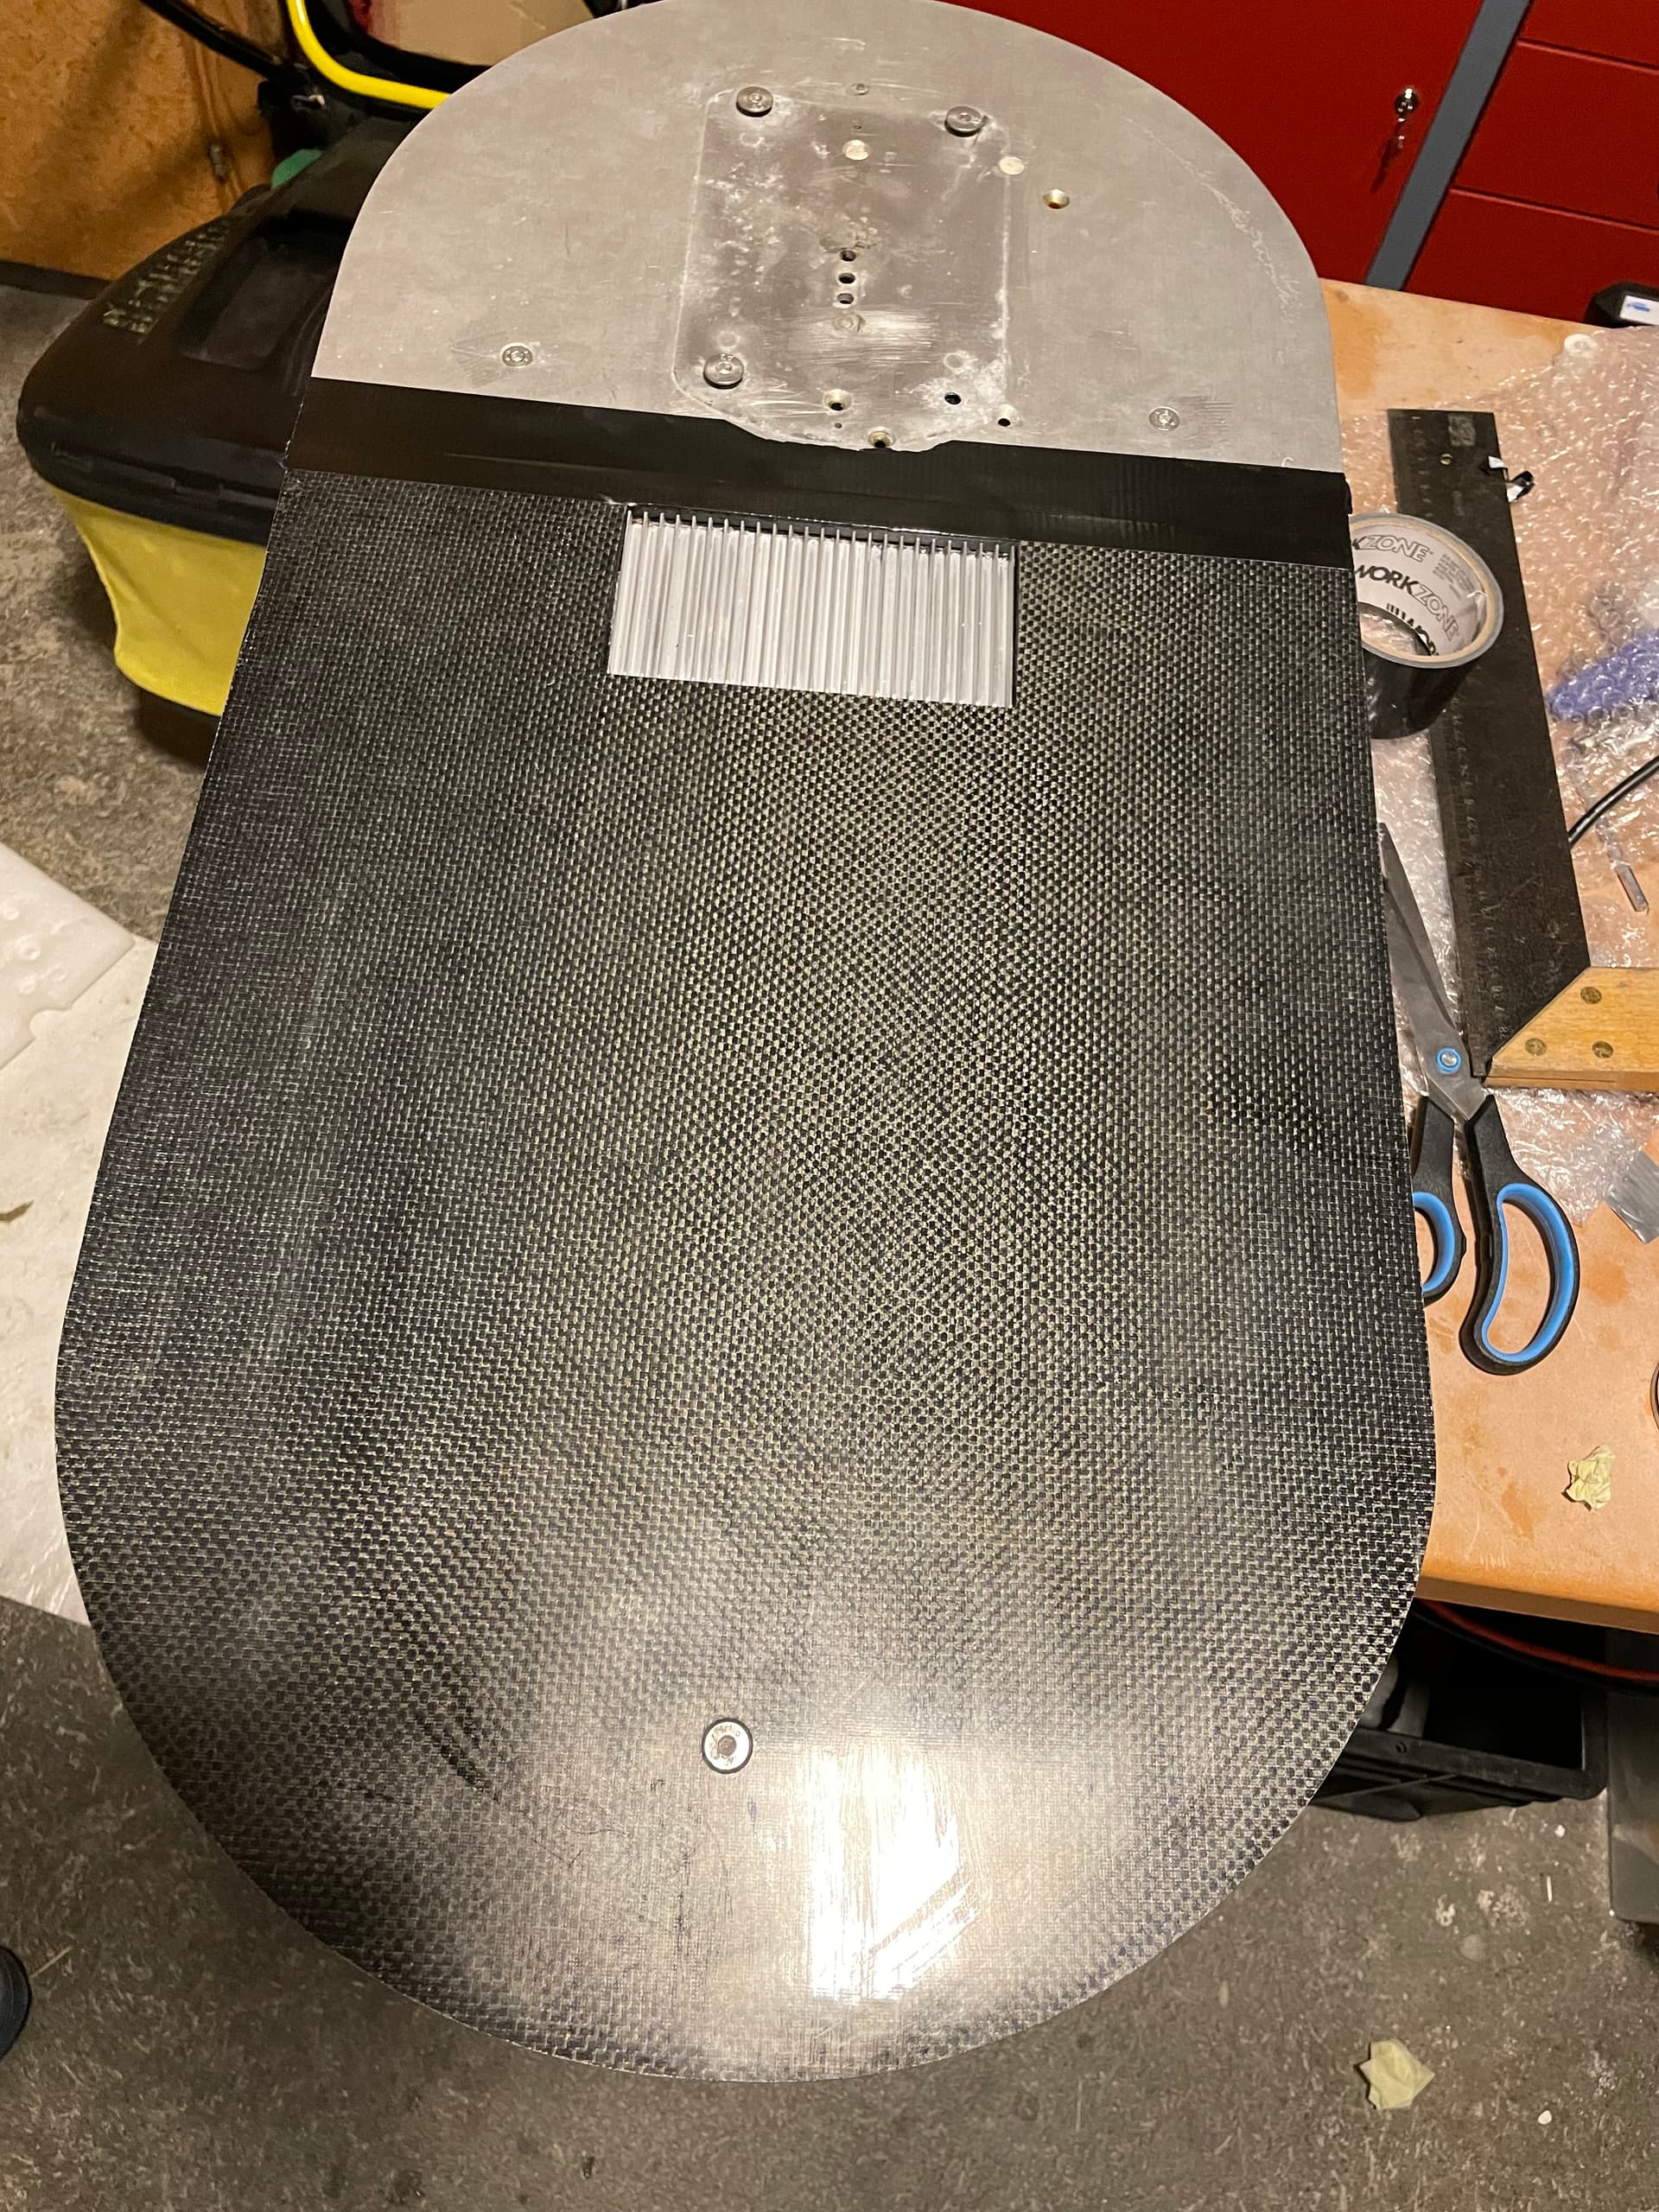
Had to cut out the bottom plate, the ribs are flush with the surface.
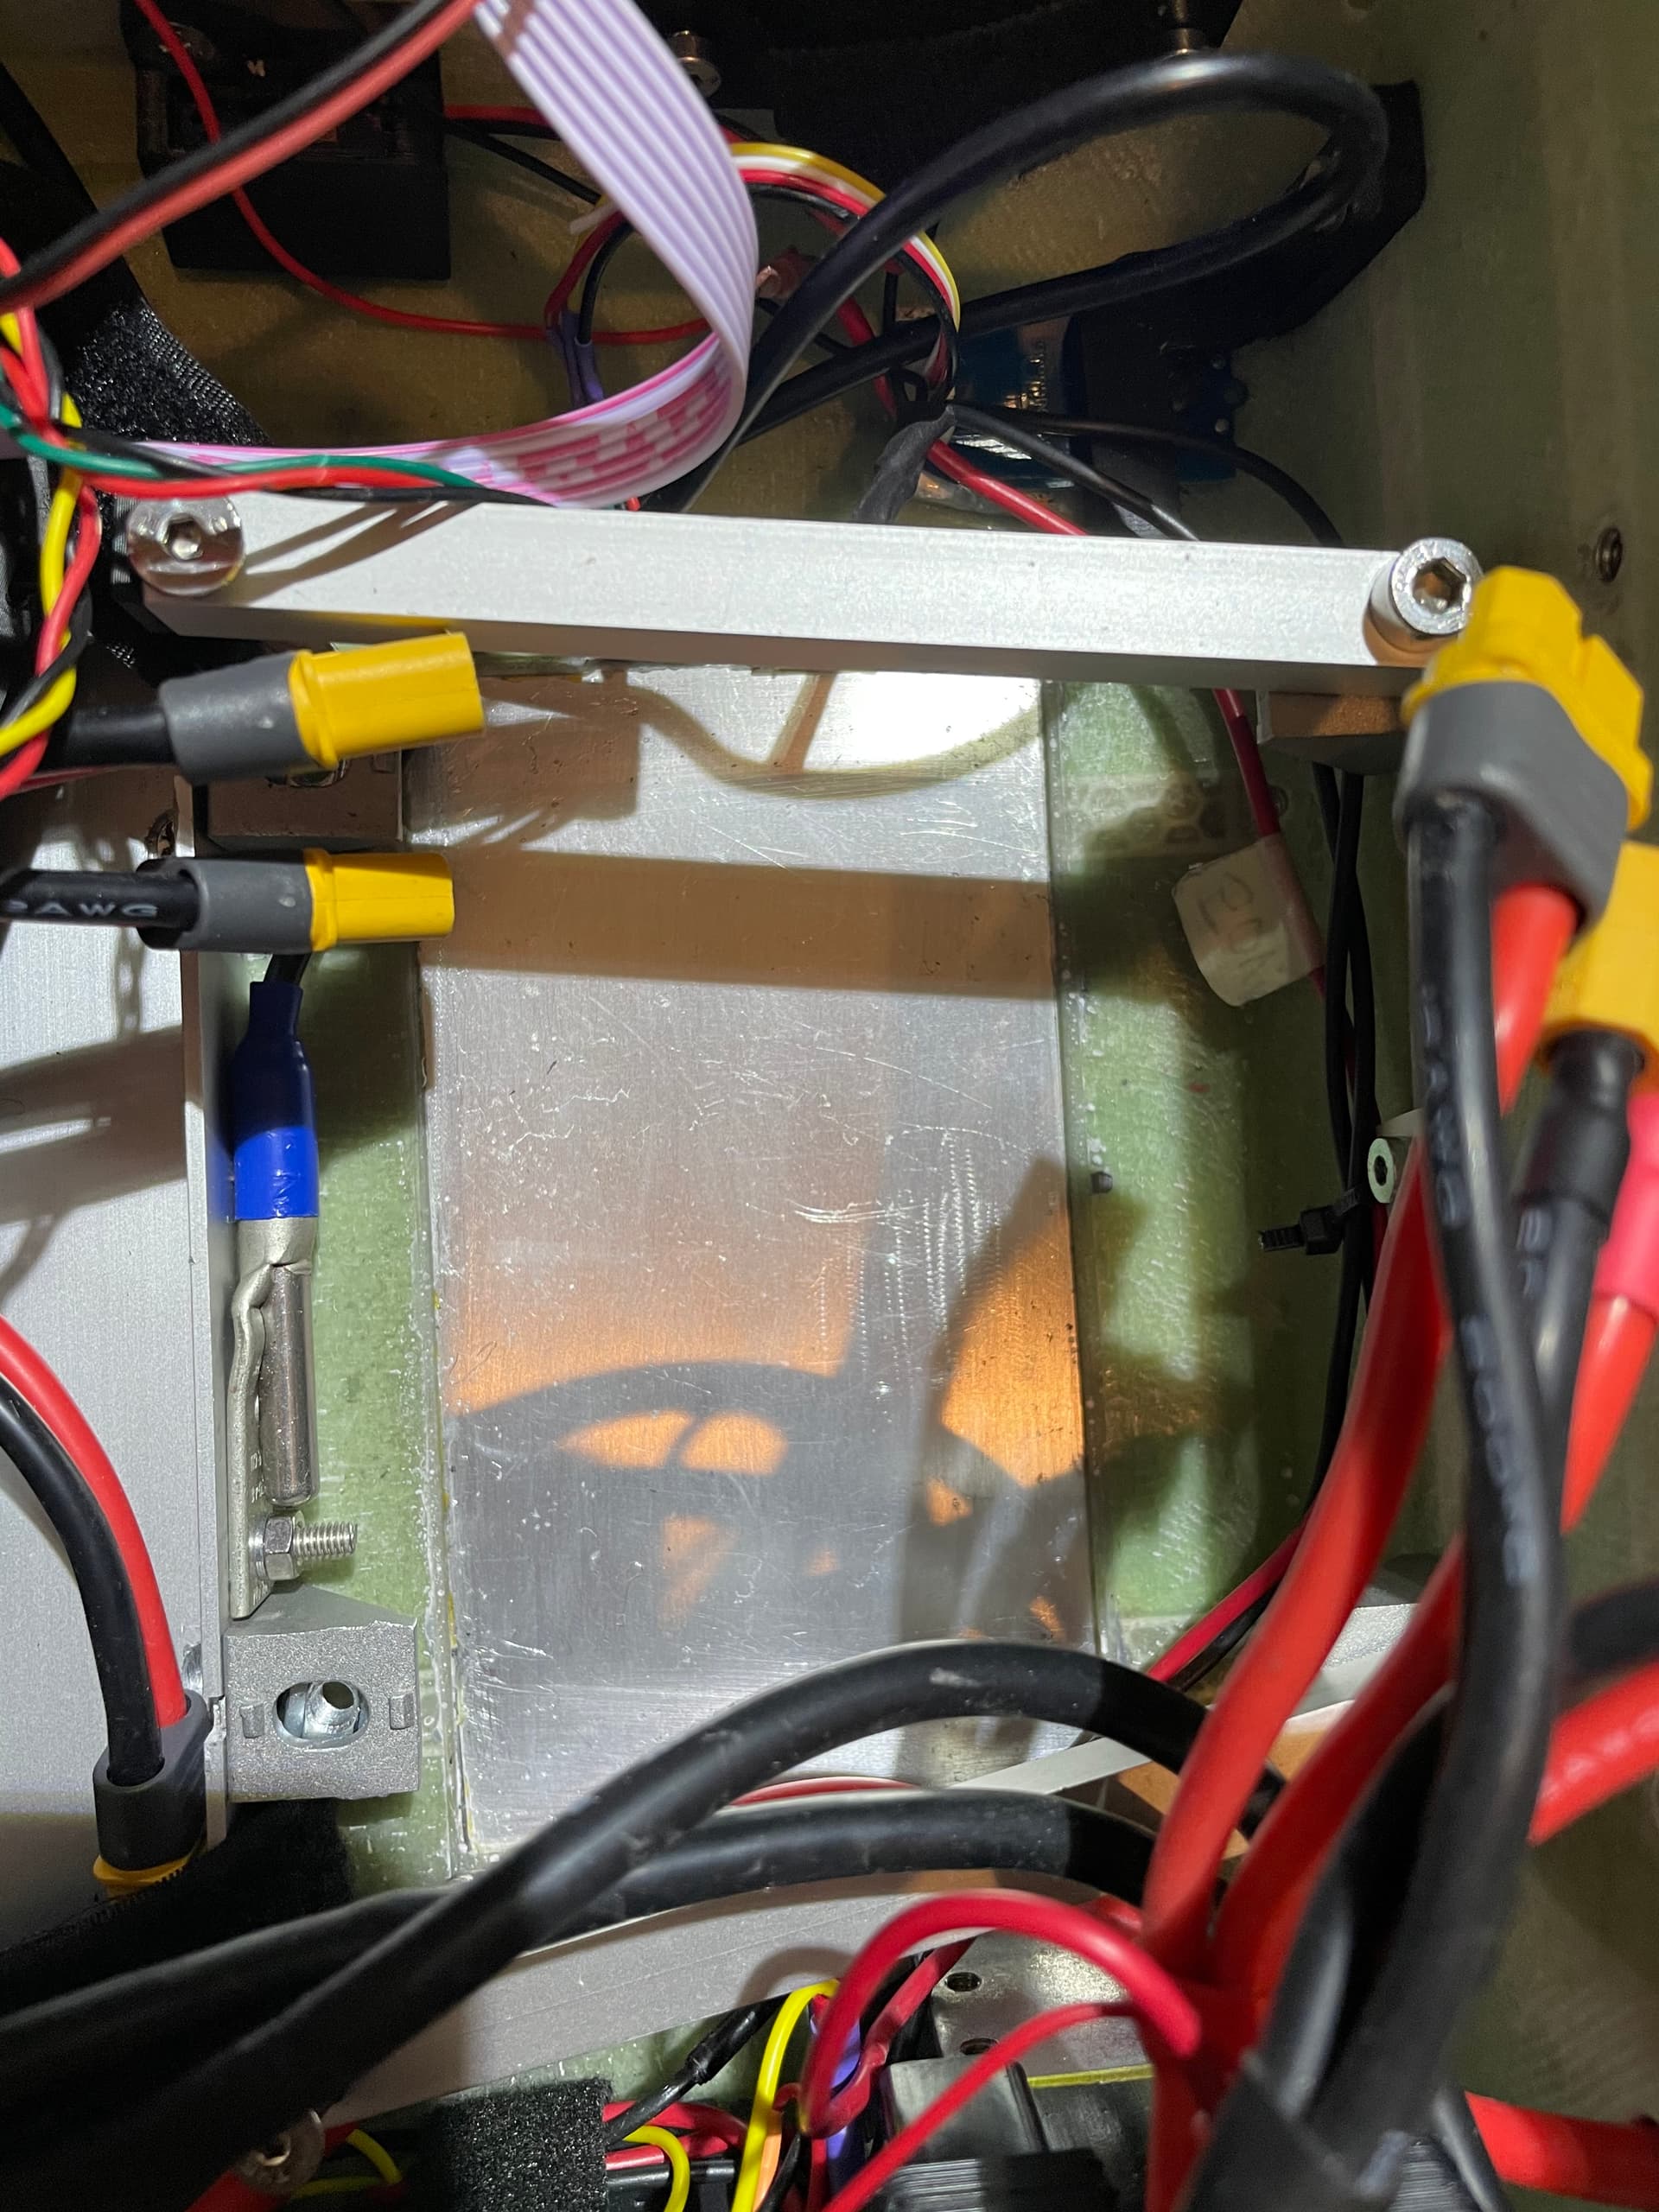
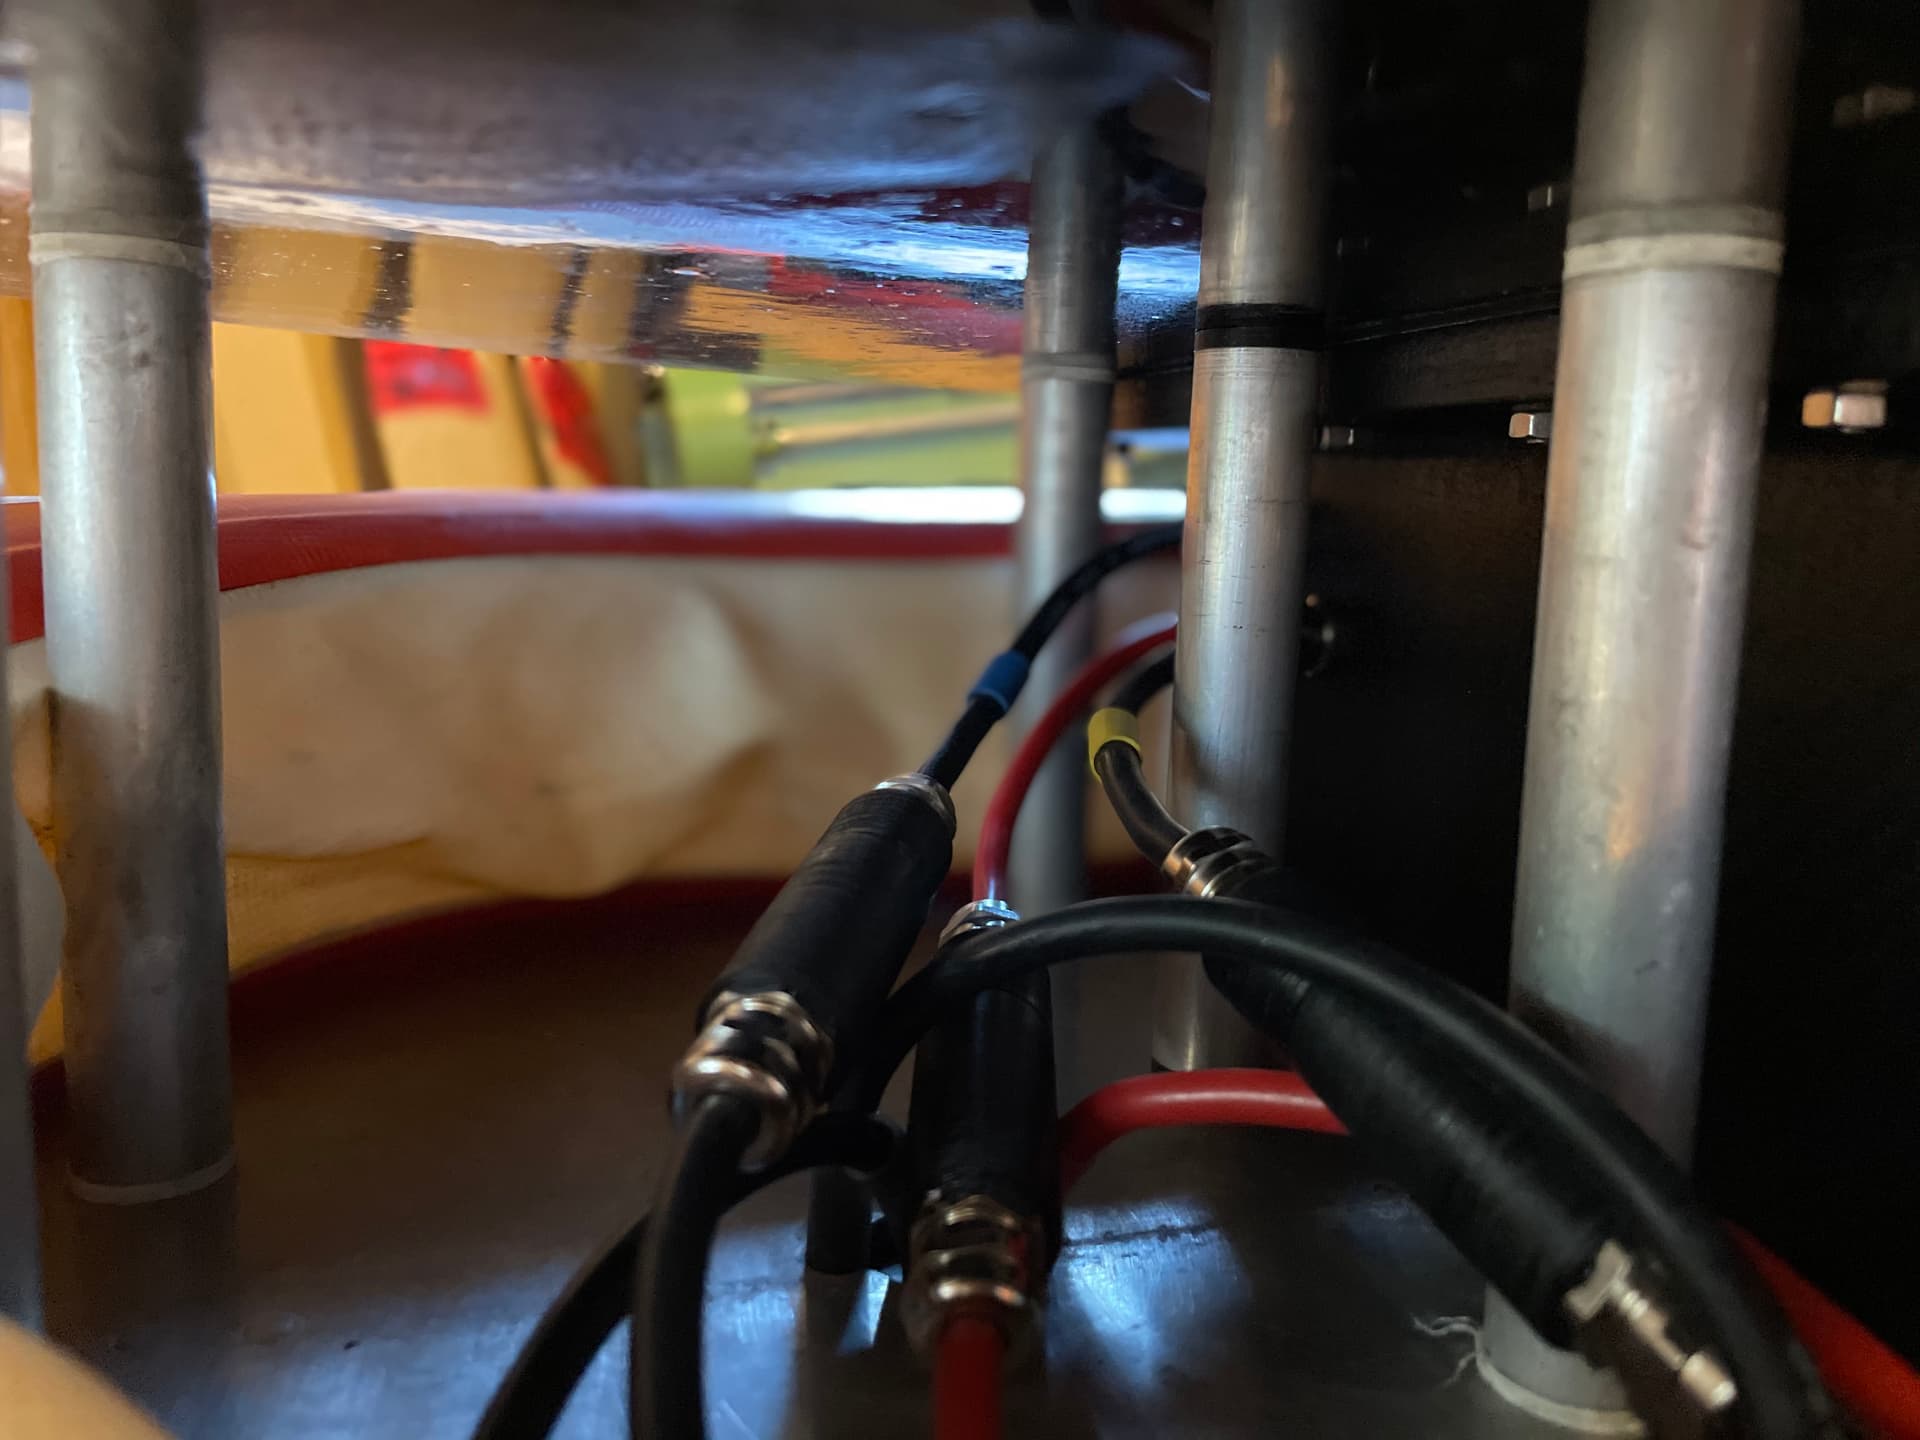
Inside the box
Added Würth screw terminals to the pcb
Clamped the 75200 VESC to the heat sink with a 0.5mm thermal pad in between

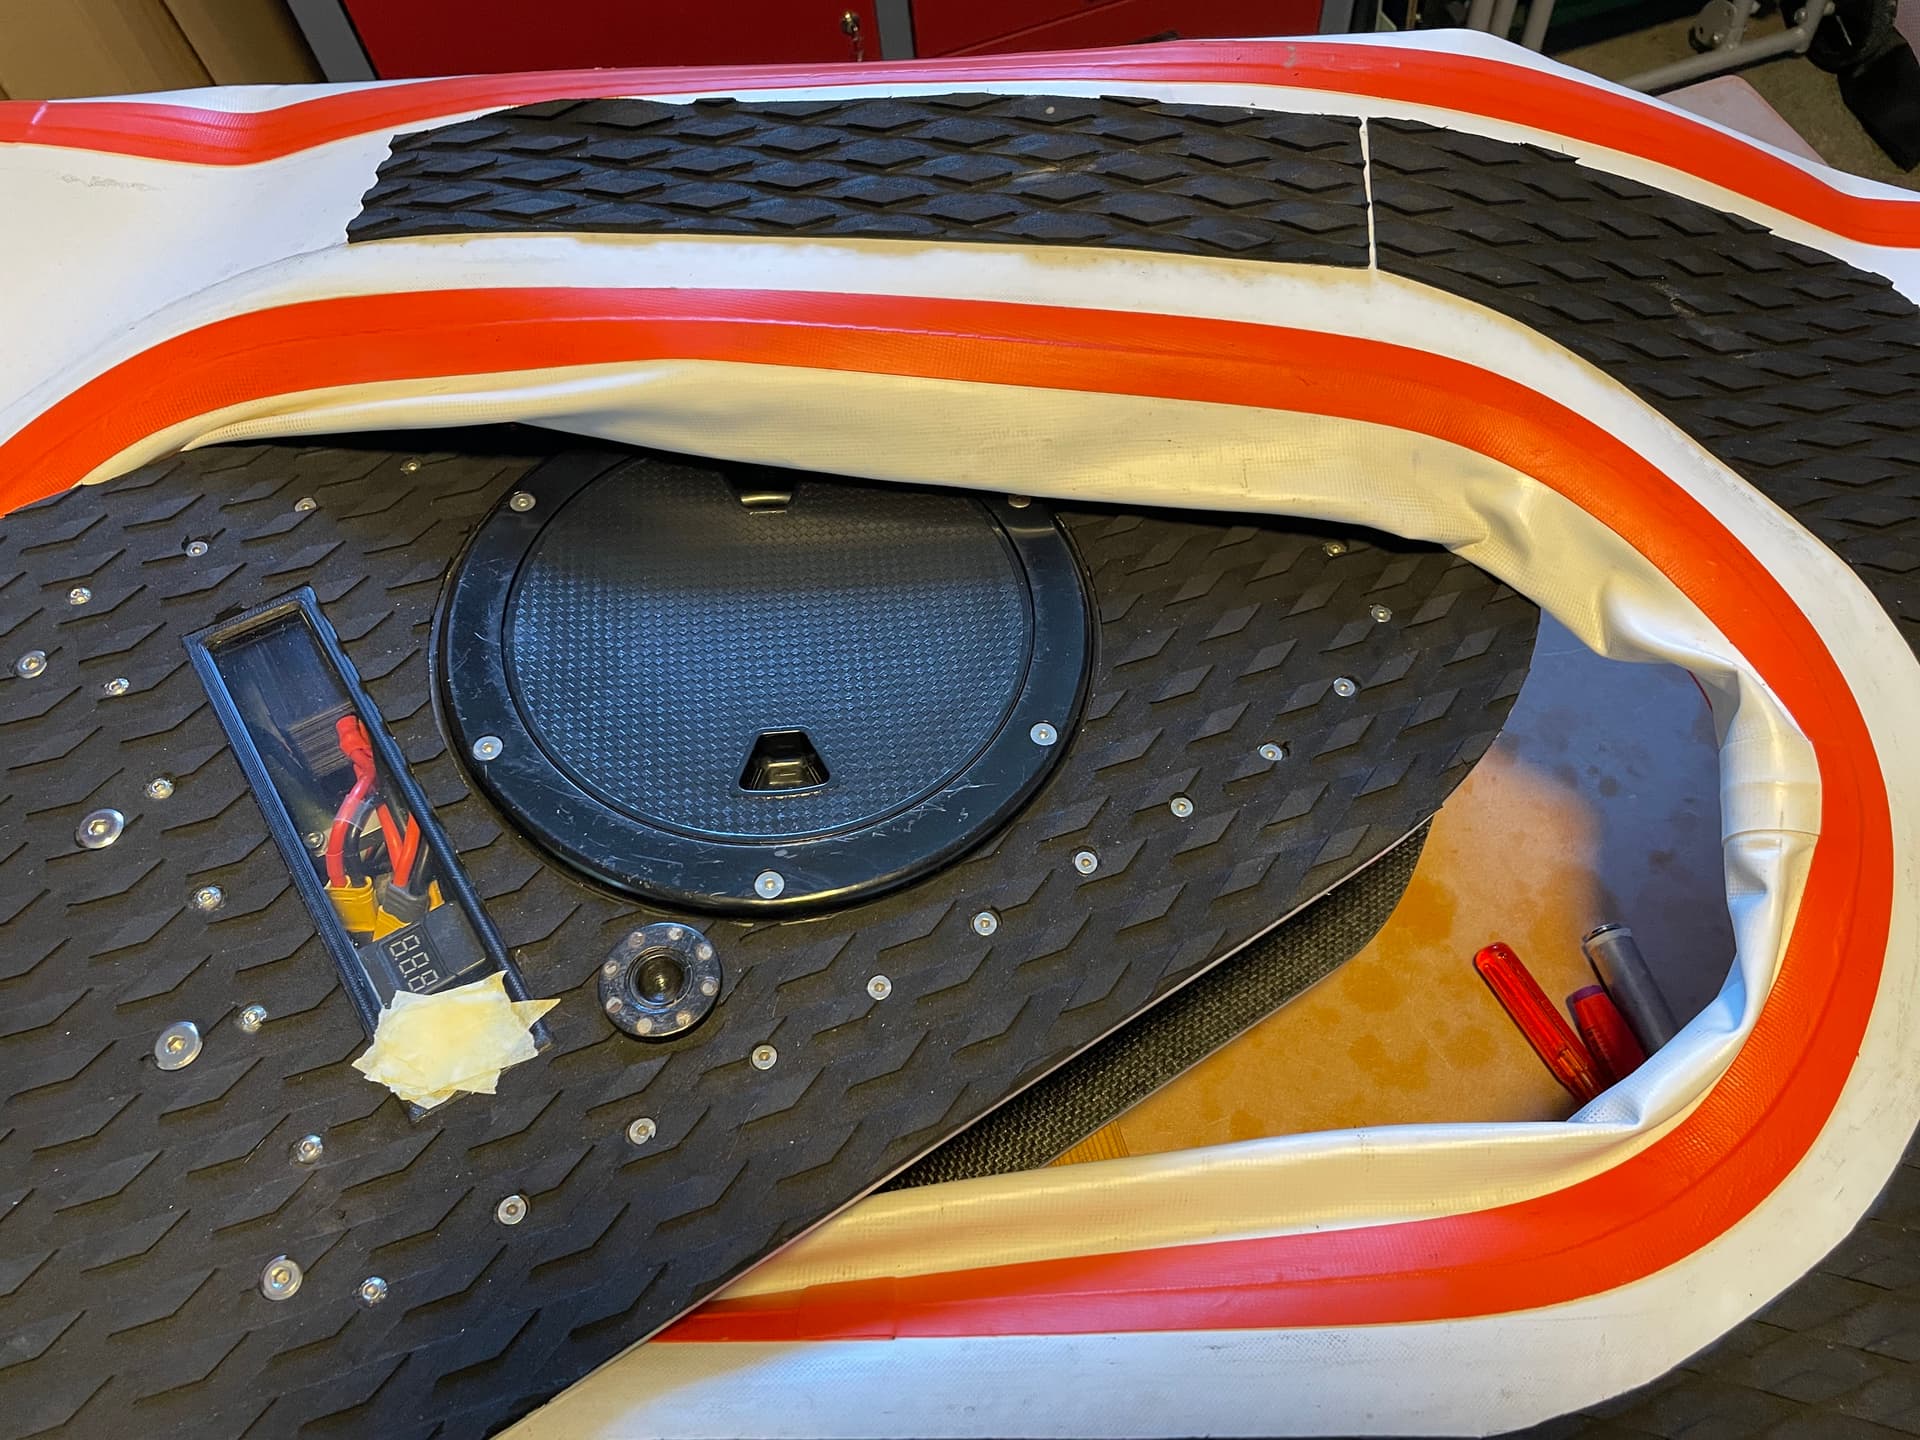
It’s easier to put it together, without the spacers in the back installed, the inflatable can be pulled over the box with the bottom plate installed. Once the inflatable is in place, the mast can be installed (including the spacers in the back), cables connected, then inflated.

Passive cooling seems to work, did a couple of sessions, no issue. The heat pad is important, as thin as possible, 0.5mm 12-14 W/mk. I had a 6W/mk 1mm pad first, difference is about 10° in VESC temp.
17 Likes
Great looking build, interesting the way you’ve laminated alu plate into the housing. The Jaycar thermal tape I’m using for my vesc is 0.5mm, but only rated for 1.6w/m-k, nowhere near the values you mention. Maybe I should try thermal grease and make a clamp to hold it down solidly. My vesc quickly gets over 70 deg C when I’m towing someone behind me. The heat is going into the pelican case with the battery, so it’s a bit of a heat reservoir.
Used this pad. 14.8W/mk: US $3.45 31% Off | Zezzio 12.8/14.8W/MK high performance Multi-Size thermal pad for CPU/GPU Graphics Card motherboard Silicone Pad
https://a.aliexpress.com/_msitzV9
With the heat sink on the bottom, it cooles down immediately when you fall. In my case it’s cooled down still quite regularly.
It is also possible to remove the VESC case and put the PCB with direct FET directly on the heat sink but then you need to mill the heat sink in the same way as the case or use a thicker transfer pad because the phase wires are soldered to the PCB from both sides and need some space on the bottom side. It would also expose the electronics, that’s why I kept the case.
This looks also like an amazing idea to cool everything ^^
What pipe did you use? And what is the outside diameter of your engine?
I am looking for a suitable pipe for the Flipsky 65161/120 engine
The tube is od 60mm/2mm wall thickness → id 56mm which tightly fits a SSS56104 mm inrunner.
I got it from ebay long time ago. It will not fit a 65161 with an od of 65.5mm. The 56104 ist not waterproof and needs a reduction gear, that‘s why I put it in a tube. If you put the motor in a tube, it is important to have a tight fit to transfer the heat to the water.
How is the efficiency when foiling with the 63100, I wonder if the torque and power usage compares well to an inrunner? I’m considering a 63100 for my next tow boogie build, as a way to save 2kg compared to the 65161 I’m currently using, so that I can run a bigger battery for more waves. I like the look of your cnc prop adaptor, and would need to find a local machine shop to build one so I can use a manta prop.
Efficiency is quite good when foiling with a 1600cm2 RL wing @26km/h average, I used 63Wh/km. Prop is from Flite. The prop adapter was made from alu 6082 on a lathe, holes were drilled with 3d printed drill jig. The 63100 might need more maintenance (recoate stator and change bearings) than a 65161, especially when run in salt water.
A 3d printed drill guide for the mounting holes is a simple way to make it. I’m running in salt water, which is going to be hard on any motor. I haven’t seen much feedback on here about longer term durability of the epoxy coated out runners versus the flipsky 65161. Bearings will be a definite maintenance thing.
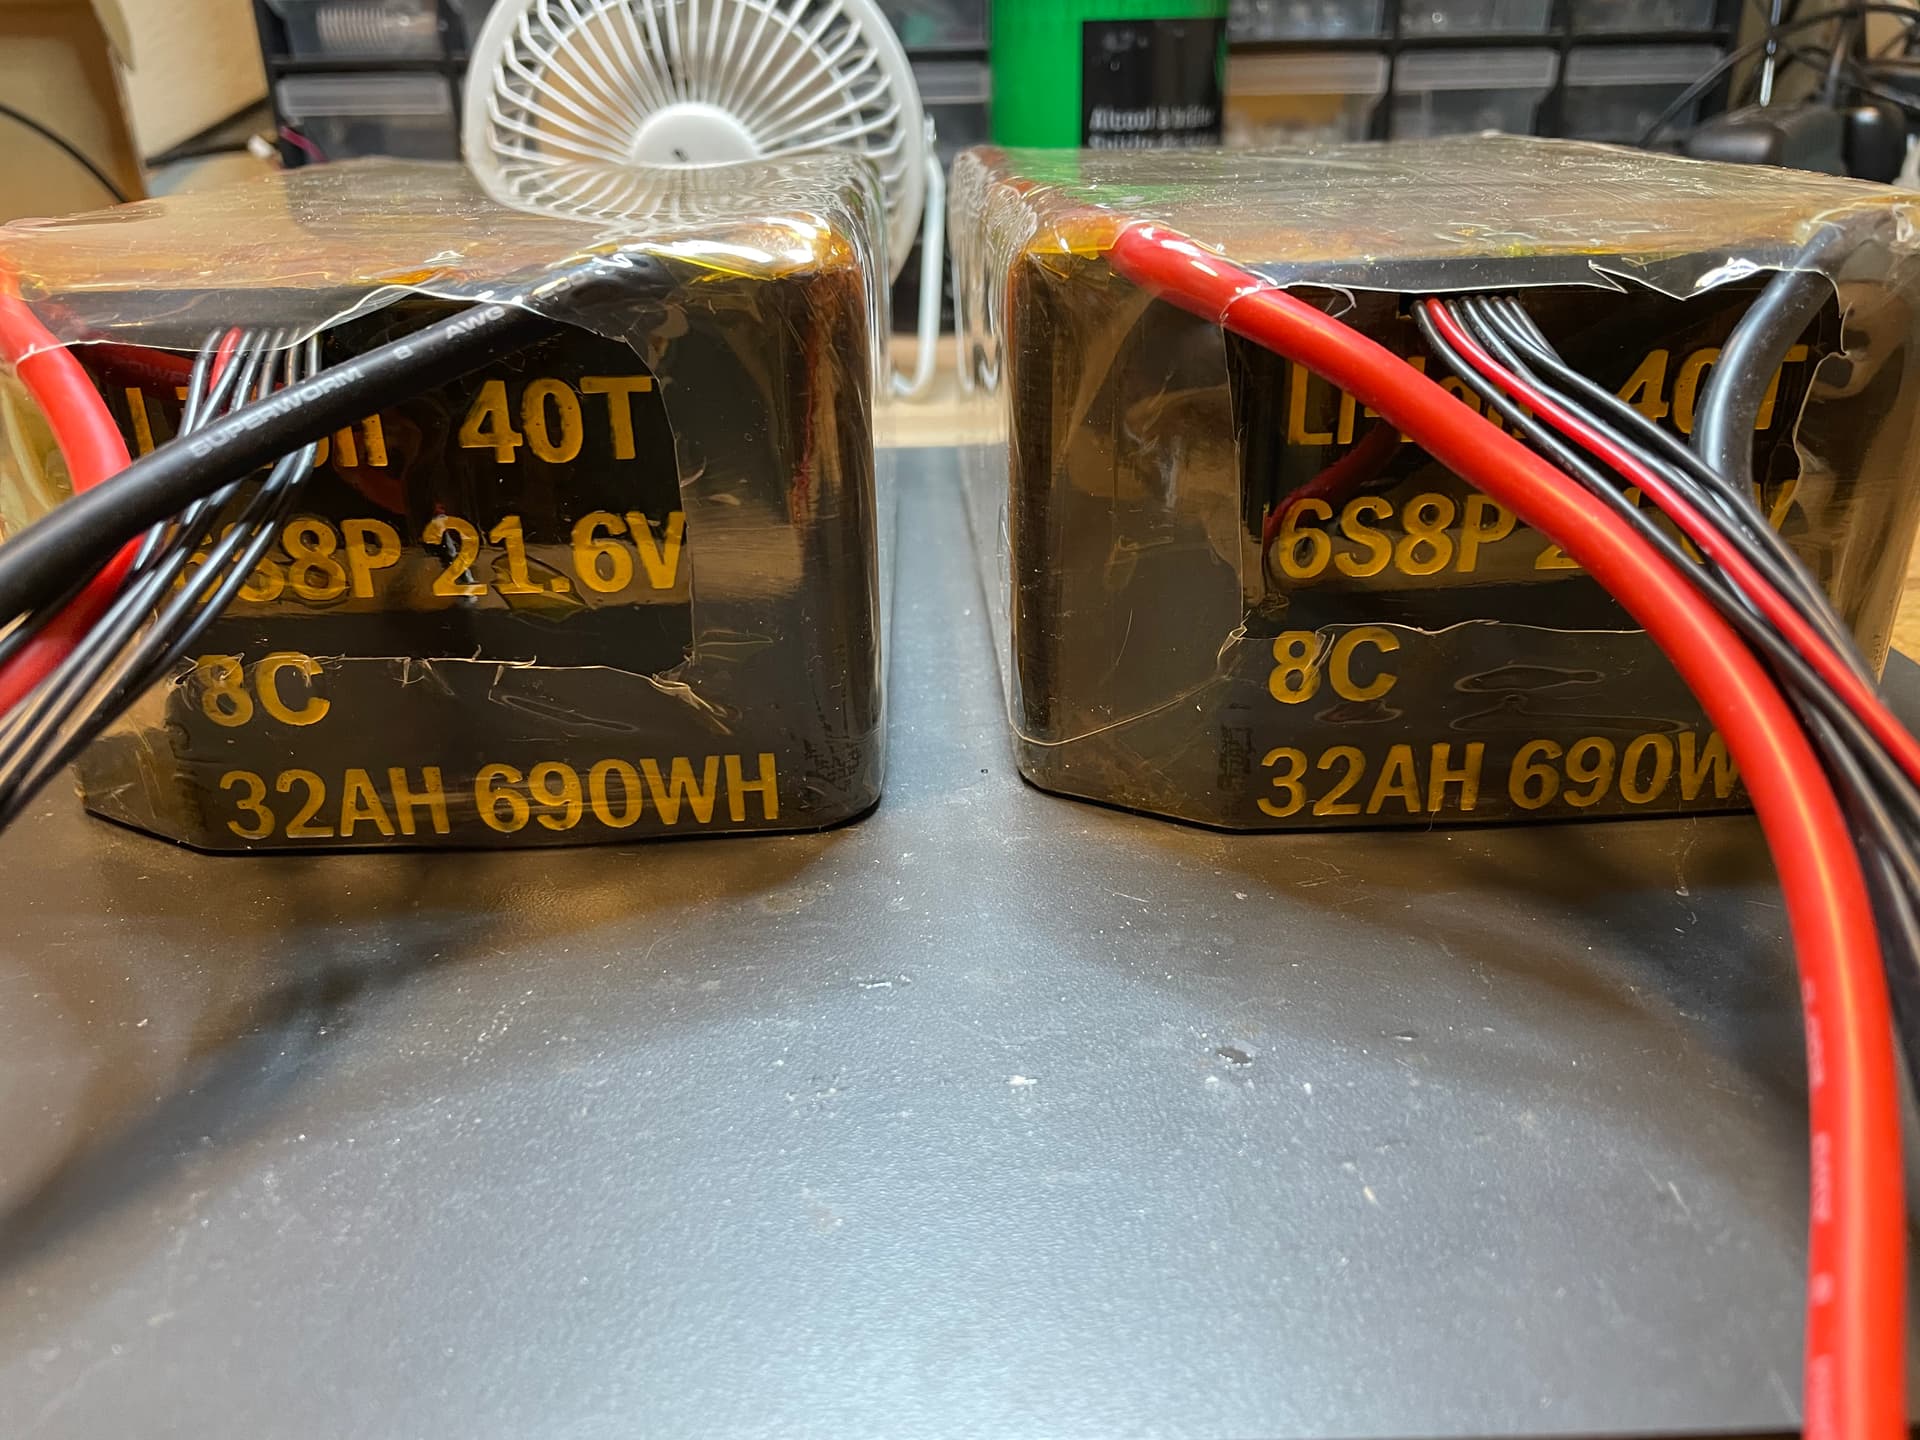
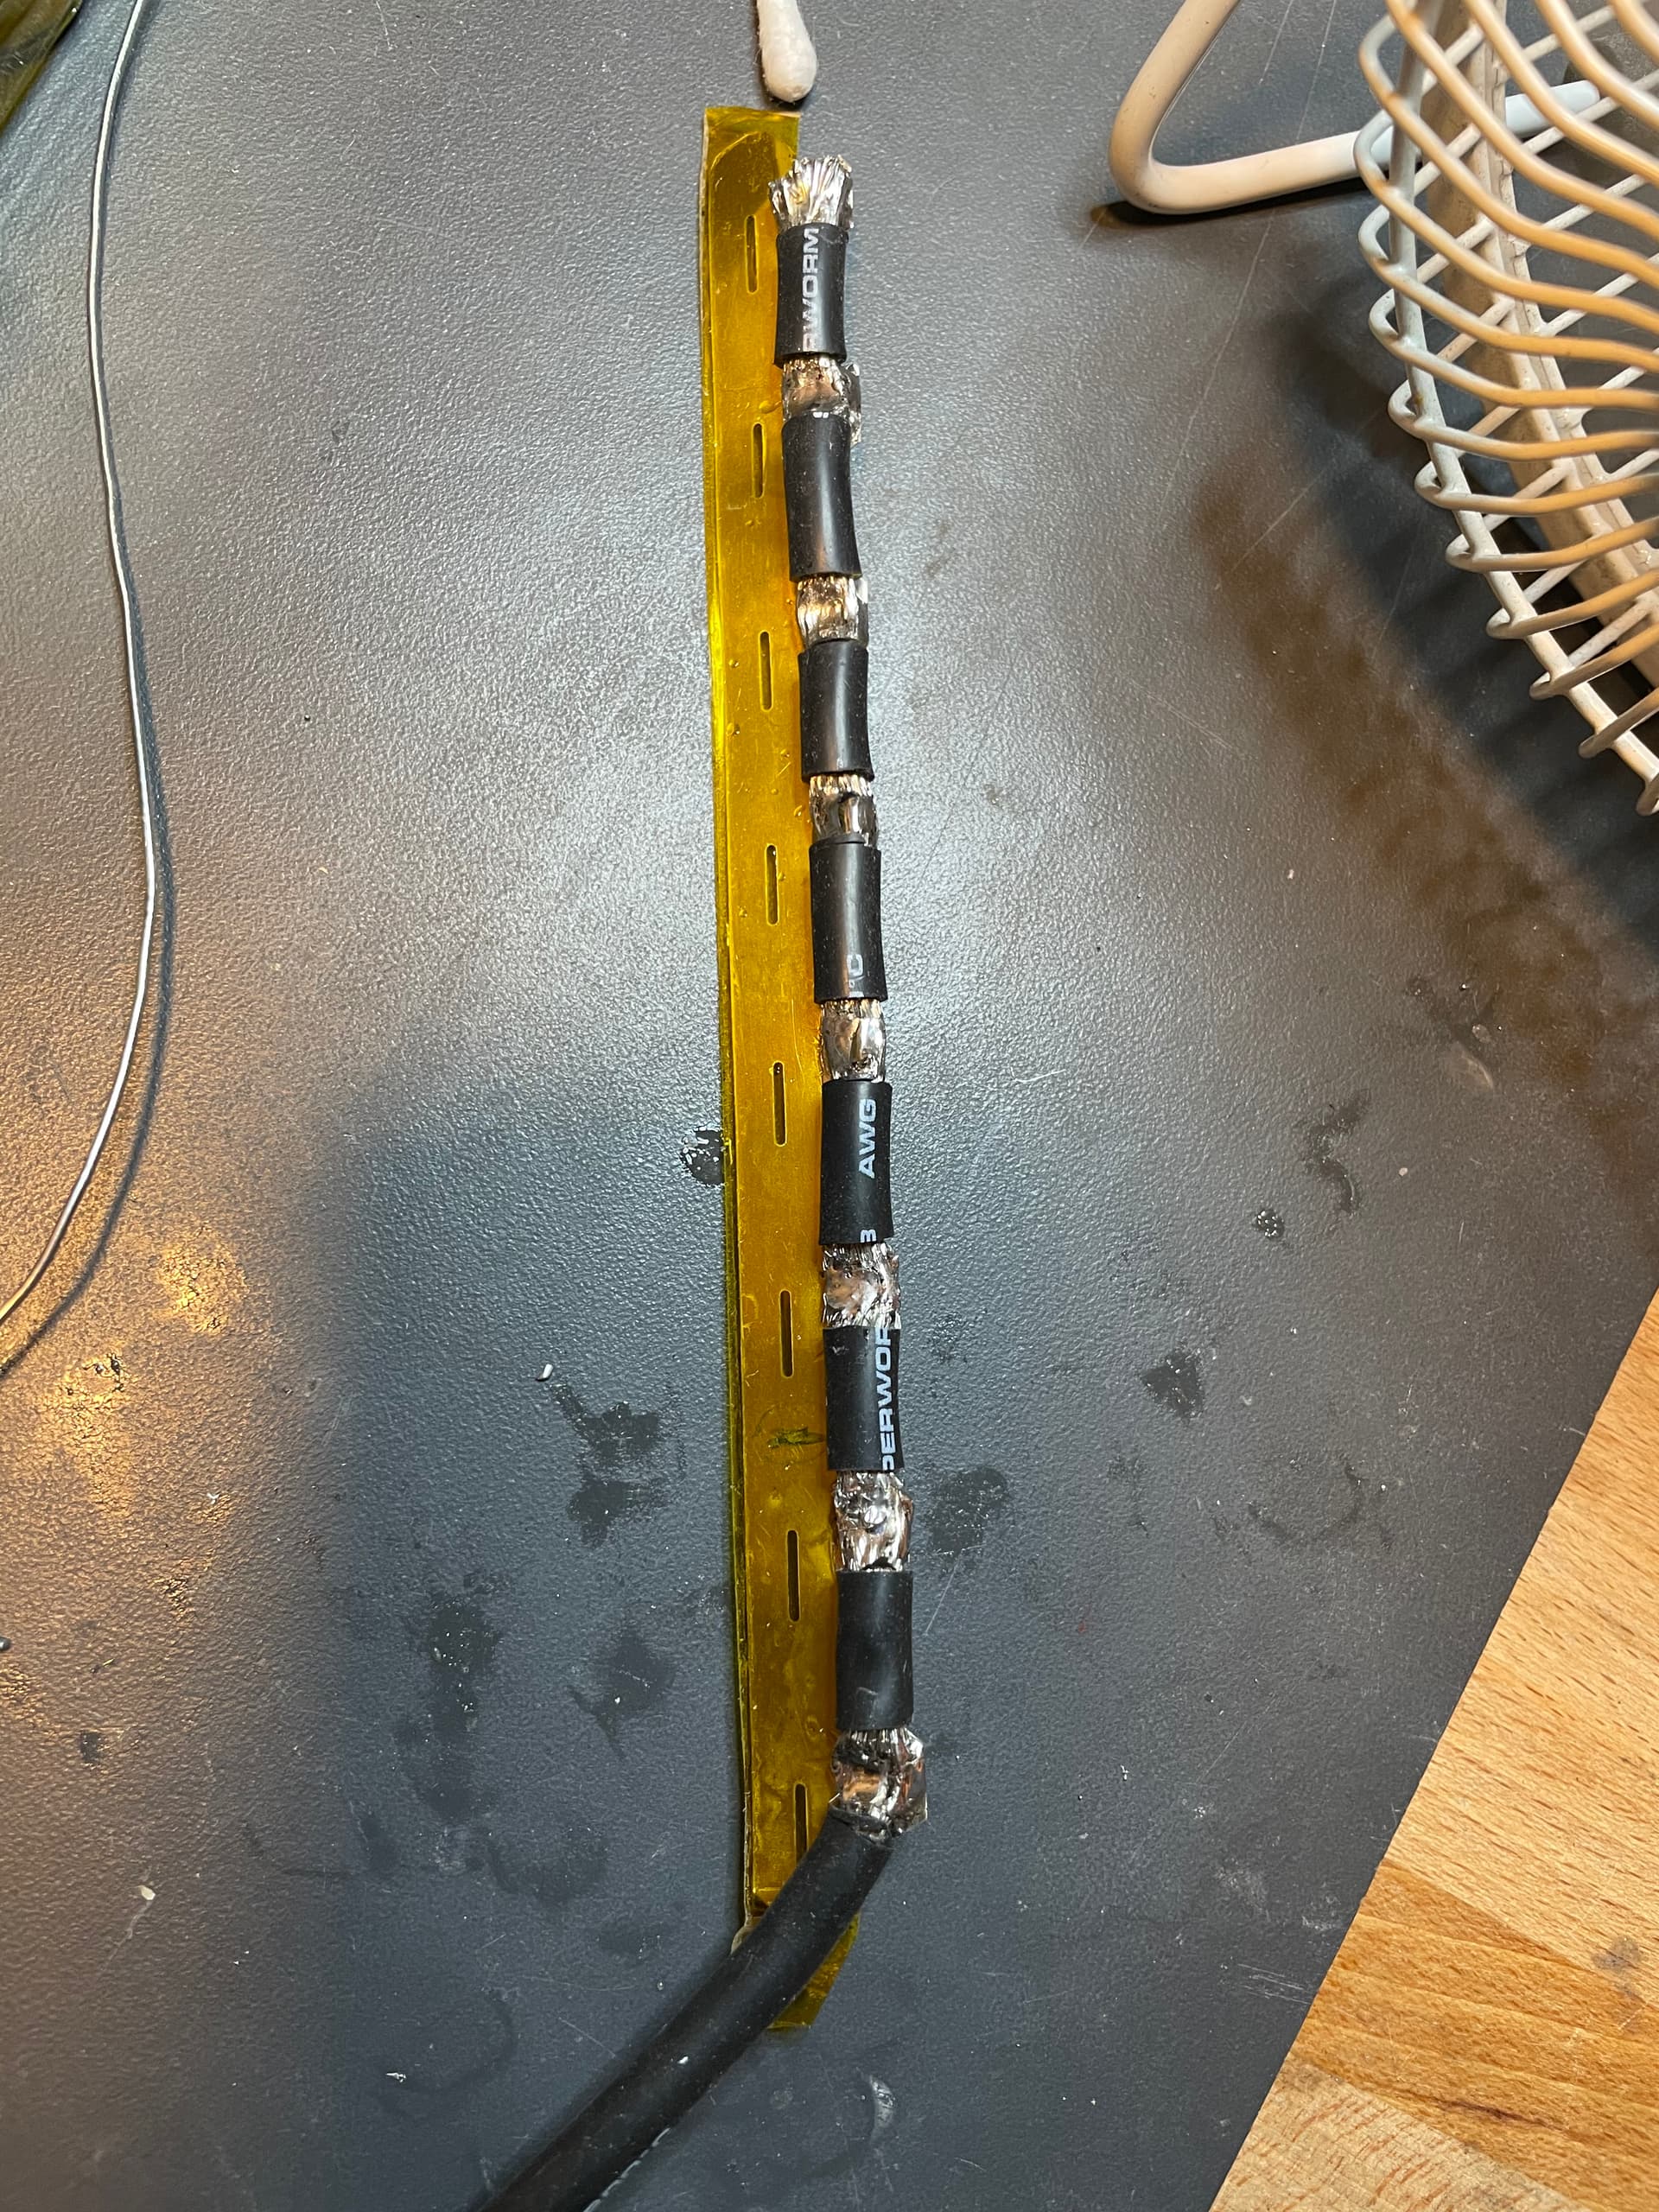
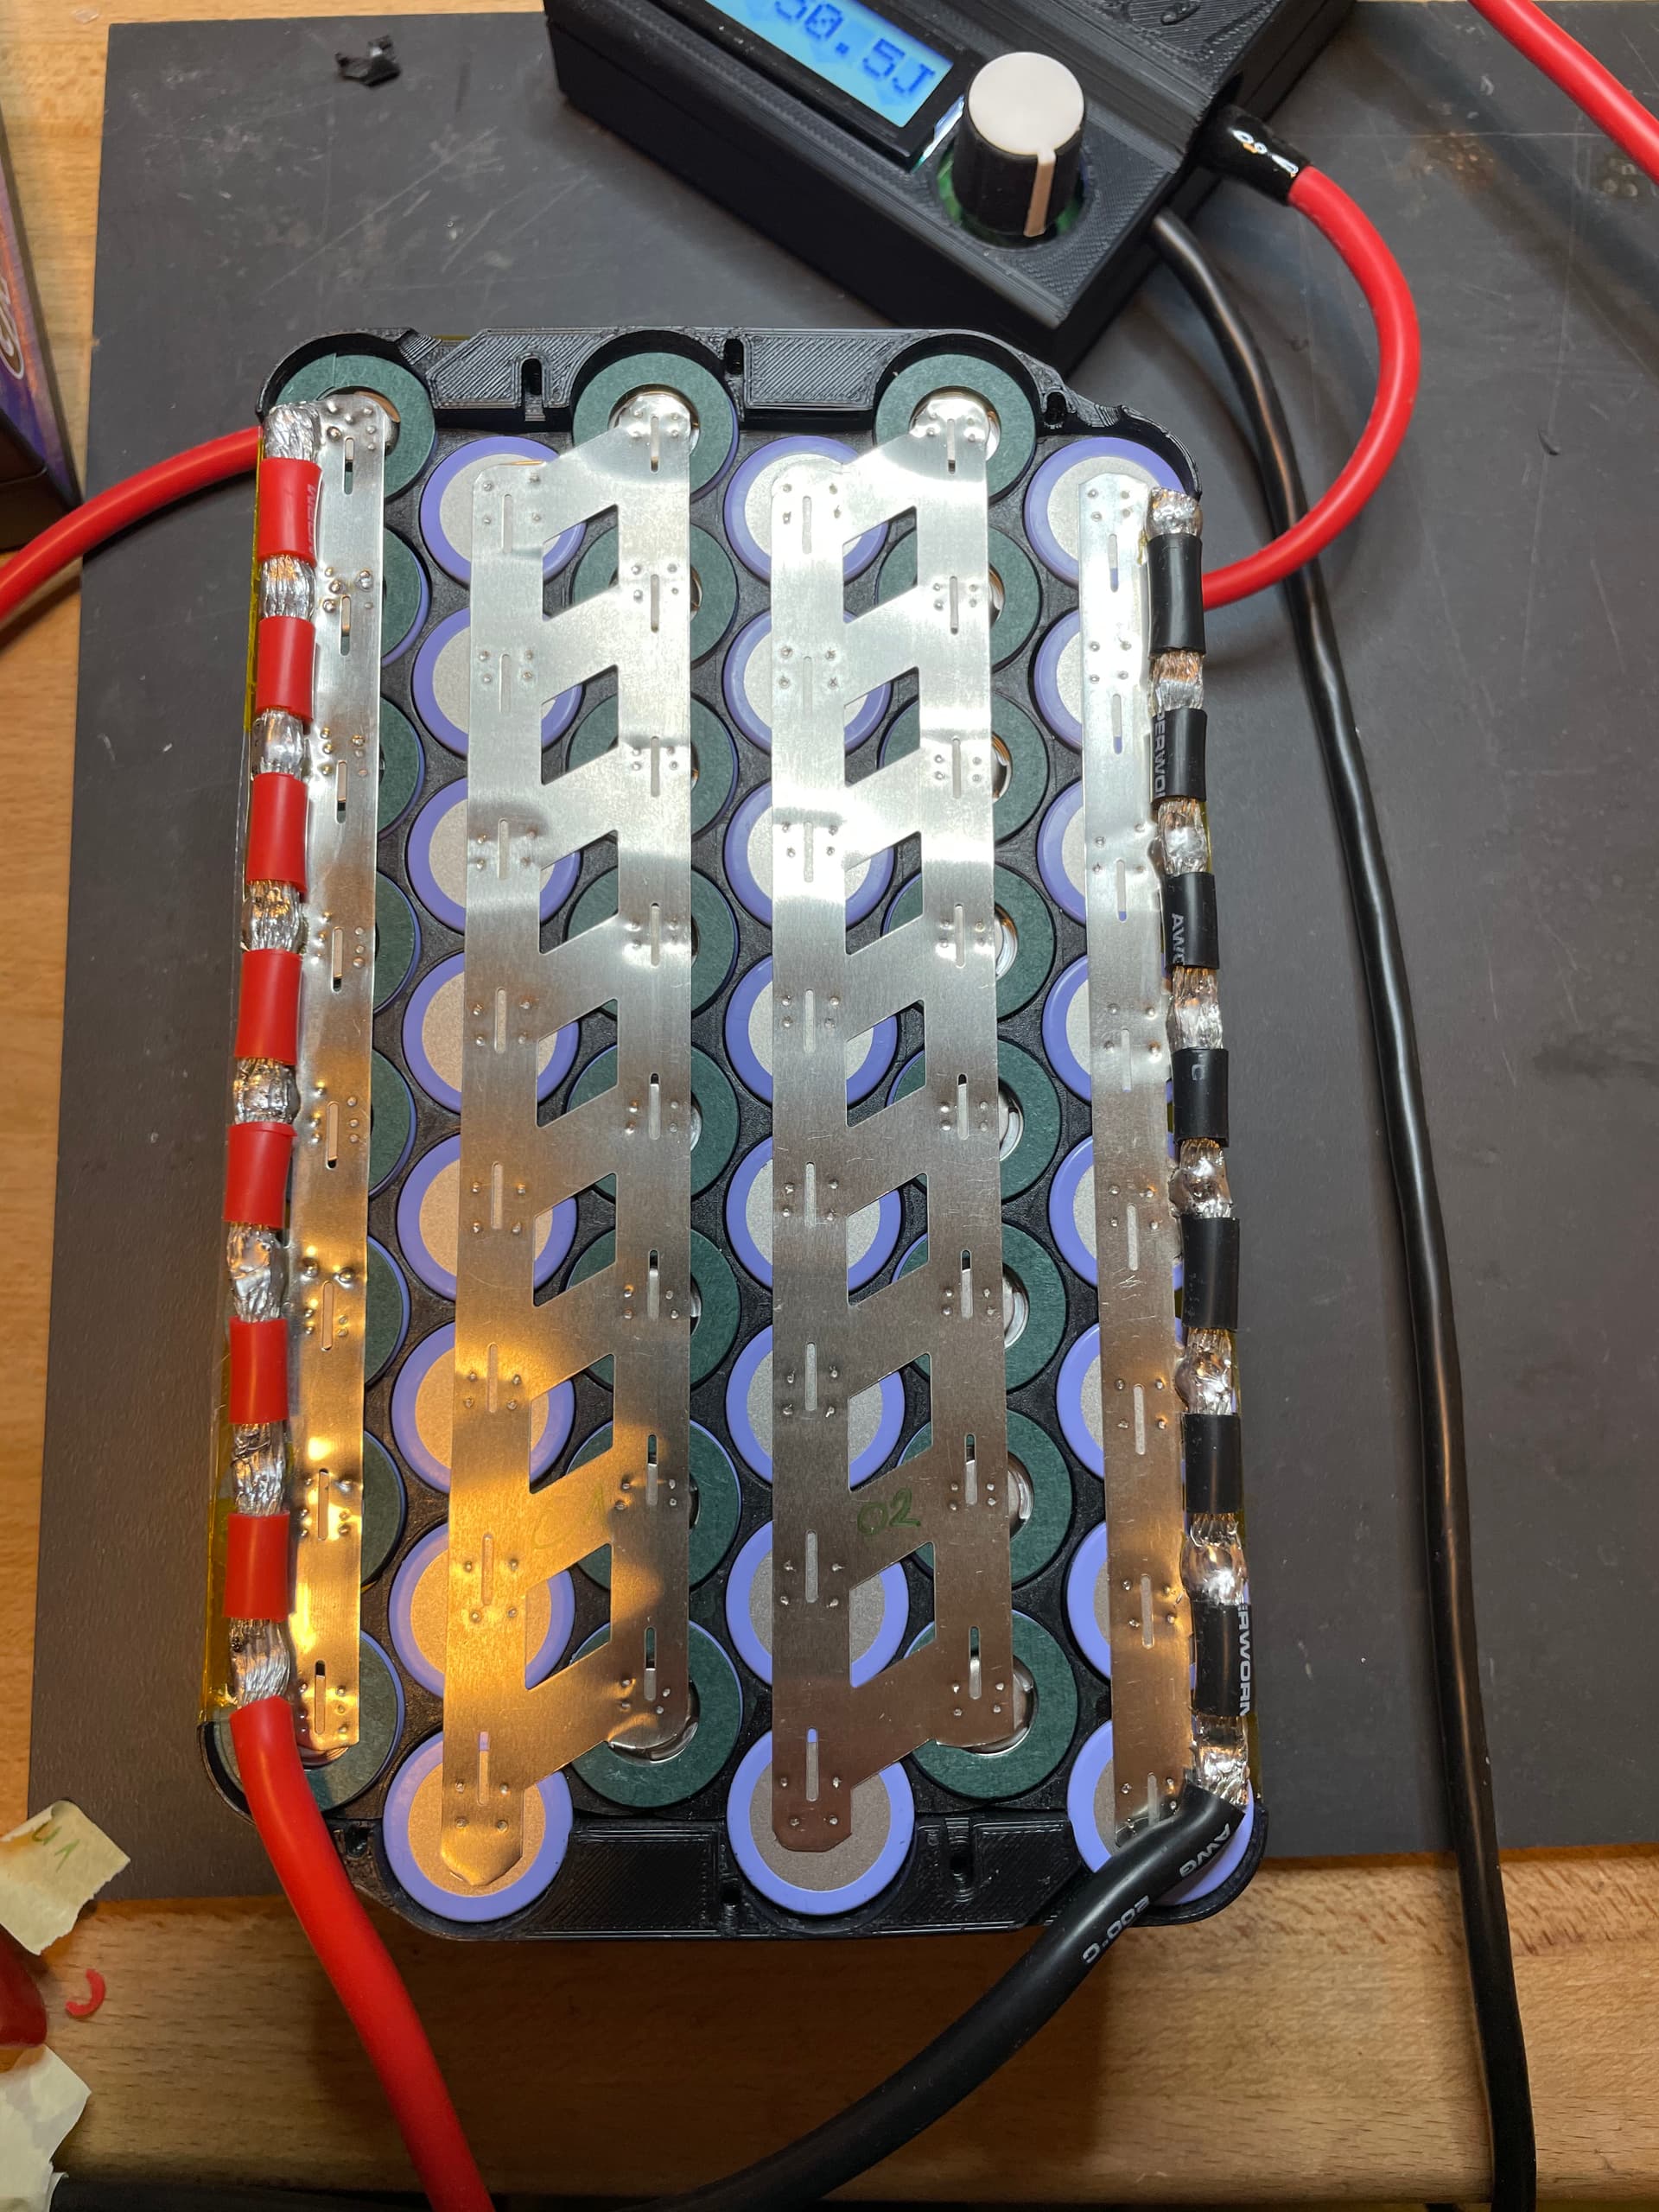
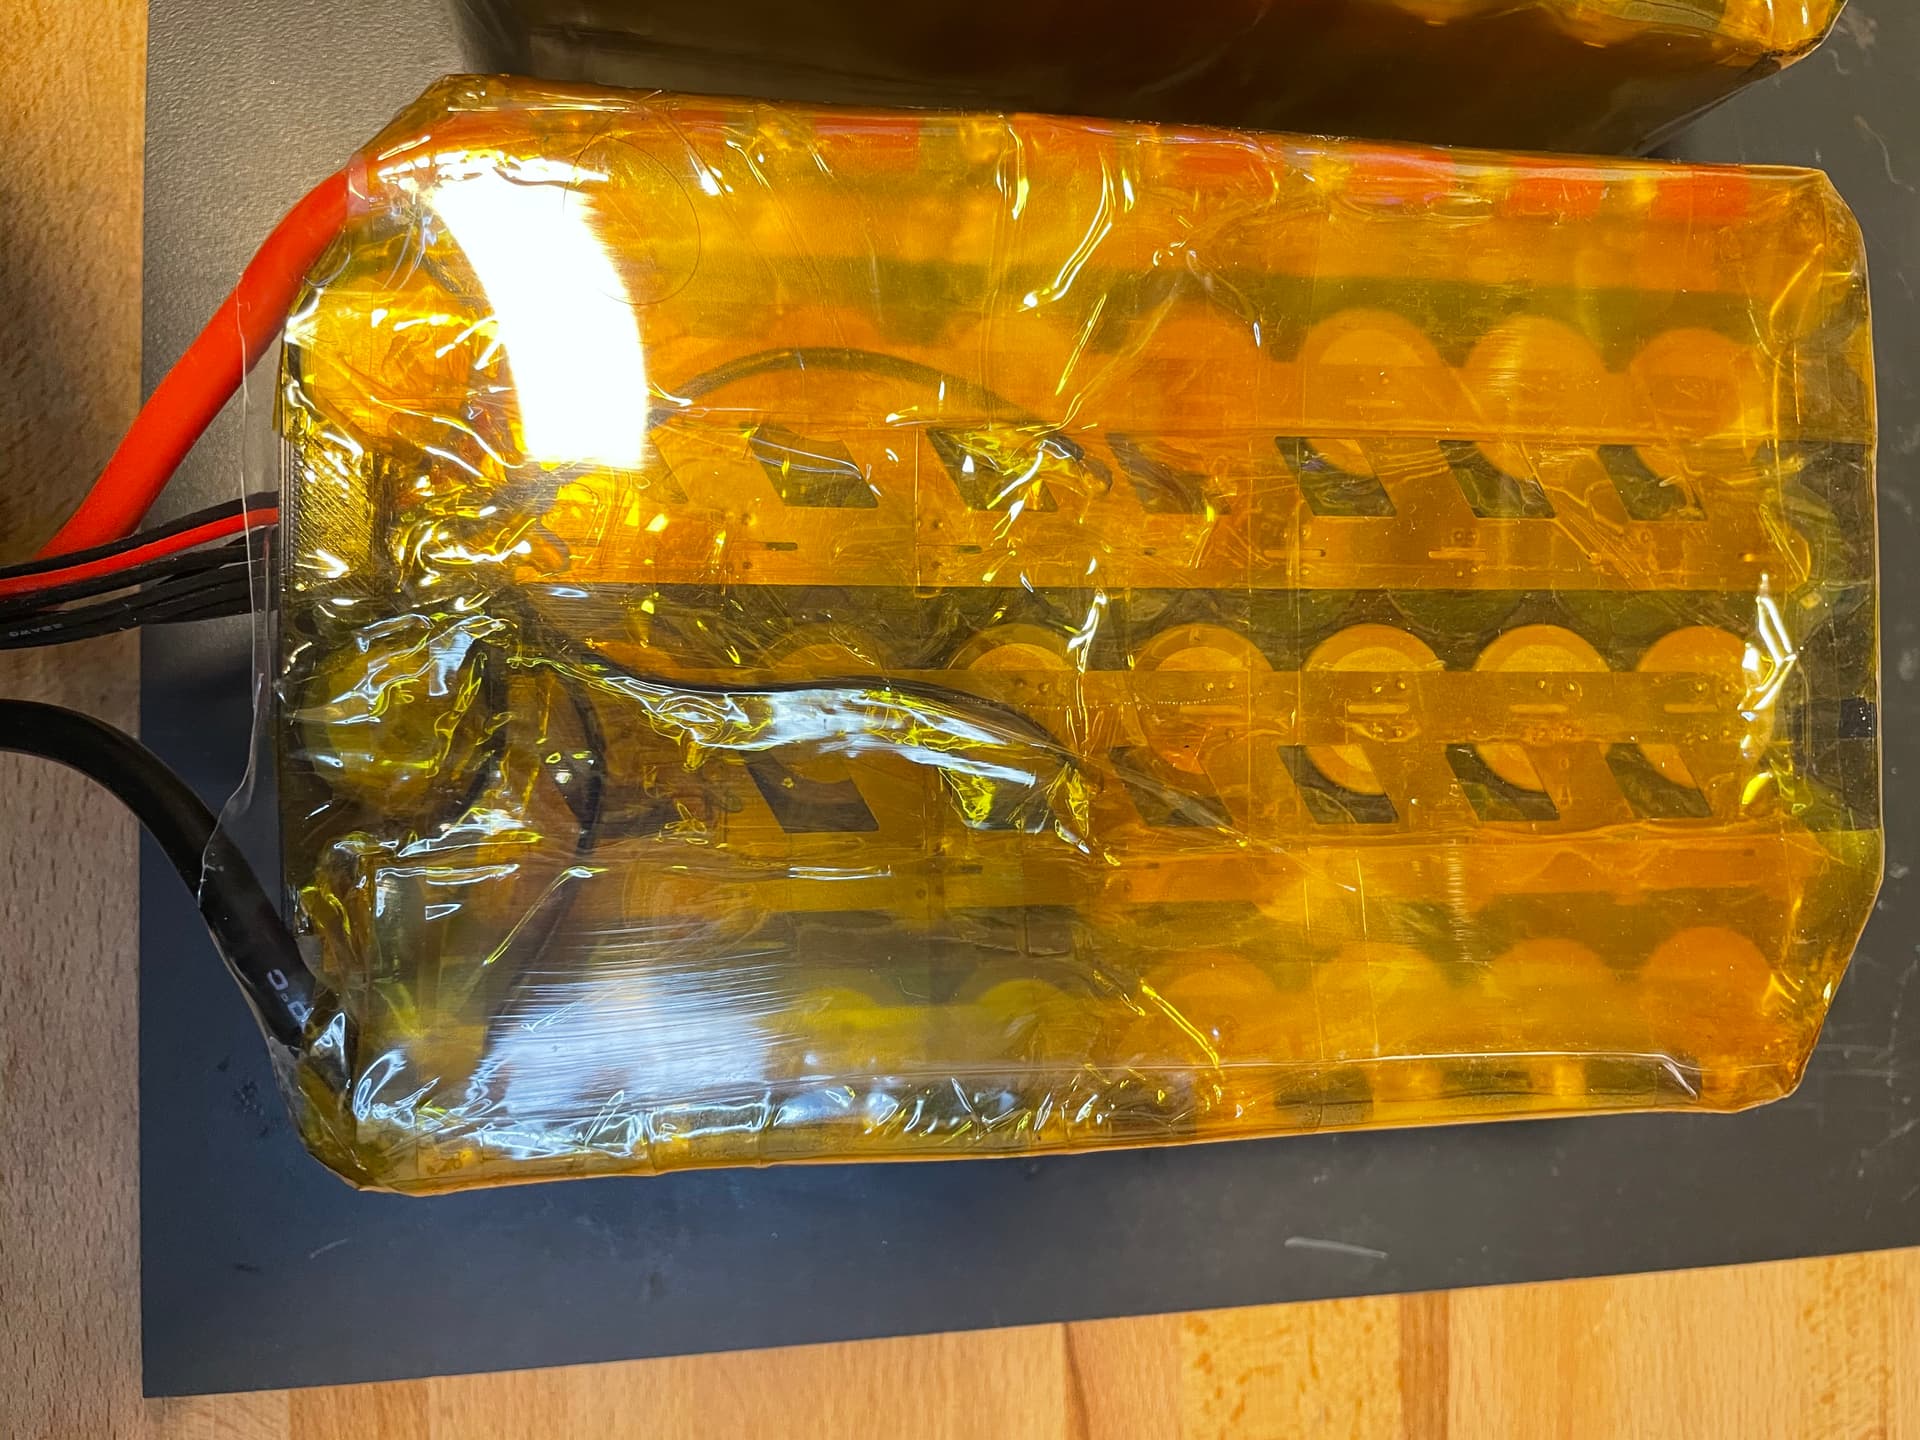
New battery Pack
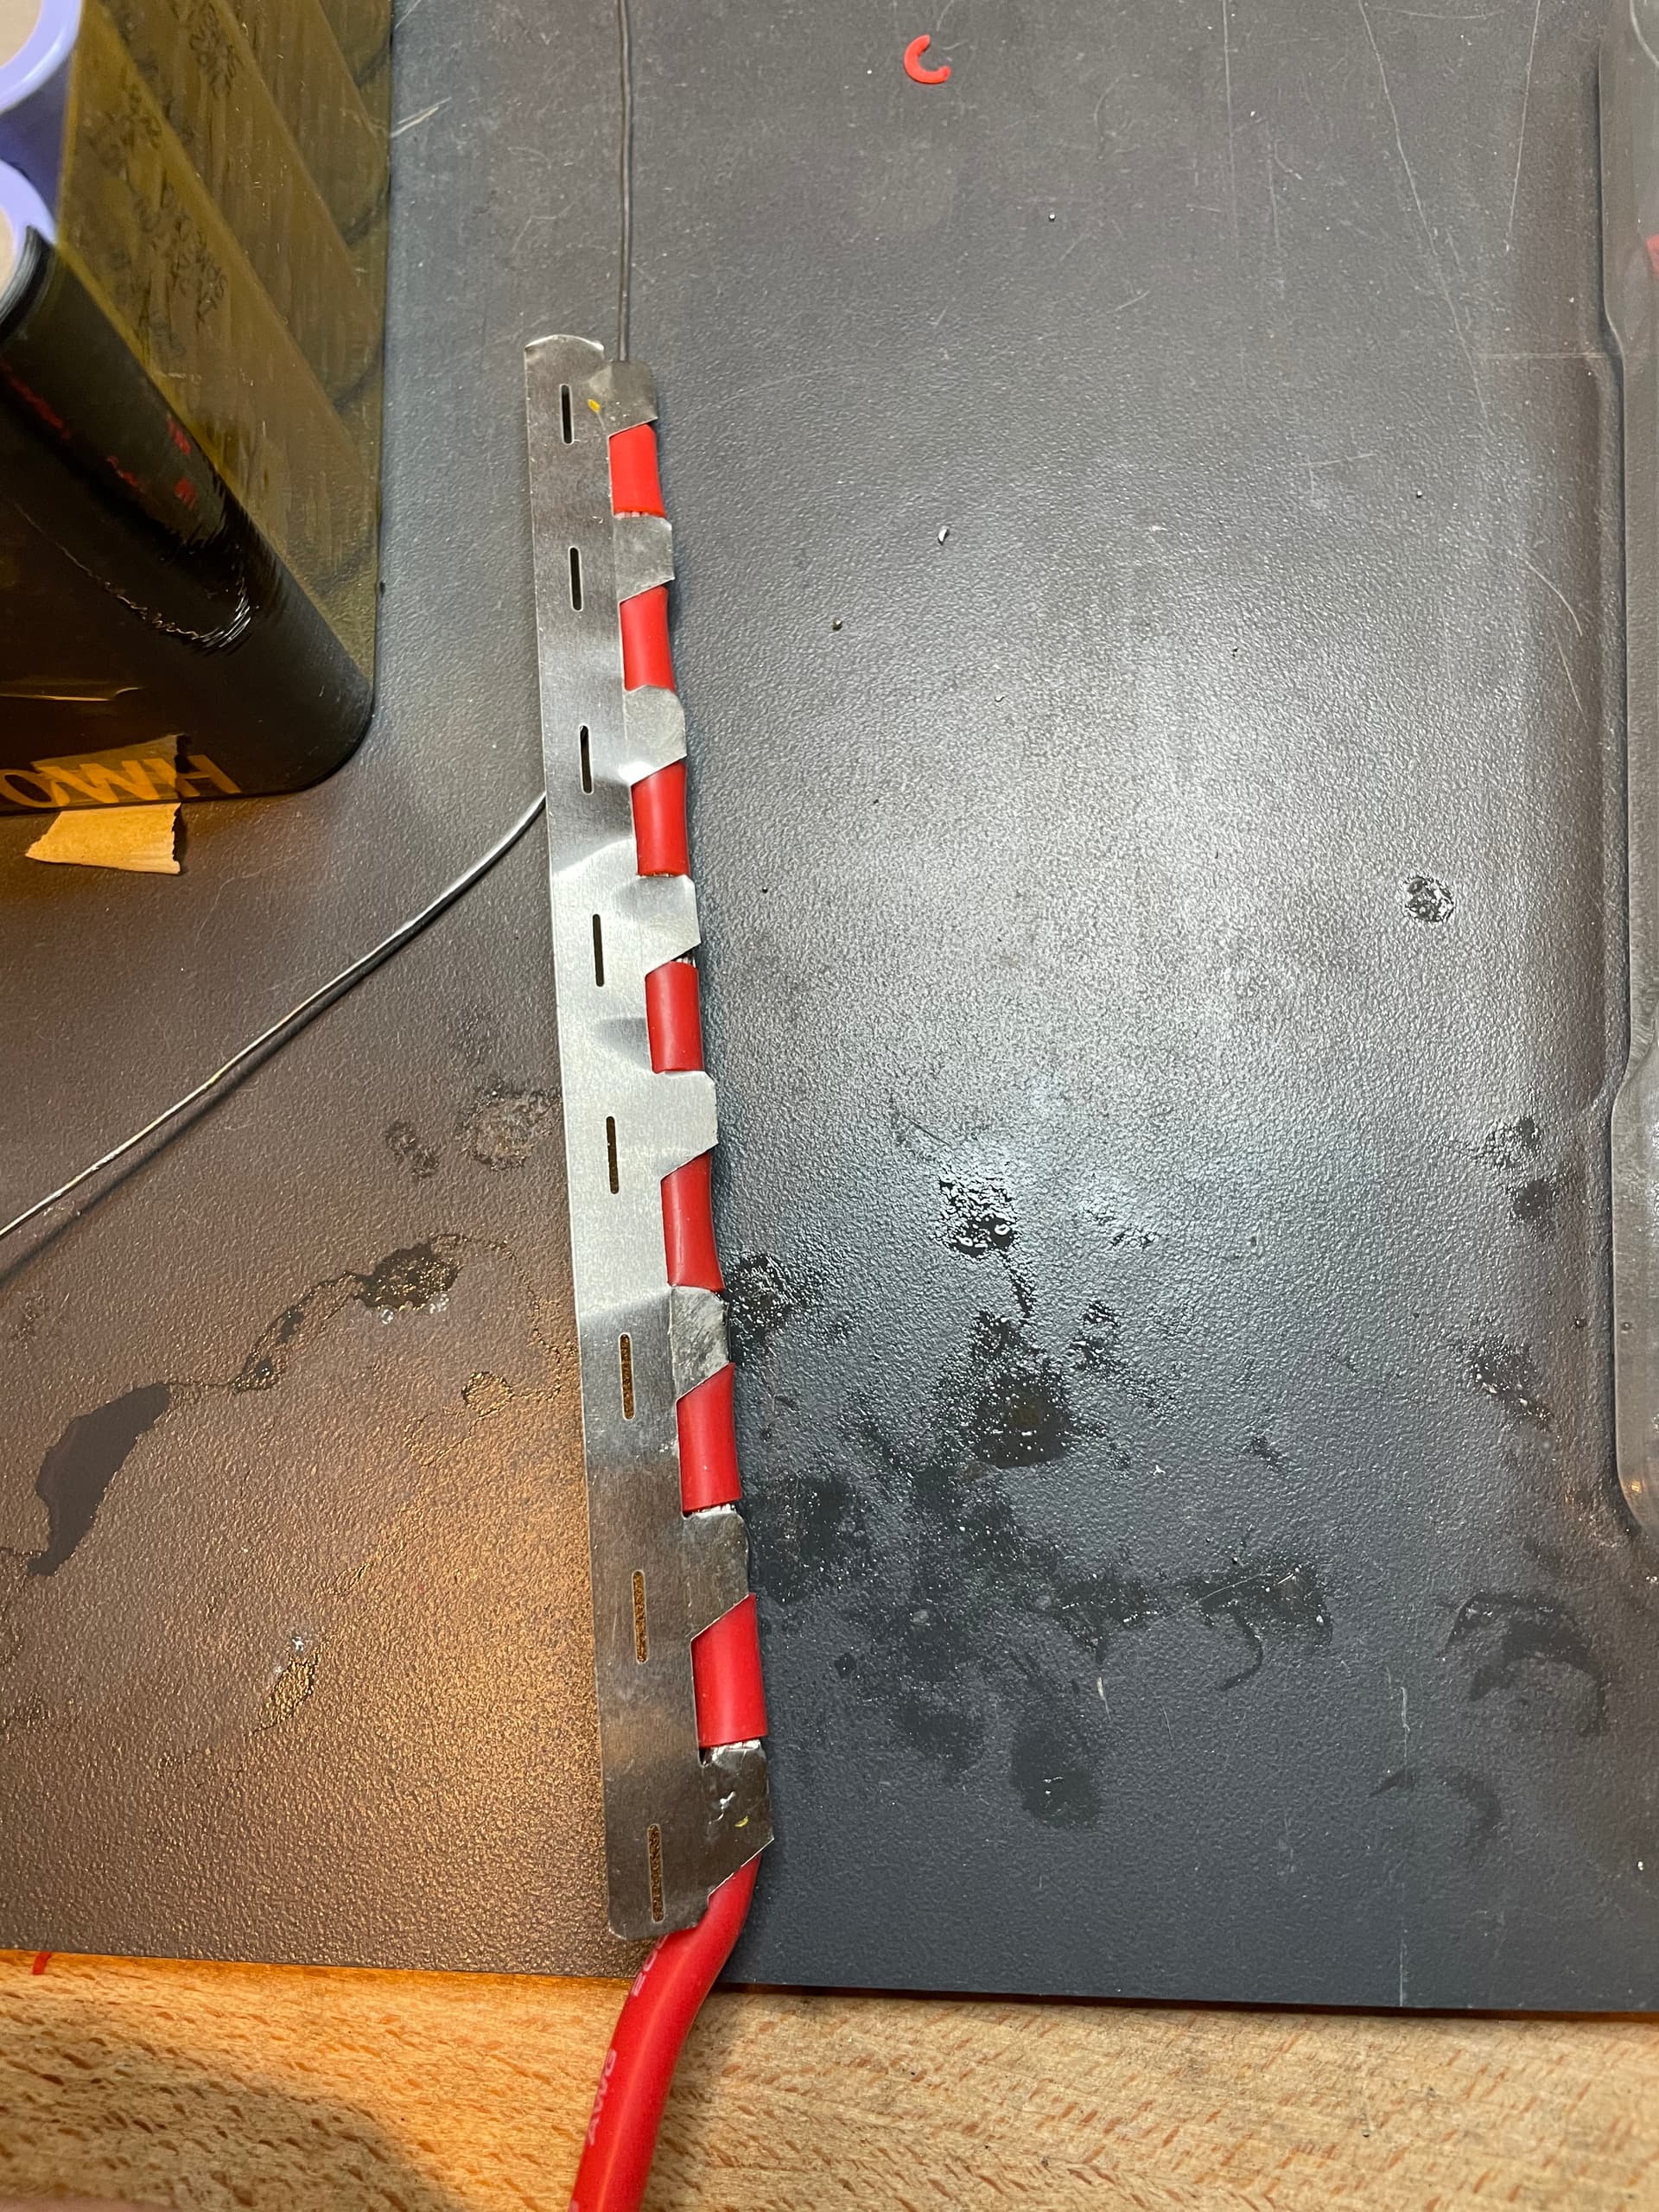
Buit a new pair of batteries from Samsung 21700 40T. They were available for a good price from nkon. I built them like the first ones, apart from the main wire connection to the nickel strip. This time I soldered them to the nickel before spotwelding. This way the cells do not absorb heat from soldering which could damage them. Tested them once, they work great. Capacity is slightly lower than the molicel p42A pack but that’s justified by the lower price of the cells.

11 Likes
Hi
Your pack looks great, thanks for the heads up on Nkon samsung 40T cells, I was looking for some Molicel p42 but these will work out cheaper at 4.10 euro per cell. Hopefully they won’t sting me for import tax to the UK.
1 Like
Got them from ru.nkon.nl, the shop for non EU customers:
https://ru.nkon.nl/samsung-inr21700-40t-4000mah-30a.html
3€ without tax
Thanks for the info, I’ll email them and check which site I should use. I’ll have to pay import tax when they come into the UK still.