During my stationary pool tests I also had to go deep into the water with my motorpod. Approx. 30cm from the tip of the propeller to the water surface.
At high speeds and less distance from the surface, you could see air being carried along the propeller.
I couldn’t tell anything about it during my first driving test. I think there is a difference whether stationary or while driving.
If it’s an outrunner motor then the cavitation might come from the inside of the motor. I’ve had this and it killed my motor. Efoil depth of motor position.
Interesting, thank you, and yes it’s a 6384. I haven’t potted the stator and rotor, so could it be that the extra ‘space’ inside is causing the cavitation? did you find a solution or just not running it as an efoil ever?
Would be great if you setup such list.
I am building assist btw.
I’ve had several outrunners, happened to all of them to some extent depending on riding conditions but the best one was smoothed stator and rotor, streamlined rotor bell and streamlined cap covering the coils at the stator ends. That motor burned eventually but i ran too high motor current, i think it would’ve survived otherwise.
Other people seem to get by without all the smoothing so i’m not sure about the root causes. As cavitation is caused by pressure drop it might be that you need more water intake at the front of the motor than i had, but this is speculation.
I run a 63100 on an efoil for 3 years without problems. I covered the slots at the end of the bell. In the beginning, I only coated stator and rotor with epoxy, I did not fill the slots between the magnets. When I serviced the motor last time, I filled them with a mixture of thickened epoxy and glass bolloons. I didn‘t notice a difference before nd after filling the slots.
See here
I tried a 65161 high on the mast, and got similar cavitation/bubbles. I think it is due to the proximity of the surface.
Both 65161 and 6384 down on efoil position run well and smooth btw
After the Foil.Zone server backup, some replies from me are gone. But no problem.
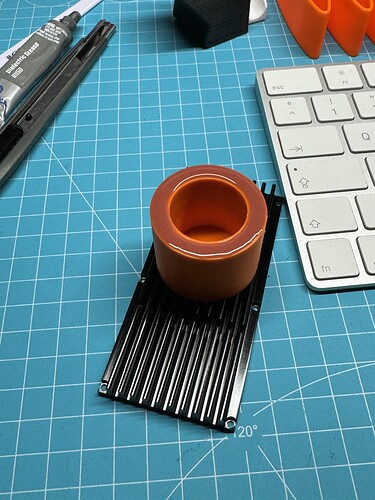
For my connector I cast silicone grommets using a negative 3D mold. To protect my board deck.
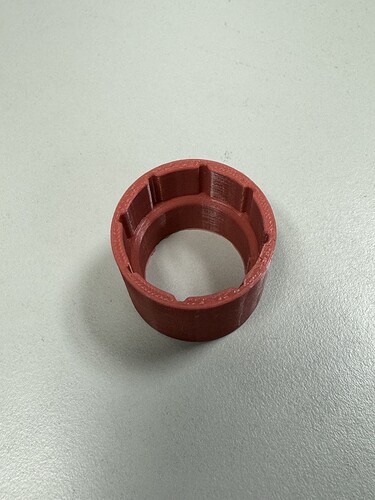
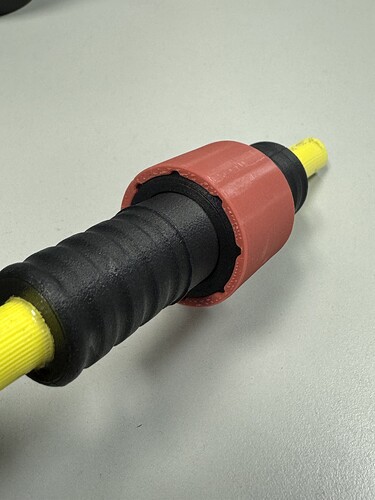
Printed the male couple times and not able to separate the nut.
Any special printing setting?
Also why did you have to create it in one model, wouldn’t it be better if the nut was seperate model
Not sure if this helps, but I’ve printed quite a few in both my Prusa and Bambu labs printers. No special settings, .2mm layers. I have found it easier to turn the nut on the build plate first and break it free before I pull the rest off.
I personally like it being printed together. The nut stays right there where you want it.
@Tamiroquai
The connector is printed together with the nut. This means that the groove cannot slip backwards later and it is always in the right place. I didn’t notice any problems with printing. If you would like the mother separately, write me a message.
@Jesserosco
Exactly as you described it.
The cable is 3x2.5mm2? Is that large enough for your current?
From the box to the plug I go with 3x4.
Then we continue with 3x2.5.
Completely sufficient for an assist.
FoilDrive also has 3x2.5
Any known DIY designs for a stiff flat cable or busbars outside the mast for reduced drag and less tape?
Did you cast epoxy while its sitting on the bottom part in the pic?
Did anyone create an F-one alu mast adaptor?
I cast them just as they sit in the picture. @hangloose has a good description of the process earlier in this post.
@hangloose
Thanks i made it!!! Your work is amazing man.
Also working on f-one adaptor with the inspiration of yours. Will publish it once i print and make sure it fits.
2 questions
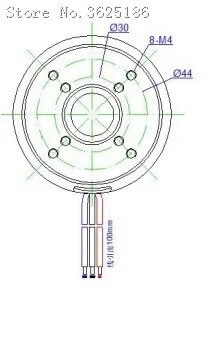
- What is the holes size and location i need to make for the motor screws
- When you sealing the stator did you remove the bottom cover or did you cast the epoxy with it
Thank you.
On my first motor I removed the stator from the stator plate to solder on larger cables.
But I cast it with a stator plate.
For the second motor I didn’t remove the stator plate and cast it straight away.
I would do it again at any time because it is much easier.

I still didn’t get my motor, and I am trying to understand how to connect the prop to the motor, I have a 3d model for folding 3 props but it has 4 holes for connection, I was expecting shaft hole.
can you guys show me what you use as adaptor from the shaft?


