Small status:
I decided to do the electronics before the battery. I sealed the display and receiver with epoxy. Then I inserted the parts into my panel!
Batterie Kapazität Anzeige 12V -… https://www.amazon.de/dp/B08TMDT1CB?ref=ppx_pop_mob_ap_share
Small status:
I decided to do the electronics before the battery. I sealed the display and receiver with epoxy. Then I inserted the parts into my panel!
Batterie Kapazität Anzeige 12V -… https://www.amazon.de/dp/B08TMDT1CB?ref=ppx_pop_mob_ap_share
it’s a masterclass !
My panel for RX und Display is now online:
https://www.printables.com/de/model/627012-flycolor-flydragon-150a-mount-for-foil-assist-box
Perfect build, no milimeter space wasted!
10S3P Build.
My 10S3P is finished!
I used 0.2mm pure nickel for the cell connections.
Now I can build the second battery 
Nice  very clean build.
What cable did you use for the motor?
Thx.
Philippi H07BQ-F 3x4 mm2
Top notch every time you post, amazing job!! Can you please show how you connected the main + & - 10AWG wires to the battery? Is it just soldered on the two ends of the parallel groups?
Thanks.
Unfortunately I didn’t take a picture of it.
As you write, on the first parallel ground bridge and positive bridge. First I soldered the cable to the nickel strip between two cells where there was space.
Then the nickel strip was welded on.
An excellent project. The only thing I would complain about is the very dim battery indicator. I tried a lot and finally settled on this one.
Yes, you’re right. The display isn’t really bright. Do you have a link to your display?
Unfortunately my indicator doesn’t work for 10s battery.
I have been planning that would I use bullet connectors, I would print like a dual socket, such that insertion will be possible only one way - red to red, black to black…
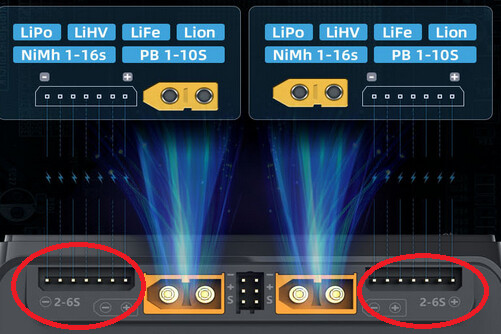
And for anyone searching for a cheap charger, two of M6D 500W $46 looks good.
Looks like you can charge up to two rows of 6s with this one (Dual charger), do you confirm ?

What a beautiful setup! You have set the bar high.
Yes, ofc, this is the intention, these two chargers together cheaper x2.5 than one 12s
Since I still had the Junsi X12 charger from my model building days, I will simply continue to use it.
The XT150 connection cannot come together. Unless you’re stuck in red on black. The XT150 plugs can be glued together to make it a pair.