Efoil V3 - STL files for Gong foil and Flipsky motor 12mm - Parts list - Schematics

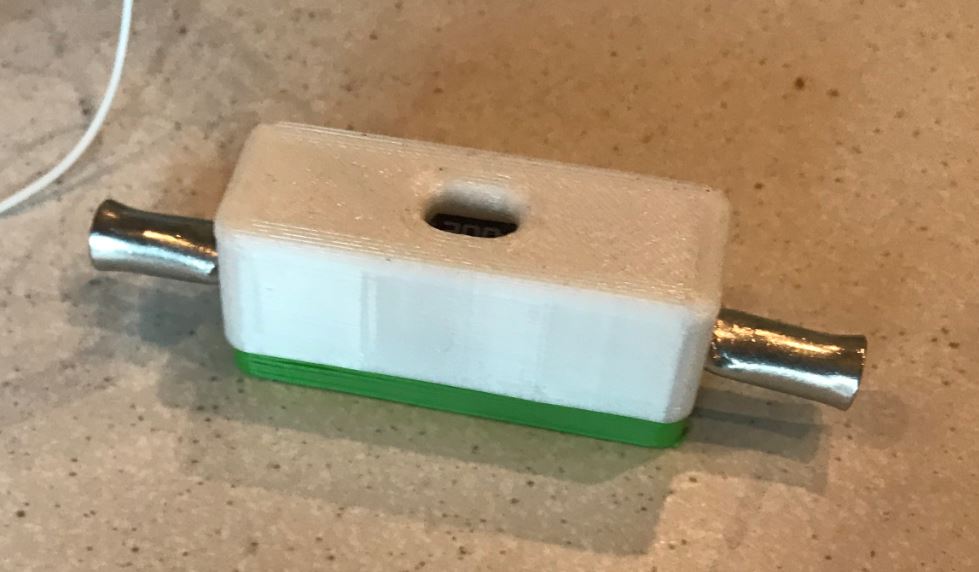
Looks good, however, the filament you are using is not appropriate for this kind of work I think.
There are specially made resins and filaments called “castable” which allows uniform melting of the part when Boiling alu of whatever is poured on top of it. Have you considered castable filament ?

Here is an exemple :

https://www.cubictech.com.au/products/esun-esmooth-polishable-3d-filament-1-75mm-0-5kg

2 Likes

thanks for the advice, I didn’t know this kind of filament
I found an other link

I will test it

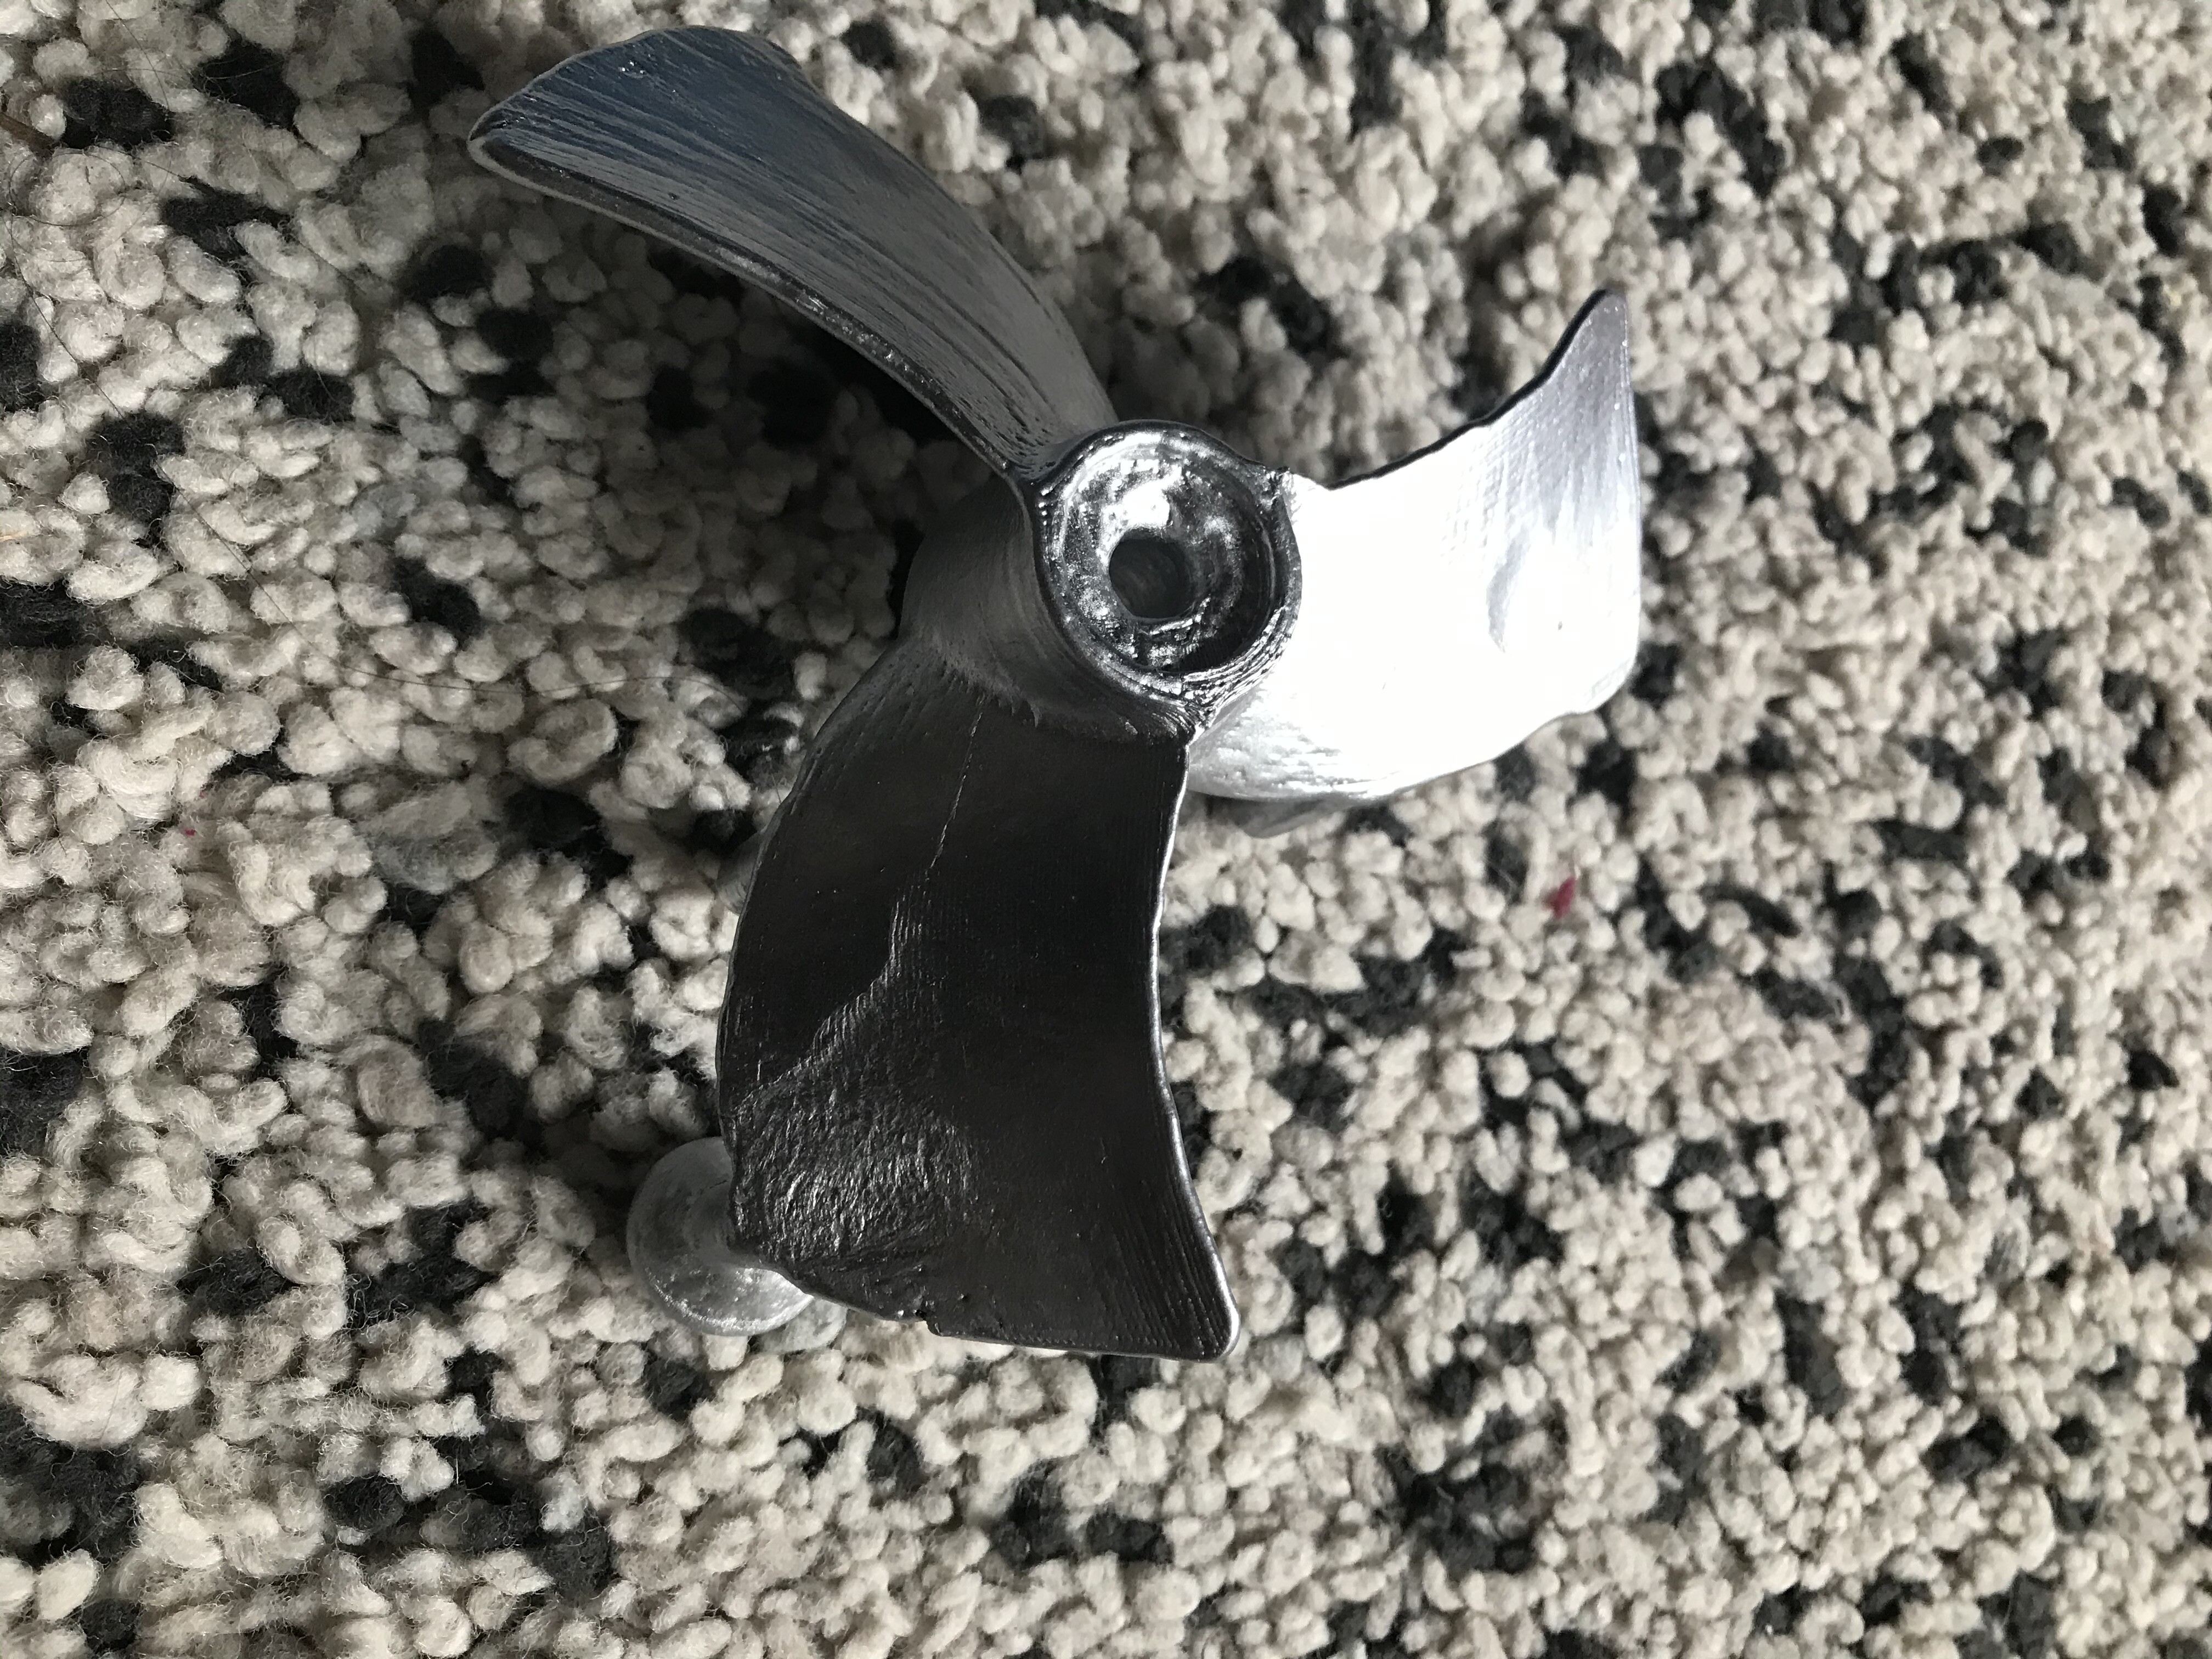
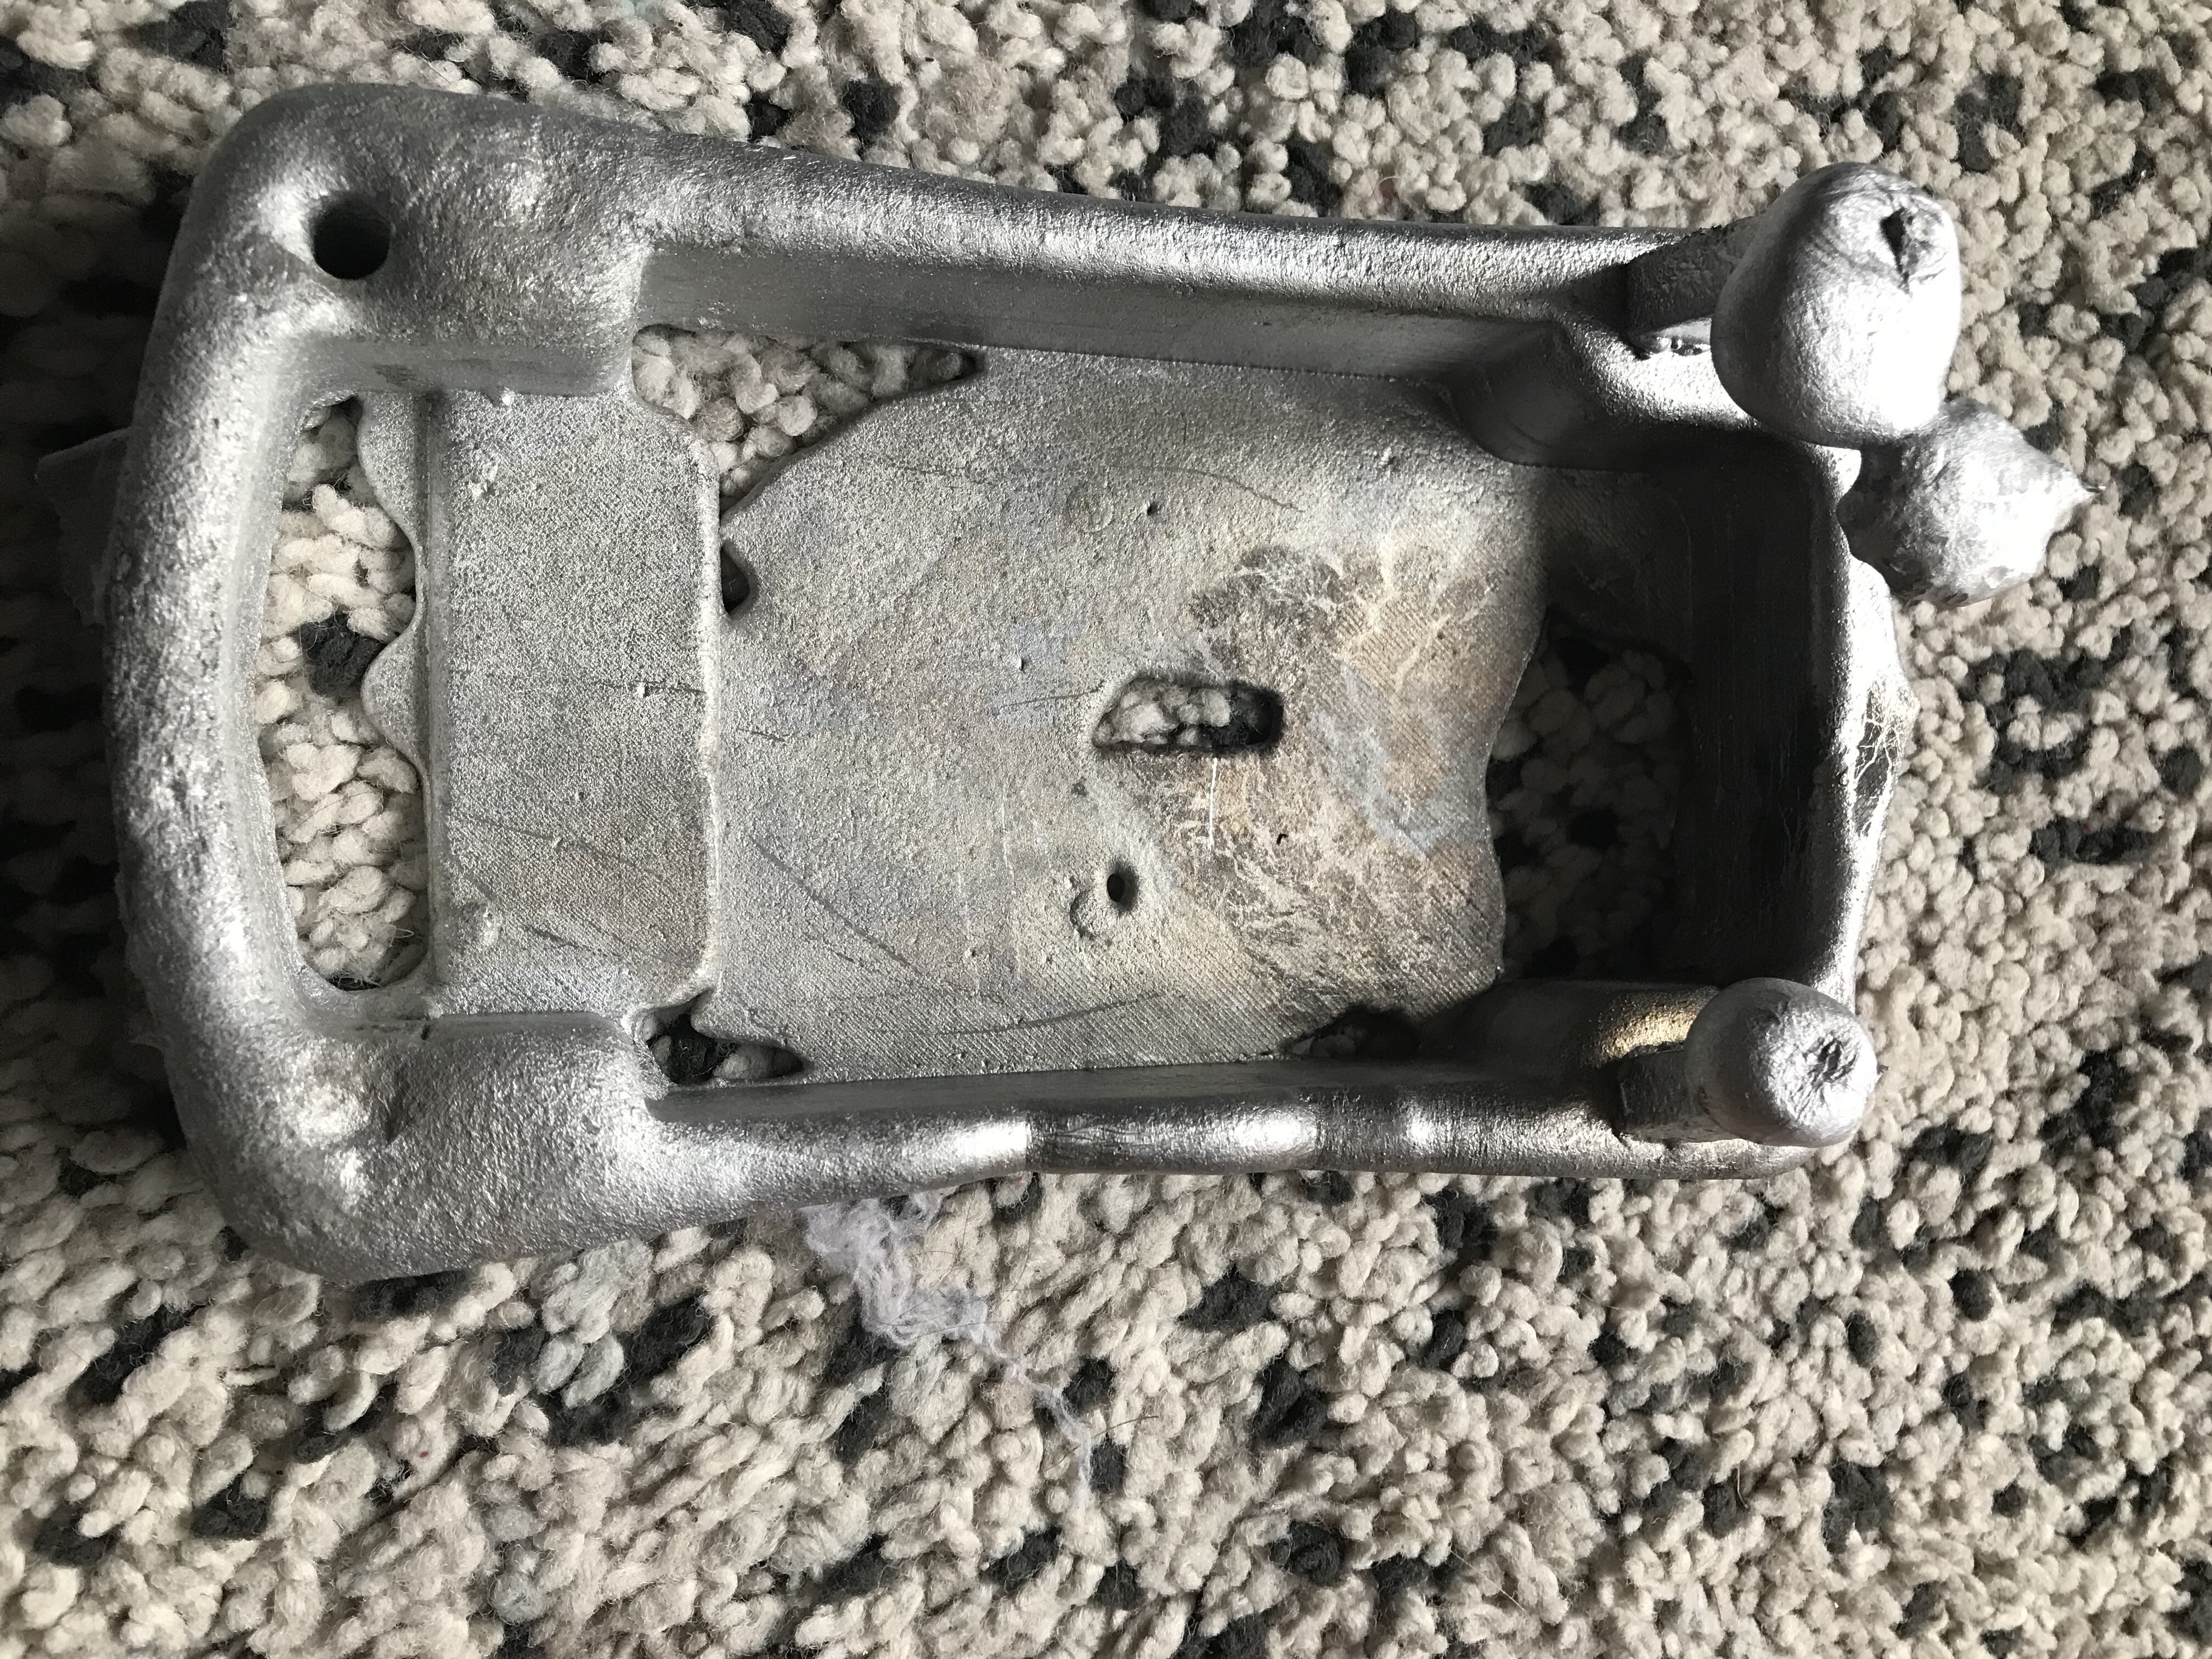
Oh, oh, oh ! No such result has been reached on this forum. Congratulations !
Looking forward to seeing the performance differences between the printed and the cast versions !

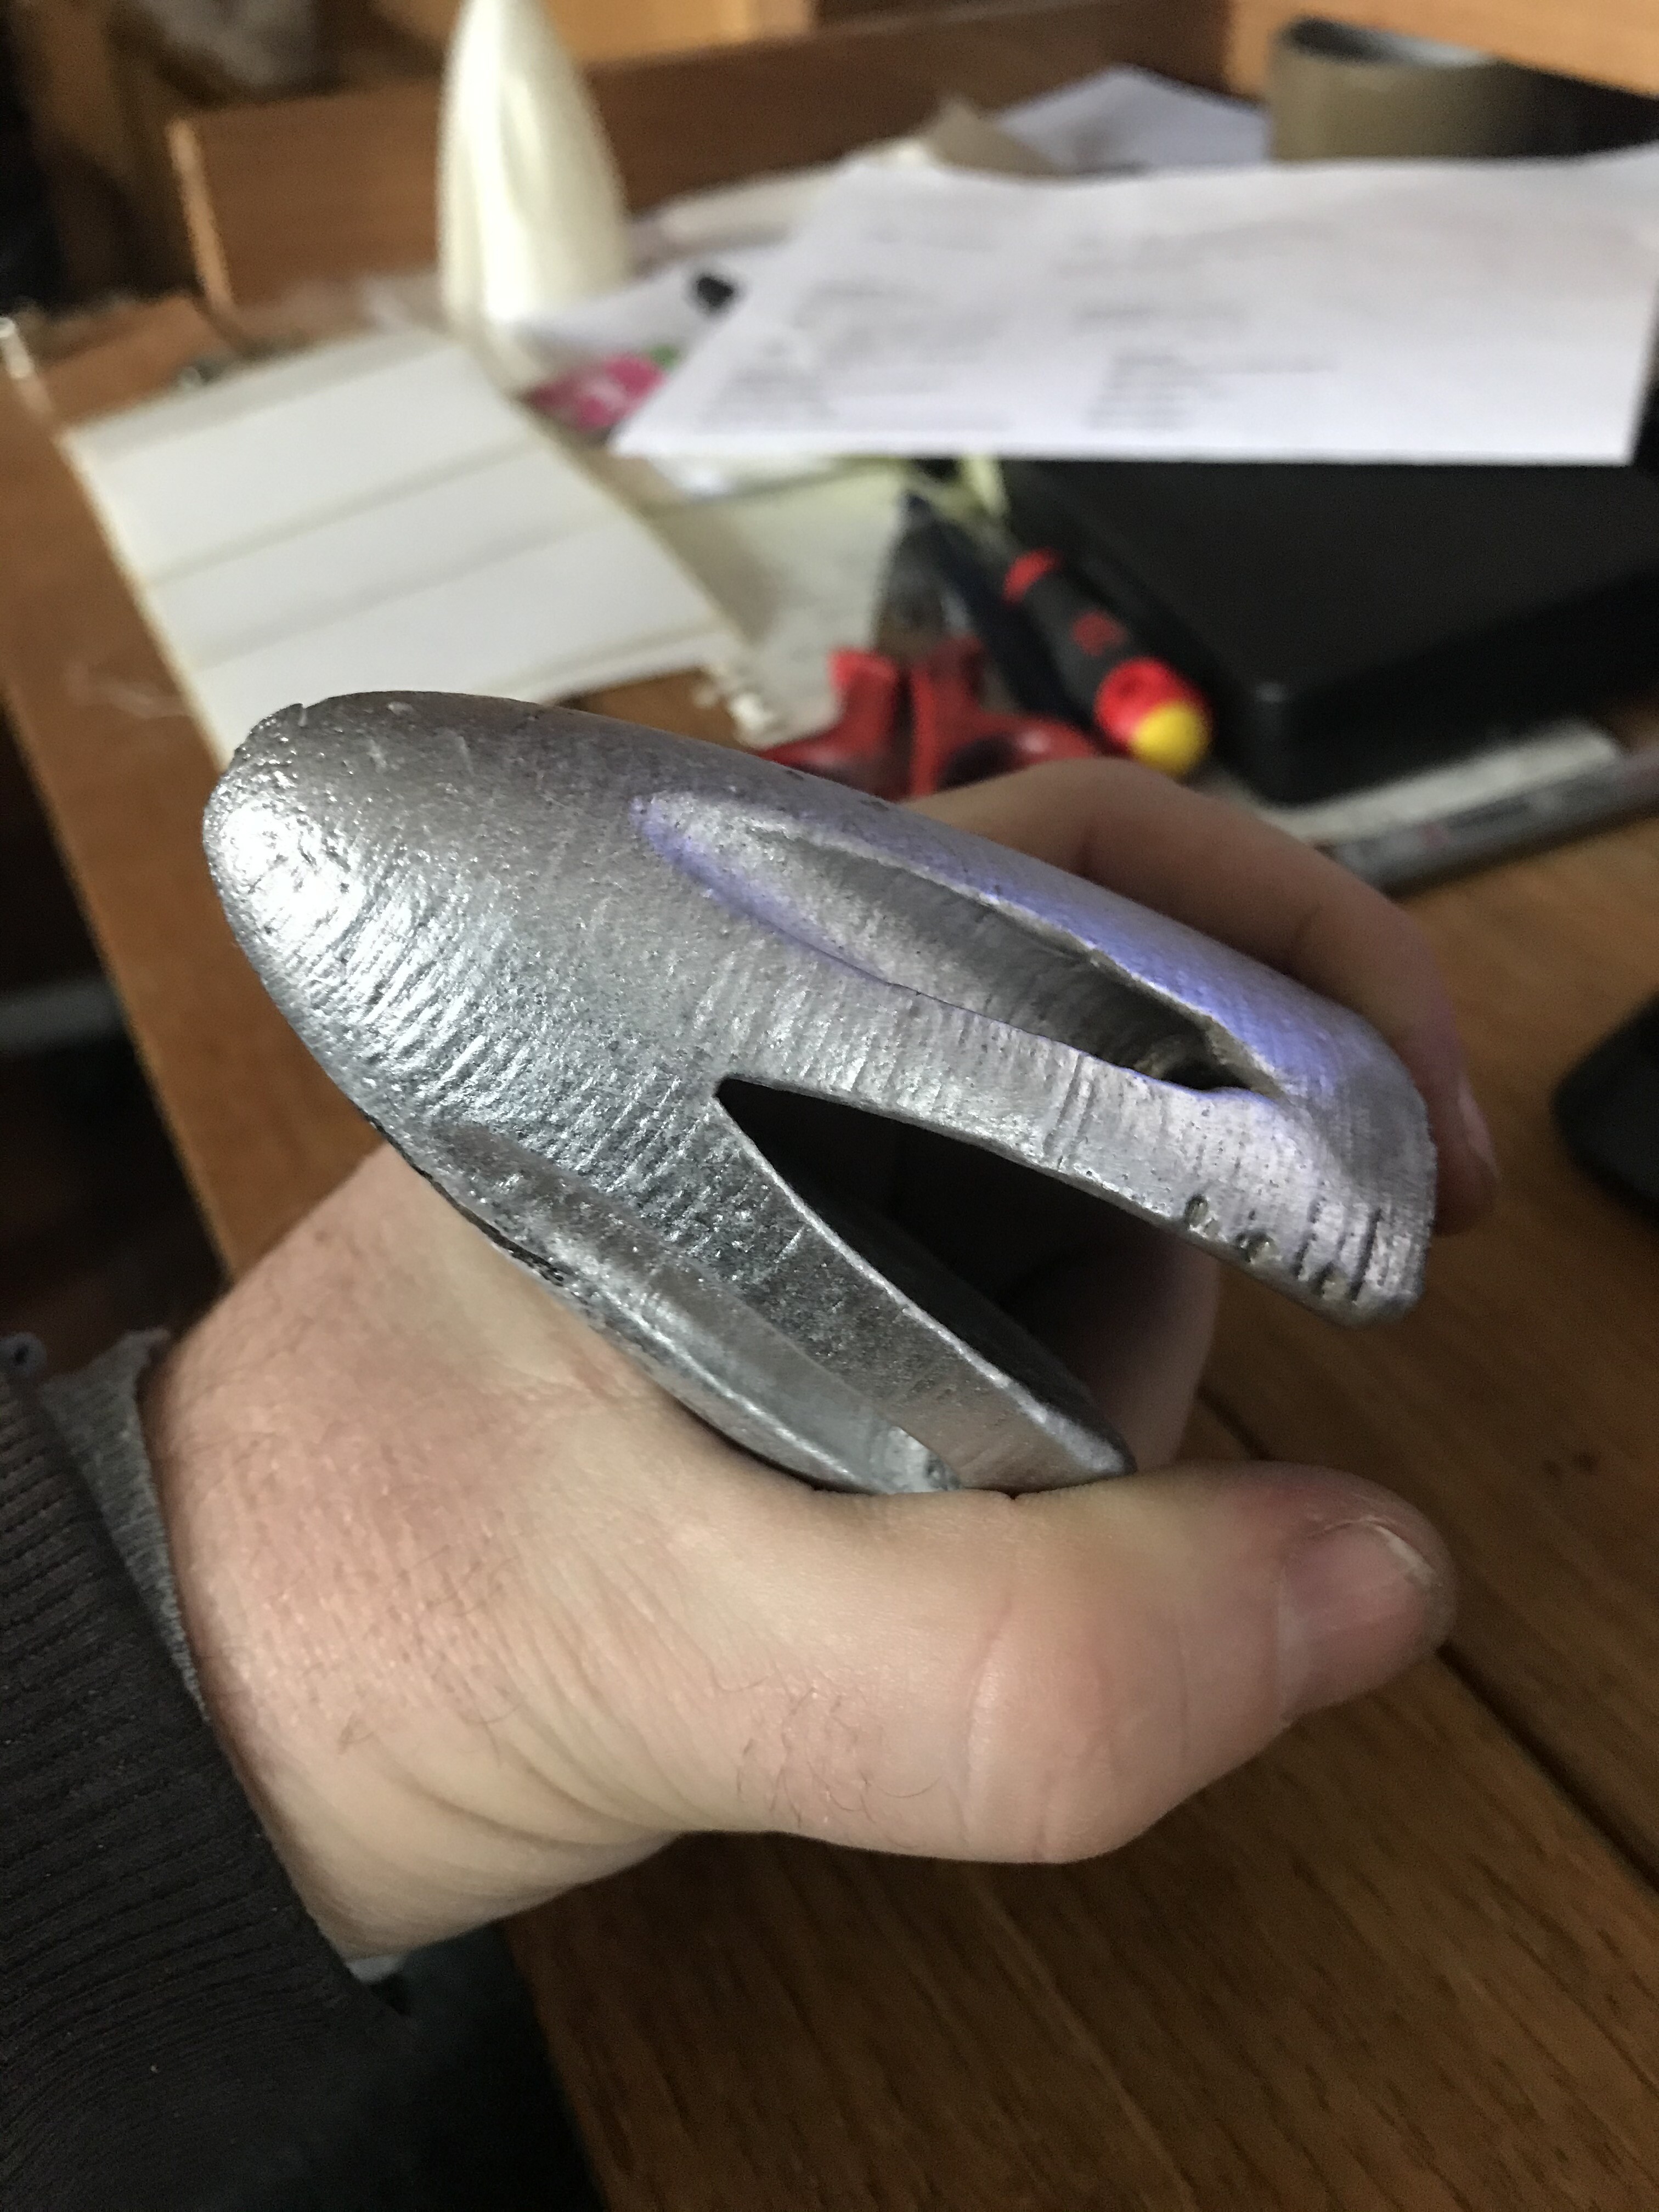
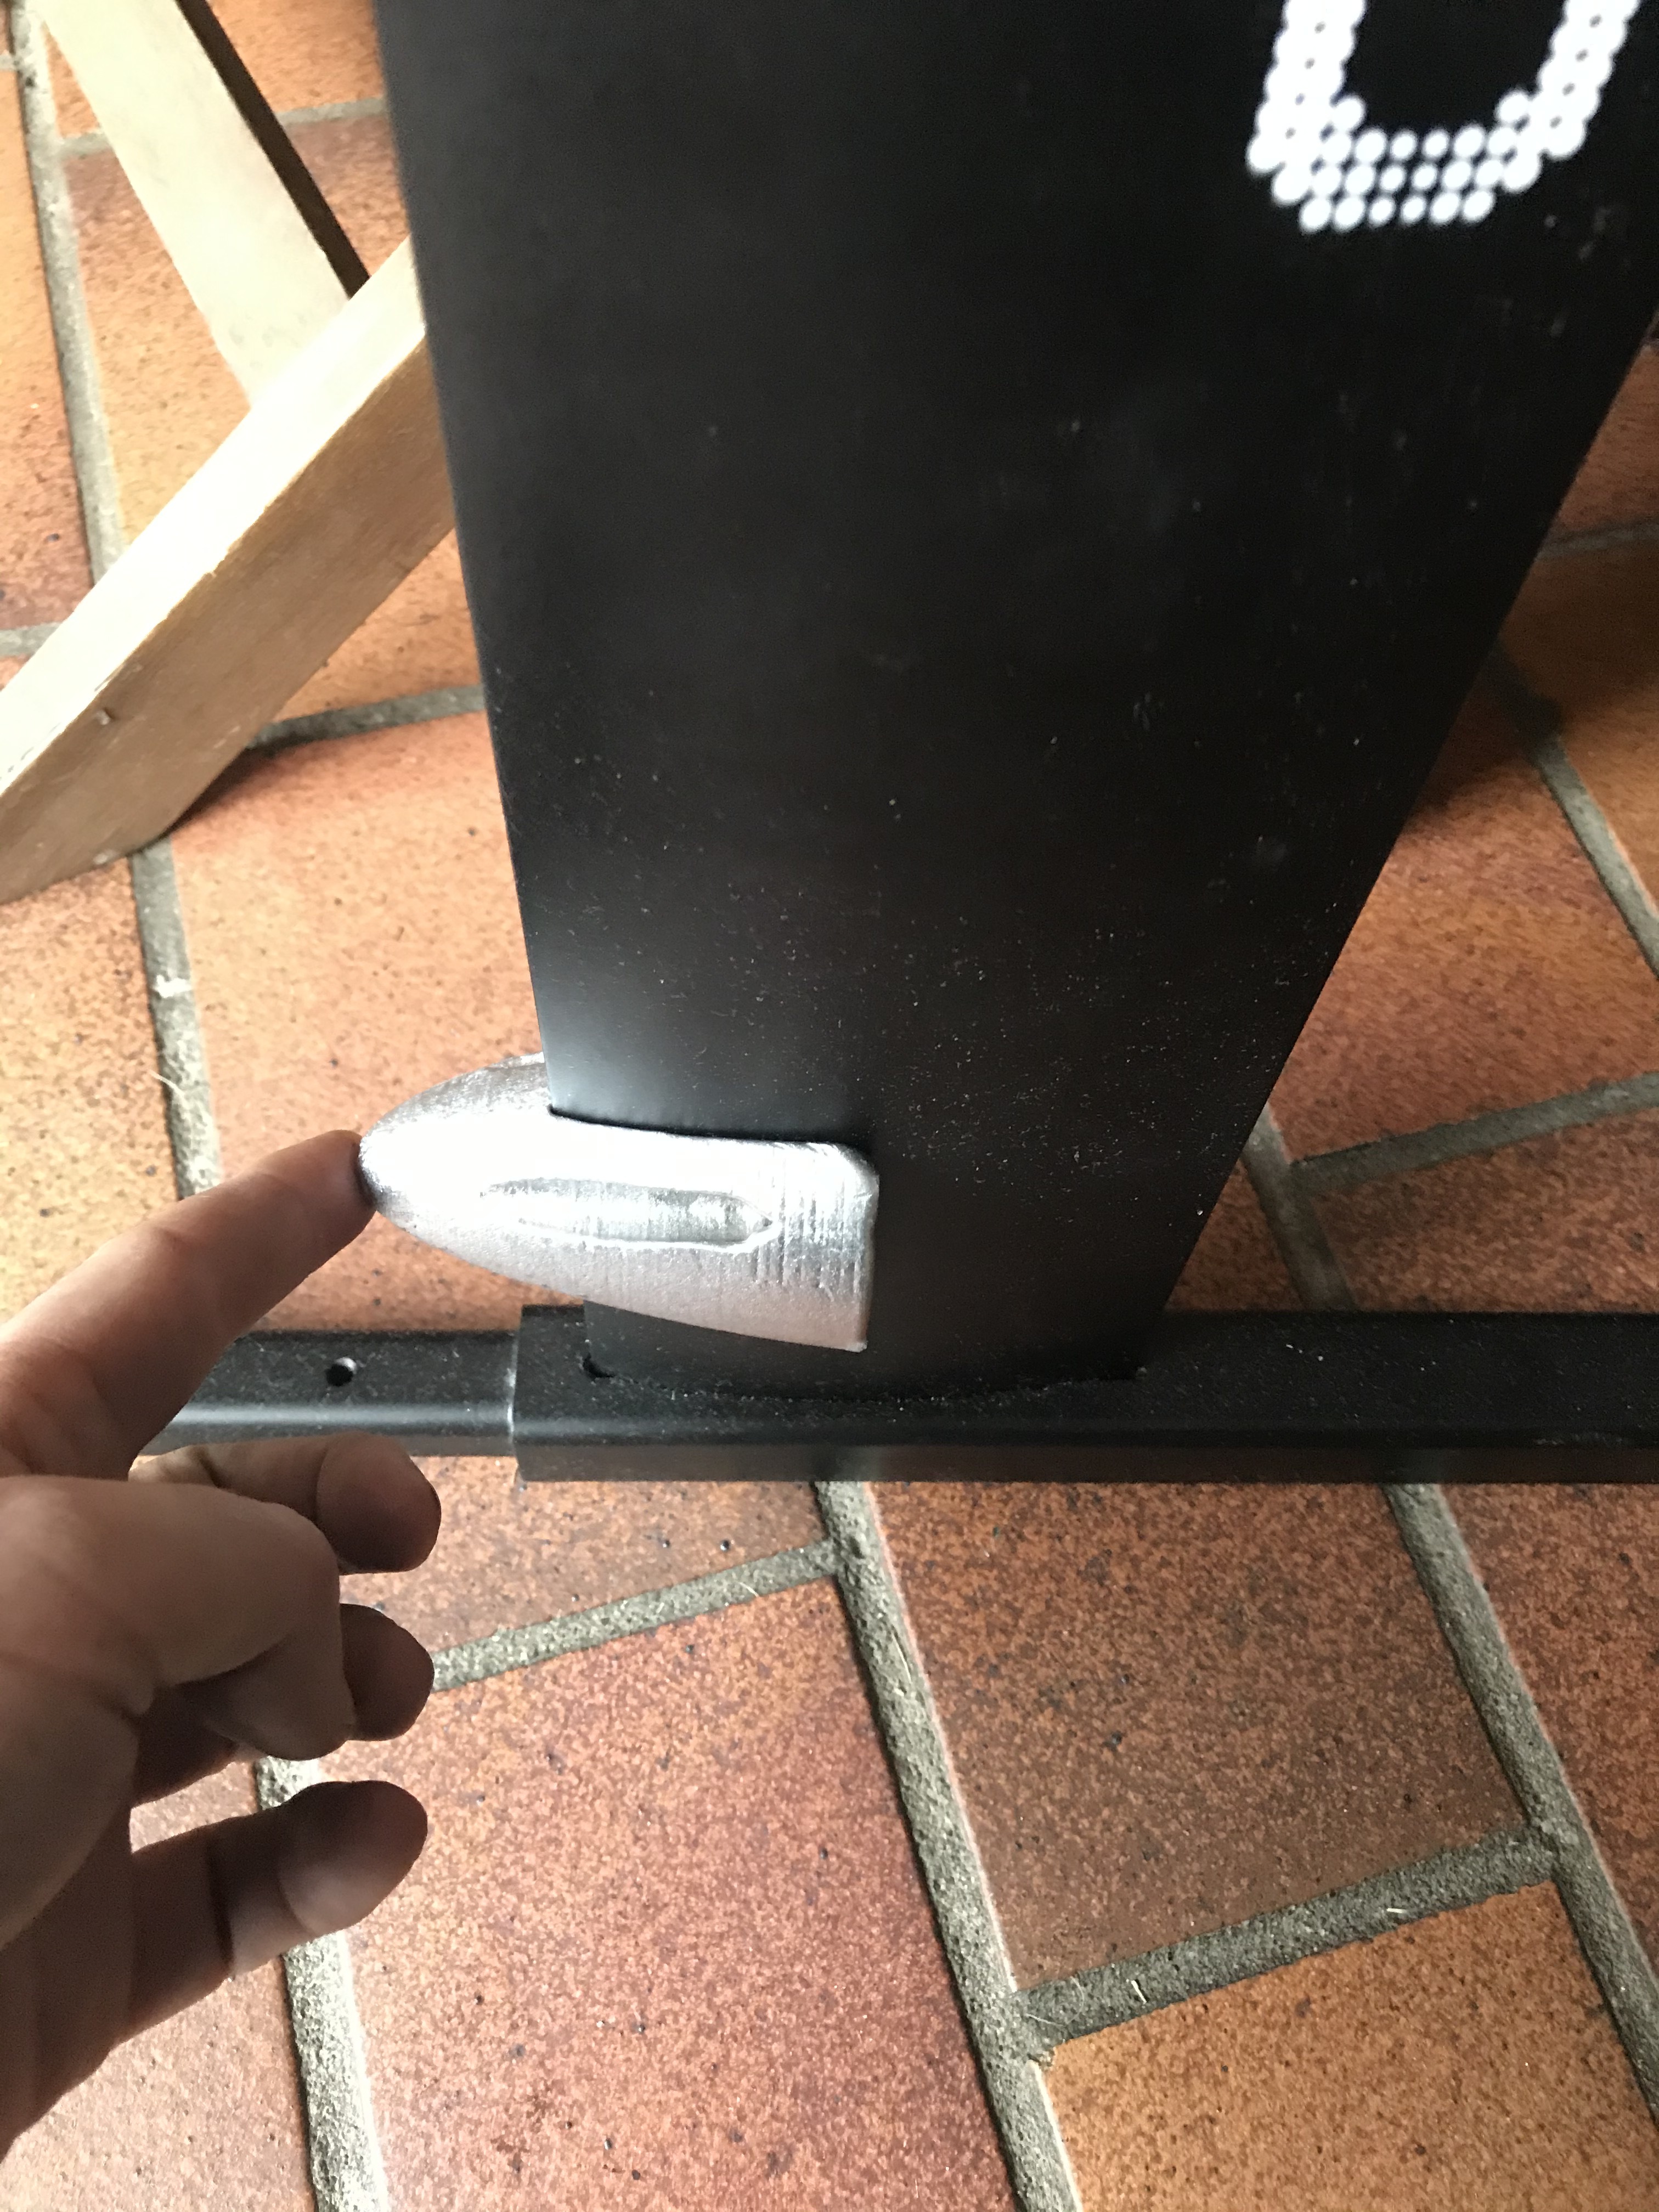
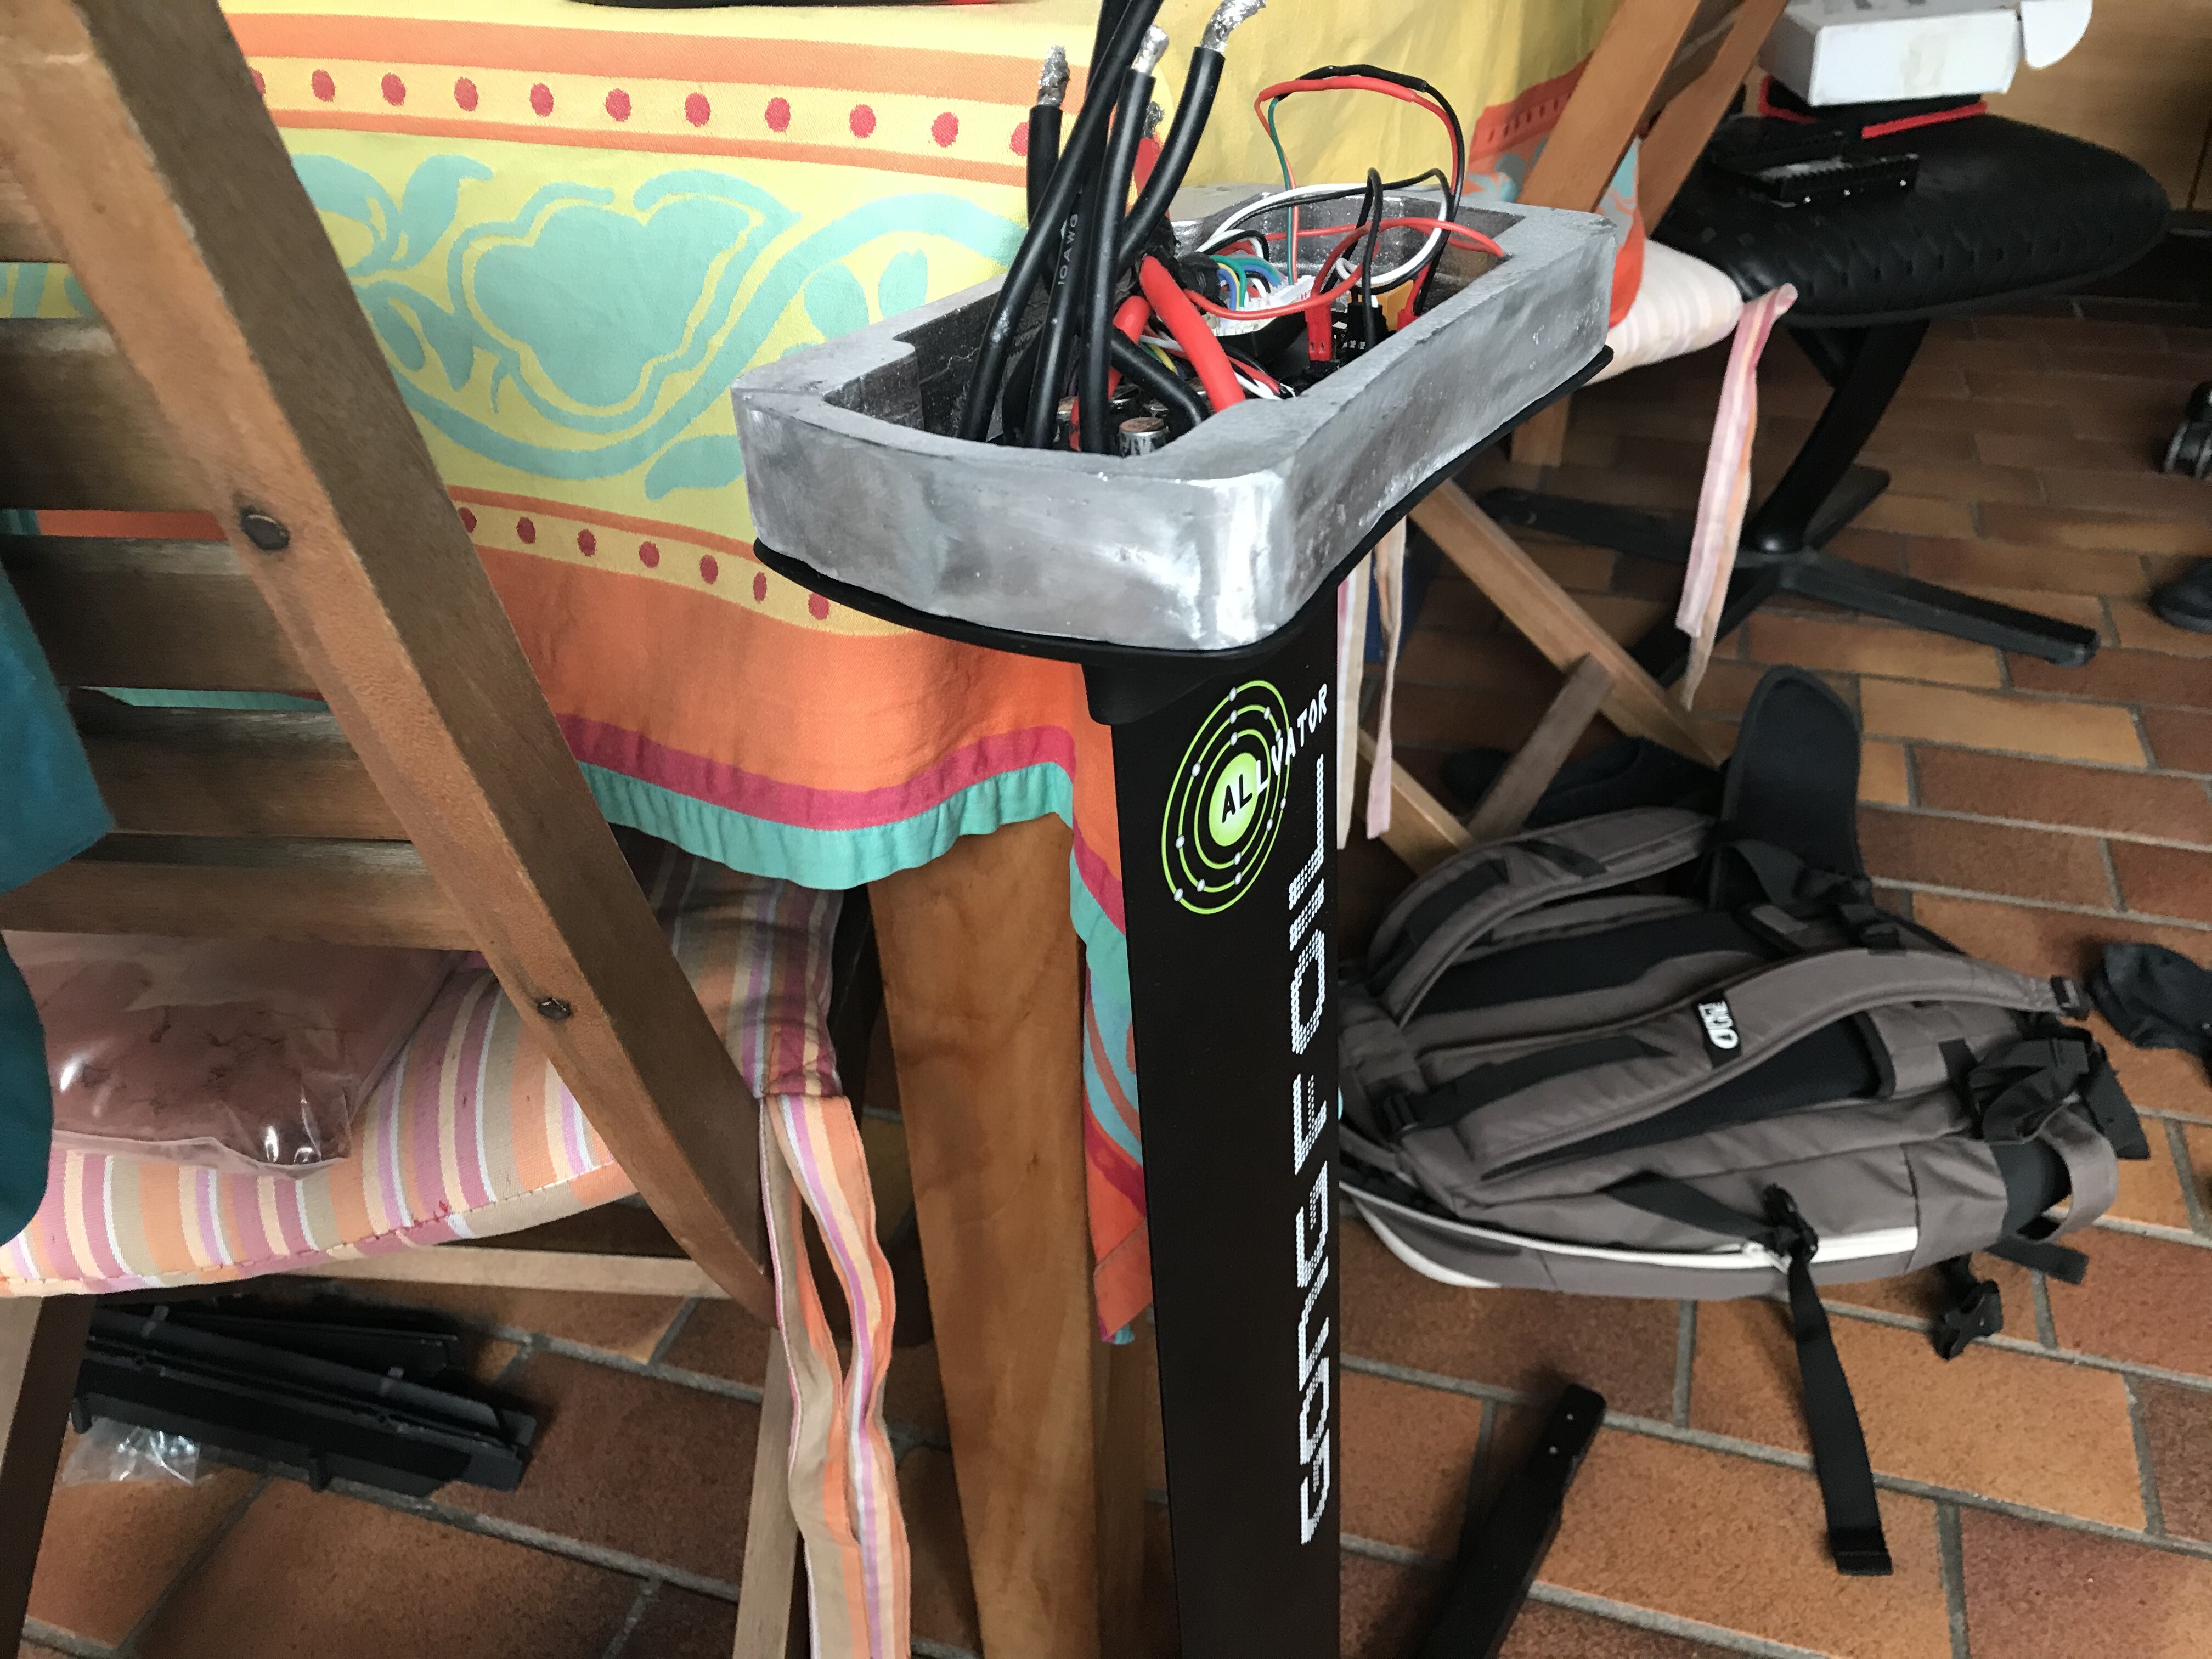
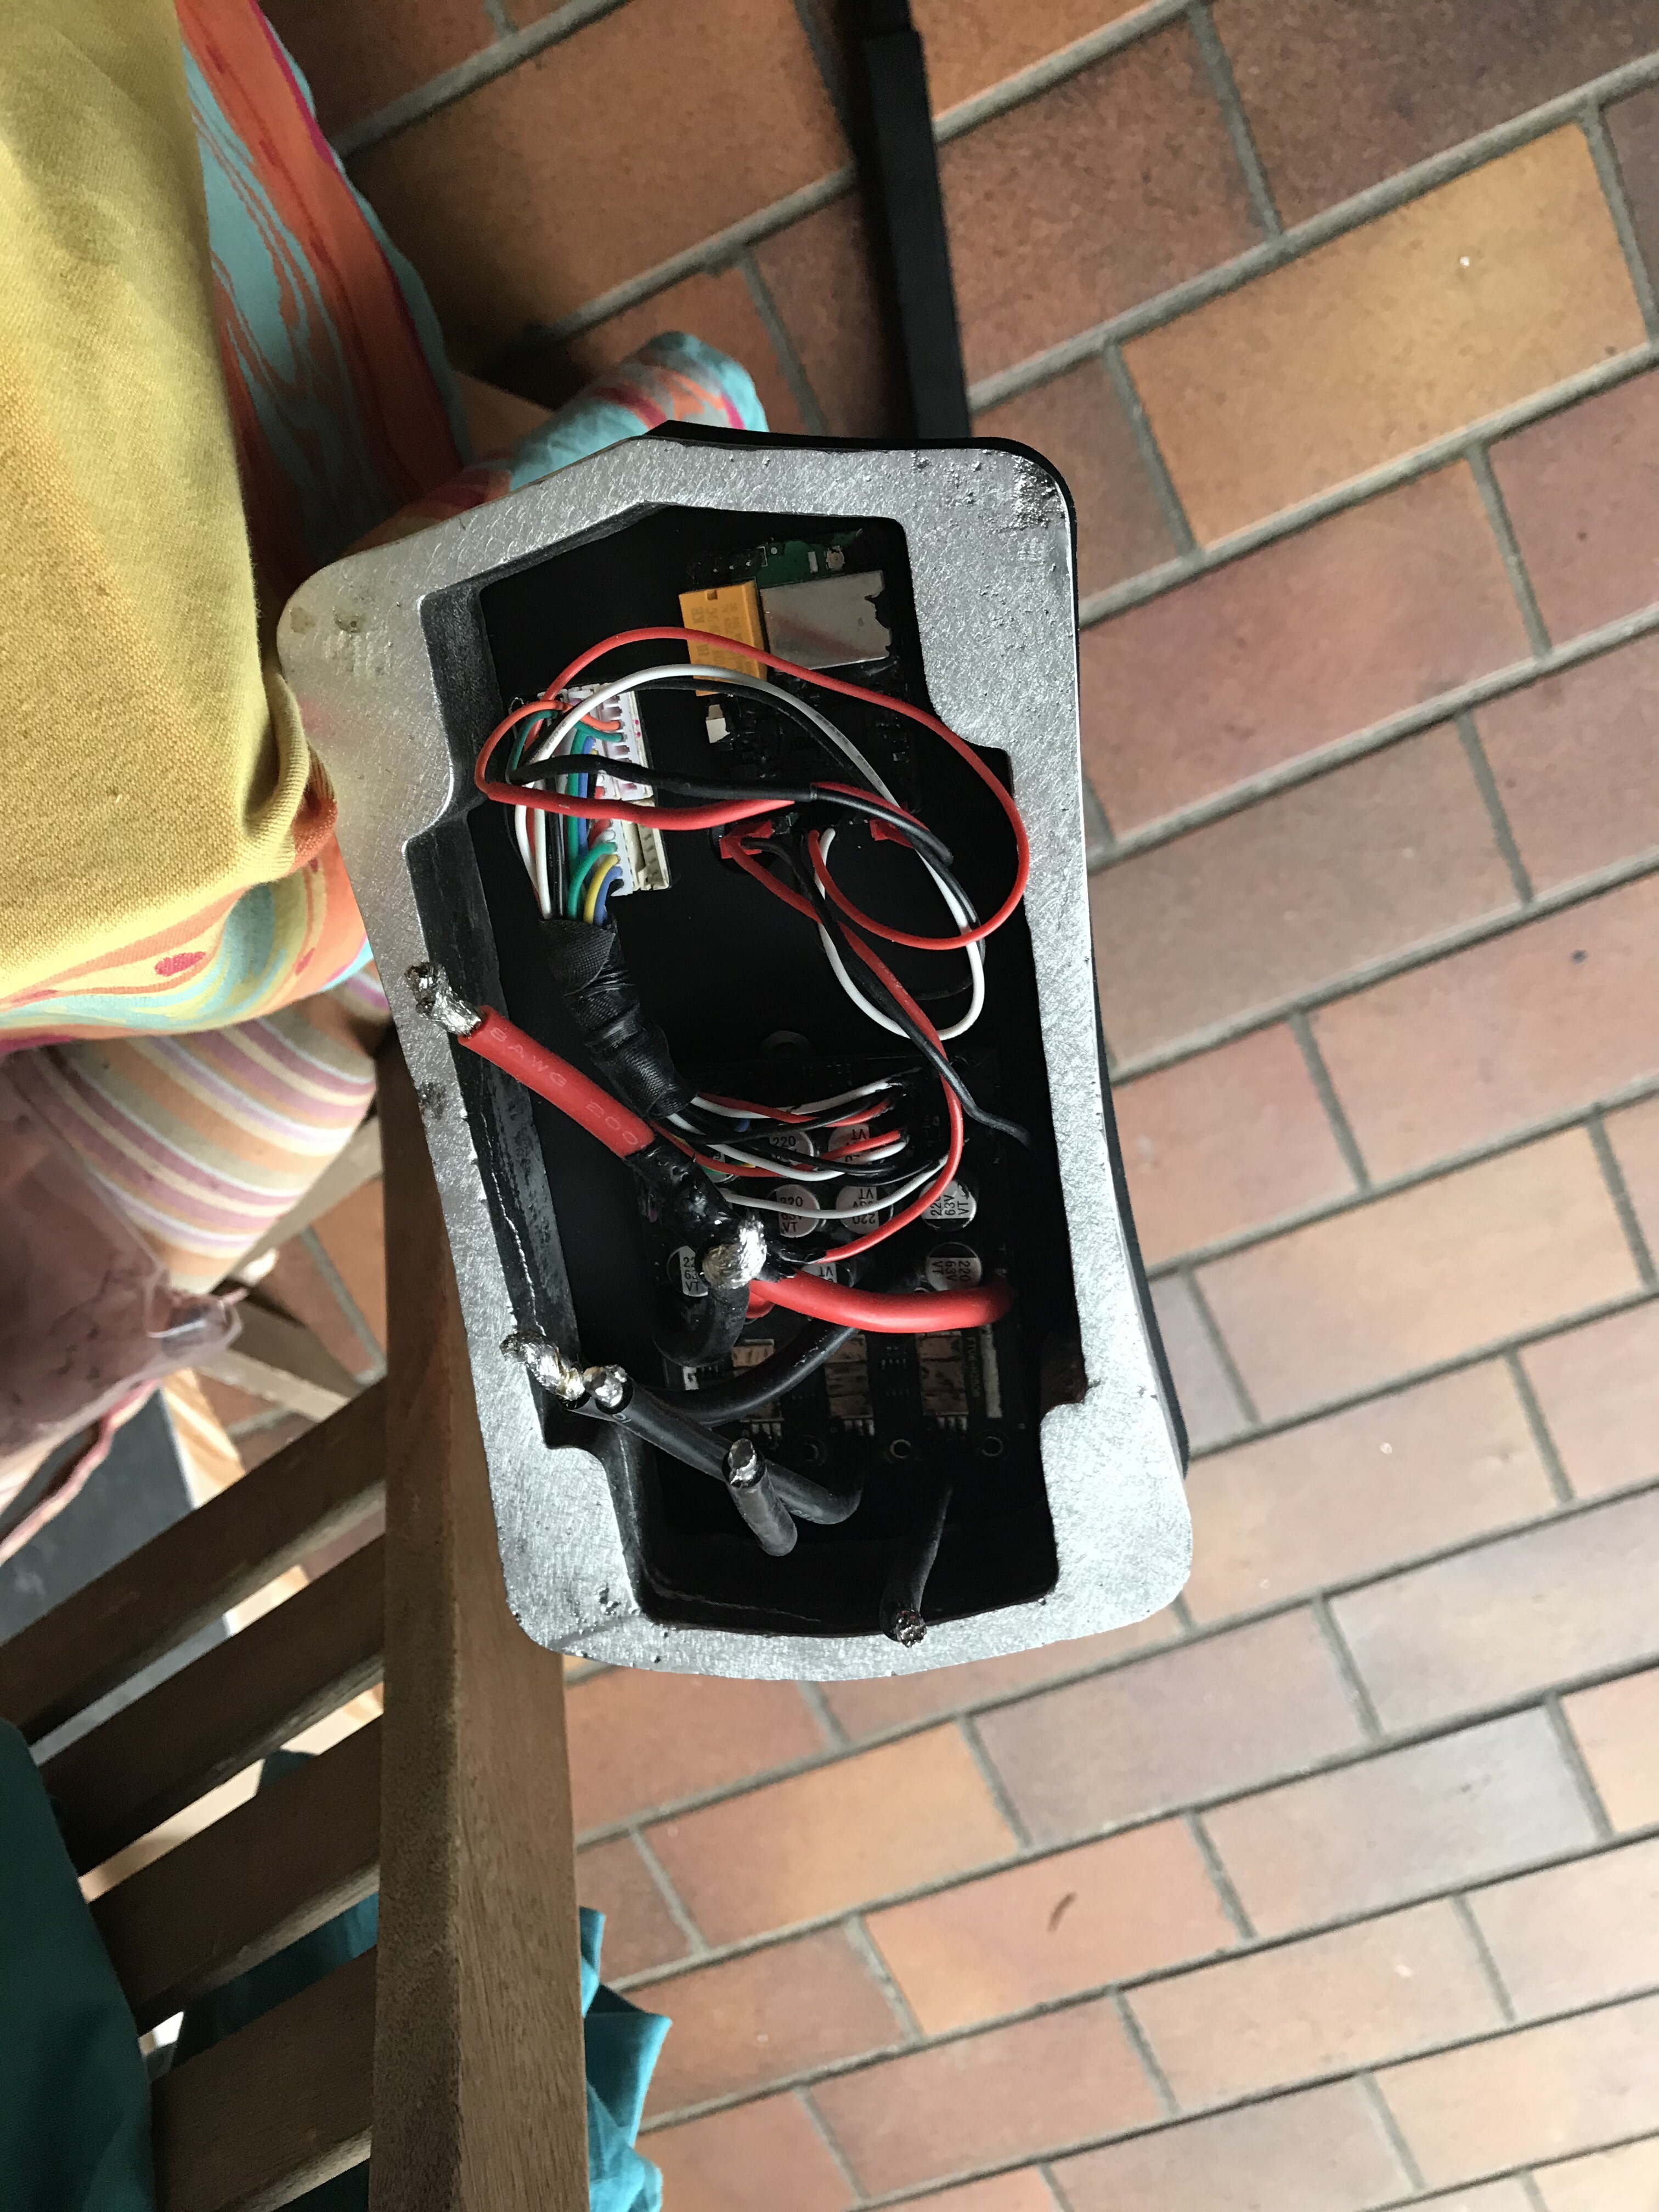
As per the ESC box above the mast, it looks promising. Maybe no machine time or at worst a fast surface finish between lid and box on each face will be needed ?

2 Likes

Looks good too. Make sure to post process your print before casting. You need to smooth the layer height either with Acetone or by sand paper.

As for the sand you are using. Here too, there are specific silica based or synthetics sands made for castings like this :
https://www.amazon.com/Petrobond-Casting-Silver-Jewelry-Alternative/dp/B00XRRKCRO

Here is a comparison of casted parts in different sands :
https://www.globalcastingmagazine.com/wp-content/uploads/2013/10/Figure-4.jpg

Picture from here :
https://www.globalcastingmagazine.com/index.php/2013/10/30/characteristics-of-synthetic-sand-and-application-of-refractory-coatings/?lang=en

1 Like

yes Souleiman you are 100% right, sand is very important.
I tested 3 different sand


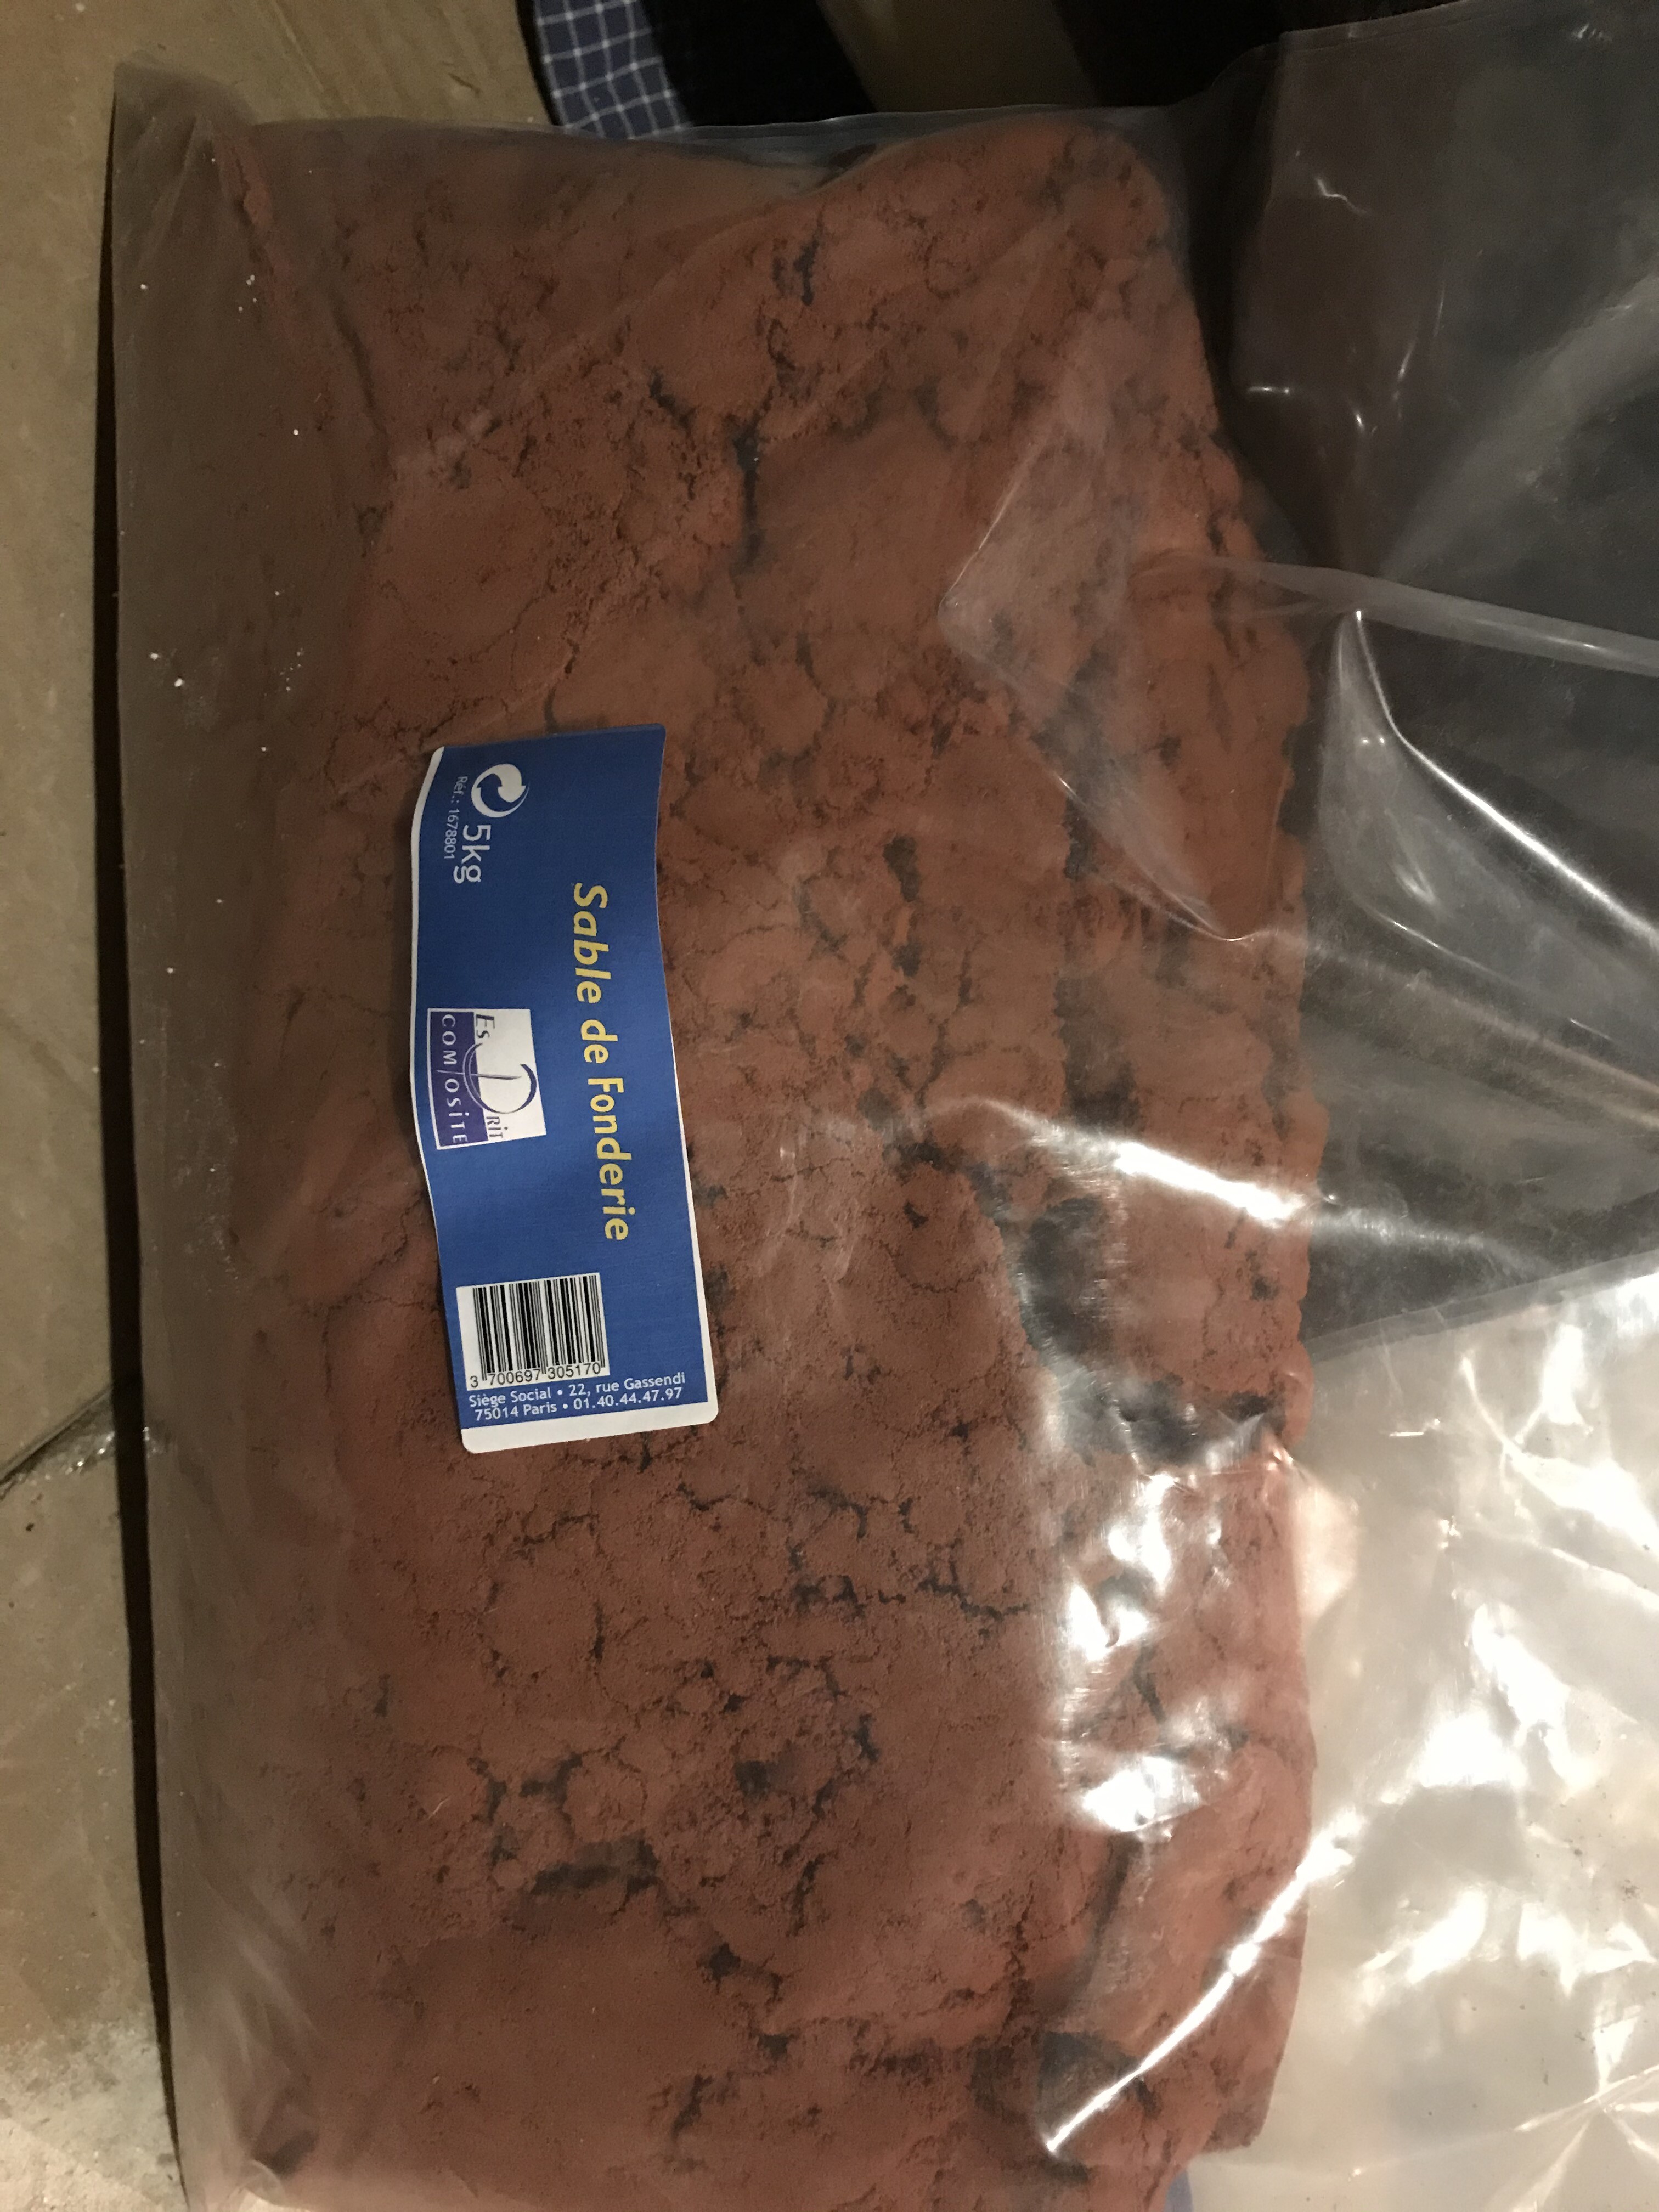
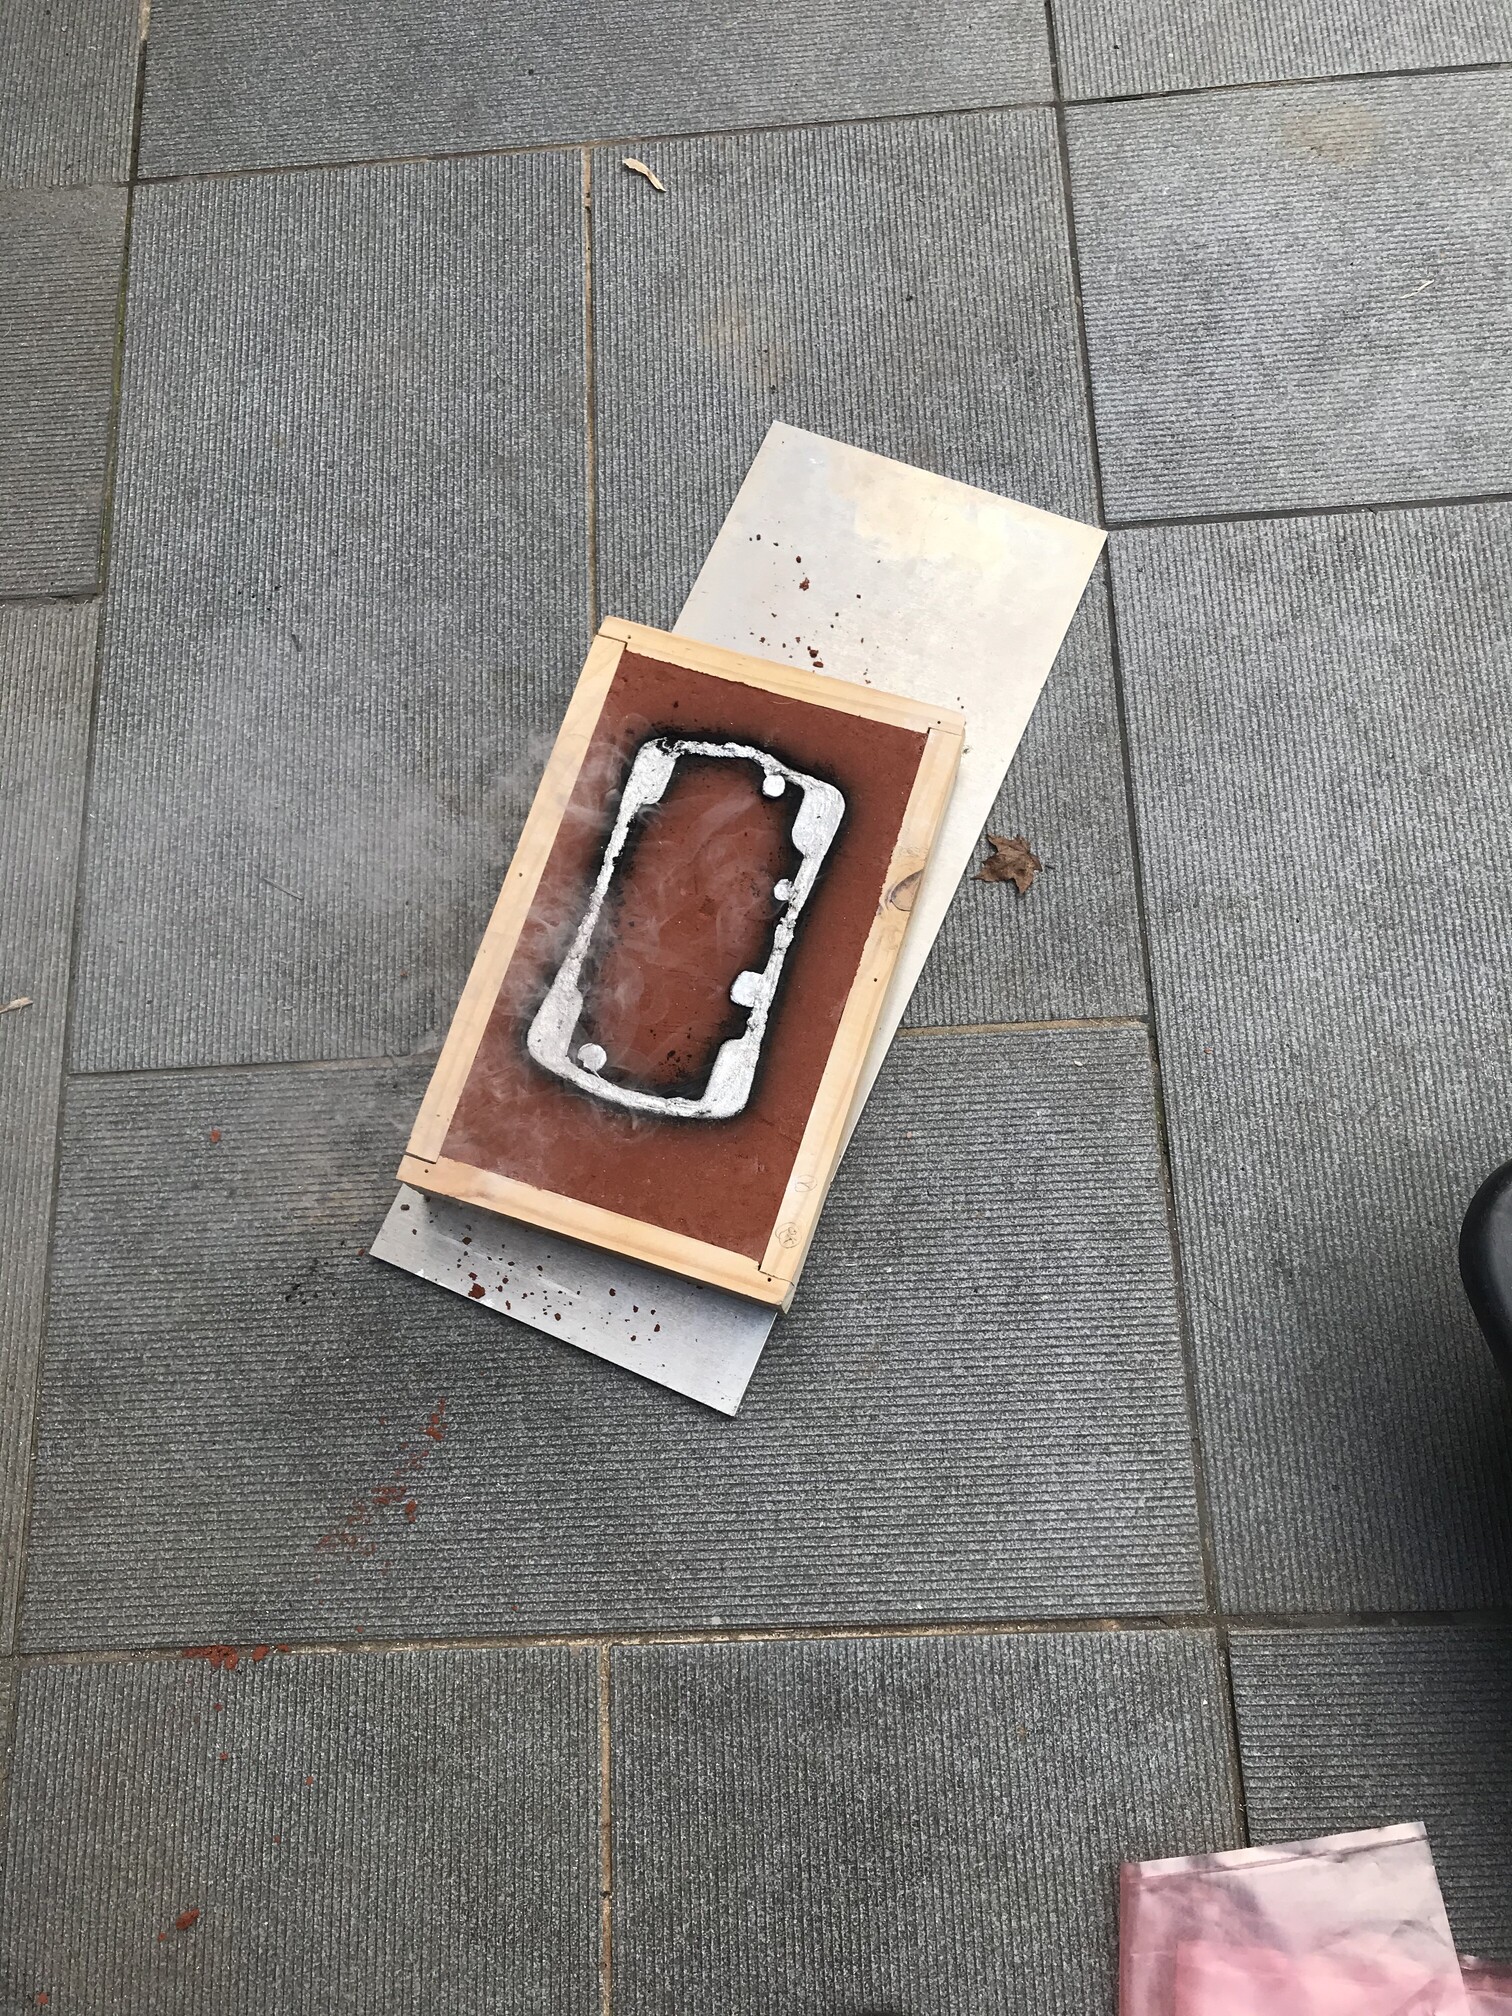
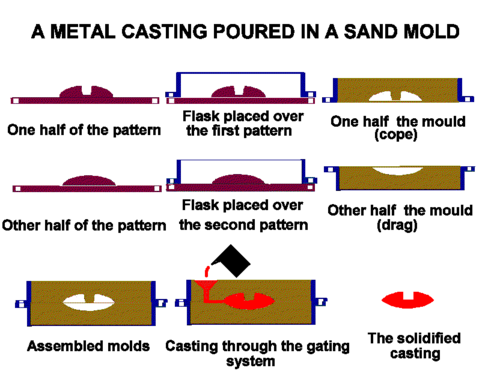
The red sand is very nice if you use it directly to shape inside
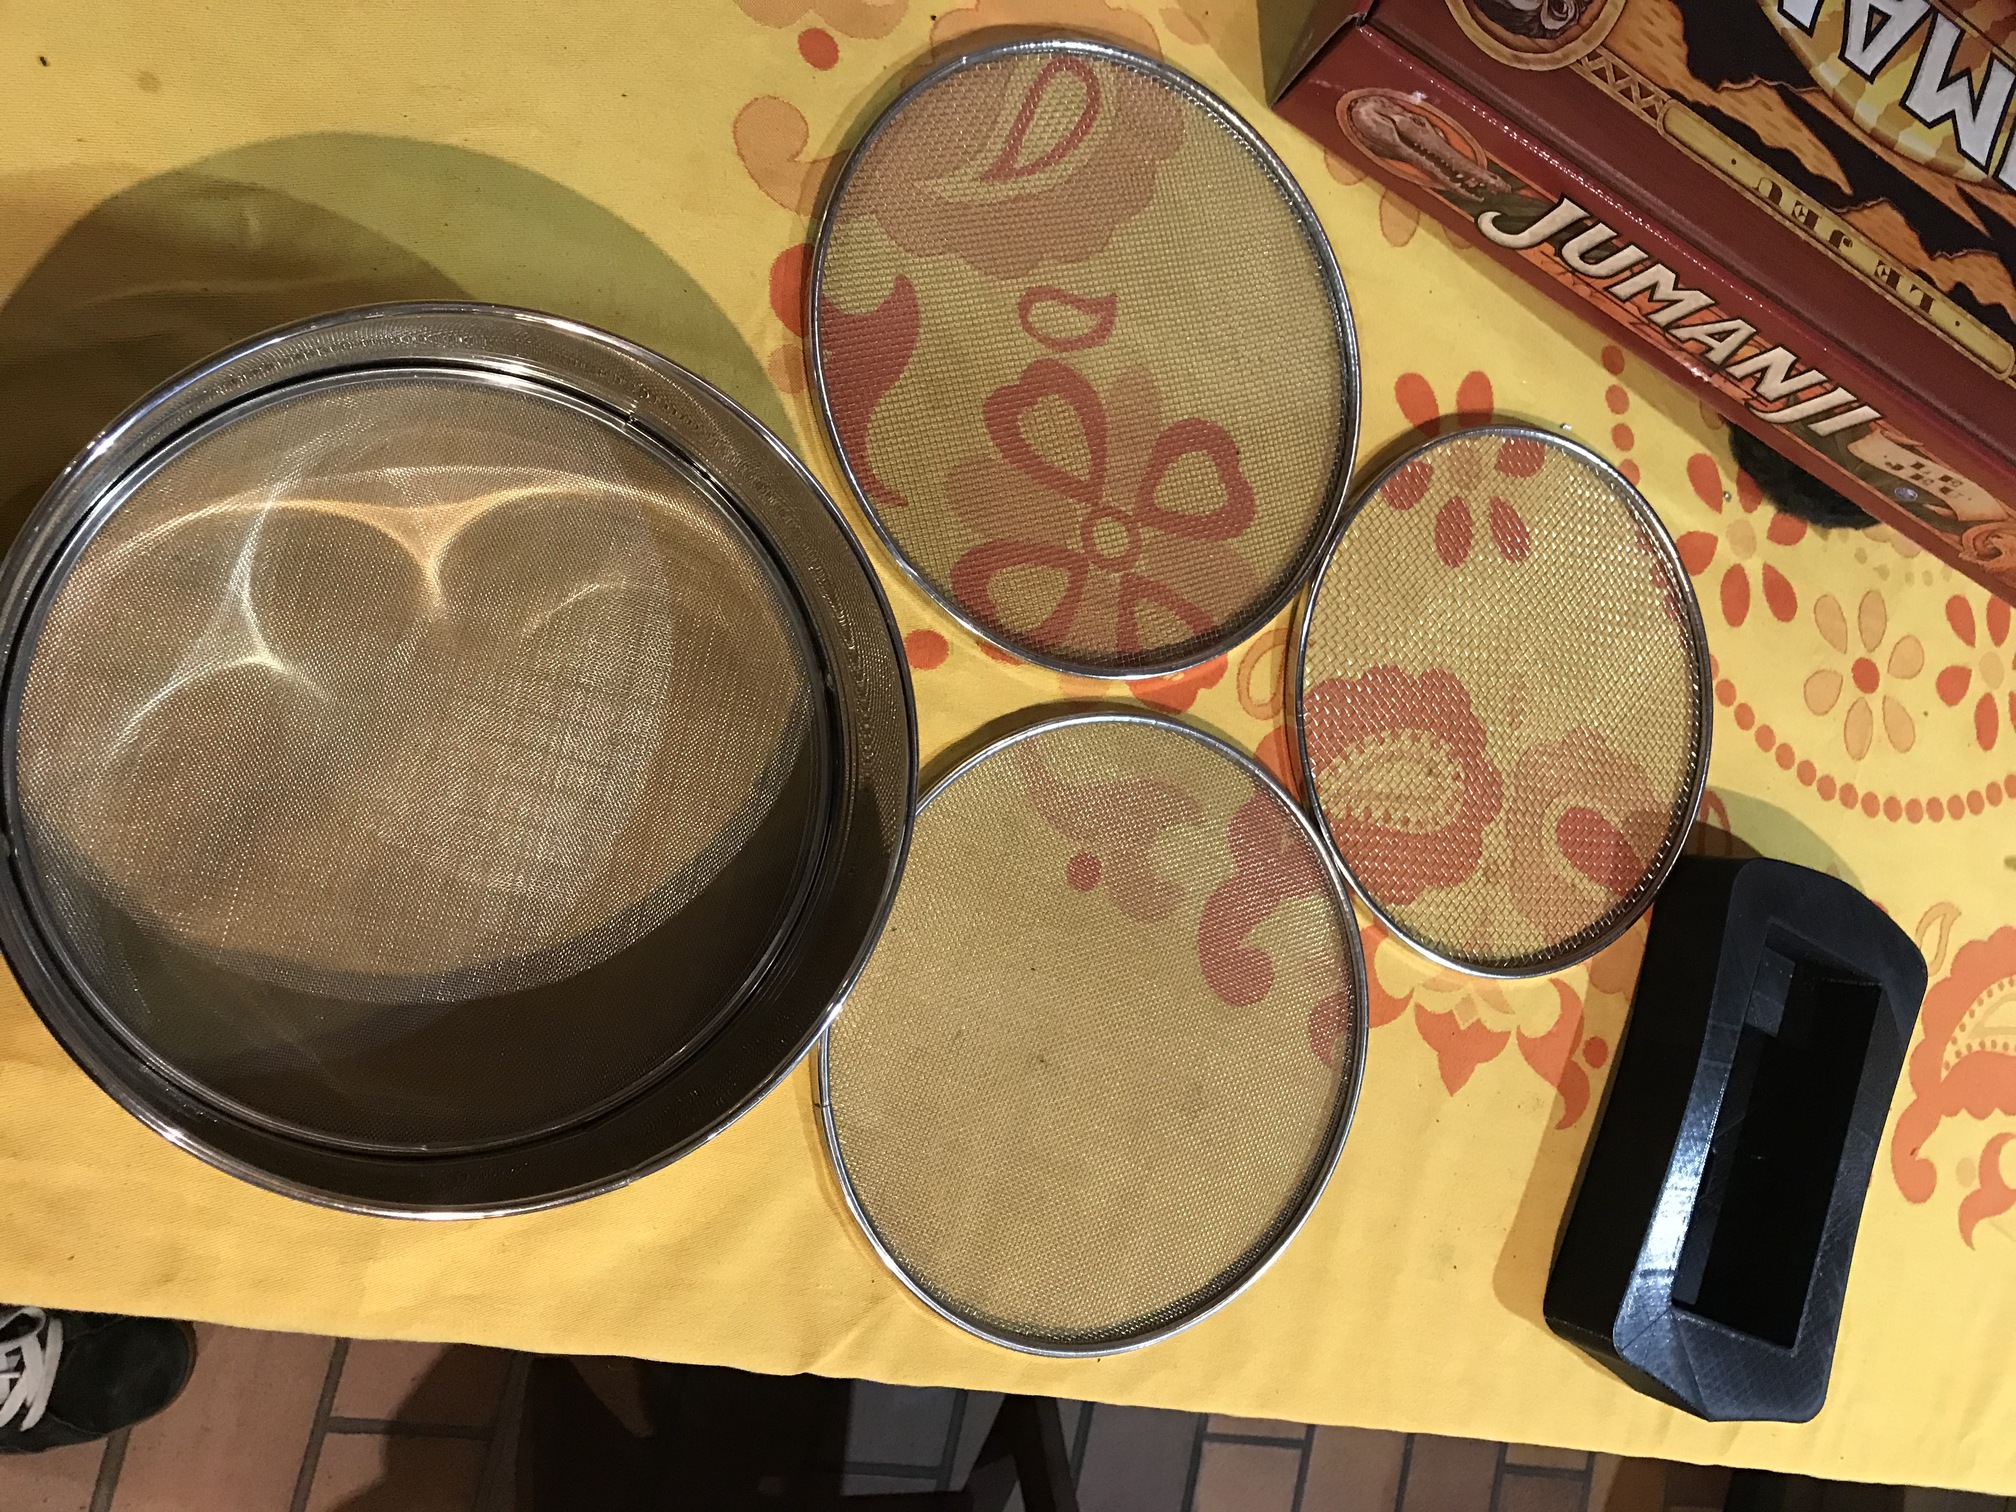
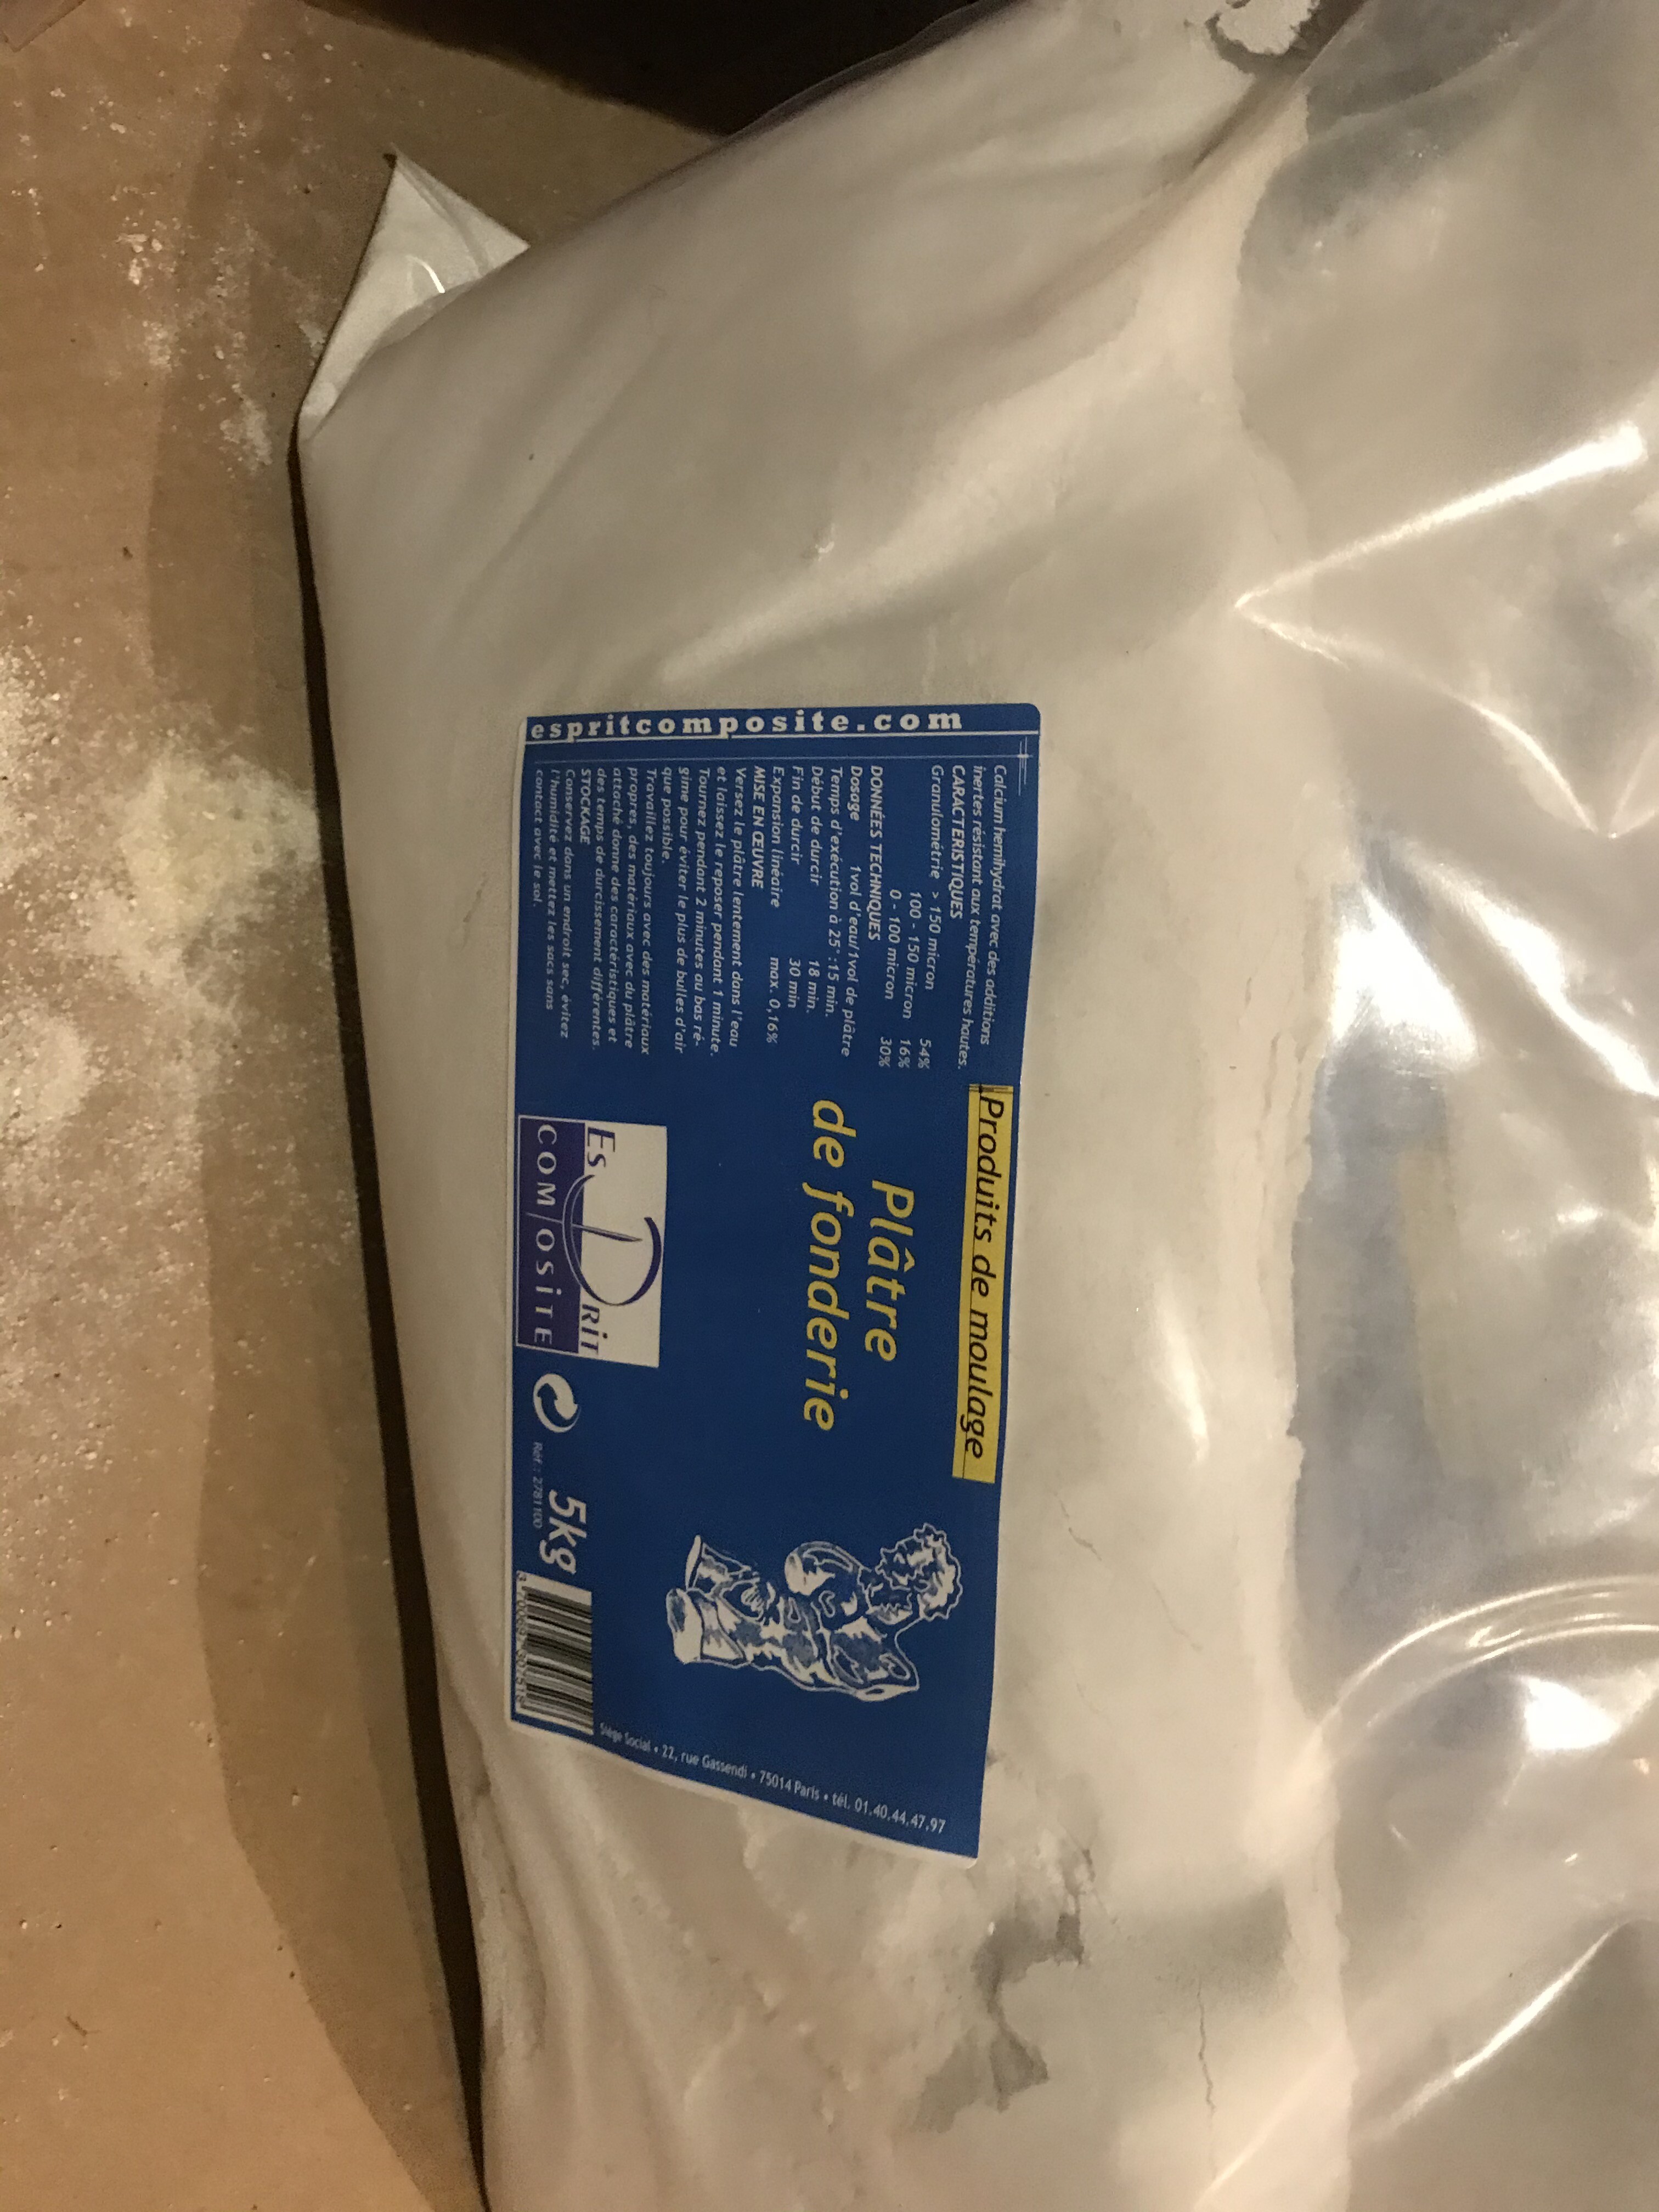
and for the other I sifted with a small sieve and I mix it (50/50) with a very fine plaster

And I will test next week a plaster for the foundry

I start in foundry so I have everything to learn :slight_smile:
it’s really interesting and exciting to learn new techniques.
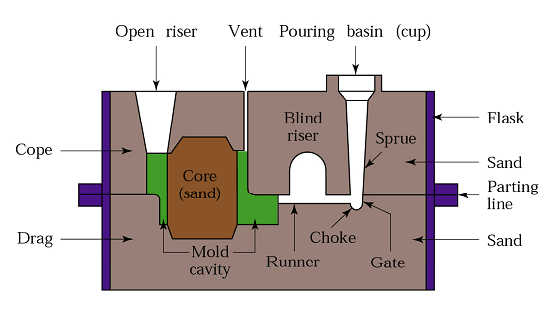
I need to improve the layout of vent and pipe for cast
Do you know if a “free” software can modelised this ?

thank you for your sharing

5 Likes

New schemactic for my V4, more simple and compact design :

  • New dead man switch home made, normaly close
  • New fuse 200A home made
  • New kilovac 48V

Removal :

  • Pump
  • Inverter relay
  • Magnetic switch NO
  • Circuit breaker 150A waterproof
  • Sbec 12V 5V

3 Likes

you can actived the kilovac trough a 50v supply directly?

Yes that why I can remove the sbec

Hi jeffM,

Why did you decided to remove the water pump? no heat build up?

Regards,

Eran

How did you make your kill switch? Were you not able to find a decent commercial one?

I decided to remove the pump for simplify and I wanted to test with an aluminium box on the mast

I made the kill switch with 3 magnets and reed switch 48V and a piece of metal near the switch

link reed : https://fr.aliexpress.com/item/4001140024168.html?spm=a2g0s.9042311.0.0.73b96c37TV9GUy

1 Like

So I had the time to test the filament cast ( PolyCast)
bought here :

very easy to print it, more easy to remove with the temperature, but I have pretty the same result


I printed also some parts with it : dead man switch, mast clamp,…


And I tested also to cast the aluminium box with it, but failed :frowning:

So I cast it with the sand process = > success


I need to polish all parts and finish the installation

5 Likes

How do you power the Maytech receiver ?

I powered the maytech receiver by the 5V VESC (pwm)

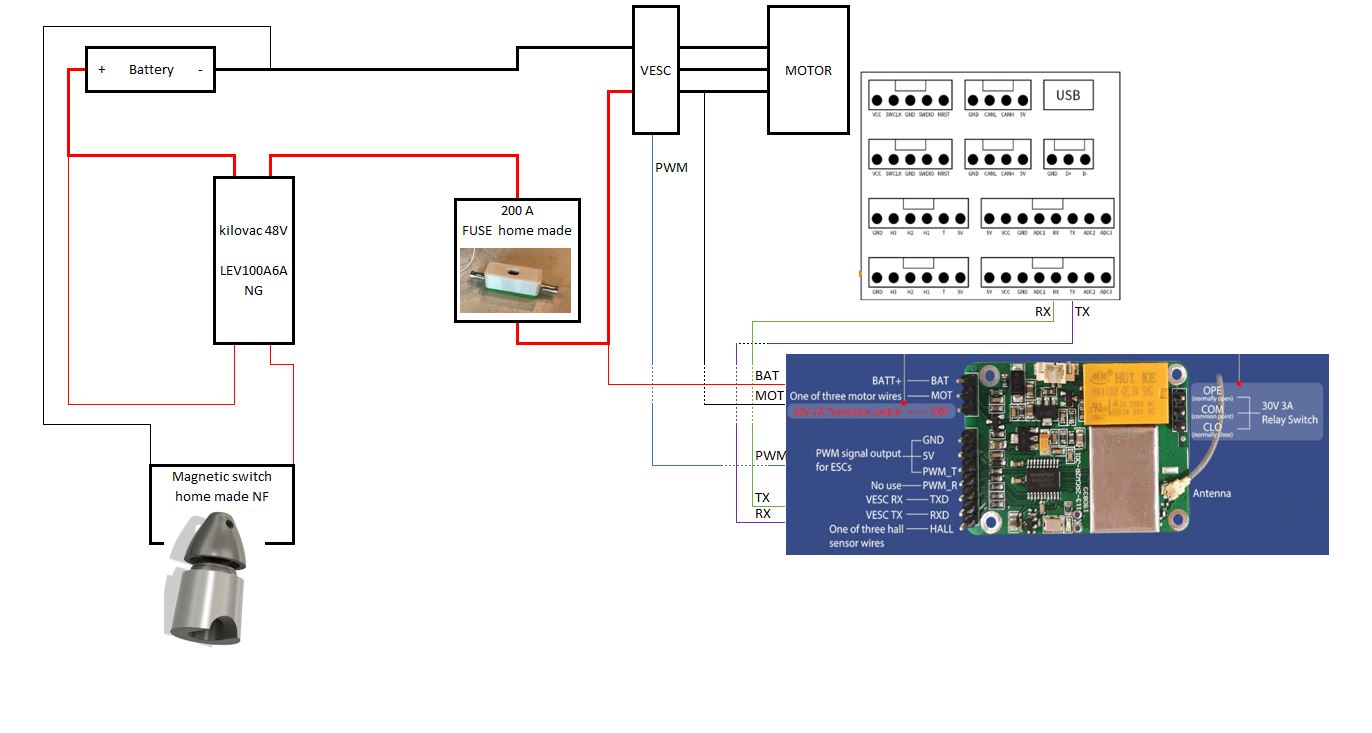
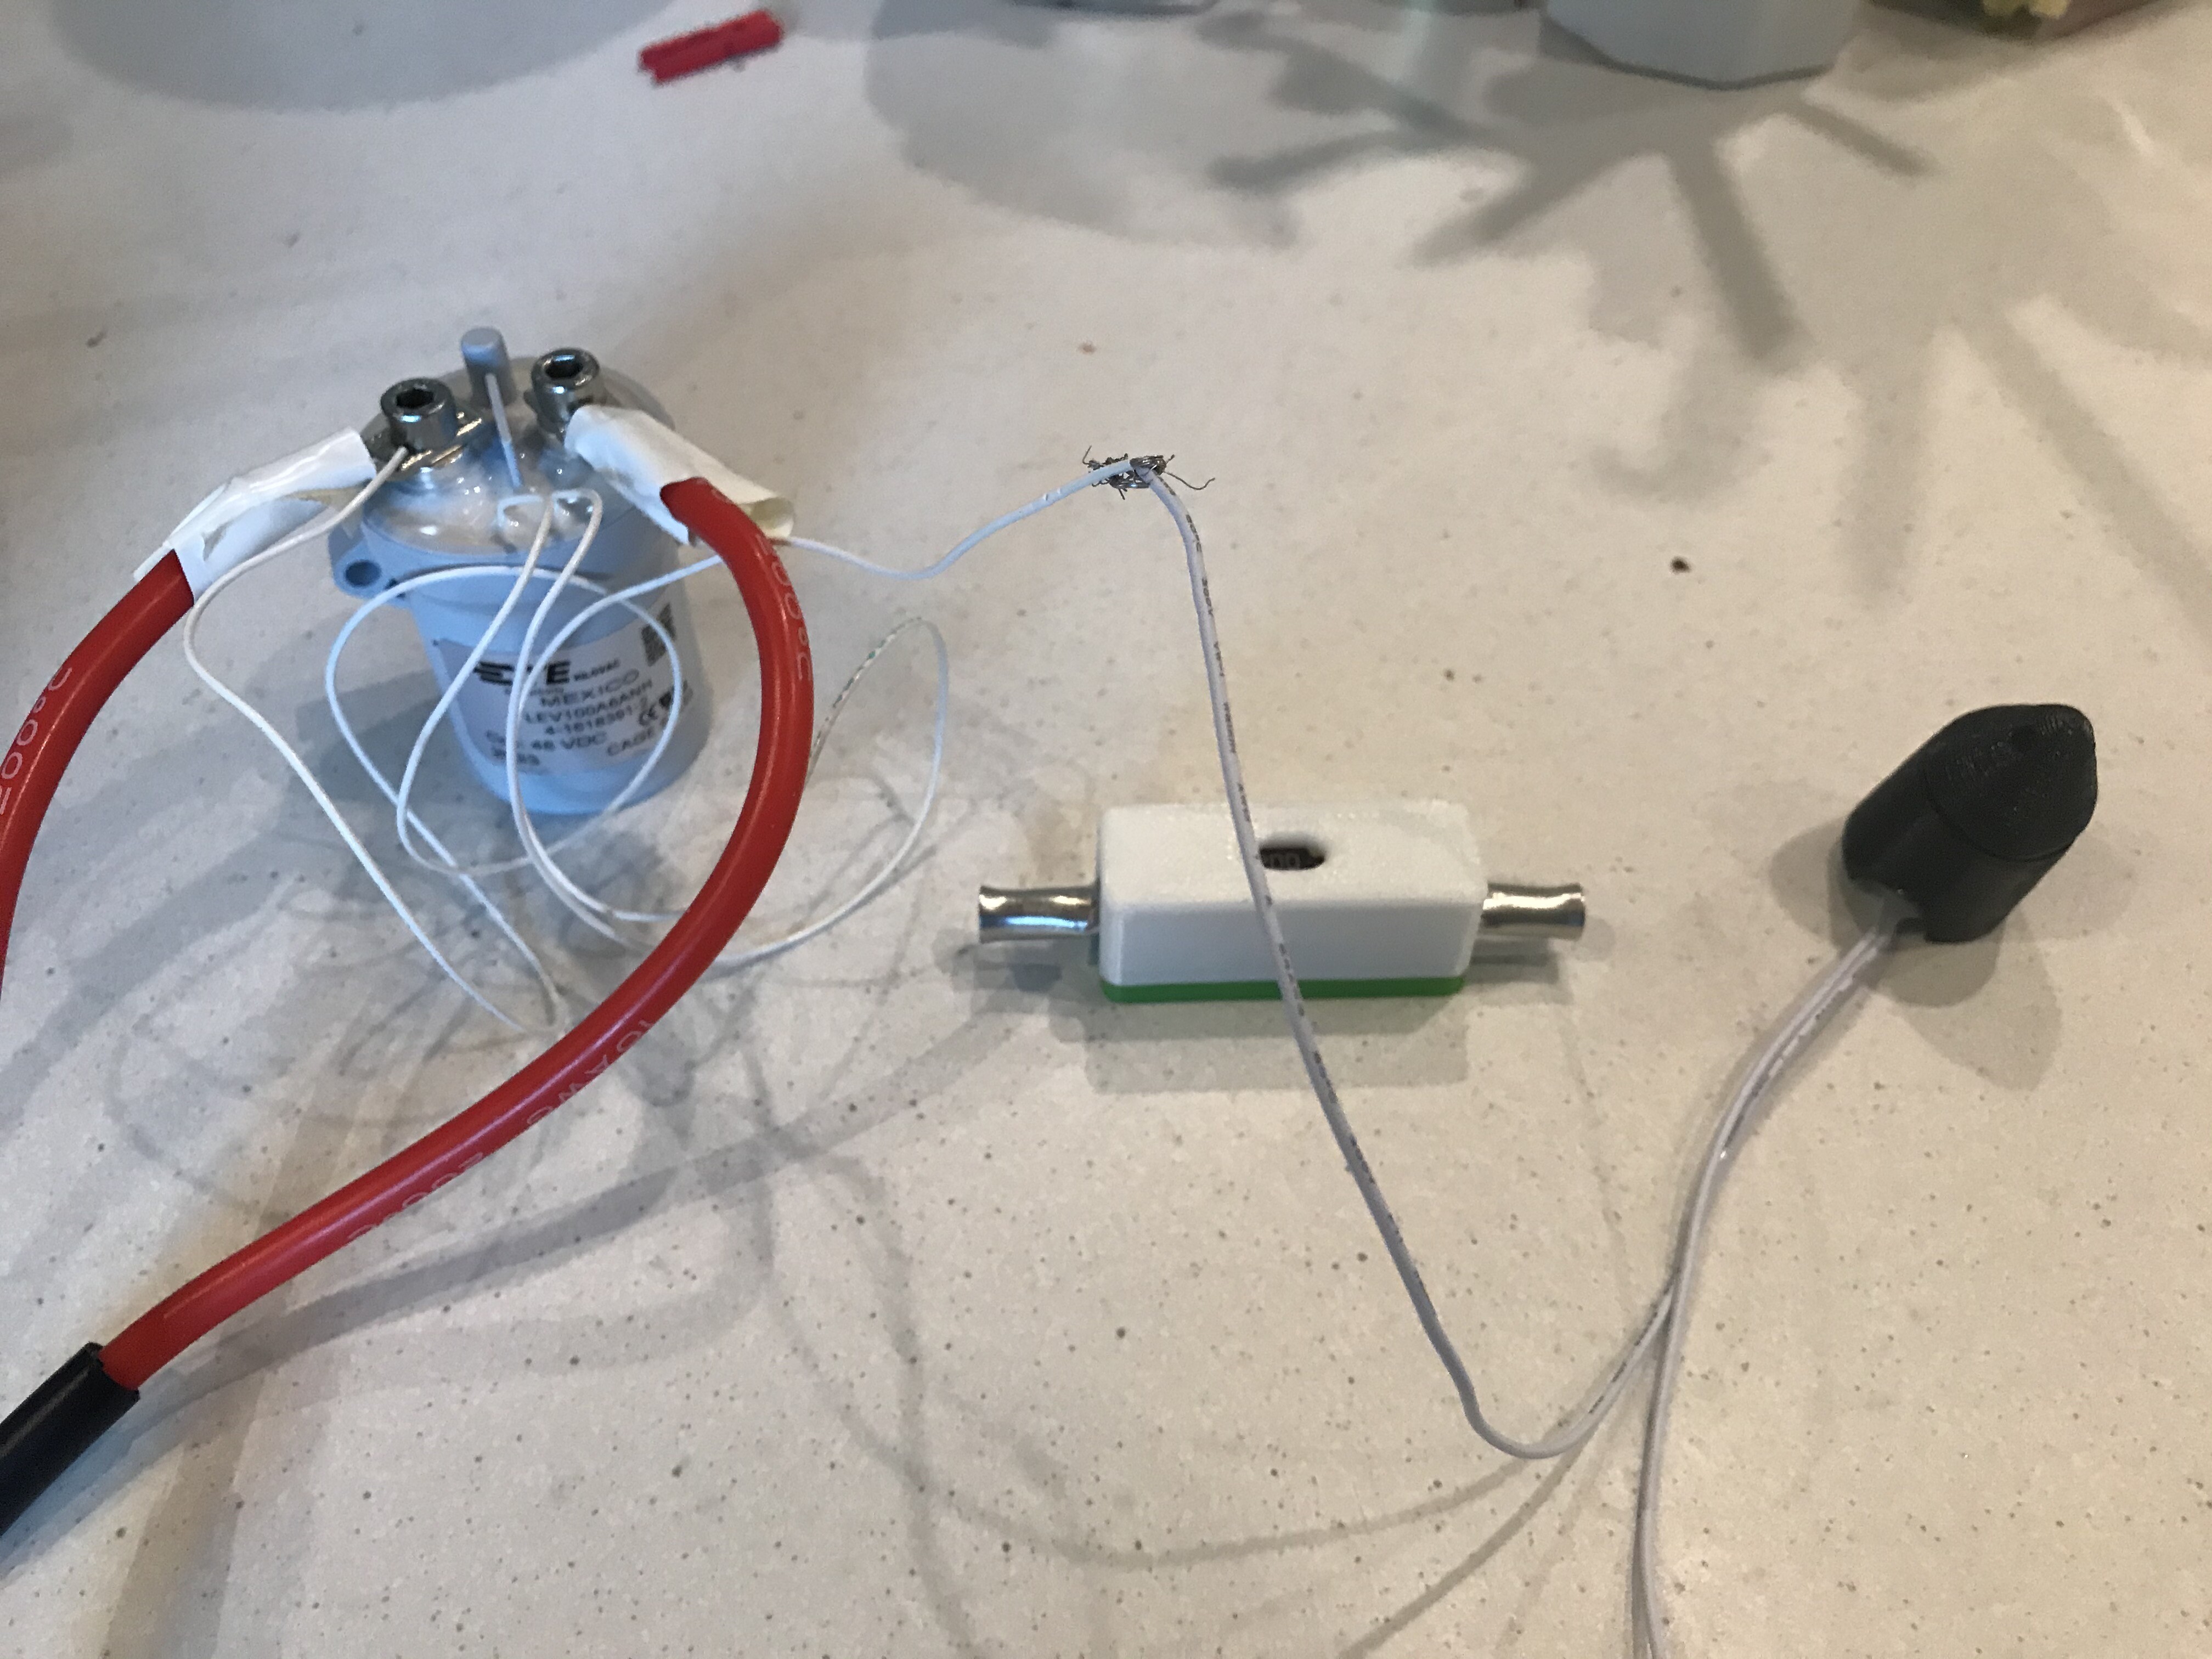
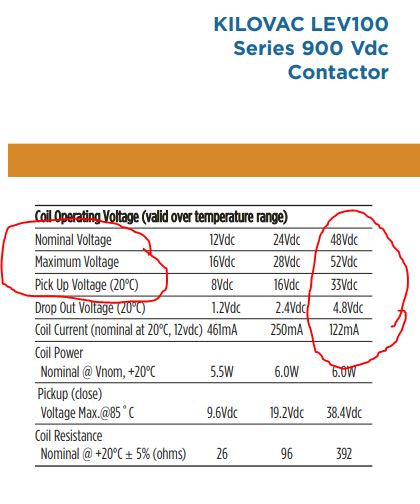
You mean, your receiver is just connected to 5 wires: Bat, Mot, Pwm, Tx and Rx ?

I got a crazy idea that should be cheap and effective: in addition to cast aluminium prop and ESC block, what about making a front wing with 2 half molds (flasks) ? Then there is this sleeve on the wing to fit on the fuselage that the Gong Hellvator or brands like Axis don’t have.

sand casting

sand casting 1

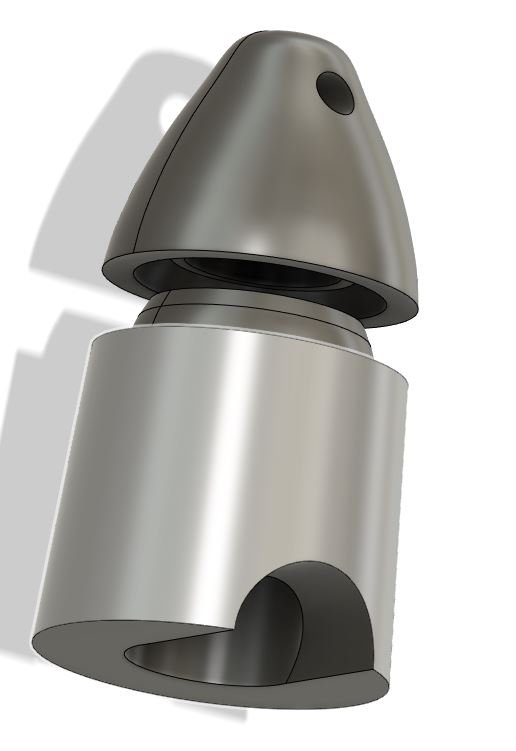
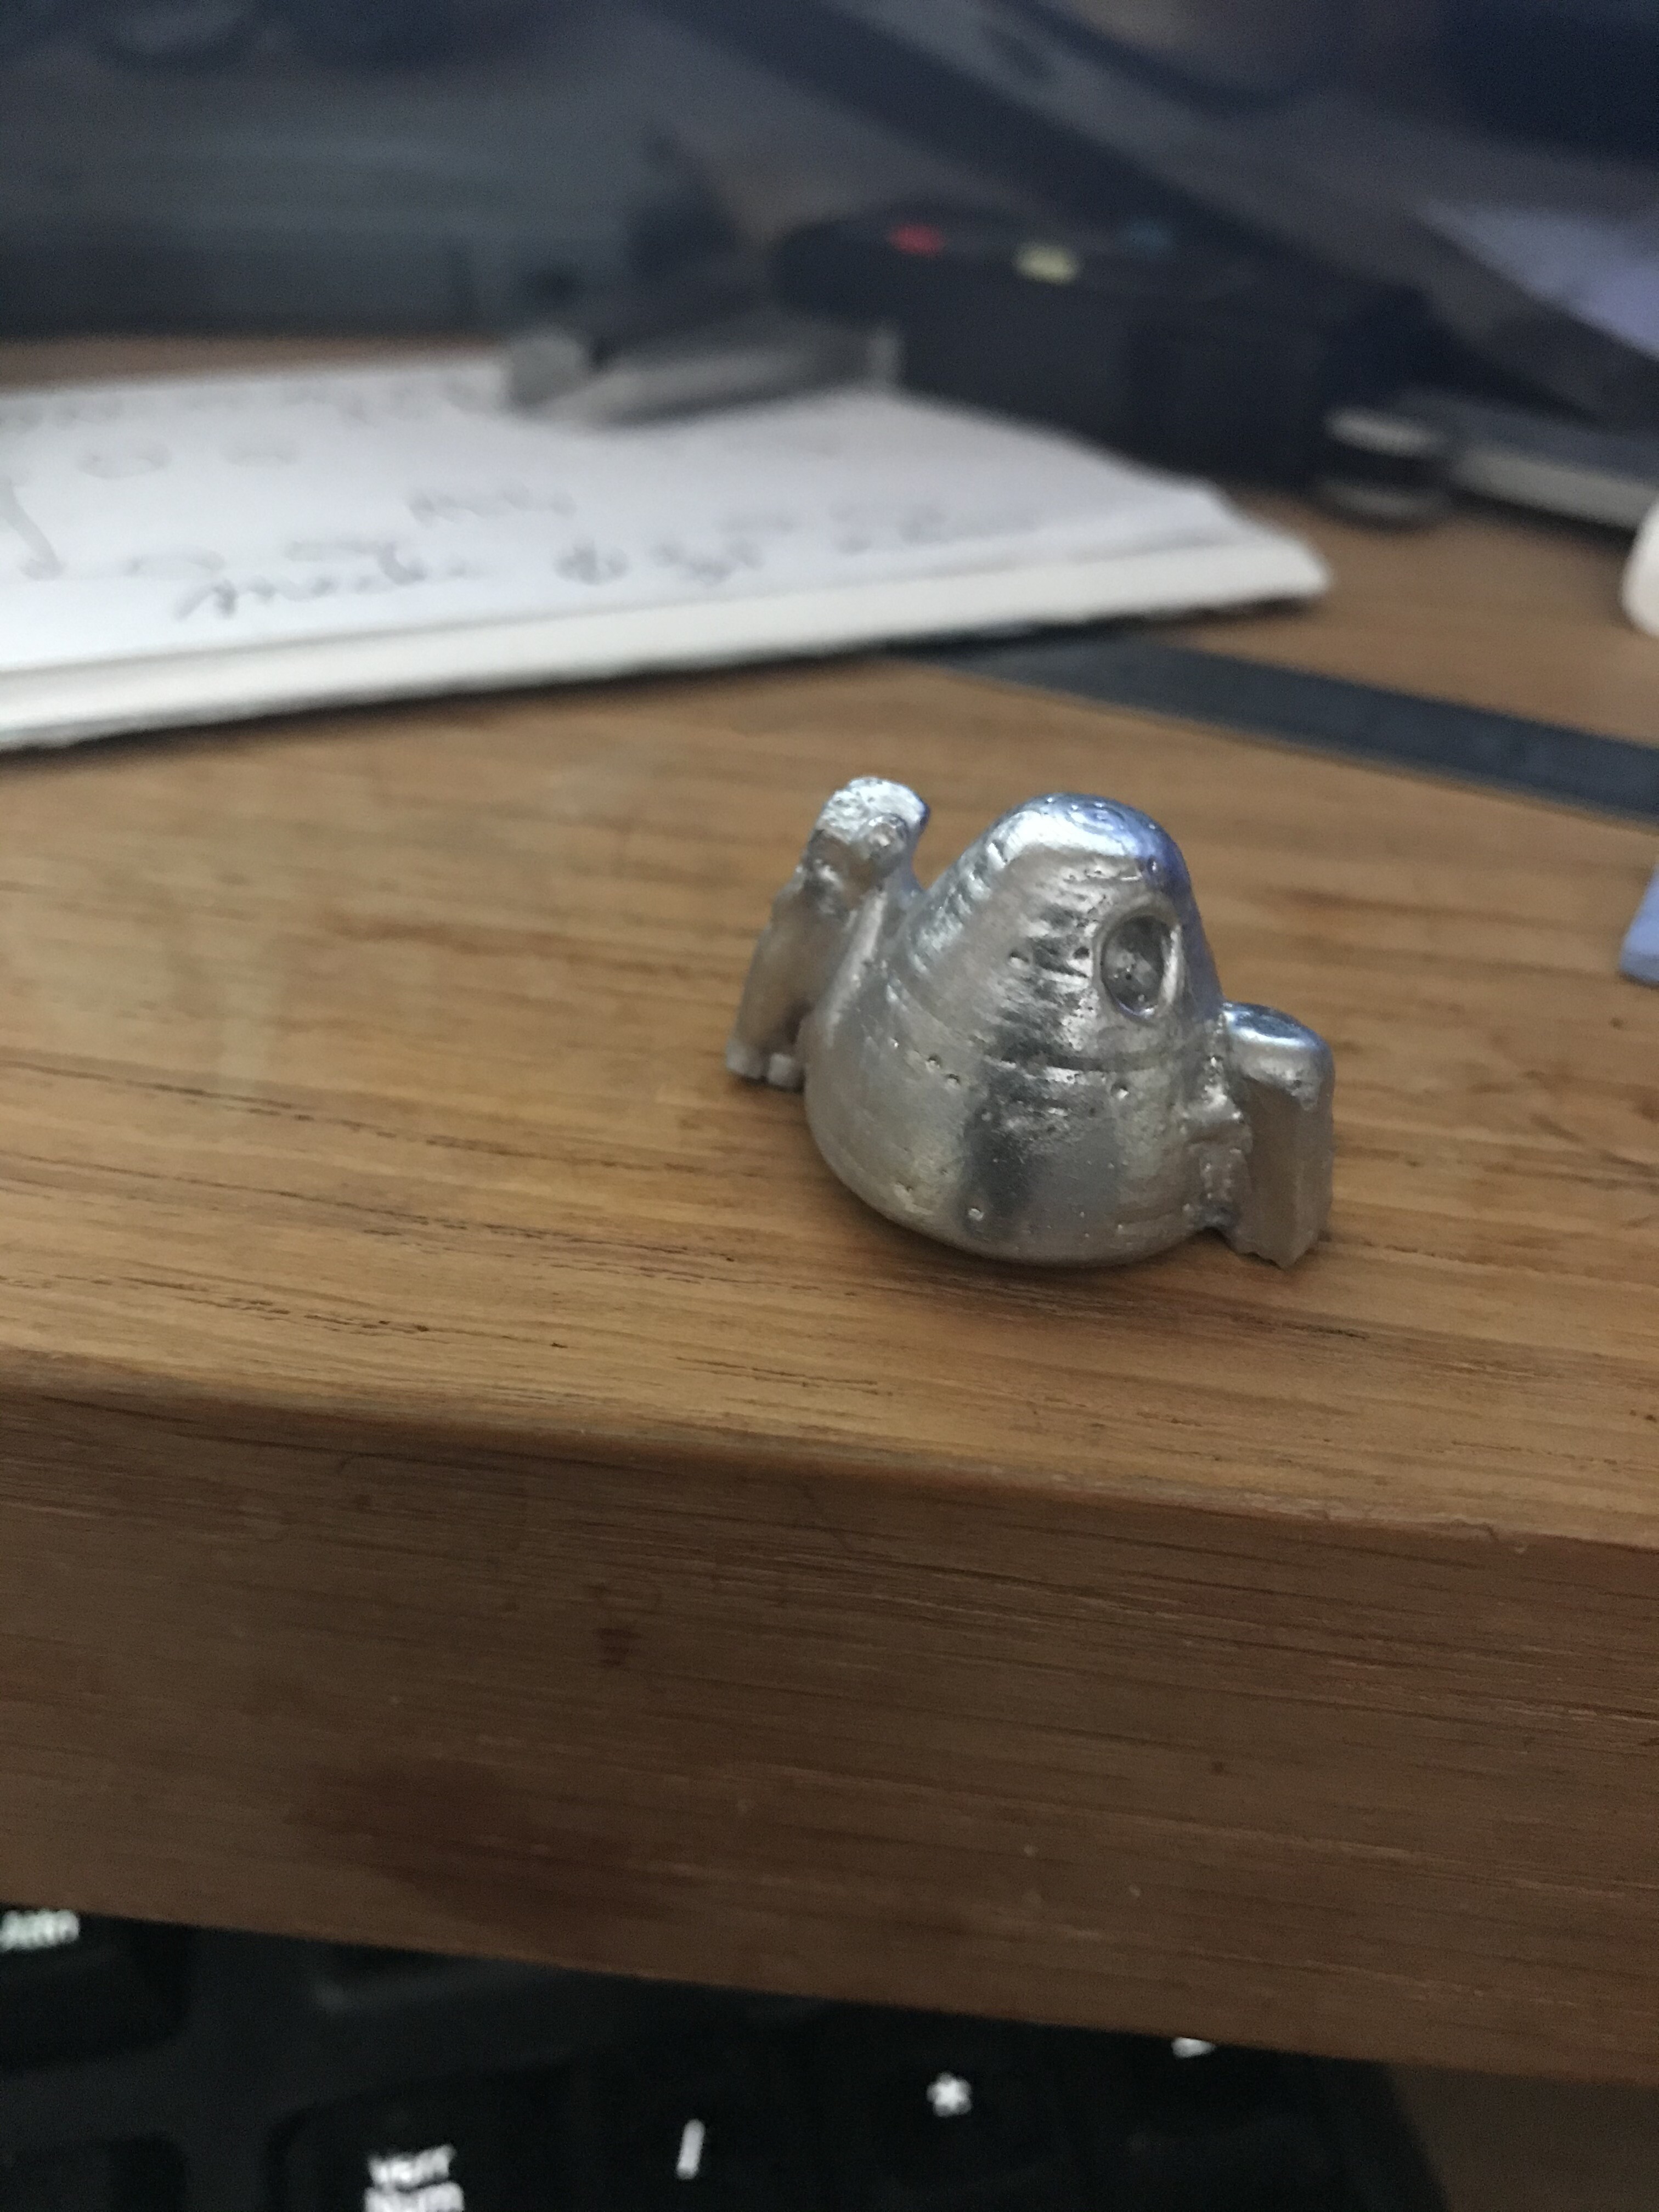
Does anyone here know who made the efoil flipsky.stl ? (the nose cone in post #12)

I would like to have the water inlet part (part that connects to the hose in the mast) moved a little bit more backwards. Unfortunately I can not edit this file.

Anyone here who can do this for me?

Thank you.

1 Like

At least 20 characters

1 Like

but the waterintake is not from me.
I downloaded the STL and take a look.

I think it is totaly on the wrong position.
Or the tube go outside there and looking in front, but than zou have problems with the screw.
Did some one print that adaption and test it?

1 Like

We printed it. If fits perfect. Only problem is that the exiting hole (going to the hose) is to far forward for our mast.