FS65161 motor mounts for Gong V1 and V2 masts

Hi!

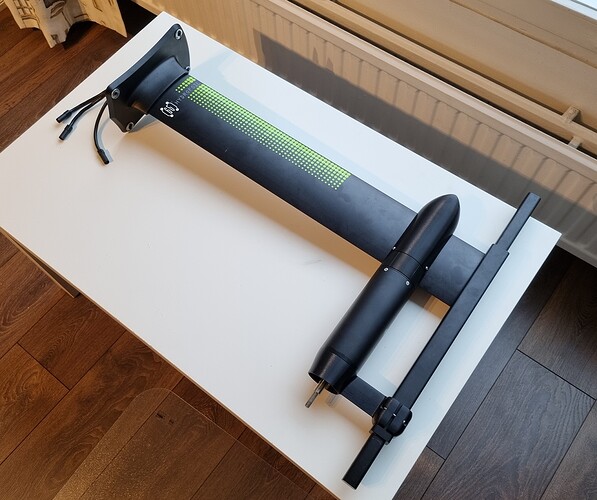
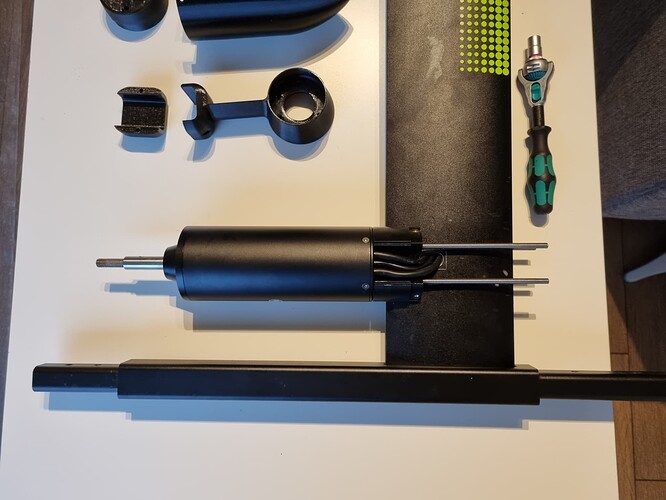
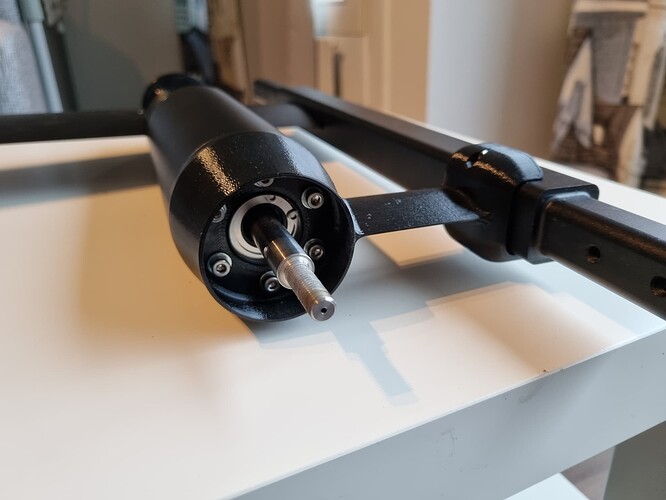
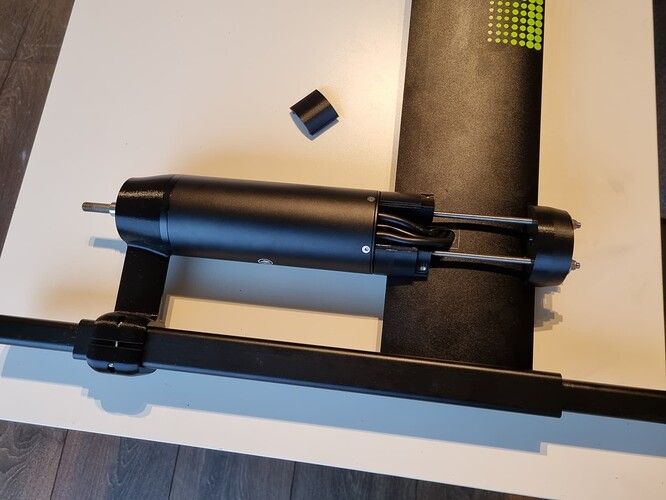
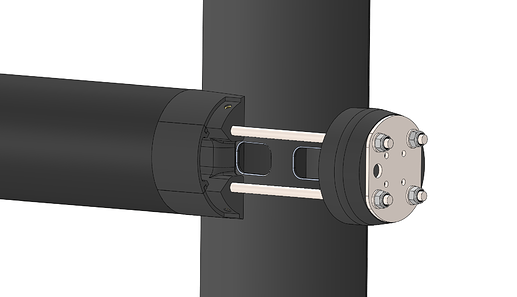
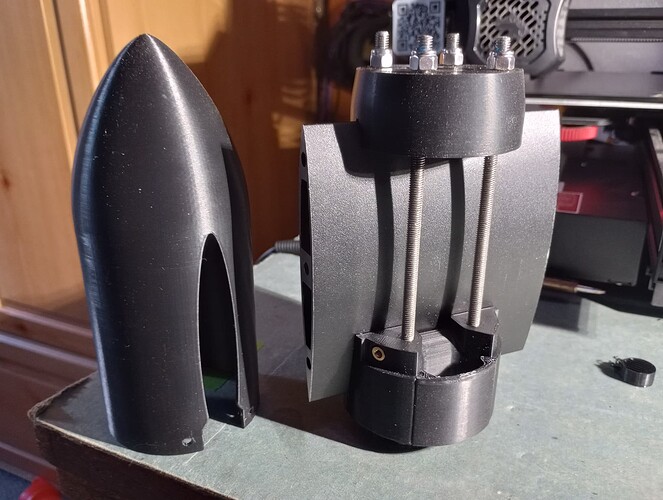
I would like to share my FS65161 motor mount for the Gong V1 mast, that I created for my own eFoil build. This motor mount can be assembled without removing the motor wires from the mast. It supports a few additional features, such as water cooling, reinforcements and ducts. More about those in the second post.

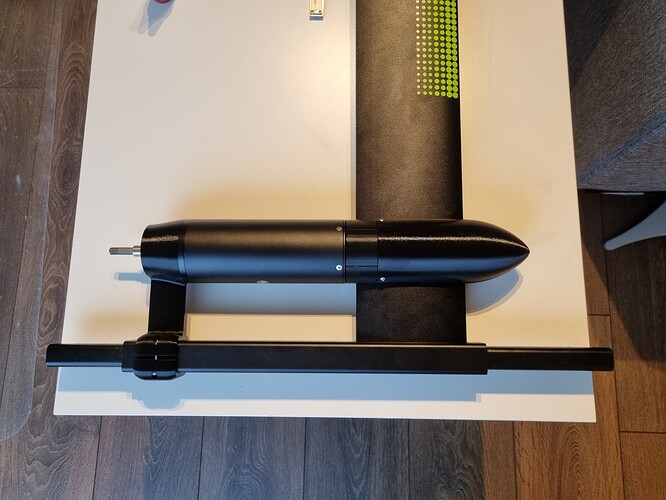
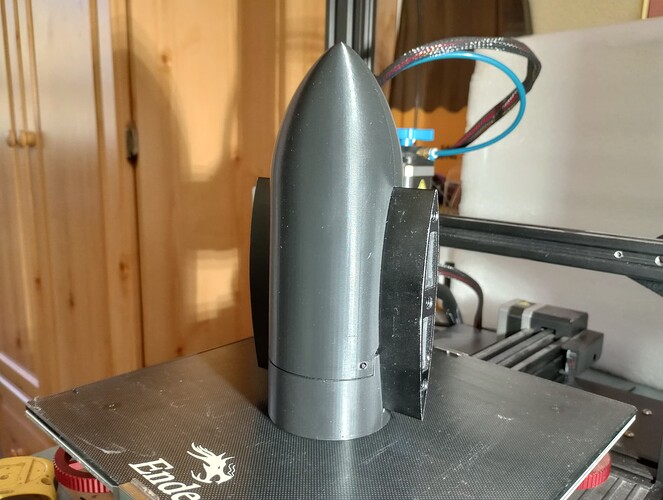
I have been running this base setup for the past summer, and it has worked great! It is absolutely solid, with excellent efficiency thanks to the smooth profile. I am using a 6" FR prop with it.

Here are the assembly instructions for anyone who would like to try it!

Download
The 3D print STL files and the reinforcement plate DXF are available here:
Thingiverse FS65161 Gong V1 mast motor mount

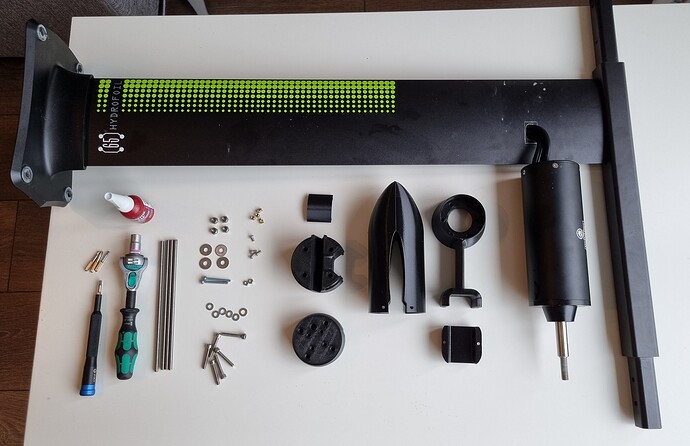
BOM

3D printed parts

  • 1x Nose cone
  • 1x Fore mast clamp
  • 1x Aft mast clamp
  • 1x Tail support
  • 1x Tail support clamp (tail support stl has this included)

Hardware for the motor foil mount

  • 4x M5 nylock nut
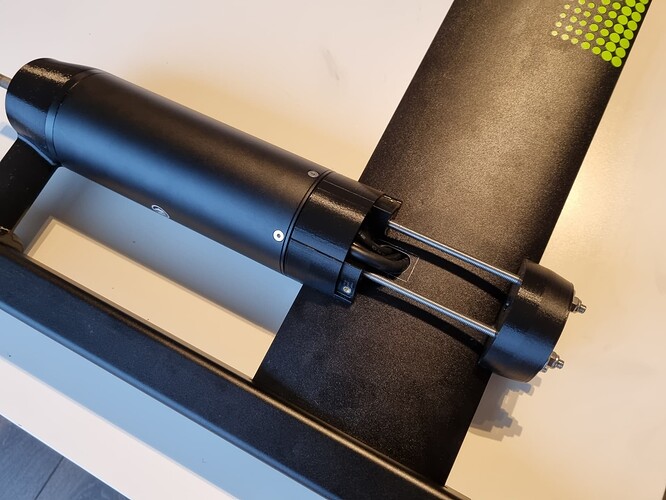
  • 4x M5 threaded rod cut to 155mm. Clean the threads with an M5 die or a needle file. Stainless likes to seize if it’s even a little bit off spec
  • 4x M5 fender washers
  • 4x M3x6 button head socket cap screws
  • 4x M3 brass thread insert

Hardware for the motor back support

  • 6x M4x25 socket head cap screws
  • 6x M4 washers
  • 2x M3x30 socket cap head screws
  • 2x M3 nuts

Tools

  • 8mm socket and driver, preferably with a straight handle to prevent overtightening the mount
  • 3mm, 2.5mm and 2mm hex drivers
  • Locktite 242 or equivalent
  • Soldering iron (for threaded inserts)
  • Needle file/utility knife/similar debur tool

Instructions

  1. All of the screws should be stainless. The prints should be made from PETG, I used 0.25mm layer height, 5 perimeters, 3 top and bottom layers, 40% triangular infill. You can sand and paint the prints to optimize the water flow efficiency.

  2. Make a cutout in the mast for the wires. Wires should be routed through the rear channel in the mast. Mock up with the foil mount parts to find the correct height for the cutout. Route the wires through the mast now or just before installing the nose cone. I prefer the latter. However, I am upgrading this motor mount for myself so I had the wires already routed at this point.

  3. Overview

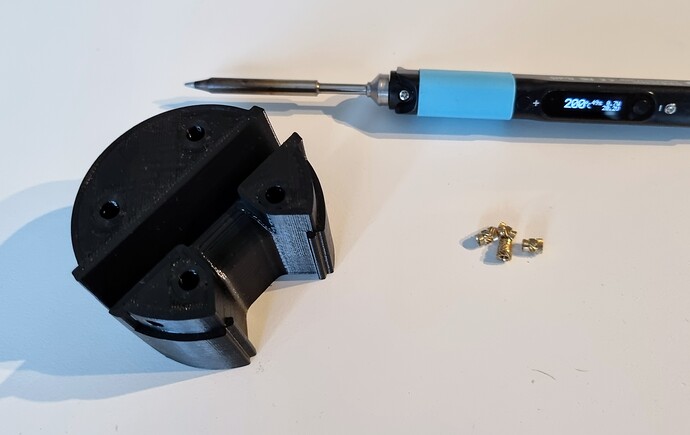
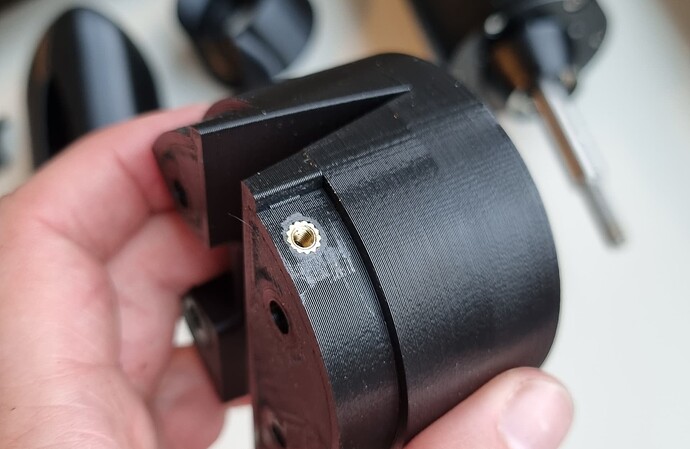
  1. Install the threaded inserts into the aft mast clamp. If you have an adjustable temp soldering iron, I prefer about 200c-250c. Insert installation often lifts a burr. Trim with a utility knife or a needle file.


  1. Install the M5 threaded rods into the motor with locktite. Slip on the aft mast clamp as well, so that it’s captured by the threaded rods.

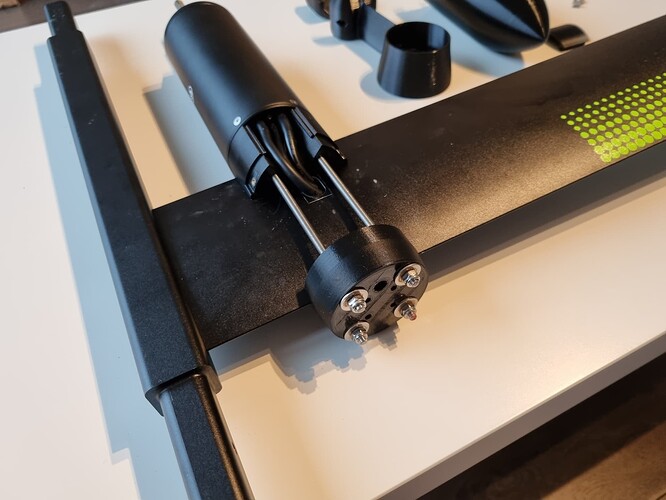
  1. Slip on the fore mast clamp and the M5 washers, secure LOOSELY with the M5 nylocks. The use of the reinforcement plate is optional, mount it between the front printed piece and the washers if you have it. If you plan to use water cooling, make sure that you put the silicone tube hole on the desired side. Either side will work.

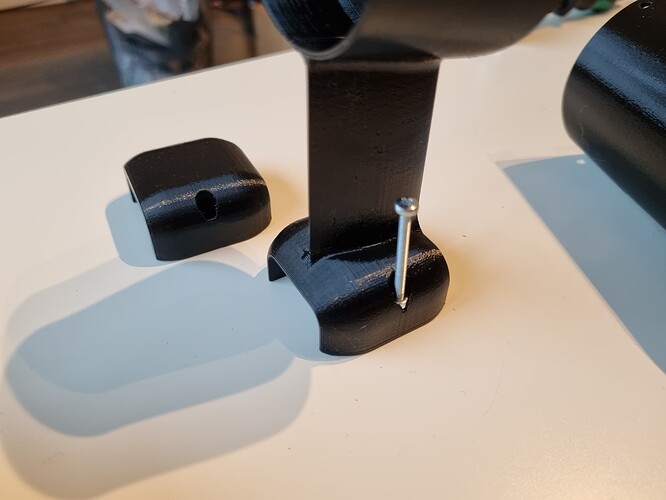
  1. Install the M3 nuts into the motor tail support. It is helpful to guide them in from the top by using one of the 30mm M3 bolts as shown.

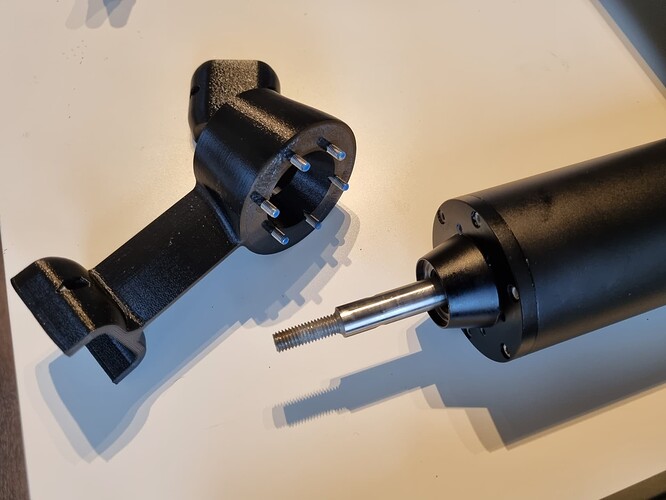
  1. Install the motor tail support onto the back of the motor. Tighten in a cross pattern


  1. Install the motor tail support U-clamp with the 30mm M3 bolts. Tighten only loosely at this point

  2. Finalize the motor alignment (make it parallel with the fuselage), tighten the front M5 nylocks and the tail support M3 bolts to secure the motor. The front M5 nuts should be snug, but not super tight. Tighten them in an even cross pattern.

  1. Snap on the motor wire cover

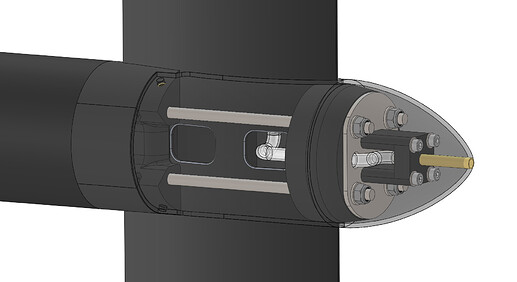
  1. Mount the nose cone with the M3x6 screws. I skipped washers to keep the screws low profile for best efficiency.

  1. Enjoy!

  2. If you are happy with the motor mount, consider sending me some coffee money via PayPal Donate :slight_smile:

22 Likes

This second post is reserved for goodies/mods that can be used with my mast motor mount design. I did not use any of these for the past summer, and the motor mount worked great. However, some of these may be useful. Take a look and you might find something you like. Not all of these are completed / tested yet. I will update the status for each mod when my own testing progresses. If you are interested in something that’s not released yet, let me know and I will probably prioritize it. I may also give unreleased STLs for testing.

Reinforcement plate - Status: Released

The reinforcement plate will add stiffness to the motor mount. It’s especially useful if you plan on crashing your eFoil often… Just kidding. Additional strength in the motor mount is always a bonus, especially as this plate is very lightweight. I recommend to laser cut it from 1-2mm thick stainless steel. If that’s not available, I recommend 3mm aluminium. I suppose it’s also possible to print out the DXF shape on paper, trace it on a metal sheet and manually cut it out.

The test plates I ordered are currently waiting for production, but I feel that the design is simple enough that I can comfortably release it. The DXF is available in the Thingiverse download page.

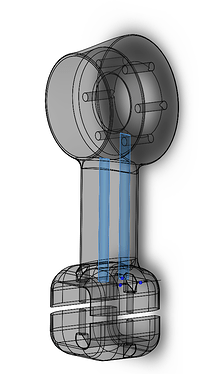
CF tube reinforced motor tail support - Status: Design complete. CF tubes ordered

The idea here is to use two OD=5mm rolled CF tubes to add stiffness to the motor tail support. The tubes will be glued in place with polyurethane resin or epoxy. I ordered the CF tubes, and I will test the assembly when they arrive.

Water cooling inlet - Status: Minor design work required before testing

On the back burner at the moment. I will finish the design and test the assembly during winter, since my friend wants one for his eFoil. This requires a nose cone with a hole in it. The reinforcement plate is compatible, but not required with this mod.

6" Prop shroud, inspired by Hiorth and sbender05 - Status: designed, testing ongoing

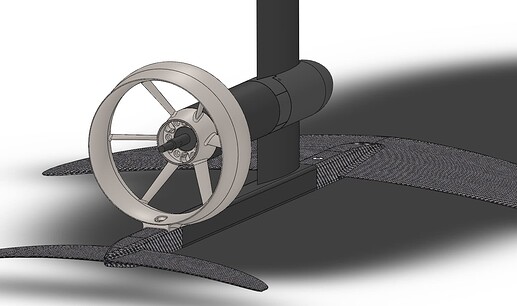
This prop shroud is sized to fit a FR 6" or similarly sized propeller. The original design is by Hiorth, who released the files at GrabCAD. Then sbender05 requested me to make some modifications to it. While doing the mods, I re-modeled the duct as a parametric CAD file, which allowed me to integrate it nicely with my motor mount design. It mounts to the fuselage by using the rear wing mount threads, with a few millimeters longer M6 bolt than the original Gong M6 CSK.

10 Likes

Hi, @ jkoljo, very nice design and thank you. might it fit my 65161?

1 Like

Absolutely! I had a typo there, sorry about that. This is designed specifically for the super popular Flipsky FS65161 motor :slight_smile:

https://flipsky.net/products/brushless-sensored-motor-amphibious-fully-waterproof-motor-65161-120kv-6000w-for-efoil-ejet-boards-ebike

Nice work—I think with this construction you could even skip the support, this would reduce drag.

1 Like

Thanks! And I agree. Especially with the reinforcement plate, I would be ok with skipping the tail support. You may also consider printing the mast clamp with a high or solid infill. That should make it very robust.

Beautiful design. Thanks for posting!

The Gong and 65161 seem to be a very popular combination making this thread even more useful. Out of curiosity…what VESC are you using?

1 Like

Thanks! I am using the MakerX Hi200 75V at the moment. I used the Flipsky FSESC 75200 for most of the summer, but it recently failed with phase current offset faults. Turns out the problem was a weak solder joint in one of the PCB interconnecting pin headers. I fixed it so now I have a spare VESC.

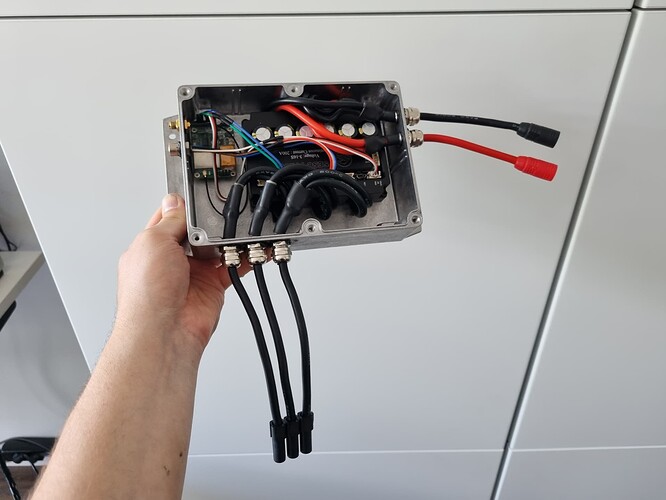
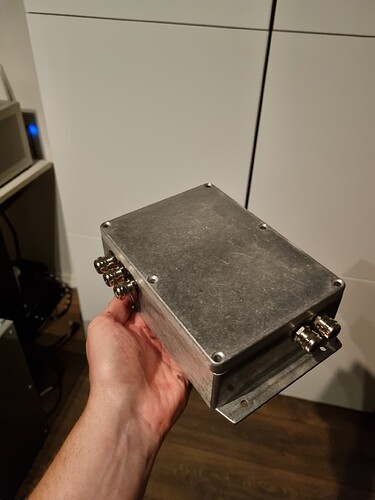
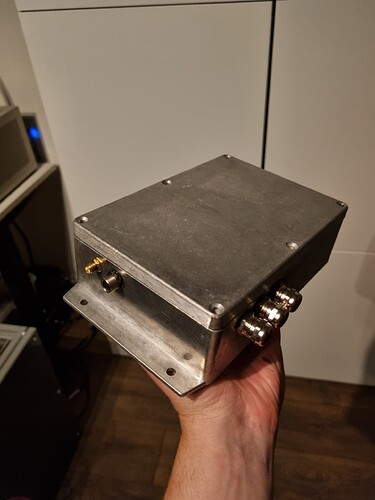
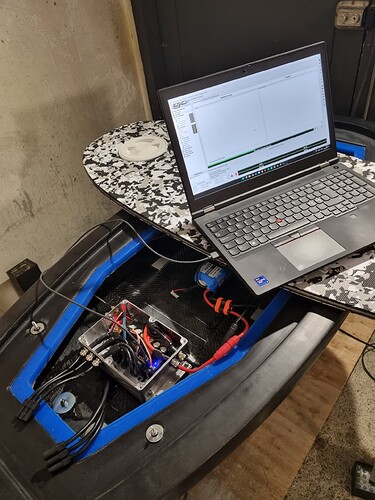
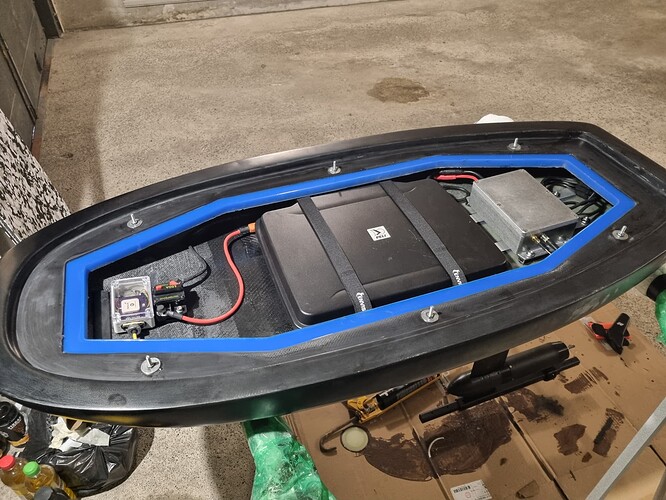
I have mounted the VESC with double sided thermal tape in a waterproof aluminum box. No extra cooling required. The box also houses the receiver. SMA and industrial 4p M8 connectors bring CAN telemetry and the RF antenna to the front of the board.

The VESC usually gets up to 40c during extended rides. If I have a friend learning with the board and having multiple long takeoffs that consume a lot of power, it may go up to 55c, which is still acceptable imo.

Here are a few in progress pics of my board. The battery is a 14S7P LG M50LT in a Pelican case. I’ll make a thread about the build some day.


9 Likes

@jkoljo Thank you for sharing.
Looking forward to learn more about it!

1 Like

I added some details to the second post, detailing the mods I have planned for the mount. Most of these mods are in testing stages. Let me know if you would like me to prioritize some of these. I am also looking for a tester for the duct.

1 Like

Beautiful design!

I’m happy to test a duct for you…but I’m in Colorado so I only have about a month left before the lake is simply too cold. Right now, I’m foiling pretty much every day as my ski boat is out of the water.

Thanks! I’ll send you a PM.

Hi, @jkoljo, printed most of your designs with PLA plus 40 and 80% infill. Will print the tail support soon and wondered if the mounting height of the motor is the same as the prop shroud? maybe swap out some day? I have some PTEG on the way. the prints are very nice fit. Thank you again for such a well presented offering to the group.


1 Like

Thank you very much for the feedback! It’s great to see that the fitment can be reproduced. The motor tail support and the shroud are both equally tall, so you can swap between them quite easily.

Very nice! Will print it and test to use on my tow boogie!

1 Like

Nice mast clamp!
What type of blue gasket is used for the seal?
Thanks

1 Like

Thank you! The blue stuff was silicone, that didn’t work too well. I think it was too stiff to seal properly. It was also a bit heavy. I changed it to an industrial EPDM multi groove seal, which works nicely.

I used this Finnish brand, but I am sure that you can find equivalent stuff at your local hardware store RK Yleistiiviste Teollisuus - Rakennuskemia

Thank you, I am also on KISO gasket that works well … so I will stay on my gasket. Thanks

1 Like

Hi Juha, I just printed your motor mount and was very pleased with the result until I should mount it on my mast and I realized I does not fit. I have the V2 mast and checking back here I saw that you have the V1 :cry: If you would not mind I would happily modify your design for a V2 version of the mount as well. Would that be ok with you?

You should find your happiness here, in a @jeffM’s post
'Efoil V3 - STL files for Gong foil and Flipsky motor 12mm - Parts list - Schematics - #224 by jeffM