Did anyone create an F-one alu mast adaptor?
1 Like
I cast them just as they sit in the picture. @hangloose has a good description of the process earlier in this post.
2 Likes
@hangloose
Thanks i made it!!! Your work is amazing man.
Also working on f-one adaptor with the inspiration of yours. Will publish it once i print and make sure it fits.
2 questions
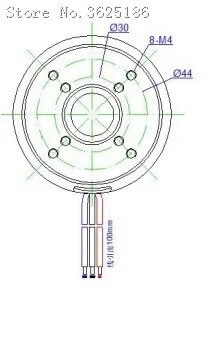
- What is the holes size and location i need to make for the motor screws
- When you sealing the stator did you remove the bottom cover or did you cast the epoxy with it
Thank you.
On my first motor I removed the stator from the stator plate to solder on larger cables.
But I cast it with a stator plate.
For the second motor I didn’t remove the stator plate and cast it straight away.
I would do it again at any time because it is much easier.
1 Like
I still didn’t get my motor, and I am trying to understand how to connect the prop to the motor, I have a 3d model for folding 3 props but it has 4 holes for connection, I was expecting shaft hole.
can you guys show me what you use as adaptor from the shaft?
There are different ways, either you print a prop that fits without shaft yourself, get a printed one from propellerking or you build an adapter for a commercially available prop. You need to fix the prop to the bell, normal 63xxx motors have the shaft on the wrong side for our application, it does not stick out at the bell end.
Here you find some ways people built a shaft adapter: Props for 6384/74 motors no shaft - #5 by Riversurfer
Here you find my solution: Daniels (un)geared inflatable (slowly built) - #55 by sat_be
4 Likes
That would be the third, but most difficult way, install an new shaft or modifiy the existing one so it sticks out on the bell side. The risk is to destroy the bell. If you need a shaft, the easiest way is the printed adapter with an M12 hex bolt, as described in the link above. The easiest way is a prop that can be screwed directly to the end bell.
1 Like
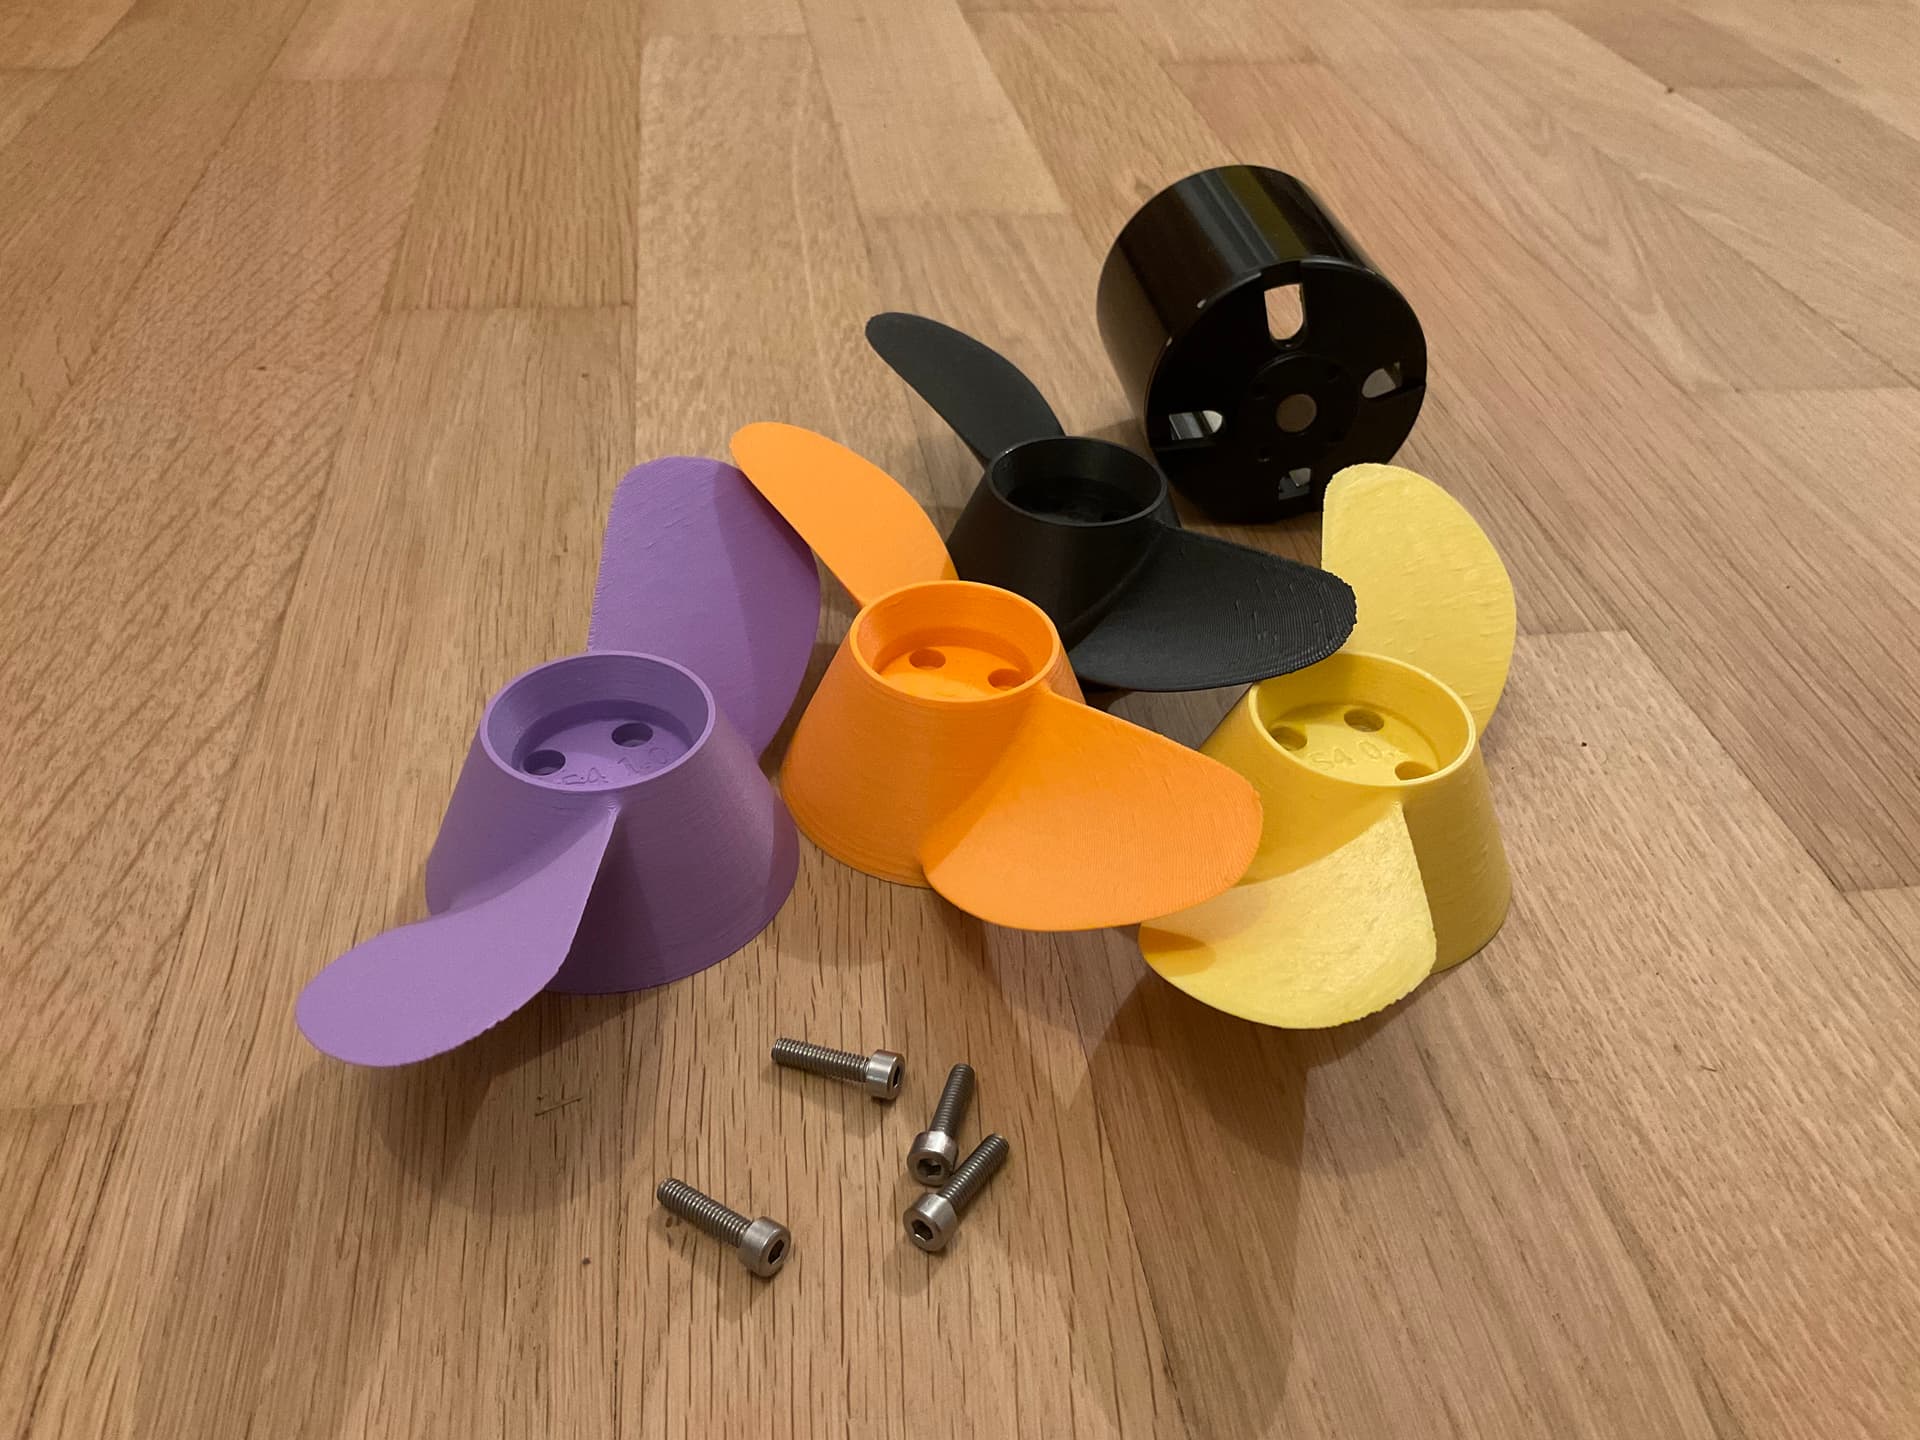
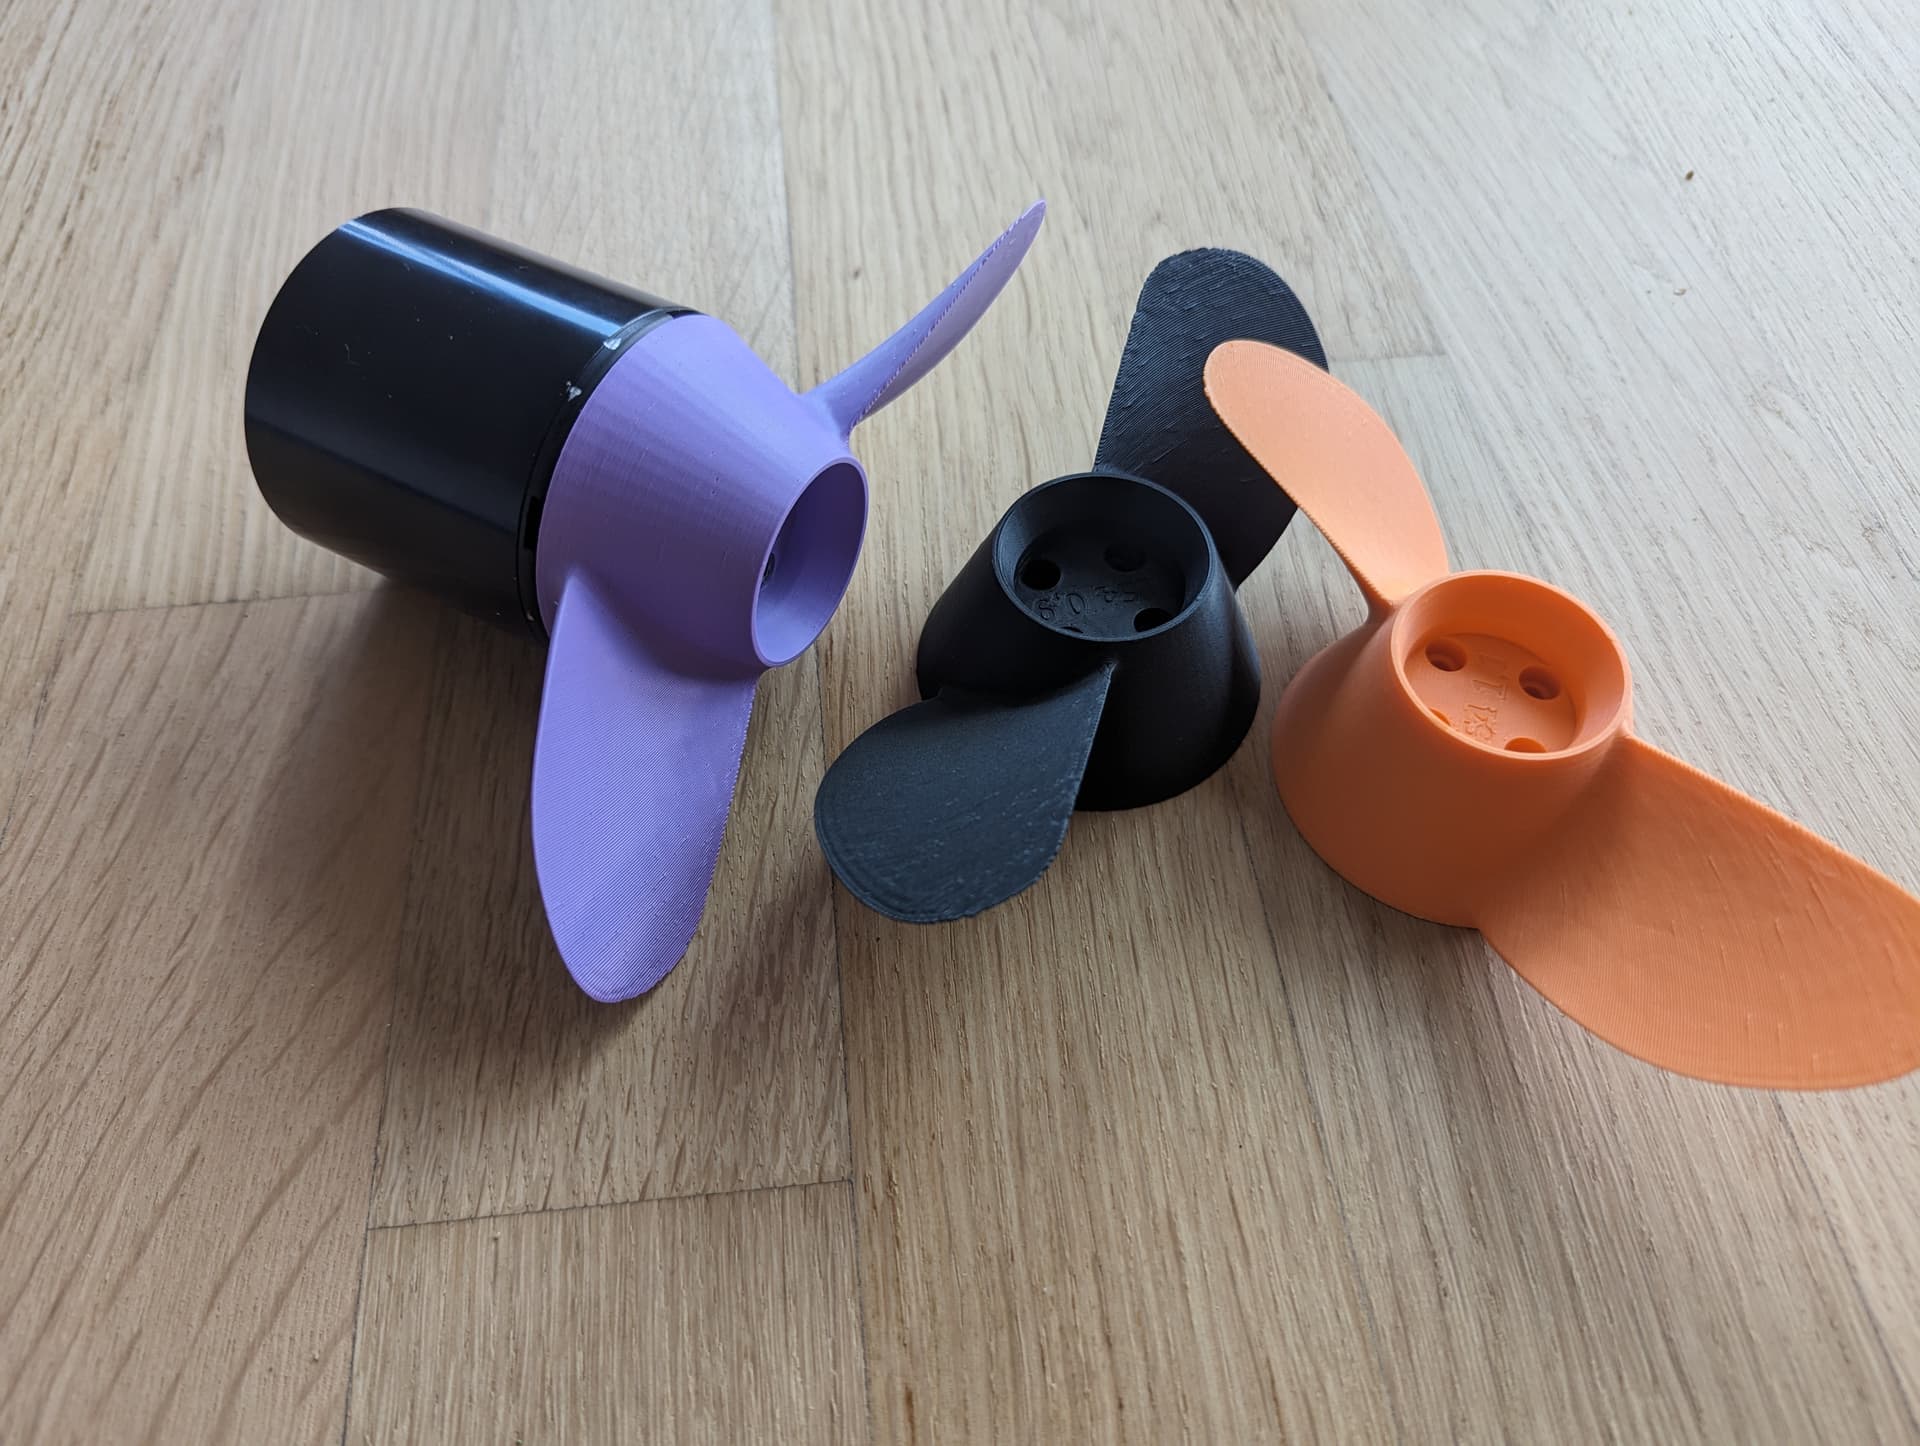
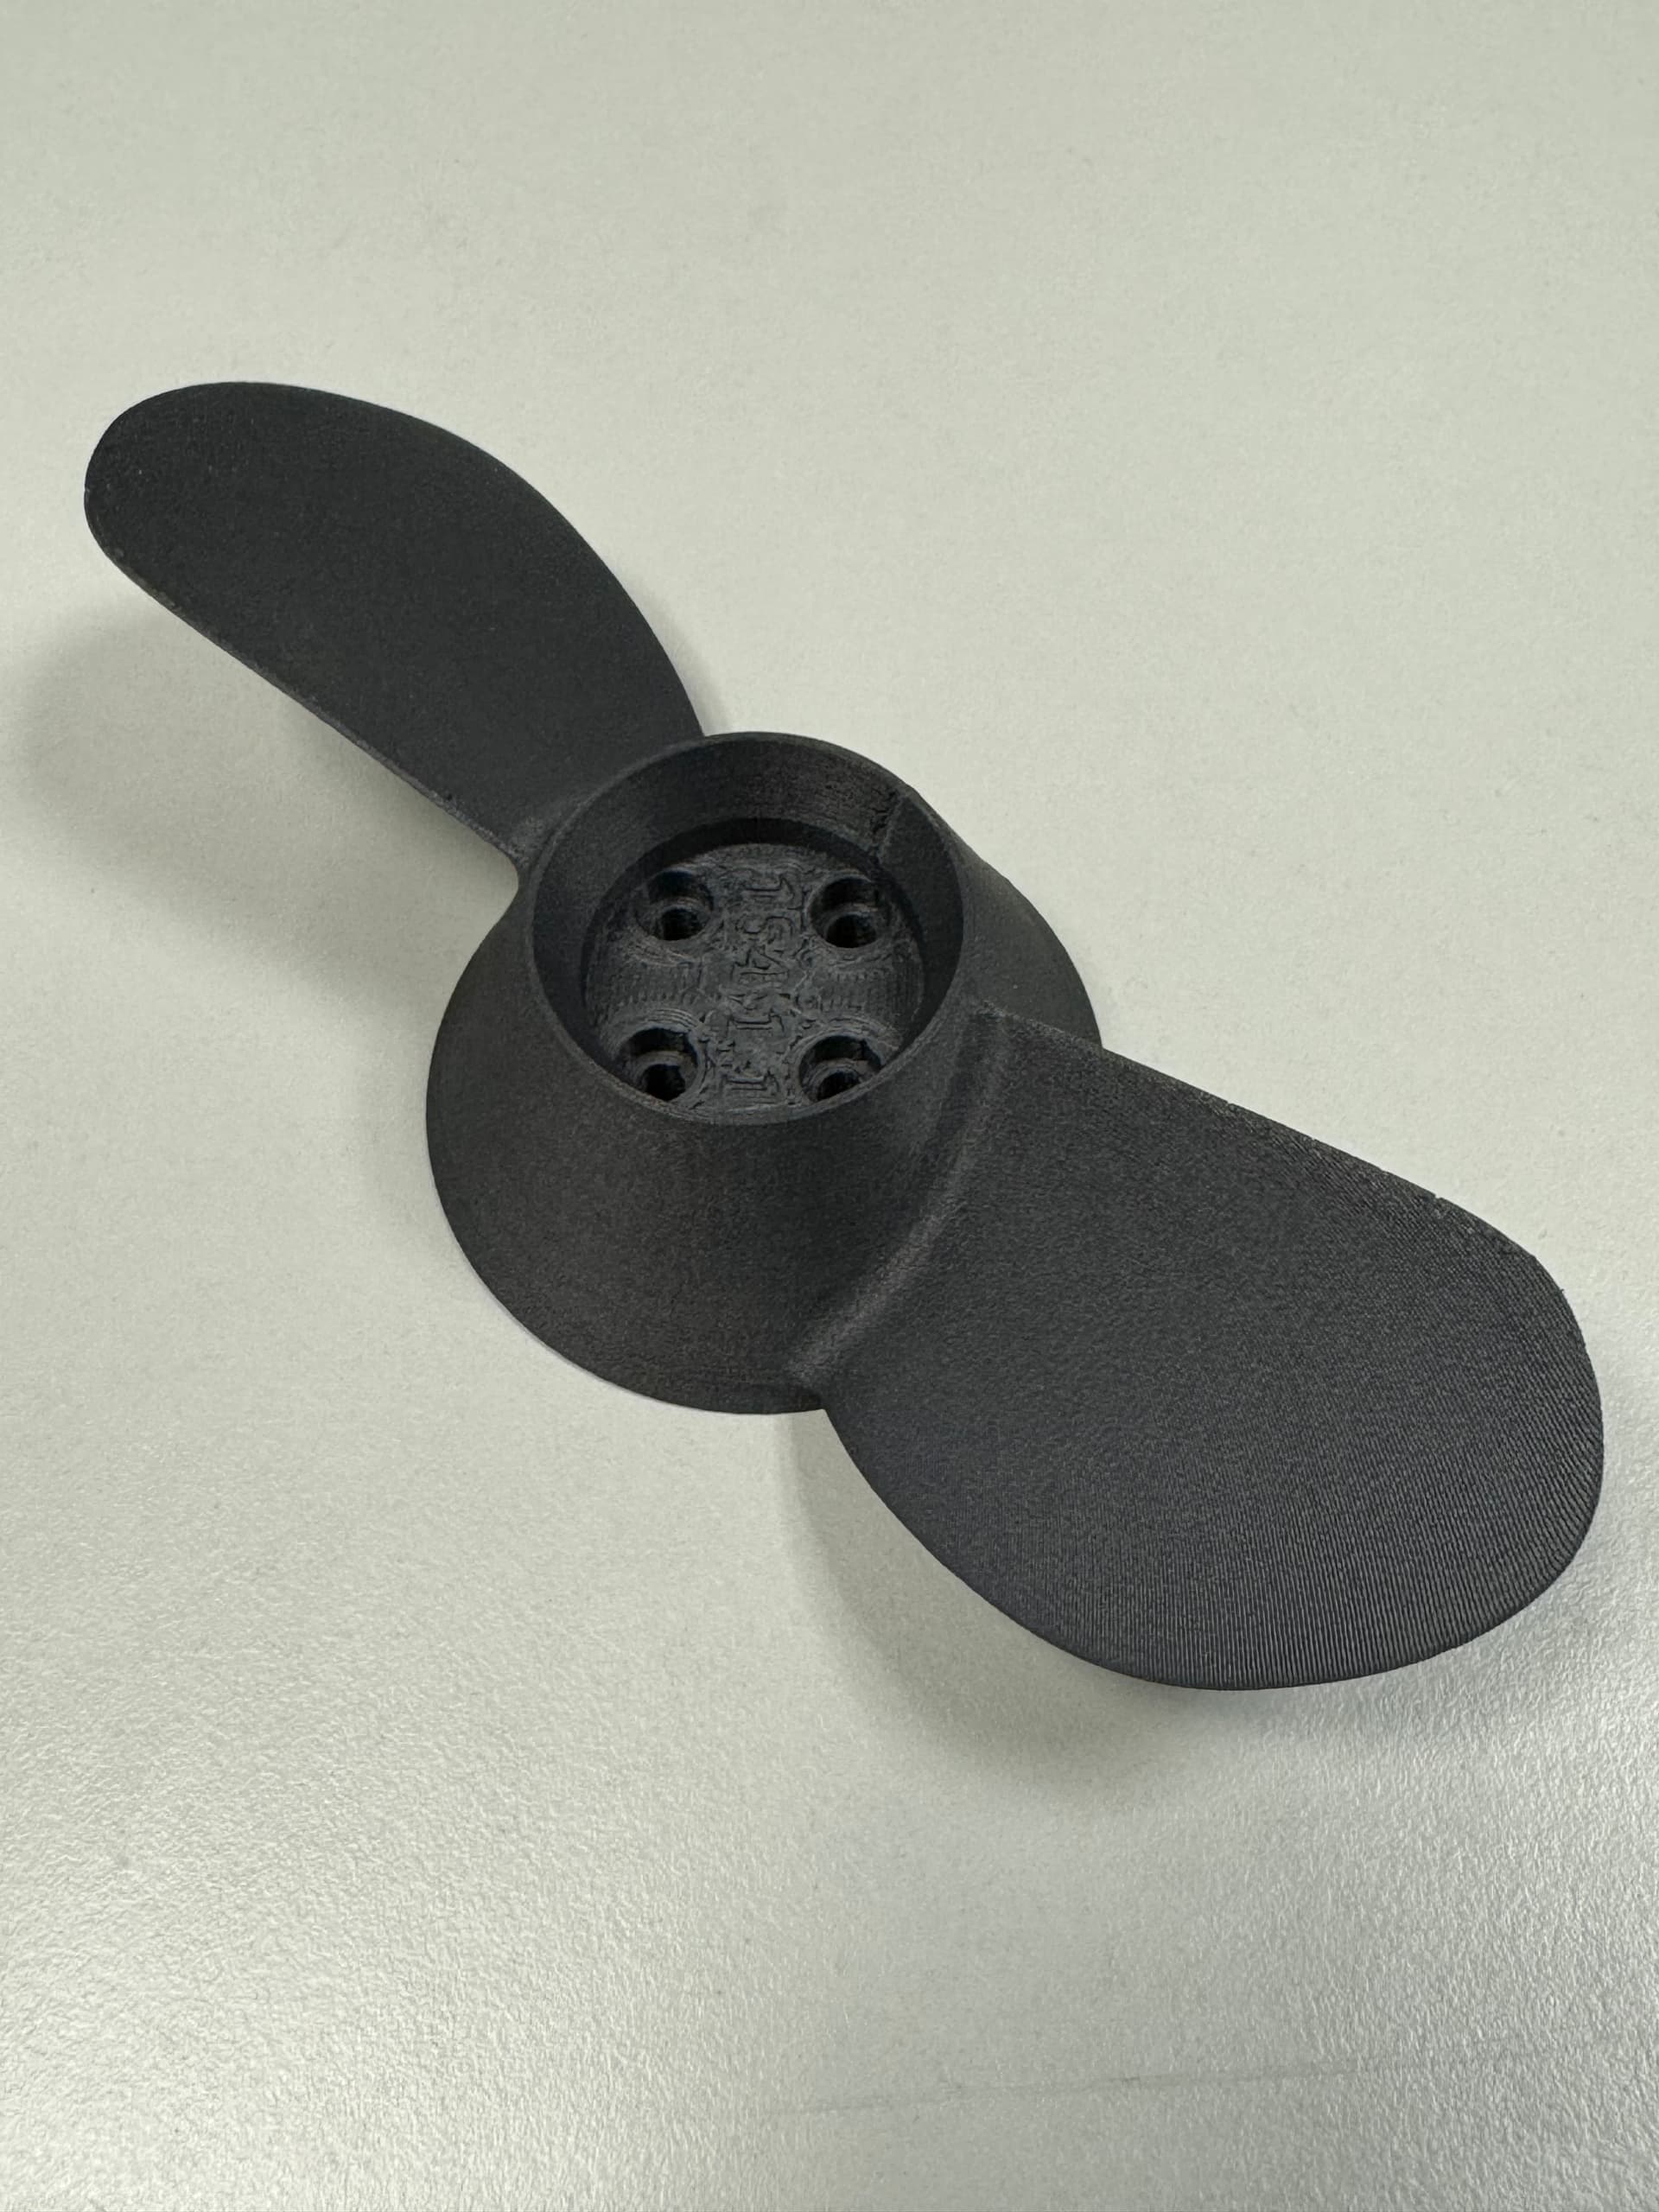
Kind of these ones…
Pitch varies from 90% to 110%
Print without Support, its included…
6Wall, 60%infill, 0,4 Nozzle, 0,6mm layerwidth
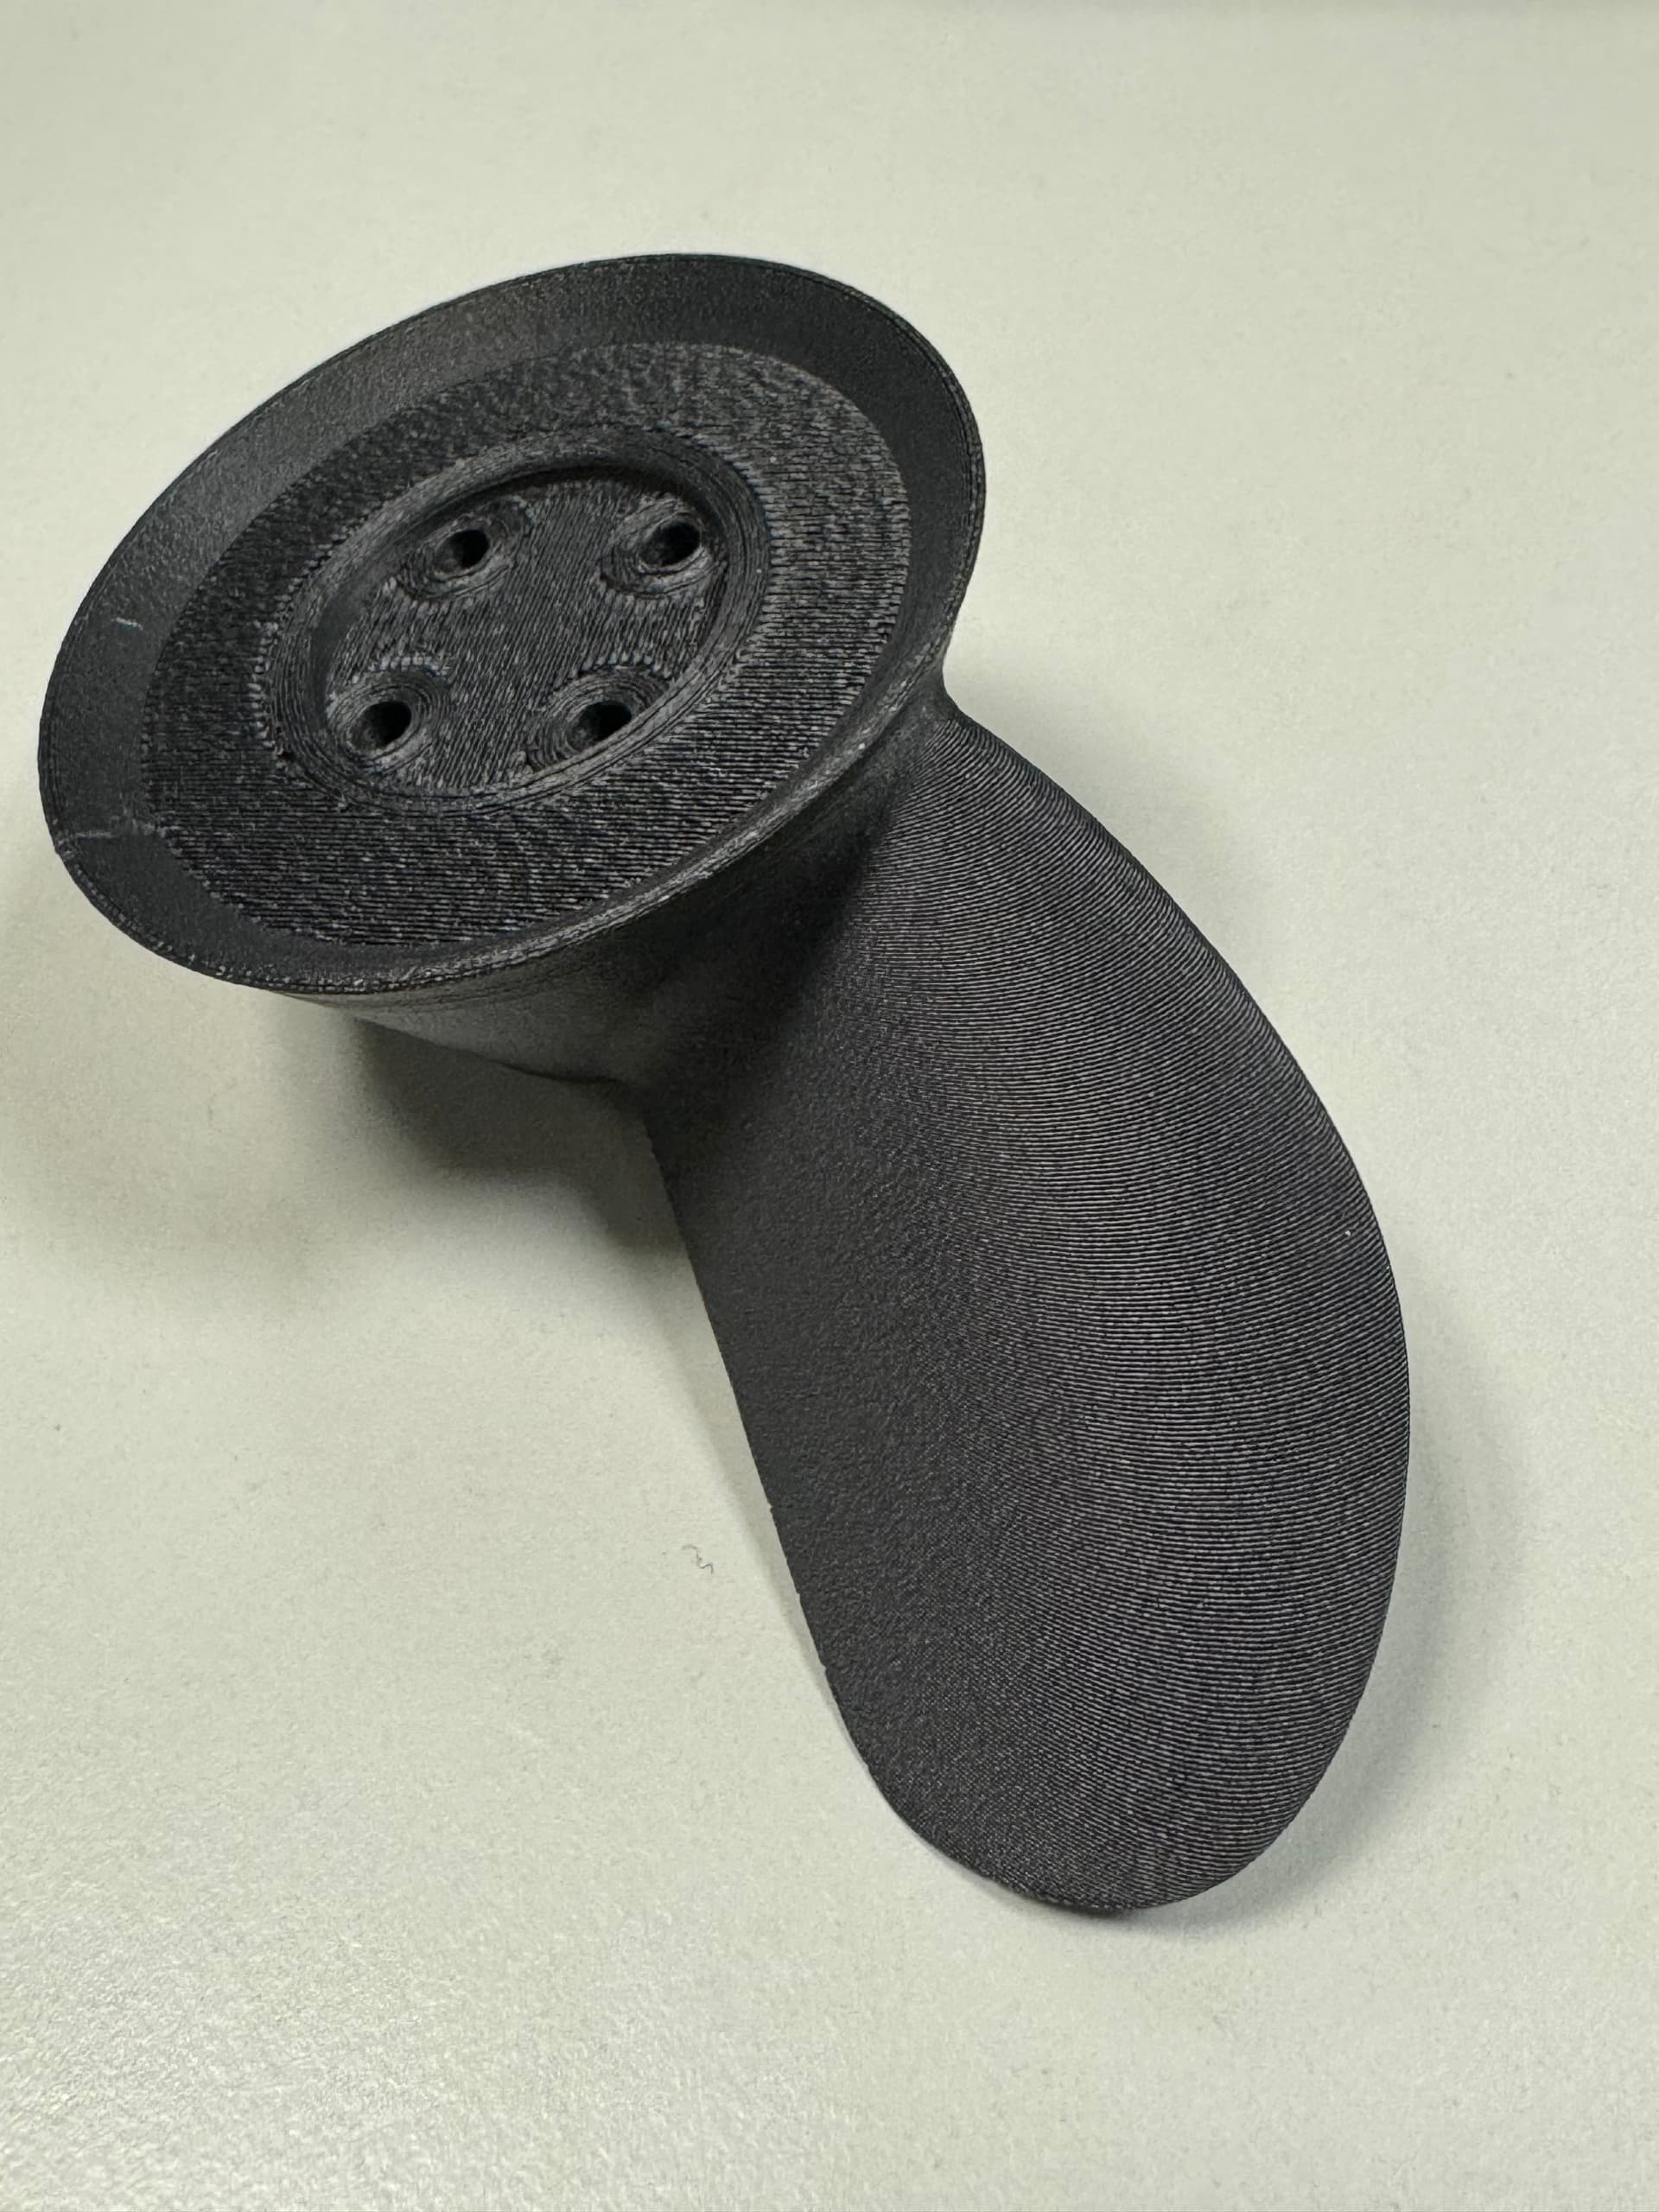
Or just search on makerworld
To get rid of the Support, get a screwdriver and give IT a smack through one of the holes
7 Likes
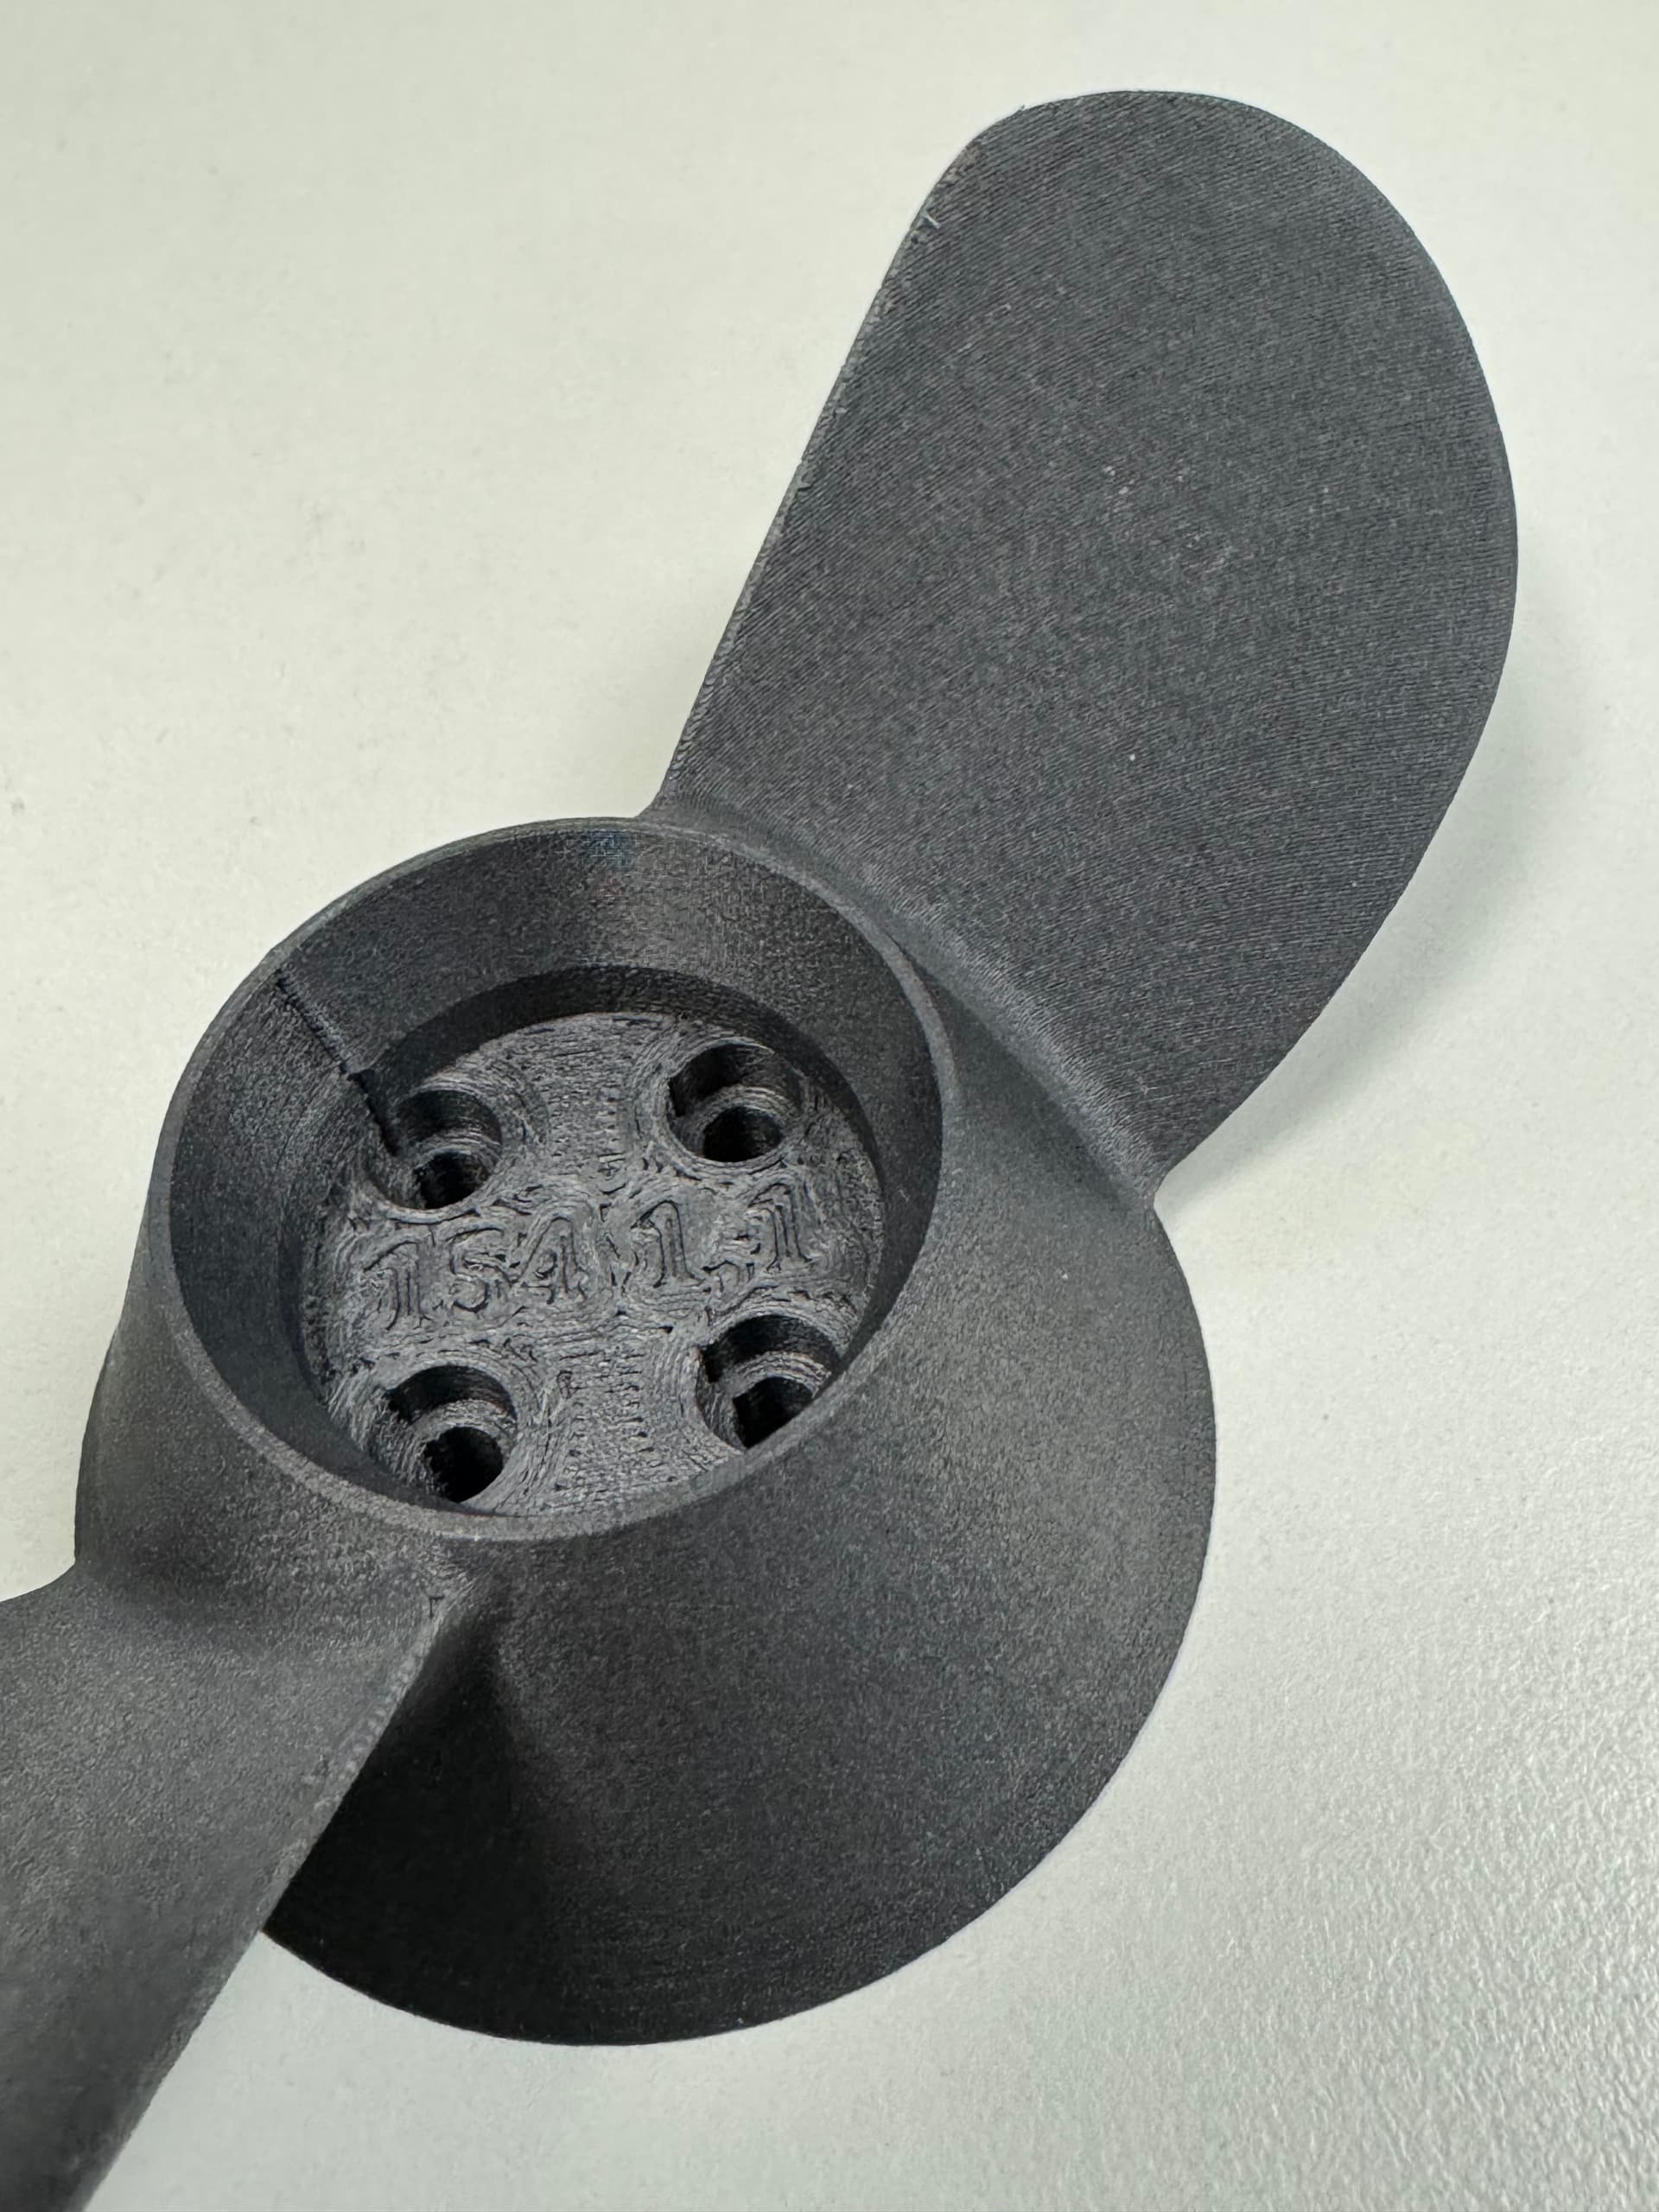
How much pitch is 0.9 / 1.0 / 1.1?
And why layer width 0.6mm?
Pitch varies from 90% to 110%
from diameter
1 Like
The 1.1 equals almost my 63100 Prop.
New version (better fitting mount):
The 1.0 and 0.9 have less Pitch, wich leads to less current and less Top Speed.
4 Likes
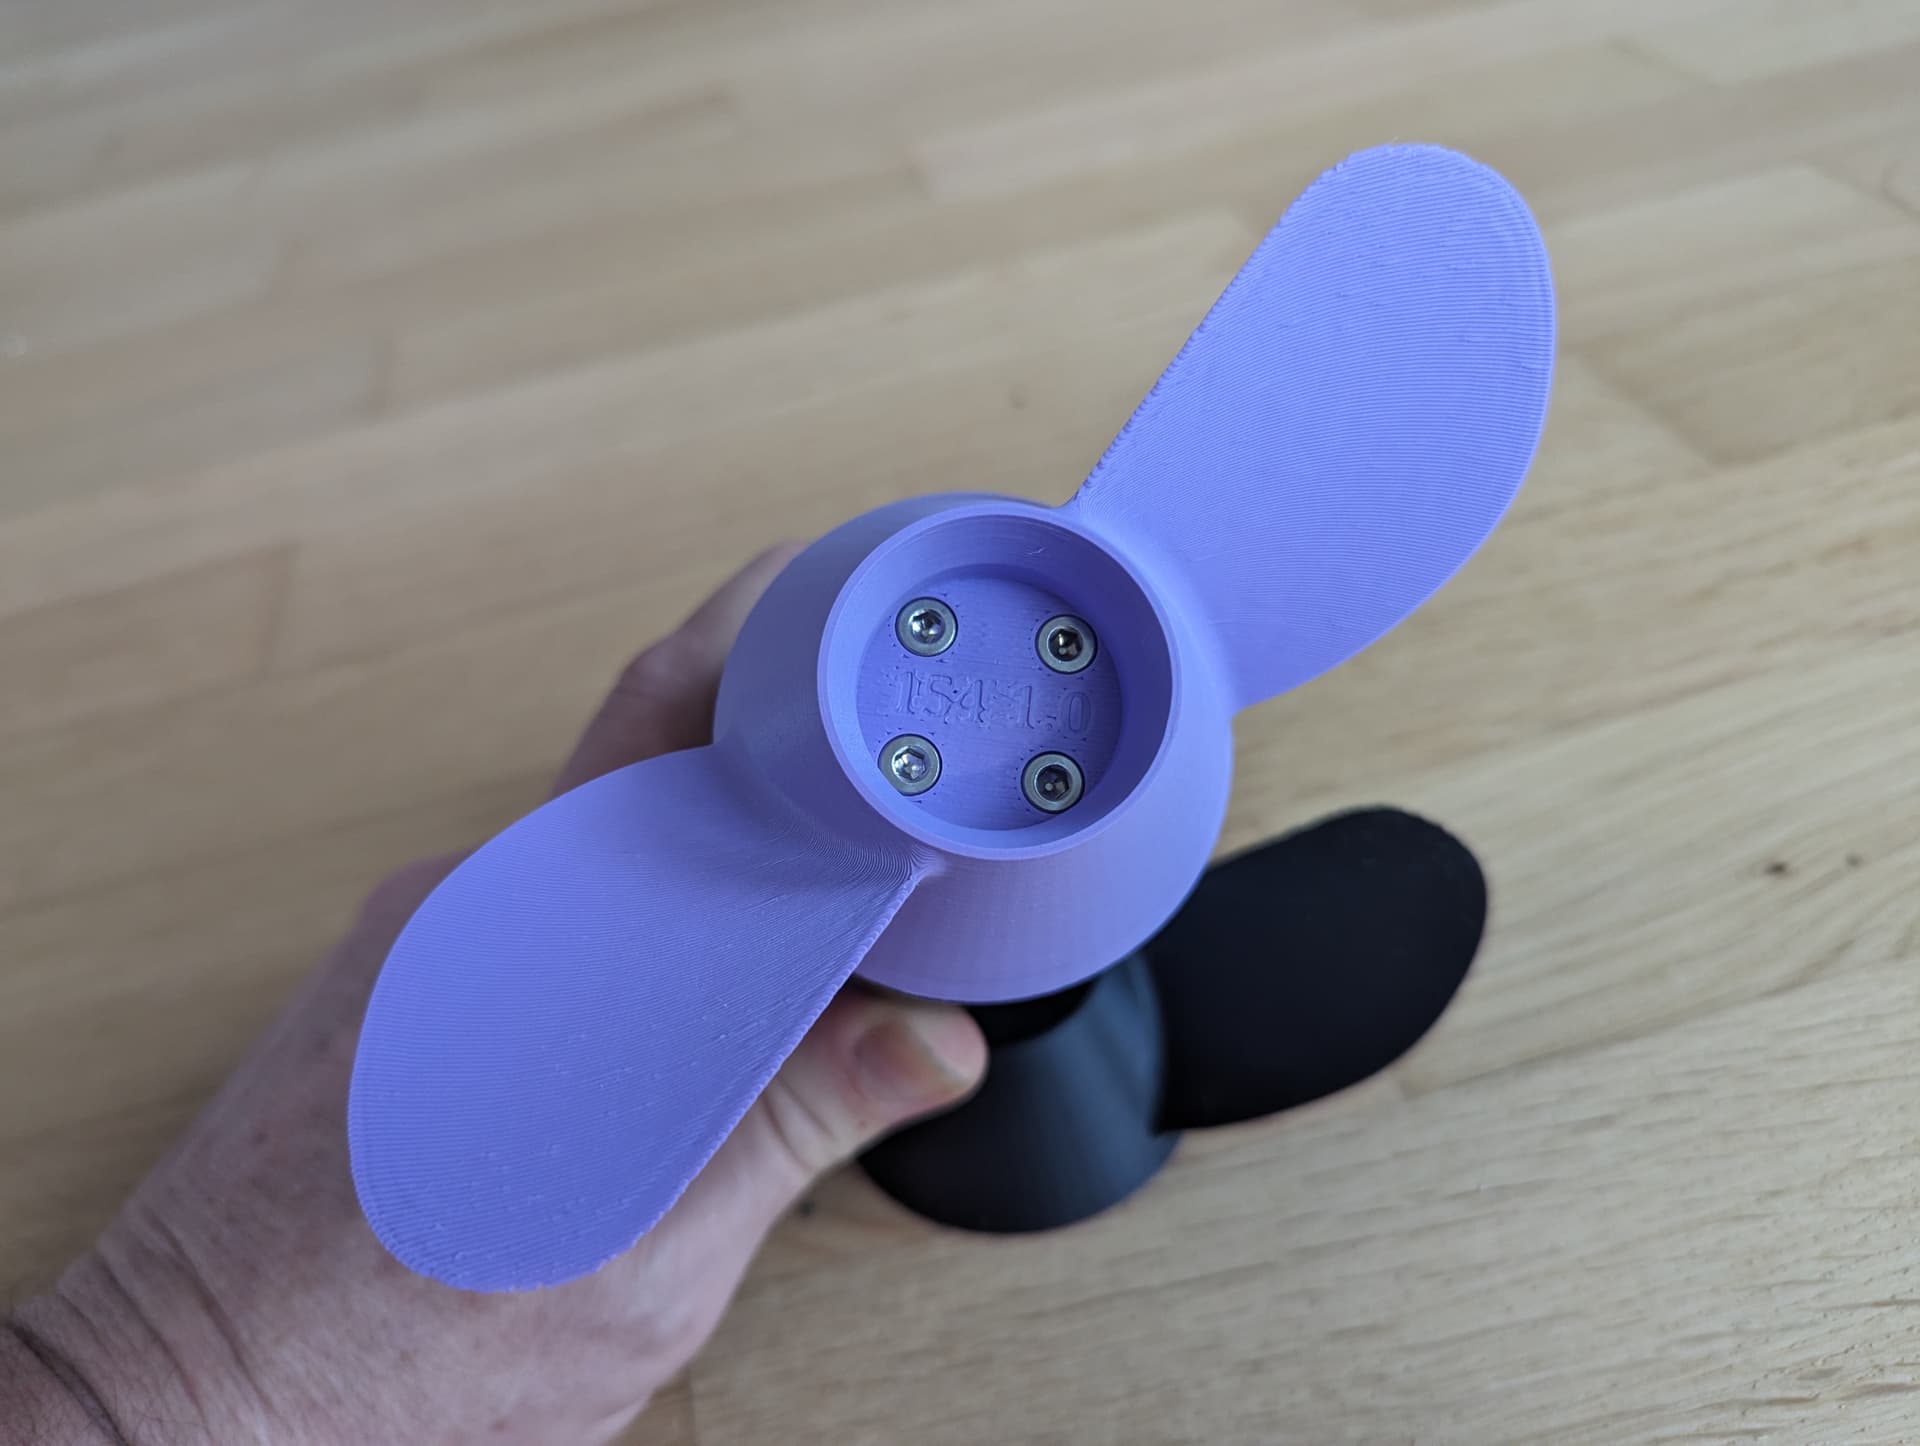
my prop has 4 holes for connection, would that work, do you have a picture of how its connected to the end bell?
Hi Volker.
Thanks for sharing your propellers.
Yesterday I printed one of your propellers from ASA-CF.
The support was extremely easy to remove.
Thank you
7 Likes
Looks awesome.
But not my printer profile.
Can you share yours?
If u use 0,3mm layerwidth for surface, the numbers get much clearer.
On the other hand, your blades are better than my ones
1 Like
Sure, of course.
Sorry for using my own profile ![]()
Layer height 0.15, layer width 0.4 with 0.4 nozzle, 5 walls with 60% filling.
1 Like
Hallo Markus,
ich suche jemanden der mir so etwas ähnliches baut.
Wie kann ich dich privat erreichen?
PN ist raus! Kannst dich gerne mal melden!
I use his props on my tow boogie and they are awesome!
2 Likes