Nice work @heiguga! I think you may have some posting limits if this is your first post, but it should get upgraded quickly automatically, especially if you engage a bit more on this thread (or others).
There’s been quite a few people thinking about doing one of these FD Gen2 style DIY builds, but I don’t think many (any?) have shared a finished project. Hopefully you can share more details soon!
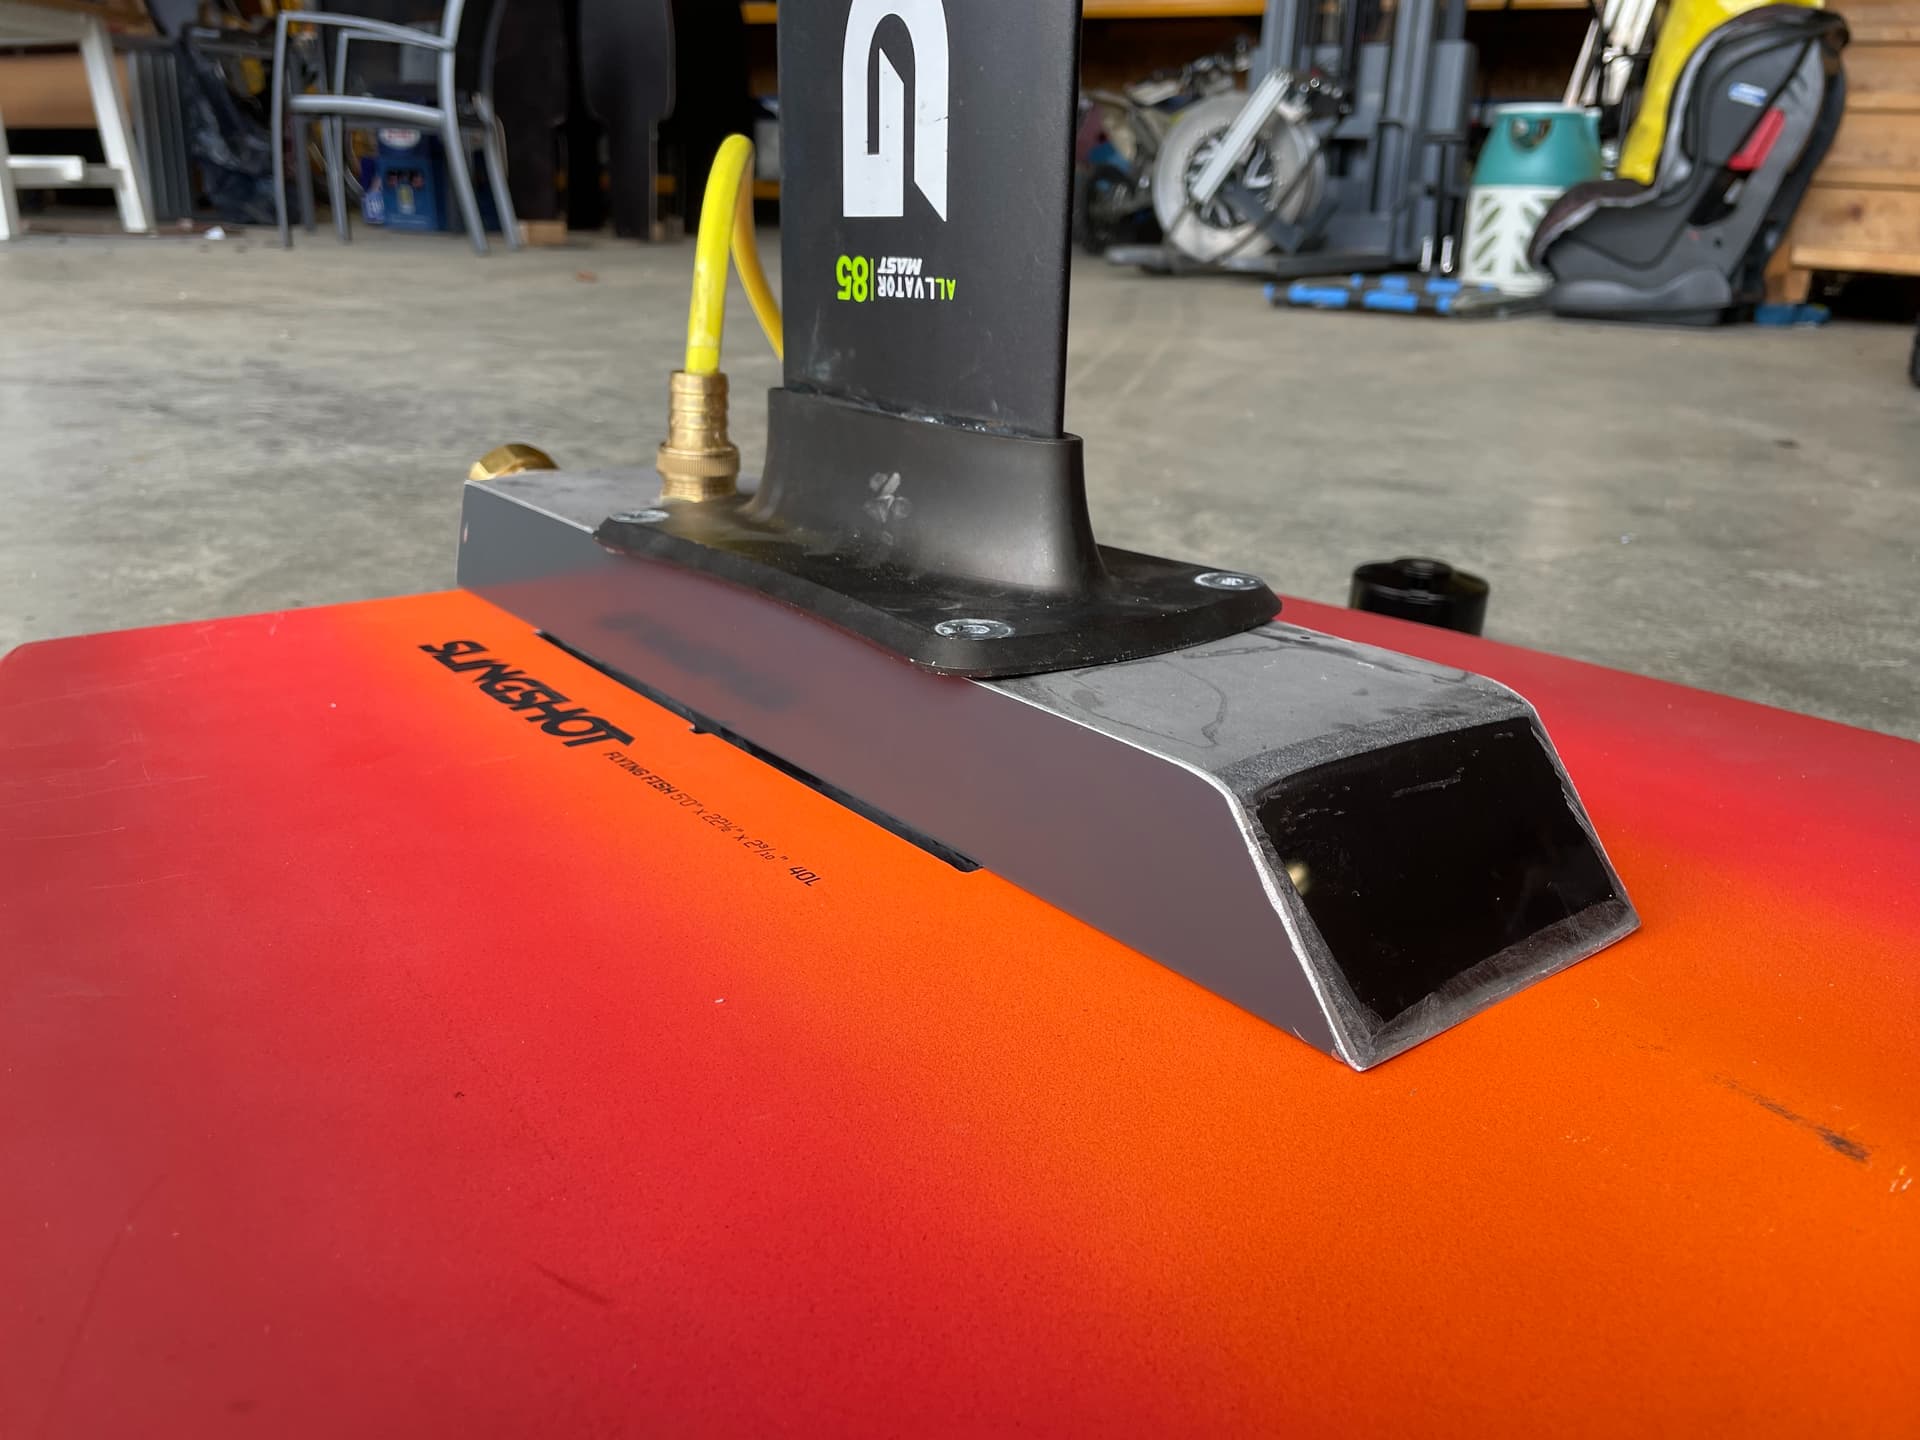
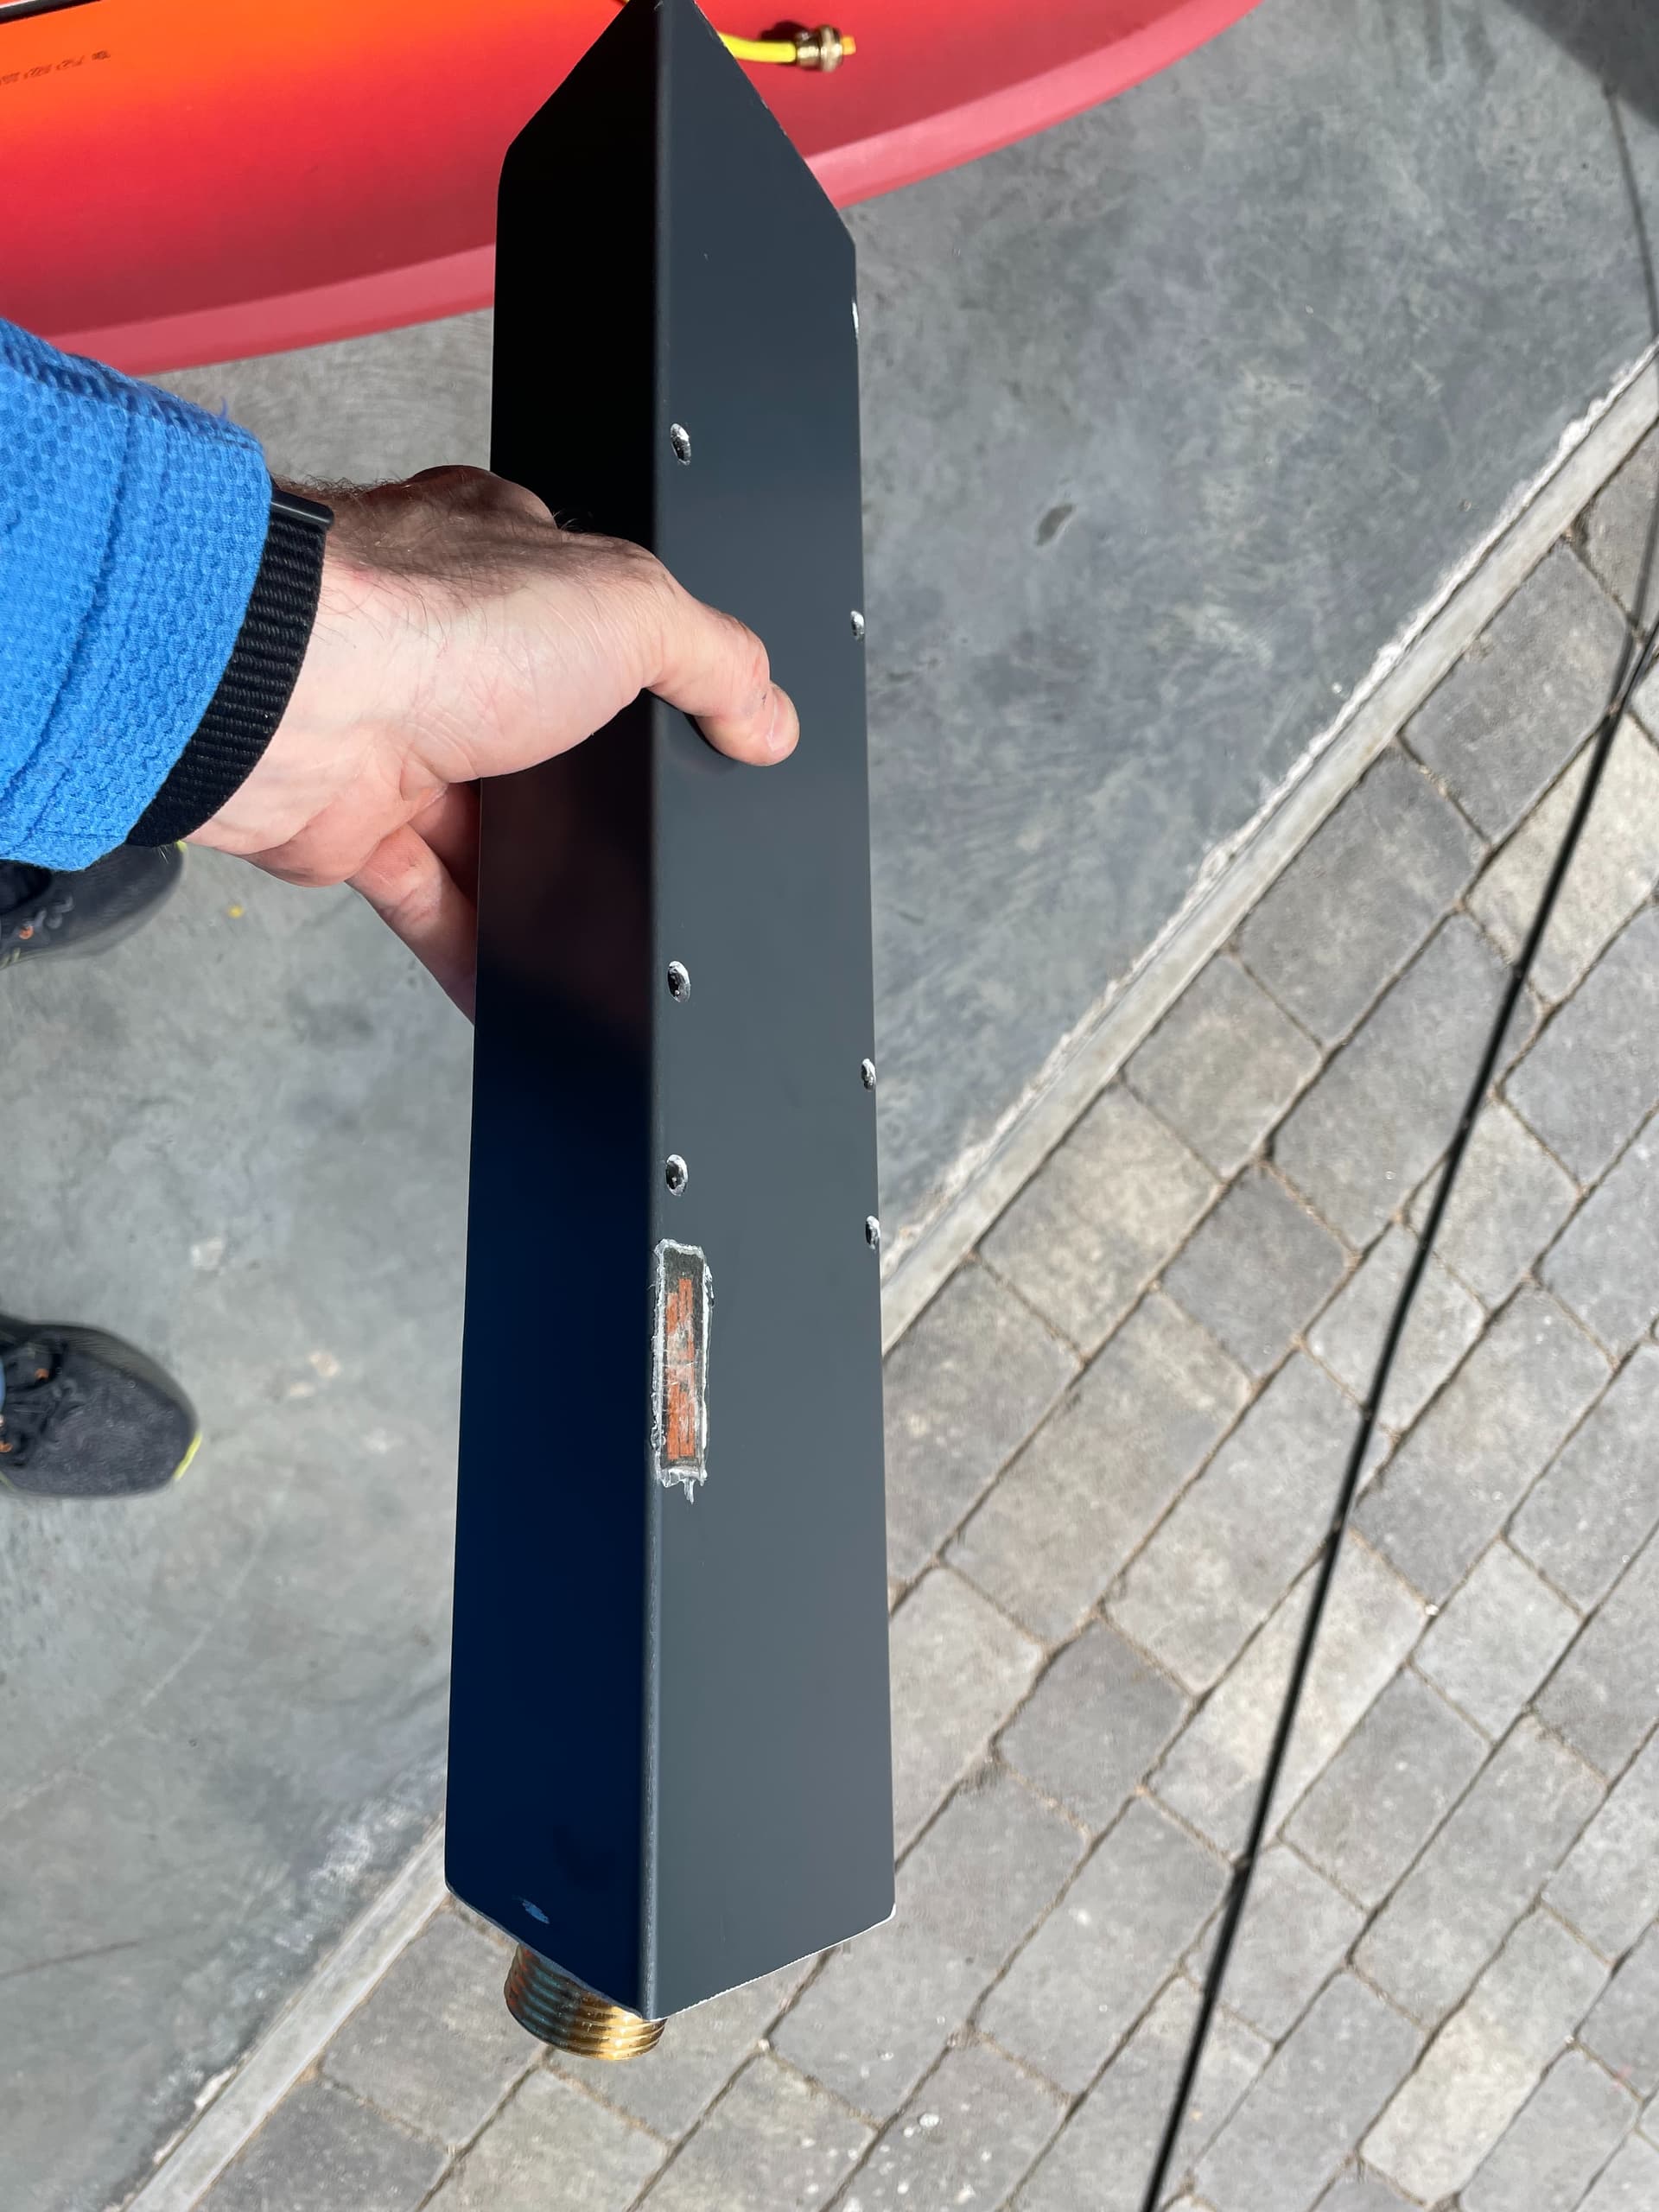
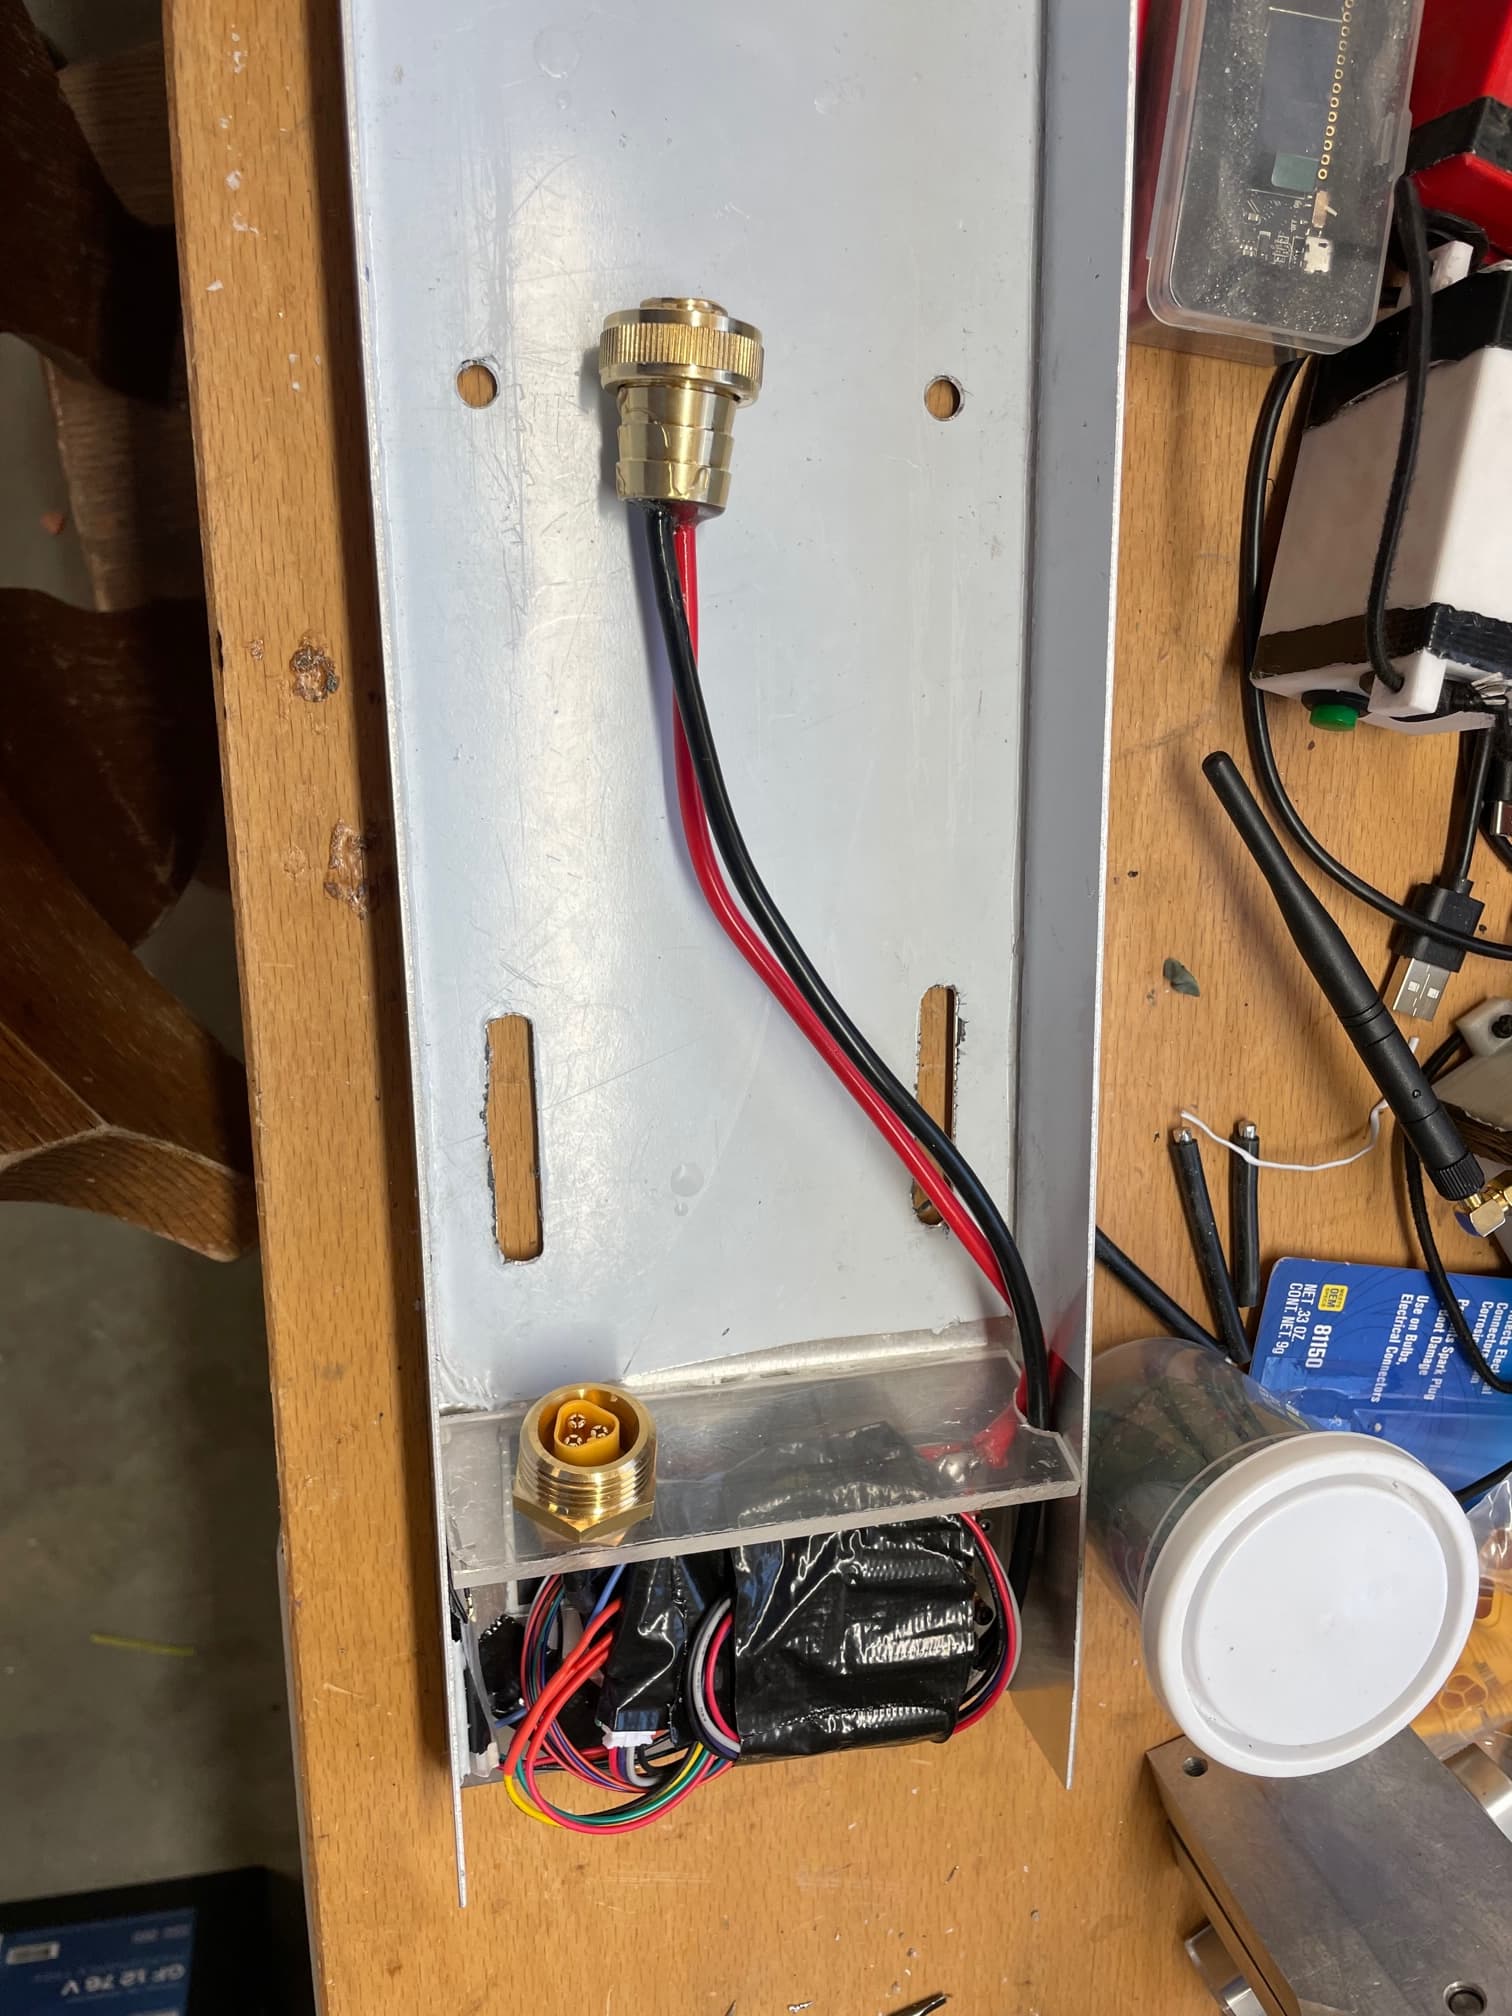
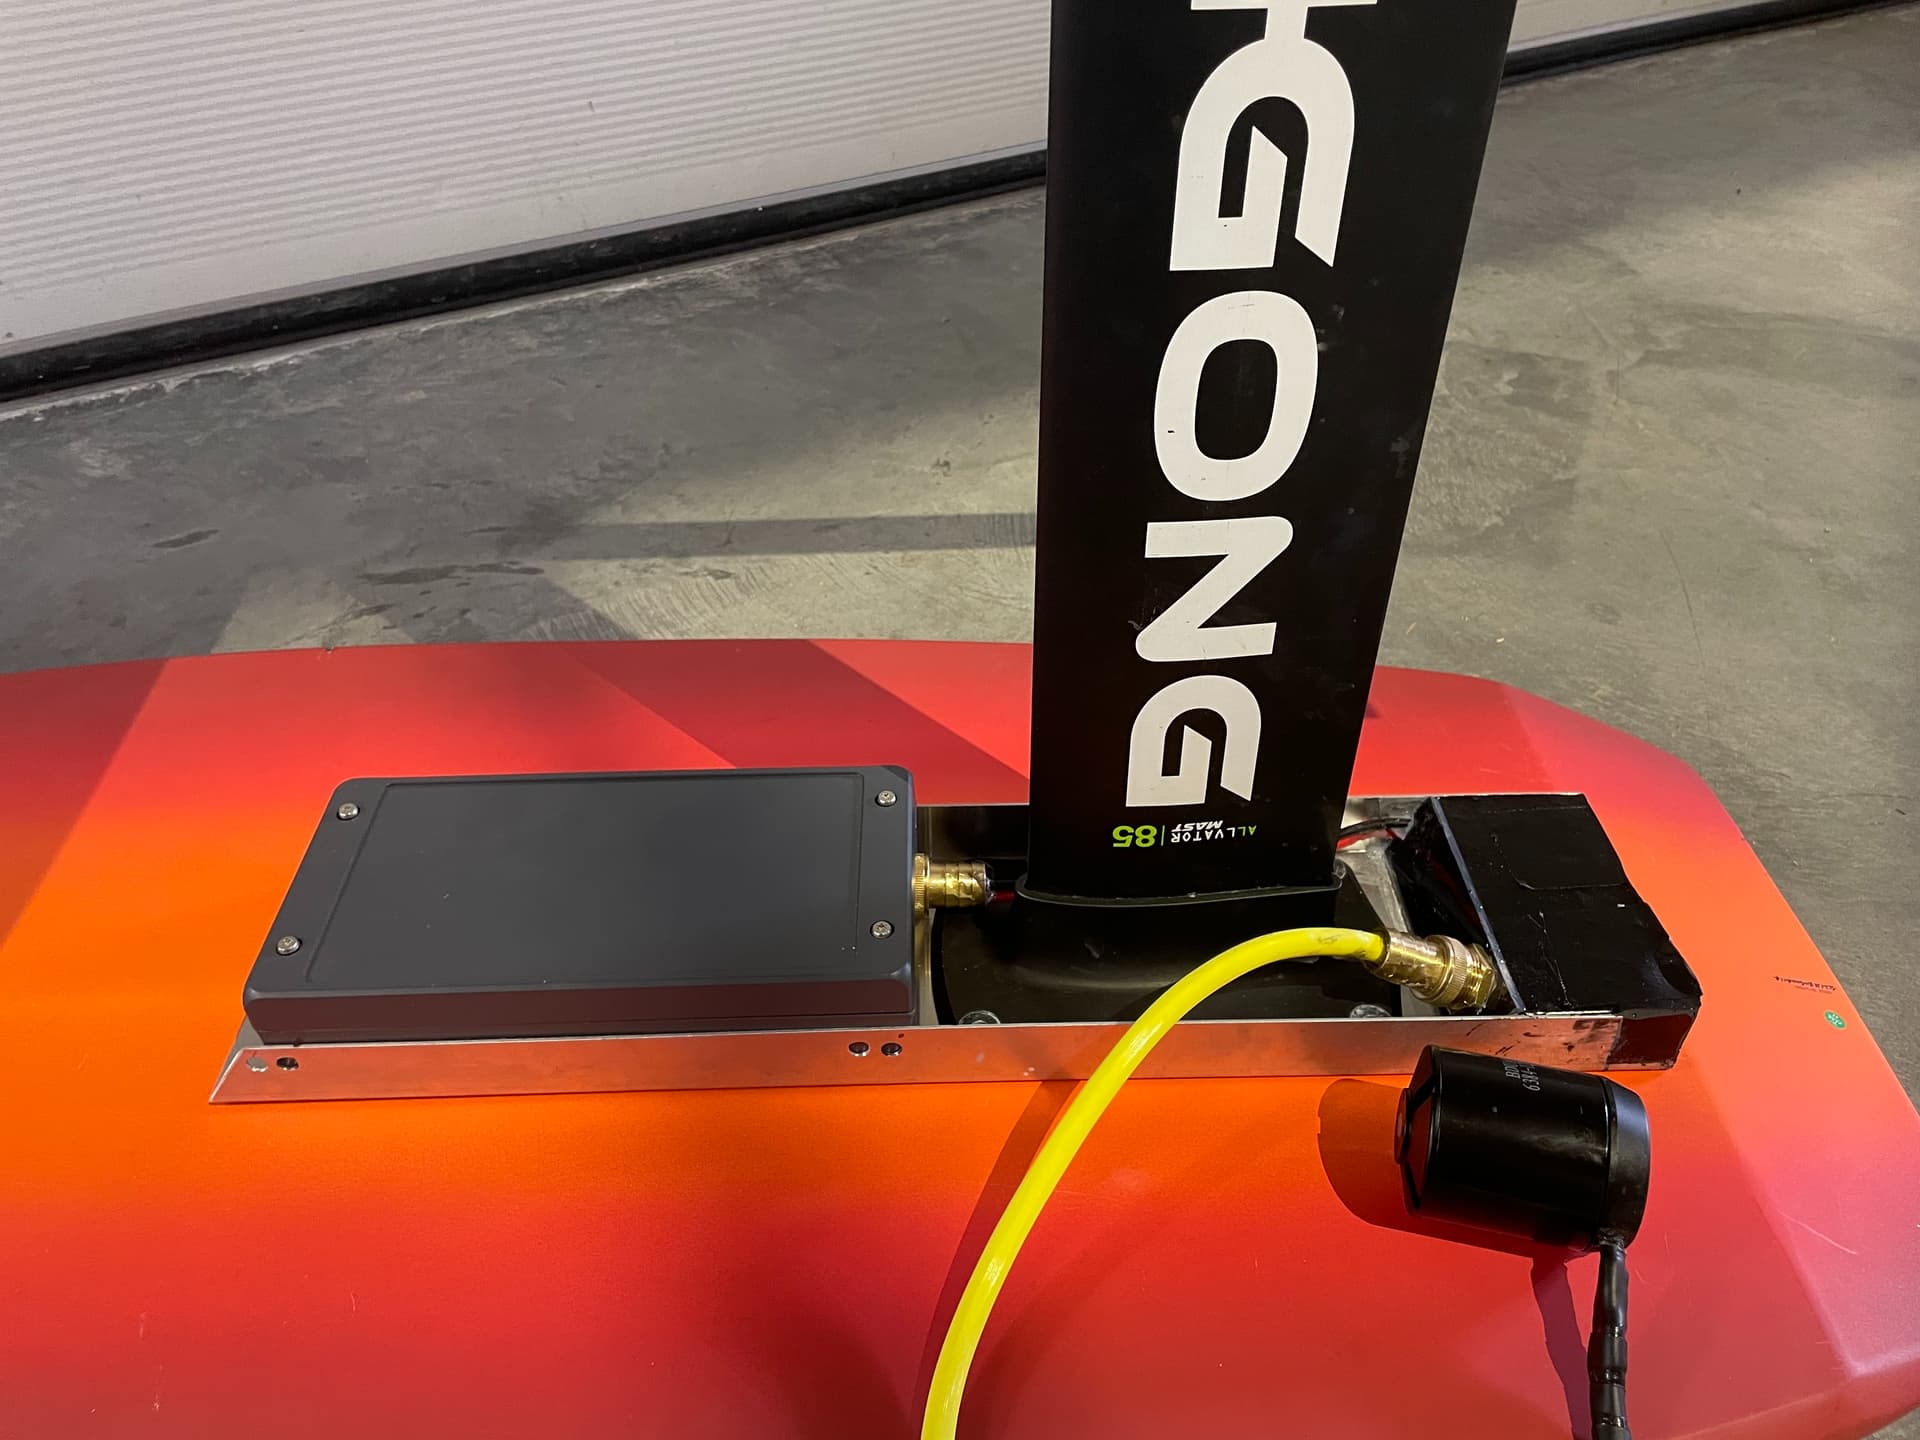
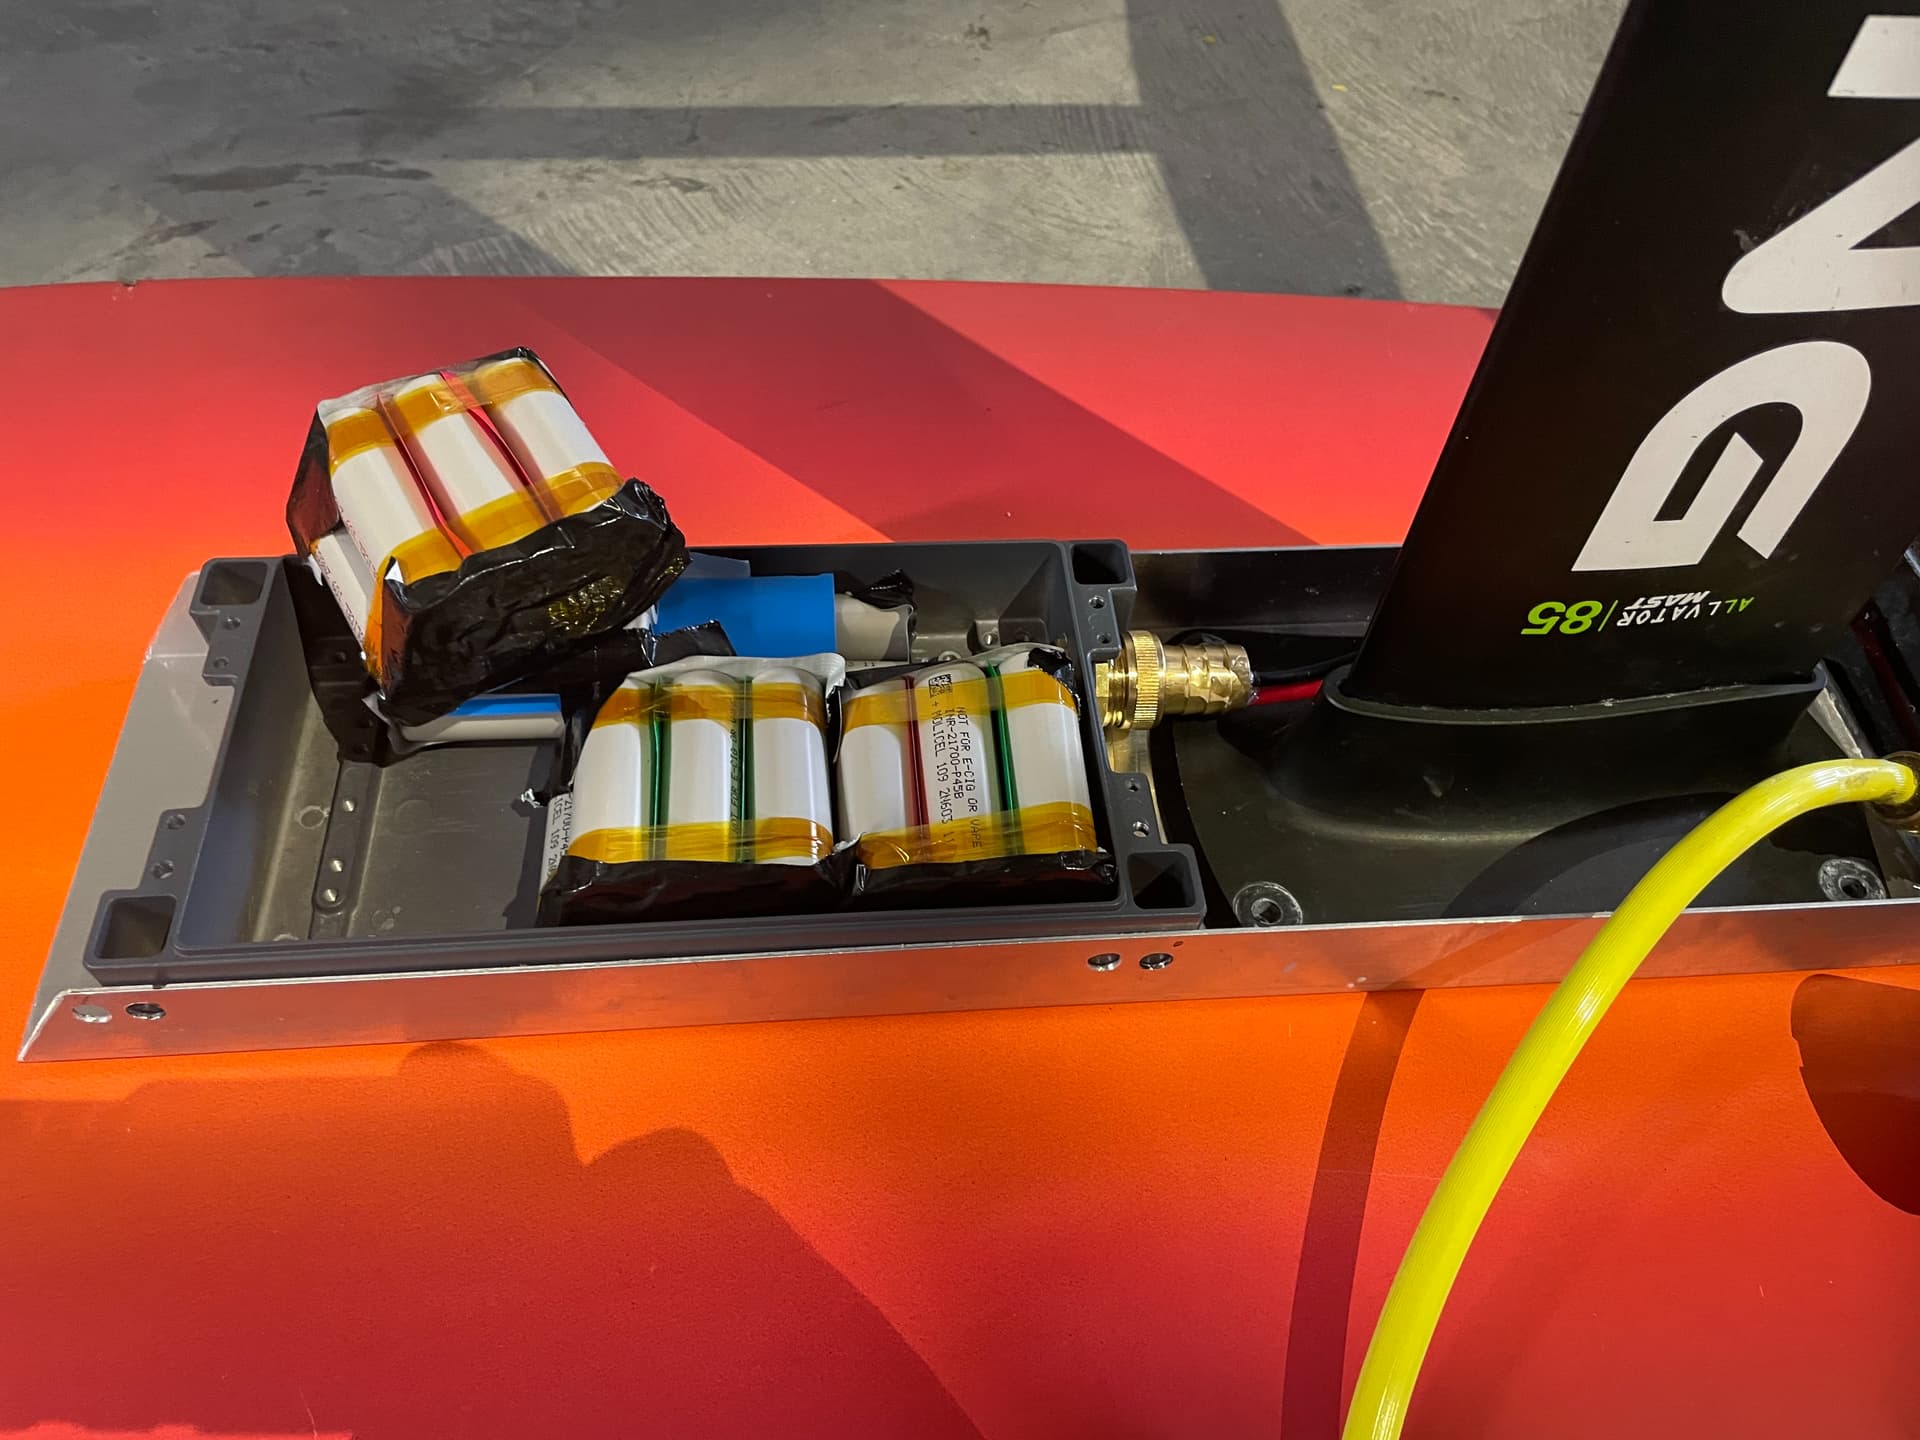
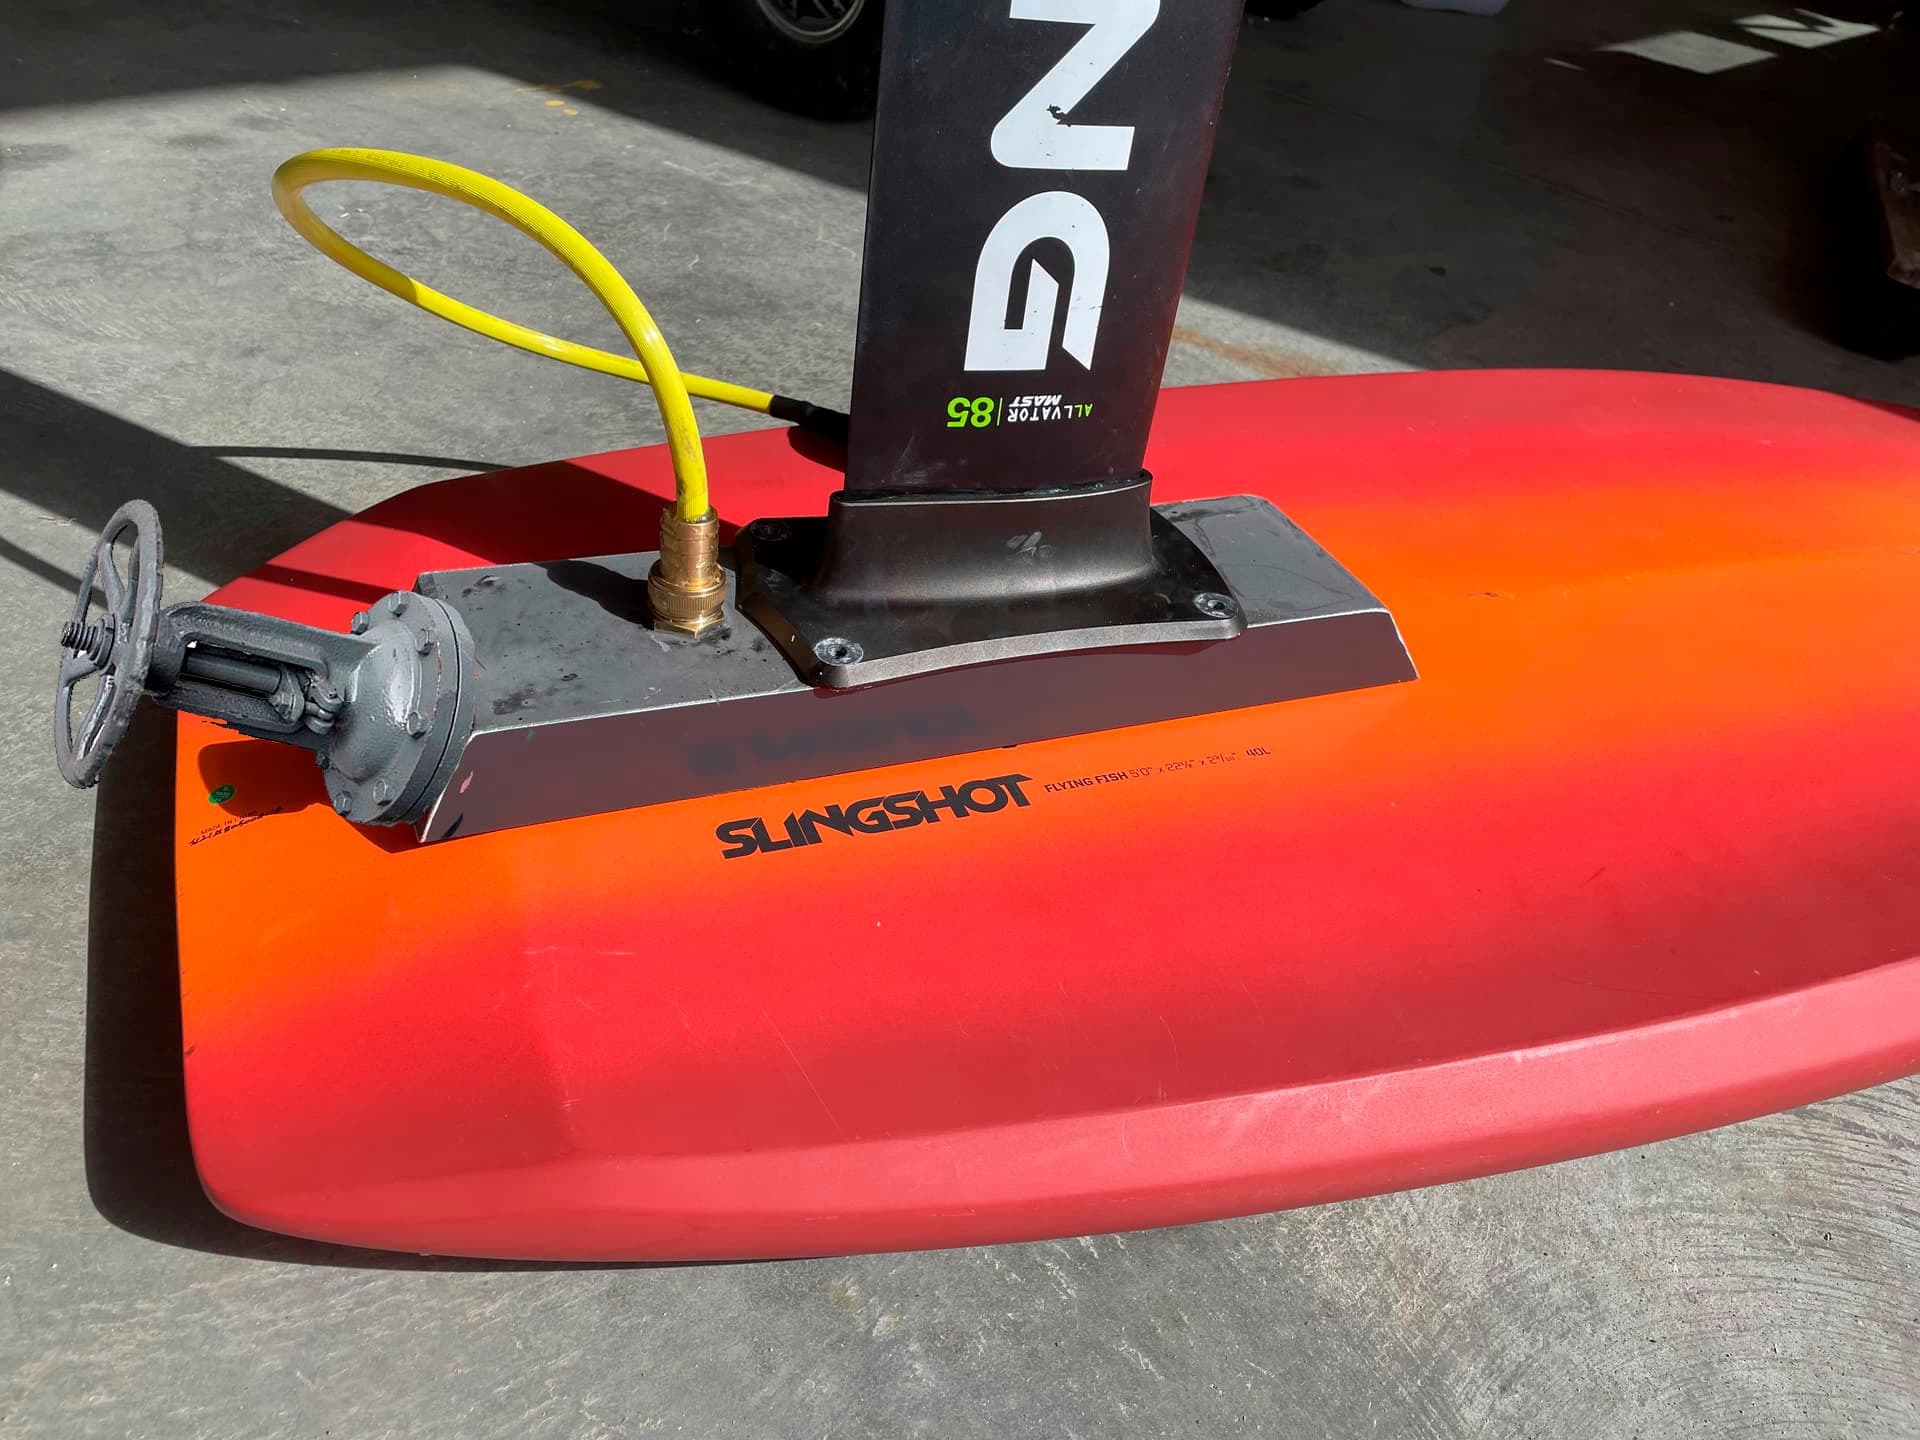
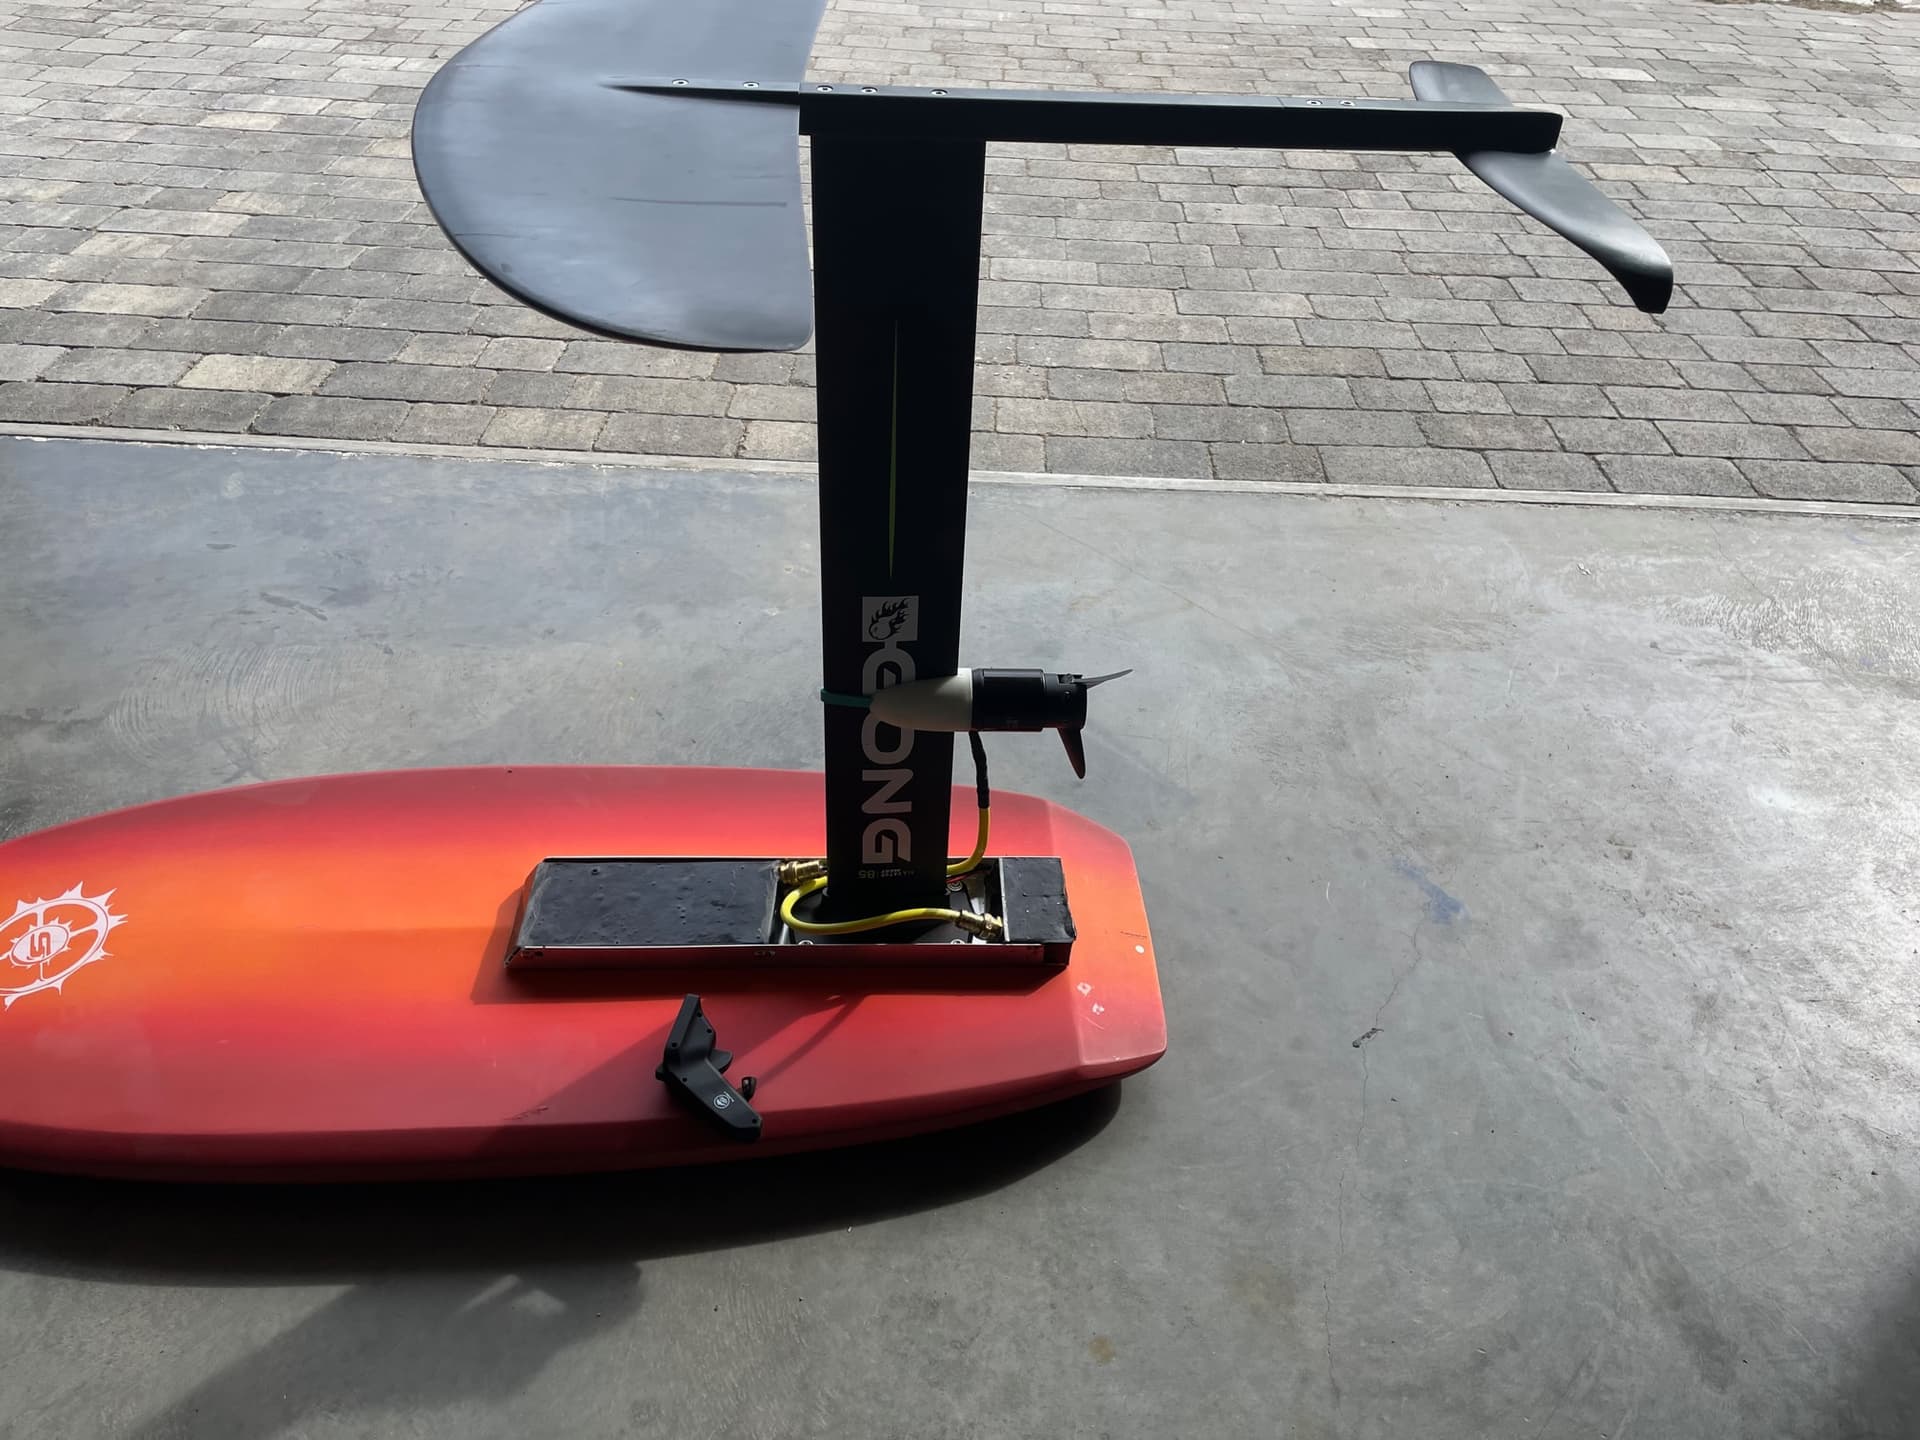
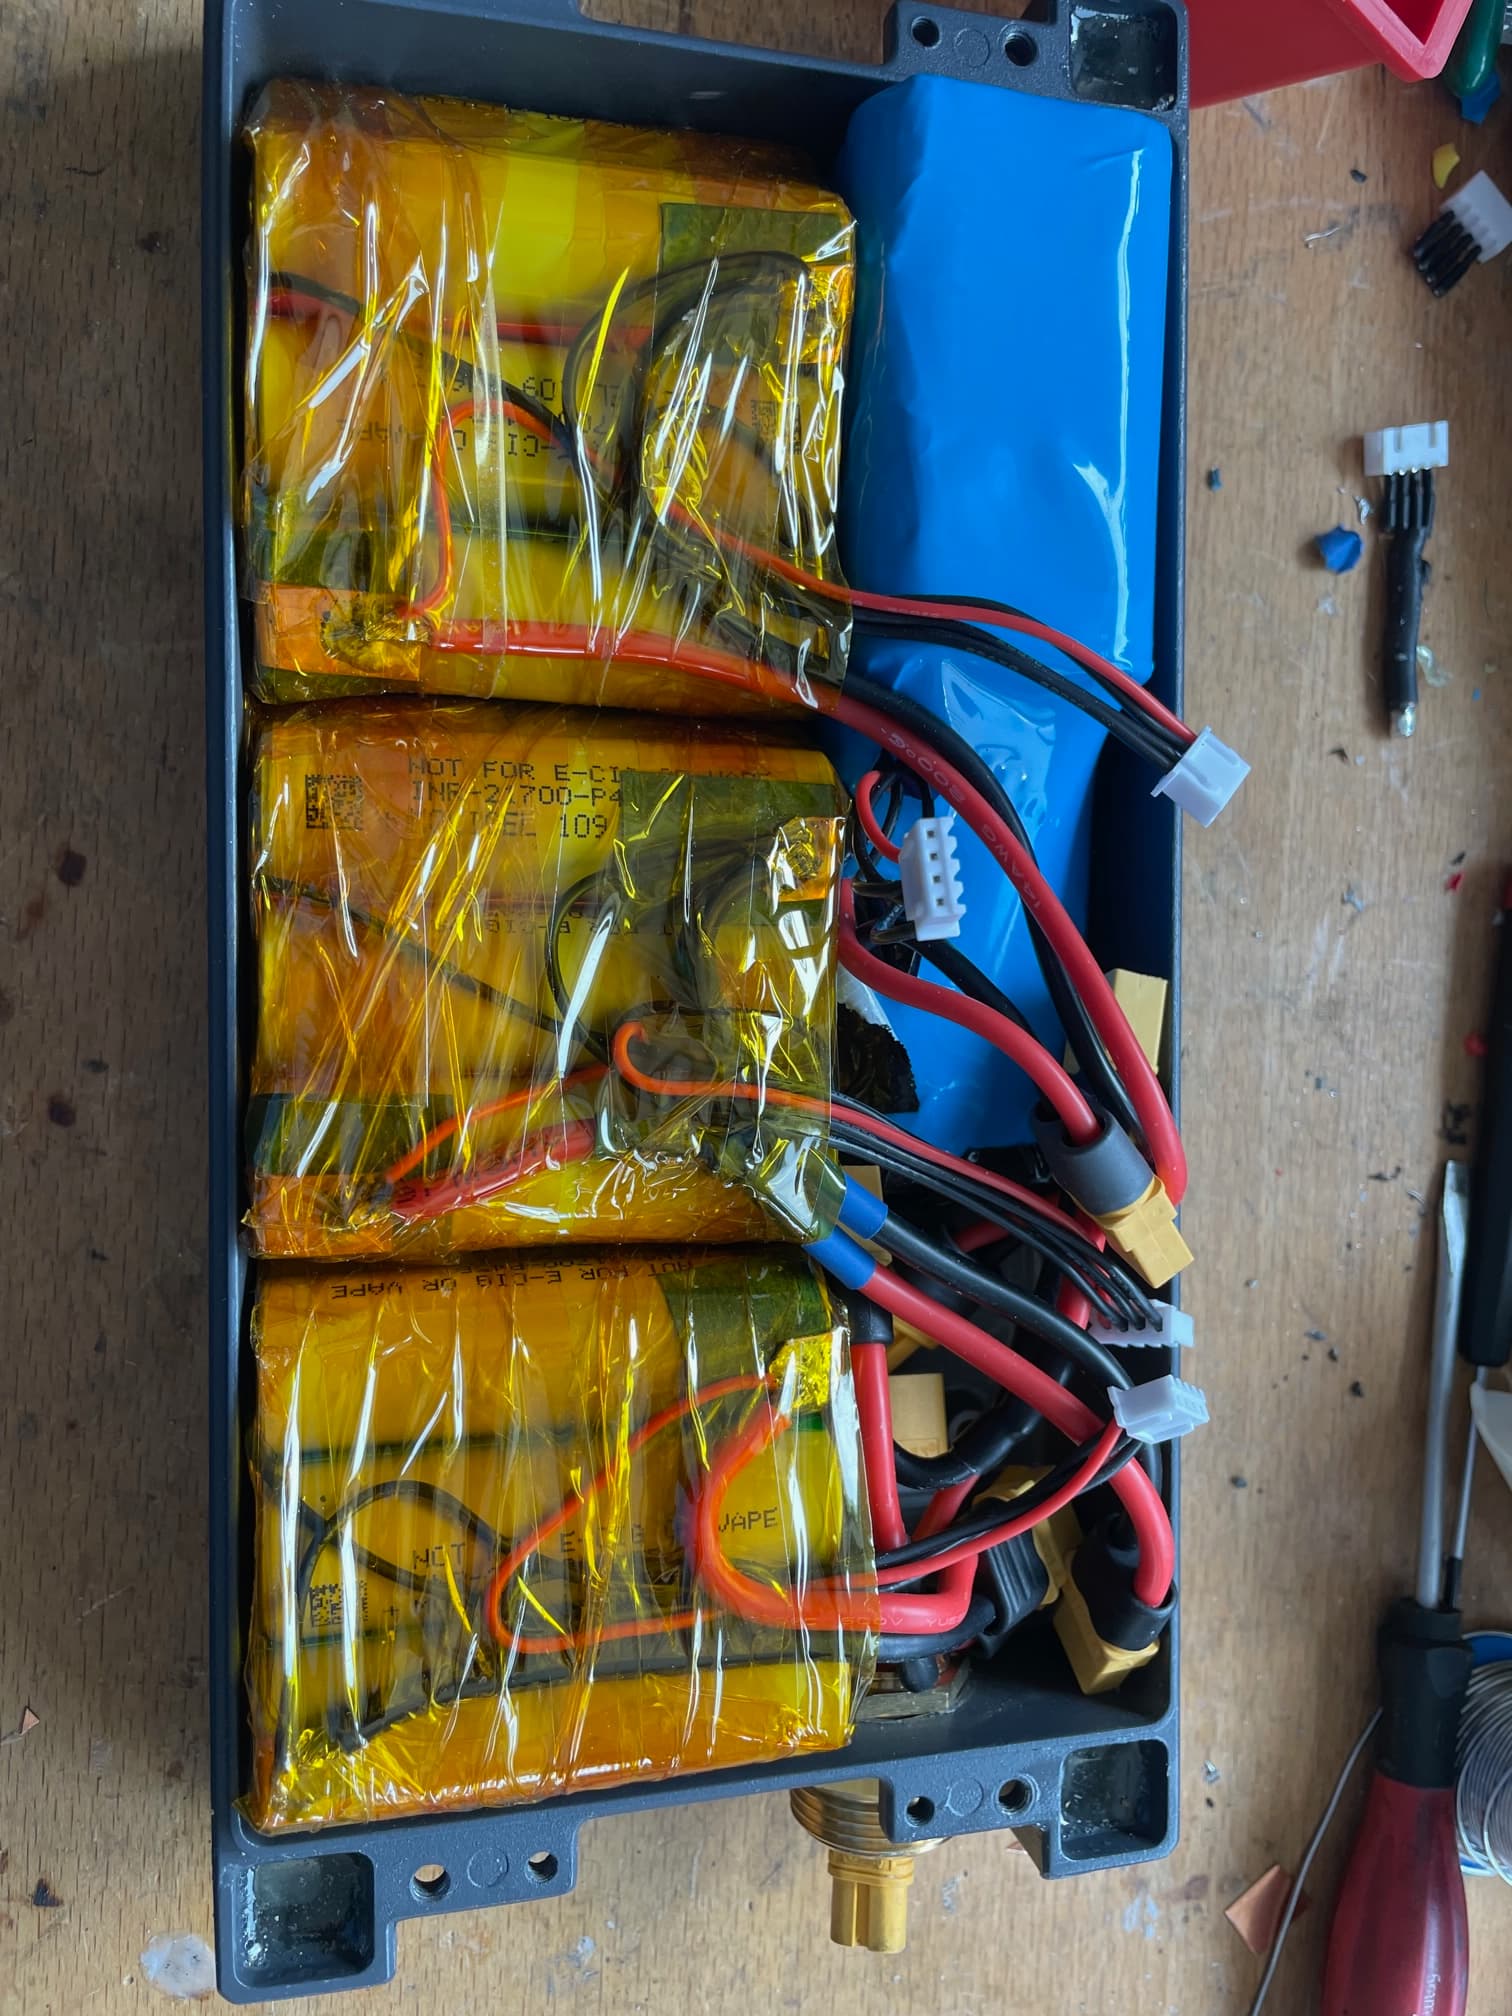
It is just a aluminum “U”-Shape → put all electronics inside and seal it.
I sealed it with epoxy which I got a few years ago from a guy from this forum.
I used it for my electric paraglider (winch).
I think his name was Thomas.
If he reads this, thank you again. You may can tell us what epoxy I am using here :-).
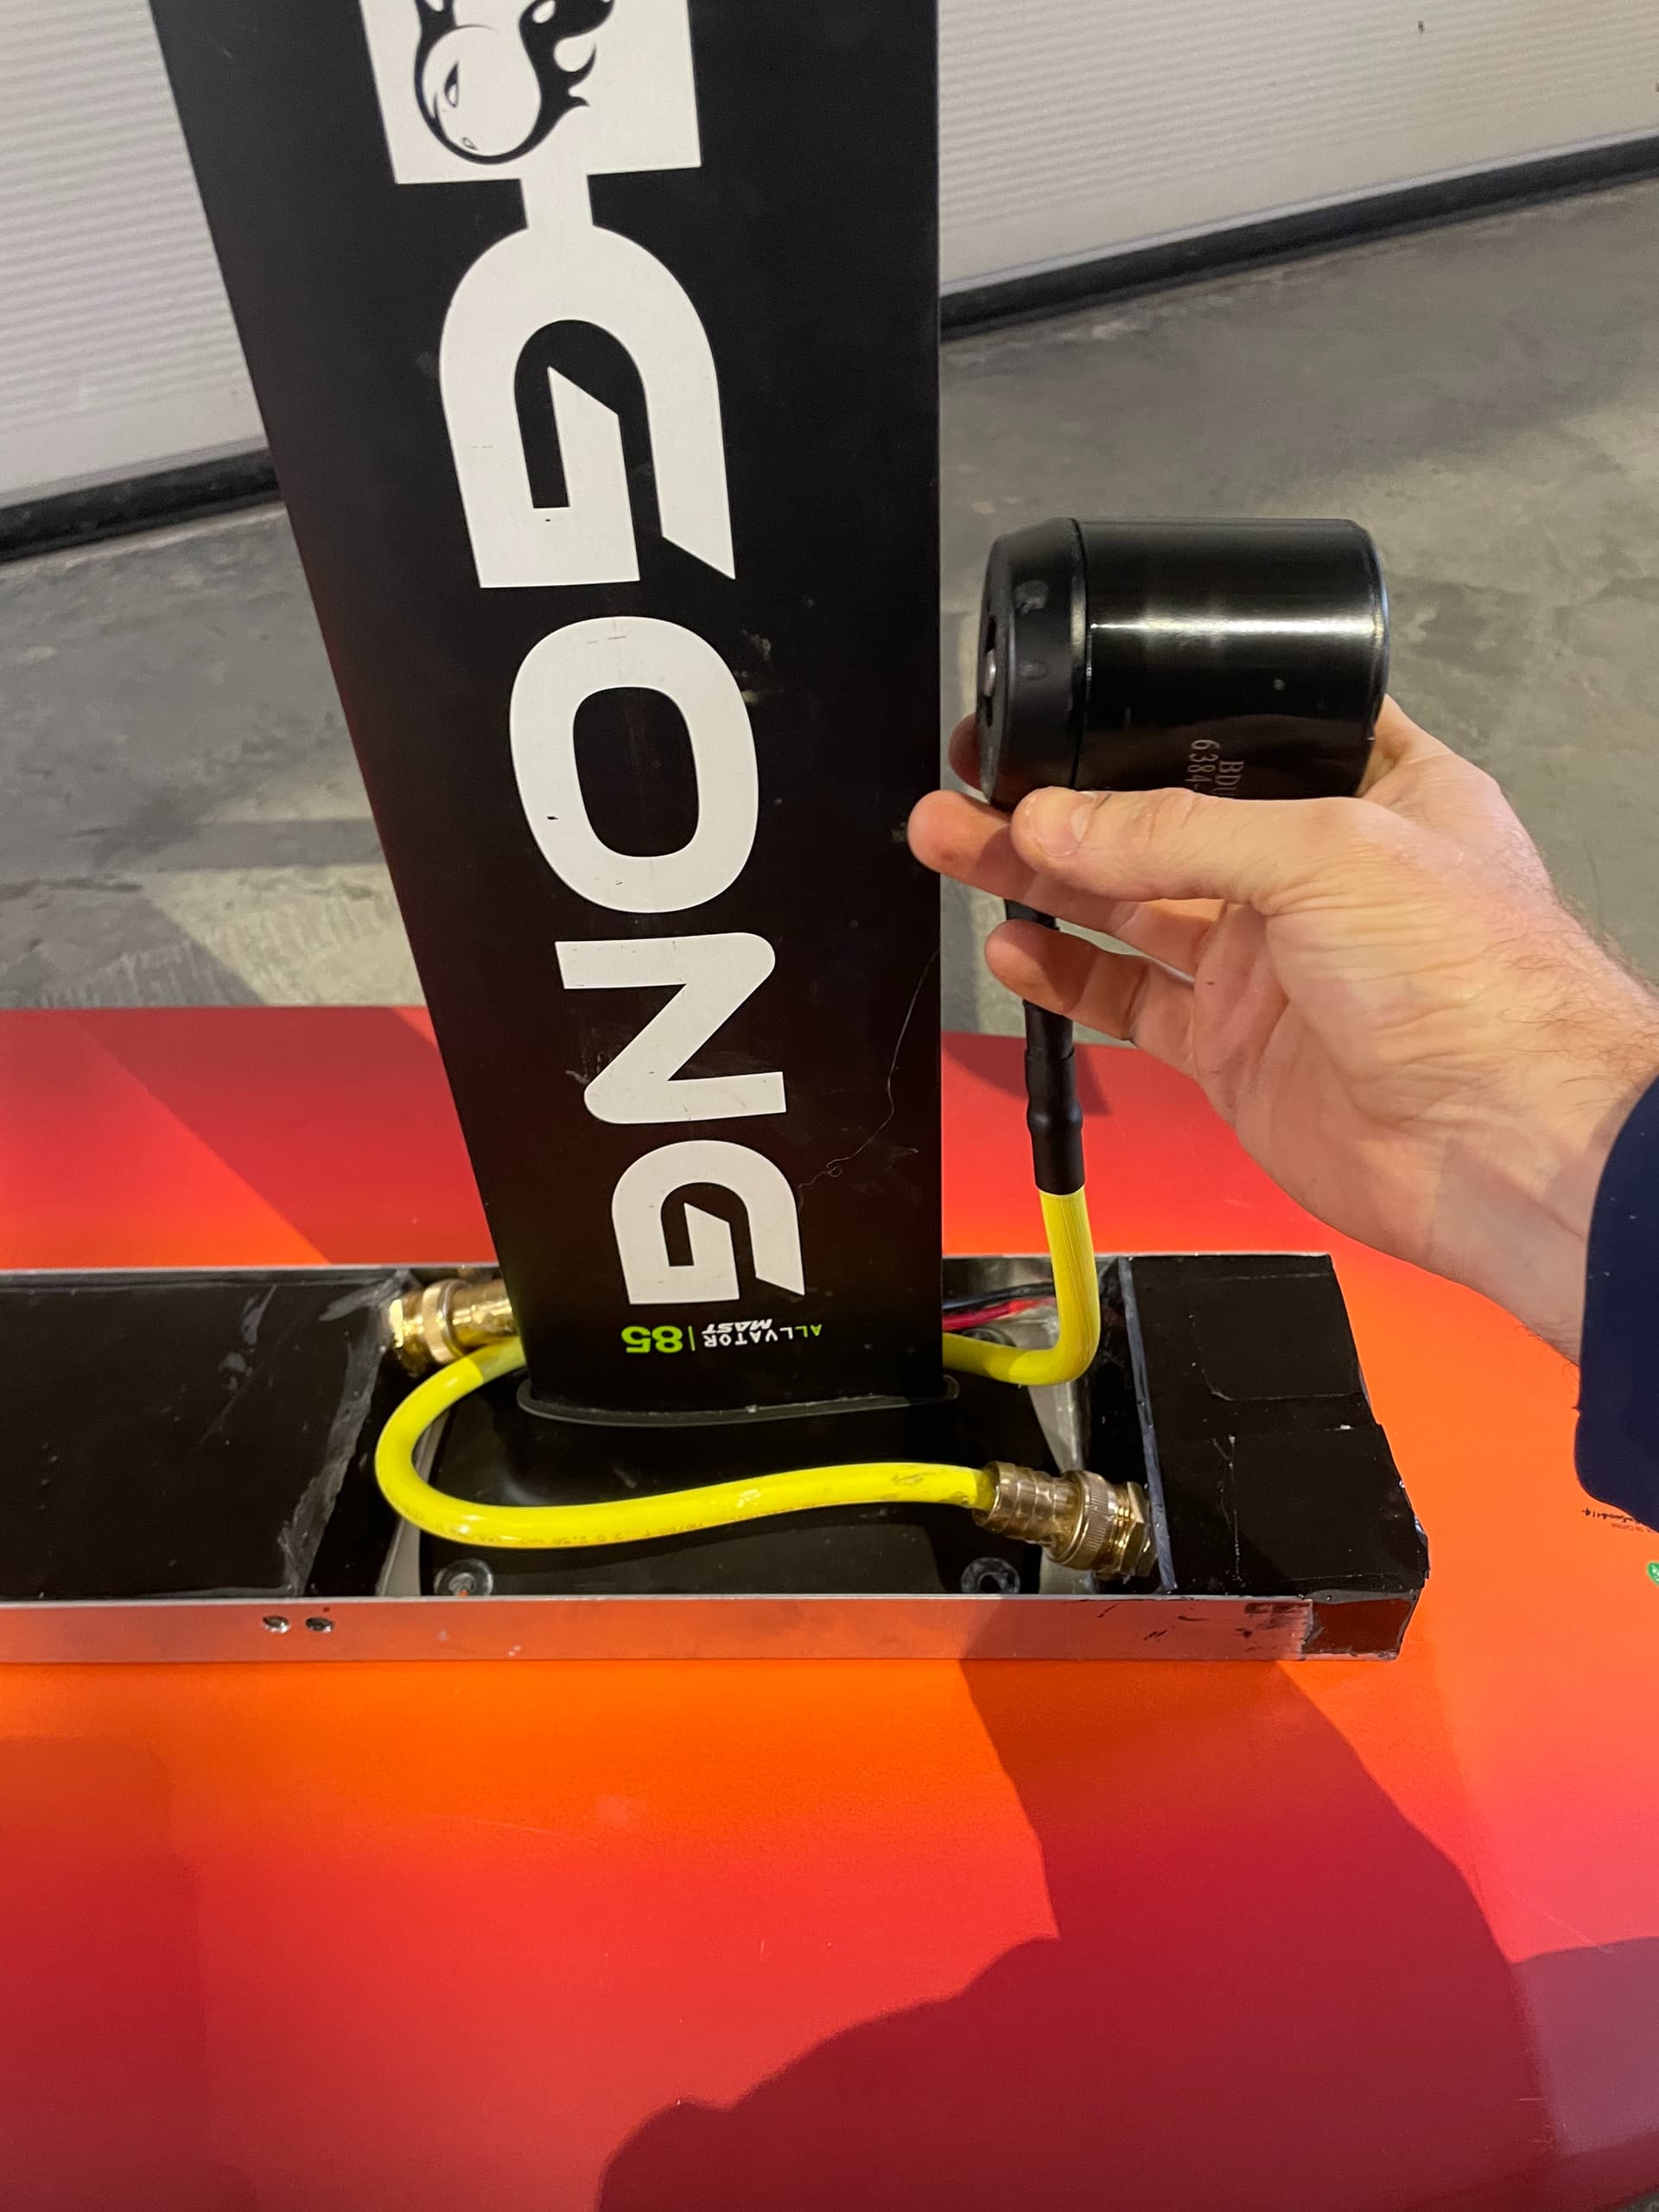
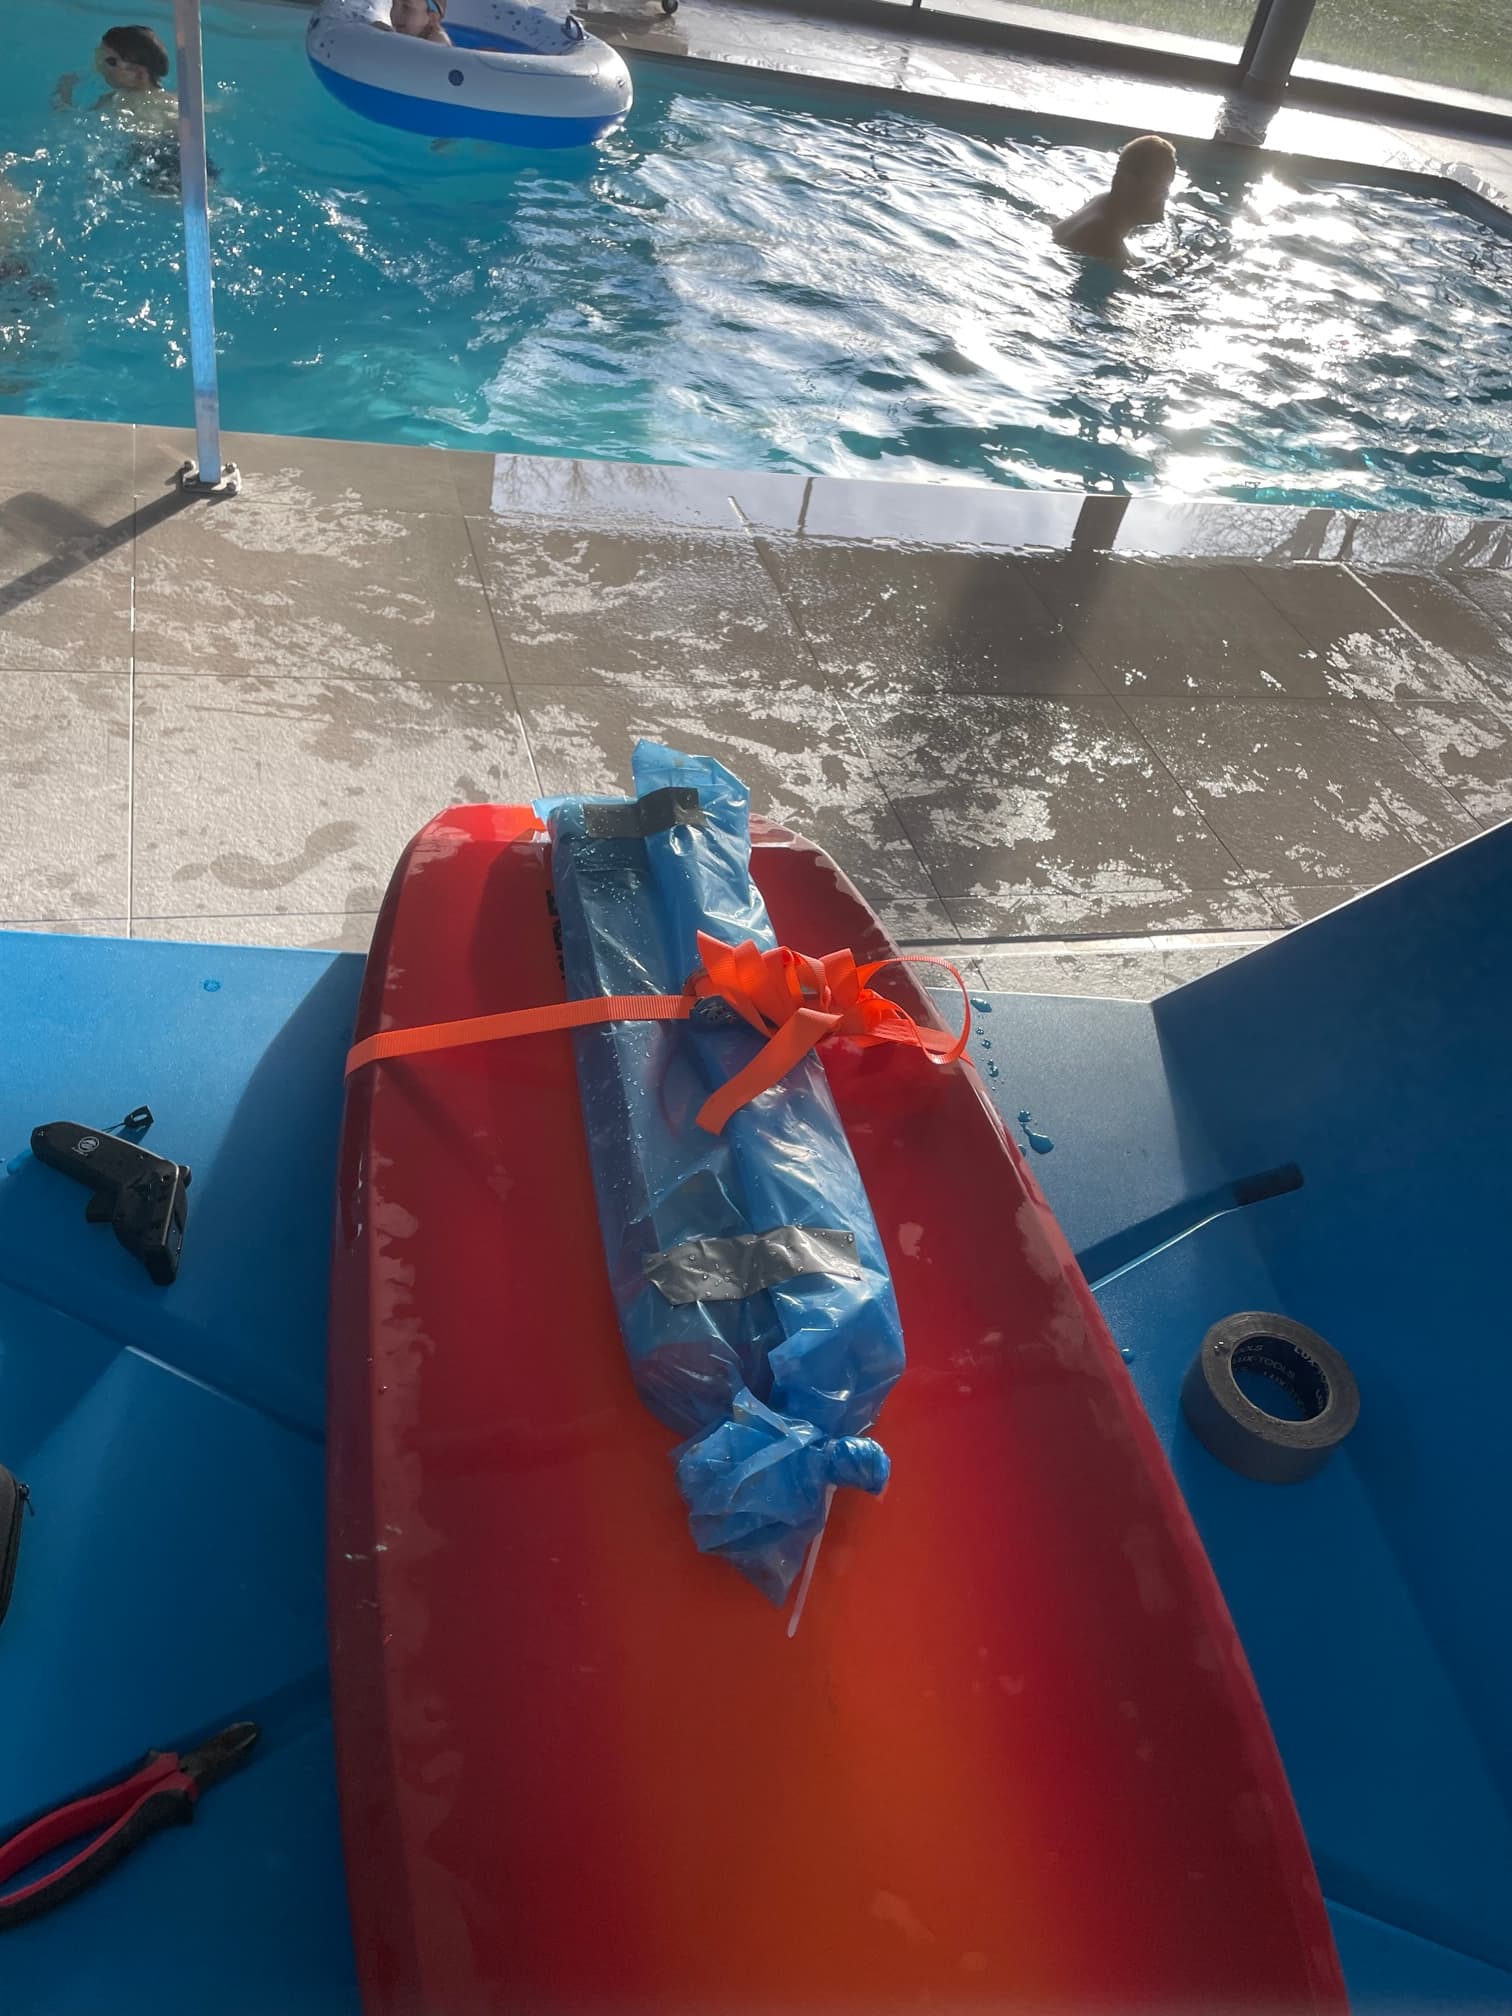
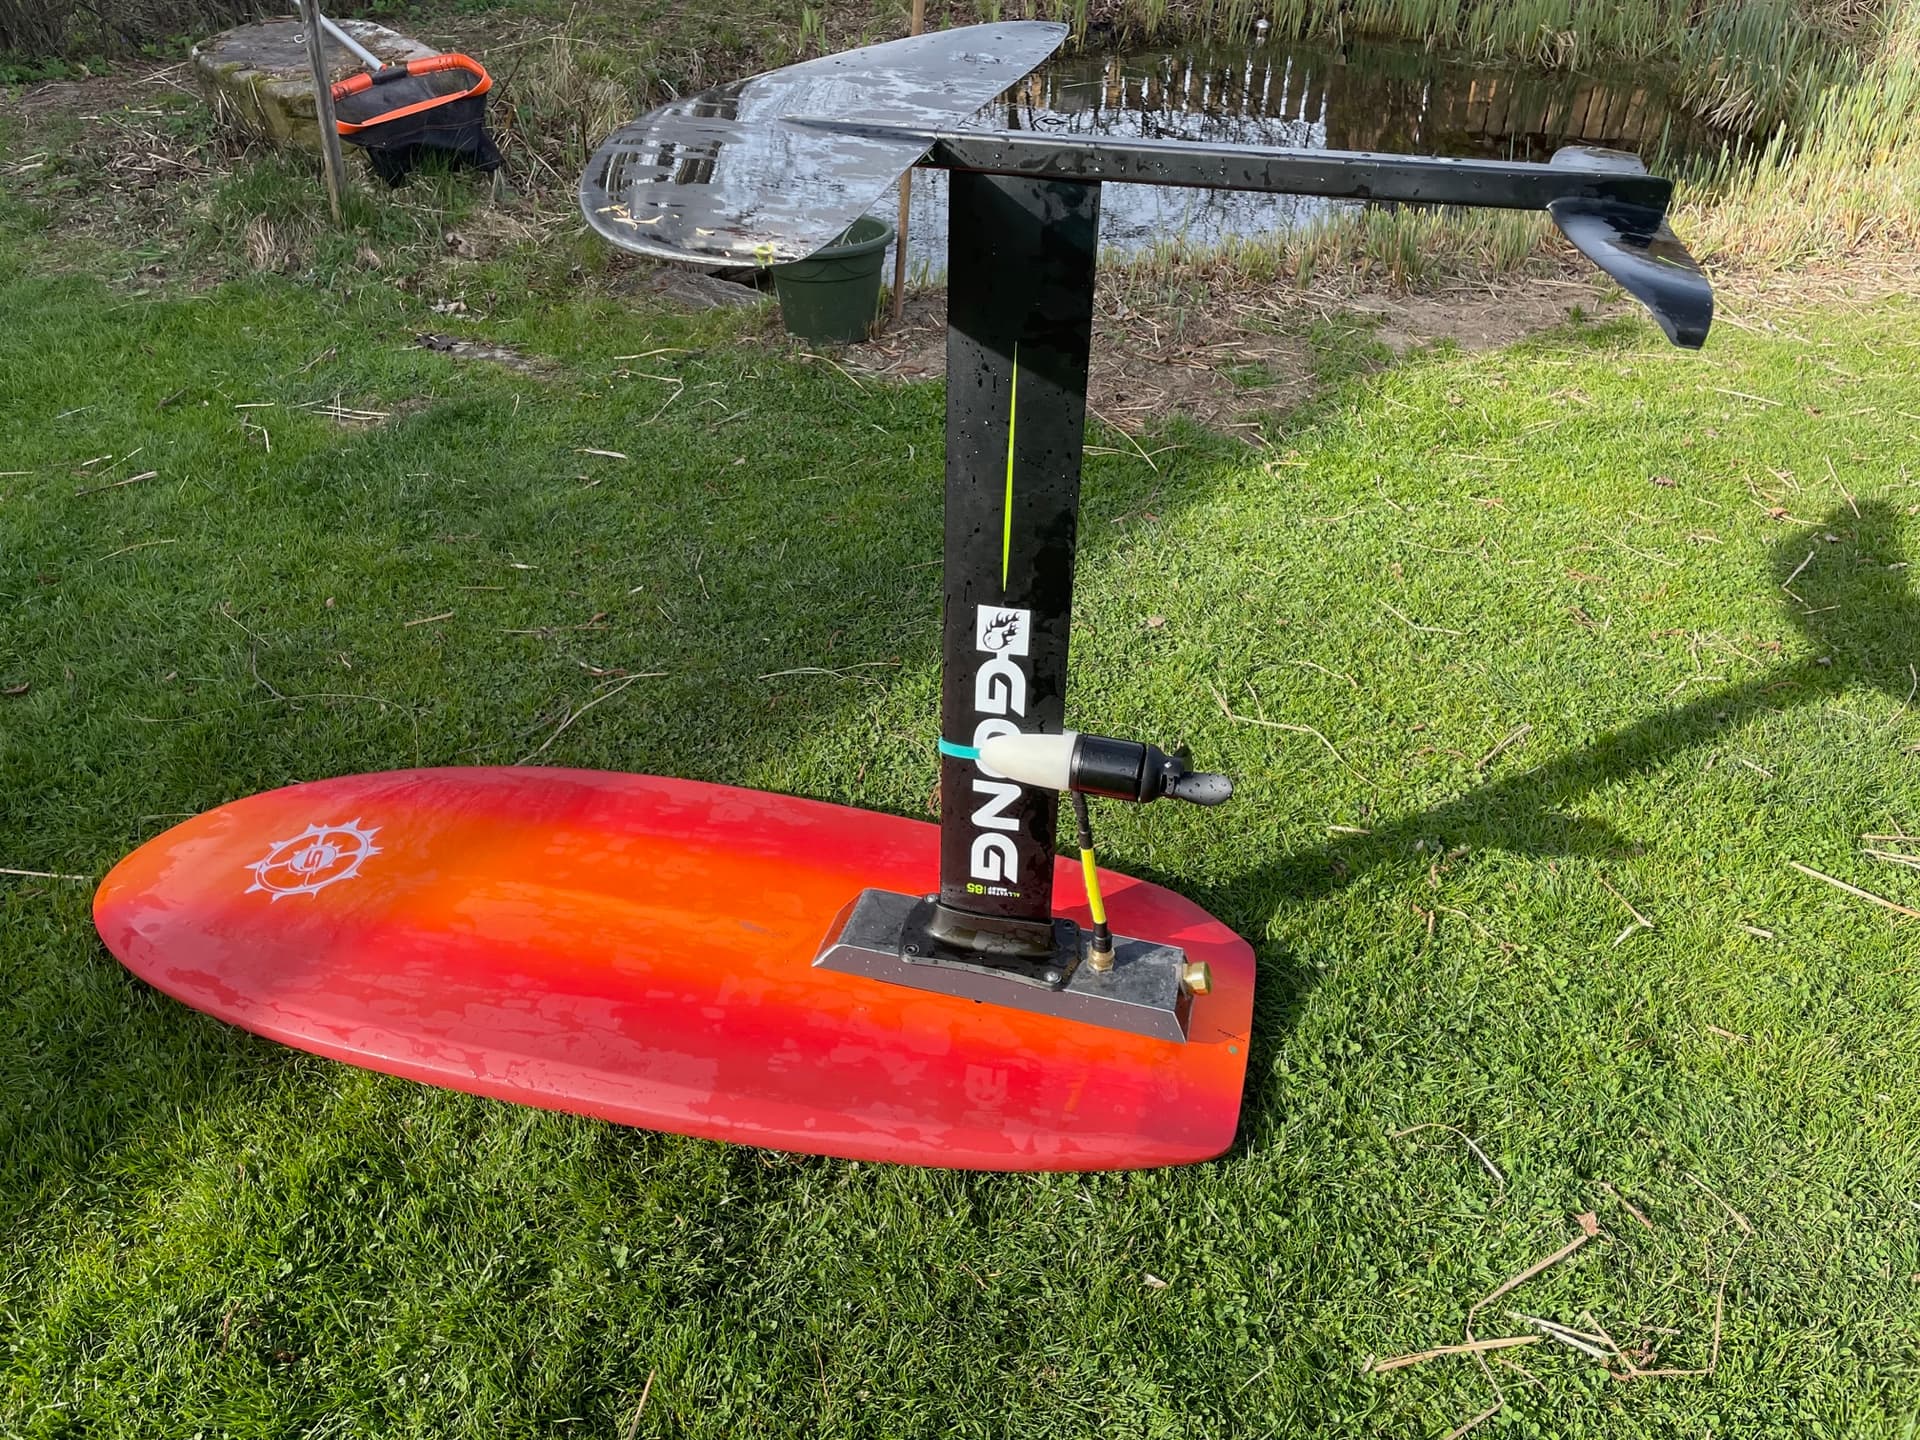
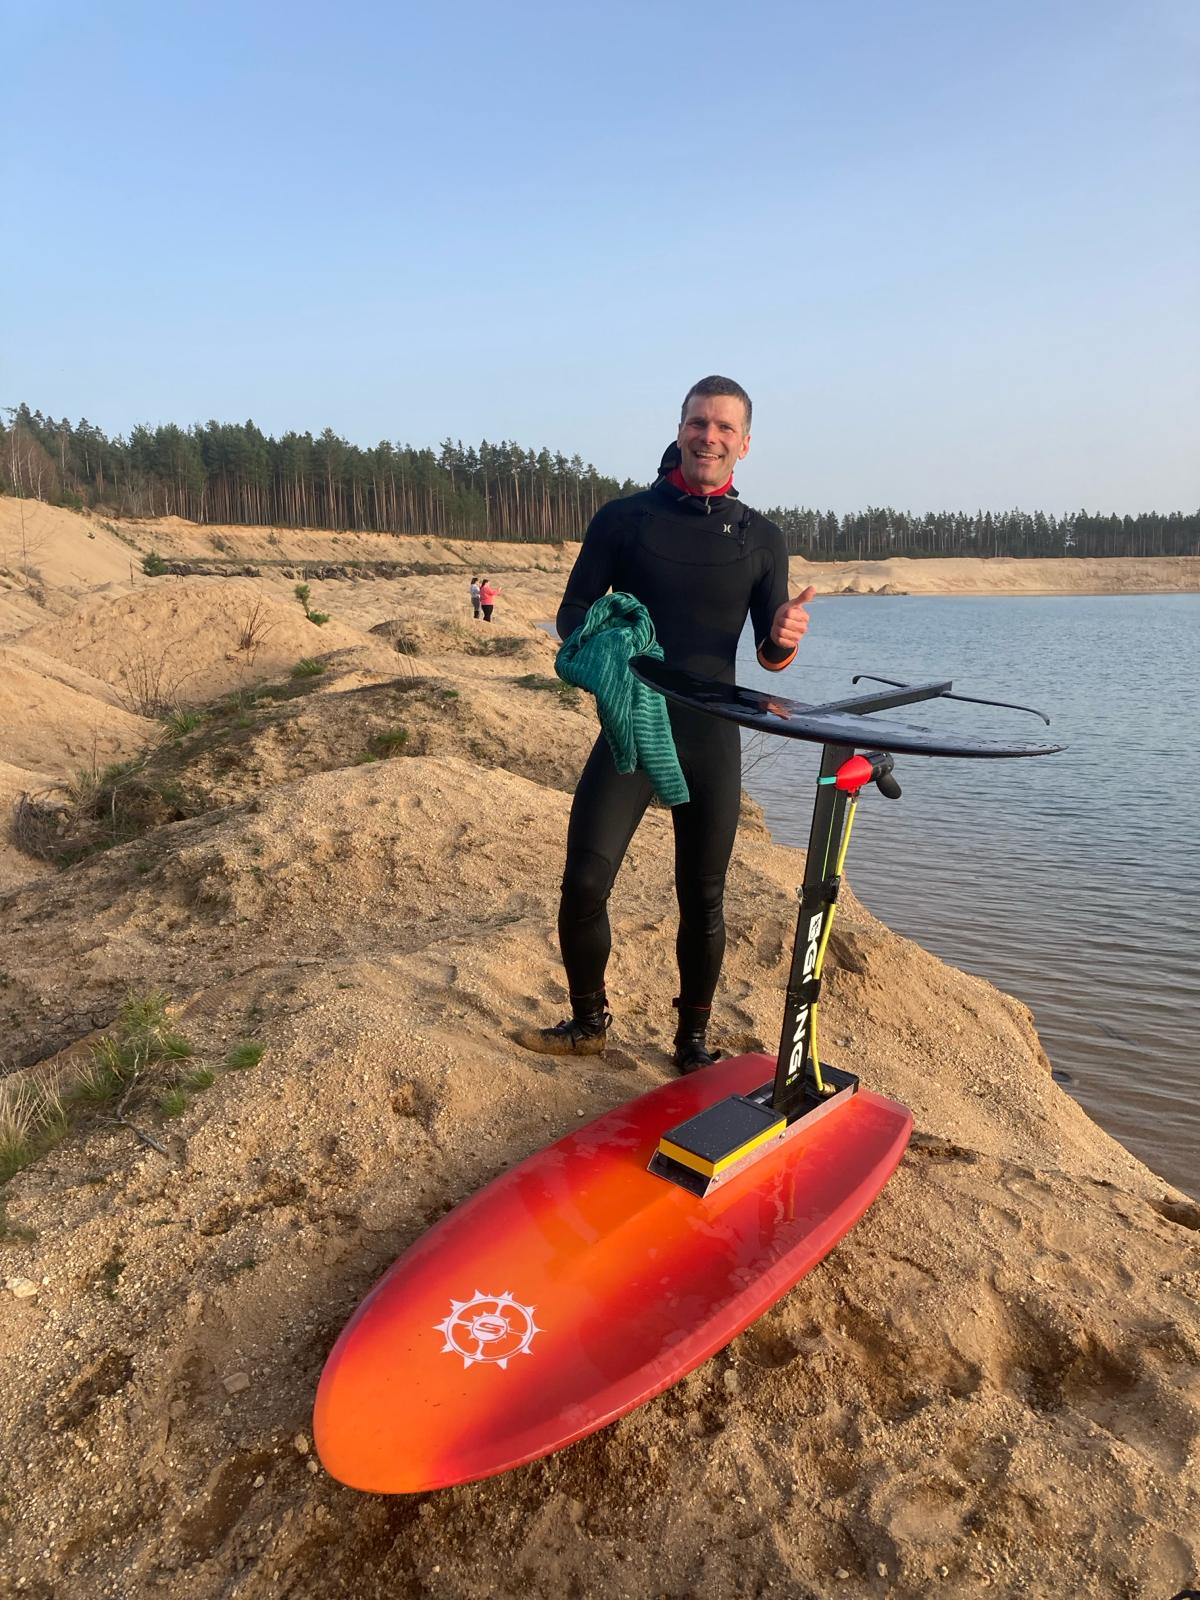
Some final tests have been successfully accomplished yesterday!
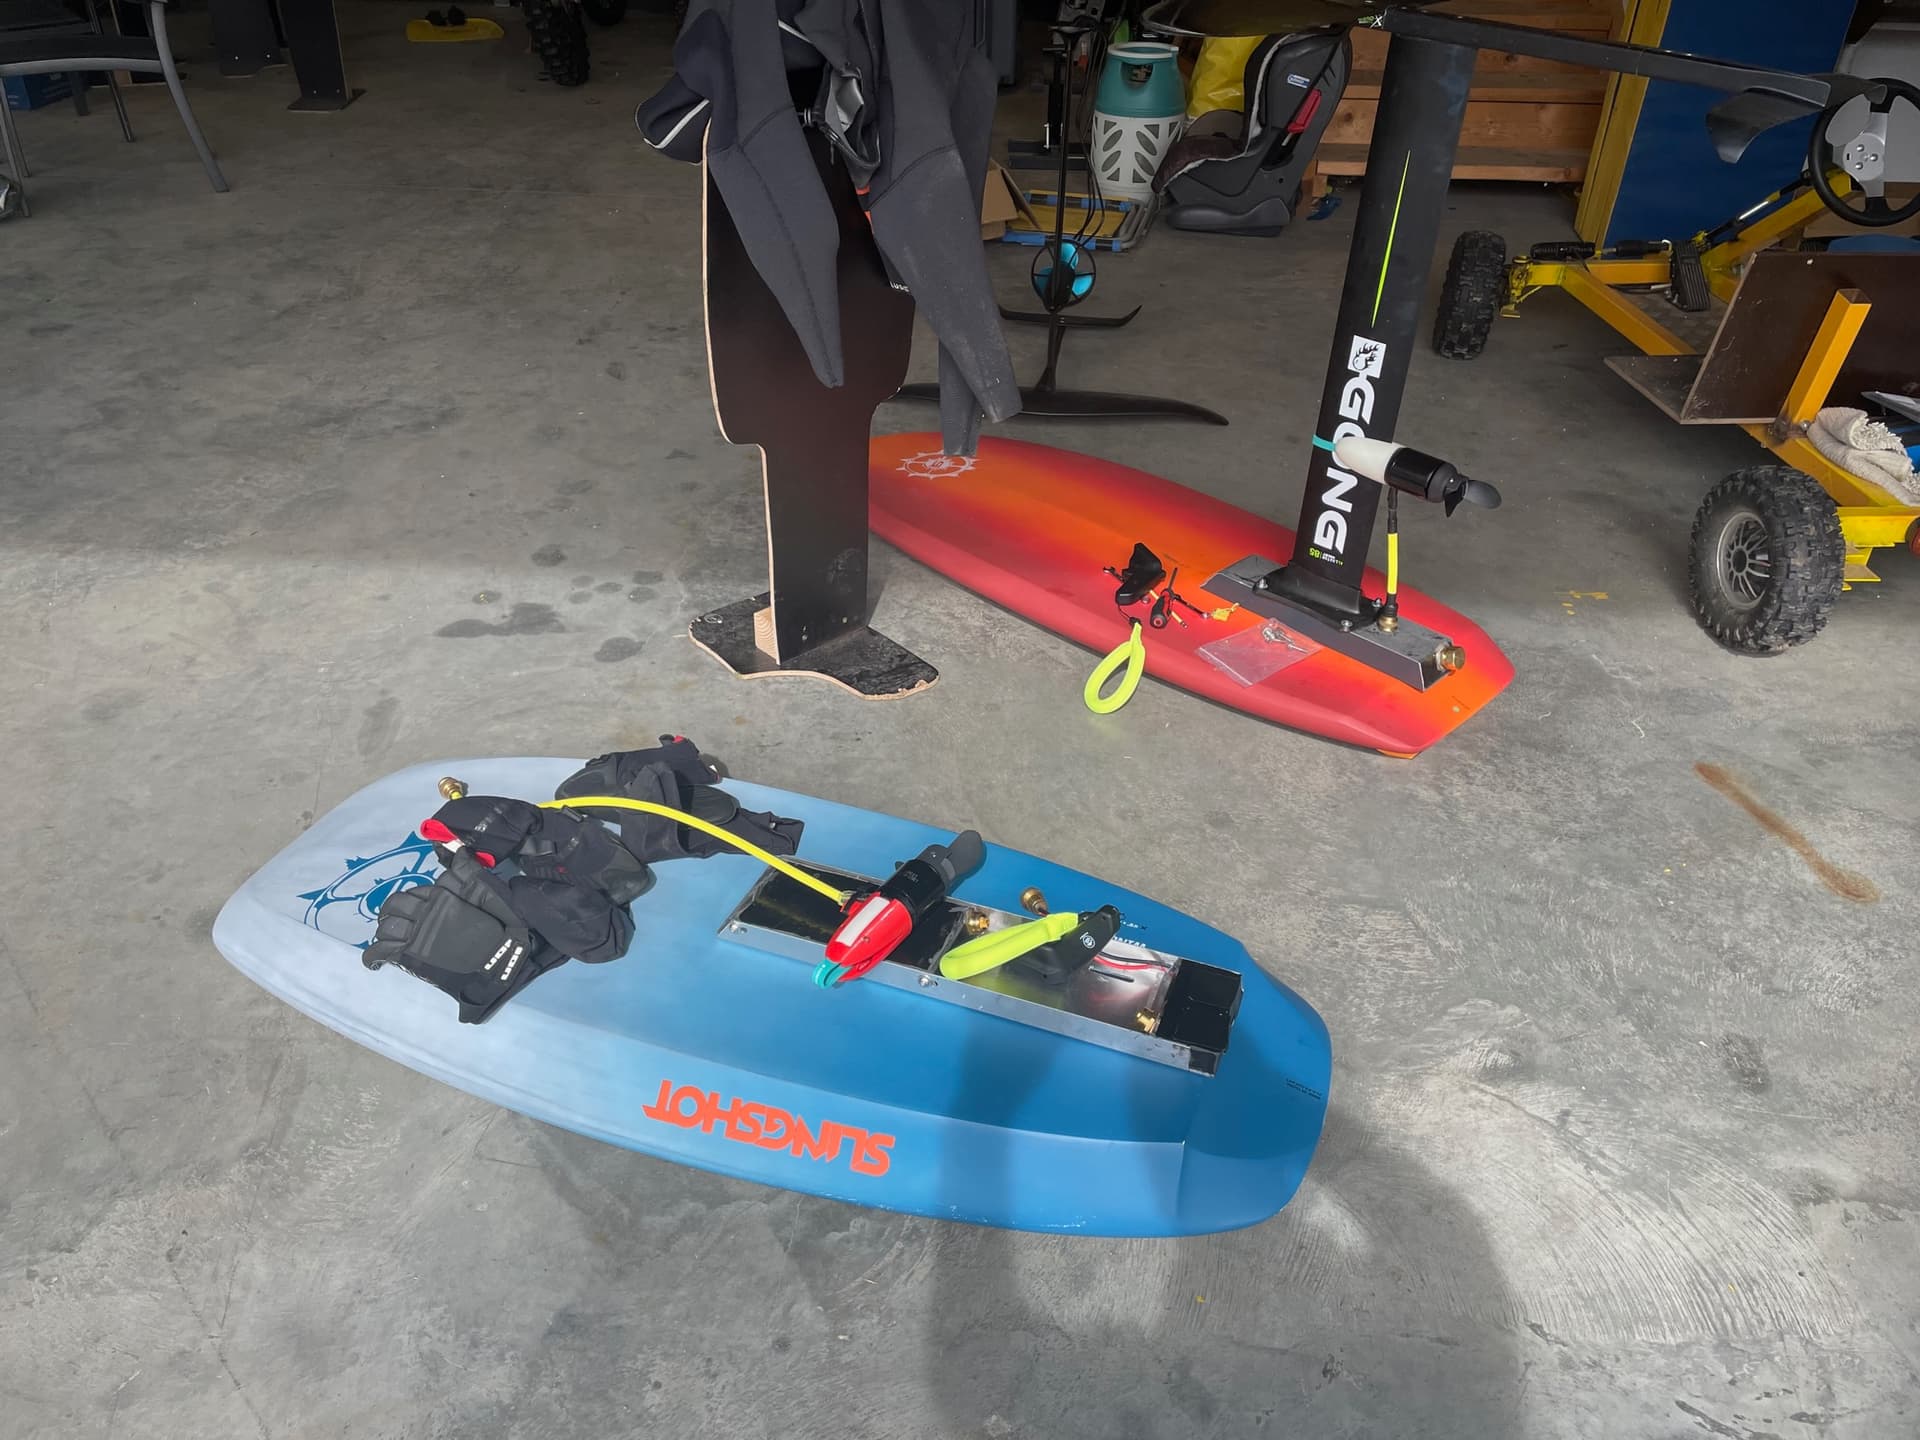
Both prototypes work perfect
Water temperature was about 5°C.
First session on the lake will be this weekend!
Good luck with your testing. Working on a similar build and thanks for inspirational simplicity. I was definitly overthinking many things looking at this build
Did you consider potting the bms separately since they seem to fail more often than a good battery pack, to be able to replace it? Or is it soft potting epoxy you are using so it can be unwrapped?
The video of you paragliding your opensource DIY ewinch (your youtube channel you posted at the start of this thread) is very Wright Brothers inspiring. Love it. Good stuff!
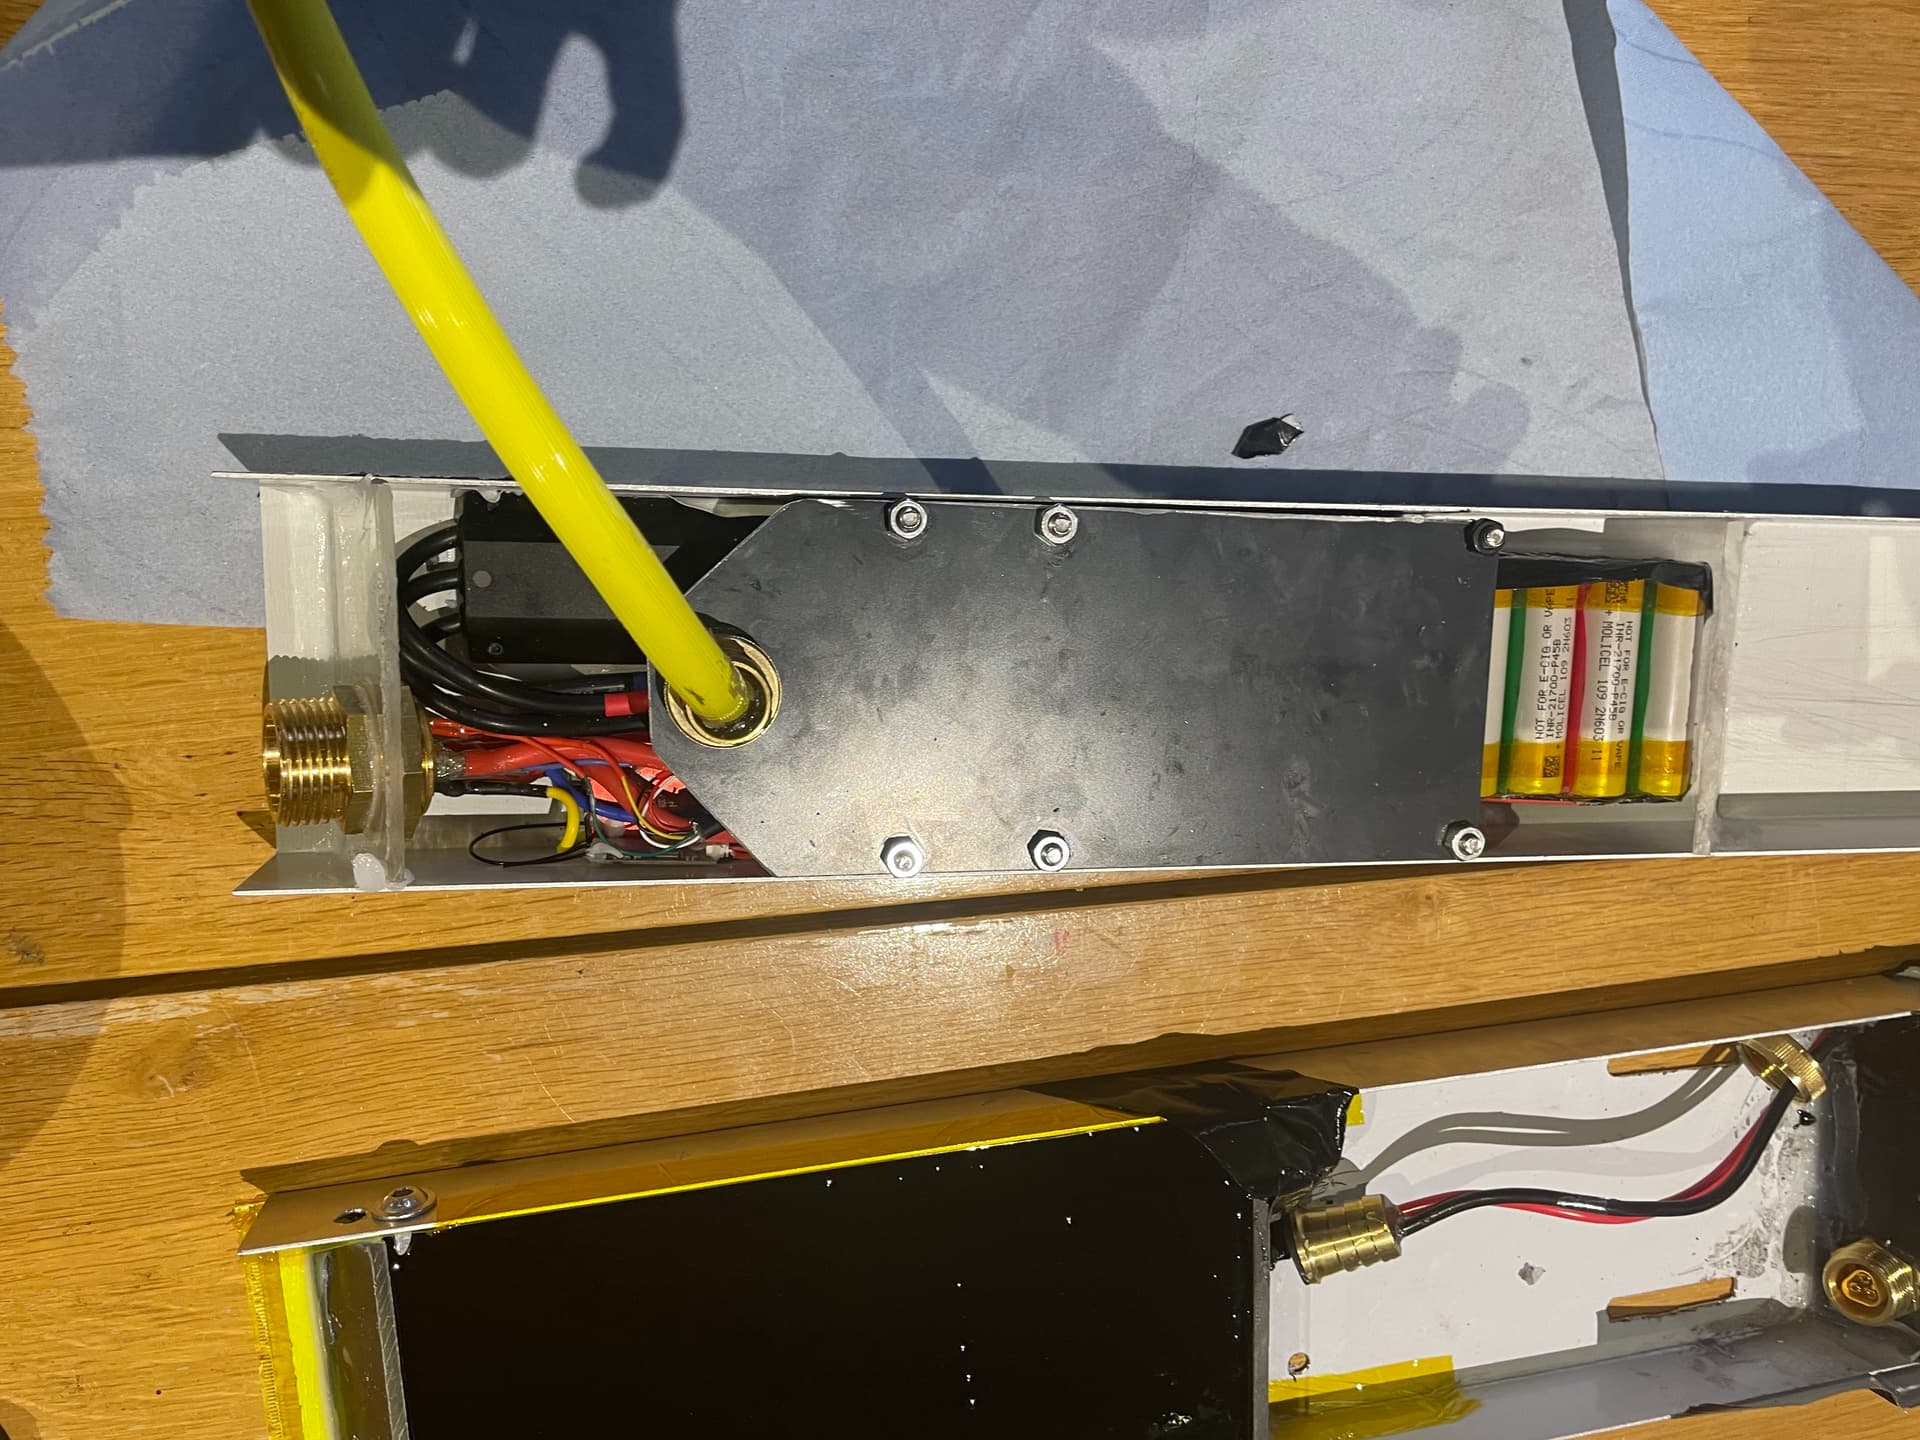
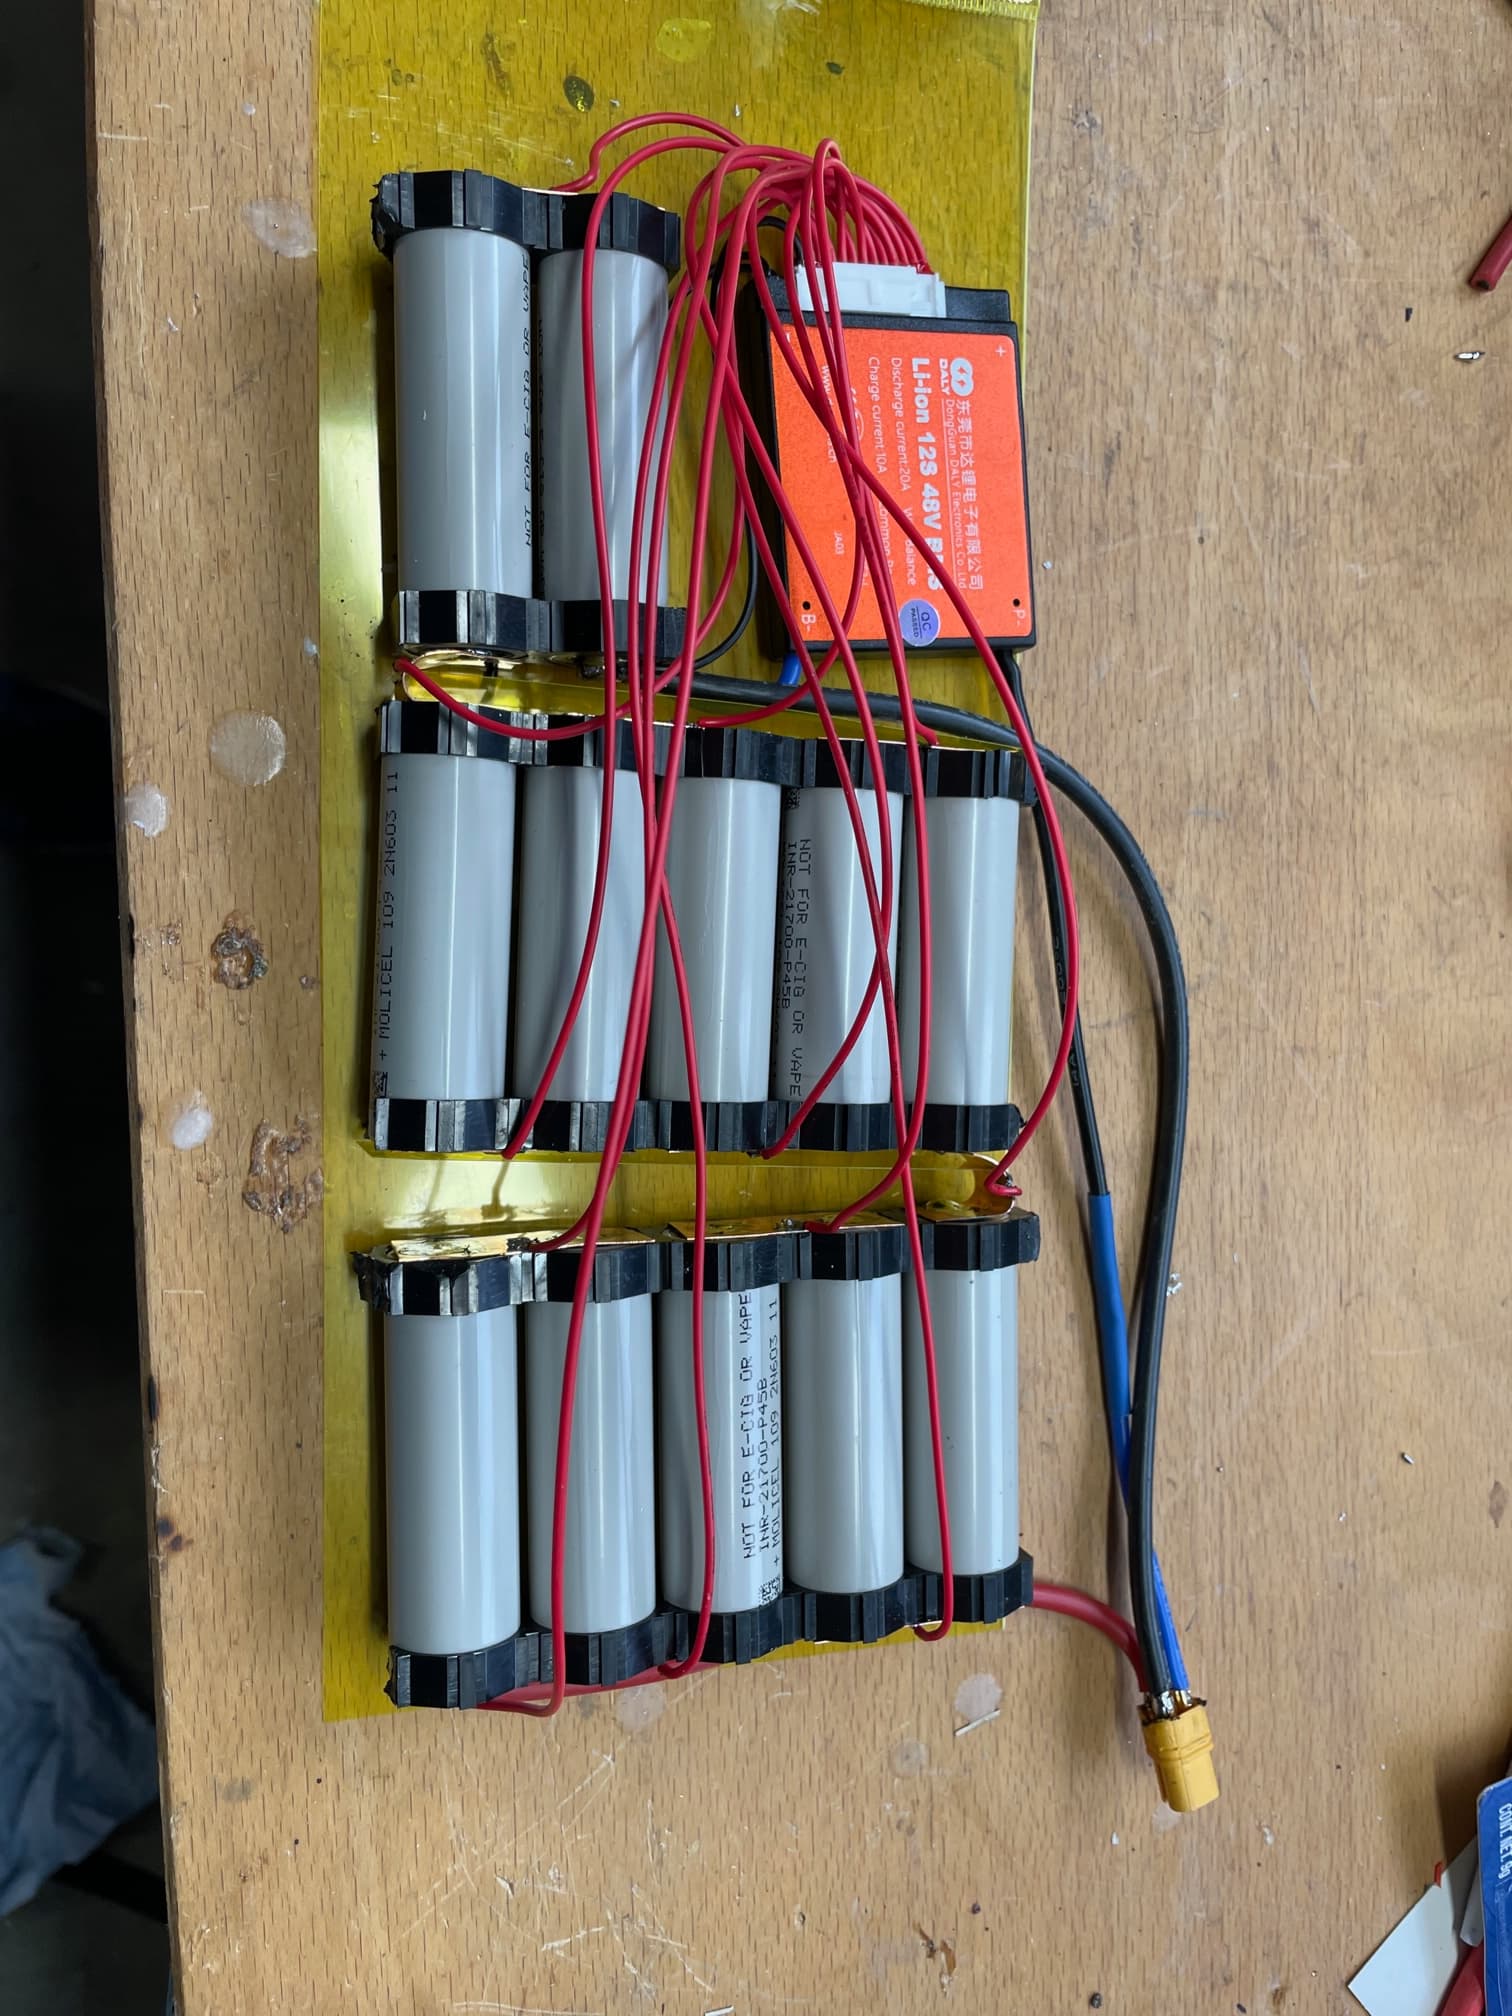
I am currently using a daly bms with charging only.
Next time I would put it in the very front to be able to change it on demand.
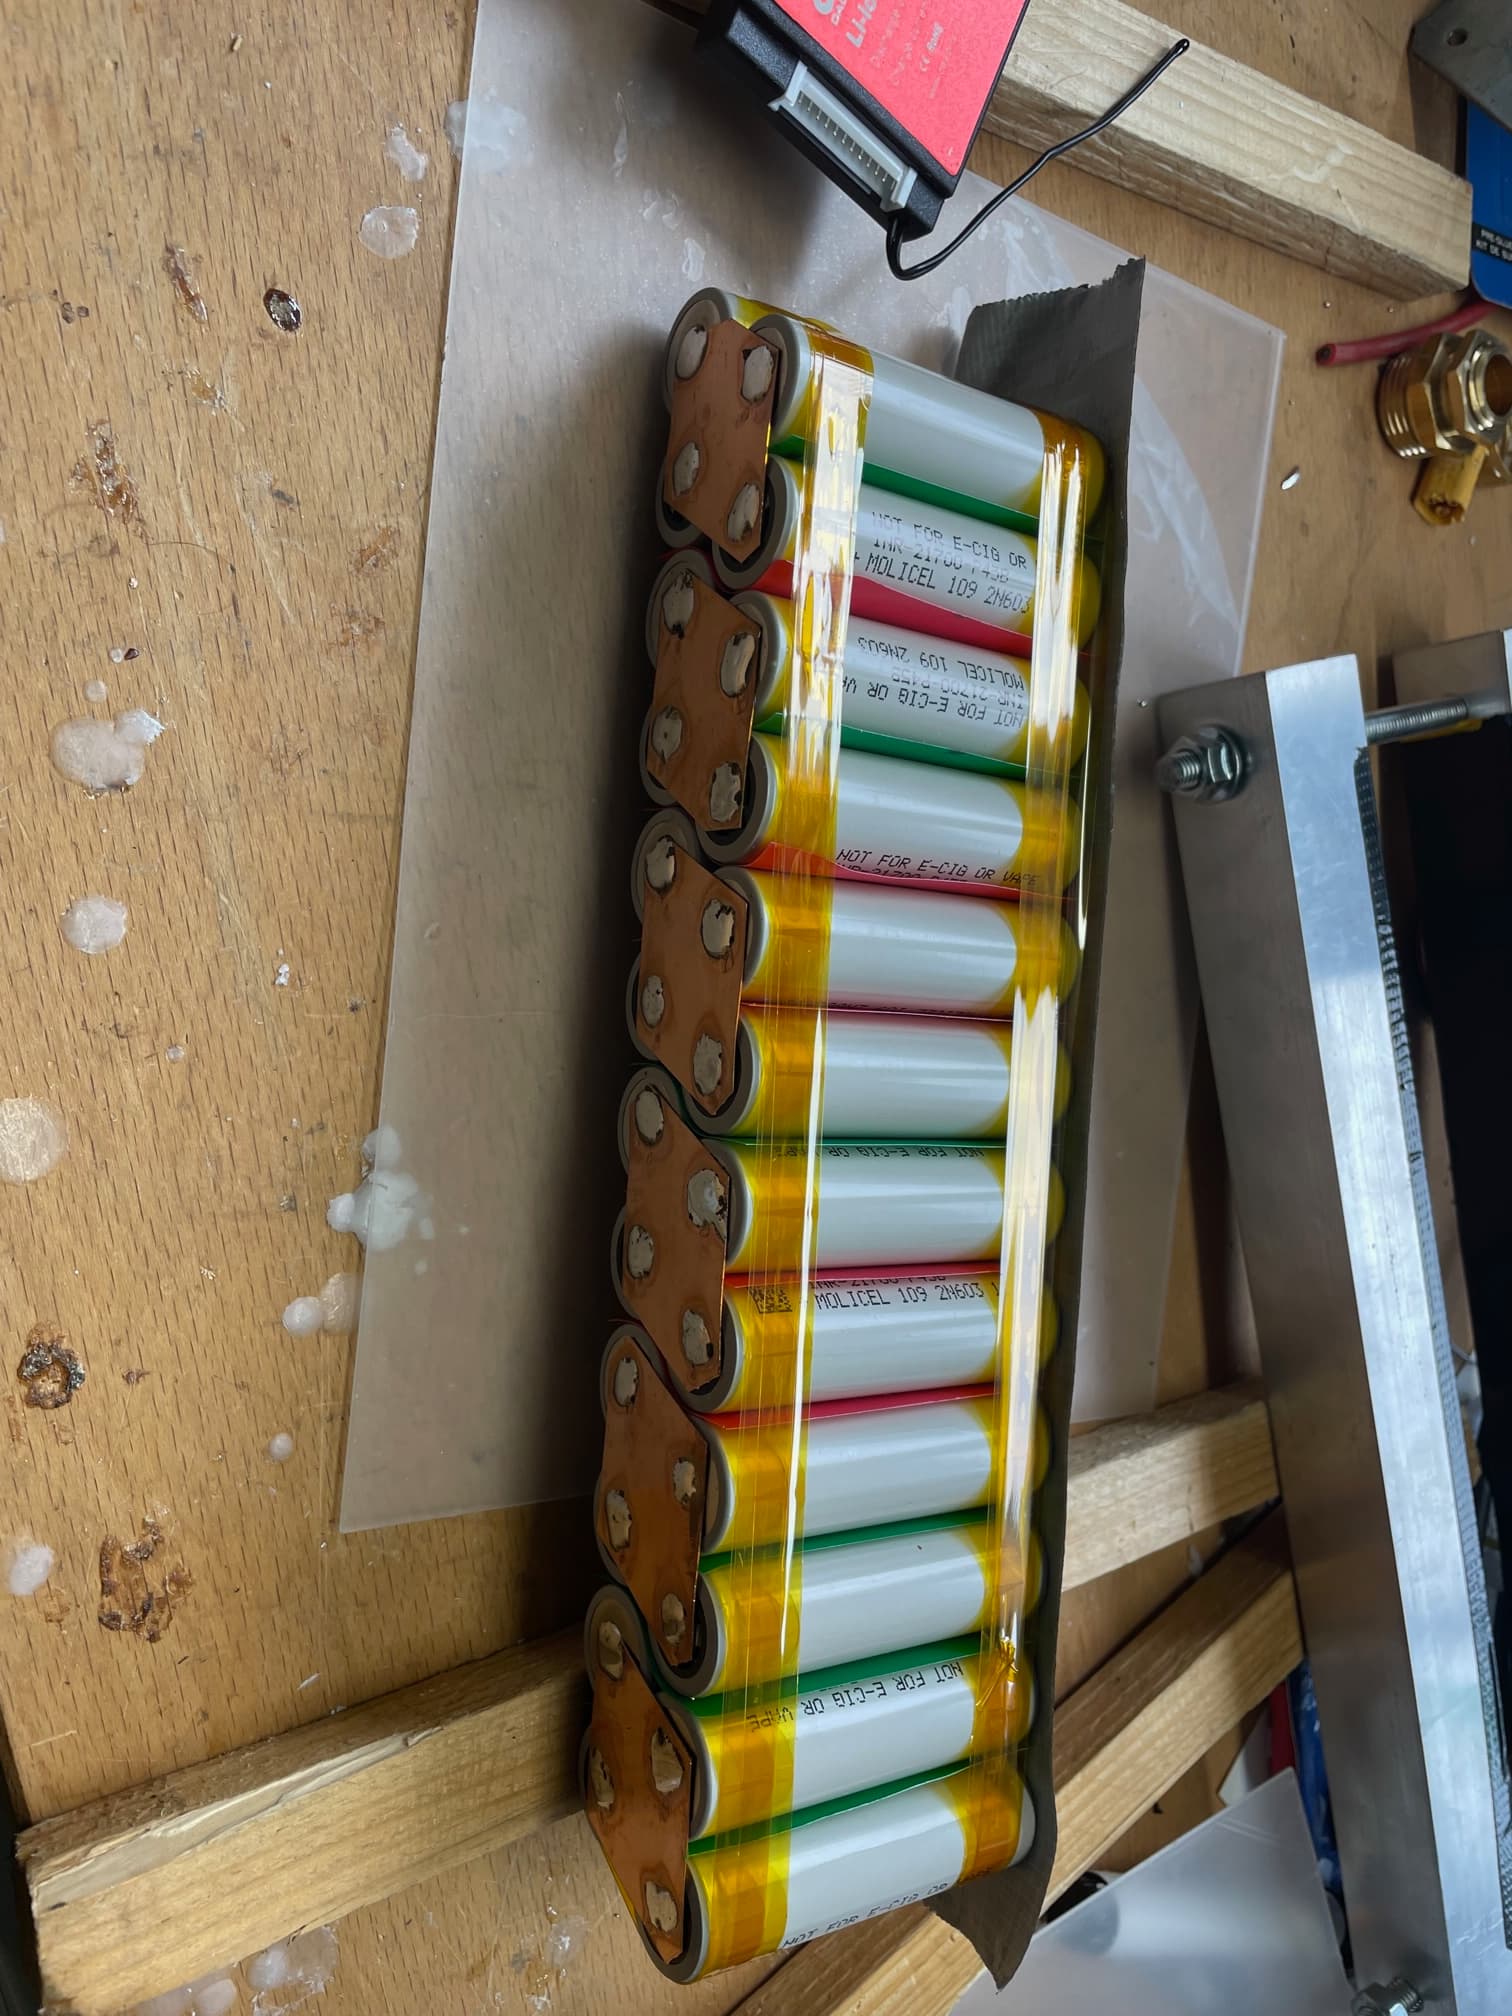
Do you have any recommendations for a reliable bms (12s lion)?
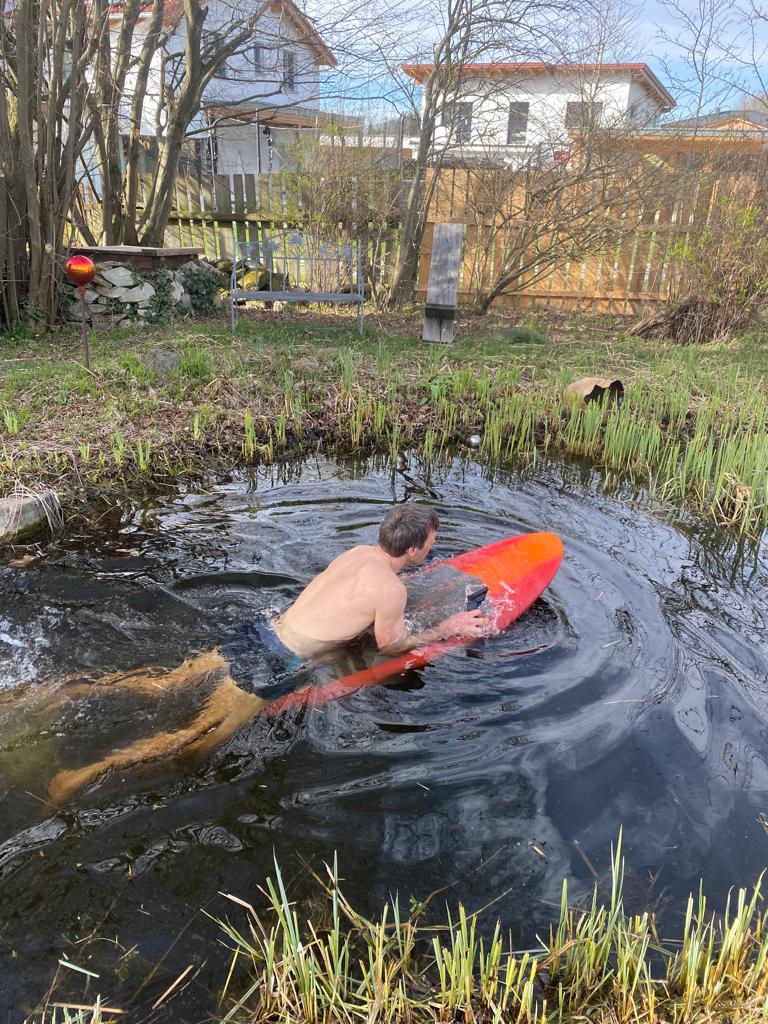
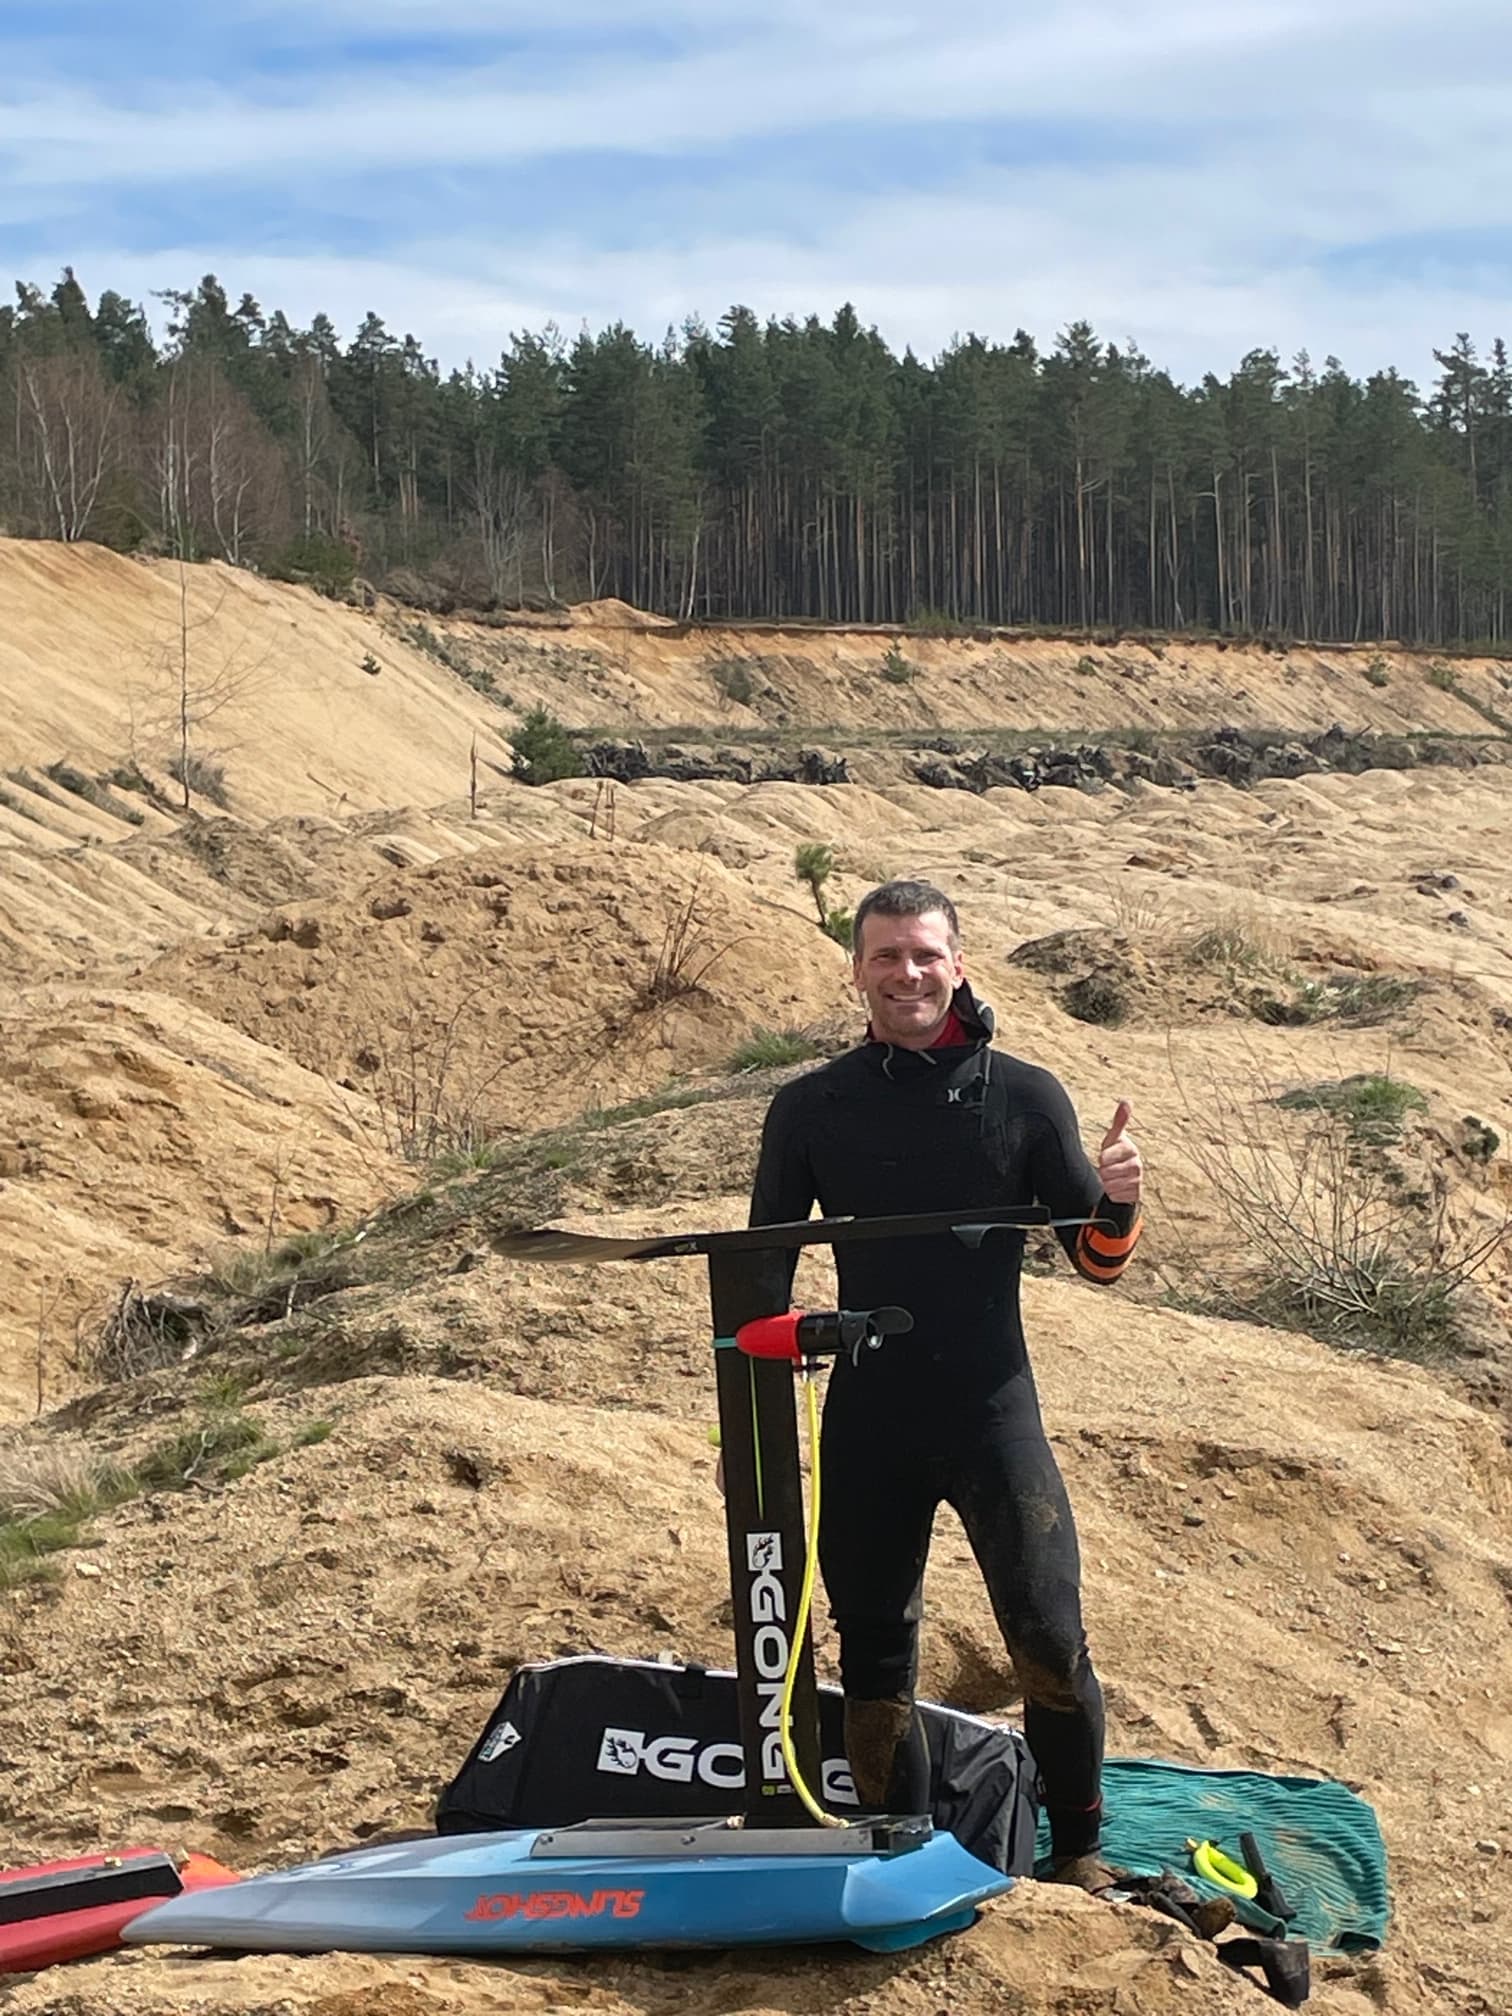
It was my first time on a winch ever (after a lot of testing of course).
I think the feeling was close to the Wright Brothers feeling :-).
I still have not yet tested any other winch but have already 100 of starts on mine and could not think of anything better.
Thank you for validating the design . I’ve started the same build now. Gave up the probematic gen1 box and took all the parts out.
I have a 5mm carbon plate 3k quality lying around. Considering as bottom plate instead of the alu, having M3 bolts sticking up to mount a 3d printed lid.
 perfect for traveling/flying)