Talking first about the elephant in the room when building an efoil.
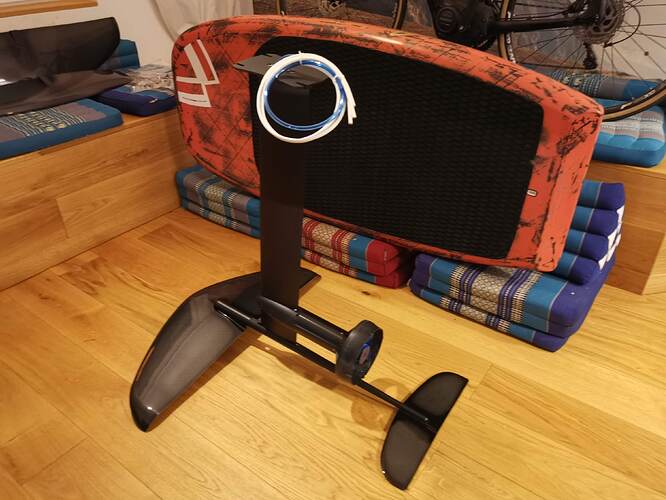
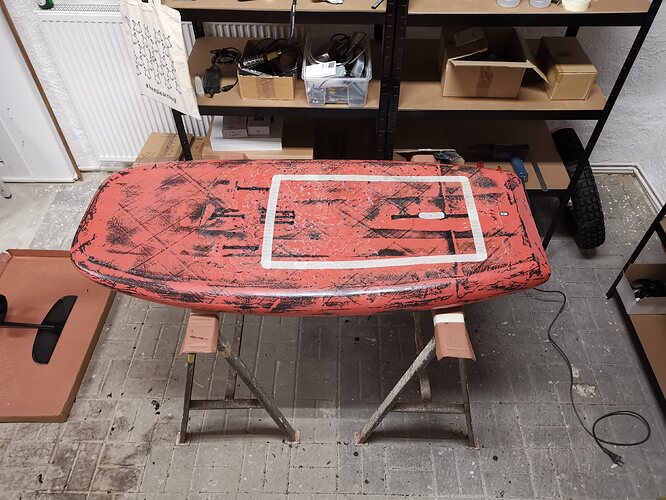
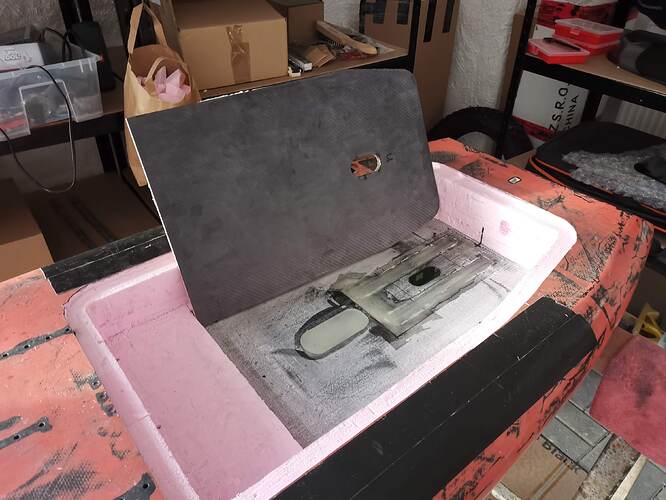
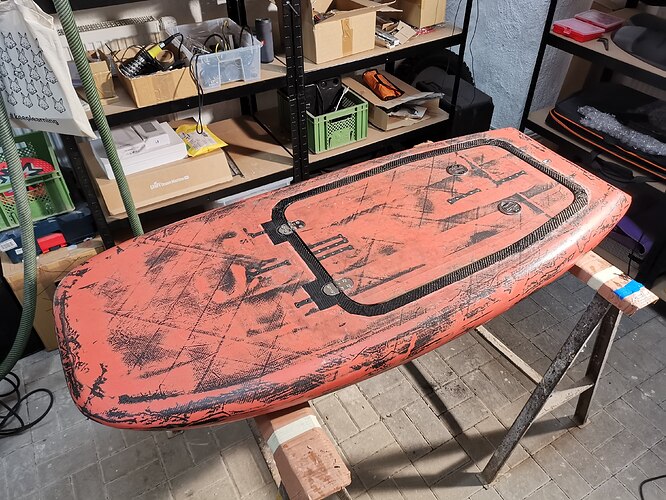
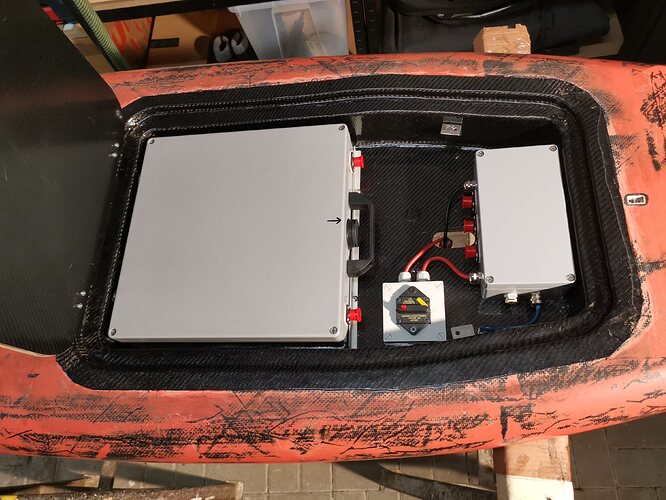
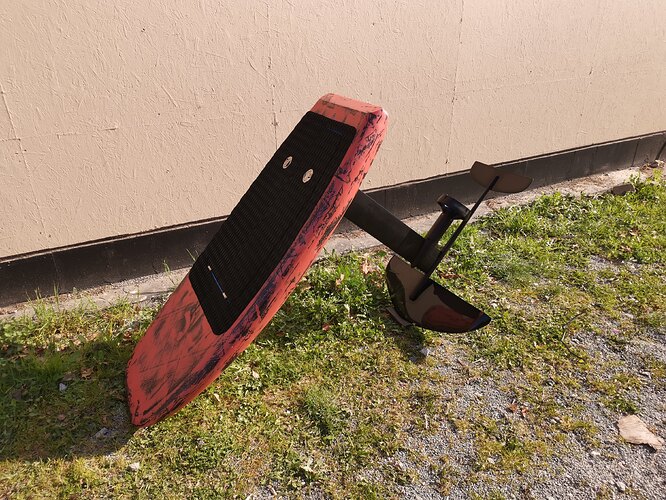
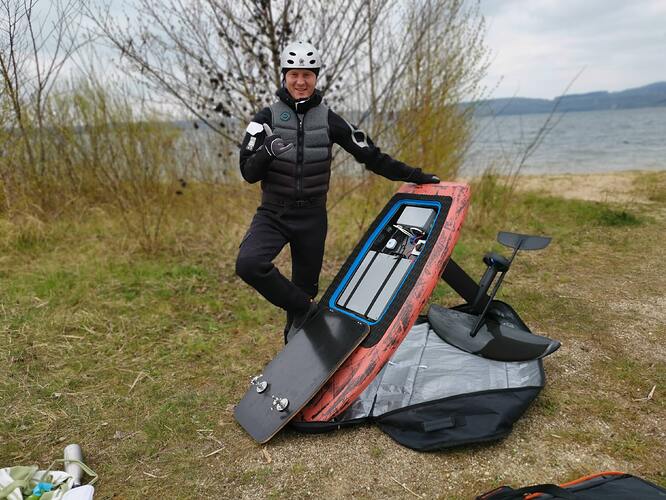
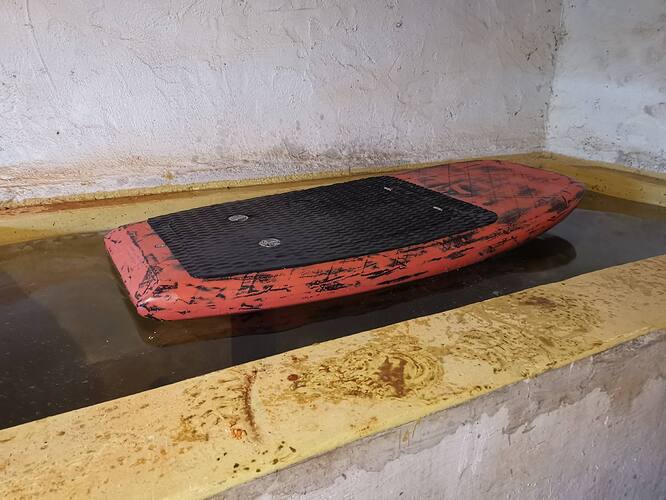
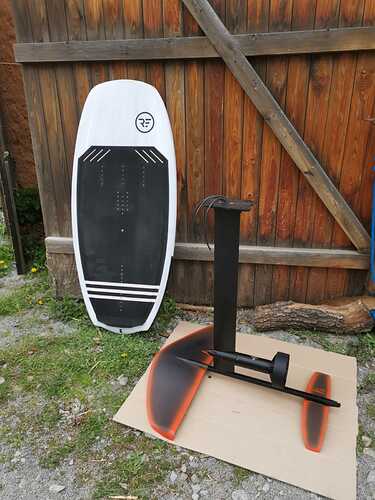
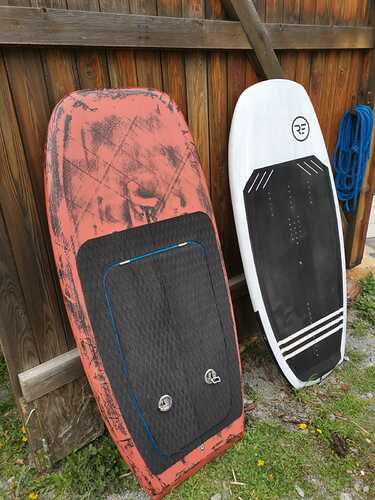
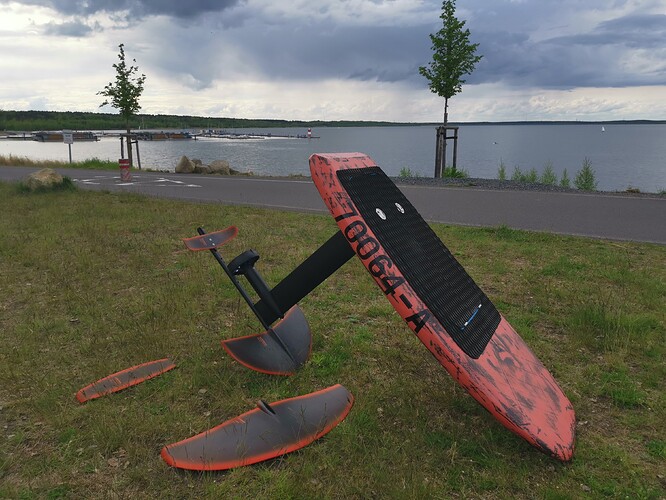
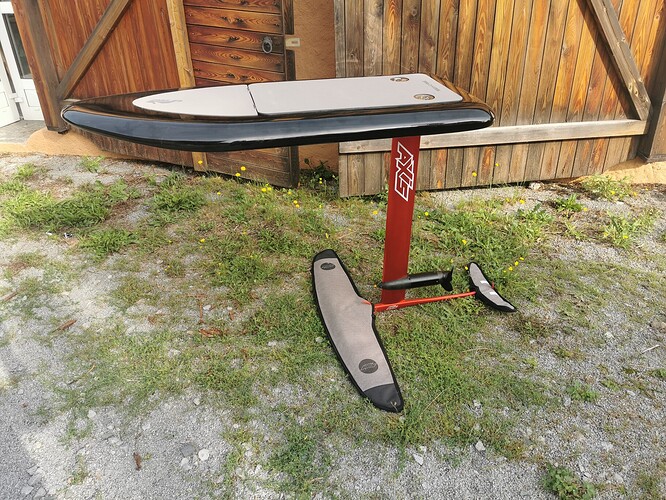
I’ve played with the idea to build a board from scratch but was shocked by the amount of hours that go into shaping and laminating a board so i cheated and got this beautiful handmade carbon board from a small manufacturer here in Berlin. Thickness of the board is 12cm, so i figured it will fit battery and electronics.
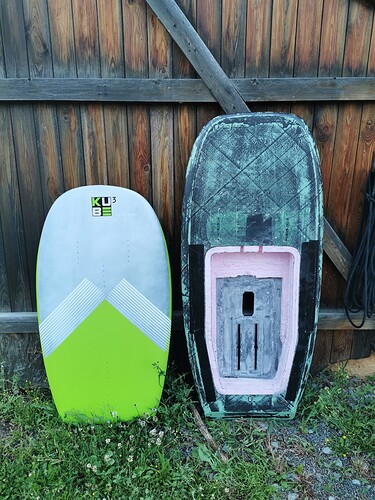
Getting rid of the old traction pad was quite a challenge but acetone really helped. Be careful though it might ruin the paint job.
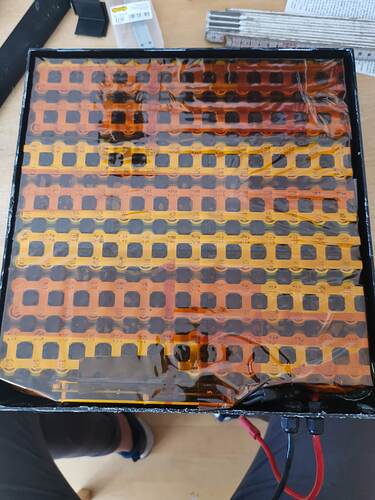
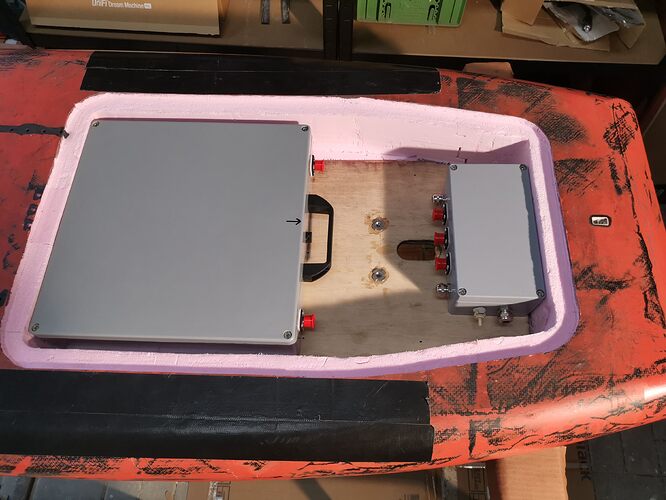
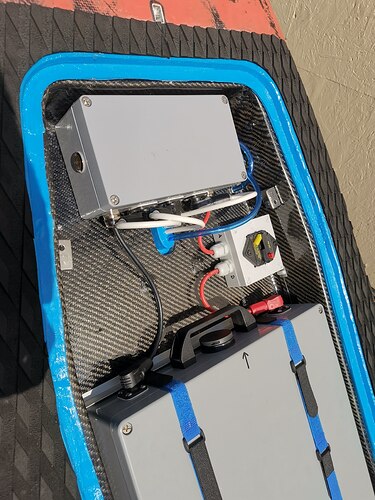
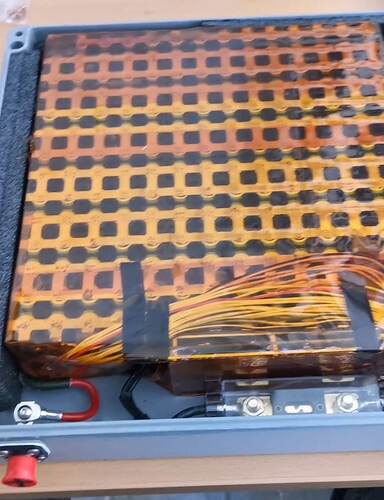
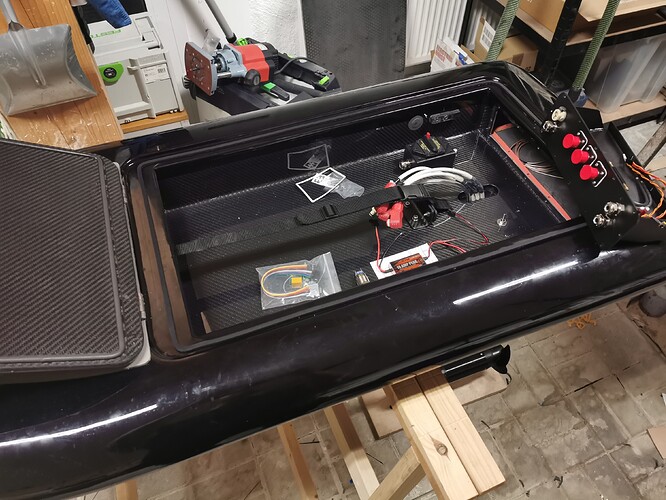
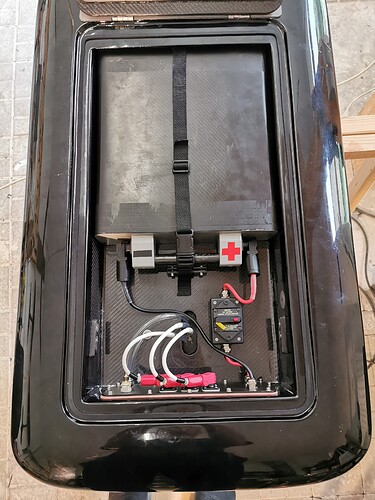
After that i decided for the size of the compartment, i found an electronics box for the battery made from polyester which was the reason i made the cutout for my cavity 70x40cm.
https://www.bopla.de/en/enclosure-technology/product/euromas-polyester/enclosure-5/p-339.html
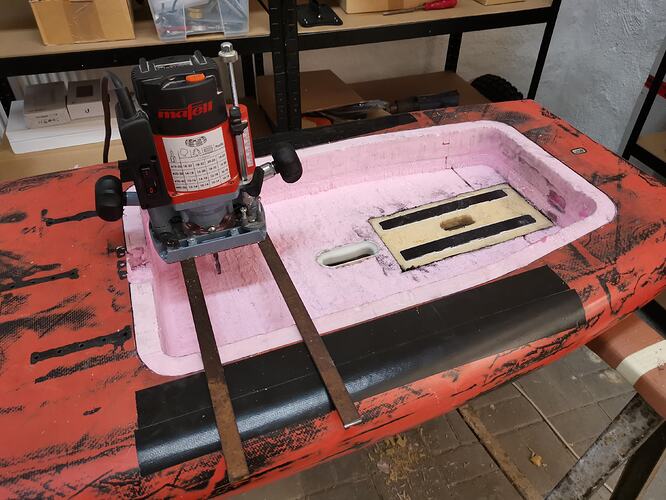
Unfortunately i haven’t got a cnc yet but i found out, that two old steel rods also do the job. 
From another fellow german builder i got the idea to use an 8mm metal drill bit which i grinded the top of, for using it to router out all XPS foam.
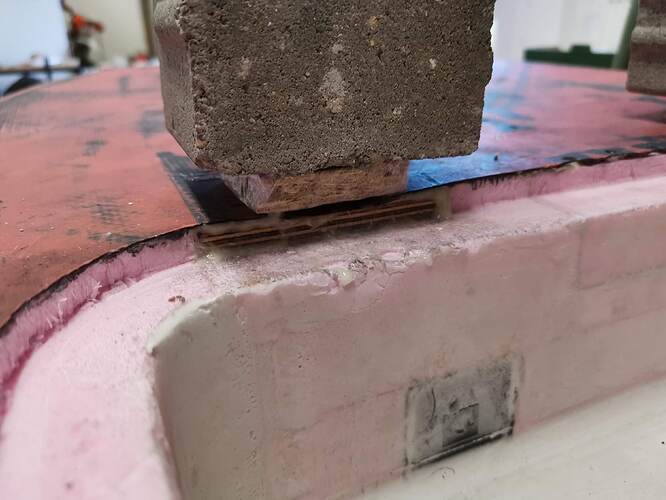
I quickly realized that i wasn’t able to use the foil track box which had a total height of more than 3cm and would limit my height inside the board. So it had to go, and instead i glued a sandwich of 3mm carbon sheet with 6mm plywood on top into the cavity using epoxy.
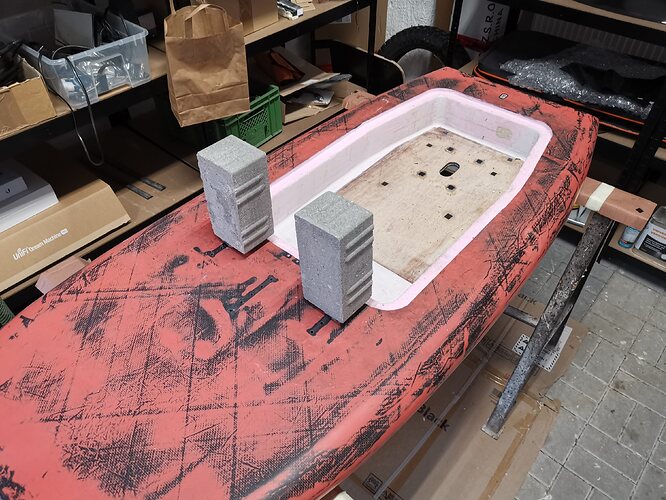
For fixing the mast later i installed m8 stainless steel drive-in nuts.
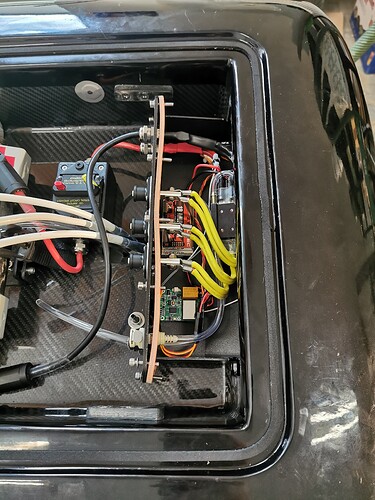
As i already had the electronics almost finished i decided for their final positioning and used m5 screw-in nuts which i also glued with epoxy into the plywood. I covered them with a bit of tape so during laminating i wouldn’t fill them up with resin. In total i made 18 inserts.
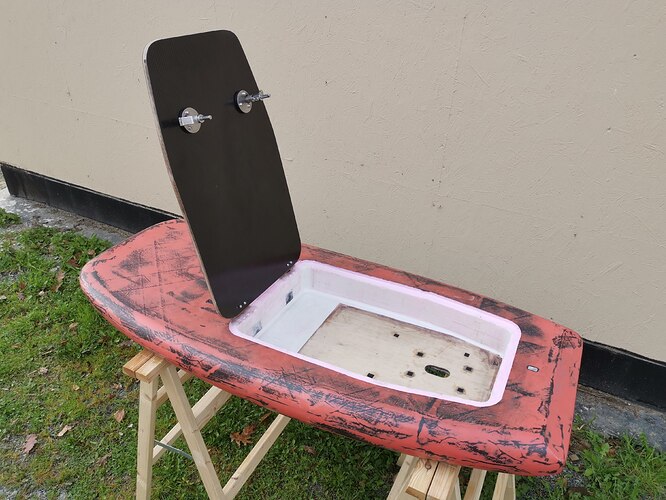
Next in line was the lid, where i’ve reused the old carbon deck. Its also a sandwich with 1mm carbon sheet, 9mm waterproof plywood and the 1mm old carbon deck. In total 11mm, a bit on the heavy side, but i wanted it to be super sturdy and 0 flex.
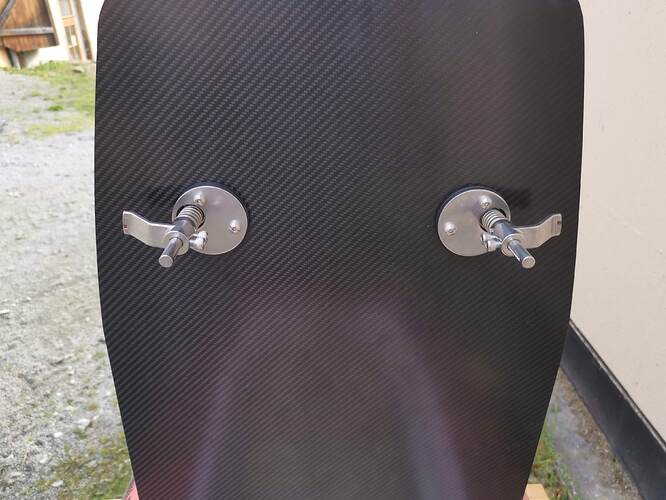
These are the latches i bought, they feel high quality and so far they’re waterproof.
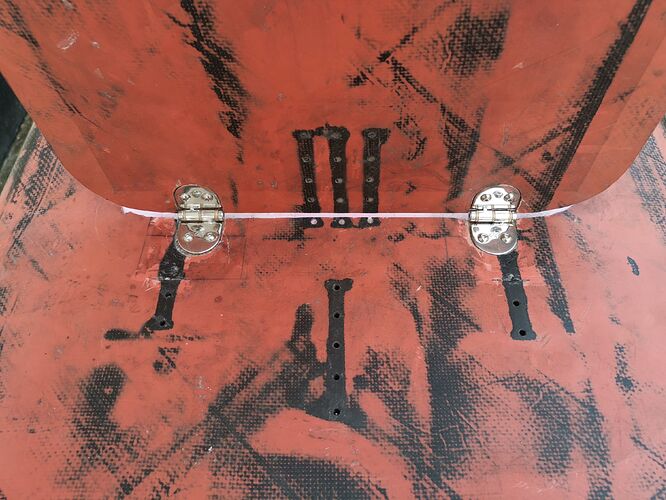
And i’ve used gemlux hinges:
https://www.gotthardt-yacht.de/ausruestung/scharniere/reibungsscharnier-38x76mm?number=107614
To fix the hinges onto the board i’ve glued plywood with pre-installed m5 drive-in nuts between the deck and the XPS.
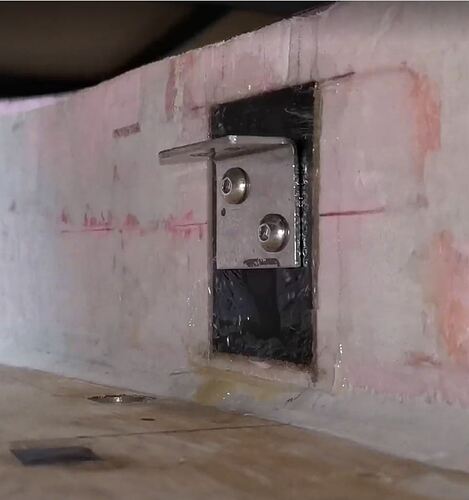
The holders for the latches are stainless steel angles which are screwed into a piece of plywood same with pre-installed m5 drive-in nuts glued into the XPS.
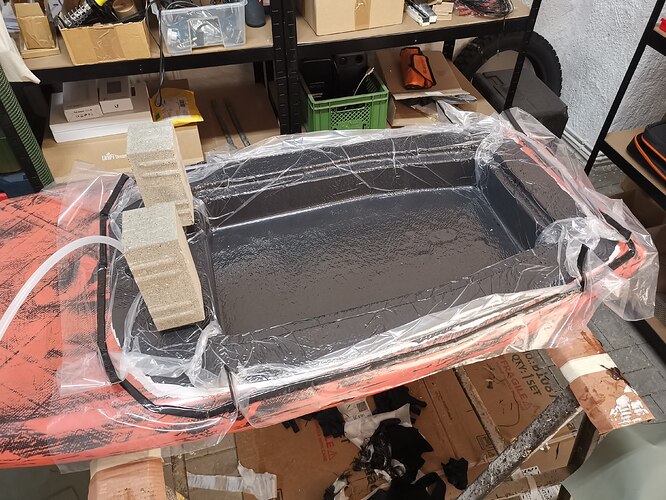
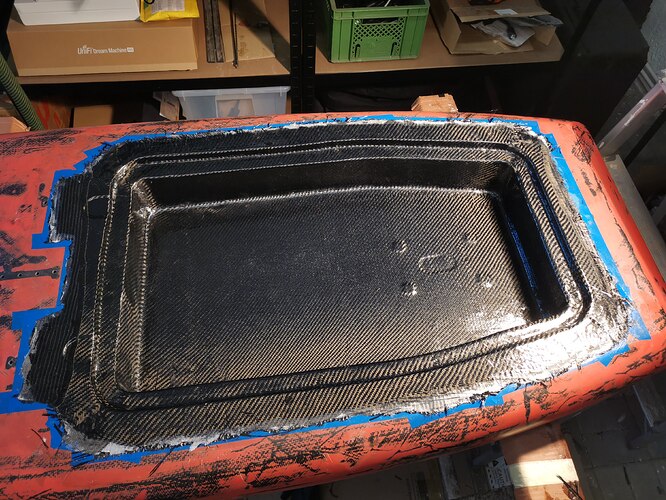
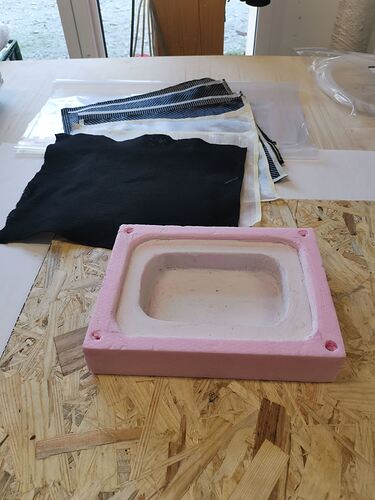
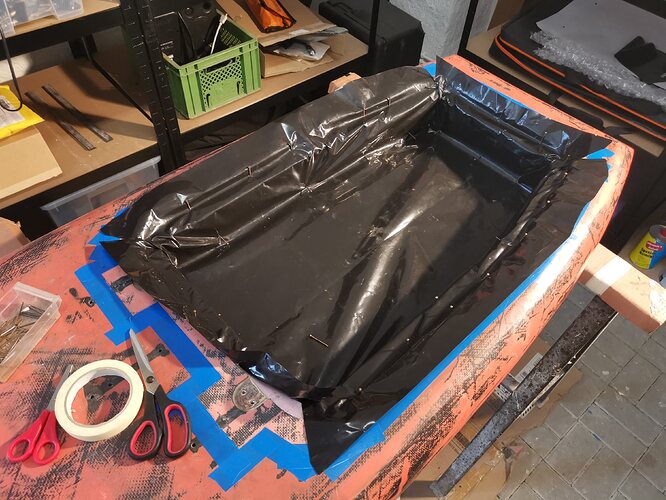
Before laminating i’ve used epoxy mixed with microballoons as a filler and sanded the whole cavity to make all surfaces super smooth. And i took out all sharp edges which would have been a pain in laminating with cf. Speaking of cf, since it was my first cf job even involving a vacuum pump, i played it safe and ran several tests to find the desired layup and to figure out how to get the rigid cf sheets into the corners.
The final layup is 200g carbon fabric twill 0/90 + 200g bidiagonal carbon fabric +/-45° + 200g carbon fabric twill 0/90 + 100g glass fabric twill.
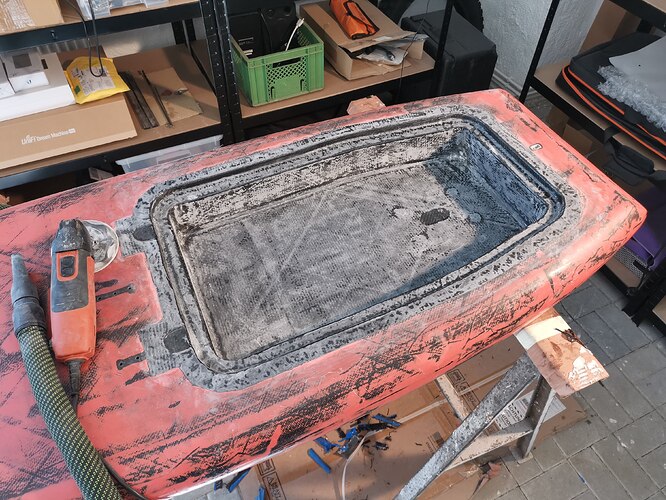
The glass is just a final protection layer for the sanding that needed to be done after removing the peel ply.
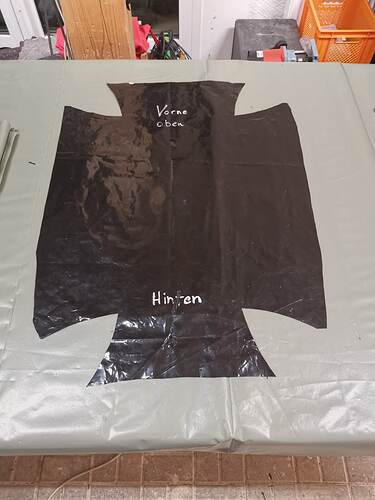
It really helped to cut a template and to precut all sheets before laminating.
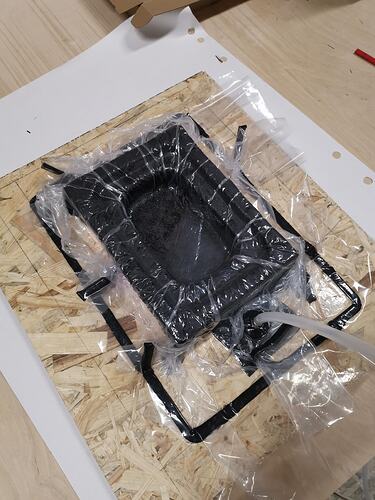
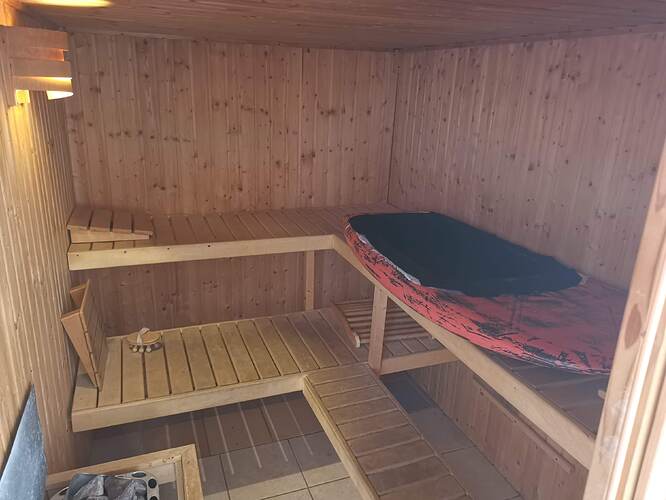
I’ve decided for a simple hand layup and vacuum bagging to get the shape right. After the initial cure of the epoxy, final curing was done at 60°C in the sauna. 
Finally filling the surface the peel ply had left with resin, sanding, filling again and sanding again to get a really nice and smooth finish.
Now it was time to find all those hidden inserts under the cf again, luckily i’ve made a template as well. So it was easy to cautiously drill out the cf.
At last i copied michions method of pouring silicone into the space between lid and board to make a perfect seal. I’m very happy with this solution, Wagnersil 32N was used:
https://www.amazon.de/gp/product/B00U6BRVR8/ref=ppx_yo_dt_b_asin_title_o02_s00?ie=UTF8&psc=1
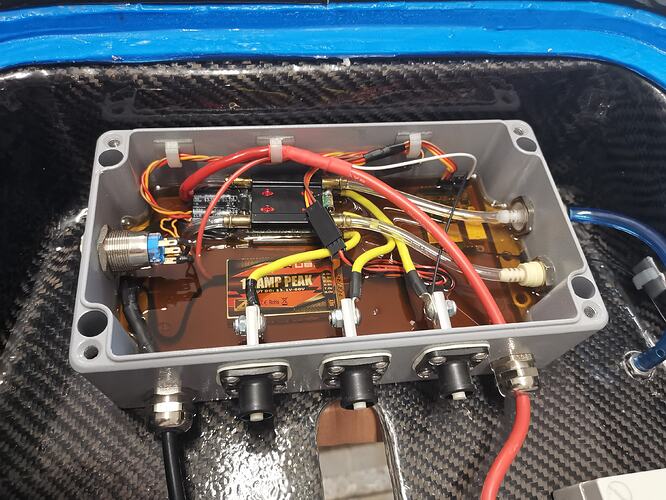
So much regarding the board, off next to the electronics and battery…
![]() and your Remote Hack, @michion thanks for your amazing seal! Congratulations for @Flying_Rodeo for your brilliant Motor and @kiterr for your amazing Wings.
and your Remote Hack, @michion thanks for your amazing seal! Congratulations for @Flying_Rodeo for your brilliant Motor and @kiterr for your amazing Wings.