Wanted to do this for some time now, but as I’m in my test week for school I have not much time at this moment to write a full report.
I’m going to post all pictures I have taken during the build, and if something is not clear, or if you have a question, then please do not hesitate to ask.
I will also add some comments with the pictures when I have time todo so.
But. 1st I would like to thank @MBard and @vincent. They helped and inspired me with this build.
So, a BIG thank you Marcel and Vincent! <3
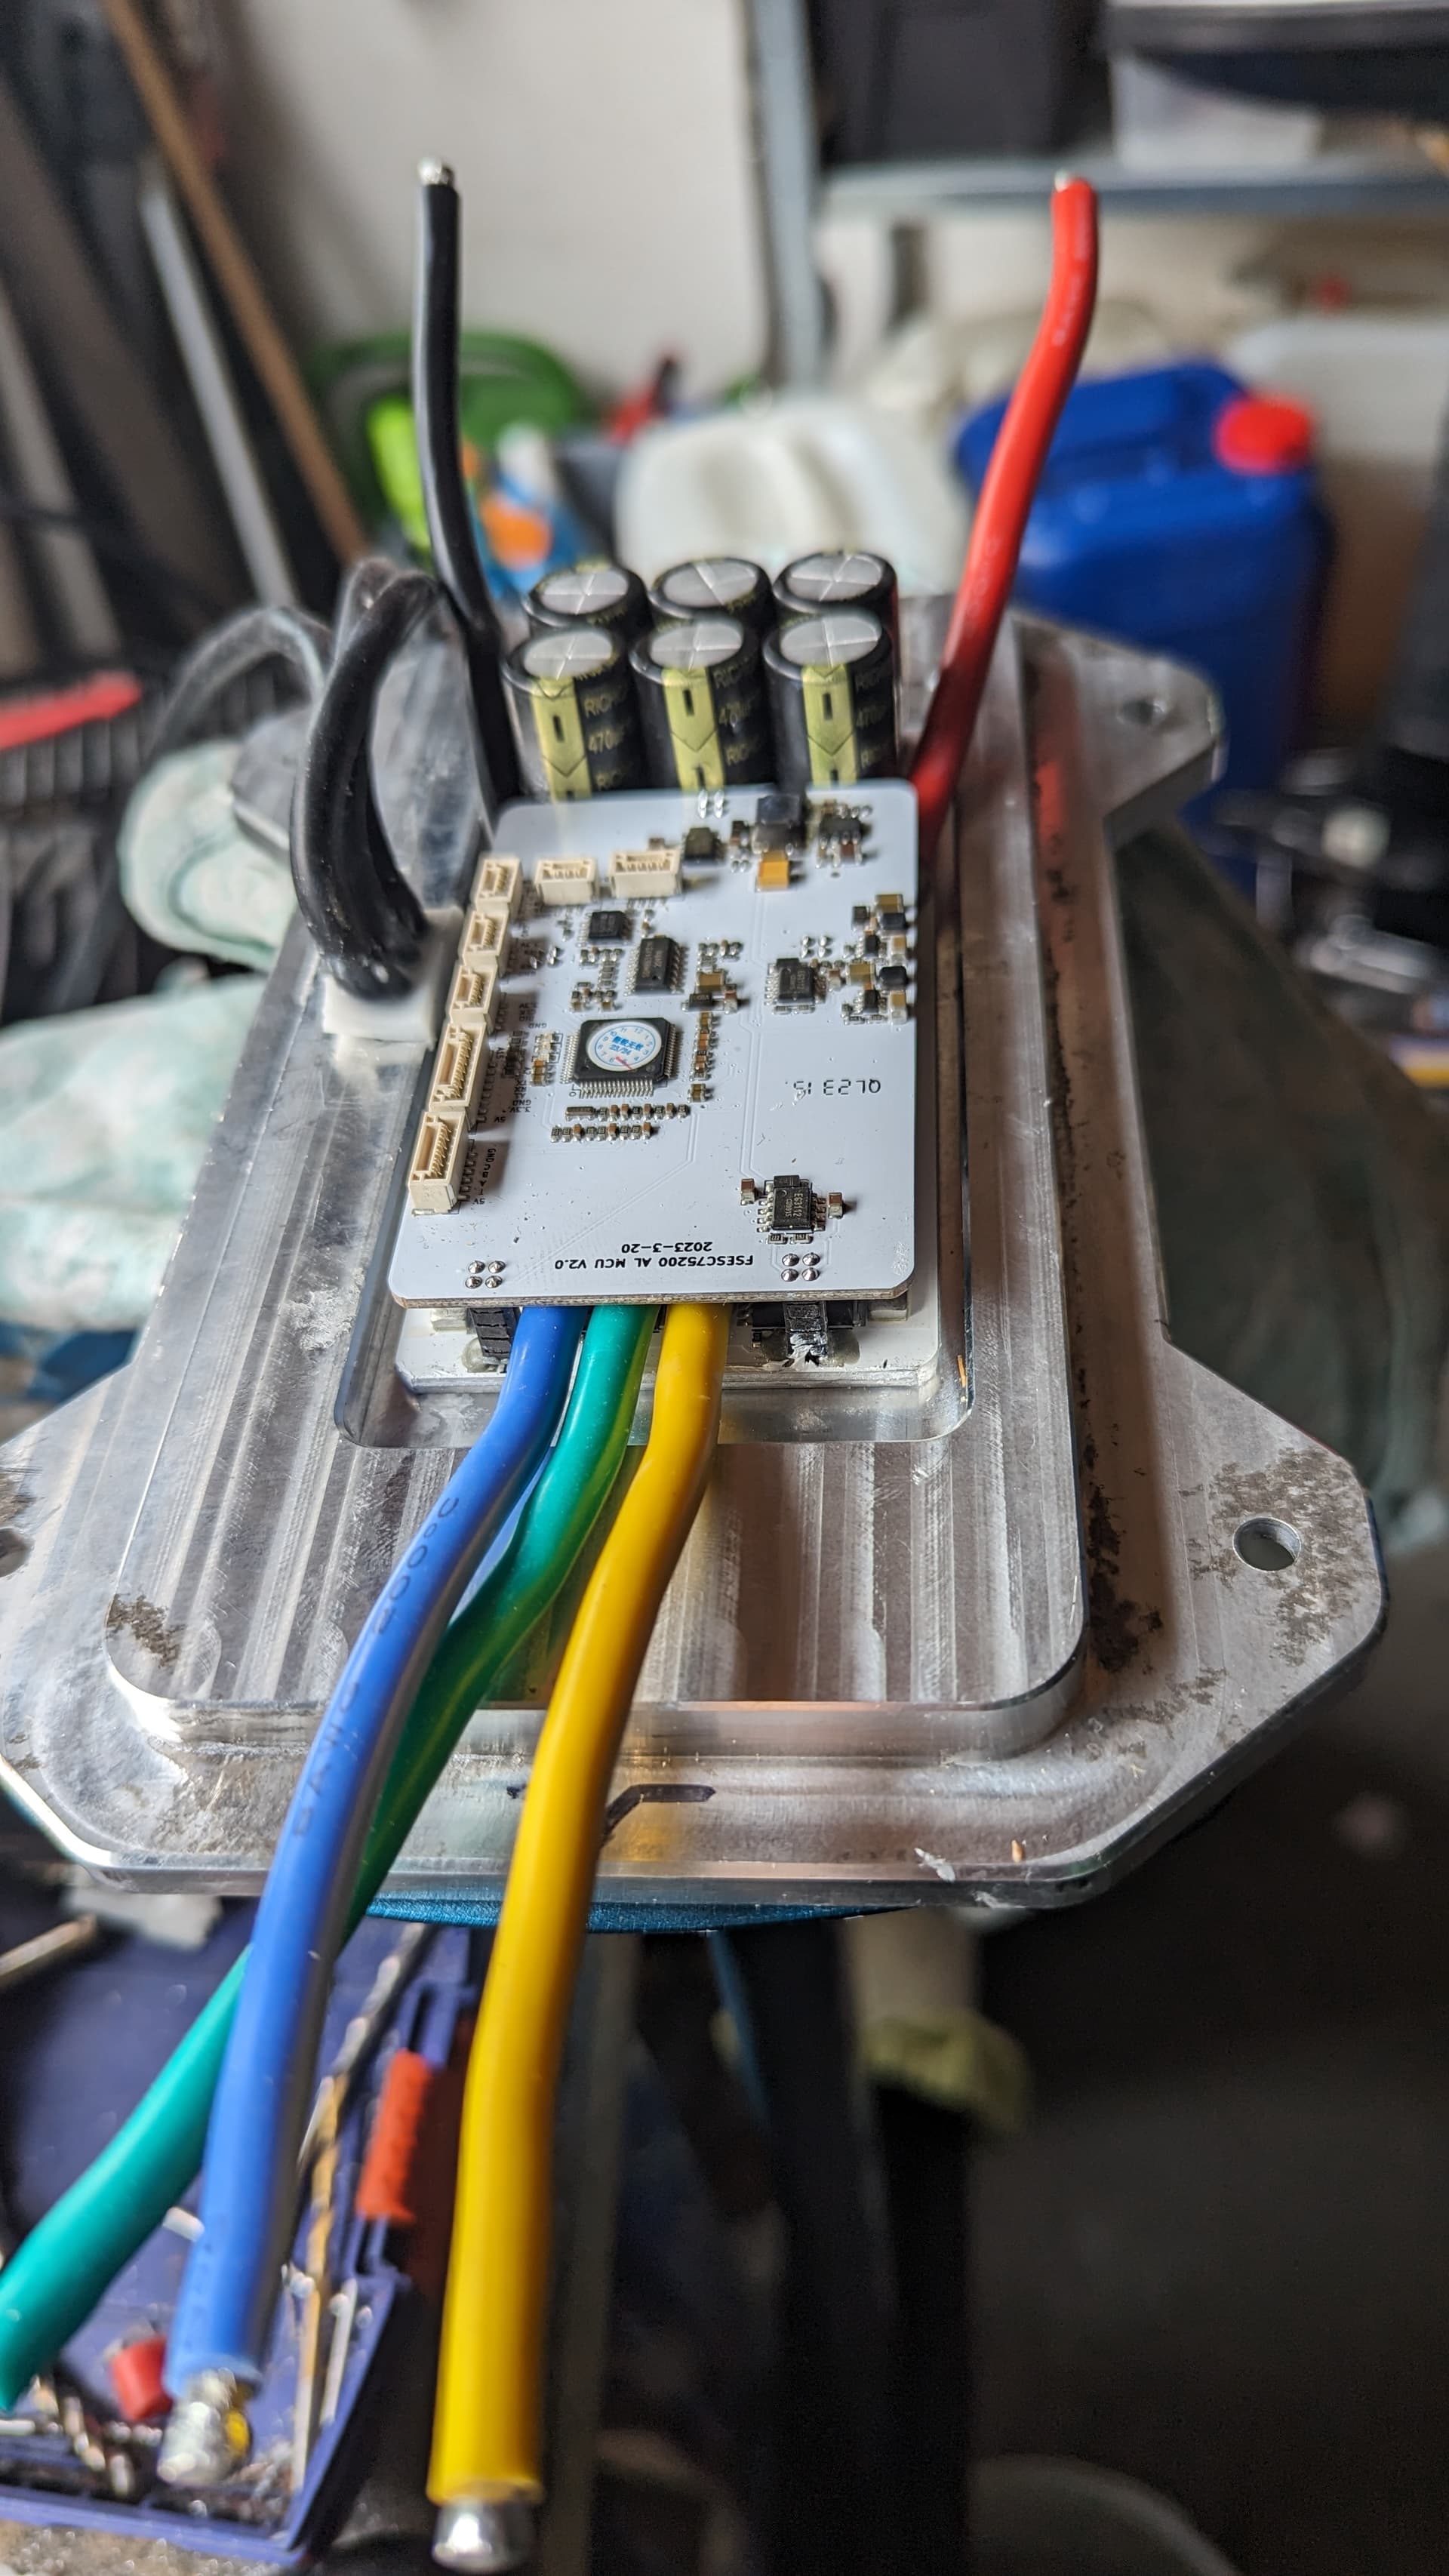
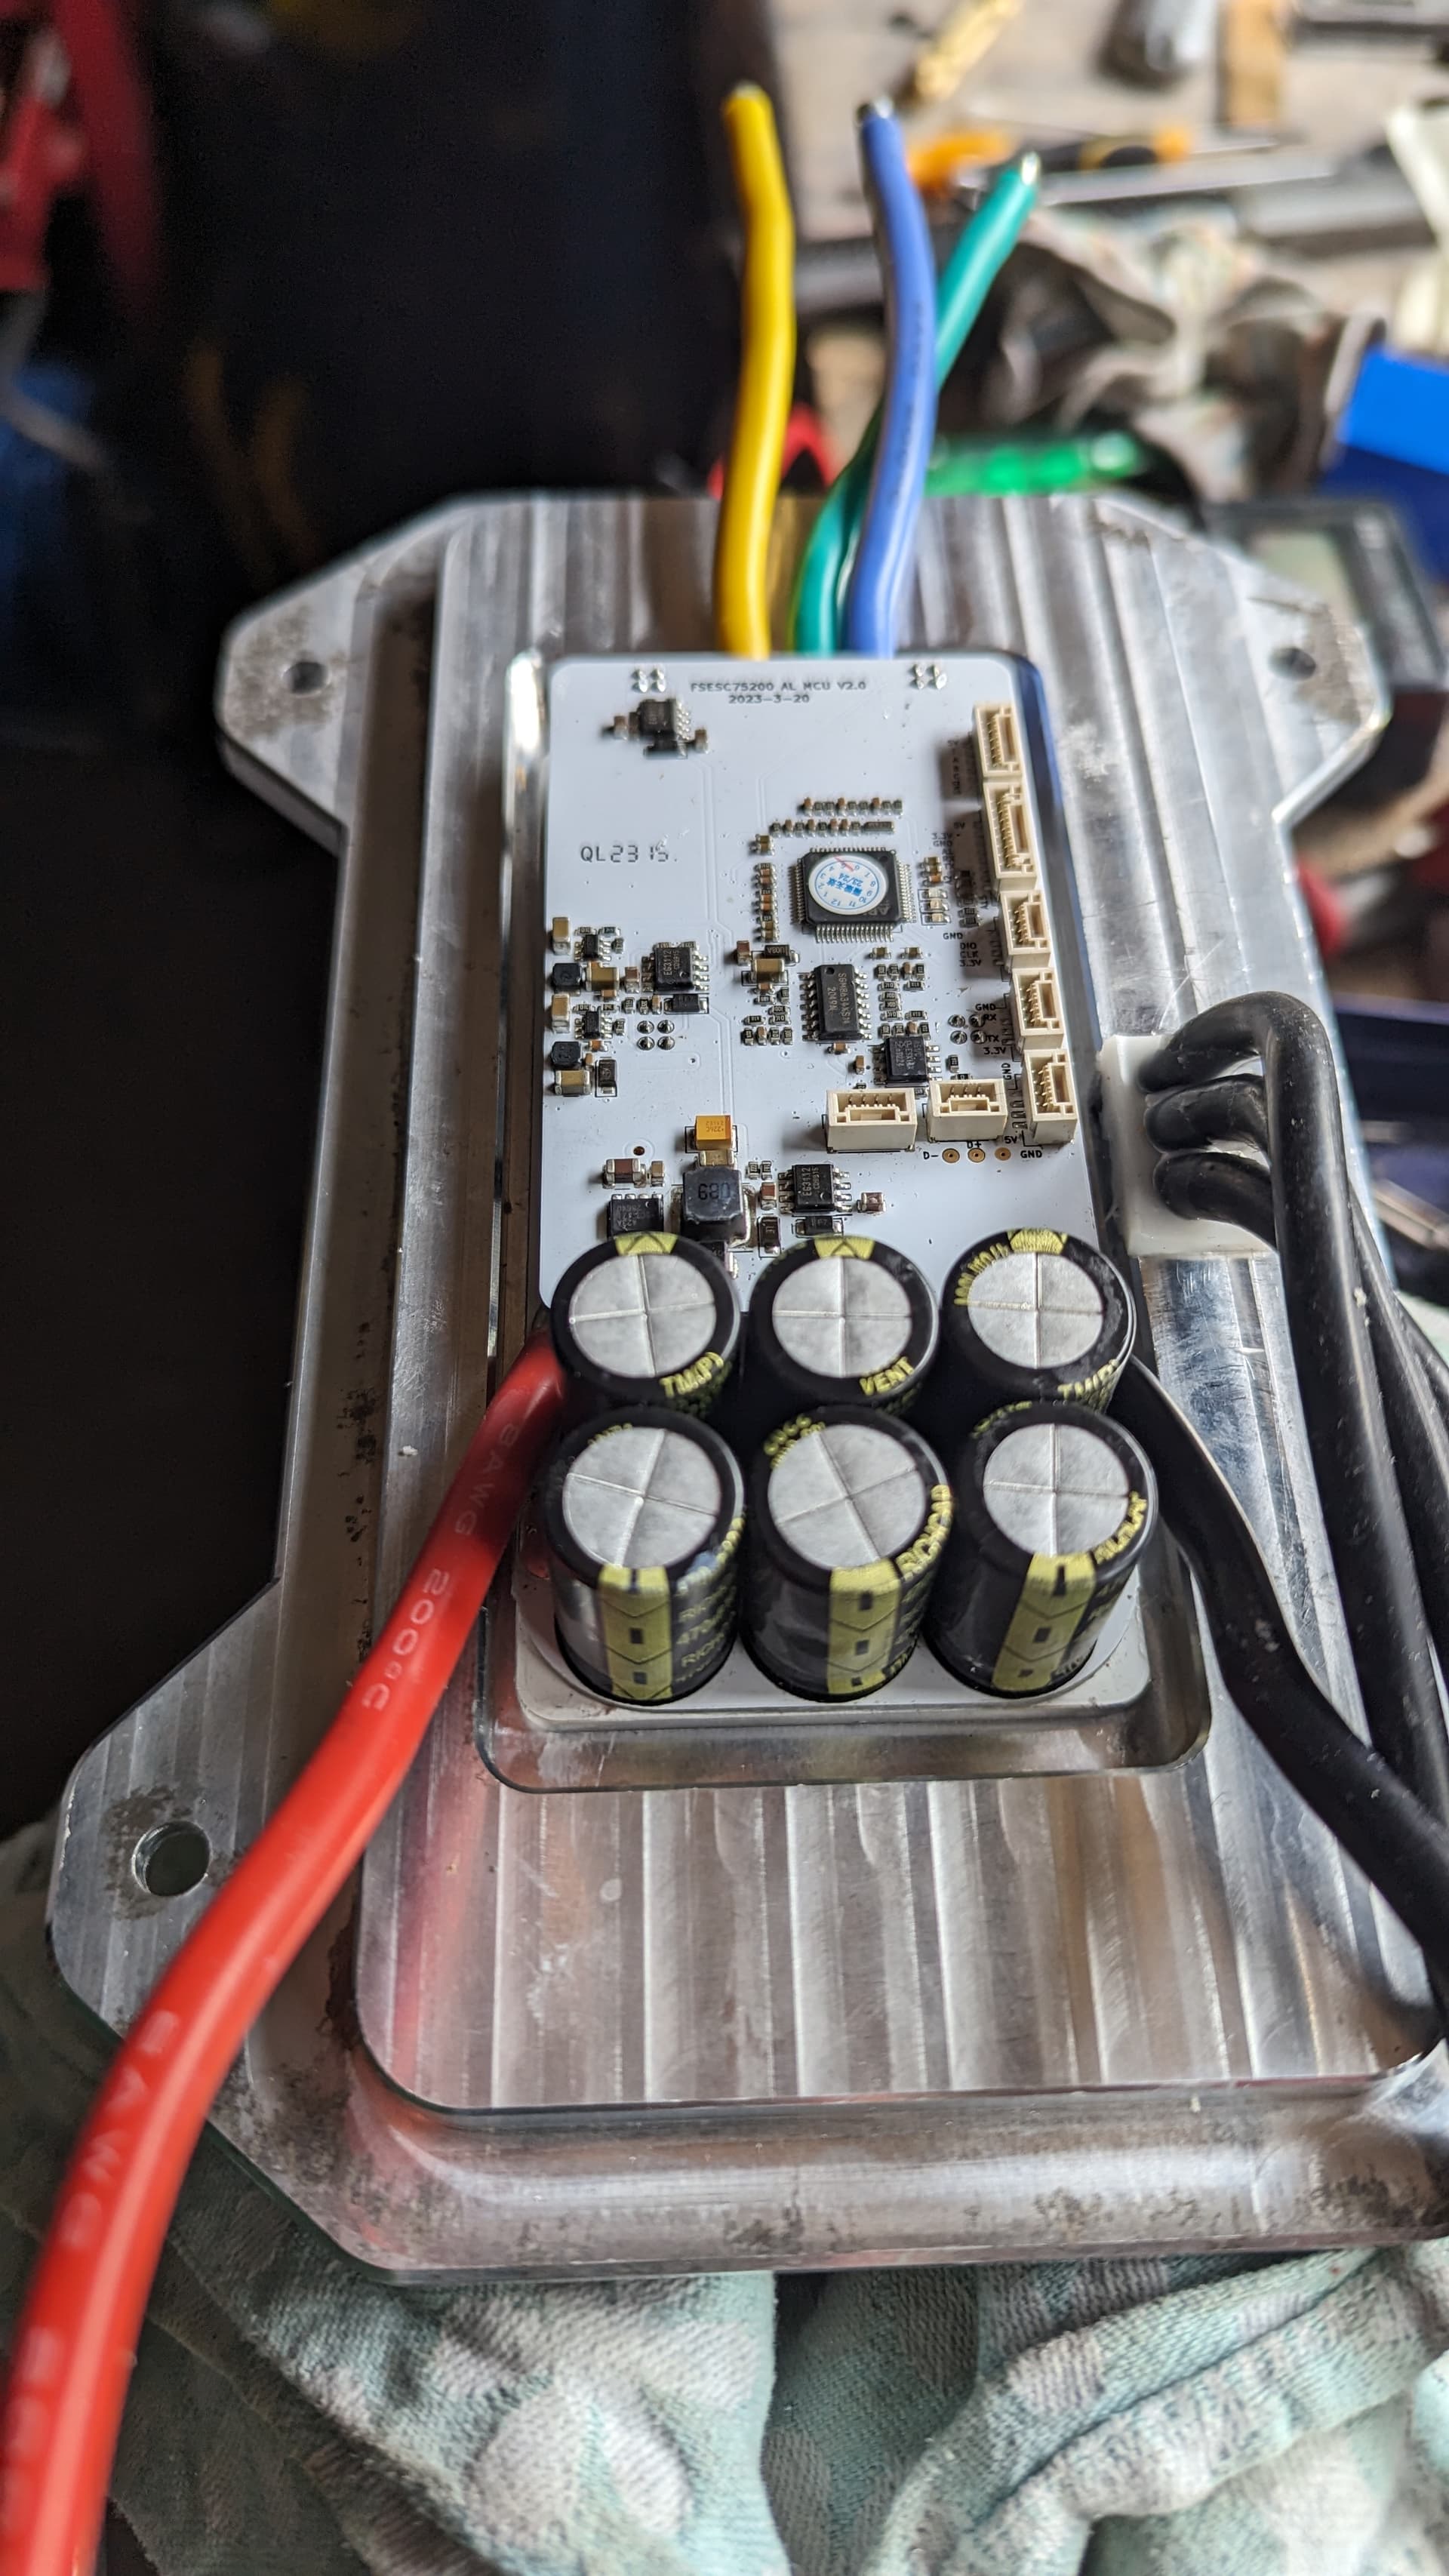
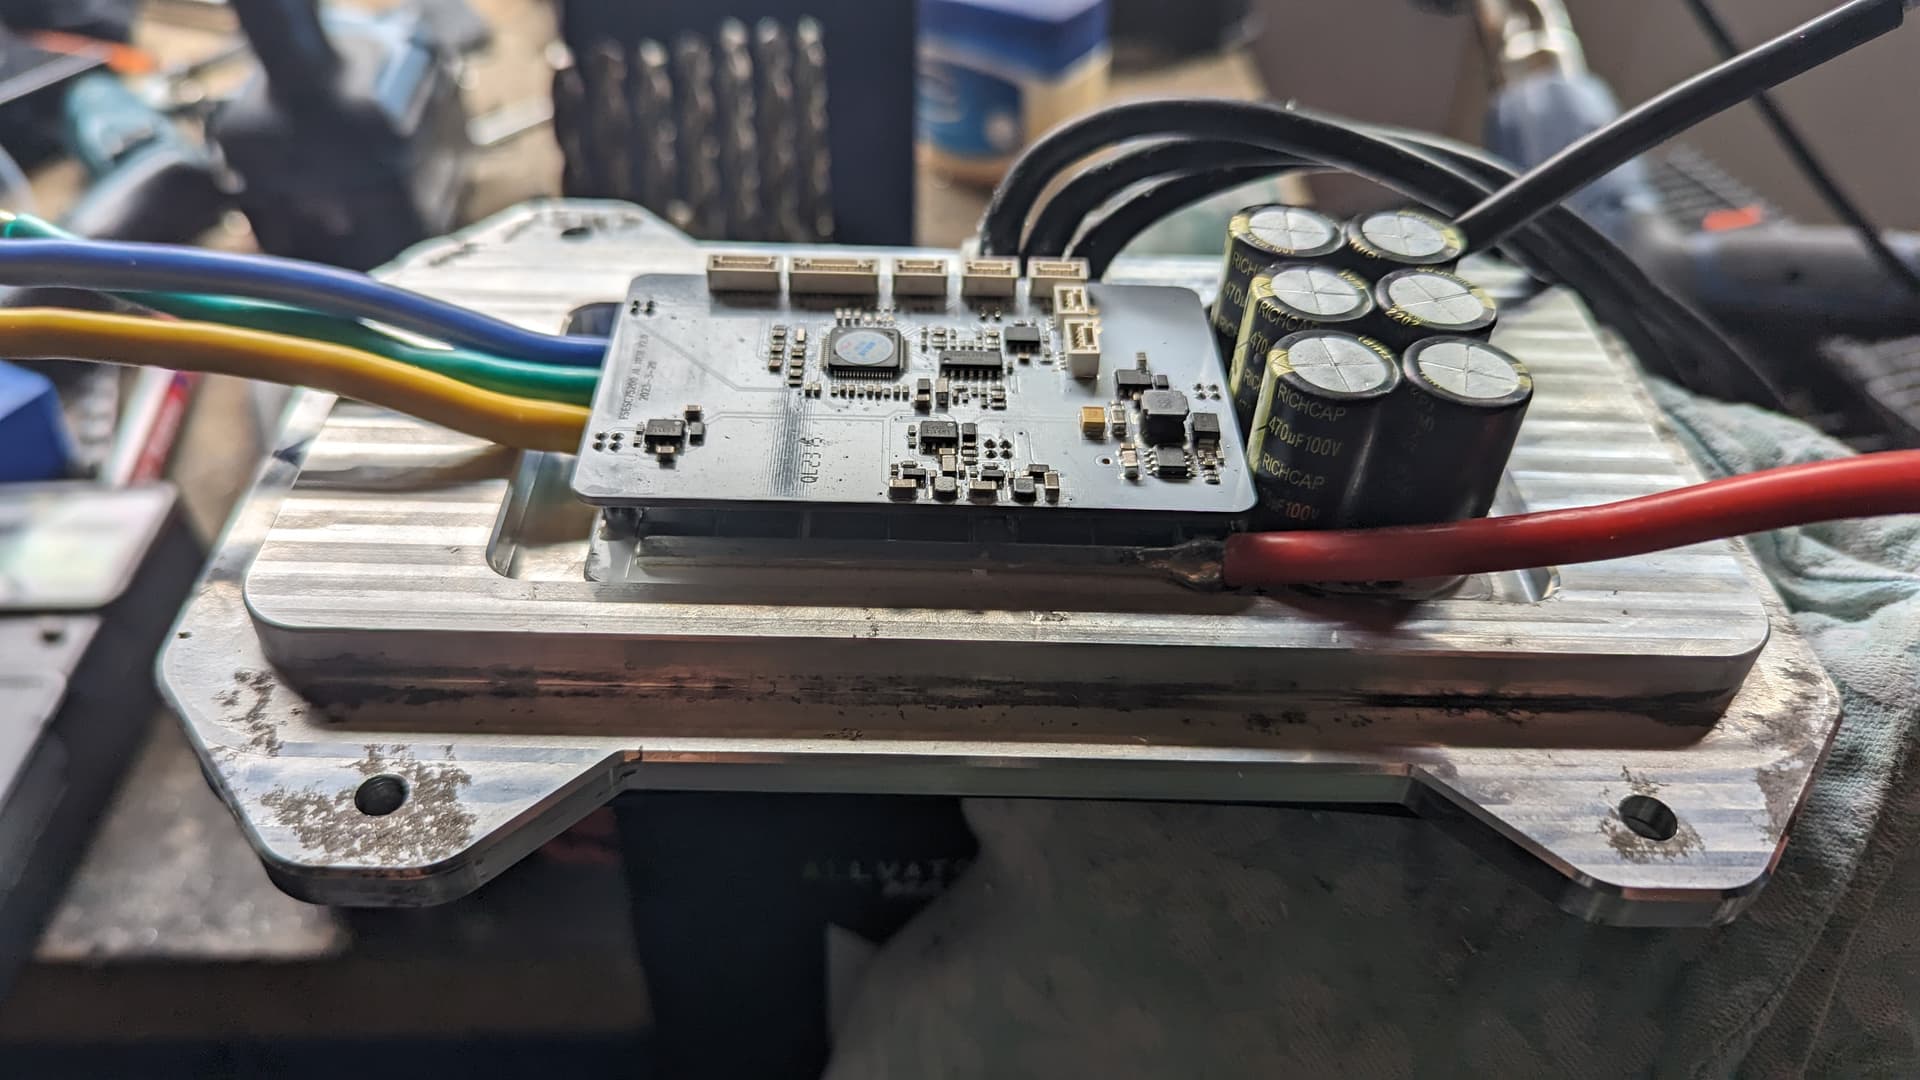
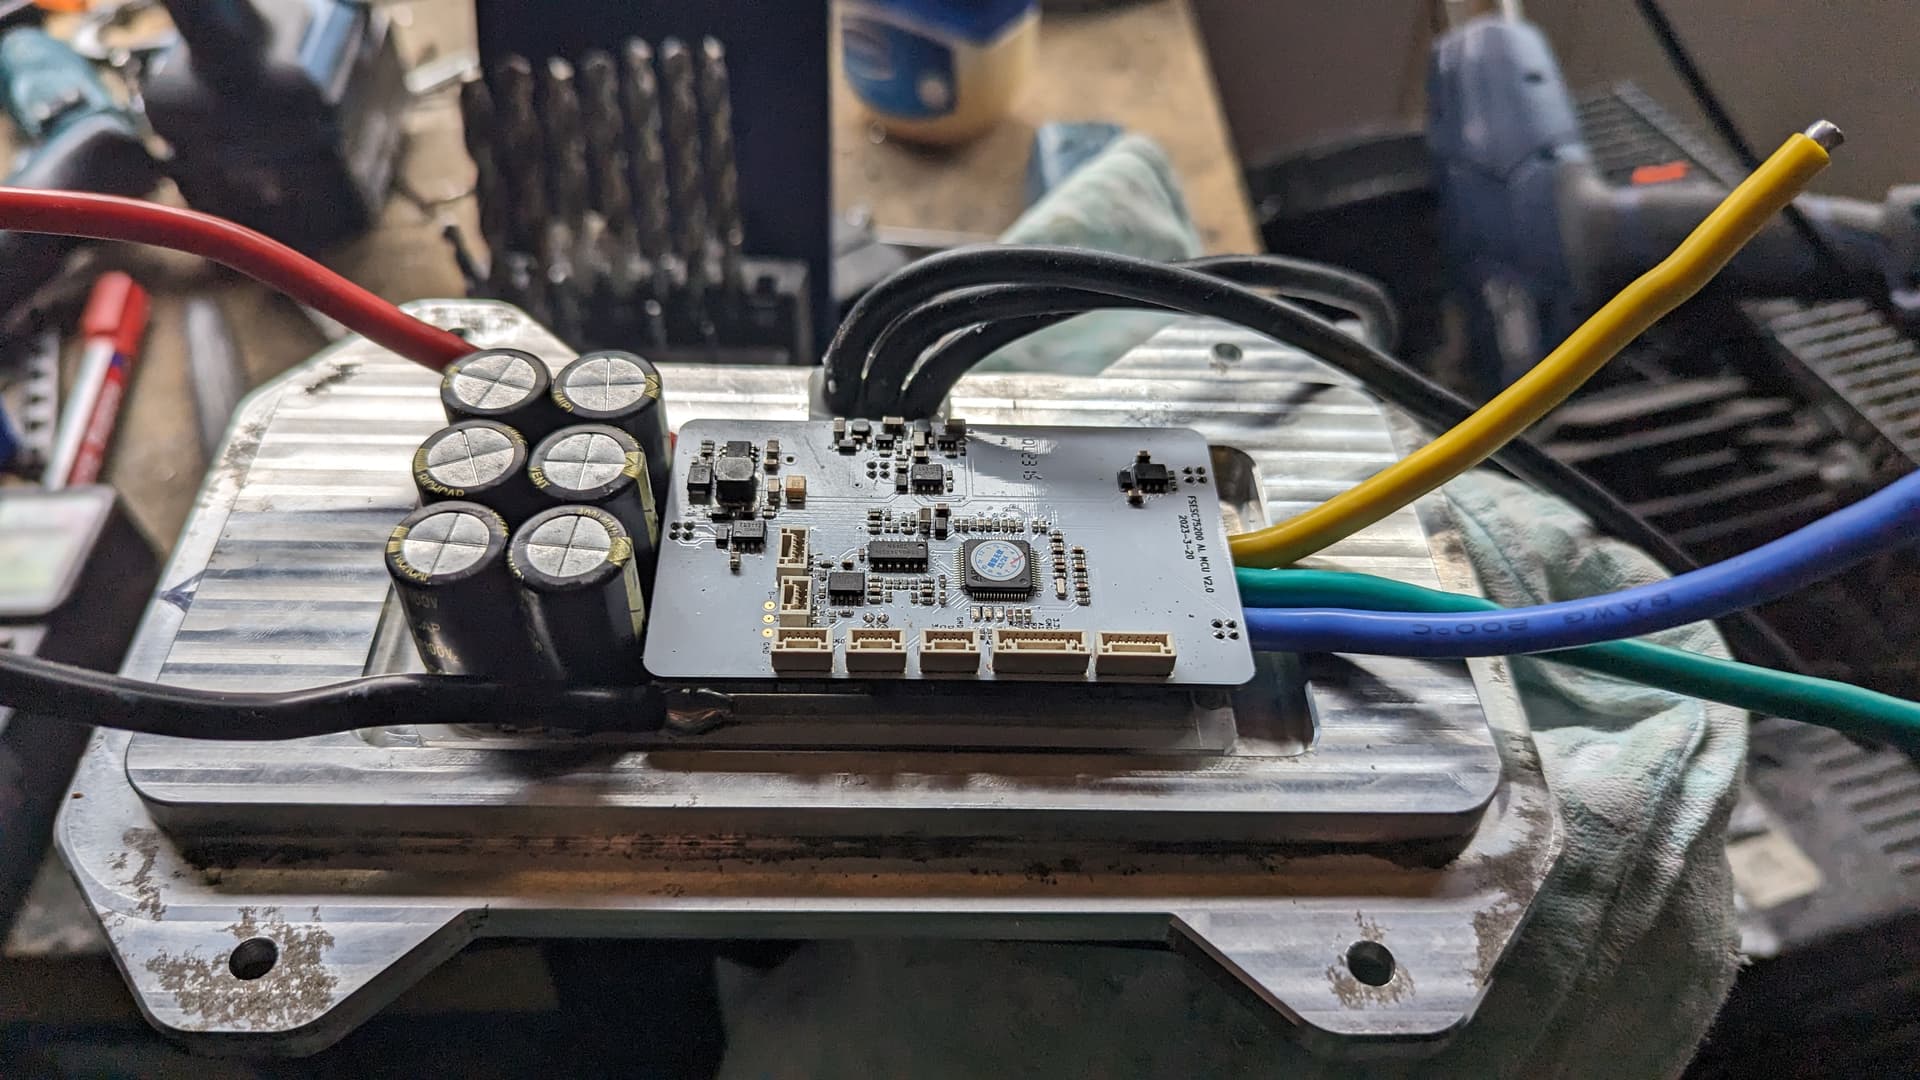
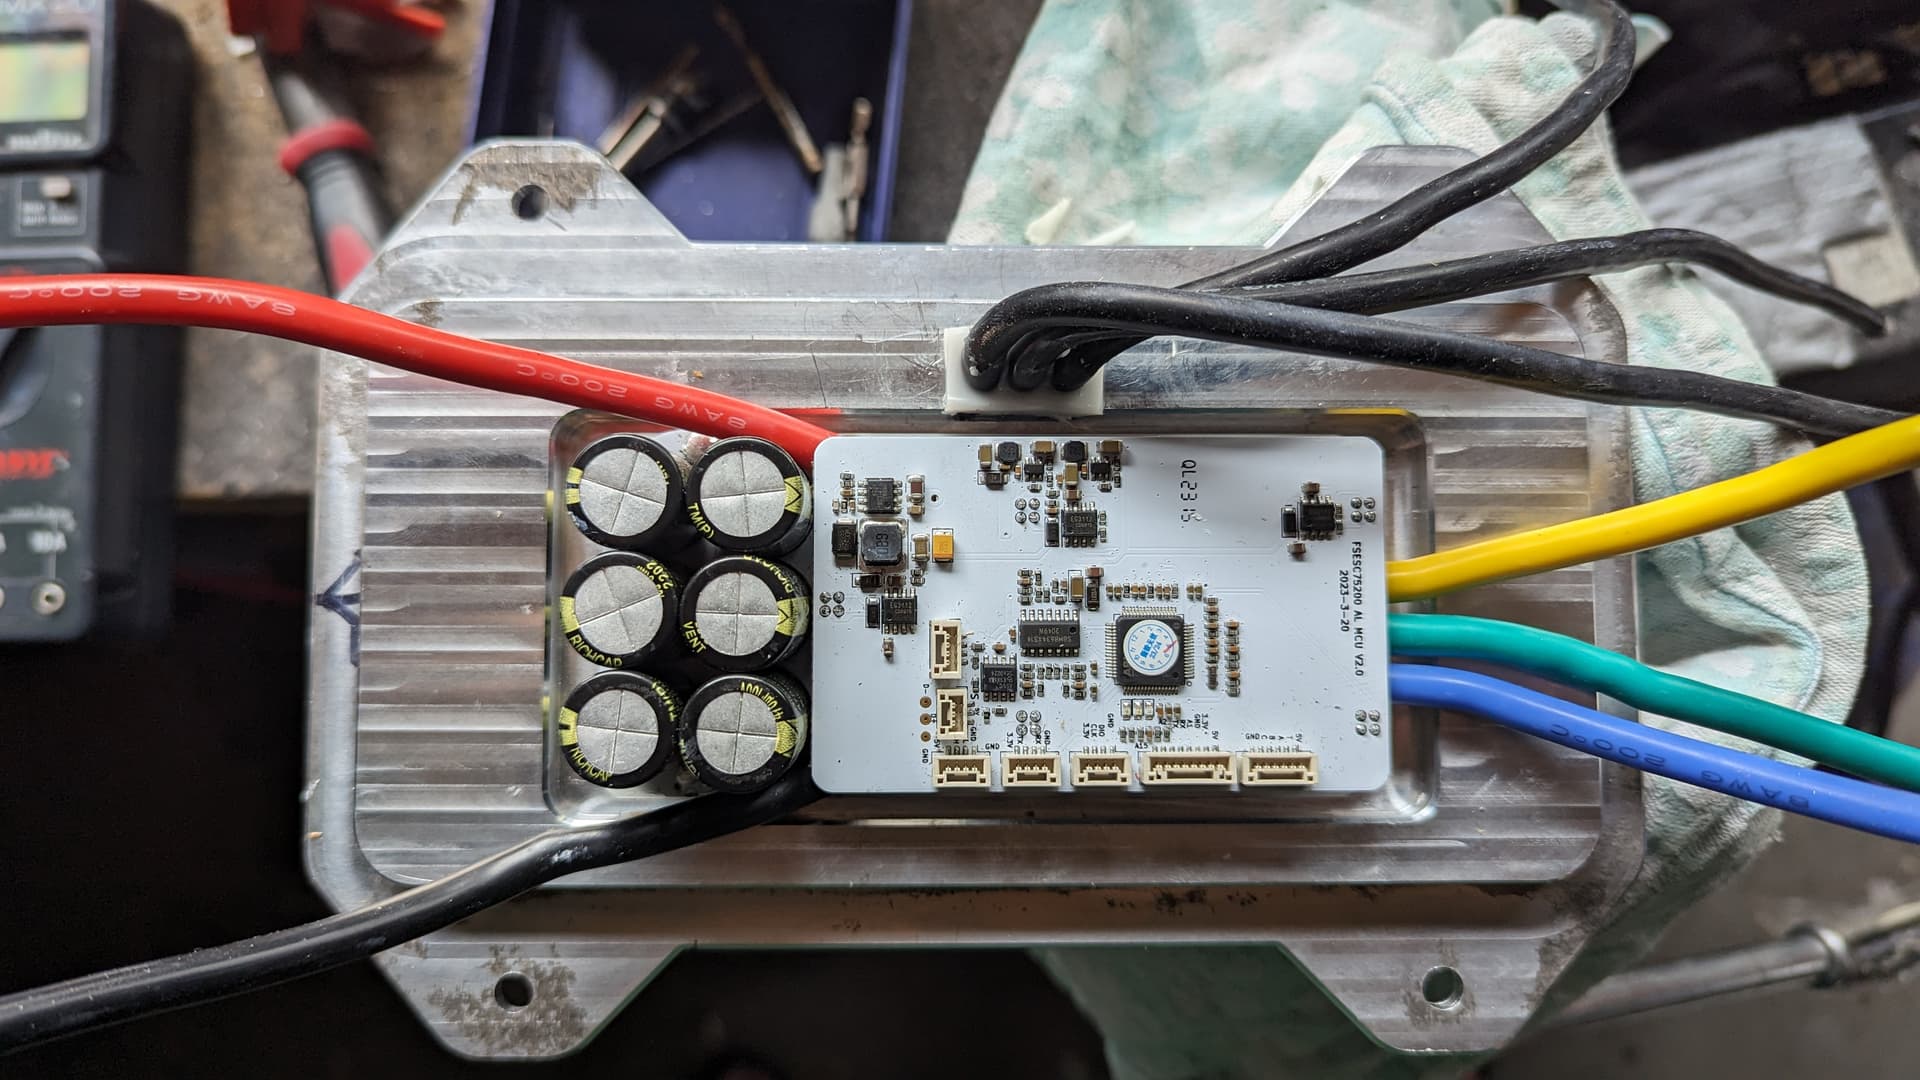
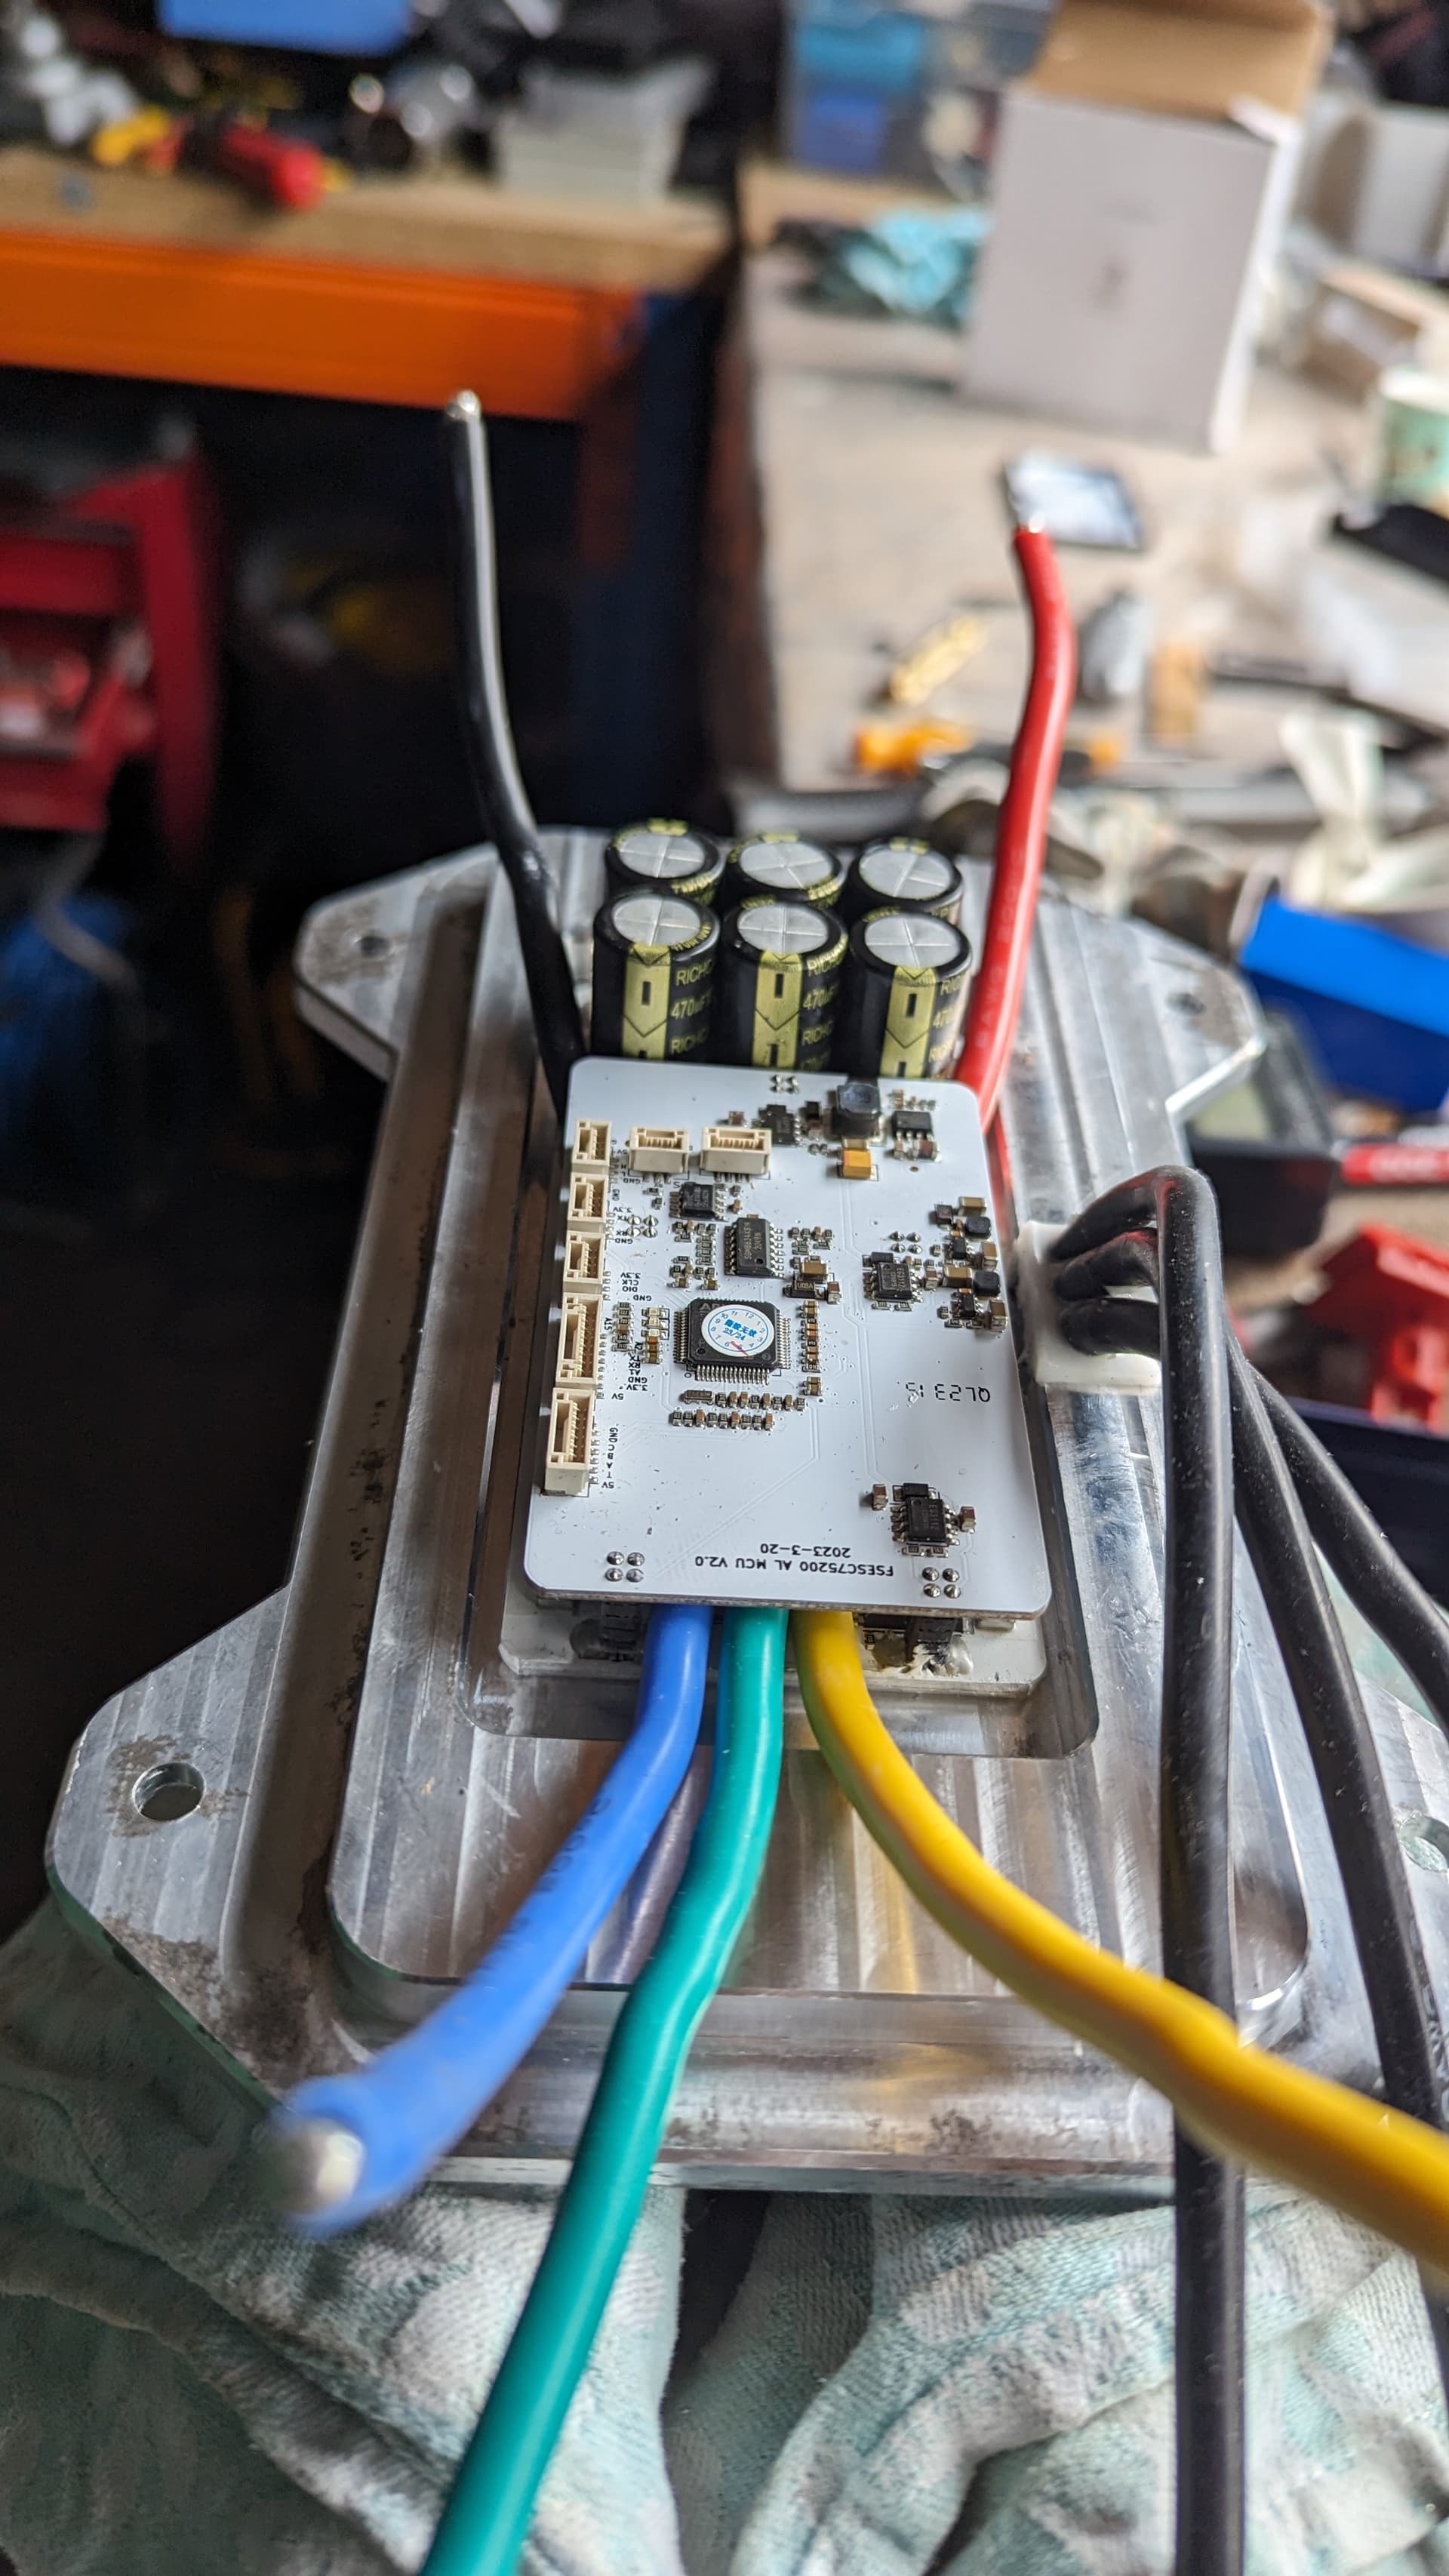
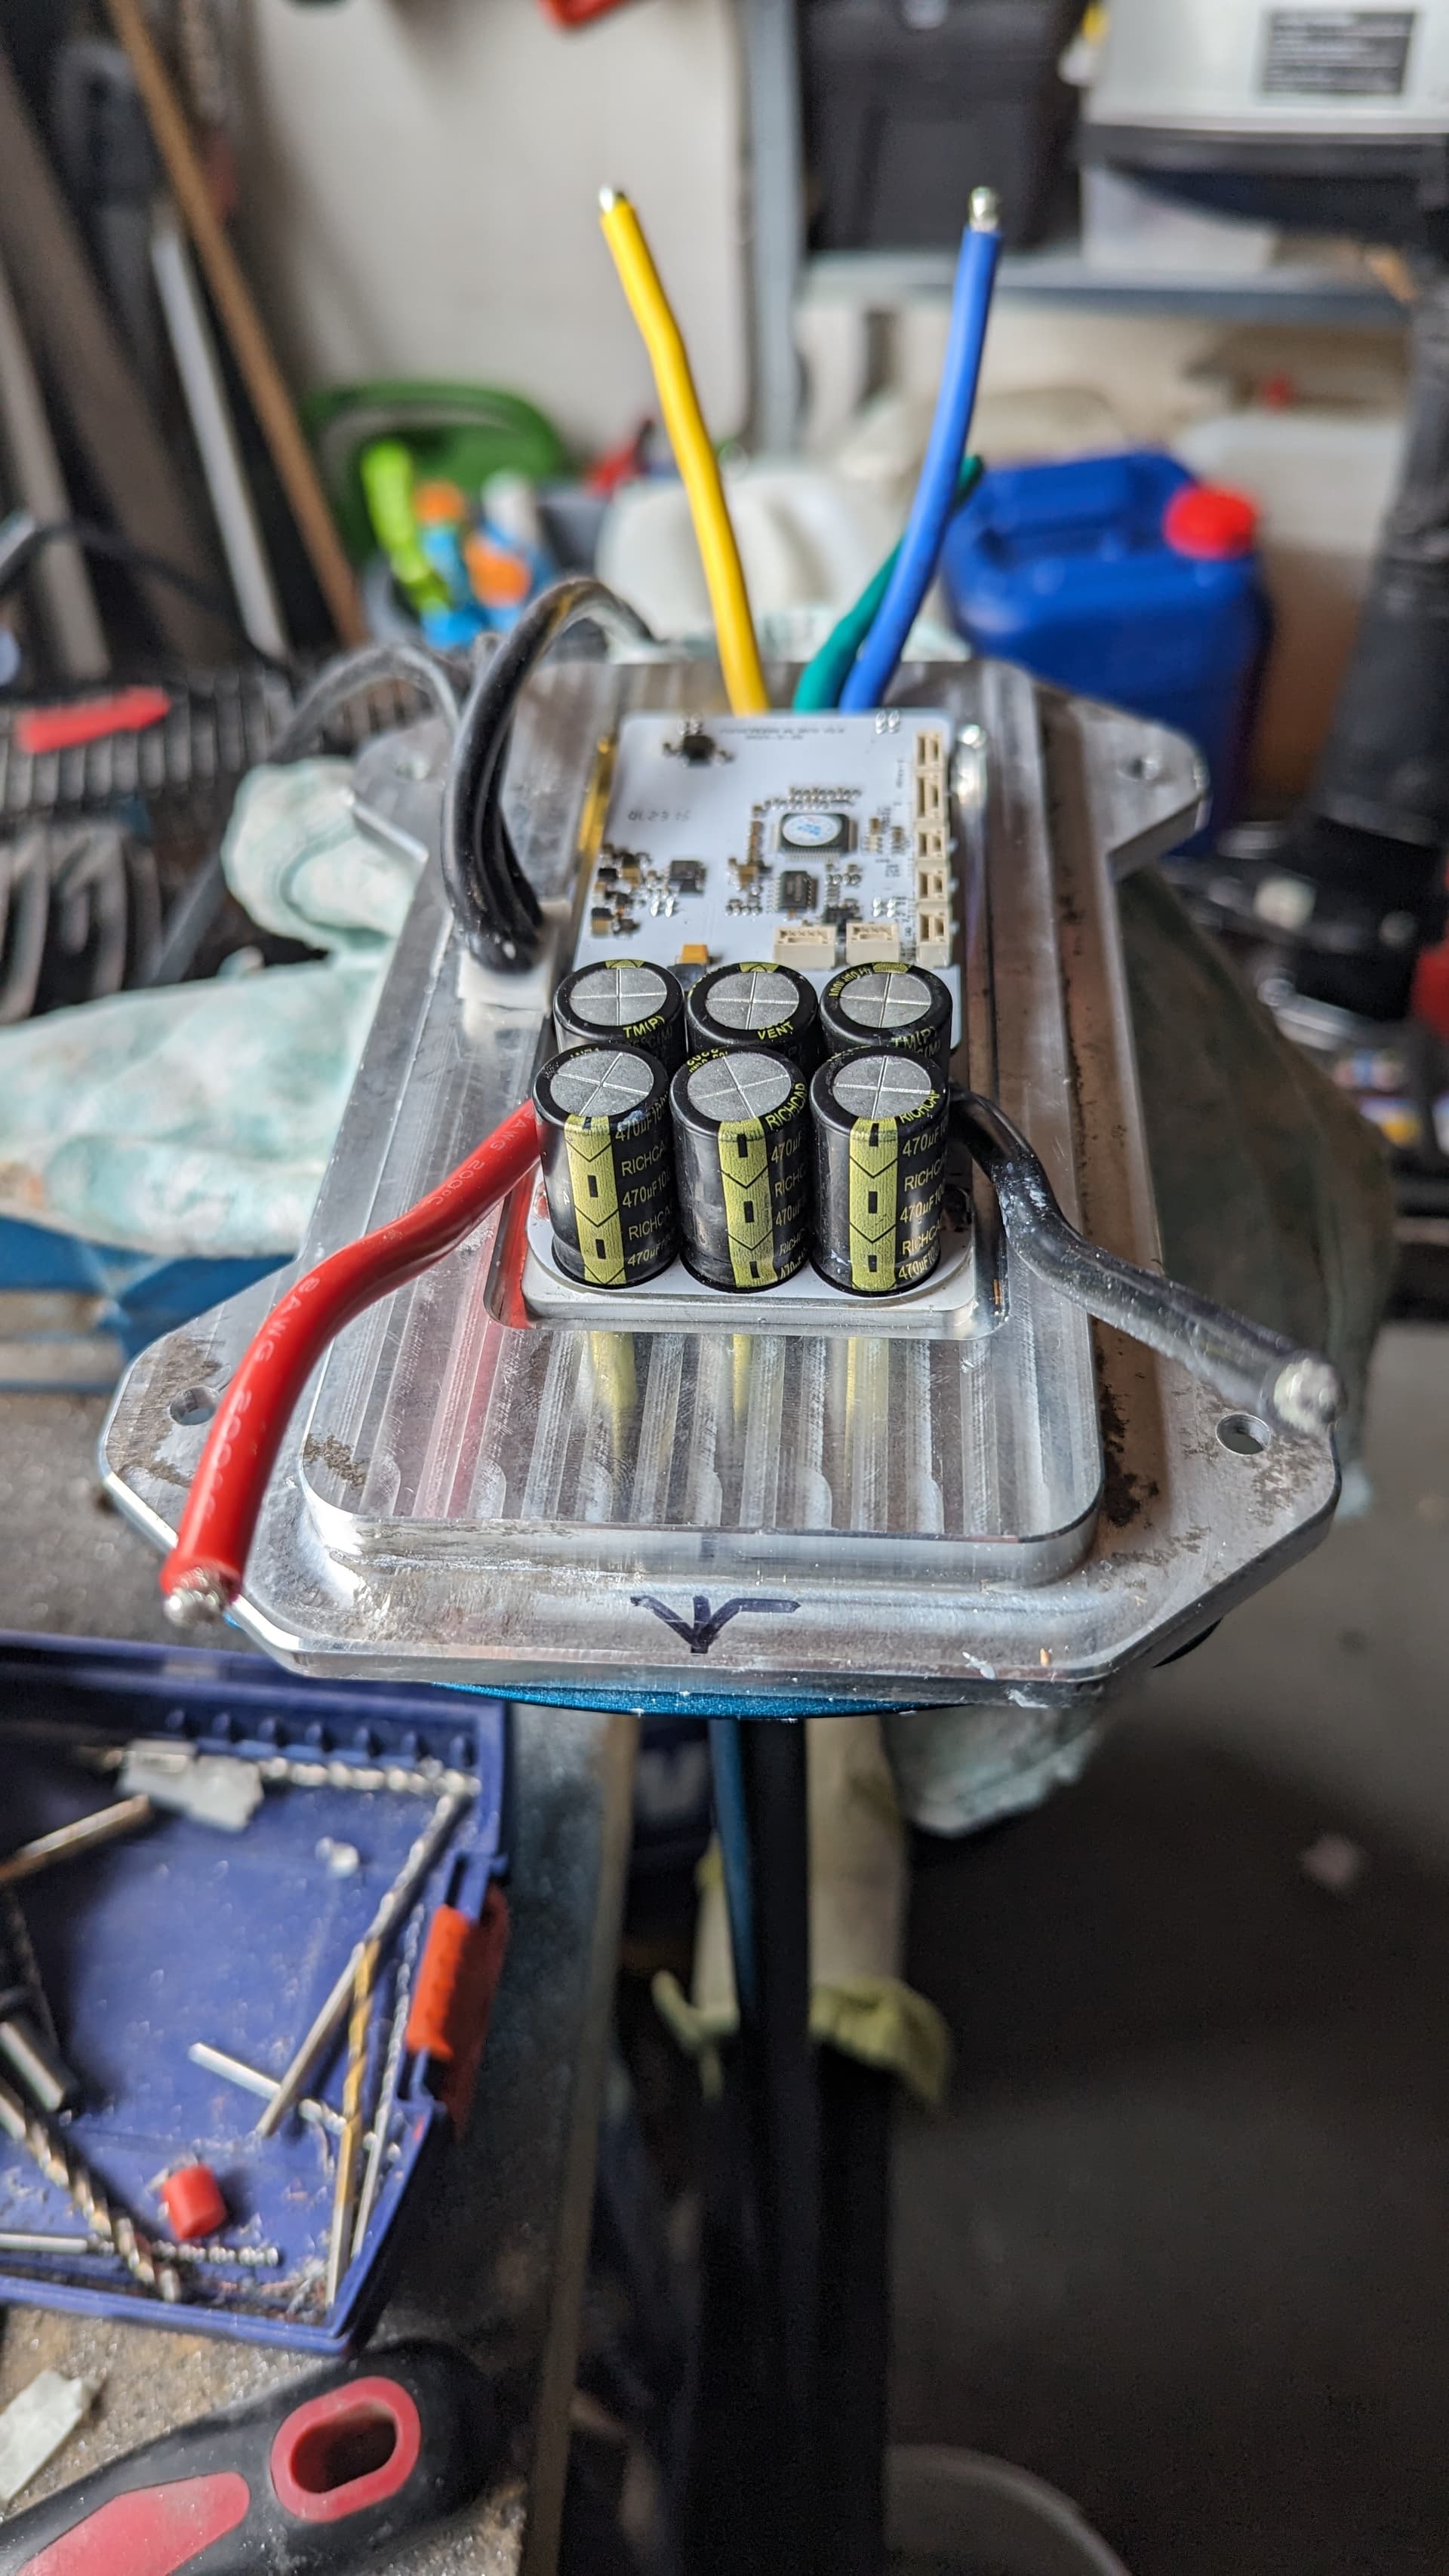
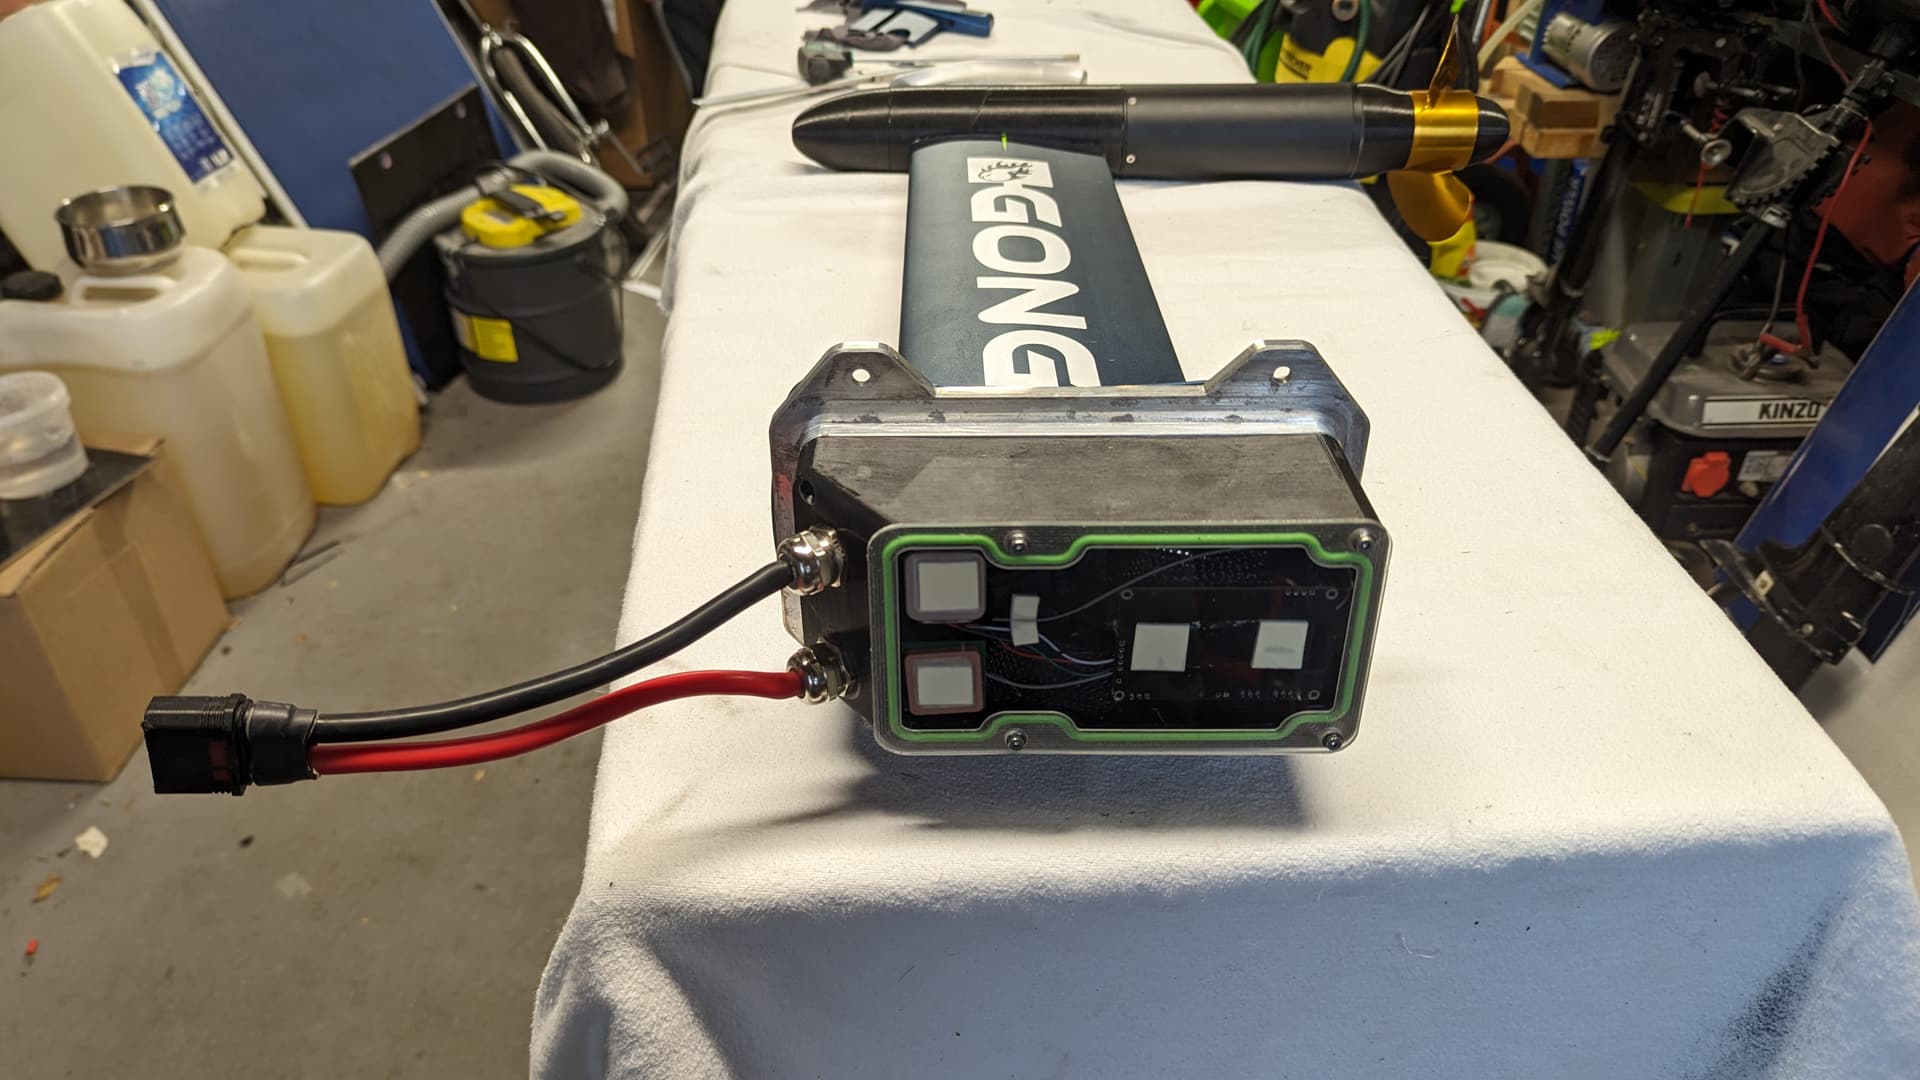
Main difference between the Marcel and Vincent build is that Marcel left the VESC in its original casing.
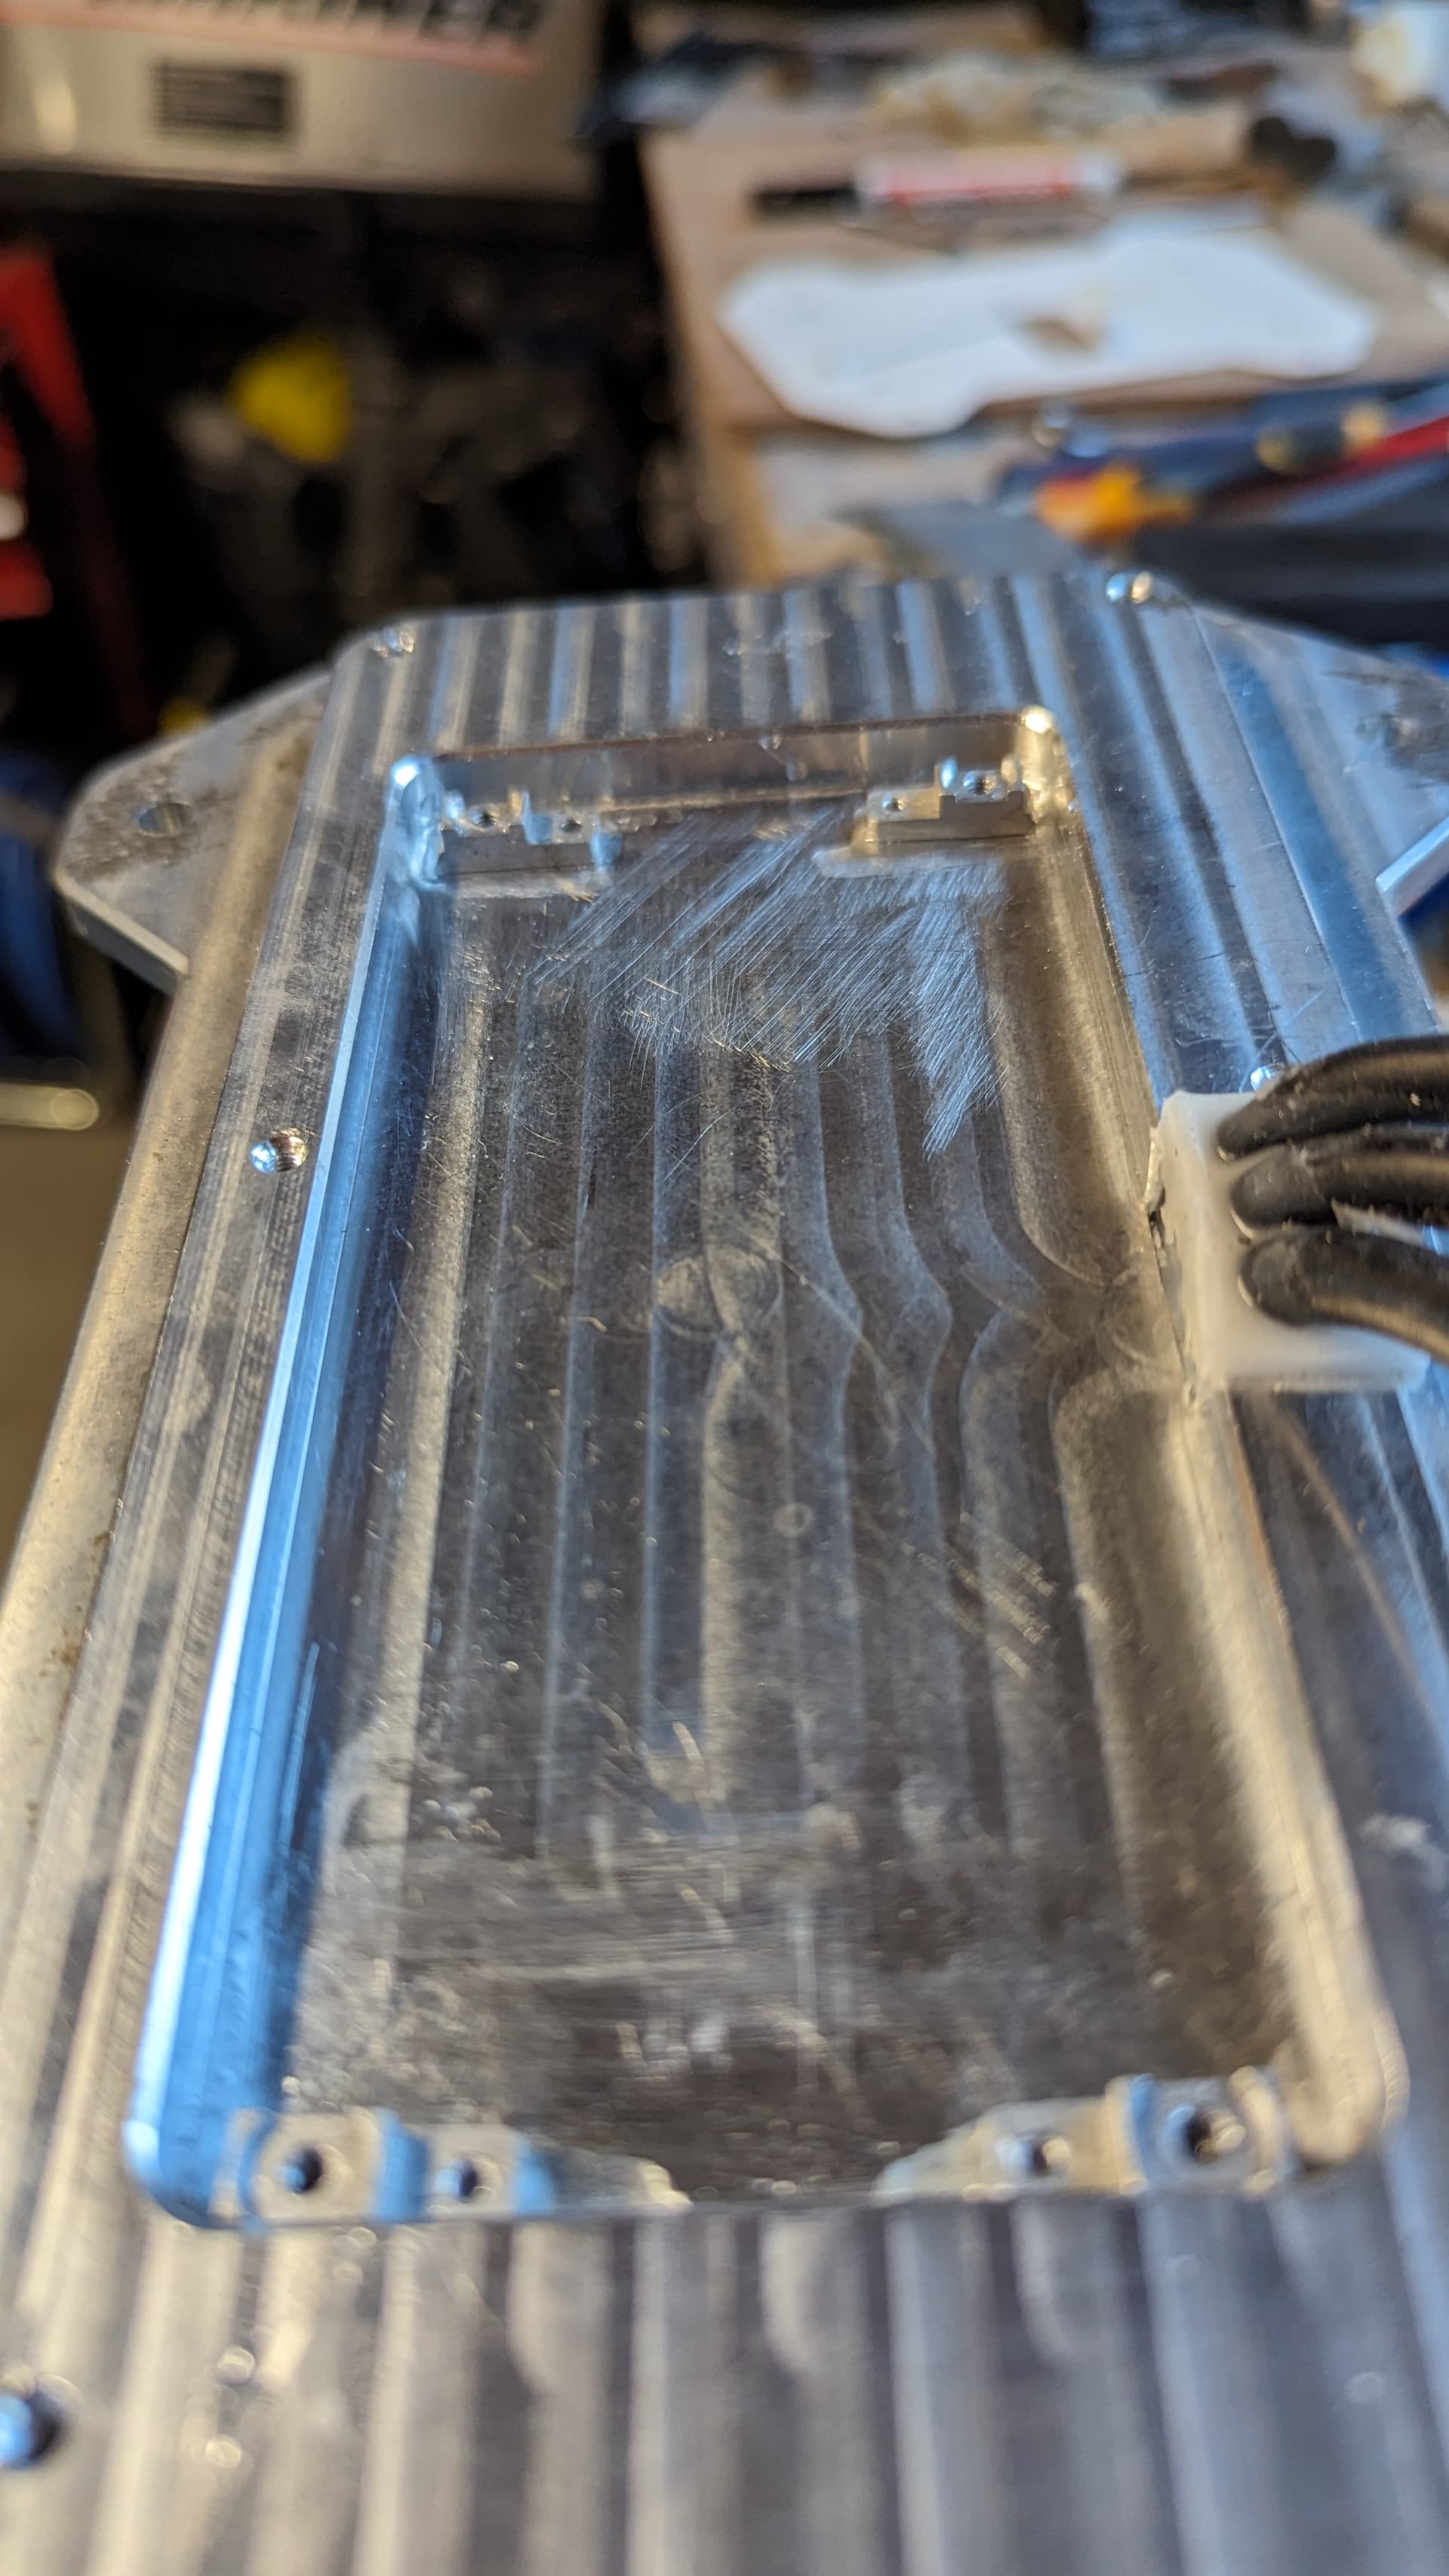
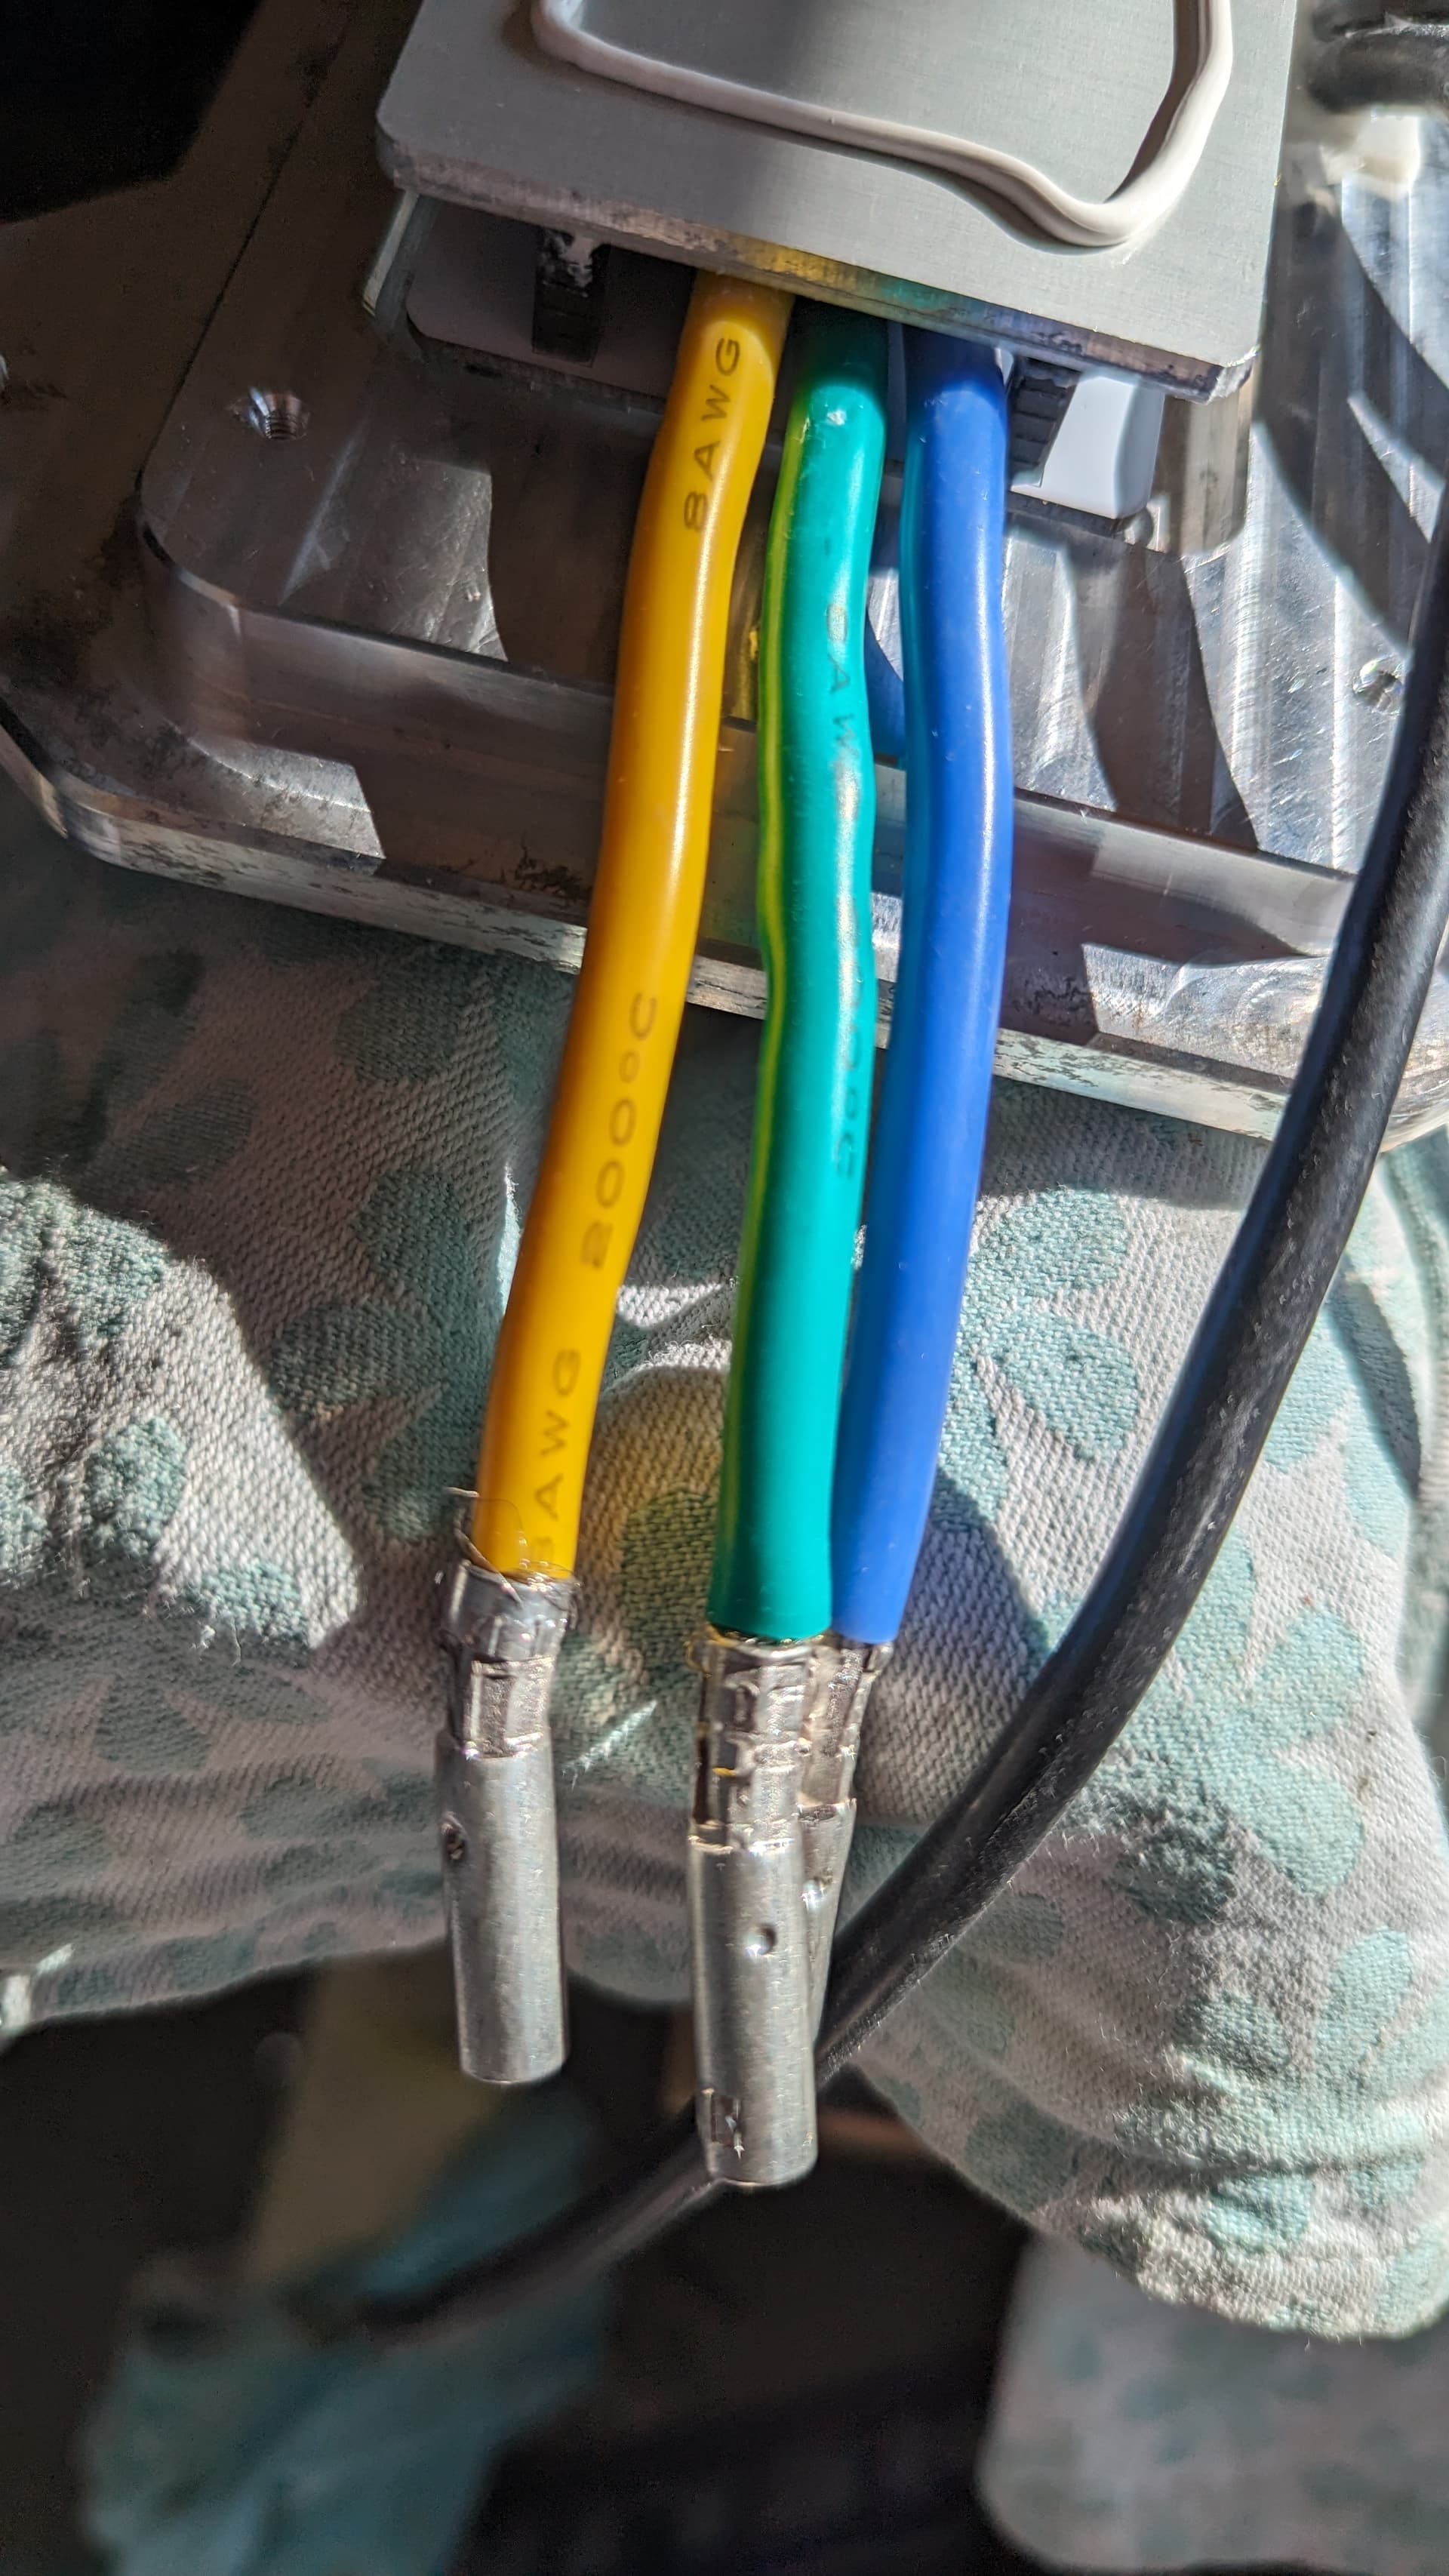
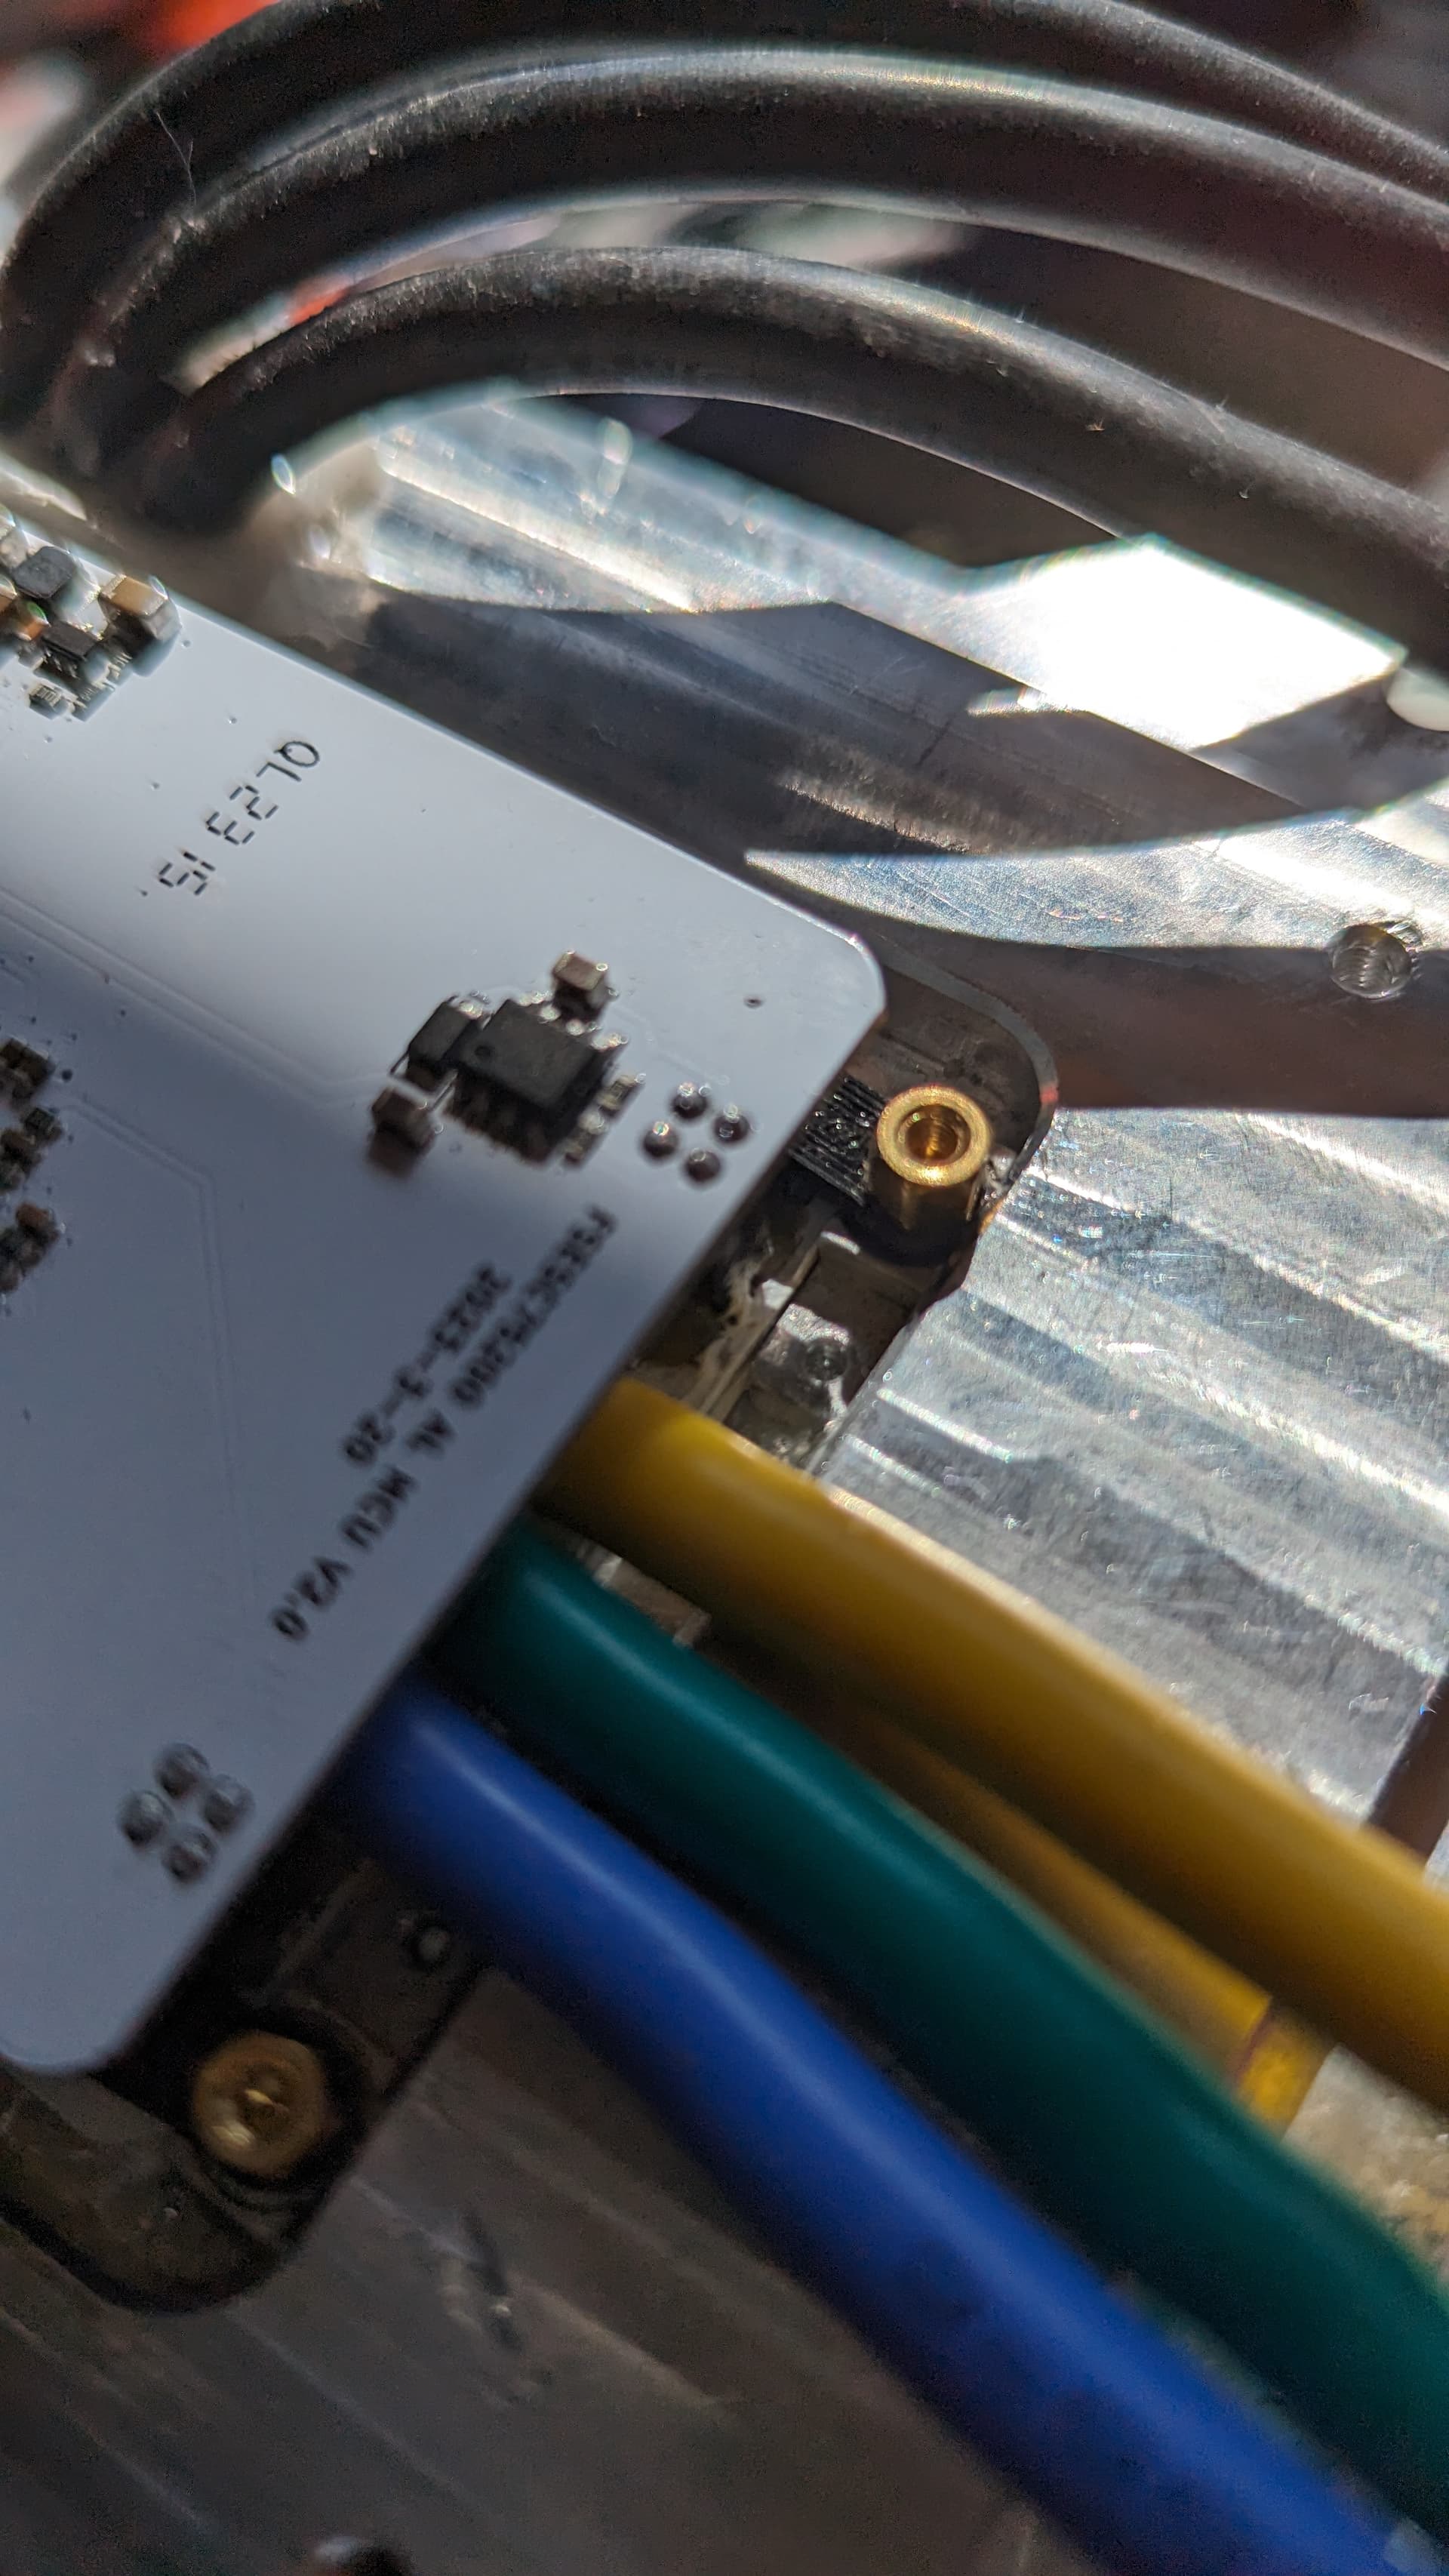
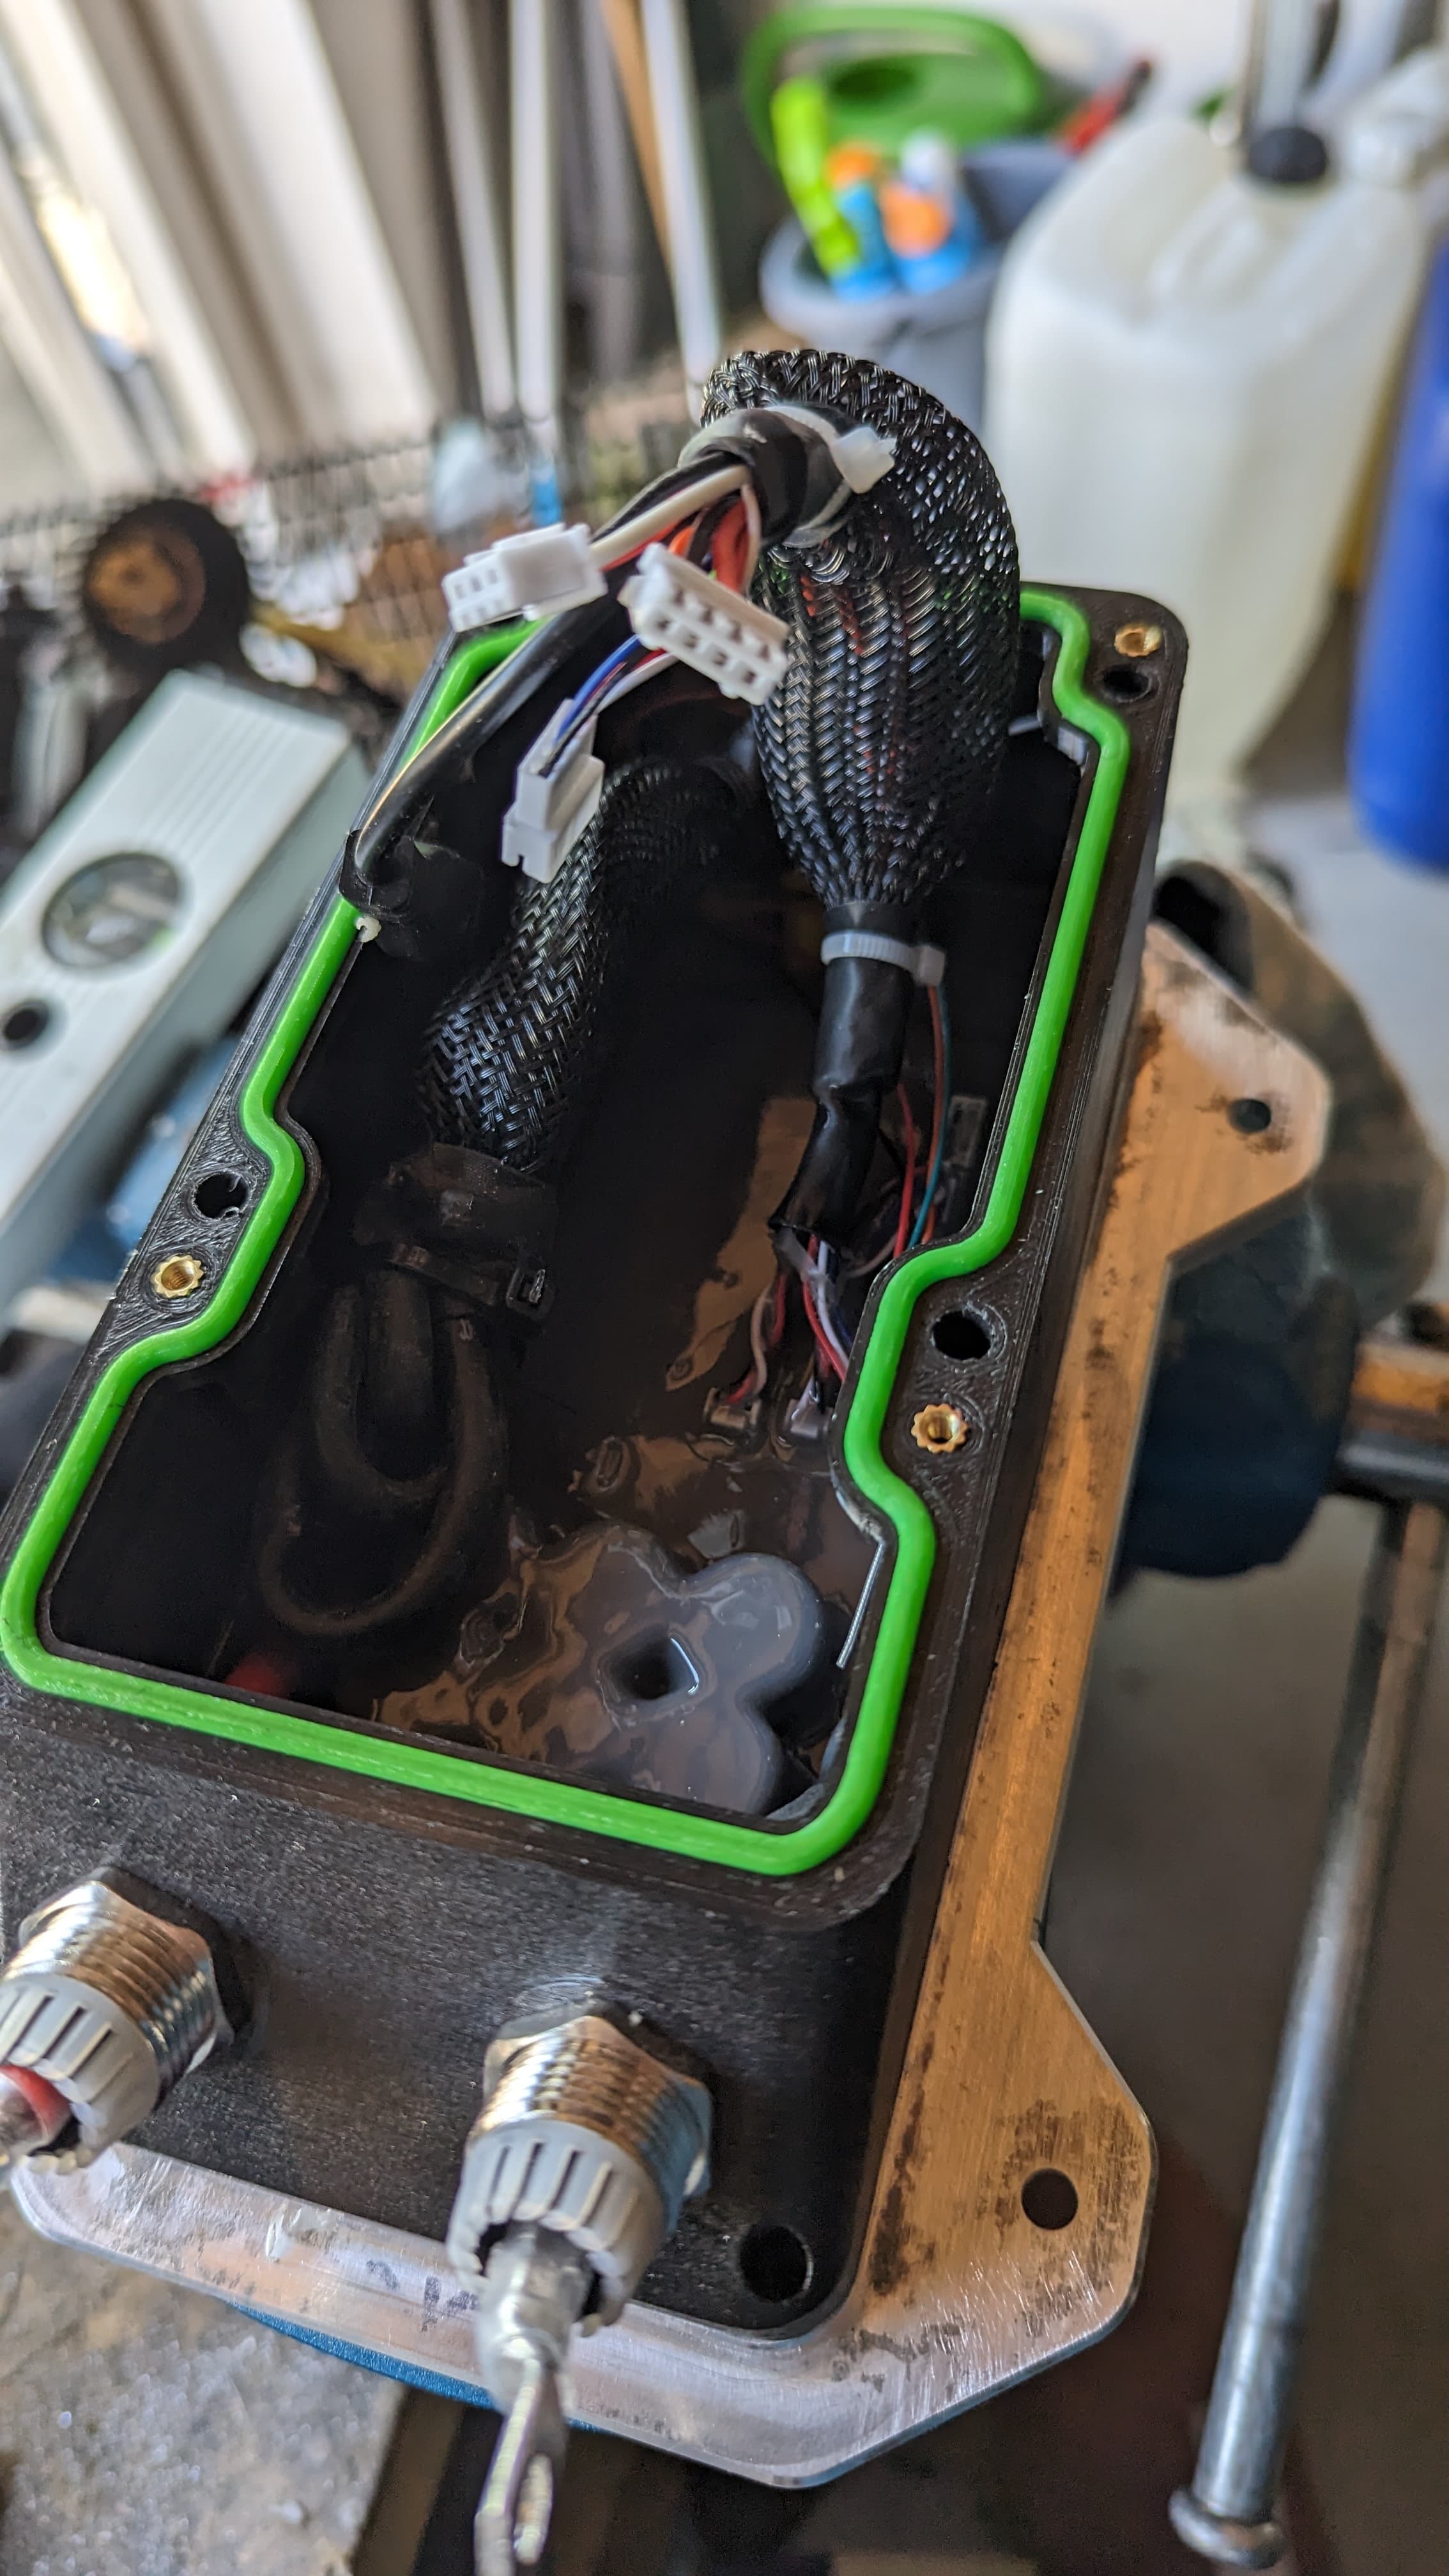
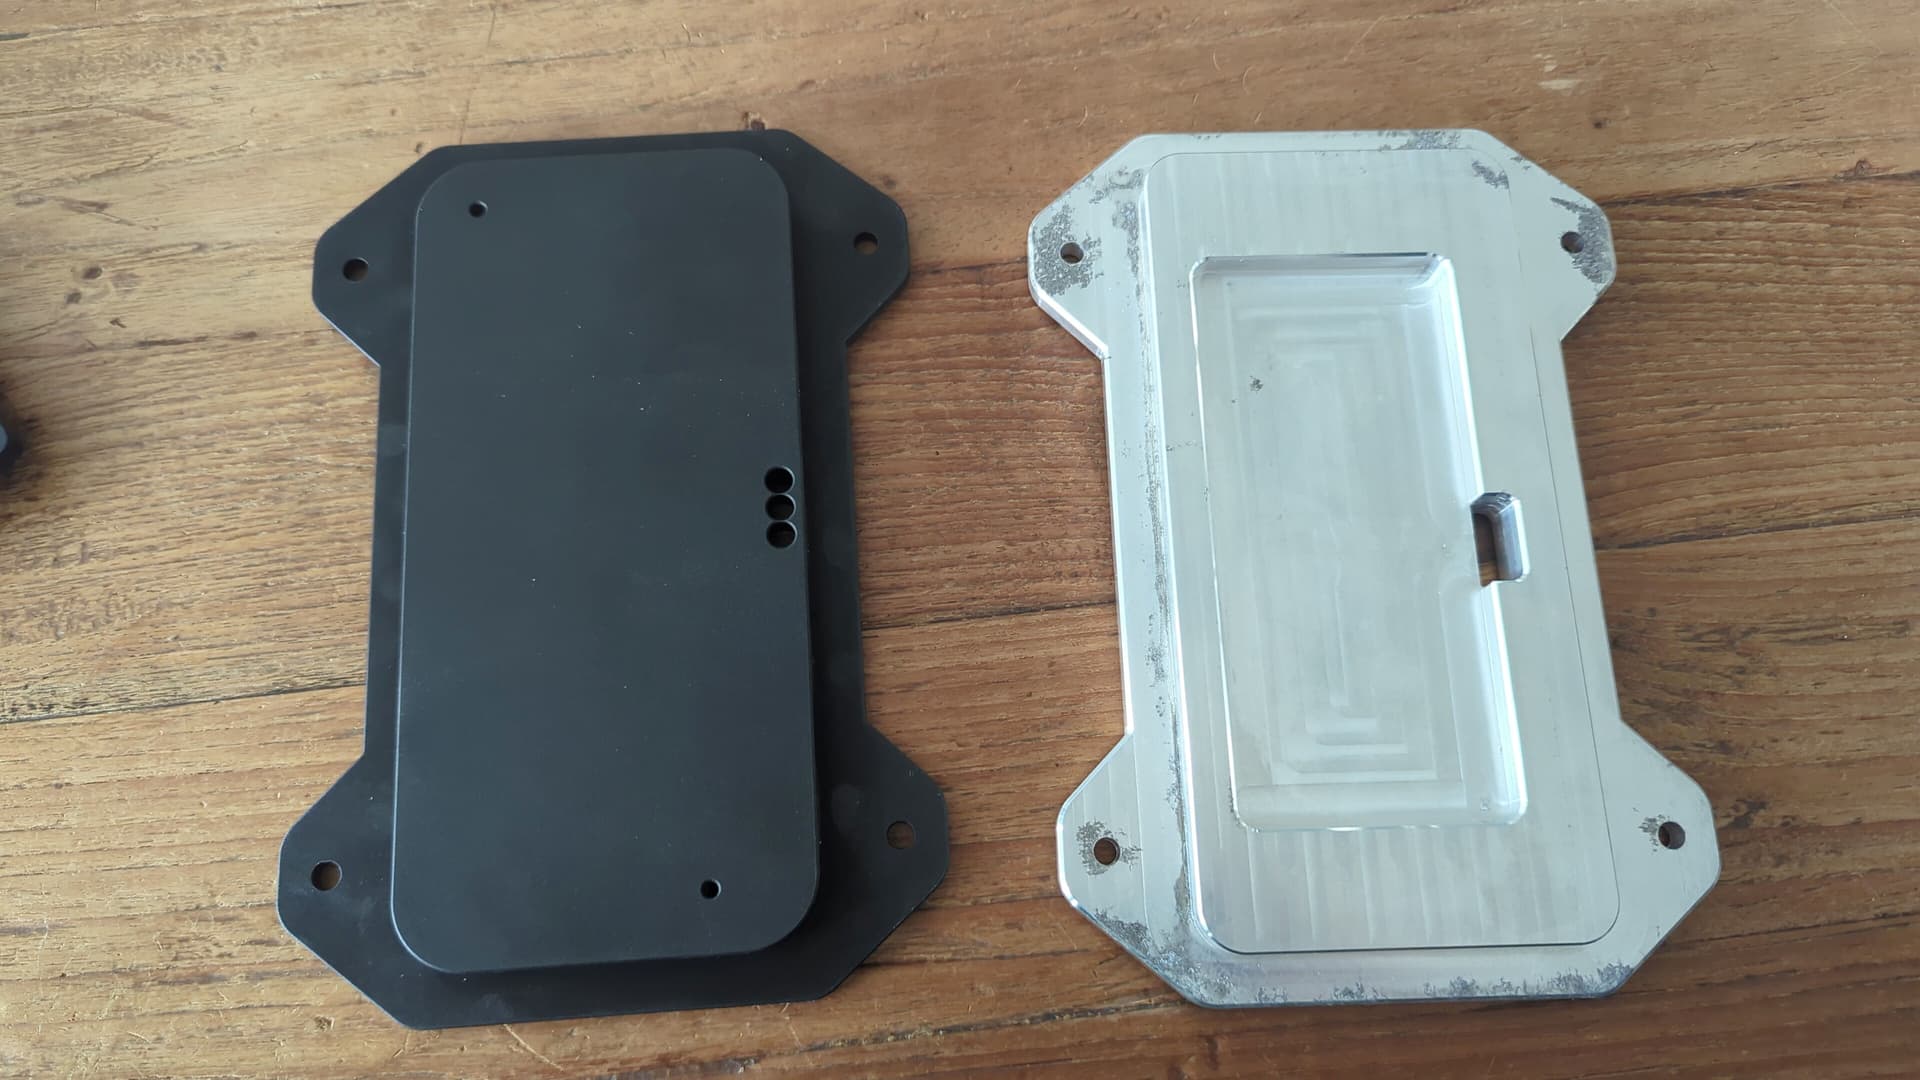
Because of this some milling is needed on the VESC casing (removed the cooling slots).
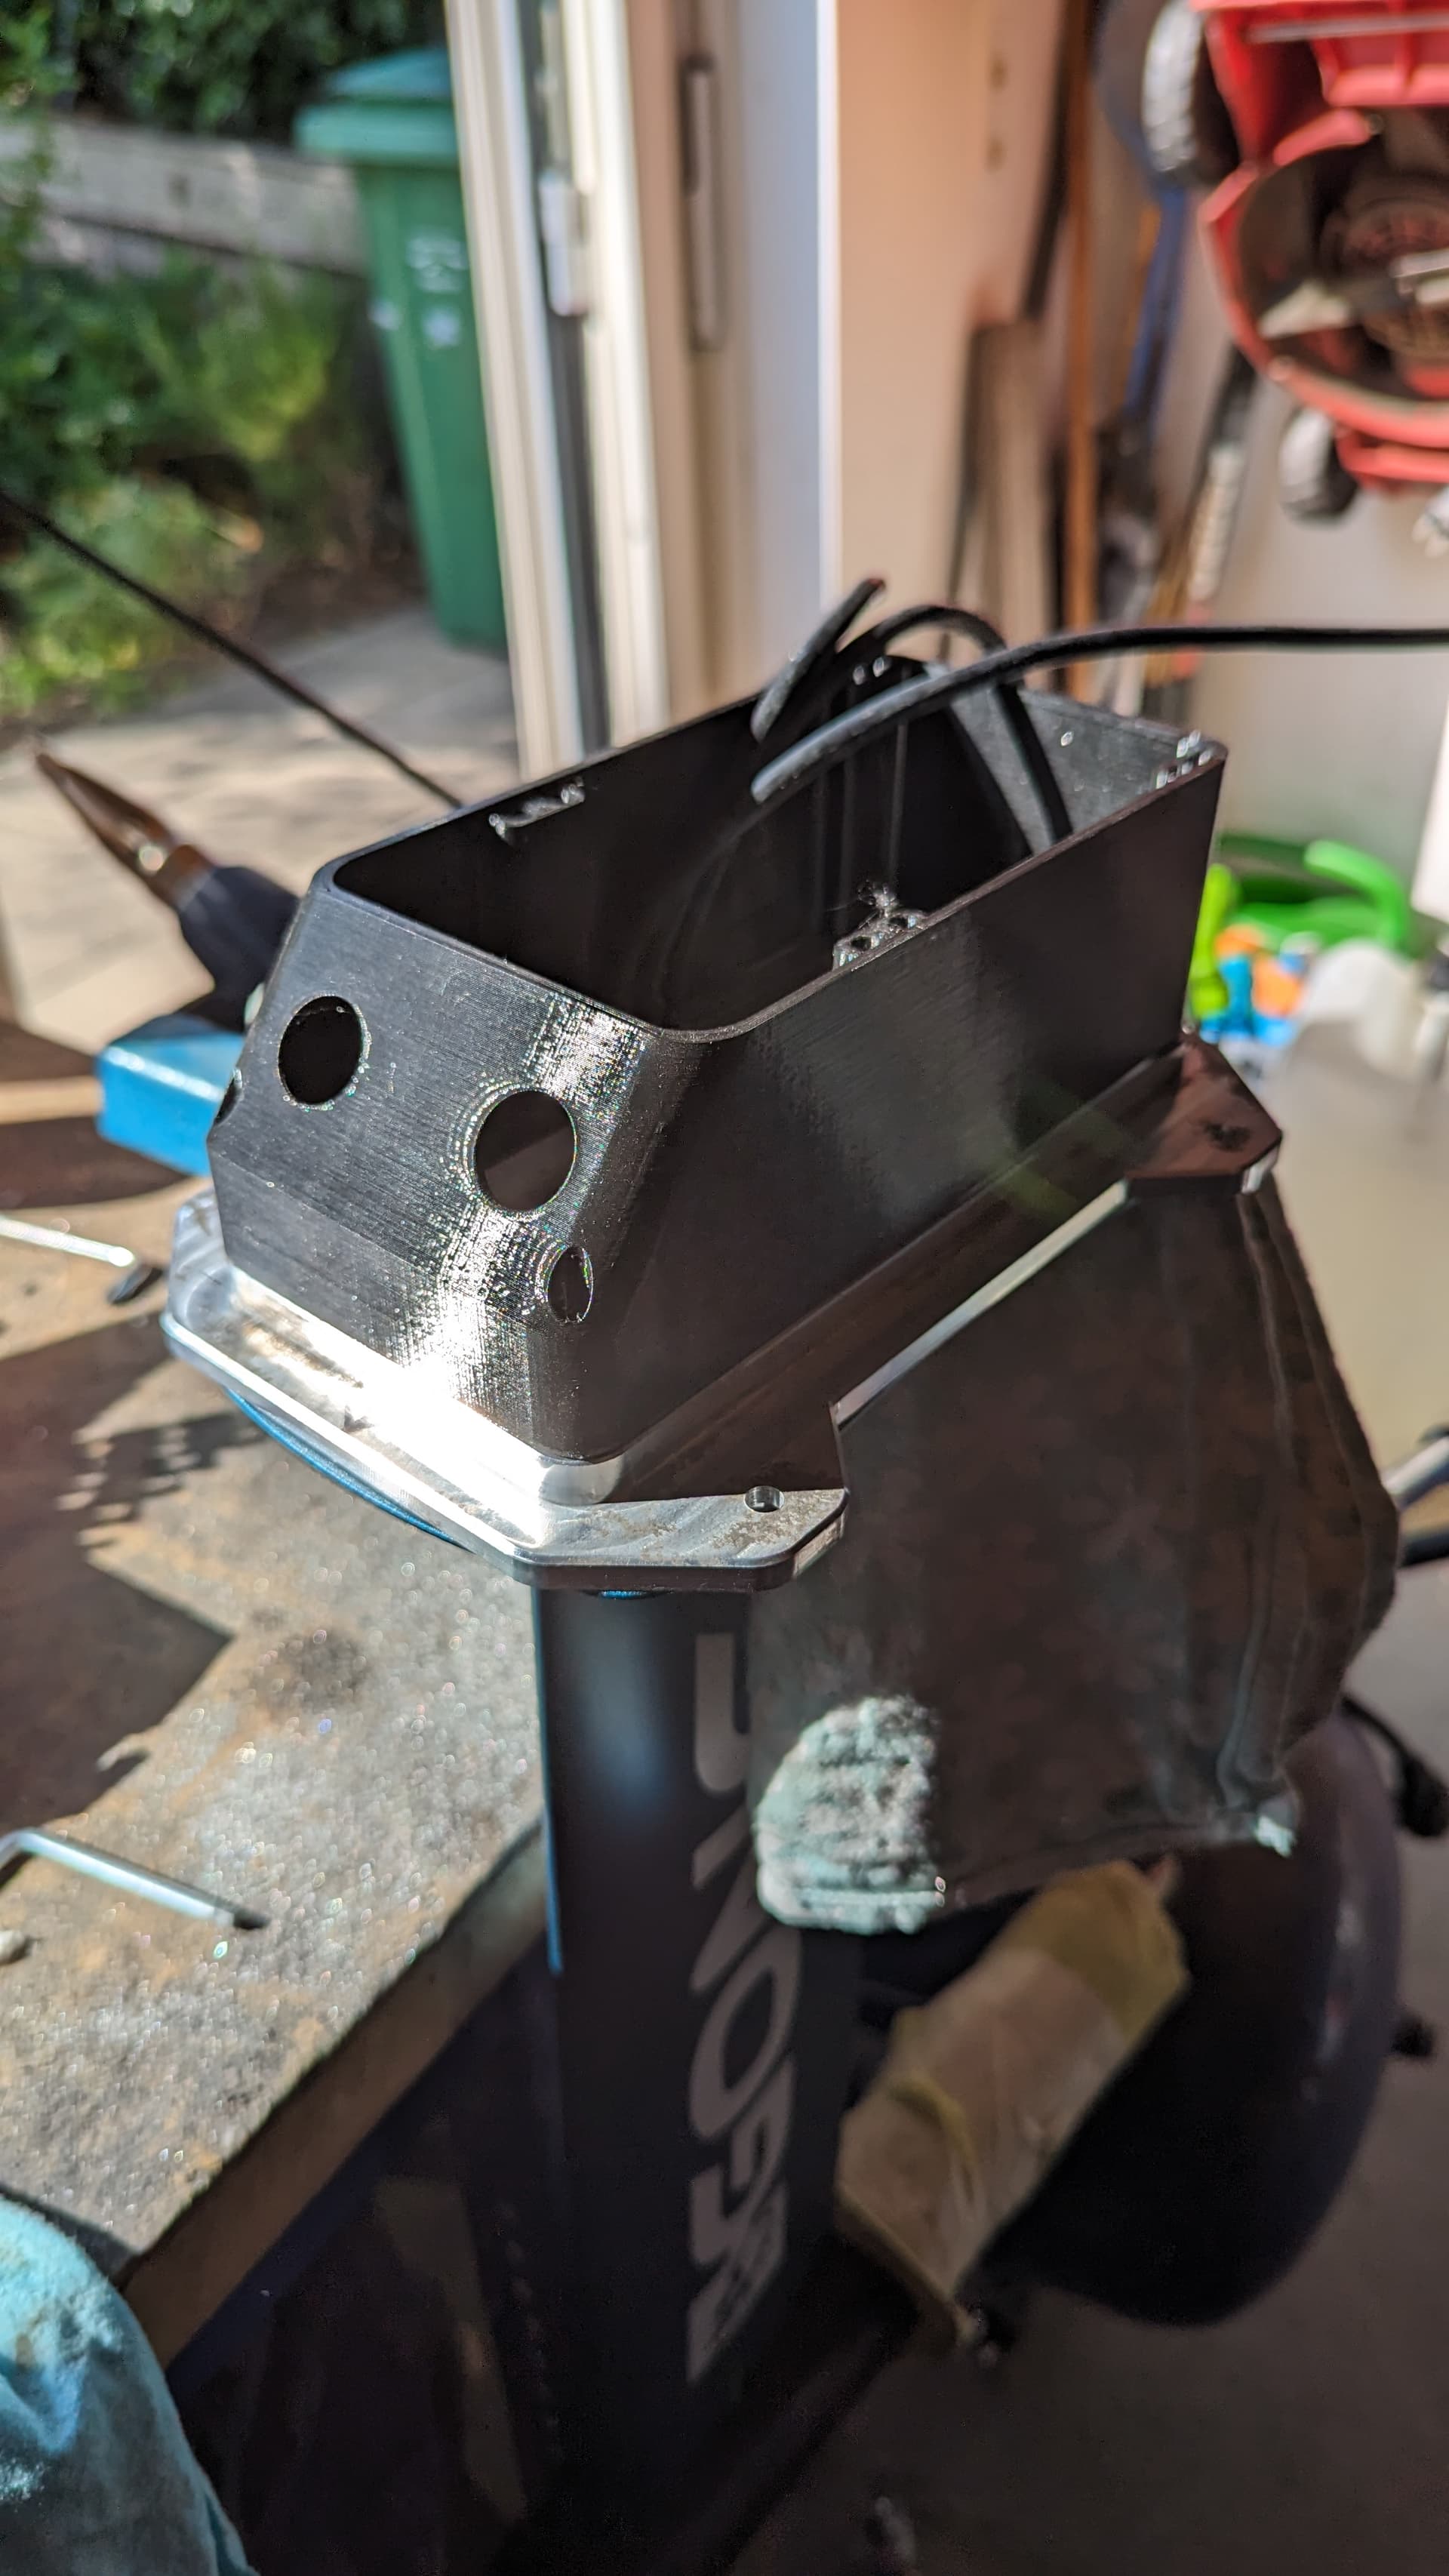
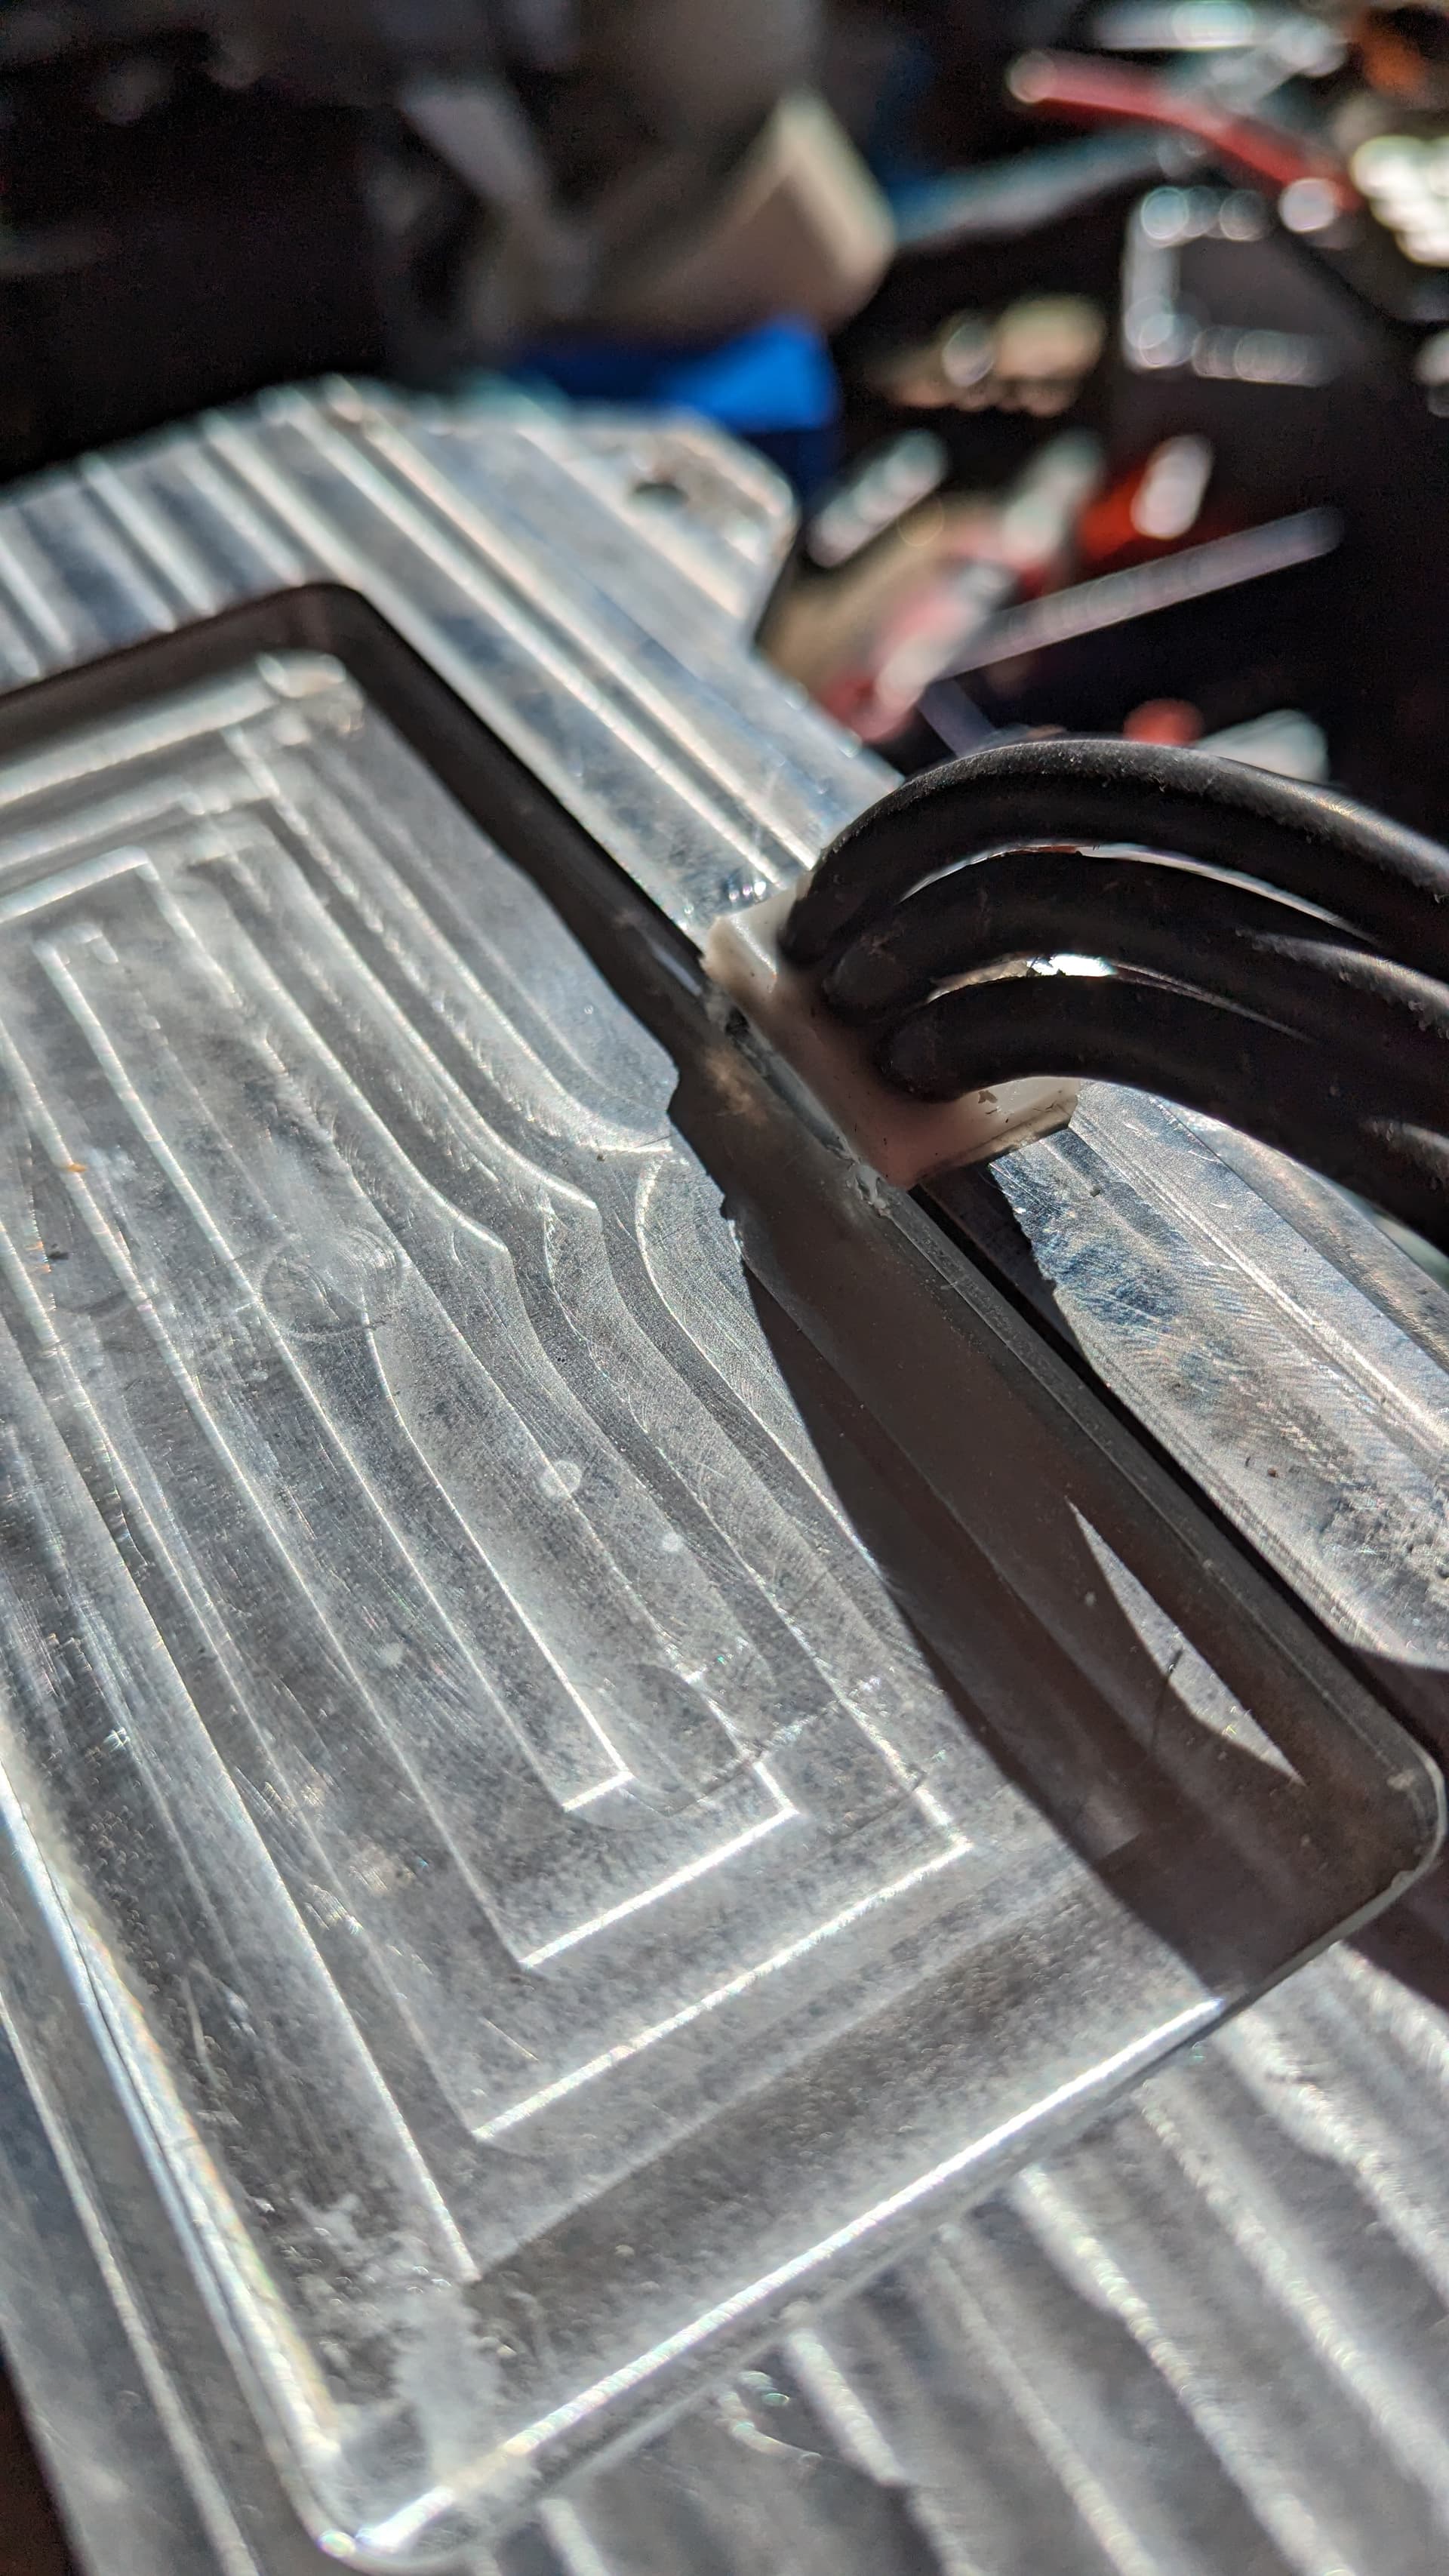
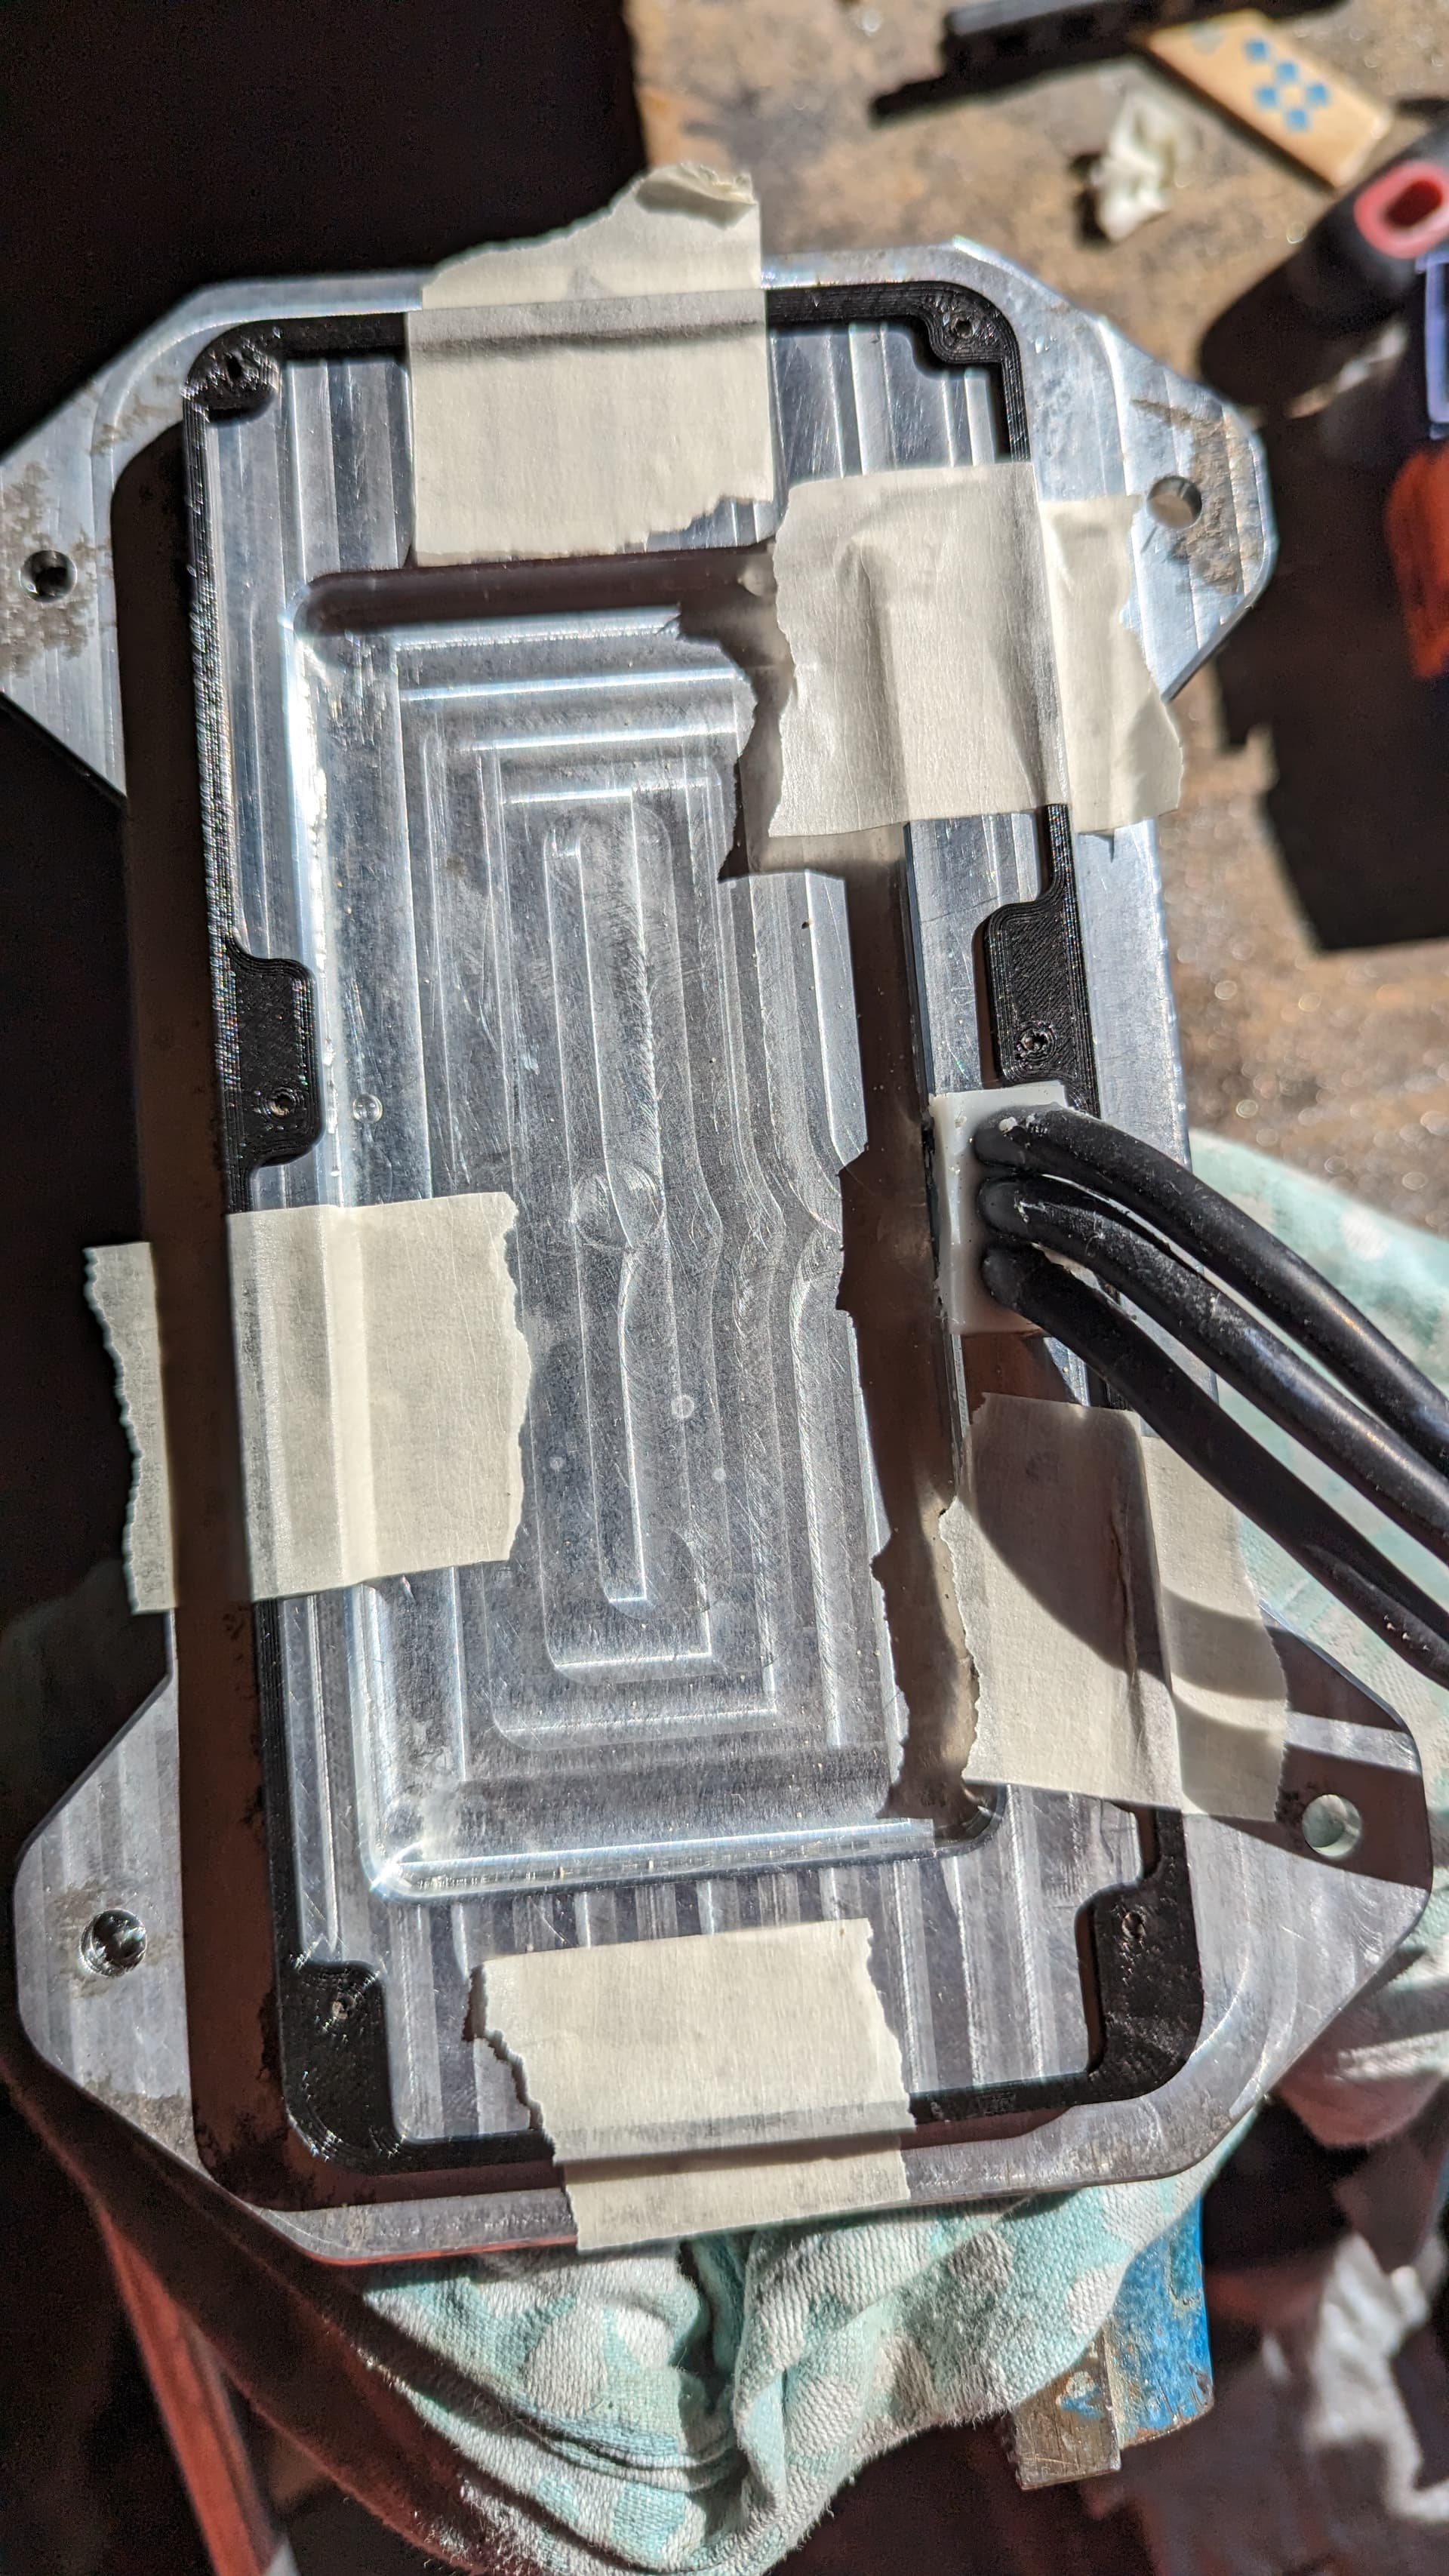
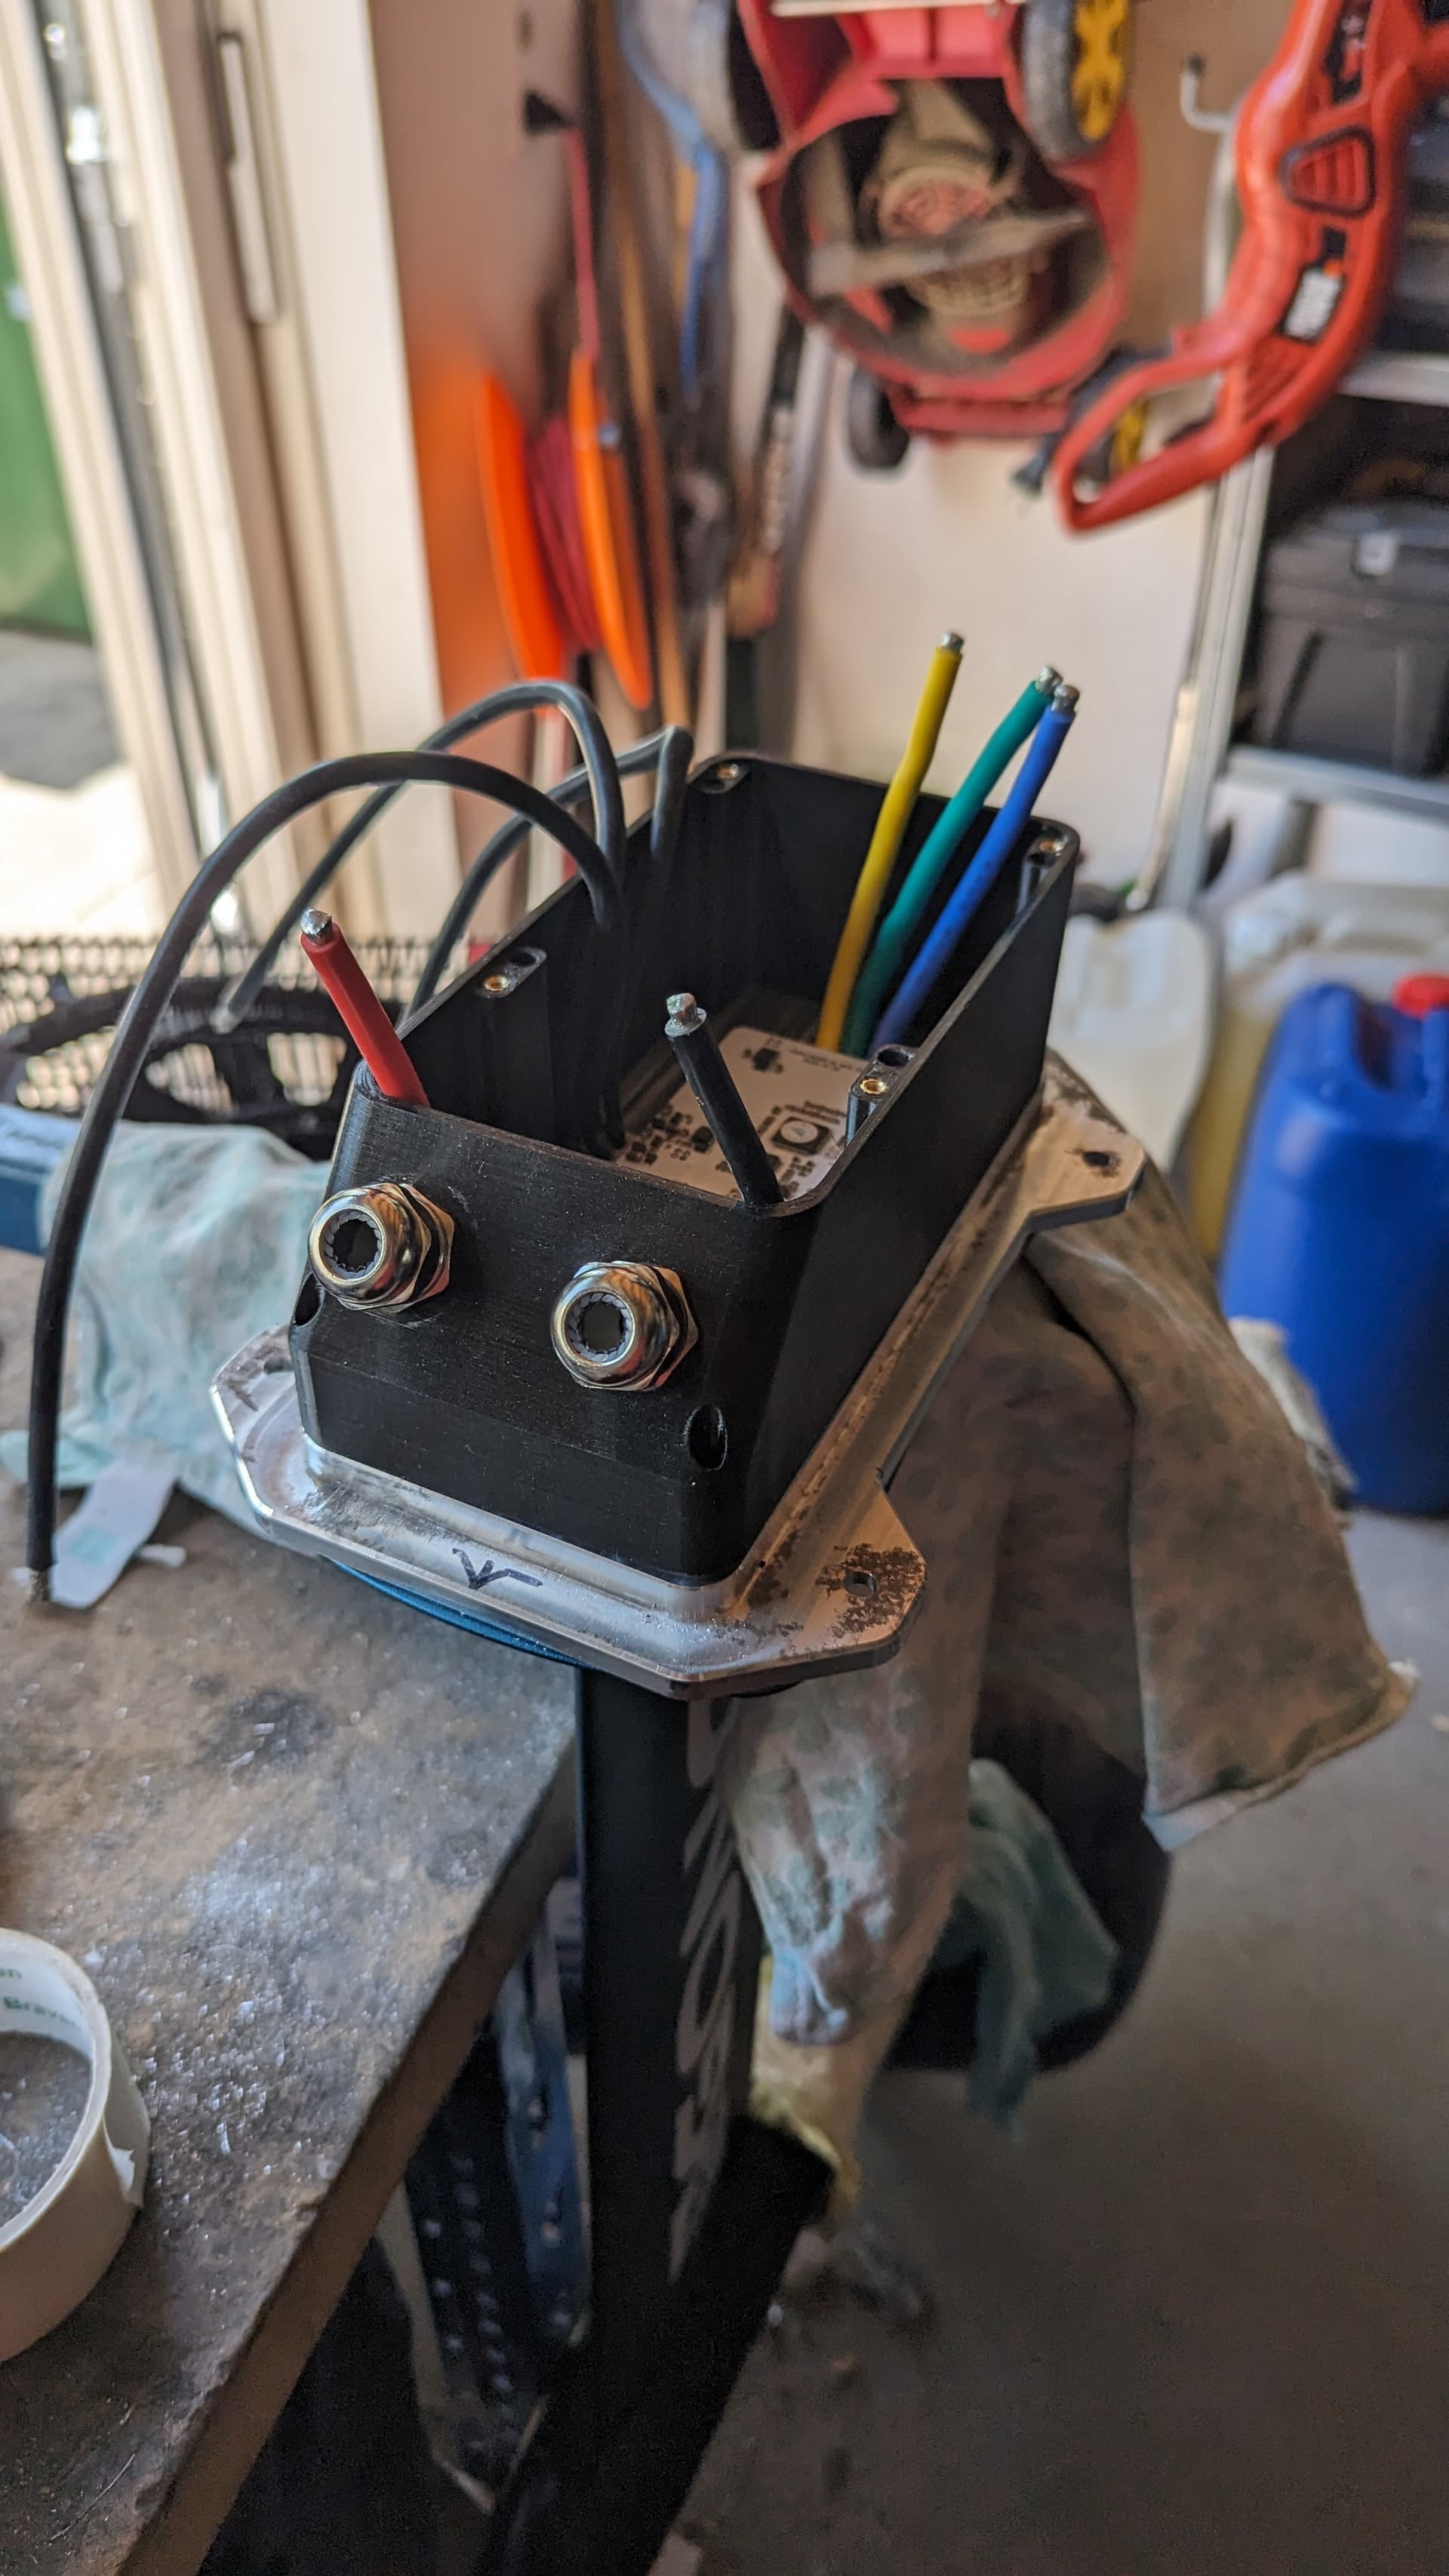
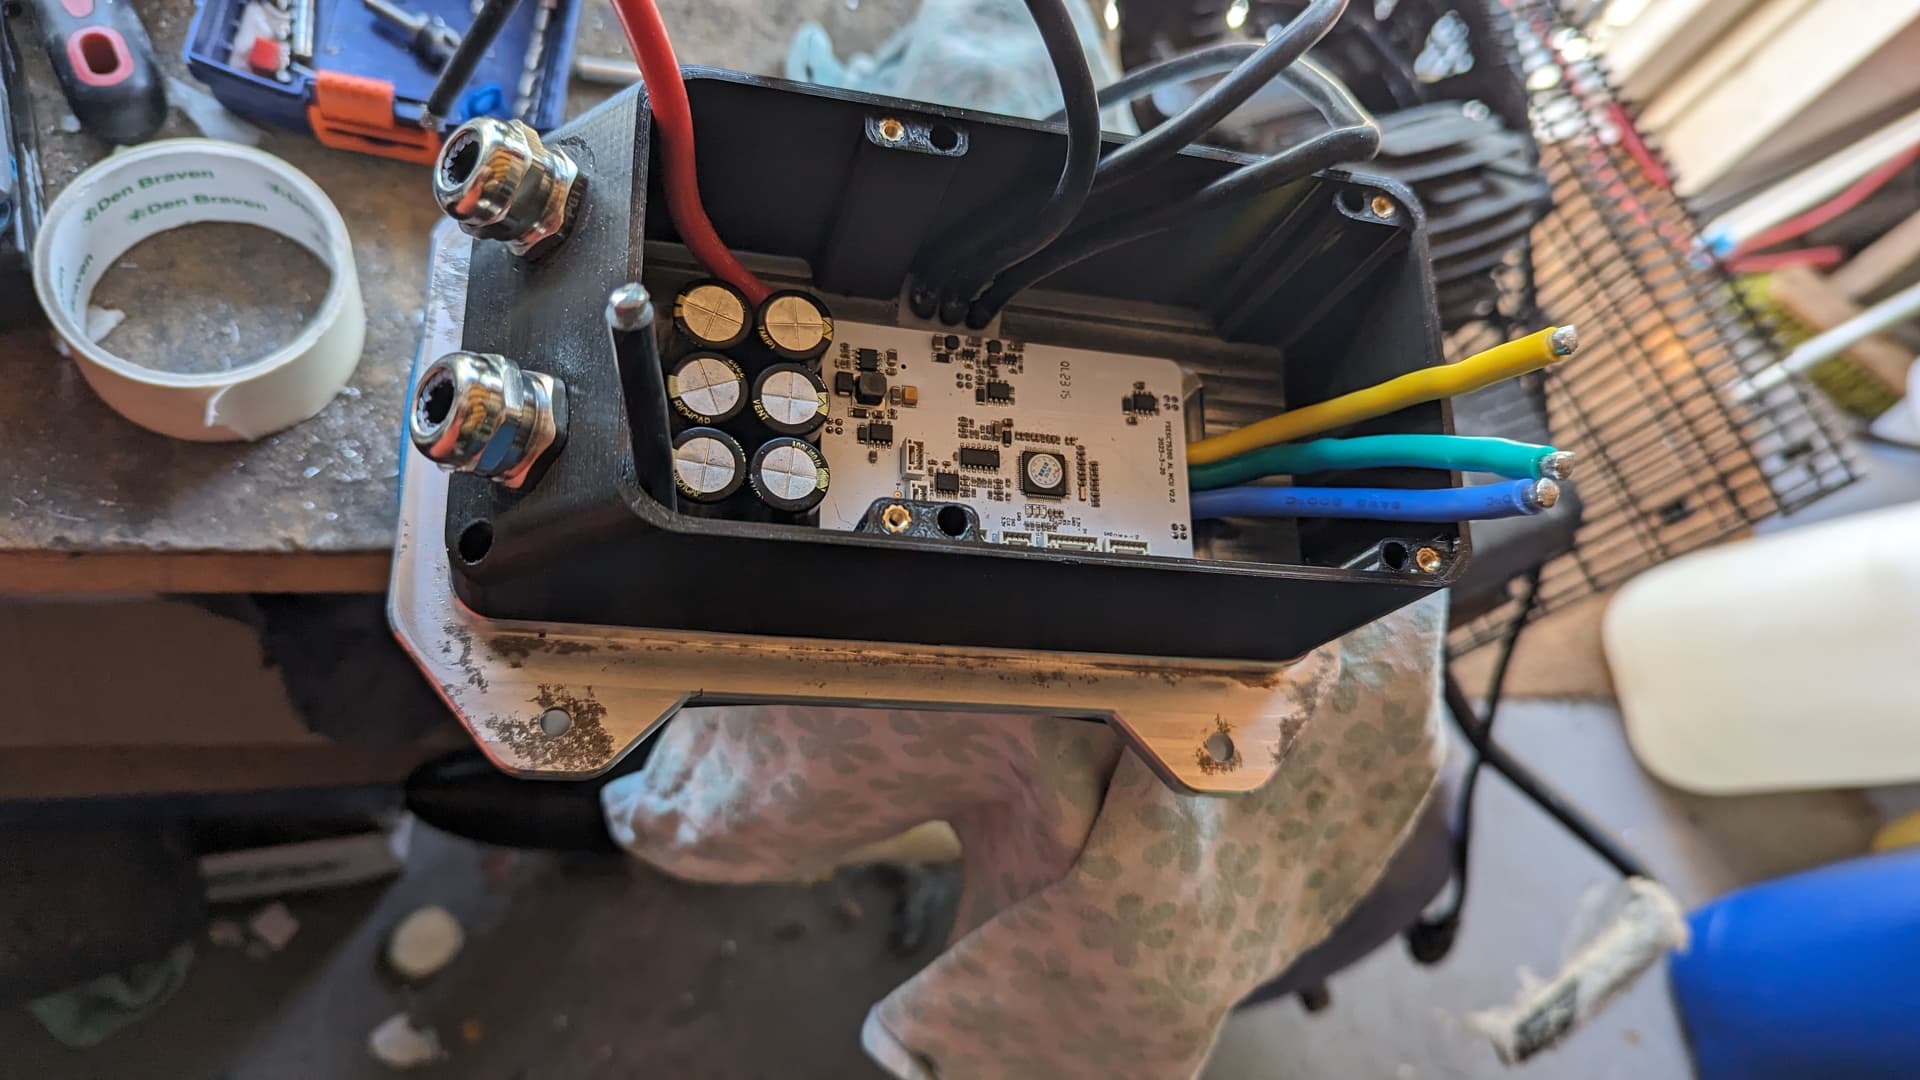
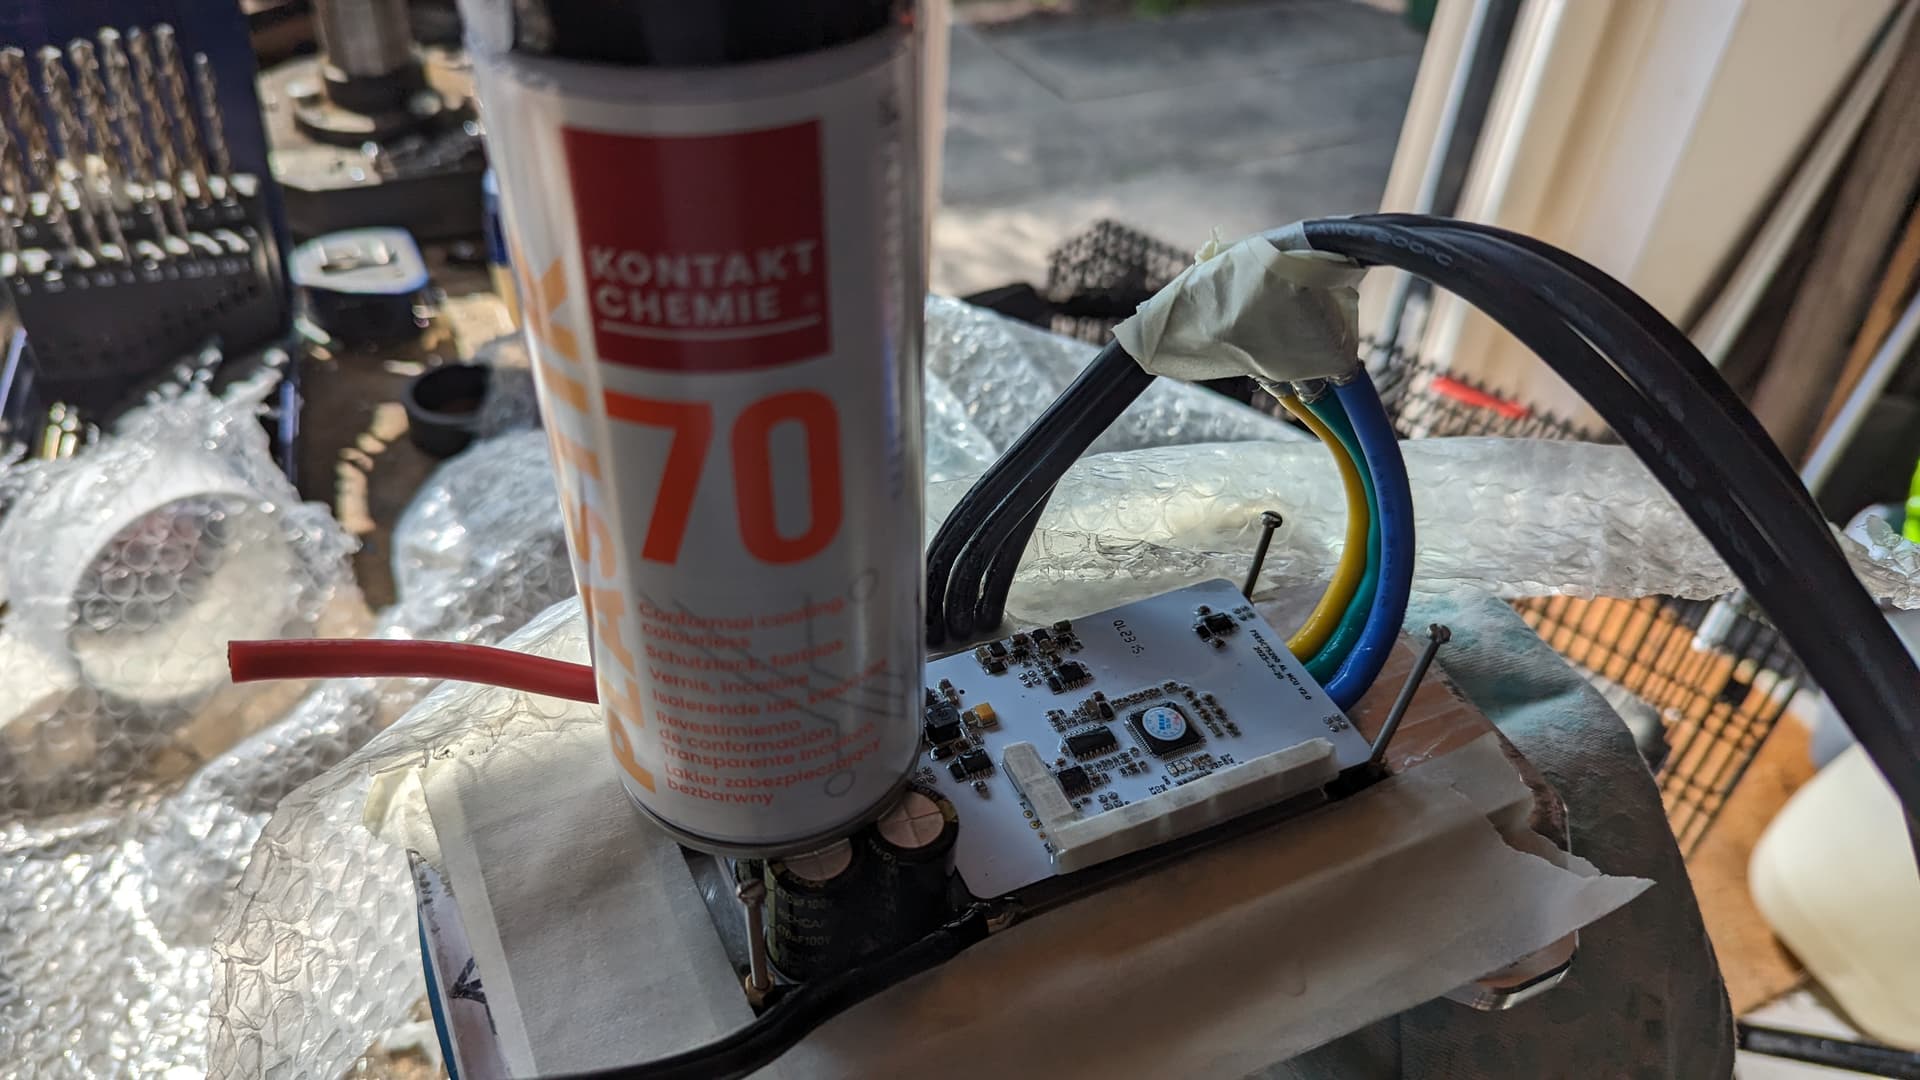
Vincent removed the casing completely and put the VESC PCB’s cooling plate directly on the CNC’ed aluminium base plate.
Both ways will work perfect, but we opted for the Vincent way.
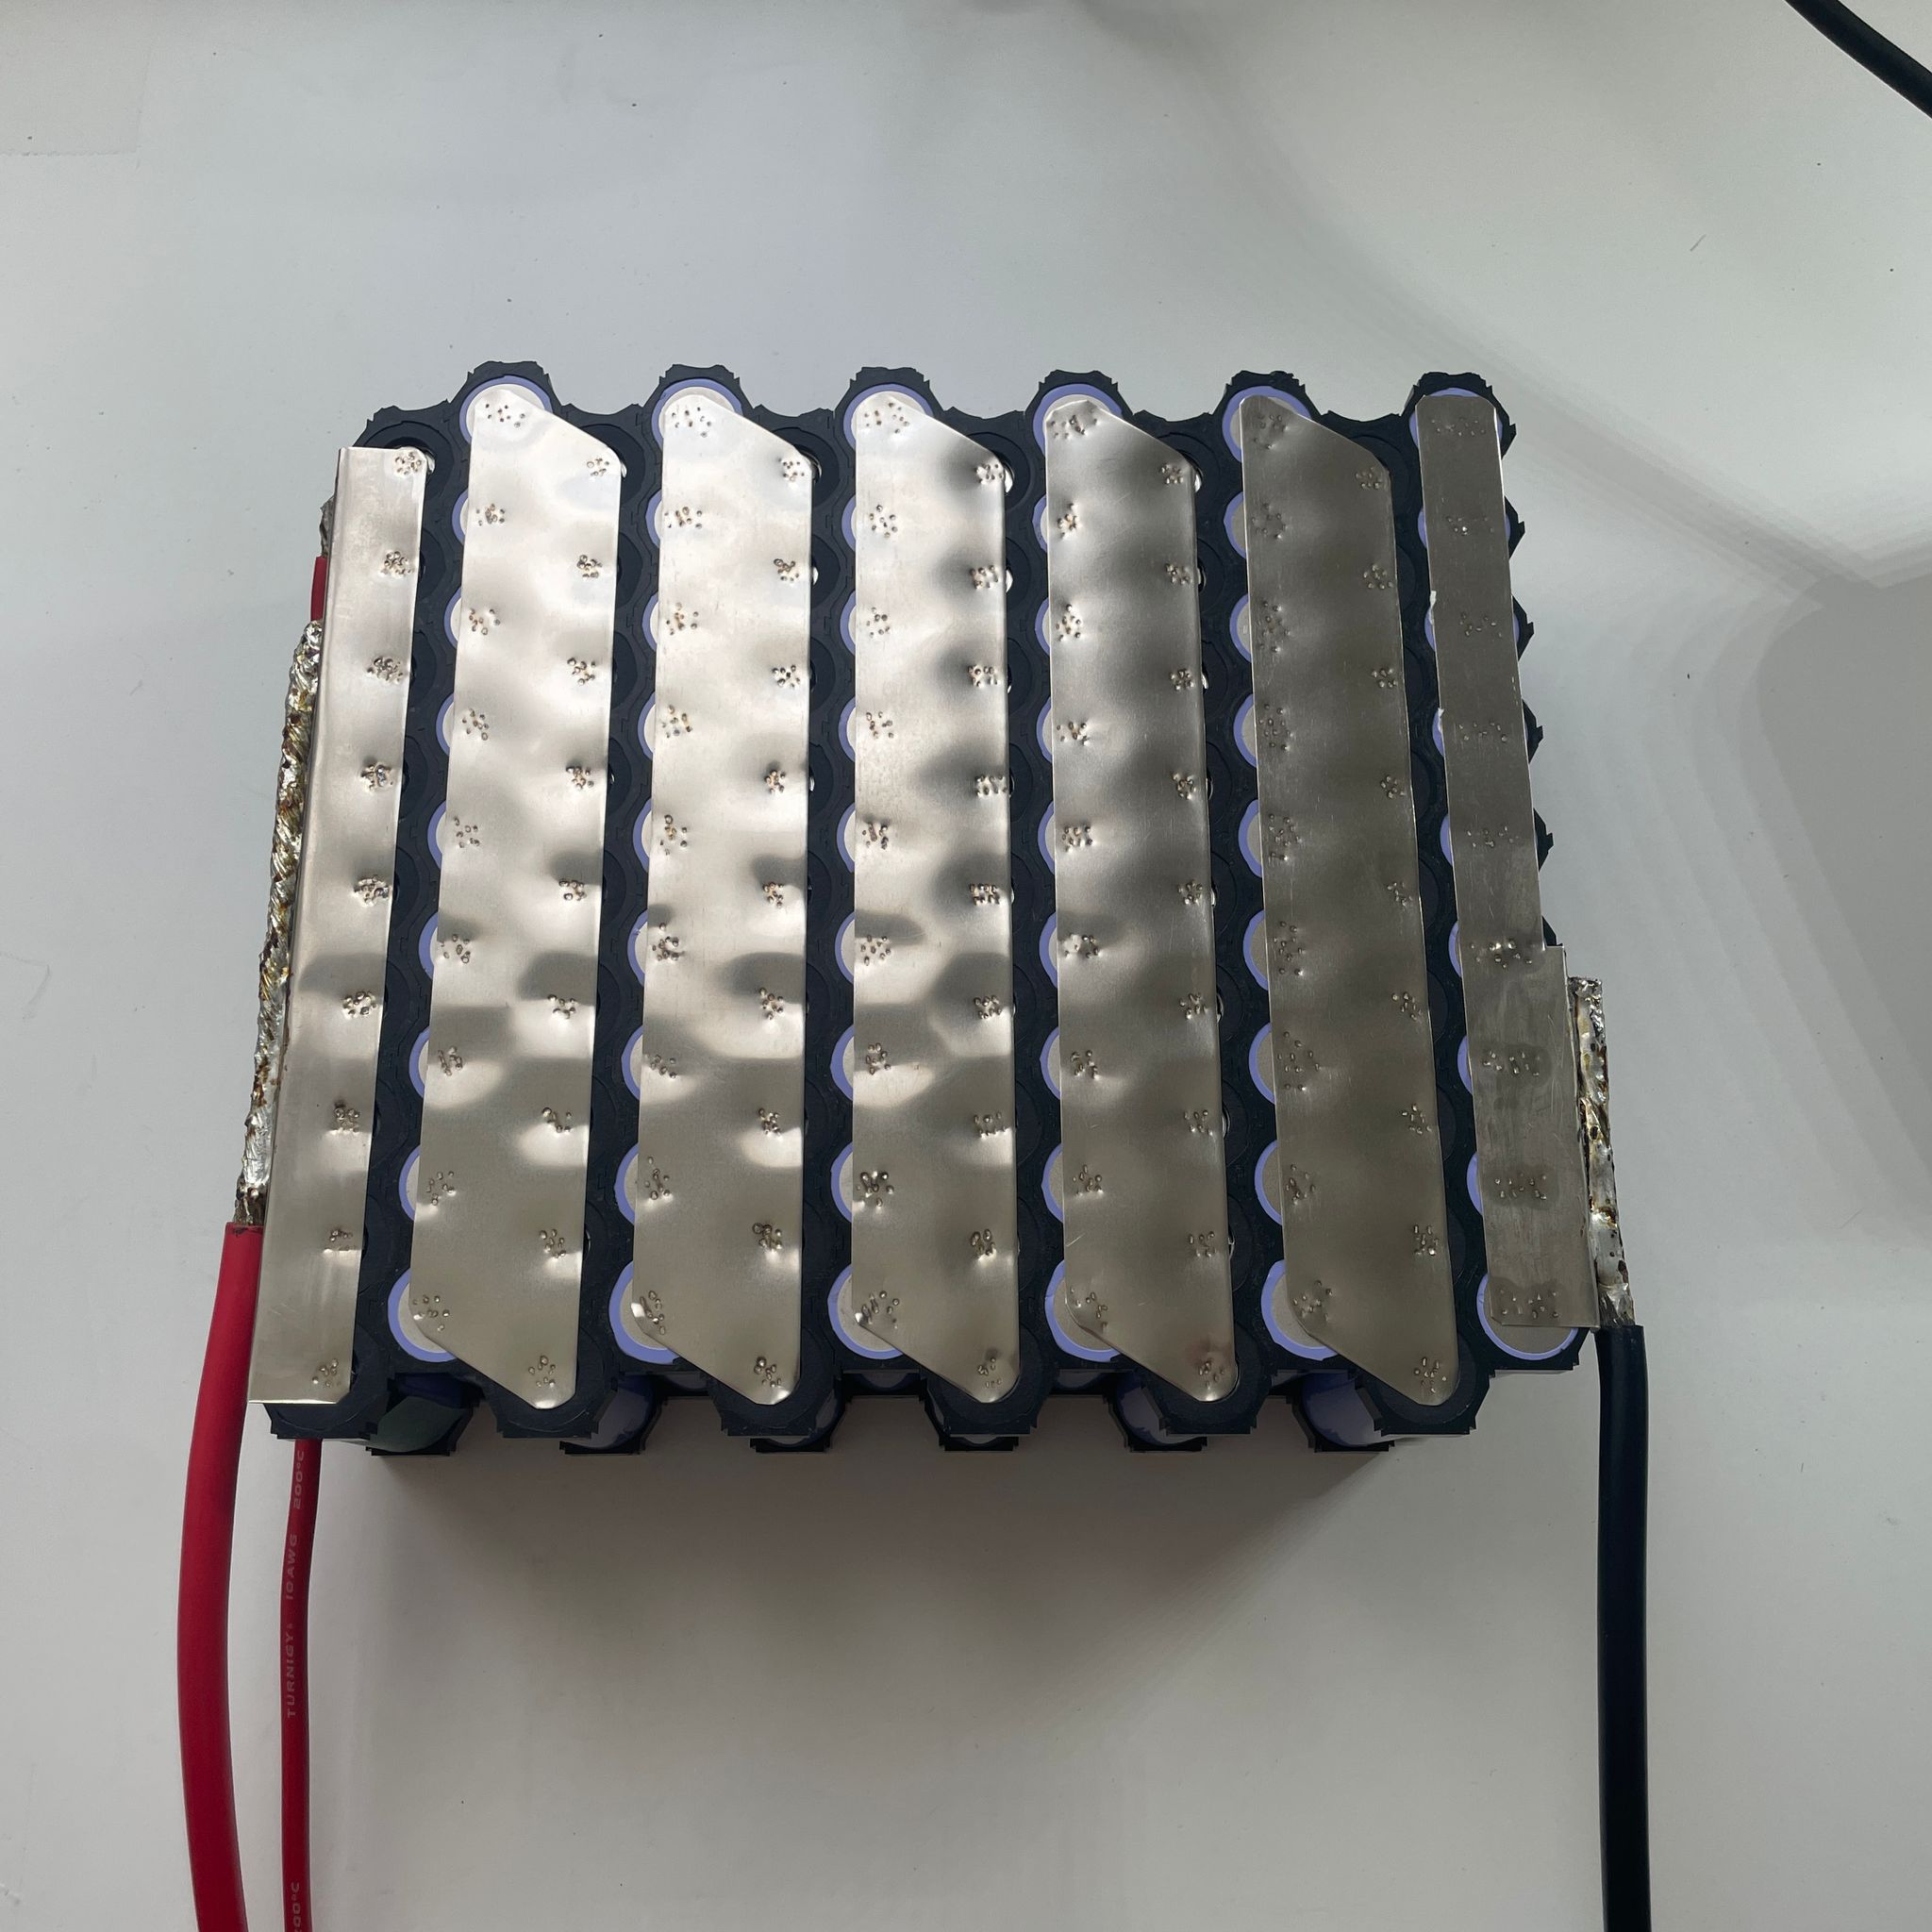
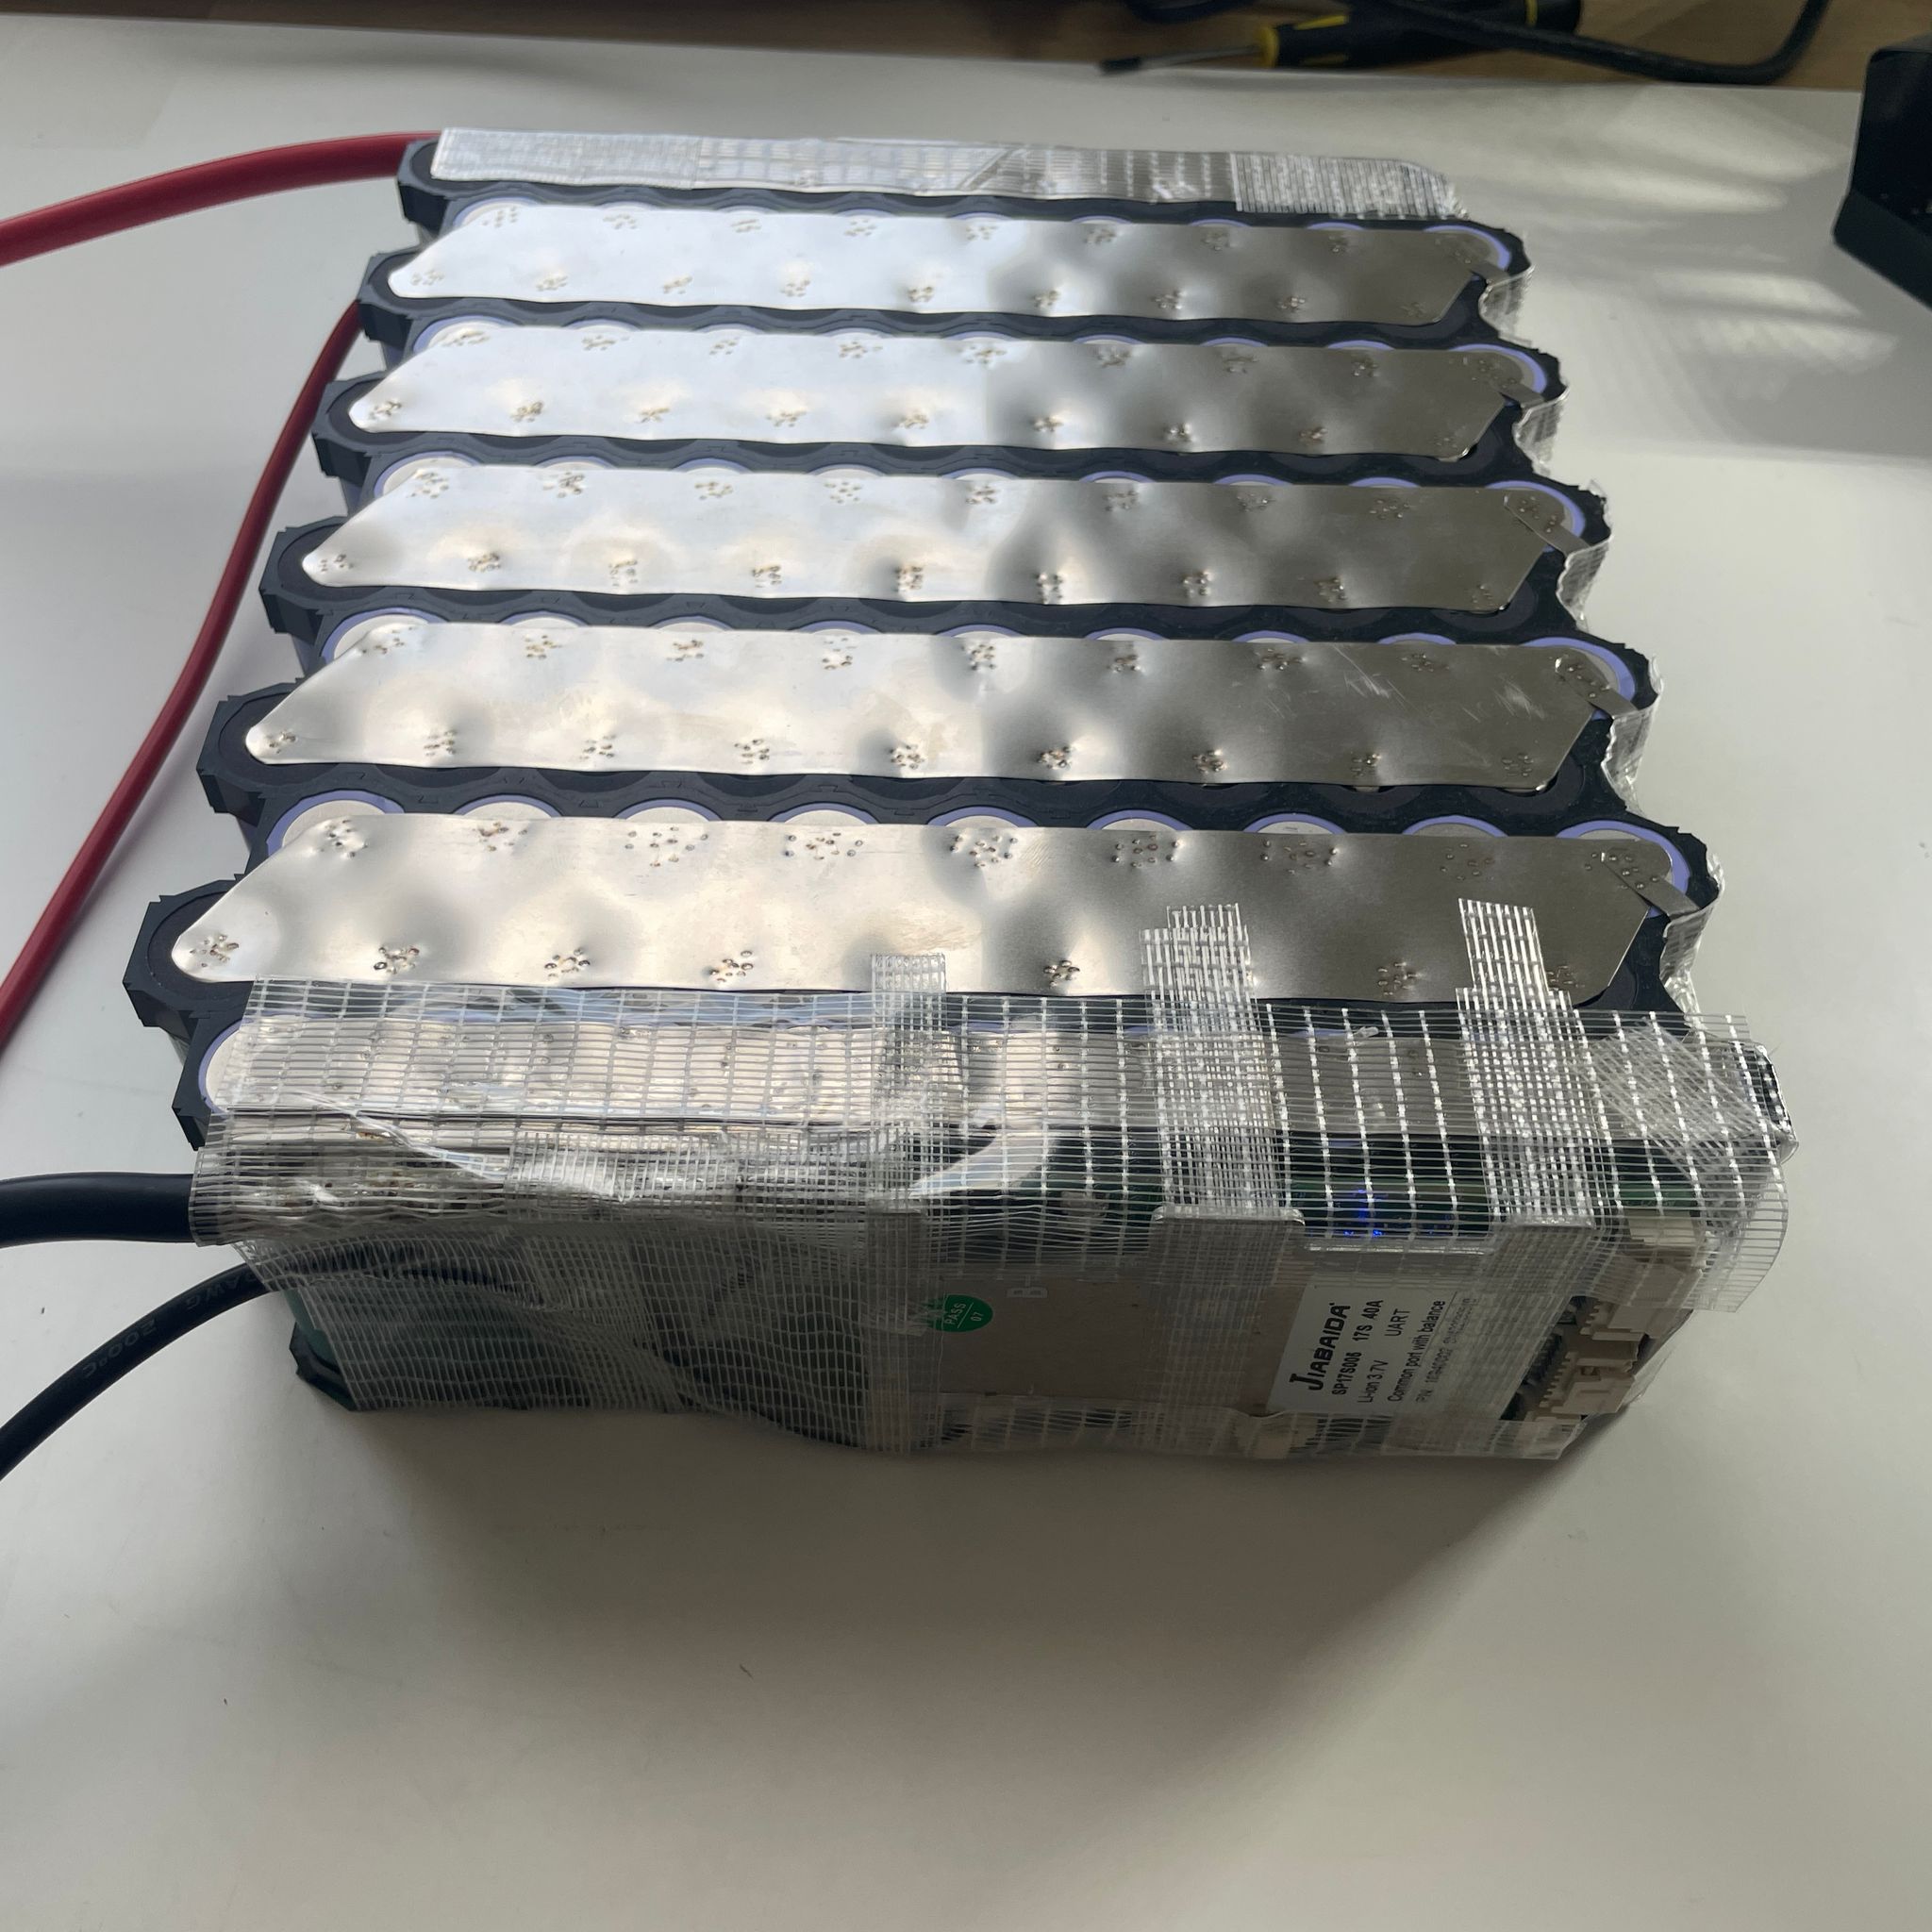
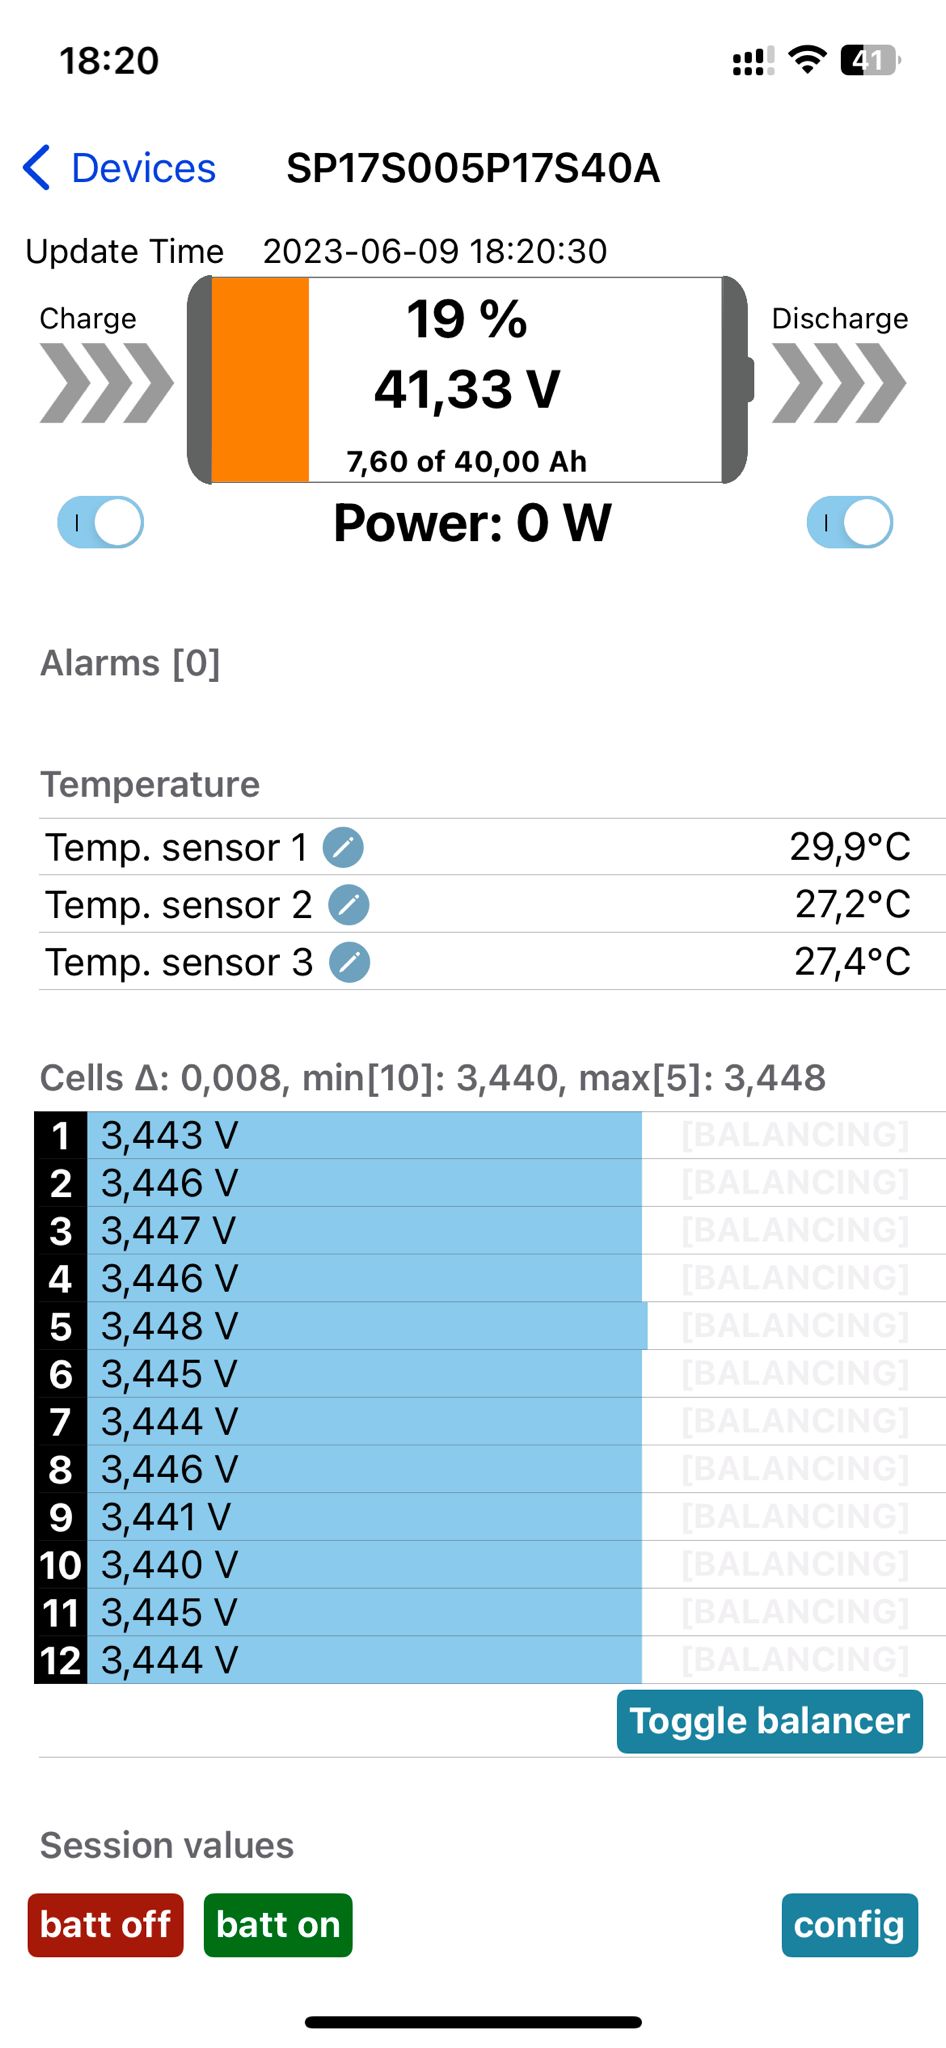
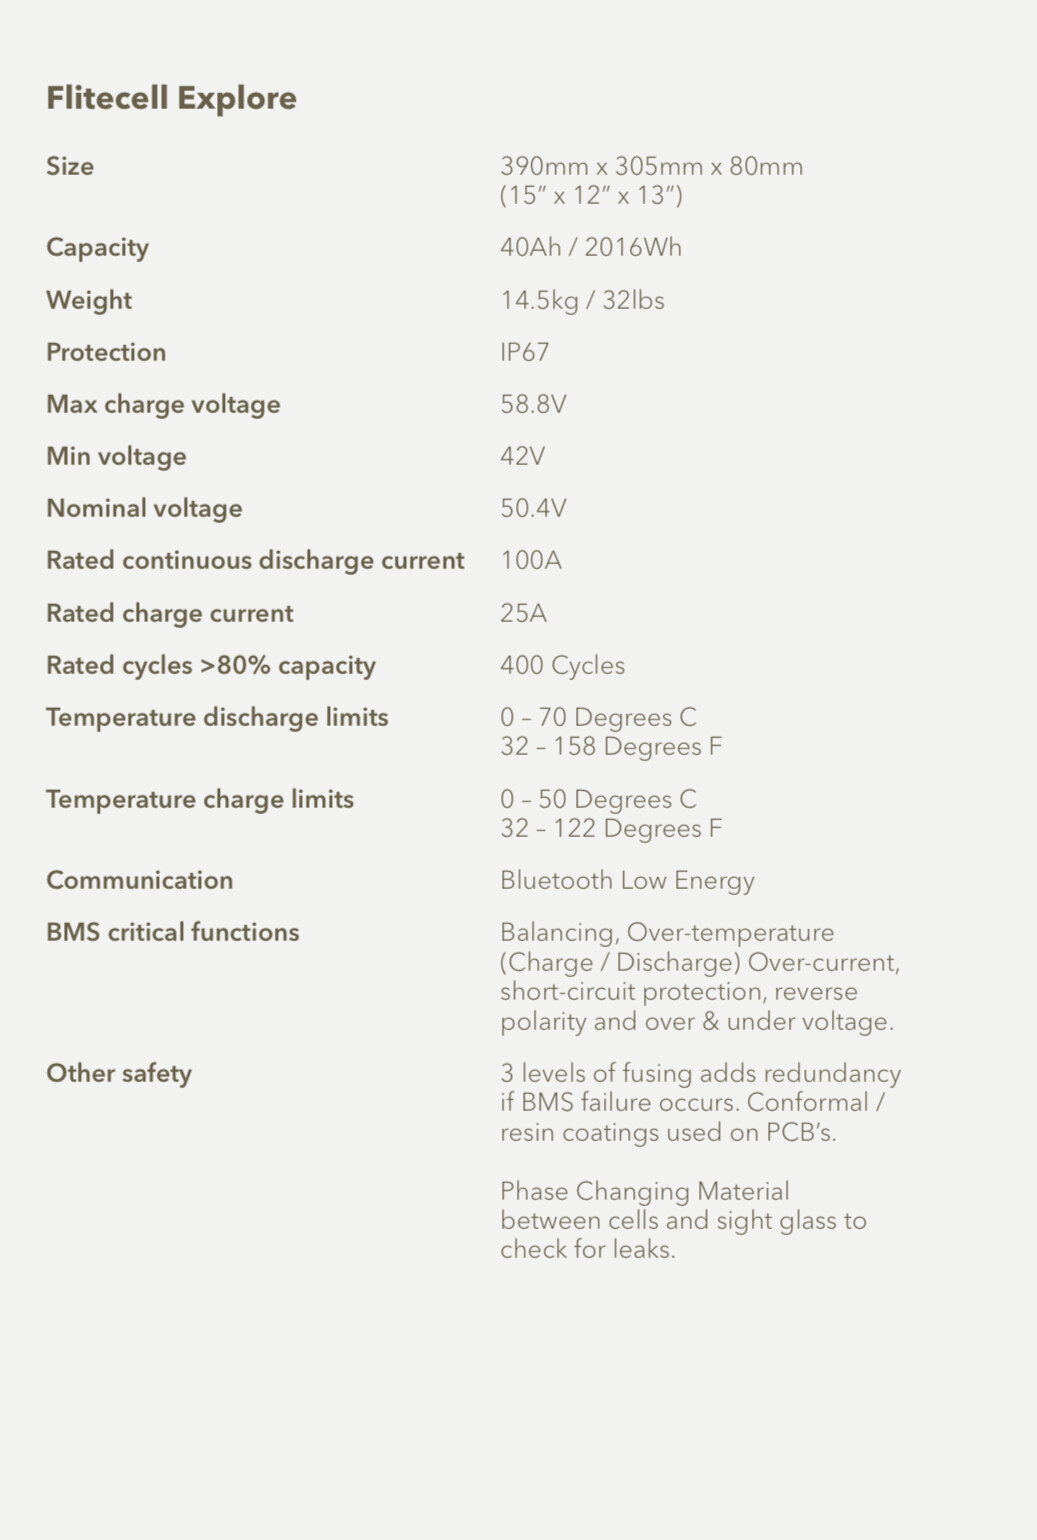
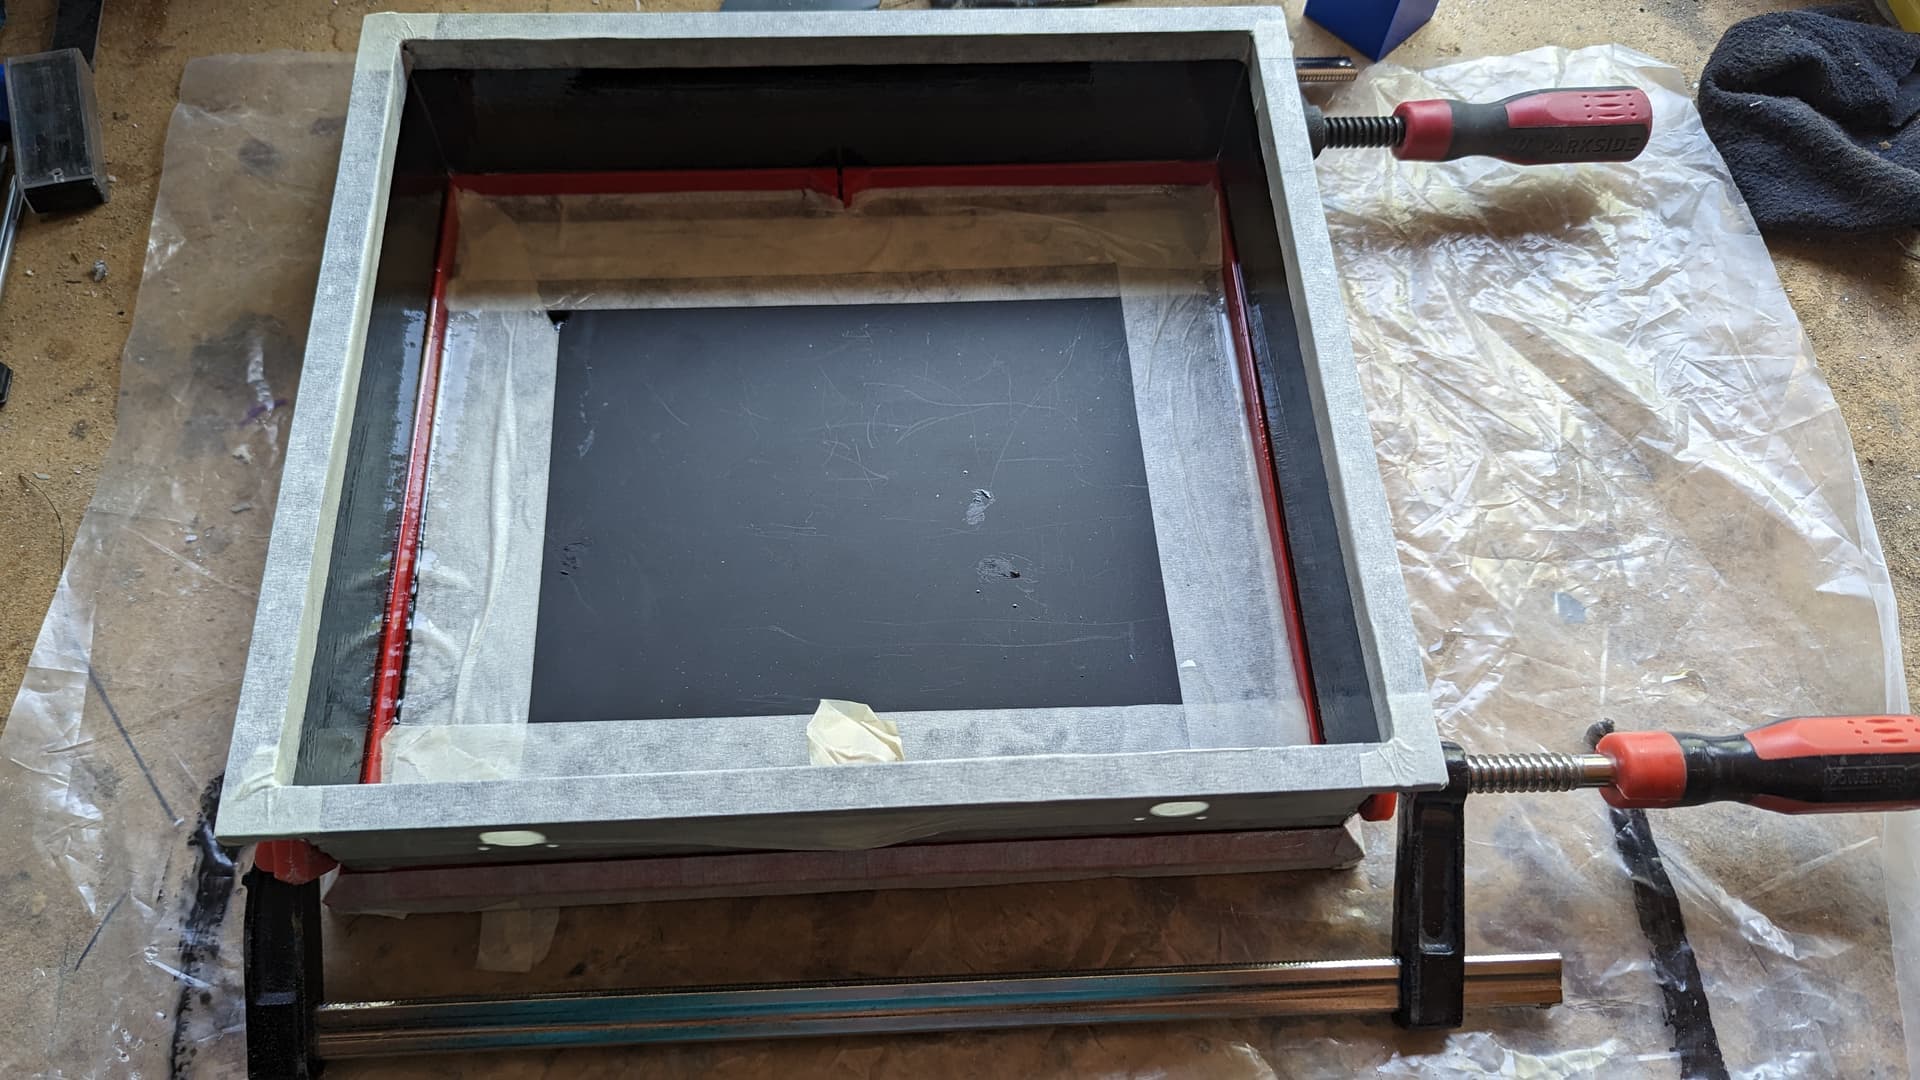
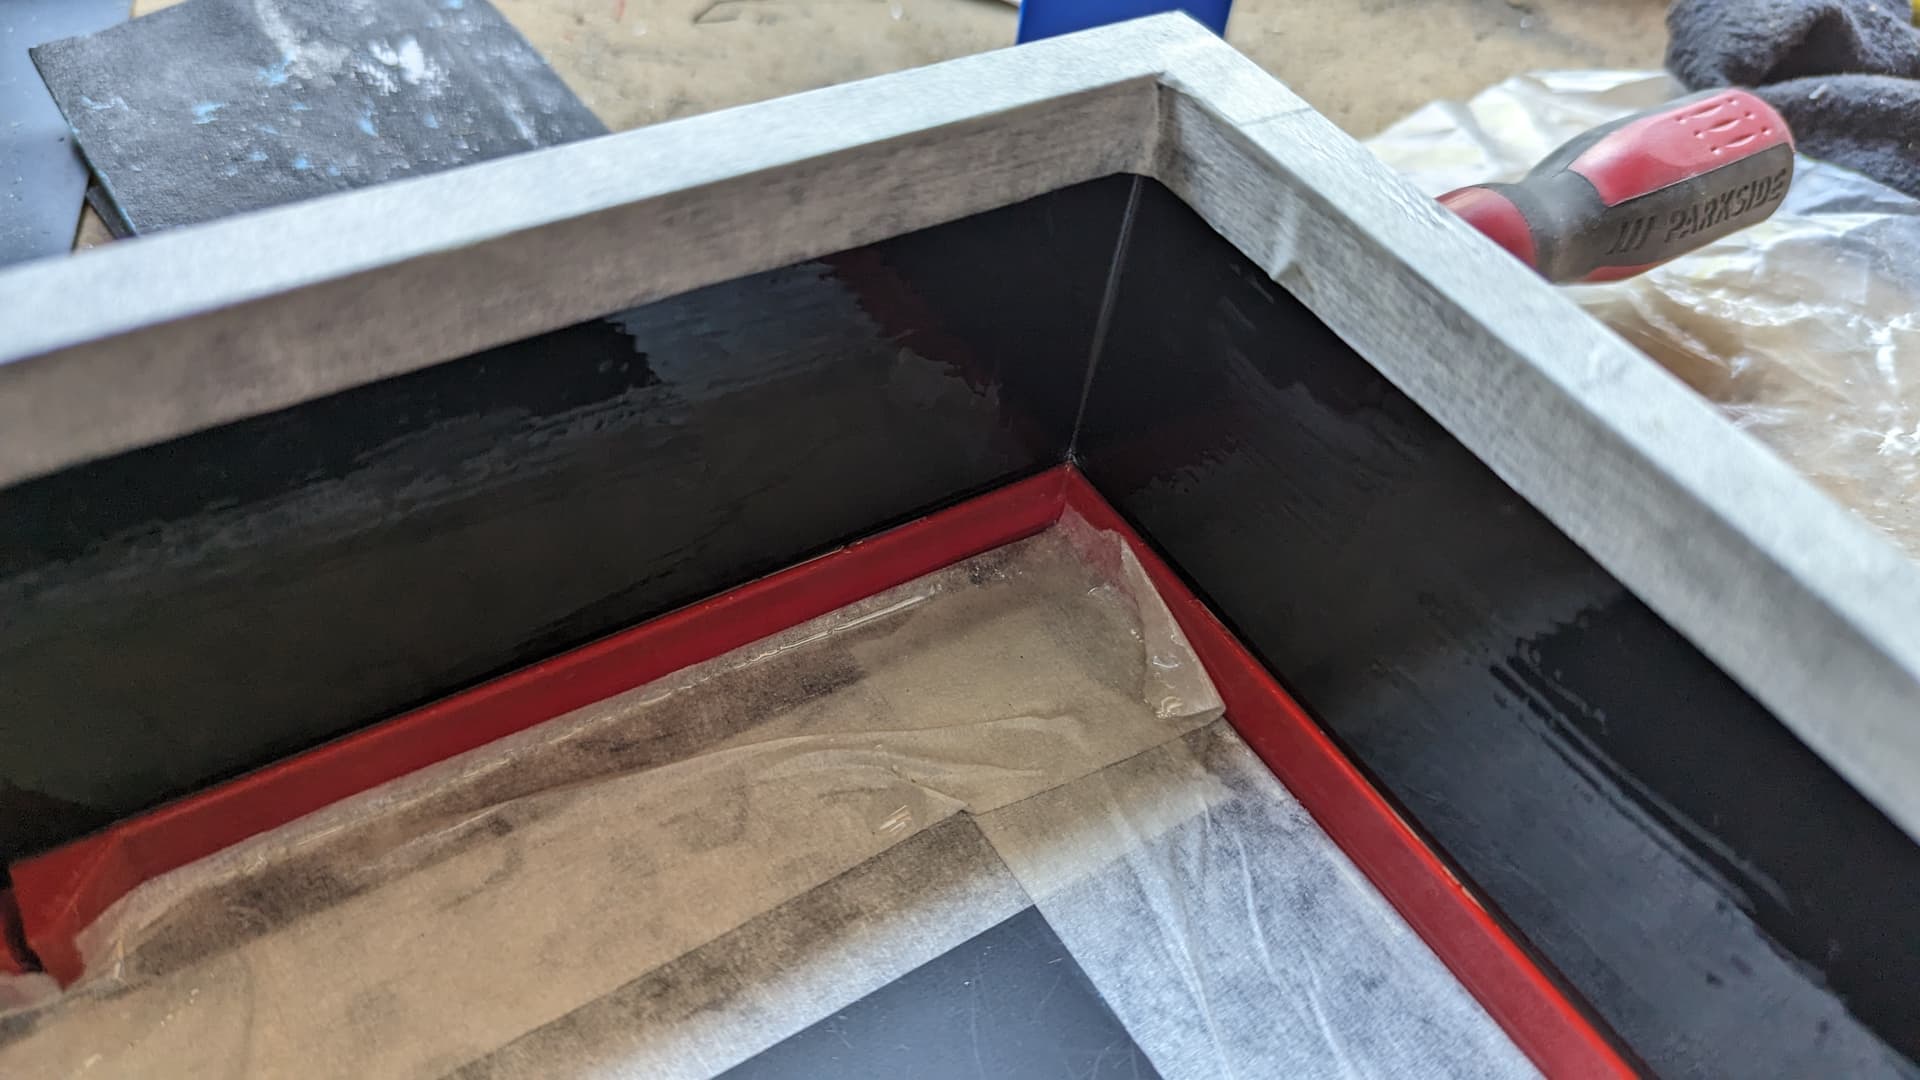
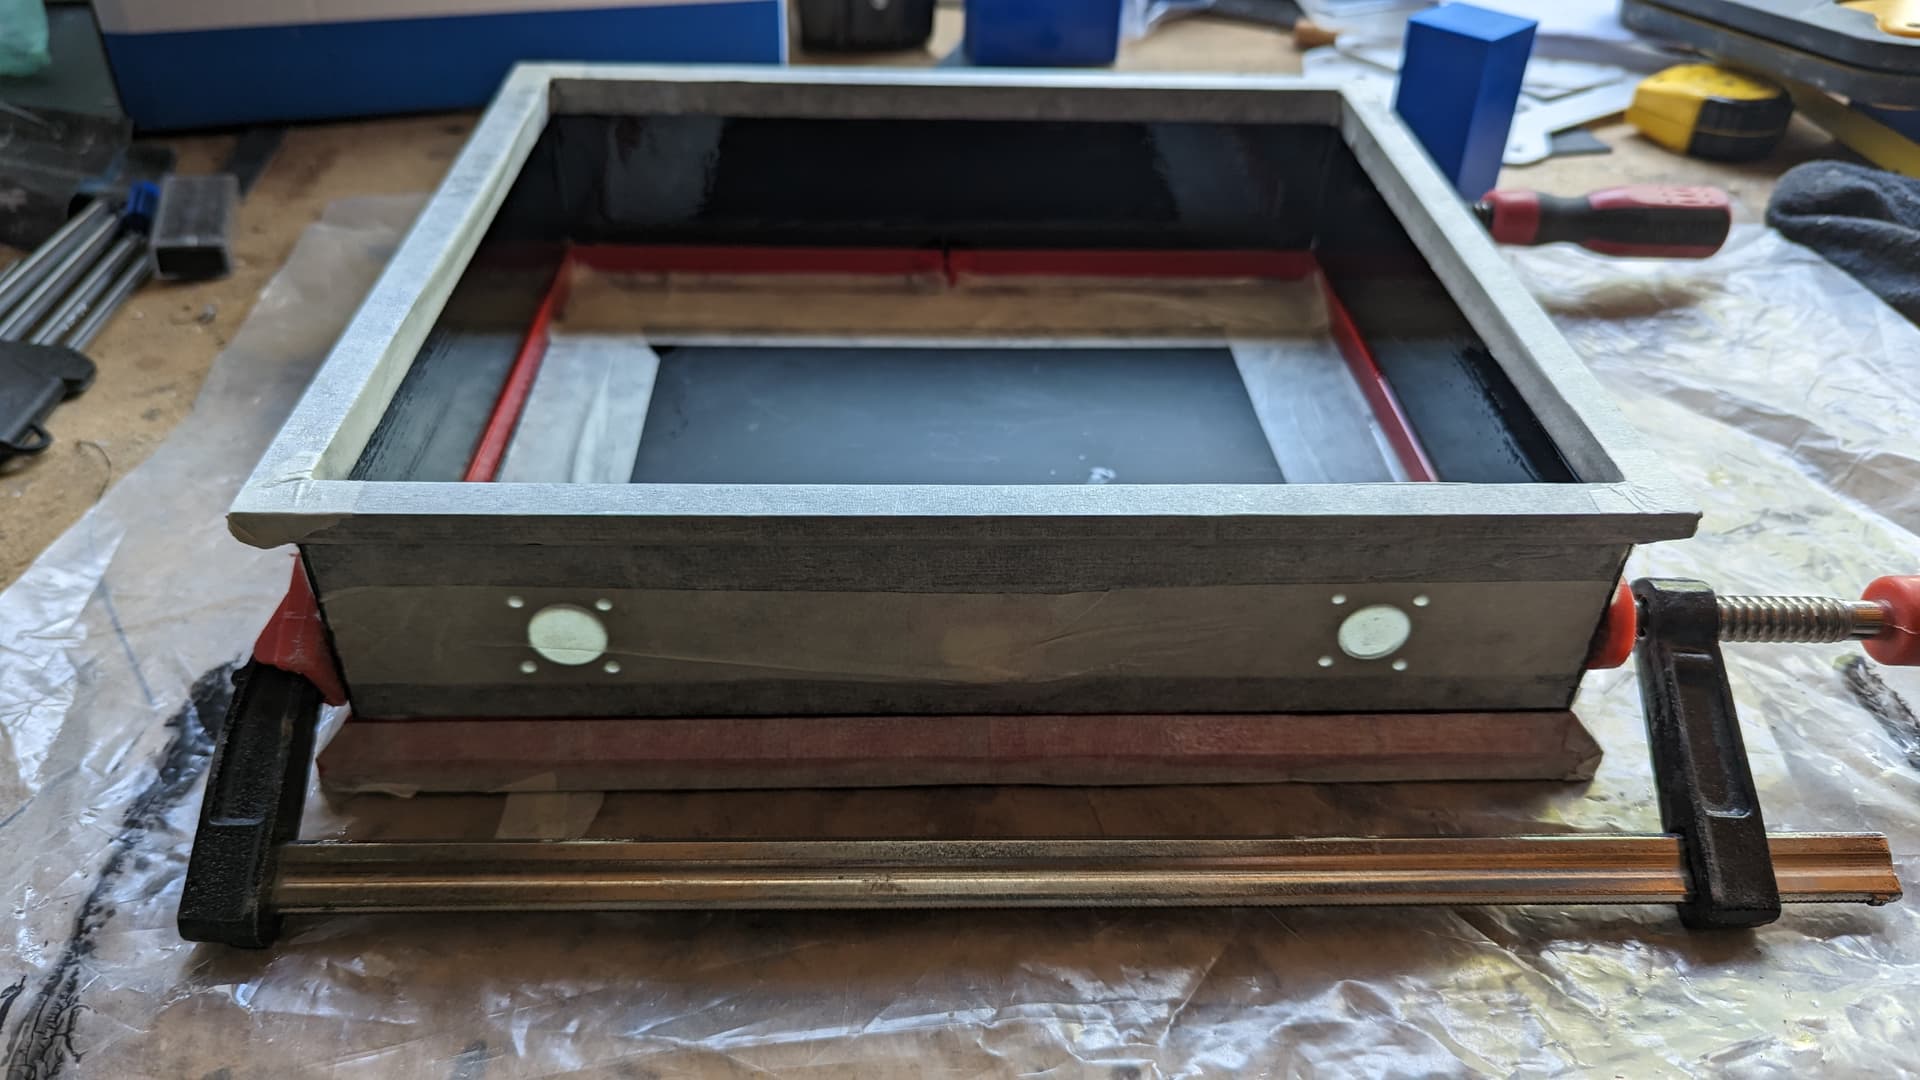
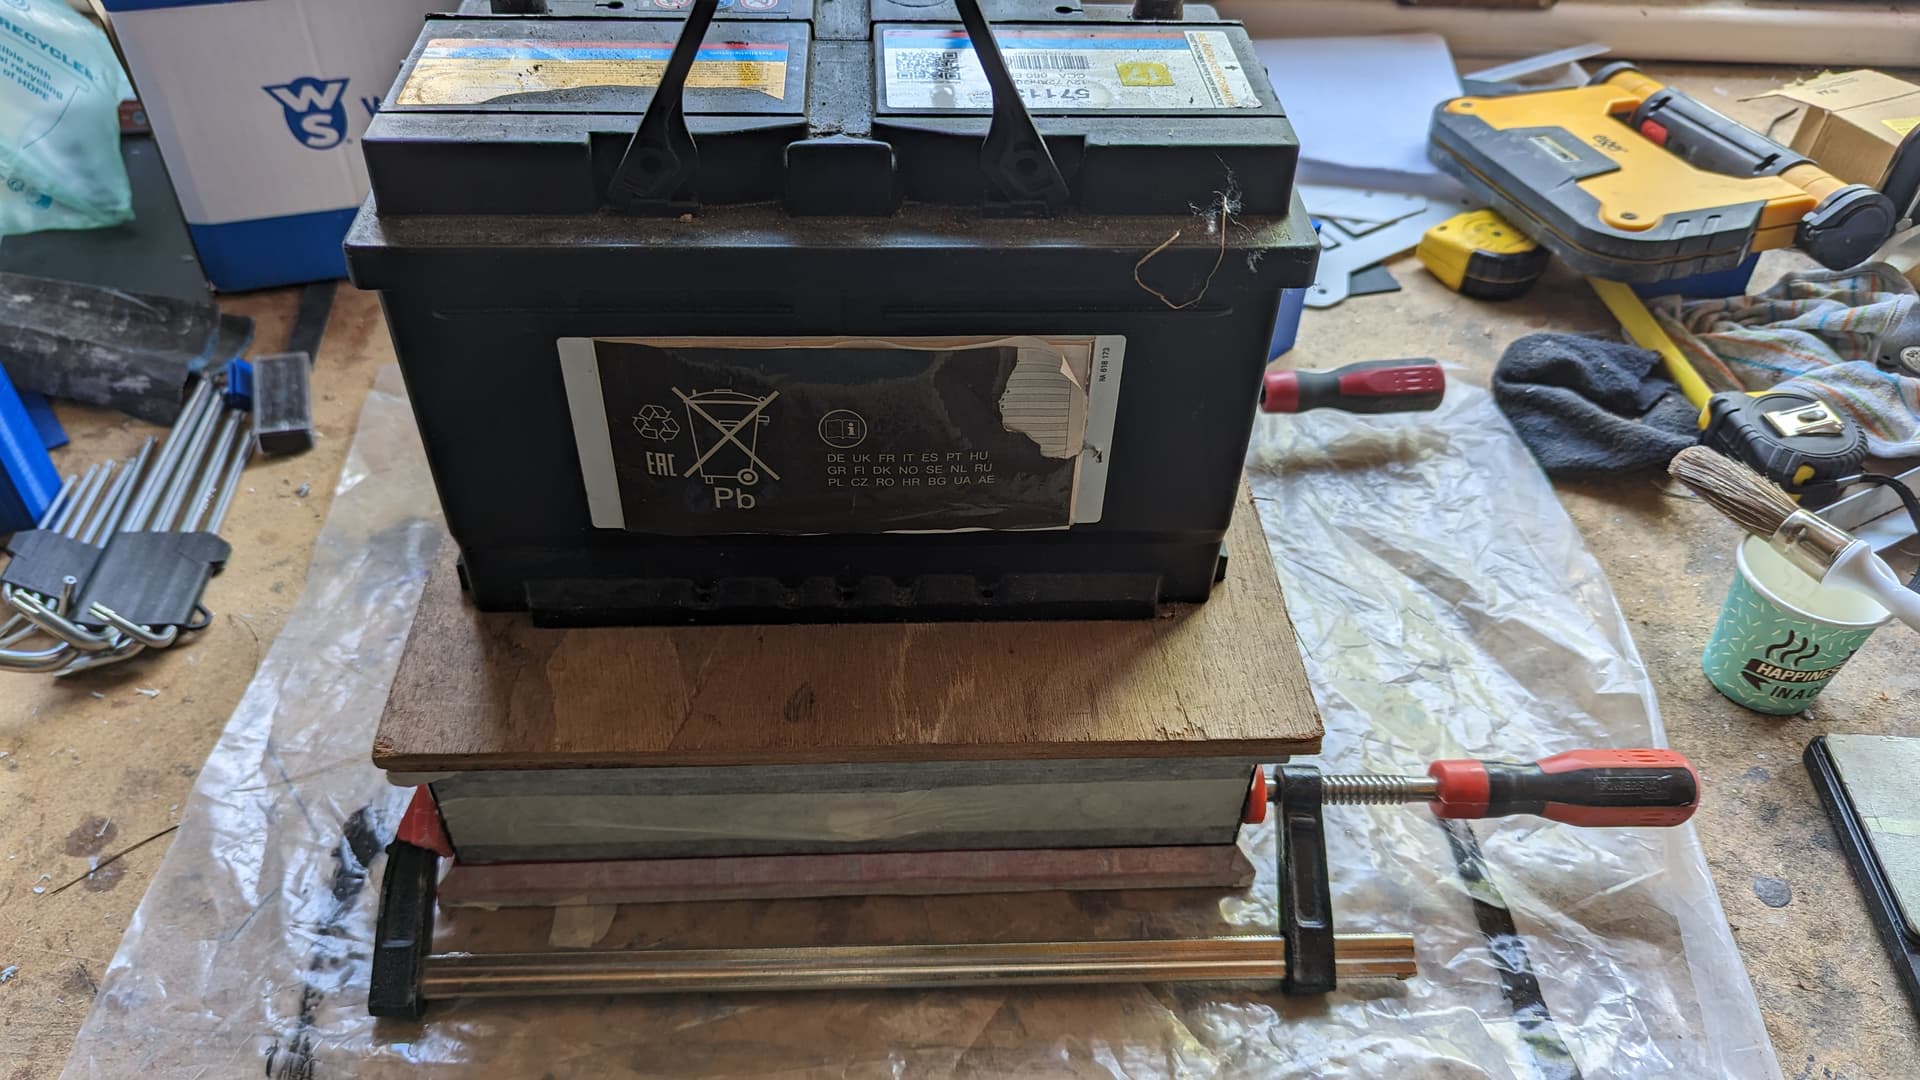
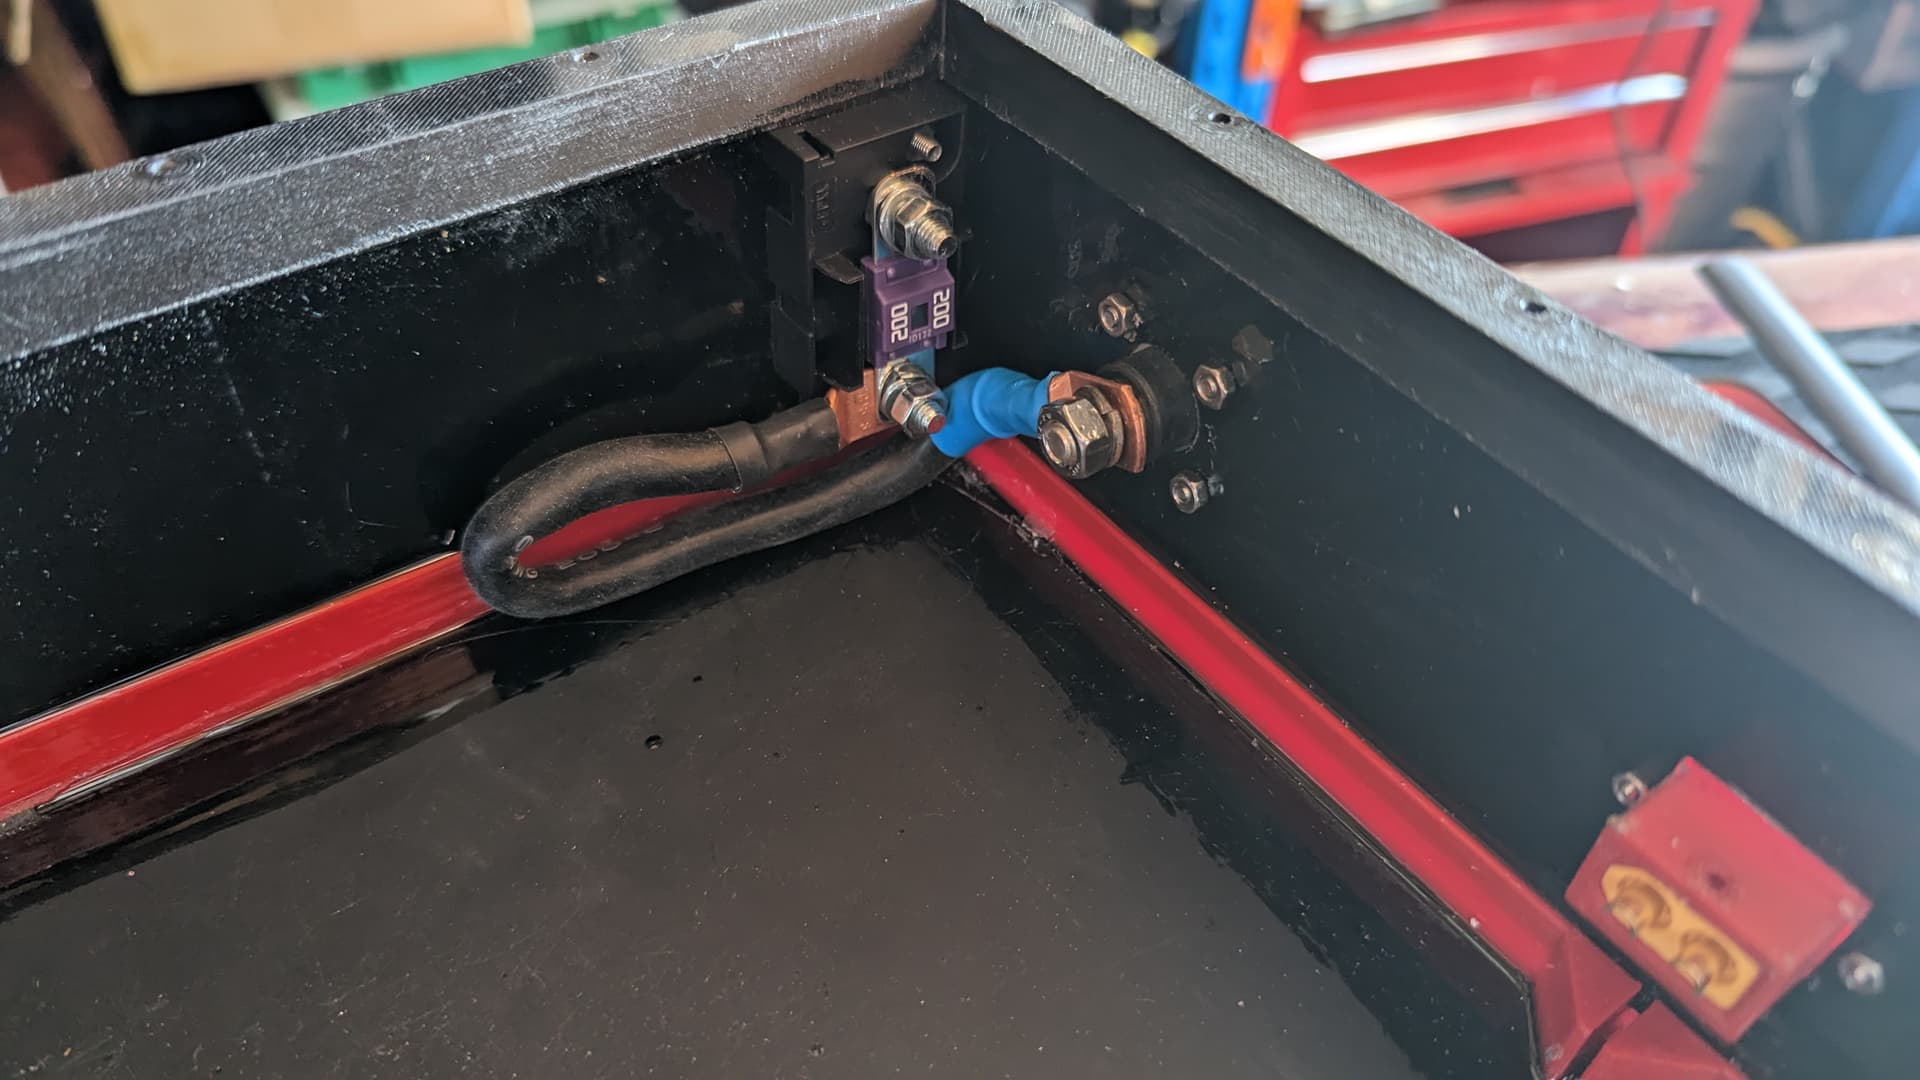
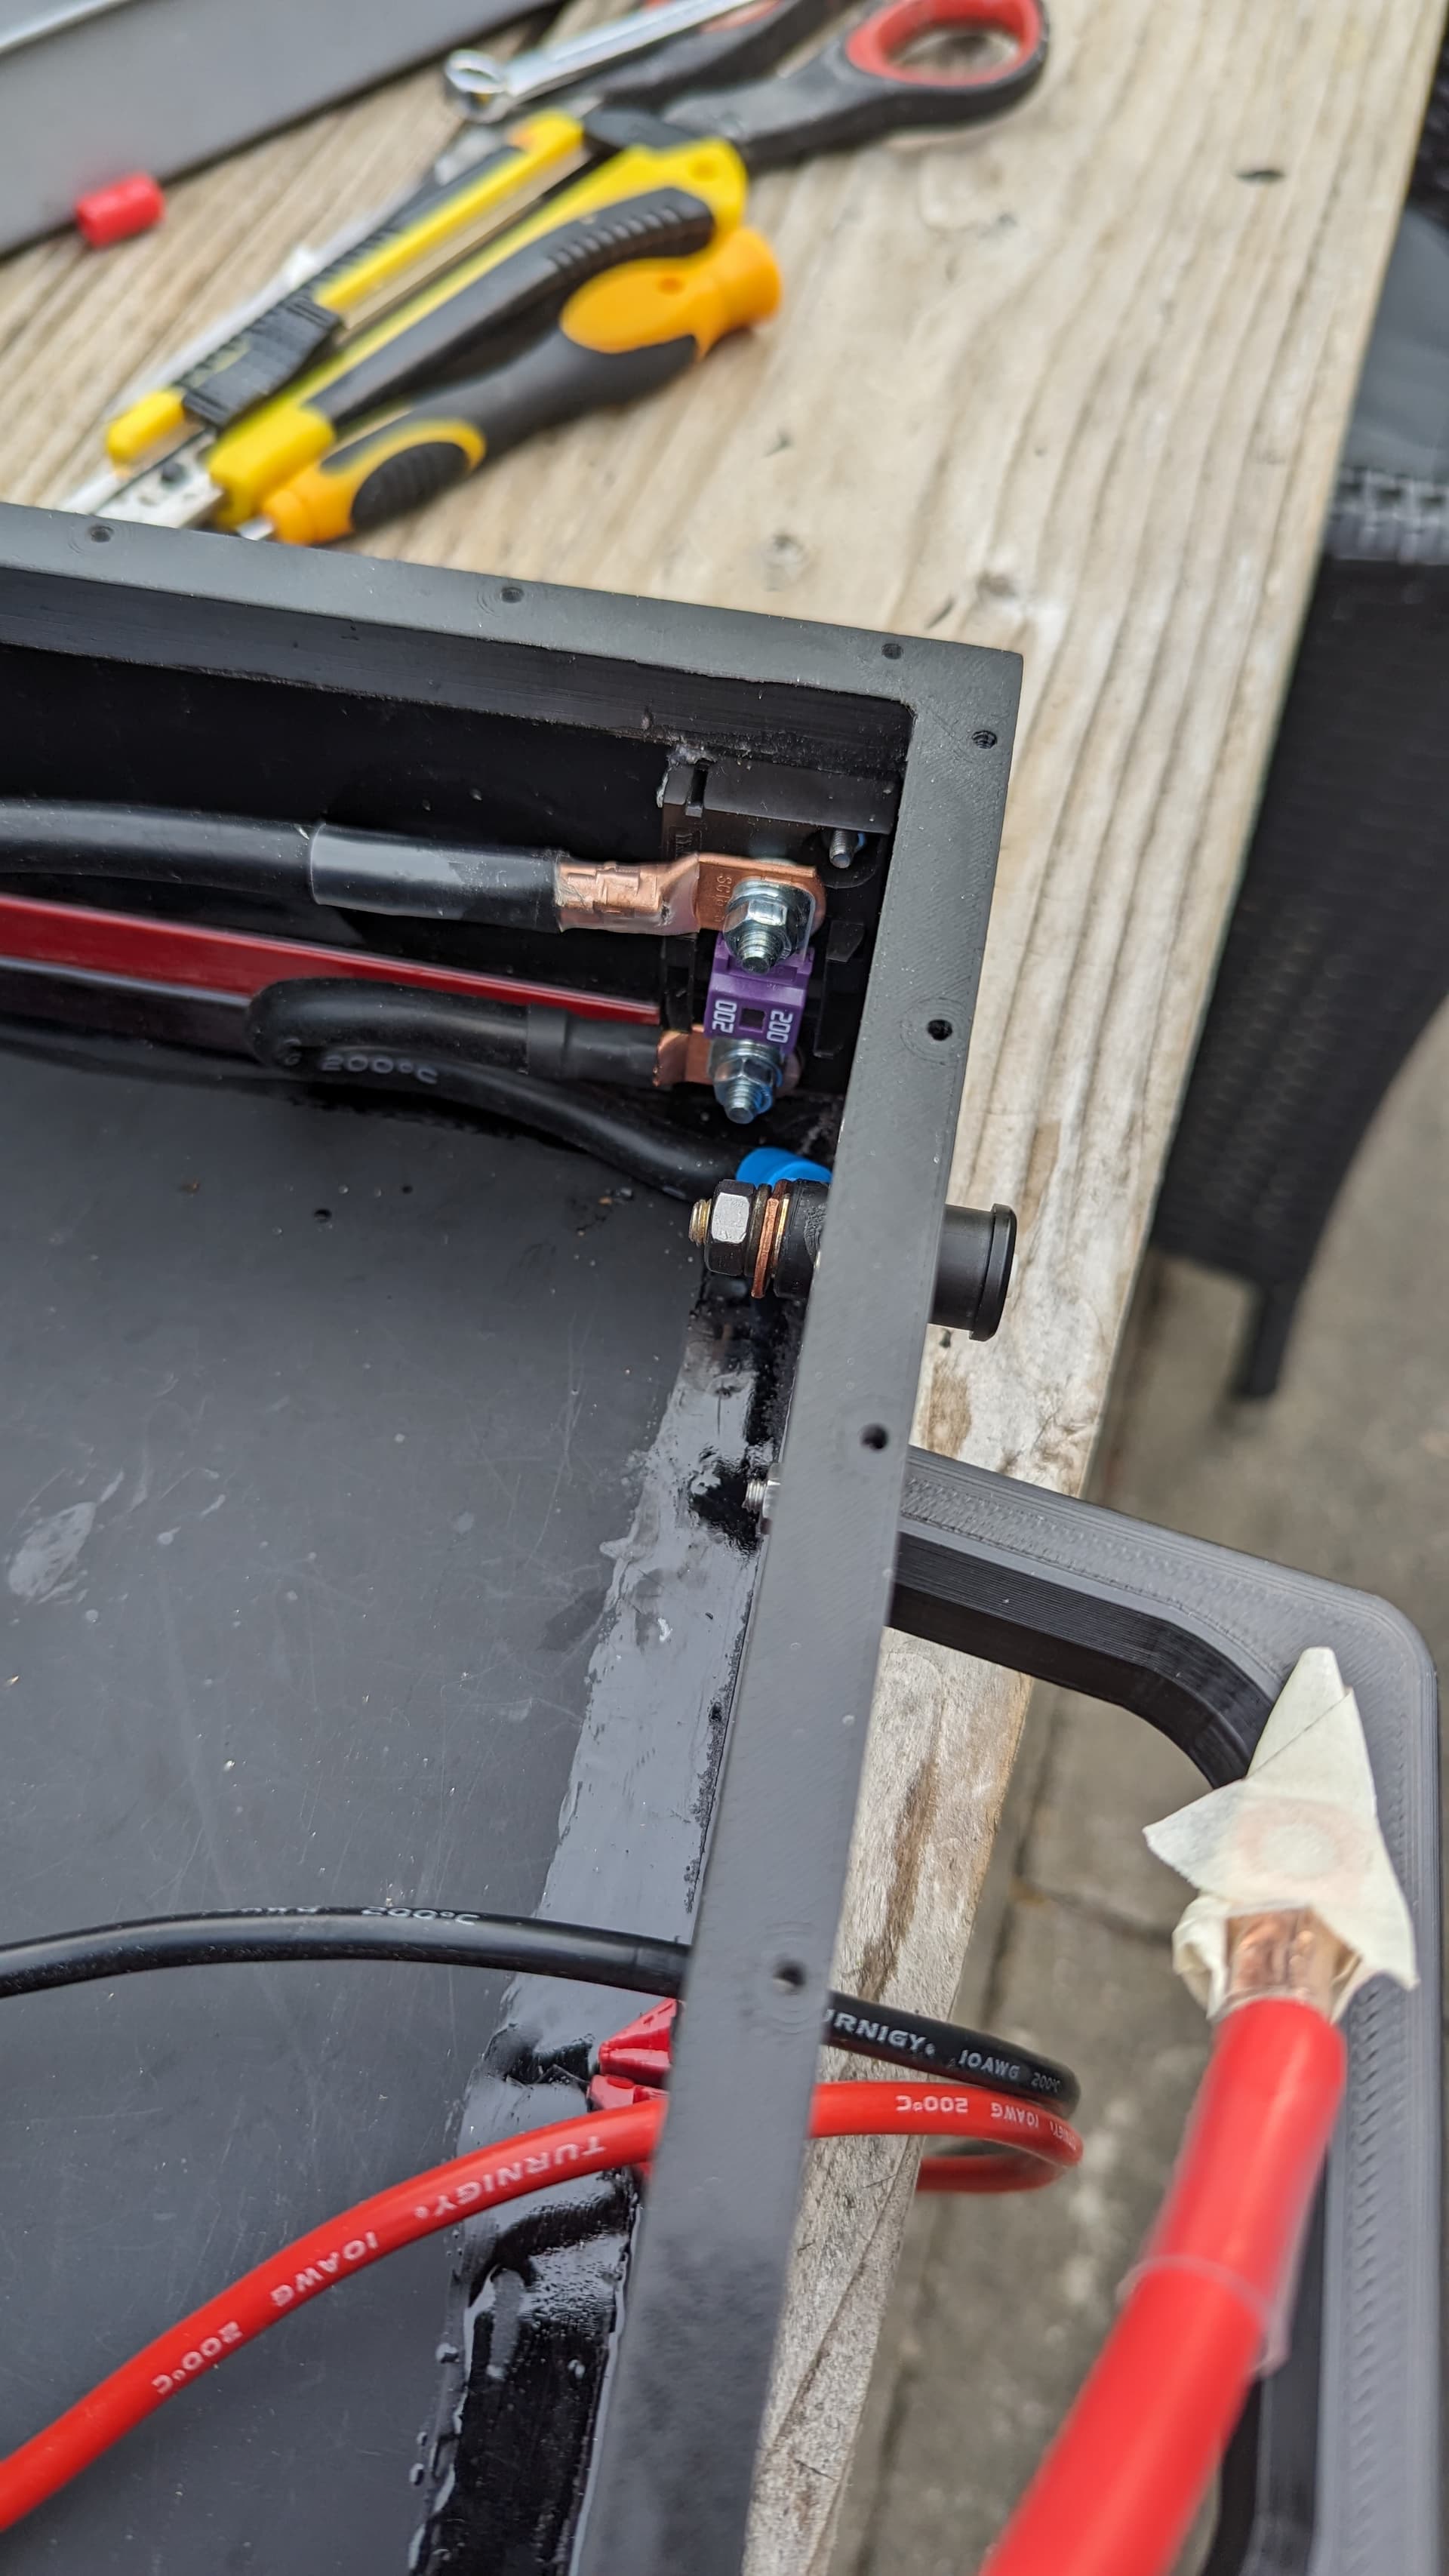
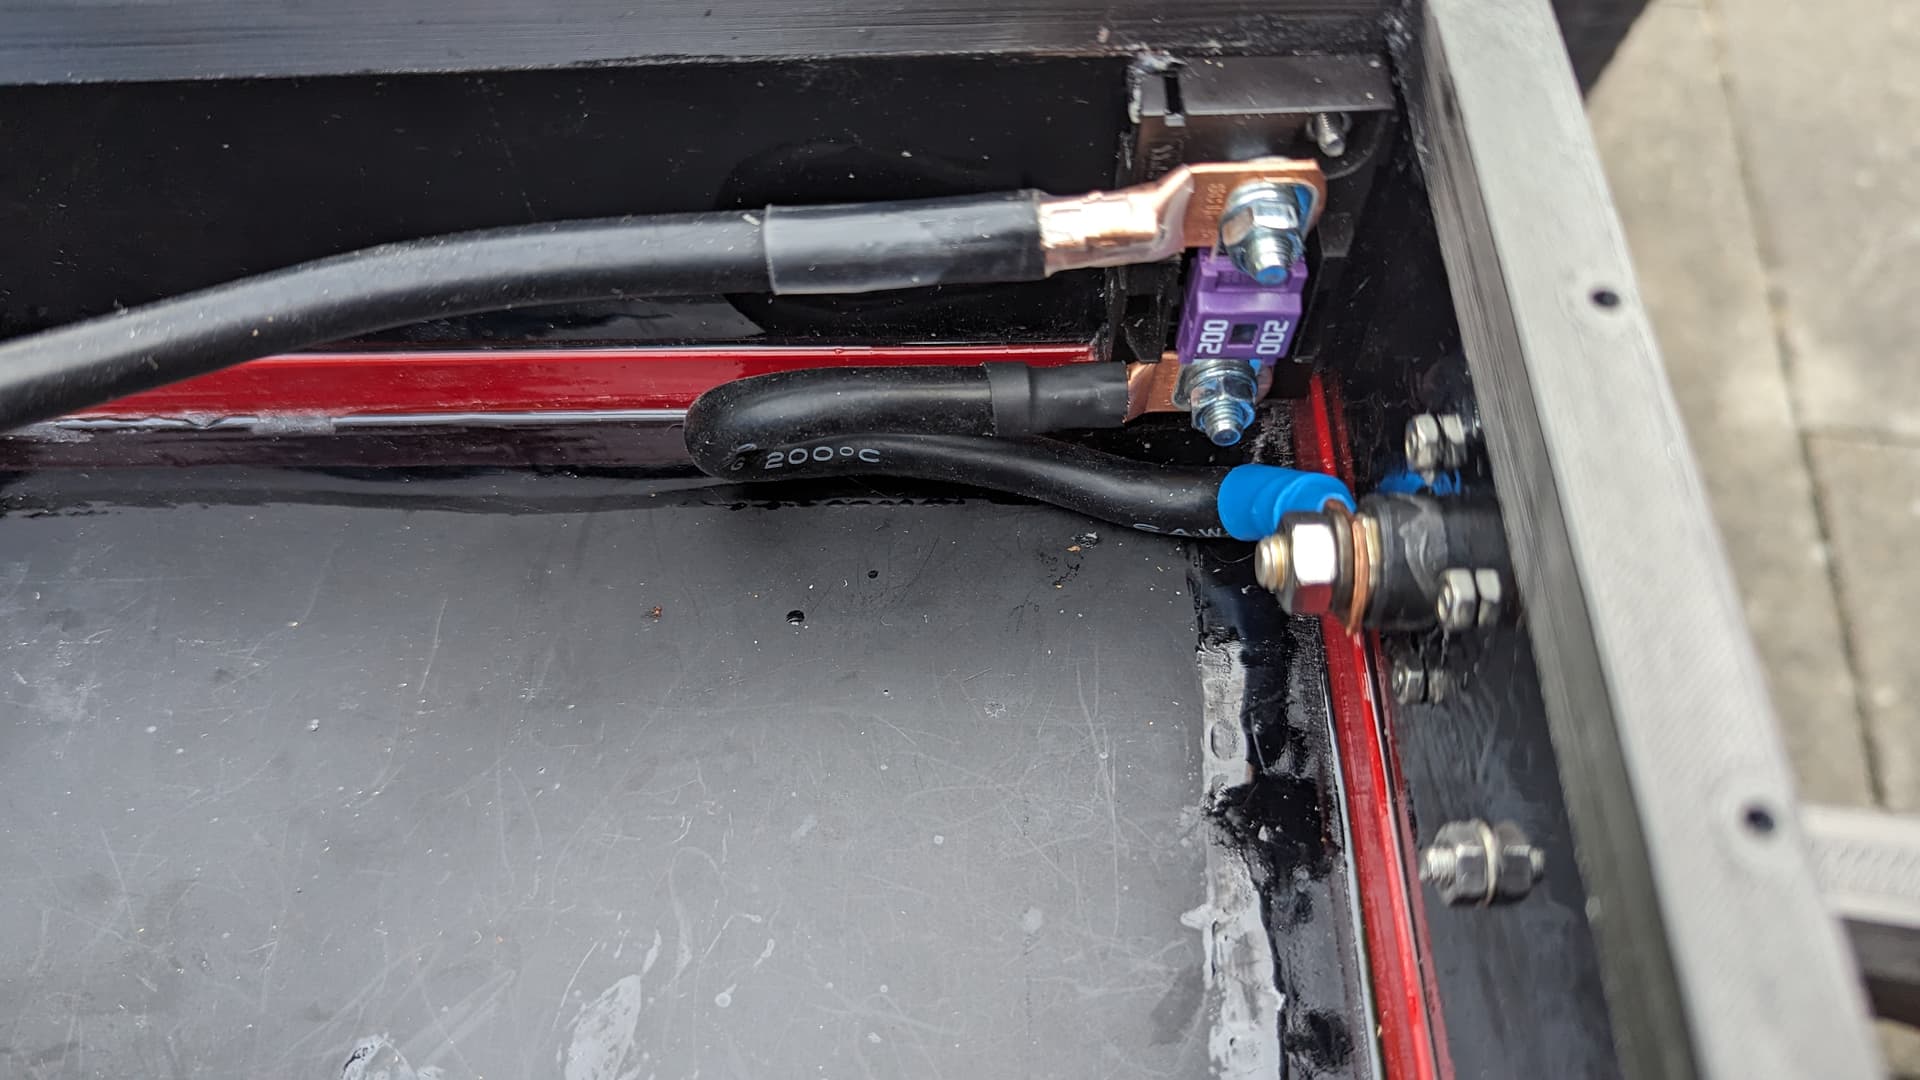
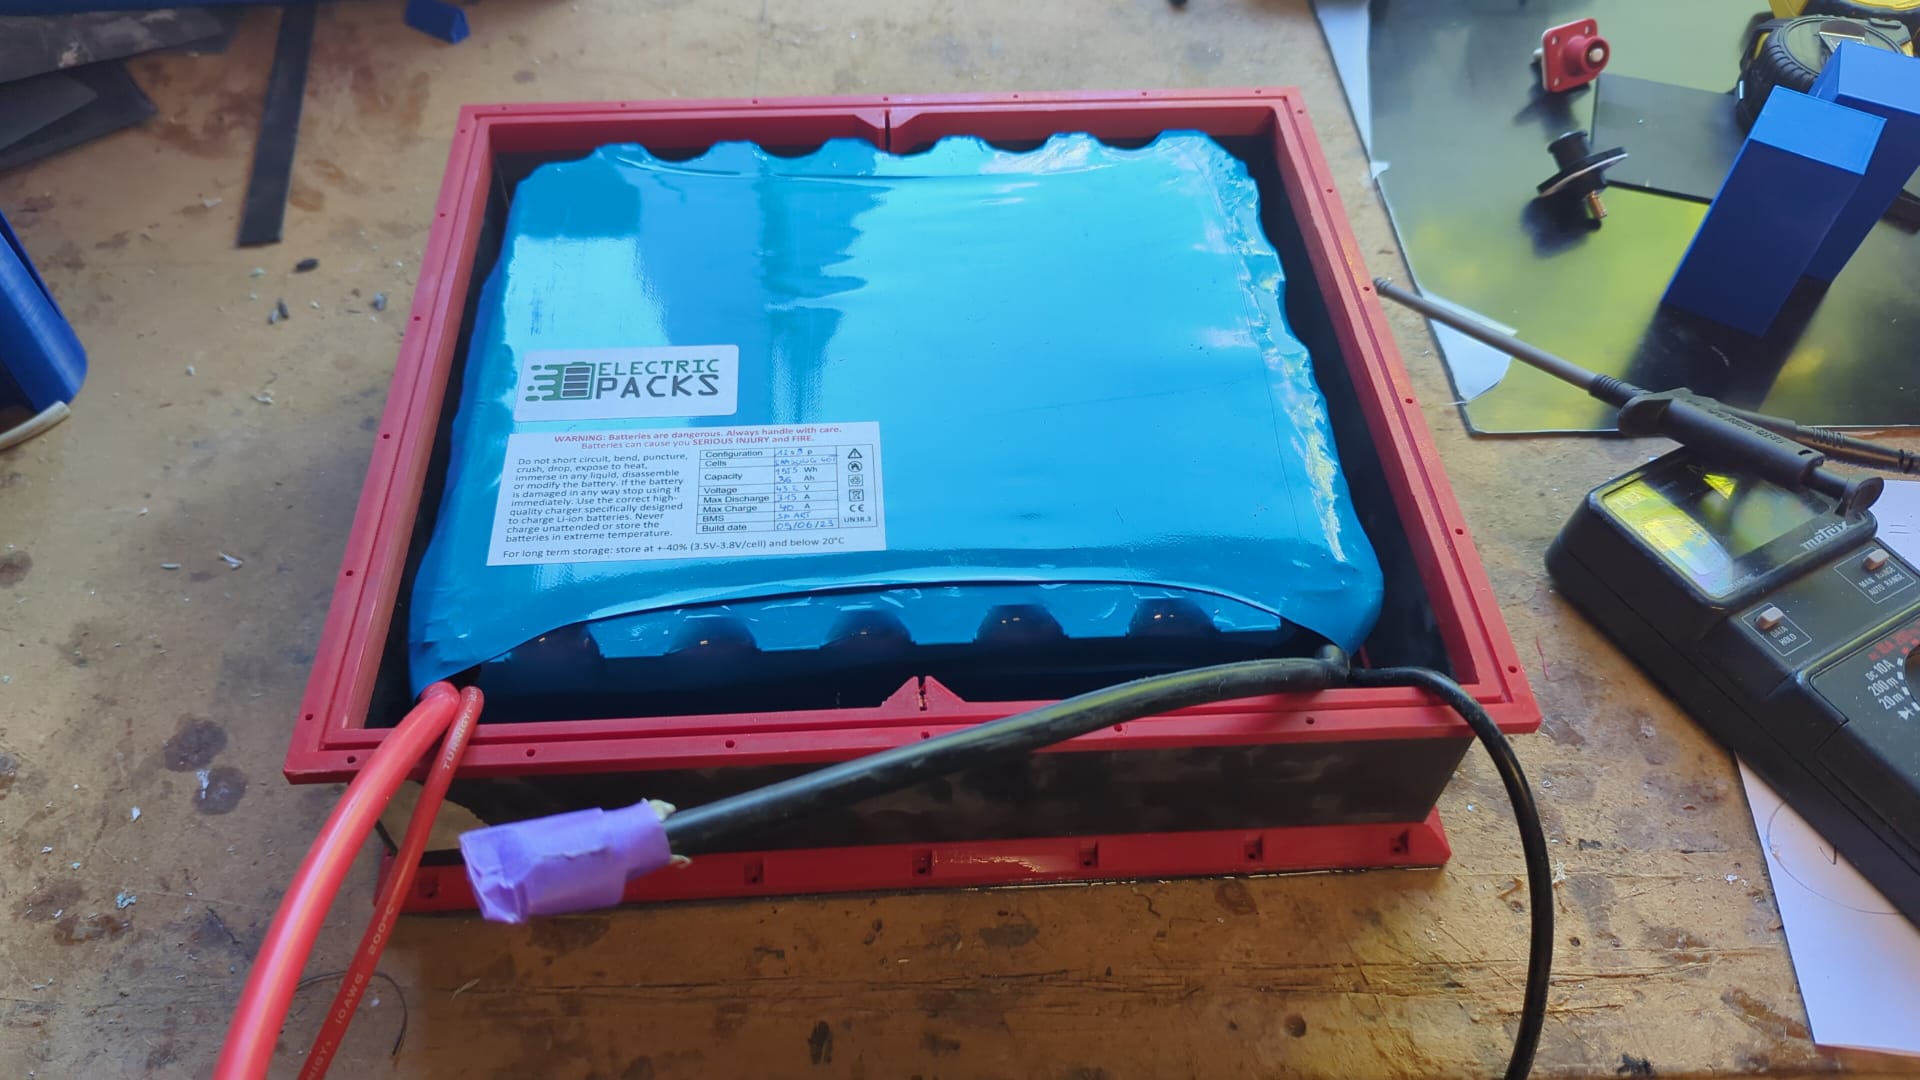
The battery we used is a 12S9P (Samsung 40T cells) with a Jiabaida BMS, and made by @Pjotr (we do not have the tools to do this ourself, and Pjotr has lots of experience with this).
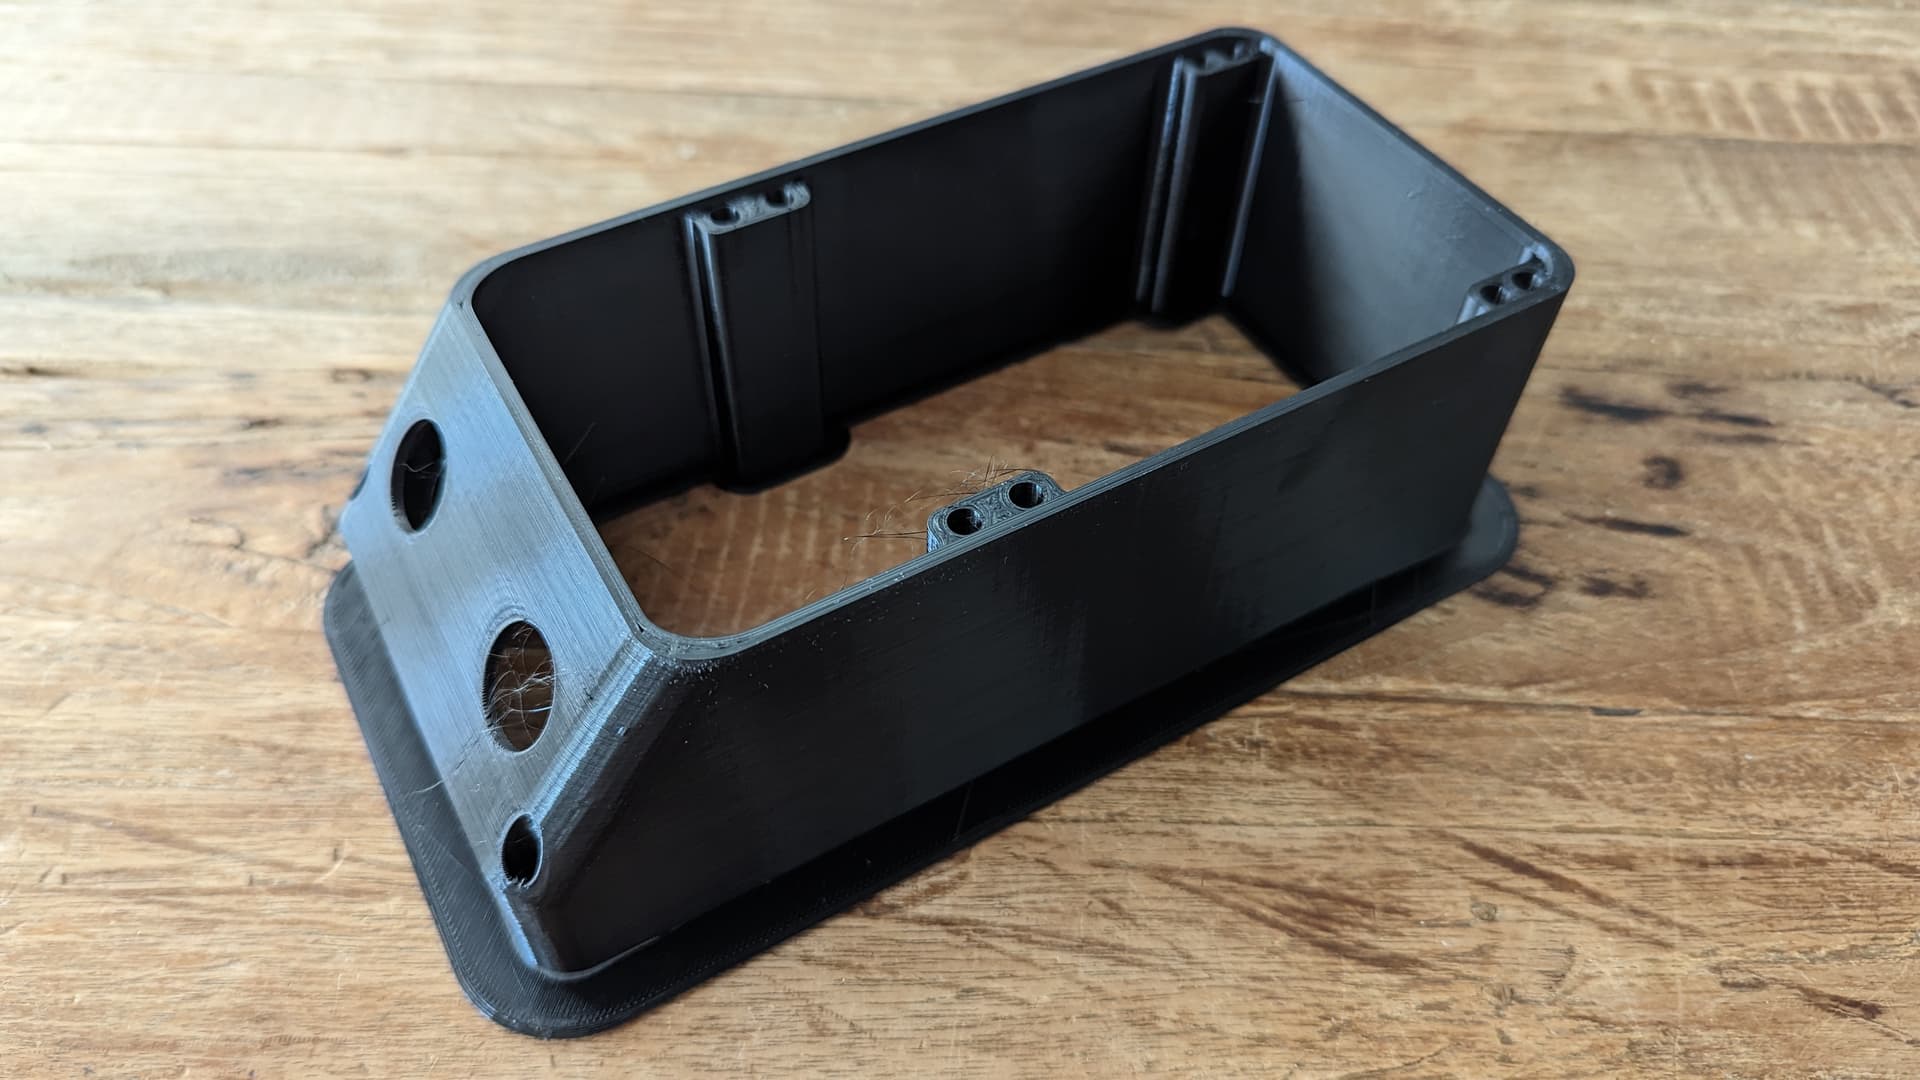
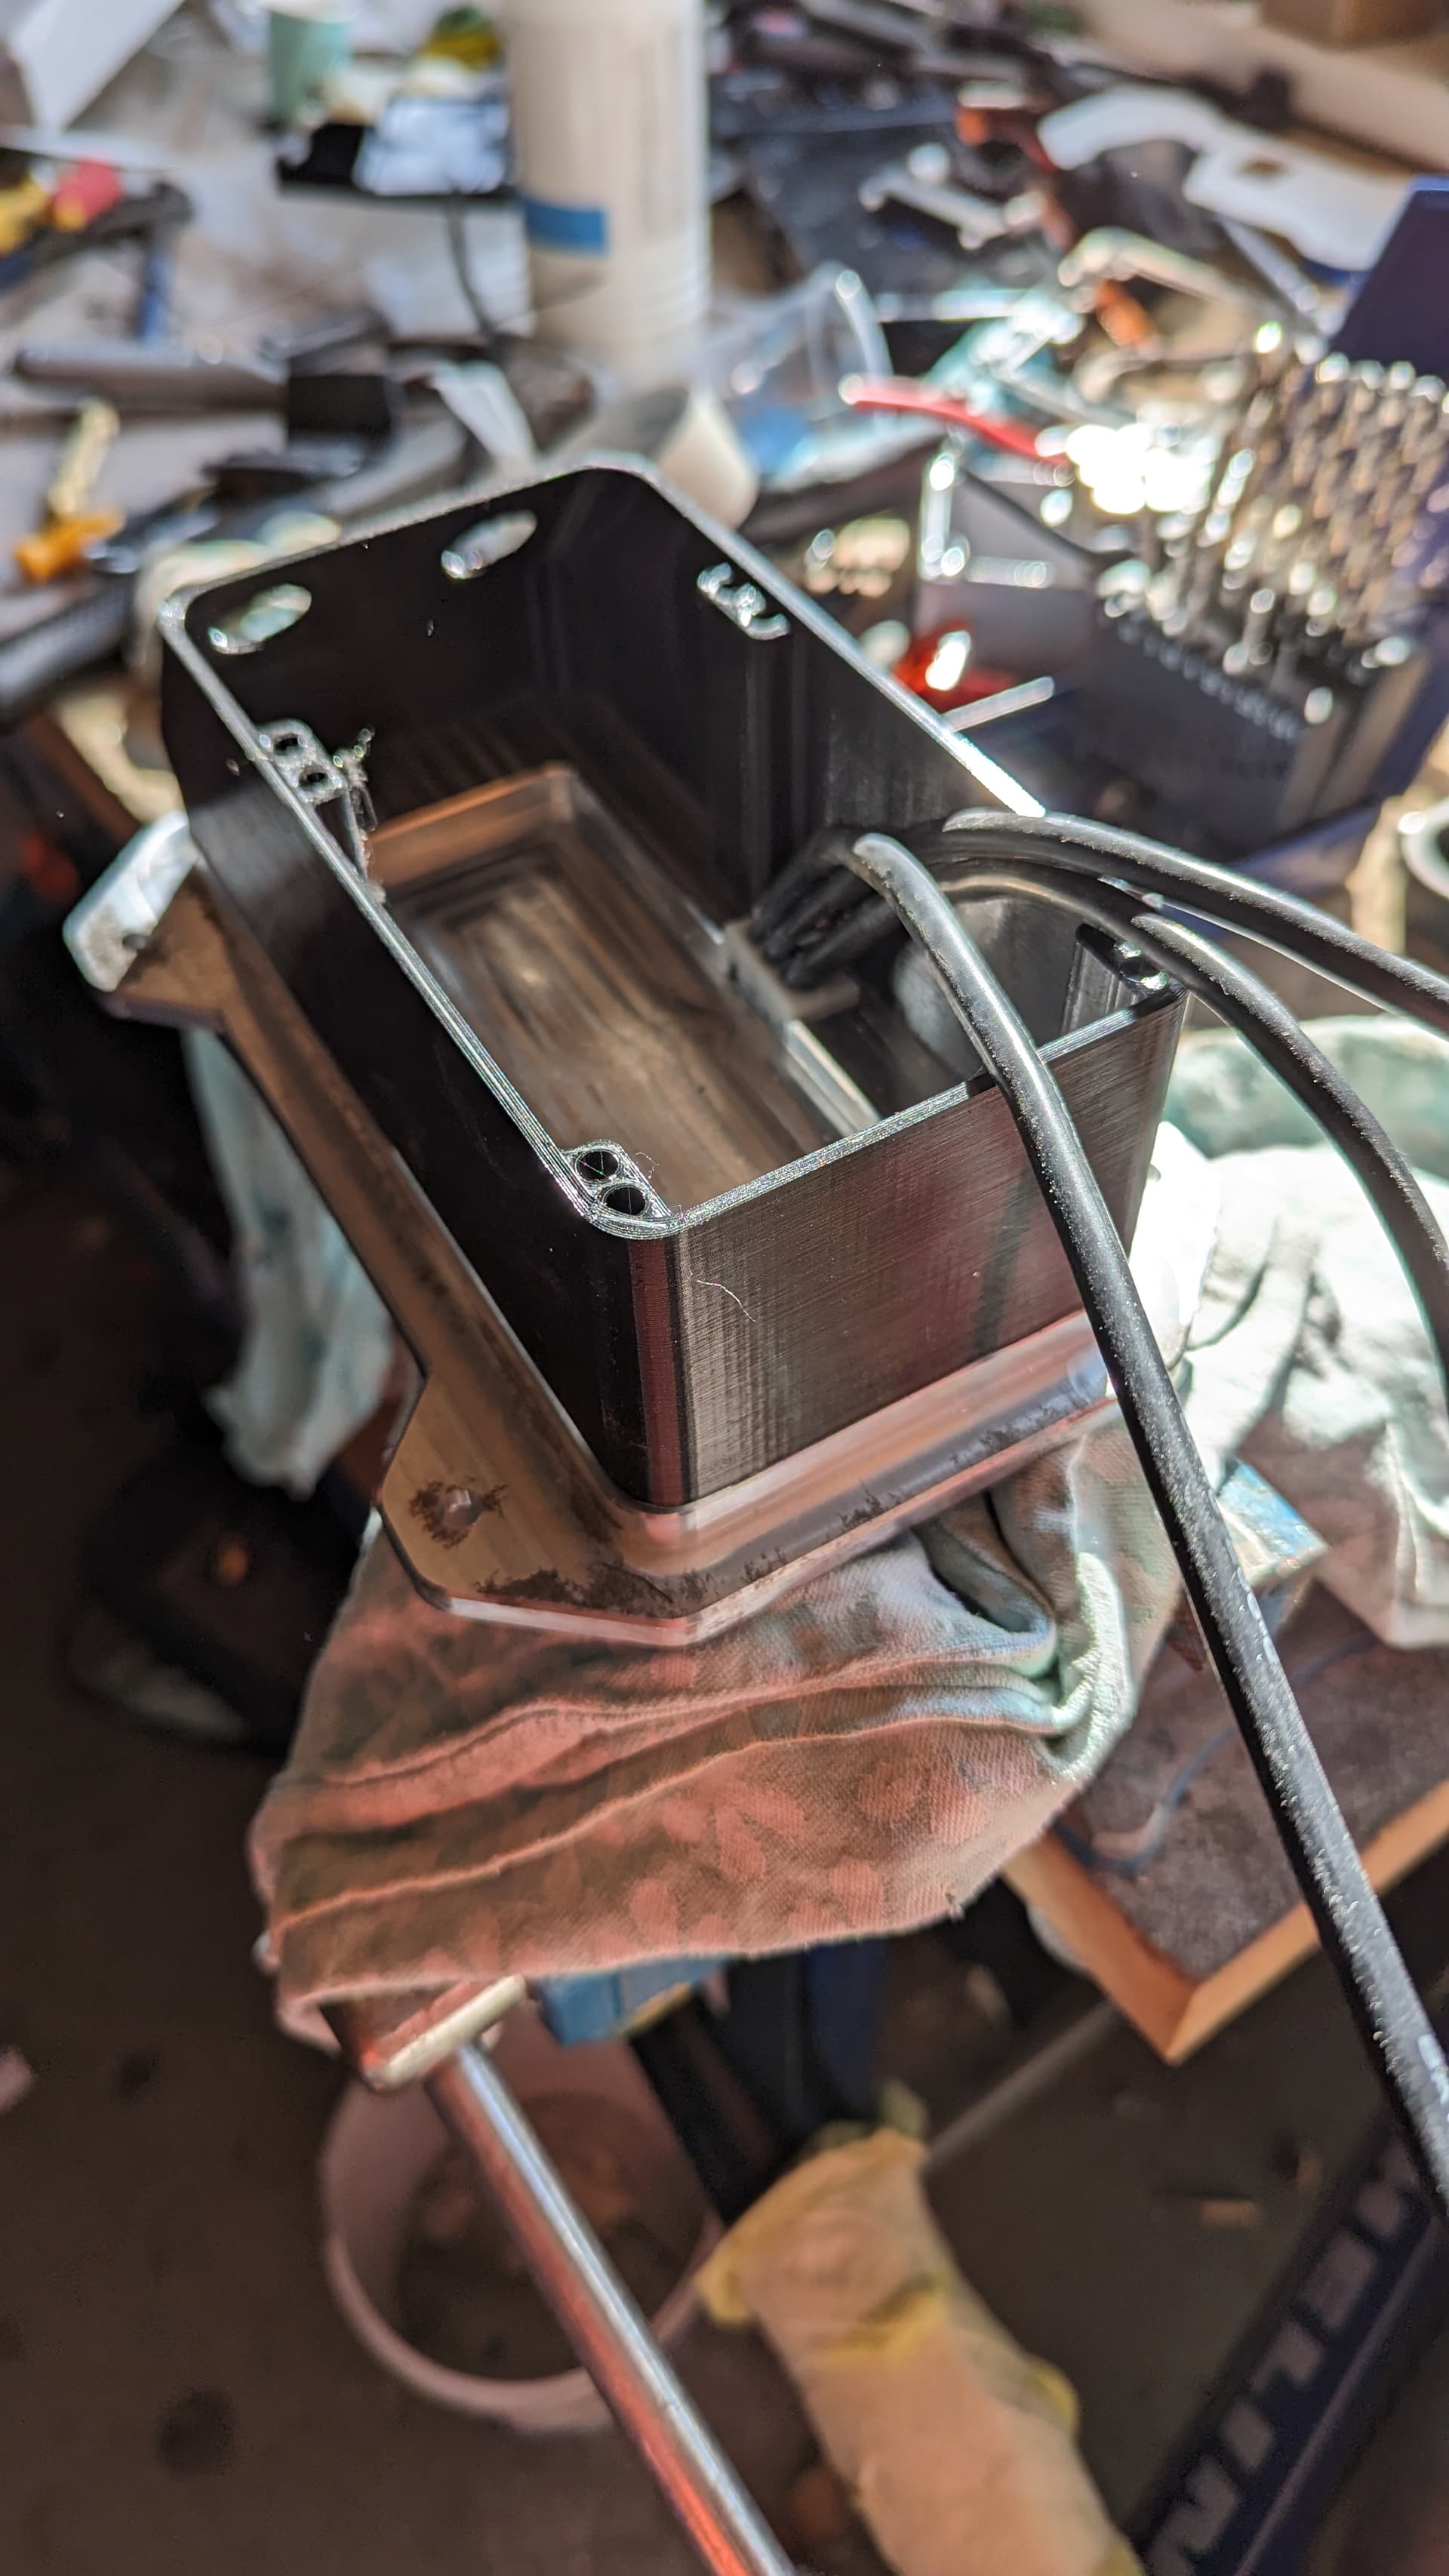
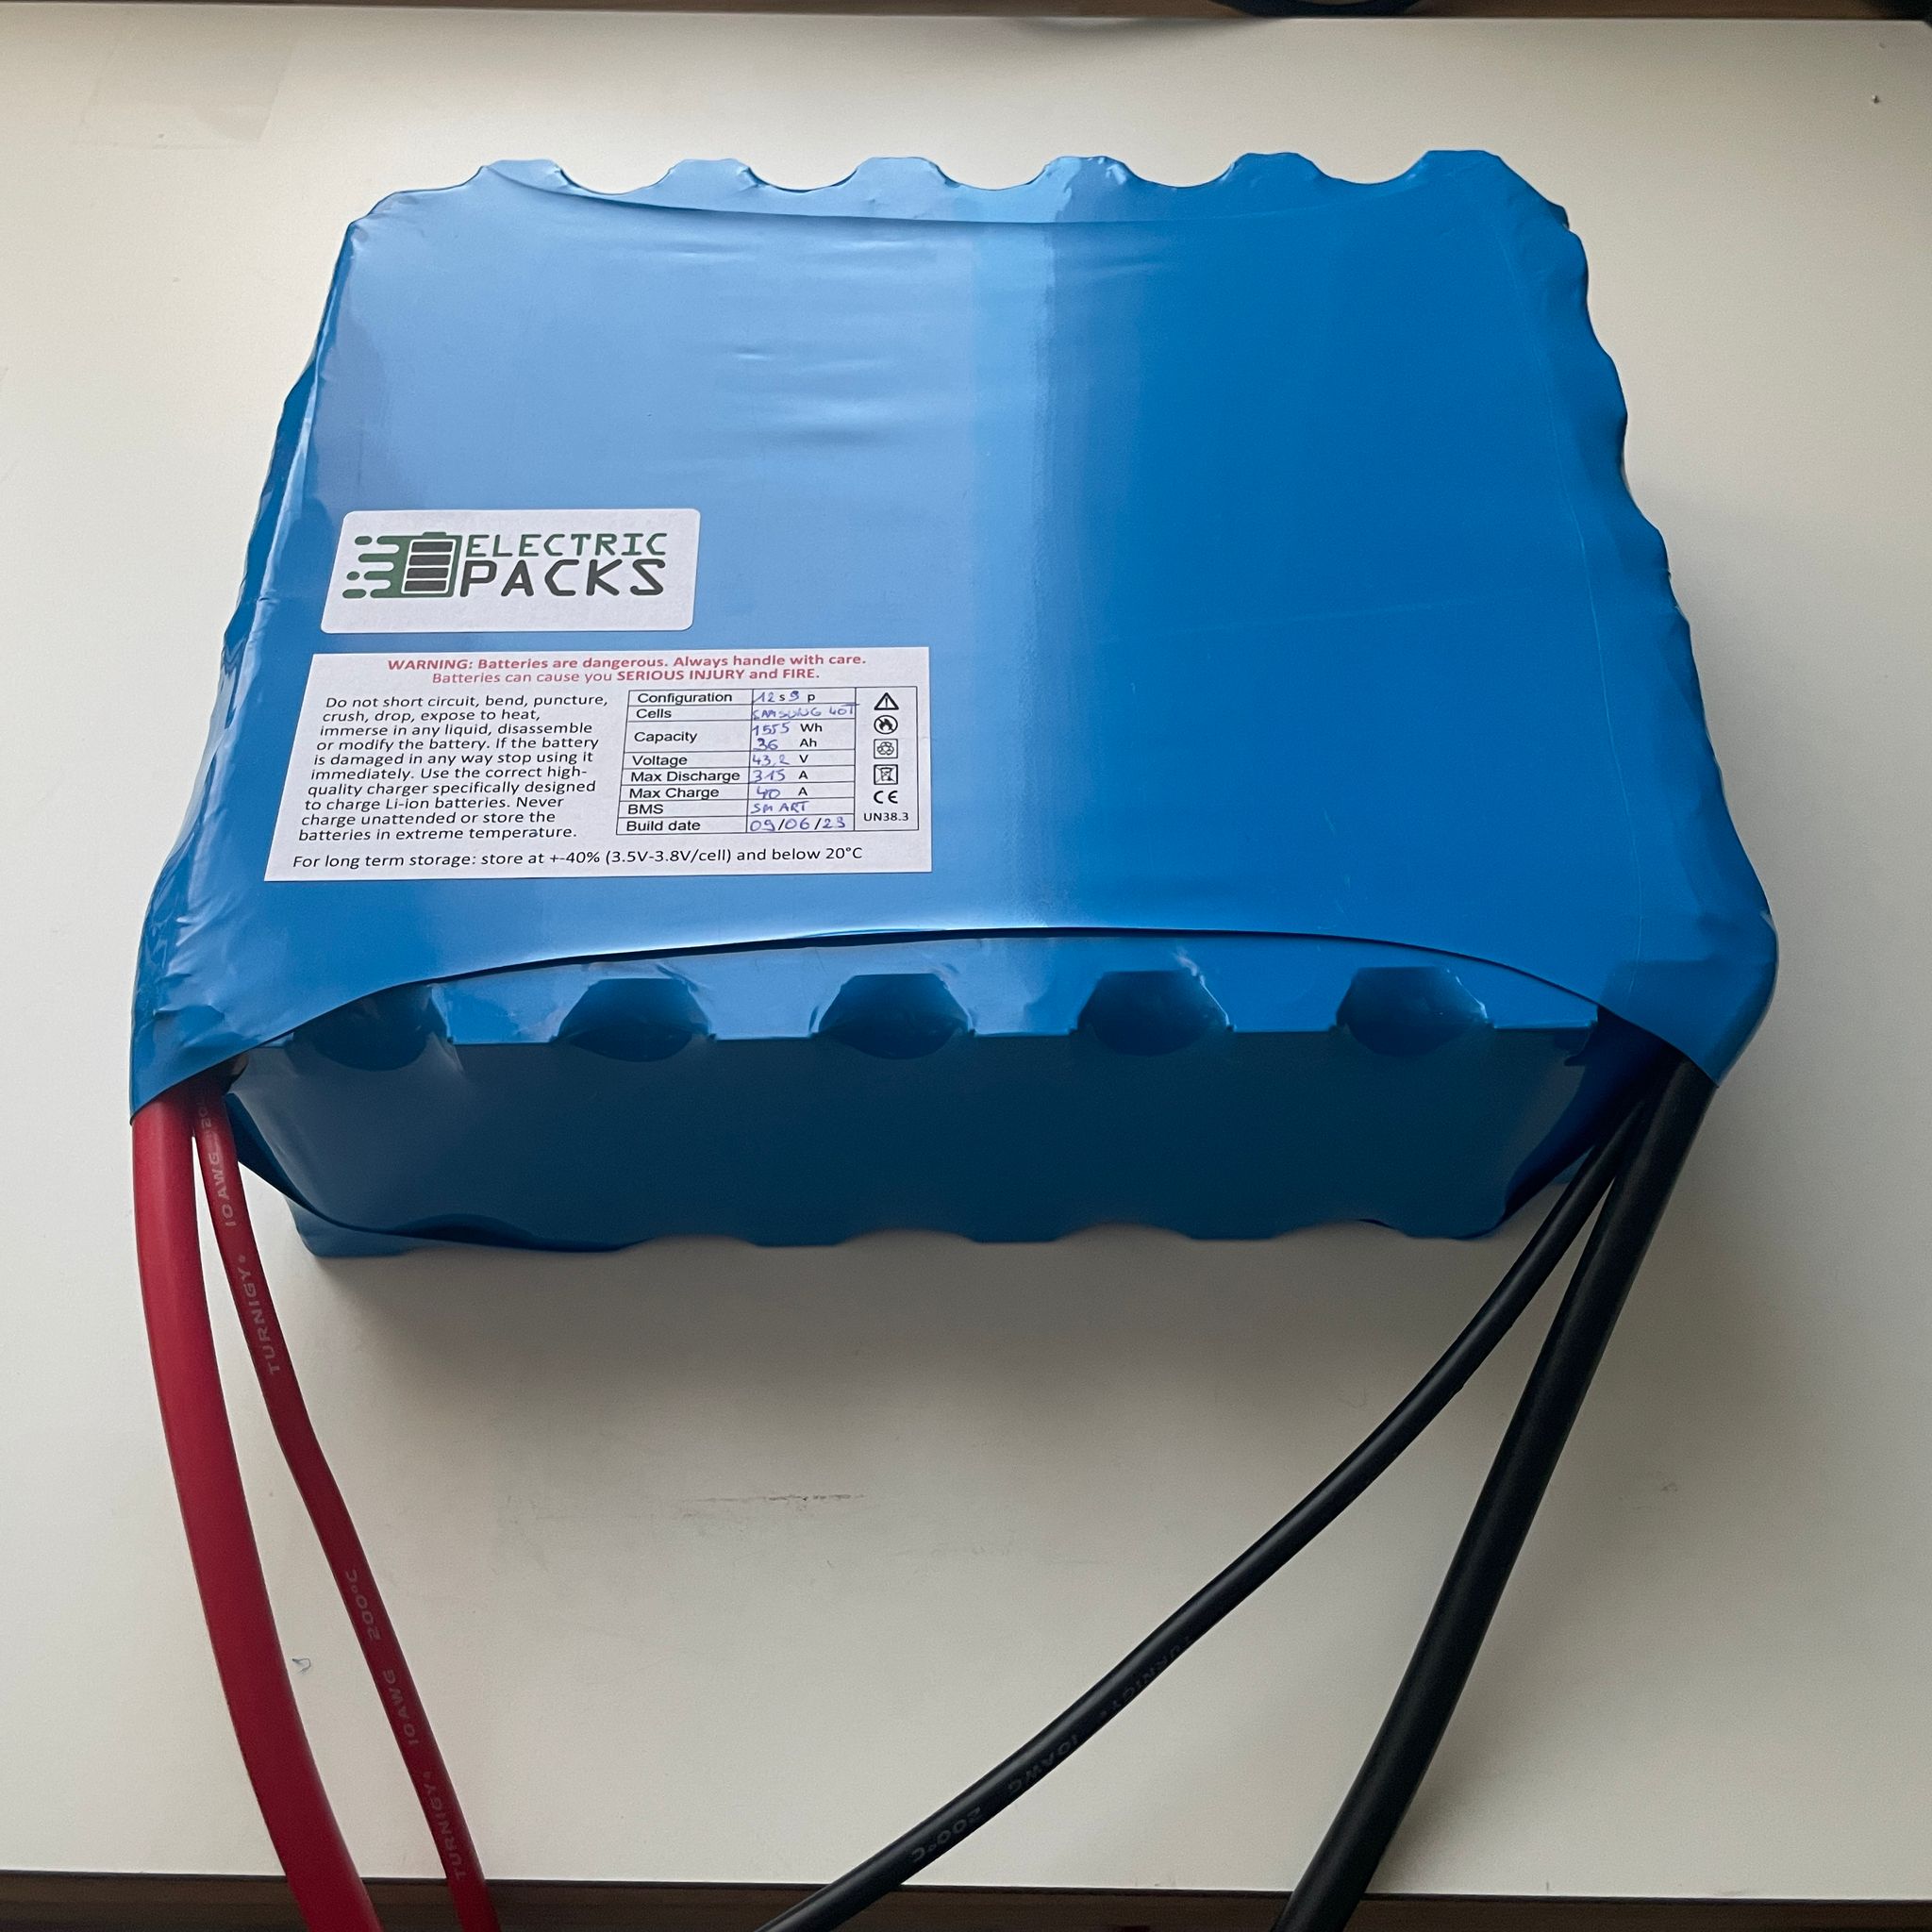
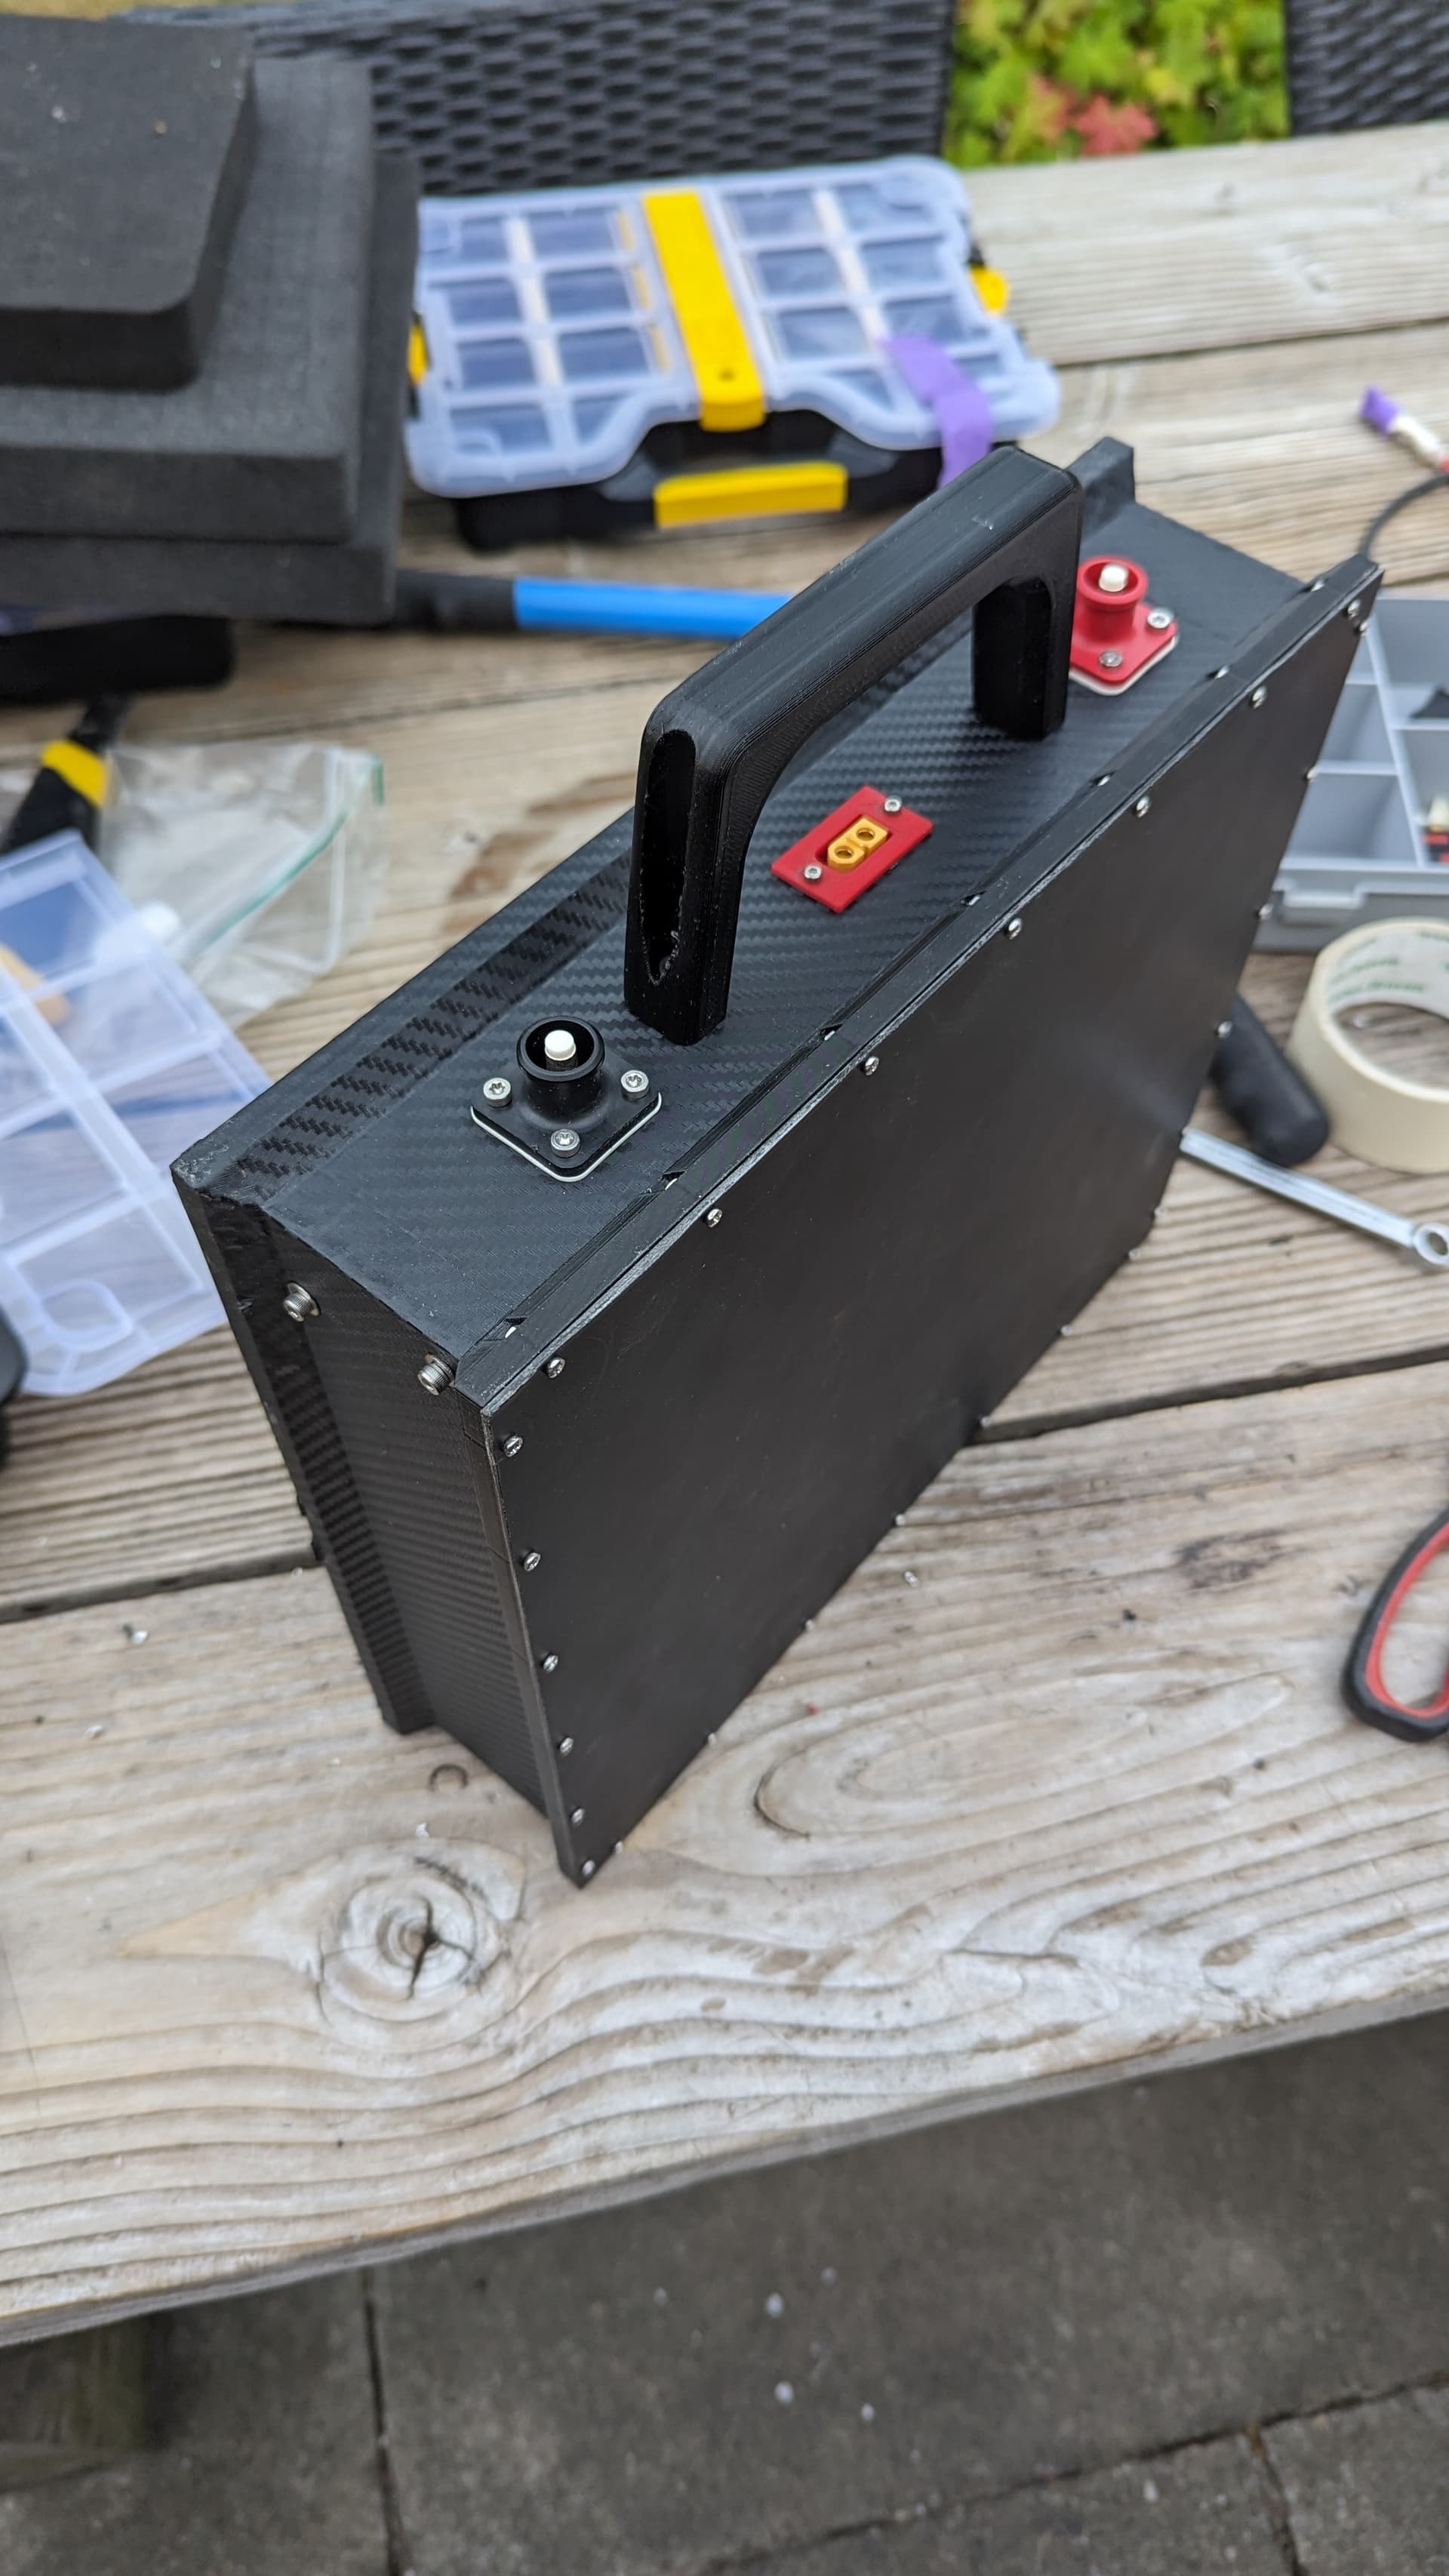
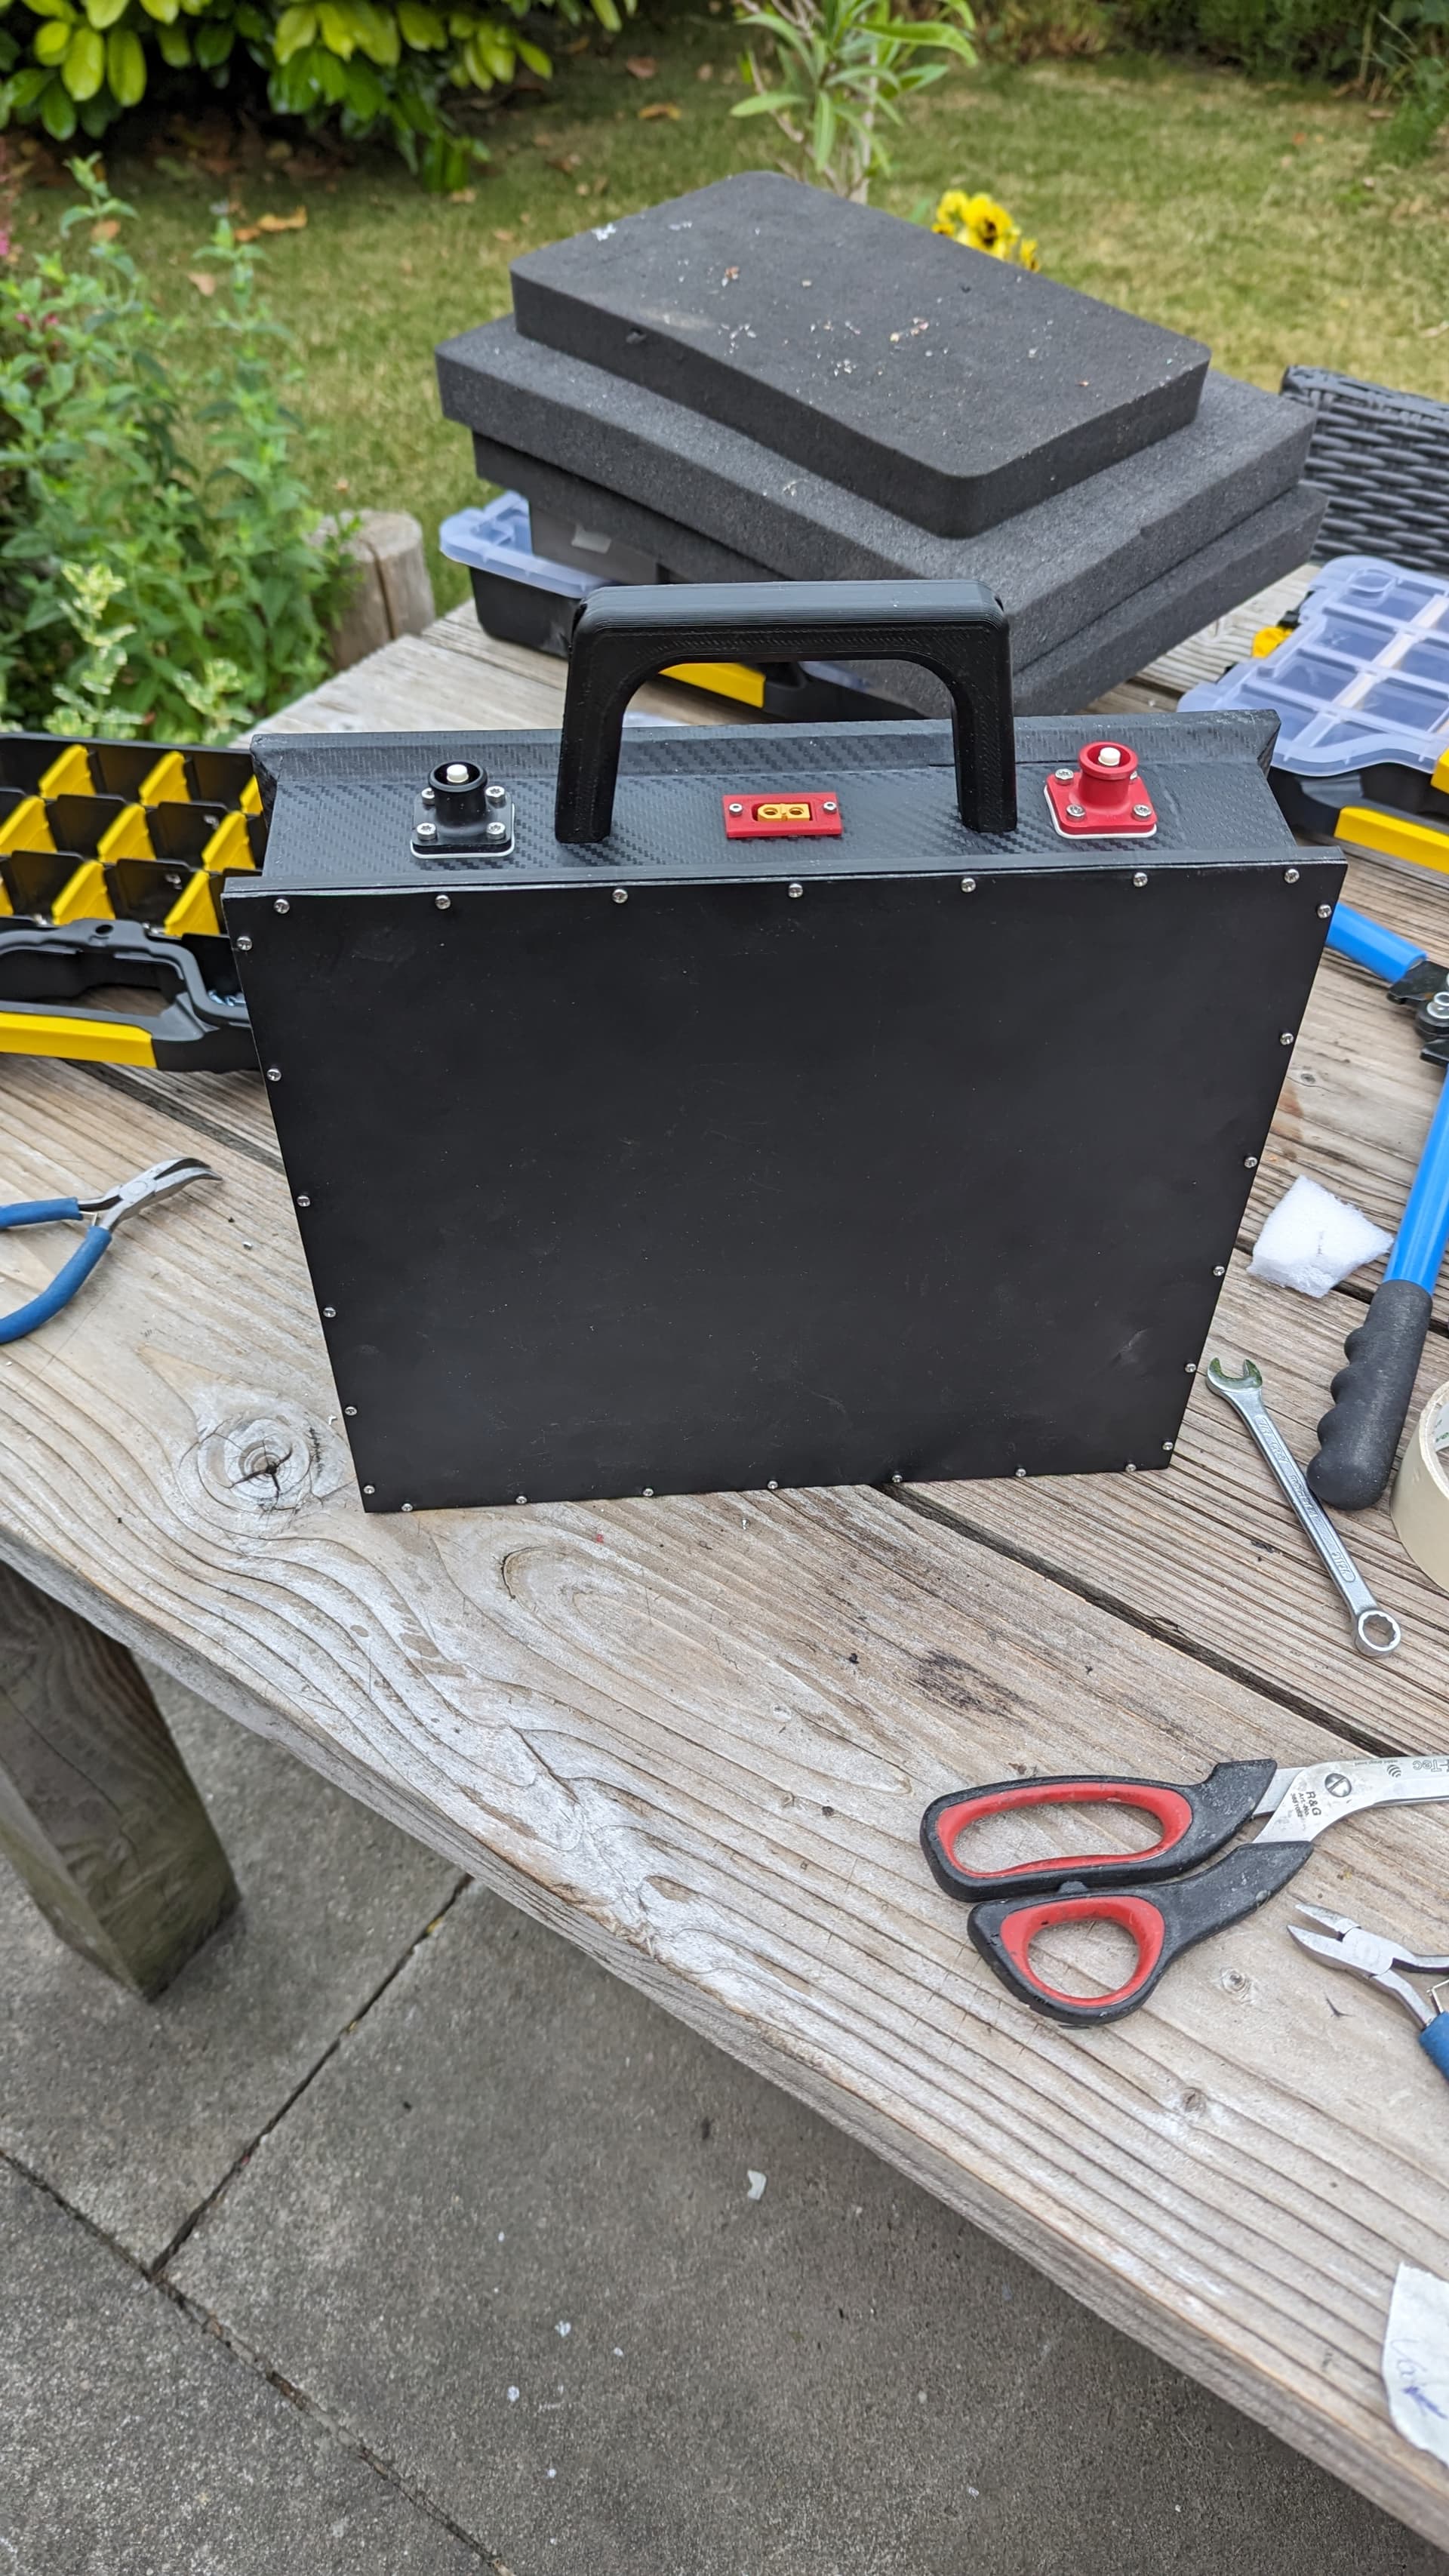
The battery casing/box itself is a copy of @MBard, with some small modifications to it.
@MBard build can be found here:
@vincent build can be found here:
@t-dub-maui did also a build with a Fliteboard.
His build can be found here:
My simple bolt-on build on Maui (VESC, 6384, 10s2p) - #33 by t-dub-maui
Some additional data:
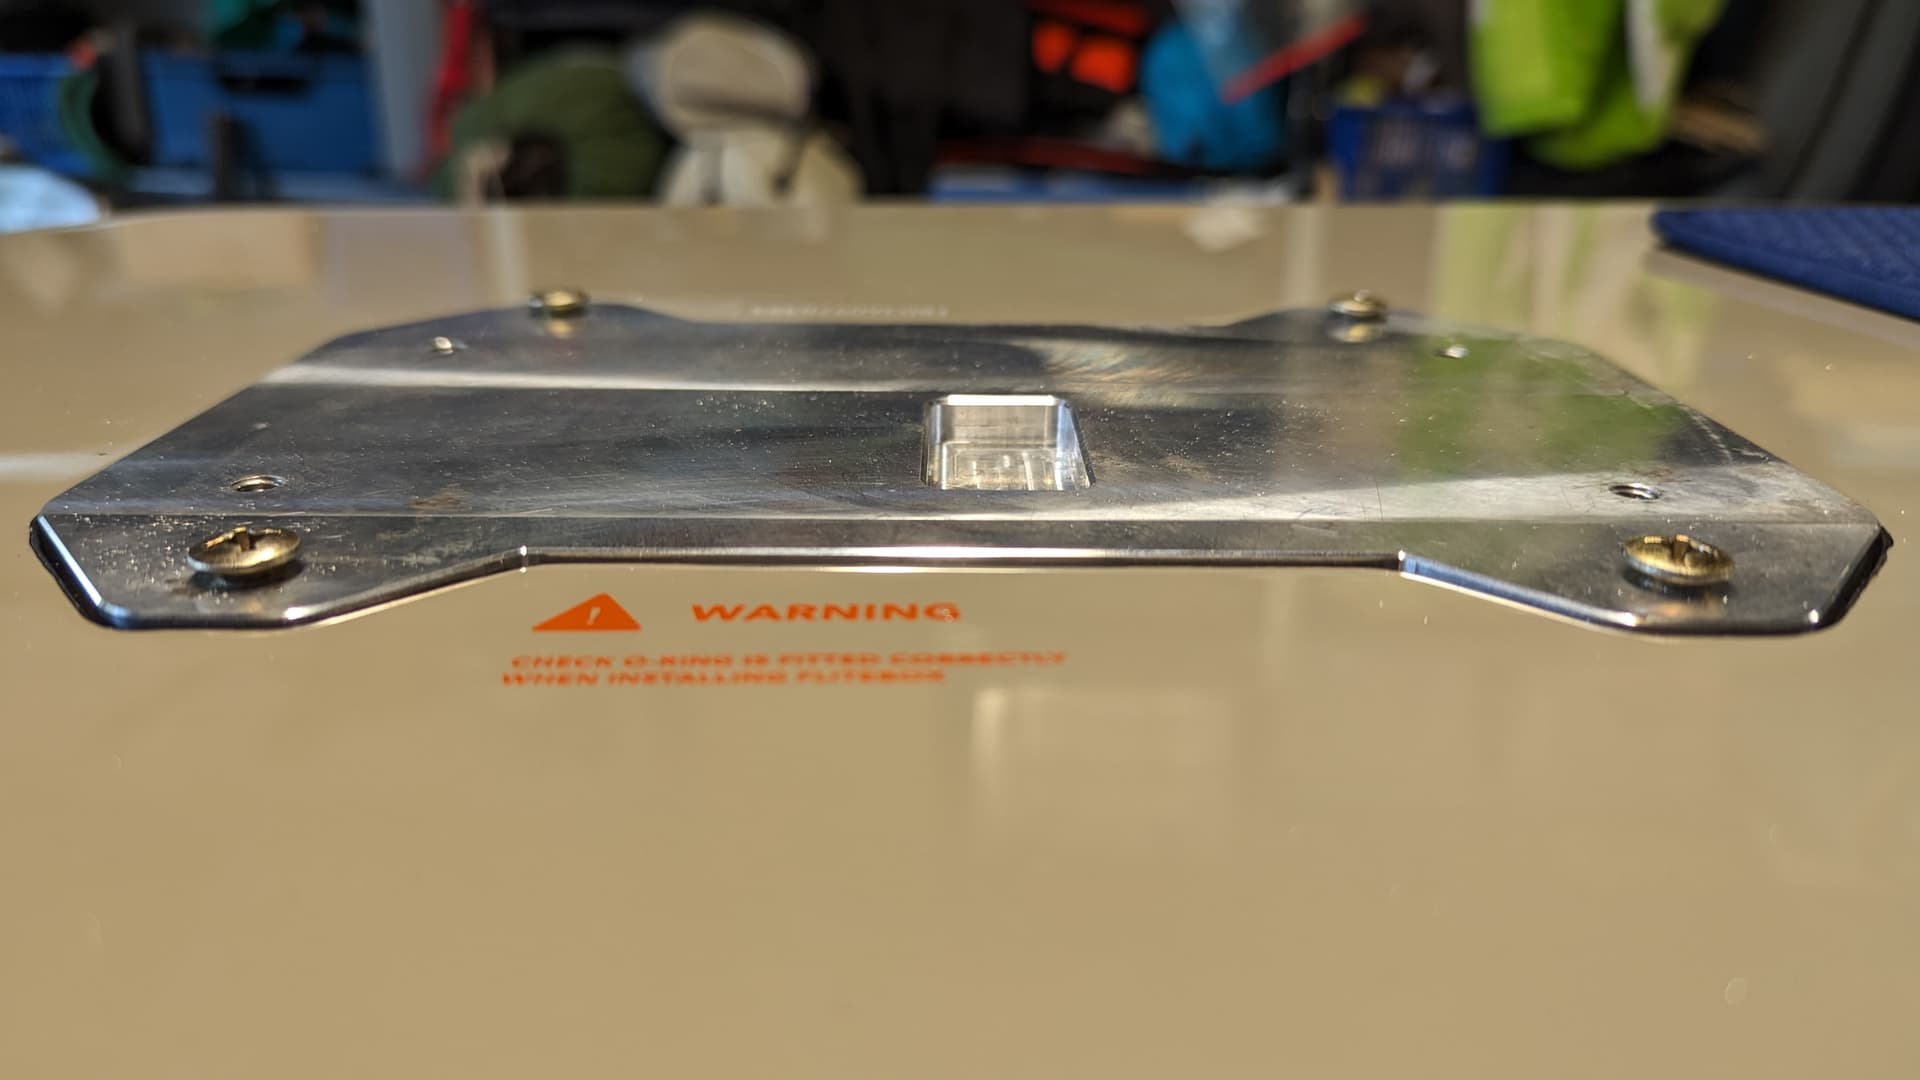
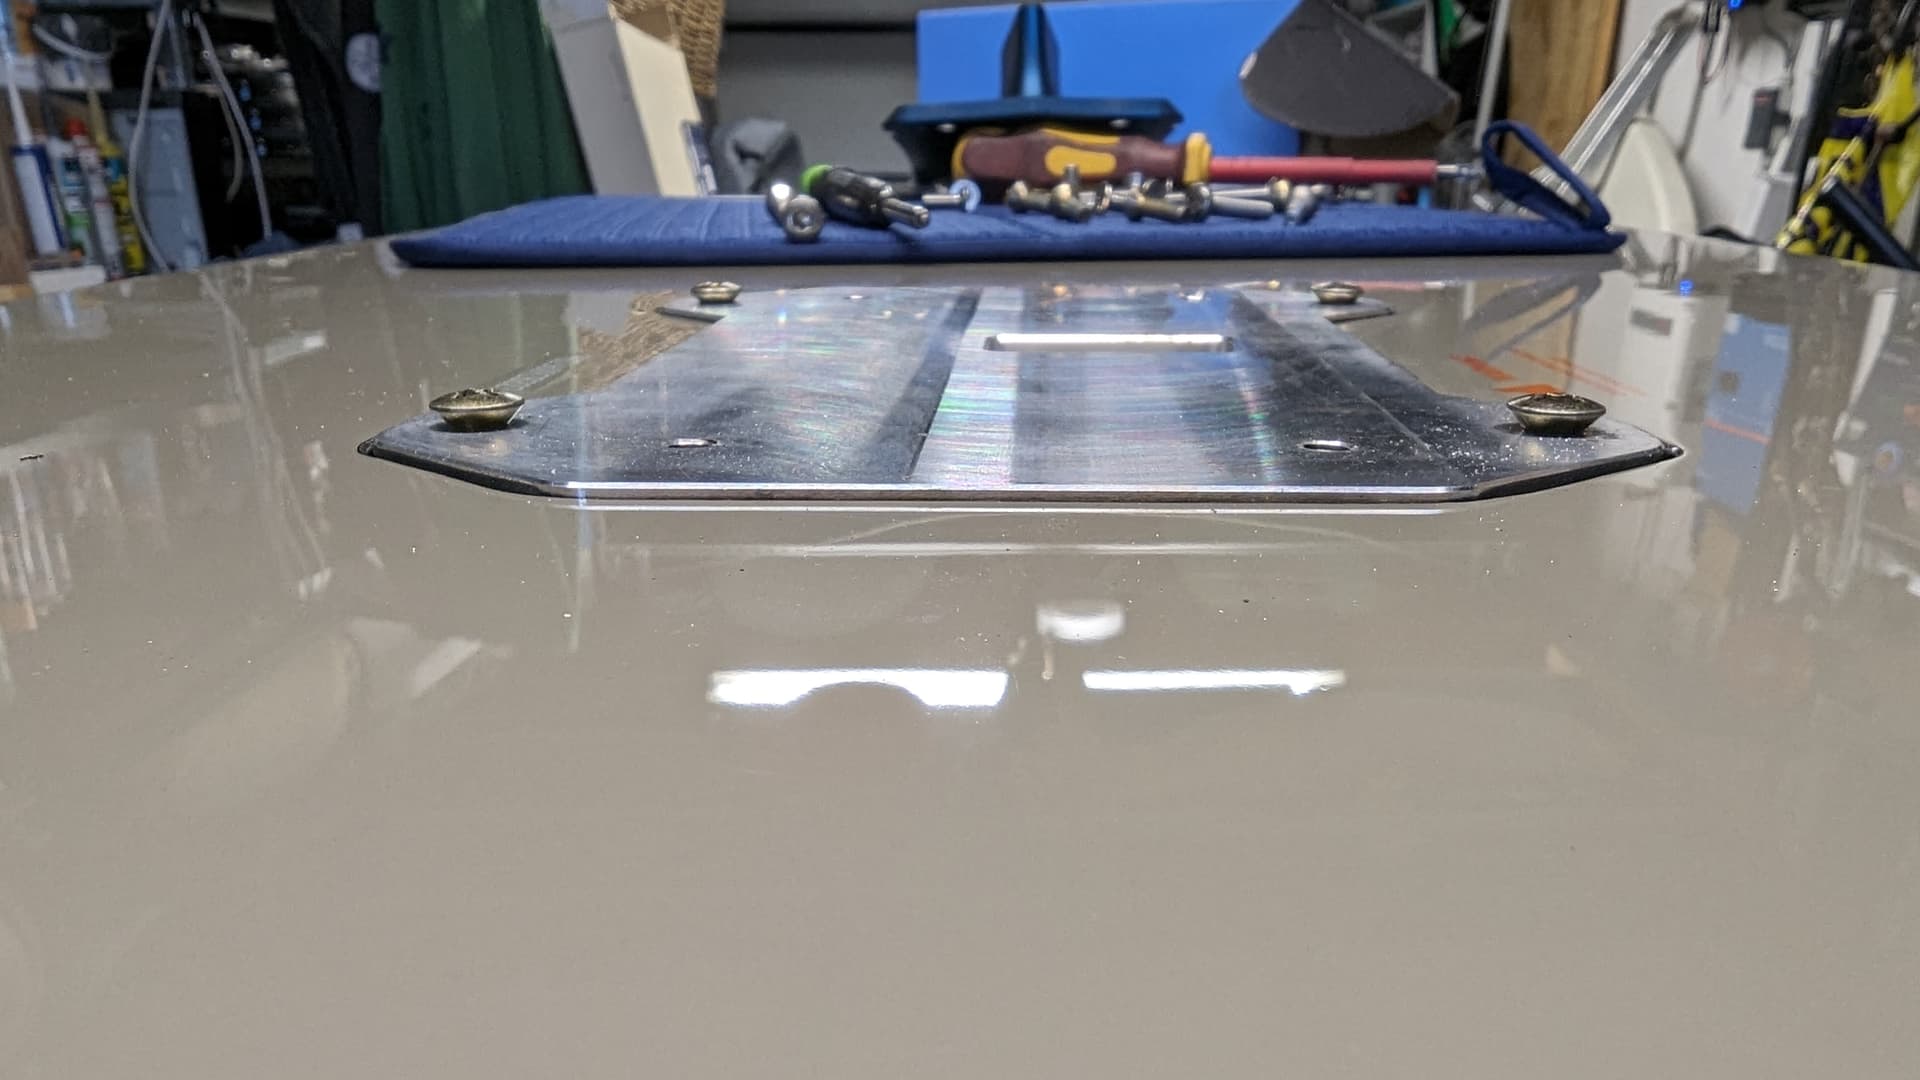
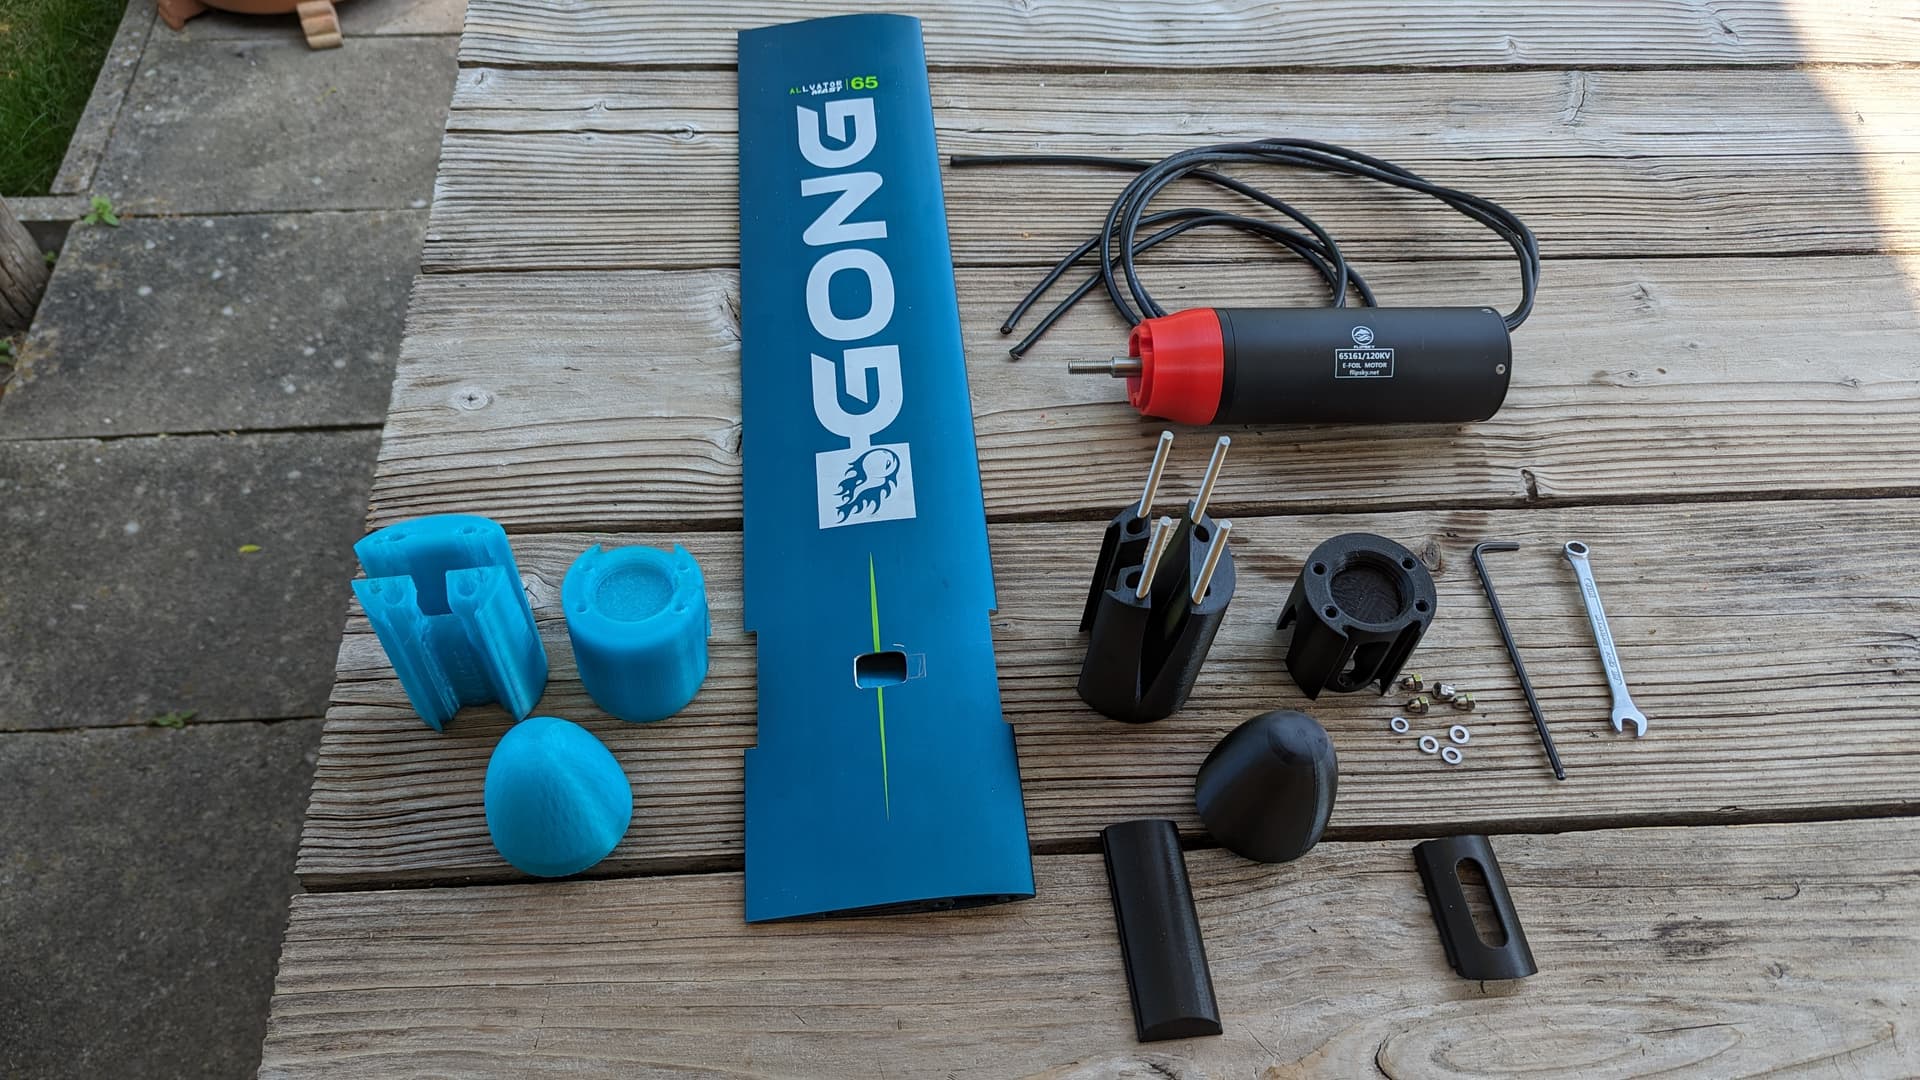
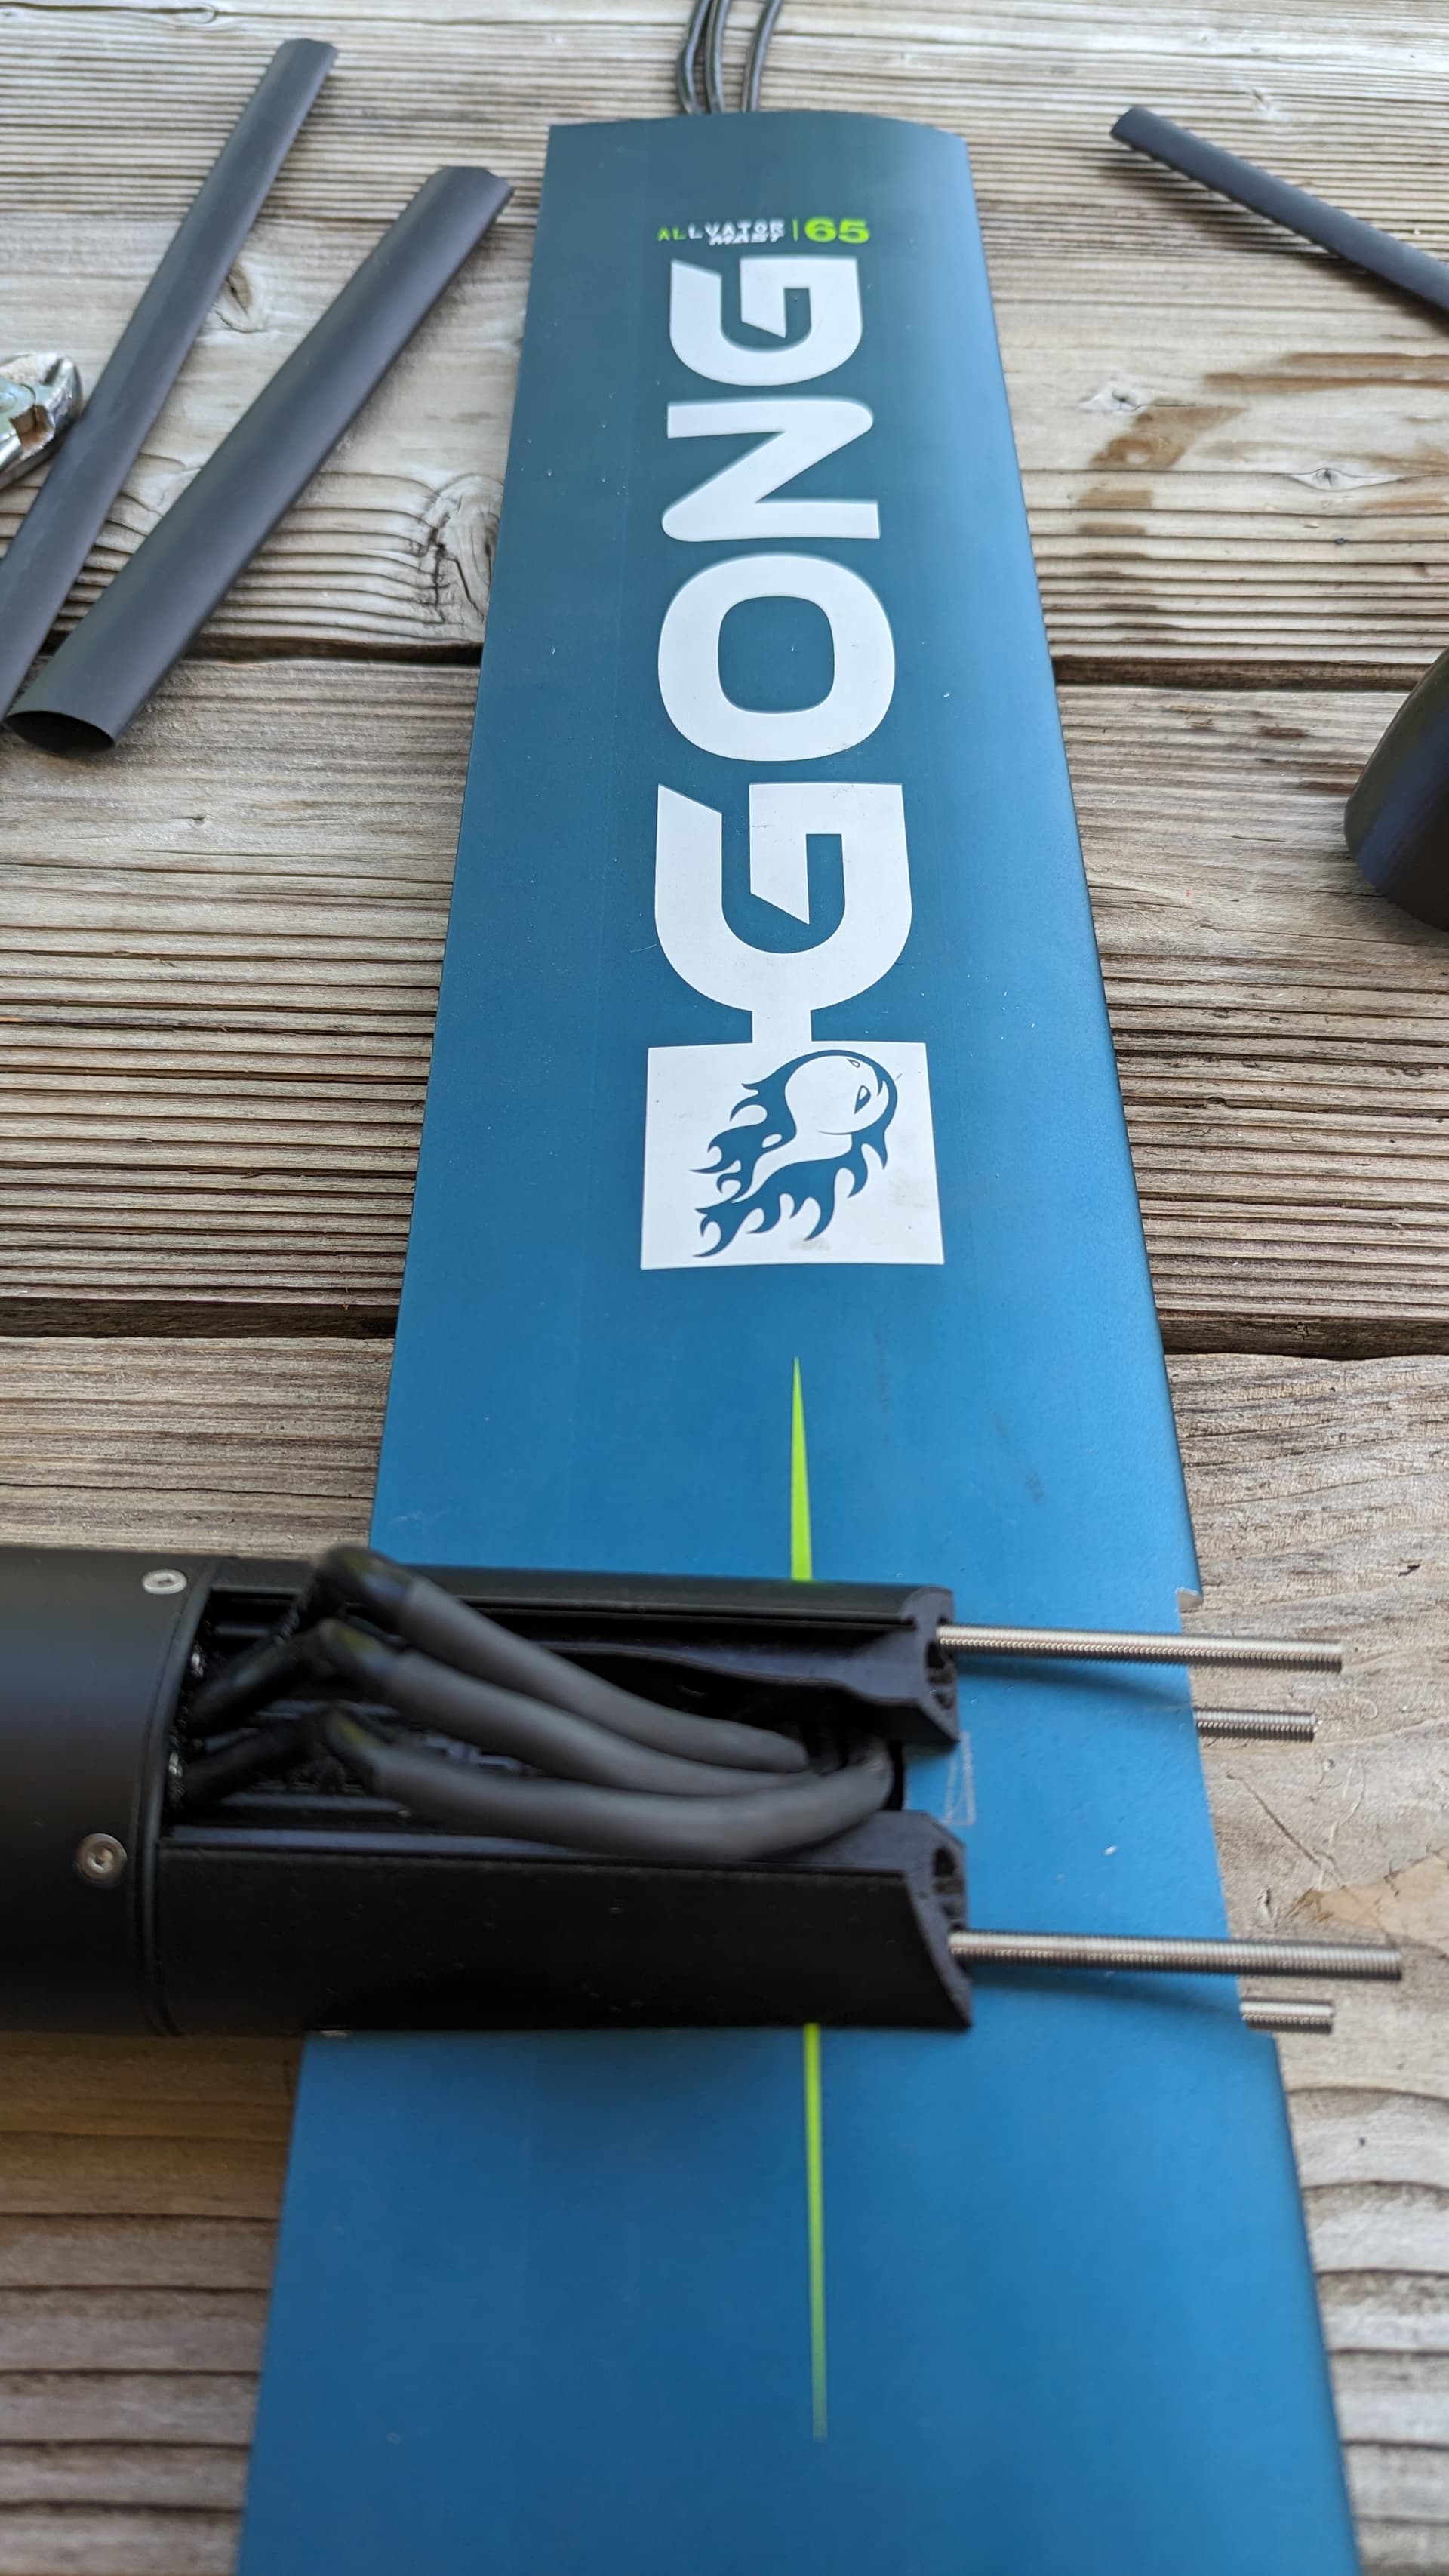
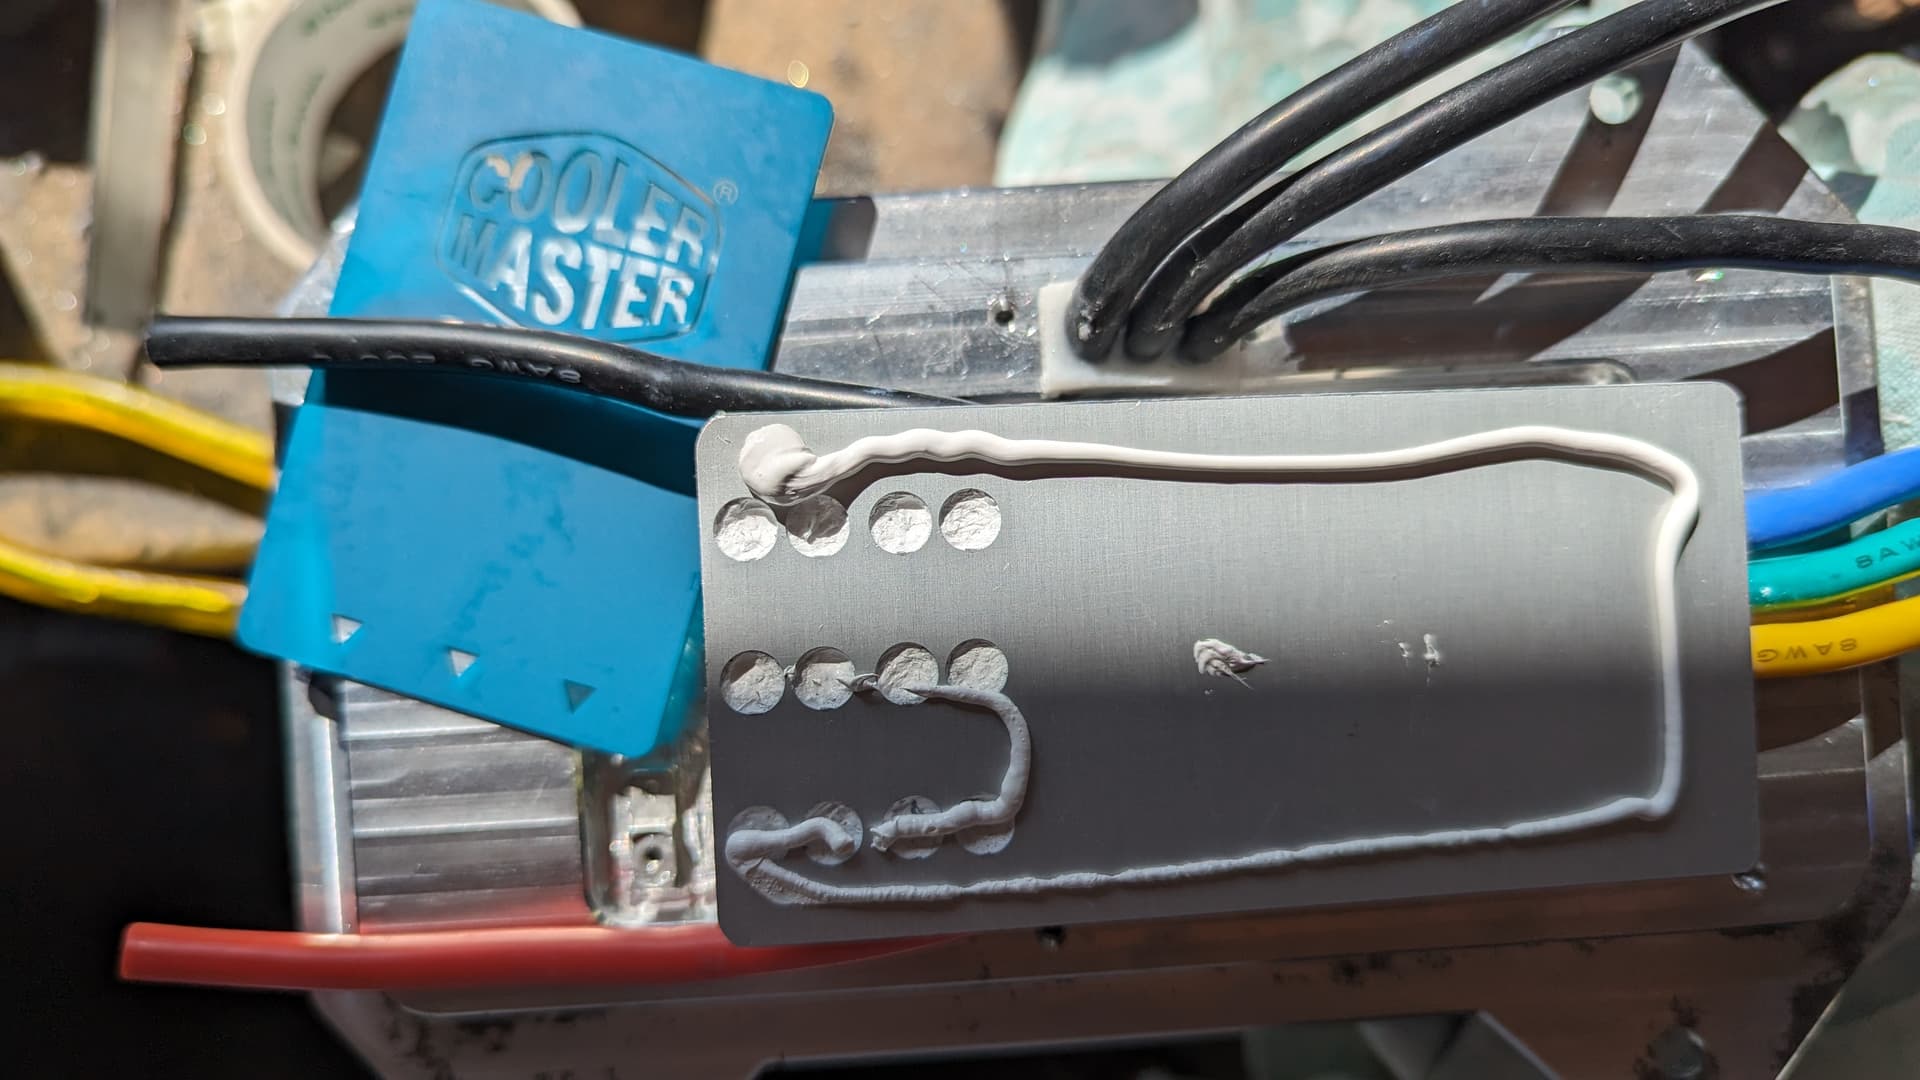
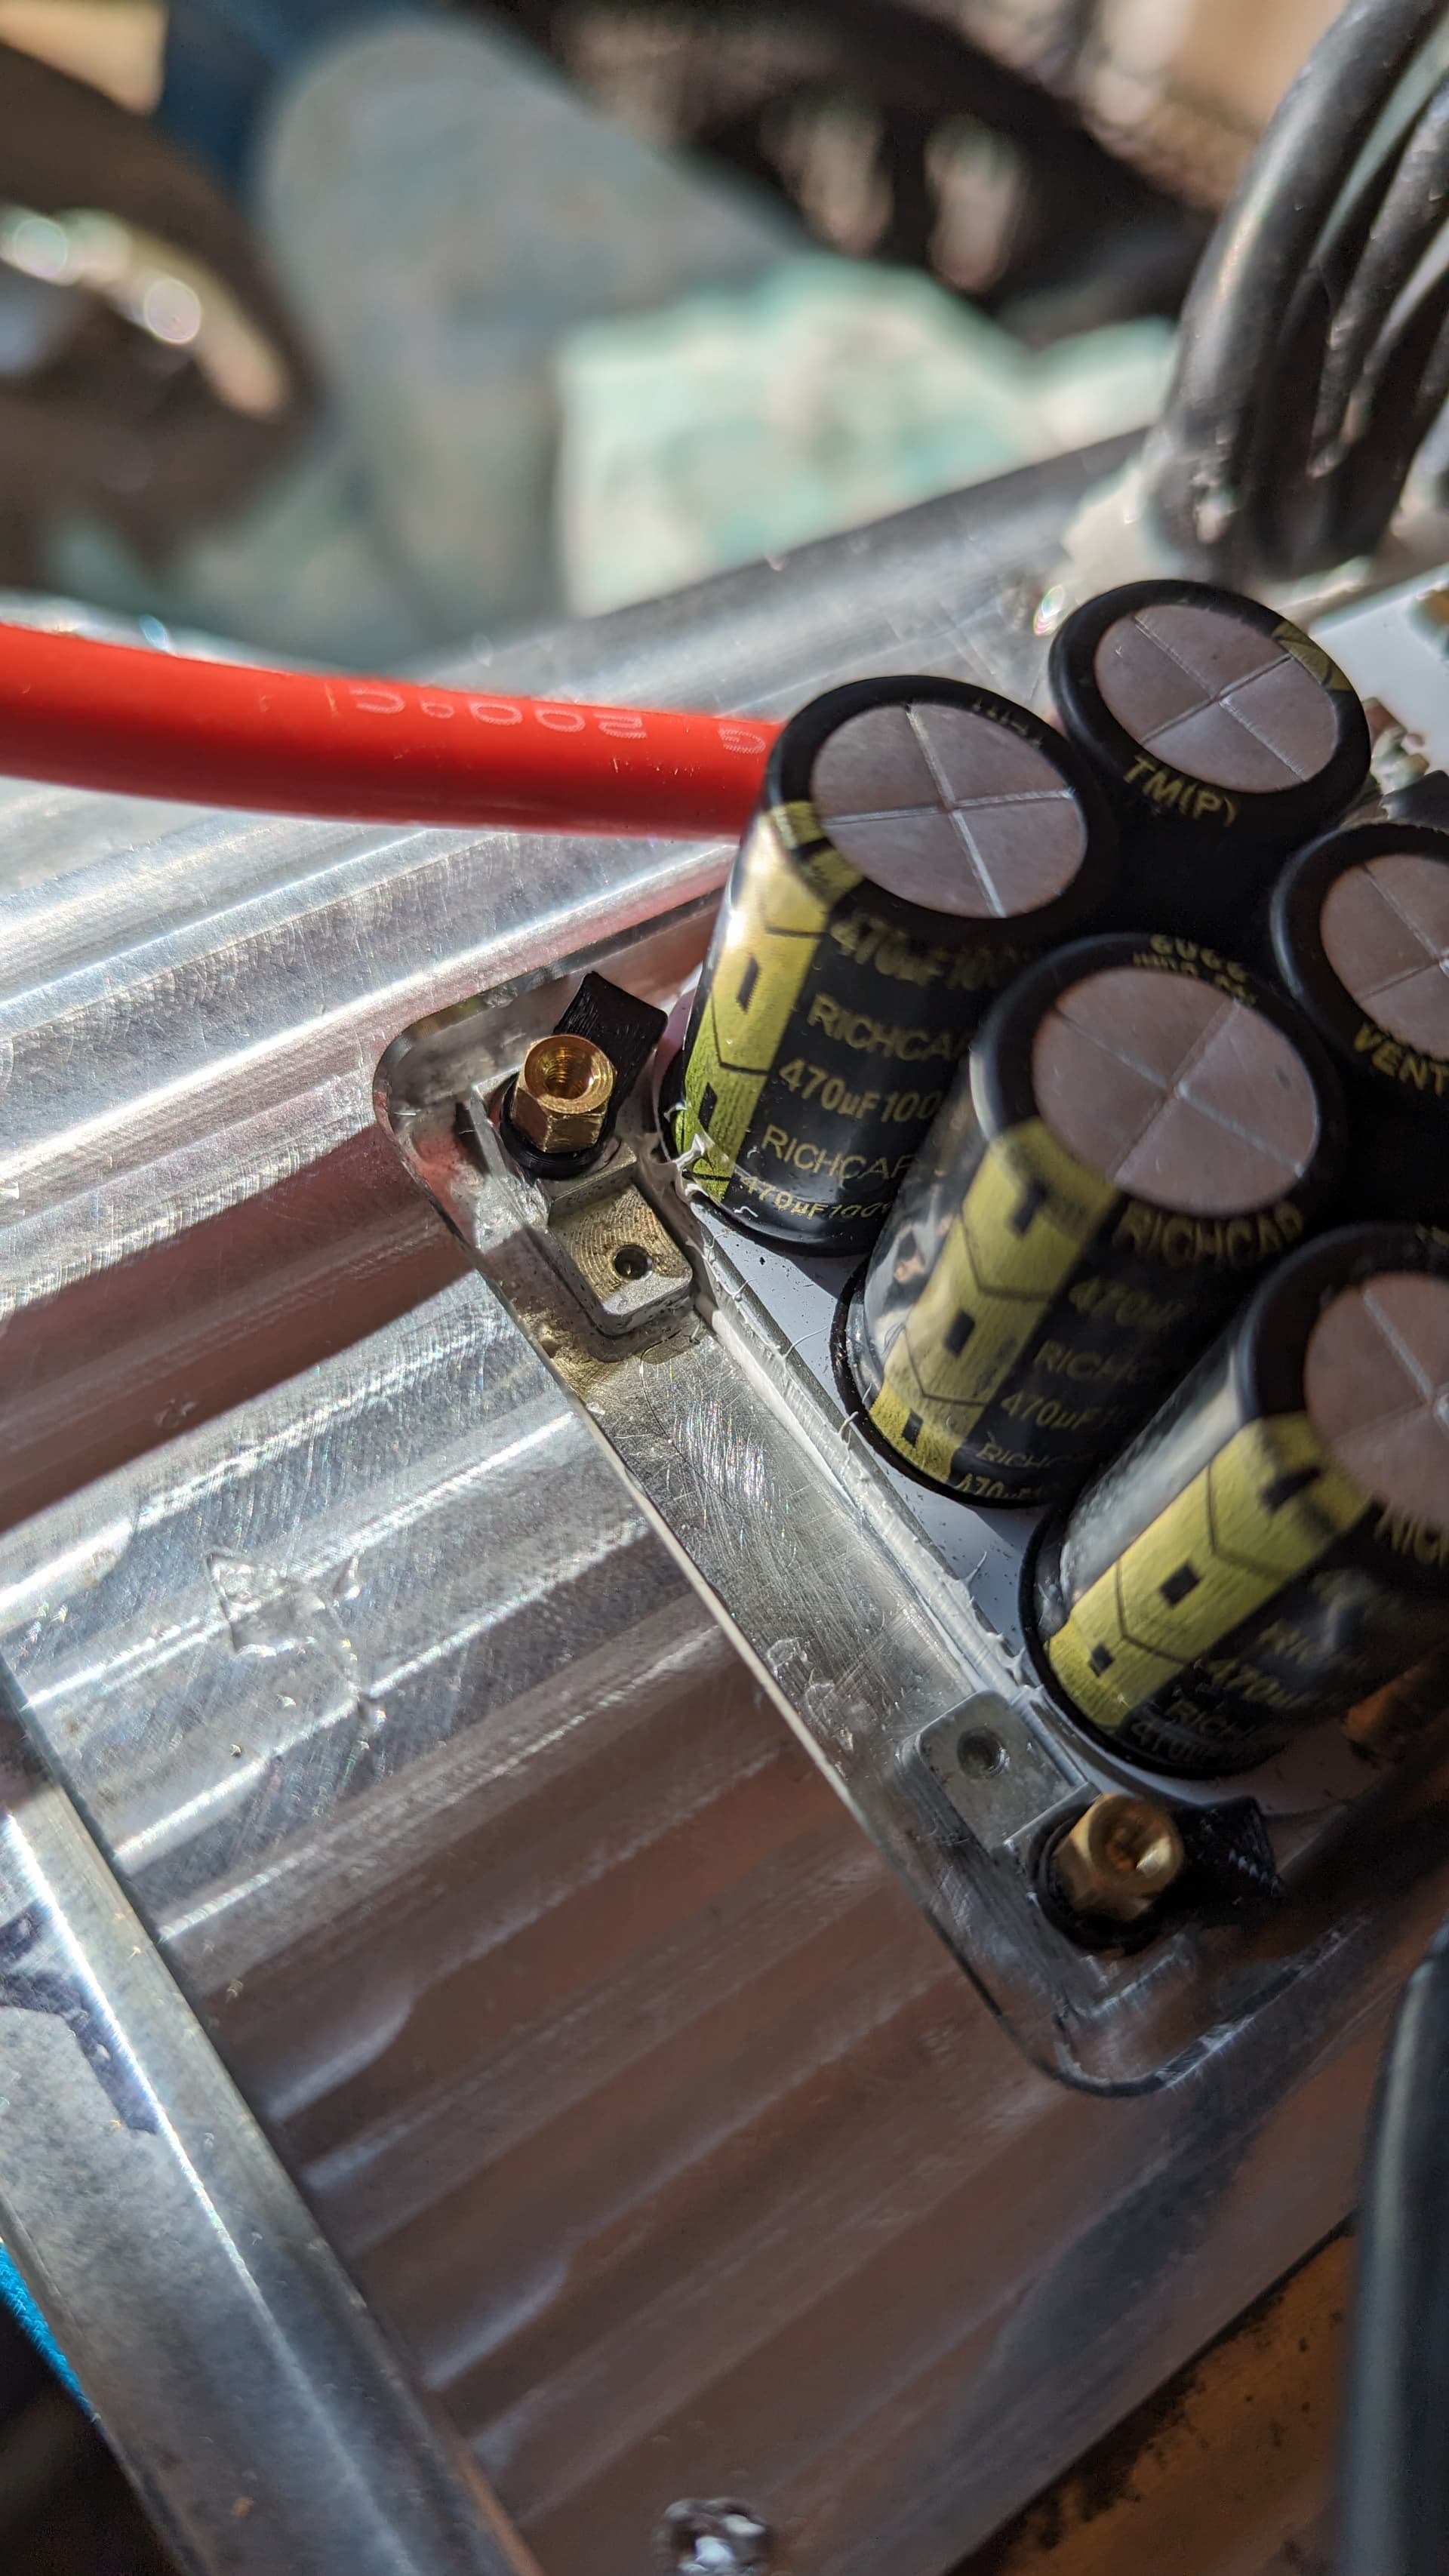
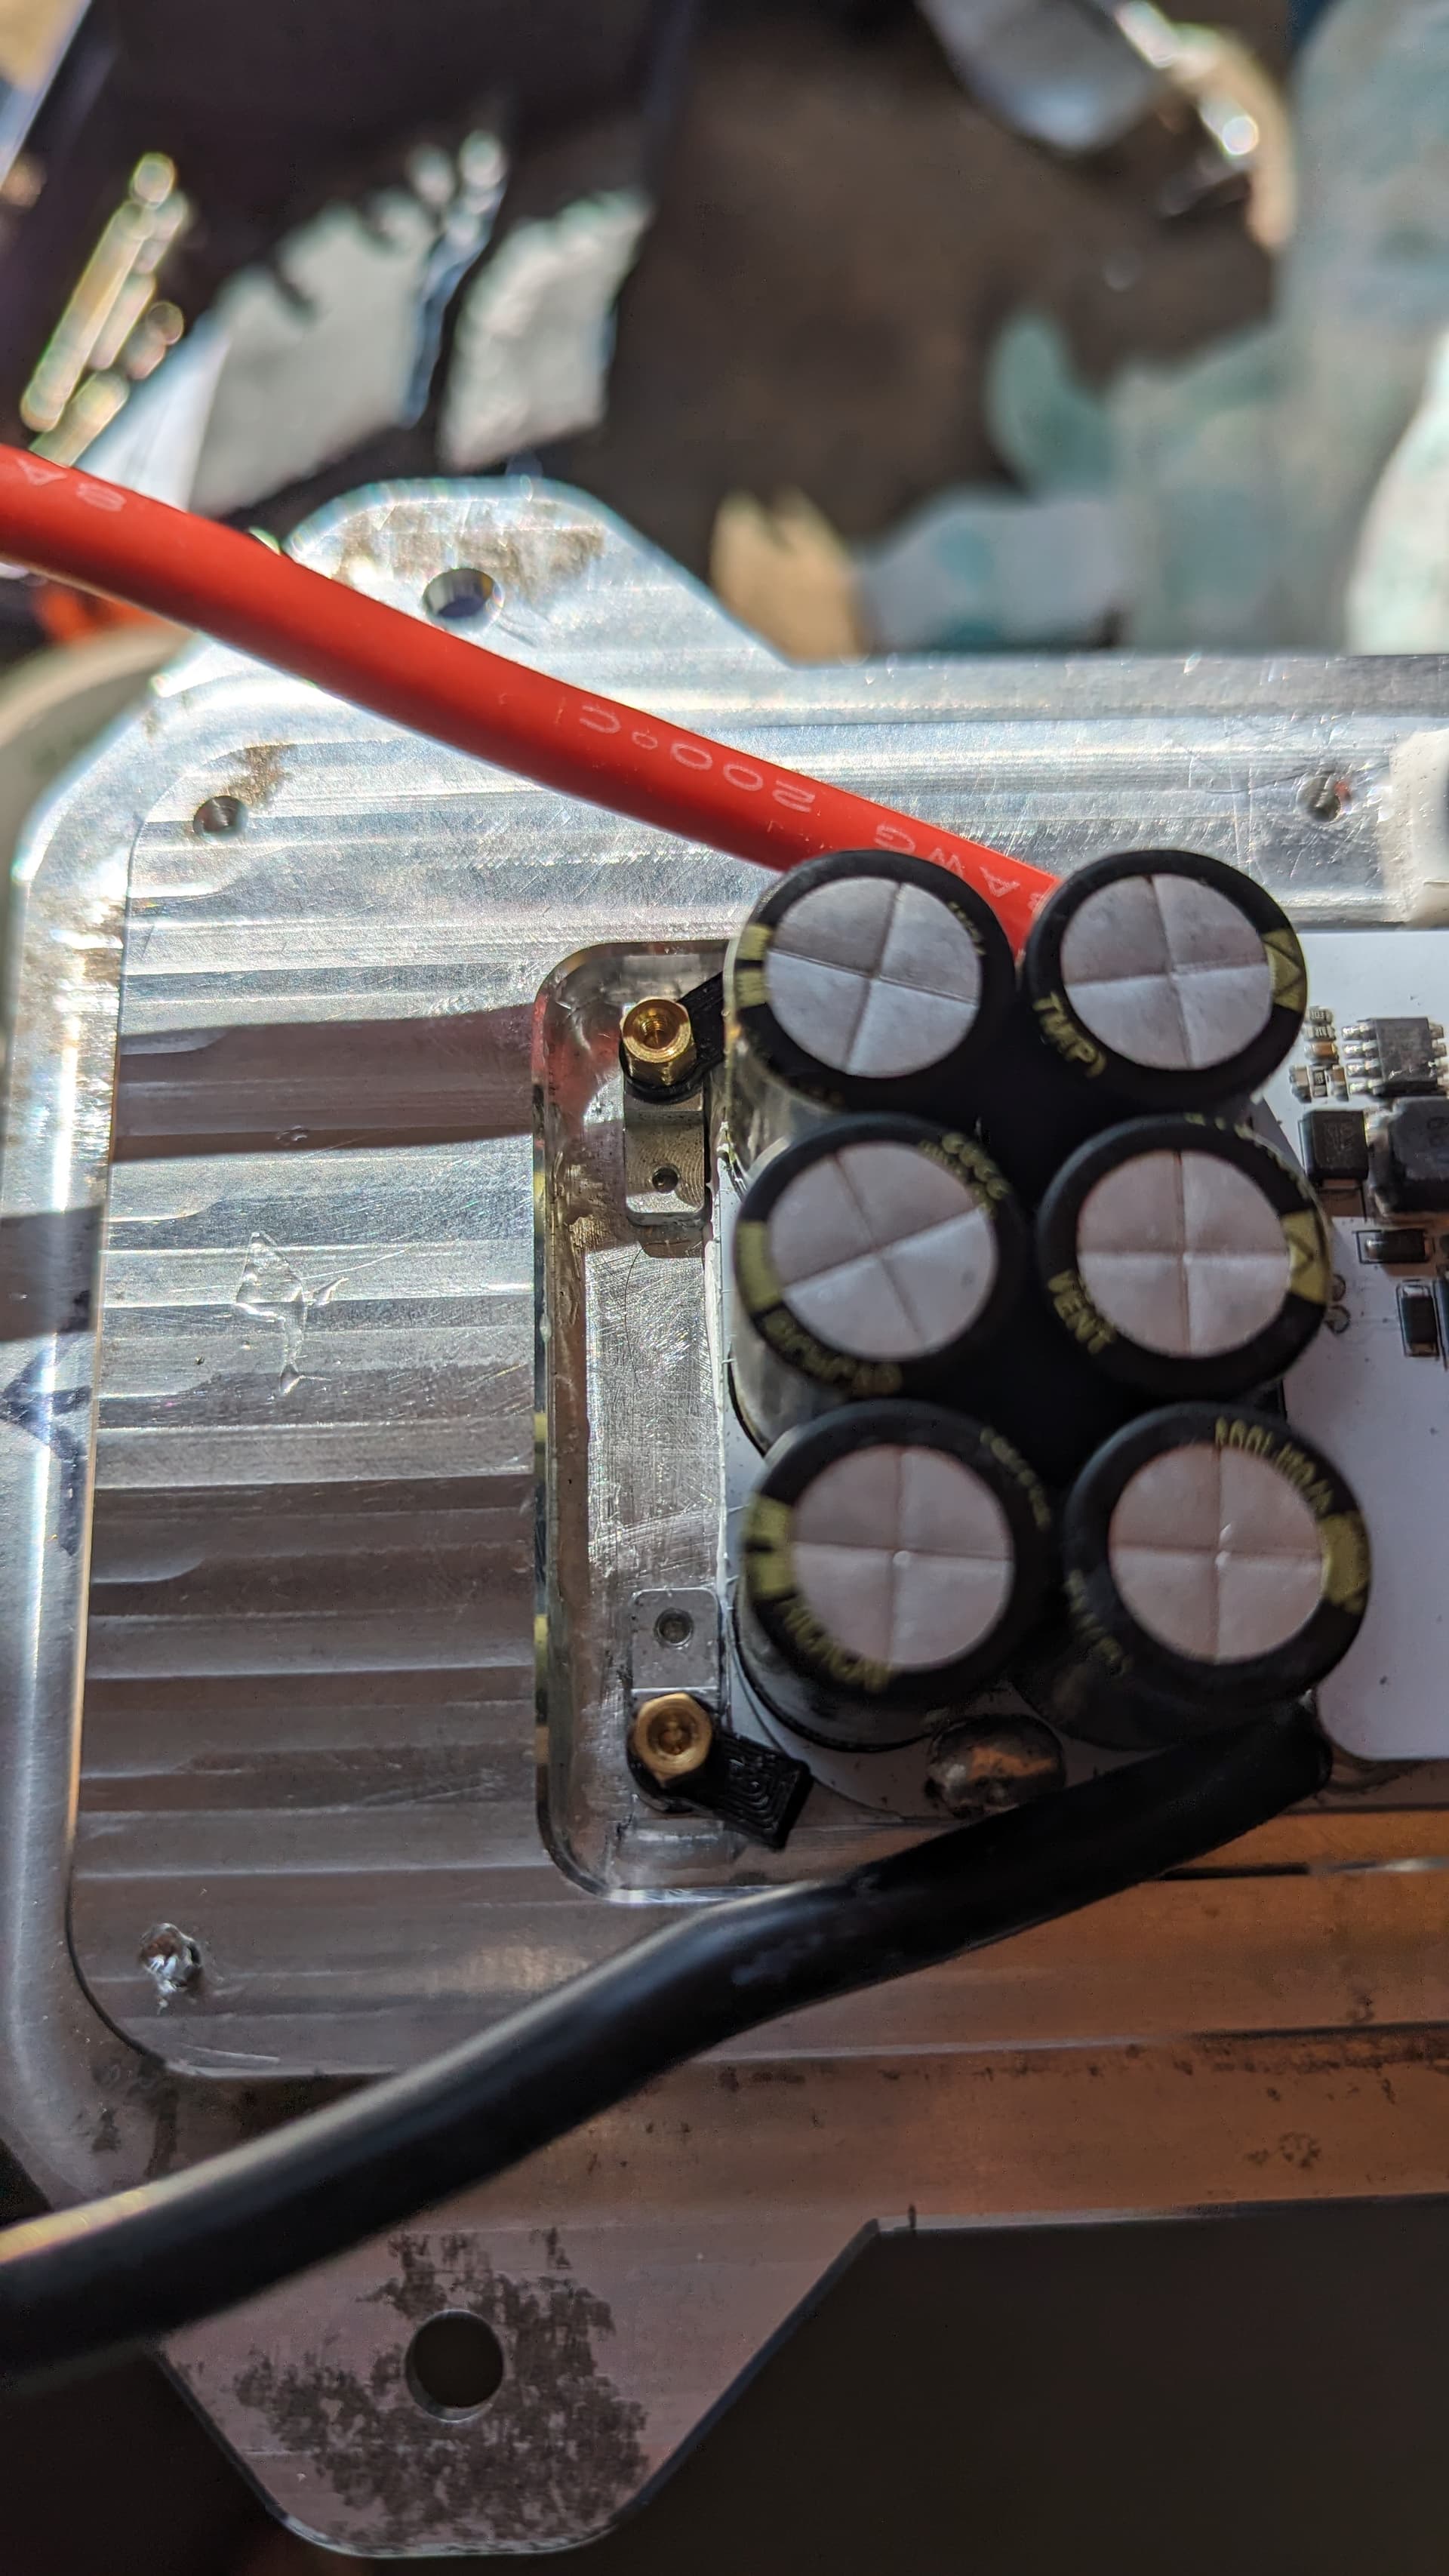
- All CNC’ed parts are from 6061 aluminum and have been done by PCBway
- All 3D printed stuff is in PETG (used our own 3D printer)
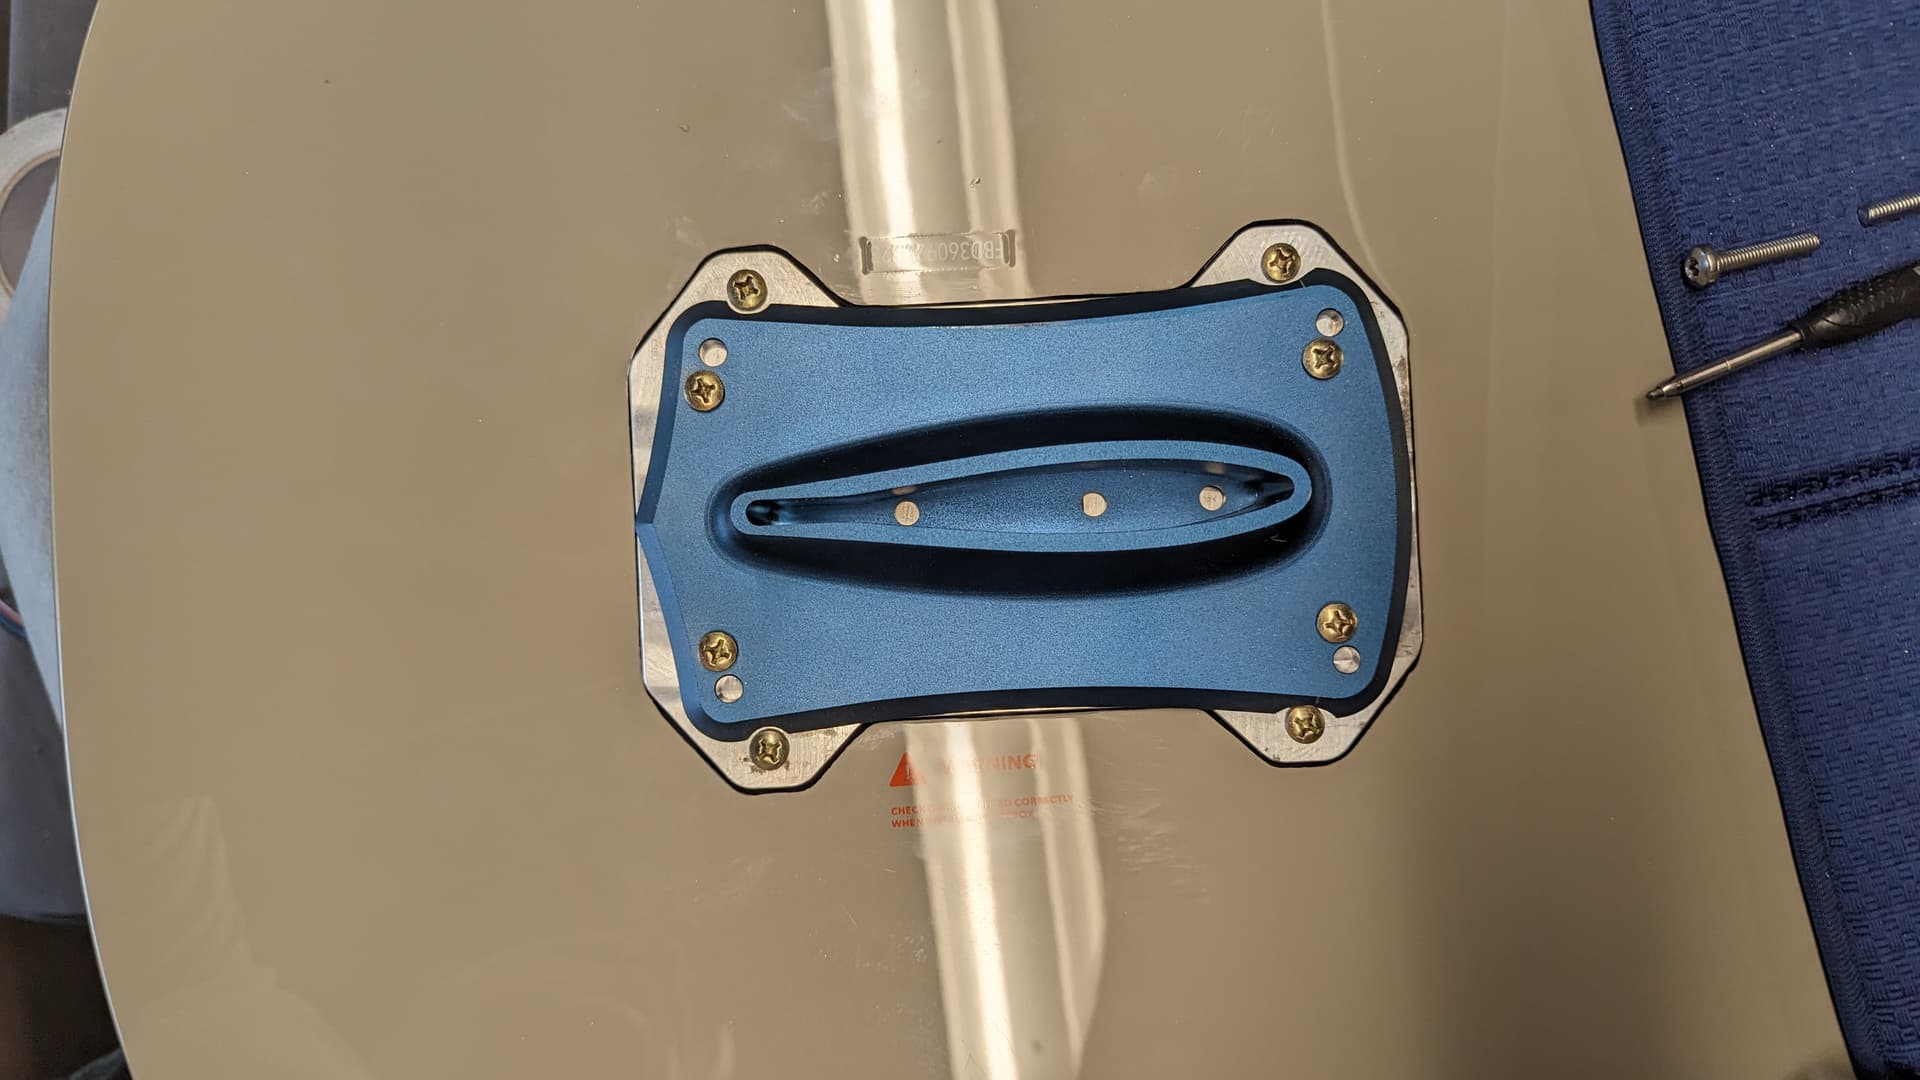
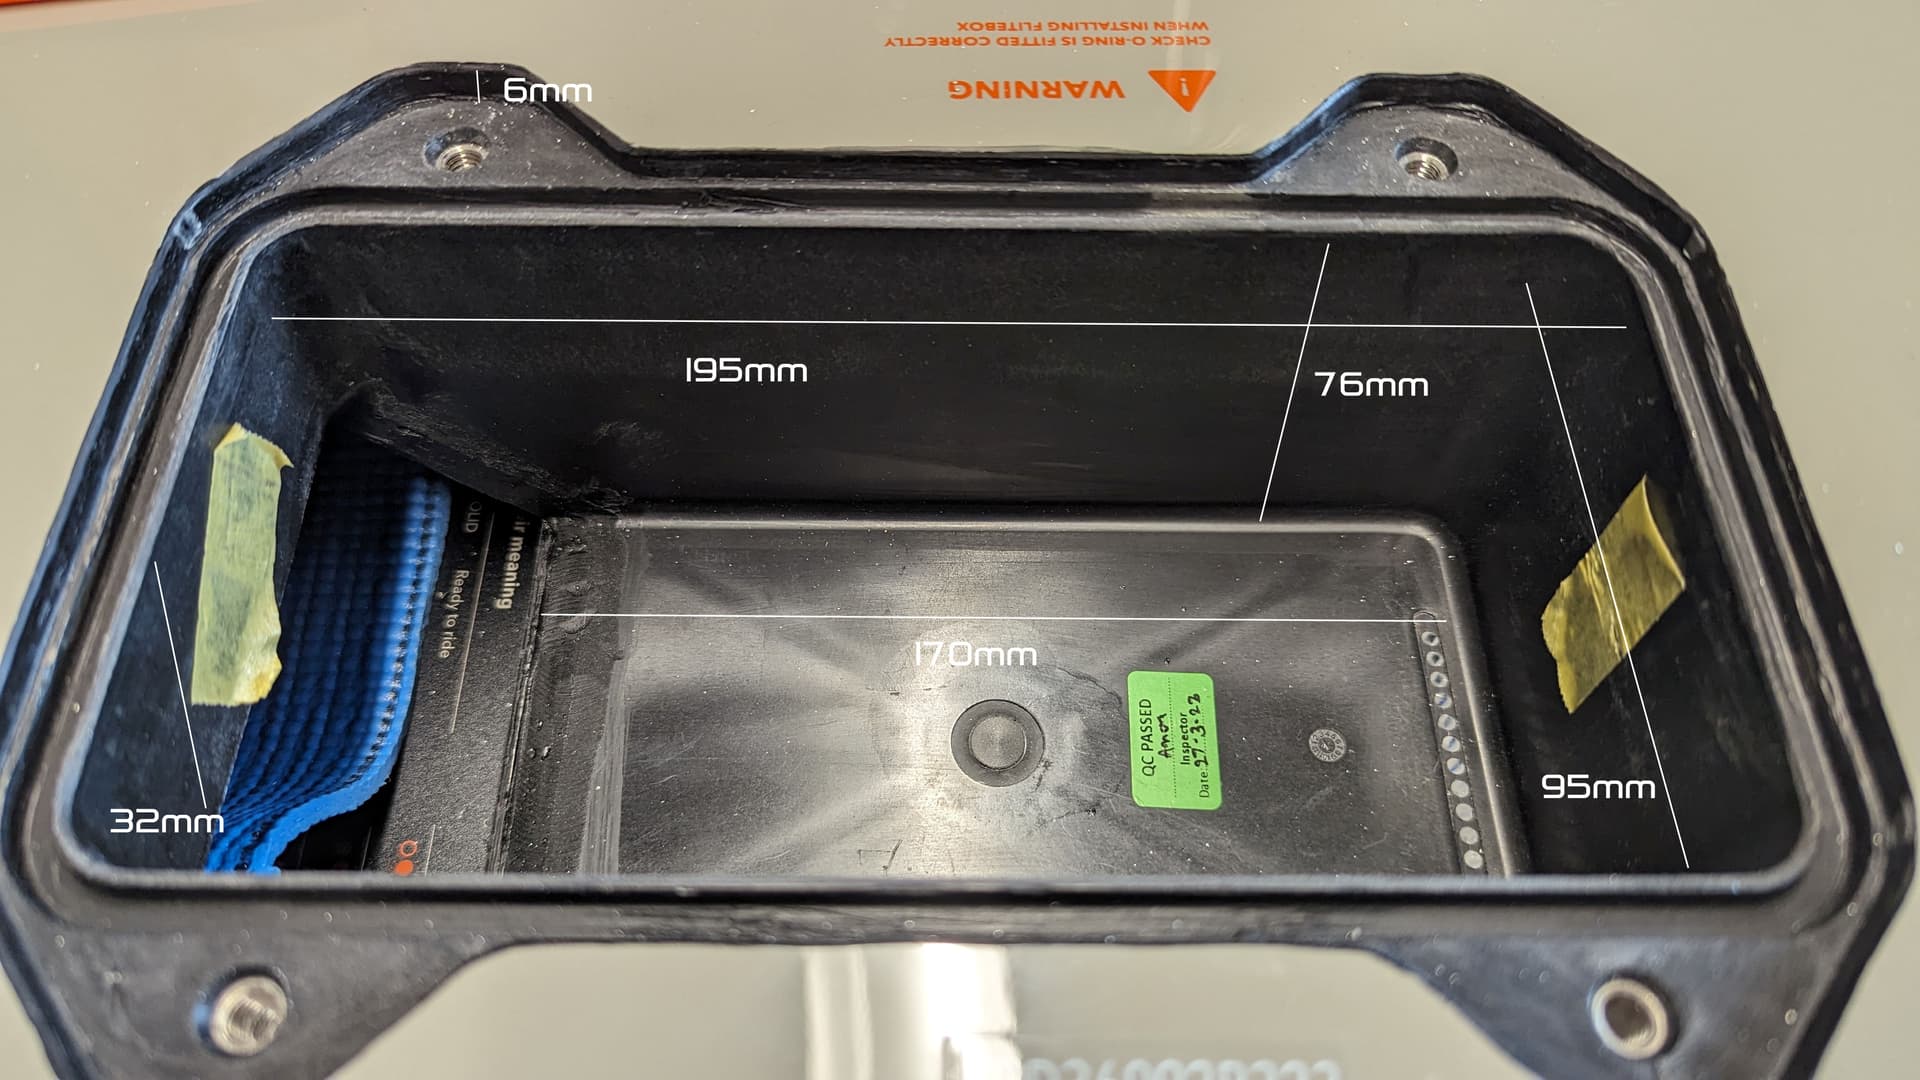
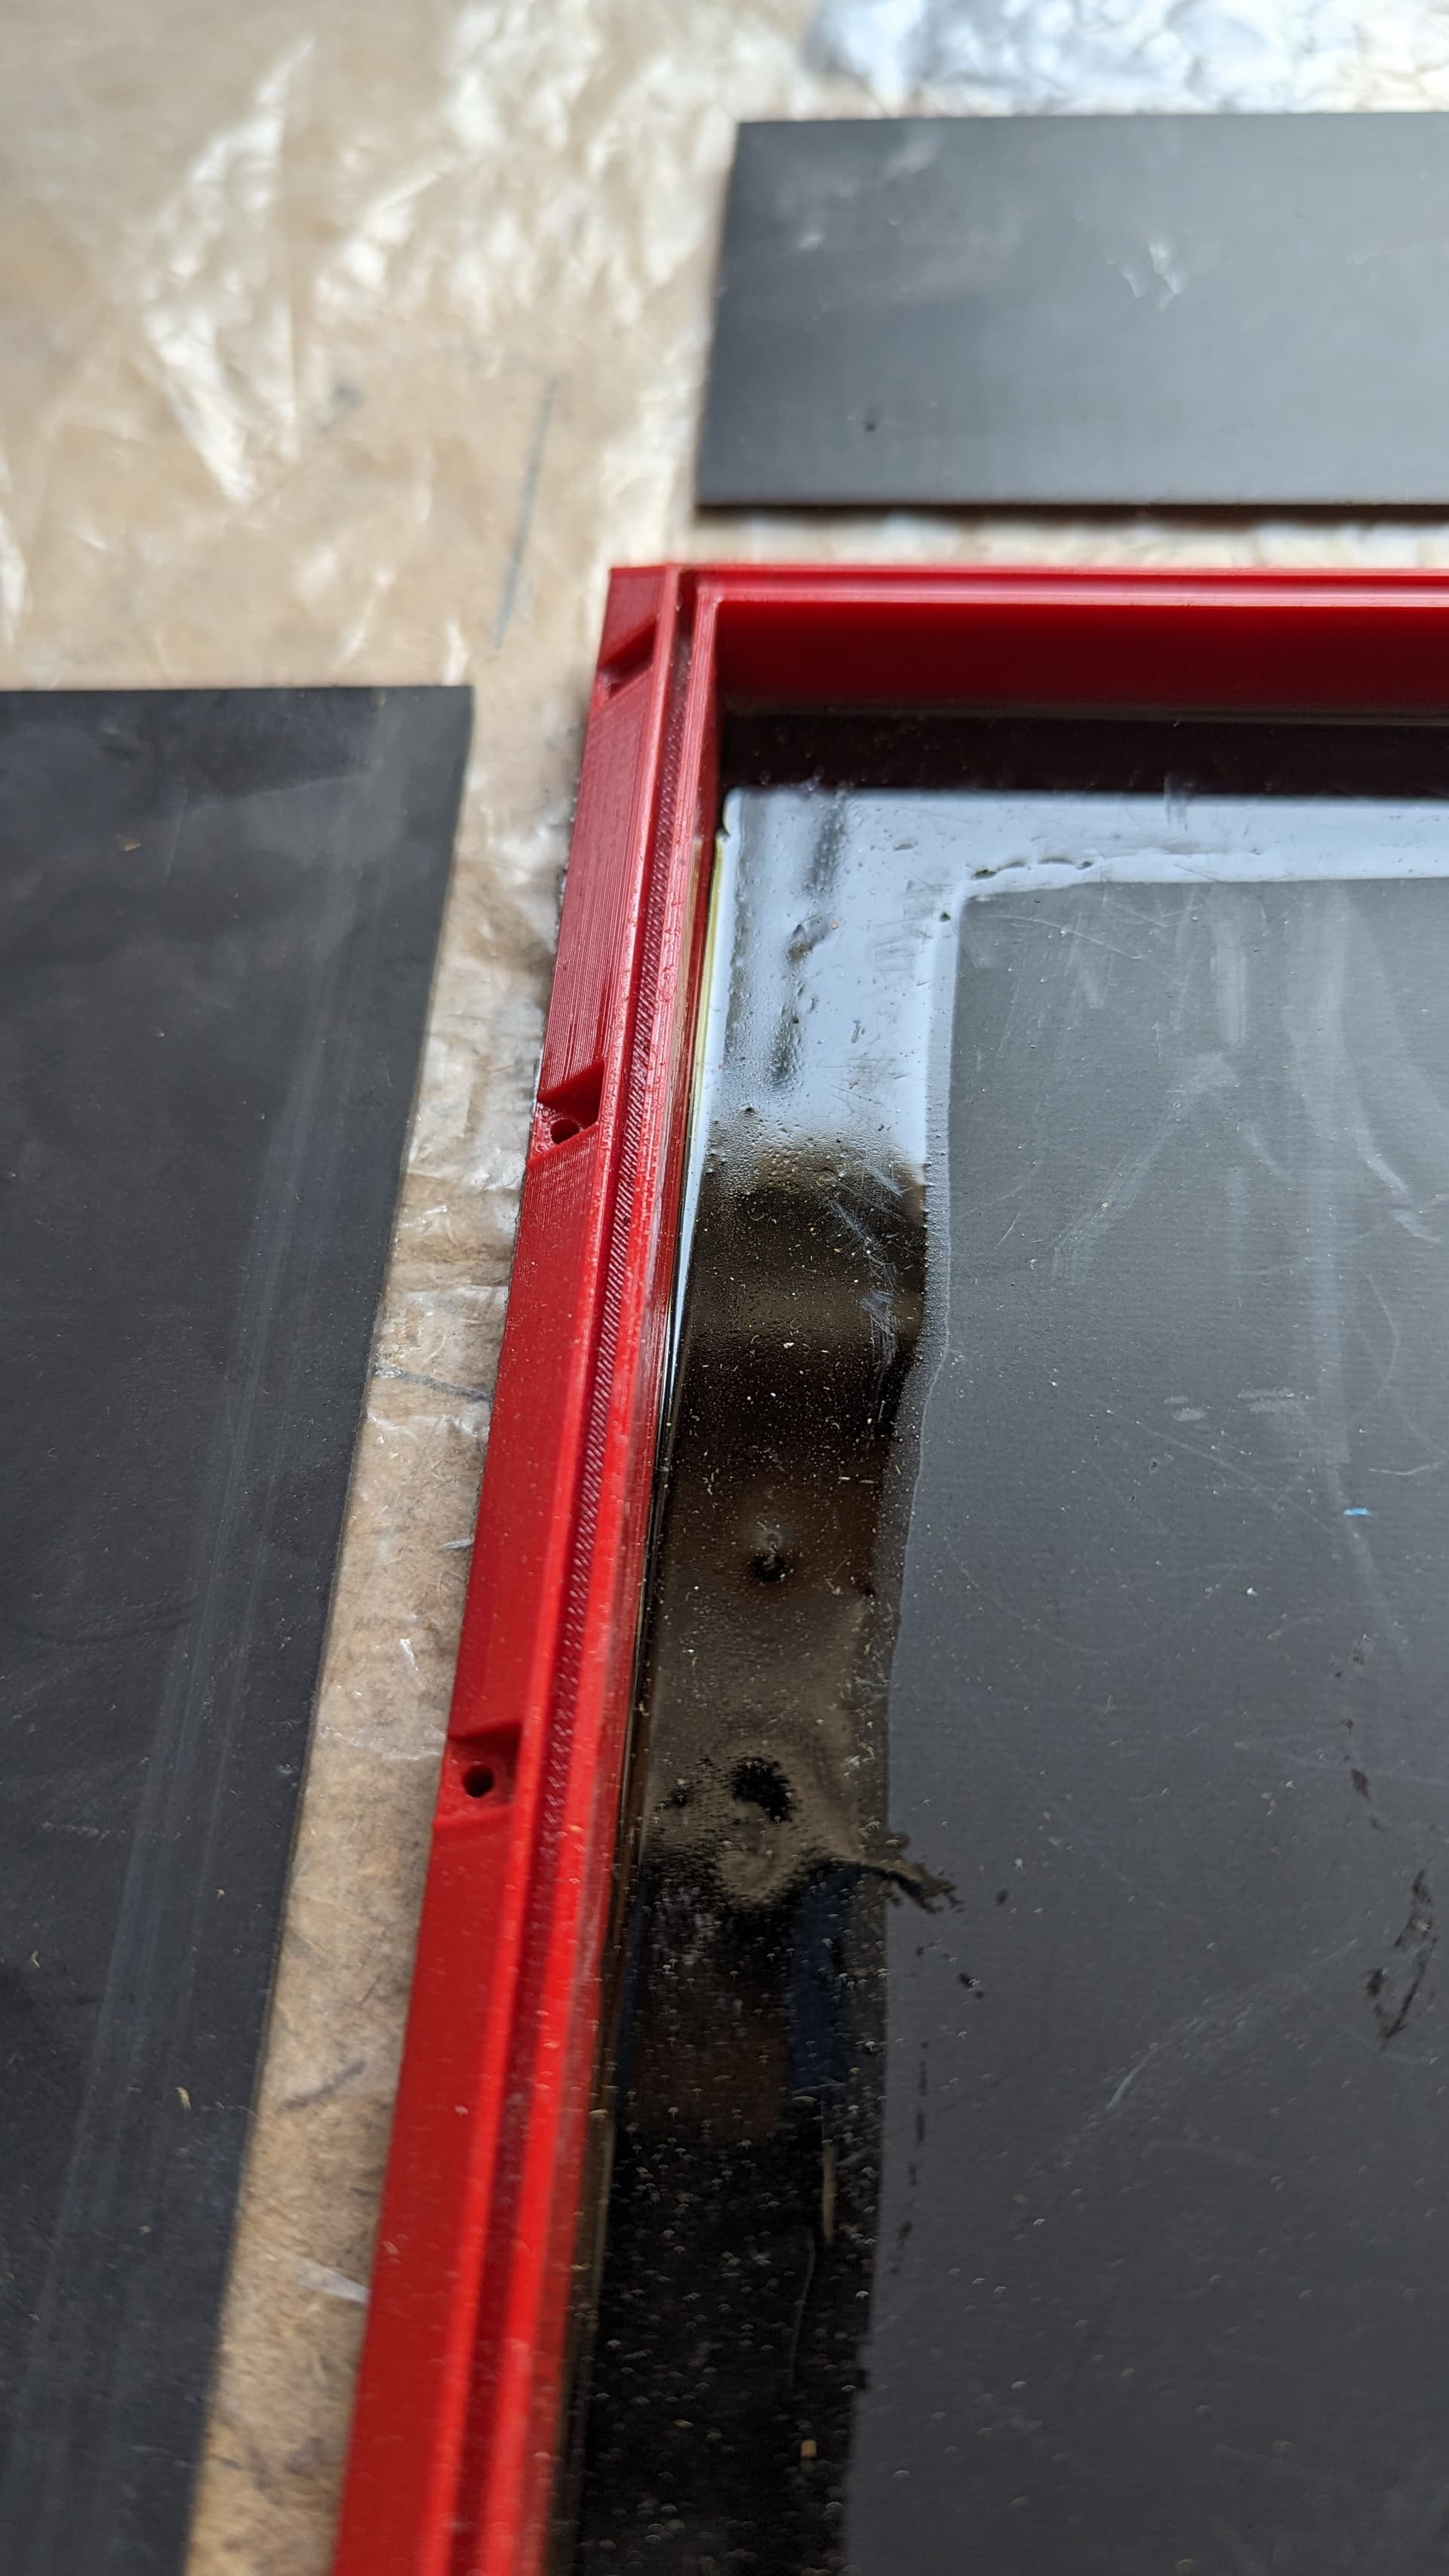
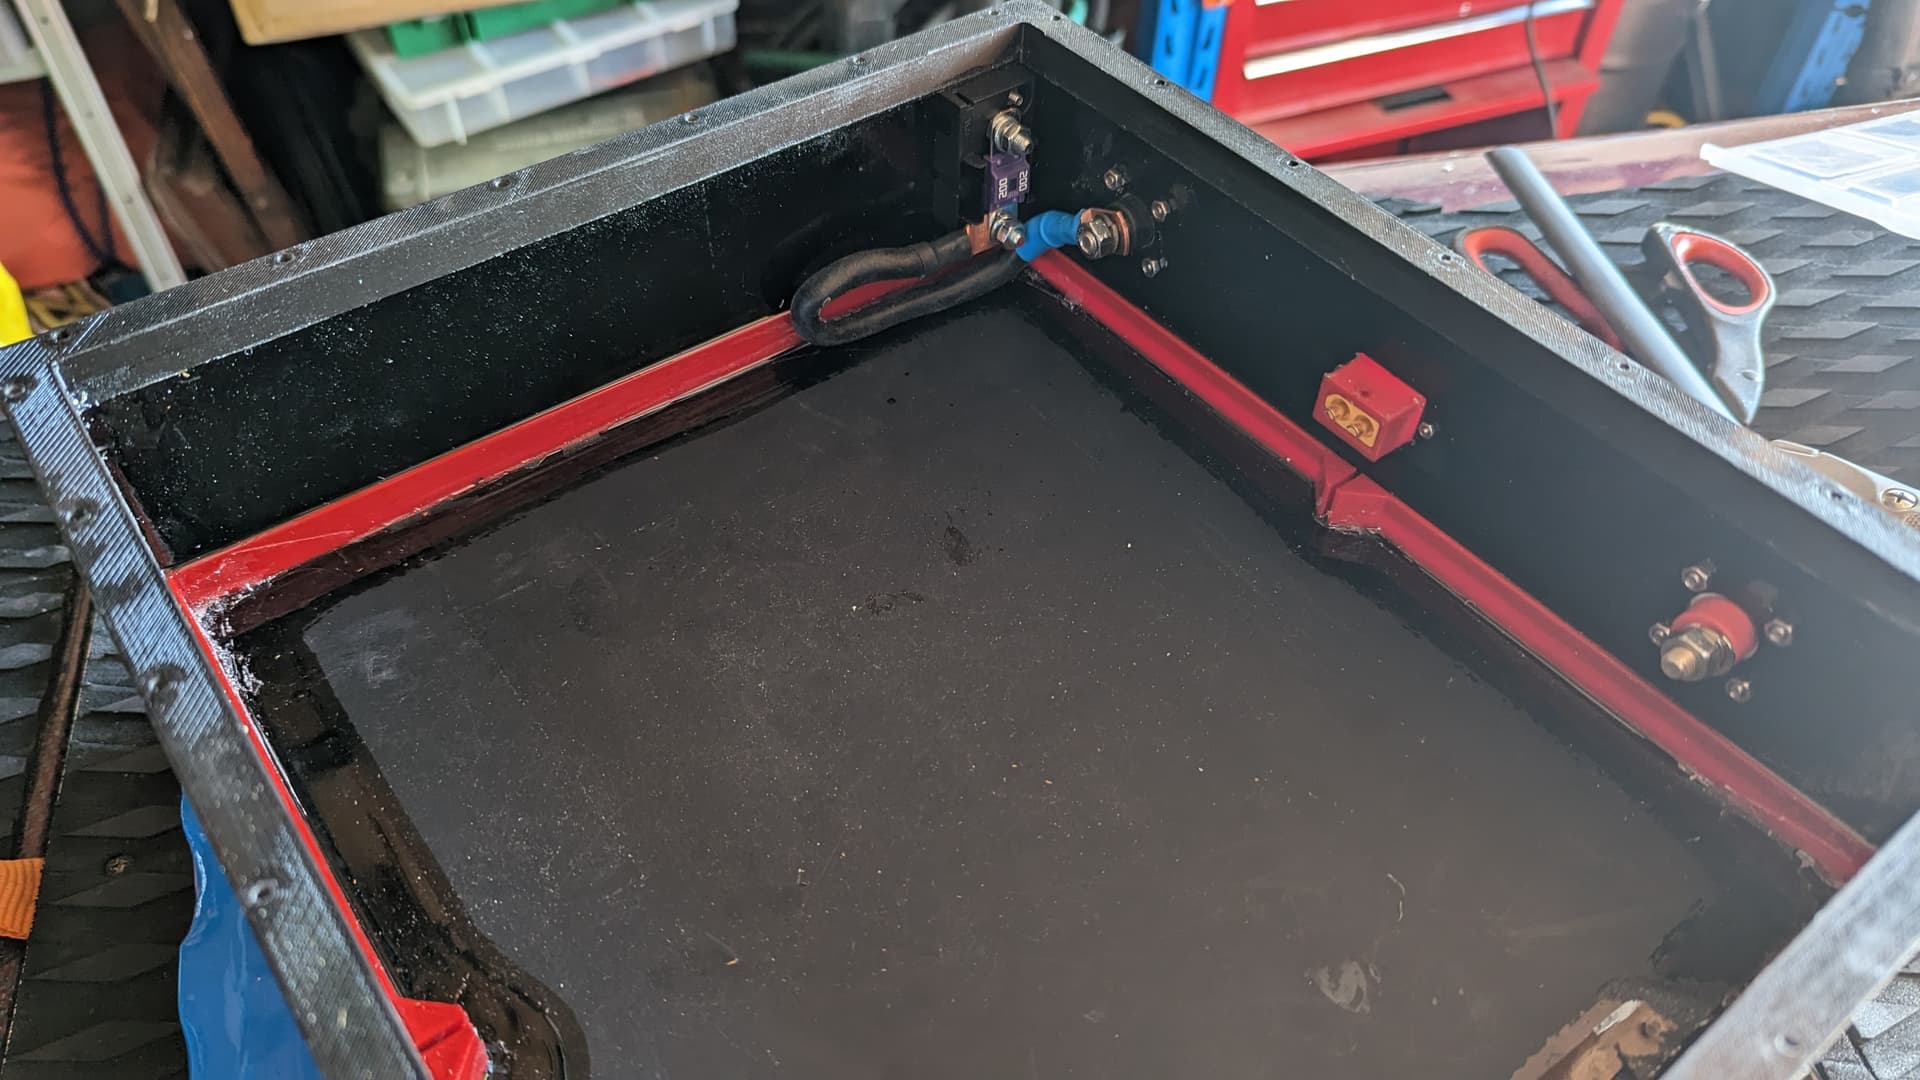
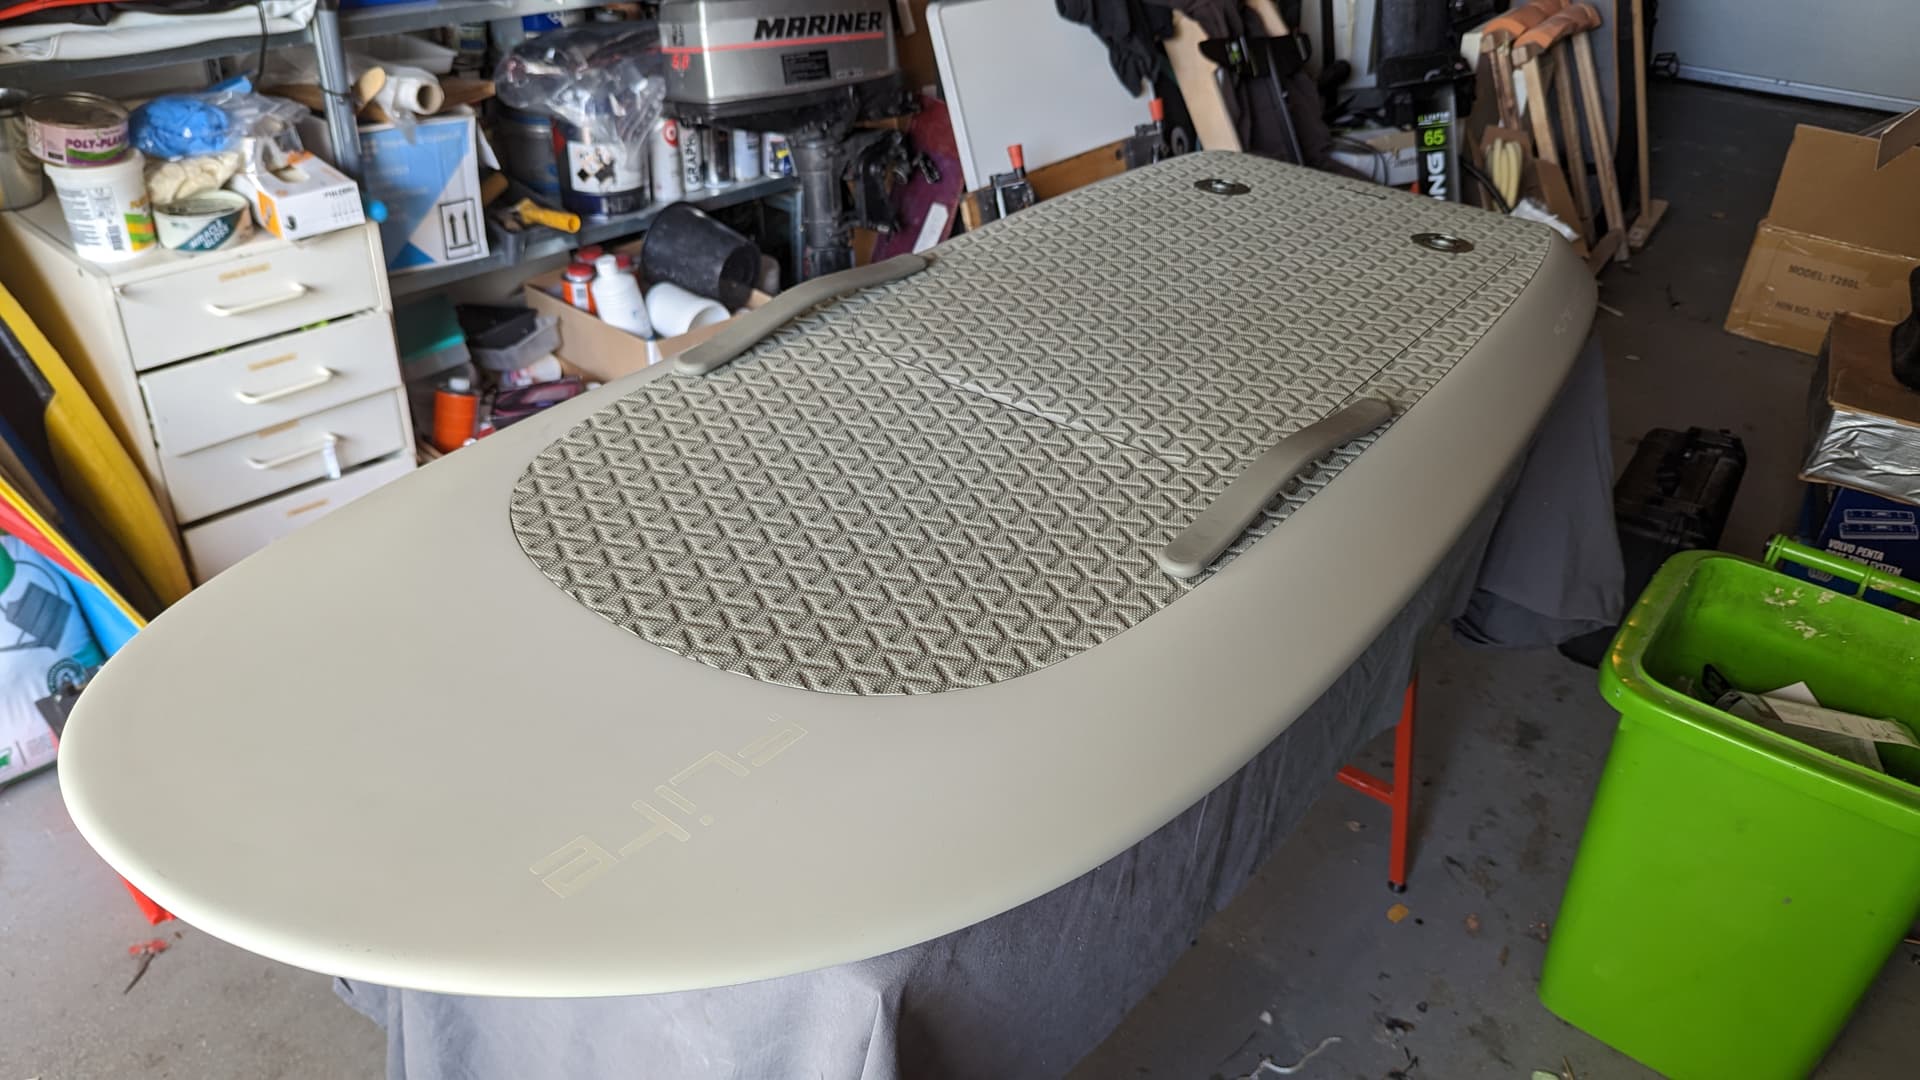
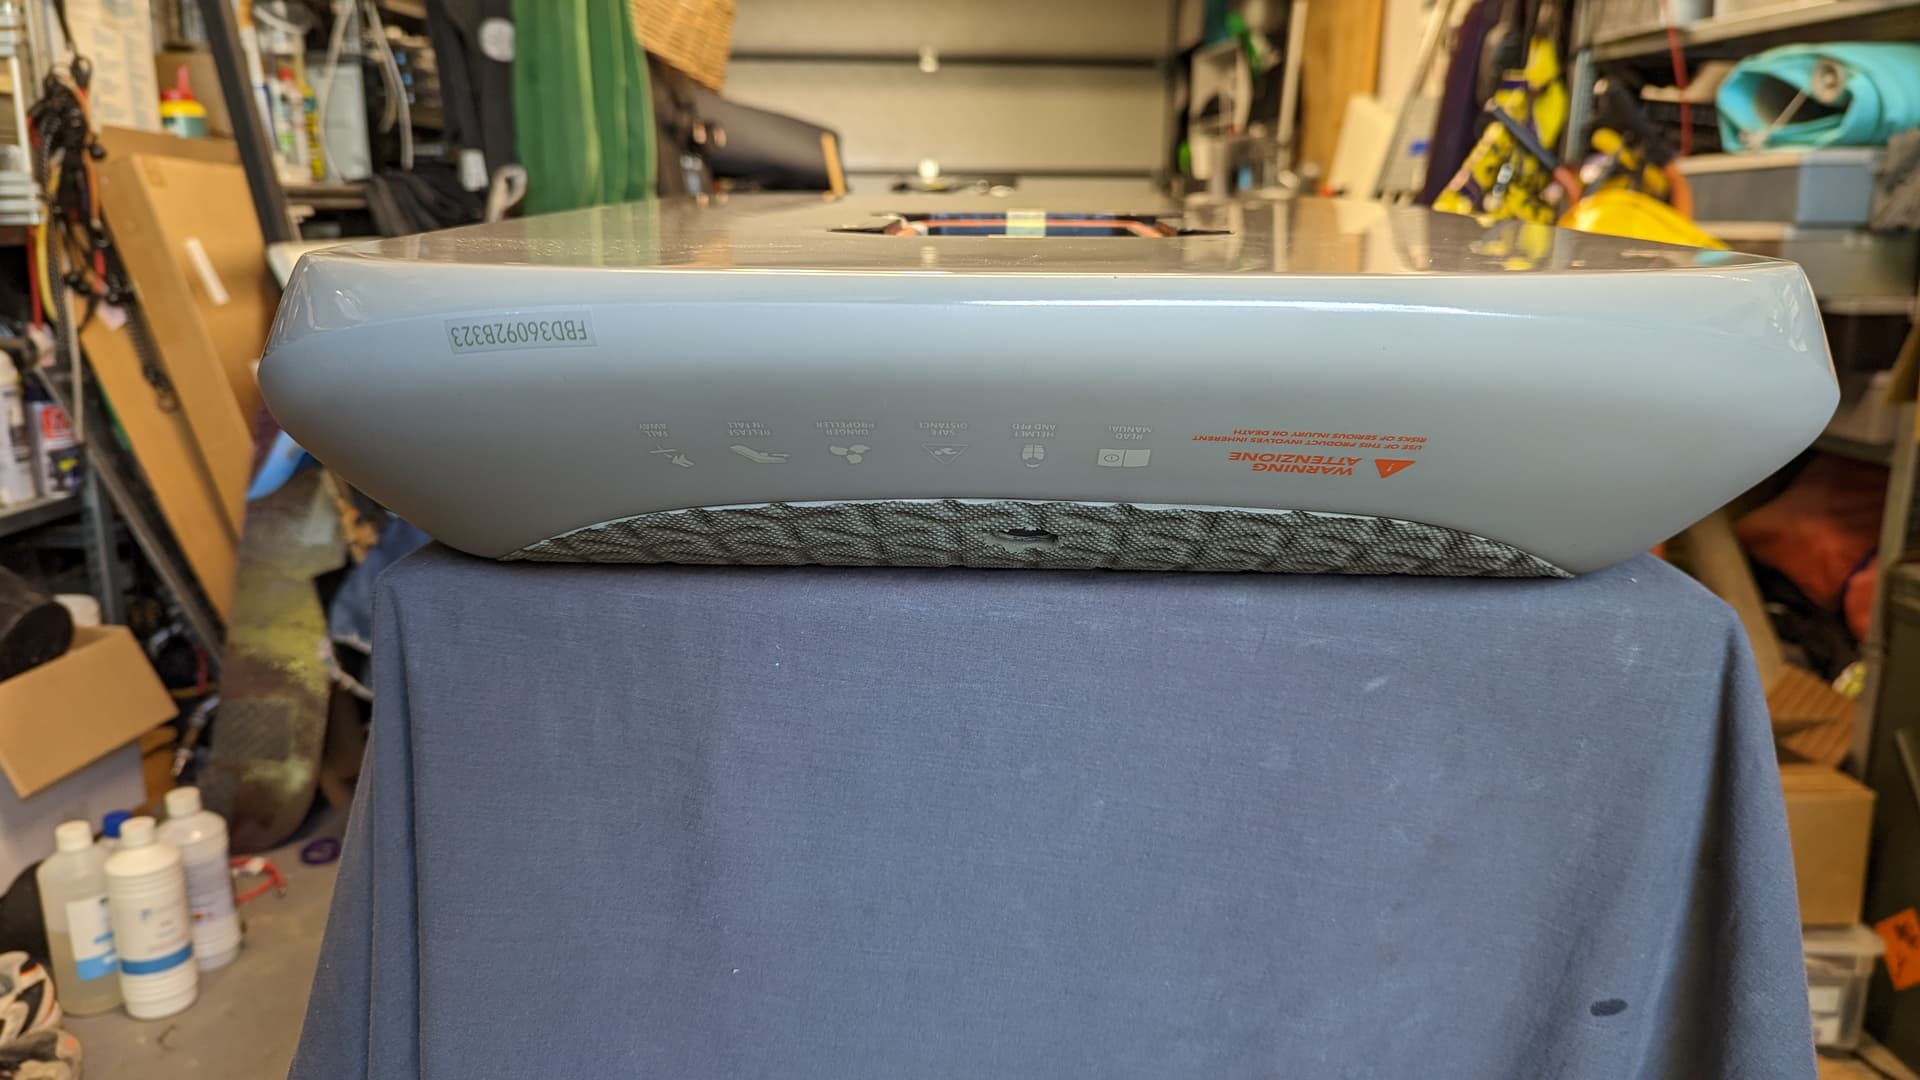
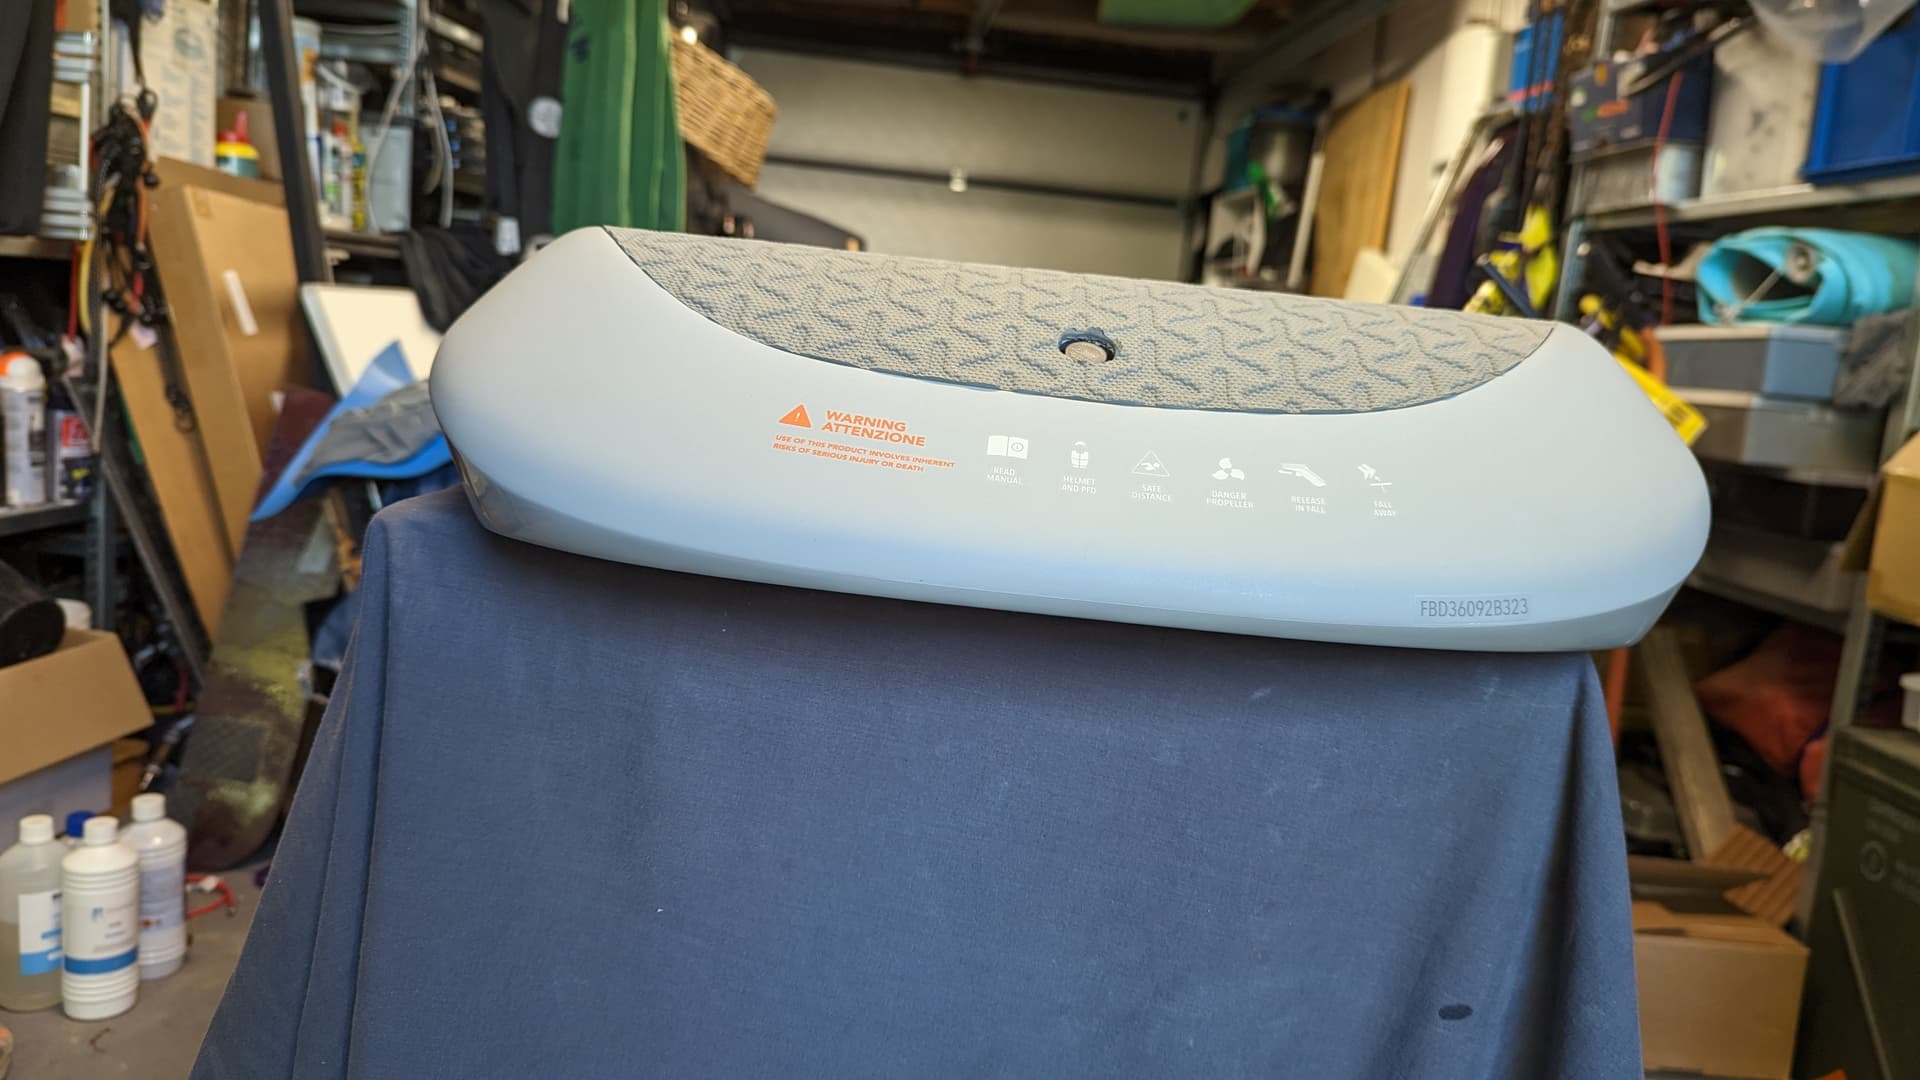
- Board is a new (series 3) Fliteboard PRO Fibreglass 67 liters 5’ x 24.5" board. (The internal size of the main box is 305x390x80mm).
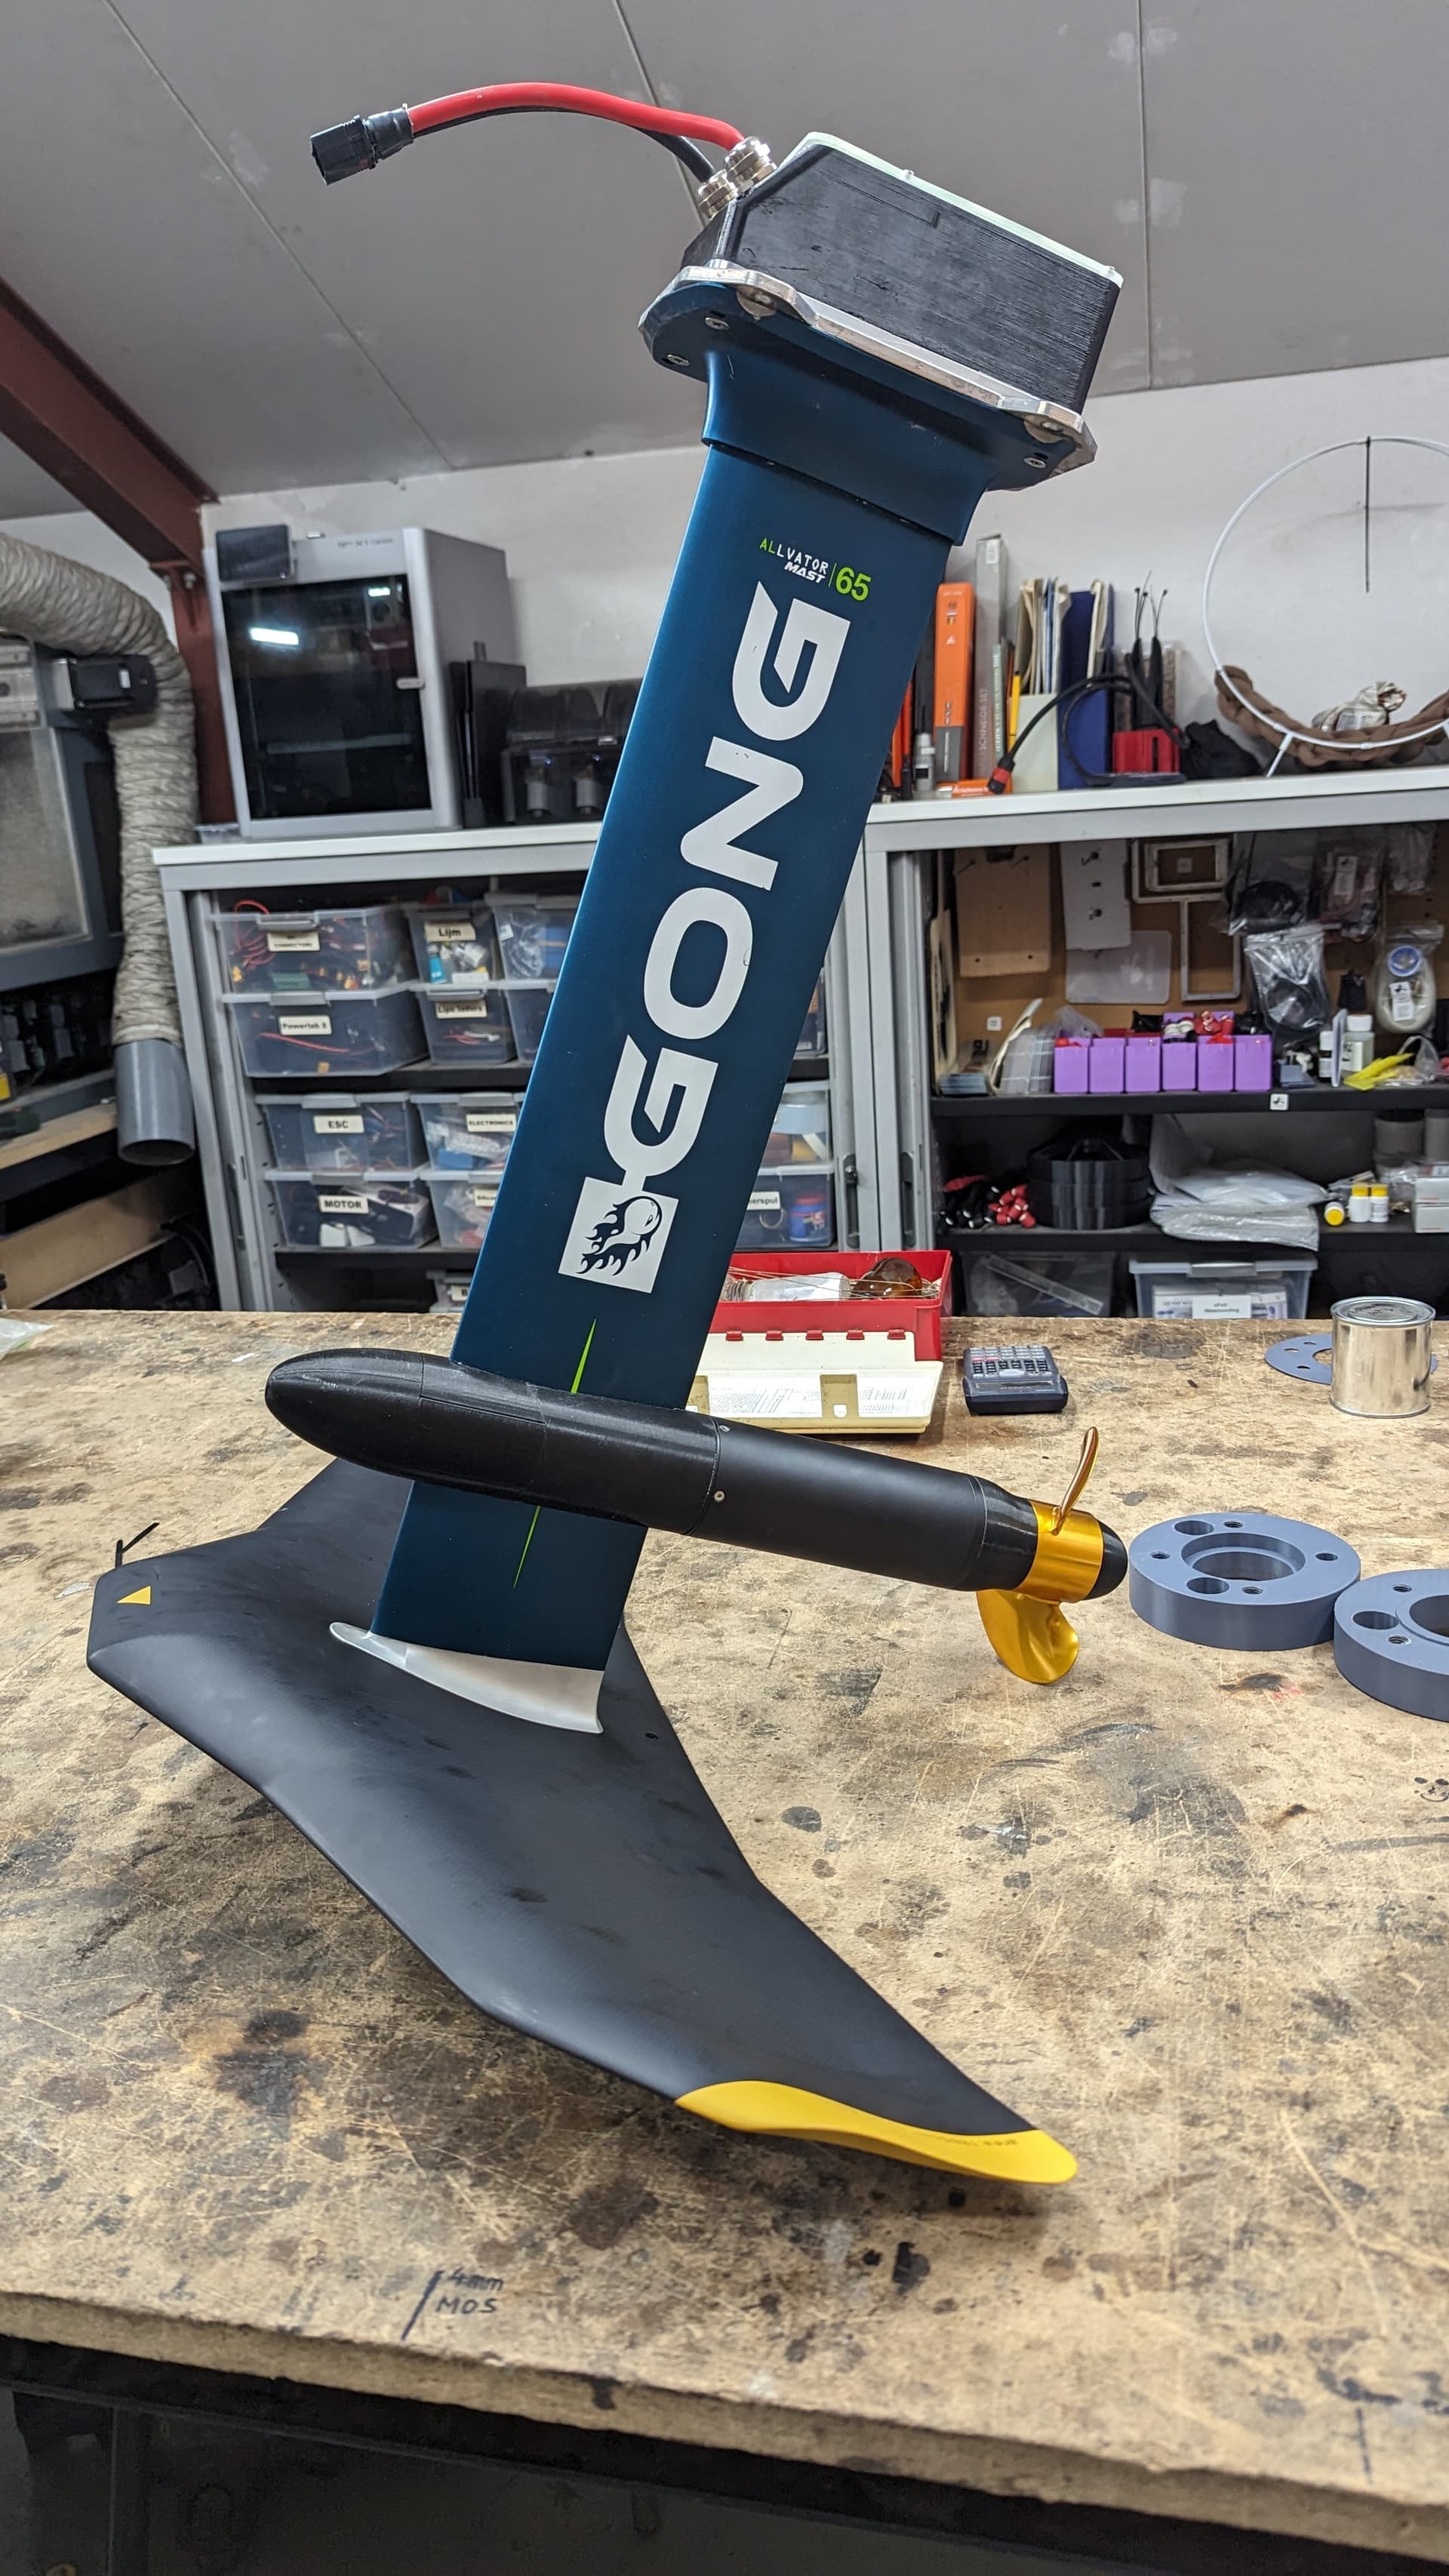
- Vesc is a Flipsky 75200 (a non Flipsky branded, but exactly the same and really cheap can be found here!) and here a teardown
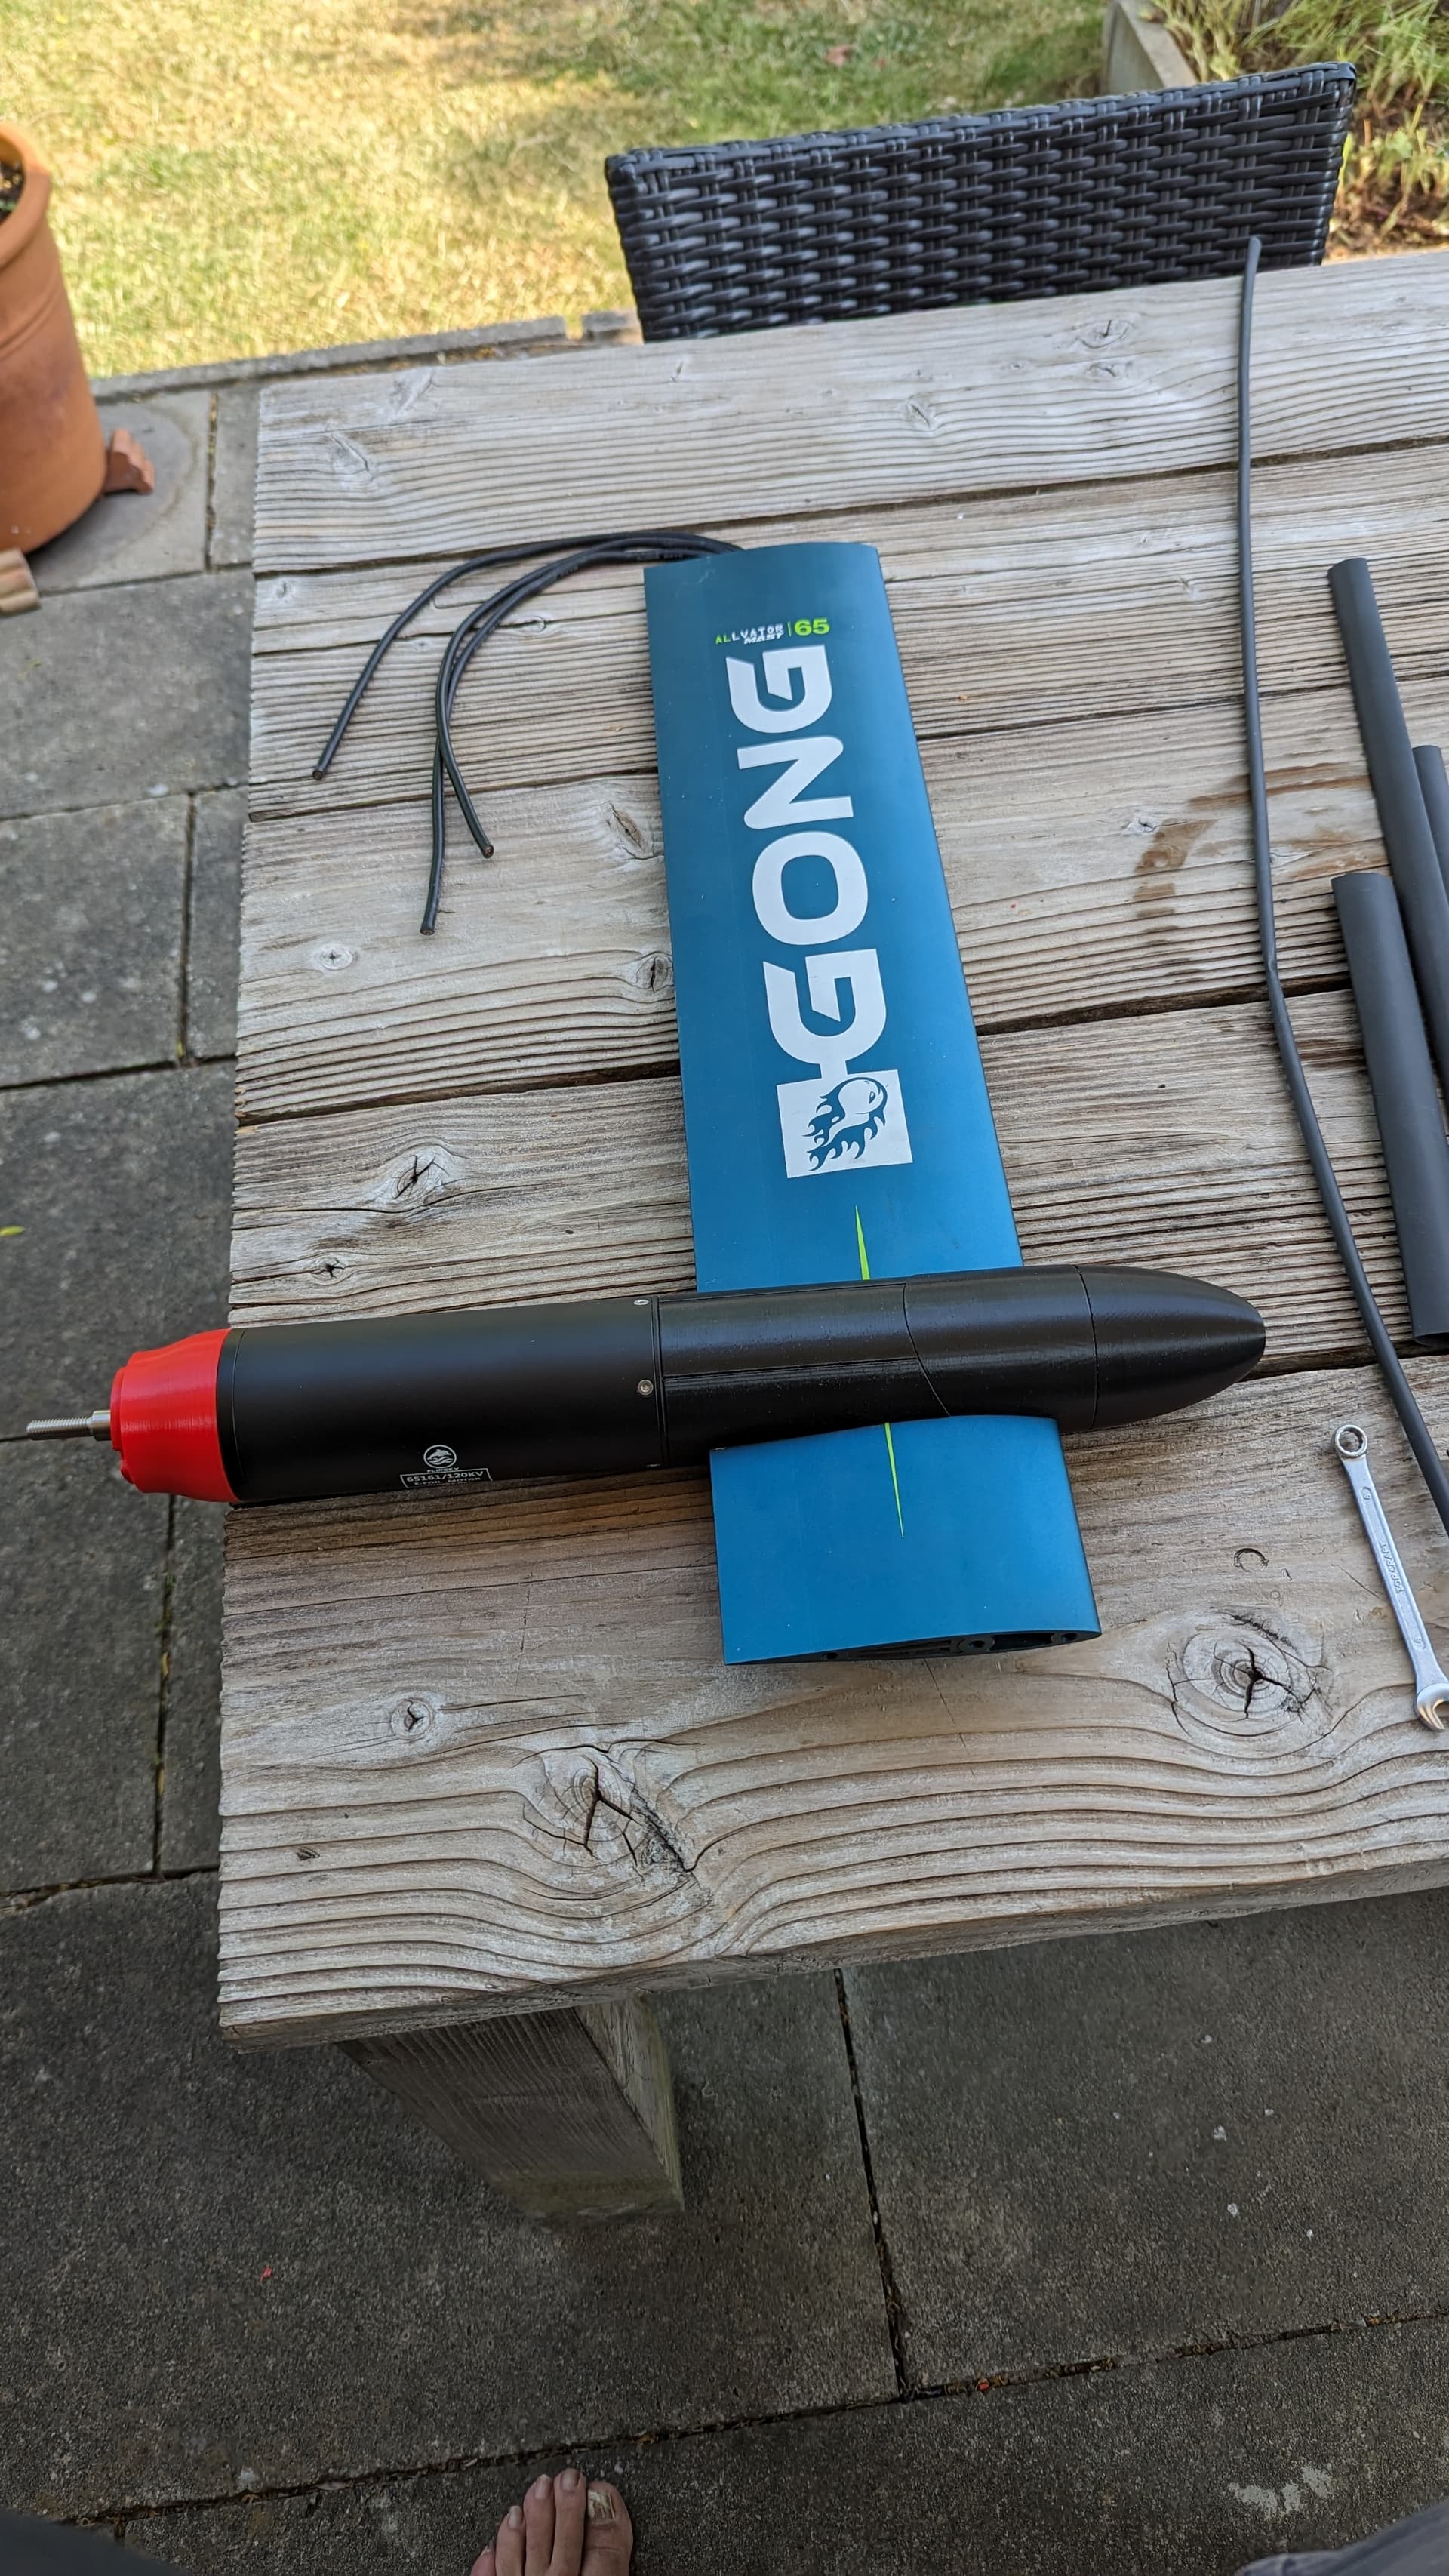
- Motor used is a Flipsky 65161/120KV
- Remote is a FelixRemote.
- Battery is 12S9P (thank you @Pjotr) (more info here and here.)
- BMS used is a JBD Smart BMS.
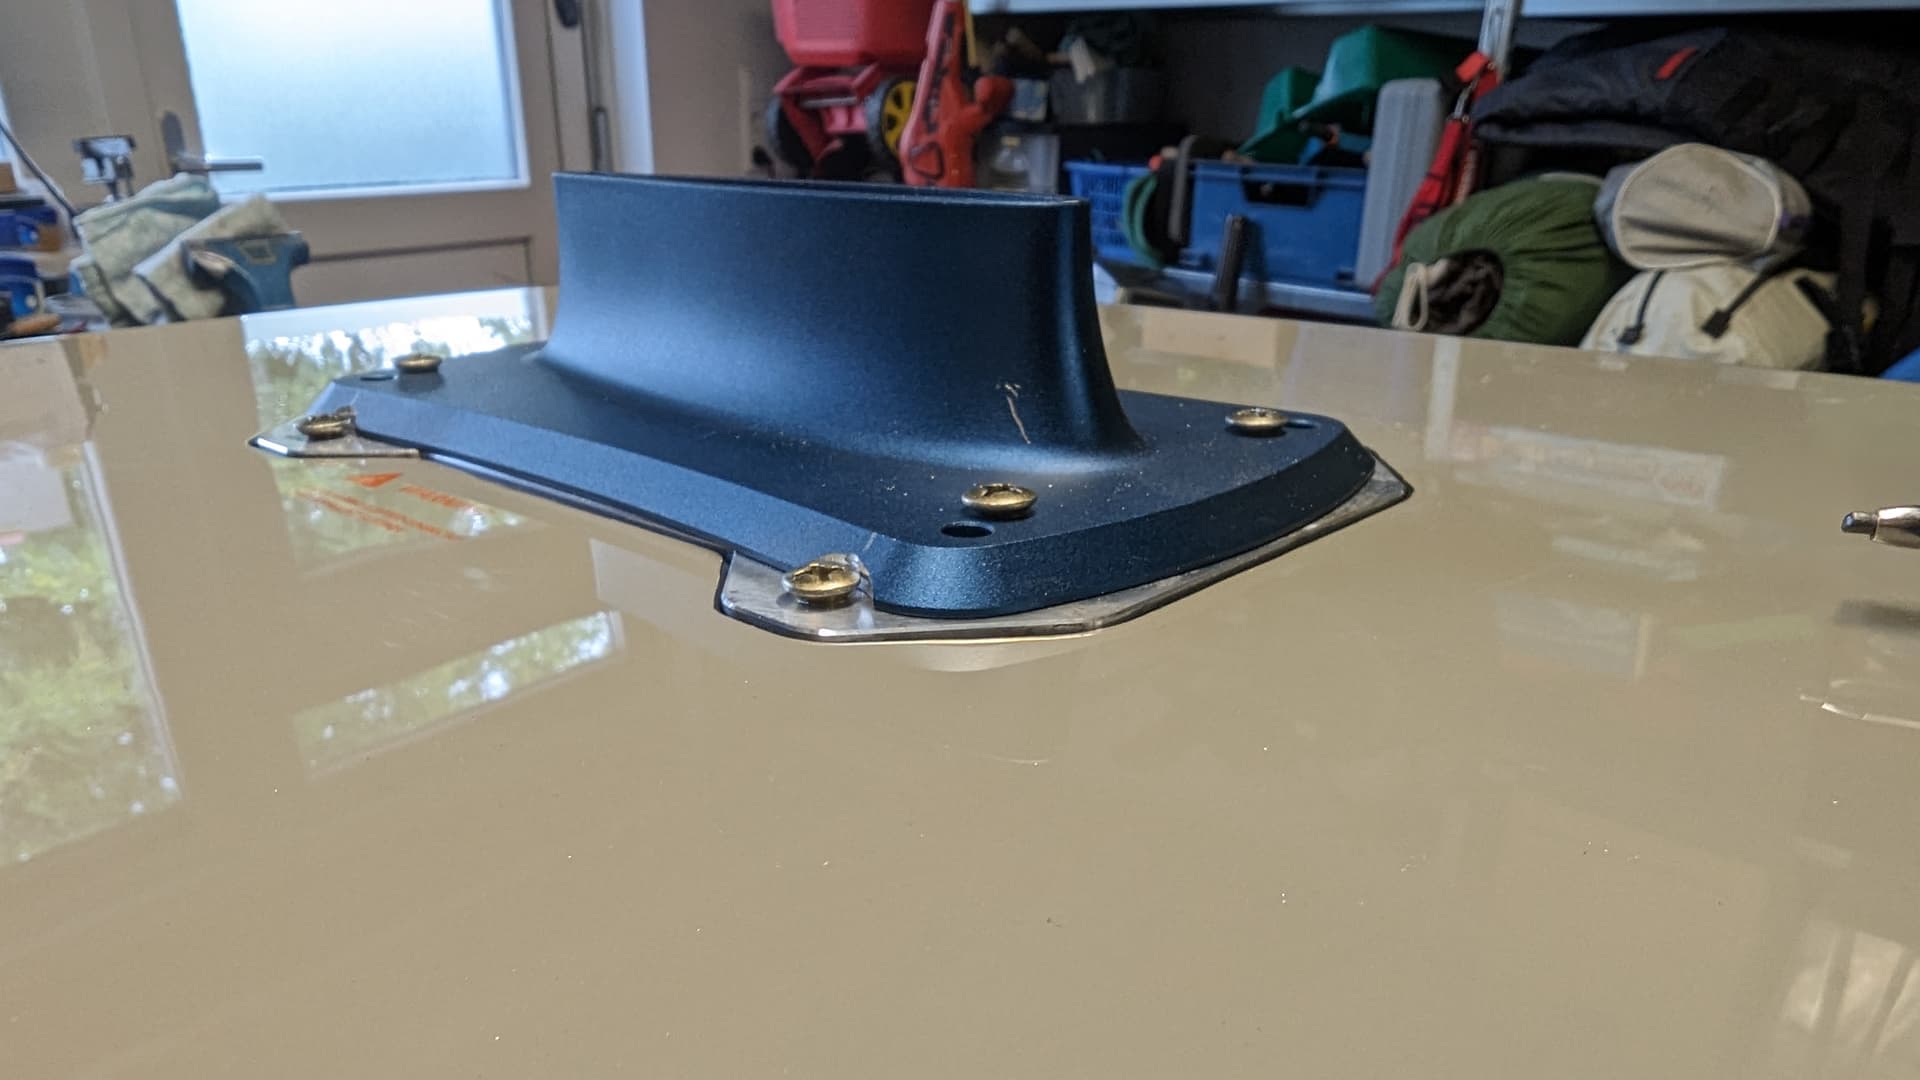
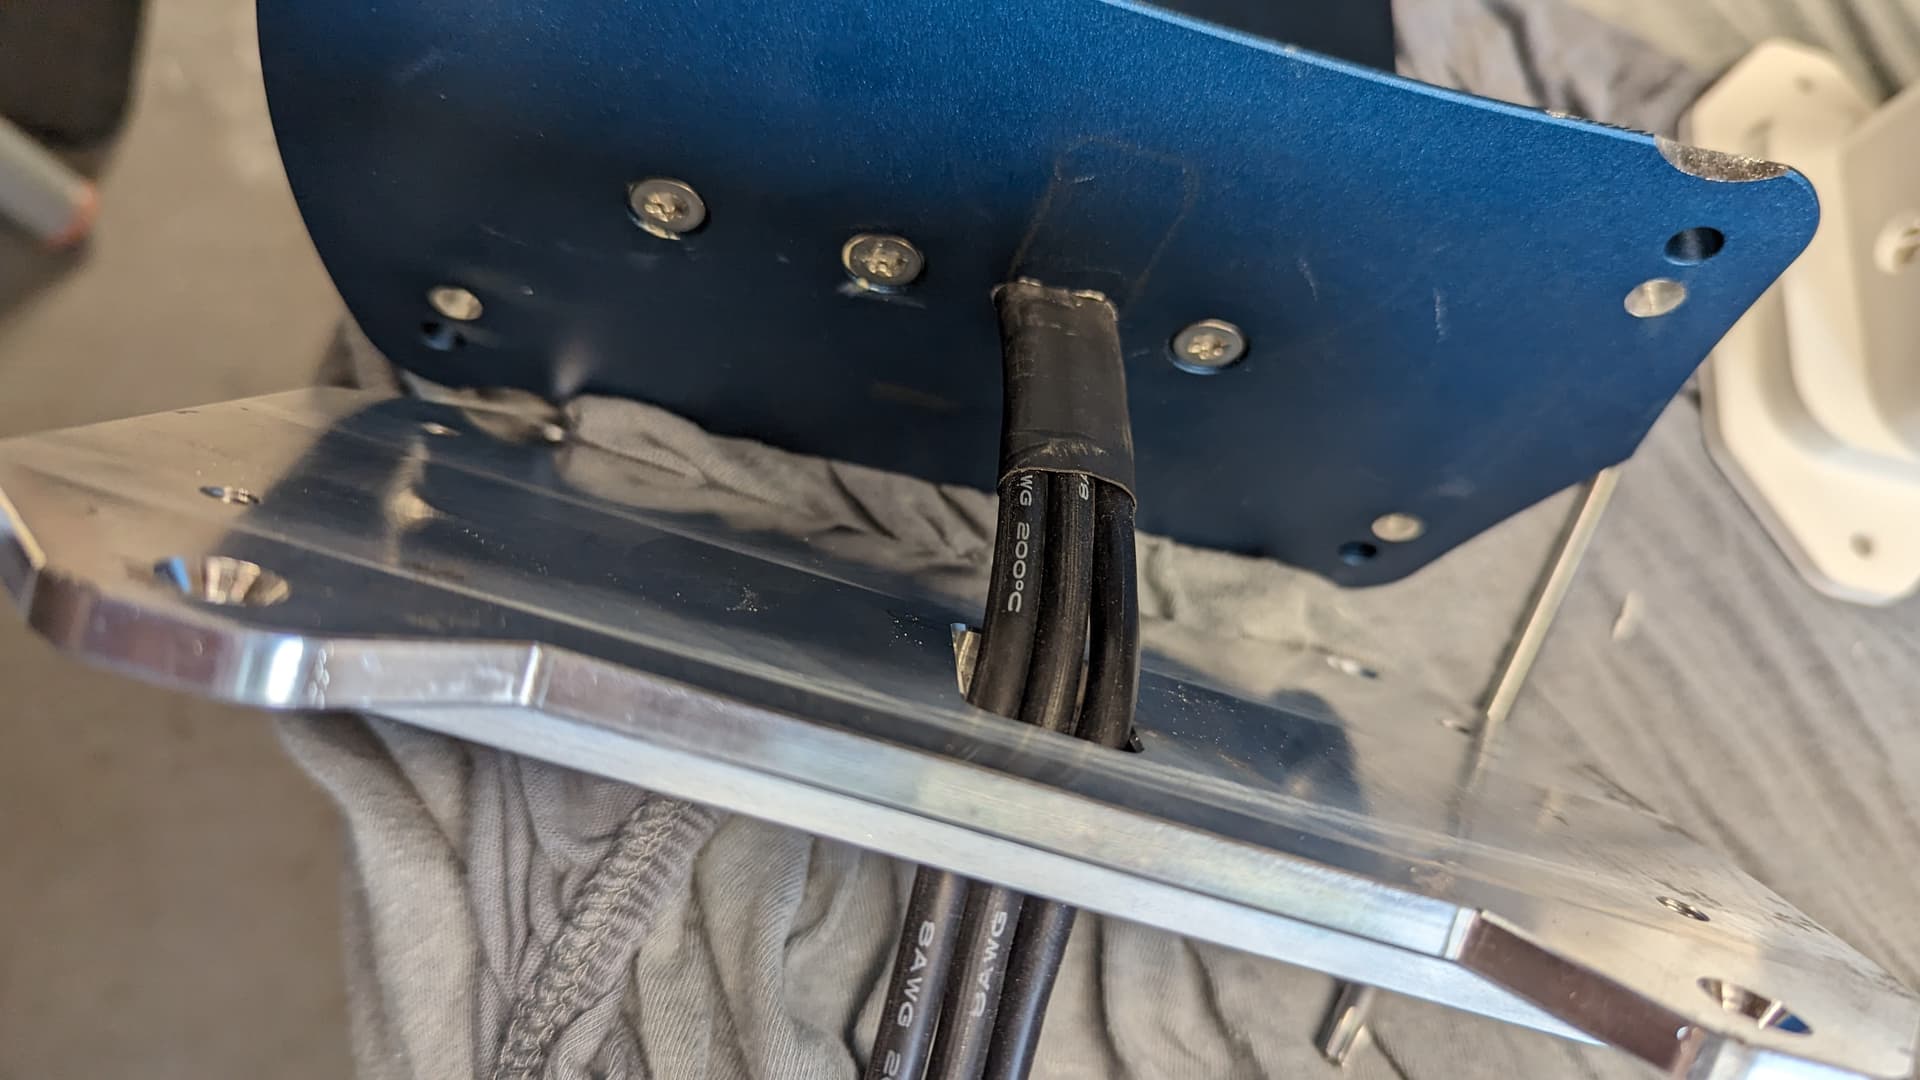
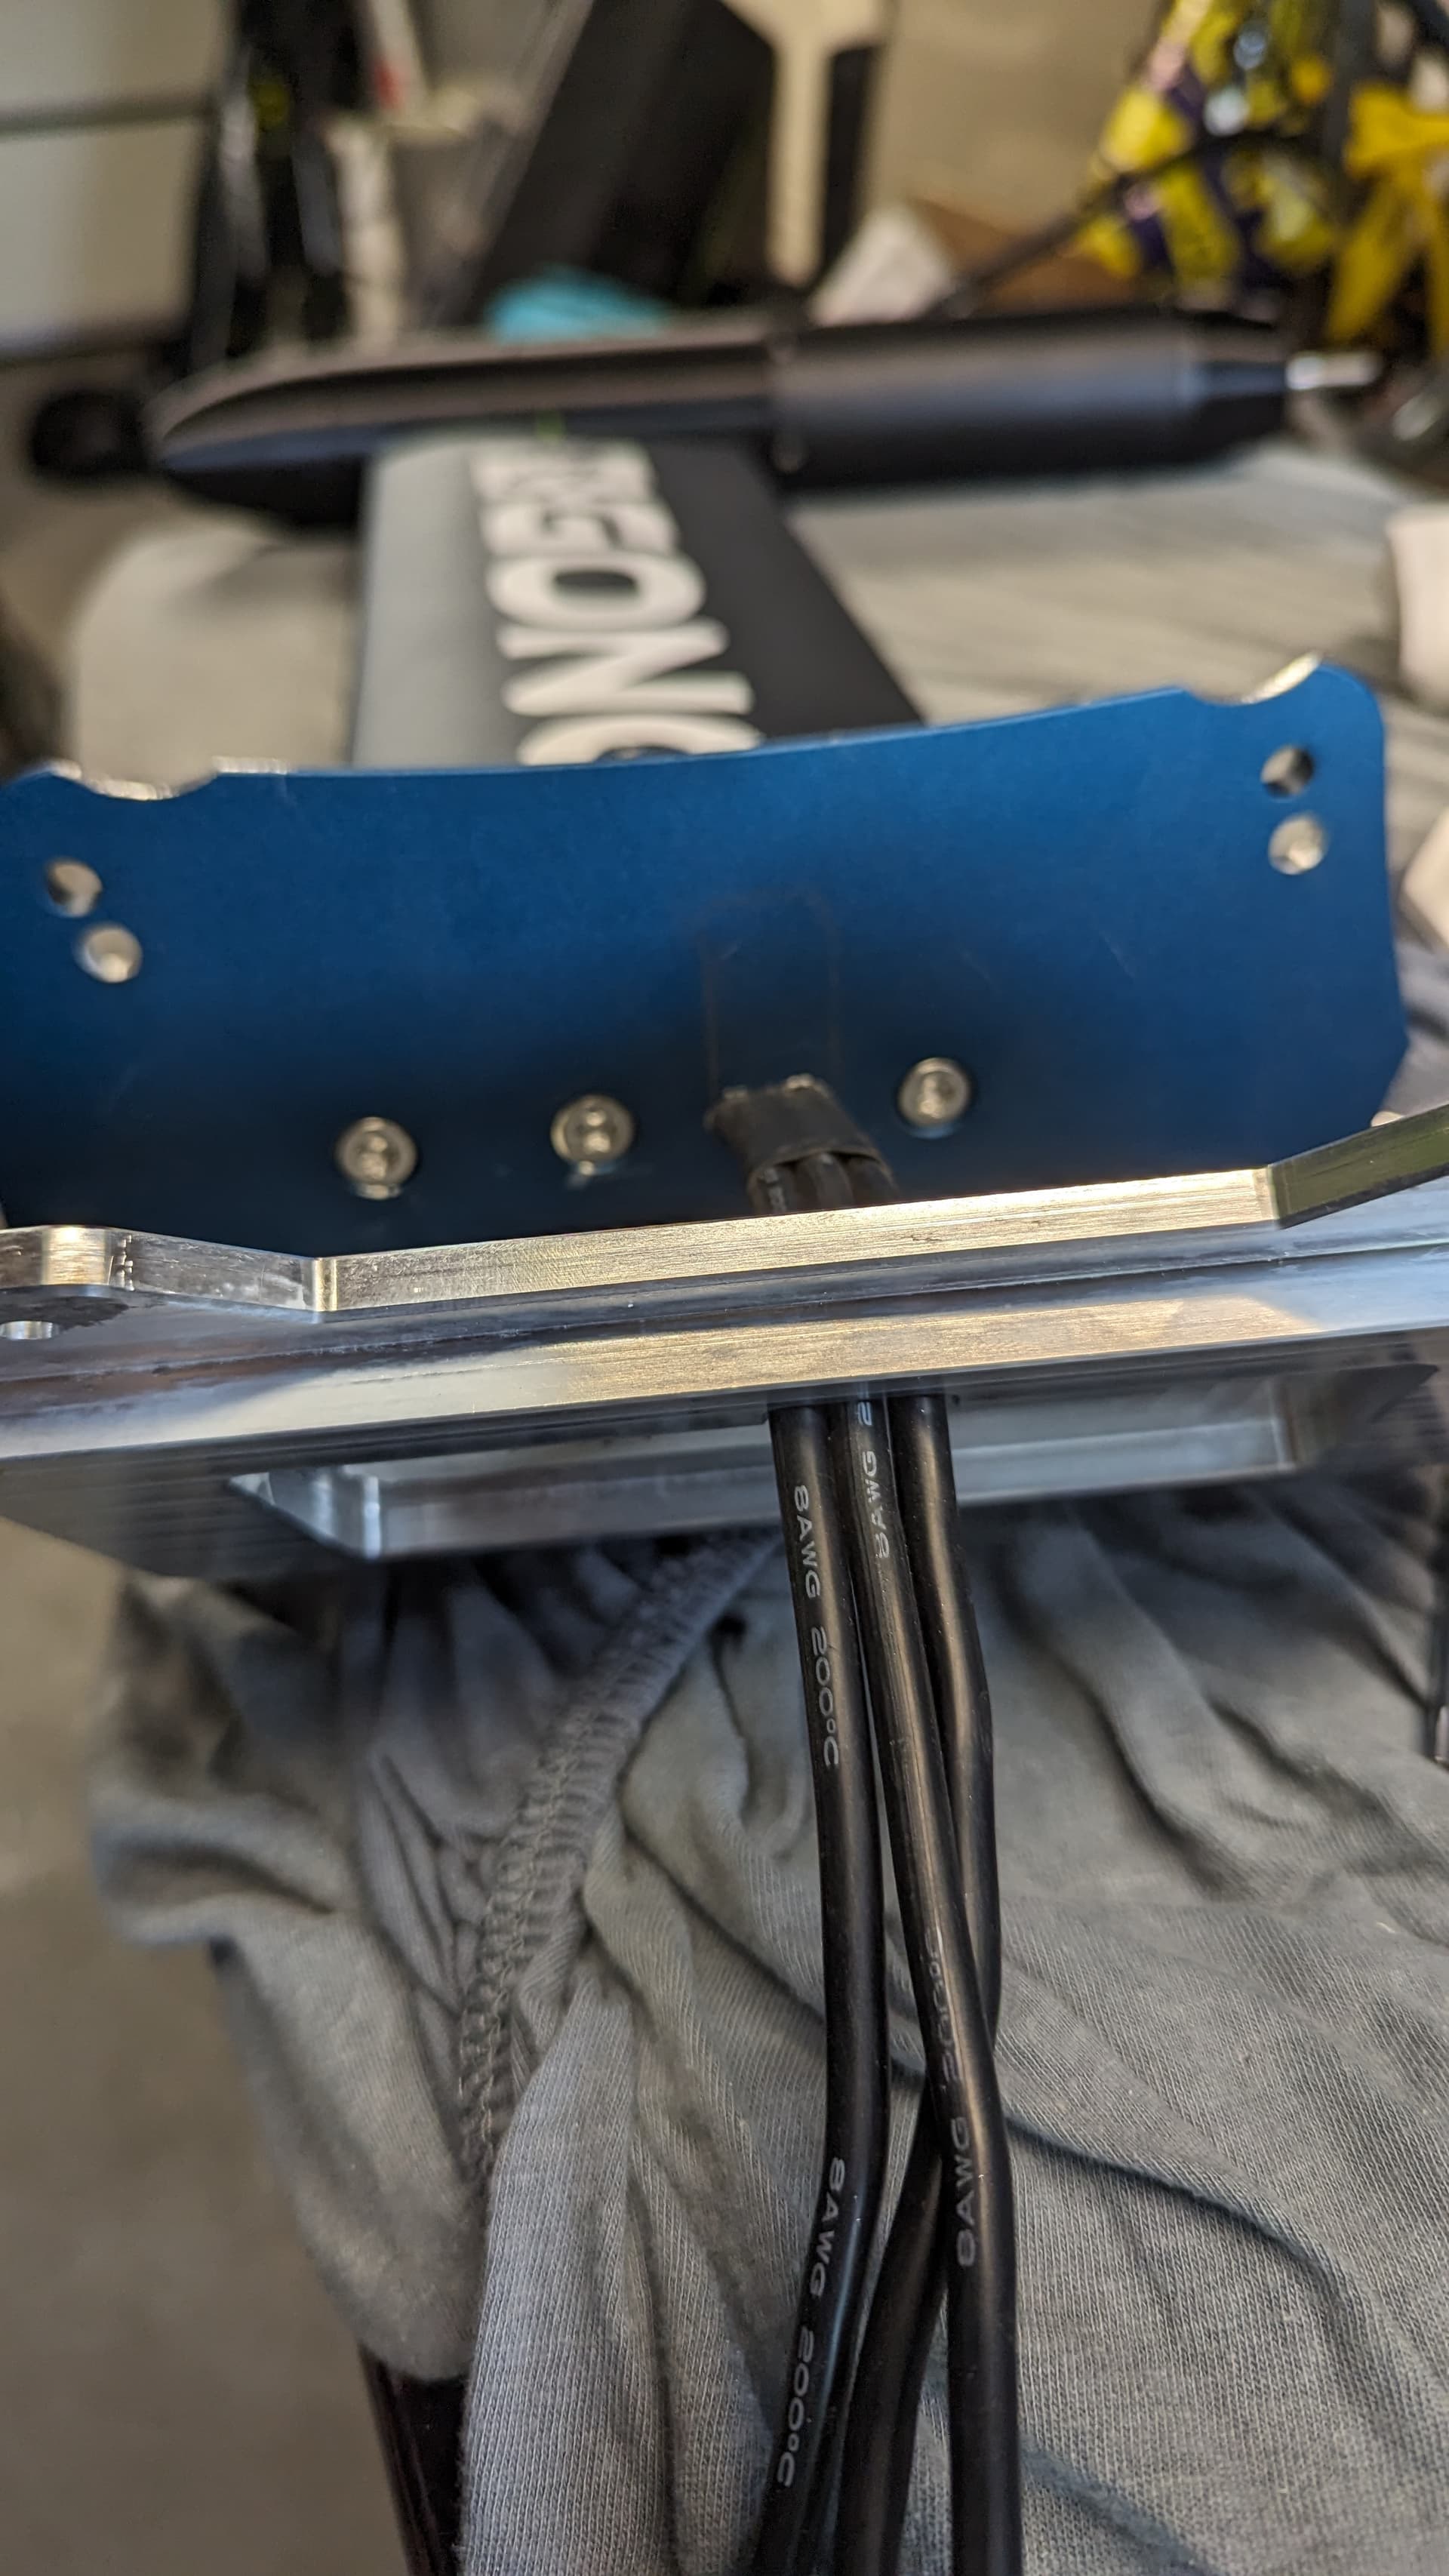
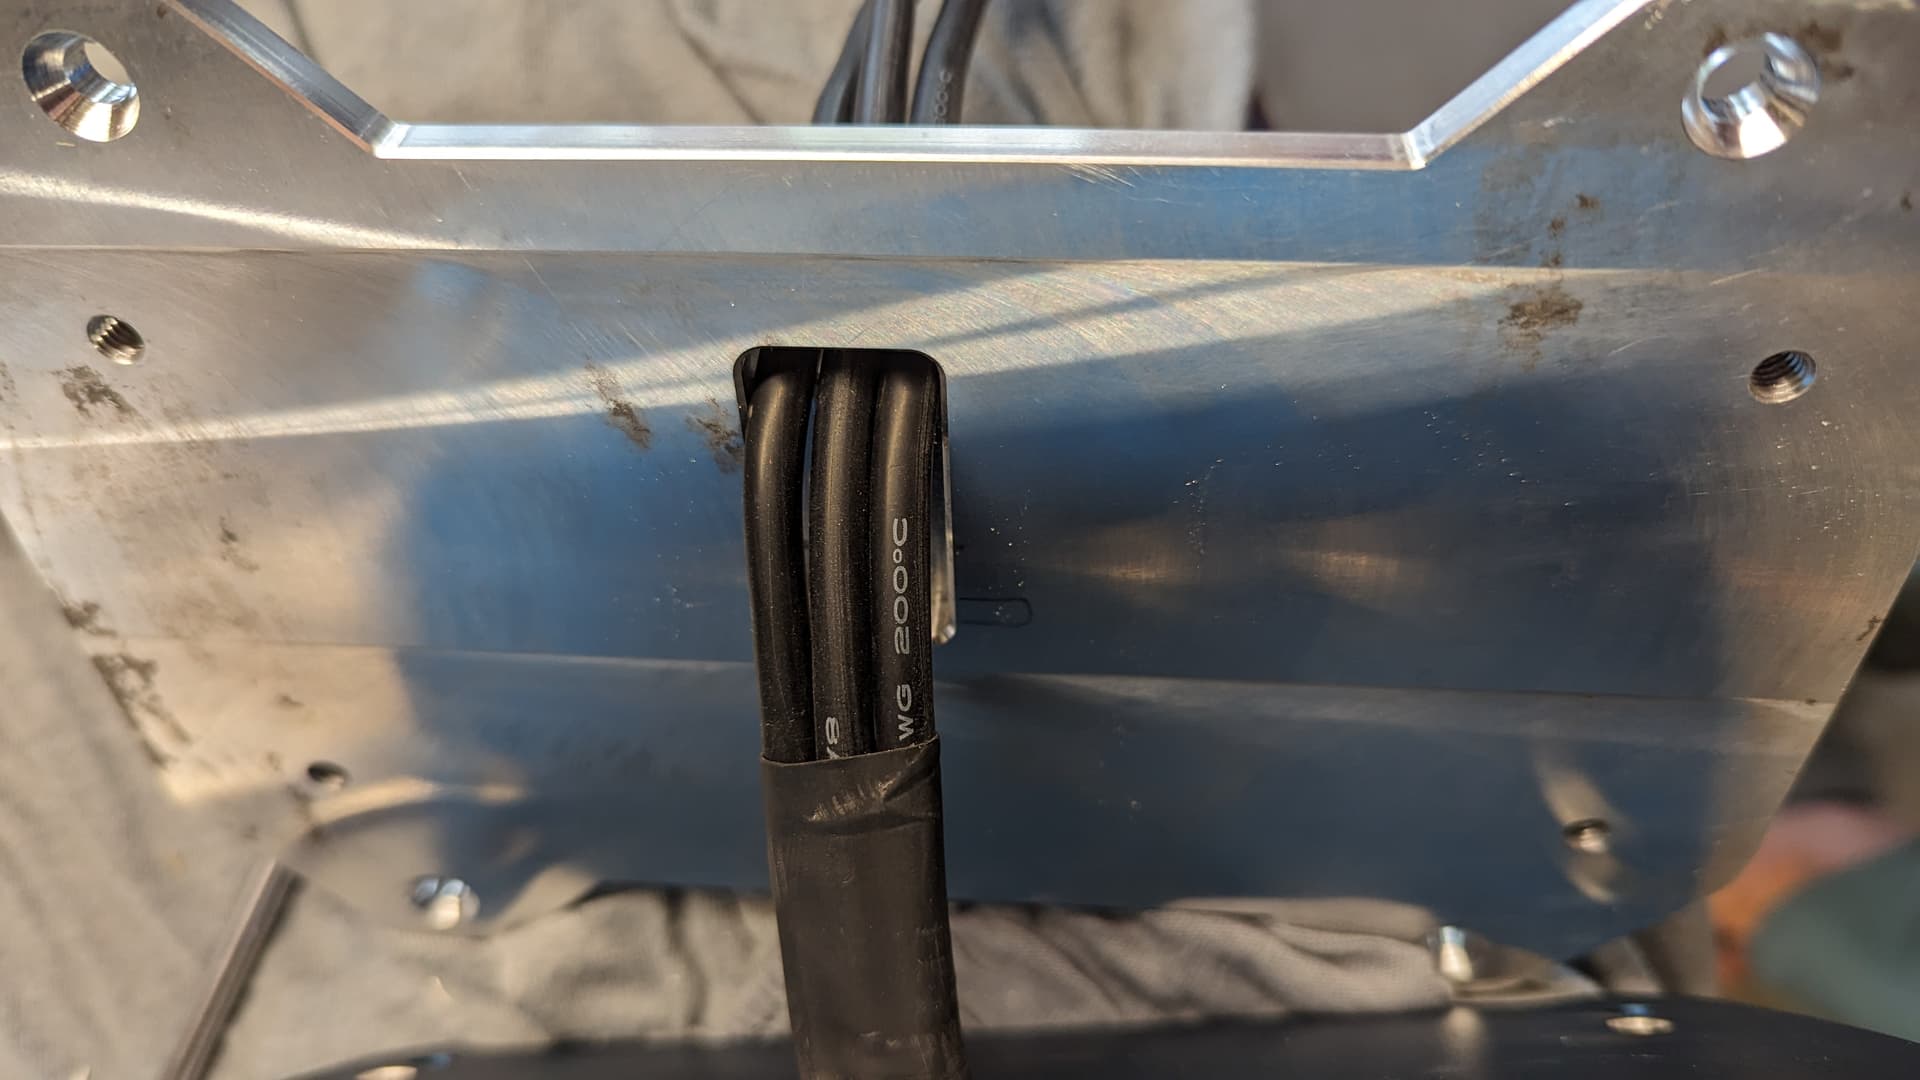
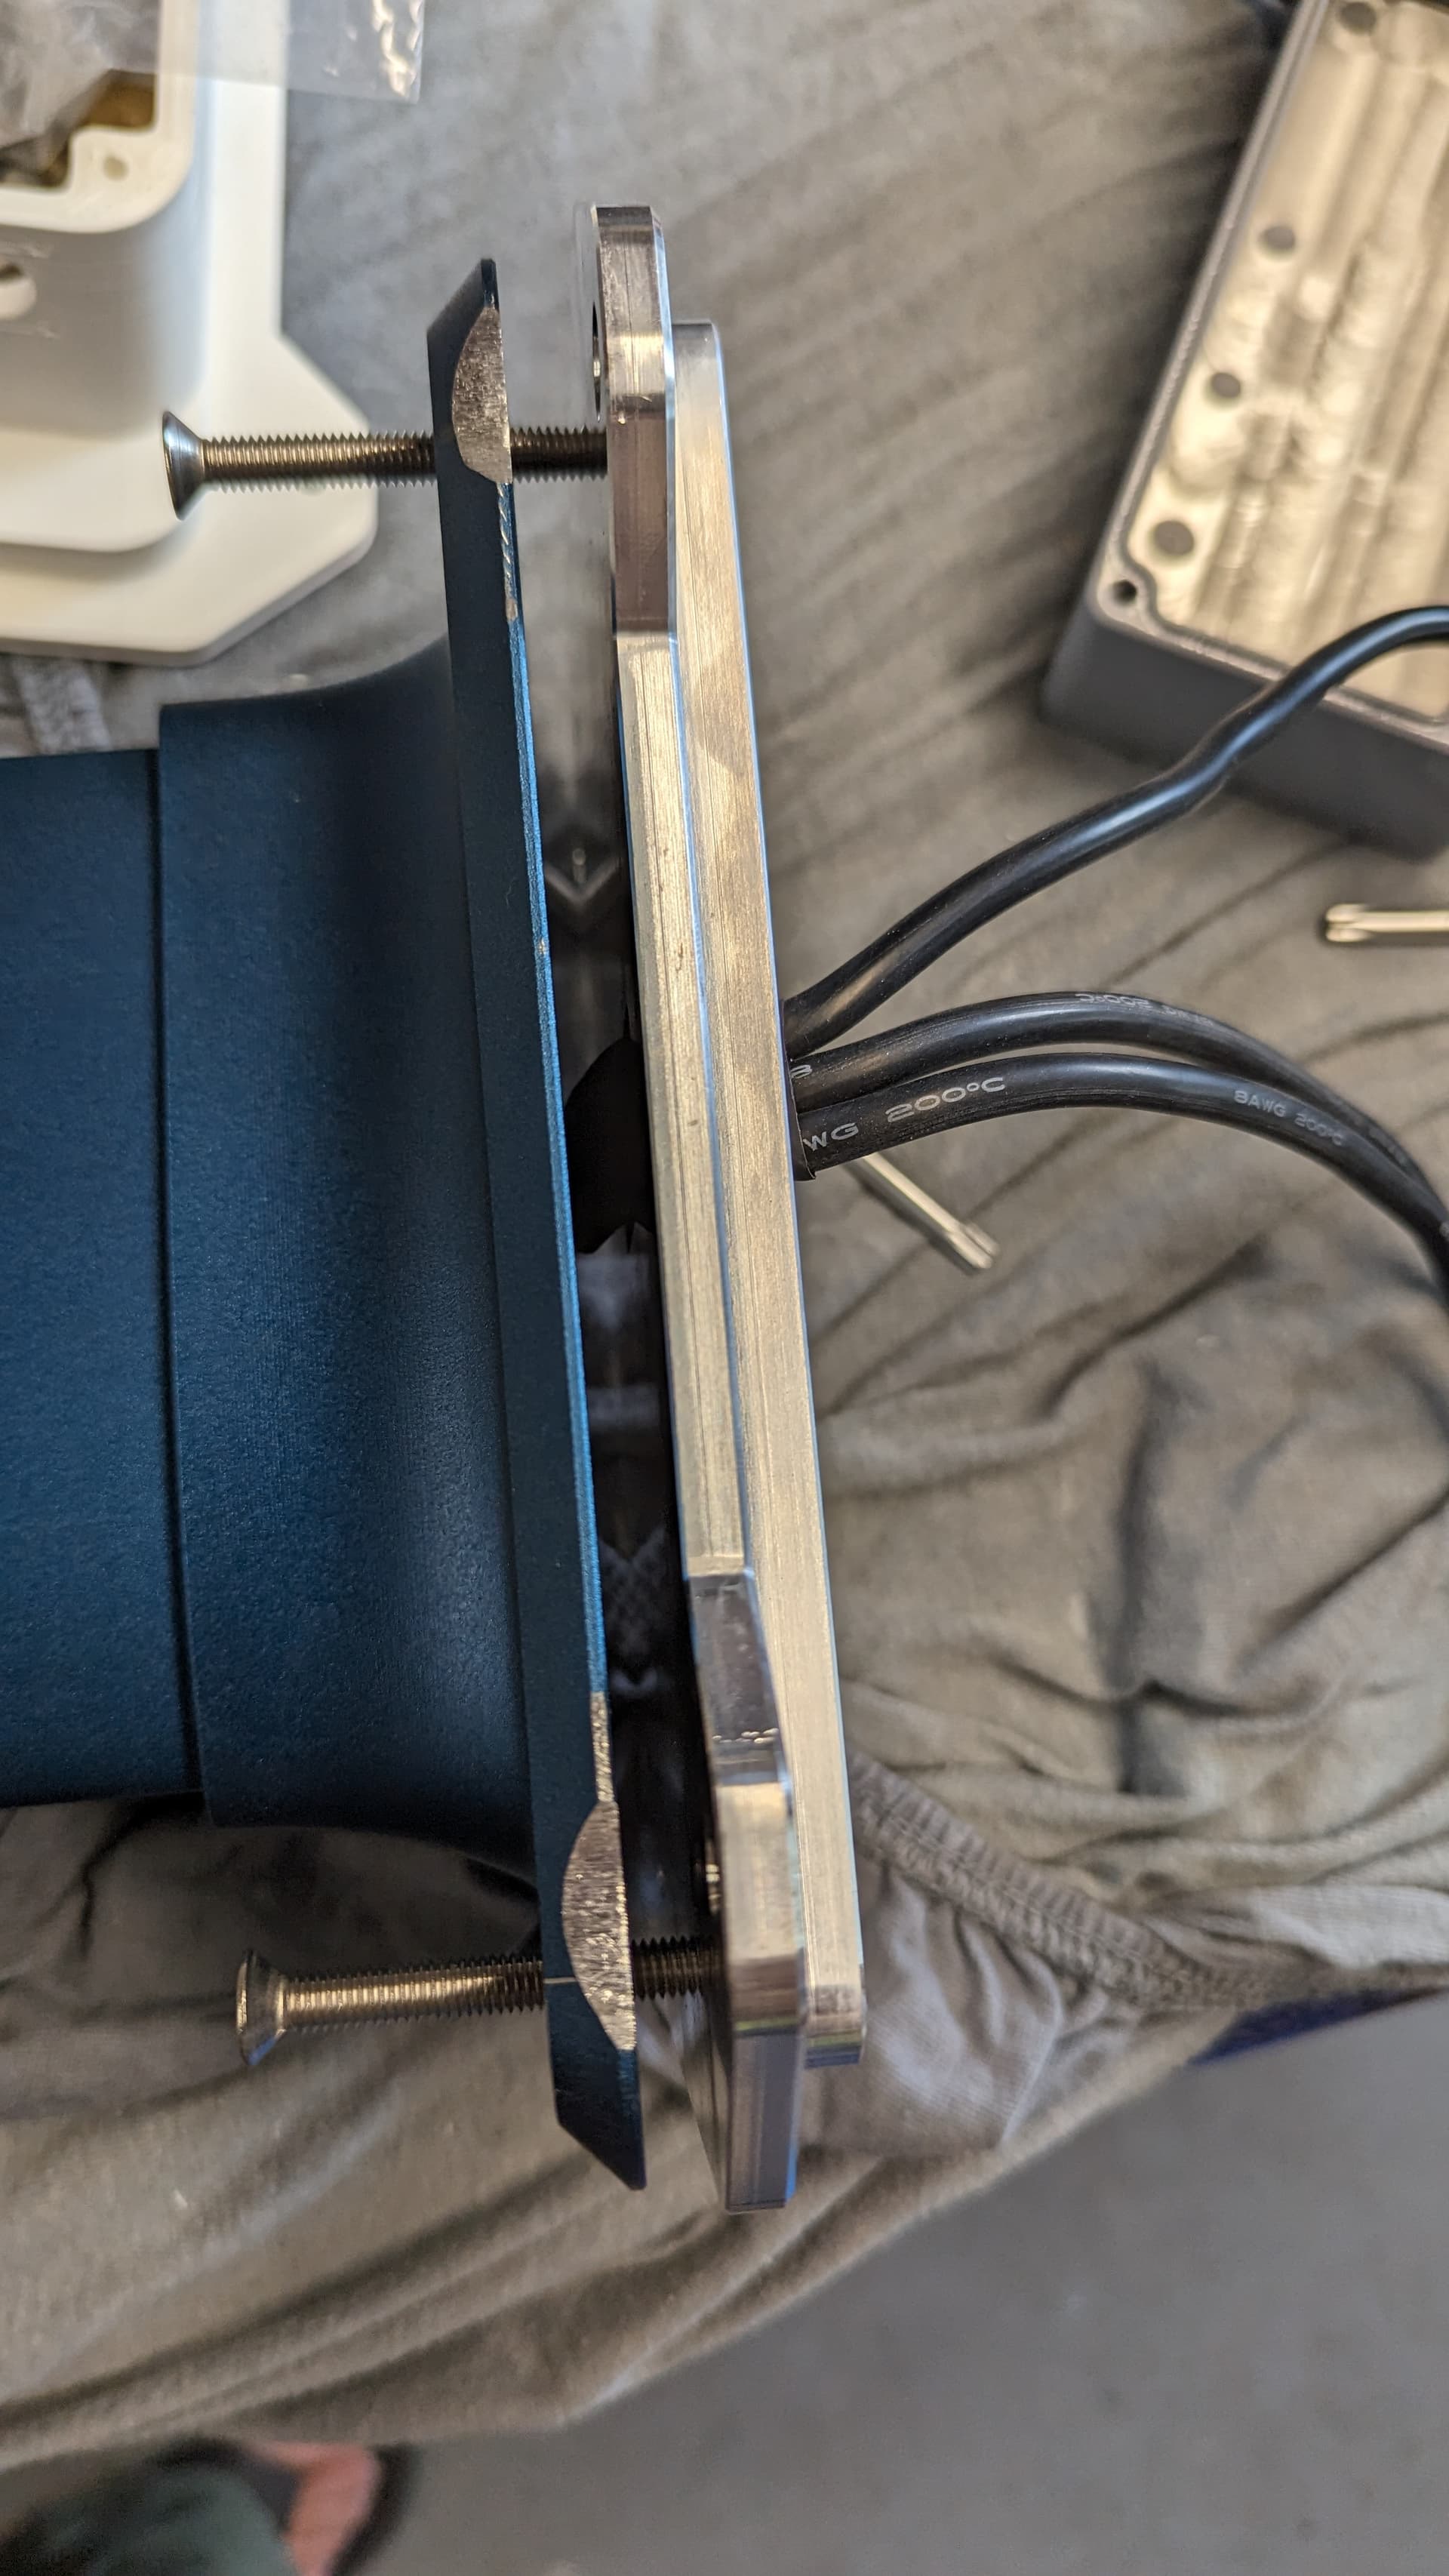
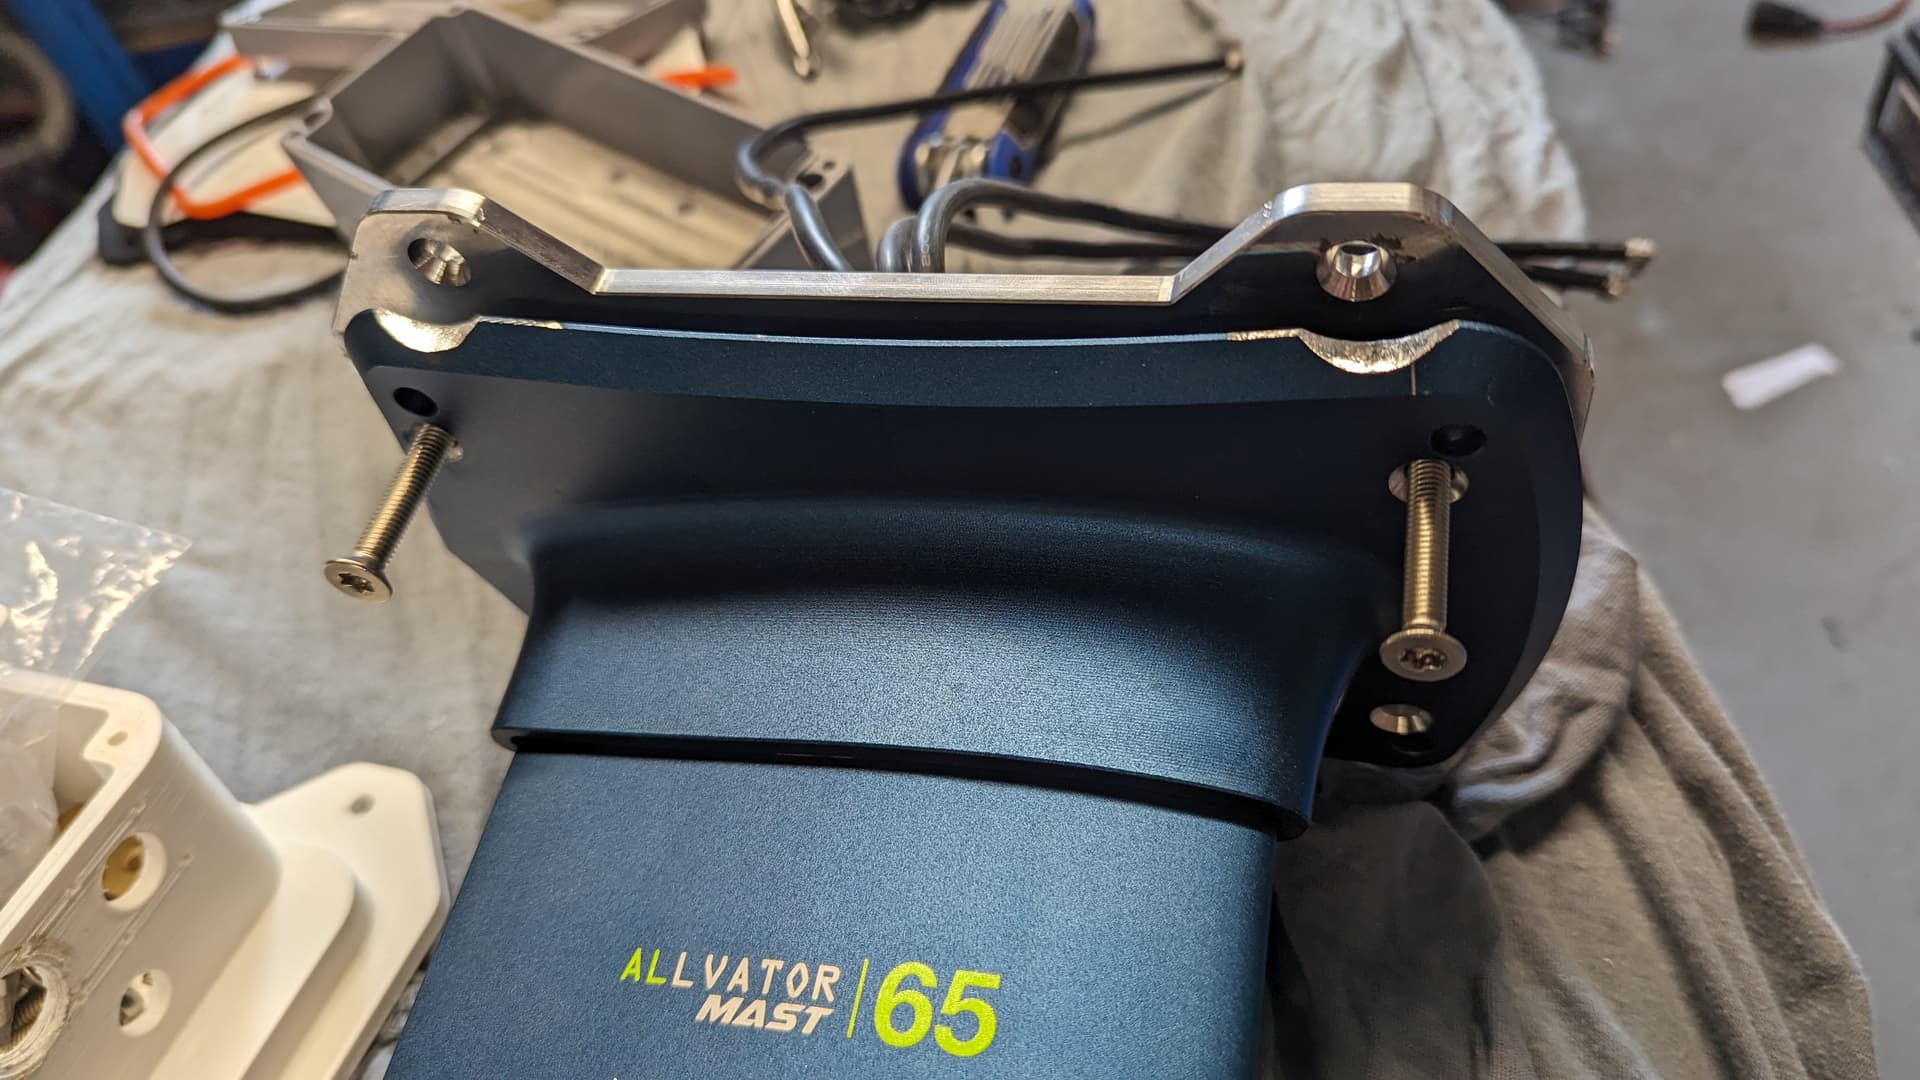
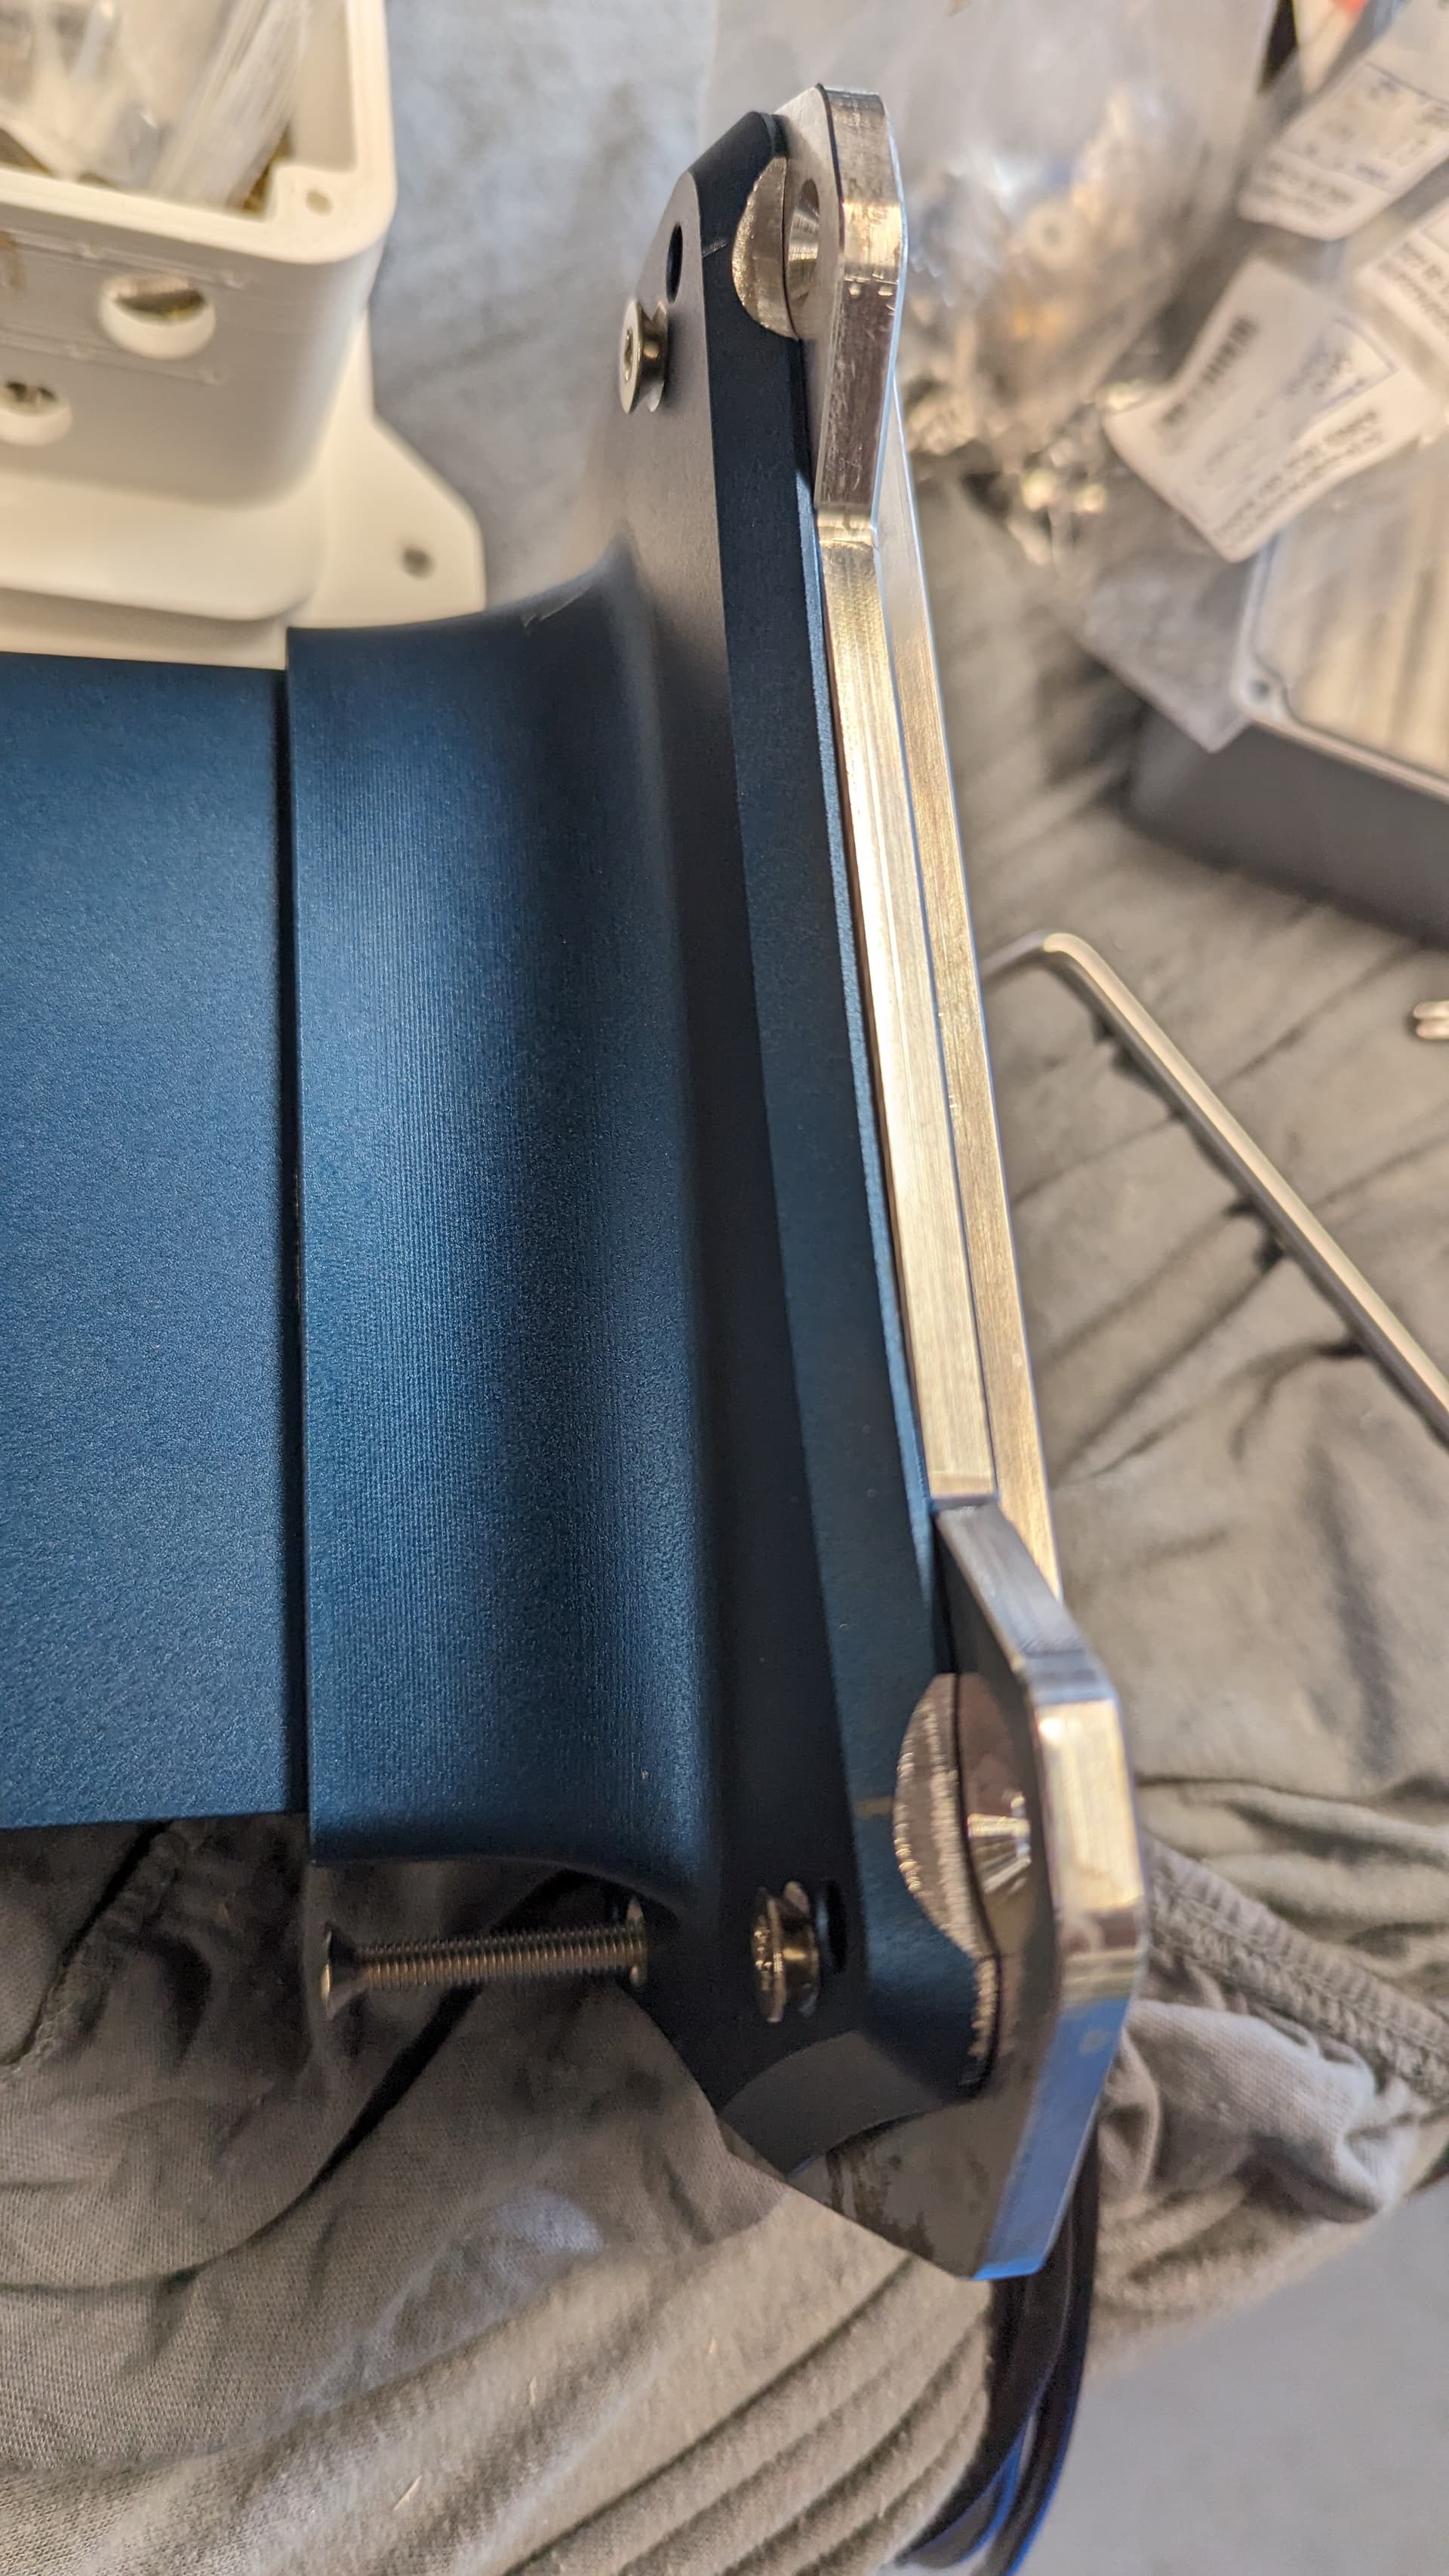
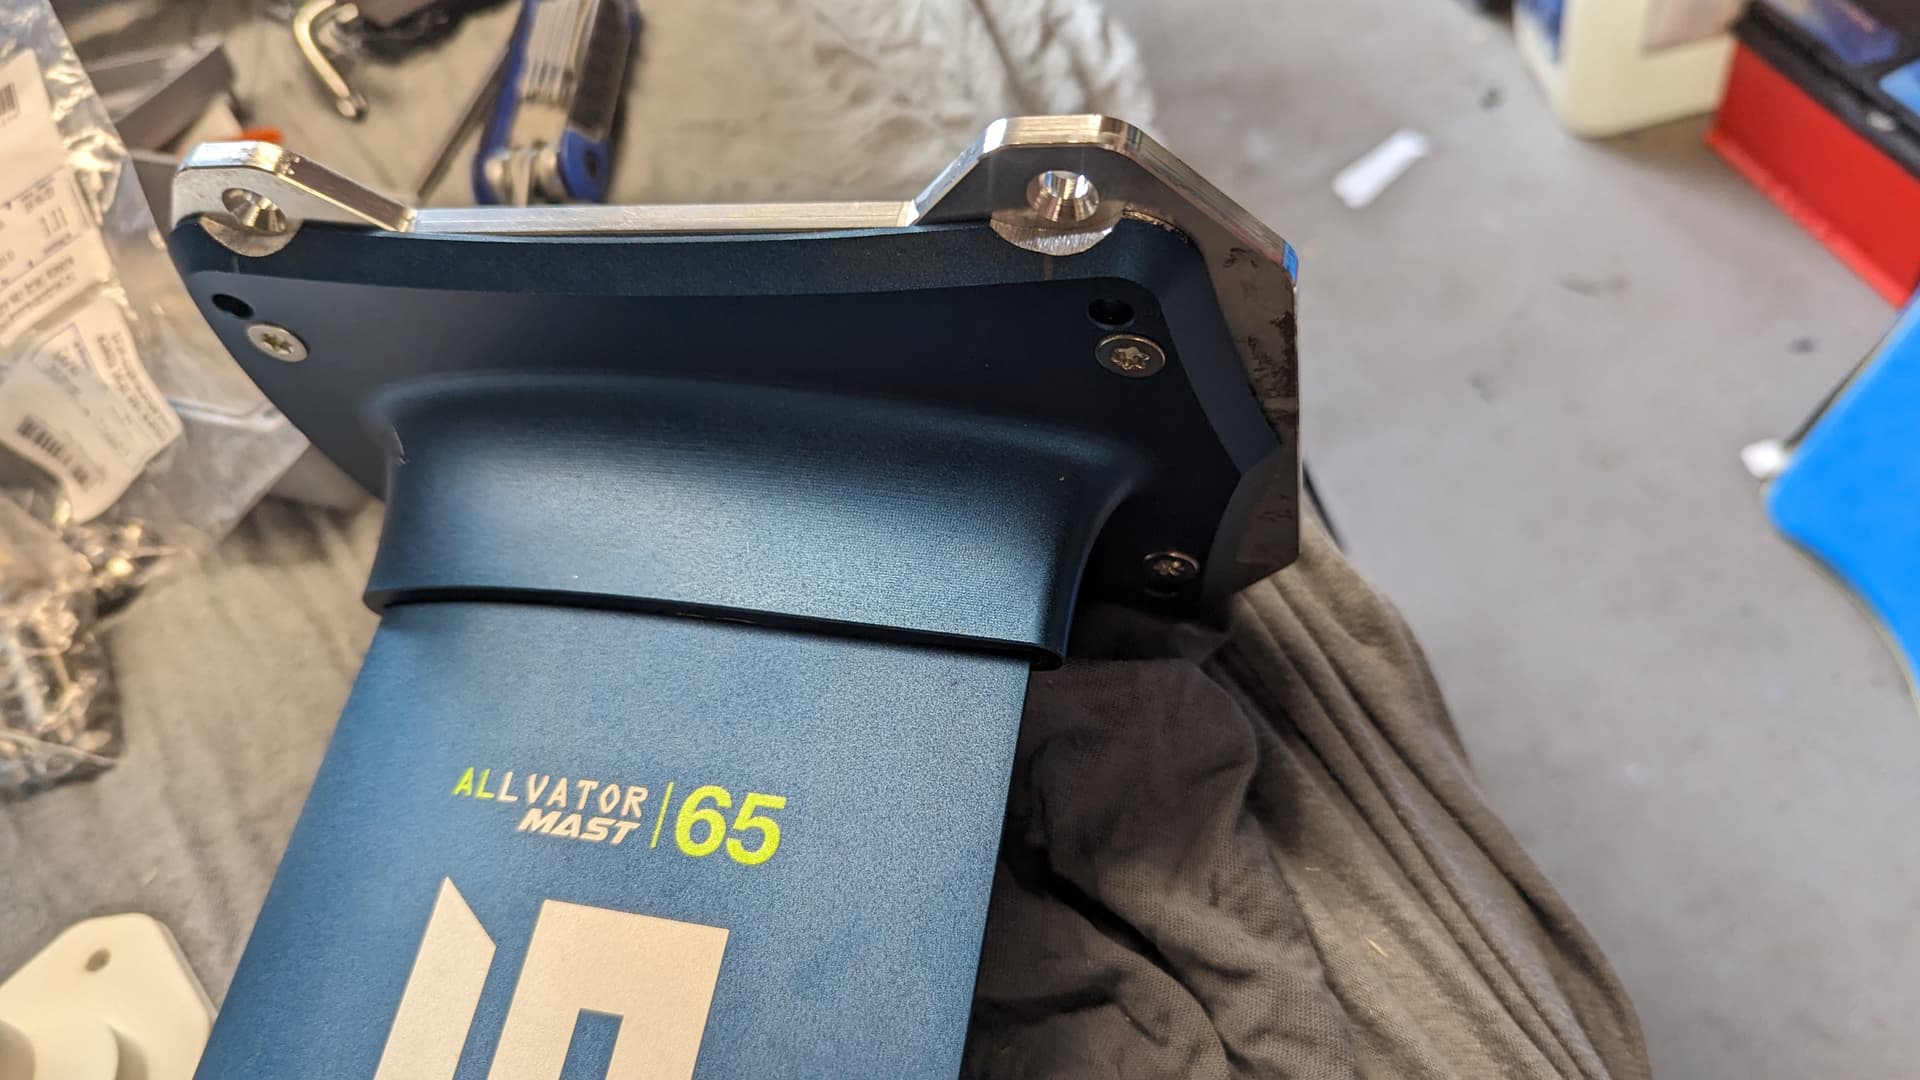
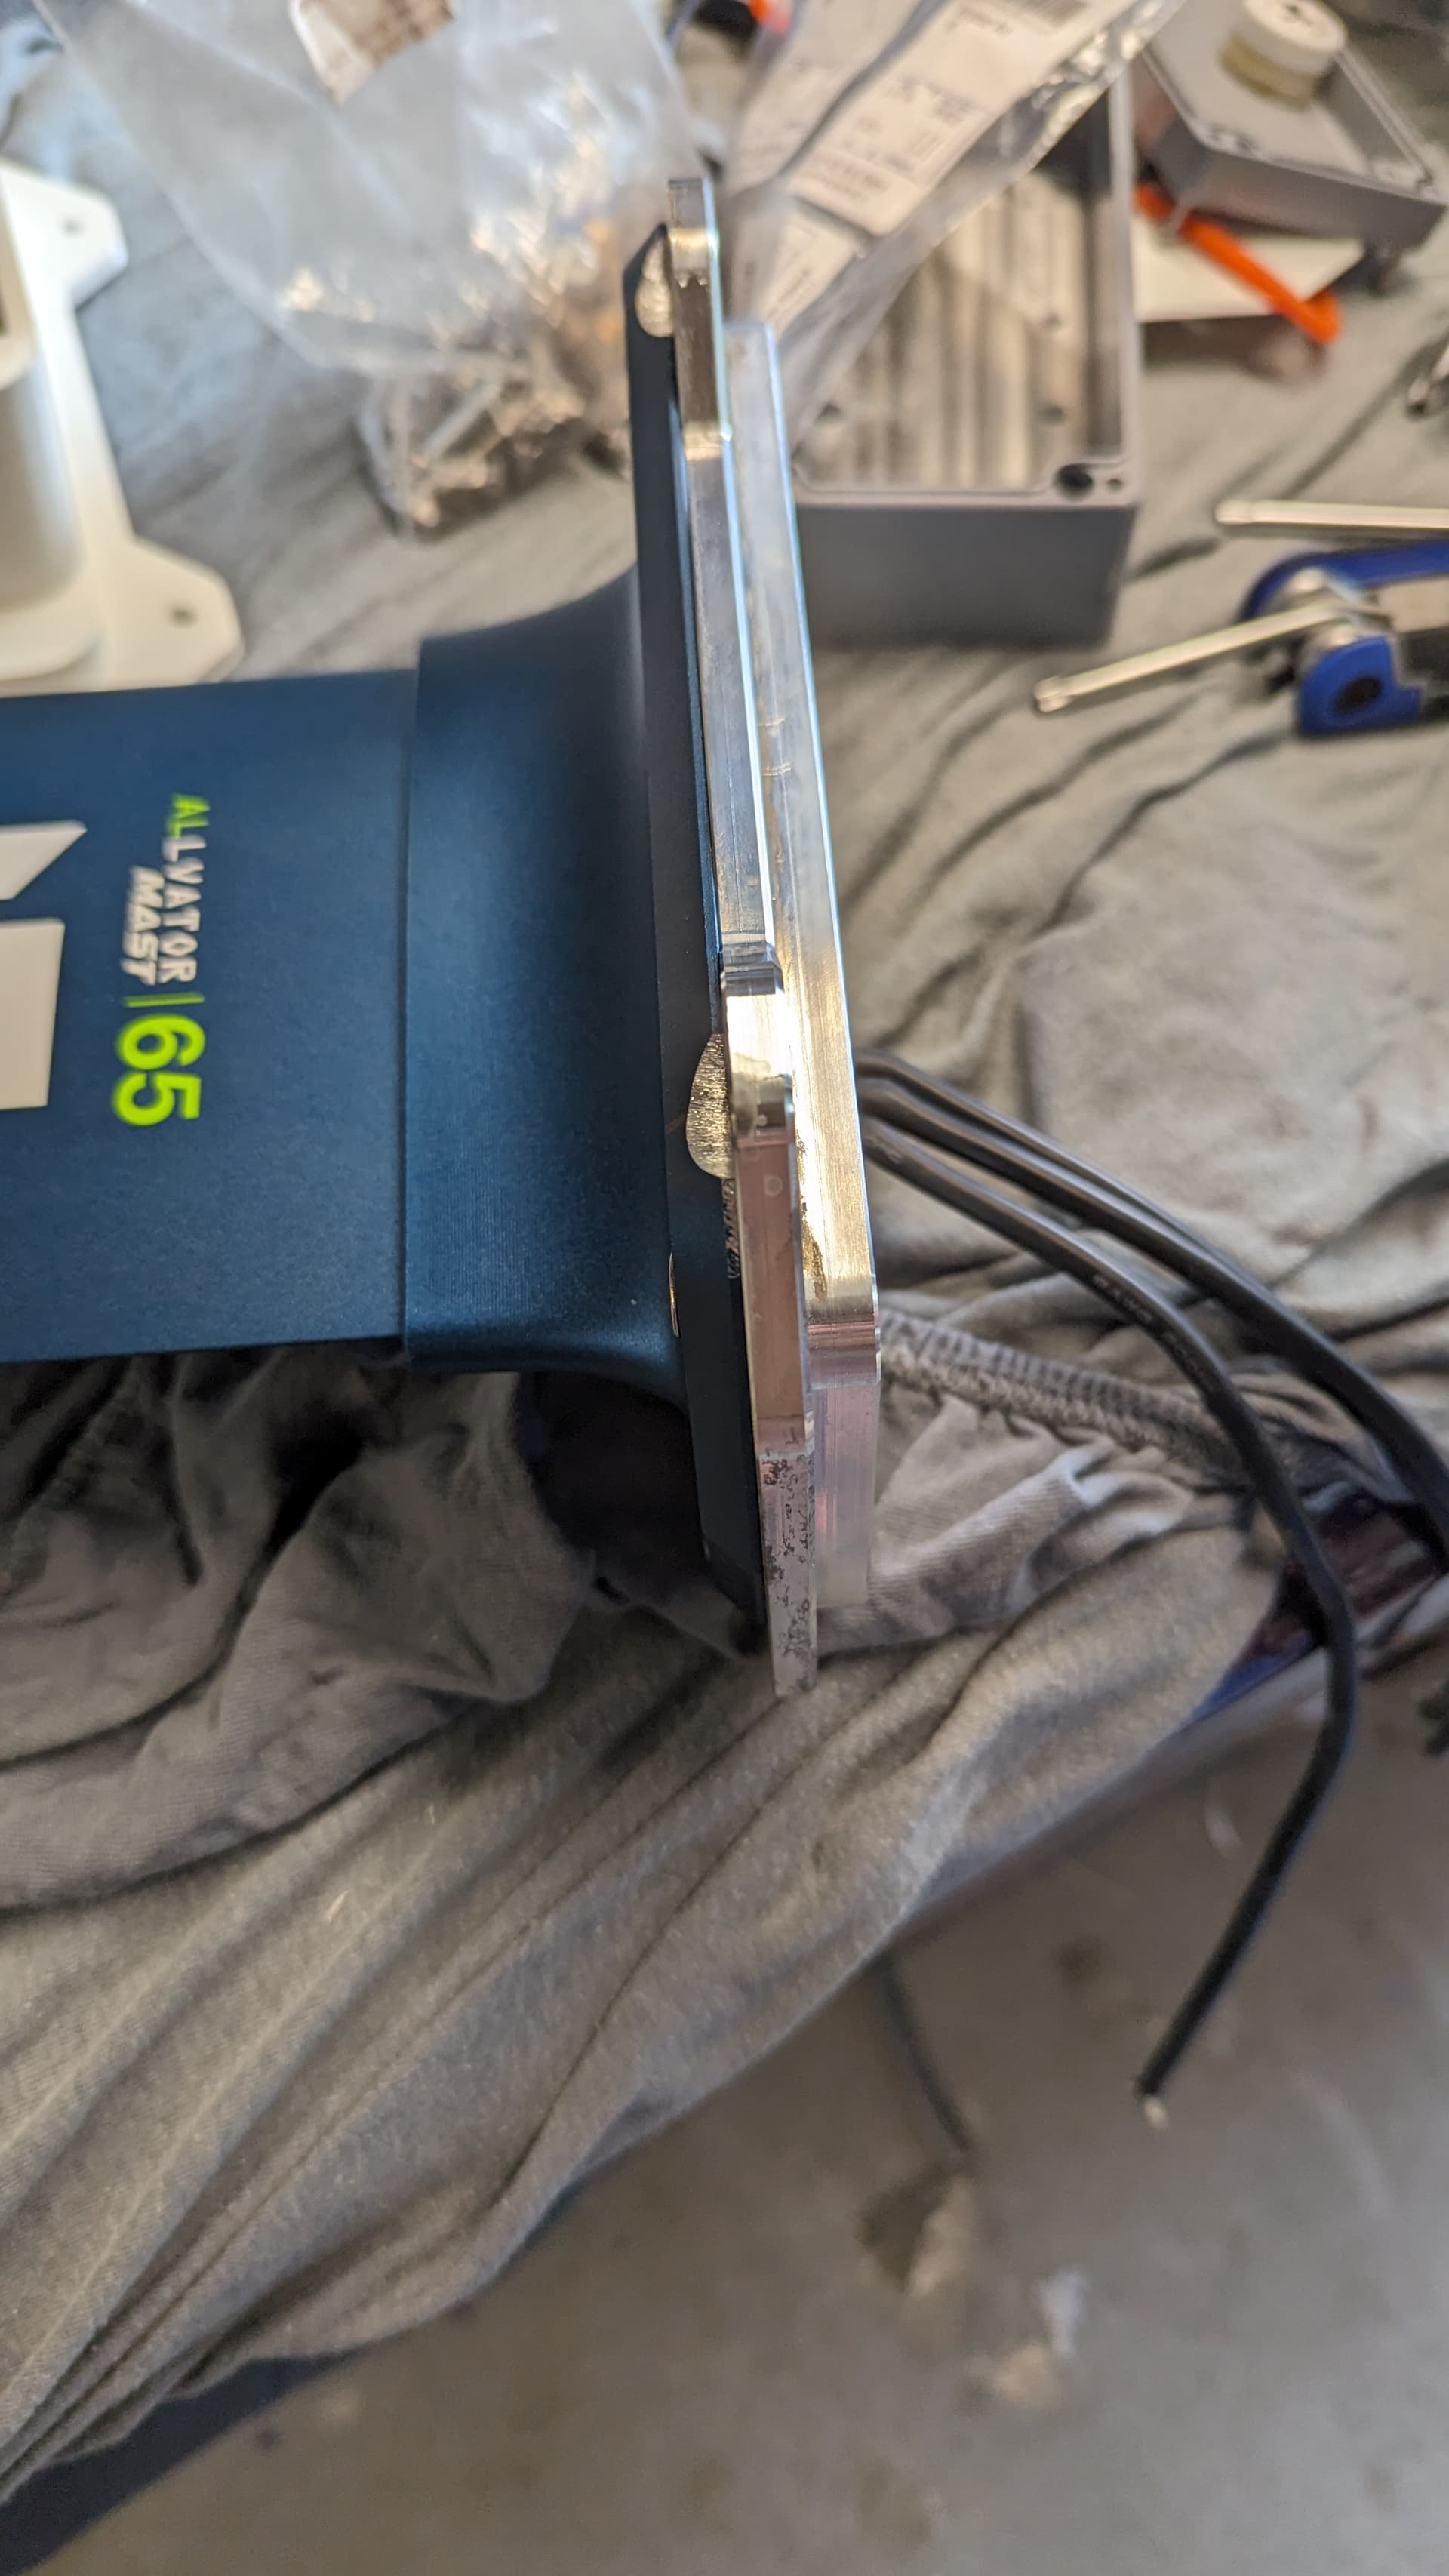
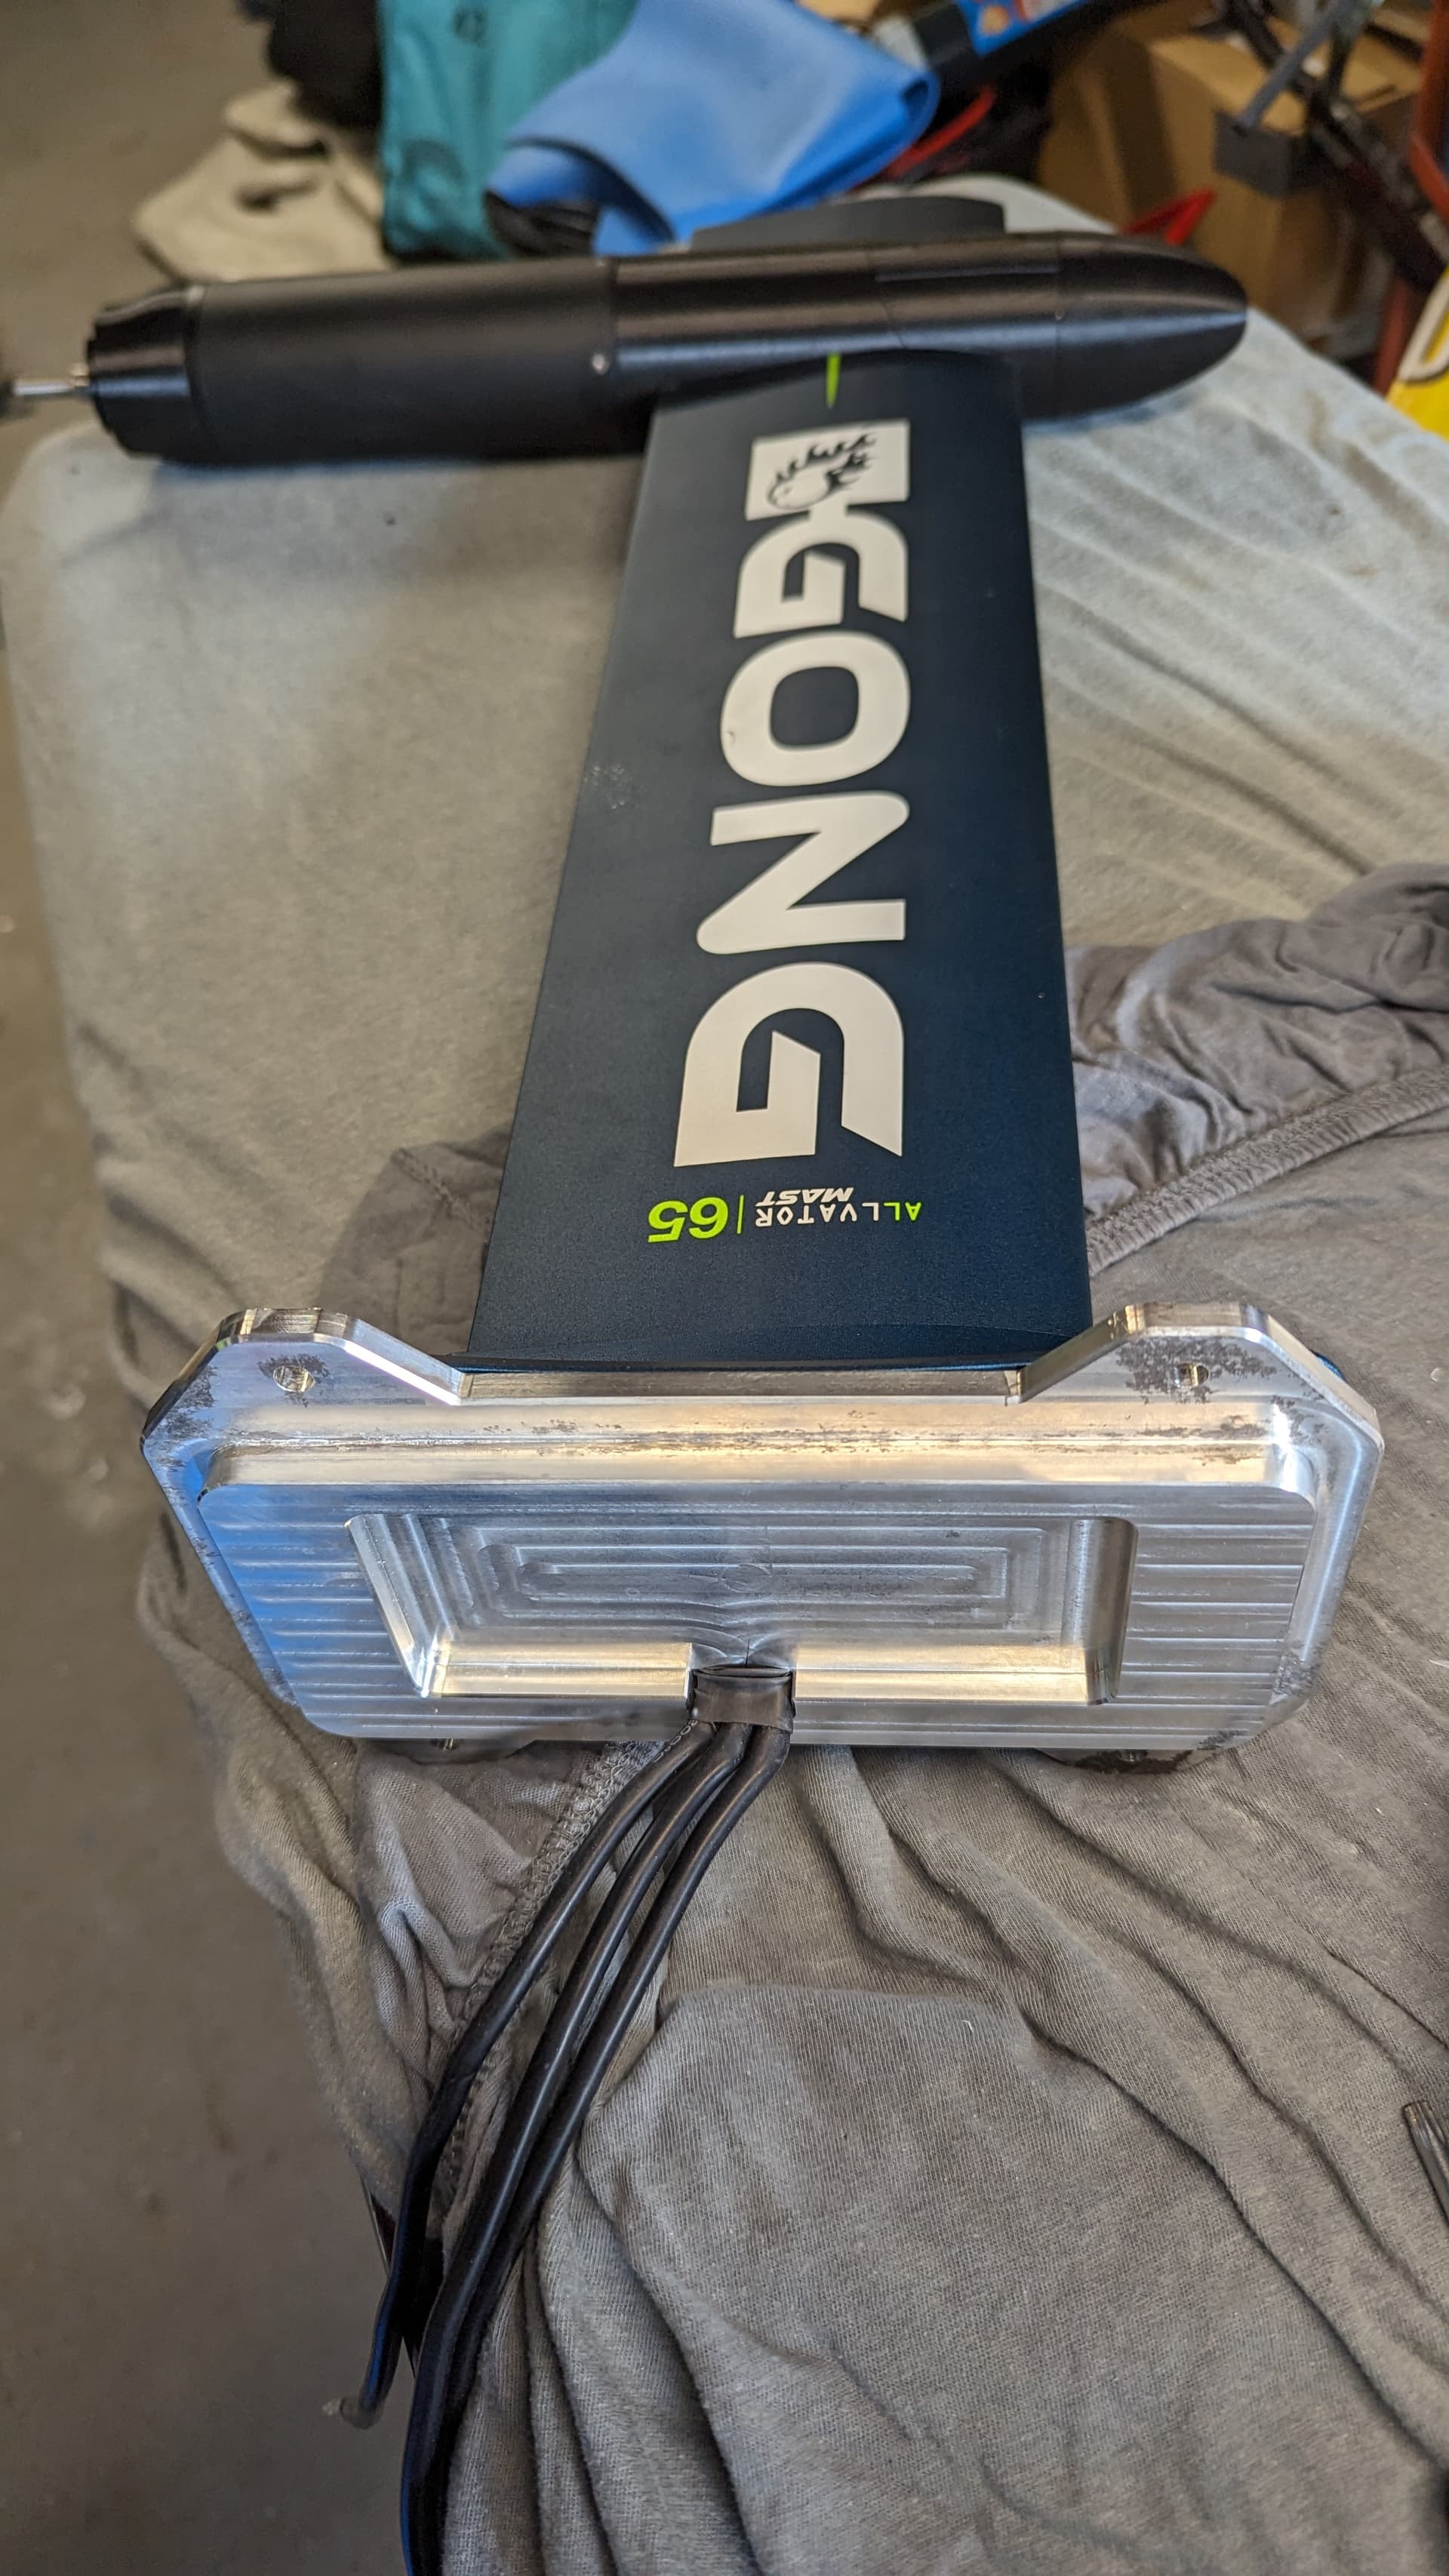
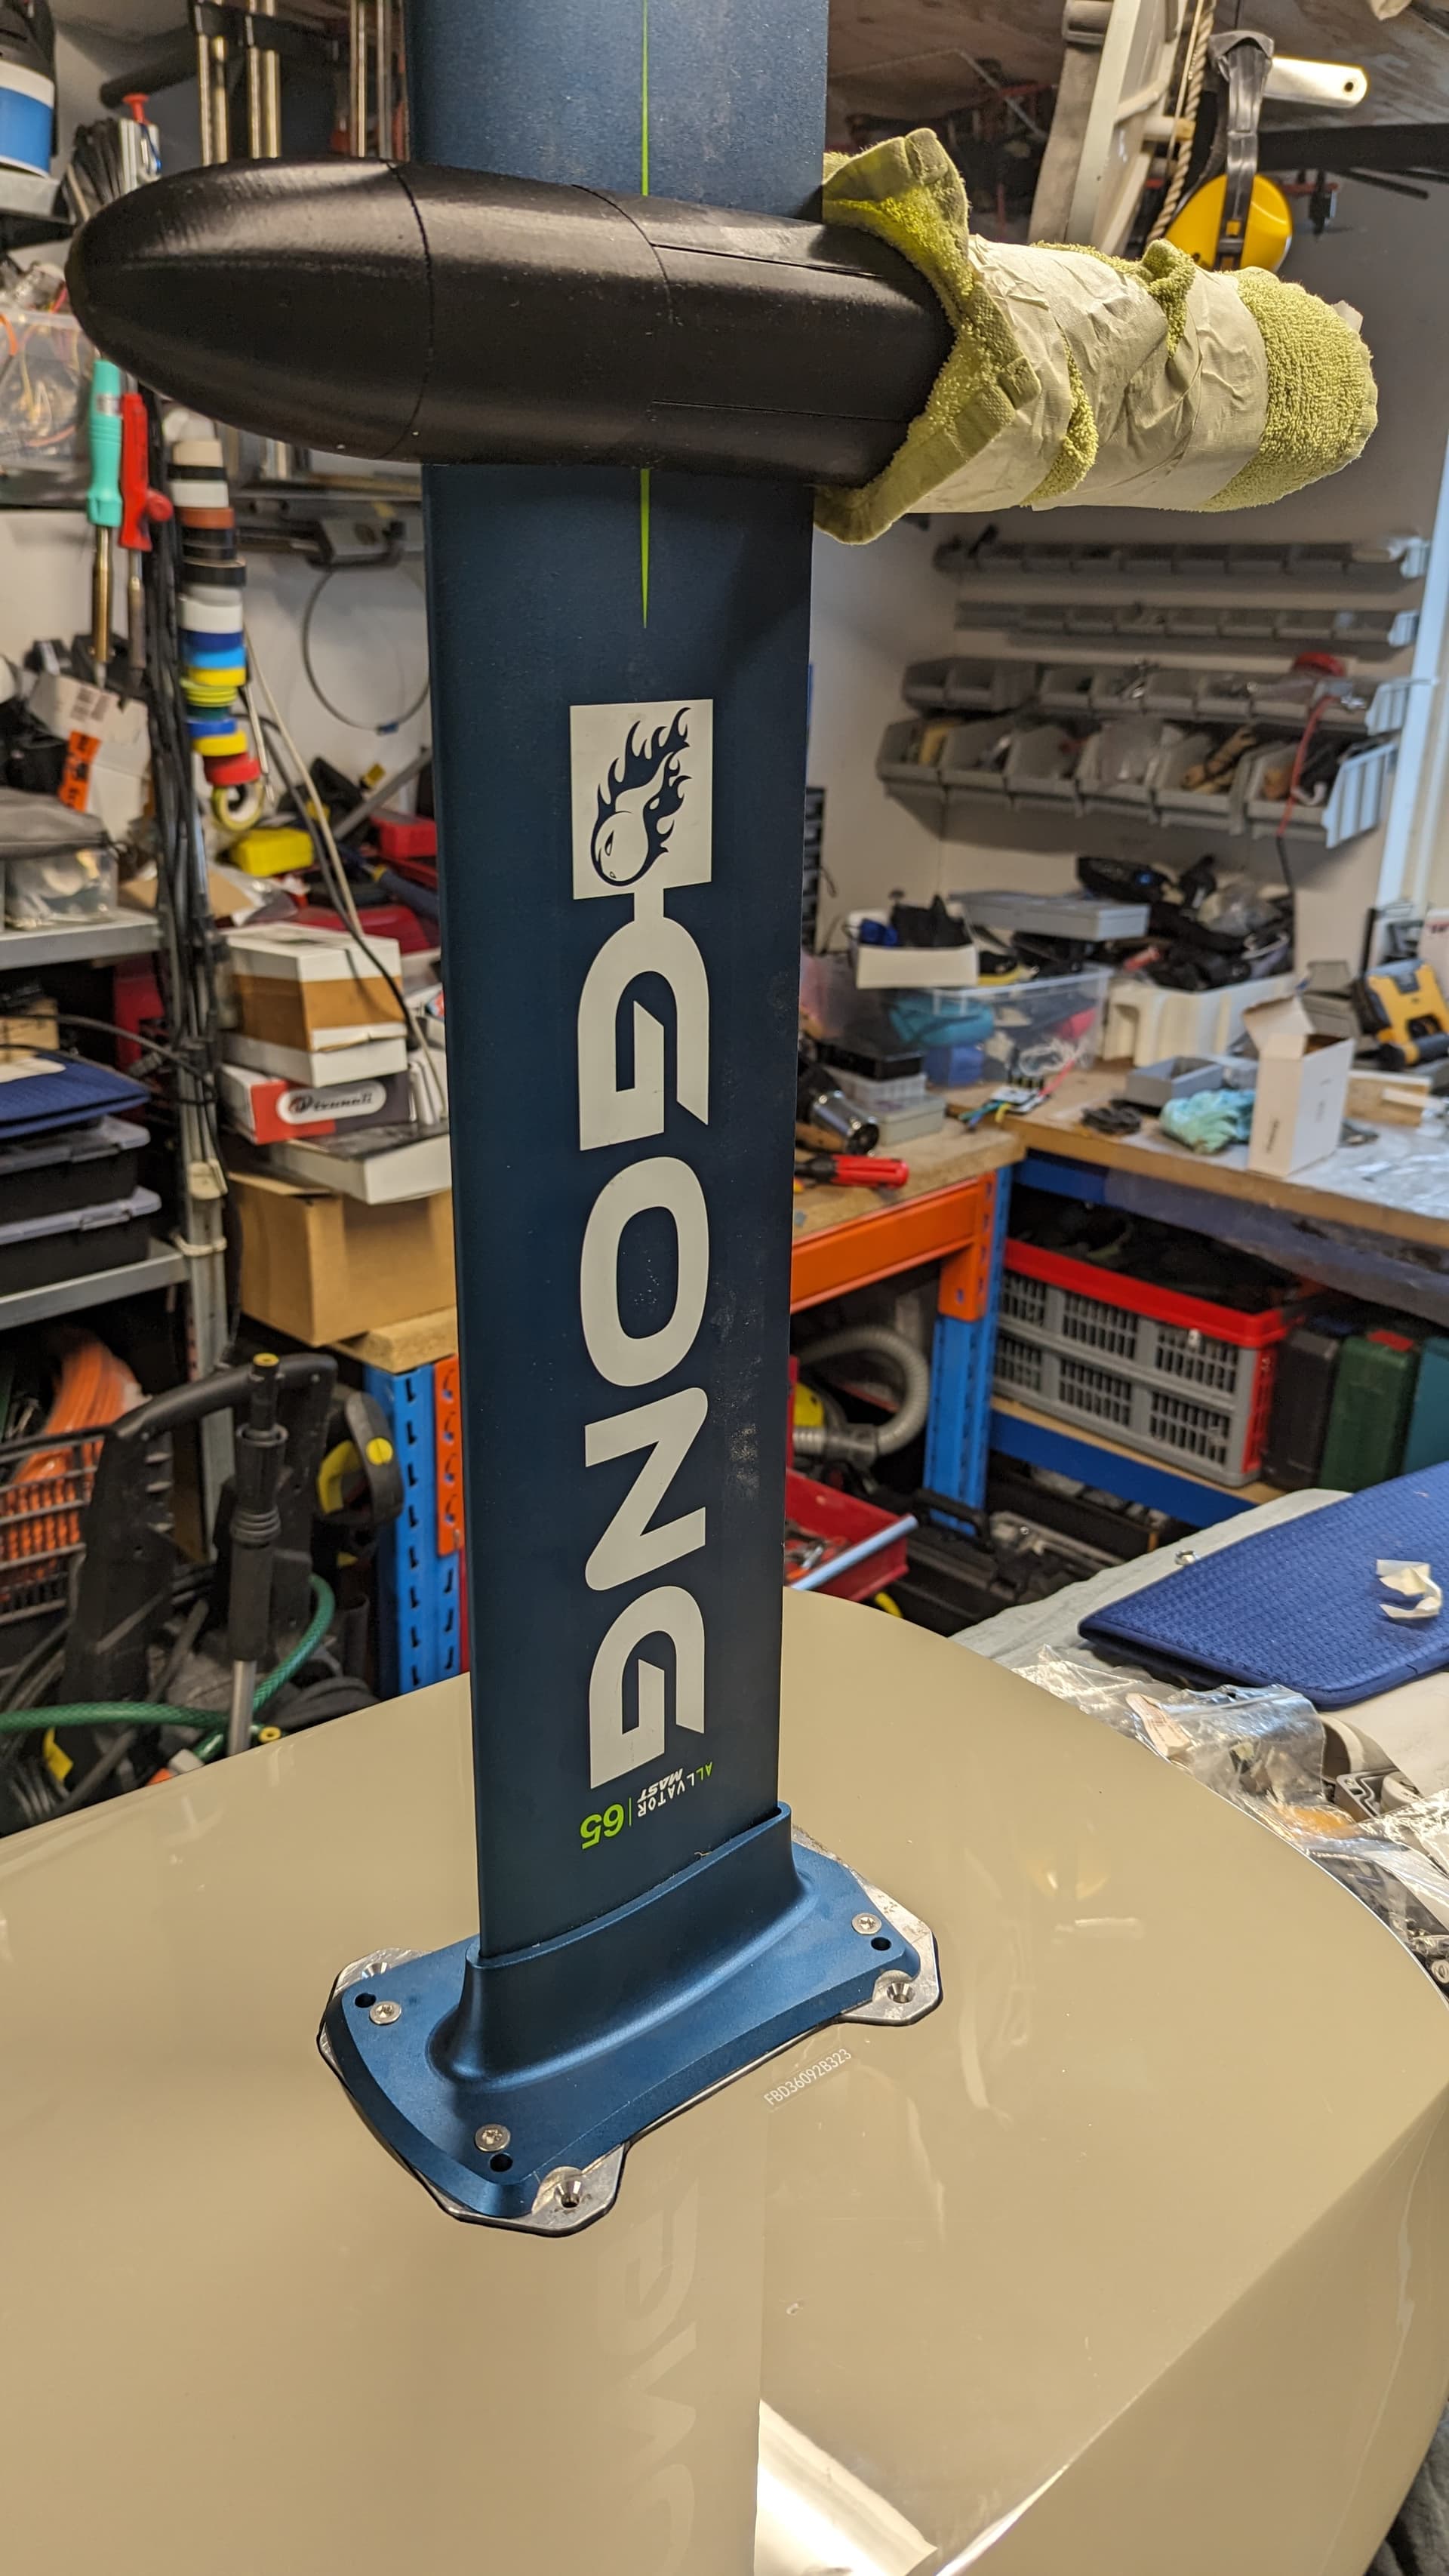
- Mast is a Gong V2 65cm with the Gong V2 top plate.
- Wing is a Triton X1 monofoil
- Passive cooling rocks!

- Weight of setup: Board:10.4kg, Battery: 9.3kg, Wing: 1.5kg, Mast/motor/prop/VESC/adapter: 7.5kg
- Total ready to go weight: 28.7kg
.STEP file for mast plate (made by @vincent) can be downloaded from here:
Please note that the Vincent version I am using does have some miner changes.
.STEP file for mast plate and more (made by @MBard) can be downloaded from here:
![]() We have done a lot of static testing before the actual maiden and never managed to get the temperature above 42c when running WOT for about 10 minutes. (@+/-120 amps!).
We have done a lot of static testing before the actual maiden and never managed to get the temperature above 42c when running WOT for about 10 minutes. (@+/-120 amps!).
See: https://youtube.com/shorts/KkhOWFfgfsw
Additional note: We are using a FelixRemote with this build. This FelixRemote is powerful and does work perfect even when the board (receiver!) is submerged in water (example when starting). I do not know if any other remote will work!
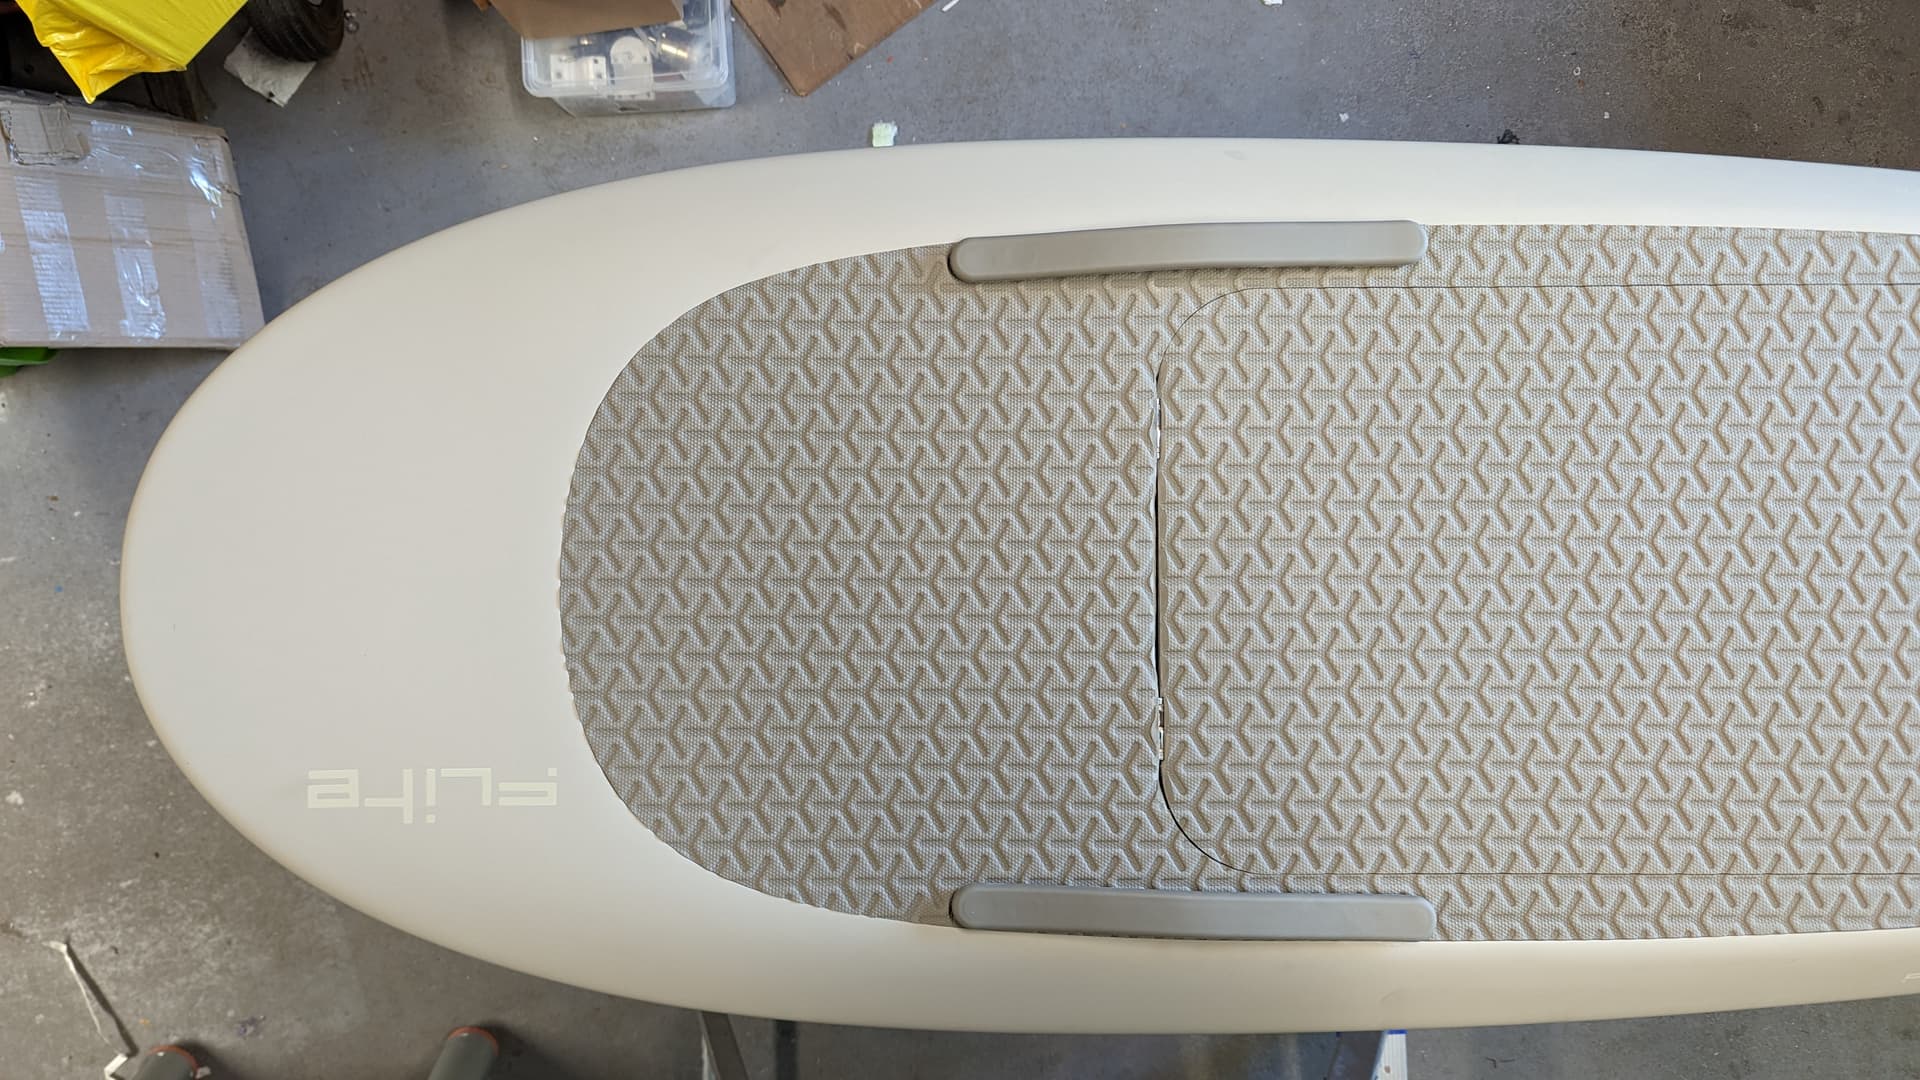
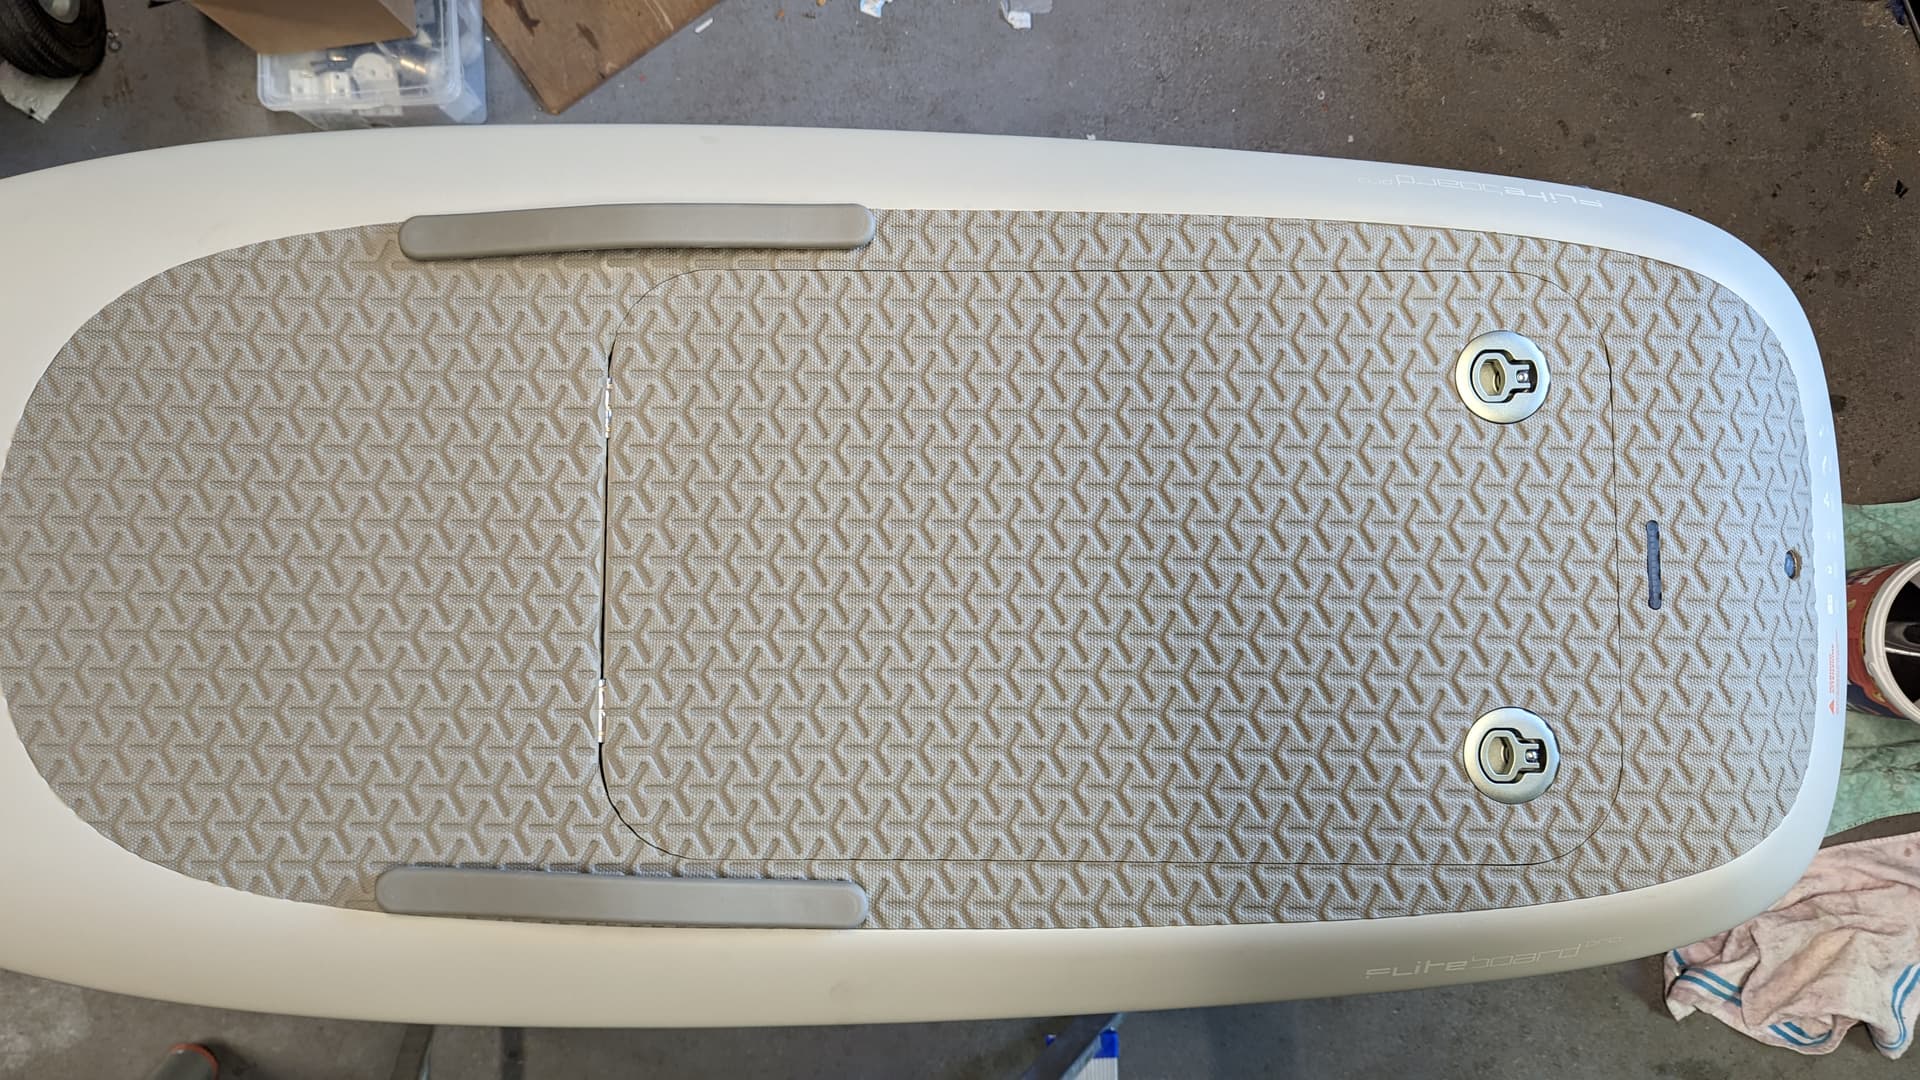
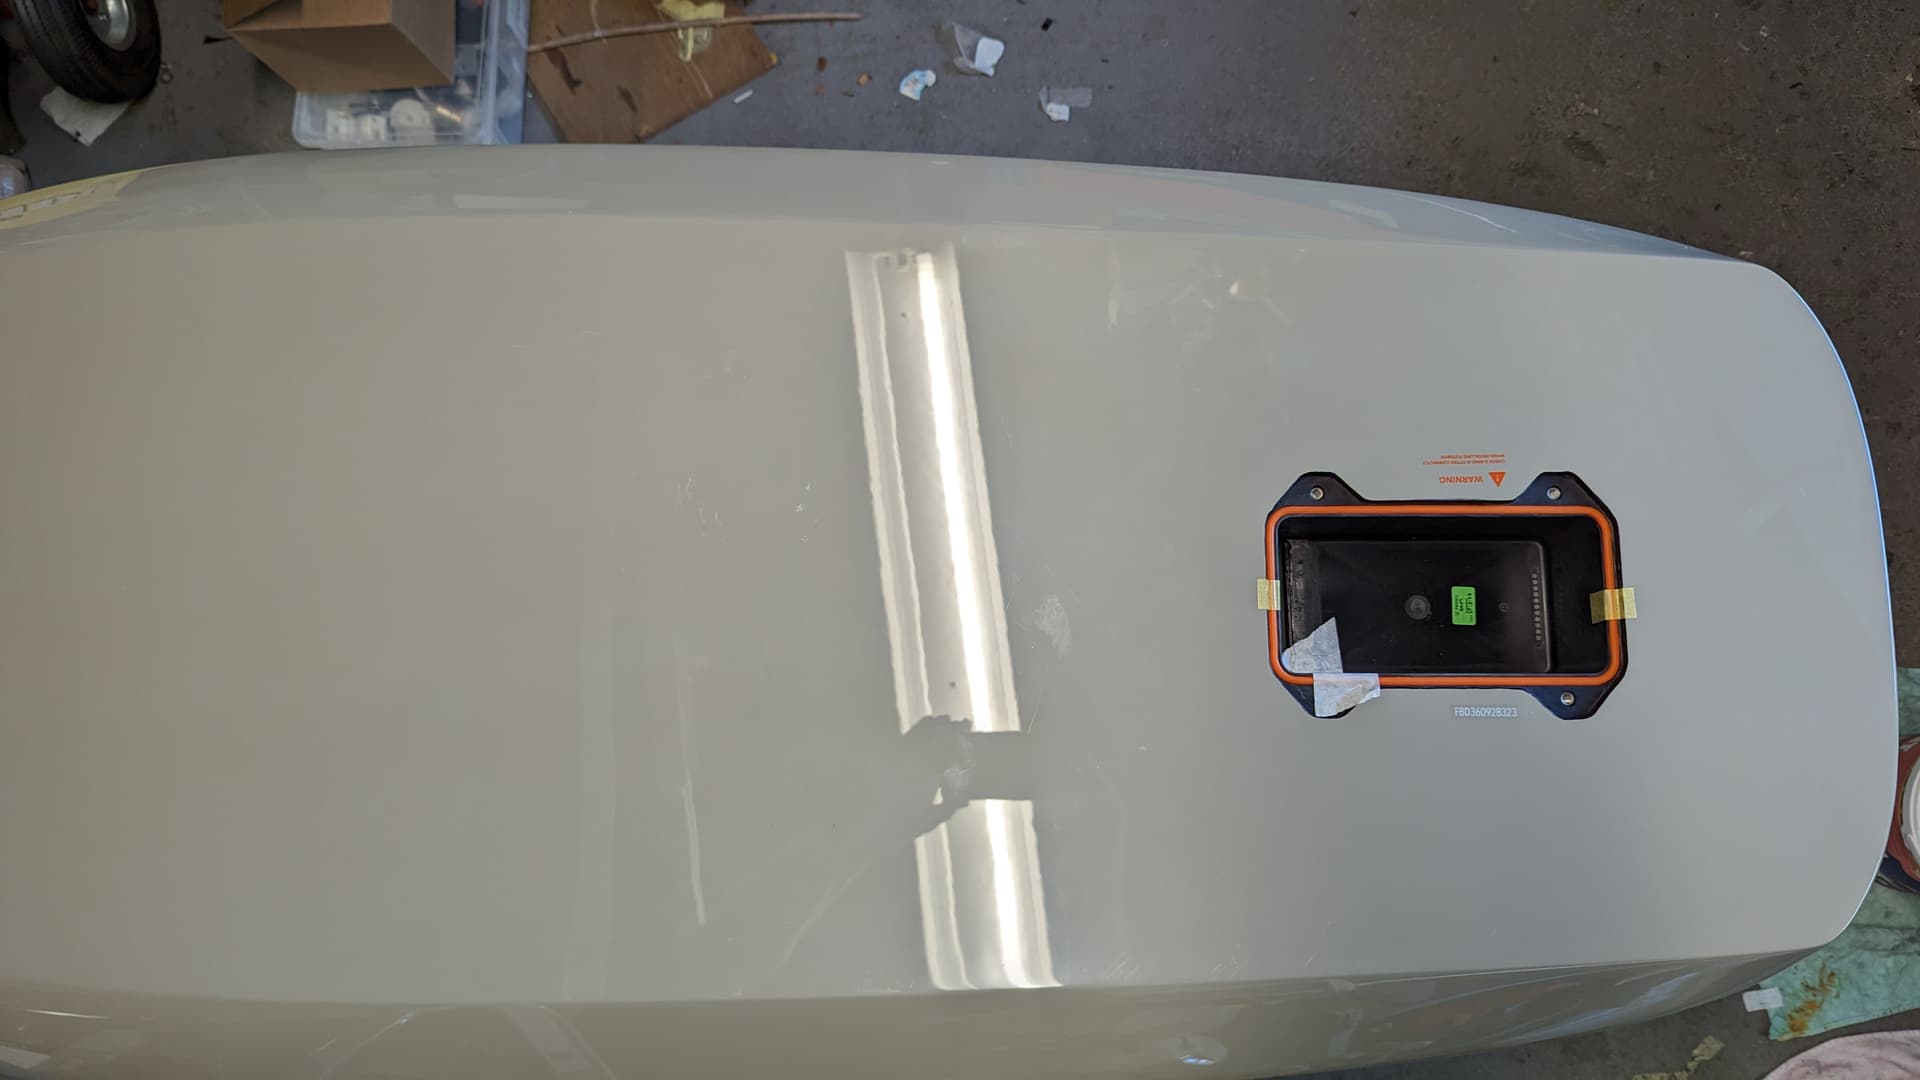


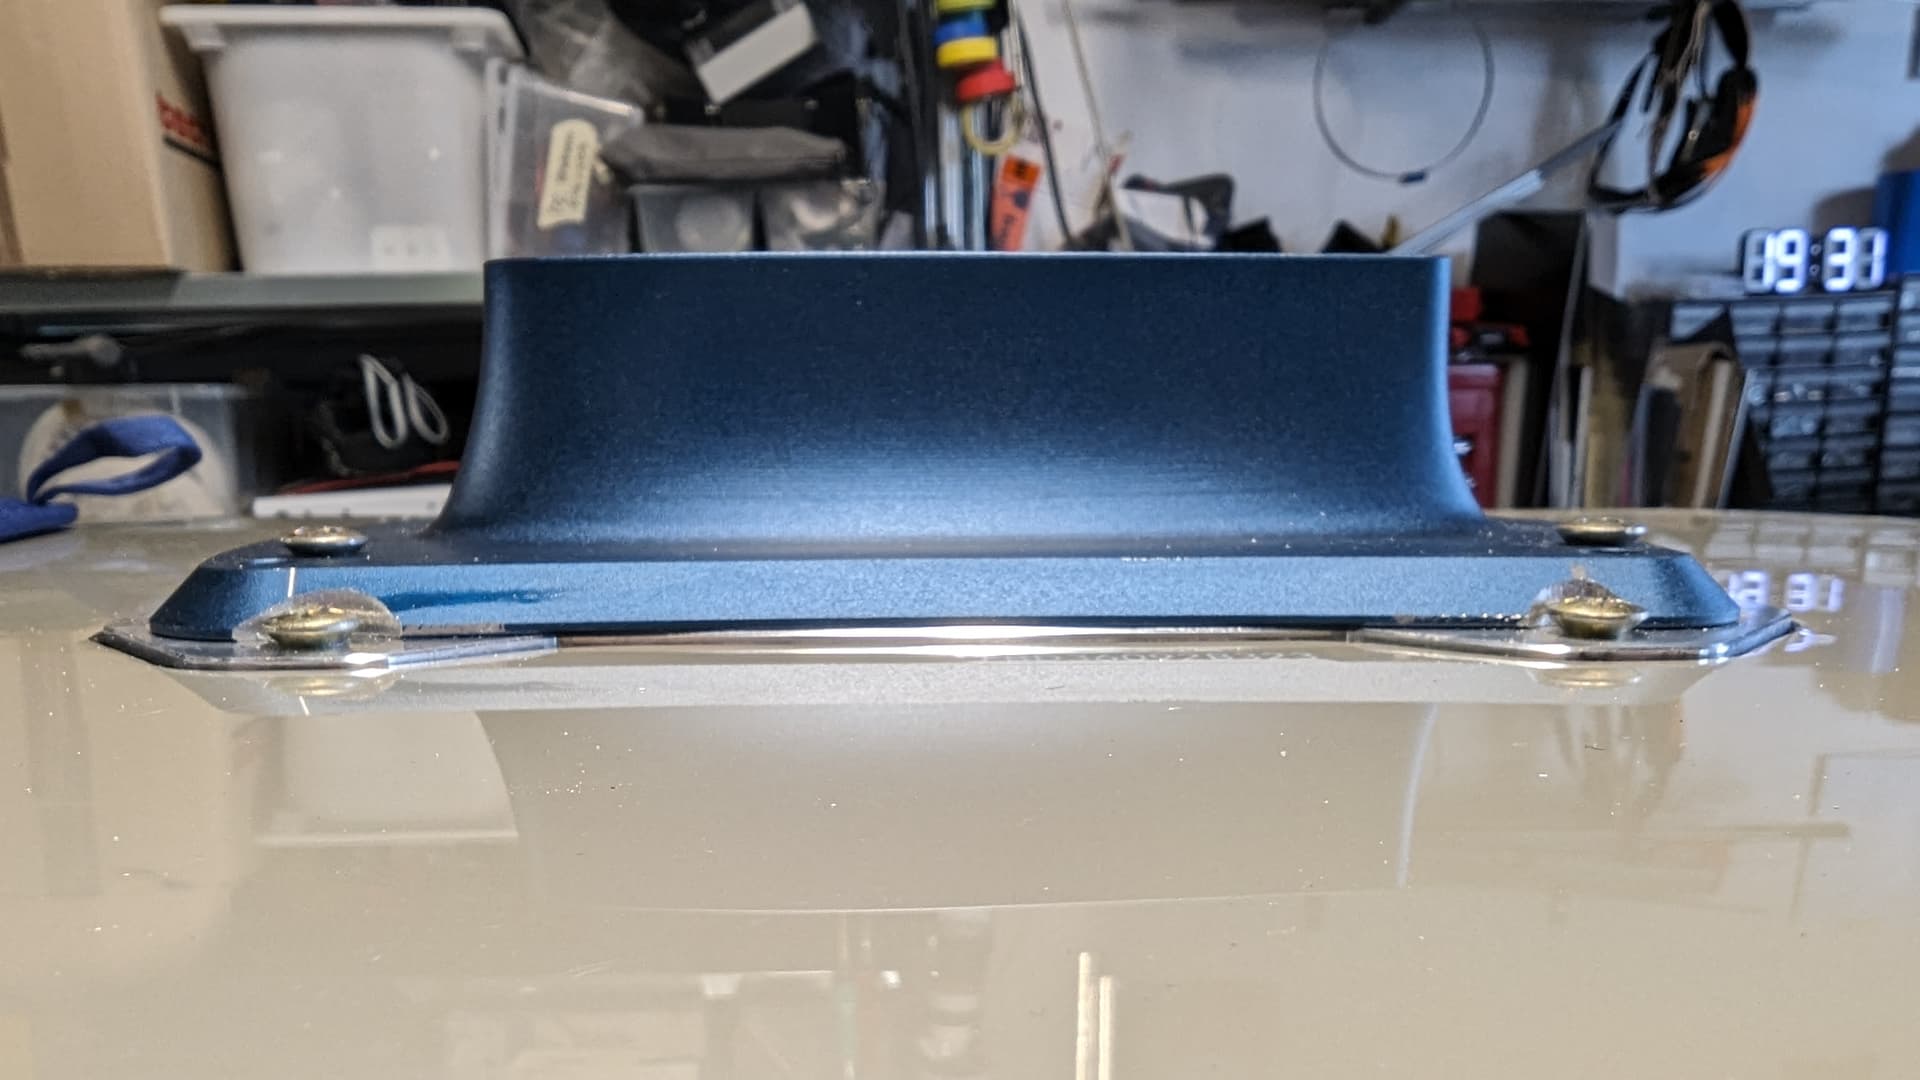
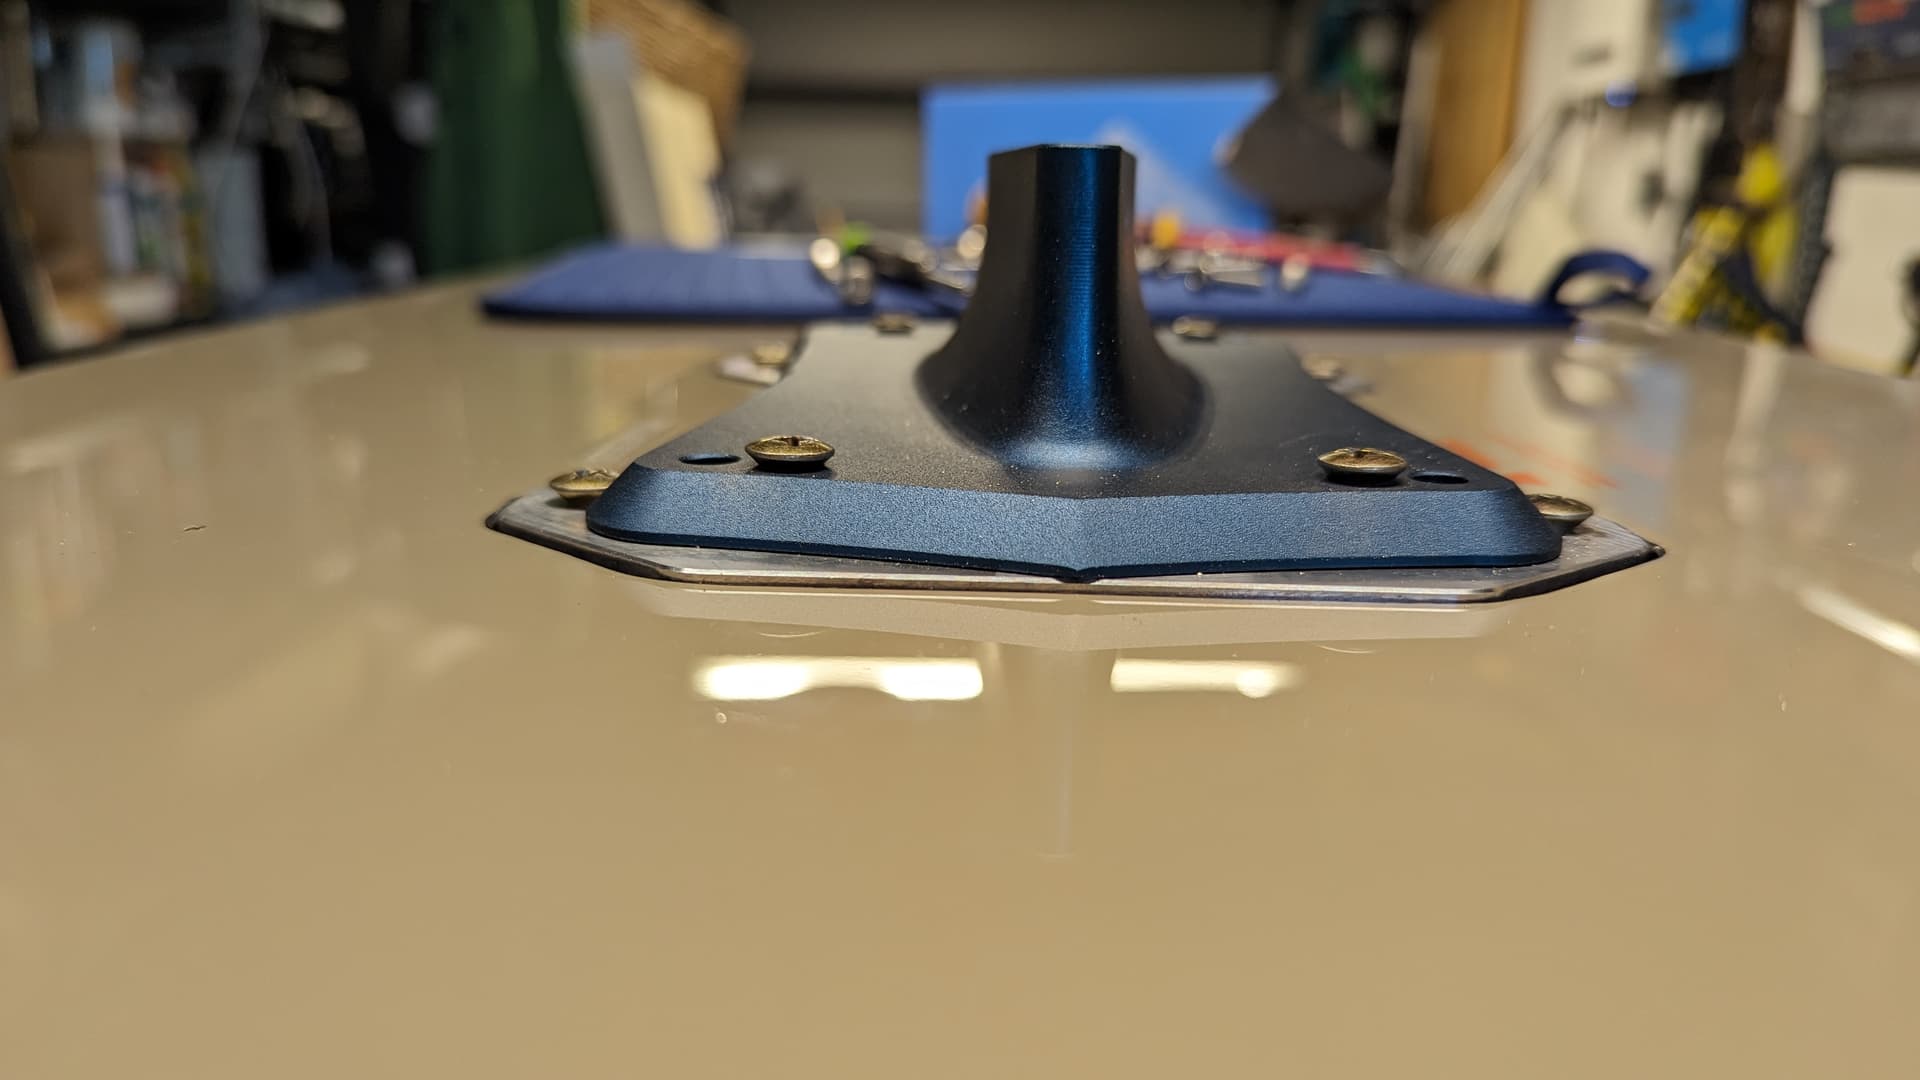
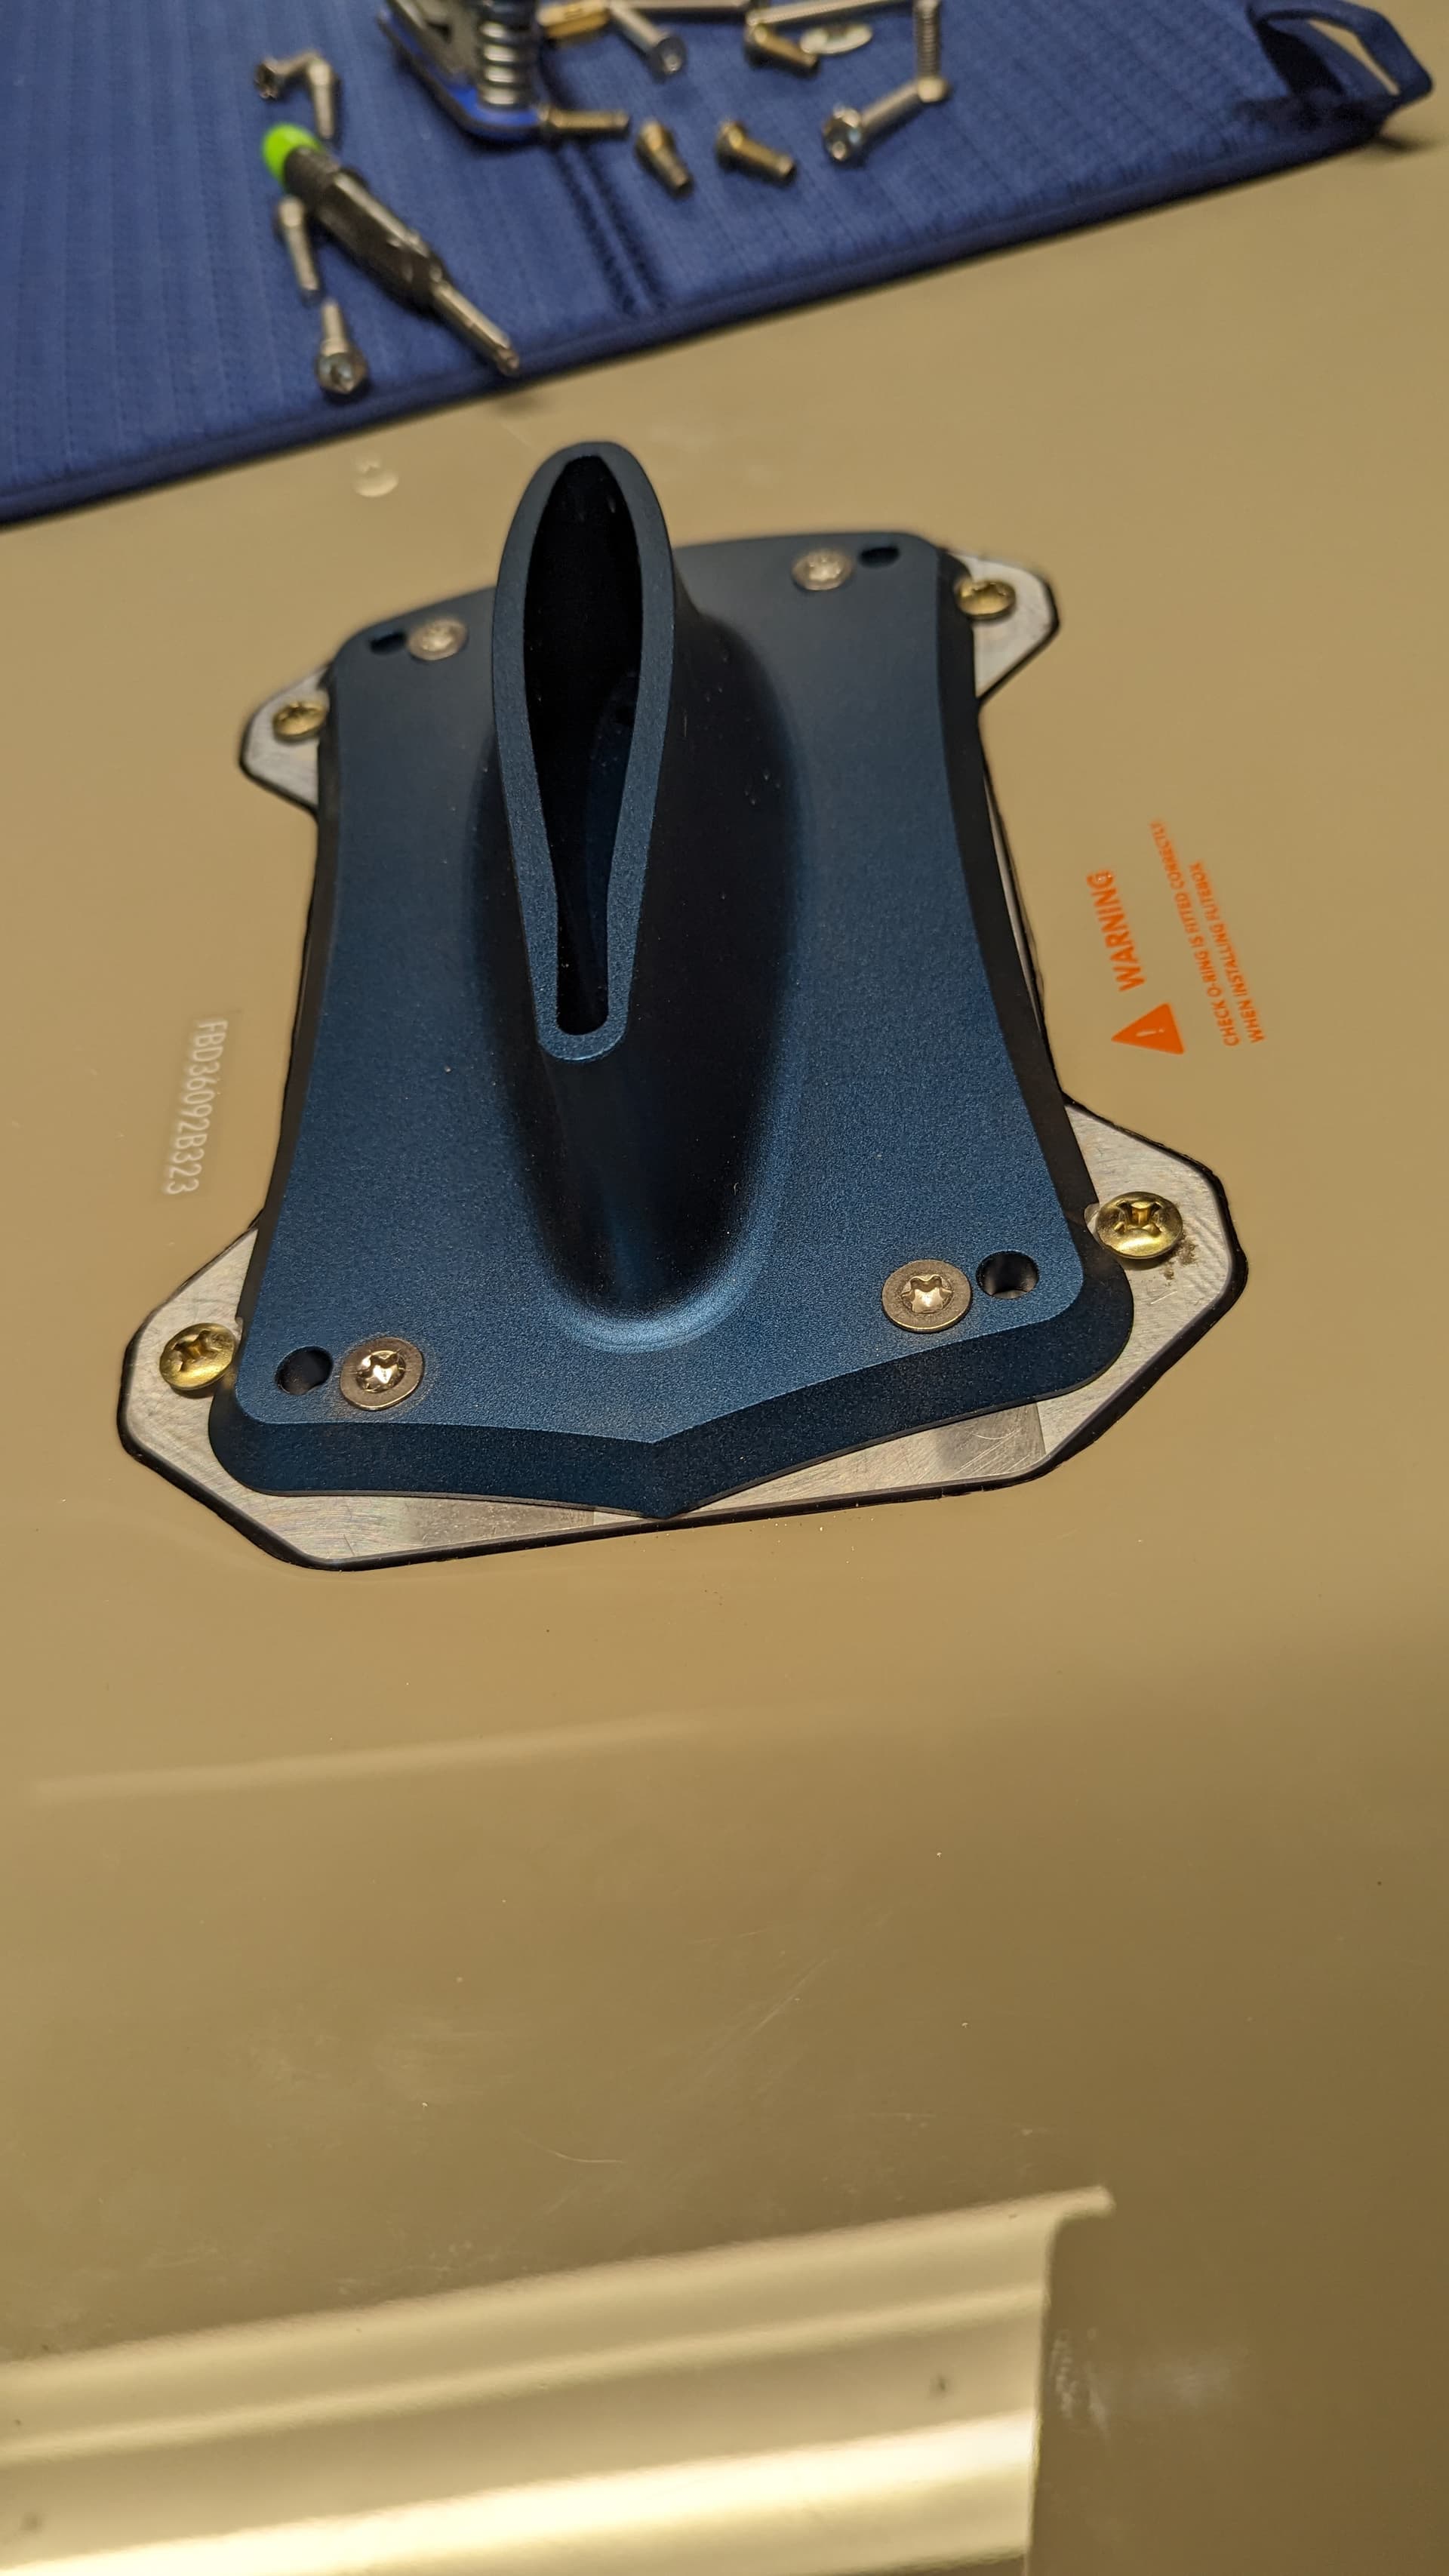
The internal size of the main box is 305x390x80mm

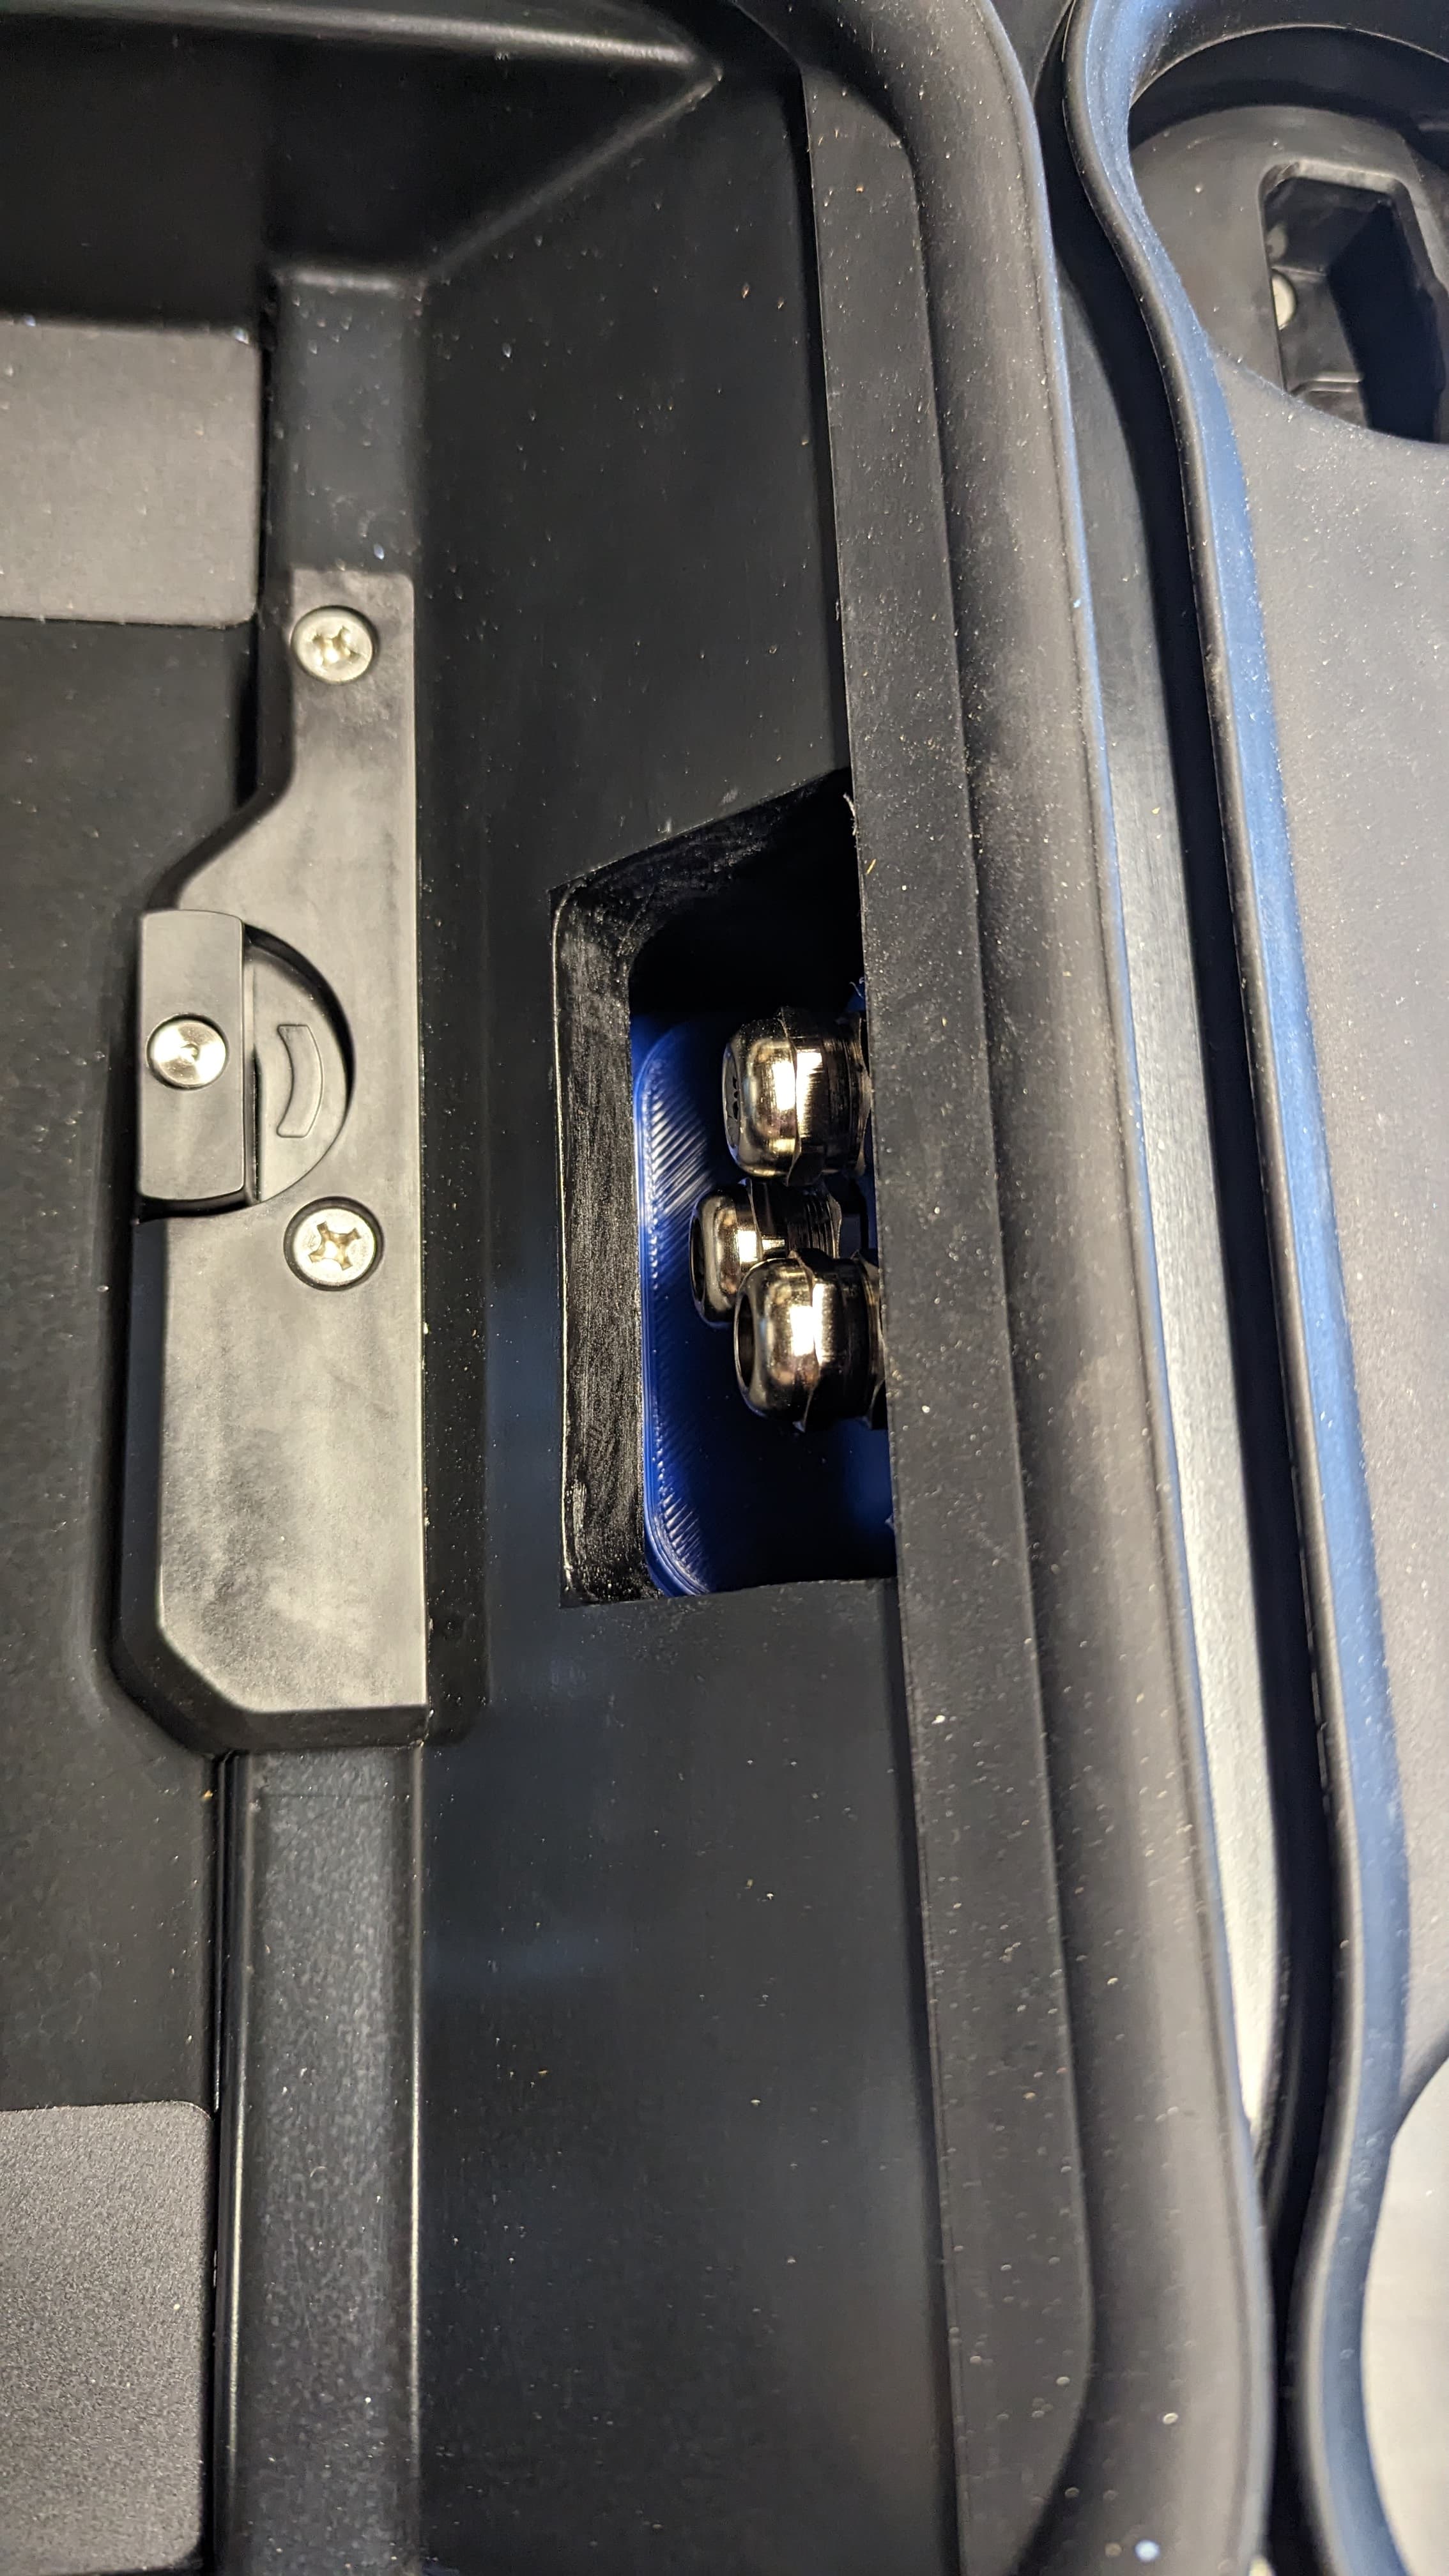
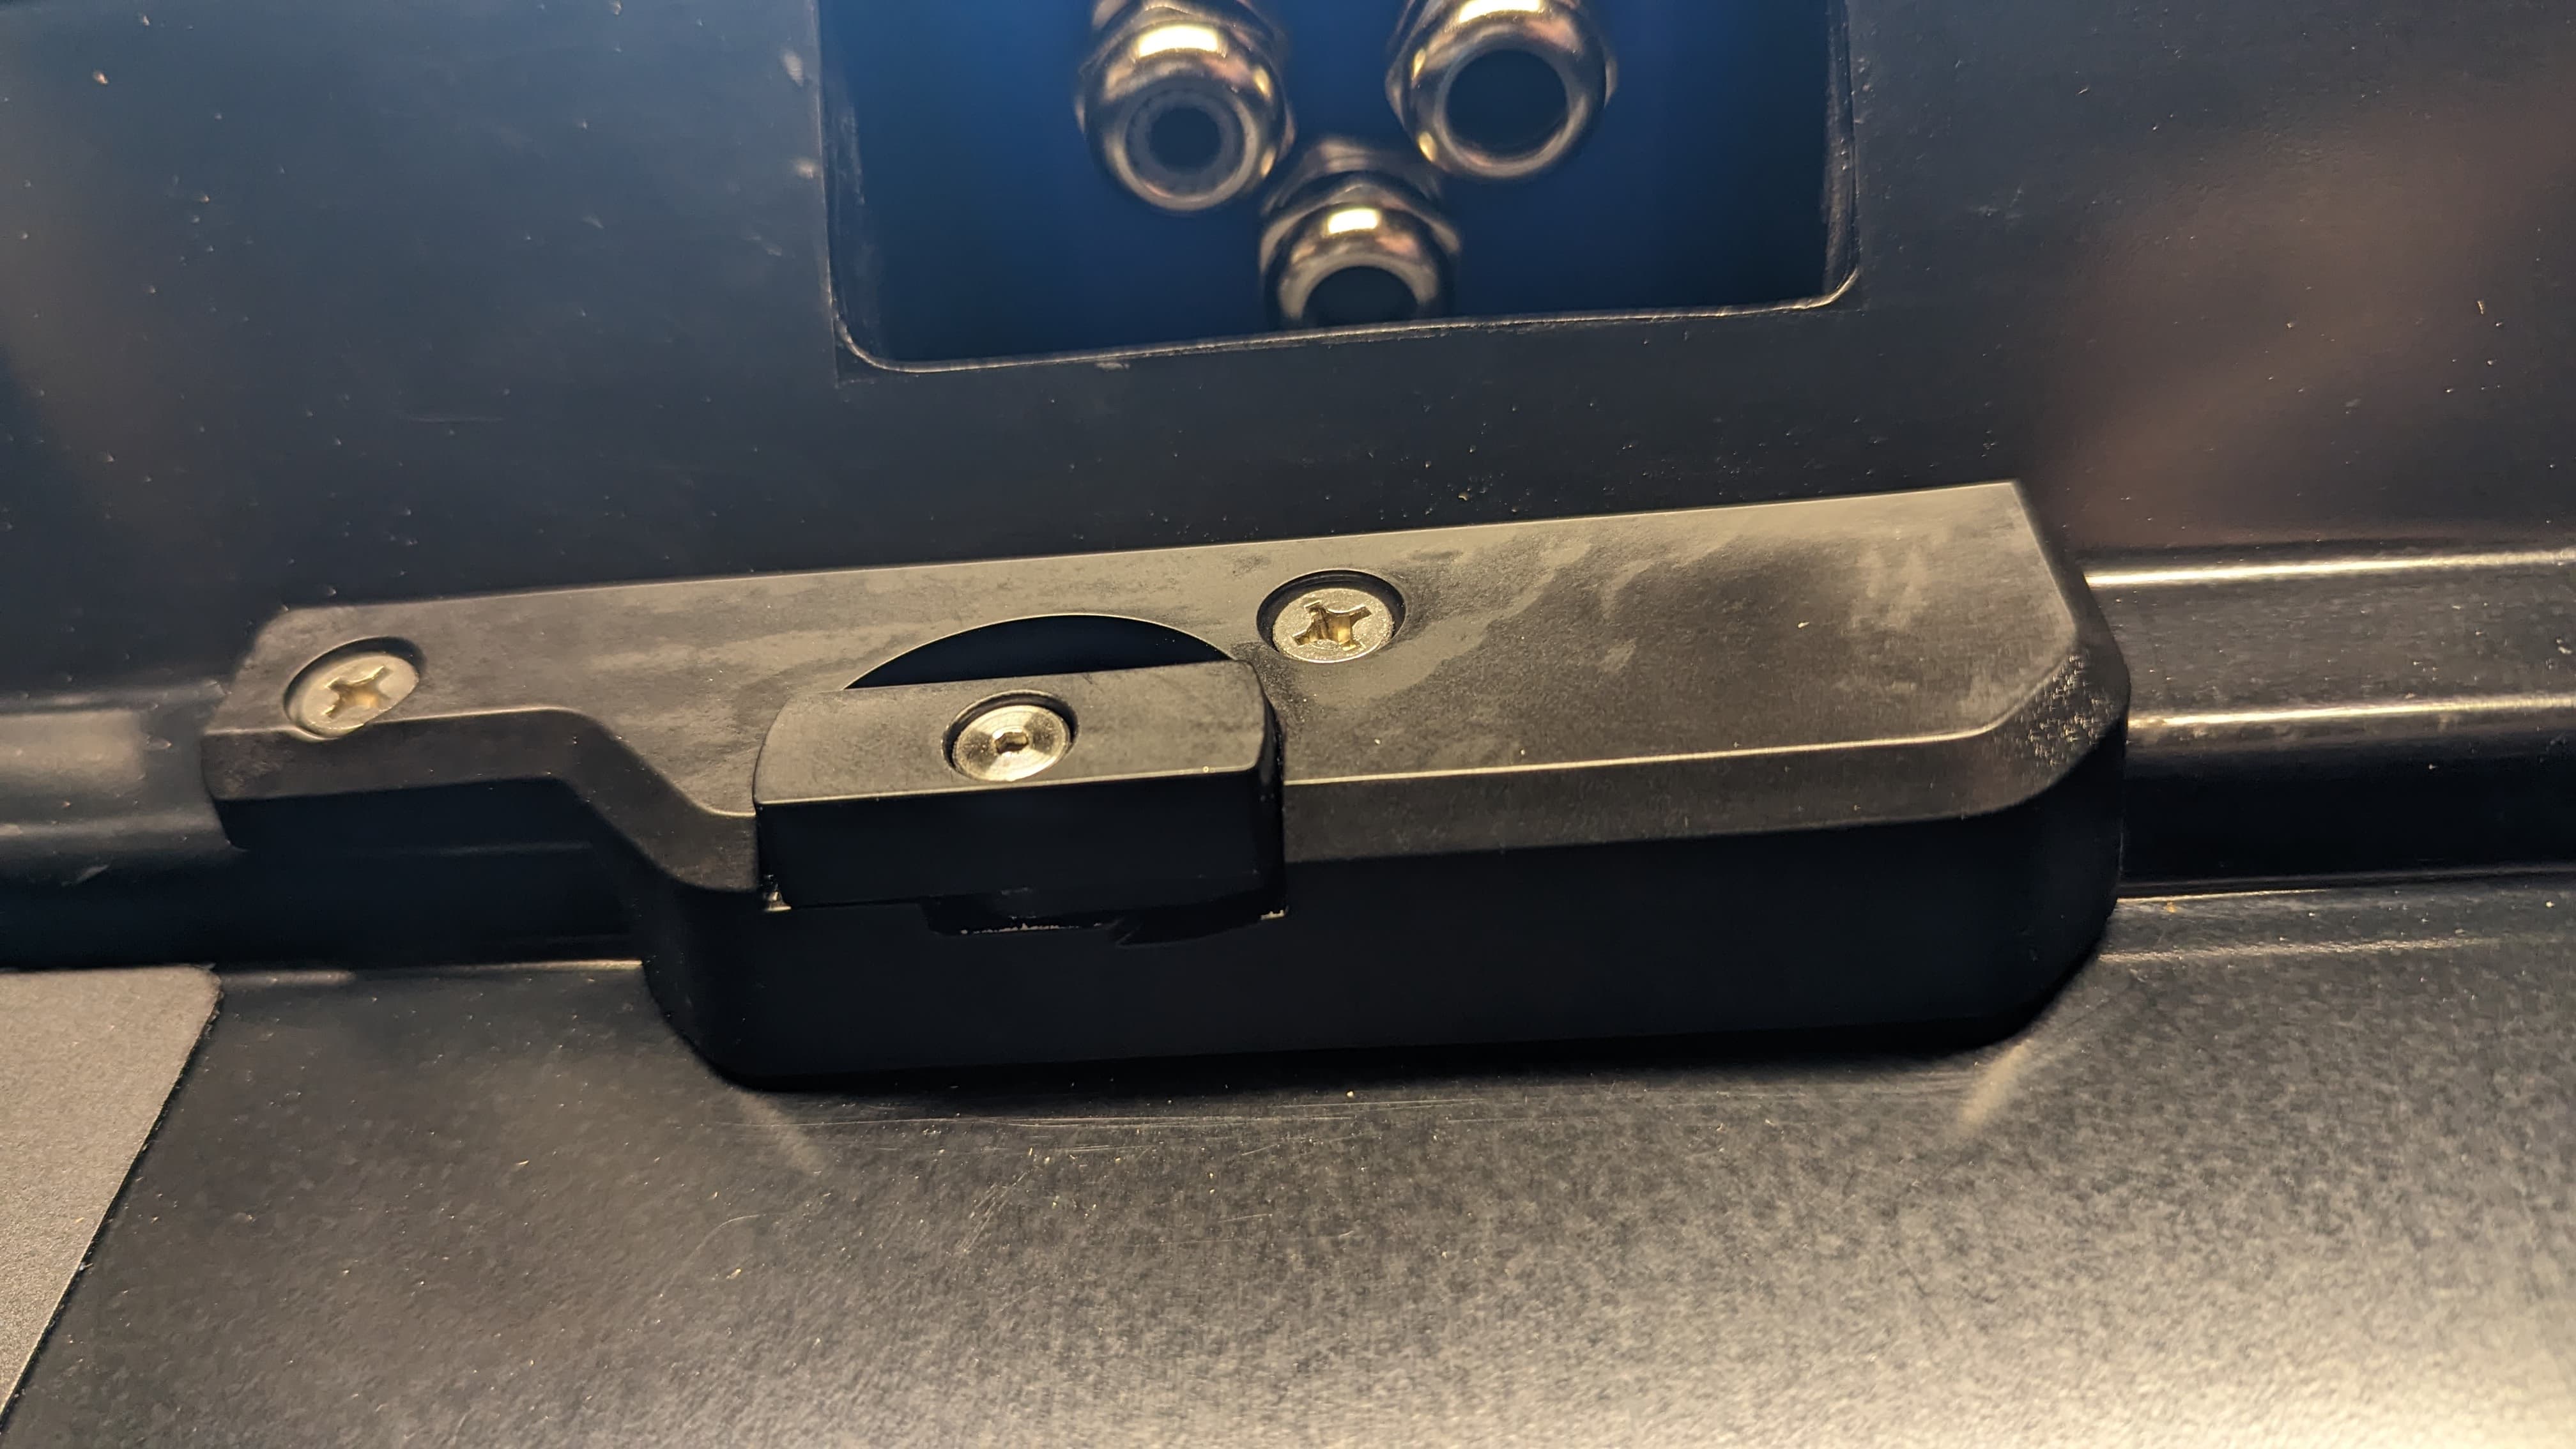
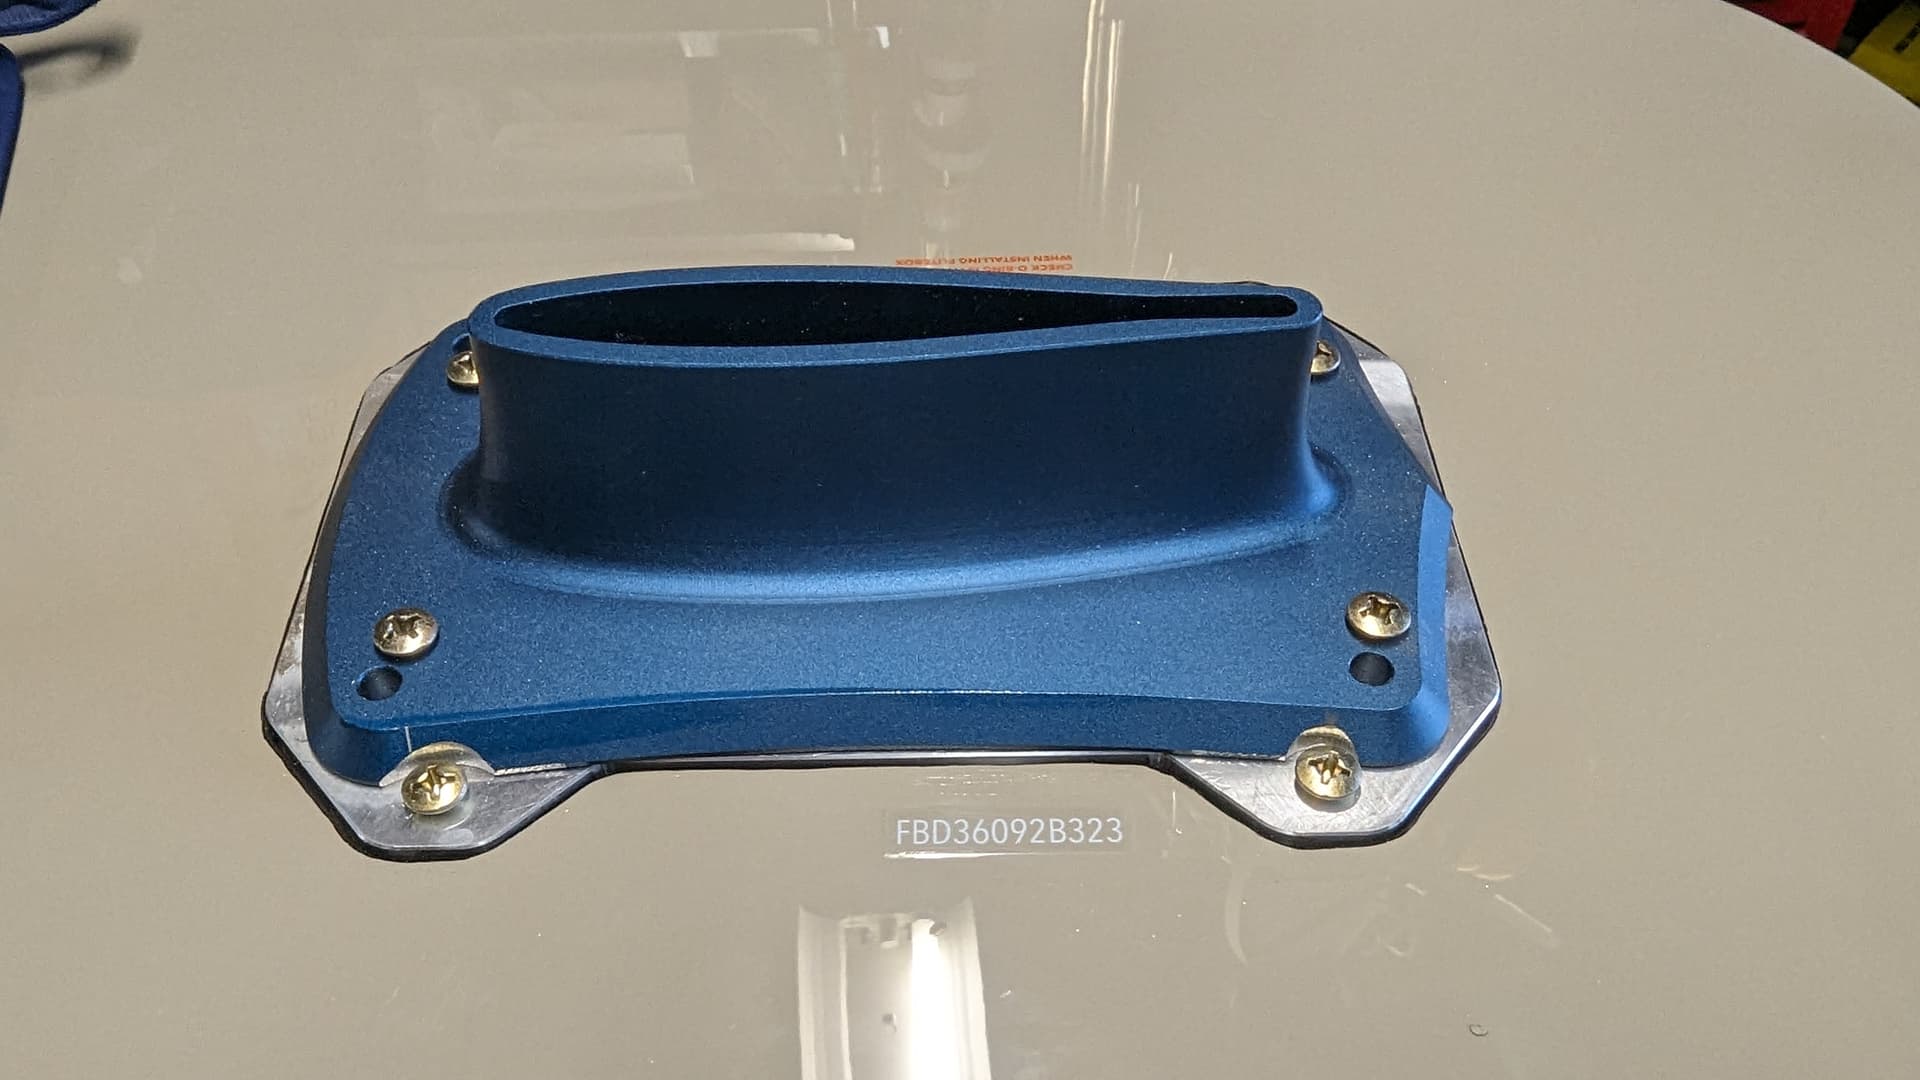
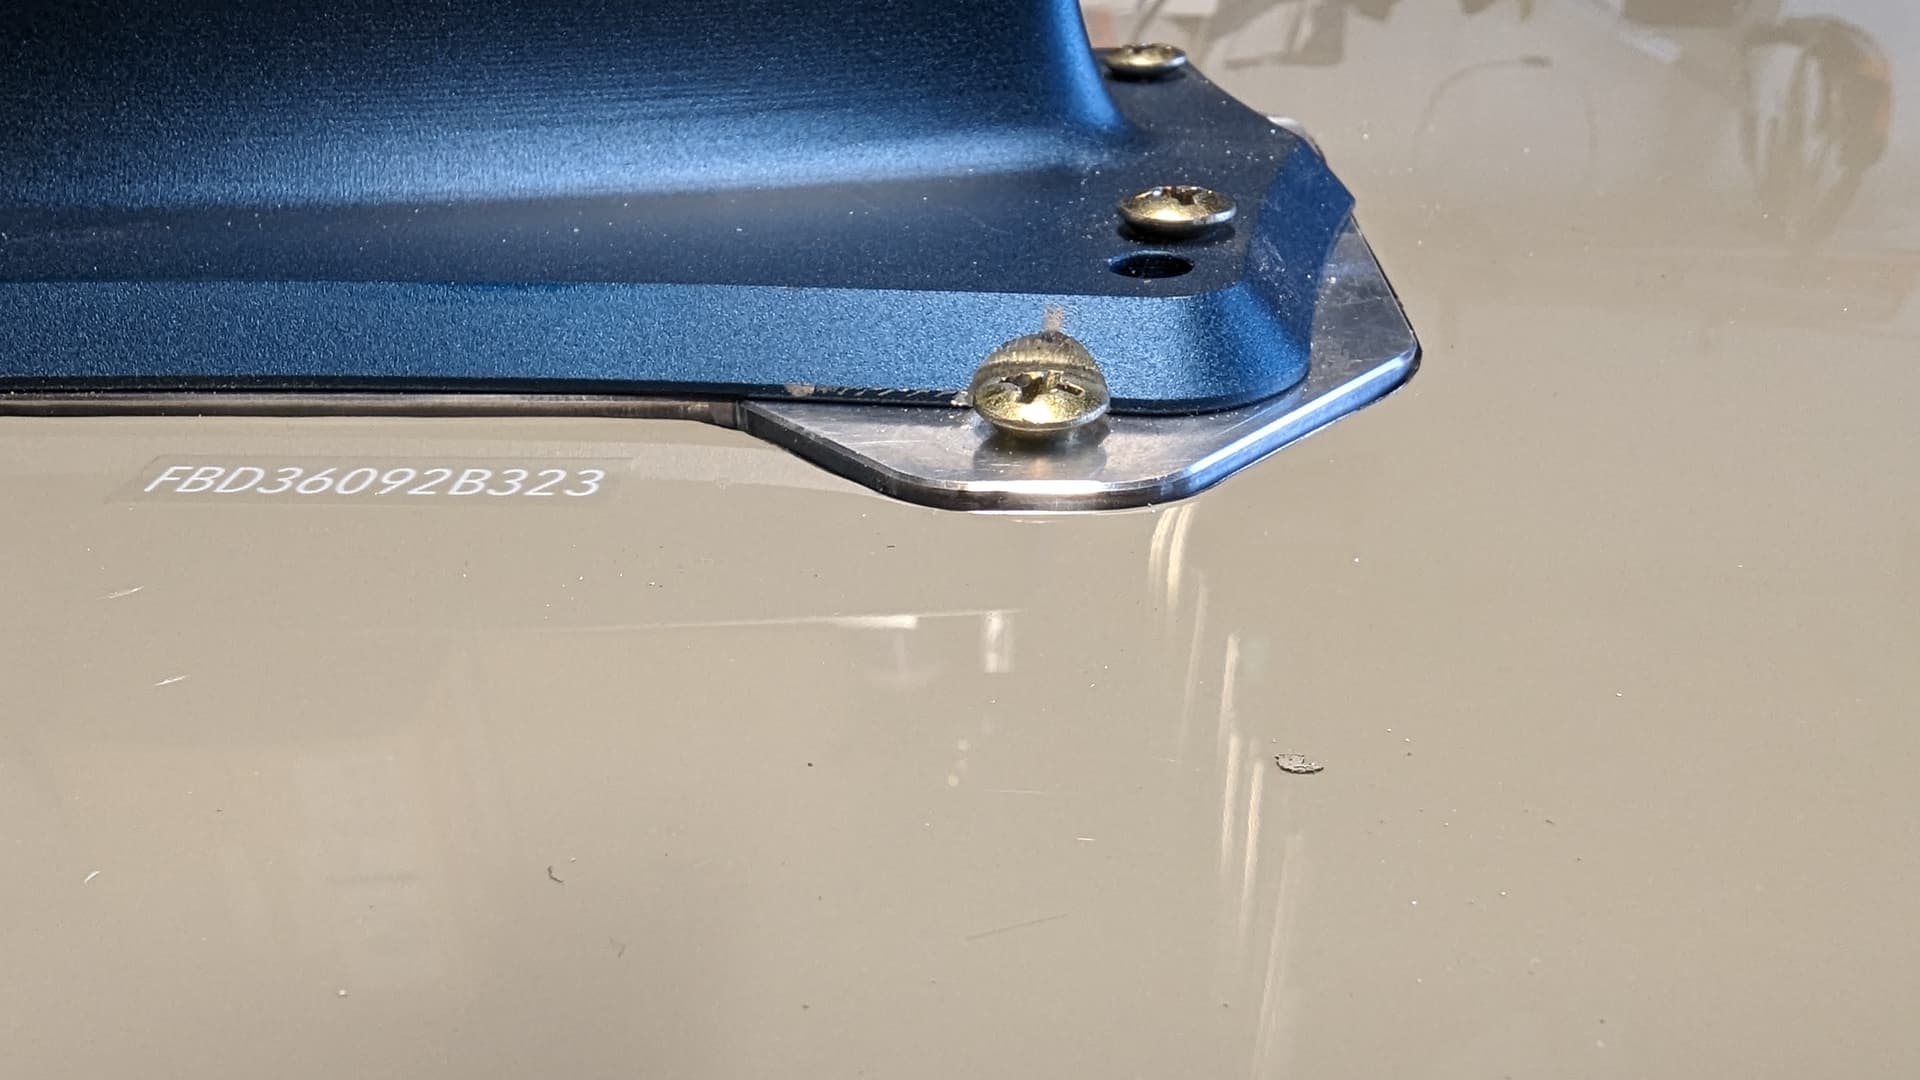
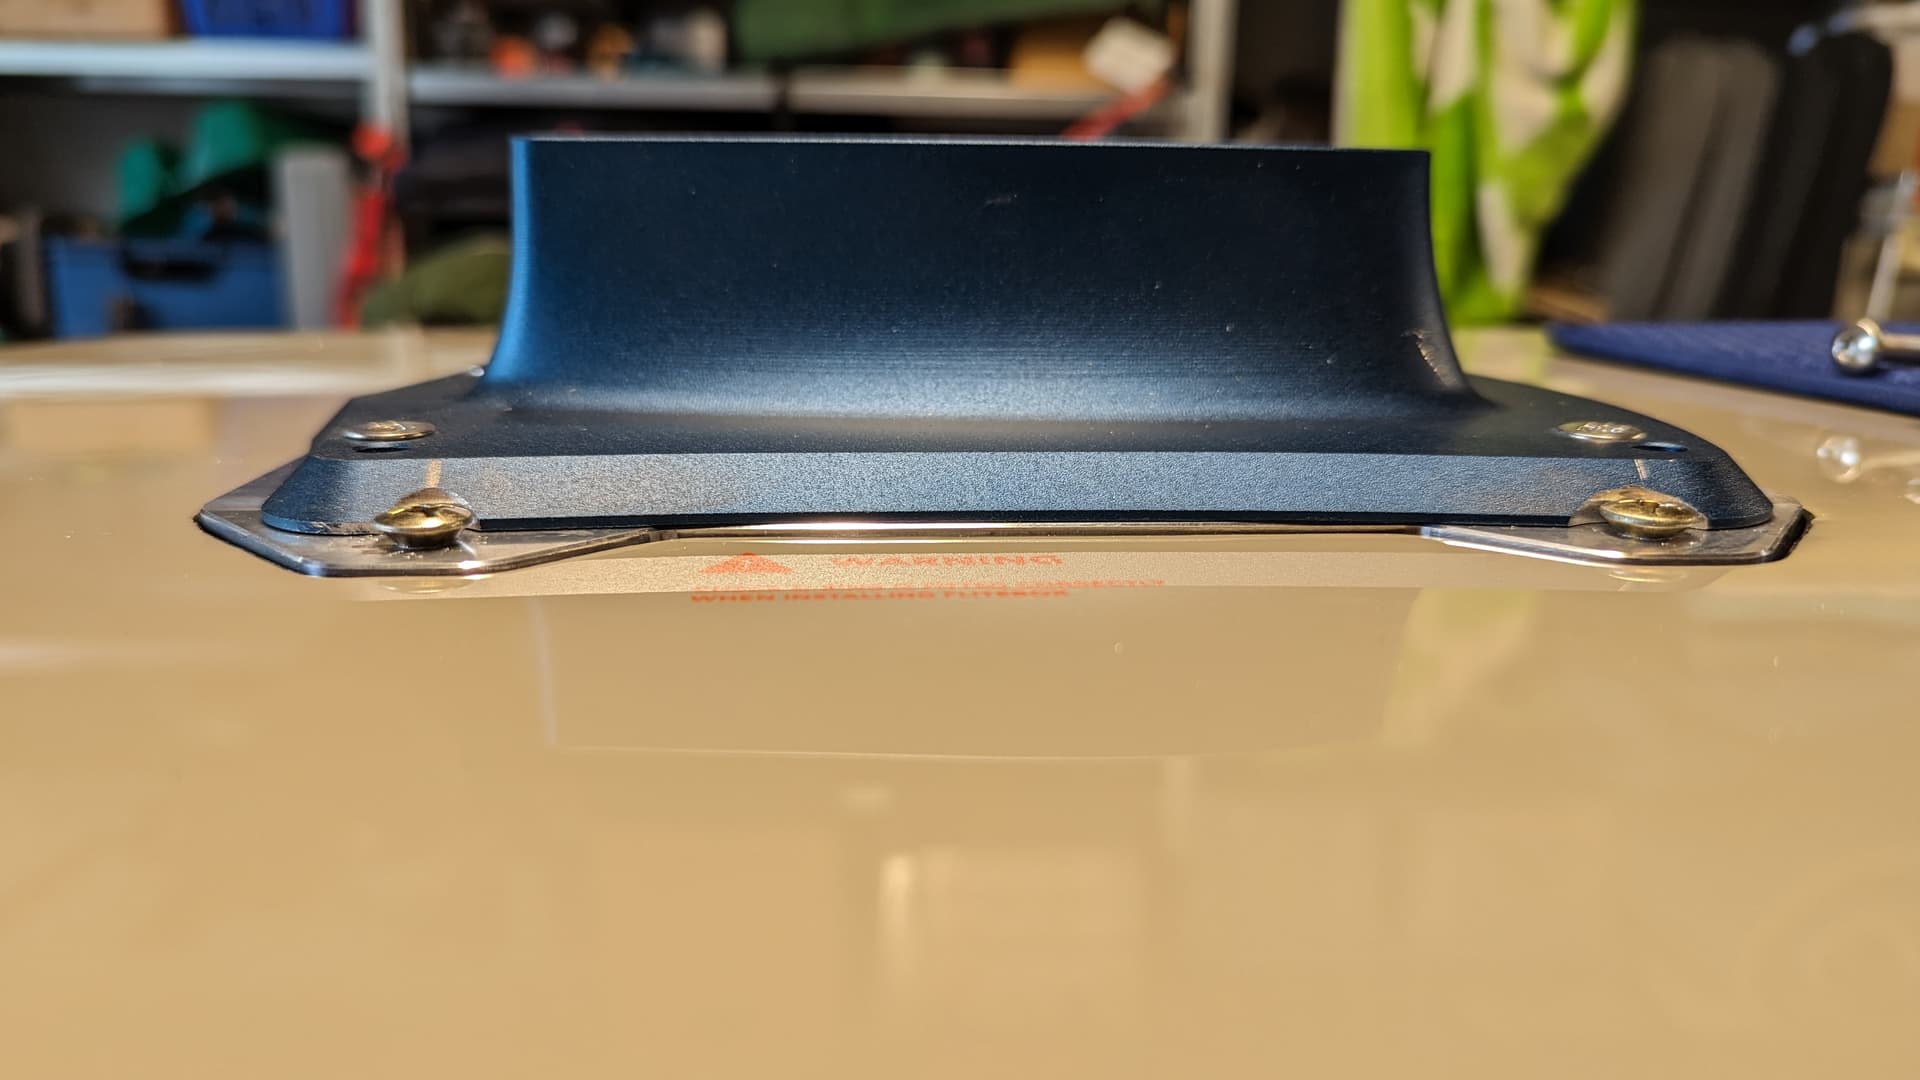
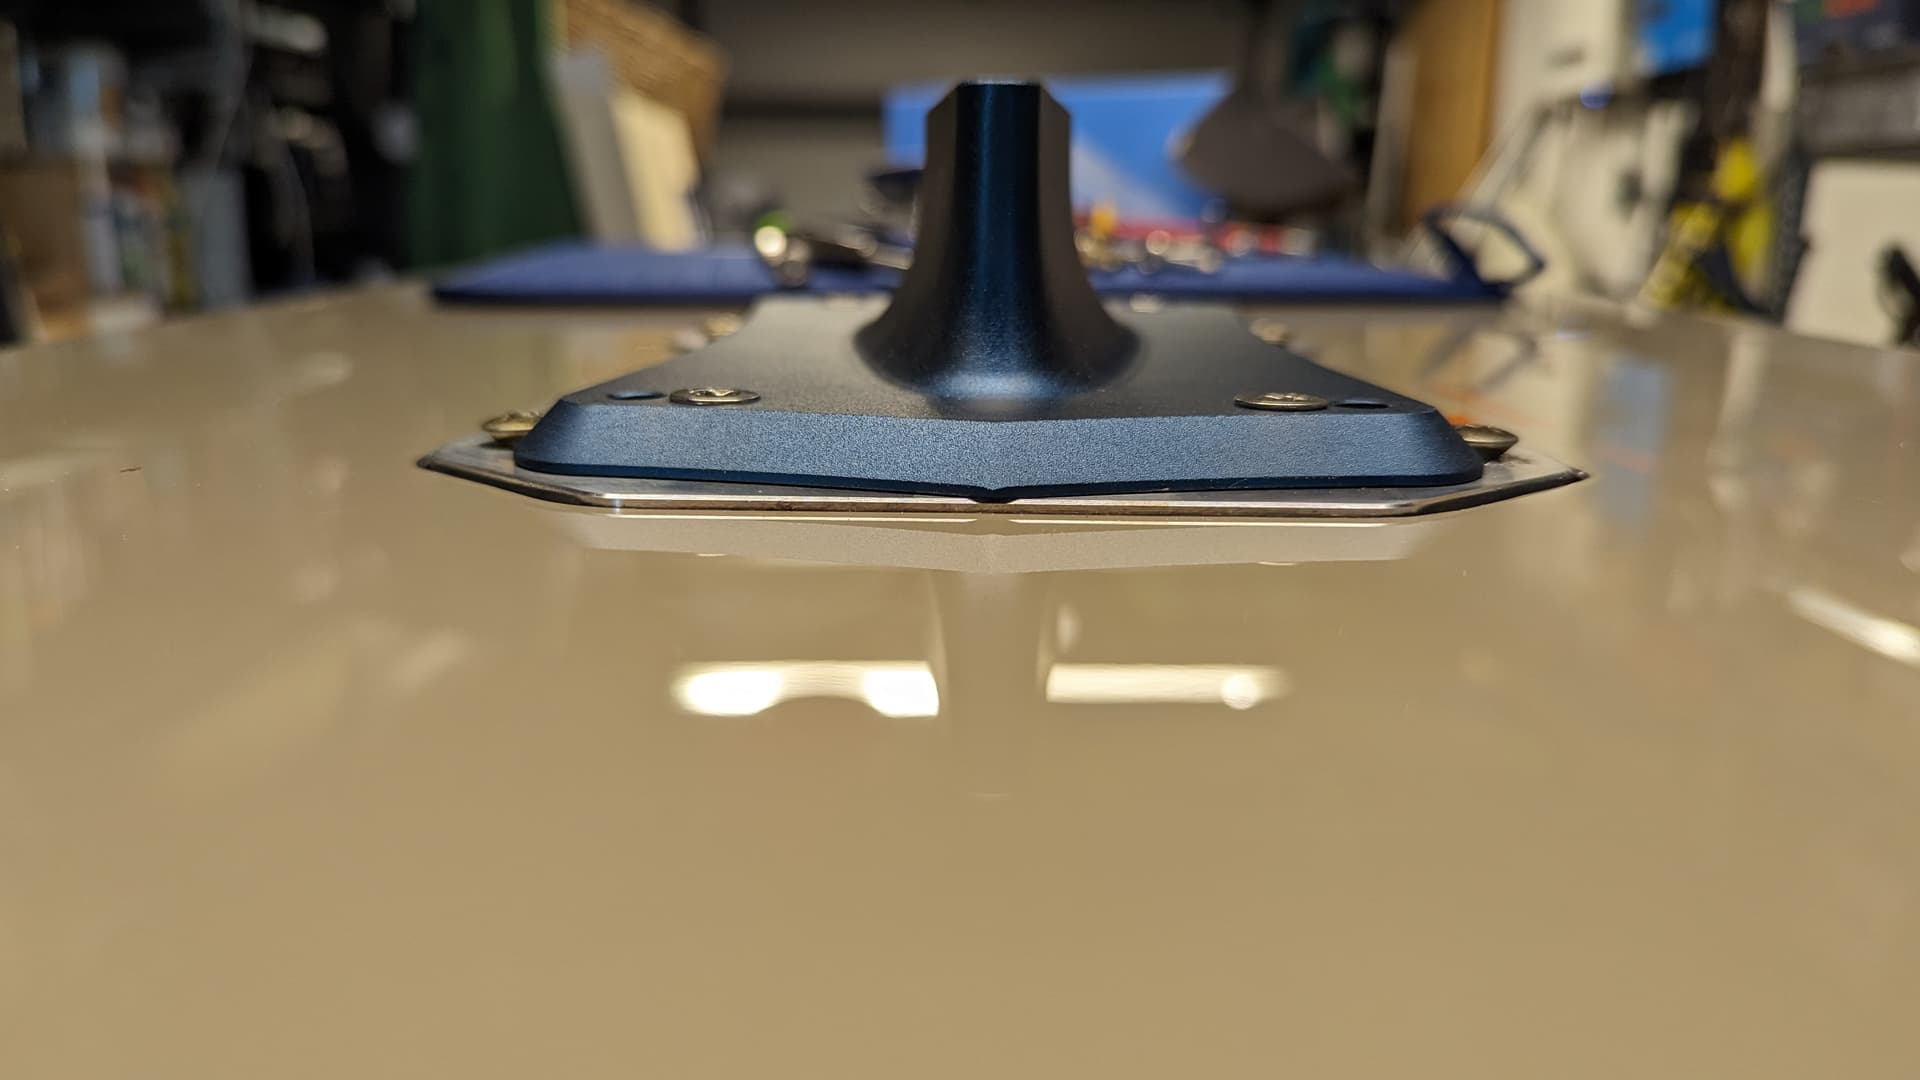
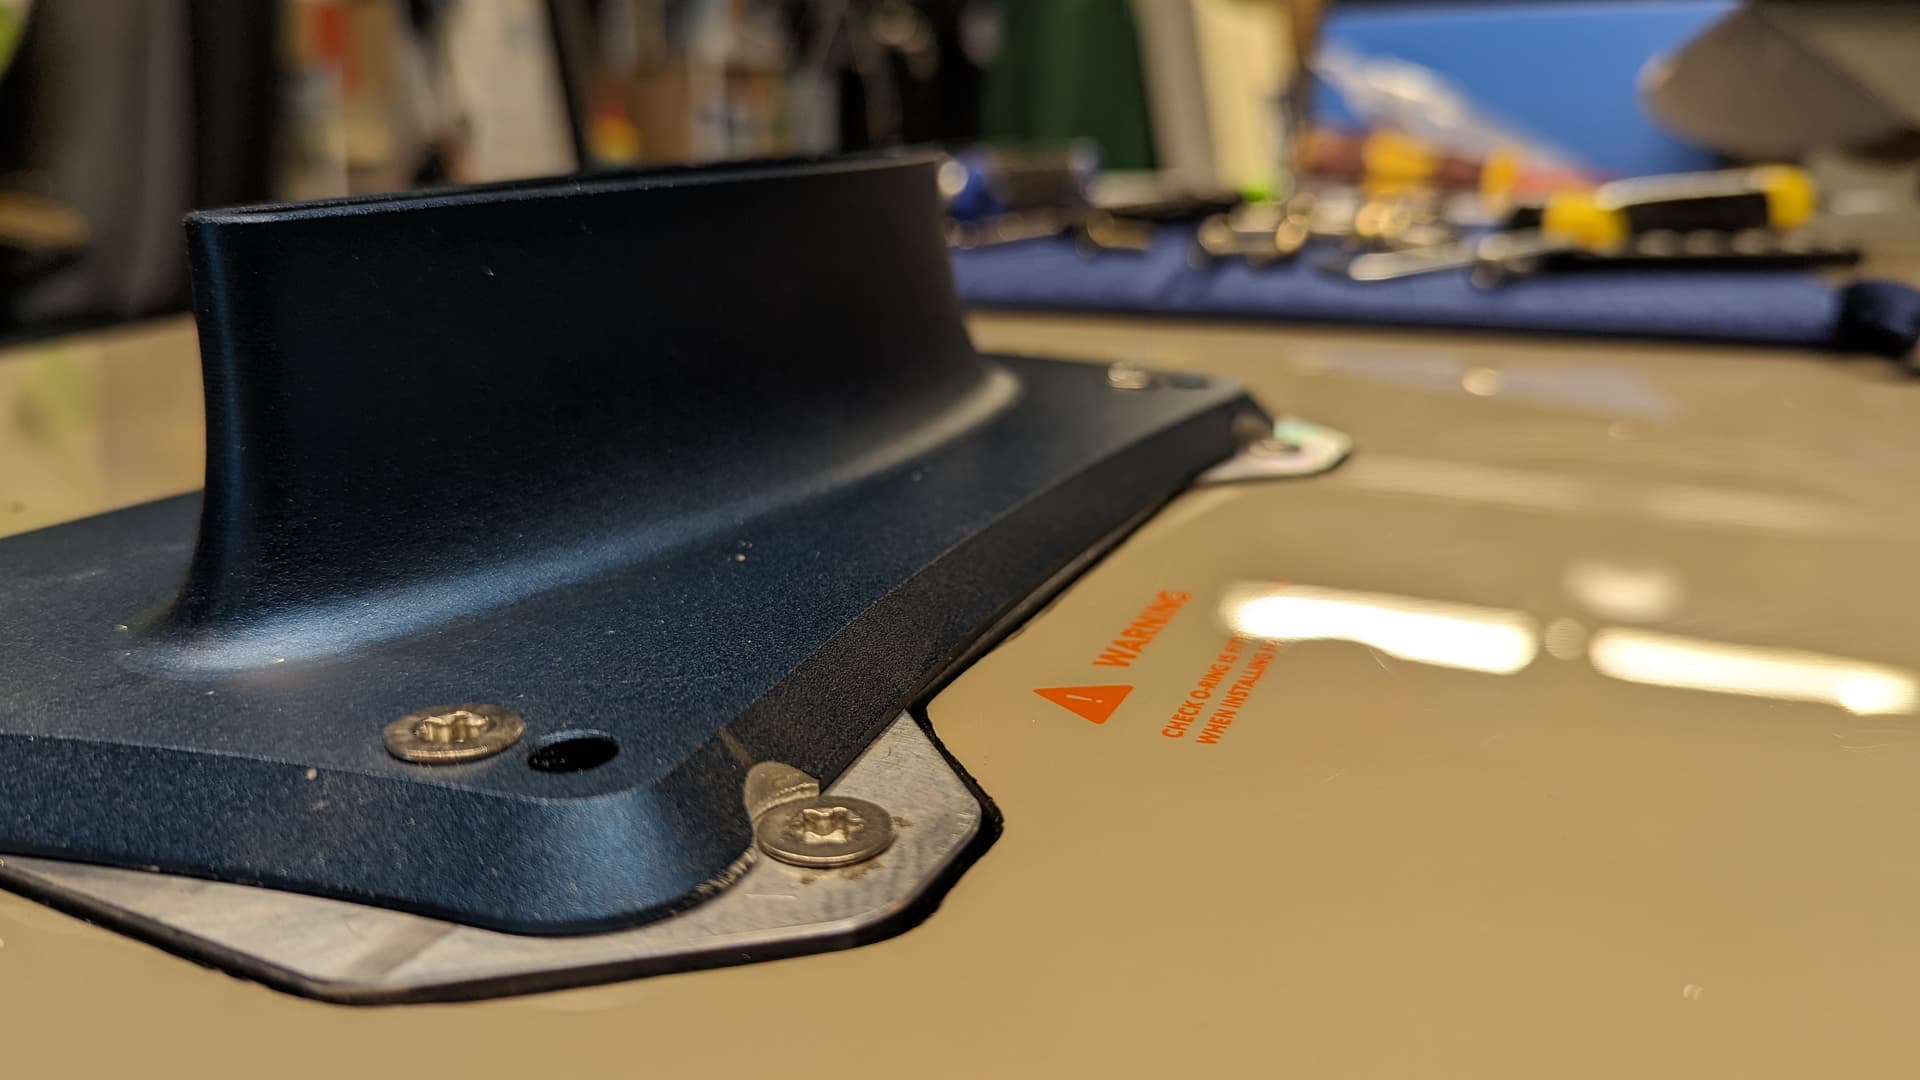
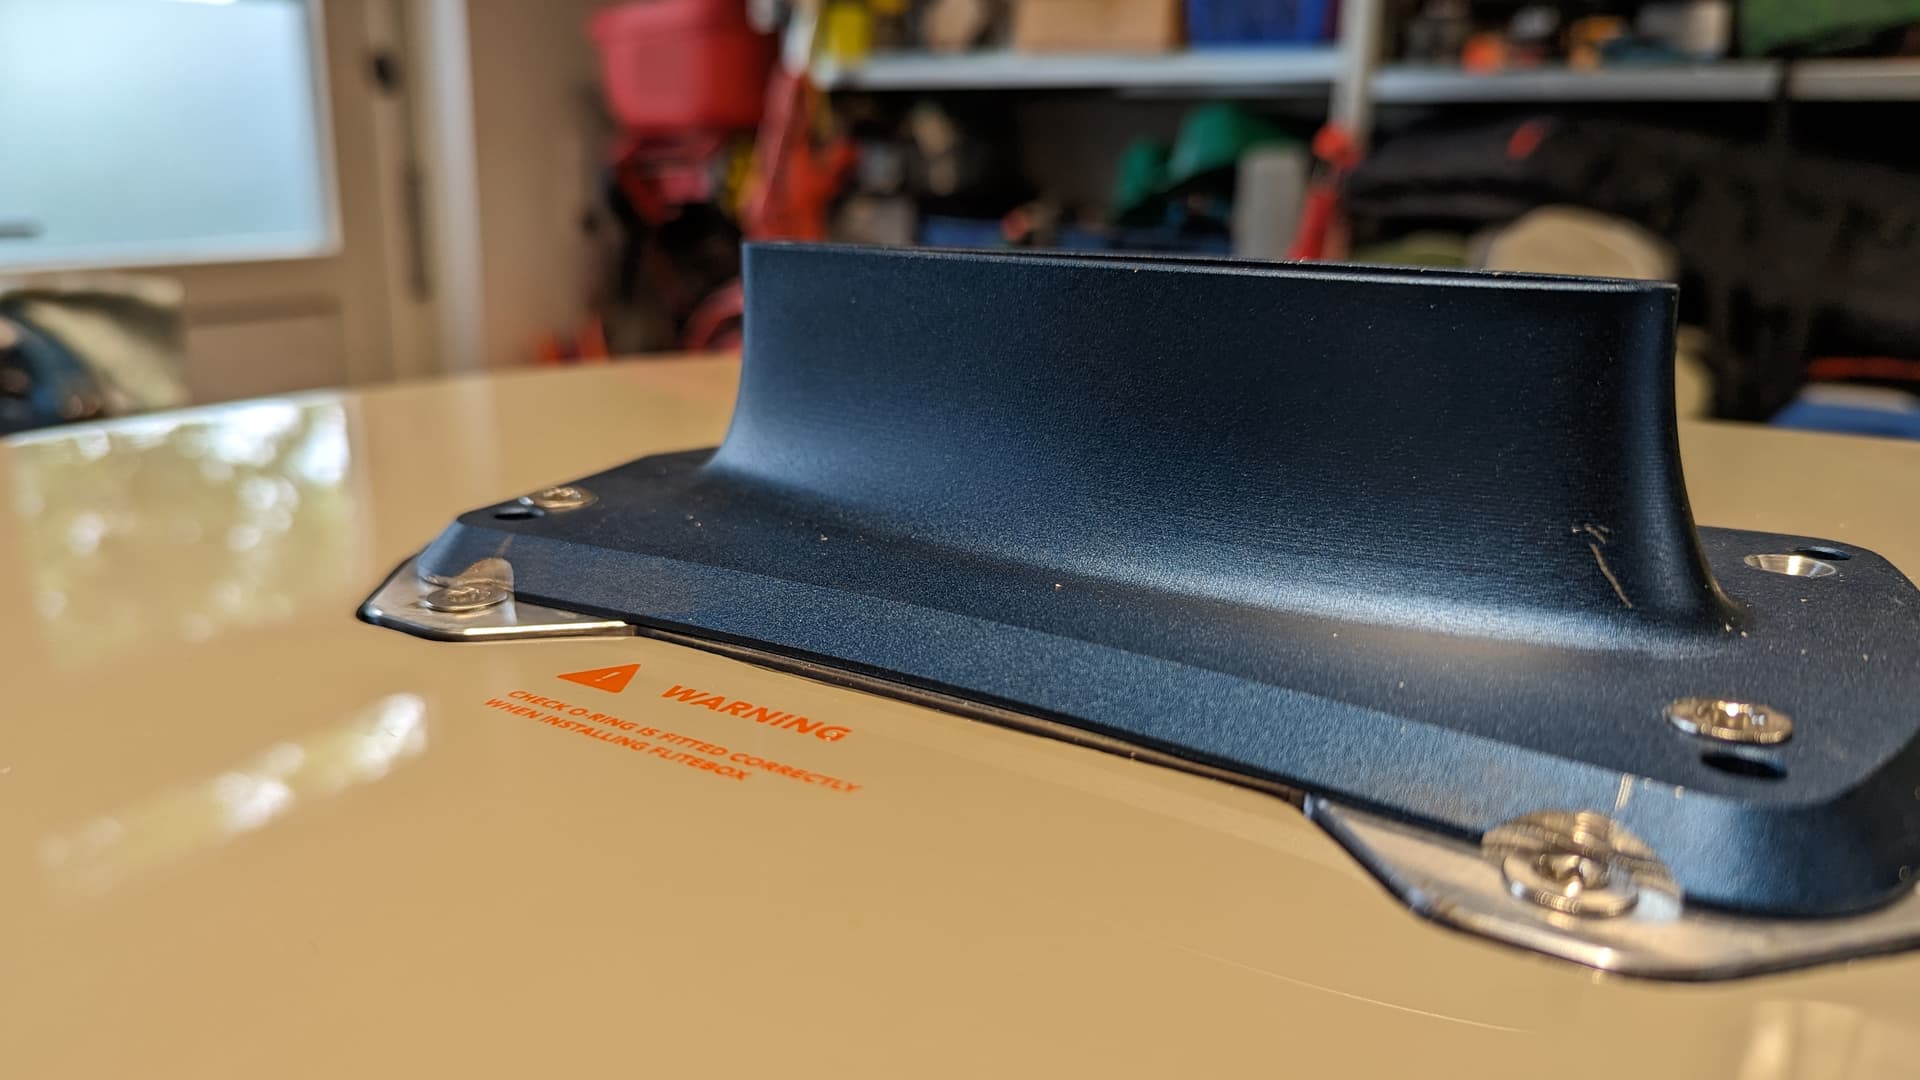
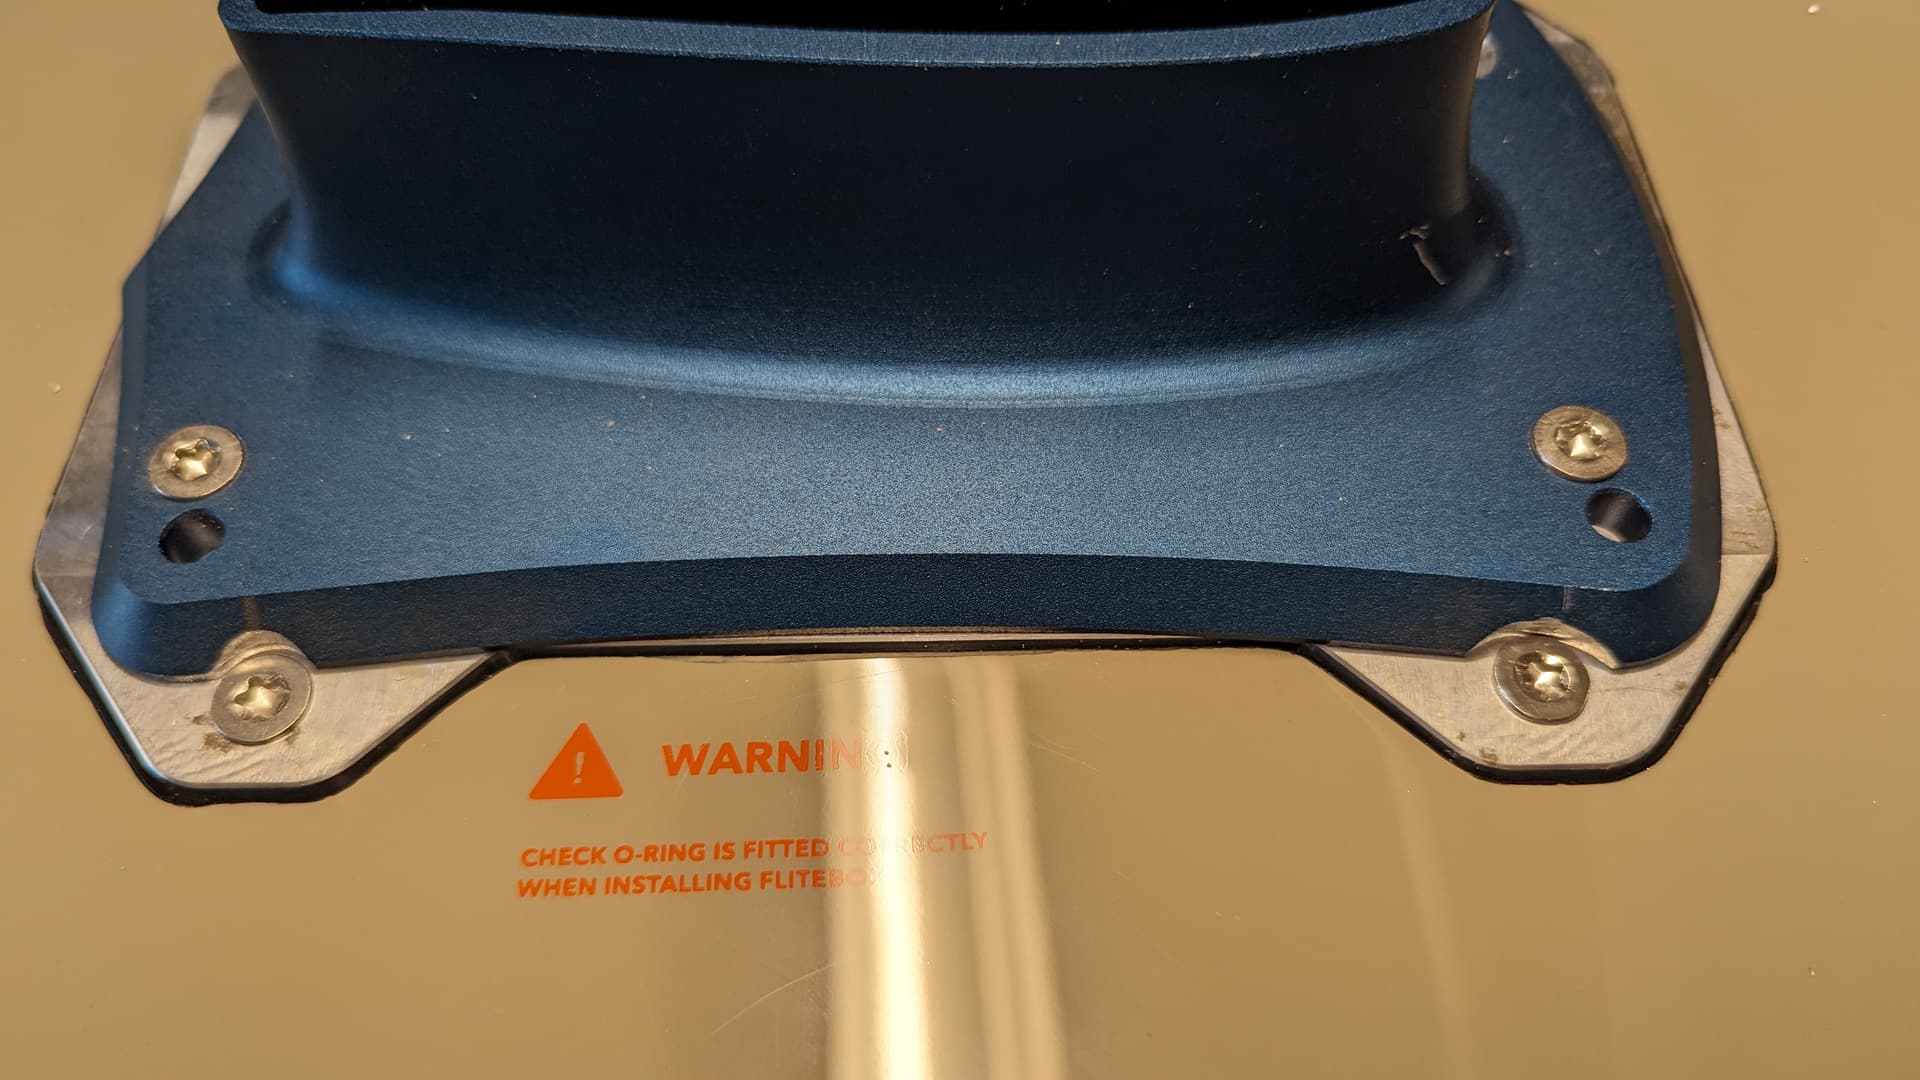
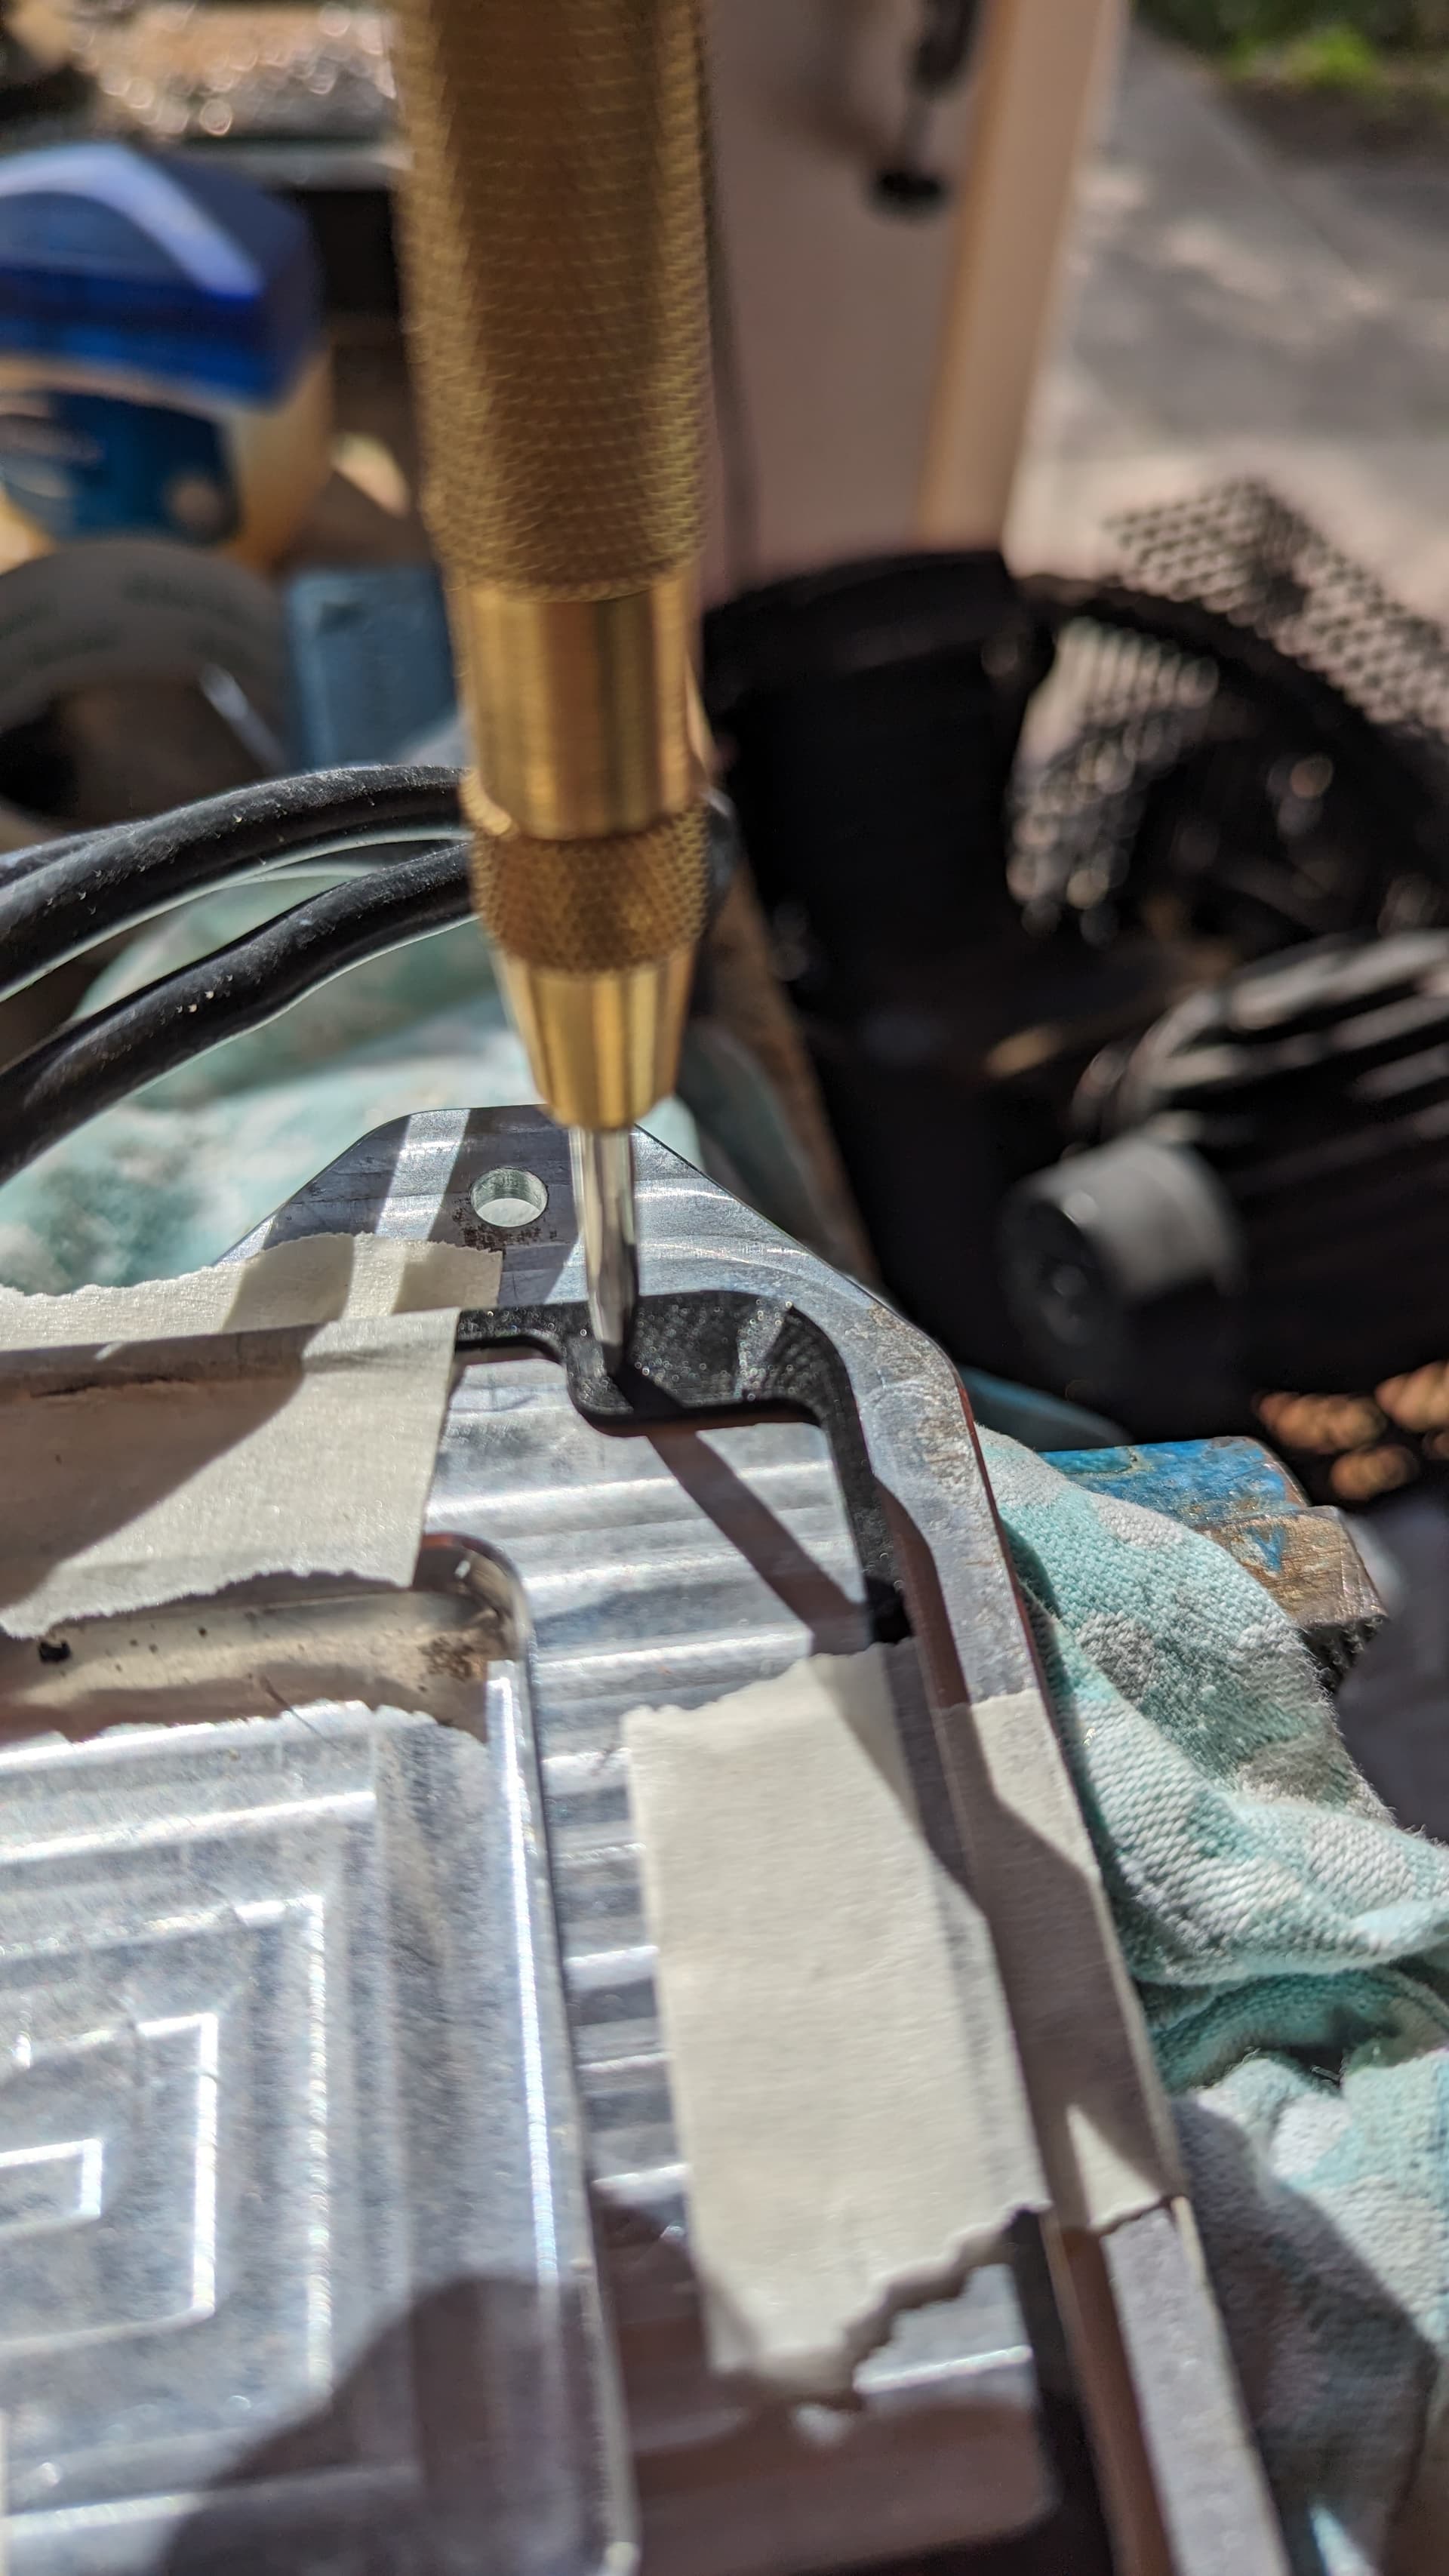
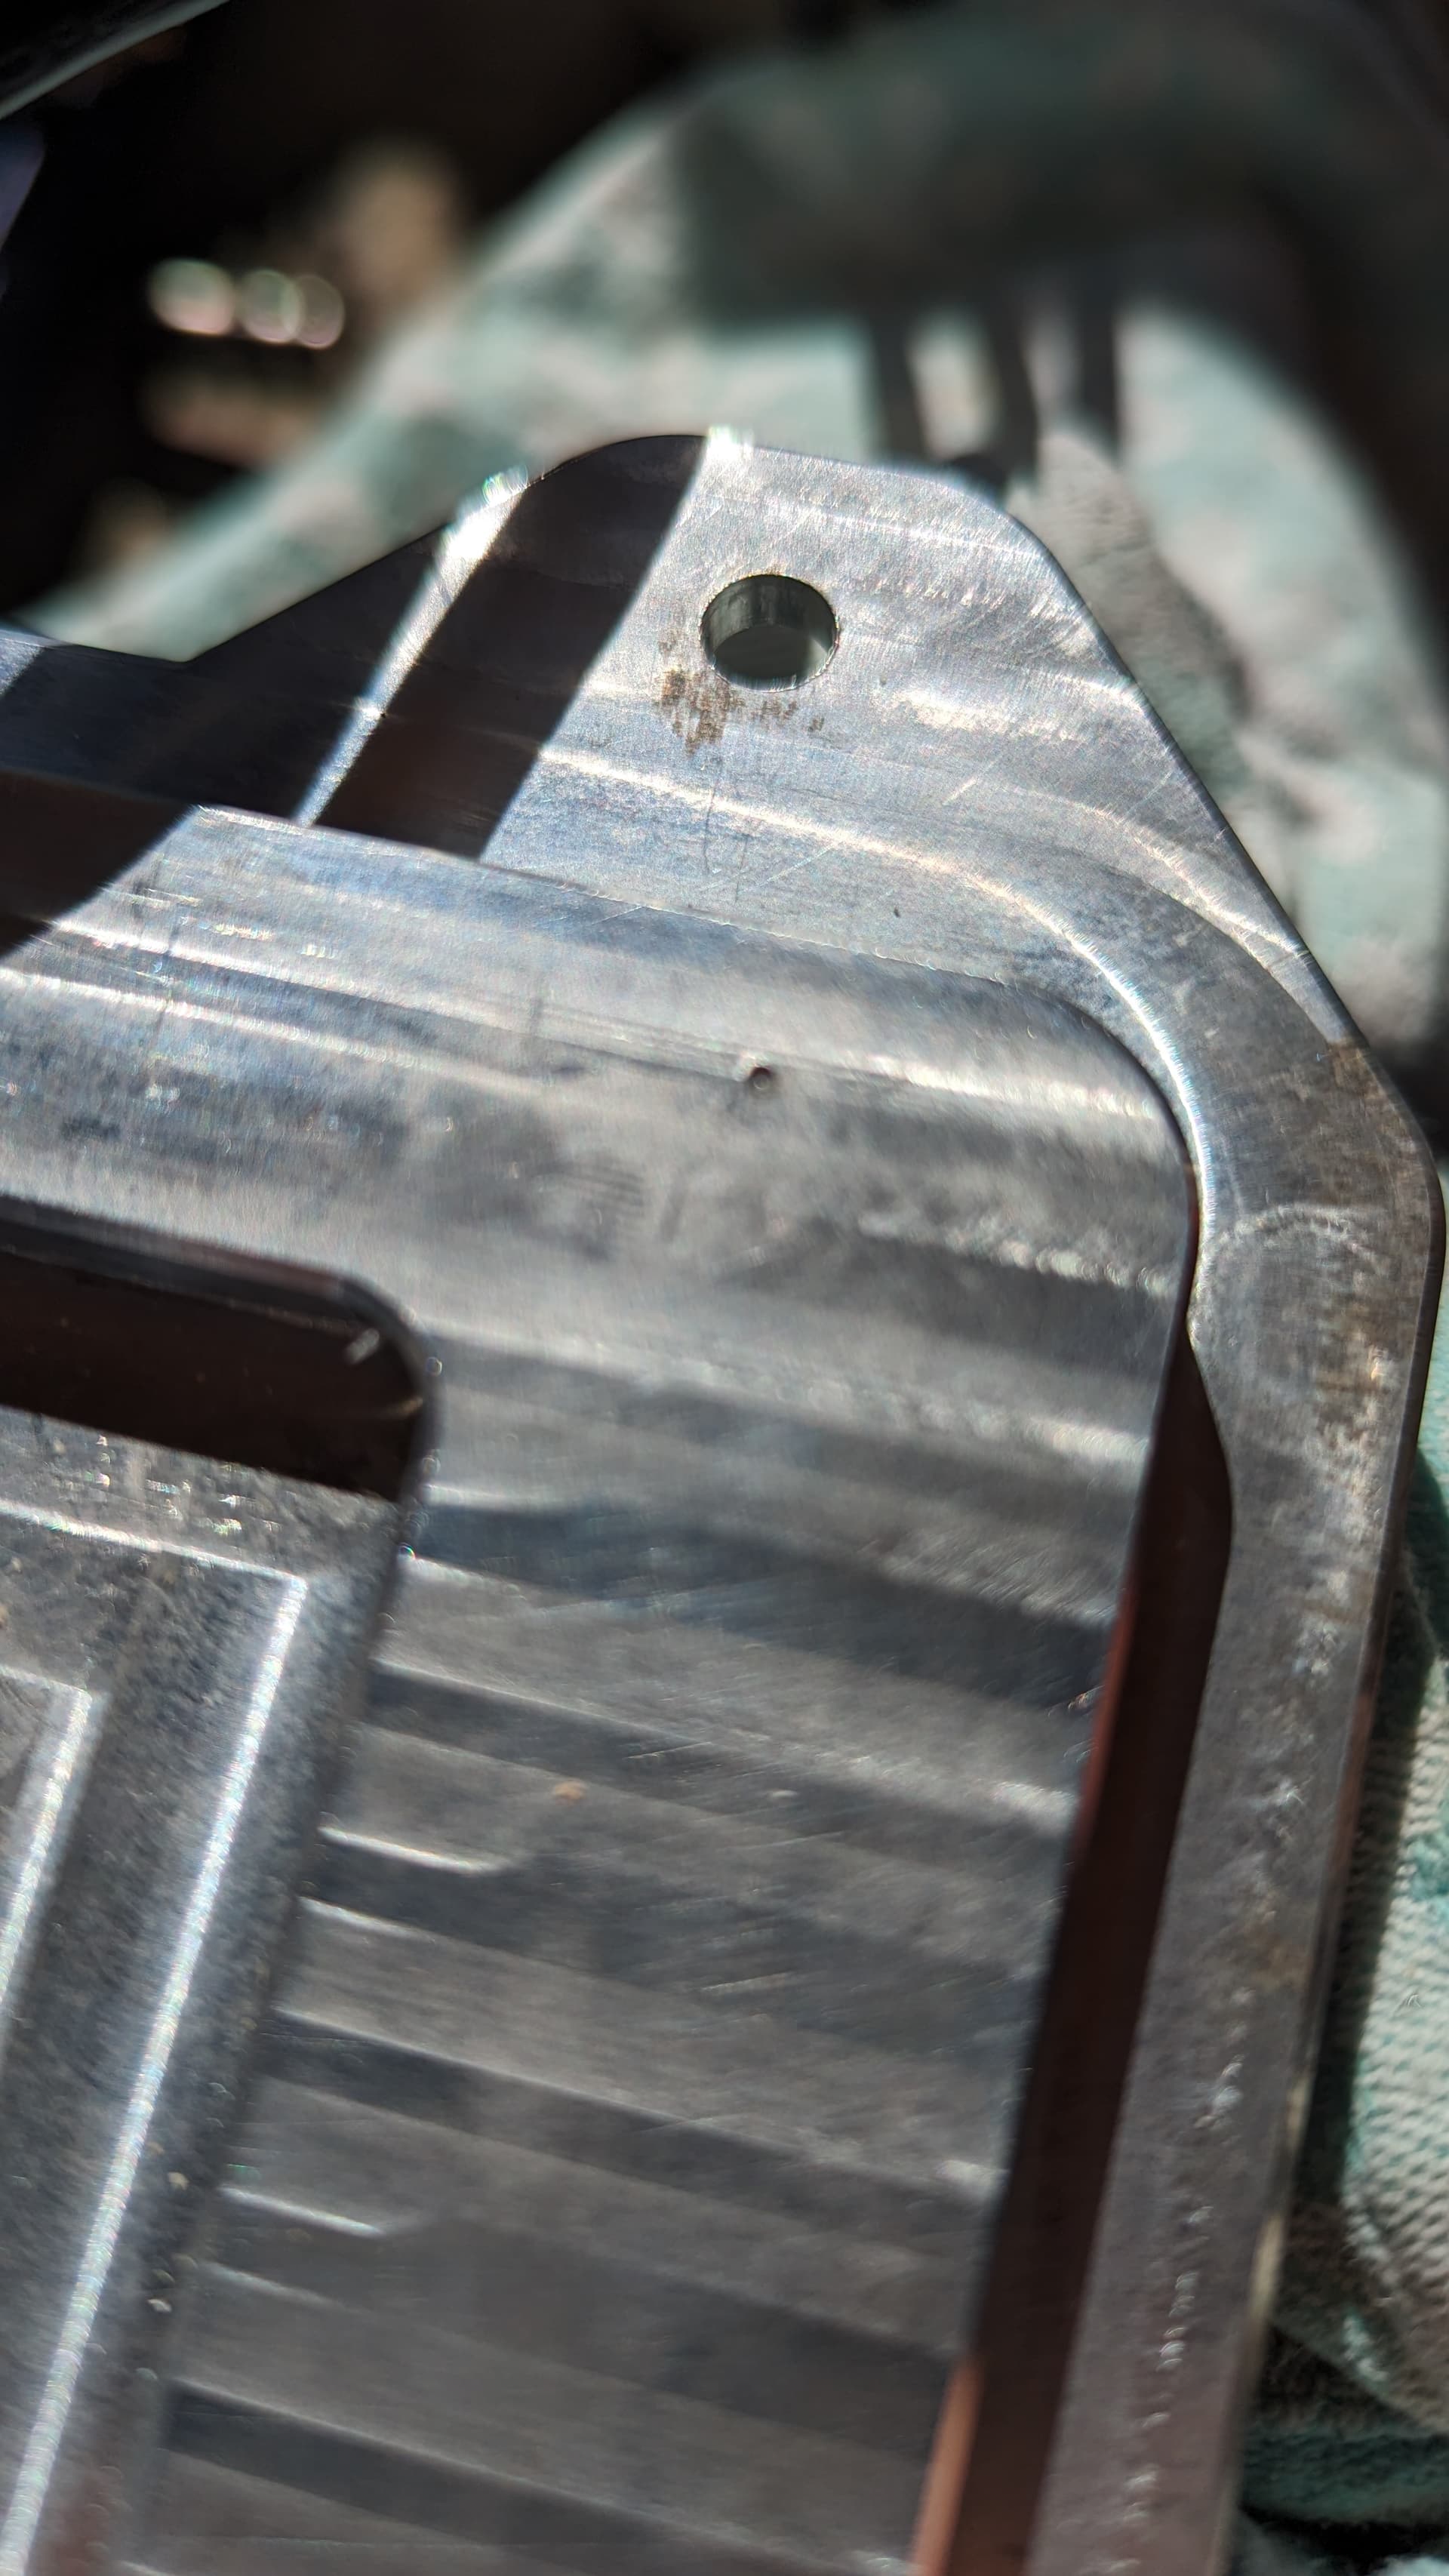
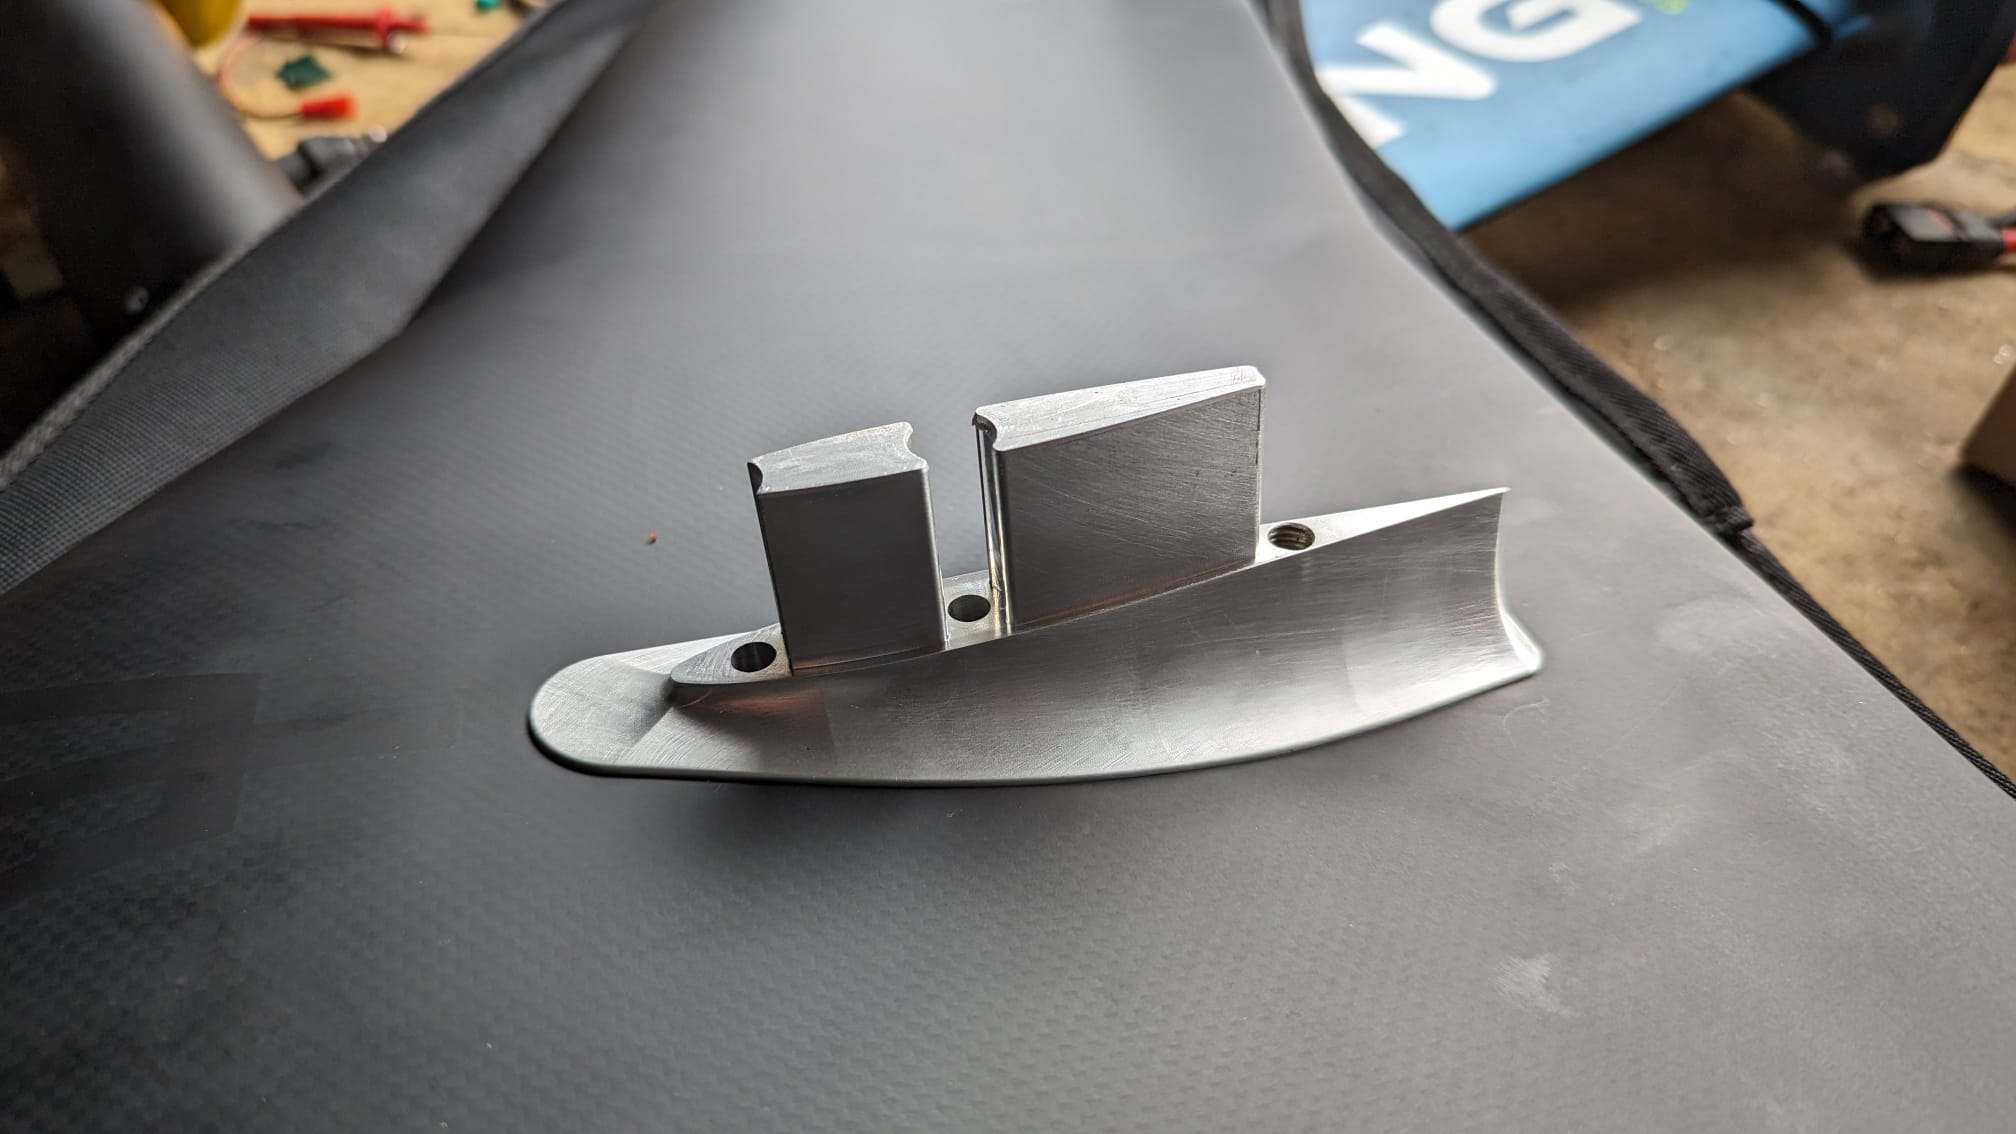
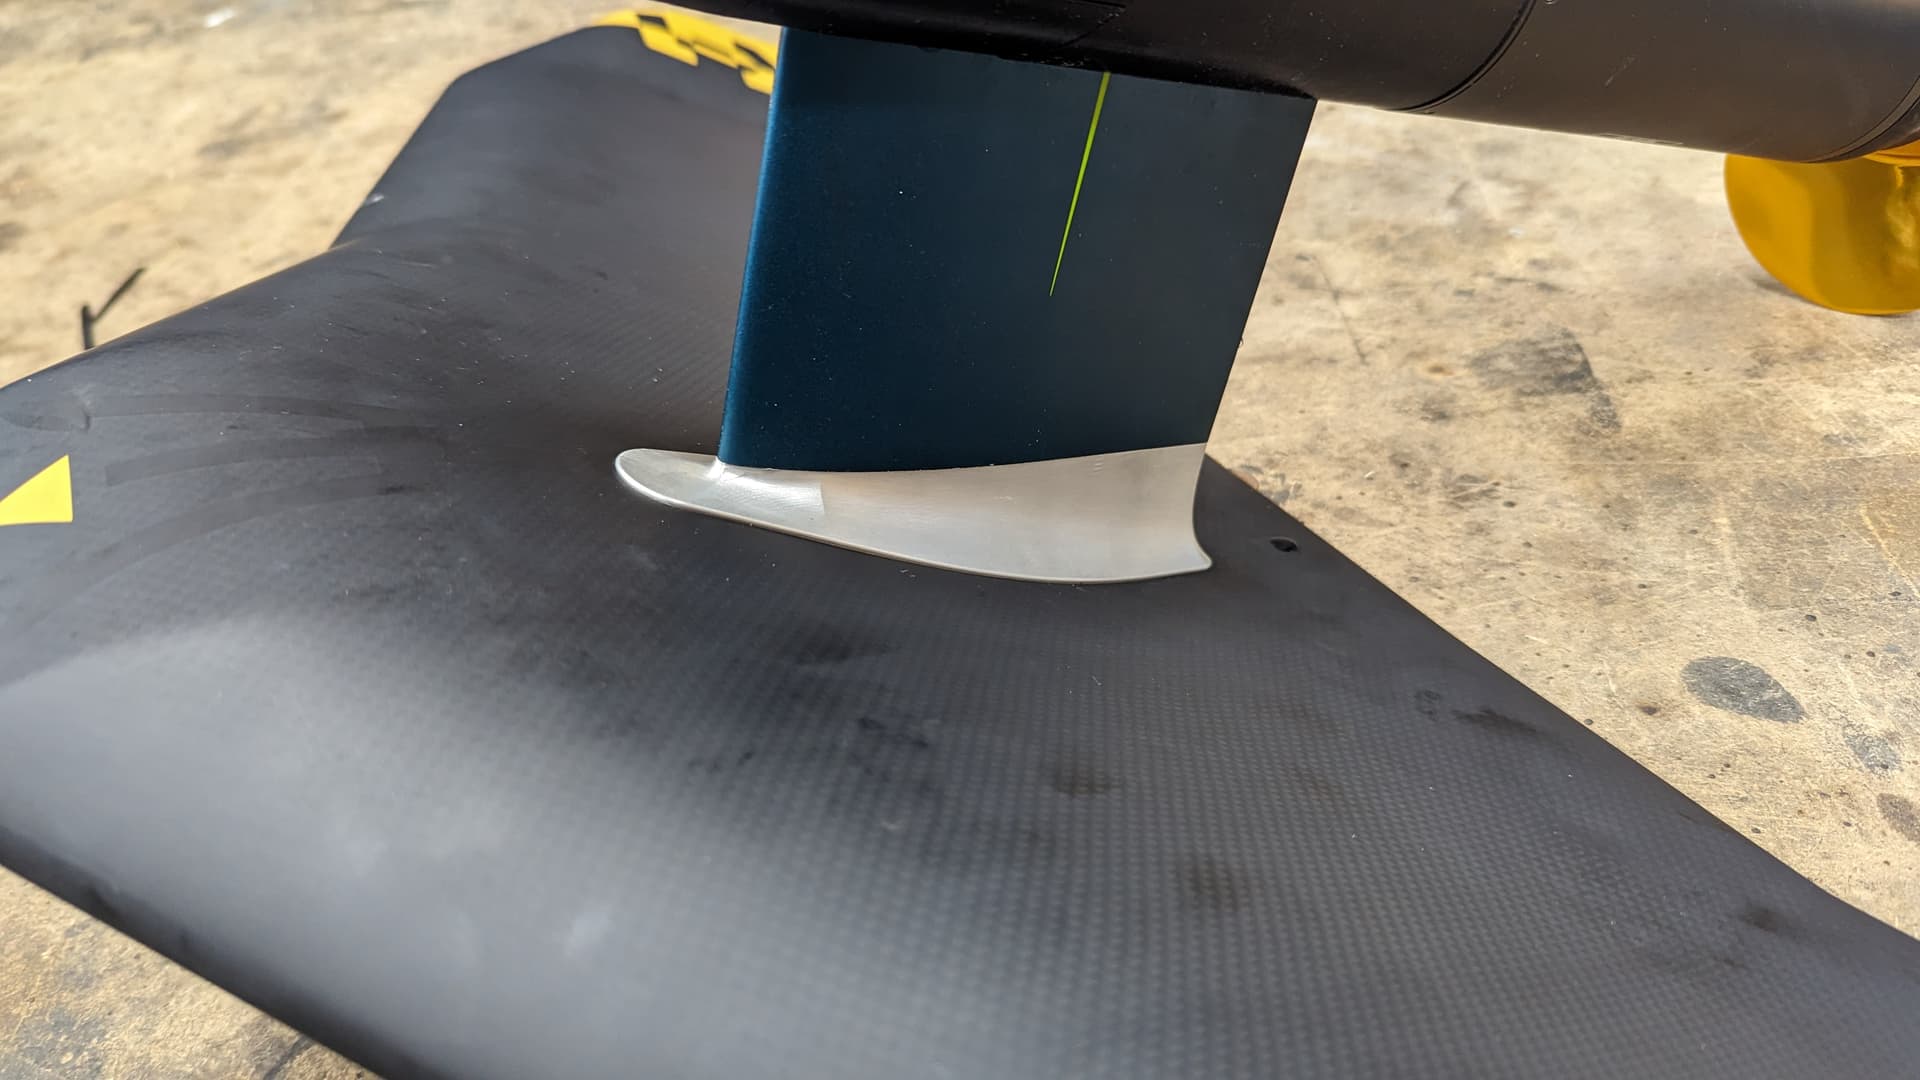
 Note the removed small parts in the Gong mast plate. This was needed to be able to fix the aluminium plate to the board. We also needed to drill 4 new holes in the Gong plate to be able to fix the Gong mast plate to the aluminium plate. Unfortunately there is no other way of doing this.